
- How do I turn travel photos into a 30-second reel
- What frame rates are best for smooth evening motion
- How do I plan shots to tell a short travel story

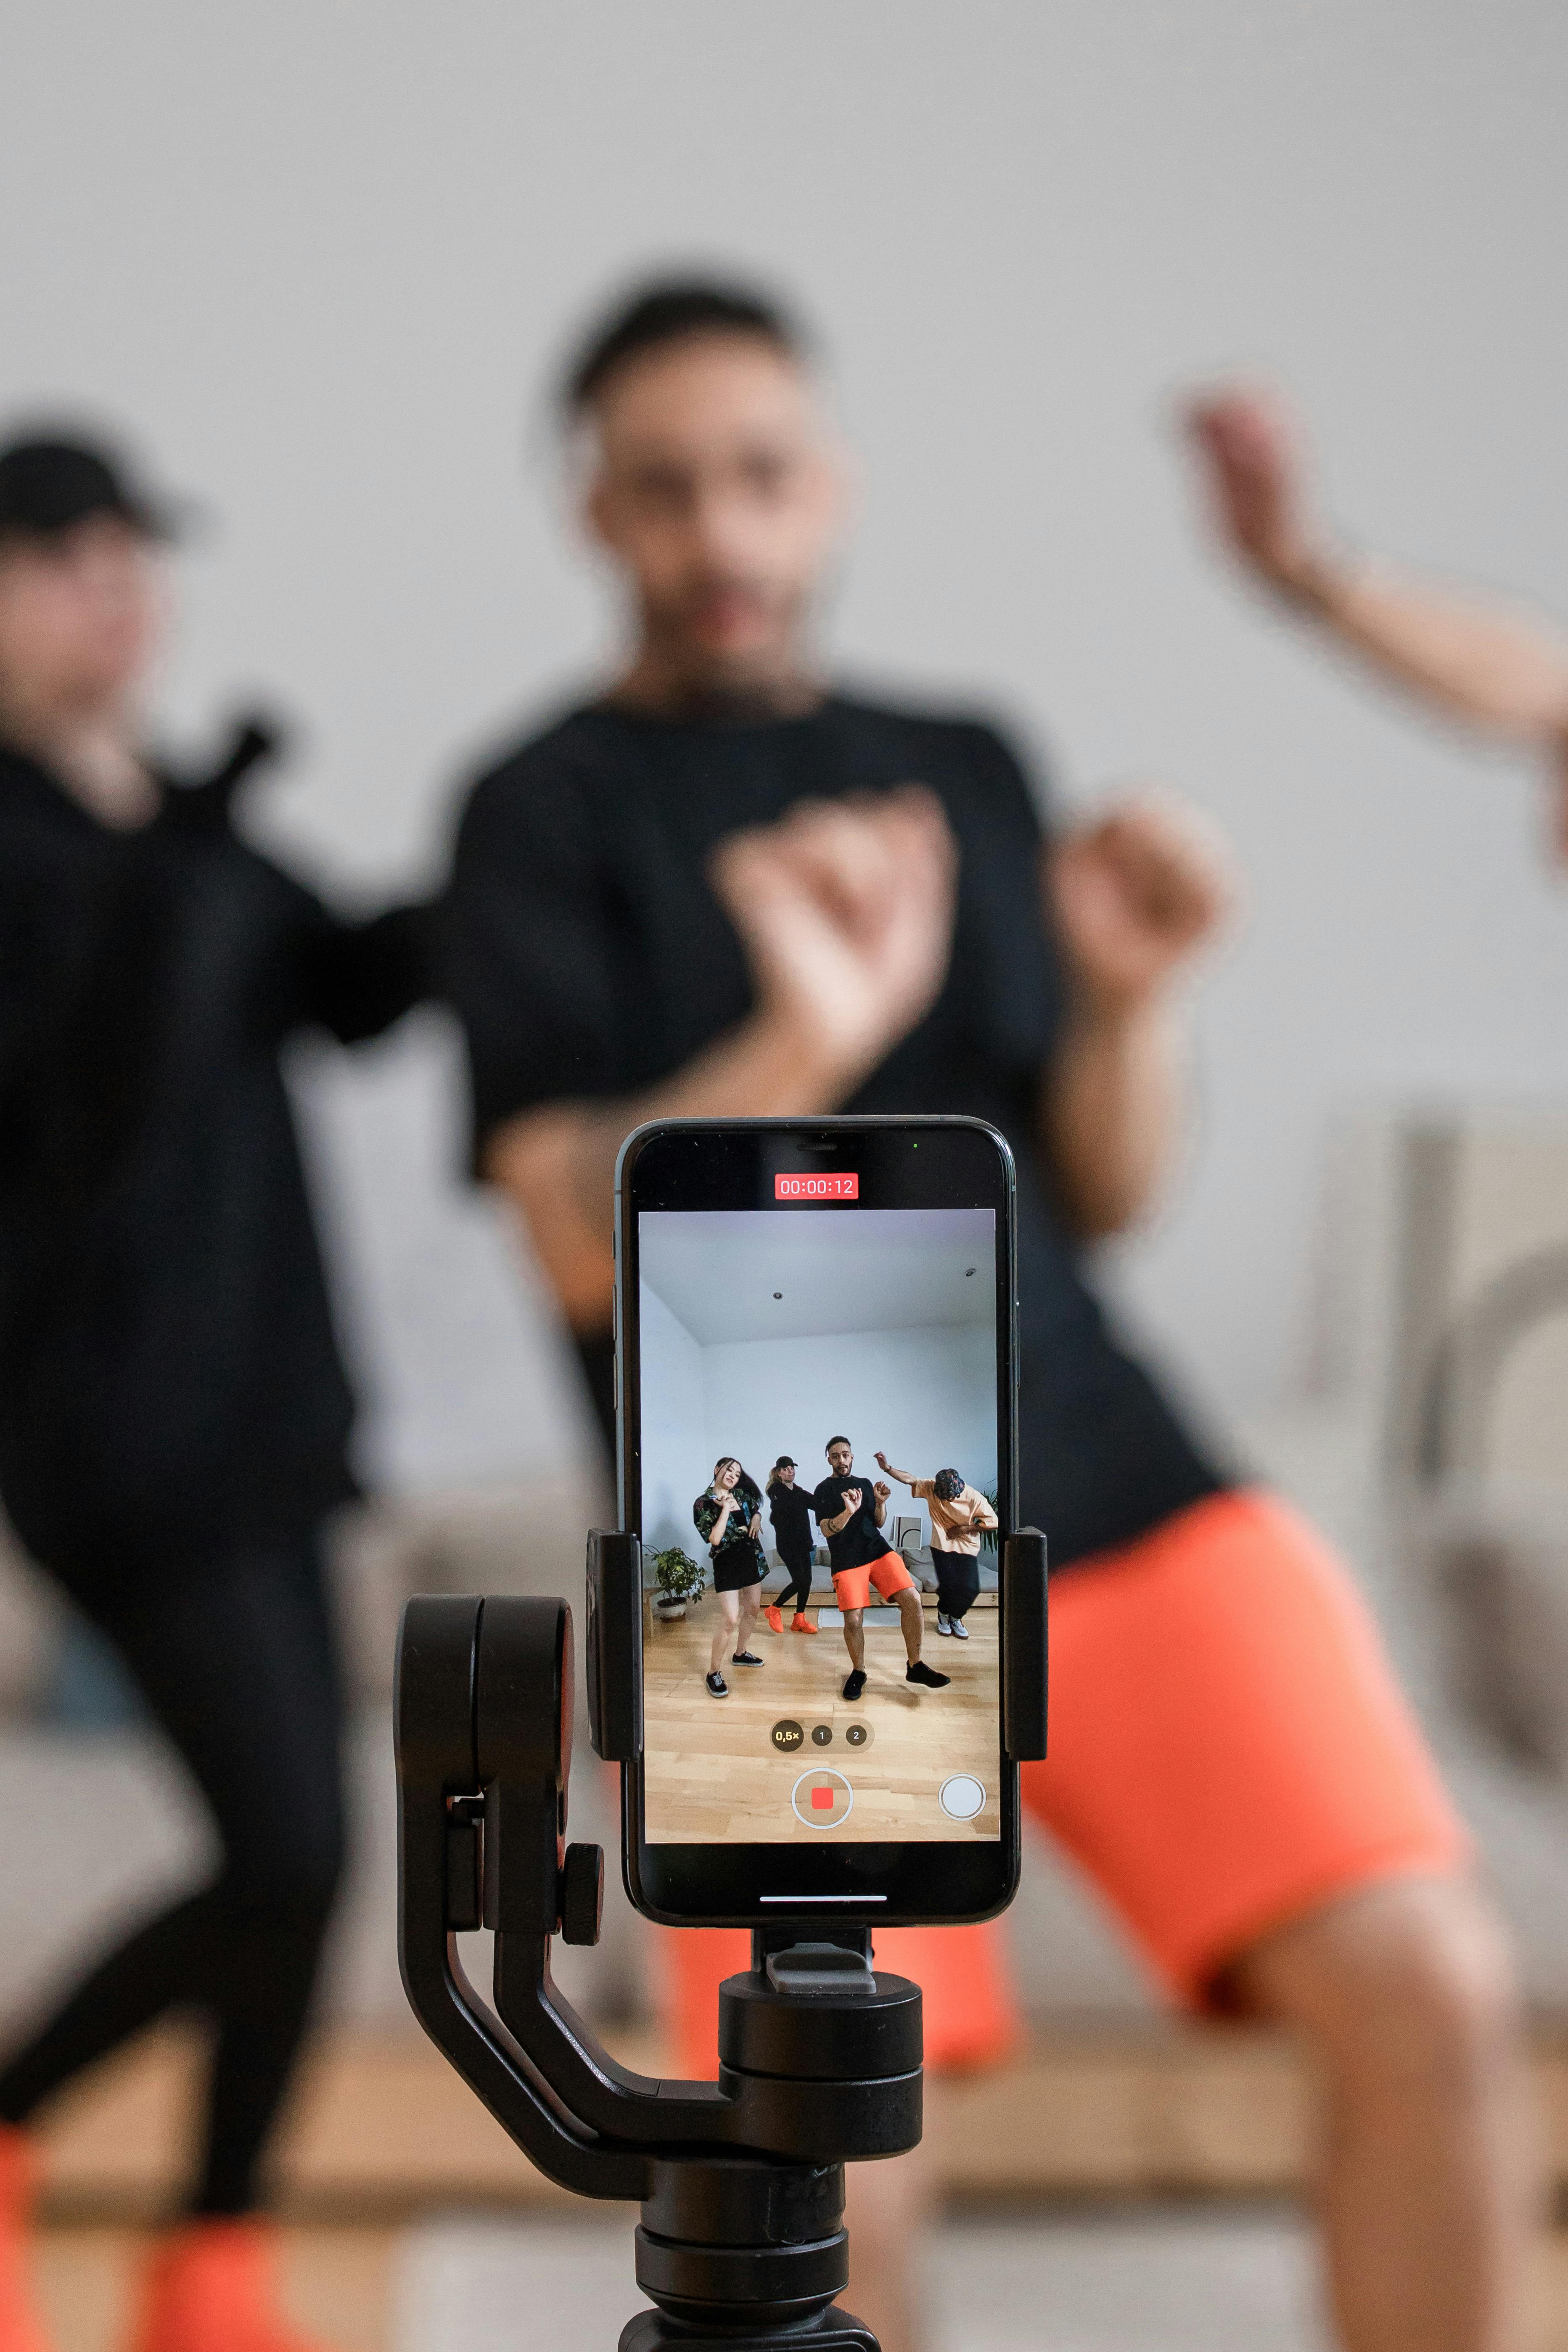
Long summer evenings are ideal for travel content. The light stays soft, the pace slows down, and you can put together a short reel without much pressure. If you want your travel photos to feel more alive, a straightforward photo-to-video workflow can make a big difference.
This guide explains how to build a 30-second reel from still images. It also walks through frame rates, story planning, and fast editing steps. You will also learn how a sling or neck strap can keep your camera close for quick cutaways.
Make a Travel Reel from Photos Without Starting from Zero
Many creators assume they need hours of video to make a compelling reel. That is not the case. A short travel reel can come together from photos, a few clips, and well-timed edits.
The strongest photo-to-video workflow begins with one clear concept. Select one place, one mood, or one small moment from your trip. After that, make each image reinforce that idea.
What a simple photo-to-video flow looks like
Begin with 8 to 12 photos. Add 2 or 3 brief clips if you have them. Then give each image movement through slow zooms, quick cuts, or light pans.
AI tools can also simplify the process. Some AI travel video generators can convert static photos into dynamic Reels in under 60 seconds from a single text prompt. They can add motion, transitions, captions, music, and even a full voice track.
- Pick a theme, like beach days, old towns, or mountain views.
- Choose your strongest photos first, not every photo you took.
- Keep the story straightforward and easy to follow.
- Use short clips as breaks between still images.
- End with one striking image that feels like a final note.
In other words, you do not need a massive gallery to make a good reel. What matters is a clear flow and a concise edit.
How to Make Short Travel Reels in a 9:16 Vertical Format
Instagram Reels and TikTok perform best in 9:16 vertical format. That fills the phone screen and helps hold attention. When you design for mobile first, your reel feels more natural and is easier to watch.
Use 1080p or 4K video if you are shooting new clips. For cinematic travel content, 24 FPS is a solid choice. It creates a film-like look that feels smooth and polished.
Which frame rates work best?
For everyday movement, 24 FPS is a reliable option. It gives your reel a natural travel feel. If you want slow motion, shoot at 60 FPS or higher.
For very slow motion, 120 FPS or 240 FPS can be useful. Still, you need to plan for that while shooting. If you only record at 24 FPS, you cannot create true slow motion later.
- 24 FPS: Best for a cinematic look.
- 60 FPS: Best for smooth motion and slow-motion edits.
- 120 FPS or 240 FPS: Best for dramatic slow-motion playback.
- 1080p or 4K: Good for sharp vertical travel reels.

Also, the first 5 to 10 seconds matter most. That is where you need to hook the viewer. Lead with your best shot, then move the story along quickly.
Plan a Short Travel Story That Makes People Keep Watching
A short reel works best when it tells one small story. Think of it as a tiny trip, not a full vlog. With a simple beginning, middle, and ending, even still photos can feel powerful.
To keep the story clear, ask three questions before editing. Where am I? What did I see? Why does this place feel worth sharing? Those answers can shape the order of your shots.
A quick 30-second story structure
Use this basic flow: hook, travel moment, and close. The hook should feature your most eye-catching photo or clip. The middle should show movement, location details, and small human moments.
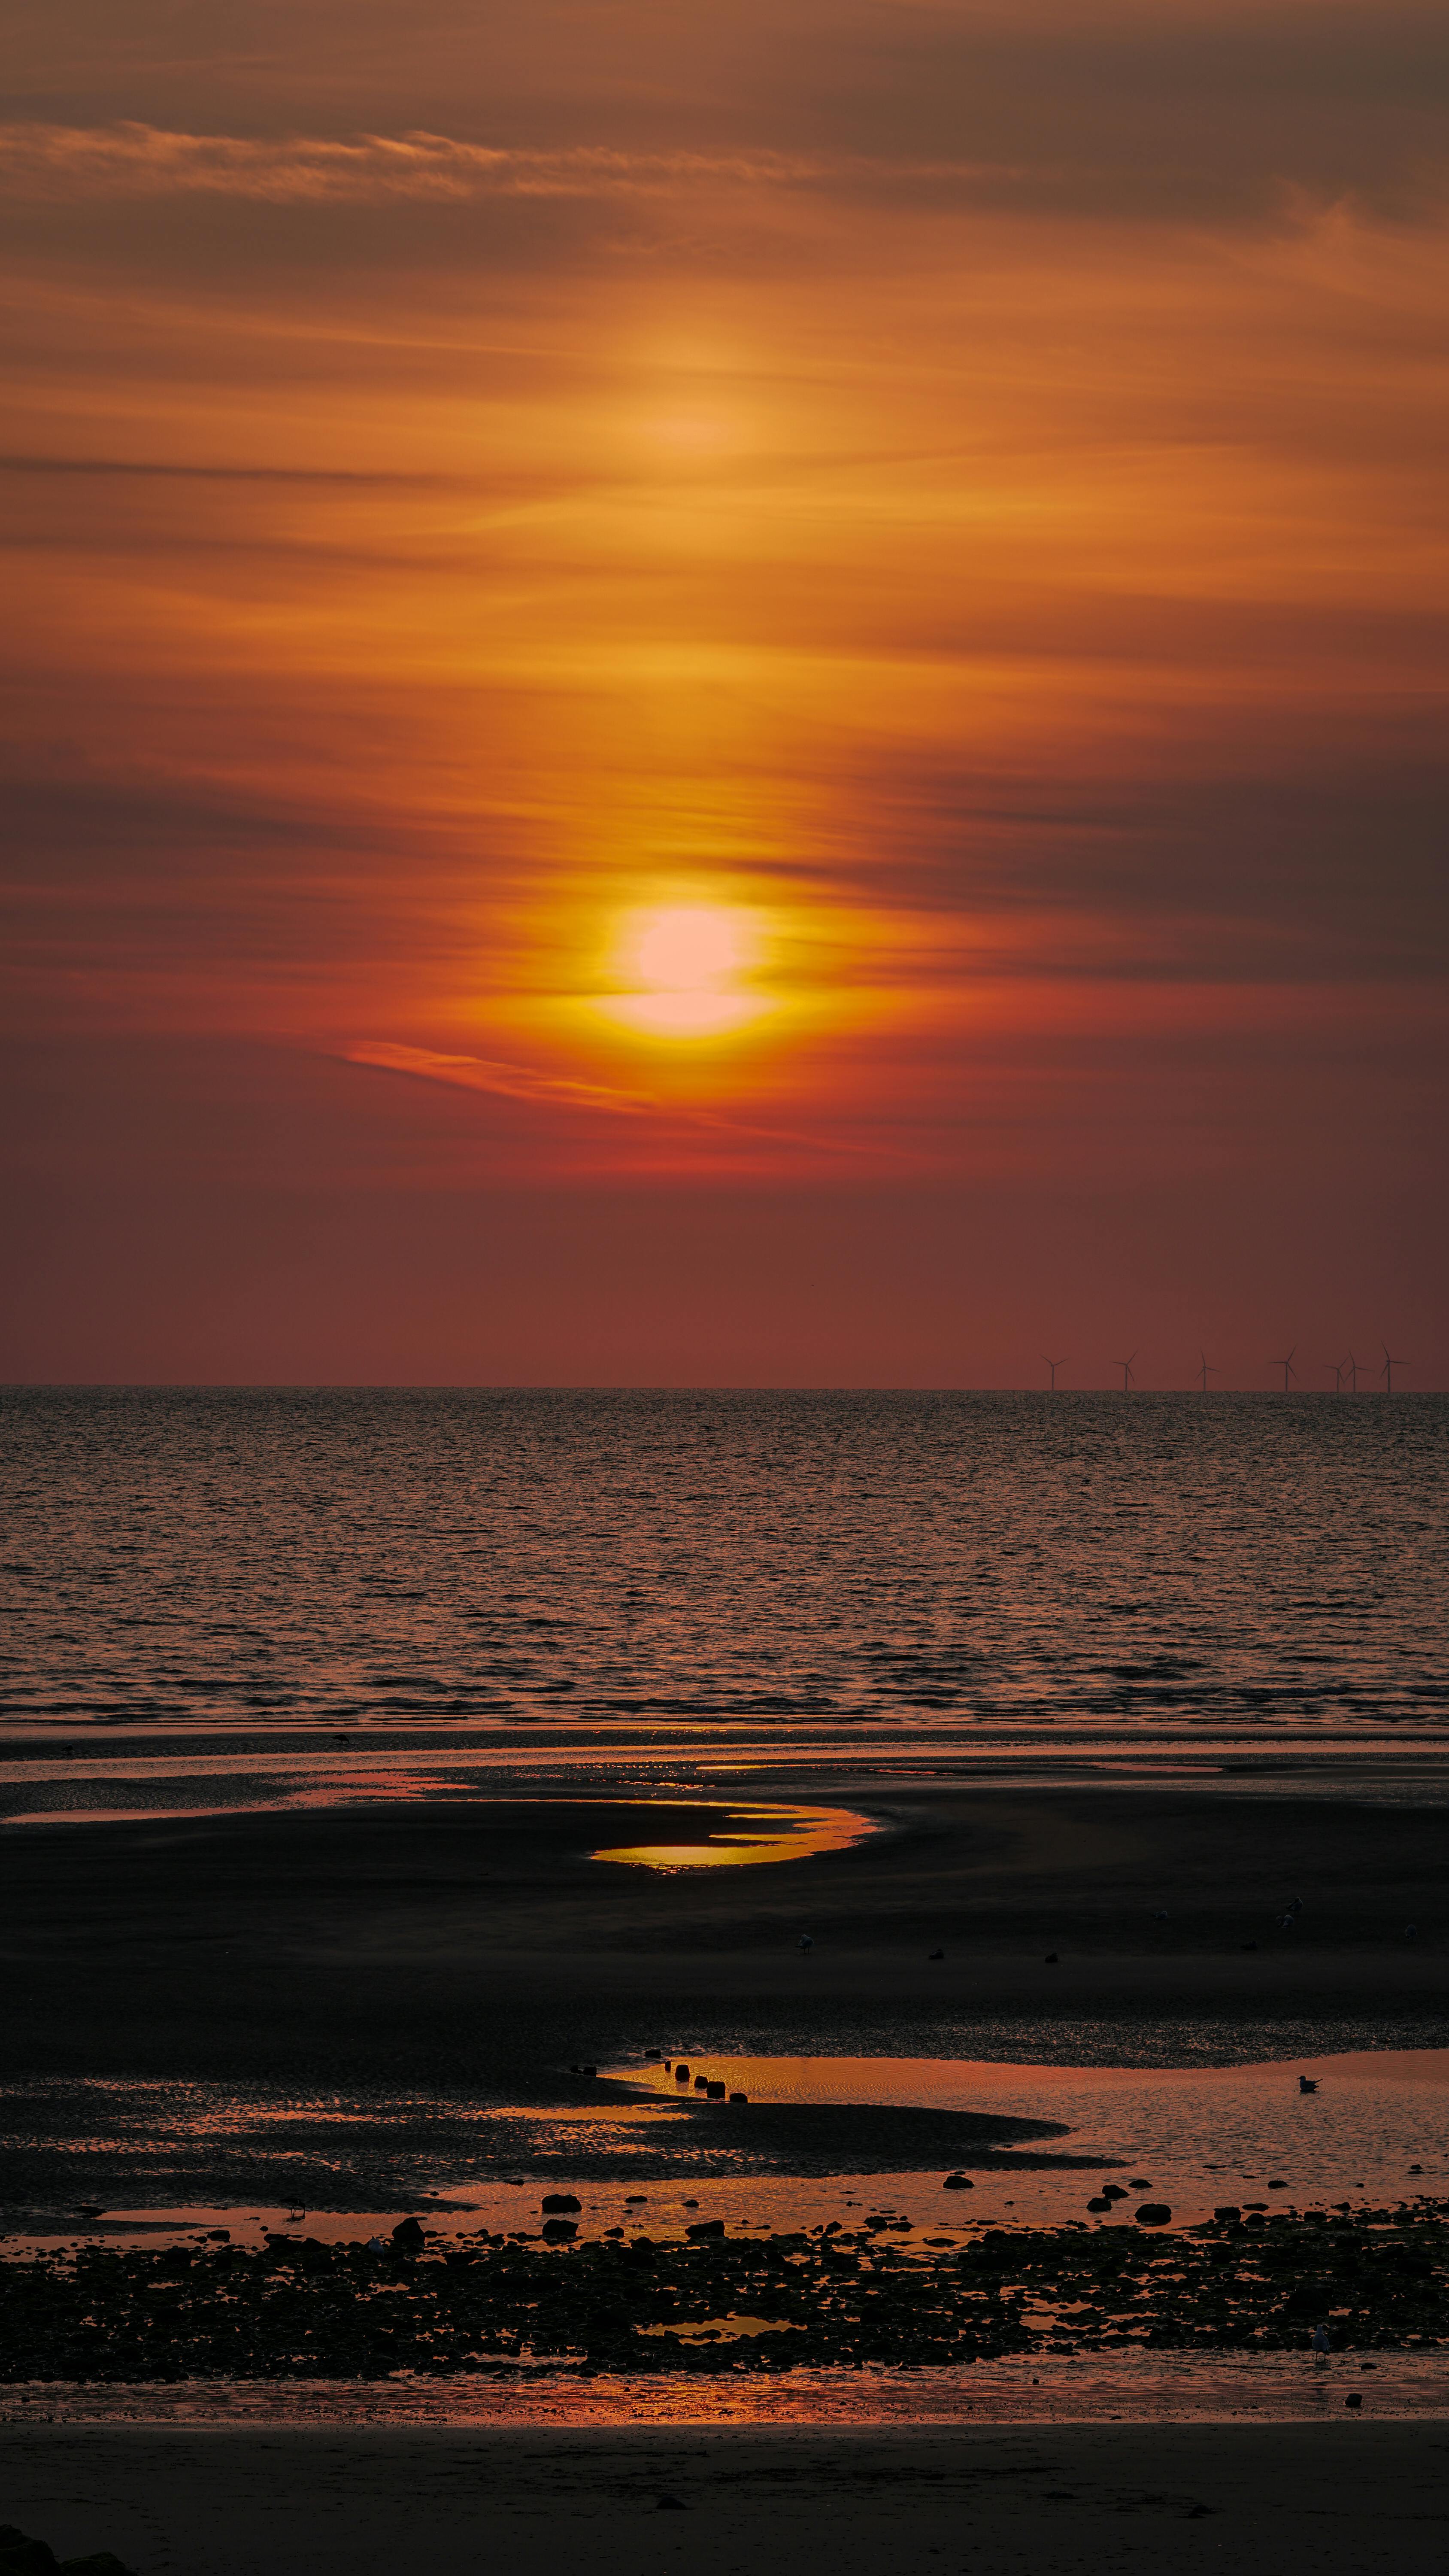
The ending should leave one clear feeling. That might be peace, wonder, fun, or even hunger if the reel focuses on food. Keep the story tight so viewers never feel lost.
- 0 to 5 seconds: Start with your strongest image.
- 5 to 15 seconds: Show the setting and your movement.
- 15 to 25 seconds: Add details, people, or quick cutaways.
- 25 to 30 seconds: End with a final photo or short clip.
So, how do you turn travel photos into a 30-second reel? Use fewer images, keep the pace brisk, and stay focused on one story. That is the cleanest way to make short content that feels complete.
Make Better Photo-to-Video Edits with Simple Timing and Cuts
Editing is where your reel starts to feel refined. Modern tools make this much easier than before. You can move the playhead to a cut point, split the clip, remove what you do not need, and close gaps quickly.
This matters because short reels need tight pacing. Long pauses can send viewers away. Short scenes and clean transitions help your travel reel stay smooth.

Easy steps to edit faster
First, trim your clips down to the strongest moments. Next, arrange the shots so the story feels natural. Then line up the image changes with the music beat or voice track.
If you are working with still photos, add gentle motion to each one. A slow zoom on a market photo can feel lively. A slight pan across a sunset can also create movement without needing more video.
- Trim each clip to one clear idea.
- Remove extra space at the start and end.
- Keep scene changes quick and simple.
- Use the same color tone across the reel.
- Let the music or voice guide the rhythm.
However, avoid piling on effects. Too many transitions can pull attention away from the trip itself. Simple edits often look stronger and feel more authentic.
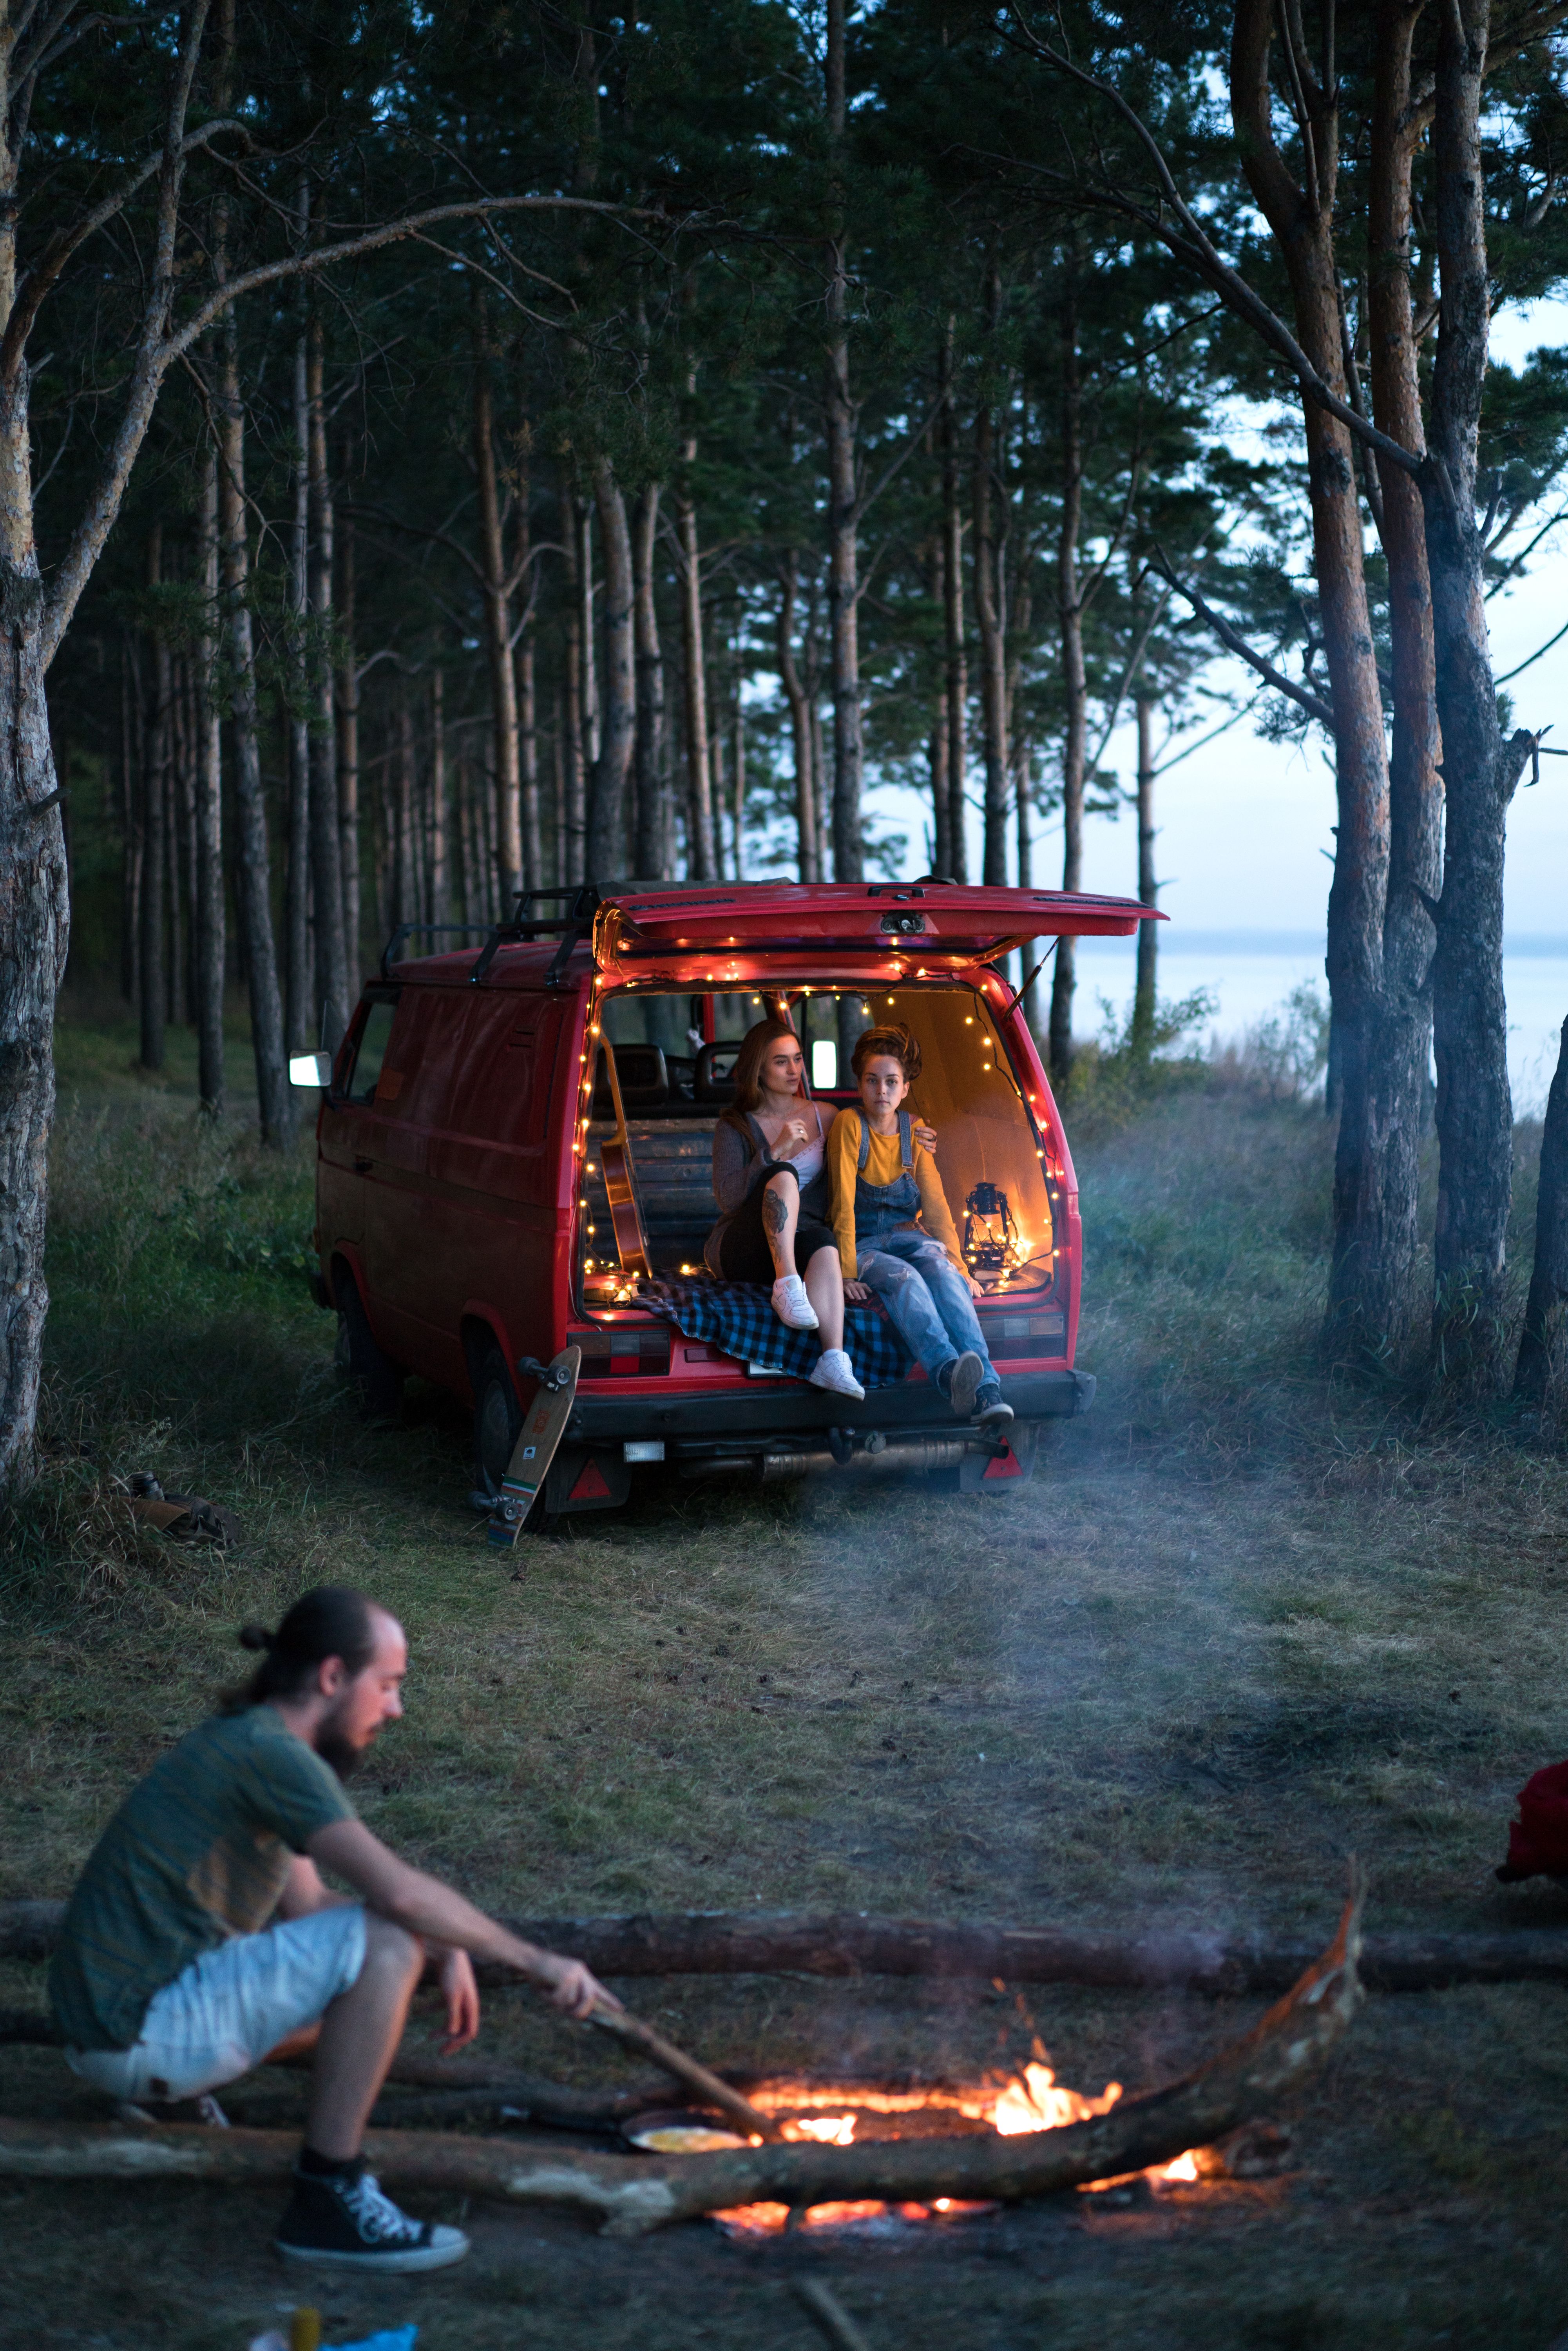
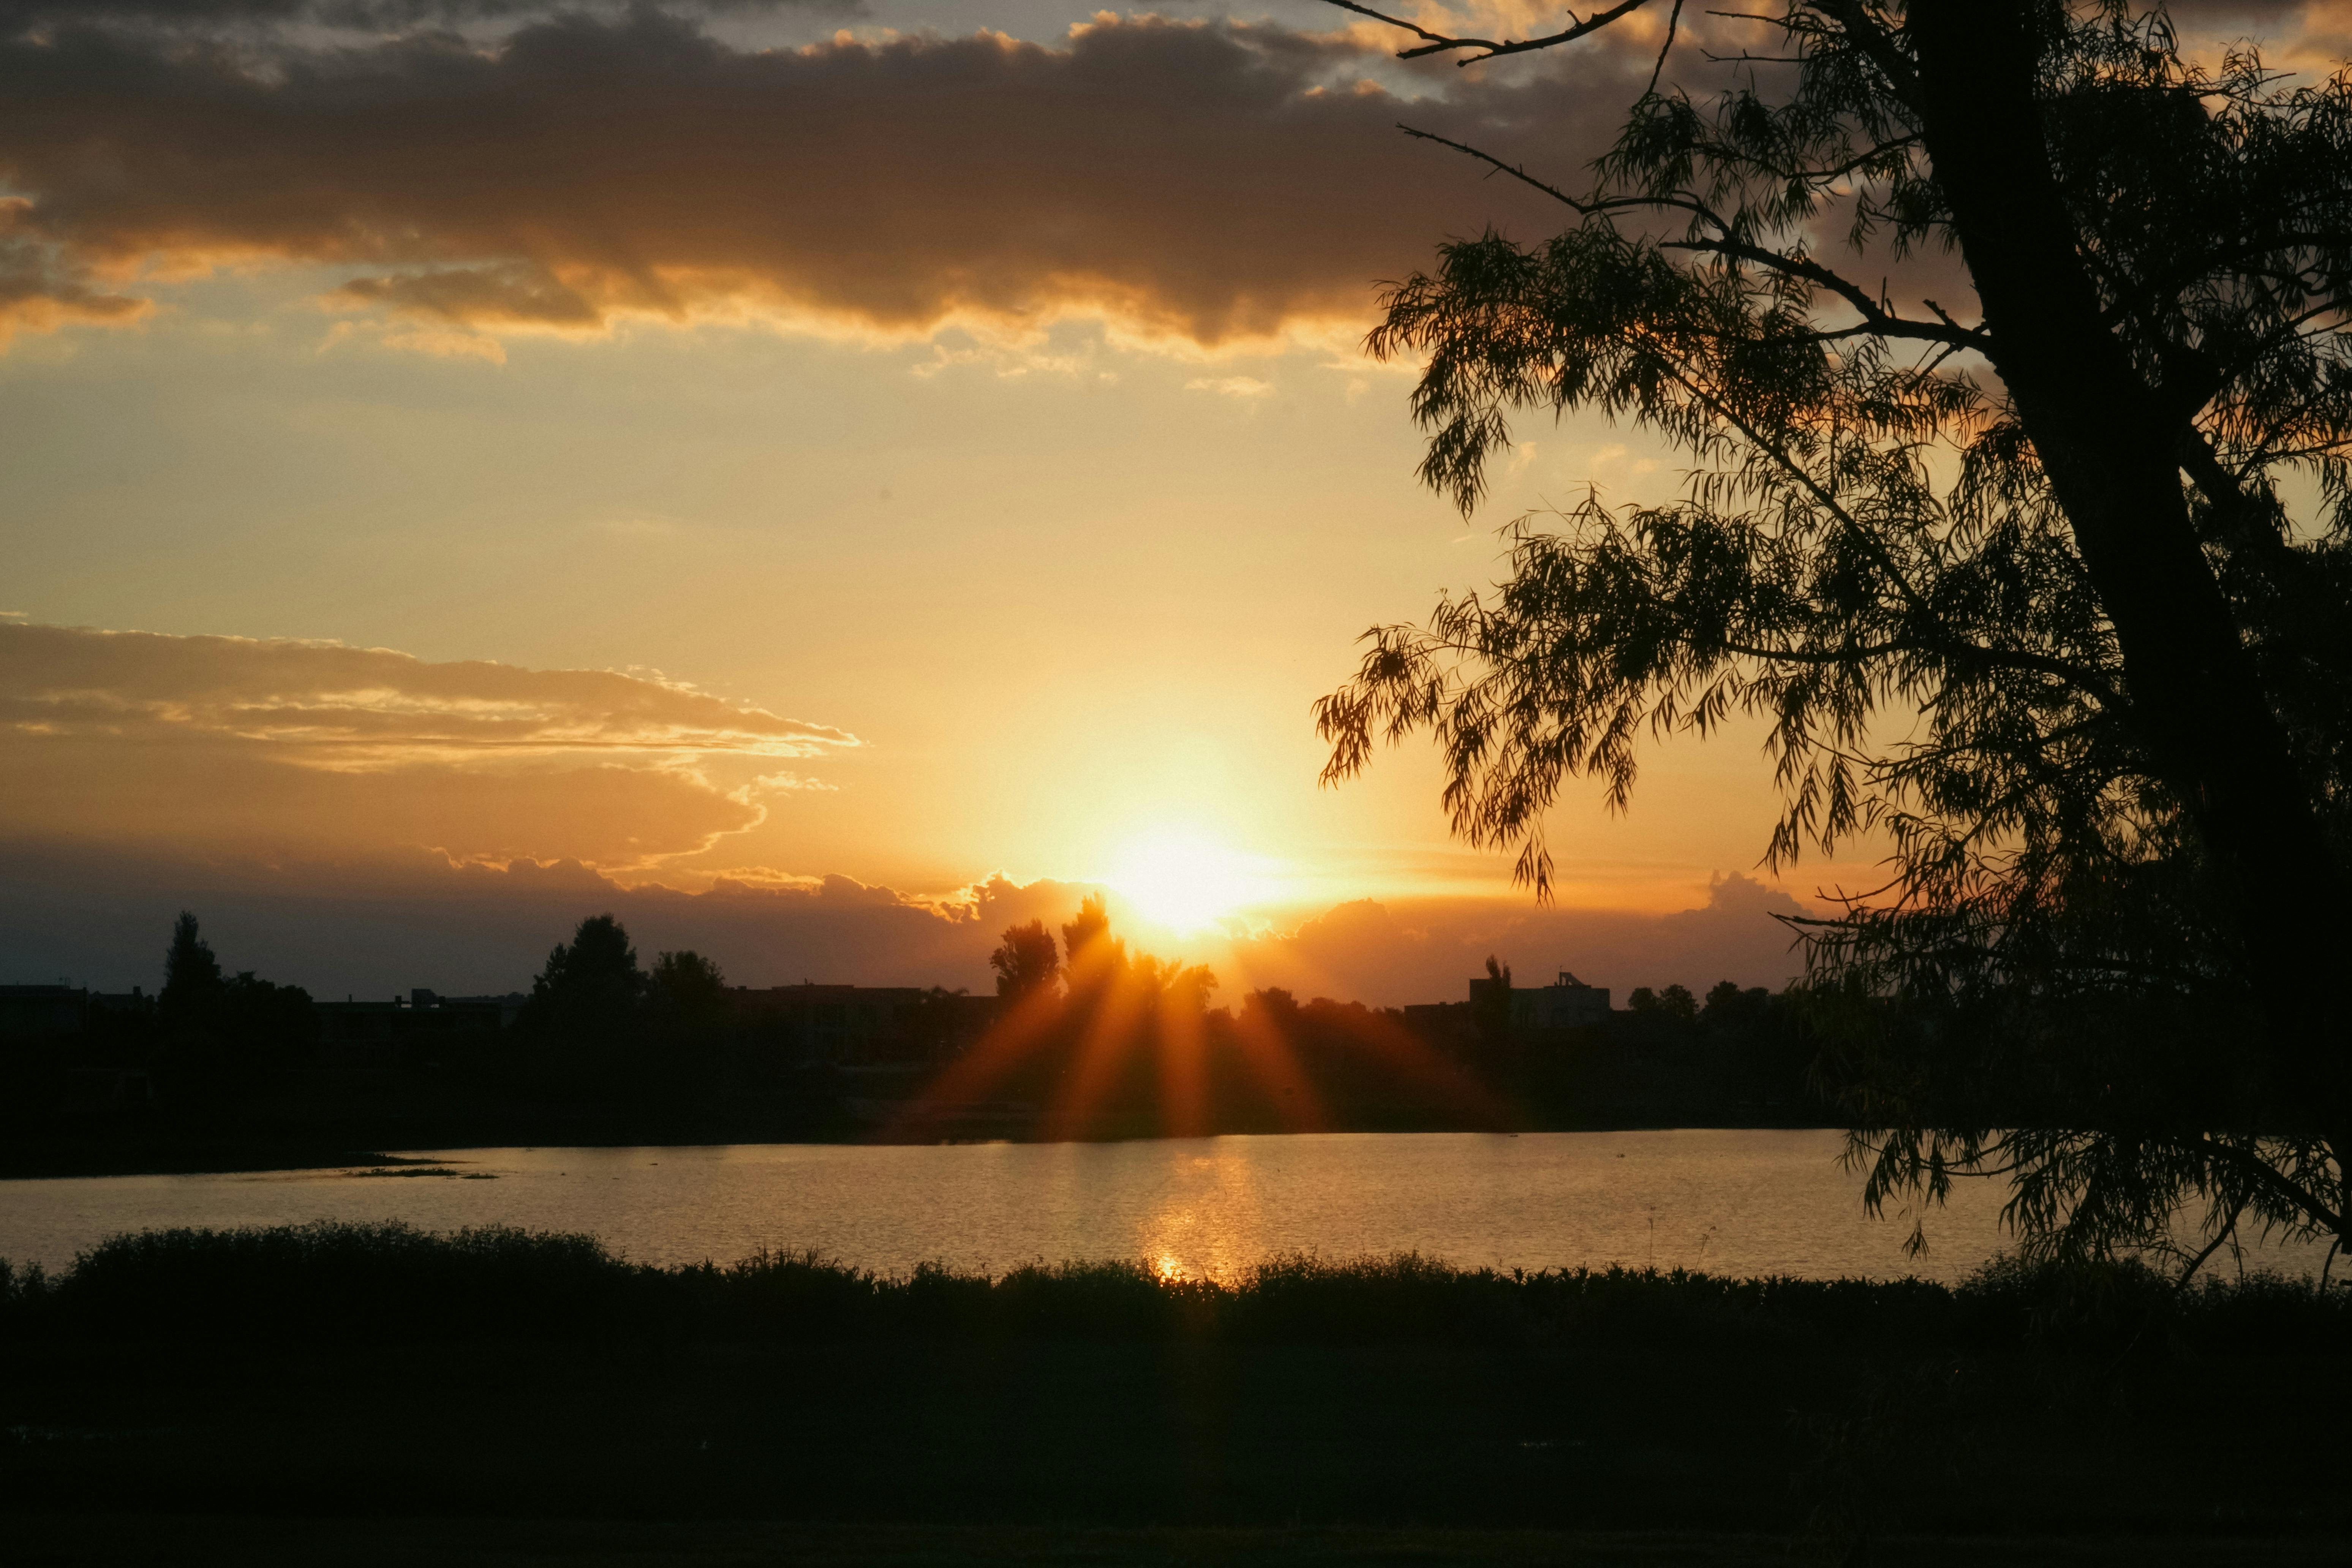
Make Summer Evening Travel Shots Feel Warm and Alive
Long summer evenings give you soft light and rich color. That is excellent for travel reels. Golden light can make streets, water, and faces look warm and calm.
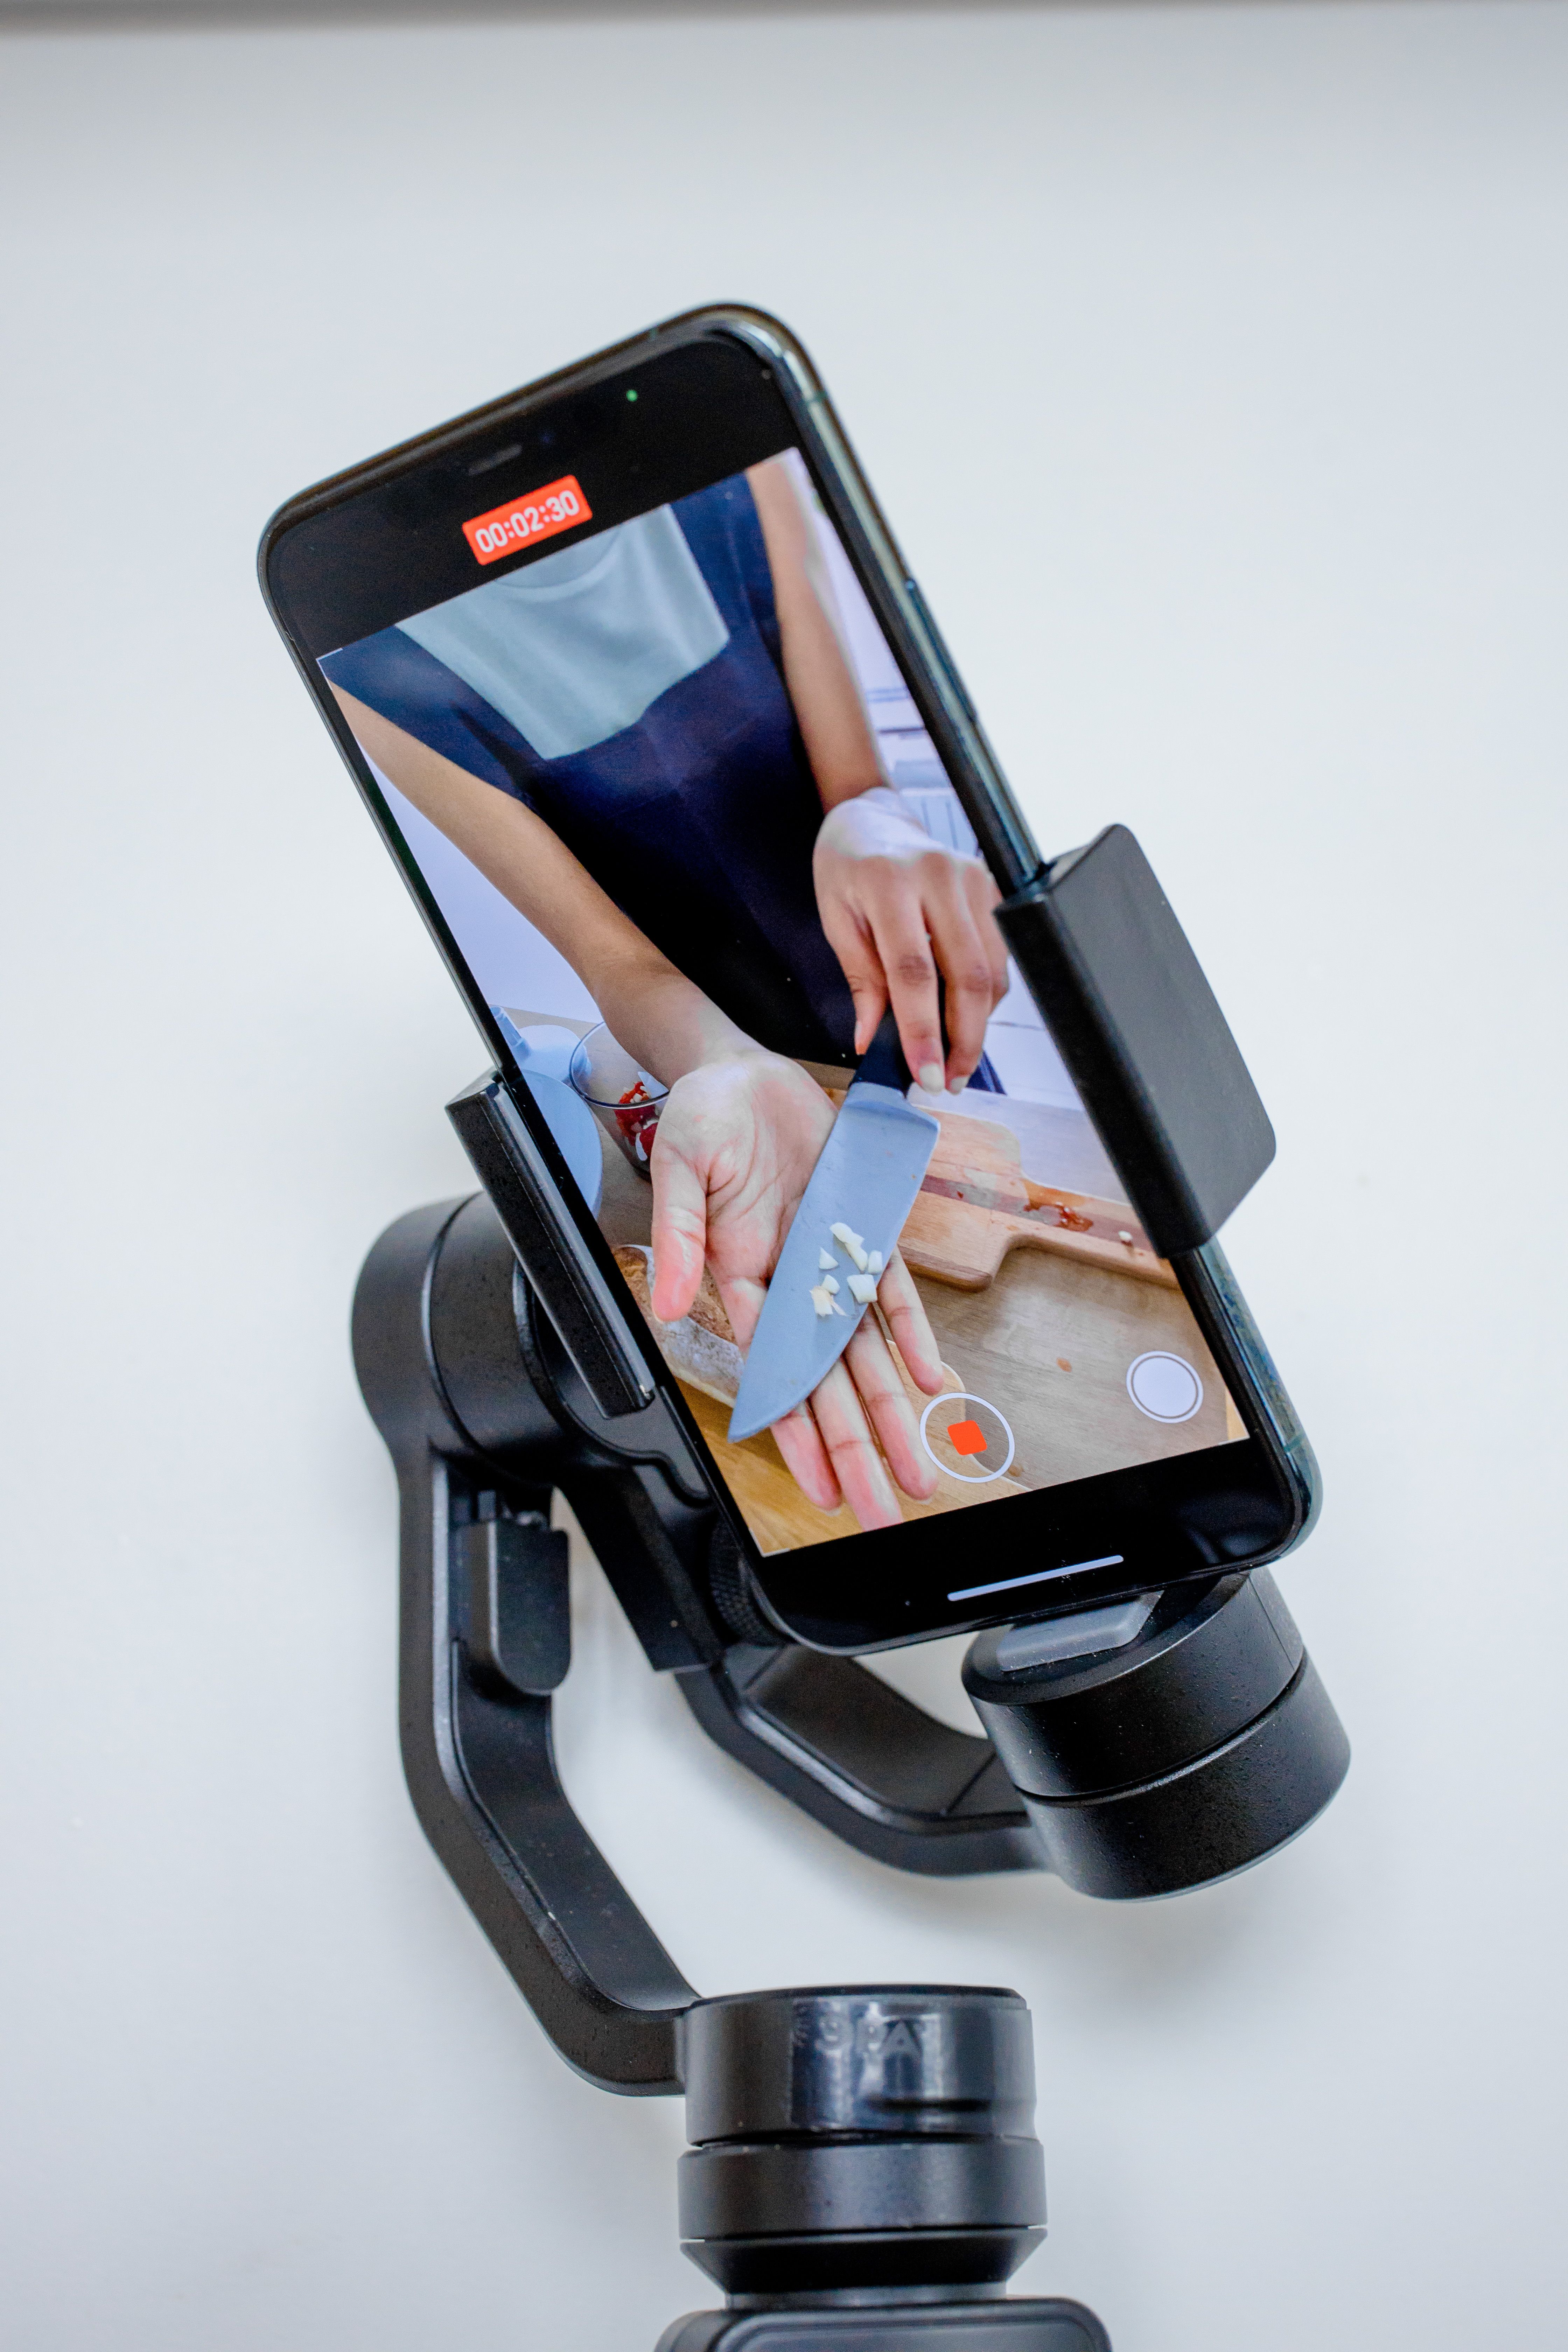
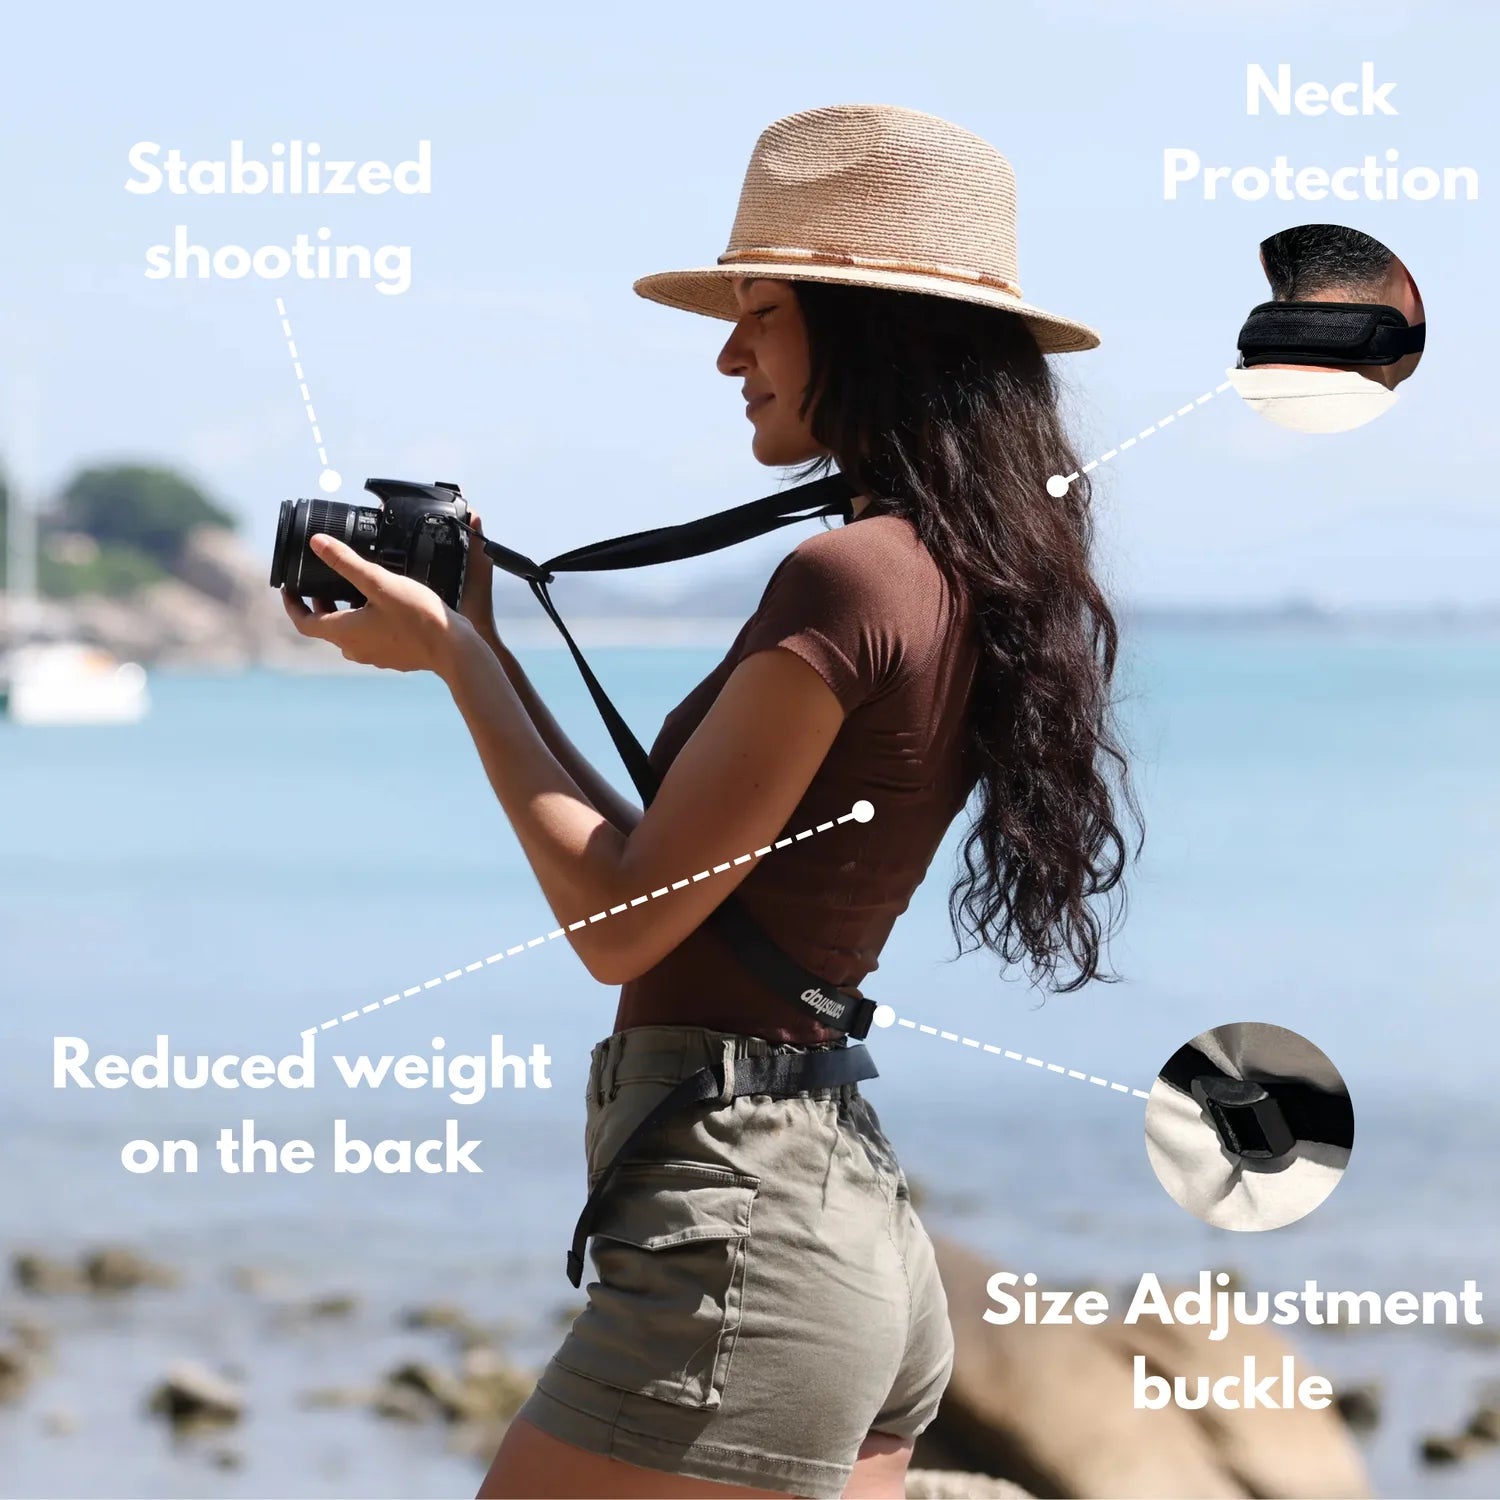
Try shooting during the last hour before sunset and into blue hour. The light changes quickly, so stay ready. A camera on a sling or neck strap keeps your gear close for fast cutaways.
Why camera carry choice matters for reels
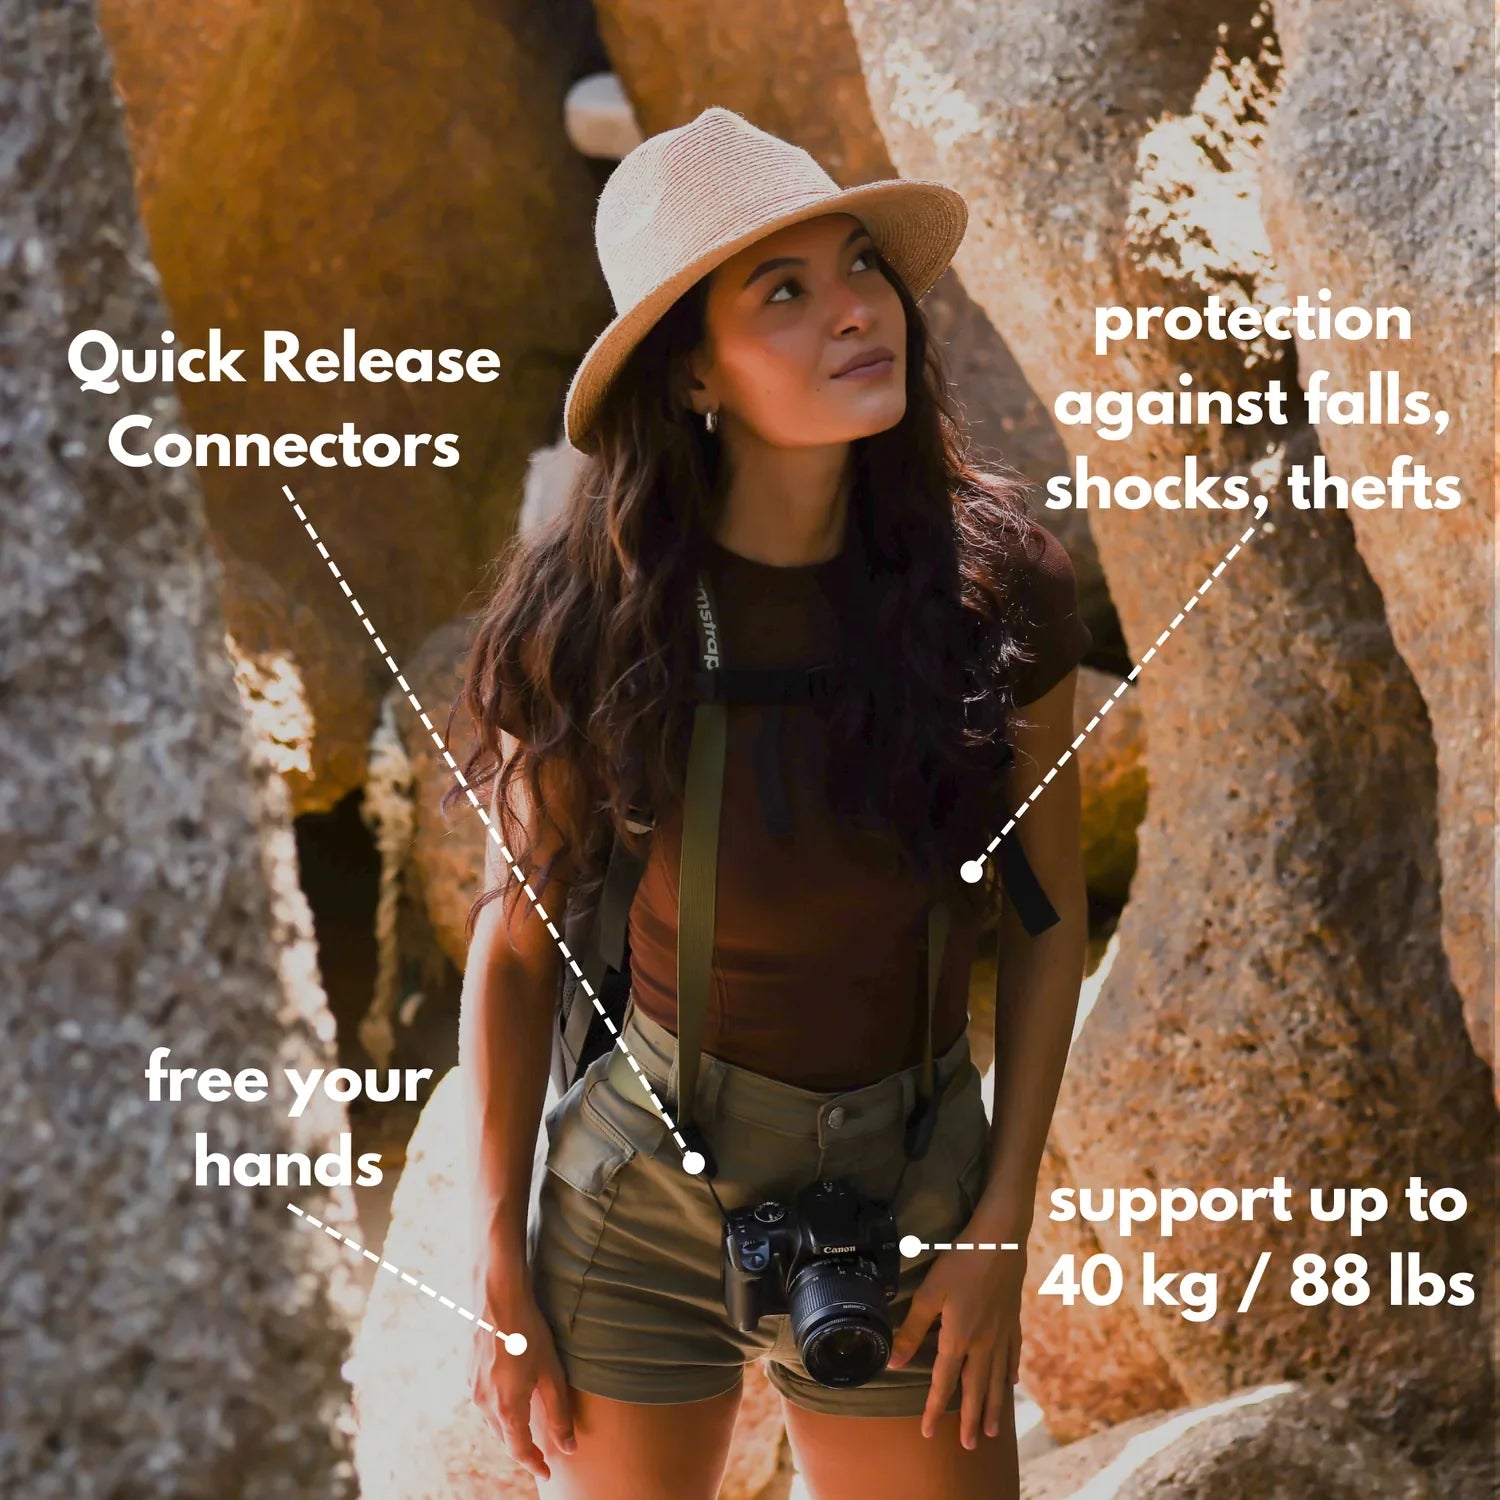
When you move between photos and video, fast access helps. A discreet carry setup lets you switch modes without missing a moment. Camstrap can be one option here, since it keeps the camera close and ready.
For example, the Camstrap Voyager may suit travelers who want a simple carry choice for city walks. The Camstrap Explorer can fit outdoor use when you need a more secure hold. The Camstrap Nomad and Camstrap MagClip can also work as lightweight options for people who want quick access.
This is not about gear for the sake of gear. It is about making short cutaways, quick portraits, and small scene details easier to capture. Those little shots often make a reel feel complete.
Make Travel Photos Move with AI, Voice, and Music
AI tools can save time when you want to build a reel quickly. They can add motion to still photos, assemble a full sequence, and even generate captions. Some tools can also clone your voice for voiceovers, so you can narrate without recording fresh audio.
That can be especially helpful for travel content. You may want to make a reel while on the road, in a hotel, or at the airport. AI can help turn a folder of photos into a finished video with less effort.
Ways AI can help your workflow
AI travel video generators can create a complete 60-second reel in moments from one text prompt. They can also add stock footage, motion, and music. That is useful when you want to produce content quickly and stay consistent.
Even so, AI works best when you direct it well. Give it a clear theme, a location, and a mood. The better your input, the better the output.
- Use one short prompt for the main idea.
- Ask for a calm, fun, or dreamy tone.
- Add your own photos for a personal feel.
- Use voice cloning only if it sounds natural to you.
- Check that the final reel still feels like your trip.
Therefore, AI is a tool, not a substitute. It helps you create more content in less time. But your own eye still gives the reel its meaning.
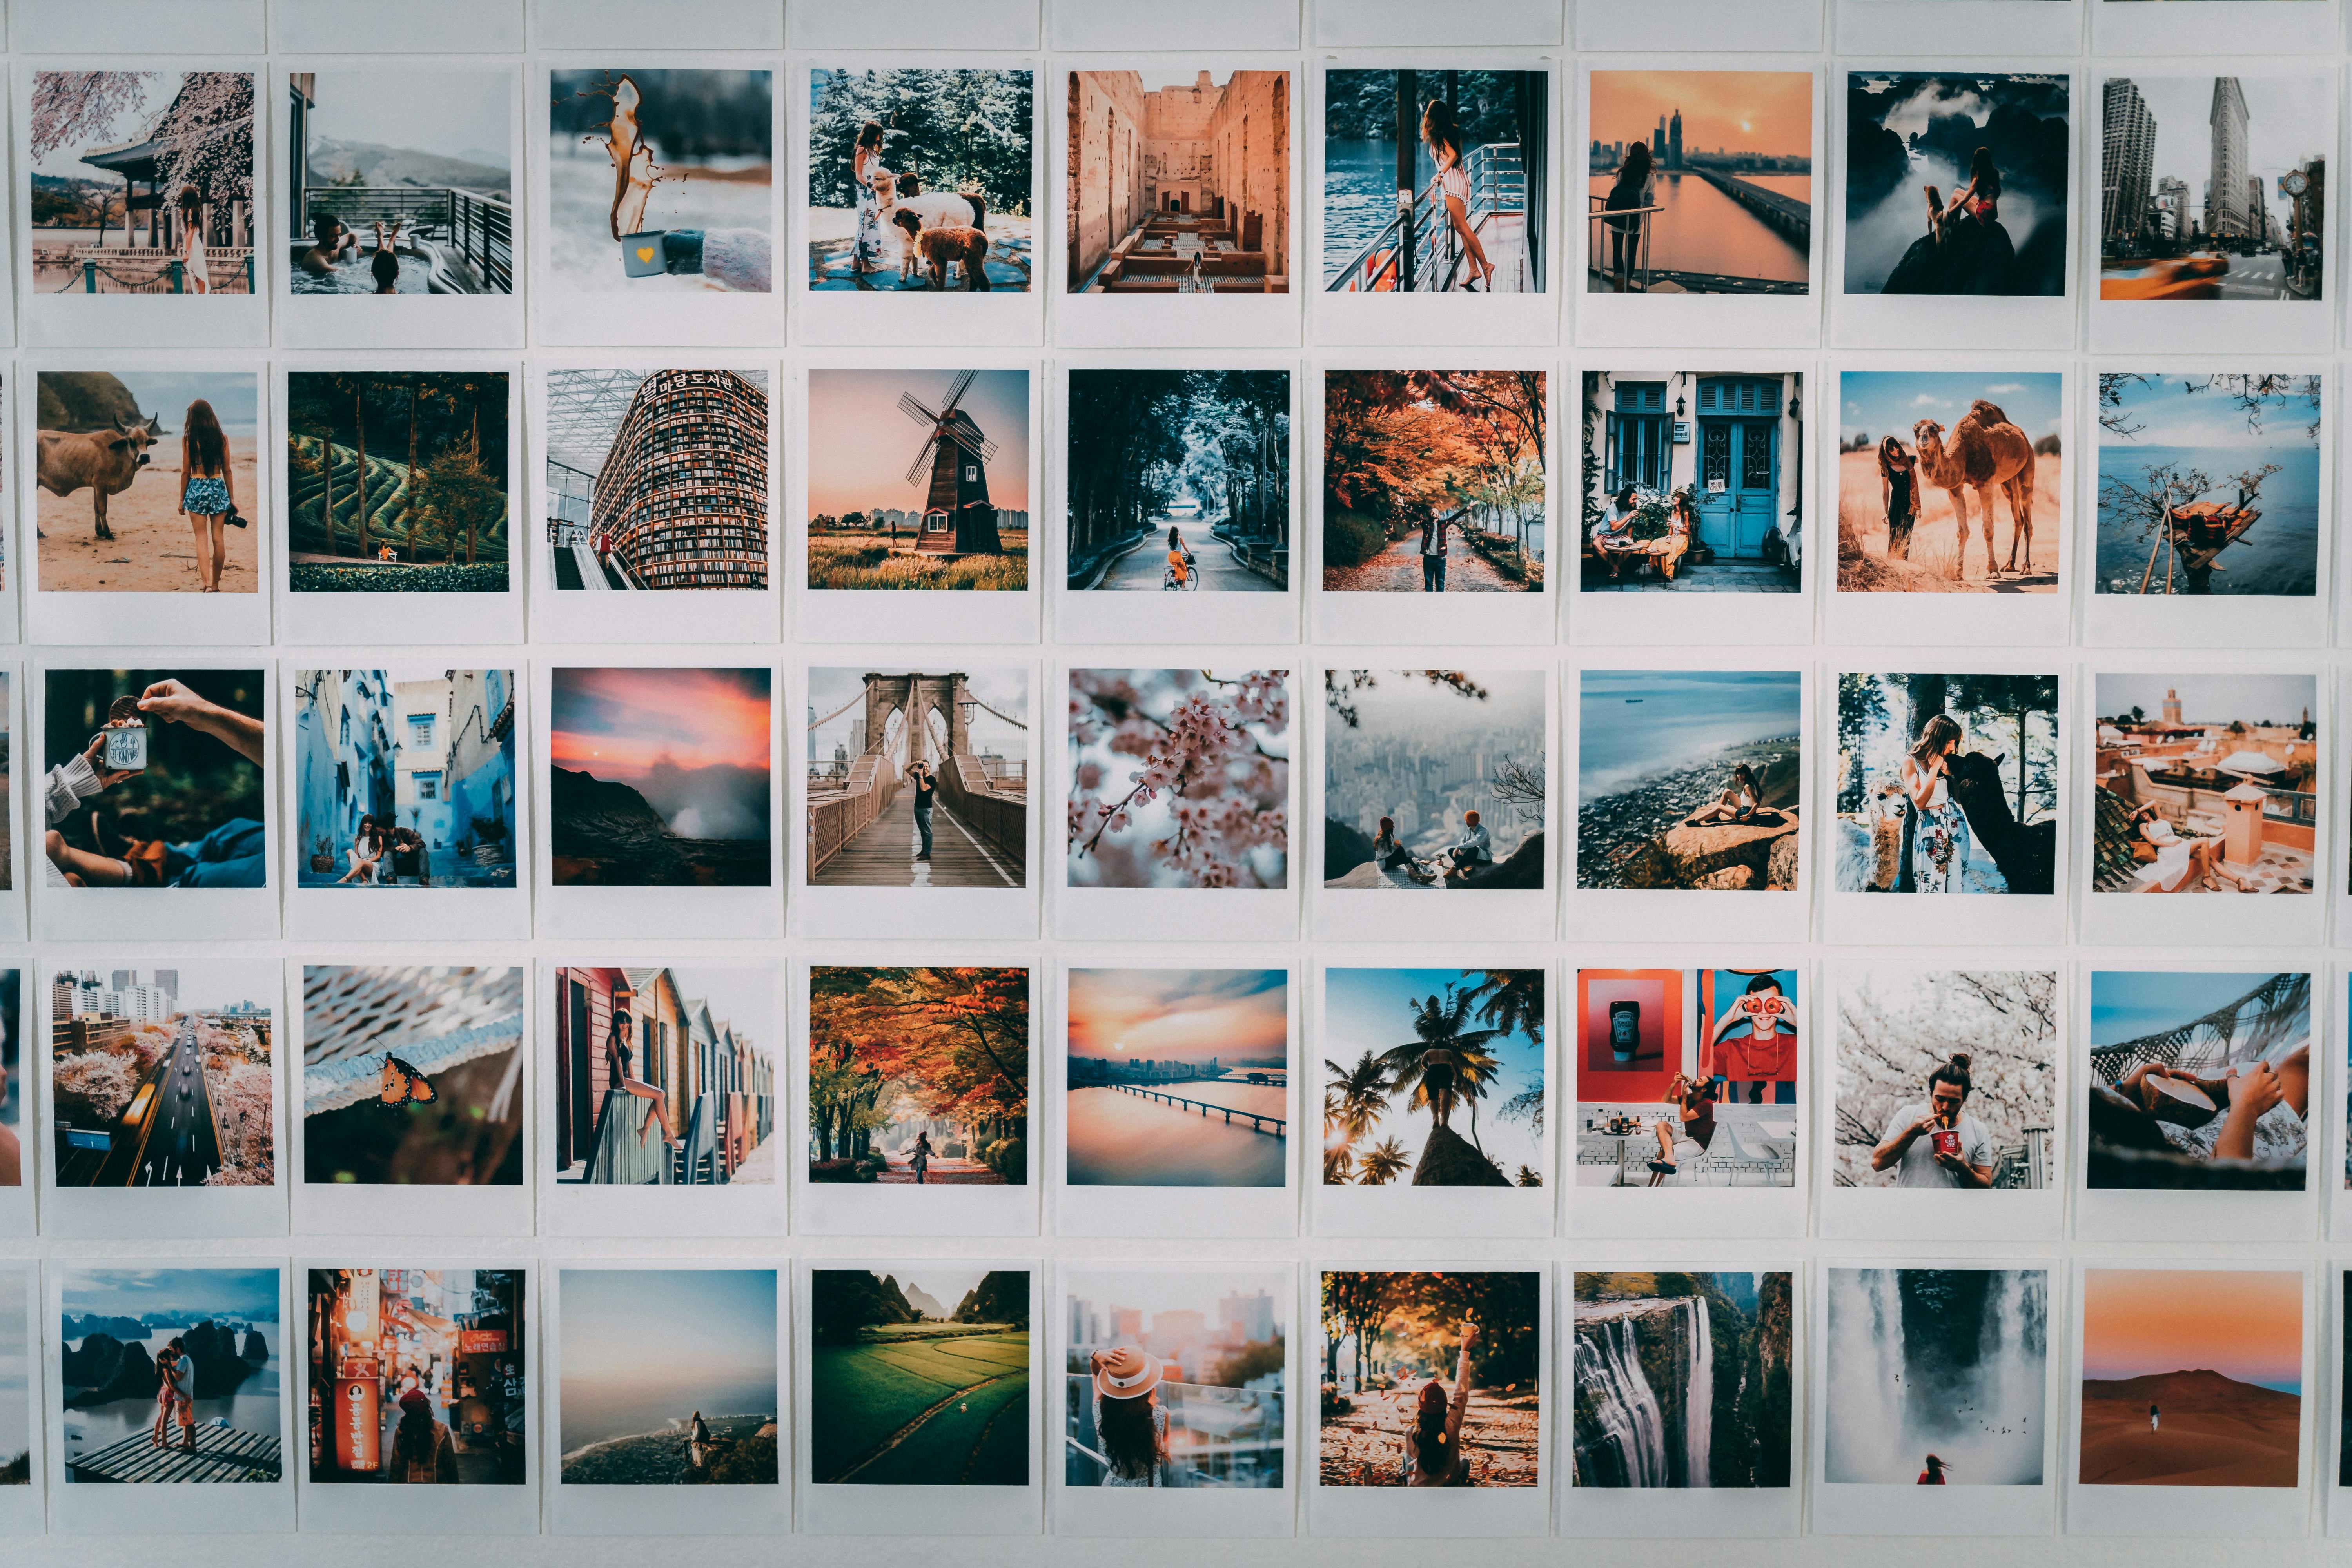
Make a Better Reel by Choosing the Right Shots
The best reels are not filled with random images. They are built from shots that support one idea. That means every photo should earn its place.
For travel photos, mix wide views, medium shots, and close details. A wide shot shows the place. A medium shot shows you in it. A close shot captures texture, food, signs, or hands.
Simple shot types that work well

A 50mm to 85mm lens can help with portraits and small details. An aperture of f/2 to f/2.8 can keep the background soft. If you are shooting people or moving scenes, a shutter speed around 1/500s can keep things sharp.
These numbers are not strict rules. They are helpful starting points. They make it easier to create travel photos that also work well in a reel.
- Wide shot: Show the full scene.
- Medium shot: Show people or action.
- Close shot: Show detail and texture.
- Motion shot: Show walking, waves, trains, or traffic.
Moreover, aim to vary the pace. Follow a wide shot with a close one. Then add a quick clip of motion. That keeps the reel from feeling flat.
Make Short Travel Reels That Feel Ready for Social Media
Before you post, watch the reel on your phone. This step matters because mobile viewing changes everything. Text, timing, and image size all need to work well on a small screen.

Check the first frame first. It should stop the scroll. Then make sure the captions are easy to read and the music does not cover key parts of the story.
A quick pre-post checklist
Use this final check before you share the reel. It can help you catch small mistakes and weak pacing. Small fixes often make a big difference.
- Is the reel in 9:16 vertical format?
- Does the first 5 to 10 seconds feel strong?
- Are the photos sharp and bright enough?
- Is the story easy to follow?
- Do the cuts feel clean and simple?
- Does the ending feel complete?
Finally, write a short caption that fits the reel. Keep it simple. A clear line like “Summer light in Lisbon” or “A quiet evening in Kyoto” can support the video without pulling focus away from it.
Make Short Travel Reels During Long Summer Evenings with Confidence
You do not need a perfect shoot to make a strong reel. You need a clear plan, the right format, and a focused edit. When you make short travel reels from photos, you can turn a calm summer evening into something people want to watch.
Remember the basics. Use 9:16 vertical format. Shoot at 24 FPS for a cinematic look. Use 60 FPS or higher for slow motion. And hook viewers quickly, because the first few seconds matter most.
With a simple workflow, you can create more content with less stress. You can also move more quickly between photos and video when your camera stays ready on a strap or clip system. That makes it easier to make better reels on the go.
So if you want travel content that feels fresh, start small. Pick one story, choose your best images, and build from there. With practice, you will make short reels that look polished and feel true to the trip.
Frequently Asked Questions
How do I turn travel photos into a 30-second reel?
Start with one clear concept, then select 8 to 12 strong photos and add 2 or 3 short clips if available. Build a concise edit with slow zooms, quick cuts, or light pans, and end with one striking final image.
What frame rates are best for smooth evening motion?
24 FPS is a solid choice for a cinematic, natural travel look, while 60 FPS works well for smoother motion and slow-motion edits. For very slow motion, shoot at 120 FPS or 240 FPS.
How do I plan shots to tell a short travel story?
Pick one theme, such as a place, mood, or moment, and choose only the strongest photos that support it. Keep the story straightforward, use short clips as transitions, and open with your best shot in the first 5 to 10 seconds.


