
- How do I reduce haze in my landscape photos
- What camera settings work best for mountain scenery
- How should I carry my camera on long hikes
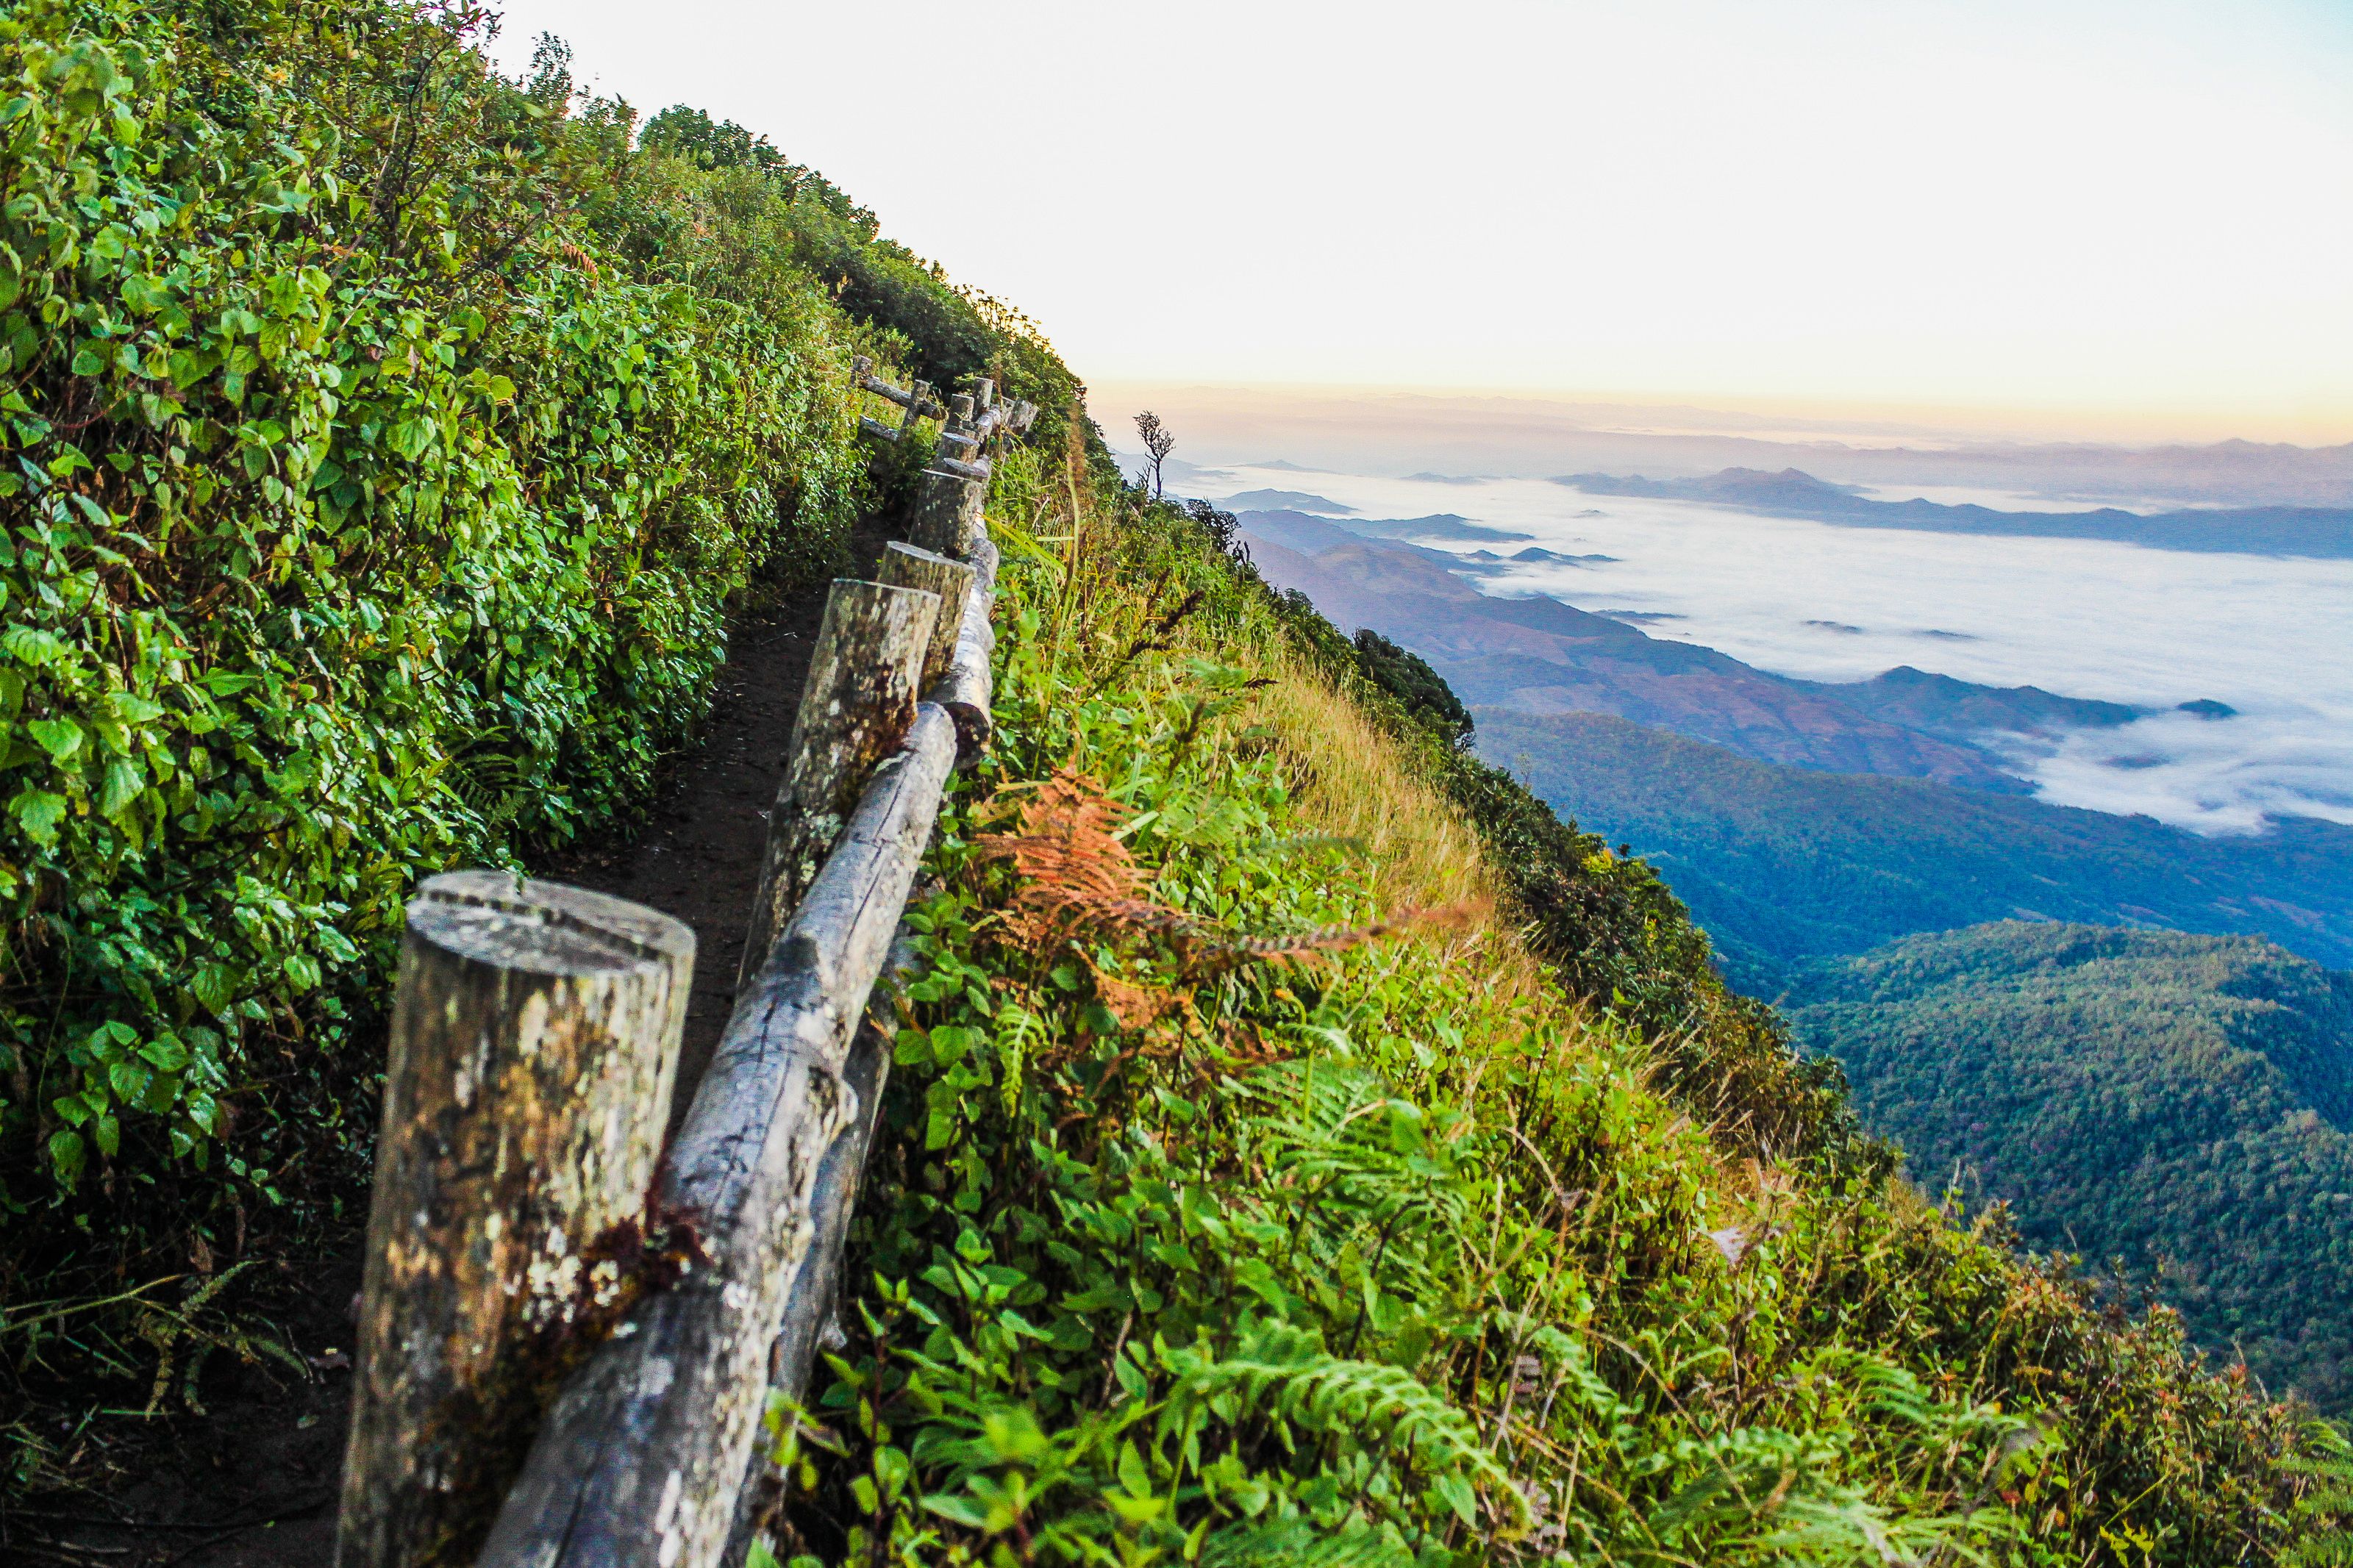
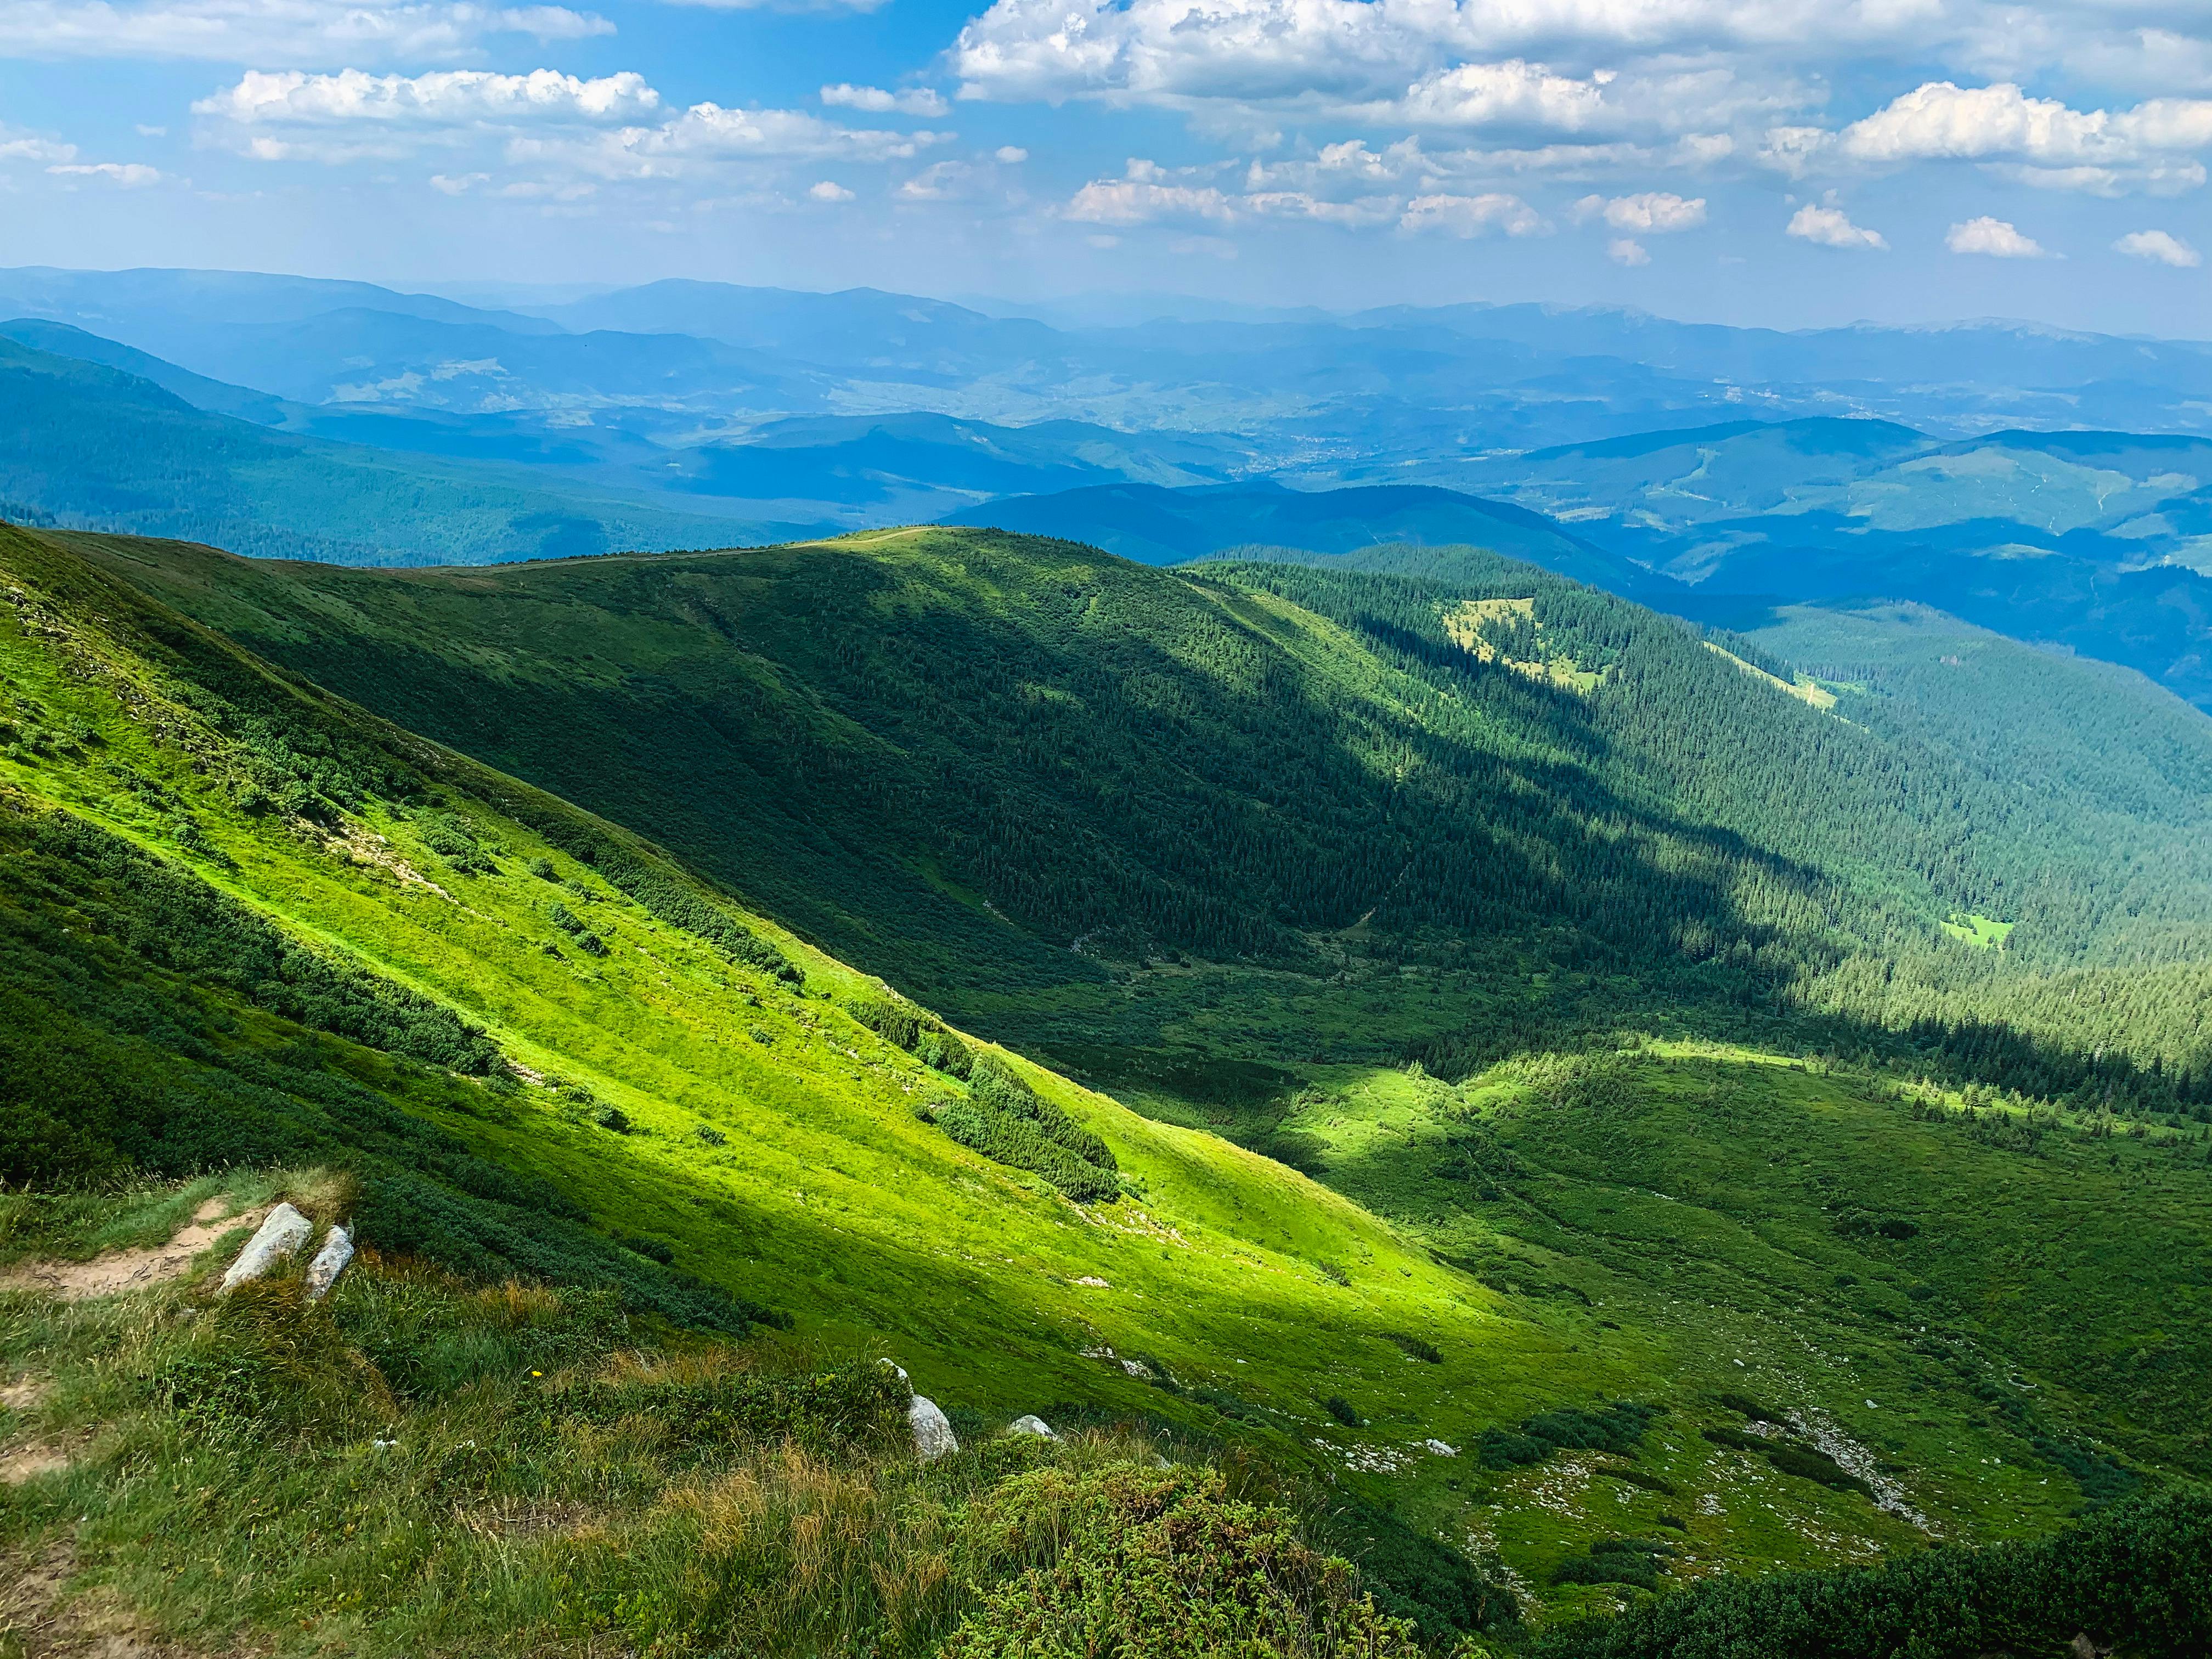
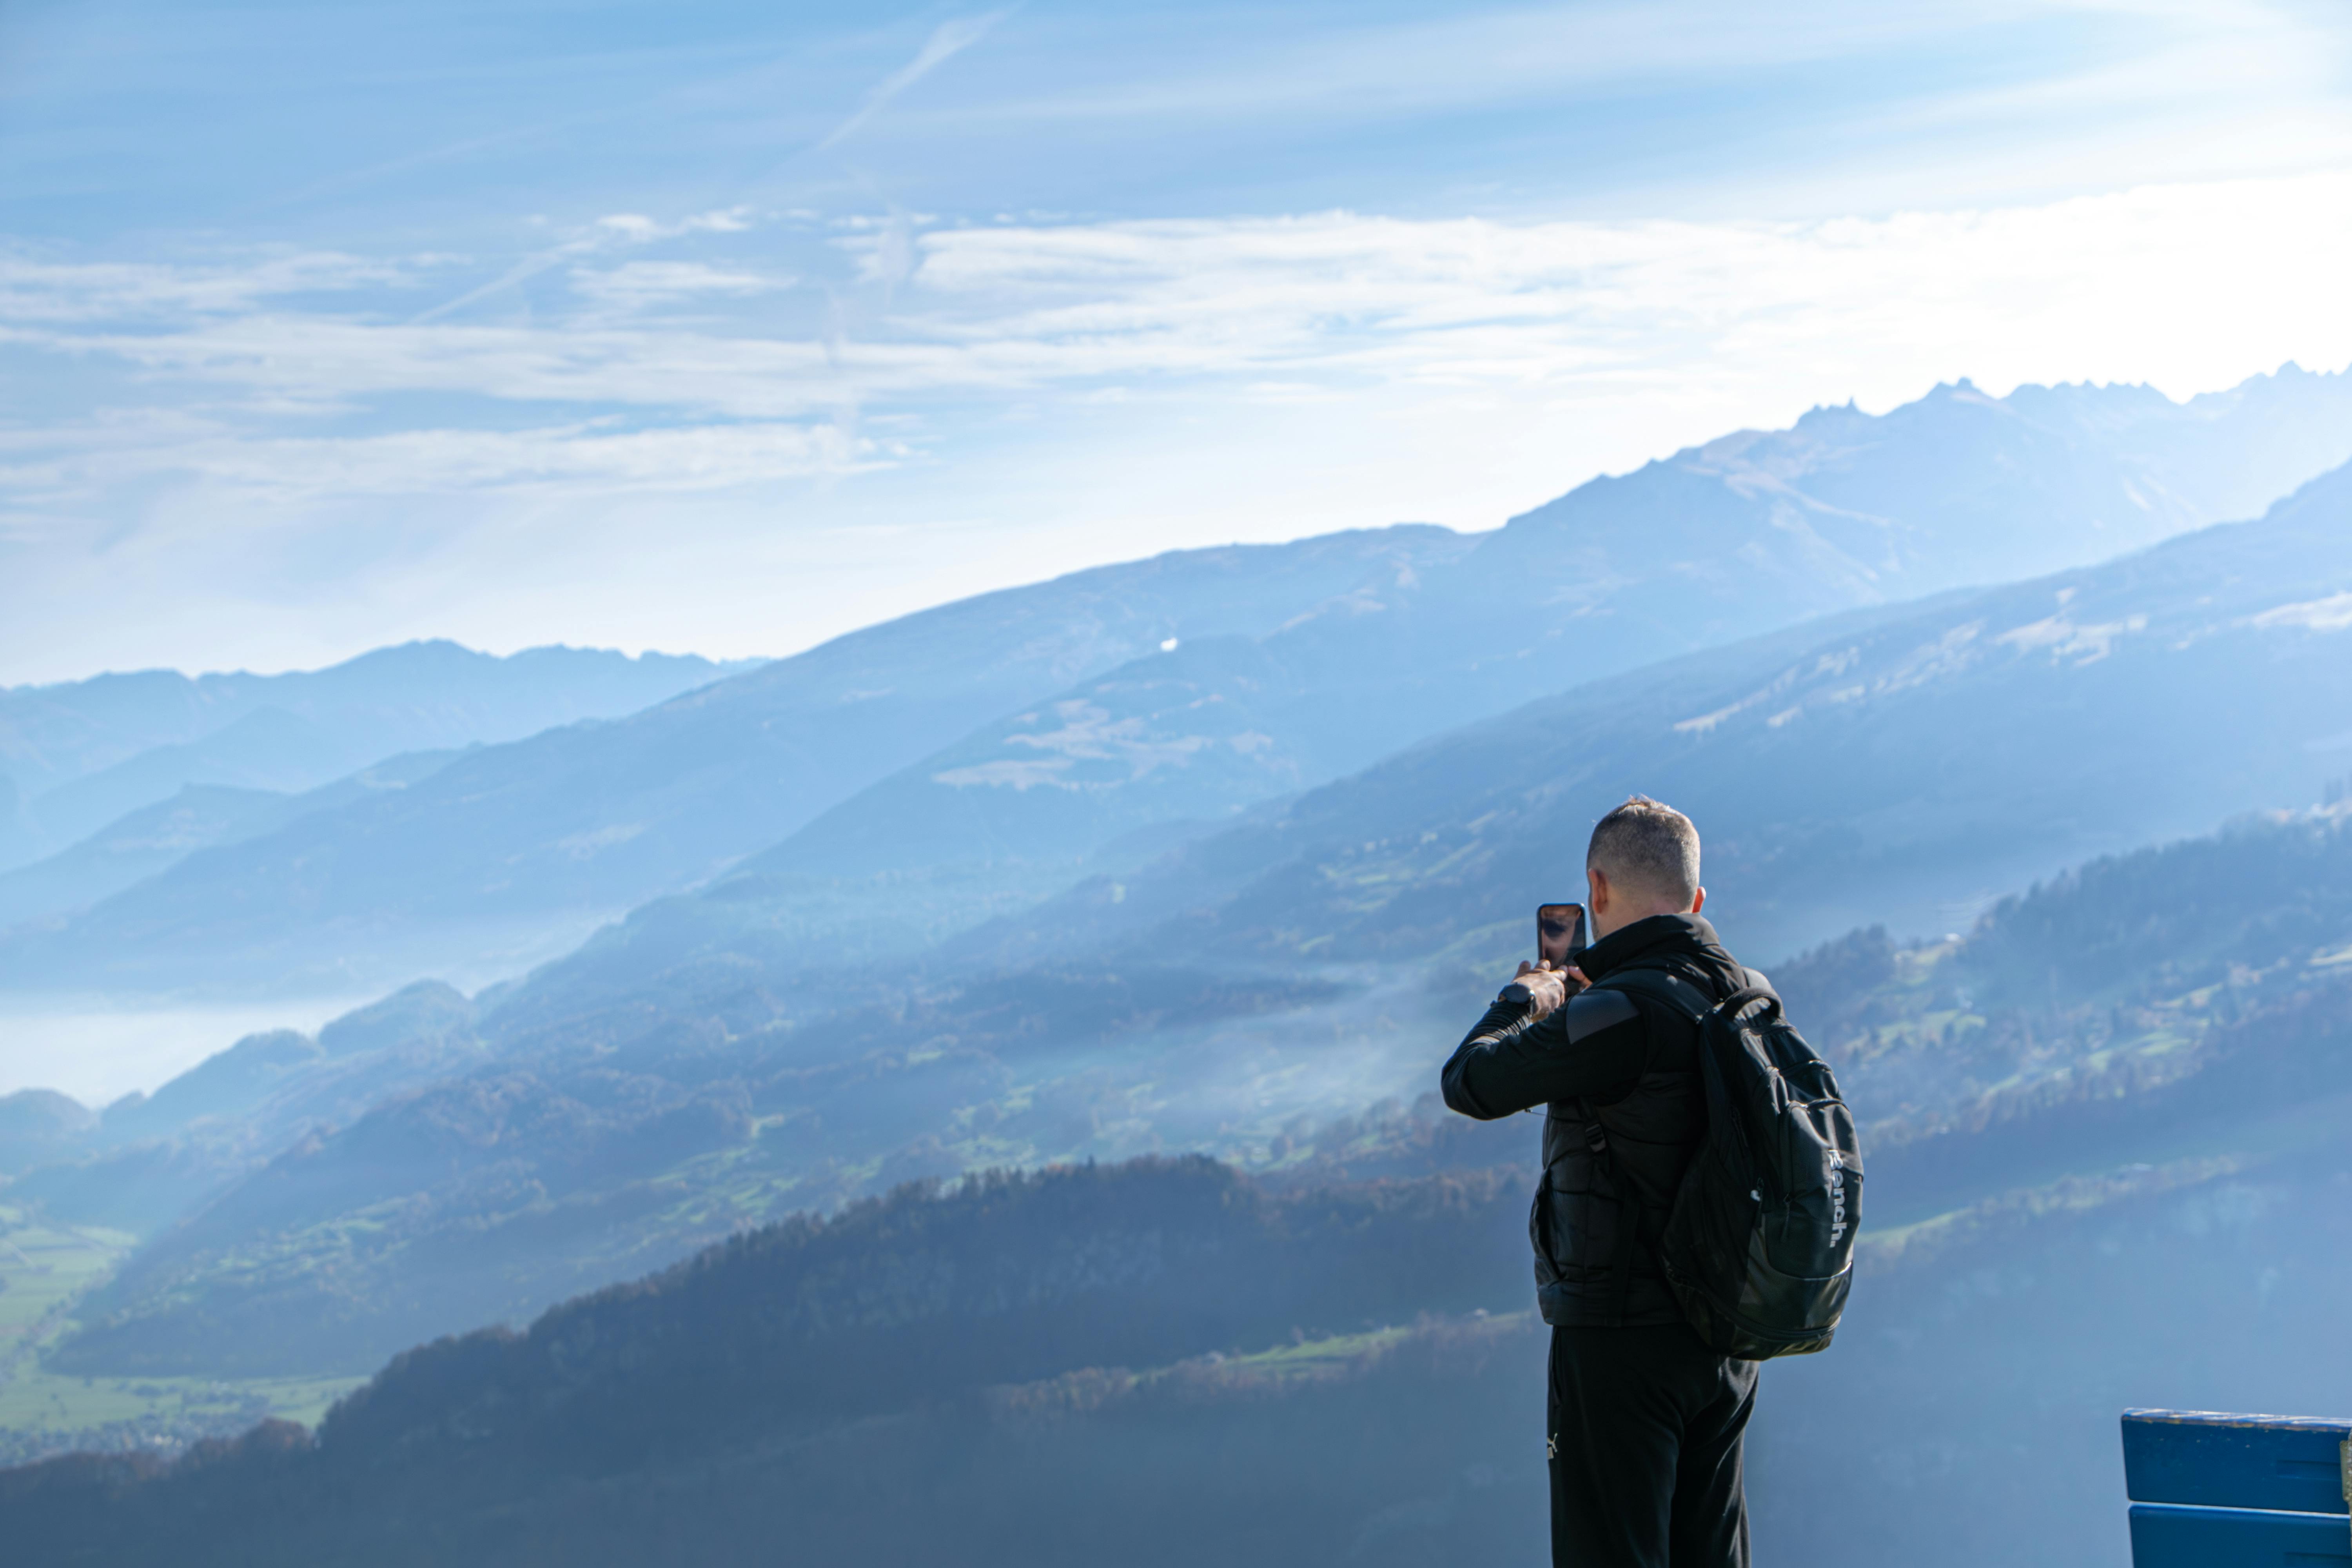
Summer mountain trips can deliver sweeping views, brilliant skies, and challenging photo conditions. Heat, glare, and haze can make it difficult to capture clear mountain-hike landscapes, even on a beautiful trail. The good news is that a few smart decisions can help you produce sharp, rich images.
In this guide, you will learn how to cut haze, pick better camera settings, and carry your gear with less strain. You will also find simple hiking tips that help you stay cooler and make the most of the best light. As a result, you can spend less time battling the weather and more time creating strong landscape photos.
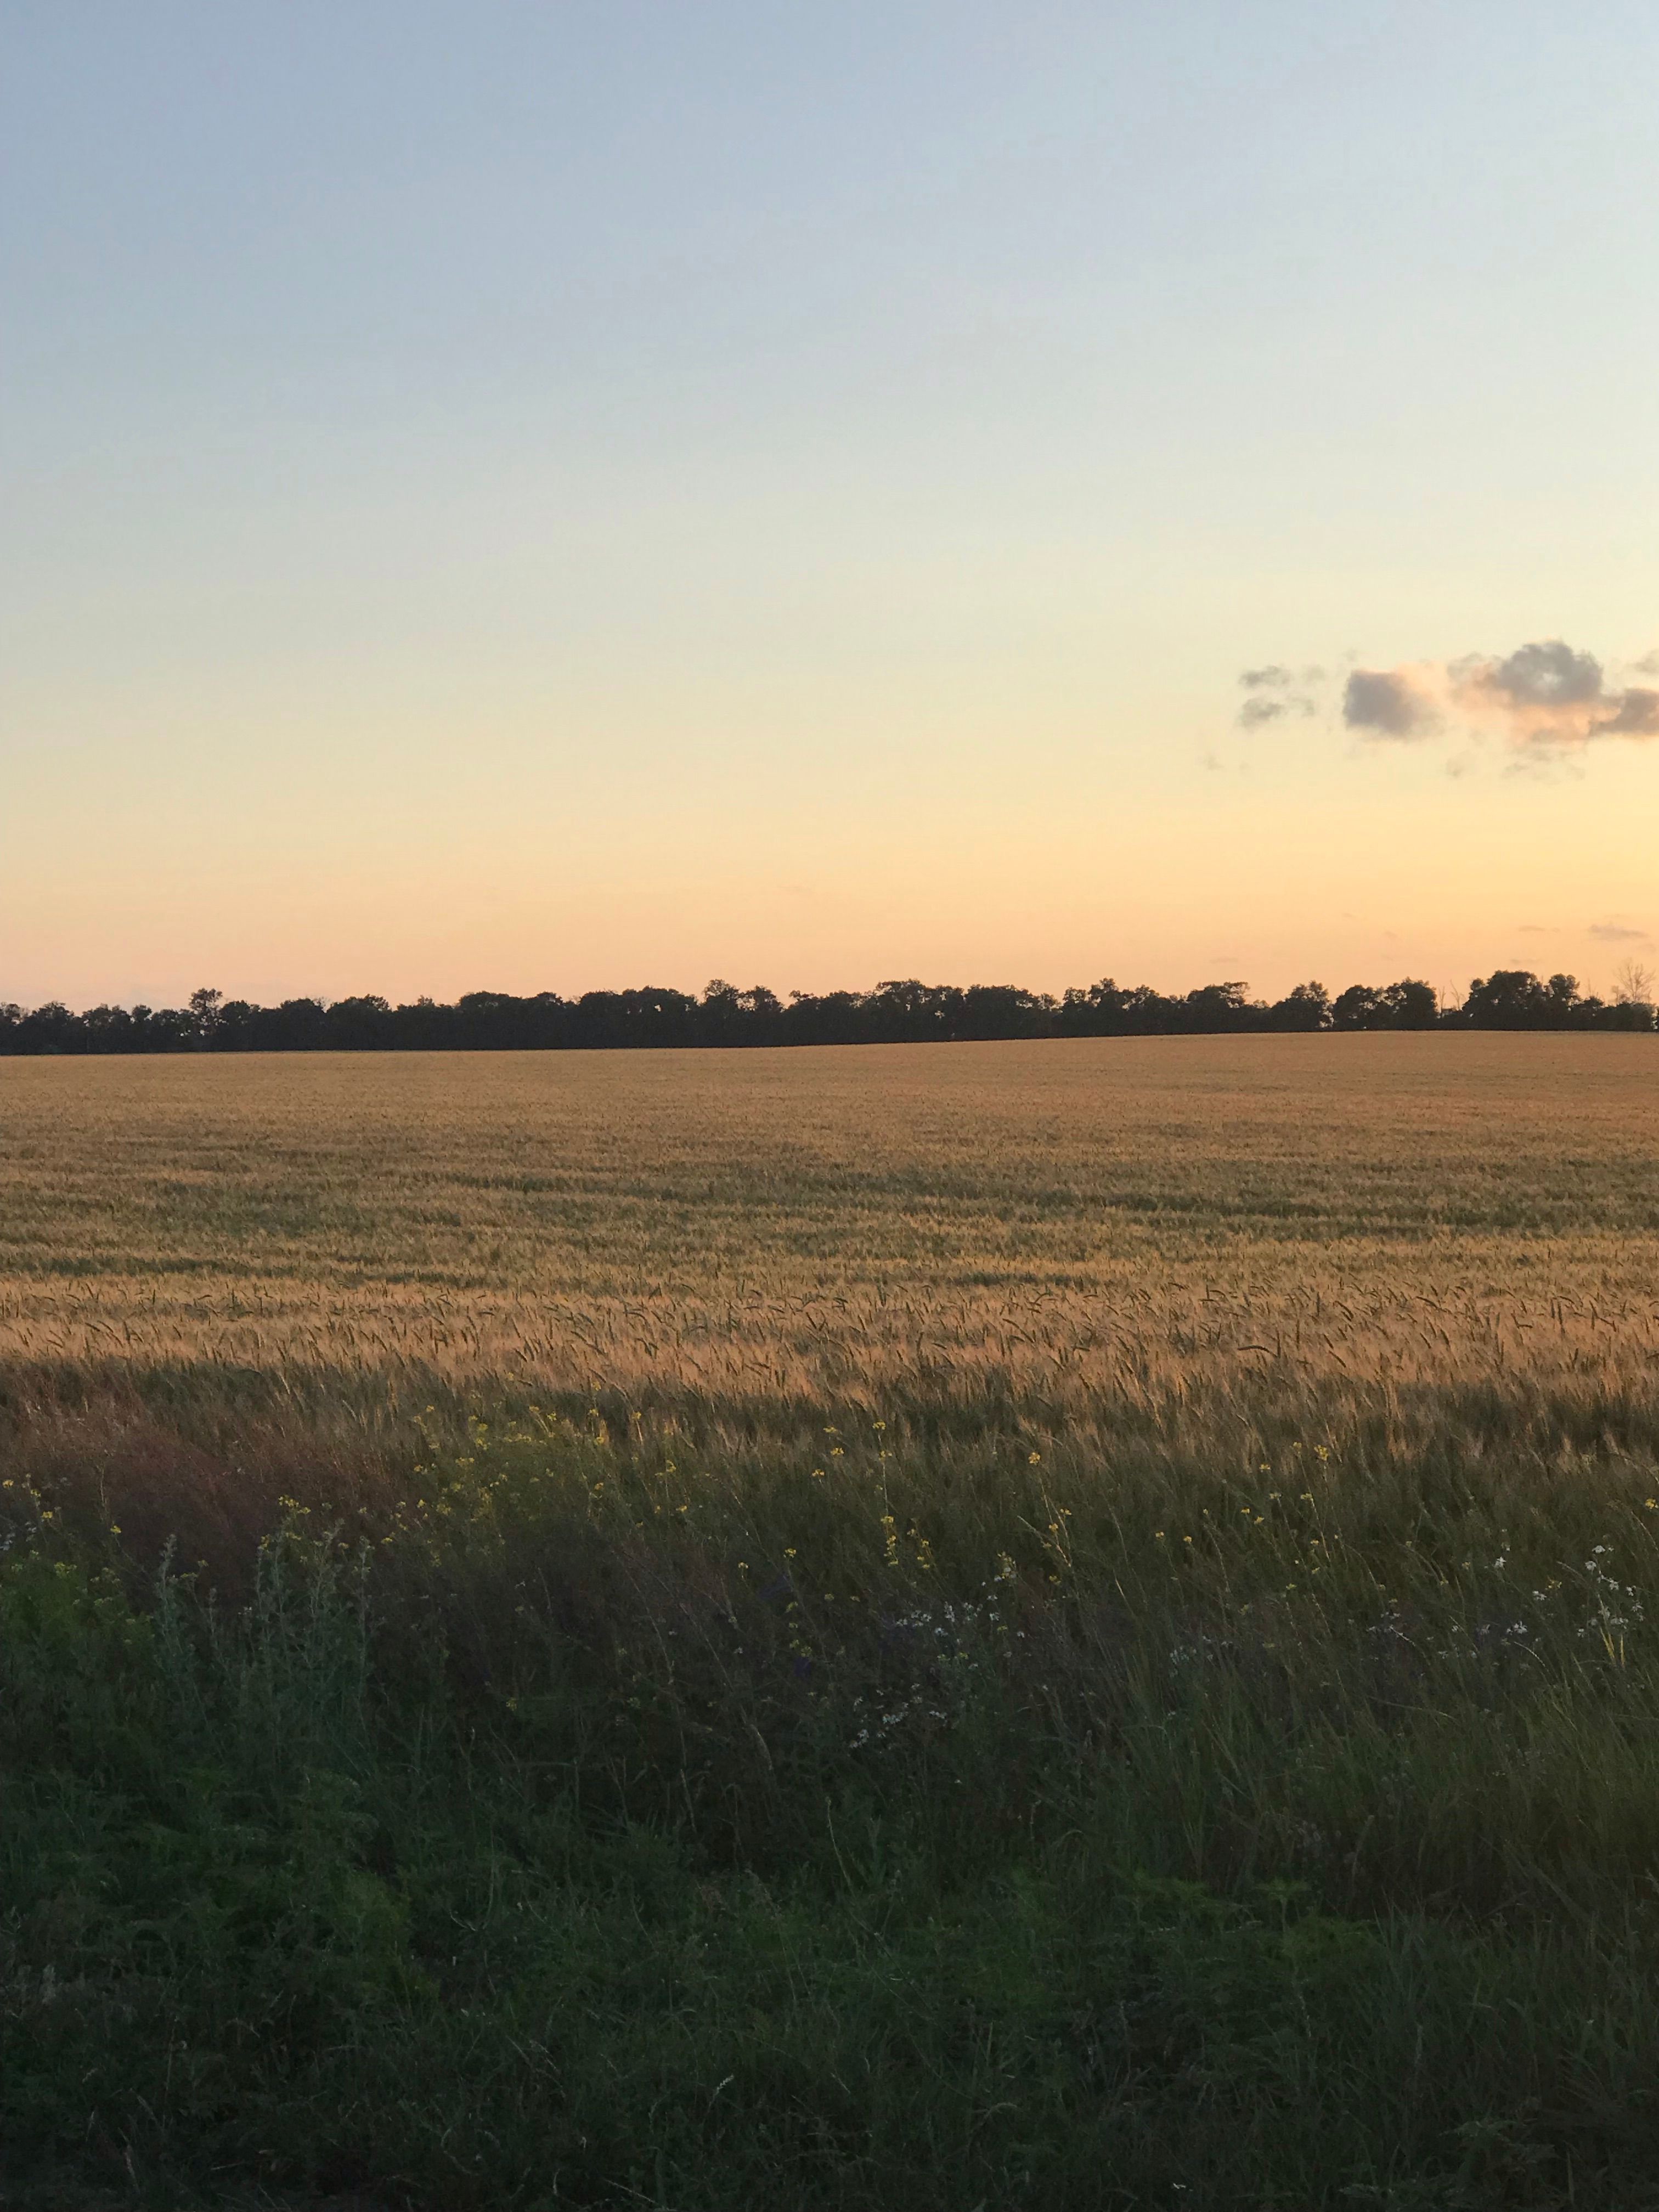
Capture Clear Mountain-Hike Landscapes by Starting Early
The easiest way to handle summer heat and haze is to get an early start. Many hiking guides recommend being on the trail at sunrise or before the day’s hottest hours. Early light is softer, the air is often clearer, and the trail is usually quieter.
This timing helps in two ways. For one, you stay cooler and use less energy. In addition, you often get better color and contrast in your photos, which helps you capture clear mountain-hike landscapes.
Why morning light works so well
Midday sun can flatten distant peaks and make the sky look washed out. Morning light sits lower and feels gentler, so it reveals shape and detail more clearly. Consequently, ridges, trees, and rock lines often appear more defined.
One hot-weather hiking guide says to leave before sunrise and be off the trail before 10 AM if there is a heat warning. That advice is helpful for both safety and image quality. If you want the cleanest view, plan to shoot during the first few hours of the day.
Higher routes can also help
Some hikes at higher elevations run 10–20 degrees cooler than lower routes. That can make the walk more comfortable and help you conserve energy. It can also improve your odds of finding less haze between you and the peaks.
Even so, higher trails can still be hot and exposed. So plan your route with shade, water, and weather in mind. A better start time paired with a cooler route can make a major difference in how well you capture the scene.
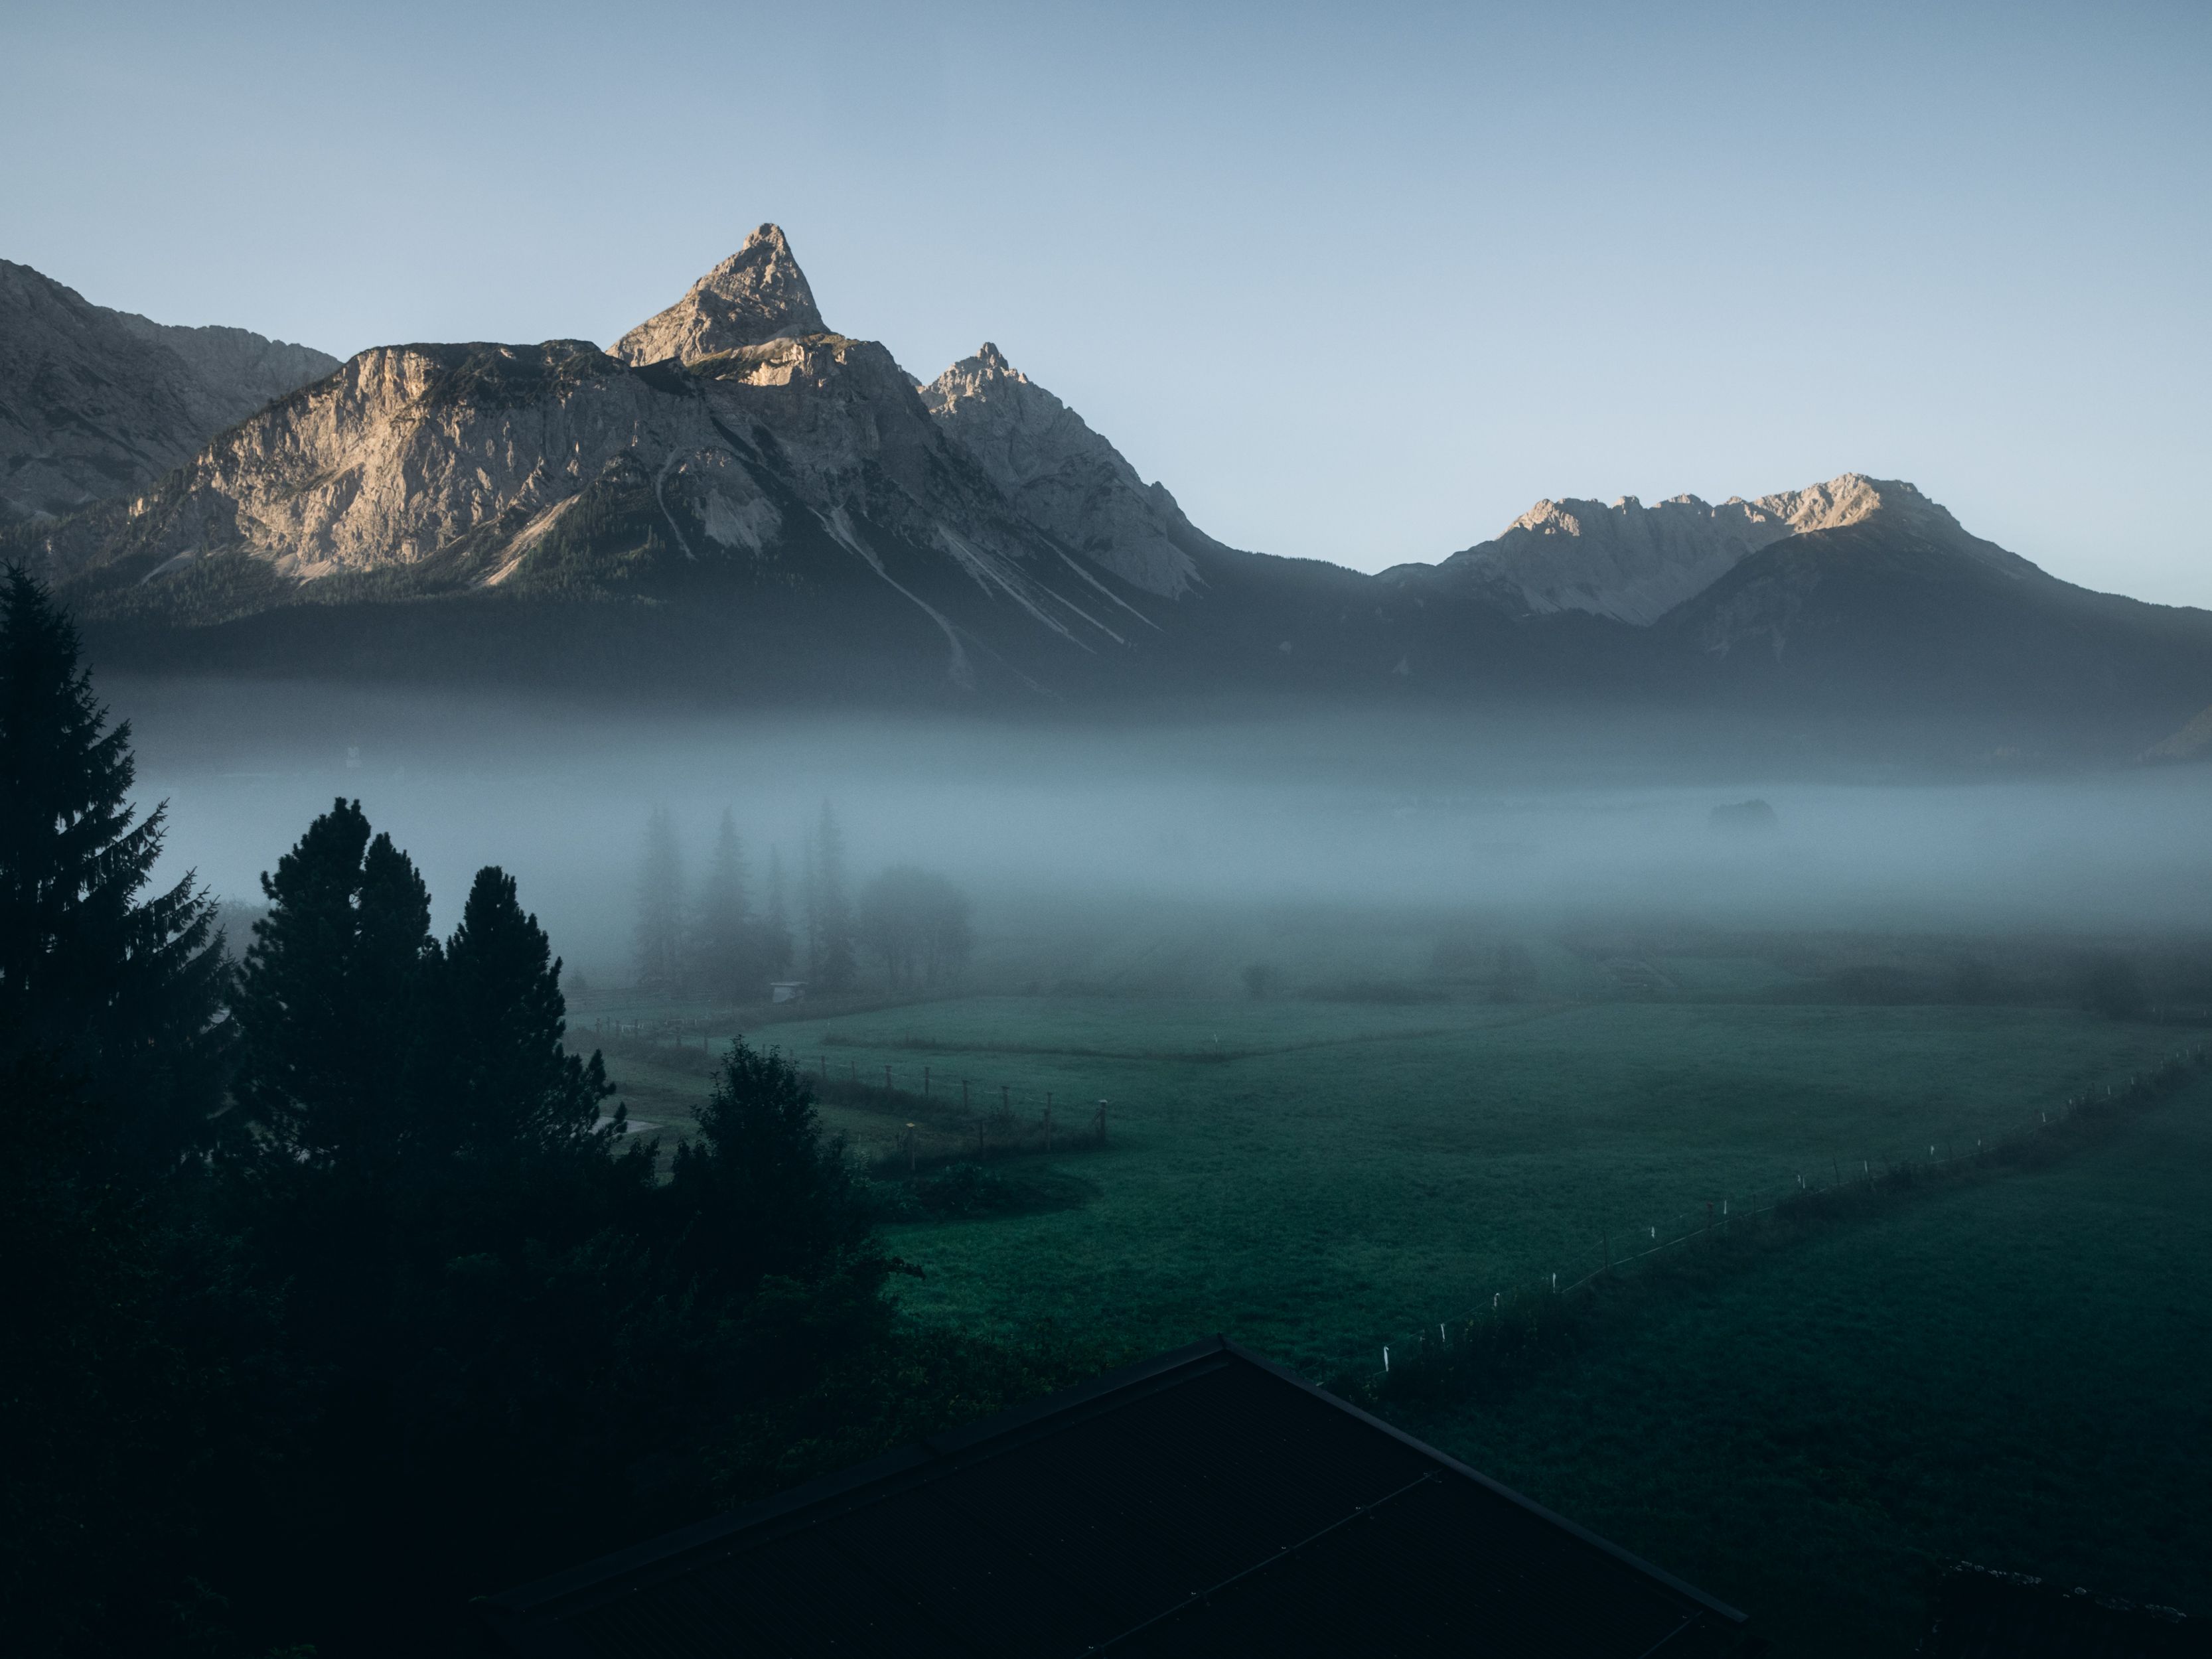
How to Reduce Haze in Landscape Photos
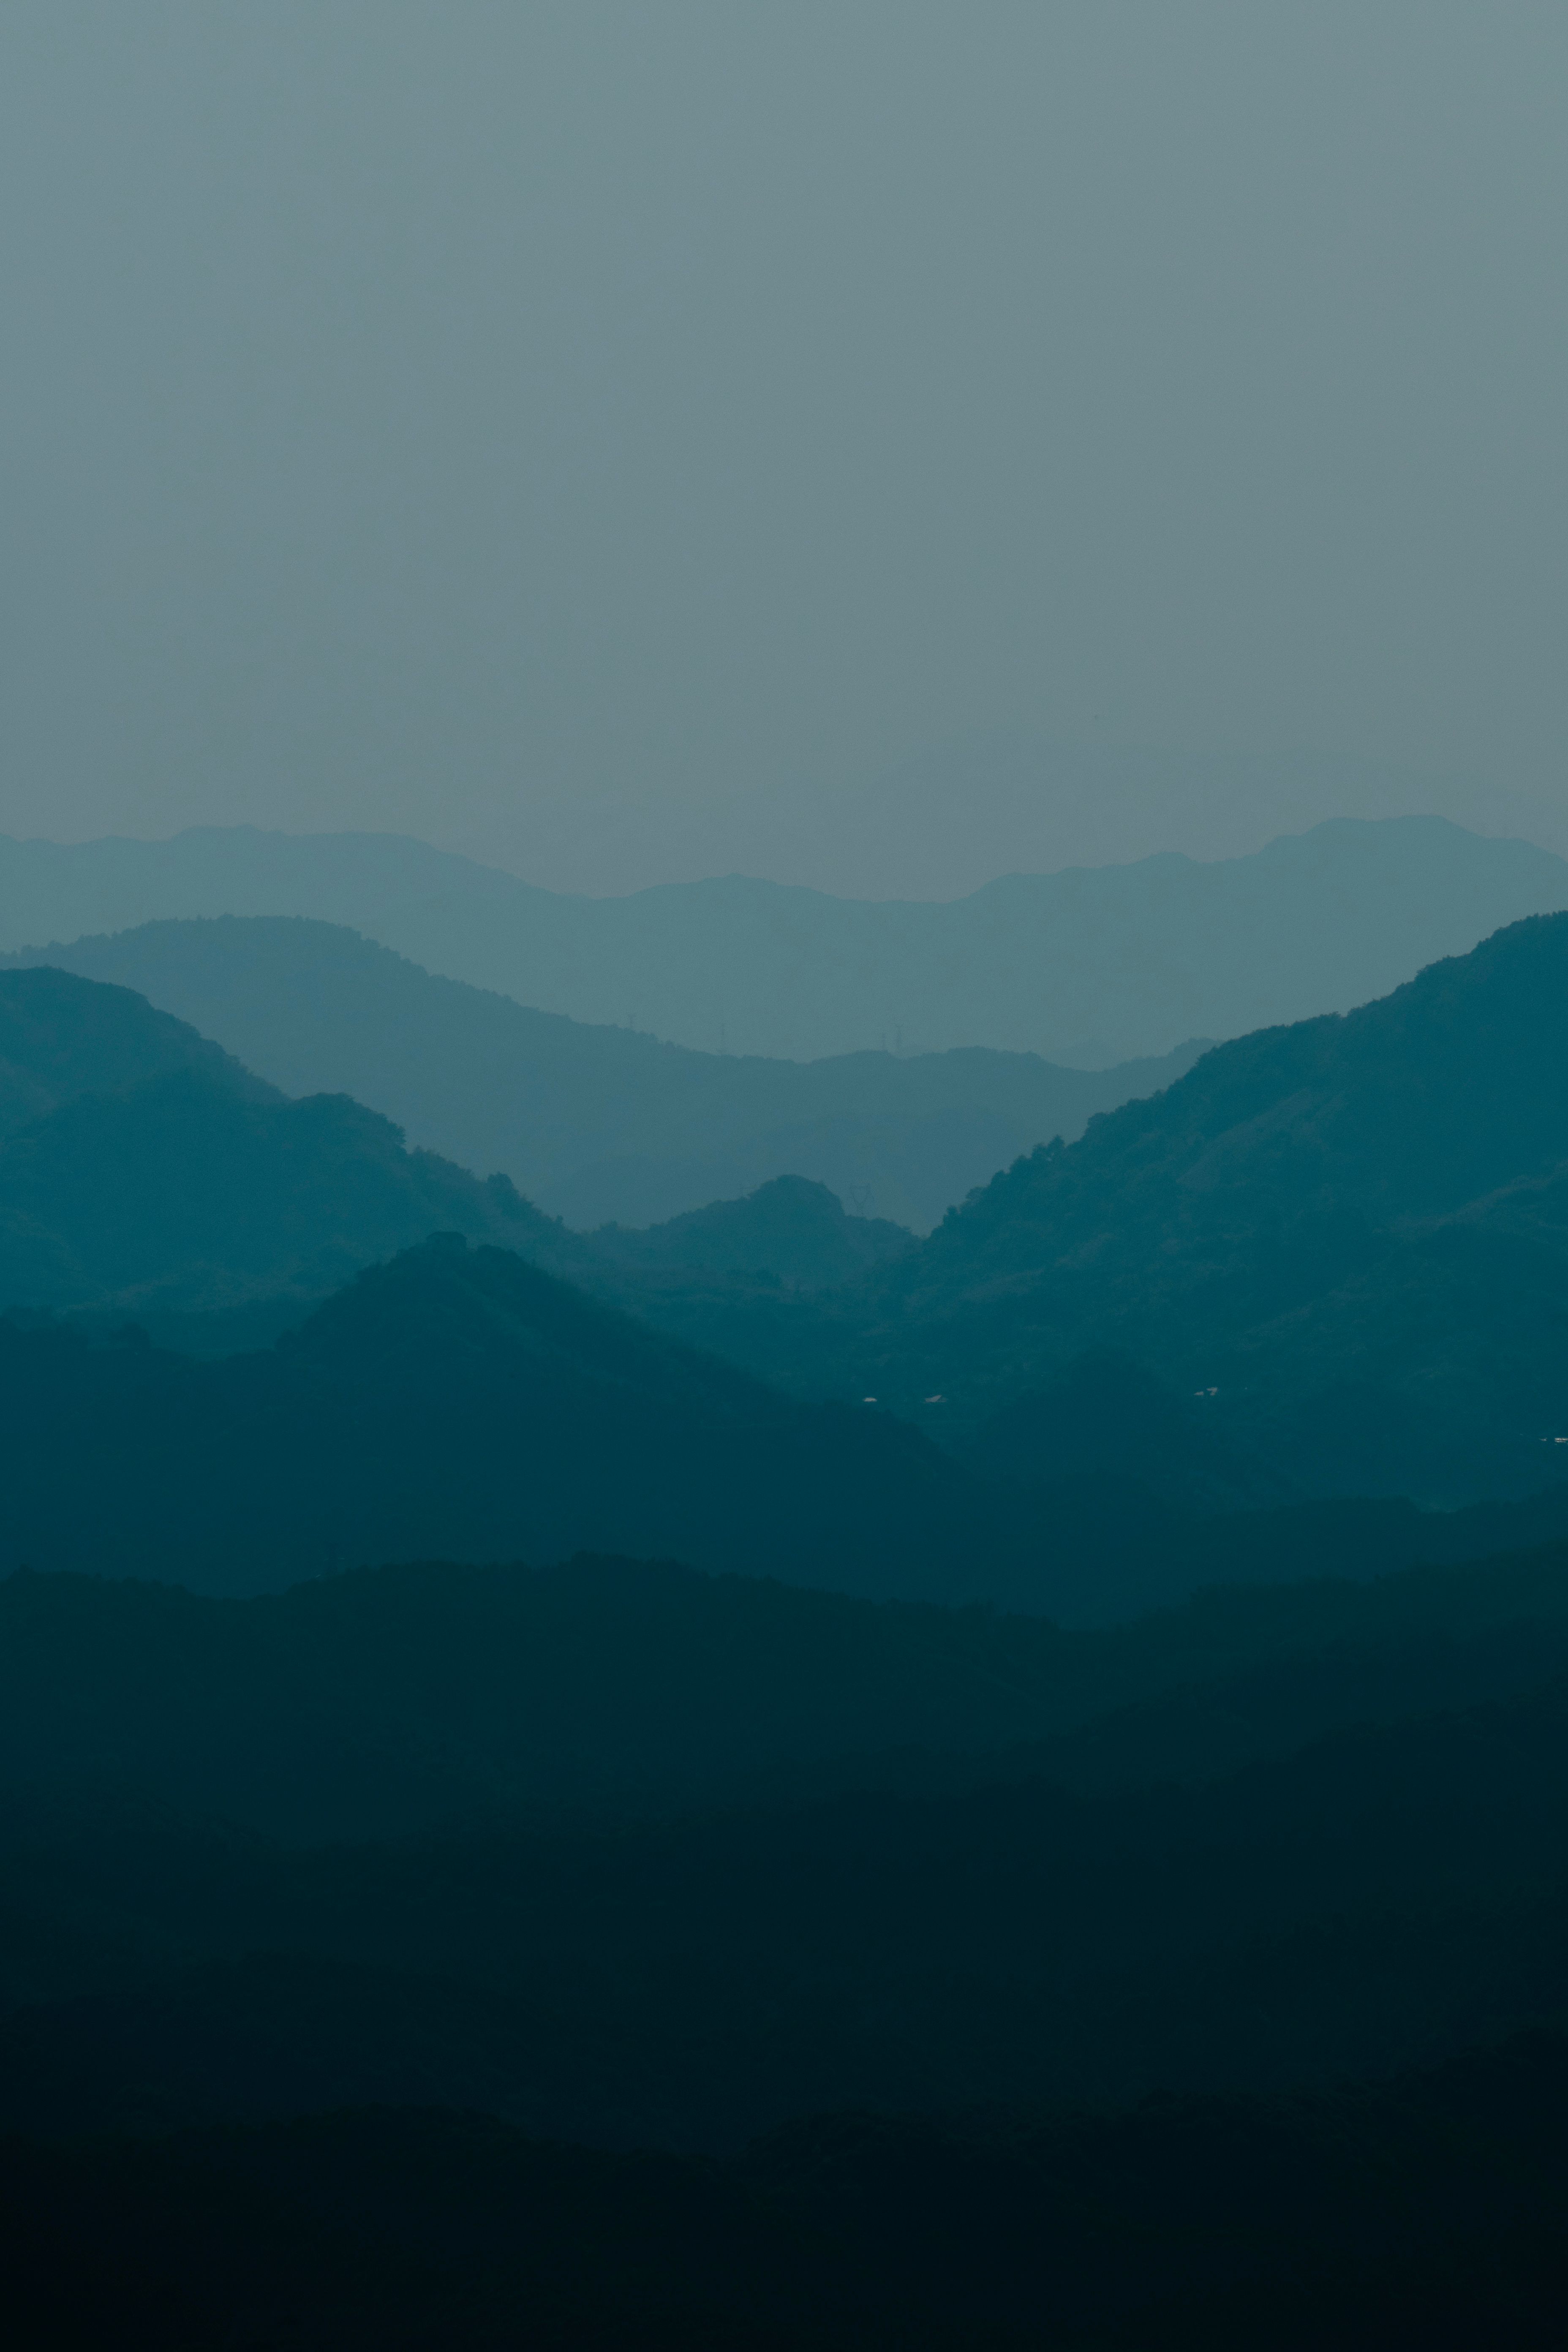
Haze is one of the biggest obstacles in summer mountain photography. It often appears as a gray layer between you and the far peaks. That can leave your photo looking soft, pale, and less distinct.
Reducing haze means thinking about distance, light, and timing. Therefore, it helps to shoot early, aim toward cleaner air, and use camera settings that preserve contrast. Small adjustments can make your mountain-hike landscapes look much sharper.
Shoot when the air is cleaner
The air is often clearest in the morning. Cooler air tends to hold less haze, and the sun has not yet warmed the valley. Because of that, your distant peaks may reveal more detail before the day heats up.
If the air quality is very poor, one hiking guide recommends saving the hike for another day. That is a sensible decision when smoke or heavy haze obscures the view. No photo is worth bad air or a risky day on the trail.
Use distance and angle to your advantage
If the far ridge looks washed out, try shifting to a different angle. A small move left or right can change how the layers stack in the frame. It may also help separate peaks from a bright sky.
You can also include a closer peak, a tree line, or a trail bend in the foreground. Doing so adds depth and makes the haze less noticeable. Then your photo feels more complete, even if the farthest peaks remain soft.
Simple camera tools that help
Many cameras include a dehaze or clarity tool in editing. Use it carefully. Too much can make the image look harsh or unnatural.
In the field, a polarizer can also reduce glare and deepen the sky, especially at a 90-degree angle from the sun. It will not erase all haze, but it can improve contrast. Therefore, it is one of the most useful tools for summer mountain scenes.
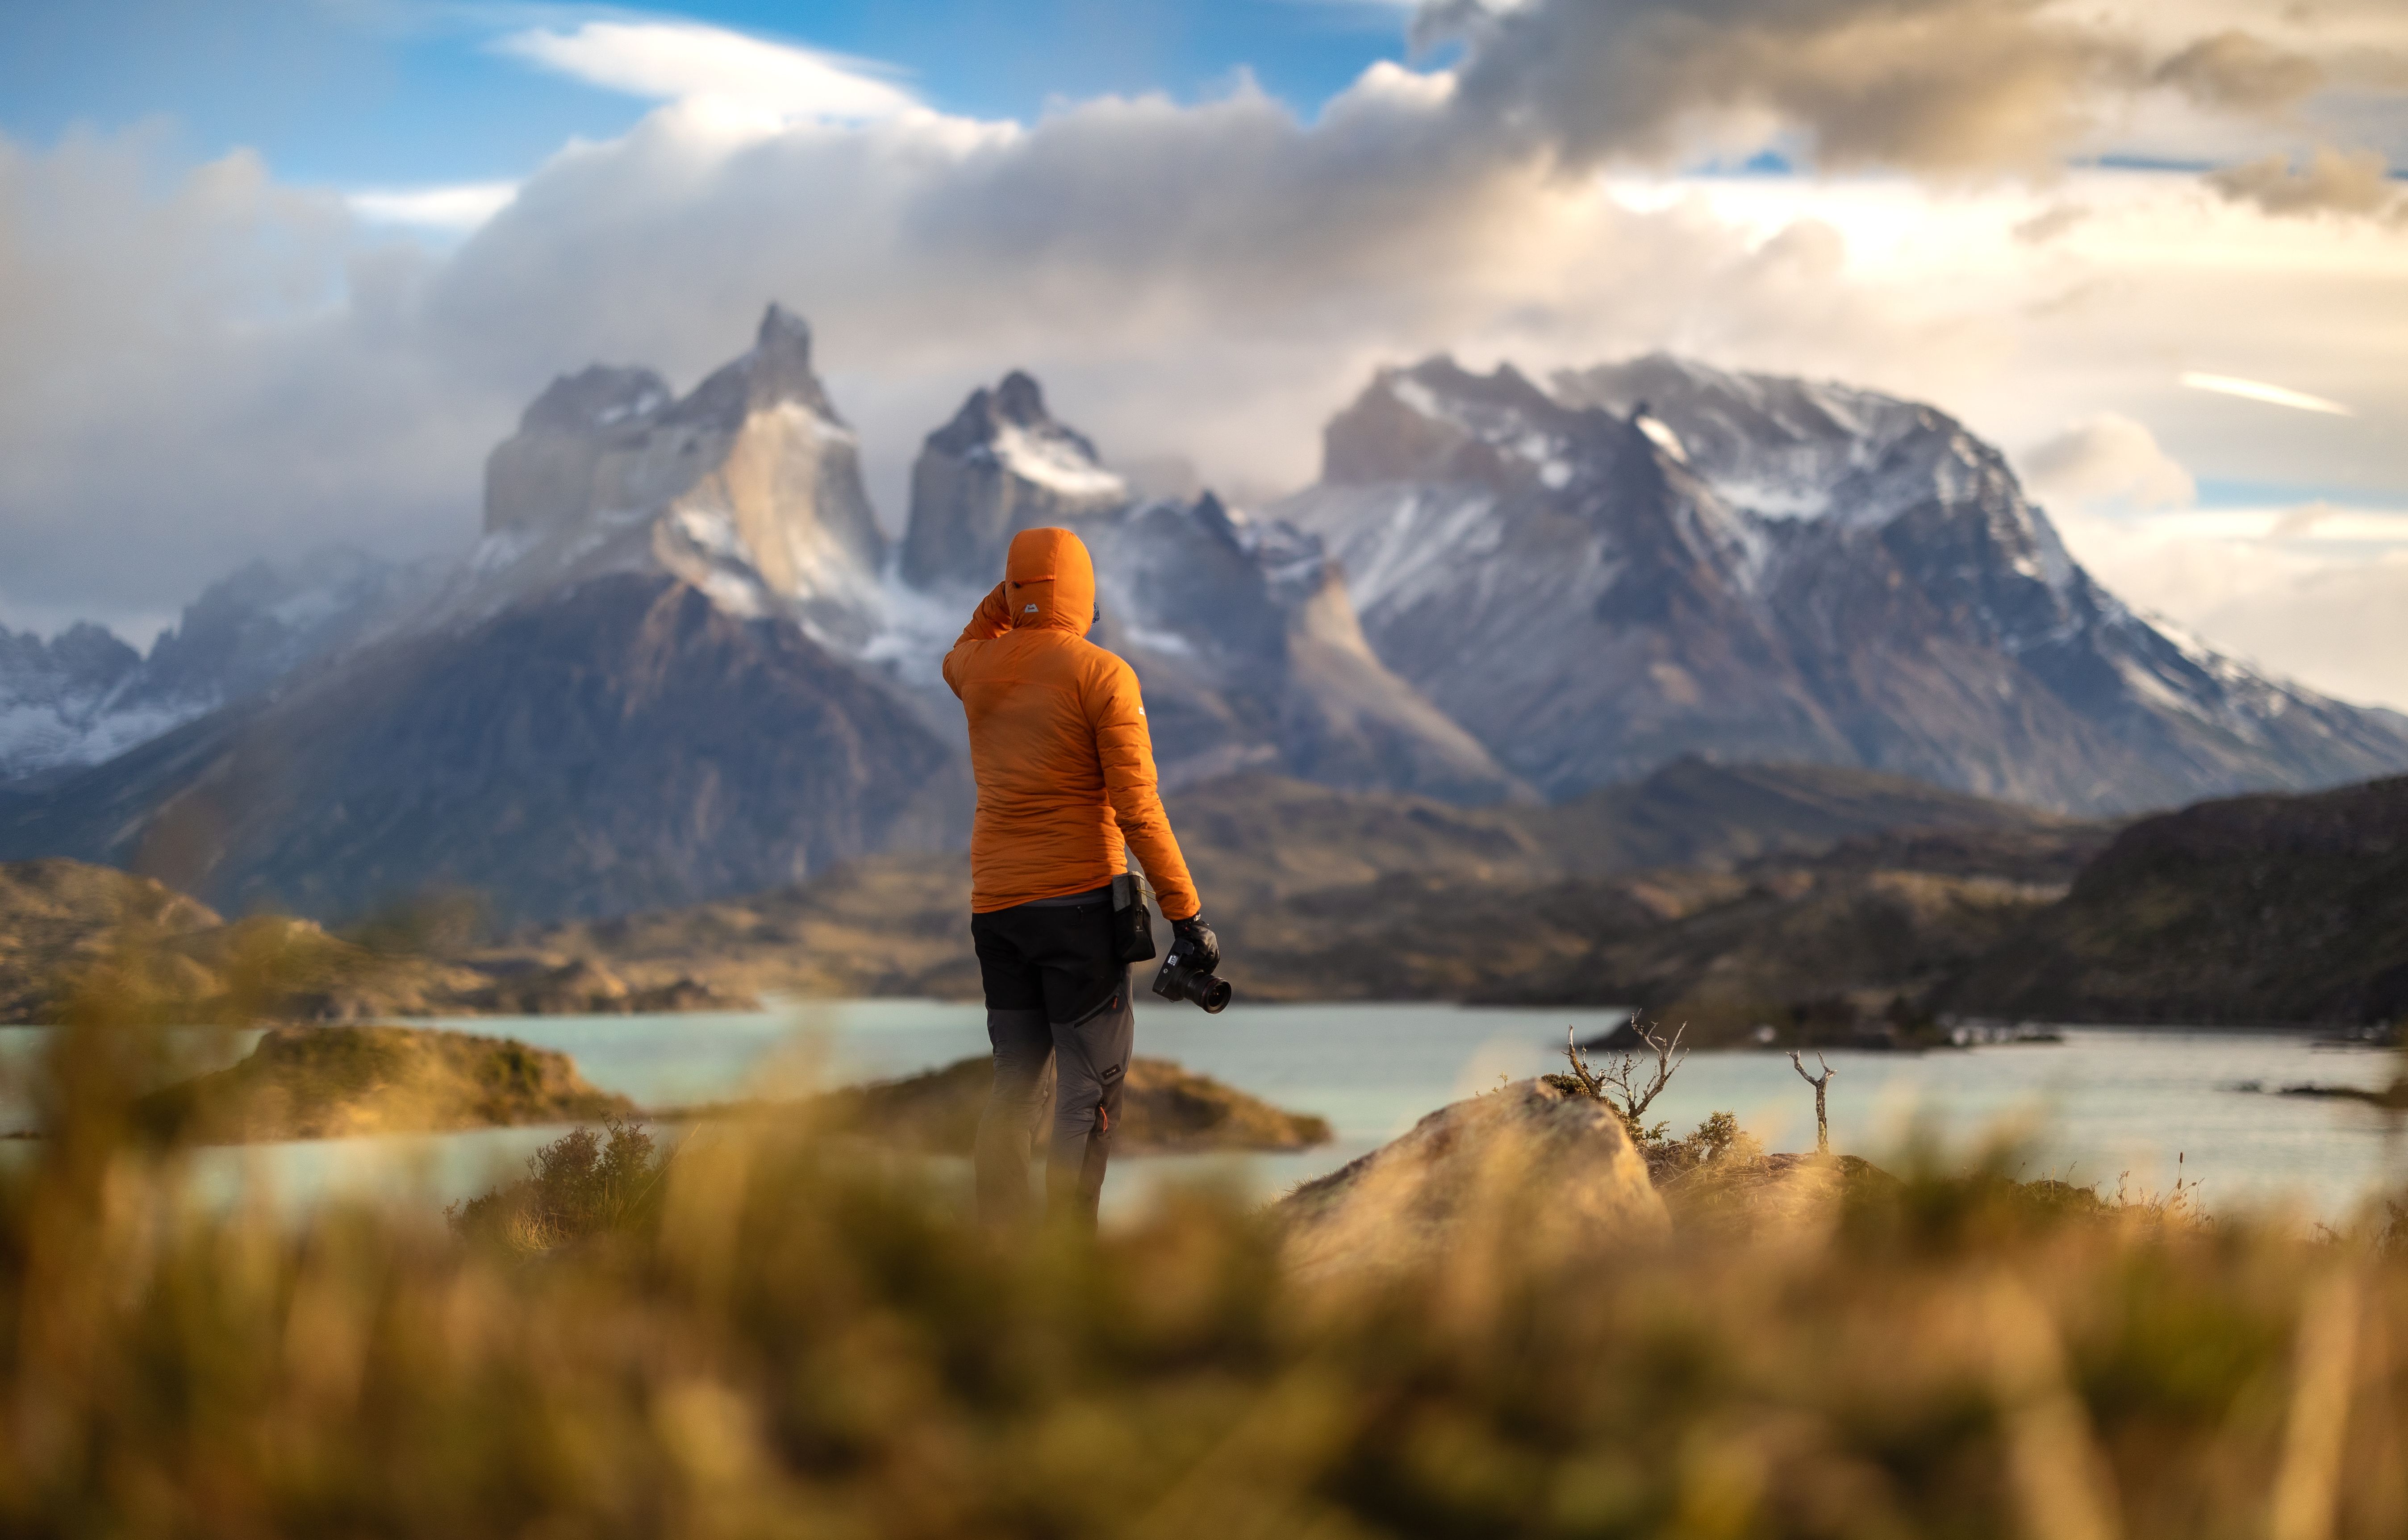
Best Camera Settings for Mountain Scenery
Good settings help you preserve detail in bright skies and dark ridges. Mountain scenes often contain a wide range of light, so your camera has to handle both. The right setup will help you capture clear mountain-hike landscapes without relying too heavily on editing later.
Begin with simple settings and adjust as needed. If you are unsure, take a quick test shot and check the sky, rocks, and shadows. Then refine your settings before the light changes.
Use a mid-range aperture for sharp detail
For most landscape shots, try an aperture between f/8 and f/11. This range usually delivers sharp detail from front to back. It also keeps the whole mountain scene crisp without soft edges.
If you want a closer foreground and a blurred background, you can open up more. But for most wide mountain views, f/8 is a dependable starting point. It provides strong depth and helps the scene look clean.

Keep ISO low and shutter speed steady
Use the lowest ISO you can, often ISO 100 or ISO 200. Lower ISO helps reduce noise and preserves fine detail in the sky and rock faces. That matters a great deal when you want a clean landscape image.
If you are shooting handheld, aim for at least 1/500s when the light is strong and you want extra sharpness. For still scenes, a slower shutter can work if you are steady. However, on a windy ridge or with a longer lens, a faster speed helps protect detail.
Choose the right focal length
A wide lens around 16mm to 24mm is ideal for expansive views. It helps you show the scale of cliffs, valleys, and sky. A wider perspective can also make your mountain-hike landscapes feel more open and dramatic.
For a tighter scene or layered peaks, try 50mm to 85mm. These focal lengths compress distance and bring far ridges closer together. That can be especially useful when haze is light but still visible.
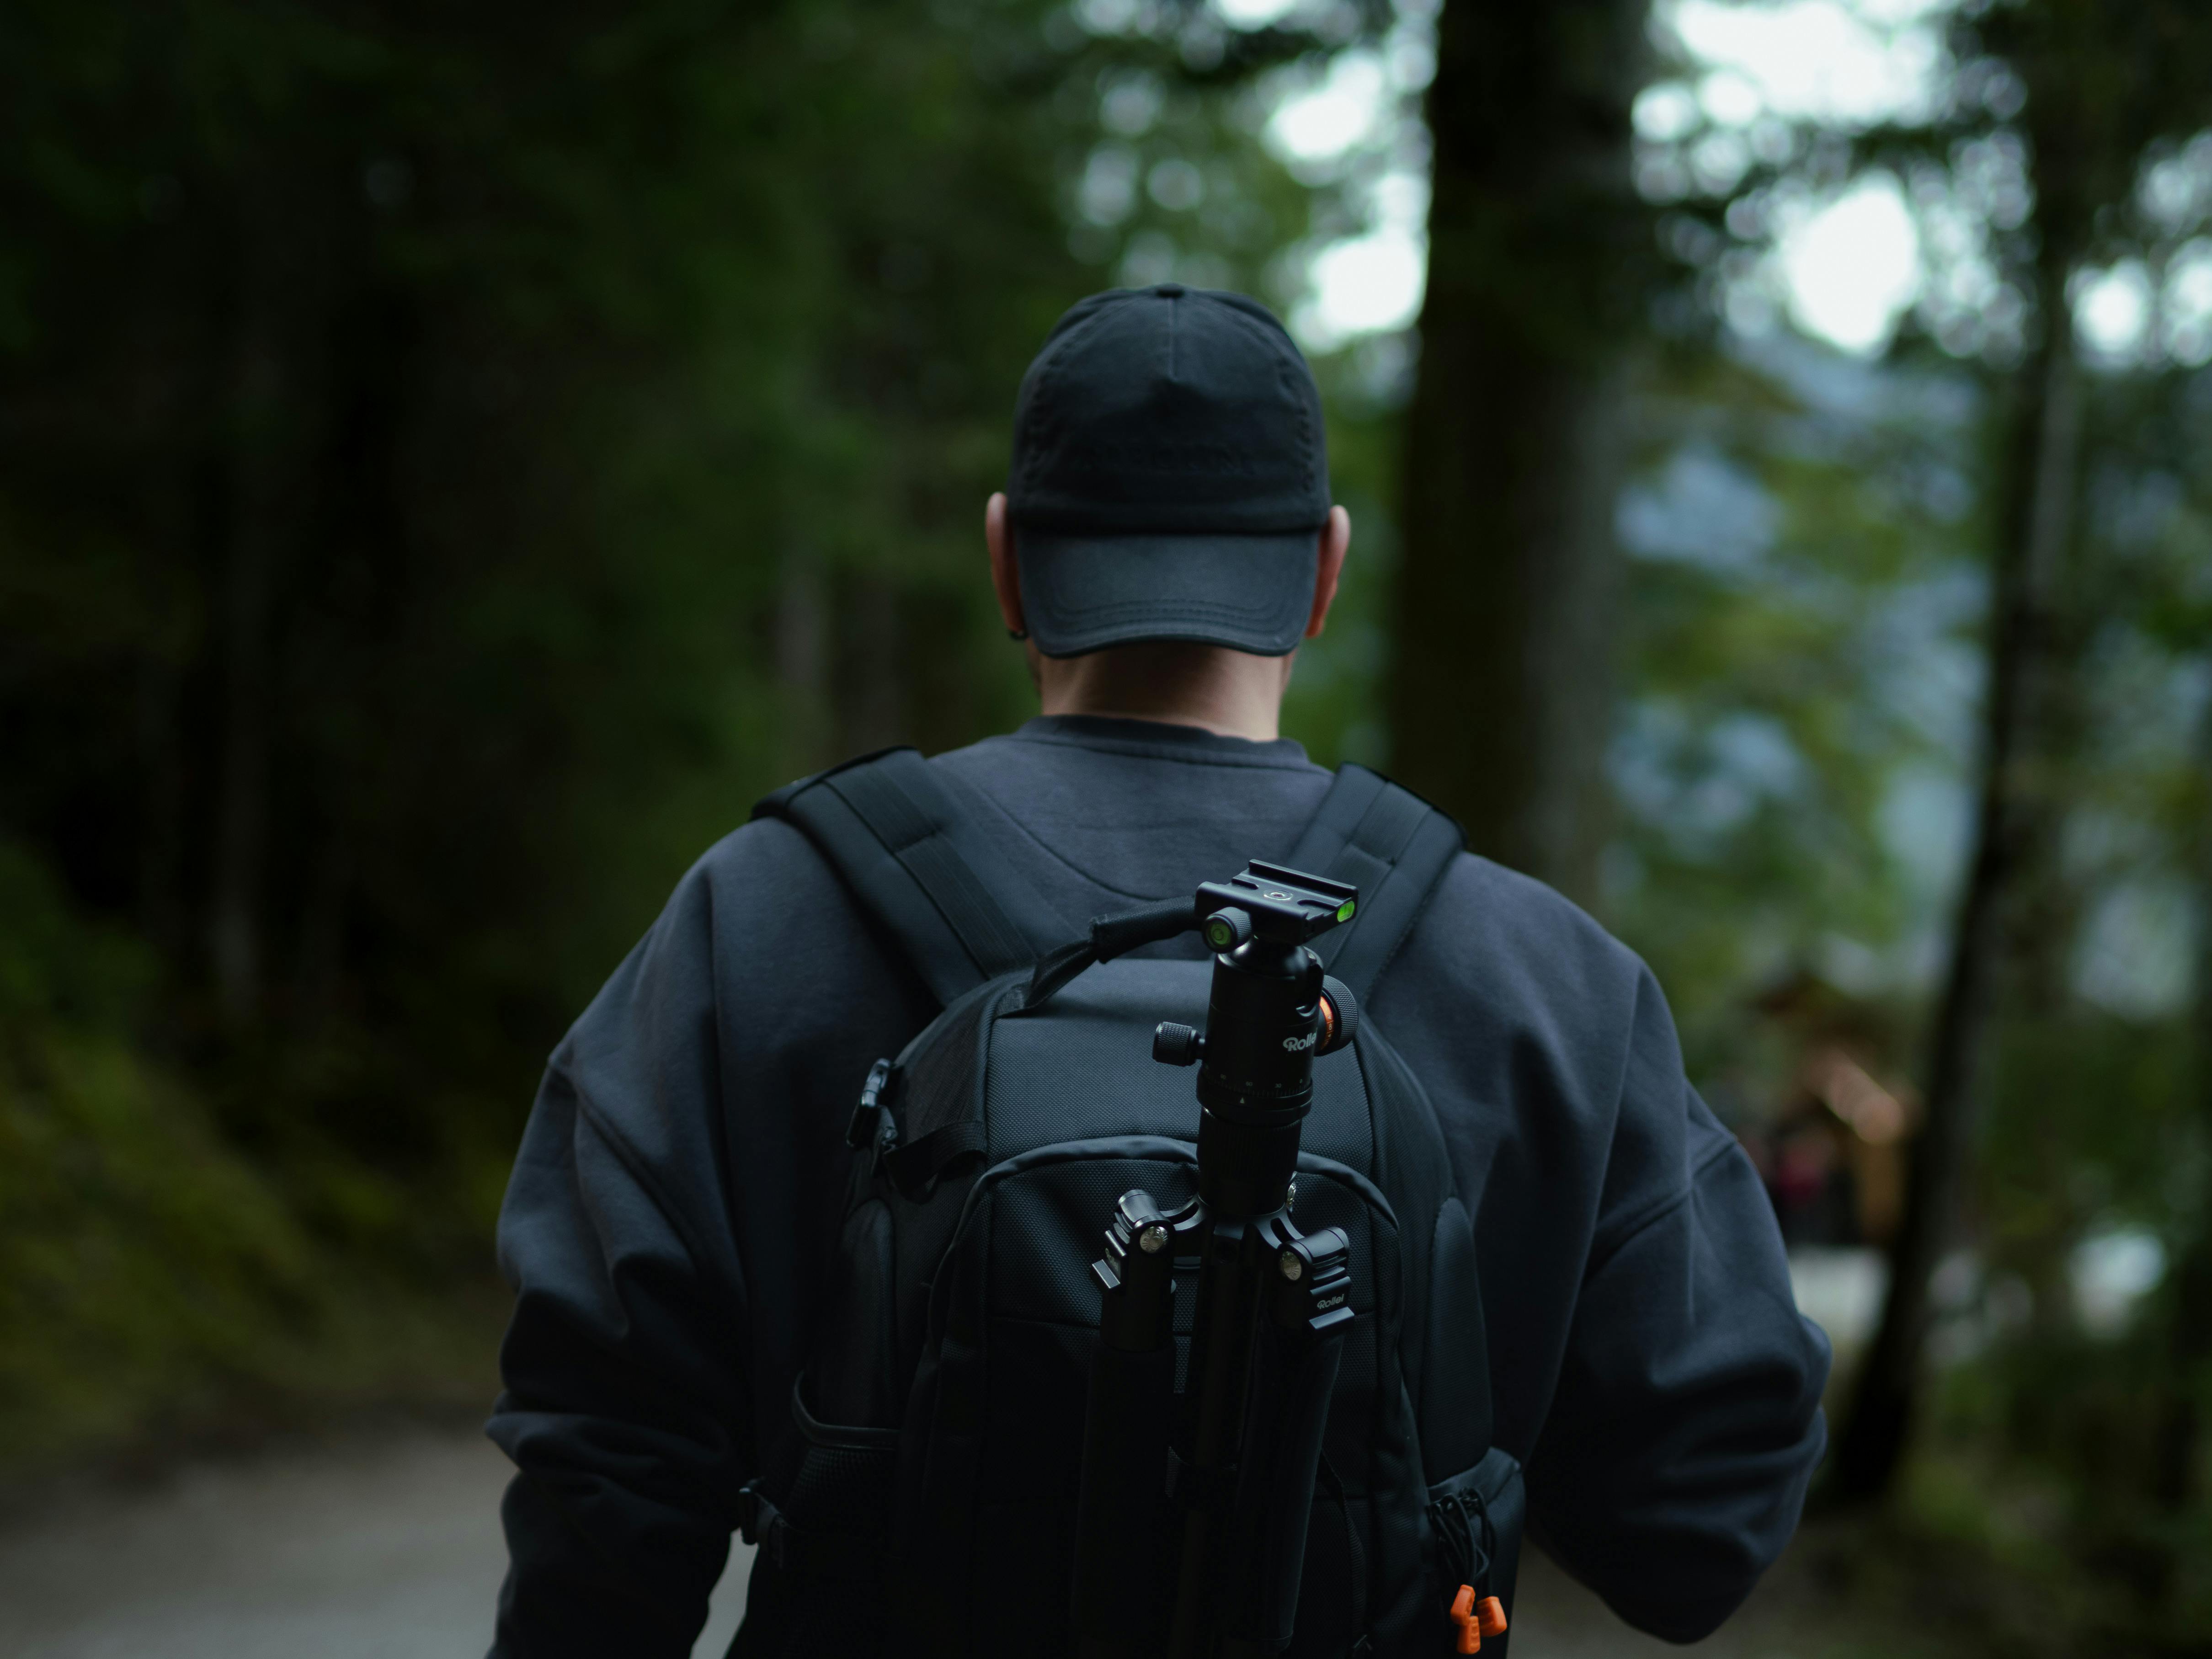
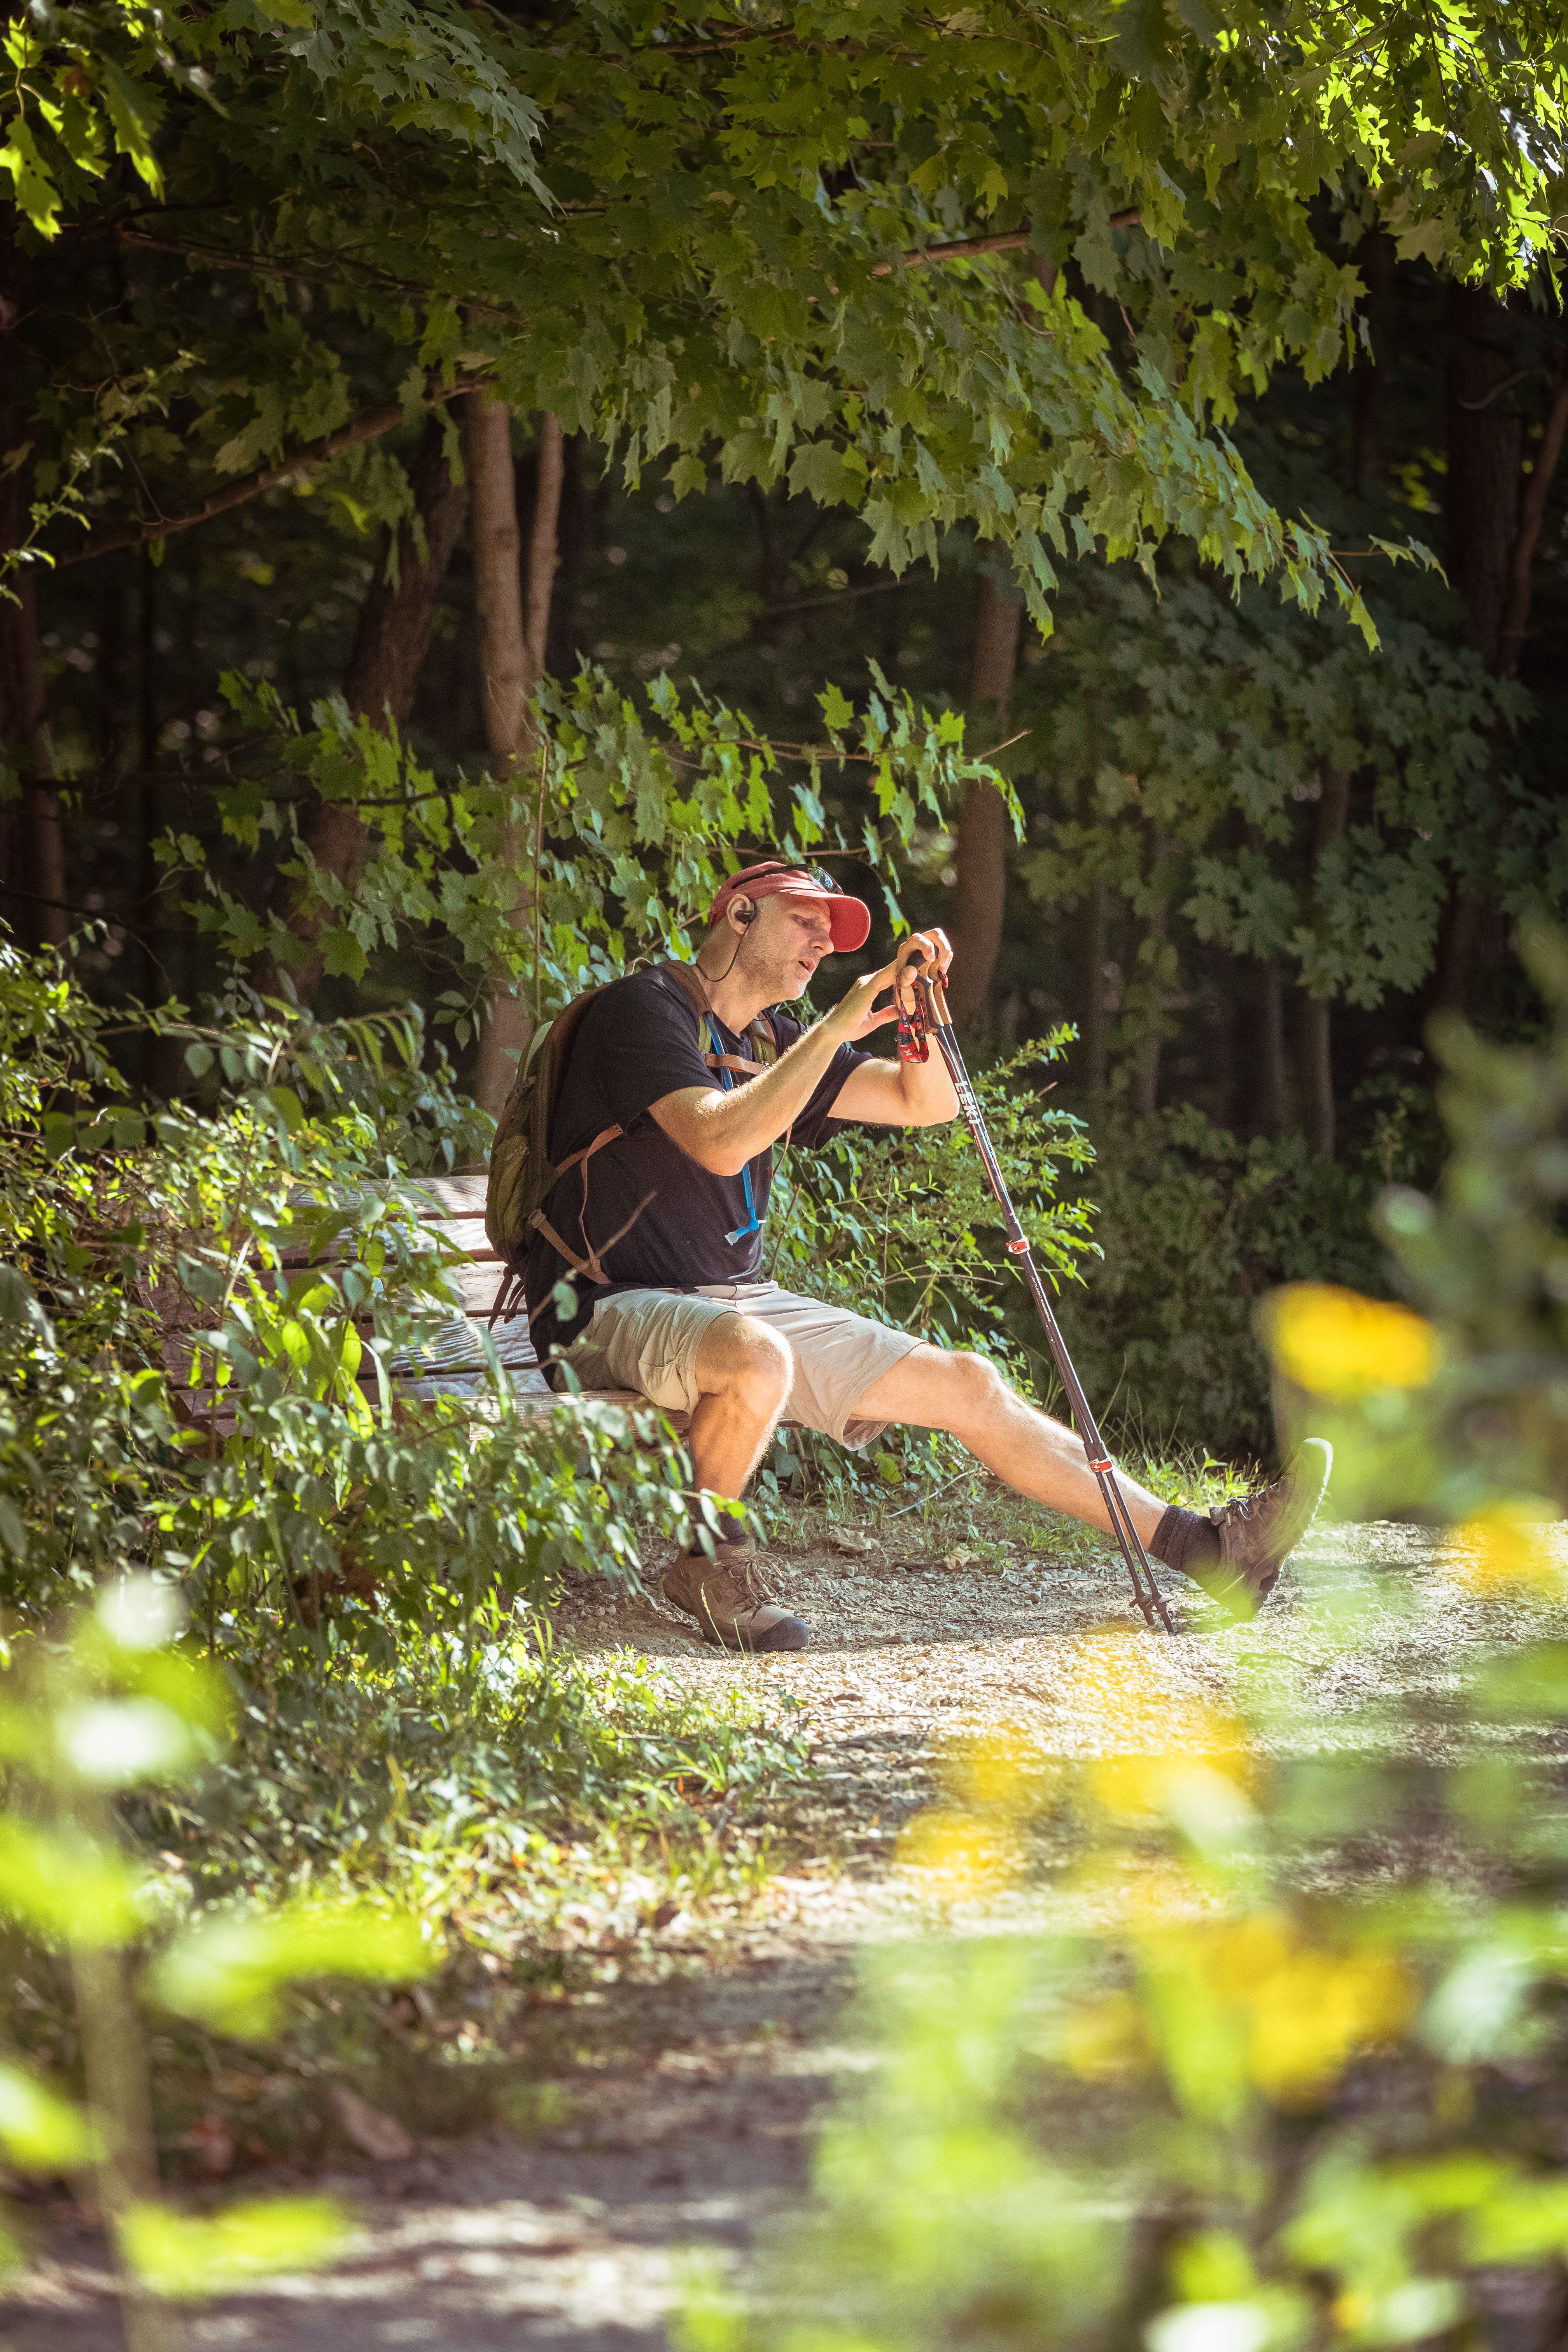
How to Carry Your Camera on Long Hikes
Carrying a camera the wrong way can slow you down and cause you to miss shots. If your gear is buried in your pack, you may not reach it in time. A better carry setup helps you capture more moments with less effort.
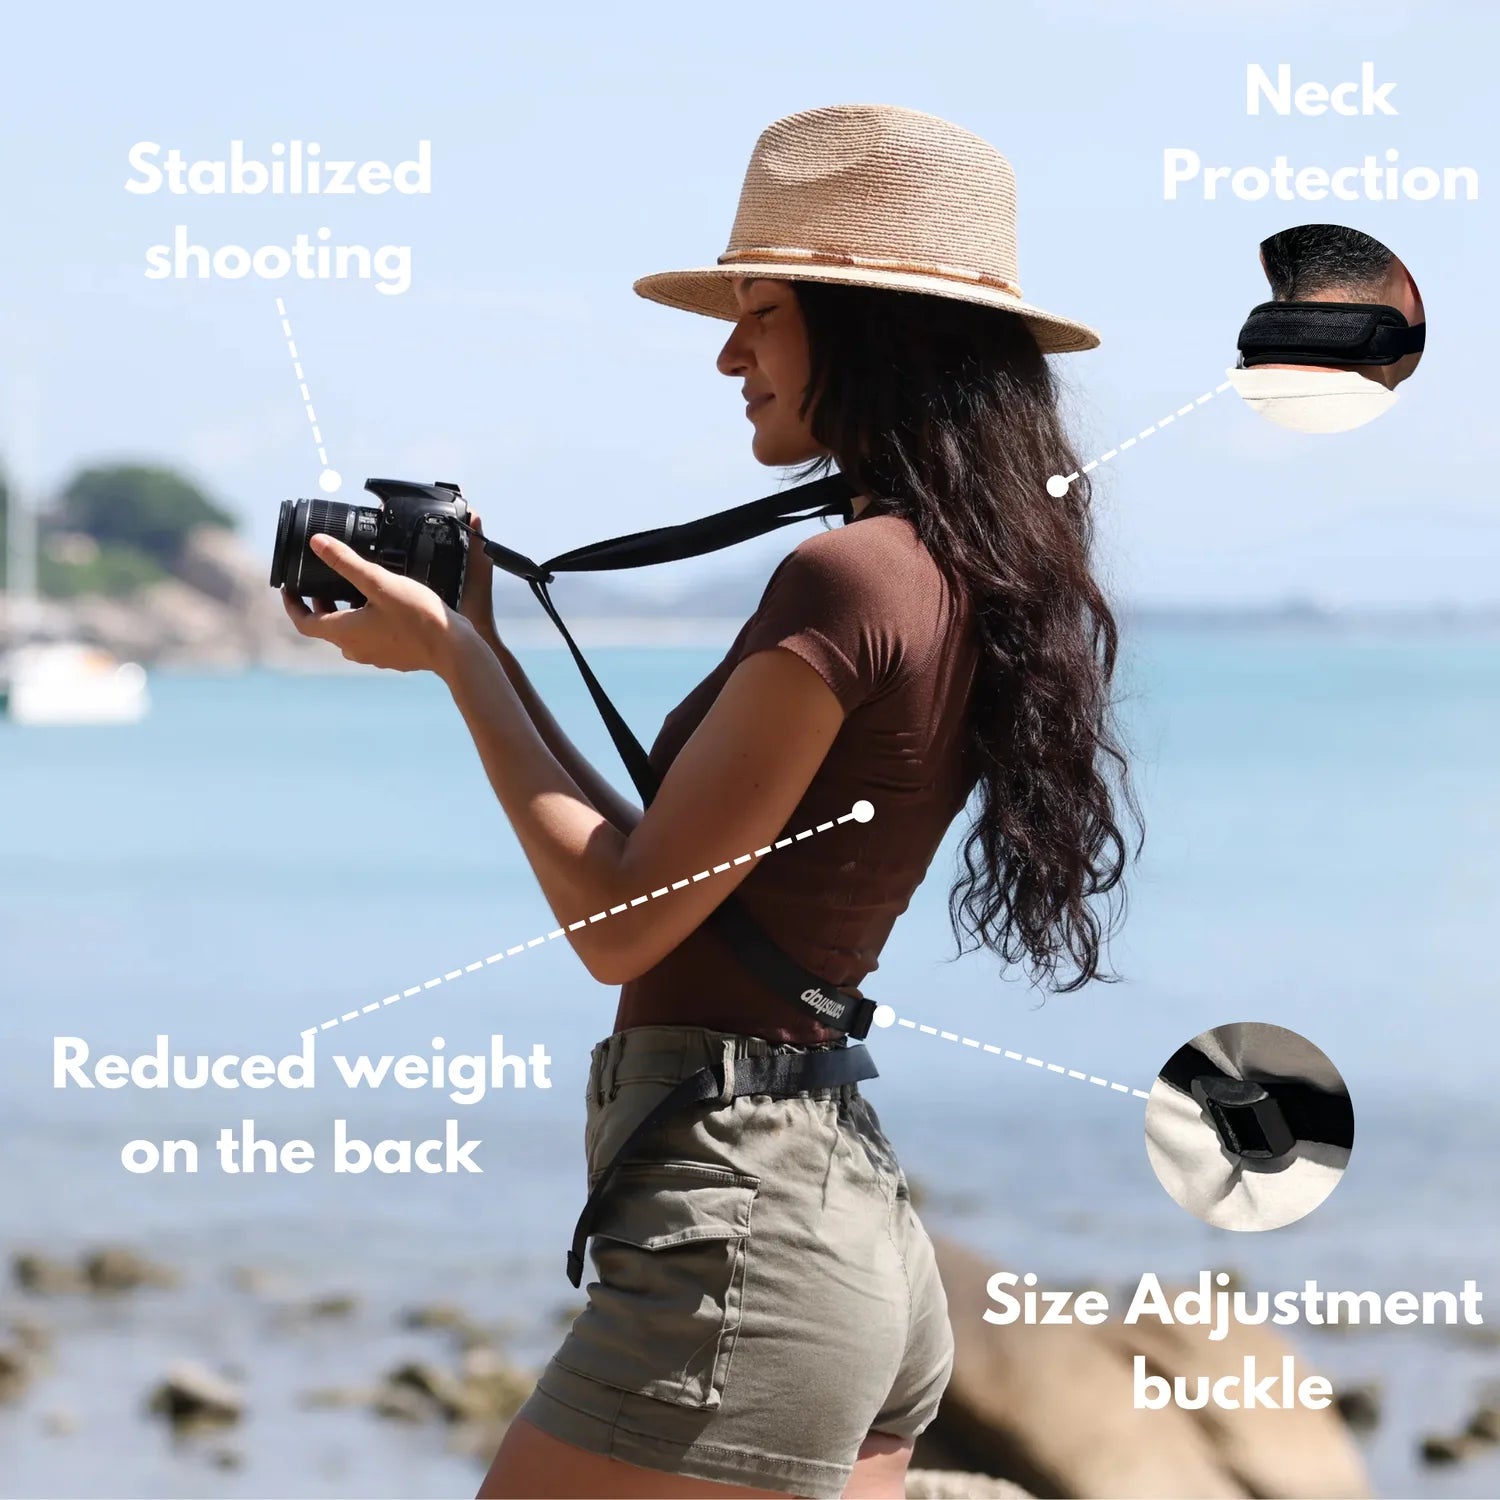
A comfortable crossbody strap is a smart option for long hikes. It keeps your camera ready without forcing you to dig through your pack. It also lets you move faster when a view appears unexpectedly.
Pick a carry style that fits the trail
For easy trails, a crossbody strap can work very well. It keeps the camera close and easy to reach. This is helpful when light changes quickly or clouds drift across the peaks.
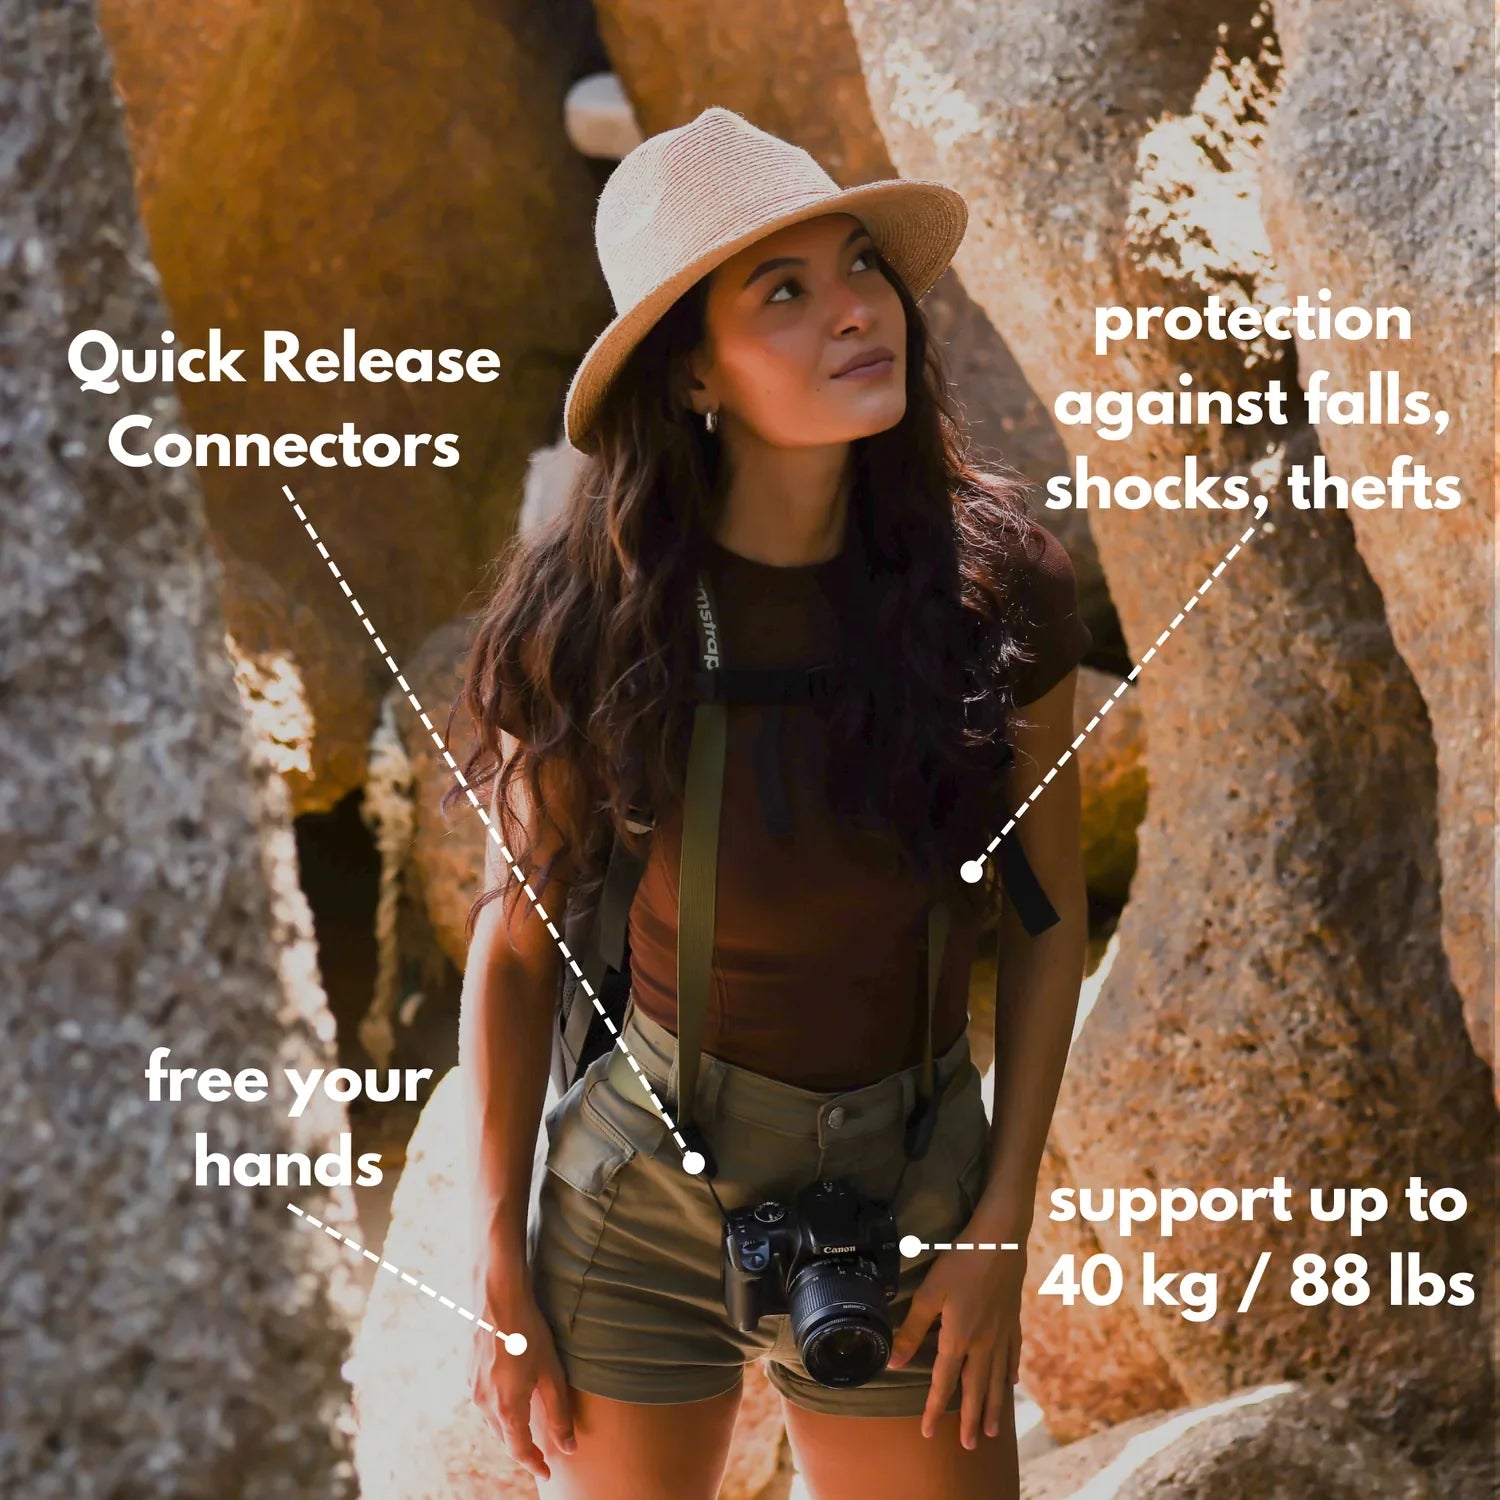
For rougher routes, make sure the strap is stable and secure. A model like the Camstrap voyager or Camstrap explorer can suit hikers who want more support on longer days. If you prefer a lighter setup, the Camstrap nomad is another option to consider.
Keep comfort in mind on hot days
Summer hiking gets harder when your camera bumps against your chest or hangs too low. A strap that distributes weight well can make a long day feel easier. That matters when you are also carrying water, snacks, and extra layers.
The Camstrap magclip can also be useful if you want quick access and a tidy carry method. It offers another way to keep your camera ready while you stay focused on the trail. The best system is the one you can wear for hours without irritation.
Pack for quick photo stops
Keep a lens cloth, spare battery, and memory card in a small pocket. You do not want to search through your whole pack when the view opens up. Easy access helps you shoot faster and with less stress.
Also, make sure the camera is clipped or held securely when you climb. A loose setup can swing around and distract you. So test your carry method before a big hike.
Stay Cool, Safe, and Ready to Shoot
Heat can drain your energy before you reach the best viewpoint. That is why summer hiking is not only about the camera. It is also about staying cool enough to think clearly and shoot well.
Many hiking guides recommend light-colored, breathable, moisture-wicking clothing. Lightweight polyester or other synthetic fabrics are better than cotton in hot weather. They dry faster and help you stay more comfortable on exposed trails.
Dress for sun and heat
Choose tan, khaki, or other light colors instead of black. Light colors reflect more sunlight and help reduce heat gain. A hat, sunglasses, and sunscreen are also essential on open ridges.
Long sleeves or a sun hoodie can help on exposed terrain. They protect your skin and can keep you cooler in strong sun. That means you can stay out longer and still feel steady enough to capture your best shots.
Drink more water than you think you need
One hiking club guide recommends about 0.5 liter of water per hour while hiking in summer heat. That is a helpful starting point, especially on steep trails. You may need more if the day is very hot or the climb is long.
Take frequent breaks and sip water before you feel thirsty. Waiting too long can leave you tired and slow your thinking. When you feel sharp, you are more likely to notice good photo moments.
Use weather and air quality checks before you go
Check the forecast, heat warning, and air quality before you leave. If smoke or haze is heavy, your photos may not improve much in the field. In that case, it may be better to pick a different day or a shorter route.
This is where planning pays off. A safe, cool hike gives you a better chance to capture clear mountain-hike landscapes. It also helps you enjoy the walk, not just the photos.

Quick Field Plan for Clearer Mountain Photos
If you want a simple plan, use one you can repeat. This helps remove guesswork and keeps you focused on the scene. It also makes your summer hikes more productive.
- Start before sunrise or early in the morning.
- Wear light, breathable clothing and sun protection.
- Carry more water than you expect to need.
- Use a comfortable crossbody strap for easy access.
- Set your camera to f/8, ISO 100–200, and a fast enough shutter.
- Look for cleaner air, layered peaks, and a strong foreground.
- Stop shooting if the heat or air quality becomes unsafe.
This plan keeps things simple. It also gives you a clear path from trailhead to final image. Therefore, you can spend more time making photos and less time solving problems.
Capture Better Mountain-Hike Landscapes All Summer Long
Summer heat and haze do not have to ruin your mountain photos. If you start early, dress for the weather, and carry your camera well, you can still capture clear mountain-hike landscapes. Smart settings and simple field habits will help even more.
Remember to watch the light, the air, and your own energy. Use a clear carry setup, such as a comfortable crossbody strap, so your camera stays ready on the trail. With the right plan, you can capture stronger mountain-hike landscapes and enjoy the hike at the same time.
Frequently Asked Questions
How do I reduce haze in my landscape photos?
Shoot early in the morning, when the air is usually cooler and clearer and distant peaks show more detail. If haze is still strong, choose a higher route or a different day with better air quality.
What camera settings work best for mountain scenery?
Use settings that preserve contrast and detail, since mountain scenes can look flat in midday light. The article emphasizes timing and clear air more than specific settings, but a sharper, high-contrast image is the goal.
How should I carry my camera on long hikes?
Carry your gear in a way that reduces strain, such as in a comfortable pack or setup that keeps the load manageable. The article notes that less strain helps you hike longer and stay focused on shooting.


