- What settings should I use for beach sunset photos
- How do I avoid overexposed skies at sunset
- How do I protect my camera at the beach
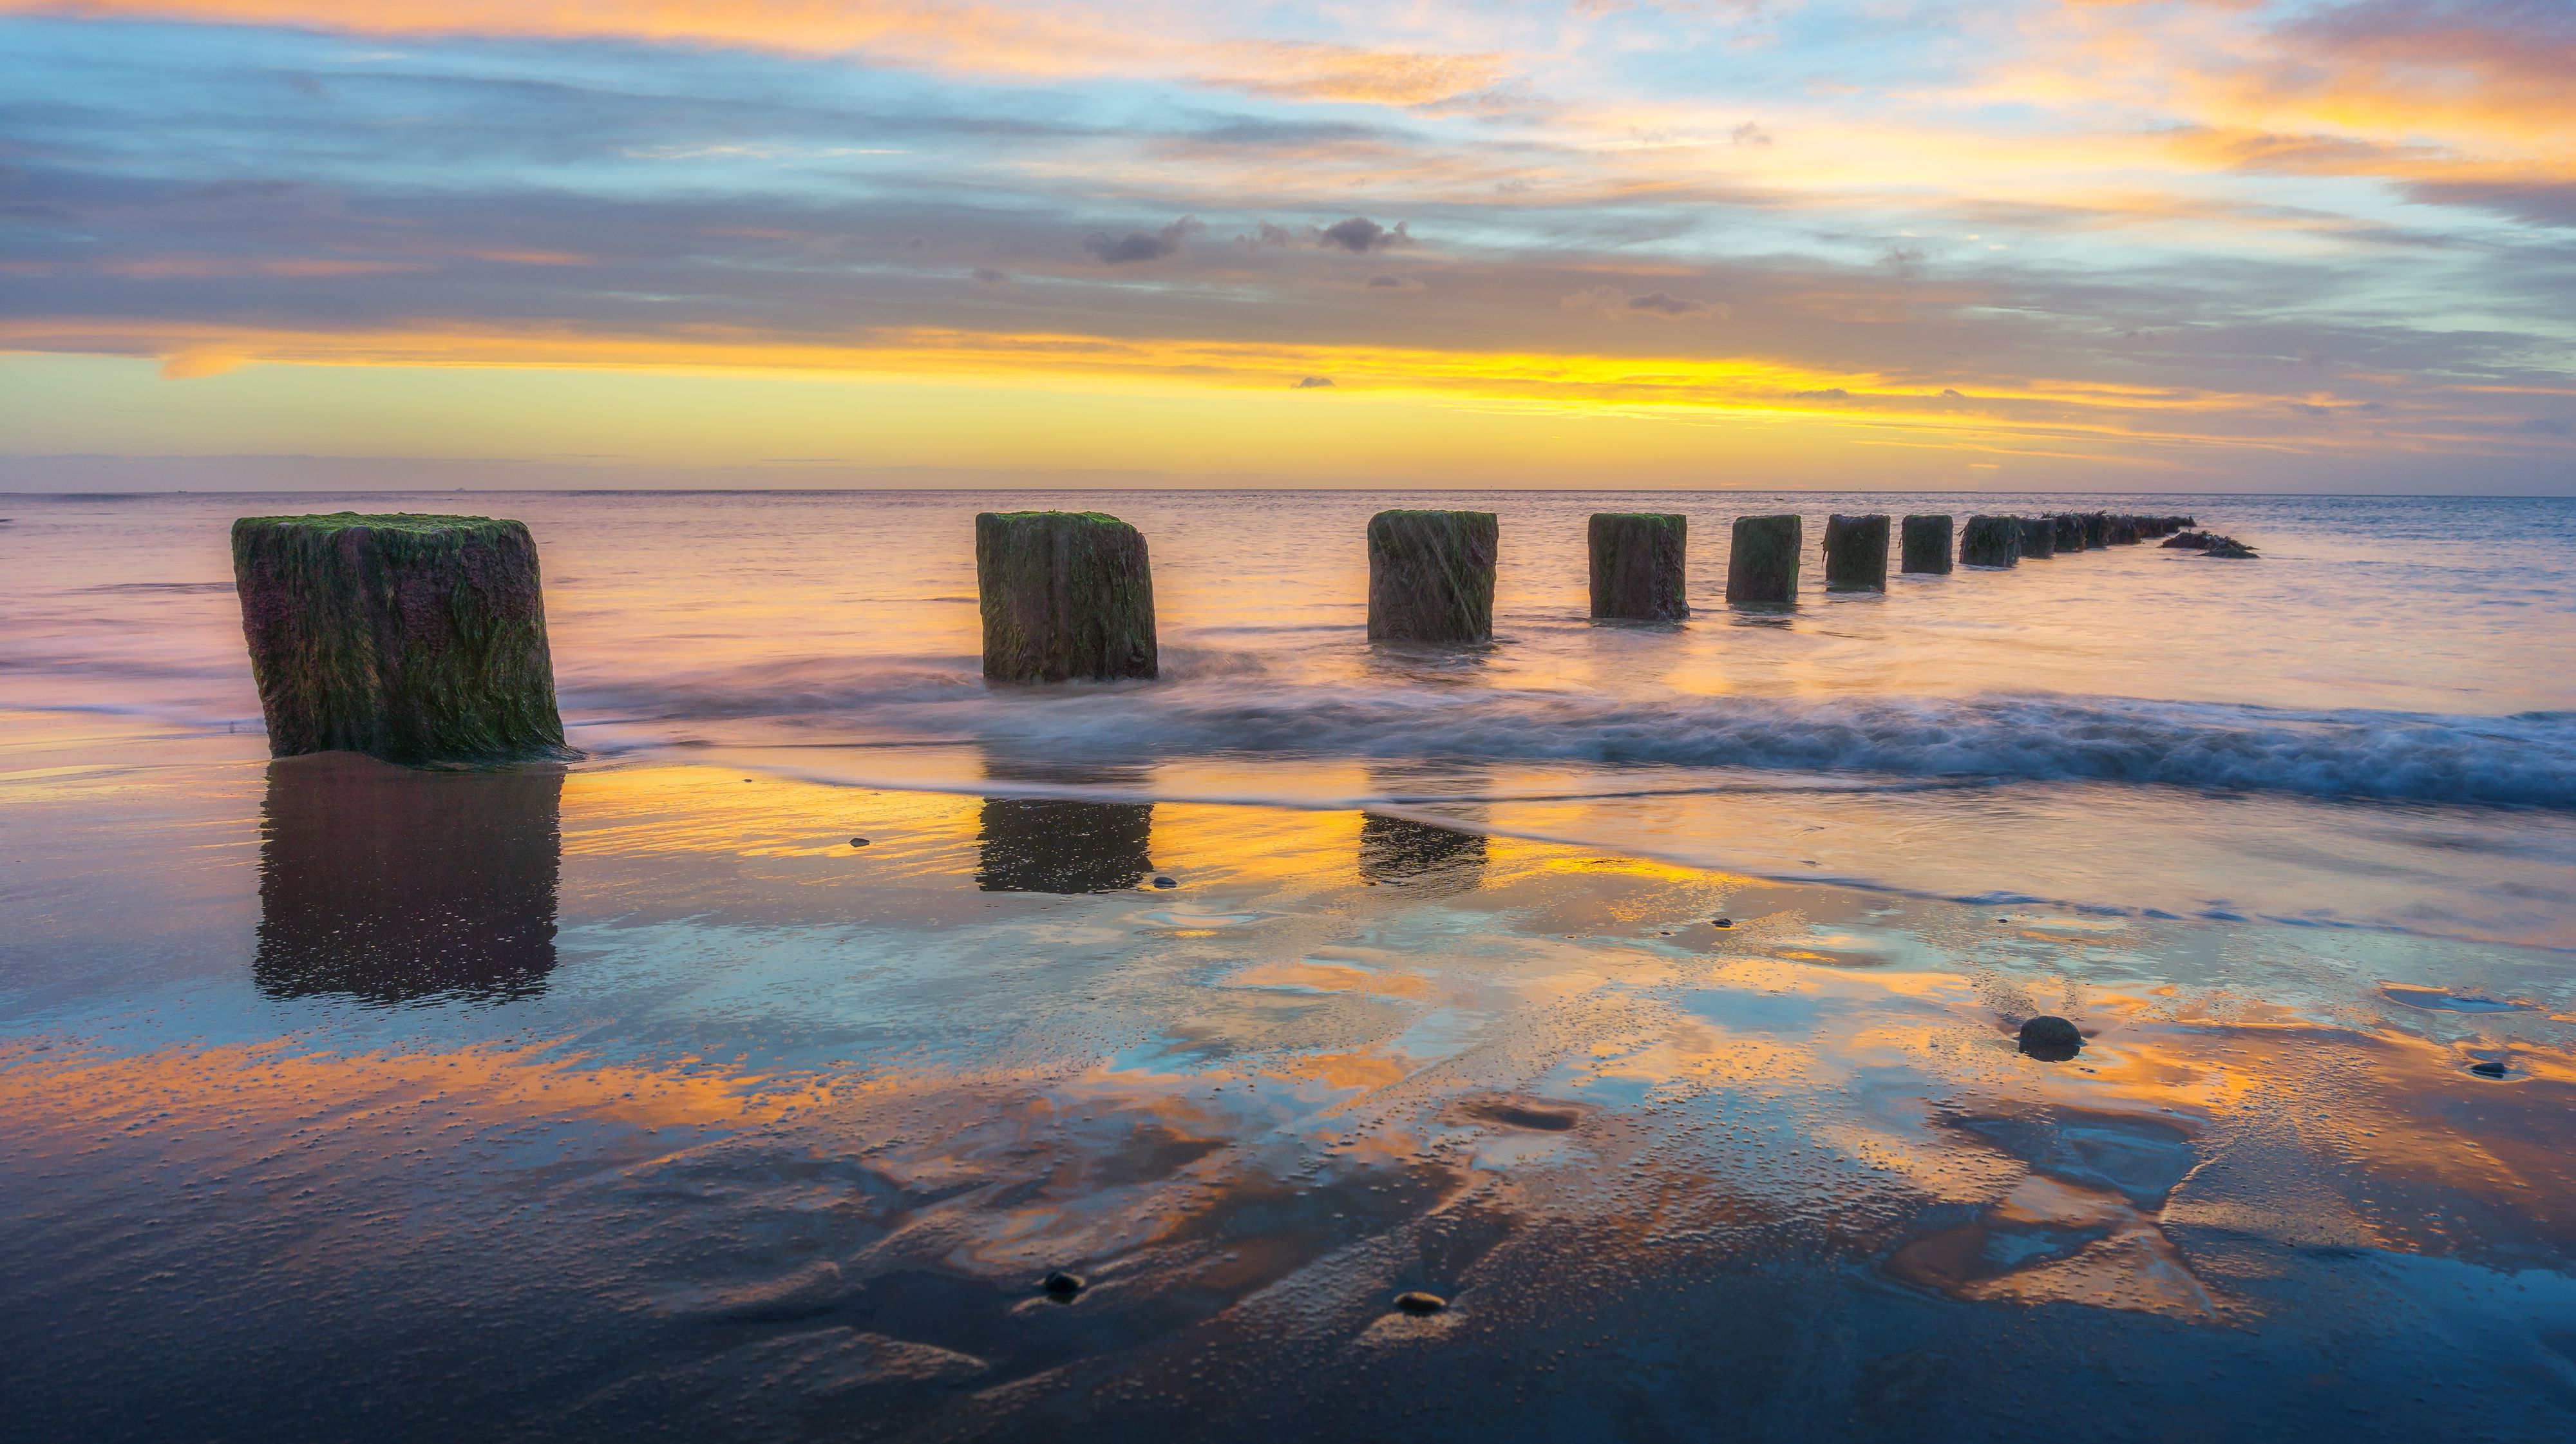
To photograph golden hour beaches effectively, you need more than a beautiful view. Bright skies, soft light, and strong reflections all demand control. Fortunately, a few straightforward steps can help you capture beach sunsets with rich color and clean detail.
Golden hour can feel magical, yet it can still be tough on your camera. Water, sand, and bright skies can throw off your meter quickly. So this guide shows you how to photograph beach scenes without blown highlights while preserving warmth and balance.
Why golden hour beaches are hard to photograph
Golden hour light may look gentle, but beach scenes still contain a huge range of brightness. The sky can be extremely bright, while faces, rocks, and wet sand remain much darker. Once that difference becomes too great, highlights clip quickly and detail disappears.
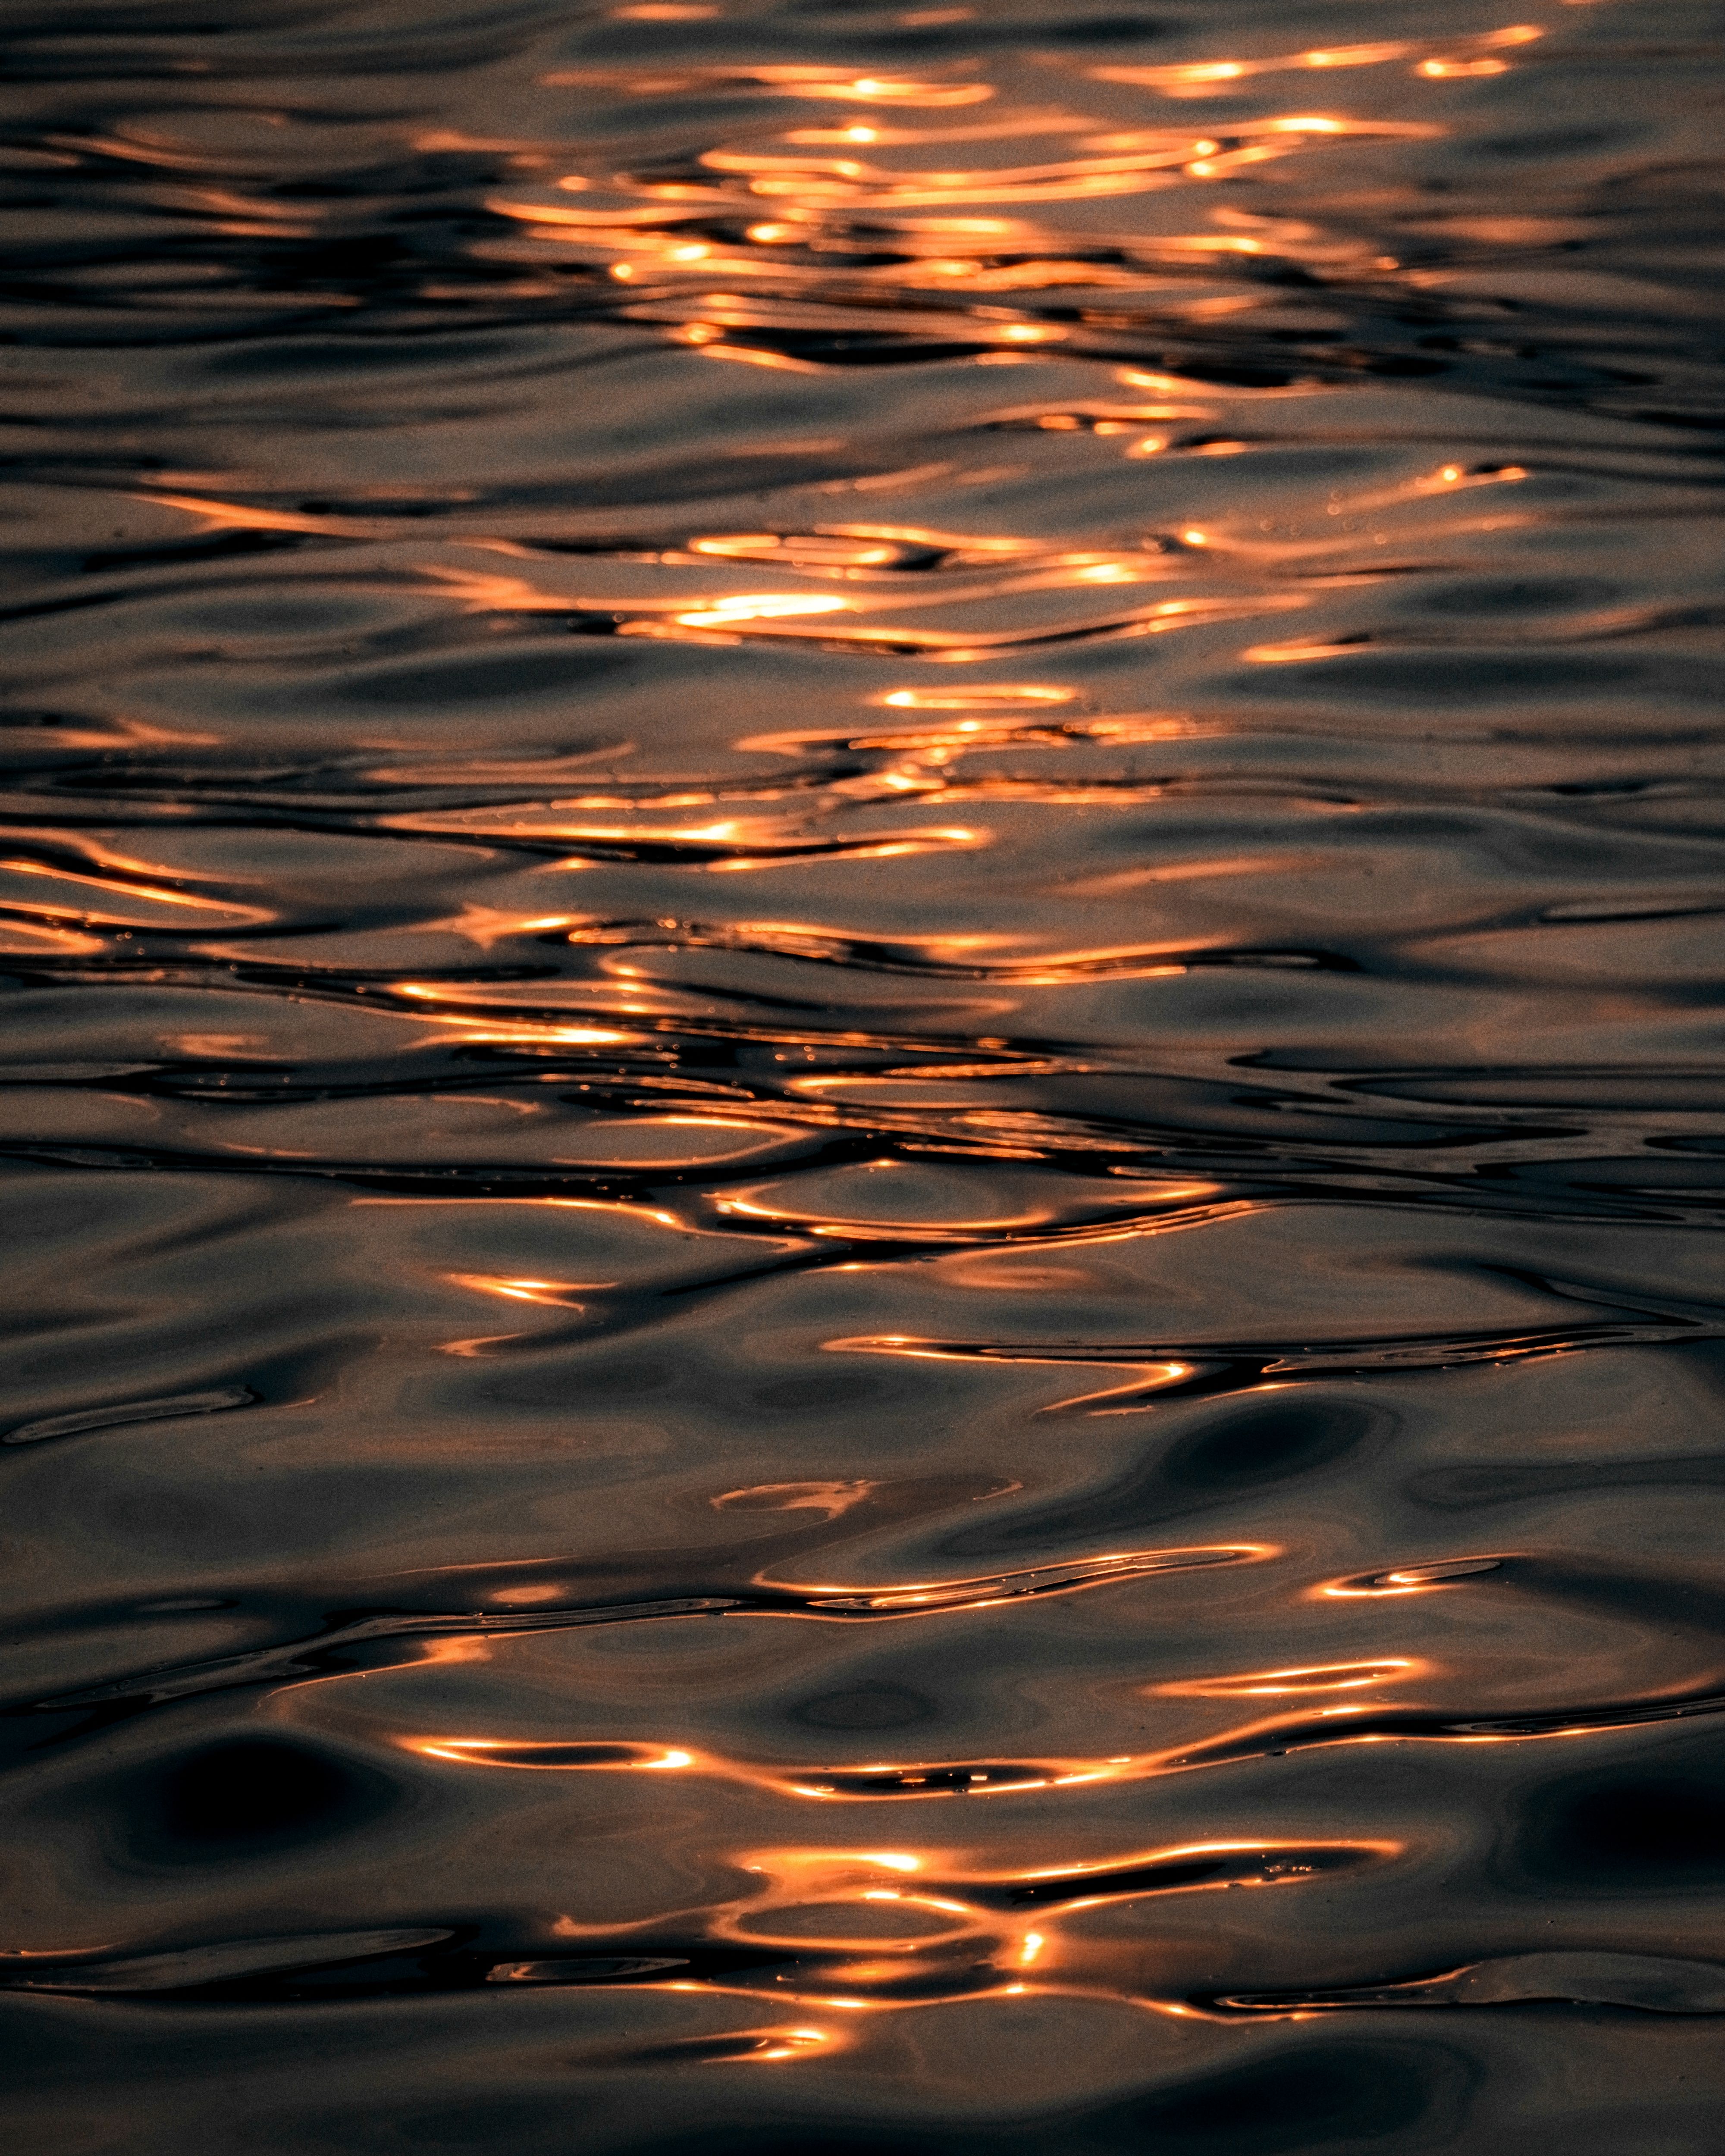
Water adds another layer of difficulty because it reflects both sun and sky. Sand works like a bright bounce card, which can shift exposure as well. Consequently, the same settings may work in one spot and fail just a few feet away.
Why blown highlights happen so fast
Blown highlights occur when bright areas go beyond what your camera can capture. This often appears in clouds, foam, wet sand, and the sunlit edge of the sea. After those areas turn pure white, the lost detail cannot be recovered later.
Still, you can sidestep that problem by planning your composition and exposure. The aim is not to make the scene dark. Instead, keep the brightest areas under control while preserving the warmth of the light.
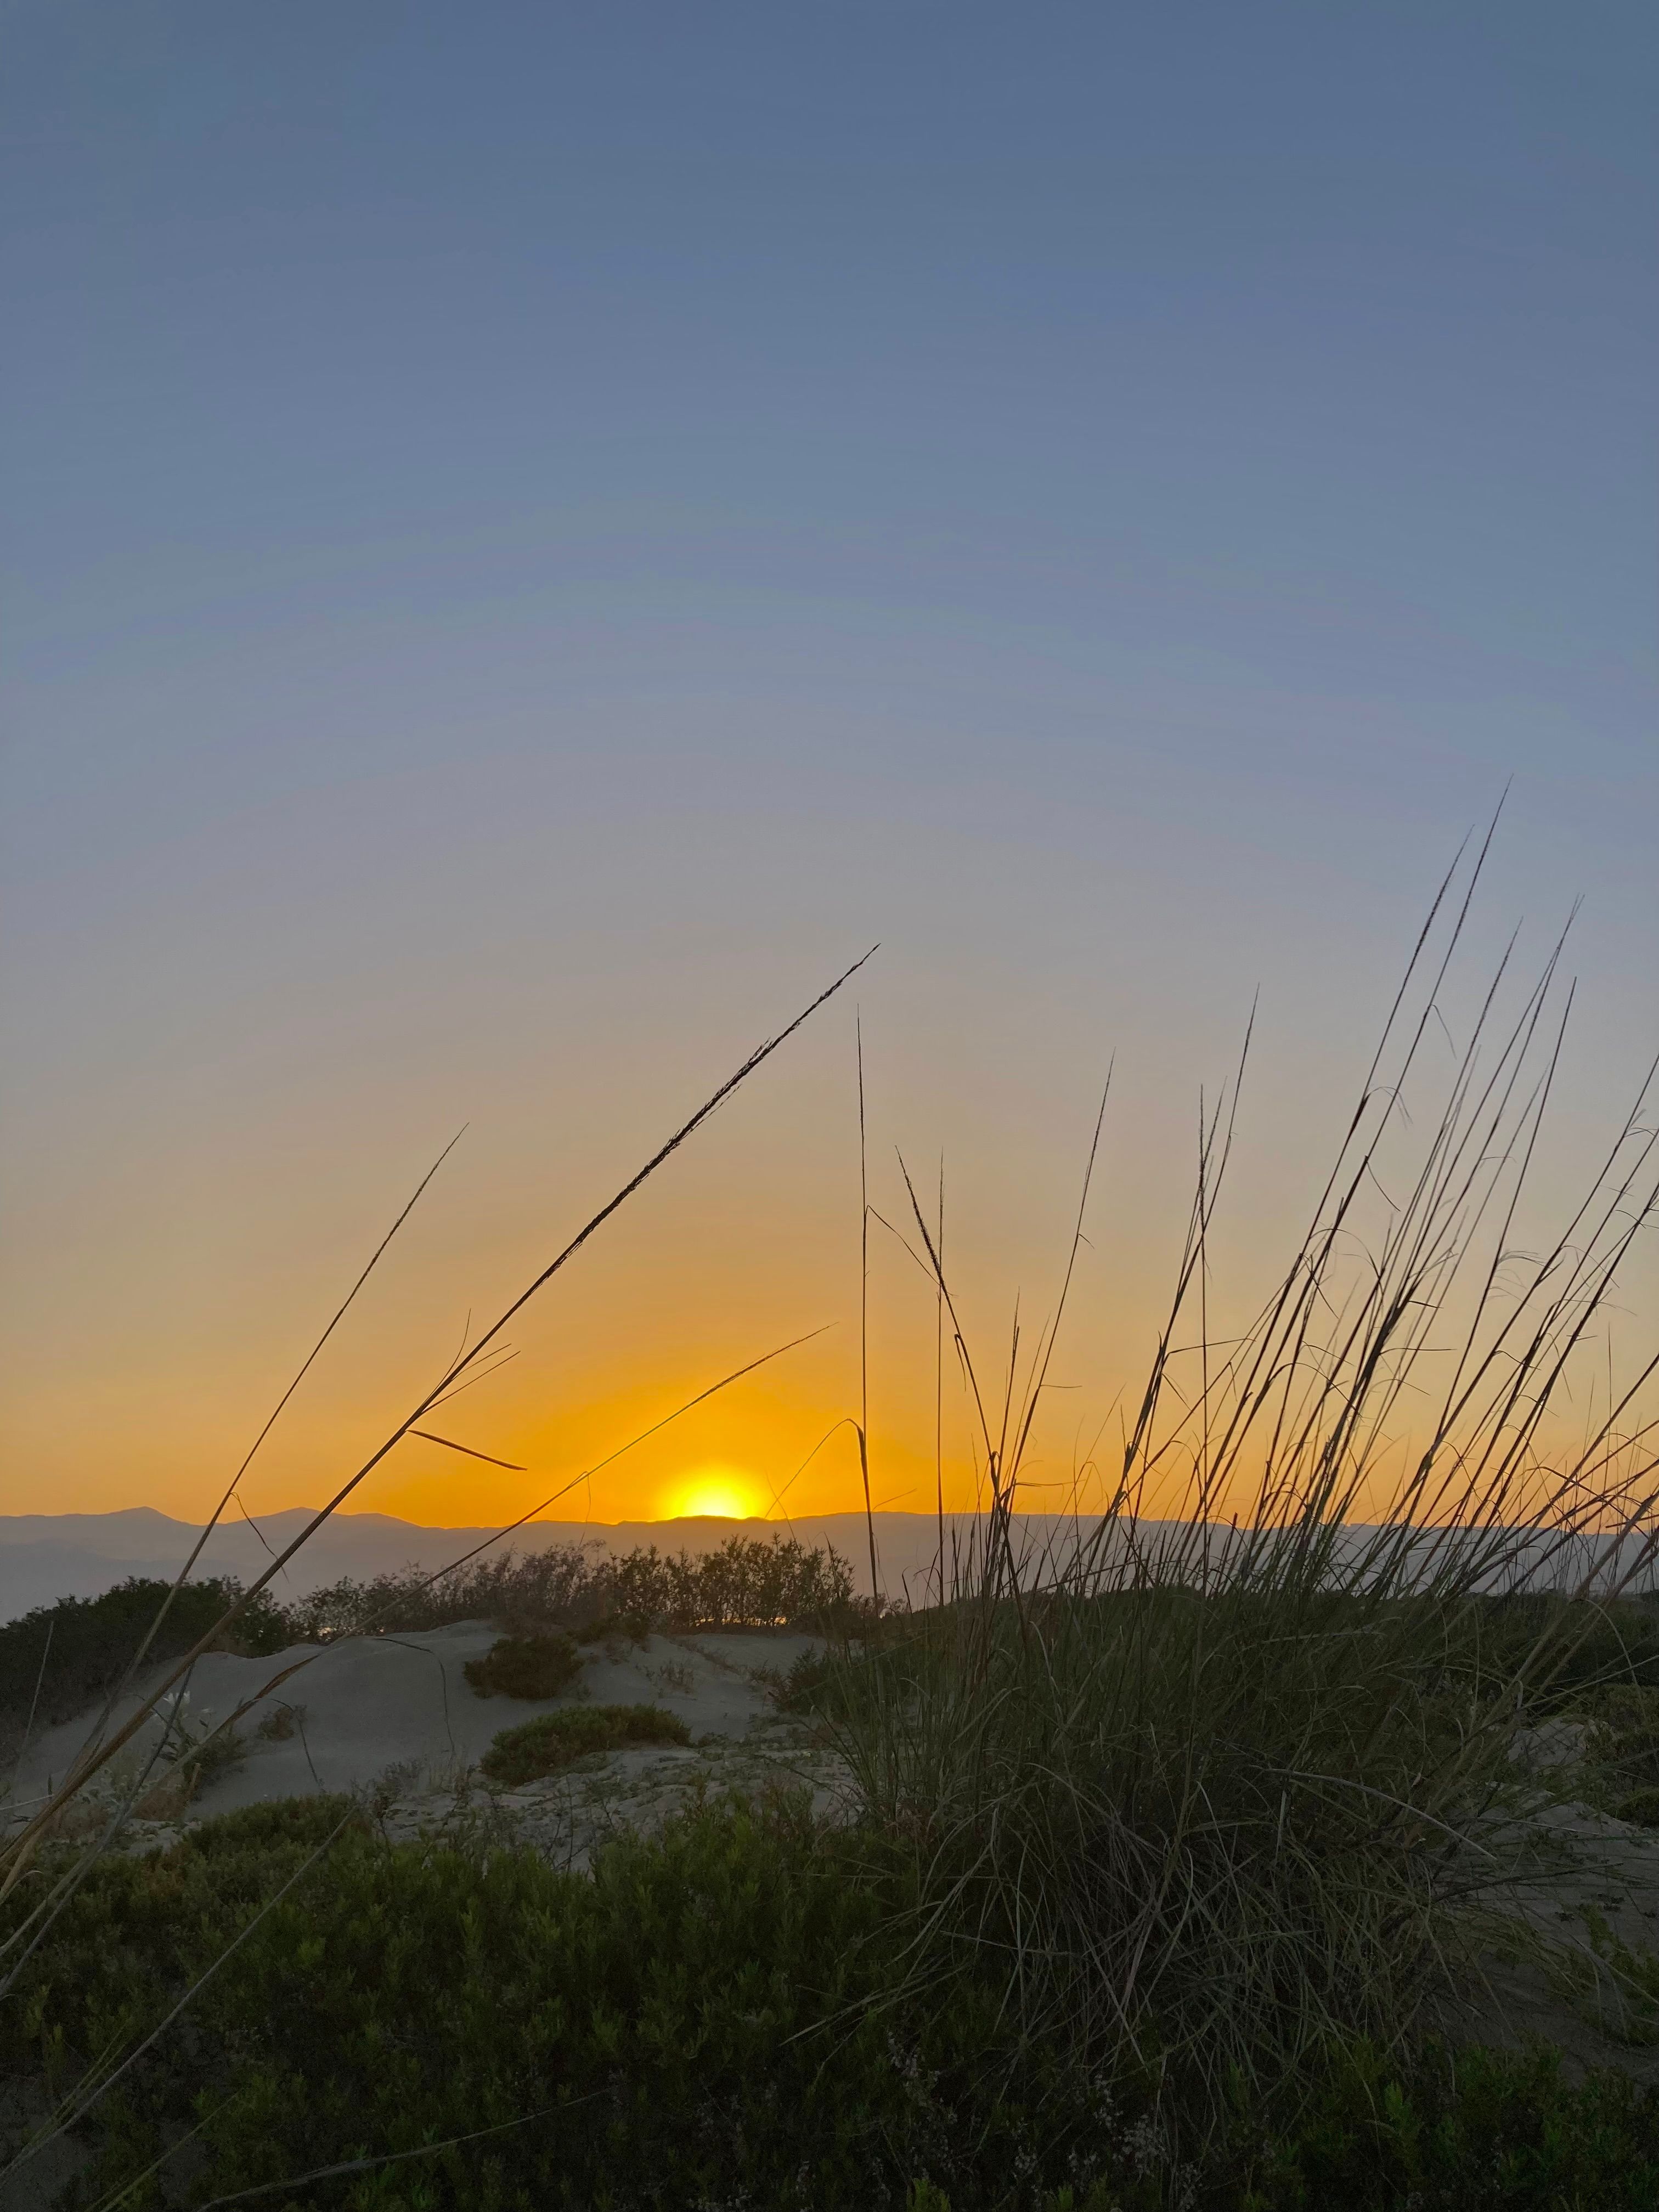
Photograph golden hour beaches with the right timing
Timing matters more than many people realize. Research shows that beach sessions work best about 15 minutes before sunrise or 1 to 1.5 hours before sunset, depending on dune height and shade. That window helps you photograph glowing light without harsh glare off the water.
For sunset sessions, begin about 45 minutes before sunset and continue into twilight. Doing so gives you the full golden hour window, along with the soft colors that often appear after the sun drops. Therefore, you get more opportunities to photograph both bright and calm light in a single outing.
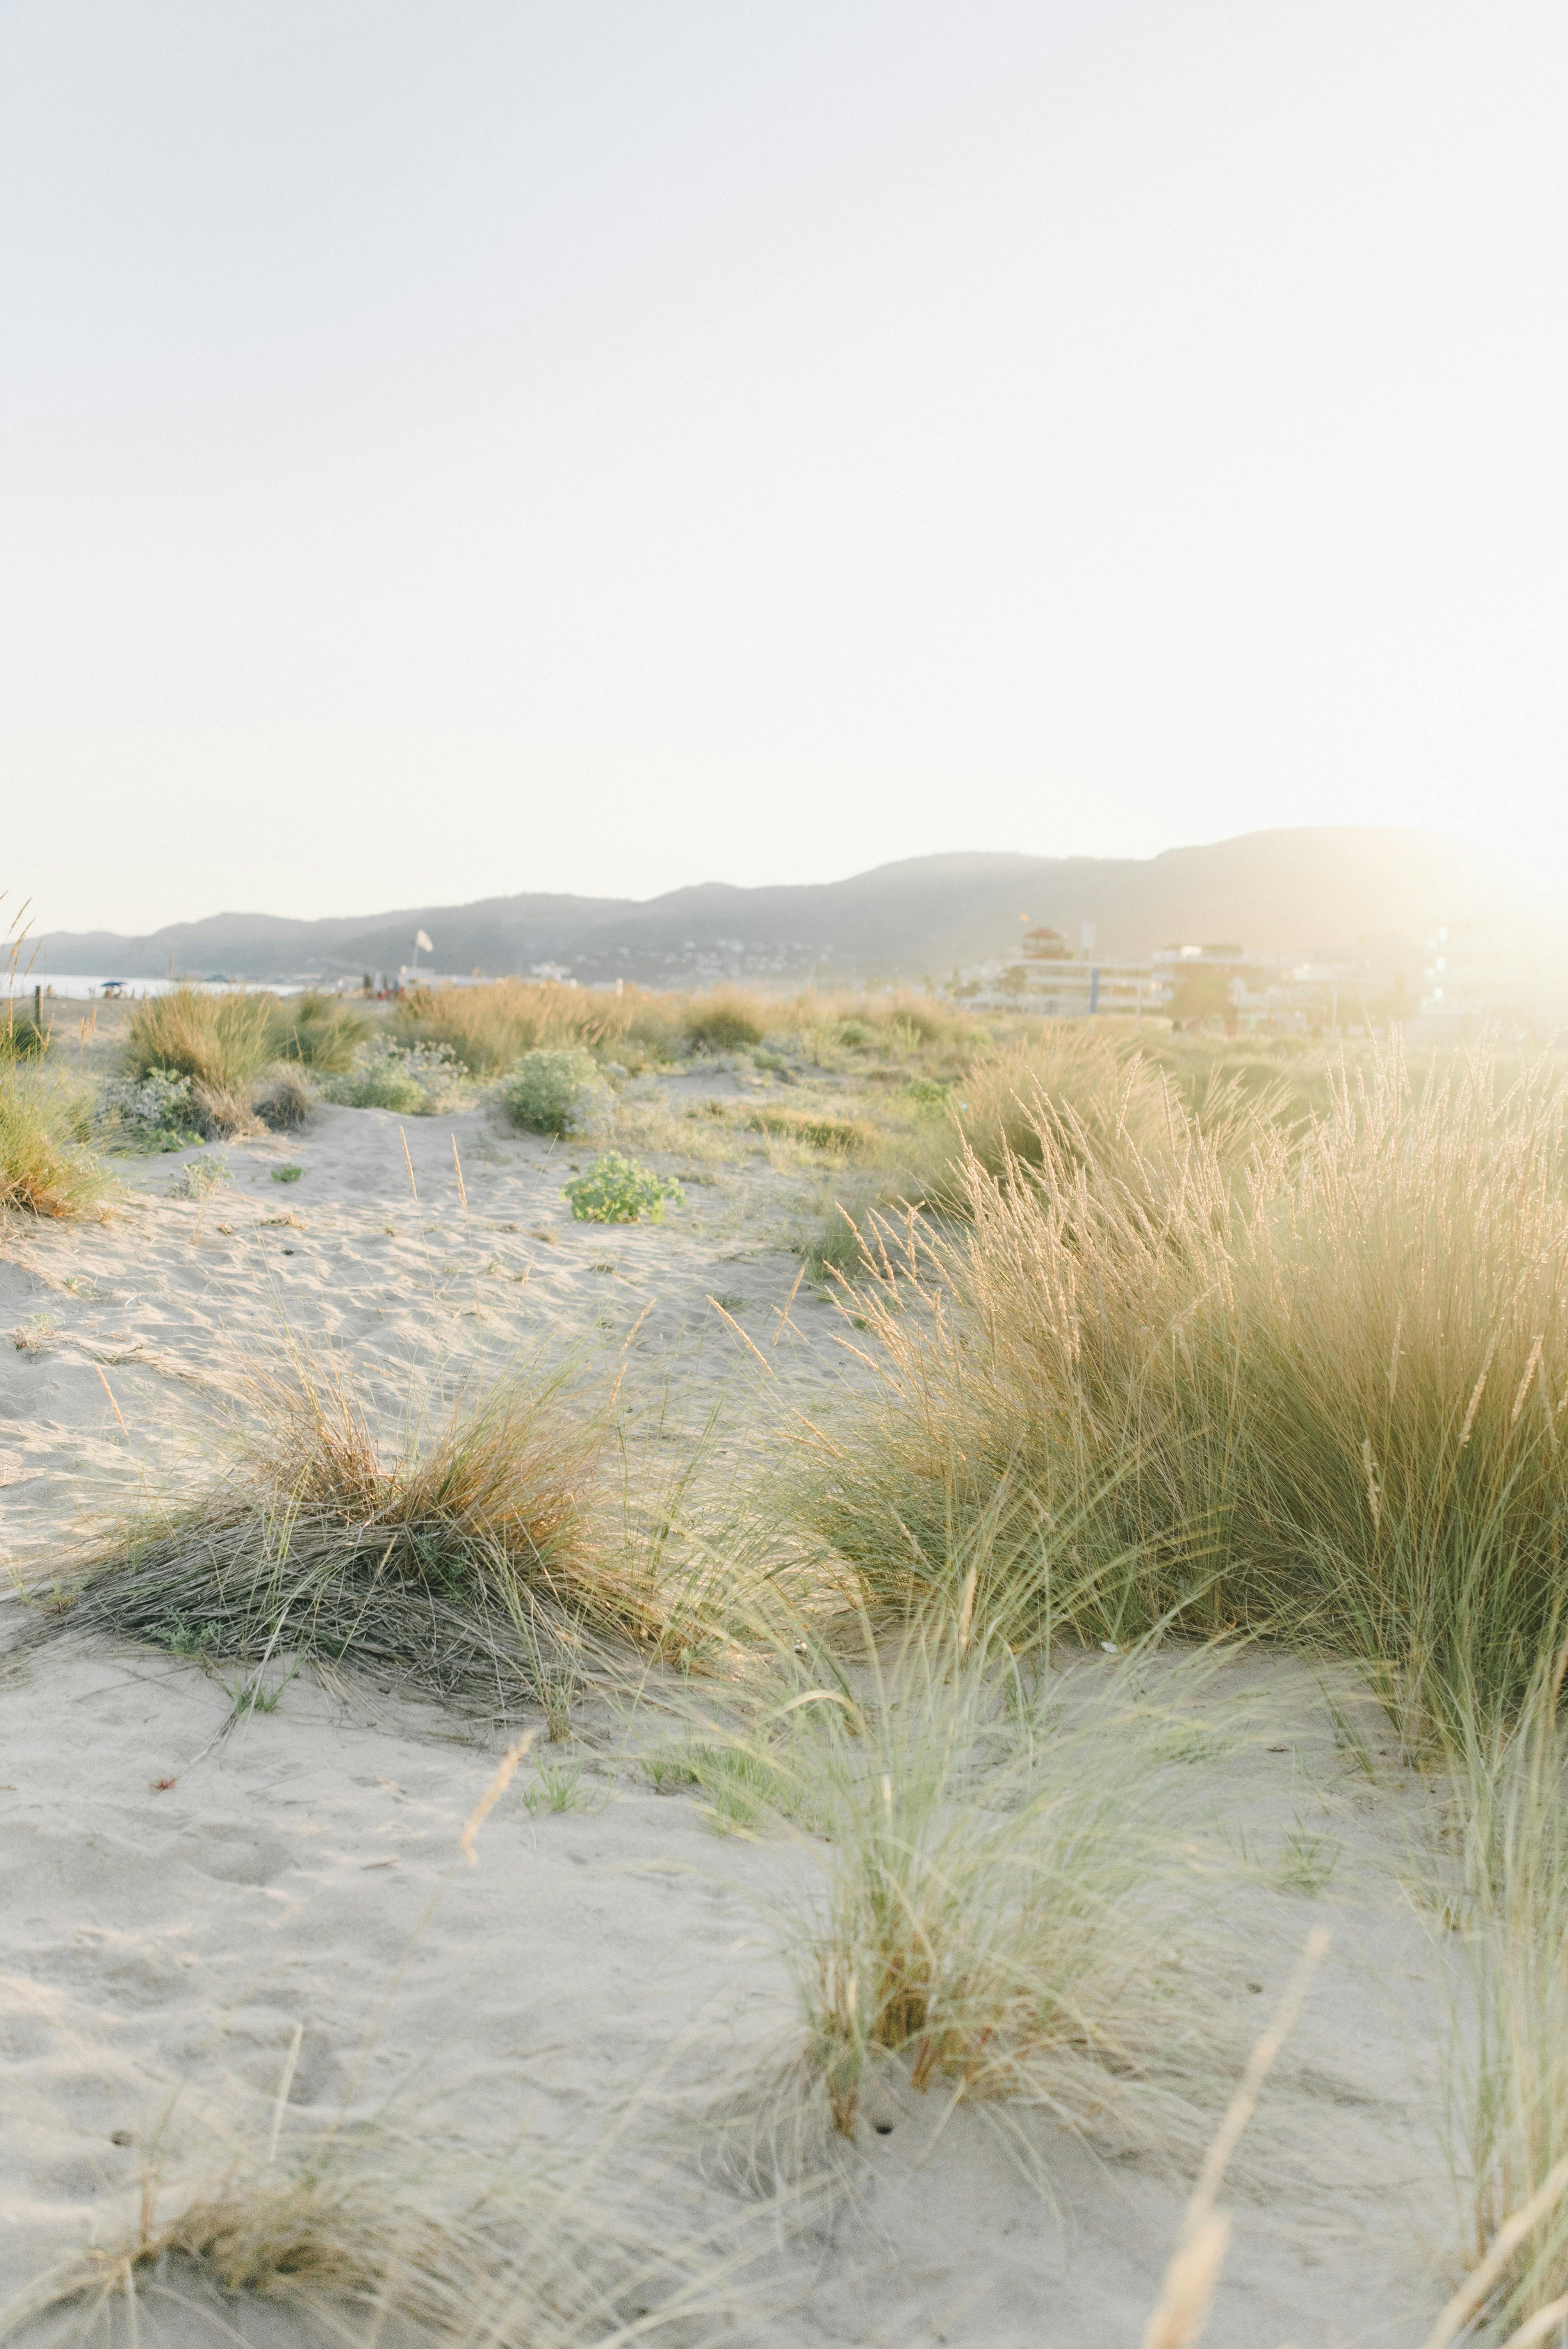
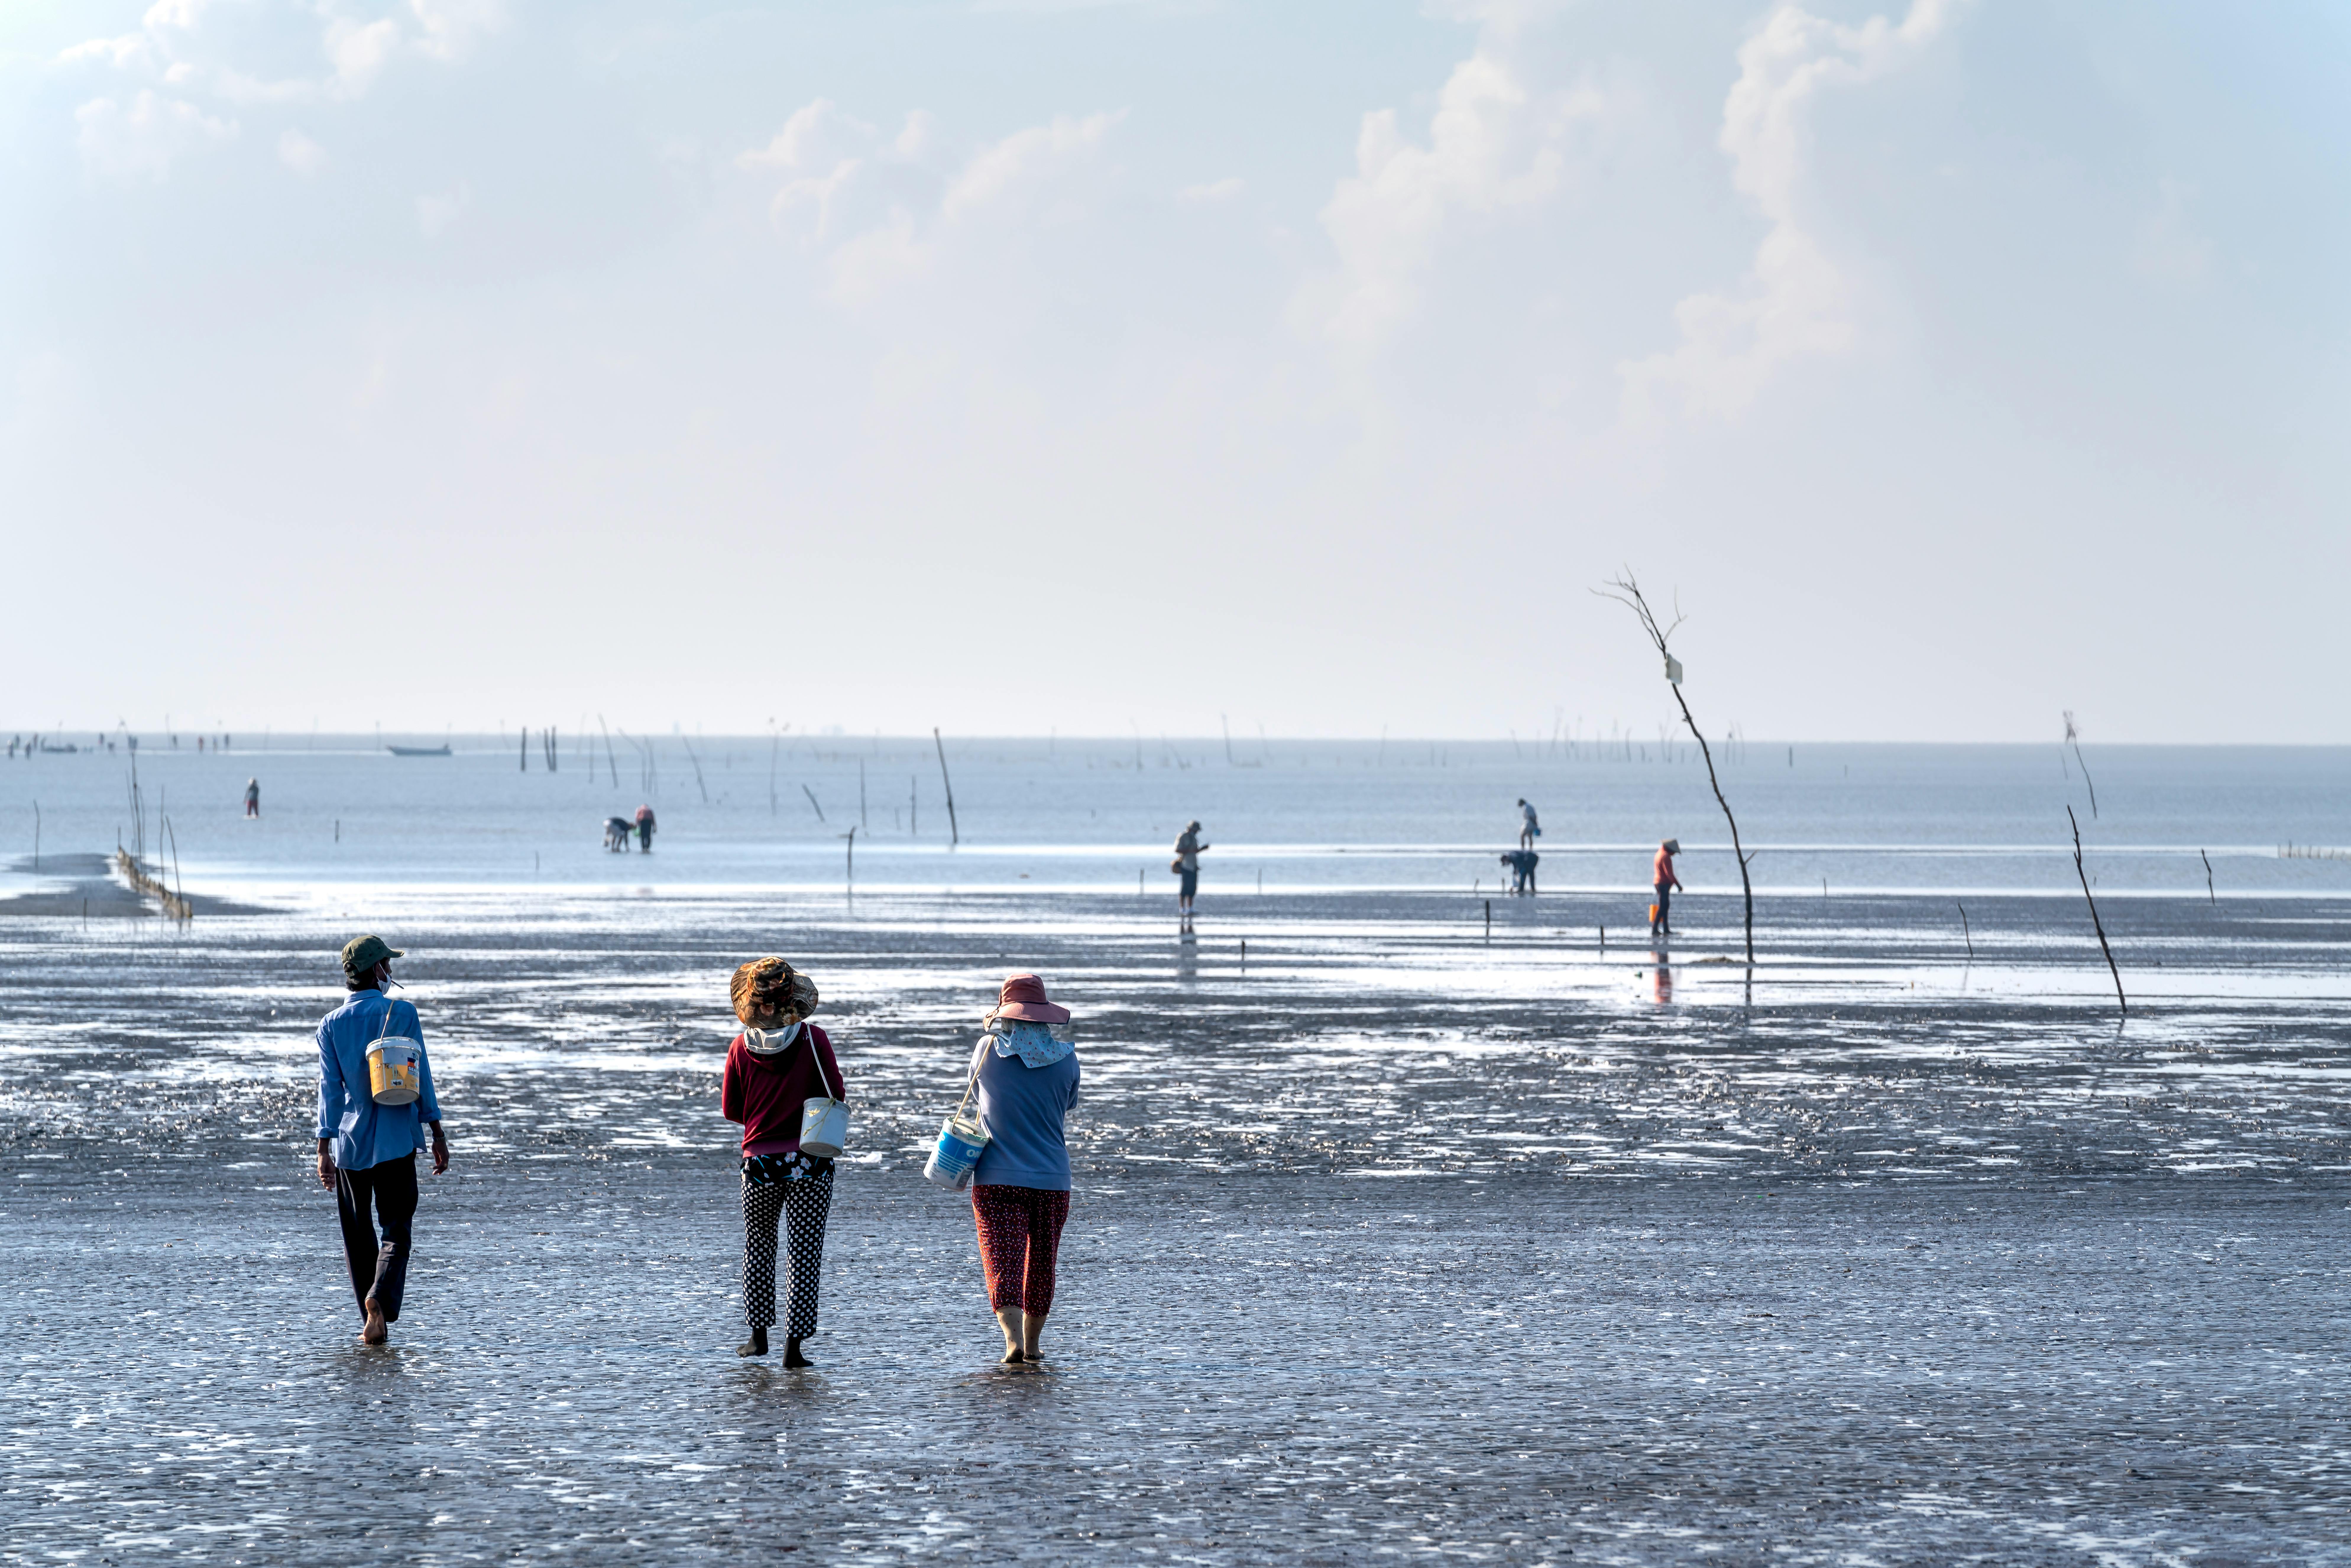
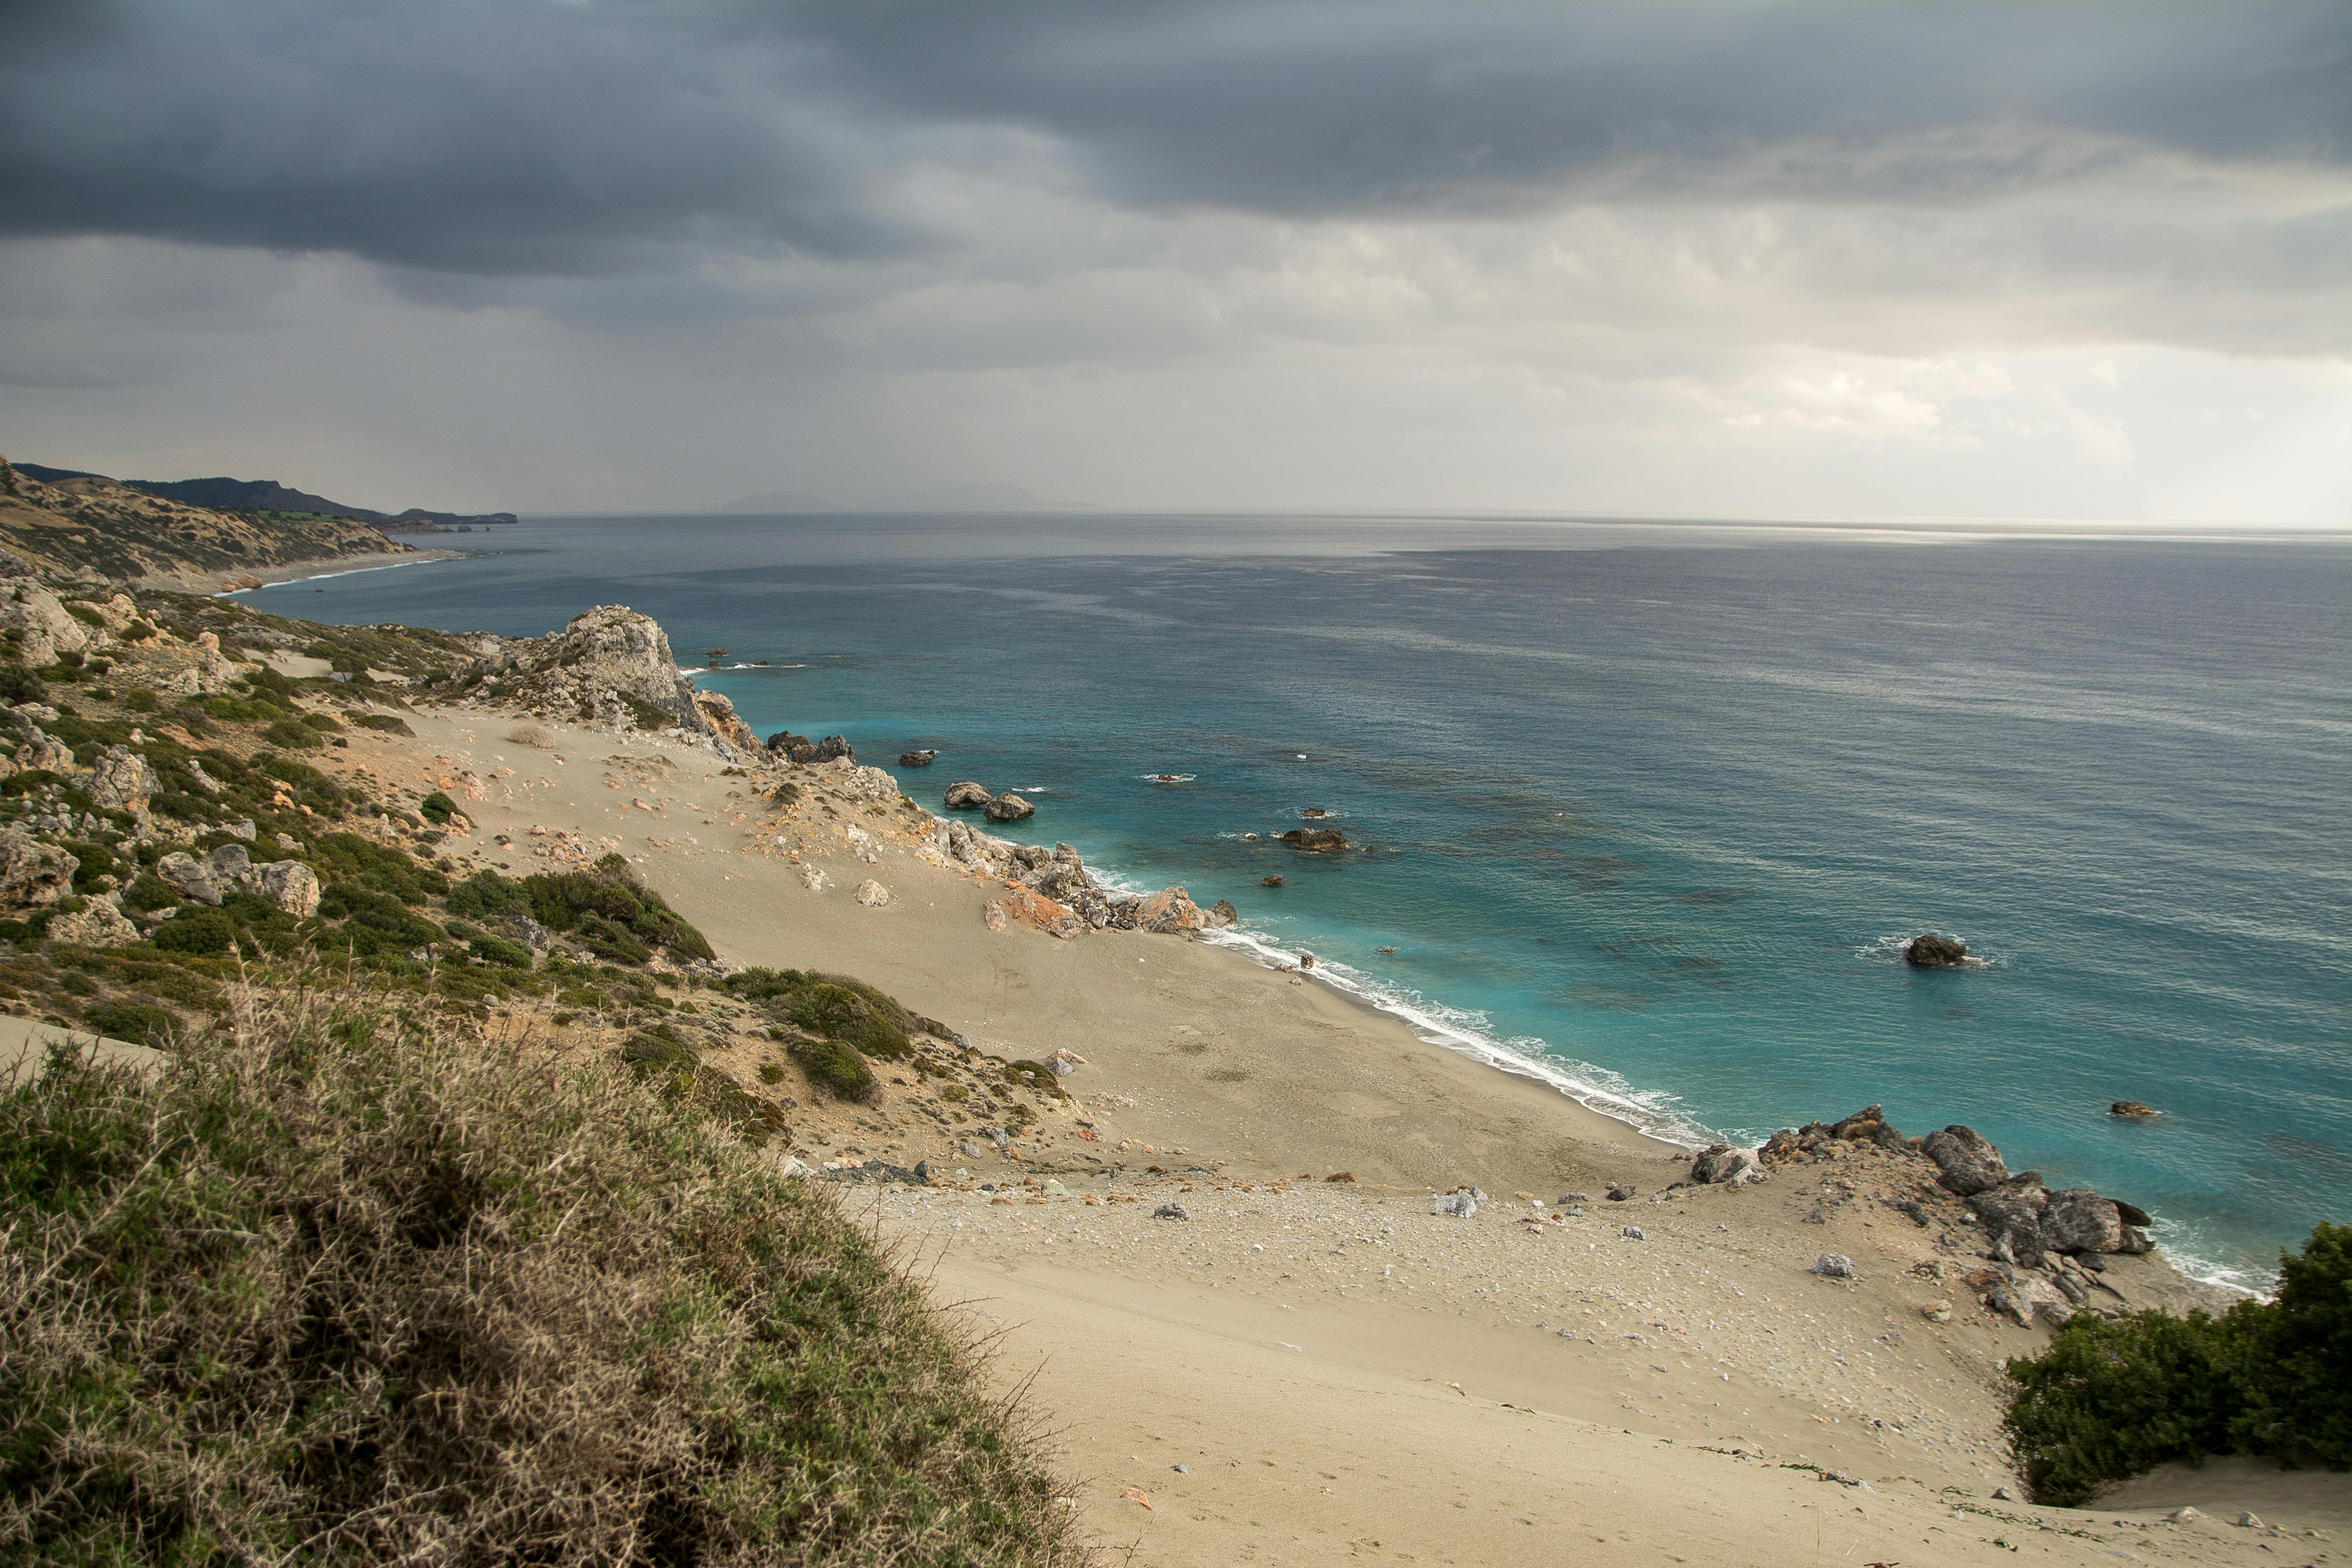
Low tide can improve your beach photos
Low tide opens up smooth, clean stretches of sand and wet shoreline. Those surfaces reflect light more softly, which can enhance the golden hour glow. They also give you more room to place people and gear away from incoming waves.
In addition, low tide often leaves simple lines in the scene. These lines can guide the eye toward your subject or the sunset. That helps you photograph a stronger composition without depending on heavy editing later.
How to photograph beach sunsets without overexposed skies
If you want to photograph a beach sunset with clean sky detail, position the sun to one side. Avoid placing it directly behind your subject. Instead, shift it about 45 degrees to the left or right of the body.
This angle creates warm edge light and softer flare. It also helps preserve pink and blue tones in the sky at dusk. However, when the sun sits straight behind your subject, the sky can wash out quickly.
Meter for skin tones, not the brightest clouds
Your camera may try to render the entire scene too evenly. That often makes the sky too bright or the subject too dark. A better approach is to meter for the subject’s skin tones and recover highlights later.
This technique works especially well when you photograph people at the waterline or on open sand. You keep the face properly exposed, then pull back sky detail in post. Lightroom and similar tools can help if the highlights are not completely clipped.
Use sand and water as natural fill light
Sand and water can bounce light back onto your subject. That can soften deep shadows under the eyes and chin. It also means you may not need fill flash in many beach scenes.
This natural fill is one reason beach portraits look so smooth during golden hour. Even so, watch the sky at the top of the frame. Bright reflectors below will not fix an overexposed horizon.
Camera settings that help you photograph beach sunsets
The best settings for beach sunset photos depend on your subject and the available light. Even so, there are strong starting points. A useful baseline is ISO 100, with adjustments as the light fades.
For shallow depth of field, use f/1.6 to f/2.2. If you photograph a group of four, stop down to around f/3.5 so more faces remain sharp. Shutter speed often lands between 1/125s and 1/250s because golden hour light is softer than midday light.
A simple starting setup
- ISO: 100 to start
- Aperture: f/2 to f/2.8 for one or two people
- Aperture for groups: around f/3.5
- Shutter speed: 1/125s to 1/250s
- Focal length: 50mm to 85mm for portraits
As the light drops, you may need ISO 1600 to 3200 during the final 15 minutes. That lets you keep a fast enough shutter speed without losing the shot. Therefore, do not be afraid of higher ISO when the sun is nearly gone.

If you photograph waves or moving people, keep a close eye on shutter speed. Slower settings can work for still scenes, but motion blur may show up if the subject moves quickly. In many beach portraits, a balanced shutter speed matters more than an extremely low ISO.
How to photograph people at the waterline
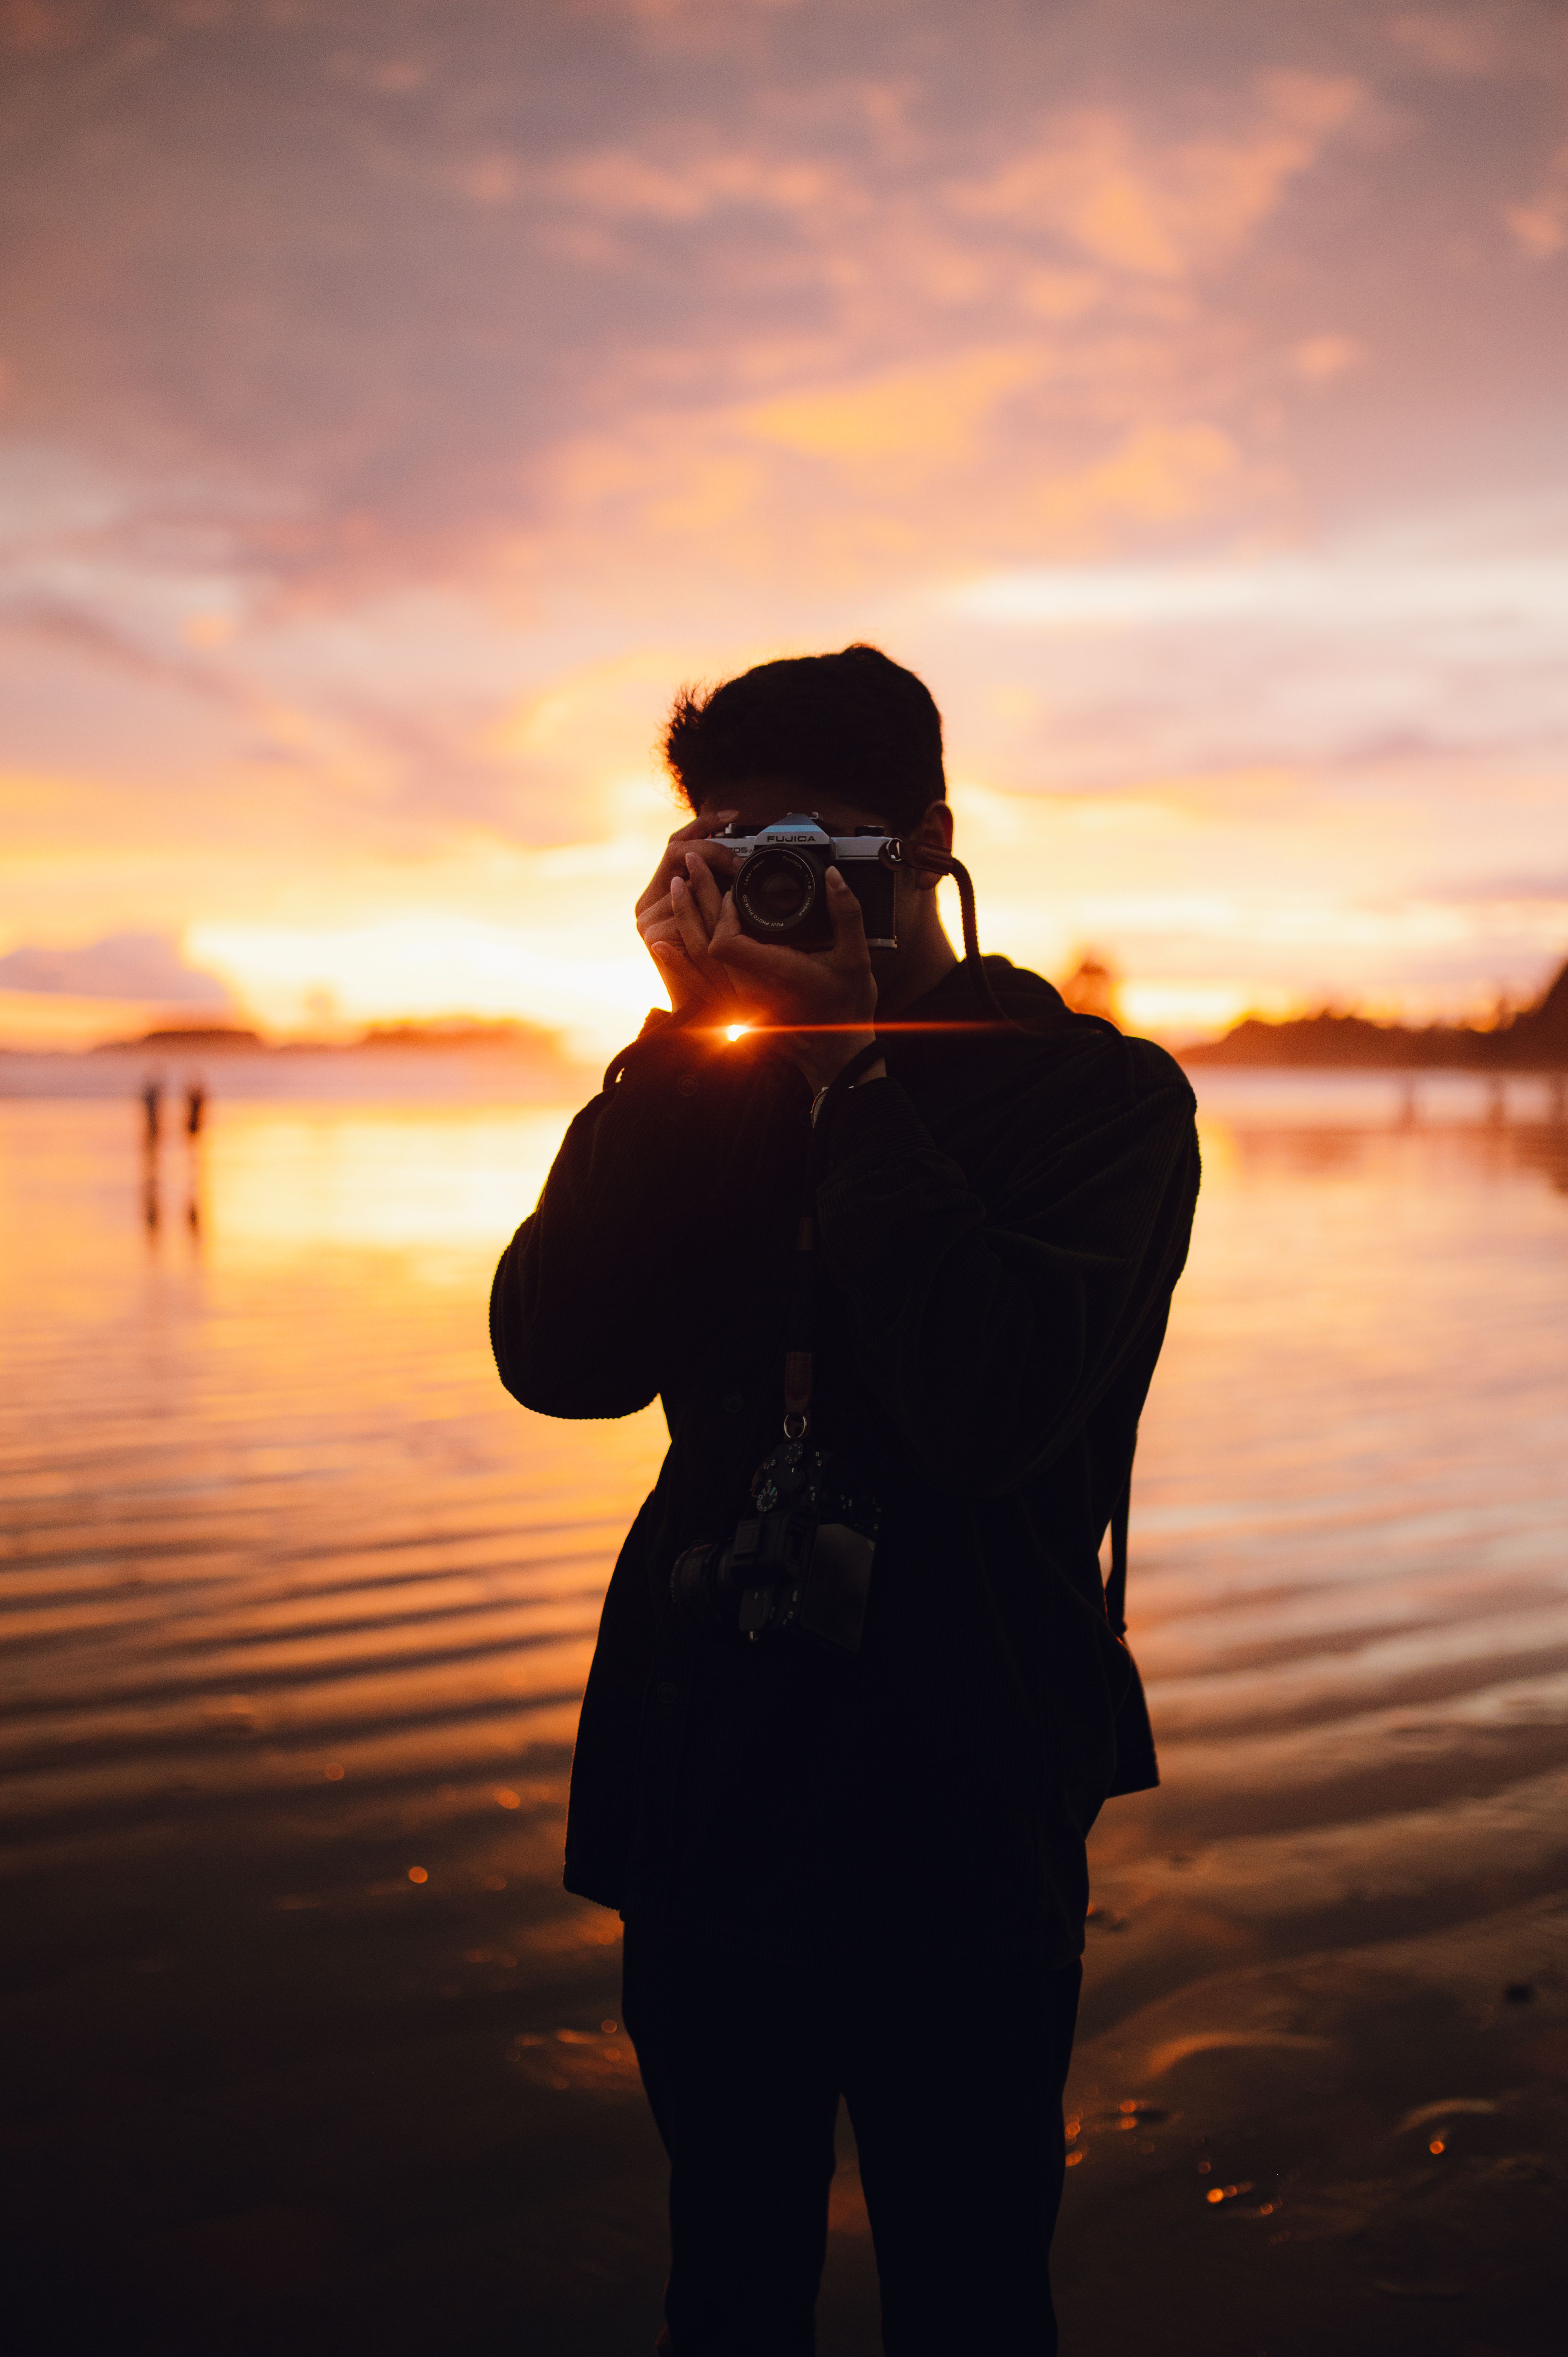
People at the waterline look beautiful in golden hour, but the scene can shift fast. The sun reflects off wet sand, and foam can brighten the lower half of the frame. That is why you should place the subject carefully and keep the sun slightly off to one side.
For the best result, shoot when the subject stands near the surf’s edge, not in harsh glare. If the sun feels too direct, move them a few steps. Small position changes can protect the sky and improve the light on the face.
Keep the sun out of the direct back spot
Many photographers put the sun directly behind the subject for a halo effect. That can look appealing, but it often causes overexposure. It can also flatten the pink and blue tones that make sunset beaches feel so special.
Instead, place the sun slightly off center. This preserves the glow while reducing flare and haze. As a result, you can photograph a cleaner scene with better color and more detail.
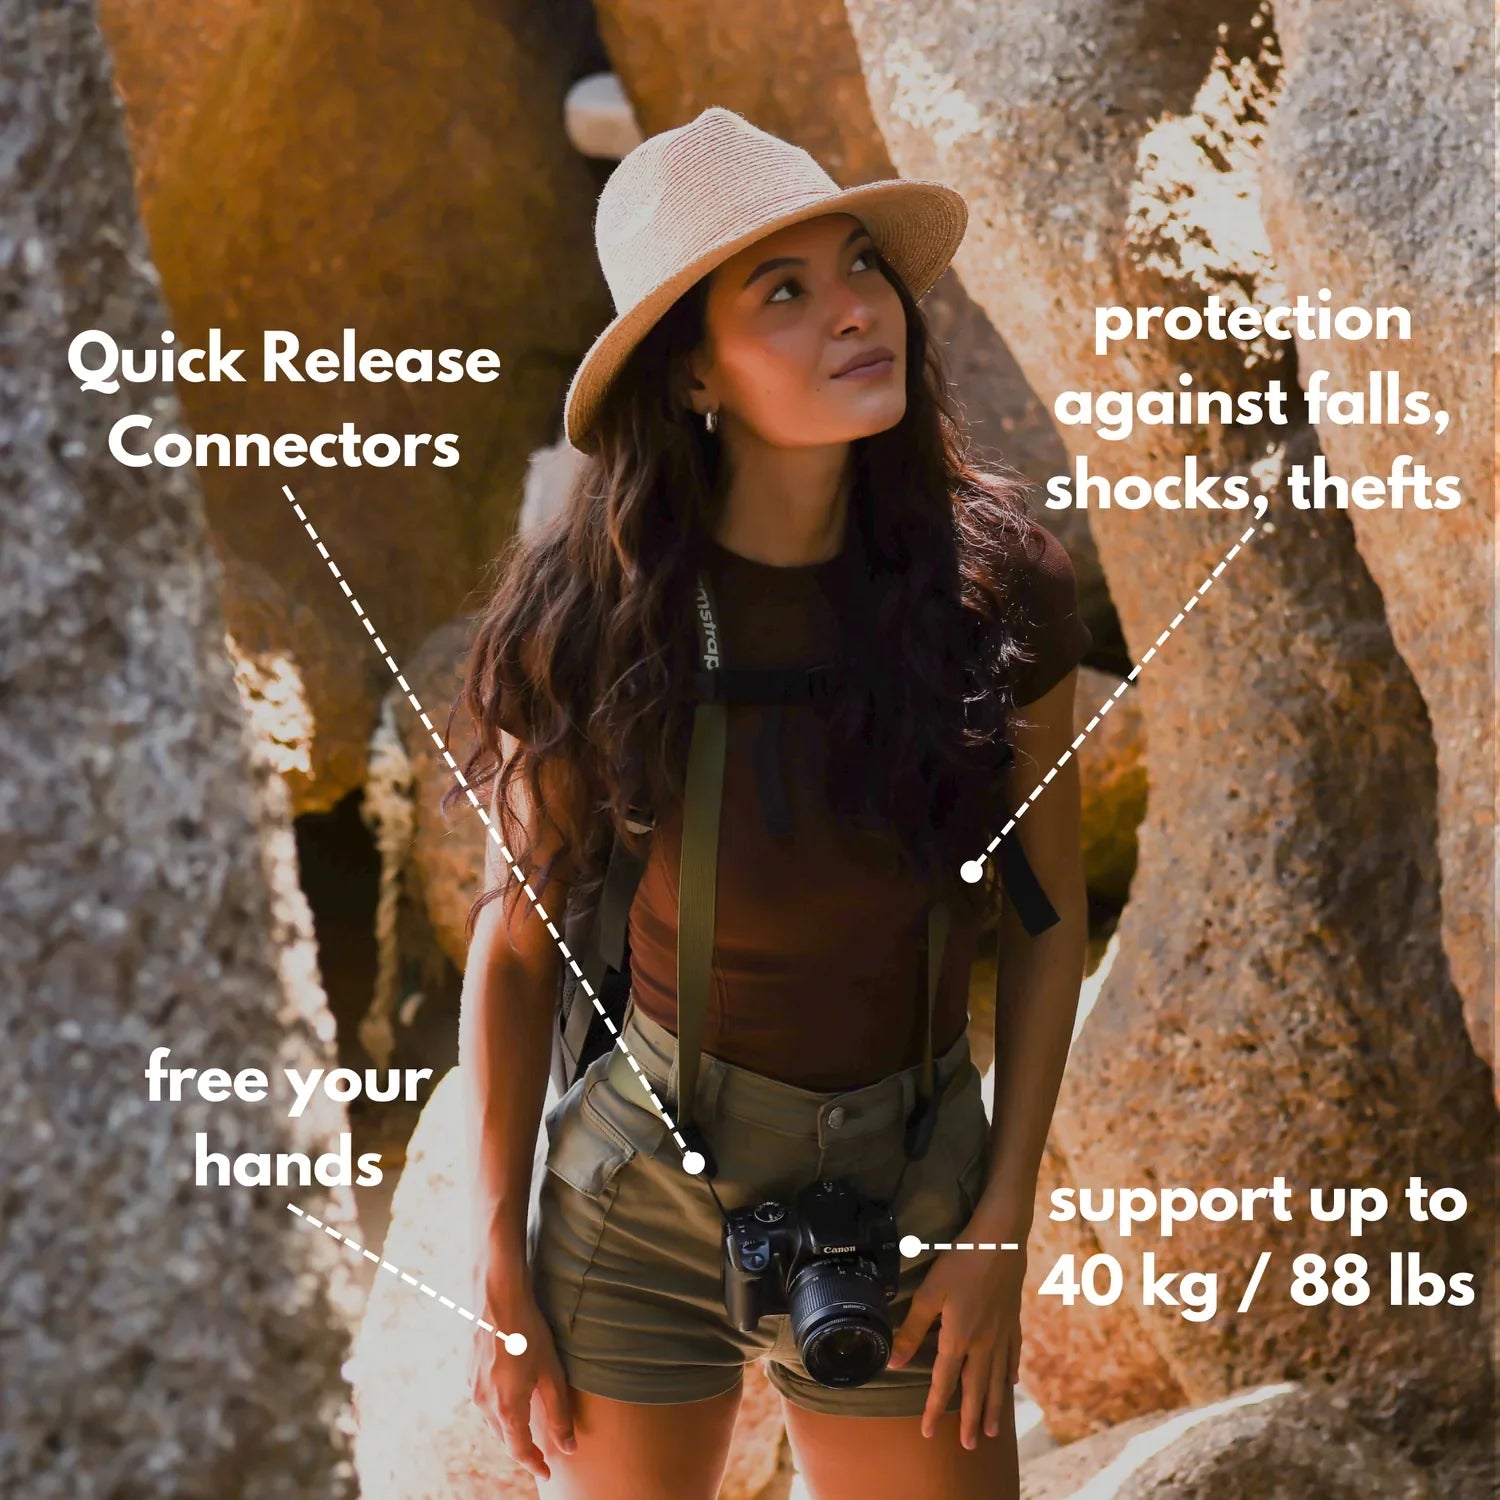
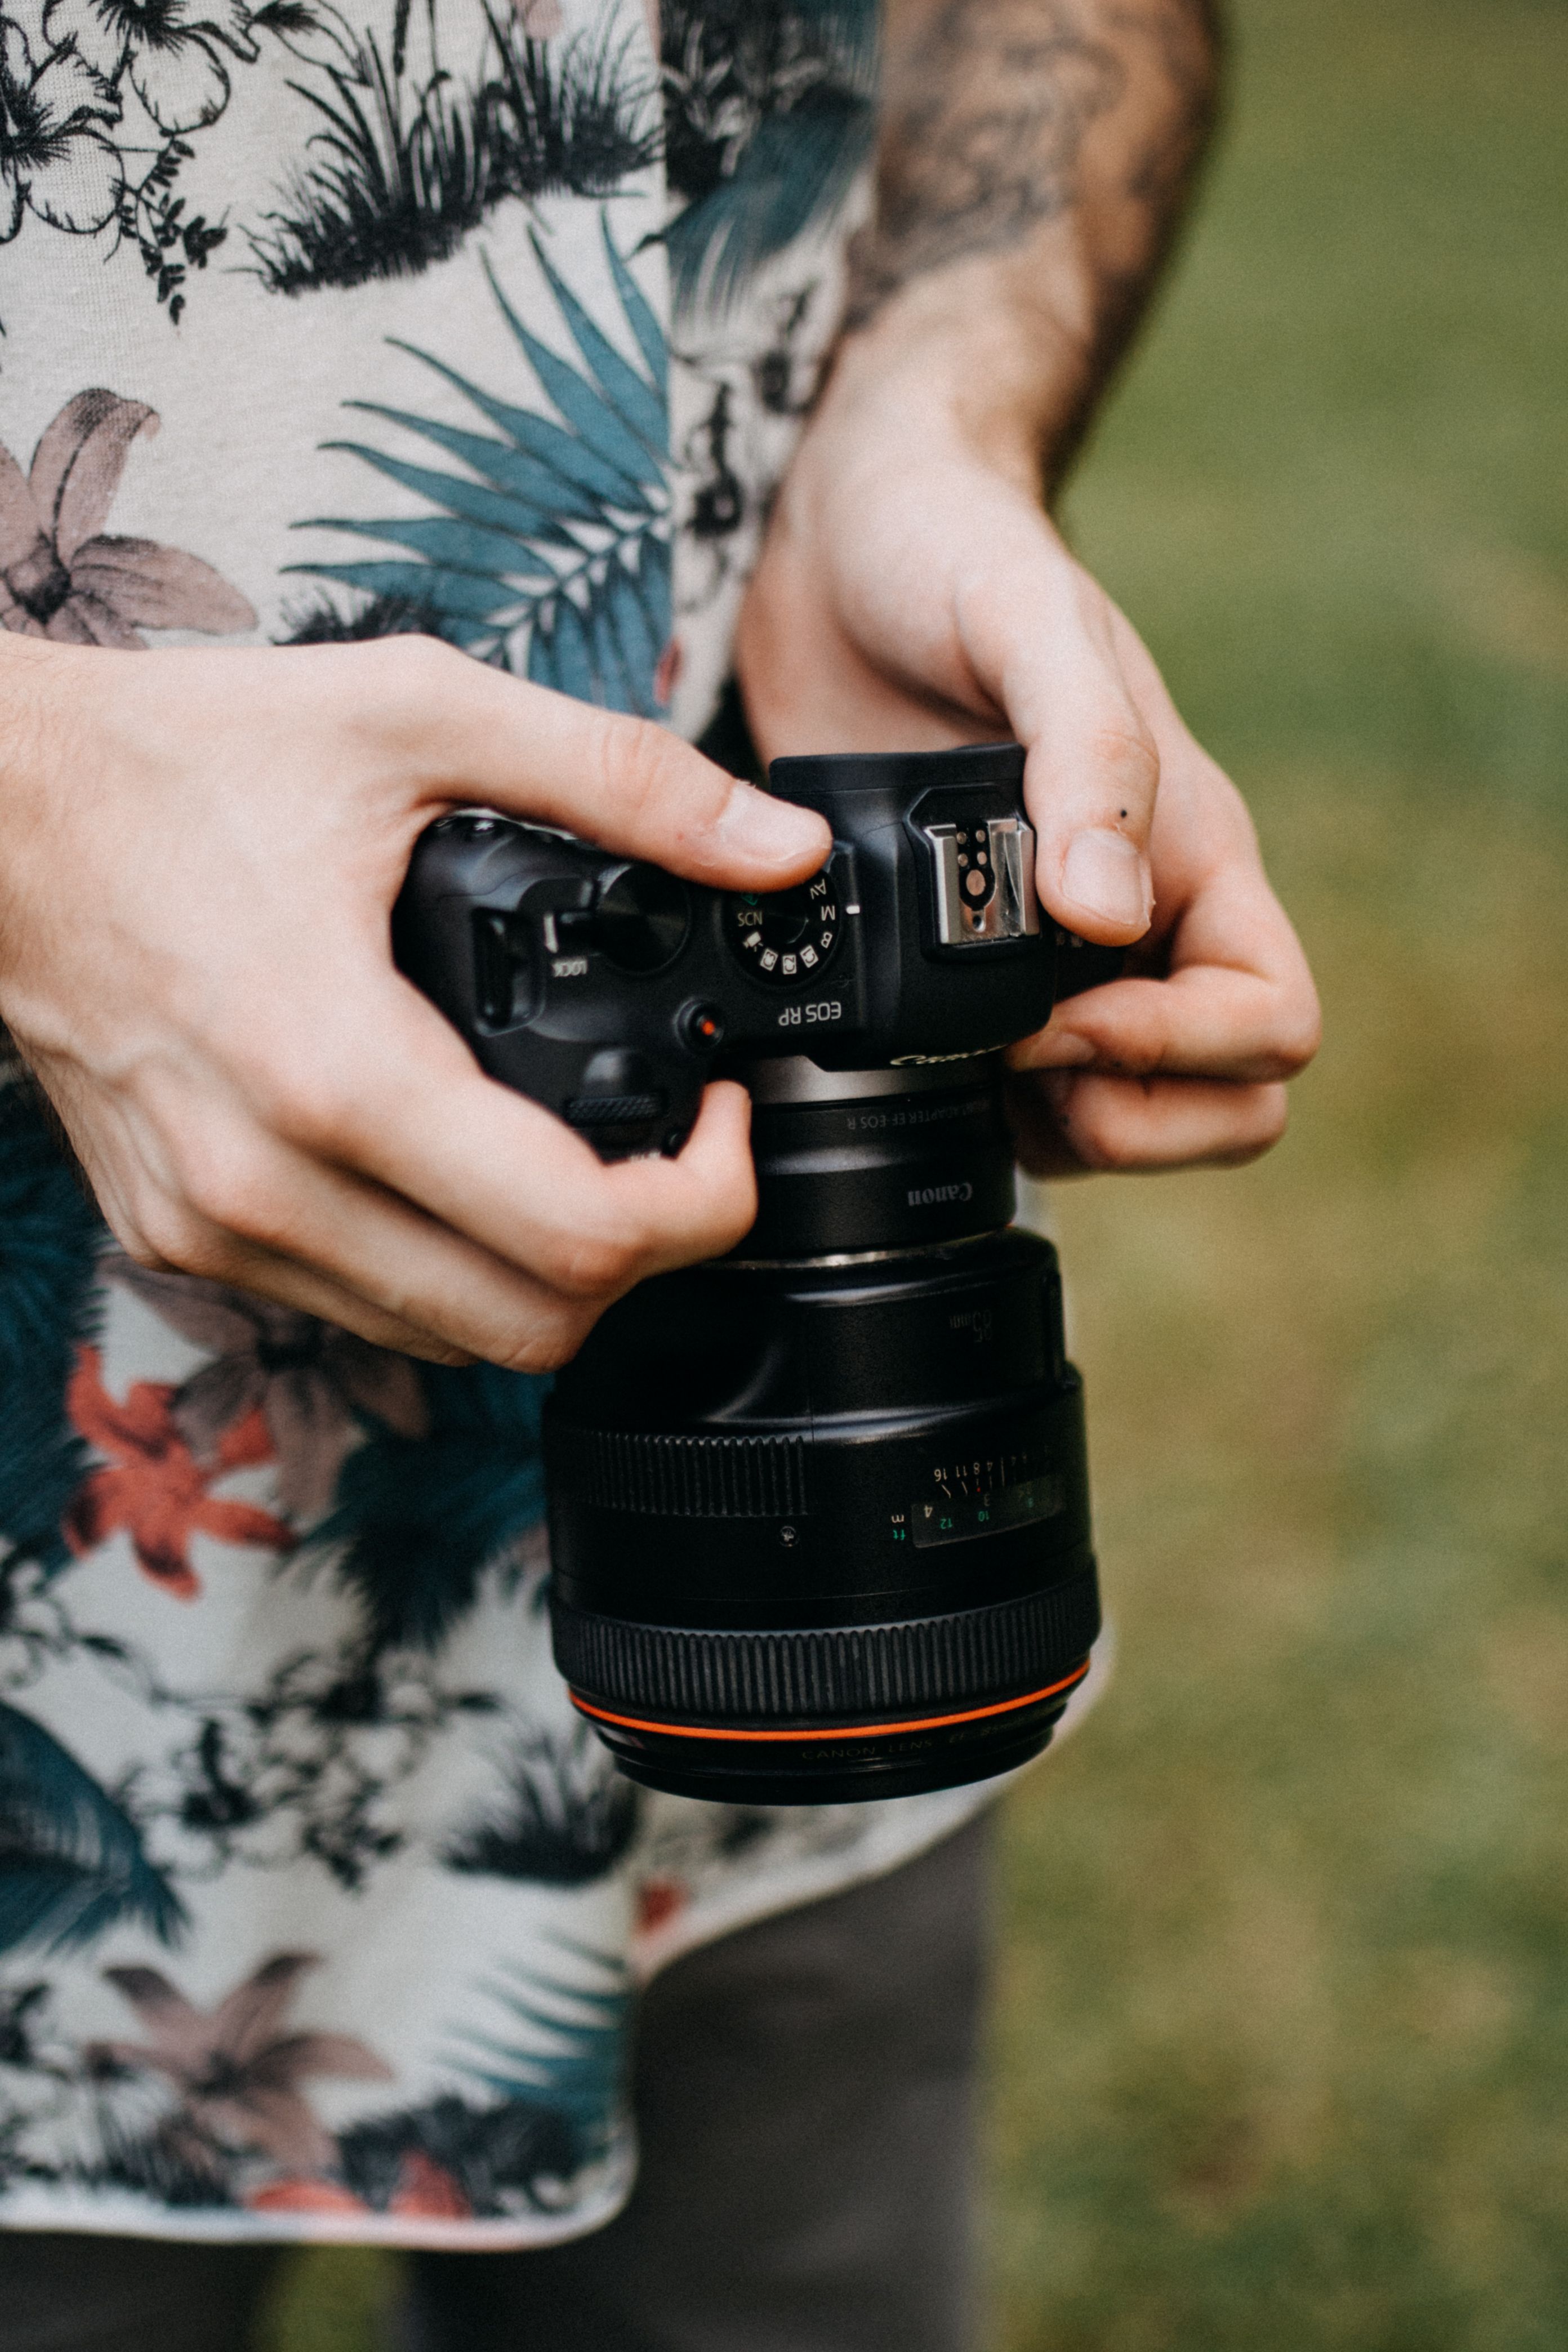
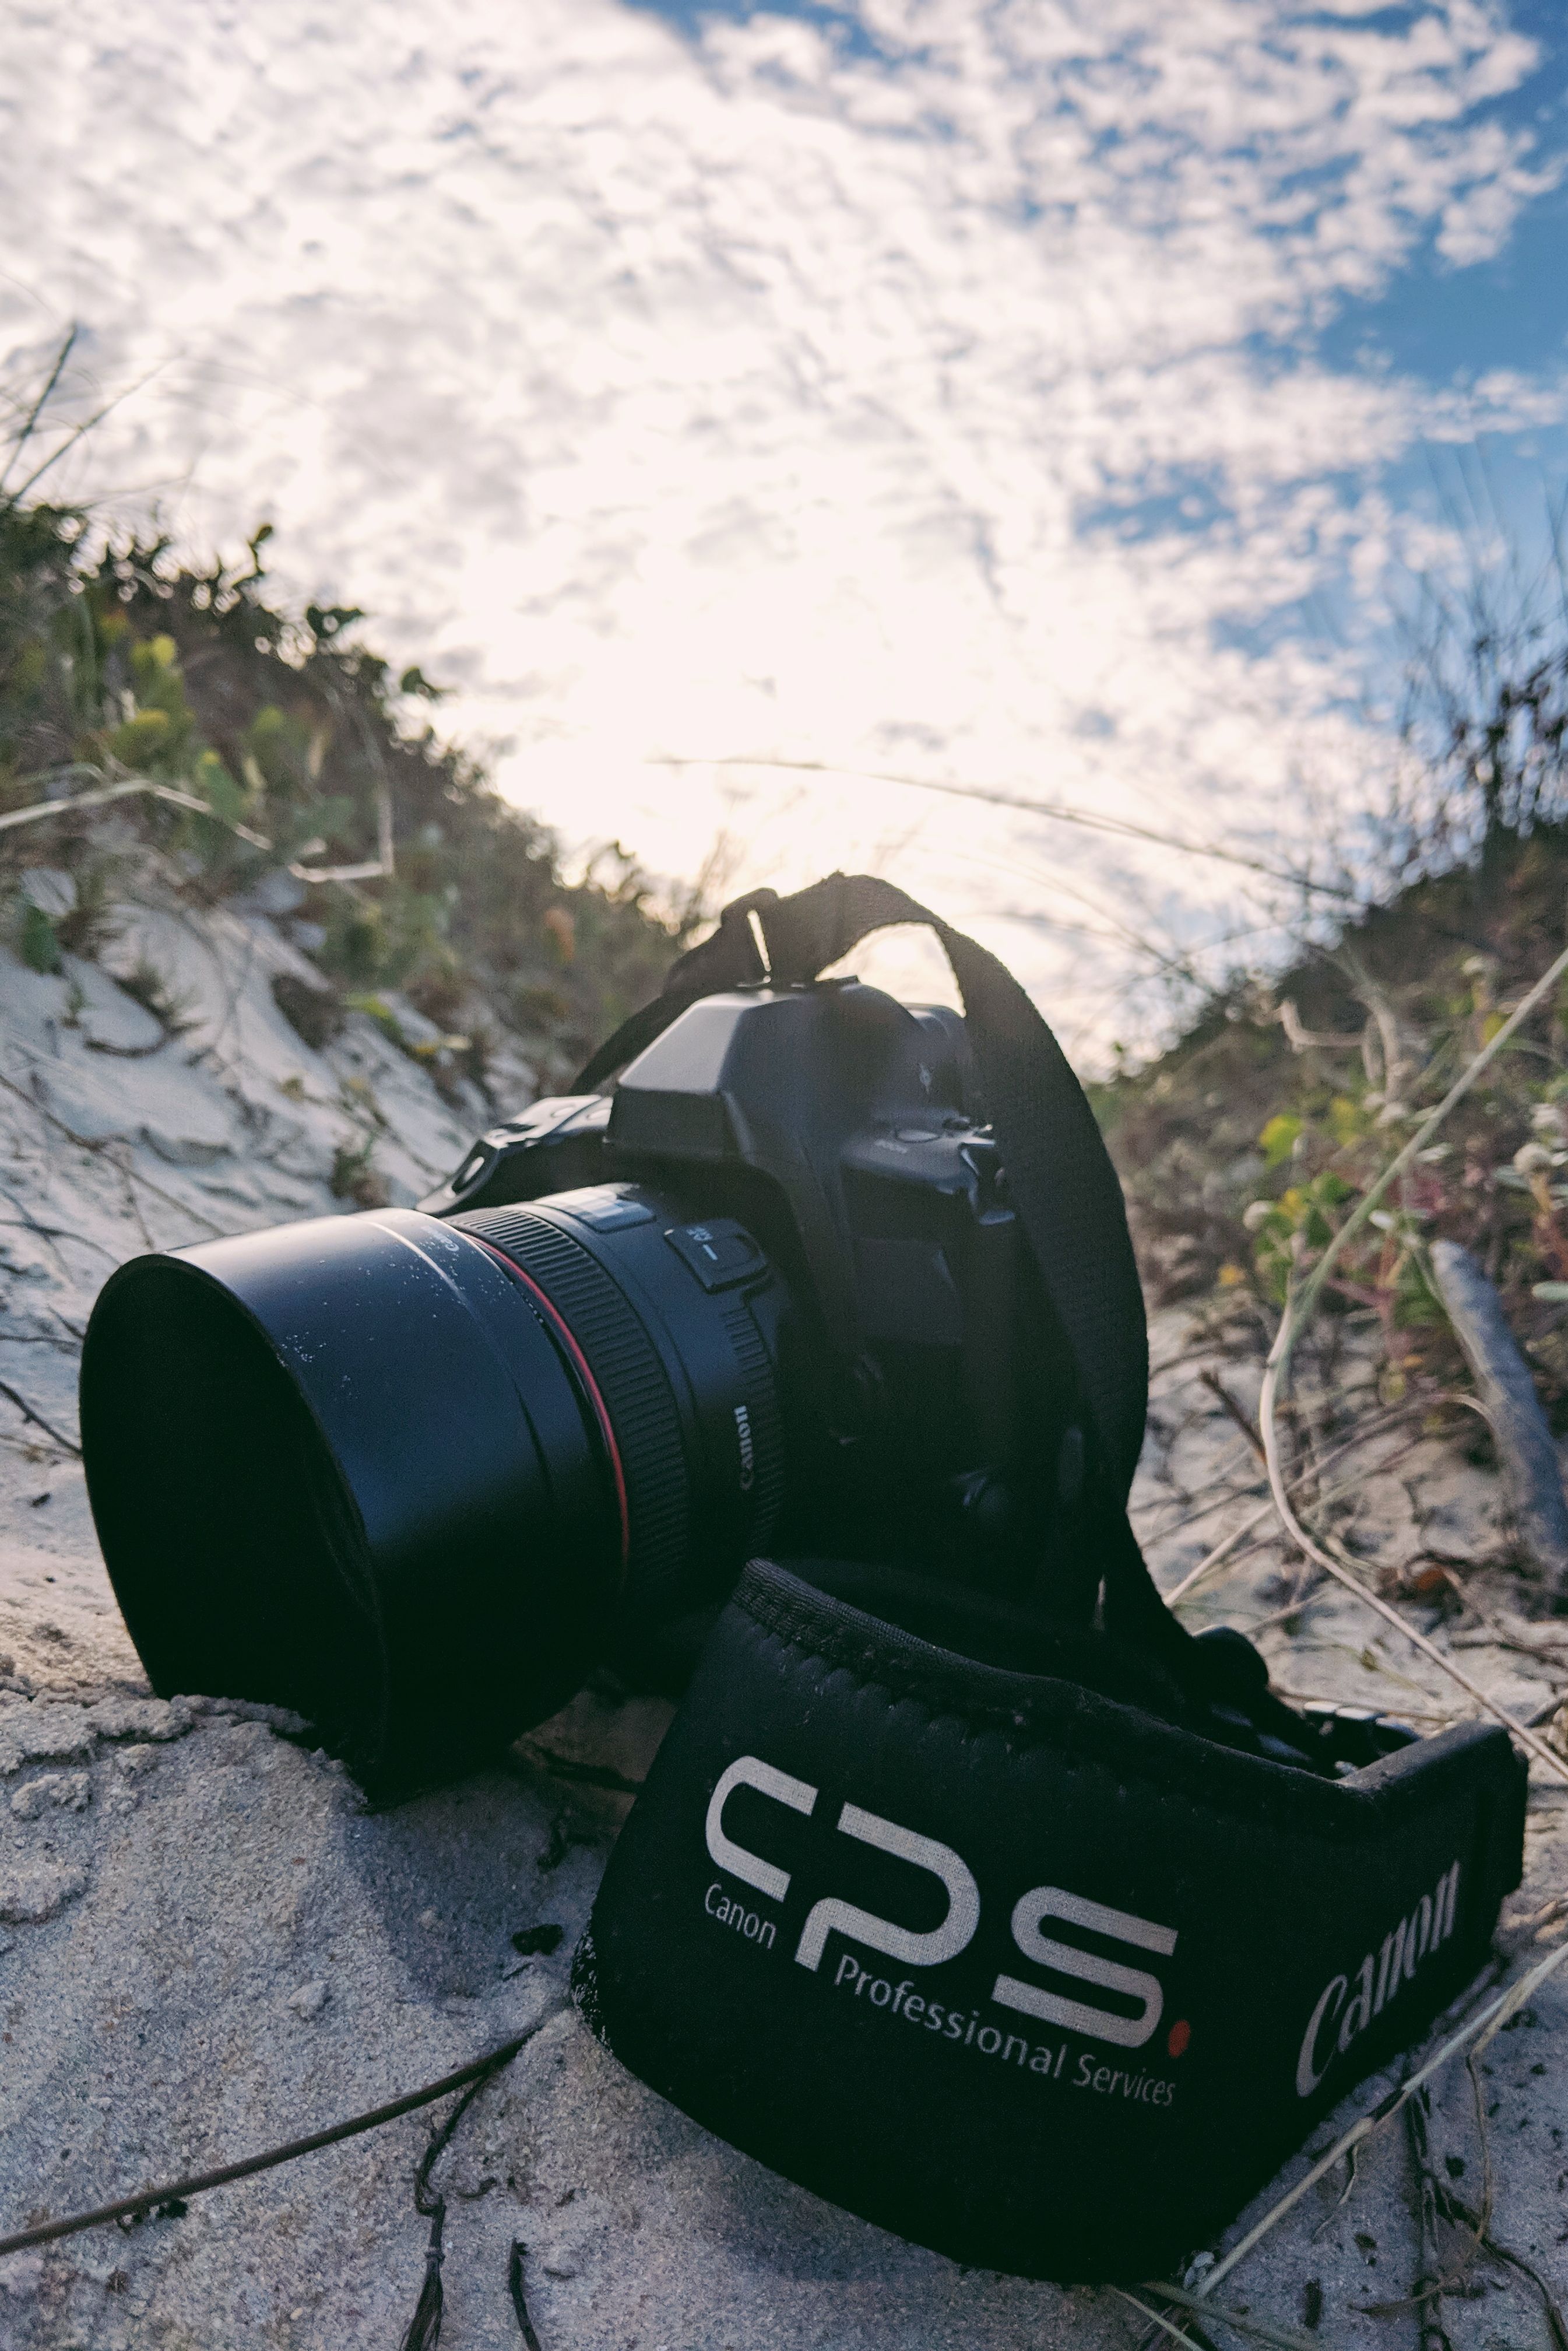
How to protect your camera at the beach
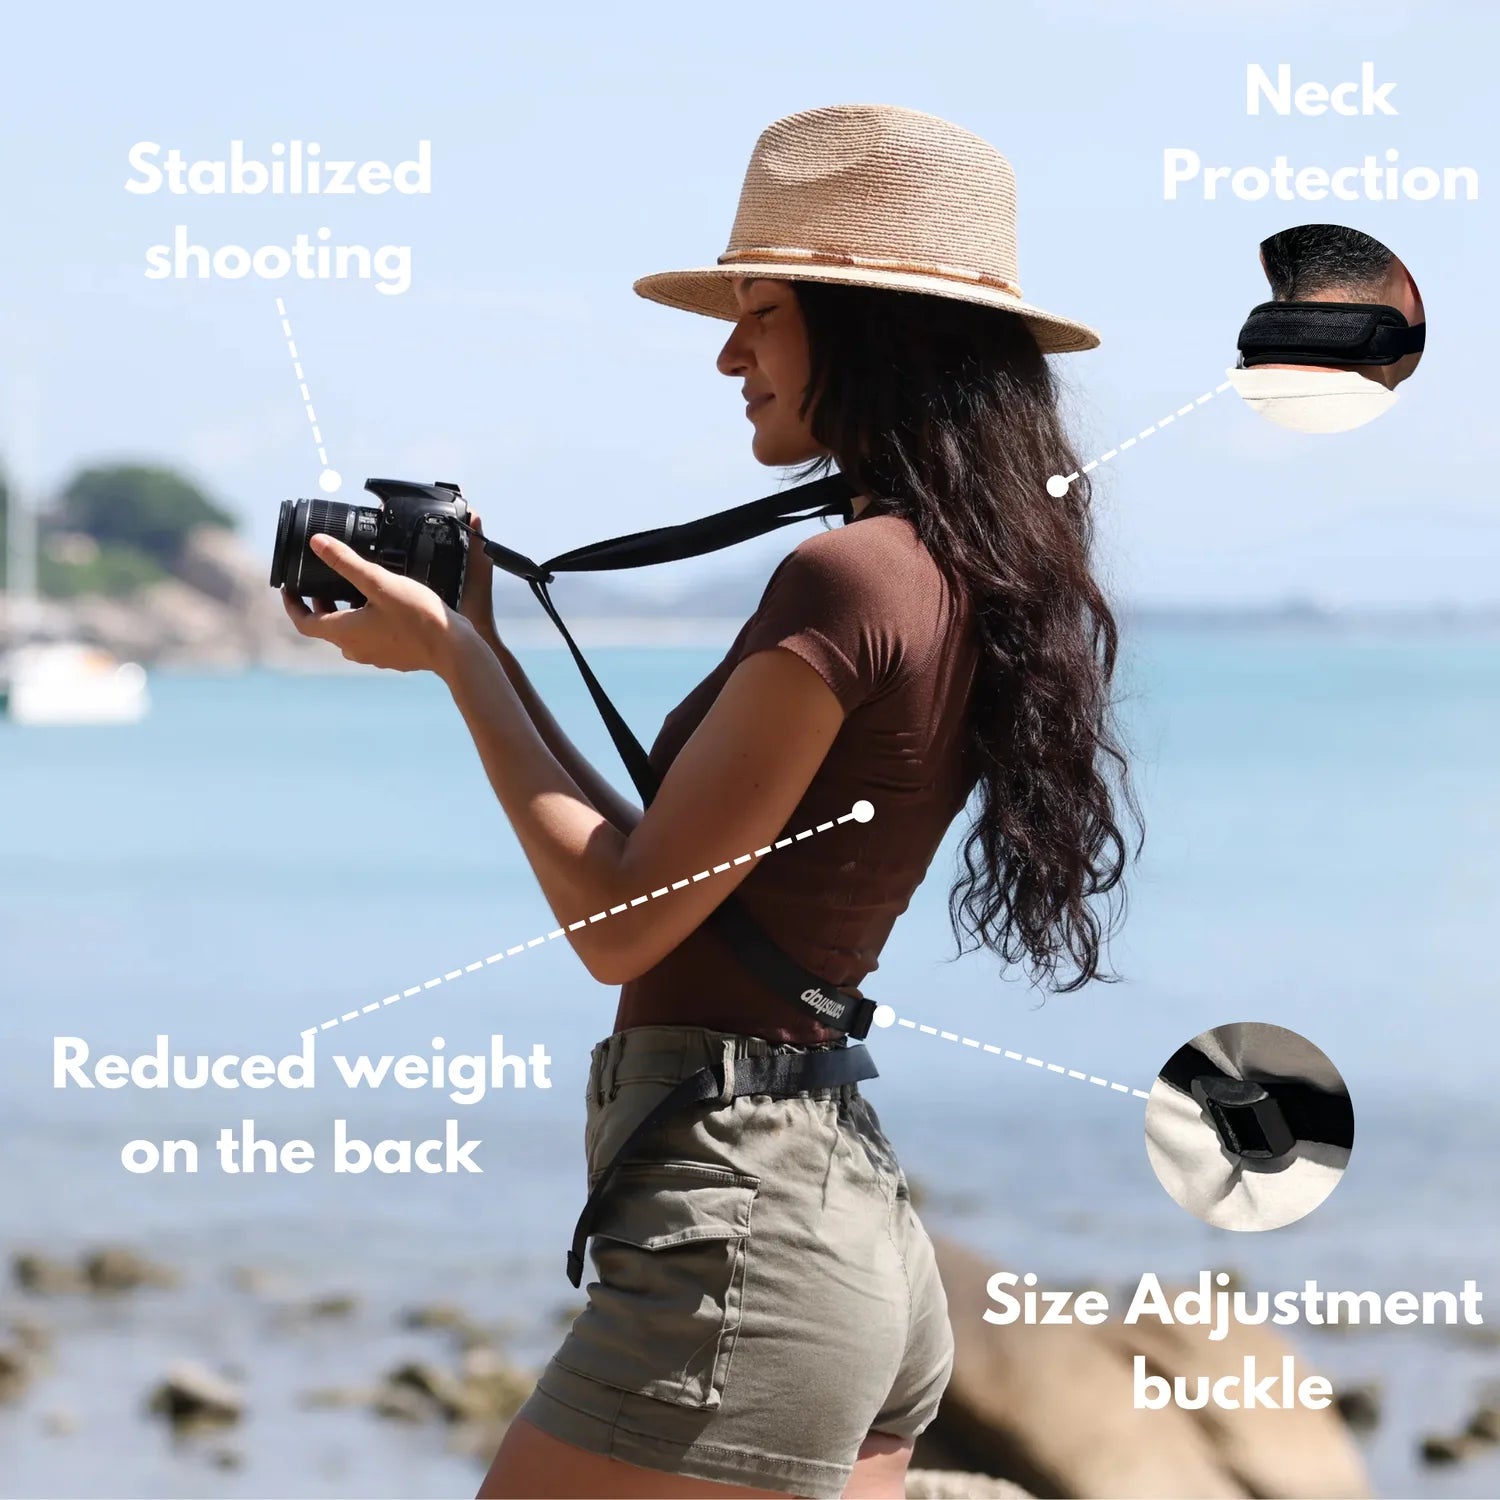
Beach shoots are gorgeous, but they are hard on gear. Sand can work its way into buttons and lens mounts, while salt spray may leave marks on glass and metal. Camera safety should be part of the shoot plan, not an afterthought.
A secure strap helps when you photograph near water, rocks, and busy boardwalks. Camstrap Voyager, Camstrap Explorer, Camstrap Nomad, and Camstrap Magclip are a few options worth considering if you want better carry support. The main idea is simple: keep the camera close, stable, and ready.
Practical beach safety habits
- Keep a lens cloth in a dry pocket.
- Use a strap so your camera stays secure near waves.
- Stay below spray lines on windy days.
- Change lenses in a clean, sheltered spot.
- Wipe salt and sand off your gear before packing up.
If you are taking a long walk, a light and stable carry setup helps considerably. That matters for travel enthusiasts, outdoor adventure photographers, and amateur photographers alike. A good strap will not create the photo, but it can help you stay ready for the next frame.
Editing steps that keep highlights under control
Even with solid field technique, you may still need a little help in editing. Start by checking the histogram to see whether the brightest areas are clipped. Then reduce highlights and whites before touching the other sliders.
When you photograph golden hour beaches, small edits can make a major difference. Try to keep the sky soft without letting it turn gray. You want the warmth to remain believable.
Easy post-processing moves
- Lower highlights first.
- Reduce whites if the sky still feels too bright.
- Lift shadows on faces with care.
- Adjust the white balance to keep warm color natural.
- Use a light mask if one part of the frame needs extra help.
Do not overdo the edits. A beach sunset should still look like a real sunset. If the image begins to feel artificial, step back and keep the light believable.
Final tips to photograph beach sunsets with better balance

To photograph beach sunsets well, think about timing, angle, and exposure together. Start early, watch the sun’s position, and meter for the subject rather than the brightest cloud. Then use the beach itself as part of your lighting plan.
Keep these key moves in mind: shoot about 45 minutes before sunset, keep the sun roughly 45 degrees off to one side, and use ISO 100 as your starting point. Move to ISO 1600 to 3200 near the end if the light falls. Those simple choices can help you photograph warm beach scenes without blown highlights.
Above all, keep testing as the light changes. Golden hour can shift quickly, and every beach offers a different look. If you stay alert, protect your camera properly, and adjust as needed, you will photograph cleaner sunsets and stronger beach portraits every time.
Frequently Asked Questions
What settings should I use for beach sunset photos?
Use settings that protect highlights first: meter for the bright sky or sunlit water, then slightly underexpose if needed. Shoot in the golden-hour window, about 45 minutes before sunset and into twilight, so you have softer light and more control over brightness.
How do I avoid overexposed skies at sunset?
Keep the sun off-center, about 45 degrees to the left or right of your subject, rather than directly behind them. Watch the brightest areas in clouds, foam, and wet sand, and reduce exposure until those highlights retain detail.
How do I protect my camera at the beach?
Keep your camera away from water spray, blowing sand, and incoming waves, and be extra careful at low tide where you can place gear on safer, dry ground. Wipe salt and sand off the camera after shooting and use a protective cover or bag when moving between locations.