


- Set focus one-third into the scene to stretch sharpness front to back.
- Use f/11–f/16 first; stop down only until diffraction softens detail.
- Depth of field is the sharp zone, and a smaller aperture widens it.
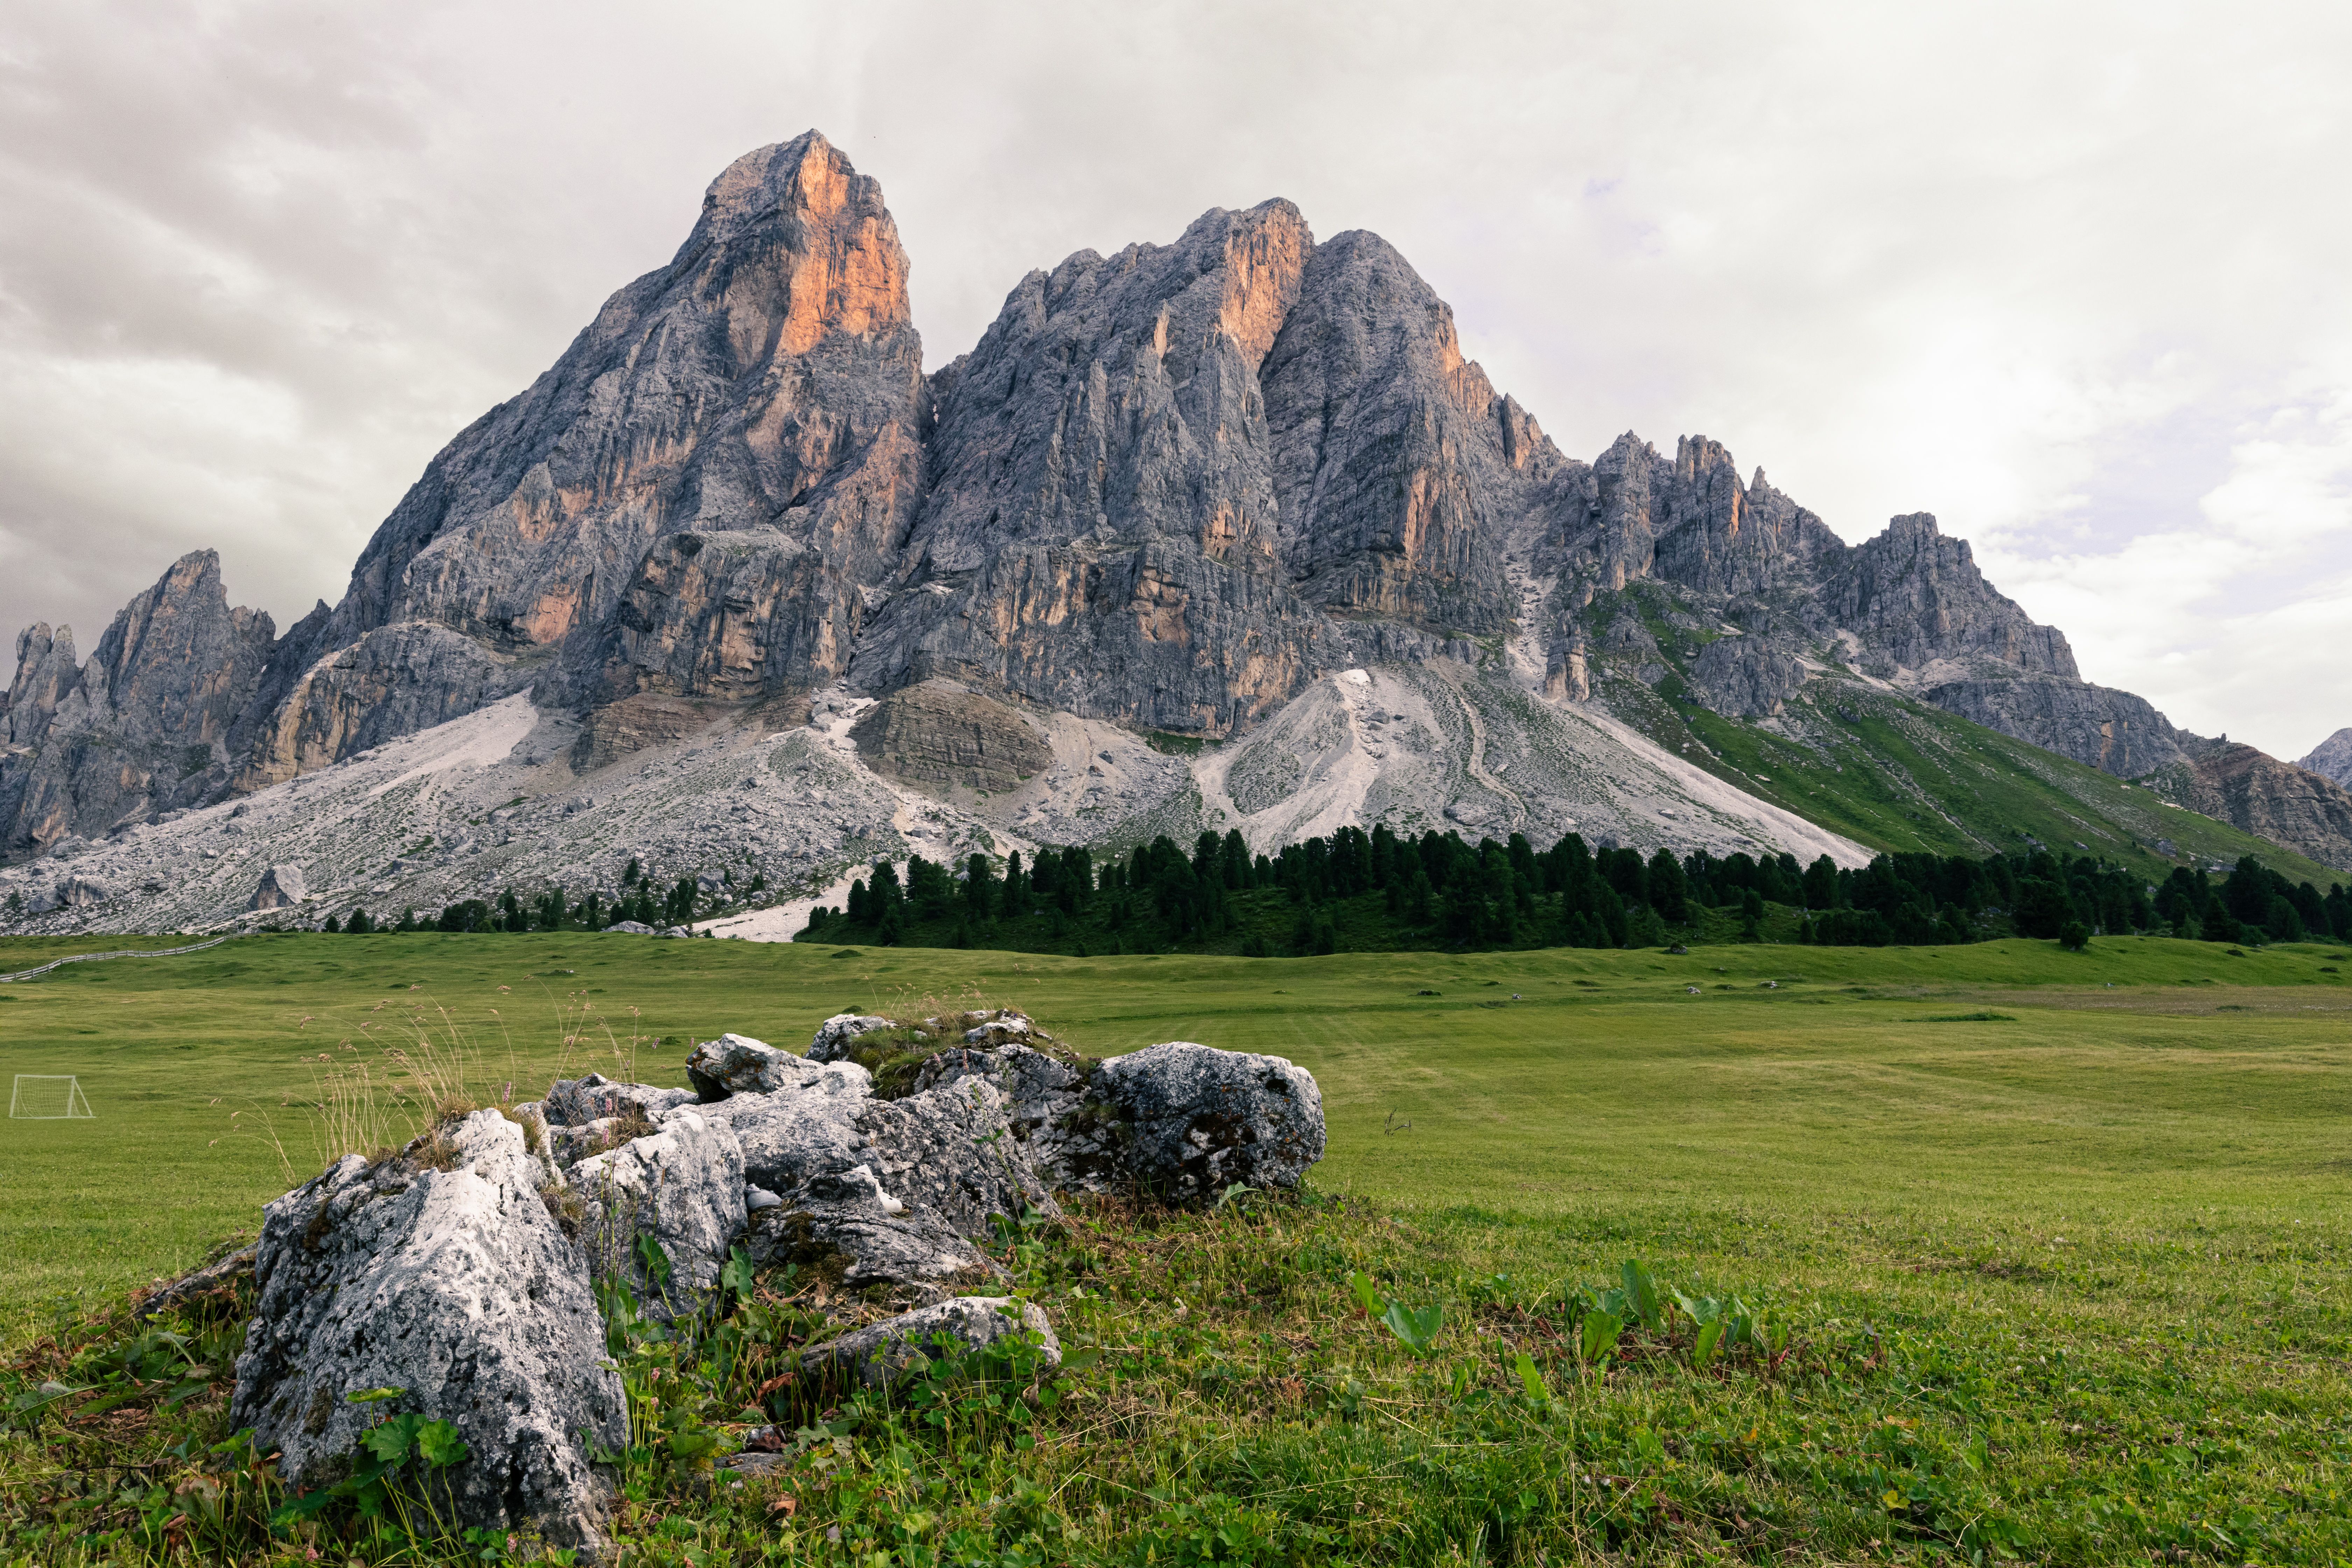
Wide depth of field photography sets focus and aperture so both near and far parts of a scene stay sharp. In mountain landscapes, the rocks by your boots can look crisp while the ridge on the horizon still holds detail. This guide shows how to get that look without guesswork. It covers focus distance, aperture, and camera settings for sharpness from front to back.
Shop the setup

- Regular price
-
€42 - Regular price
-
- Sale price
-
€42
By choosing the Camstrap strap, you are opting for a high-quality product designed to meet the needs of the most demanding photographers.
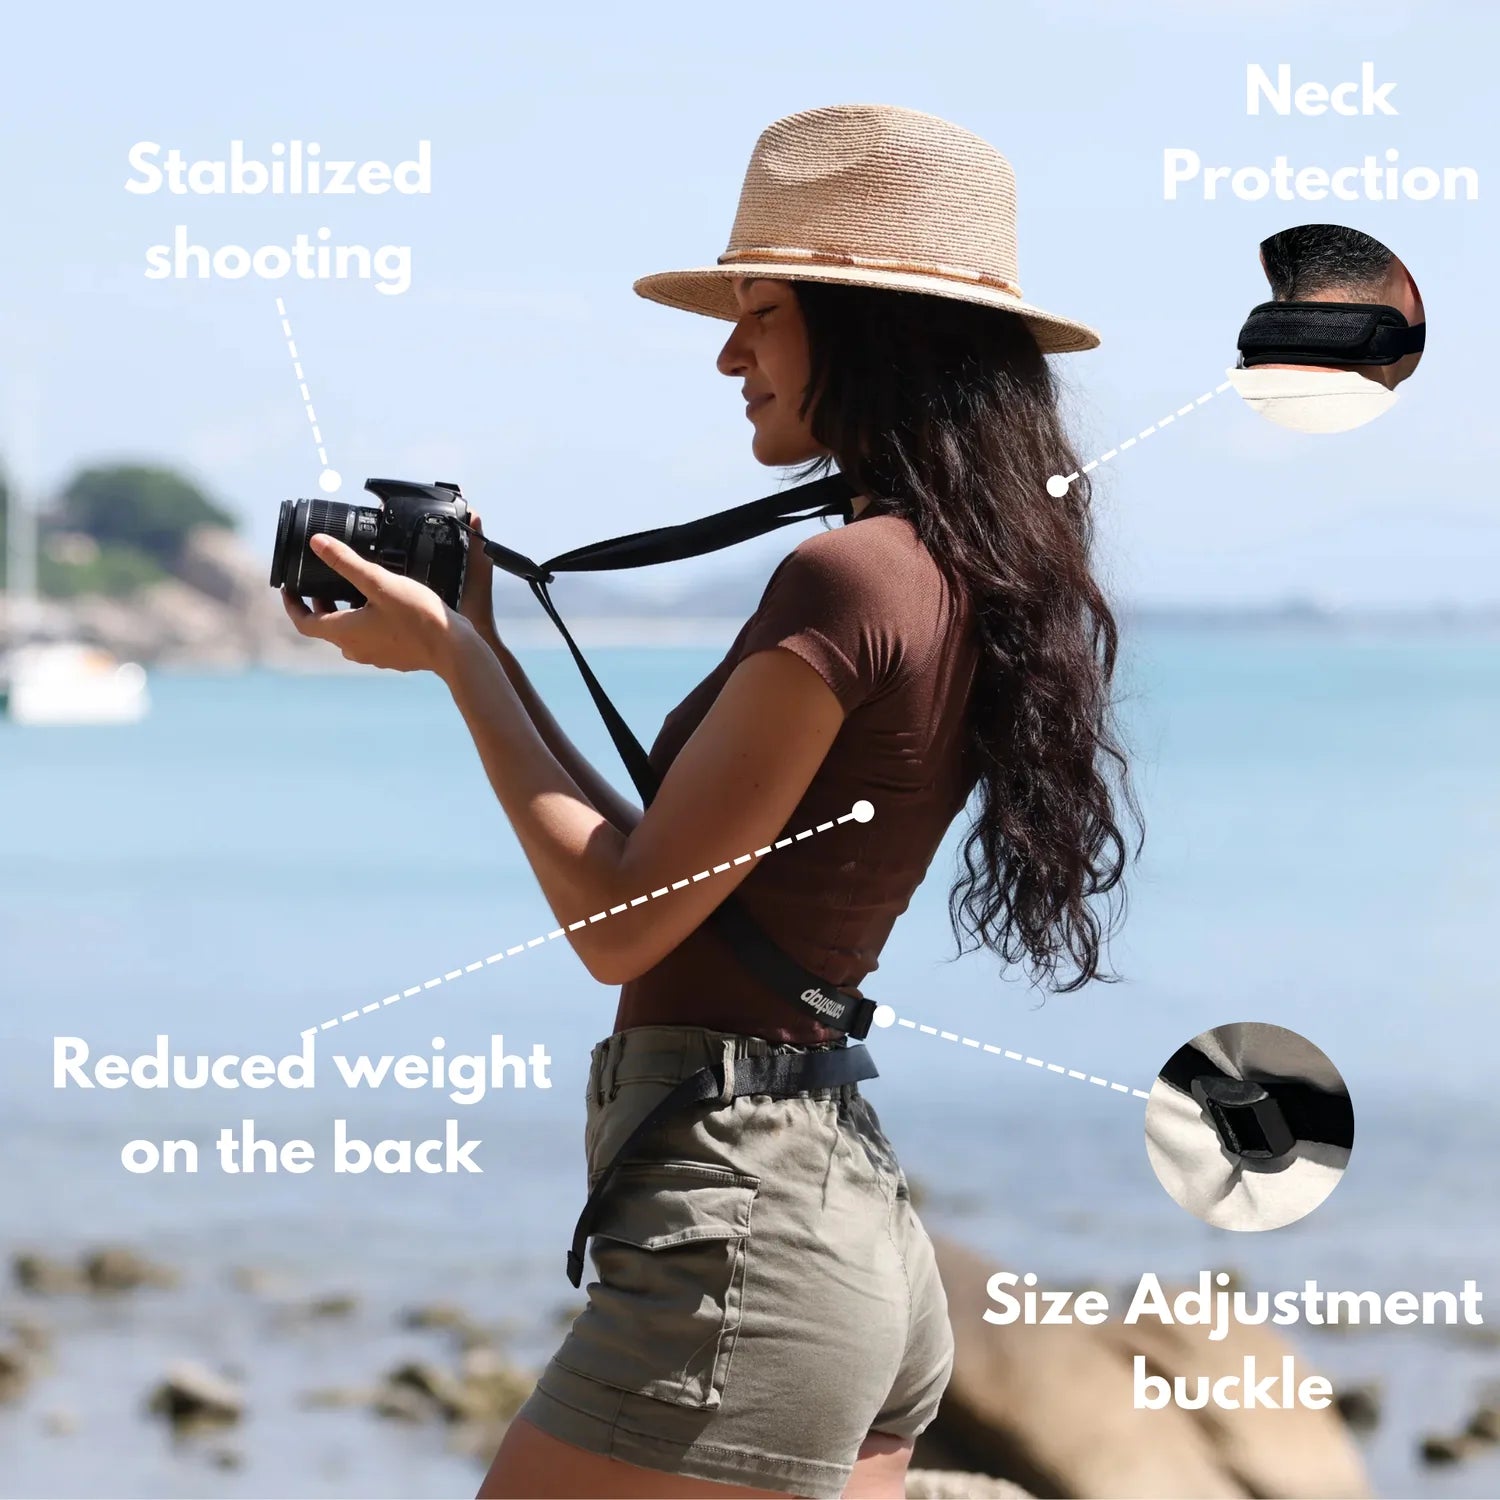
- Developed by a physiotherapist to relieve neck and back pain.
- Fast delivery with tracking by the Post Office 🚚
- Can be used as a shoulder strap or hands-free harness

- Regular price
-
€36 - Regular price
-
€42 - Sale price
-
€36
Free shipping included
Why mountain scenes need more than a small aperture
Mountains look simple, but they create tough focus problems. Foreground rocks, midground slopes, and distant peaks sit at very different distances, so one careless focus point can soften the whole frame.

A small aperture helps because it expands depth of field. Canon notes that f/11 to f/22 is a useful range for broad landscape sharpness, and f/16 often gives a strong balance of detail and depth.
The tradeoff behind tiny apertures
A smaller opening gives more depth of field, but it has a limit. Canon warns that a lens’s smallest aperture can reduce sharpness from diffraction, so a lens with a minimum of f/22 may look cleaner at f/16. Bright mountain light makes it tempting to stop down all the way. In practice, the middle of the range is often the better choice.
What does depth of field mean in photography?

Depth of field is the zone in a photo that looks acceptably sharp. In practice, it is the band of focus that runs in front of and behind your chosen point.
For mountain work, this zone decides whether both a foreground boulder and a distant ridge stay clear. It widens as you stop down, and f/16 gives more depth of field than f/4.
How aperture shapes the look of a landscape
Aperture controls how much light reaches the sensor, and it changes depth of field too. A smaller aperture, which means a larger f-number, makes more of the scene appear sharp. A landscape at f/11 can therefore look deeper in focus than the same scene at f/4. On a Canon full-frame body, a 28mm lens at f/16 has an approximate hyperfocal distance of 1.6m, which helps when your foreground starts close to the camera.

Good starting settings for mountain detail
Use these settings as a reliable base when the goal is sharpness from front to back:
- Lens: 24mm to 35mm for wide mountain views
- Aperture: f/11, f/16, or f/22 depending on light and lens quality
- ISO: 100 or 200 for the cleanest file
- Shutter speed: fast enough to avoid wind shake in grass or trees
If the scene is dark, raise ISO before you open the aperture too far. That keeps your depth of field strong, though it can add noise that you may need to clean later.

What is the 20 60 20 rule in photography?
The 20 60 20 rule is a simple way to place interest across the frame. About 20% of the image sits in the foreground, 60% in the middle, and 20% in the background or sky.
For mountain scenes, this rule helps you build depth on purpose. A good foreground gives the eye a place to enter, a middle section gives the scene weight, and a far ridge closes the story.
Use it as a guide, not a strict rule. A steep valley or a huge peak may need a different split, but the idea still helps you avoid a flat frame.

What does it mean to have a wide depth of field?
A wide depth of field means more of the scene looks sharp at once. The focus zone stretches farther from front to back, which is exactly what you want in a mountain landscape. Depth of field usually extends about twice as far behind the focus point as in front of it. Because of that, focusing about one-third into the scene is a useful shortcut when you need quick results.
Where to place the focus point
Pick a point that sits about one-third into the frame, such as a rock or patch of trail. That choice often gives you enough sharpness in both directions without overthinking every shot.

Hyperfocal focusing goes one step further. It places the far edge of depth of field at infinity, which helps when you want the nearest rocks and the far mountains to both stay crisp.
Focus methods that work in the field
Manual focus is often the cleanest choice for still mountain scenes. Use live view, zoom in to 5x or 10x, and set focus on a mid-distance detail with clear edges. Autofocus can still work well, especially with continuous AF set to a single point or subject detect off. Back-button focus also helps, since it lets you lock focus once and then recompose without refocusing every time.
- Use single-point AF for a known target, like a tree line or rock edge.
- Switch to manual focus when the scene will not change.
- Check focus using live view magnification before you press the shutter.
If your camera offers focus peaking, use it as a guide, not as proof. It can make near detail look sharper than it really is, especially on fine grass or snow.
Gear that keeps the frame steady on the move
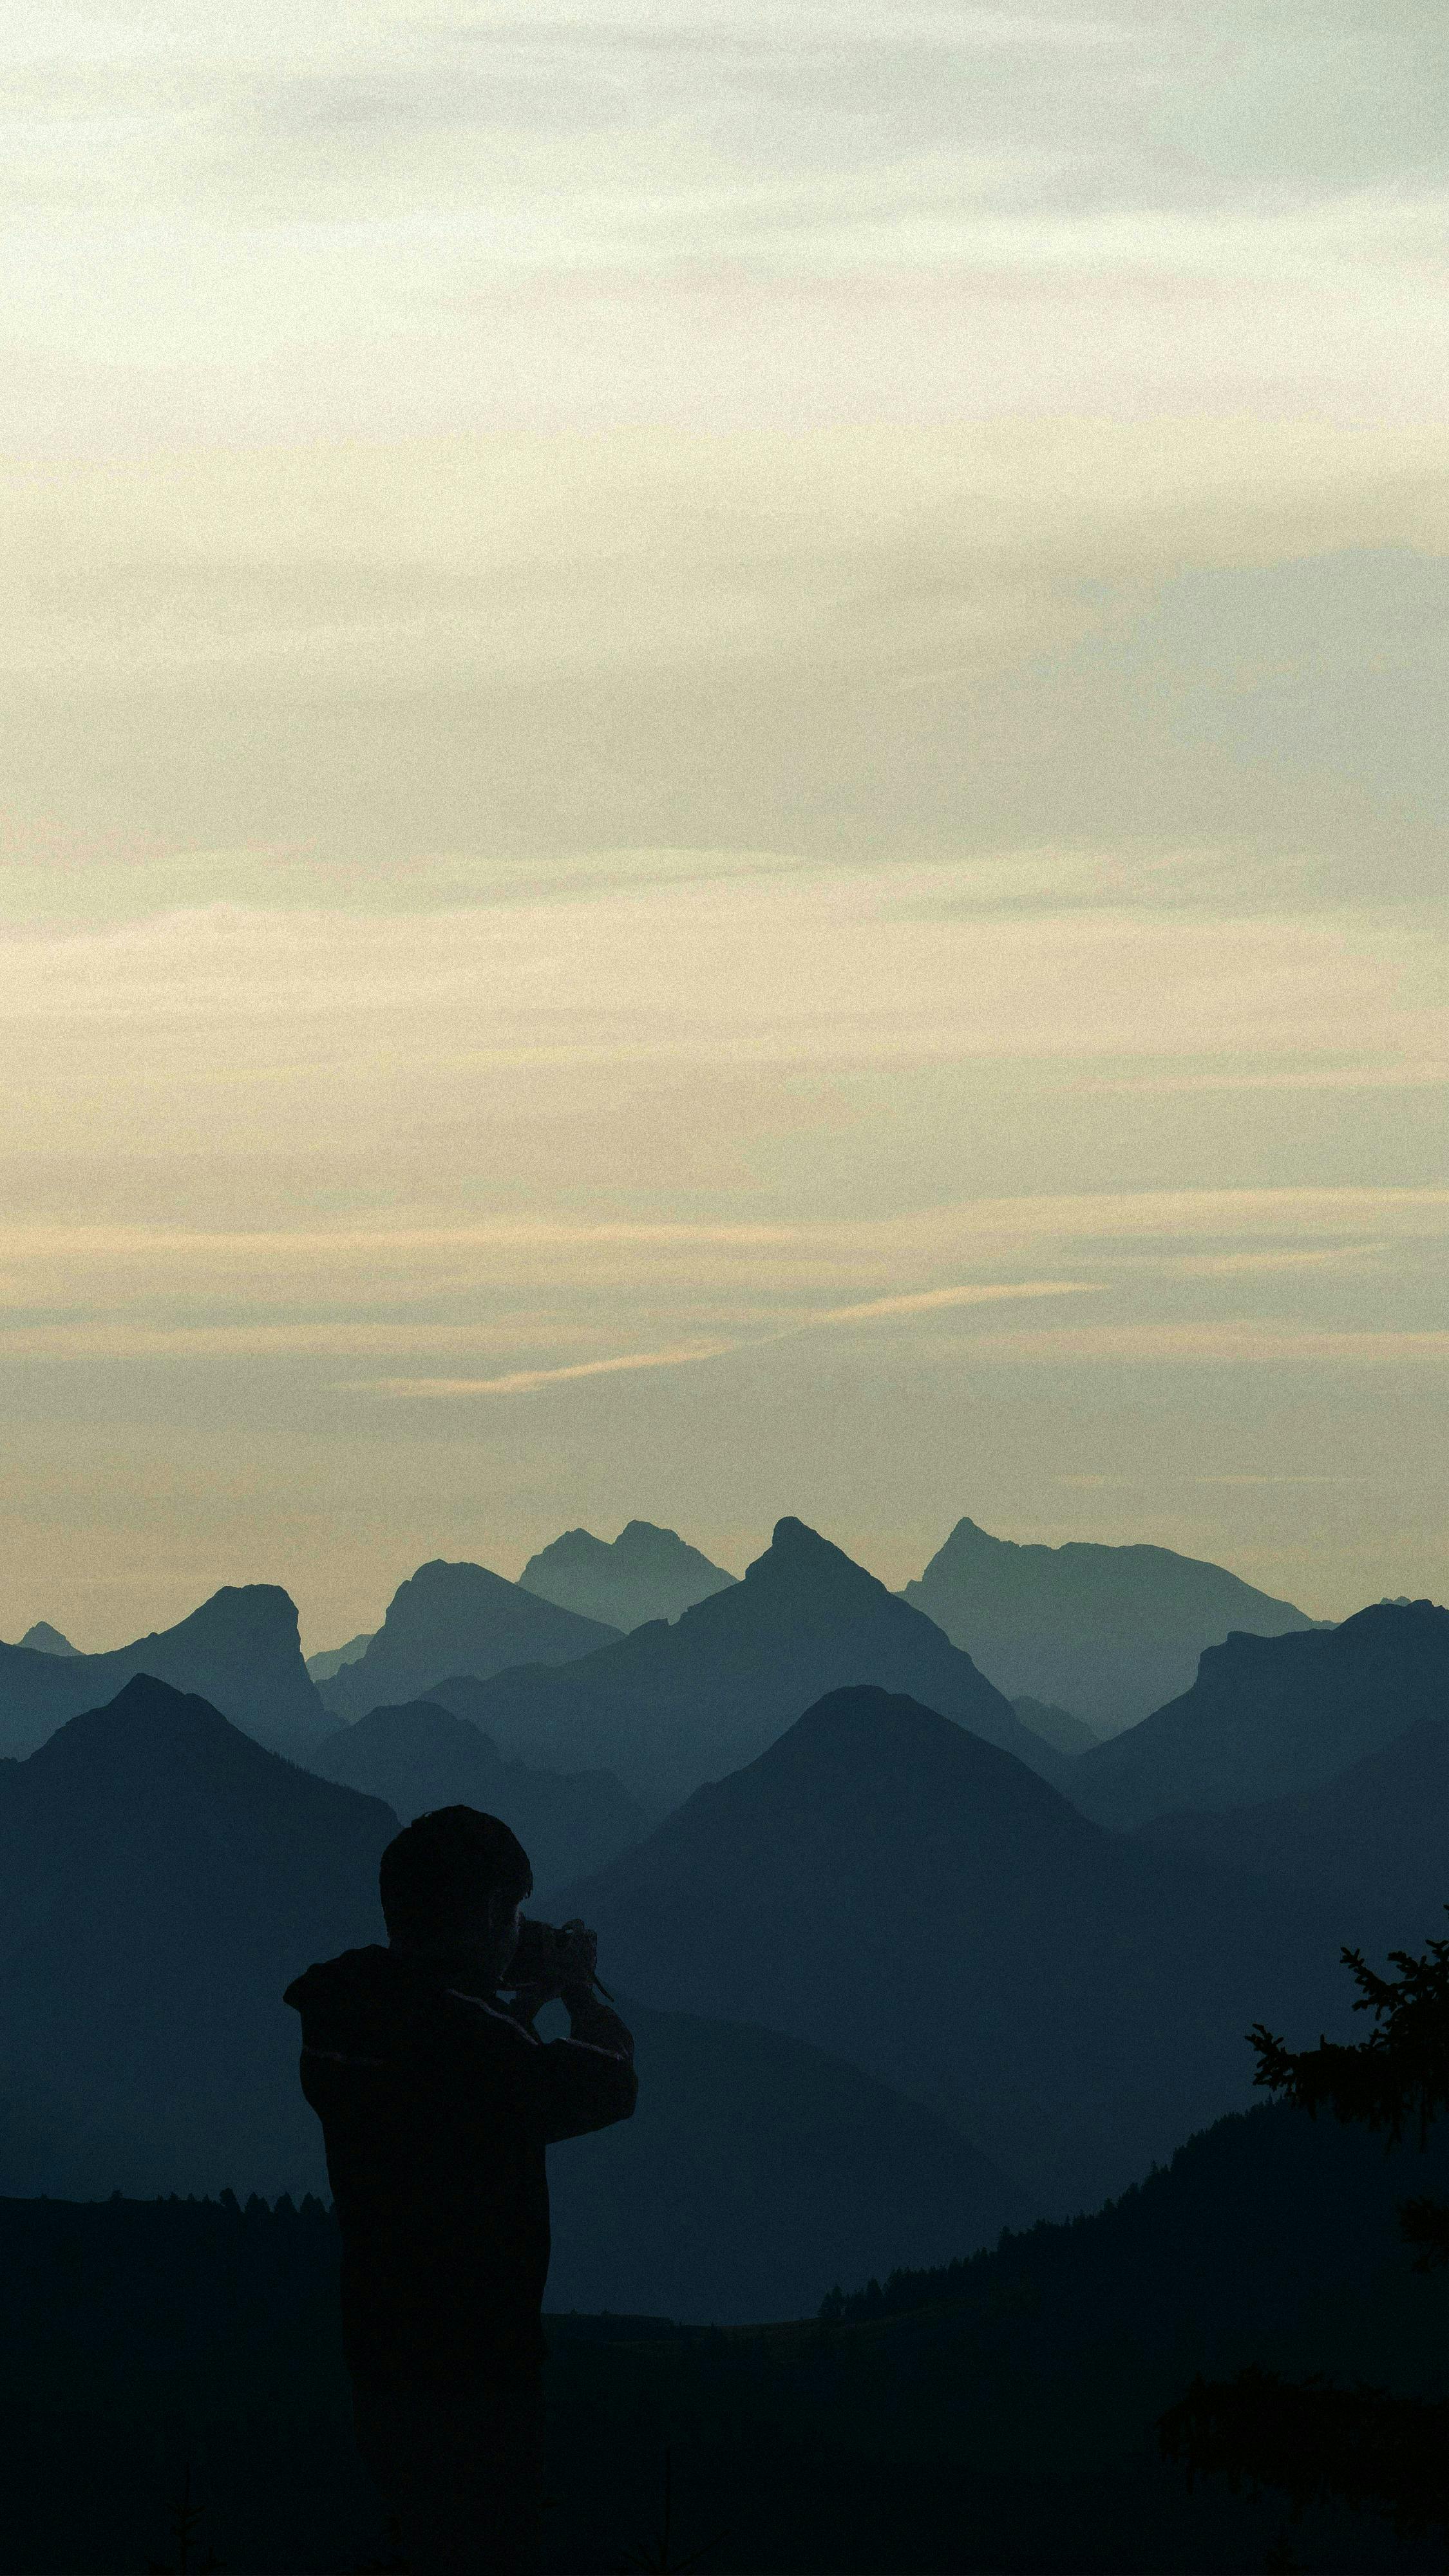
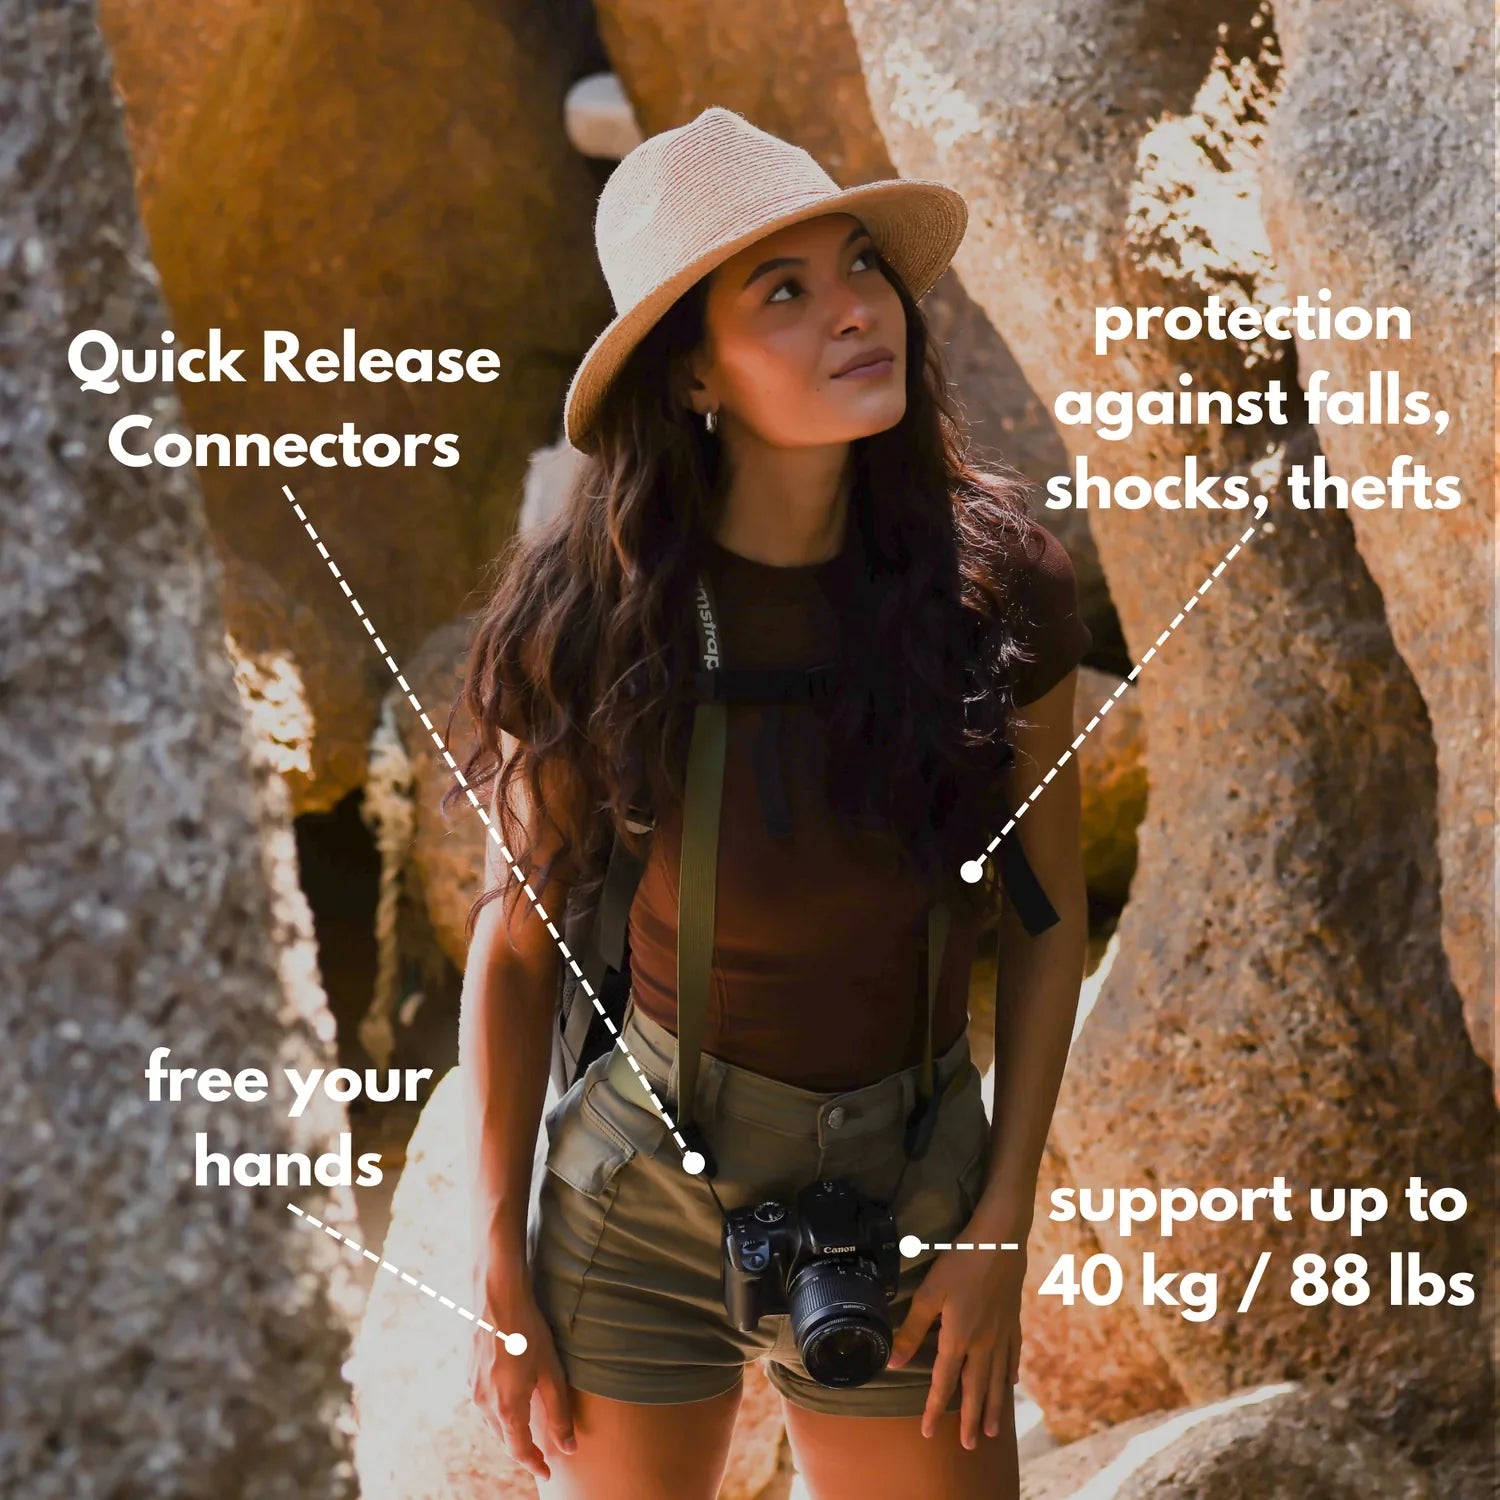
Mountain shooting often means walking between overlooks, then stopping fast for a new angle. A hands-free strap helps here because it keeps the camera ready while you move and frees both hands for balance on rough ground.
A strap with a quick release and load-spreading design matters more than simple comfort. Camstrap Voyager fits this need well because it keeps the camera close and easy to grab when the light changes in seconds.
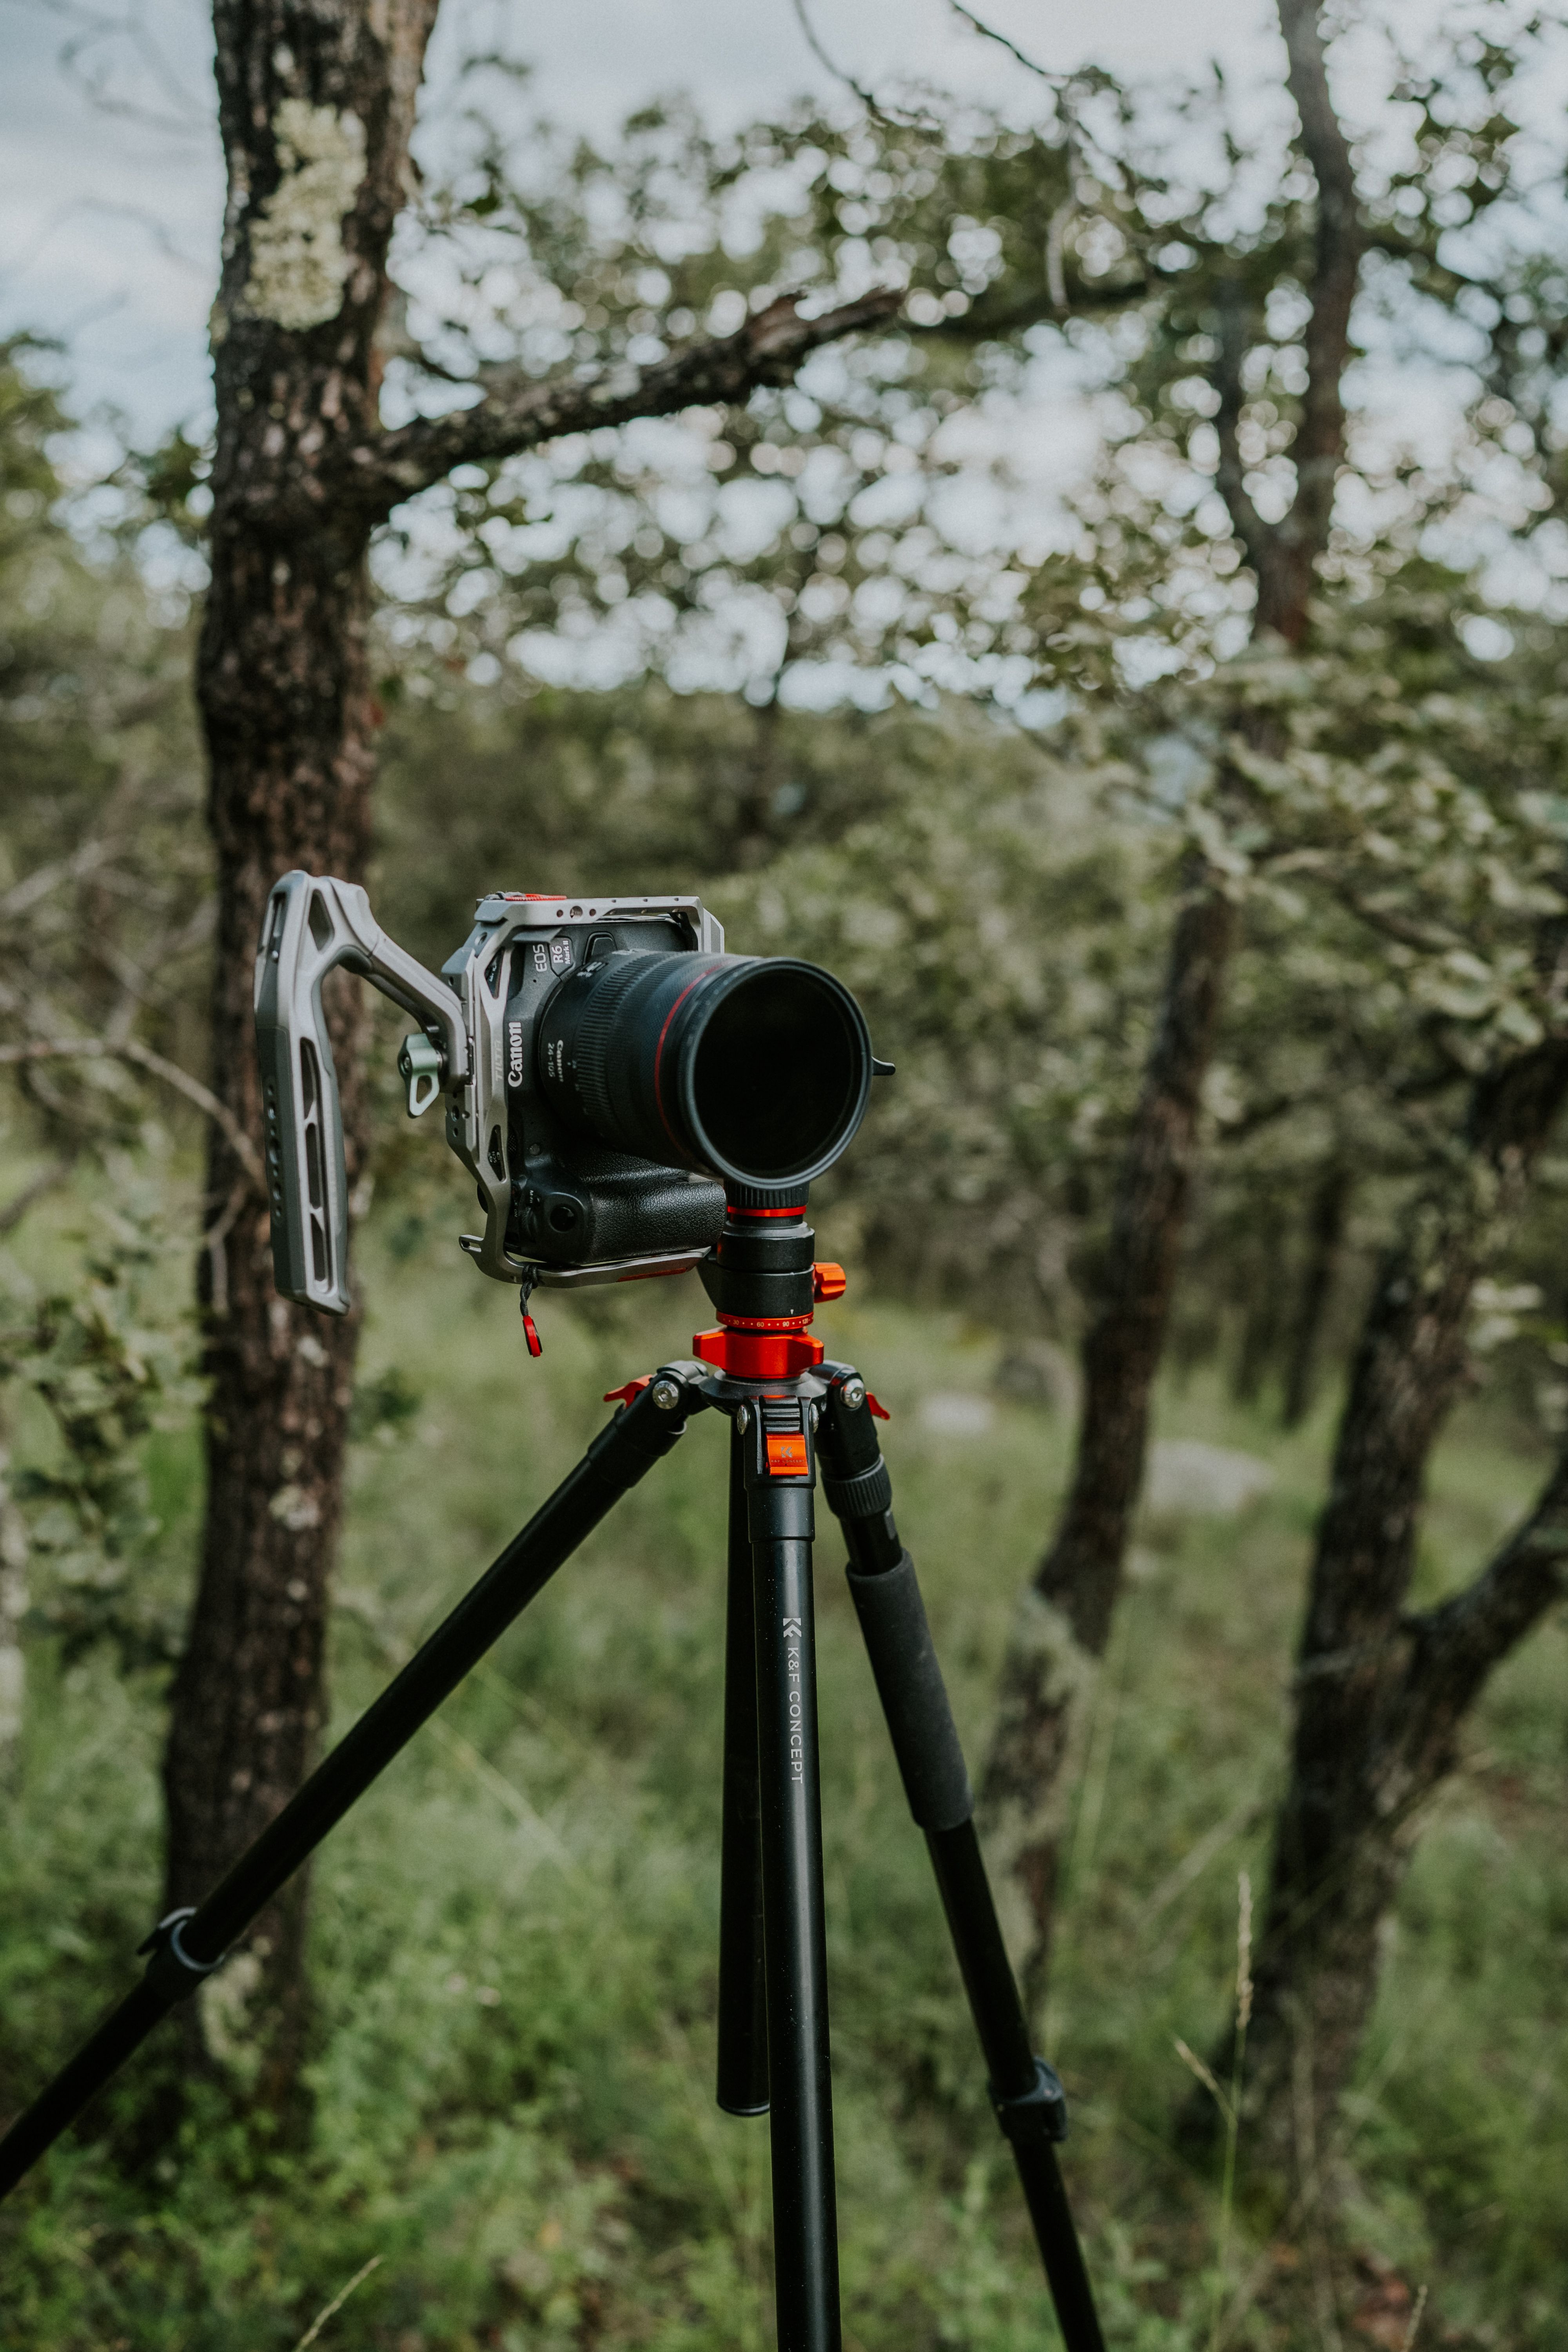
A tripod still has a place, especially for careful focus checks and slow shutter work. A strap is better for moving light, shifting weather, and quick lens or angle changes on steep trails.
Field kit that supports sharpness
- Wide-angle lens in the 24mm to 35mm range
- Tripod for low light or exact framing
- Lens cloth for mist, dust, or snow
- Remote release or 2-second timer to cut shake
- Camera strap that keeps the body secure while you walk
Step-by-step setup for front-to-back clarity

Use this sequence when you want the simplest path to a sharp mountain frame. It works well for sunrise, blue hour, and clear midday light.
- Set the camera to Aperture Priority or Manual mode.
- Choose f/11 first, then move to f/16 if the scene needs more depth.
- Focus about one-third into the scene or use hyperfocal focus.
- Check the closest important detail with live view magnification.
- Keep ISO at 100 or 200 if the light allows it.
- Take a test frame and zoom in on the rear screen.
This approach works because it combines a strong aperture with a smart focus point. It keeps the camera settings simple, which helps when clouds, wind, and light shift fast.
Reading the image before you press the shutter

Sharpness is not only about camera settings. Look at the scene and decide which parts deserve detail and which parts can fade back. Check the foreground first, since it is the easiest area to lose. Then look at the far ridge and the sky, because haze can make distant detail disappear even when focus is correct.
Air quality matters more than many people expect. On hazy days, the horizon may look soft no matter what aperture you use, so wait for cleaner air or shorter distances if possible.
Wind is another hidden problem. Grass, branches, and loose snow can blur even when the mountains stay sharp, so a slightly faster shutter speed can save the frame.
Small mistakes that soften a mountain photo
One common mistake is focusing too far away and ignoring the foreground. Another is stopping down past the lens’s sweet spot, which can make the whole image look flat. A lens with a maximum aperture of f/2.8 may have its best optical balance around f/5.6, but that does not mean f/5.6 is enough for landscape depth. In mountain work, depth comes first, so f/11 to f/16 is often the better choice.
Finally, avoid trusting the screen alone. Bright sunlight can make a soft frame look sharp, so zoom in and inspect the edges before you leave the spot.
Use the rear screen, not just the viewfinder, when the scene is tricky. A quick 100% check at the closest rock and the far ridge can save a long hike home.
Mountain scenes reward patience, but they also reward simple habits. Choose a strong foreground, stop down with care, and place focus with intent, and the whole scene can hold sharp detail from your boots to the horizon. On your next ridge stop, try f/16, focus one-third into the frame, and review the nearest and farthest points at 100% before you move on.
Frequently Asked Questions
What does depth of field mean in photography?
Depth of field is the zone in a photo that looks acceptably sharp. It is the band of focus in front of and behind the chosen focus point.
What is the 20 60 20 rule in photography?
The 20 60 20 rule is a composition guideline that places about 20% of the image in the foreground, 60% in the middle, and 20% in the background or sky. In mountain scenes, it creates a stronger sense of depth across the frame.
How does aperture affect depth of field?
A smaller aperture, which means a larger f-number, increases depth of field and makes more of the scene appear sharp. A wider aperture, such as f/4, gives less depth of field than a smaller aperture like f/16.
What does it mean to have a wide depth of field?
A wide depth of field means a large part of the scene is in focus from near to far. In mountain photography, it lets a foreground rock and a distant ridge both stay sharp.


