


- Map one frame for structure and the other for texture before shooting.
- Pair clean silhouettes with skies, foliage, or architecture for layered outdoor blends.
- Use shade, soft light, or deliberate underexposure to keep daylight exposures crisp.
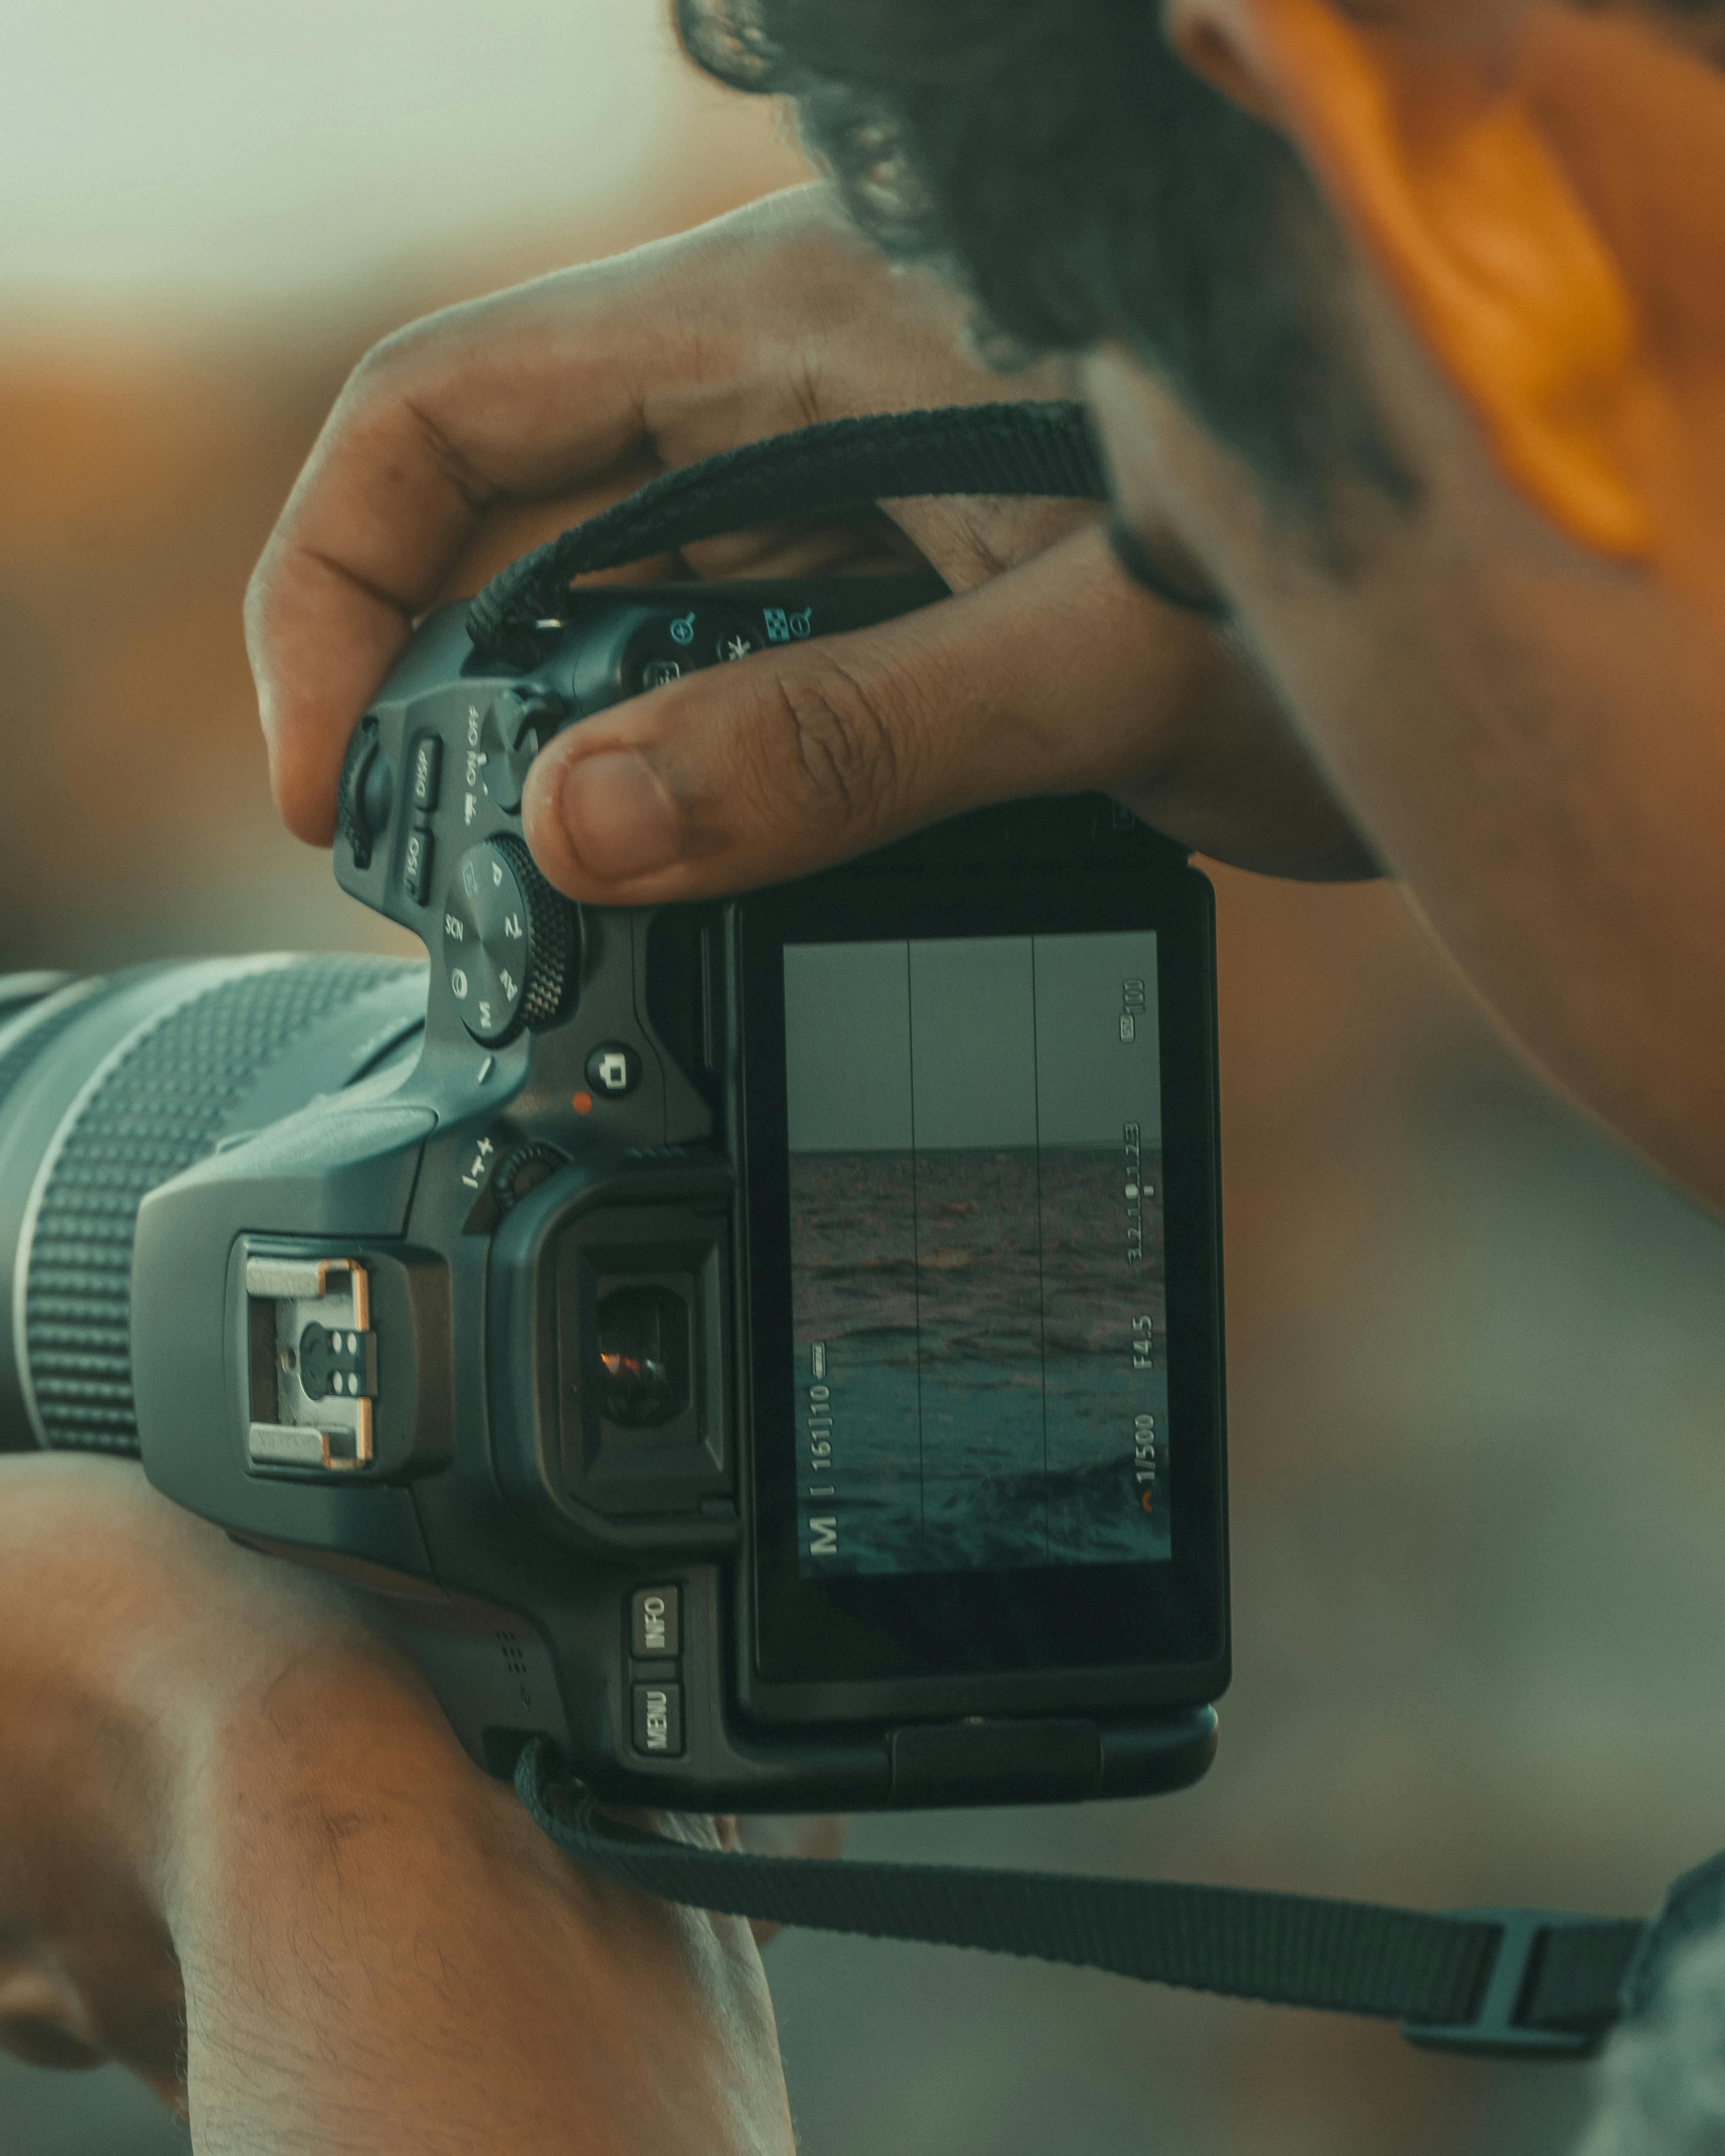
Double exposure photography blends two or more images into a single frame. The result can feel like a small gallery wall inside one scene. Strong blends begin with planning before the shutter ever clicks. Clean light, careful overlap, and a subject pair that works together can turn a plain frame into something layered and vivid.
Shop the setup

- Regular price
-
$48.00 - Regular price
-
- Sale price
-
$48.00
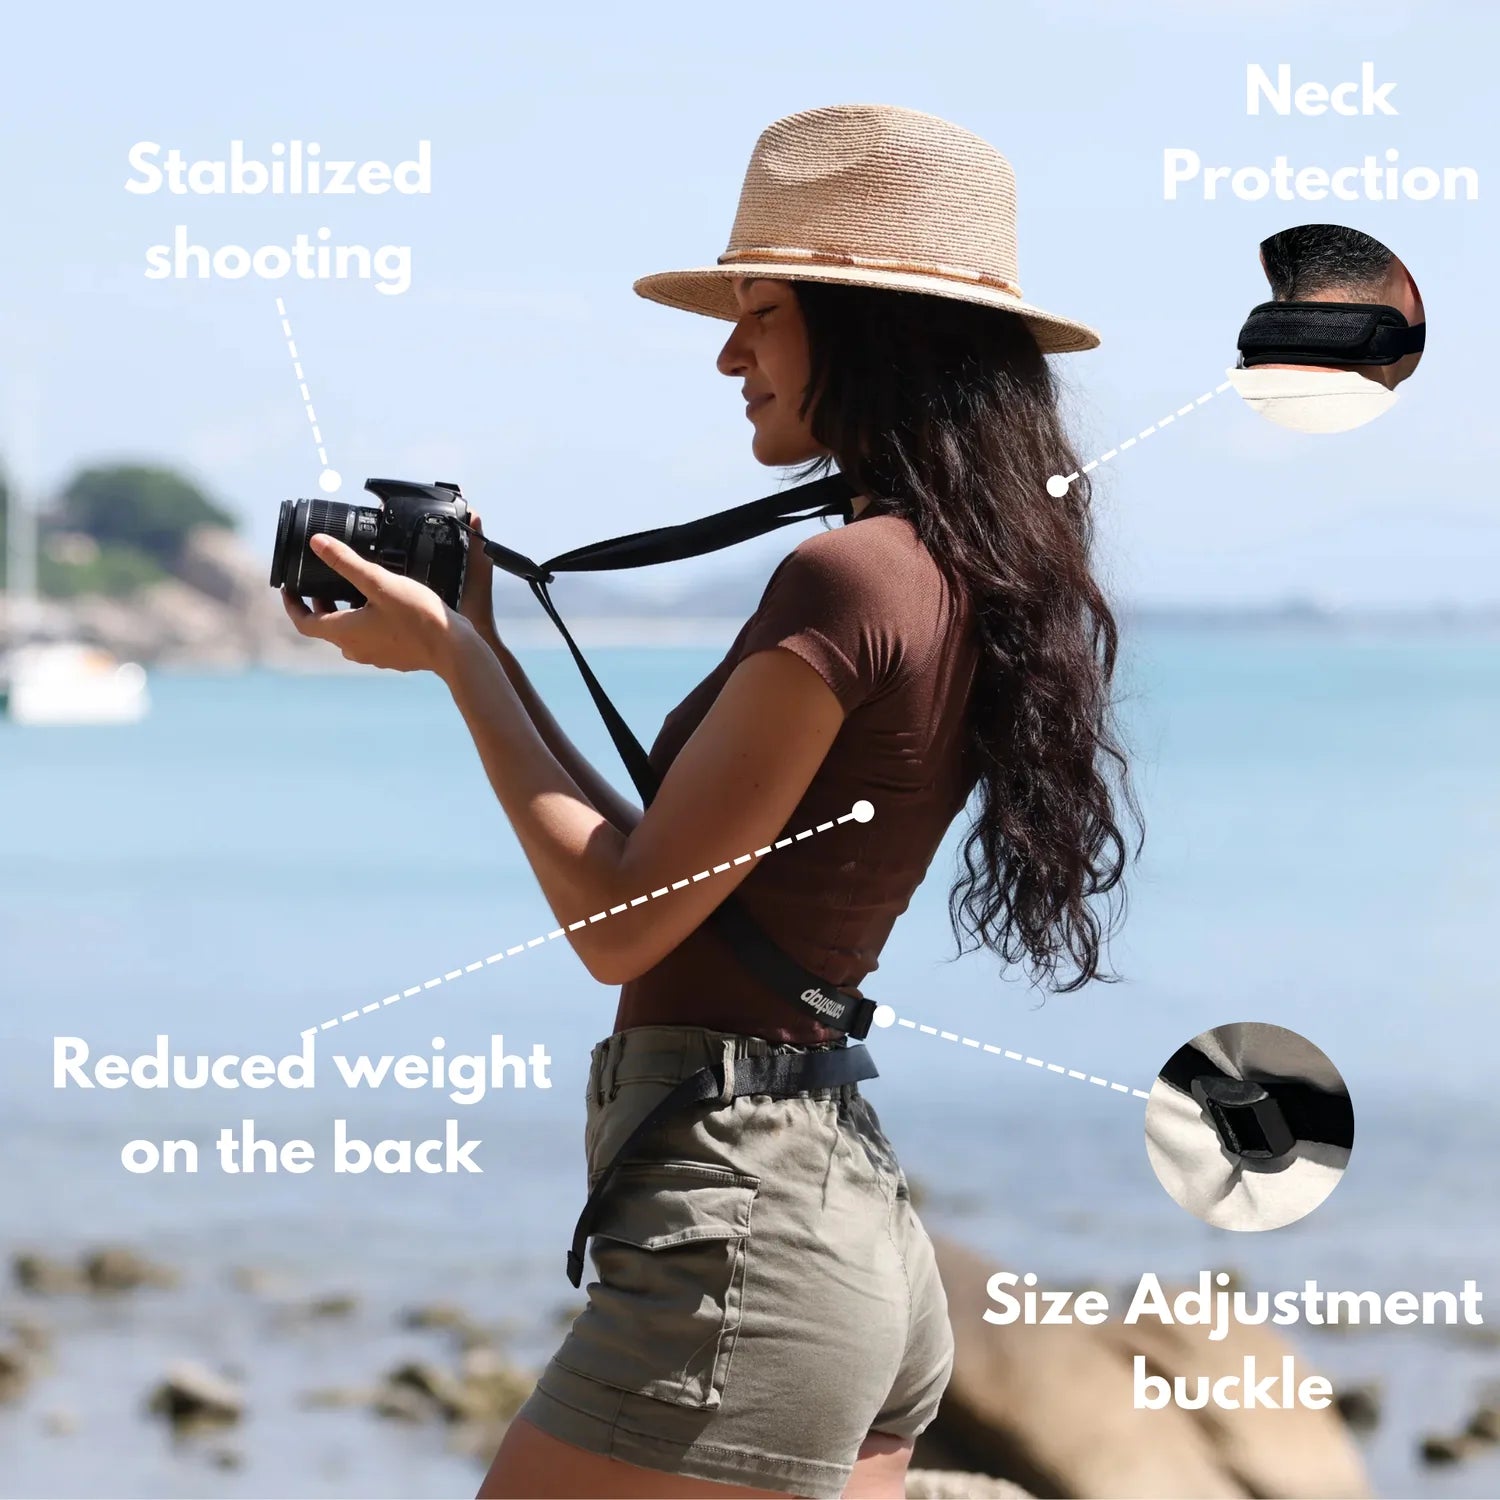
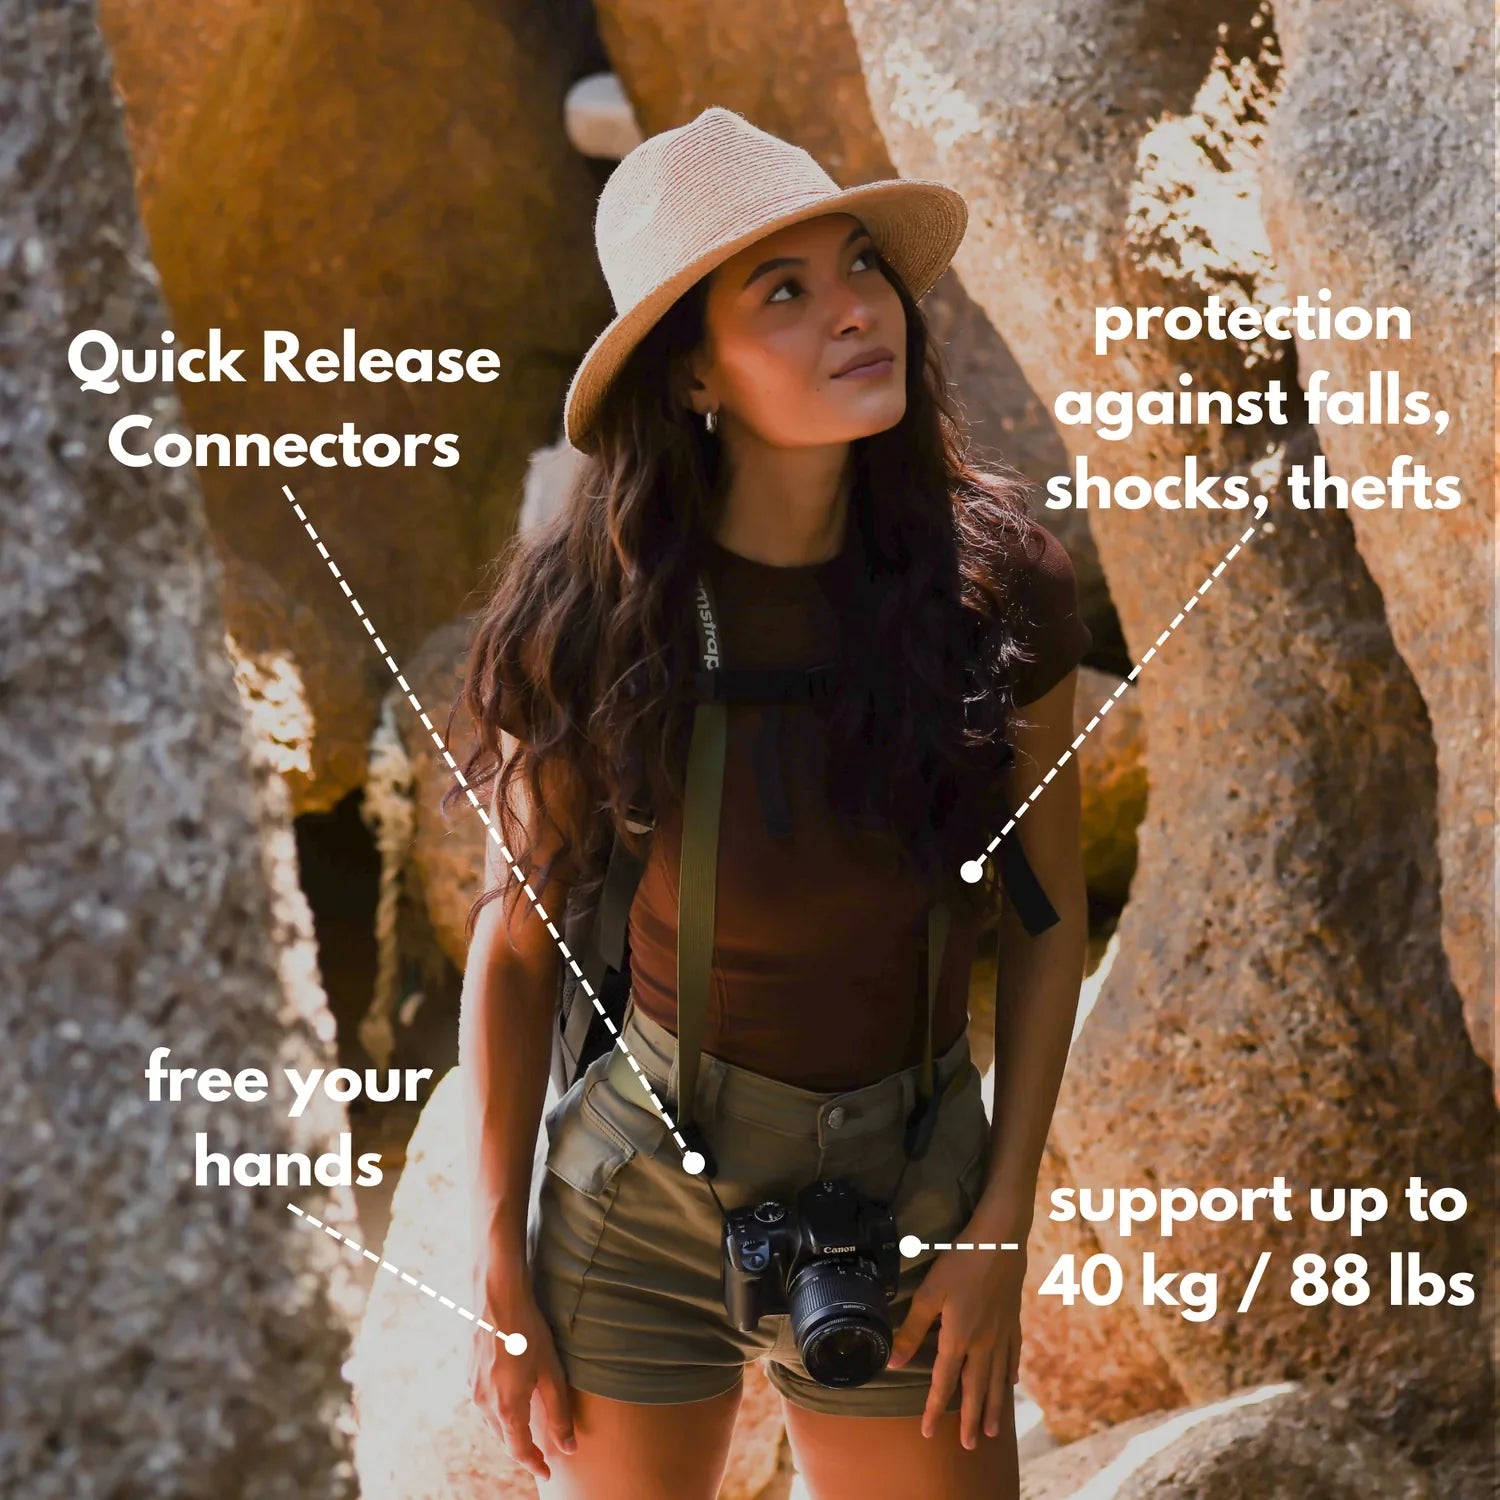
By choosing the Camstrap strap, you are opting for a high-quality product designed to meet the needs of the most demanding photographers.
- Developed by a physiotherapist to relieve neck and back pain.
- Fast delivery with tracking by the Post Office 🚚
- Can be used as a shoulder strap or hands-free harness

- Regular price
-
$41.00 - Regular price
-
$48.00 - Sale price
-
$41.00
Free shipping included
Begin with the finished blend in mind
The strongest double exposure starts before you raise the camera. Picture the final shape, the shared lines, and the part of each frame that should pull the eye first.
Choose one frame for structure and one for mood. A strong silhouette, an empty wall, or a simple profile leaves room for the second image to land.
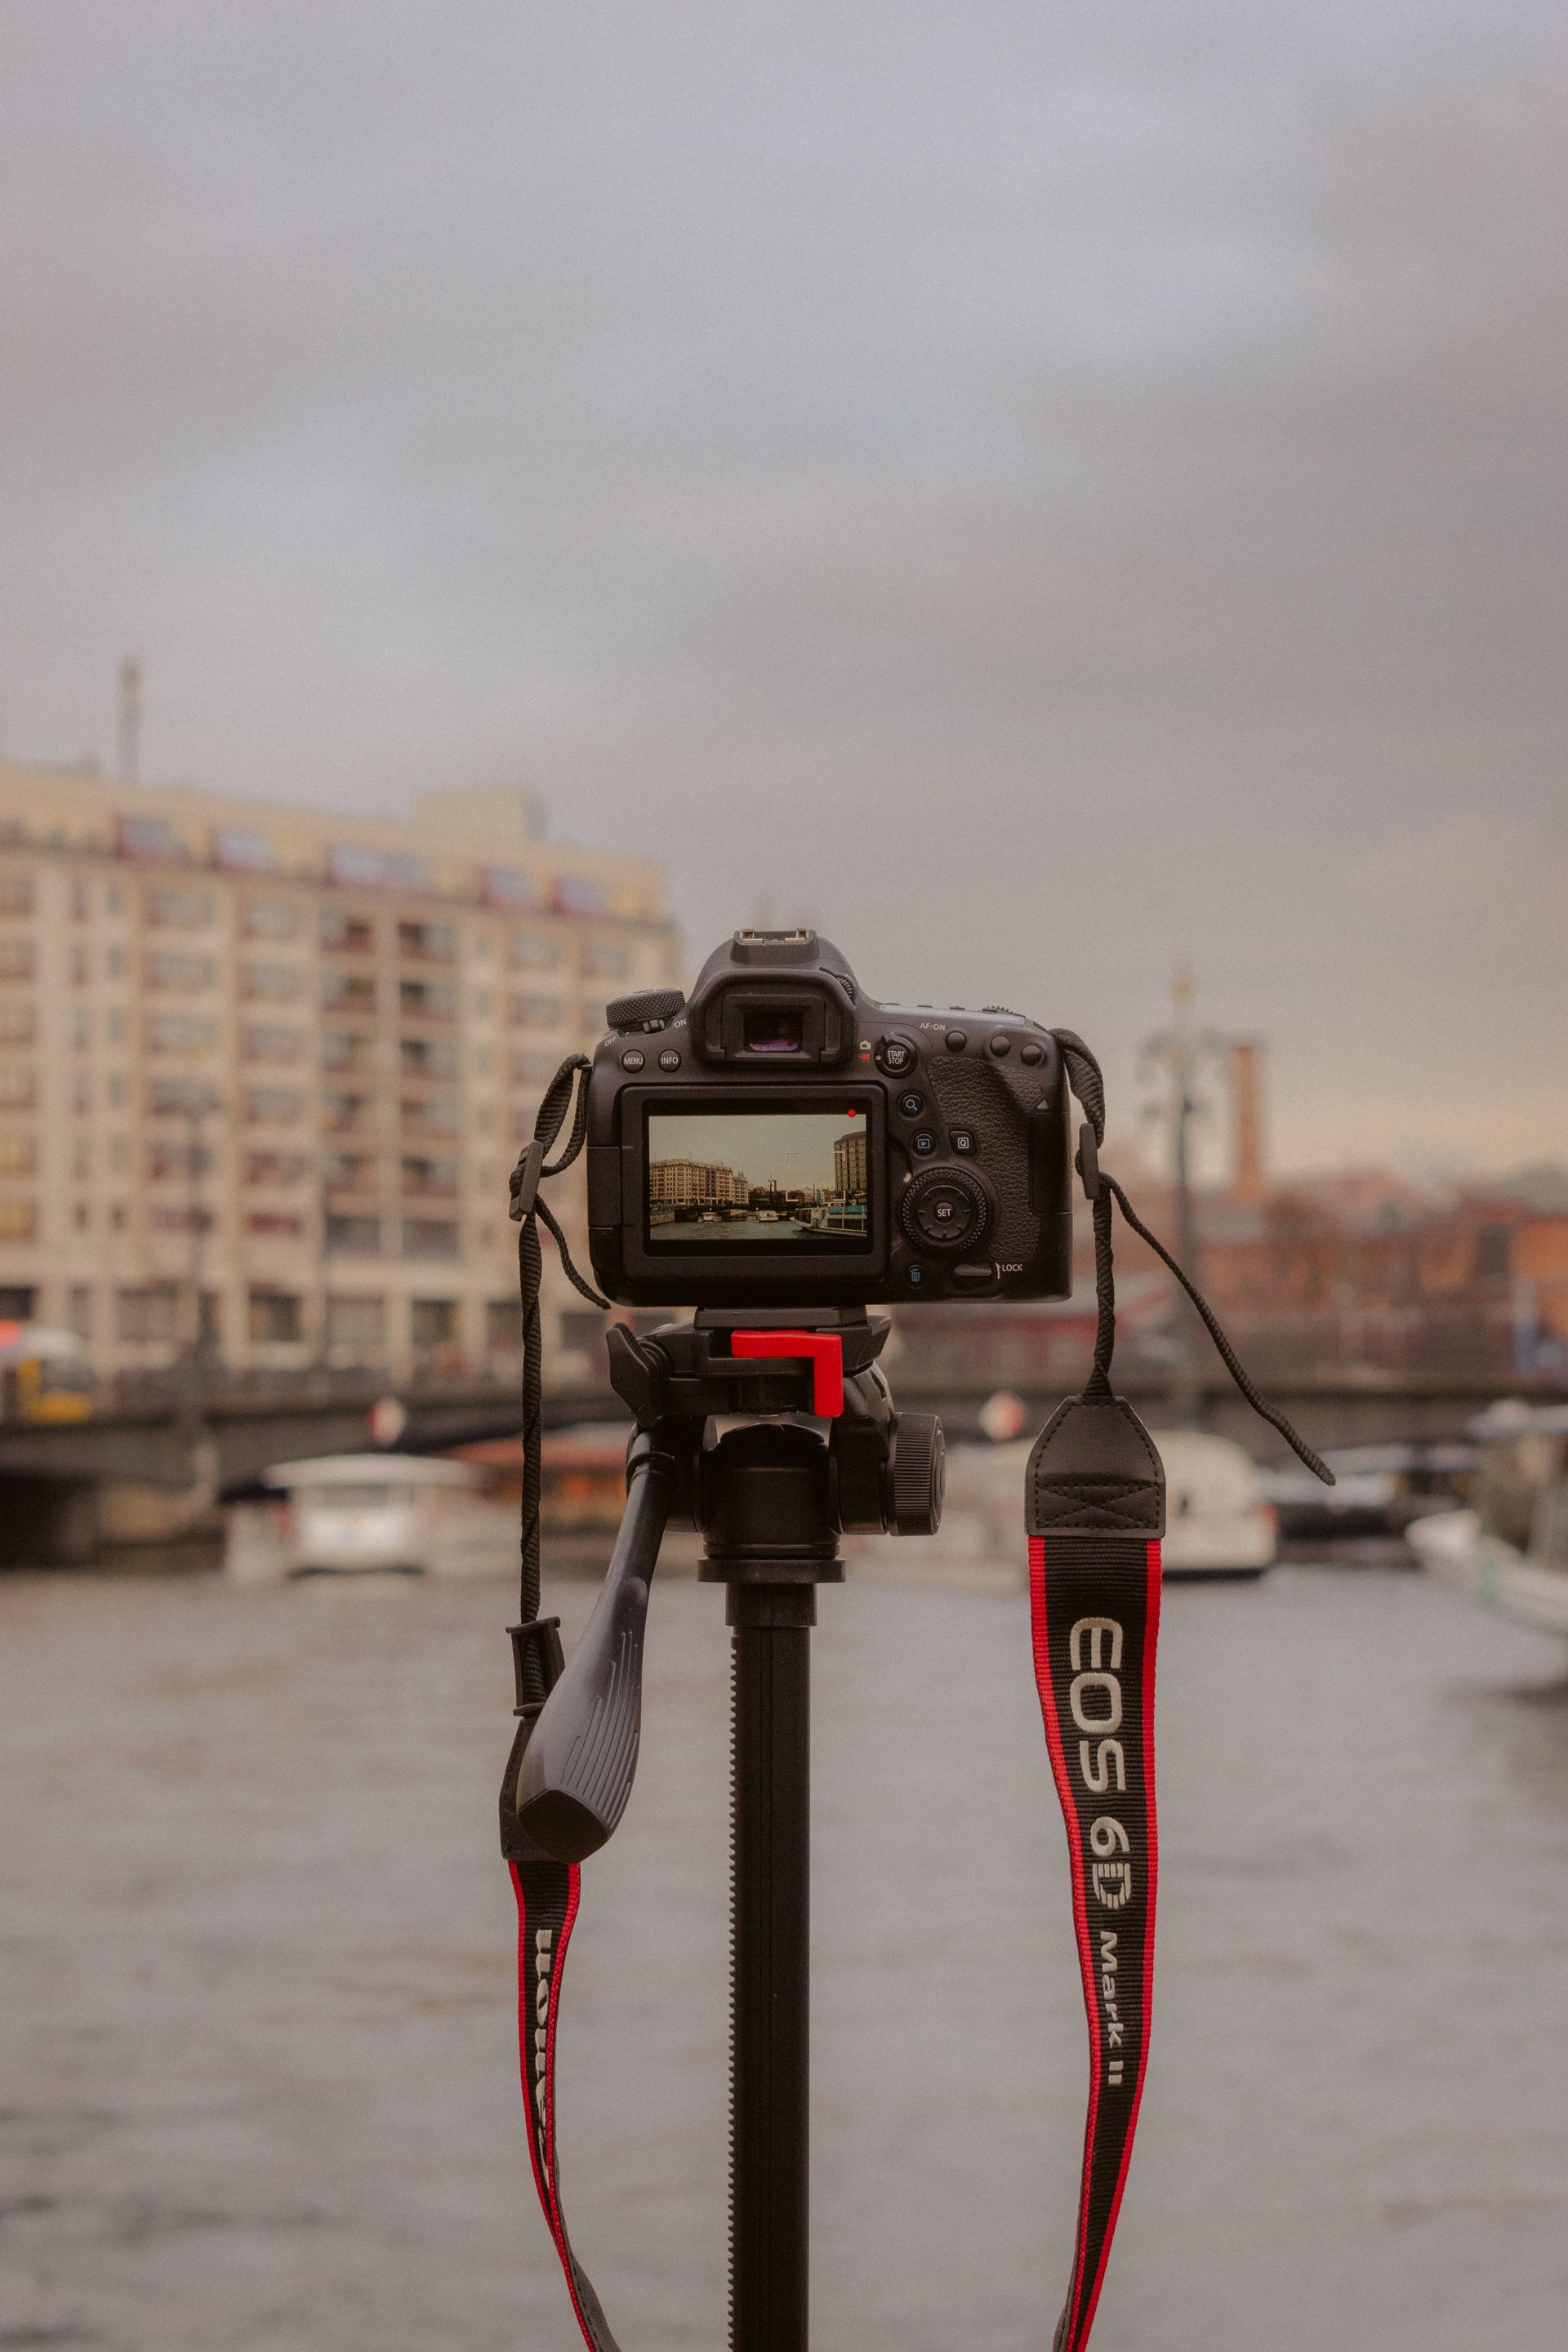
Shape the frame around a clear anchor
A gallery-style result needs order. When both frames fight for attention, the image turns muddy fast. Use one clear anchor in each frame. A tree line can hold a portrait, while a face can hold a street scene or sky pattern.
Focal point photography helps here because the eye needs one place to land first. Without it, the blend can feel busy instead of deliberate.
Pick a lens that keeps lines clean
A 50mm to 85mm lens is a smart place to start. Those focal lengths keep distortion low and make subjects easier to stack.

Apertures around f/2 to f/2.8 help when you want a soft, clean subject edge. For more detail in both frames, stop down to f/5.6 or f/8 and watch the background.
Long walks call for a light camera setup, especially when you are moving slowly and stopping often to frame a scene. A Camstrap Voyager can make that easier because it spreads the weight well during stop-start shooting.
How do you plan a double exposure before pressing the shutter twice?
Start by deciding what each frame will do before you shoot either one. Let one frame carry form and the other carry texture or motion. Write the pair in your head as a short sentence. “Portrait plus leaves” or “building plus clouds” is enough to keep the idea focused.
- Pick a main subject with a clean outline.
- Find a second subject with texture, pattern, or tone.
- Check the brightest area in both frames.
- Leave empty space where the overlay should breathe.
- Test one frame, then adjust before the second shot.

In-camera multiple exposure modes can combine up to 10 images, while some Nikon models support only three exposures.[1] That range gives room to experiment, and a stronger result usually comes from two or three frames.
Nikon’s Average mode combines exposures while adjusting density, while Lighten keeps brighter pixels and Darken keeps darker pixels.[1] Those modes change how much of each frame survives in the blend.
Which outdoor subjects pair well in a double exposure?
Outdoor scenes work best when one subject is solid and the other is loose. A person, tree, cliff edge, or building can hold shape, while leaves, waves, sky, or city lights add texture. Faces and nature often pair well because the forms are easy to read. A side profile can carry a forest line, and a skyline can sit neatly inside a coat or hat shape.
Pairs that give clean results

- Portrait and tree branches
- Silhouette and cloud texture
- Rock face and moving water
- Building edge and night light trails
- Hand shape and grass or reeds
One point perspective photography can help when you want a strong line to guide the eye through both frames. Roads, rails, fences, and hallways all give the blend a clear path.
Outdoors, the best pairings usually come from simple contrast. Sharp edges and loose texture create the most readable layers.
Can a clean double exposure happen in bright daylight?
Yes, if you keep highlights under control before they wash out the blend. Bright daylight can work well when you protect the sky and keep one frame dark enough to support the other. A clean result often starts with slight underexposure. Try -1/3 to -1 stop on the first frame, then check the histogram before you take the second shot.

Use light with more control
Midday sun can flatten detail, so shade helps. Open shade under a tree, a building shadow, or a doorway gives you more control over contrast.
If your camera lets you use the histogram or highlight warning, turn both on. Those tools help keep bright areas from clipping, which matters a lot in layered images.
For example, Nikon’s long-exposure-style multiple-exposure example uses 10 exposures at f/22 and ISO 100.[2] That setup shows how deep stopping down can help hold detail, even in a dense composite.
Why do some double exposures look messy instead of artistic?

Messy blends usually happen when both frames compete for the same space. Too much detail in both images leaves no room for the eye to rest. Overexposure can cause the same problem. When highlights blow out, the second frame has nowhere to sit, and the whole image loses shape.
Motion blur can also hurt the result. A little motion can feel alive, but too much turns the frame into noise.
Common mistakes to avoid
- Using two busy backgrounds
- Placing the subject too close to the frame edge
- Letting bright skies clip hard
- Mixing too many colors at once
- Changing focus between frames without a plan
Nikon recommends keeping the camera stationary on a tripod and manually disabling autofocus after focus is set for steady multi-frame composites.[2][7] That advice matters because even a small shift can break the alignment.
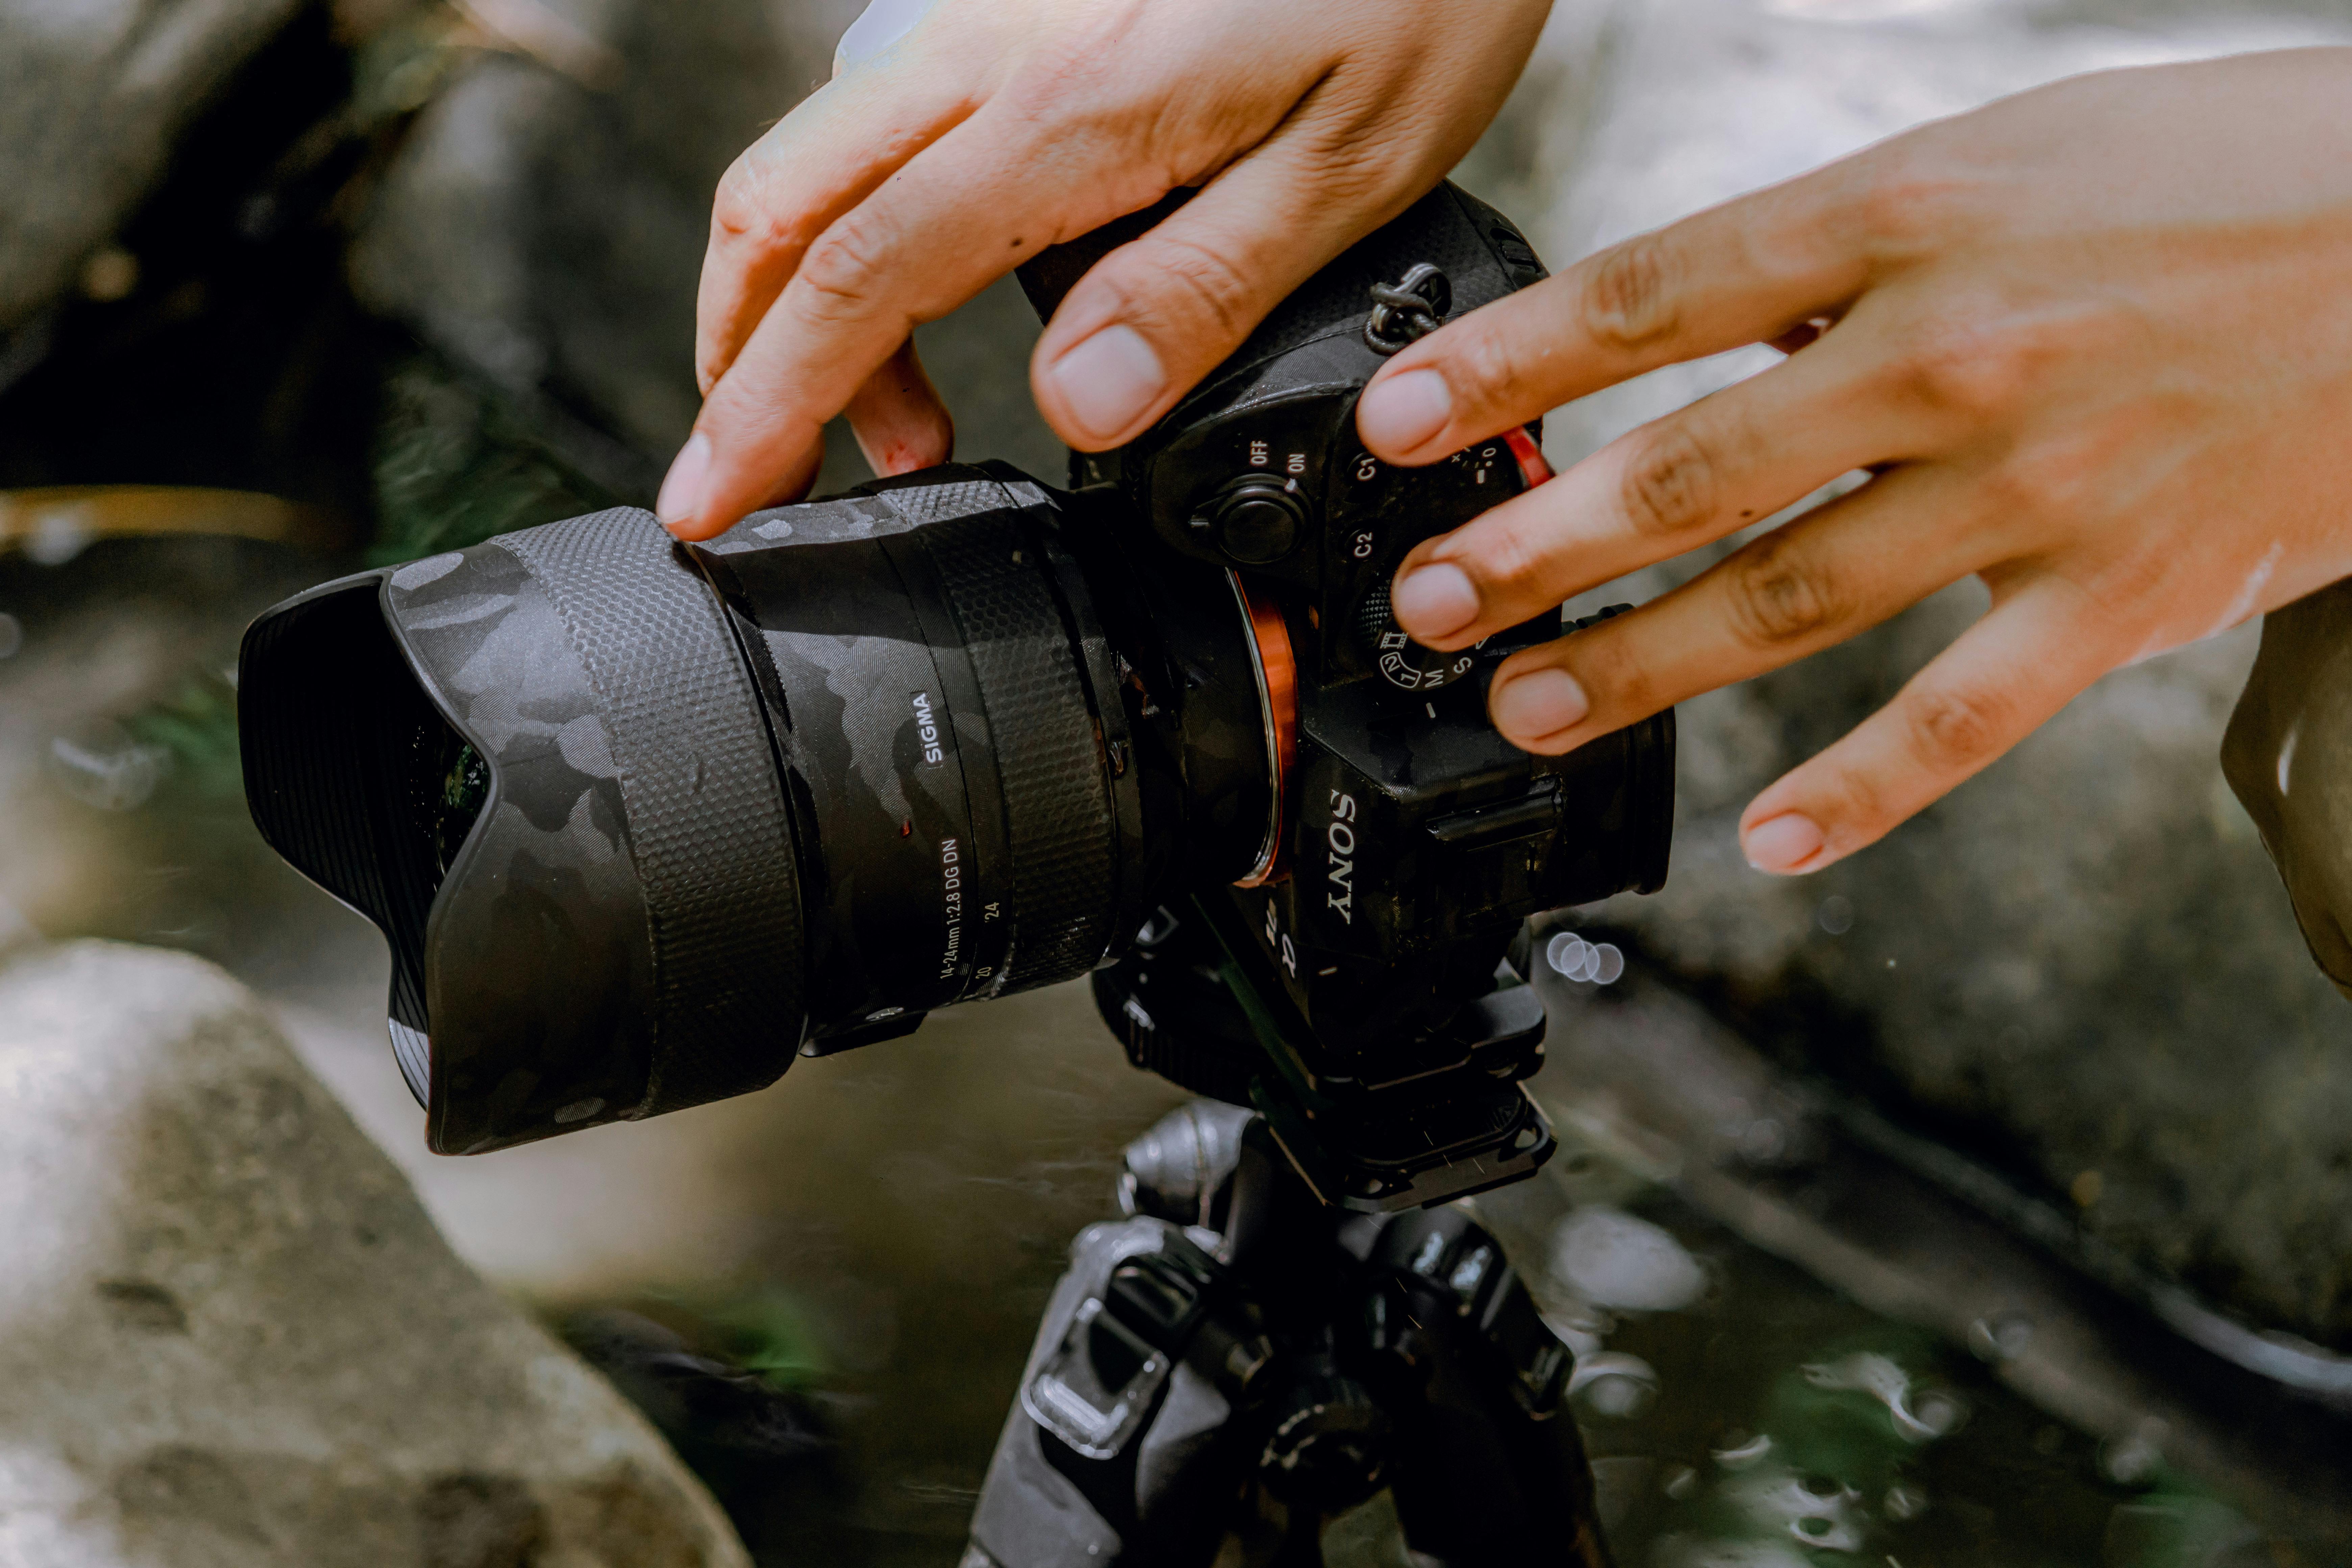
For a lunar-eclipse sequence, Nikon recommends additional exposures every 5 to 10 minutes and cites 1/1000s for the partial-eclipse phase.[7] The point is simple: timing and stability shape the blend just as much as exposure does.
Do you need manual mode to make double exposure images work?
Manual mode is not required, but it gives you the most control. Consistent shutter speed, aperture, and ISO make it easier to predict how the two frames will mix. Aperture priority can work if the light stays steady. Manual exposure helps more when you want the second frame to match the first one cleanly.
Set the camera to stay steady between frames
Manual focus is often the safer choice once you lock the first subject. On many cameras, autofocus can jump between frames and change the look in ways you did not plan.

A steady setup also helps with exposure overlap. Nikon’s image-overlay workflow can combine two or more RAW NEF files after capture, adjust the source exposure, and save a new NEF without changing the originals.[3][6]
That workflow gives you a second chance if the in-camera blend feels off. It helps when you want to fine-tune the balance later in editing software.
Use camera settings that keep the blend readable
Shutter speed matters less than in action work, but it still shapes the scene. A slow enough shutter can soften water or clouds, while a faster one keeps edges crisp. For a clean start, try ISO 64 to 200, f/5.6 to f/8, and a shutter near 1/125s for handheld work in bright light. If the scene is darker, move to a tripod and lower the shutter instead of pushing ISO too high.
Mirrorless bodies drain power faster when the EVF or LCD stays on all the time. Frequent image review also uses battery, so cut back on playback when you shoot a long series.

If your camera supports a faster card slot, UHS-II V60 or V90 cards help when you save RAW files or shoot a long bracketed set. For heavier workflows, CFexpress cards keep write speed high and reduce wait time between sequences.
When burst tools help this style
A mid-tier body with a decent buffer can usually handle about 20 to 40 RAW frames before slowing, depending on file size and card speed. That is enough for most layered work, since the goal is usually only two to four frames. Pre-capture or pre-burst buffering can help if you are timing a moving subject, like a bird crossing a bright sky or a cyclist passing through a frame. Back-button focus also helps because it lets you lock focus without forcing the camera to refocus between shots.
A Nikon Z 7 example merges 10 exposures of 6 seconds each into a composite that approximates a 60-second exposure, using f/16 and ISO 64.[10] That shows how layered capture can build a slow, rich result from many short frames.
Put the scene together without losing control
After the first frame, check the edges and the brightest spots. The second frame should support the first, not replace it.
Keep the camera angle steady, then shift only the subject or background if you need a better fit. Small changes make a big difference in layered images.
Review the blend on a larger screen when you can. A tiny preview often hides problems in the overlap. The best gallery-like result usually comes from restraint. One strong subject, one clear texture, and one steady frame are enough.
On a neighborhood walk, that same calm pace matters in the field too. A camera that hangs well and stays out of the way lets you pause, frame, and move again without breaking the flow.
Keep one eye on light, one eye on shape, and one hand on the camera. Next time you step into shade or stop at a clean wall, you will already know which frame should come first.
Frequently Asked Questions
How do you plan a double exposure before you press the shutter twice?
Plan a double exposure by deciding what each frame will do before either shot is taken. Give one frame structure and the other texture, motion, or mood, and keep a clear anchor plus empty space where the overlap should work.
What kinds of subjects combine well in a double exposure outdoors?
Outdoor double exposures work best when one subject is solid and the other is loose or textured. People, trees, cliffs, or buildings pair well with leaves, waves, sky, or city lights because the forms are easy to stack.
Can you create a clean double exposure in bright daylight?
Yes, a clean double exposure is possible in bright daylight if the light is controlled and the brightest areas are checked in both frames. Clean silhouettes, simple backgrounds, and careful overlap help keep the blend readable instead of washed out.
Why do some double exposures look messy instead of artistic?
Some double exposures look messy when both frames compete for attention and no clear anchor guides the eye. Busy backgrounds, poor overlap, and too many bright details can make the result muddy instead of deliberate.
Do you need manual mode to make double exposure images work?
No, manual mode is not required to make double exposure images work. In-camera multiple exposure modes can combine multiple frames, and the stronger result usually comes from two or three exposures rather than many.


