
- What is the best hands-free camera carry system
- Are camera backpack straps better than slings
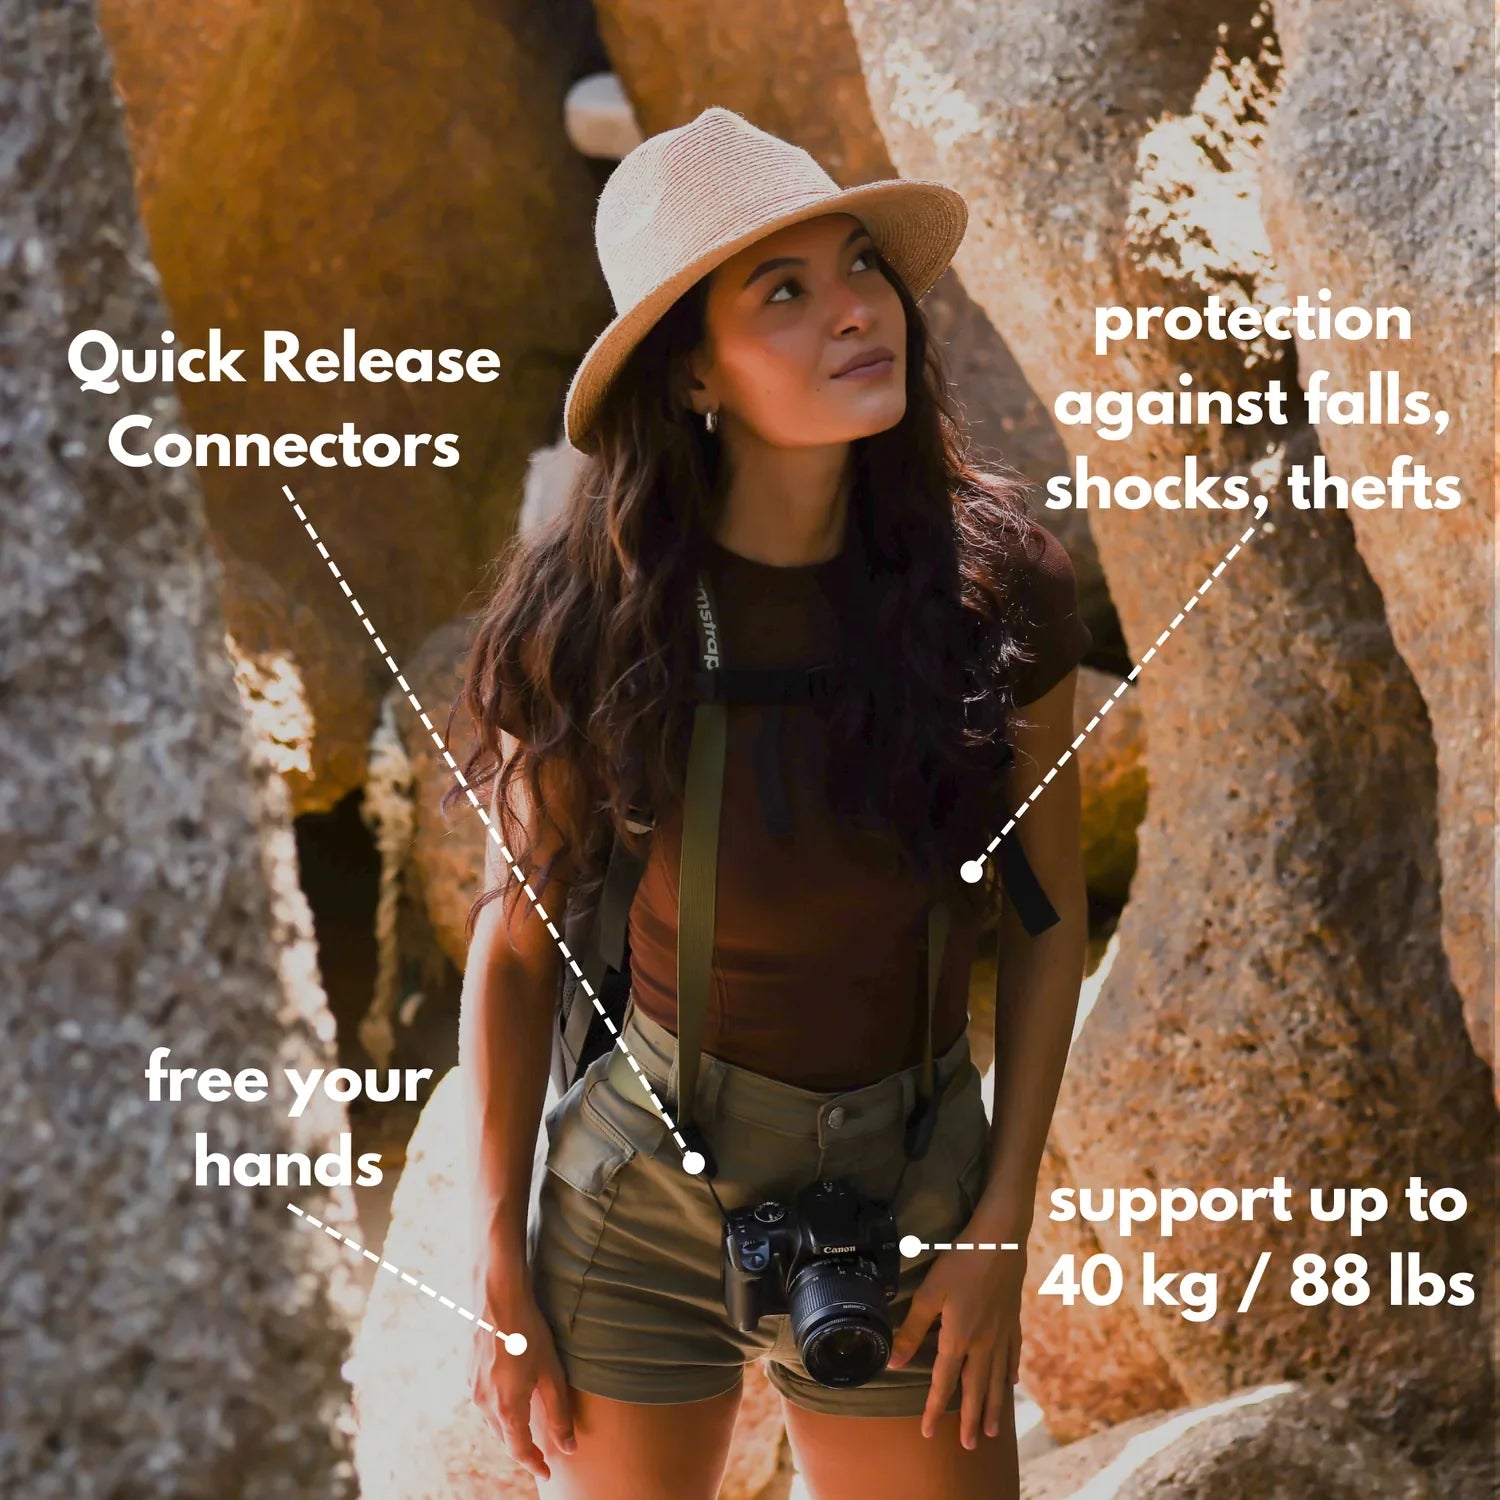
- How do you carry a camera hands-free while hiking

Hands-free camera carry systems simplify shooting while on the move by keeping your camera accessible without having to grip it constantly. They let you maintain readiness for a shot while freeing your hands for other tasks. This guide compares the most relevant hands-free options for travel, hiking, and street photography in 2026.
Why choose a hands-free camera carry system?
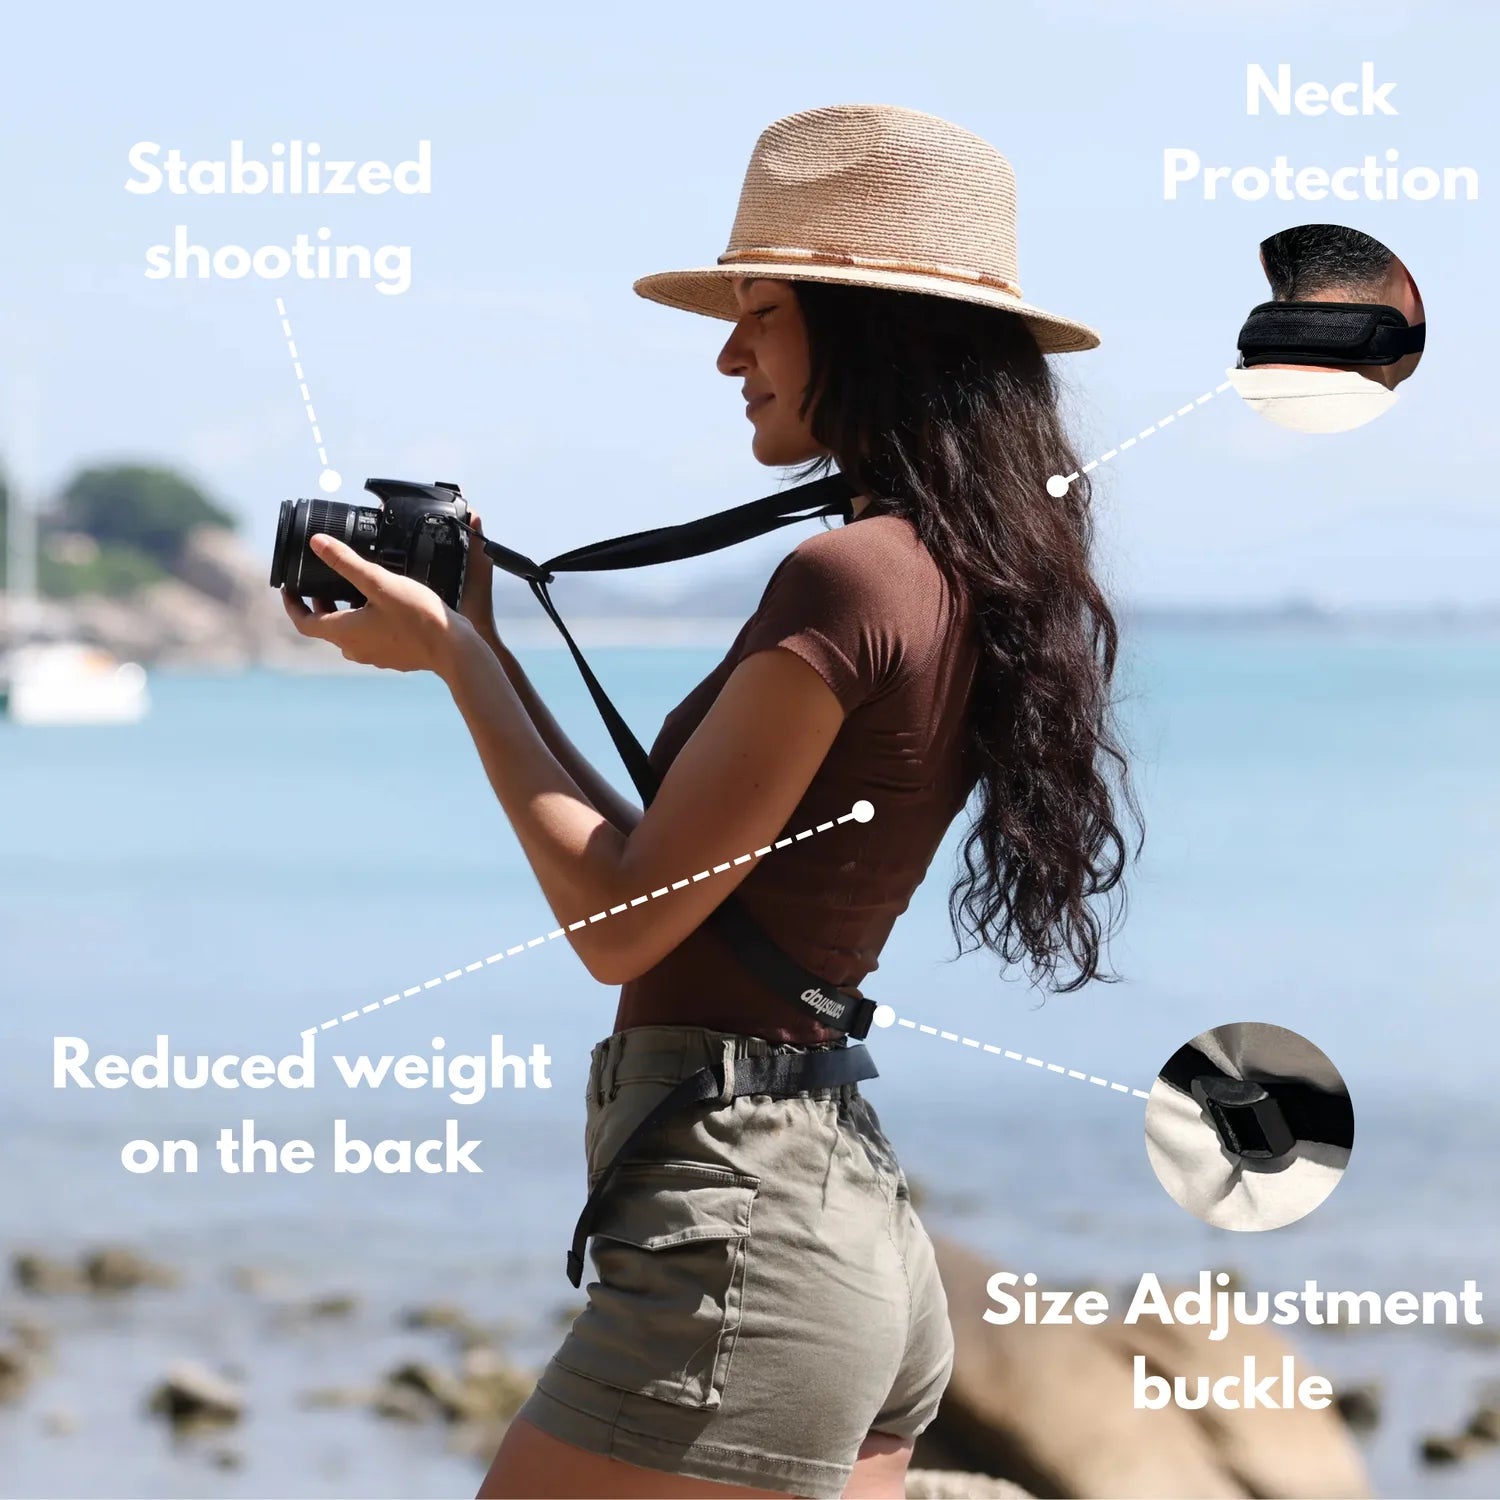
Hands-free systems let you handle maps, trekking poles, or a snack without juggling your camera. They also reduce strain on the neck and shoulders and keep gear steadier over long walks. Many designs redistribute load to the torso or hips, which improves comfort on extended outings.
When traveling or hiking, hands-free solutions cut fatigue and lower the risk of slips and drops. They speed up lens changes and adjustments so you can capture moments more quickly. In addition, these systems protect your kit from bumps and accidental falls.
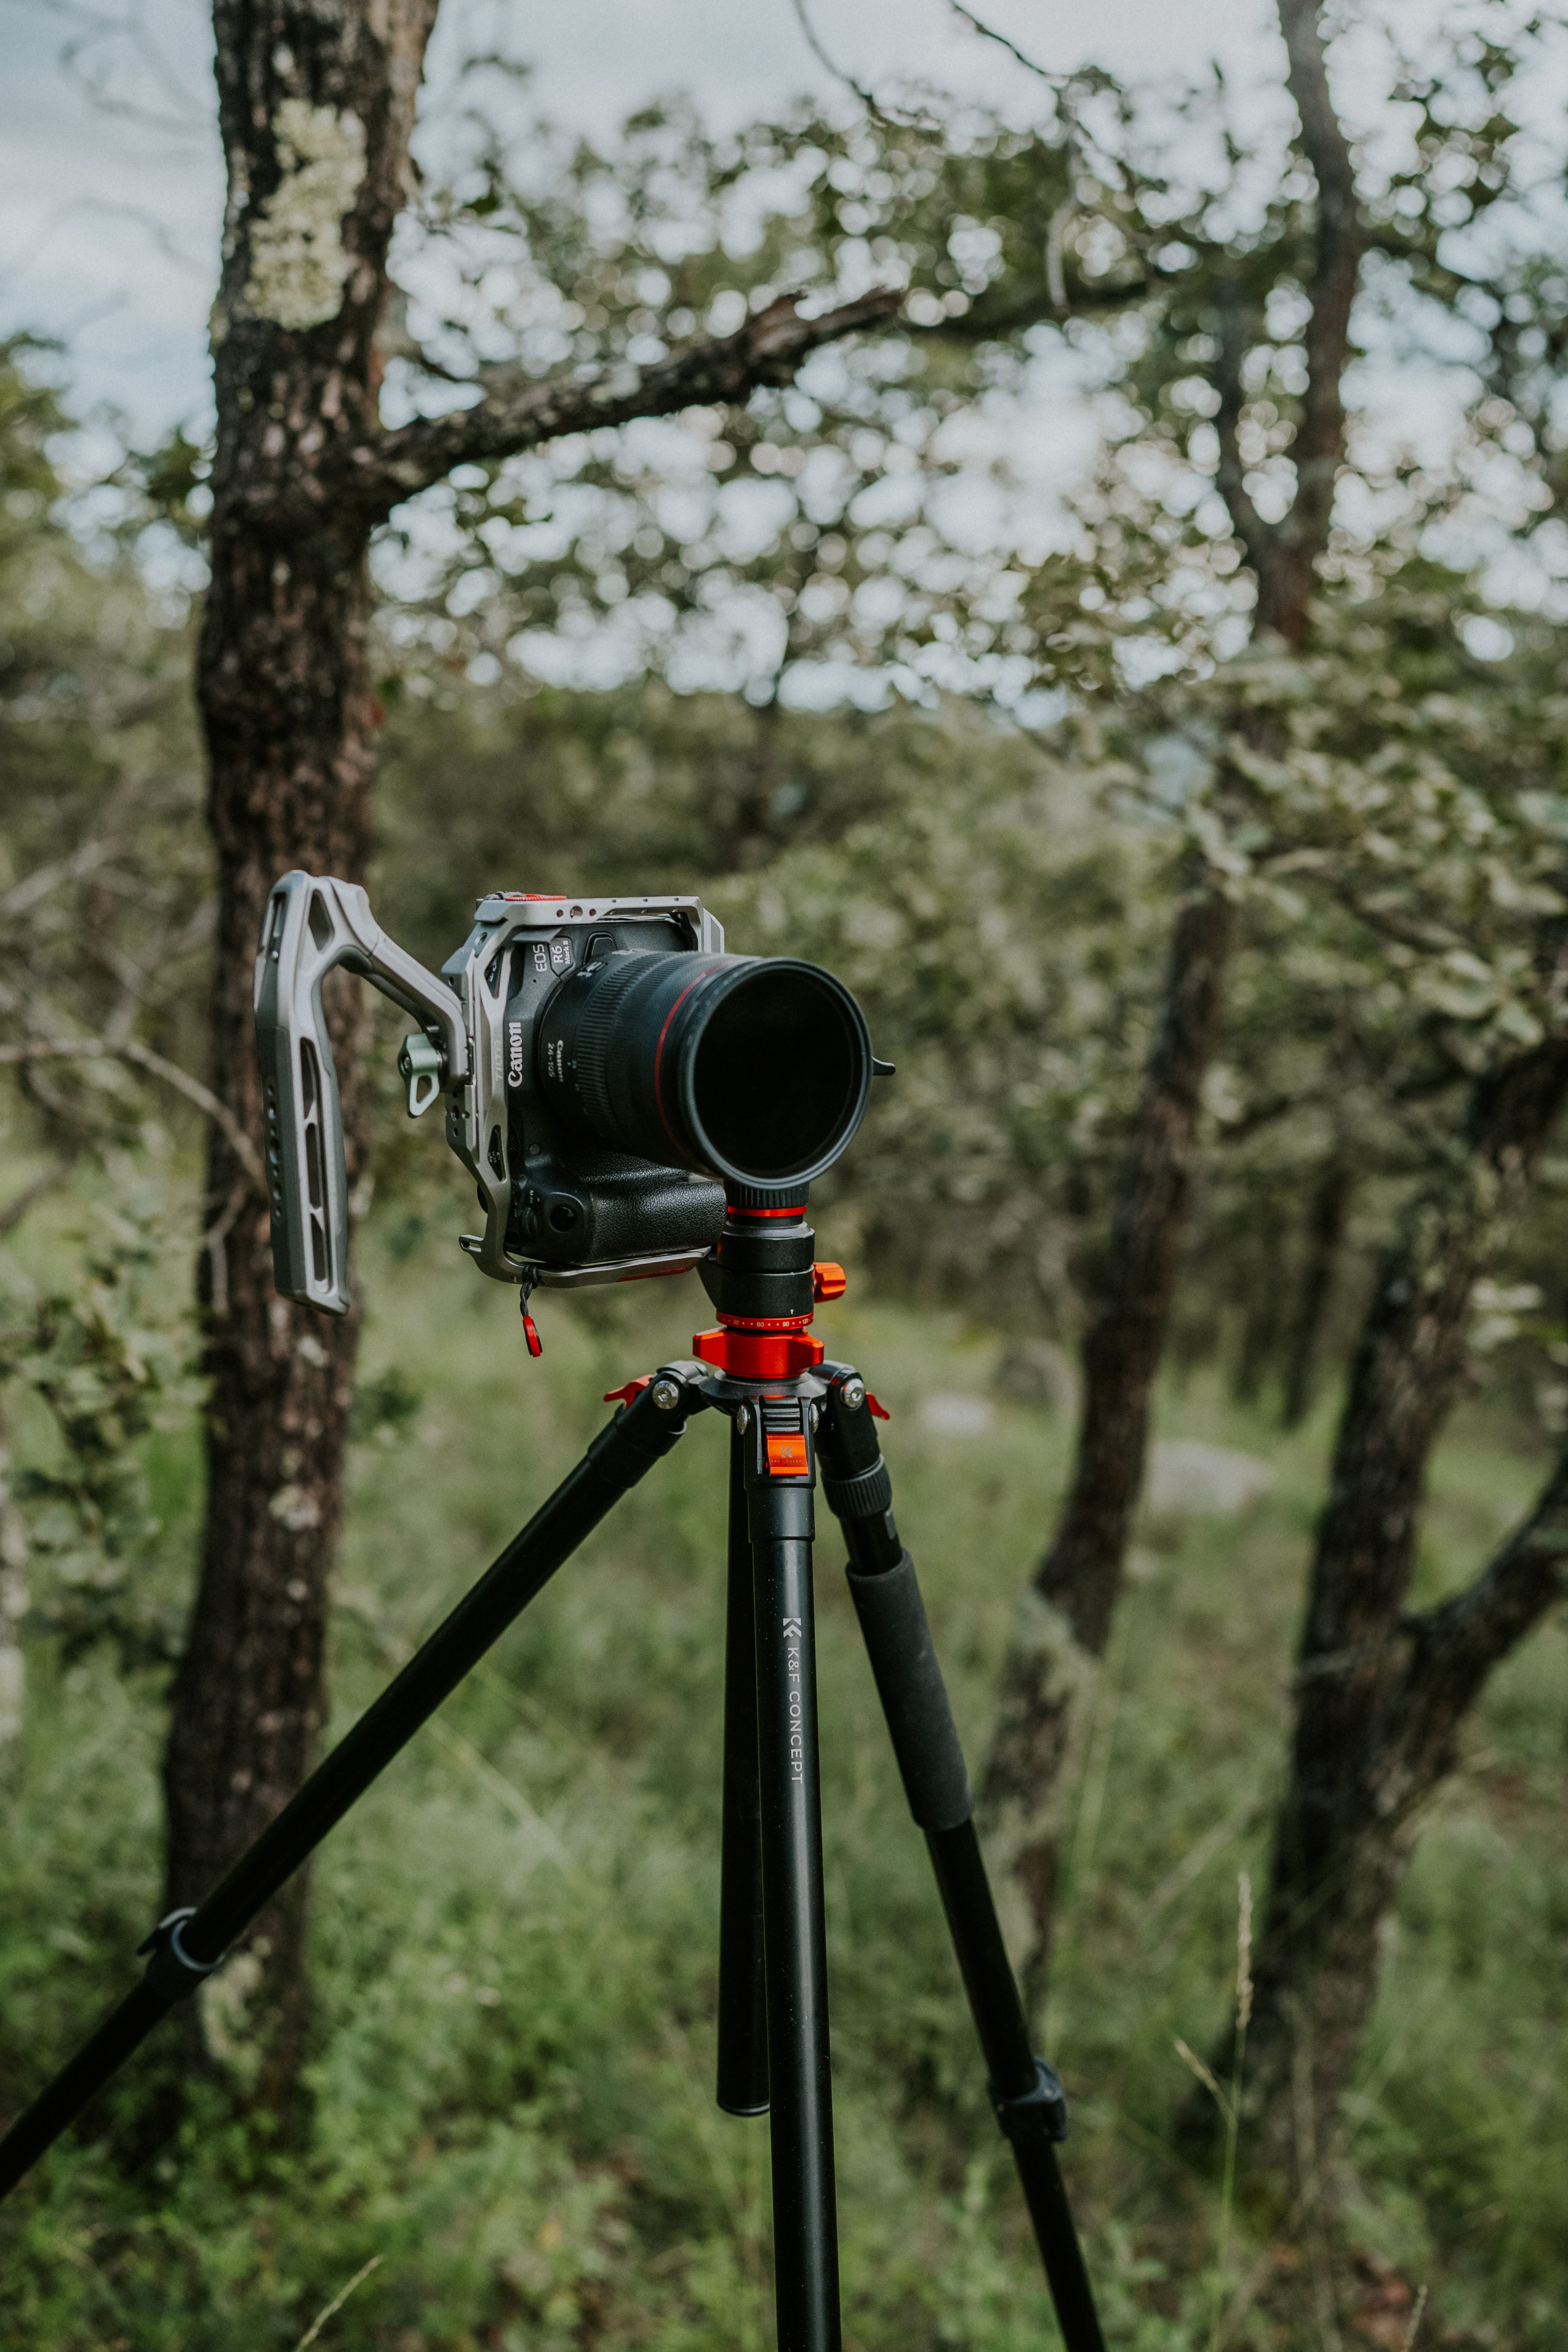
Types of hands-free carry systems: slings, harnesses, backpacks, and belts
Today’s market centers on four primary styles, each tailored to different bodies and shooting needs. Understanding those categories helps you narrow choices and match a system to your routine. Pick the style that suits your kit, movement, and access preferences.
- Sling straps — Worn across the chest or back; designed to swing the camera into shooting position fast.
- Harnesses — Built with two shoulder straps to distribute weight evenly; ideal for heavier setups.
- Backpack systems — Provide storage plus anchor points for full kits and longer carries.
- Belt and holster rigs — Shift load to the hips to stay comfortable on long hikes.
Pros and cons of each hands-free type
Sling straps are compact and offer rapid access, though they may migrate on uneven terrain. Harnesses support bulky bodies and dual setups, but they can feel hot or bulky in warm conditions. Backpacks deliver storage and protection at the expense of faster access. Belt rigs move weight to the hips for endurance, yet they add bulk at the sides.
Sling versus backpack straps: which hands-free setup is better?
Your choice between a sling and backpack straps usually hinges on how quickly you need access and how much weight you carry. A sling provides immediate reach to a single camera and lens, which makes it a favorite for street and travel shooting.
Backpack straps, by contrast, integrate with larger packs and protect gear while hauling extras. For photographers who travel with multi-lens kits, backpacks commonly offer superior balance and comfort over long days.
Who should pick a sling?
Opt for a sling if you travel light and value fast framing. Street photographers and travelers often prefer slings for their speed and low profile. A sling pairs well with a 50mm–85mm prime or a compact zoom.
Who should pick a backpack strap?
Choose backpack straps when you’re carrying several lenses, a drone, or other bulky accessories. Outdoor and adventure photographers benefit from the load distribution and extra storage. Backpacks are particularly effective when your kit totals 8–12 kg for a full day on the trail.
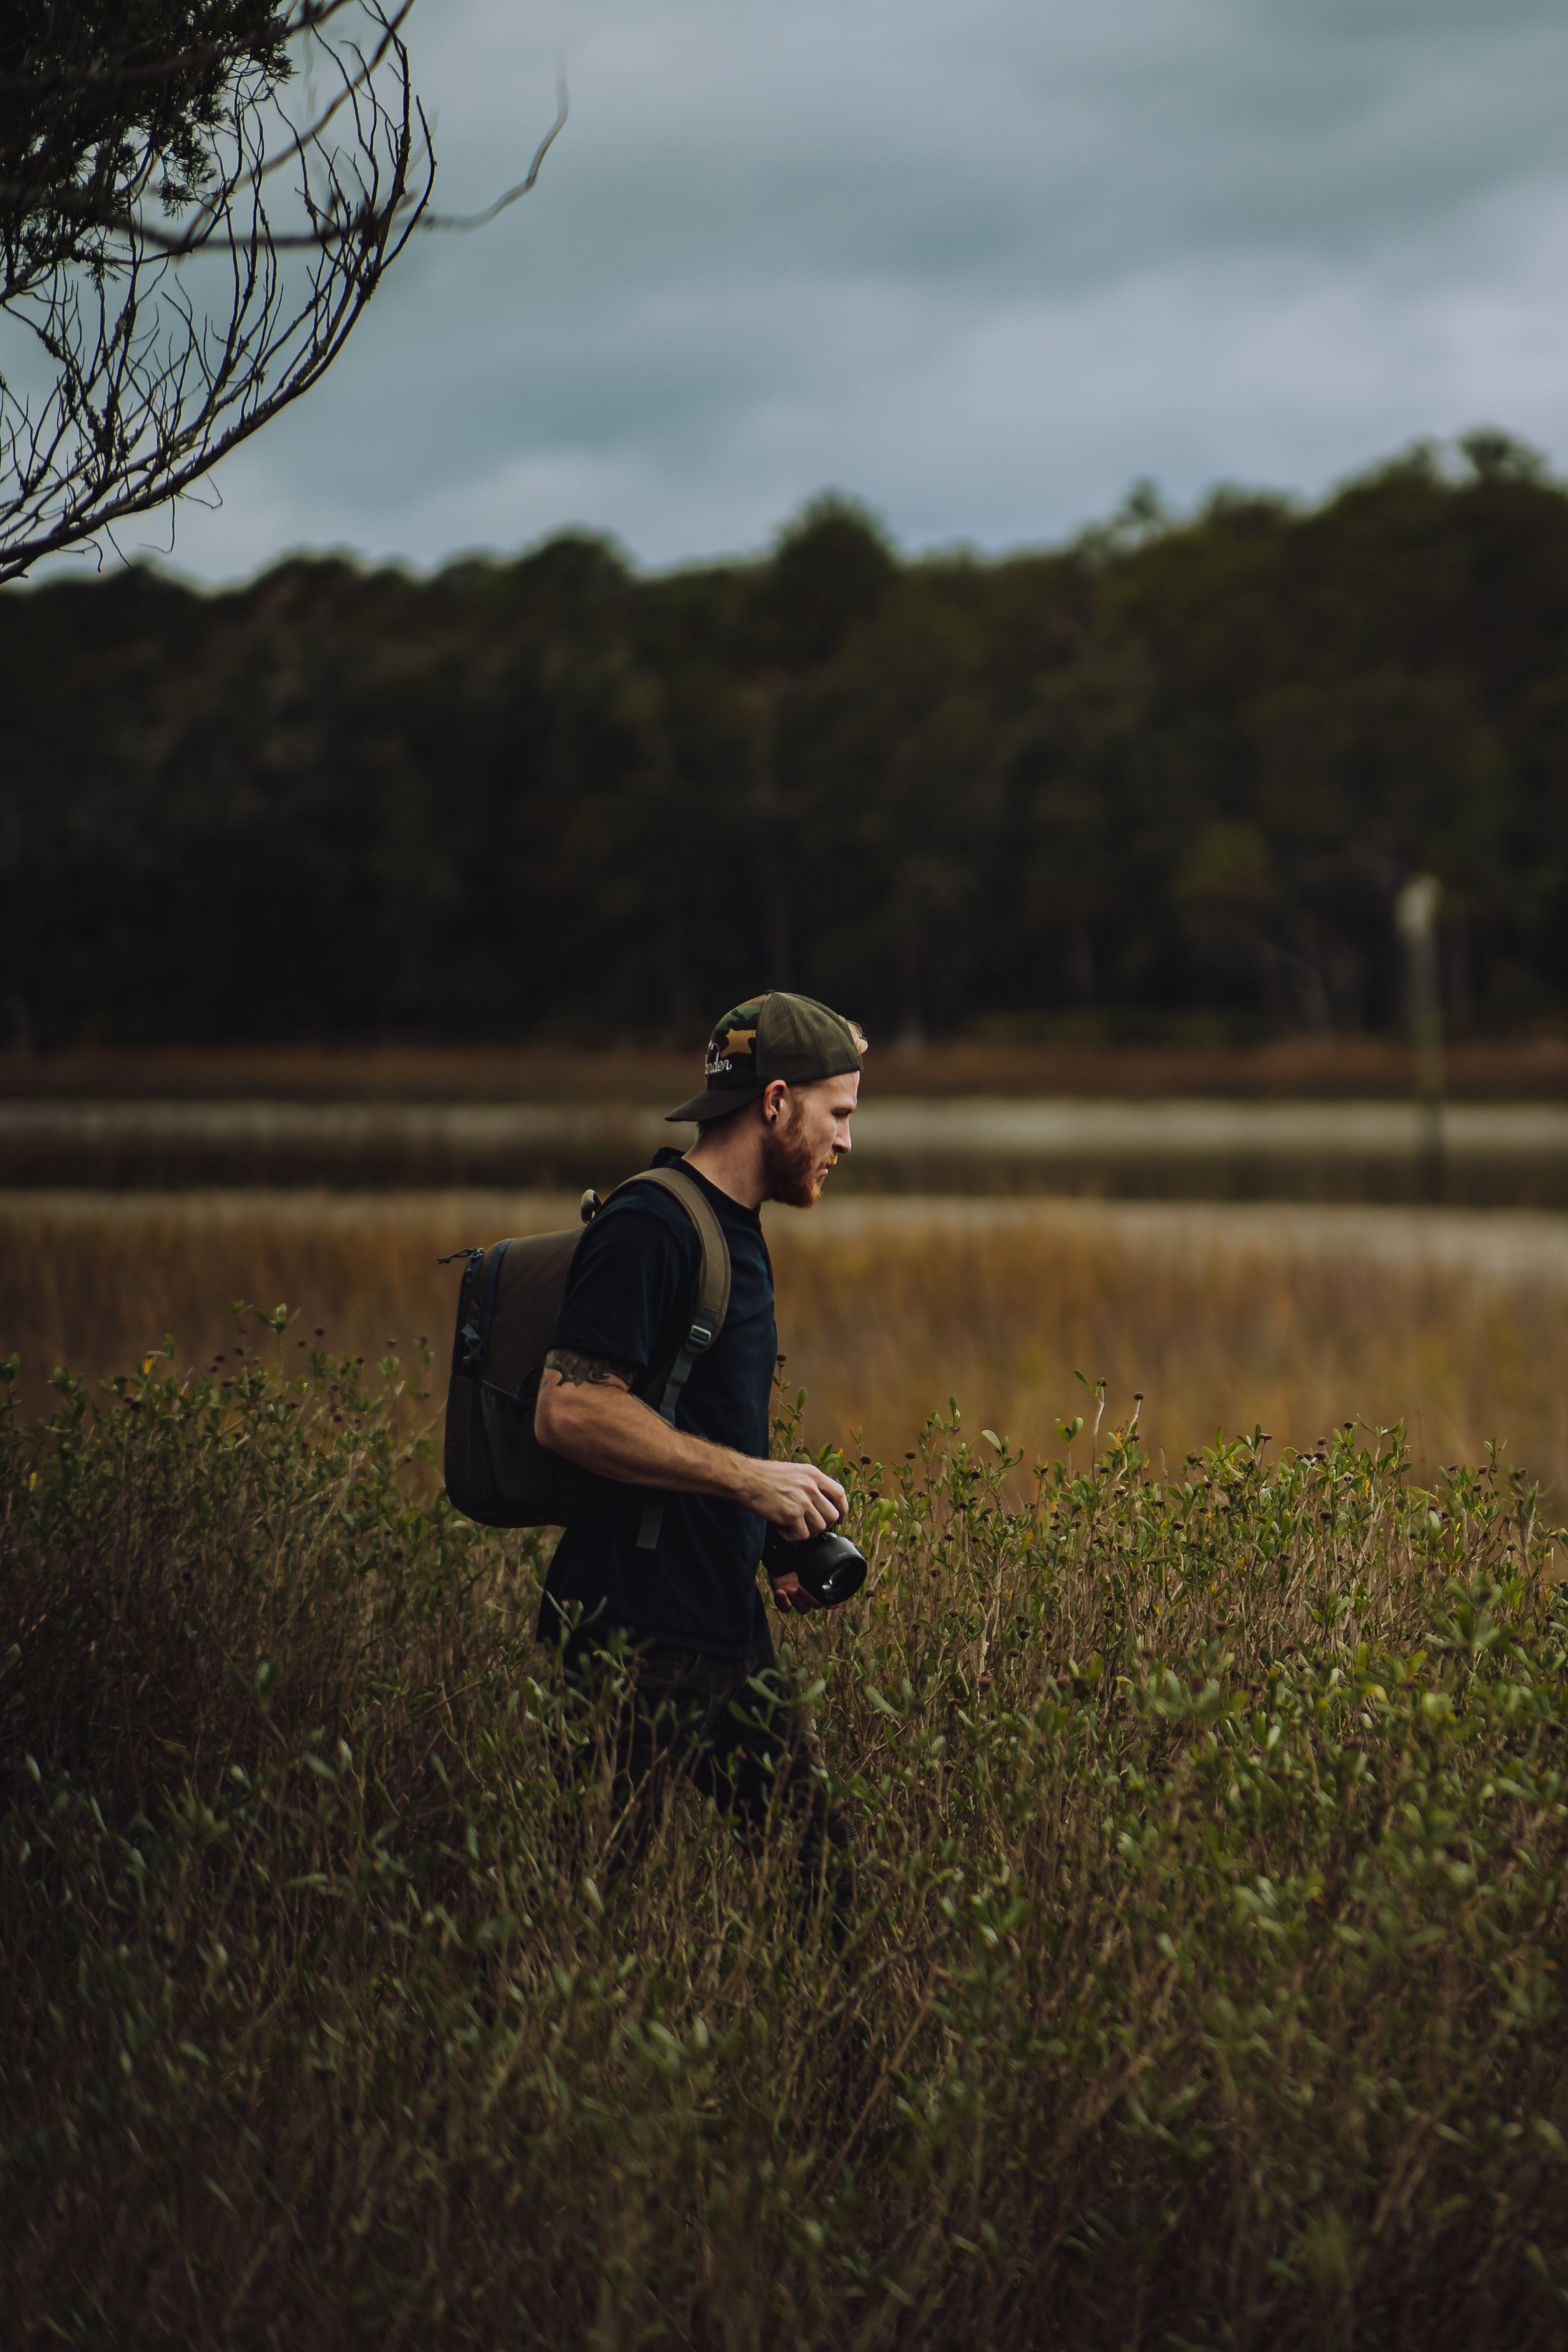
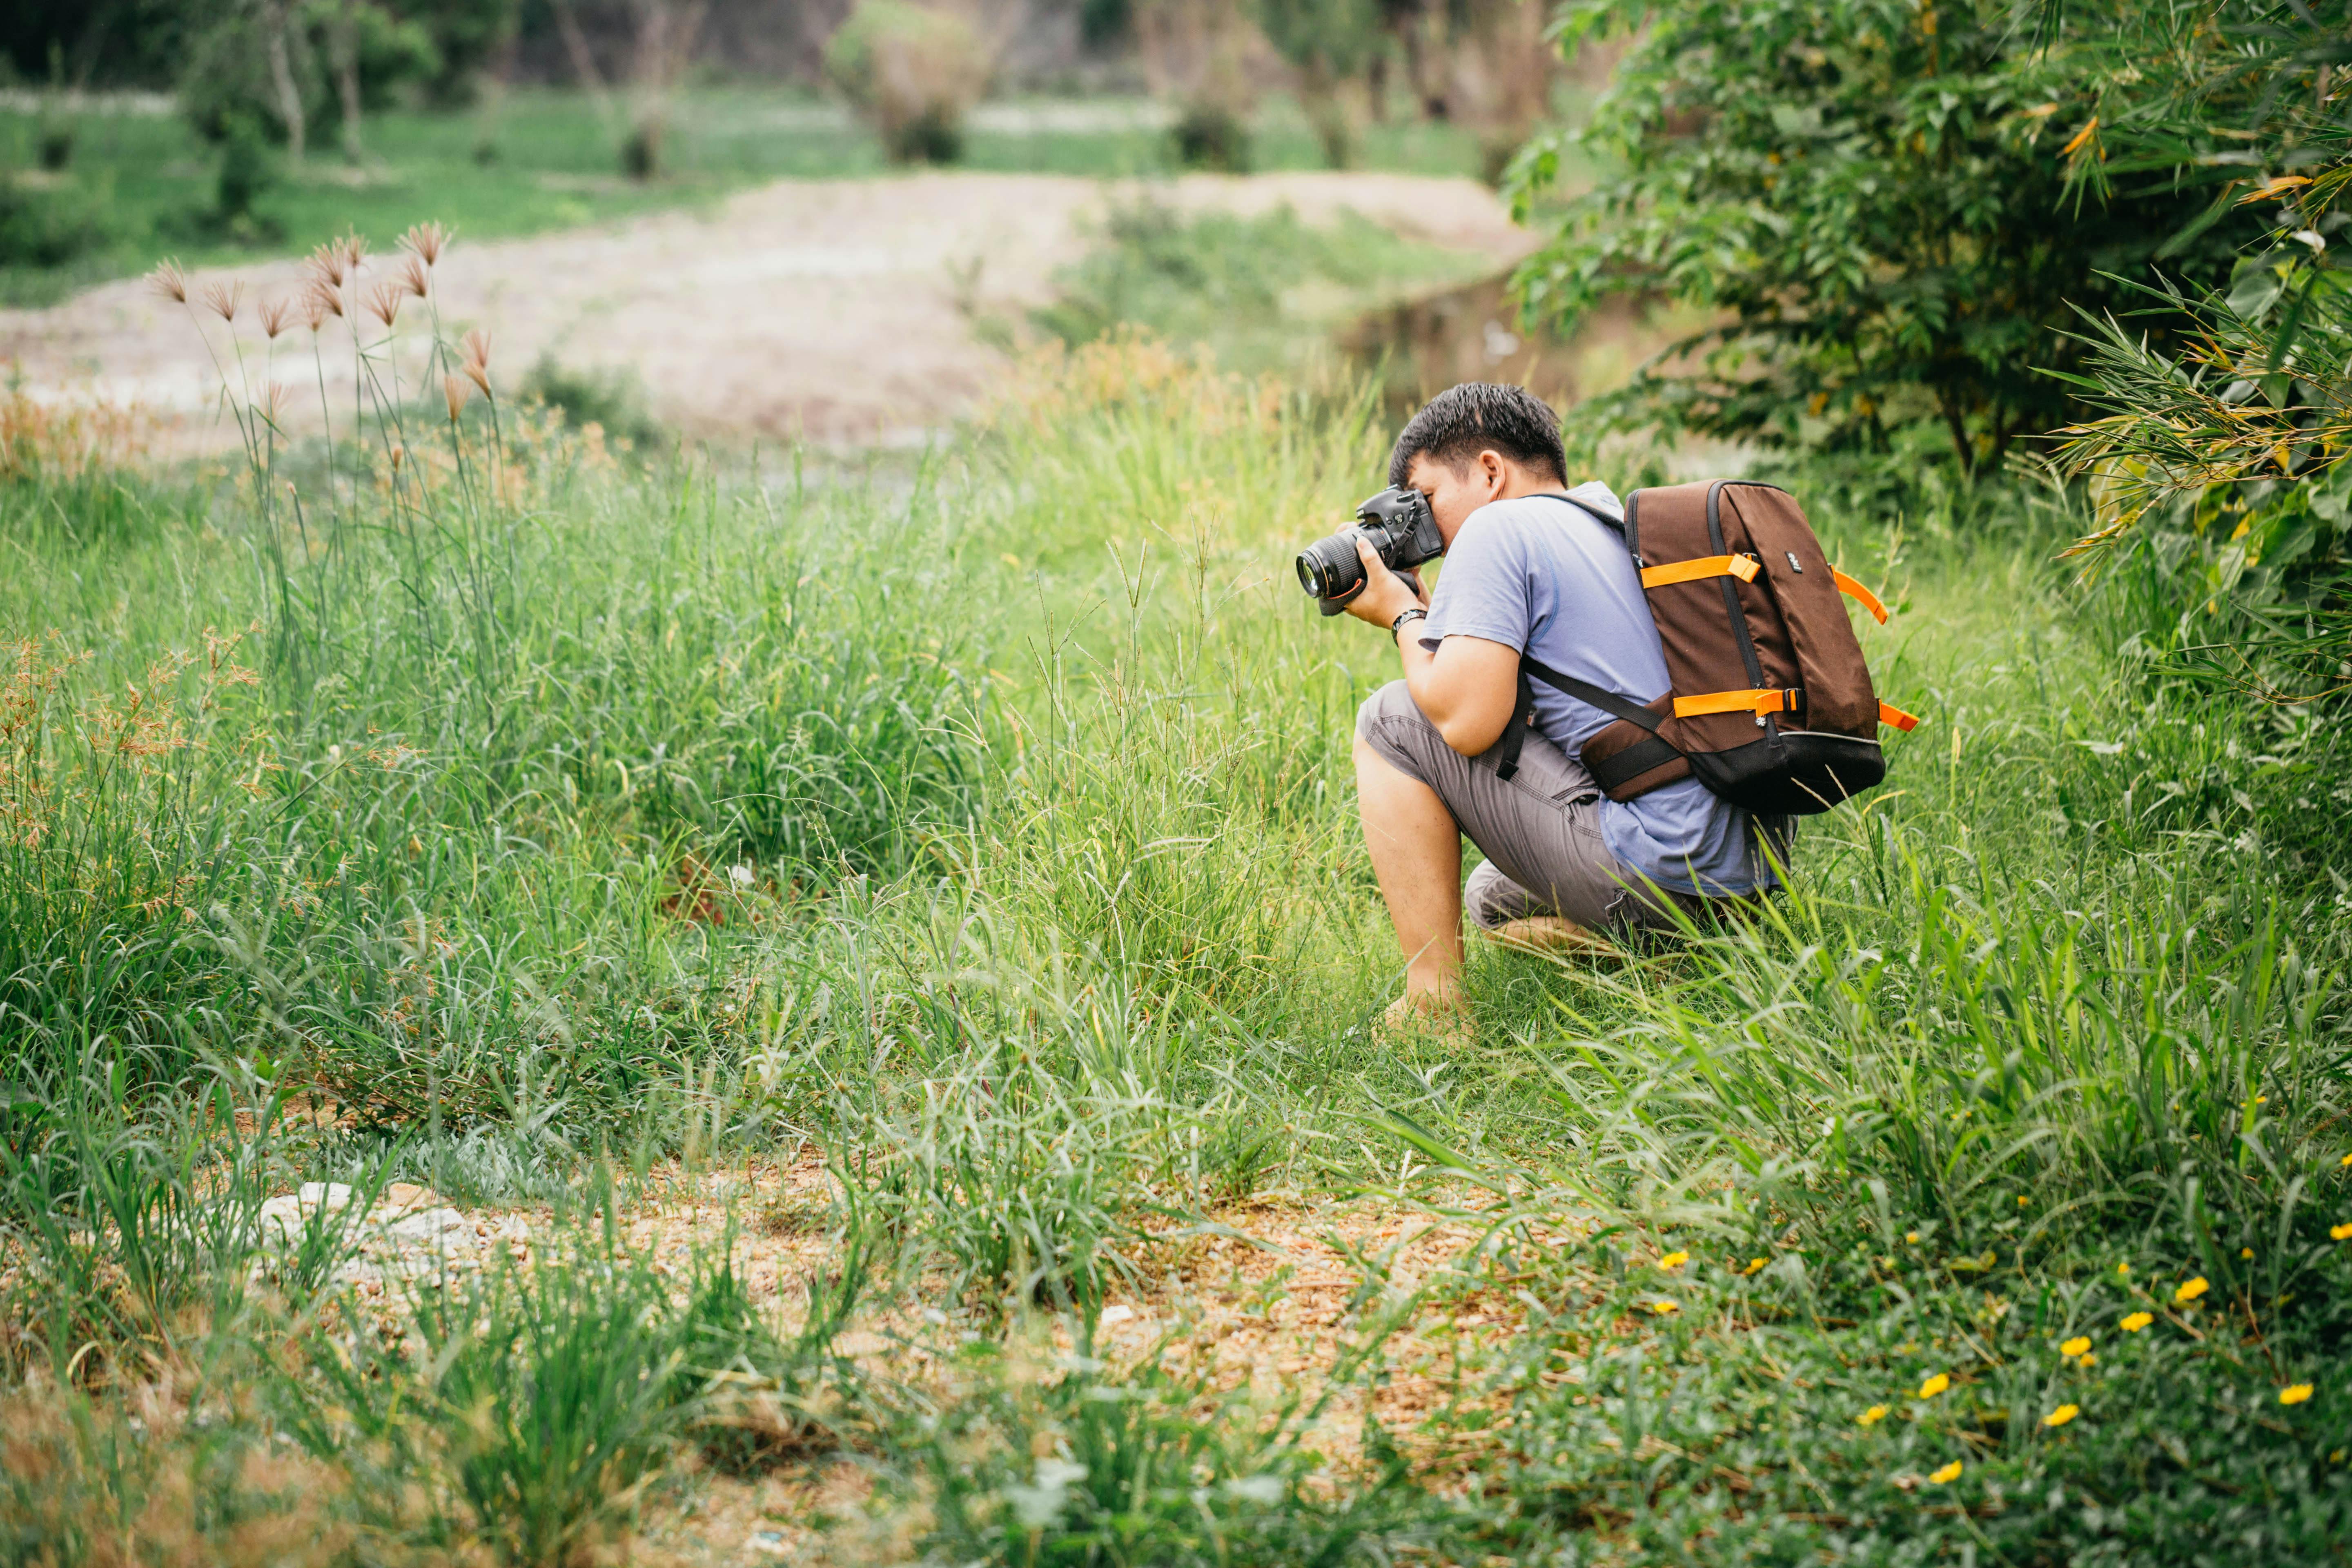
Hands-free solutions for hiking and adventure
On hikes, hands-free systems let you move and shoot with greater safety and efficiency. They free your hands for poles and scrambling, and help keep your pack balanced so you expend less energy.
For steep or technical terrain, belt rigs and harnesses are often the best choice because they transfer load to the hips and lower back. That placement makes climbs feel steadier and reduces fatigue over sustained ascents.
How to carry a camera hands-free while hiking
Position the camera low and centered to maintain balance while you walk. Use quick-release clips so you can get the camera into shooting position instantly. Also, tuck excess webbing to prevent snagging on branches or equipment.
- Use a belt or hip holster on long hikes to move weight to your hips.
- Use a harness for heavy camera bodies and long lenses to reduce neck strain.
- Wrap a sling across the chest for quick shots on easy trails.
Carry a rain cover and a tether for essential pieces. When walking, aim for shutter speeds near 1/500s or faster to minimize motion blur. For subject separation with a 50mm–85mm lens in low light, shooting around f/2–f/2.8 works well.
How to set up and use a hands-free carry system safely
Proper setup and fit make a hands-free system safe and effective. A well-adjusted rig limits sway and secures the camera close to your body. Spend time fine-tuning straps and buckles before you head out.
Tighten shoulder and chest straps so the load sits close to your frame. Equip your camera with a quick-release plate for rapid detachment when needed. Inspect every clip and screw as part of your pre-trip routine.
Camera settings for hands-free shooting
Match your exposure settings to the level of motion and light around you. A shutter speed of 1/500s is a solid starting point for action or walking shots. In low light, open apertures such as f/2–f/2.8 help keep subjects isolated while admitting more light.
On bright days keep ISO between about 100–800 to control noise. When light is limited, raise ISO to 1600 or higher to maintain a fast shutter and preserve image sharpness while moving.

How to choose the best hands-free system for you
Answer three core questions to simplify the decision: how much gear will you carry, what terrain will you face, and how quickly do you need access? Those answers narrow the field quickly and guide you to the right style and budget.
If your kit is a single body with one lens, a sling or mag-style clip is often sufficient. For multi-body setups and long glass, a harness or backpack system is a better match. For extended hikes, a hip belt rig typically provides the most comfort.
Gear checks and key features to look for
Seek out padded straps, robust clips, and weather-resistant construction. Confirm the strap’s load rating comfortably exceeds your kit weight. Quick-release anchors and modular mounting points also add practical versatility.
- Padded shoulder straps reduce pressure on neck and shoulders.
- Quick-release anchors let you grab the camera fast in a shot.
- Weatherproof materials protect gear in rain or snow.
Look for manufacturers that sell modular components so you can reconfigure the setup quickly. For example, interchangeable mag-style clips that move the camera between bag and belt increase flexibility in the field.
Hands-free product examples and neutral notes on Camstrap options
There are many capable hands-free products available. The notes below are neutral snapshots to help with comparison; each entry represents one option, not the only valid solution.
- Camstrap Voyager — A chest sling with a slim profile for travel. It fits well with a 50mm prime or 24–70mm zoom for street work.
- Camstrap Explorer — A dual-shoulder harness for heavier kits. It spreads weight across shoulders for day-long shoots.
- Camstrap Nomad — A hip belt rig made for hikers. It moves weight to the hips and stays stable on trails.
- Camstrap MagClip — A magnetic quick-release plate that clips your camera to straps and metal mounts fast.

Camstrap positions itself as a brand focused on changing how photographers and adventurers carry gear. Their approach blends utility and aesthetics with an emphasis on durability. These models illustrate current hands-free design trends while sitting alongside many other solid options.
Other notable hands-free brands and styles
A wide range of manufacturers offers slings, harnesses, and belt systems. Favor established designs from brands with a track record for fit and build quality. Look at tests and user feedback to verify comfort and reliability before buying.
- Try a sling from a brand known for fast access if you shoot street.
- Choose a harness from a maker known for padded shoulder straps for big kits.
- Pick a belt rig from a brand known for secure clips for long hikes.
Common questions: best hands-free camera carry system and comparisons
A frequent question is, "Which hands-free camera carry system is best?" There isn’t a universal winner — the right pick depends on your equipment, body type, and the kind of trip you’re planning.
If fast access and light load are priorities, a sling often makes the most sense. For heavier gear or multiple bodies, harnesses and backpacks perform better. For extended treks, belt rigs usually deliver the best comfort.
Are camera backpack straps better than slings?
Backpack straps win when storage and load capacity matter, particularly if you carry multiple lenses or extra clothing. Slings excel for speed and minimalism, so both have strong cases depending on use.
How do you carry a camera hands-free while hiking?

On trails, shift weight to the hips or shoulders and keep the camera snug to your body. Use a belt or harness for steep terrain, secure all fastenings, and add a tether for longer lenses or risky moves.
- Keep a small towel or lens cloth handy to clean dust.
- Use a rain cover in storms and a padded plate for rough drops.
- Practice unclip motions at home so you can shoot quickly on the trail.
Test the system with a fully loaded pack before a major outing to find balance points and fine-tune straps. That preparation reduces swinging and the risk of gear damage on rough terrain.
Final tips and checklist for hands-free success
Run through a brief checklist before you leave: inspect clips, tighten straps, and pack a small repair kit with spare screws or a strap loop. These steps prevent avoidable problems in the field.
- Practice drawing and holstering your camera until it feels smooth.
- Set a shutter speed like 1/500s when walking fast to freeze motion.
- Use a focal length like 50mm–85mm for portraits and travel shots.
Also save movement-friendly camera presets — for example, aperture f/2–f/2.8 for shallow depth in low light, ISO roughly 100–1600 as conditions demand, and a steady shutter speed. Those settings keep you ready and help produce sharp images.
Conclusion: choosing the right hands-free system in 2026
Hands-free systems let you shoot more comfortably and with less strain. Your ideal choice will be shaped by kit weight, the terrain you plan to cover, and how quickly you need to access the camera. Try a sling for speed, a harness for heavy setups, and a belt rig for long-distance comfort.
Always test gear with the actual weight you’ll carry, rehearse quick-release motions, and use practical settings such as 1/500s and f/2–f/2.8. Consider the Camstrap Voyager, Camstrap Explorer, Camstrap Nomad, or Camstrap MagClip as neutral example options among many reputable brands.
In short, a well-chosen hands-free system keeps your camera accessible and your hands free. Match the system to your shooting style, get comfortable with it, and then get out and make photos — the right carry method makes the trip easier and the results better.
Frequently Asked Questions
What is the best hands-free camera carry system?
There is no single best system — the optimal choice depends on your kit, movement and need for access. For fast access with a single camera a sling is often best; for heavier multi-lens or long treks choose a harness, backpack or hip-belt rig that redistributes load.
Are camera backpack straps better than slings?
Not universally; backpack straps are better when carrying multiple lenses or bulky accessories because they protect gear and balance weight over long days, while slings provide faster access and a lower profile for light travel or street shooting. Which is better depends on whether you prioritize quick framing (sling) or storage/comfort with heavier loads (backpack).
How do you carry a camera hands-free while hiking?
Prefer systems that shift load off the neck: use a backpack system or belt/holster rig to move weight to the hips, or a two-strap harness for heavier setups. A sling can give fast access for a single camera but may migrate on rough terrain, so choose a secure fit and prioritize load redistribution for long hikes.


