
- How do I get creamy background blur with a kit lens
- What aperture should I use for outdoor portraits
- How do I separate the subject from a busy background
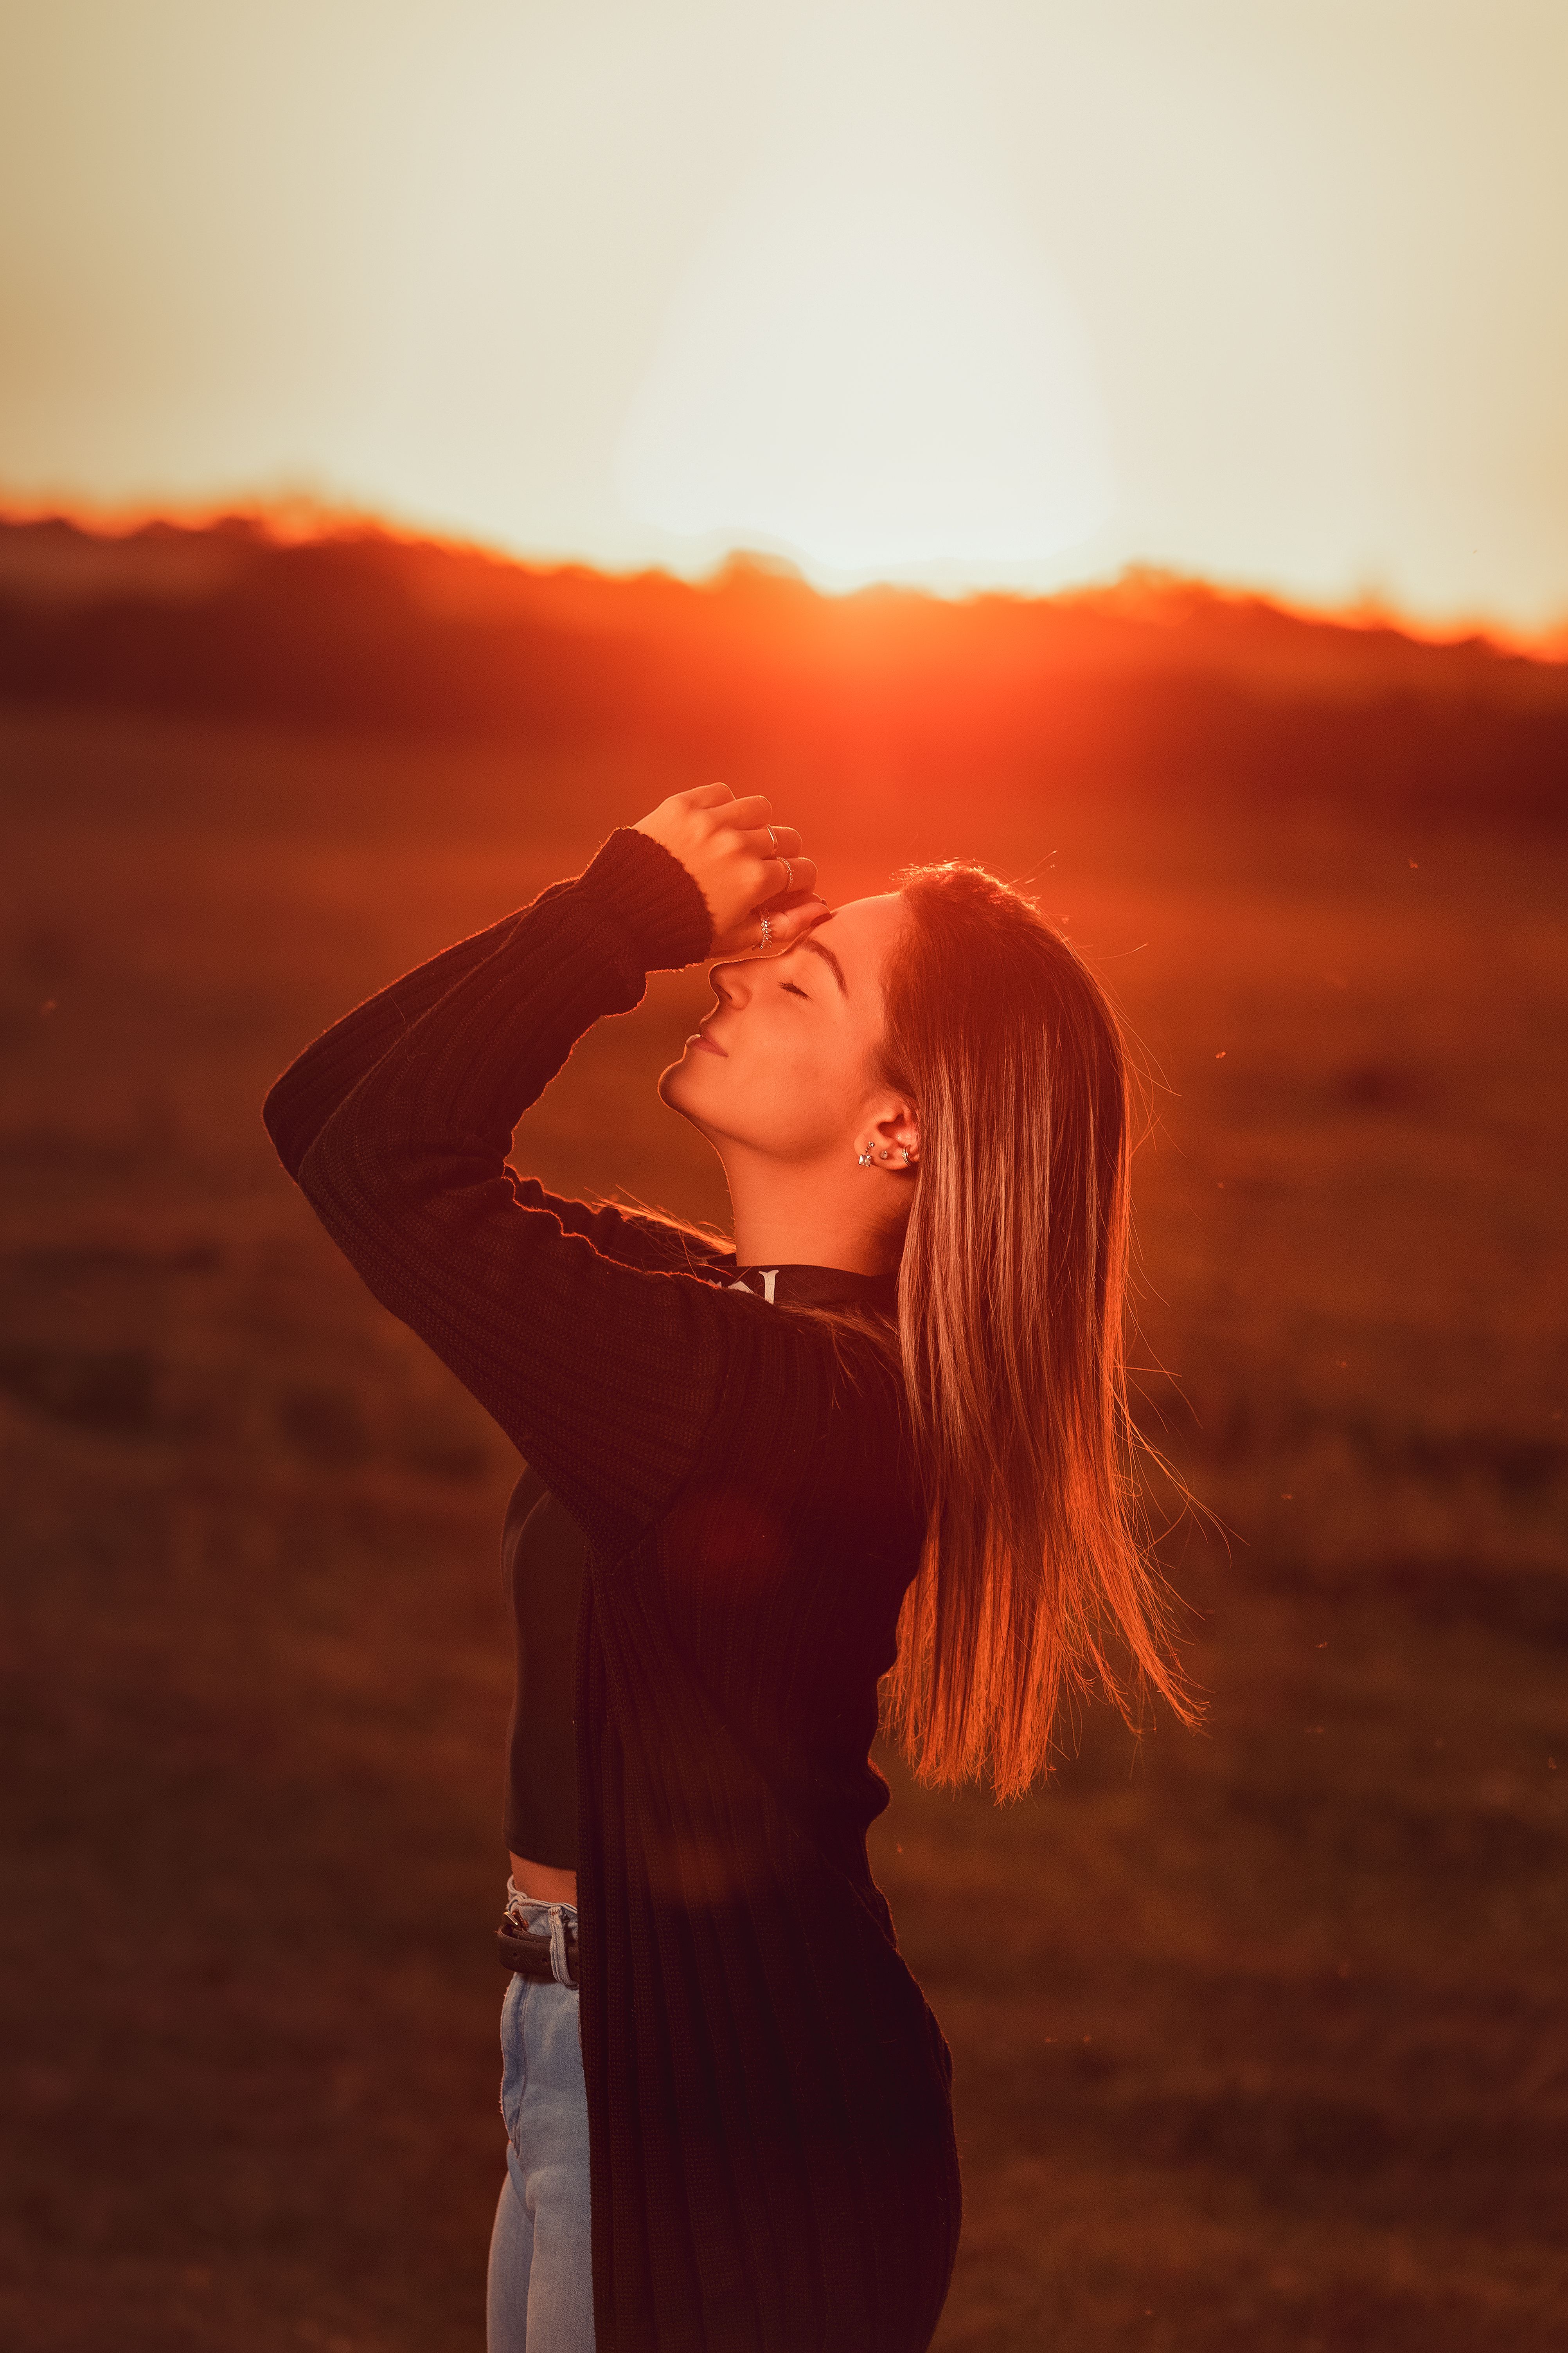
Summer light makes it simple to produce warm, soft portraits that feel vibrant. This guide shows how to achieve shallow-depth looks while traveling. Expect clear instruction on lens selection, aperture choices, and shooting angle. Follow these steps to capture strong travel portraits with creamy backgrounds and quick framing.
This article walks through gear, technique, and composition for outdoor sessions. You’ll find practical methods to separate your subject from a cluttered scene. There are tips for getting pleasing blur from both kit lenses and fast primes. Finally, we cover strap options like the camstrap voyager and camstrap magclip for fast, nimble shooting.
How to create shallow-depth looks with a kit lens
Photographers often ask how to coax creamy background blur from a kit lens. Start by dialing in the lens’s longest focal length—on an 18–55mm kit zoom that means 55mm—and increase the distance between you and the subject. Open the aperture as wide as your lens allows and move the subject away from their background.

If the lens only reaches f/5.6 at 55mm, shoot at that widest aperture and back up a little. Then tighten the framing in-camera and crop later if necessary. That sequence can produce a noticeably softer backdrop even with a basic lens.
Practical kit-lens settings
Try these quick settings to maximize creamy blur with a kit zoom: 55mm focal length, aperture f/5.6, and shutter speed around 1/250s in bright shade. Keep ISO between 100–200 when light is strong. If the scene gets darker, raise ISO to about 400 and ease the shutter speed down slightly.
Lens, aperture, and distance tips for summer portraits
Select a lens that makes shallow depth of field easy to achieve. A 50mm to 85mm prime delivers natural head-to-shoulder framing, and wide apertures such as f/1.8 or f/2.8 blur backgrounds faster while keeping the subject crisp.
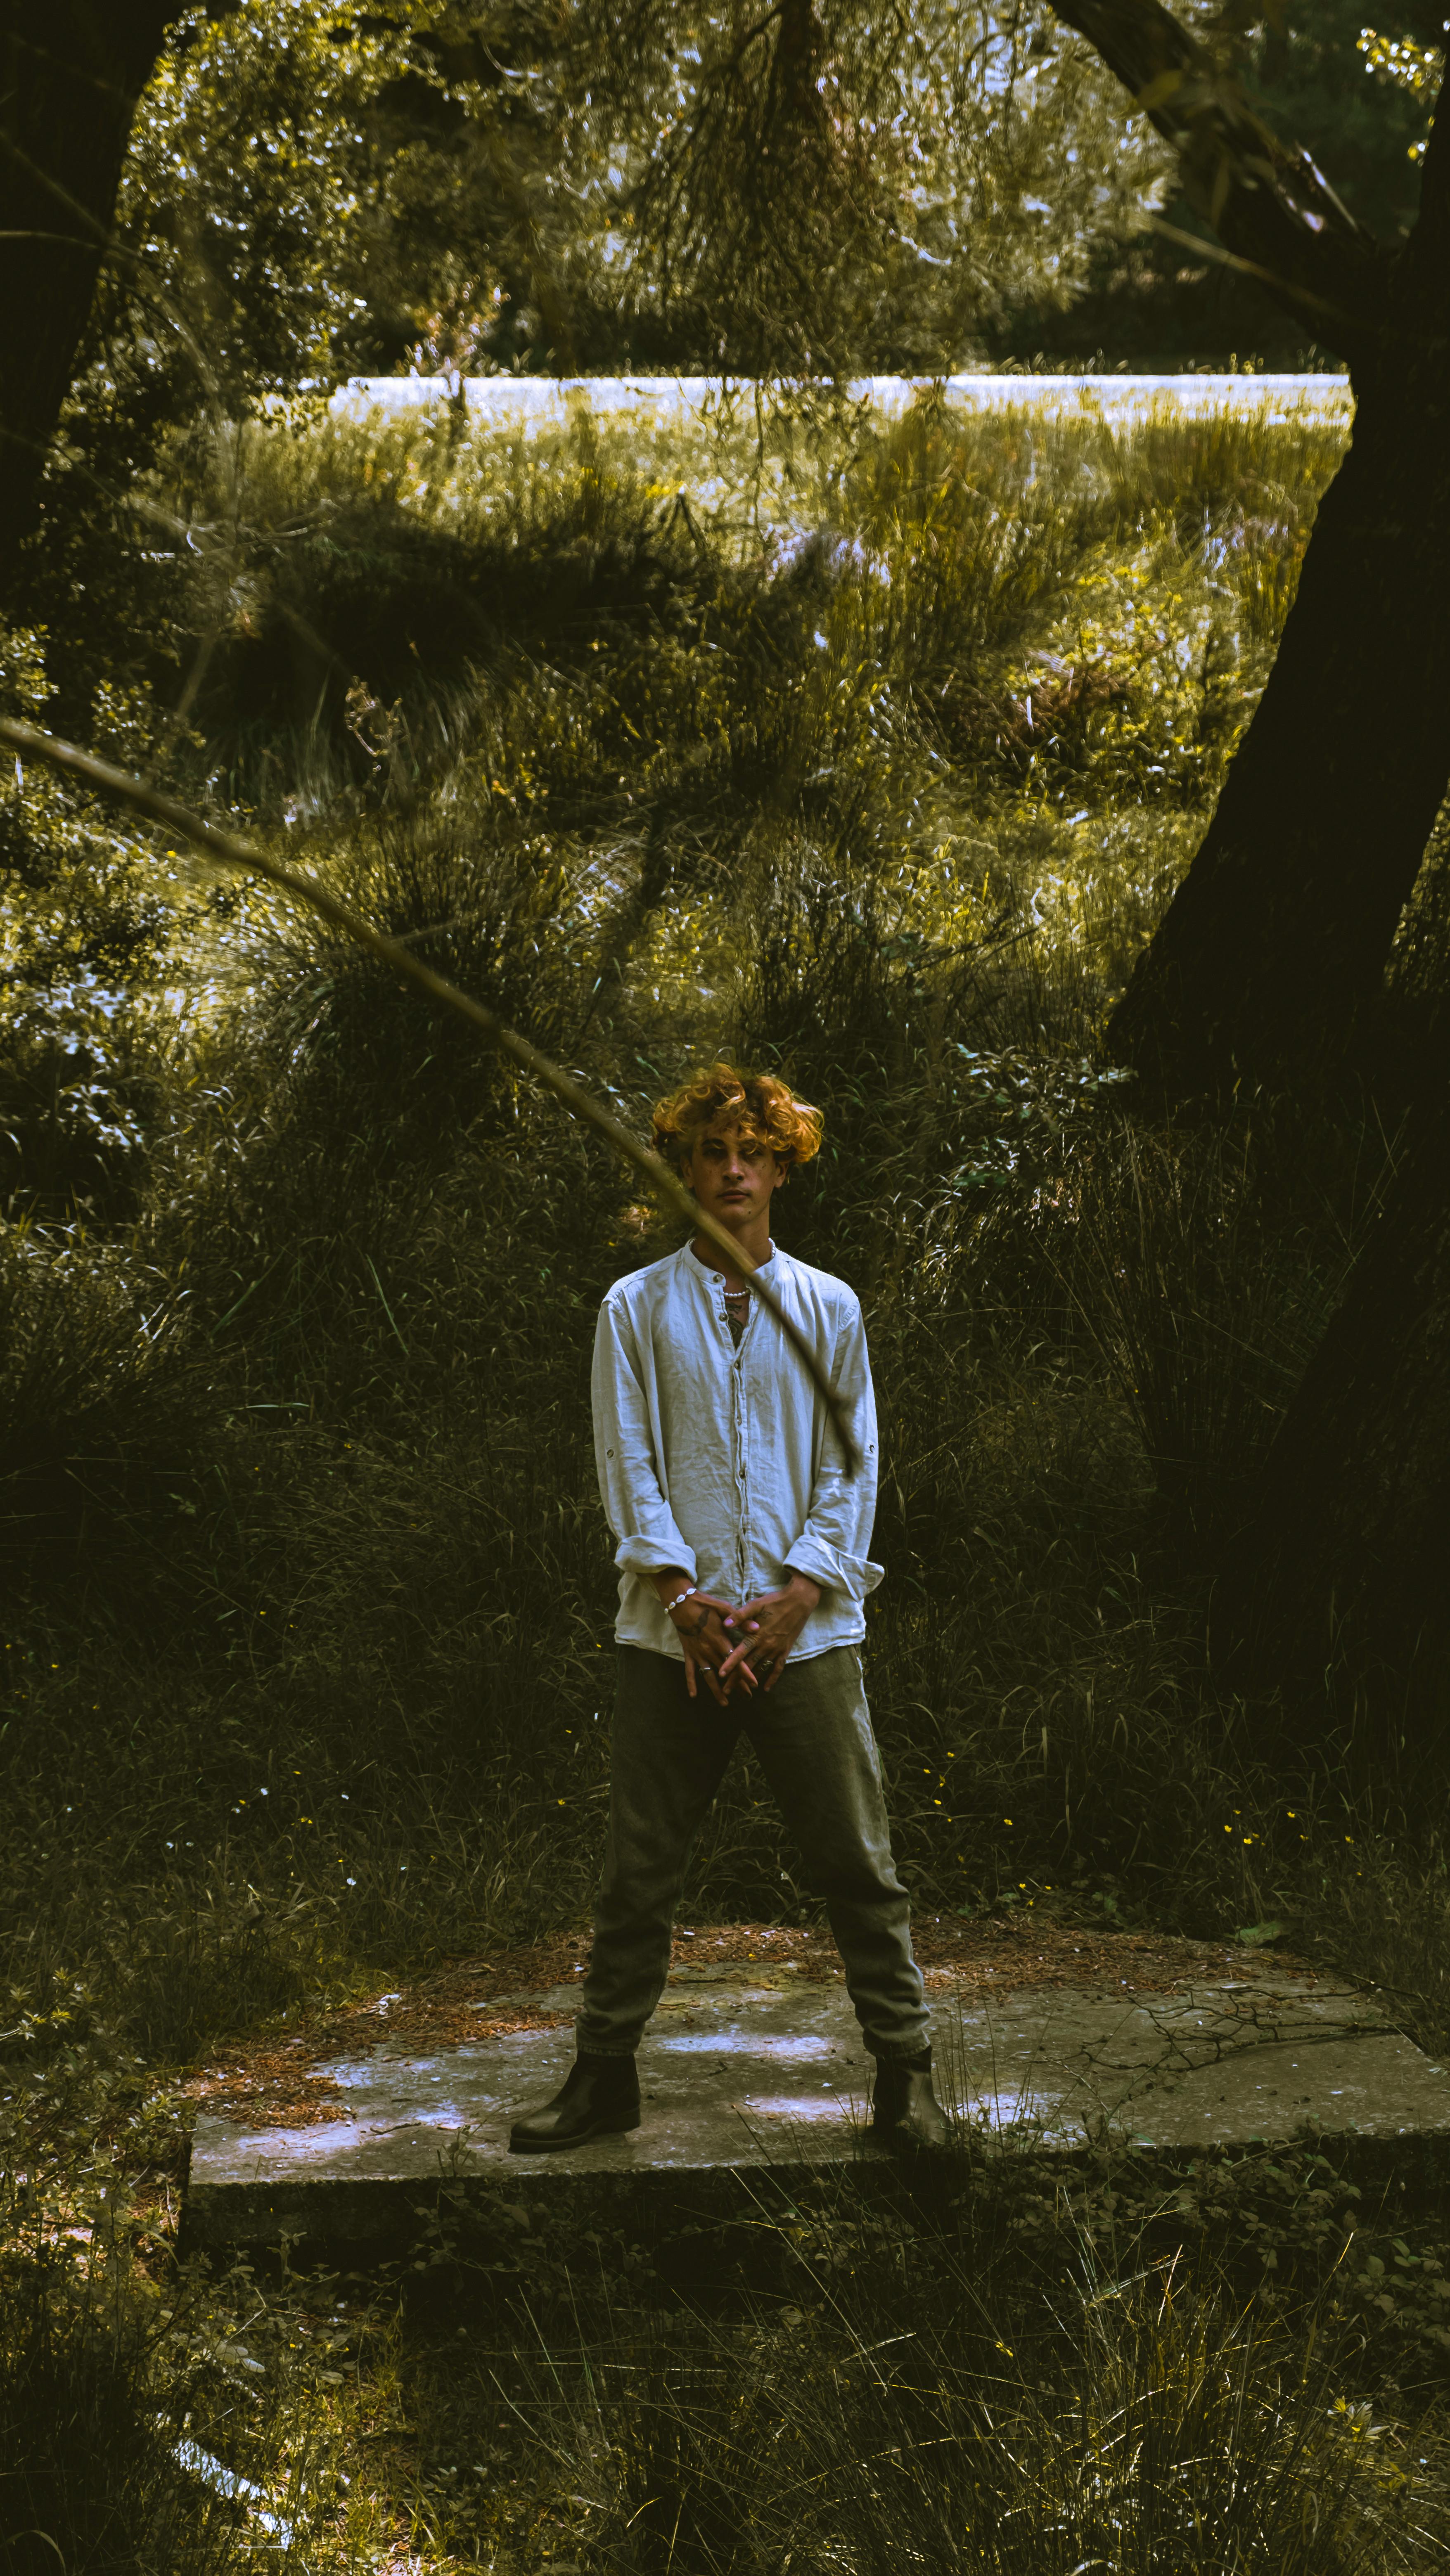
Spacing plays a big role. Place your subject roughly 6–12 feet away from any busy background, and then stand about 4–8 feet from the subject yourself. That distance relationship helps the lens render a softer background. Also, using 50mm–85mm on full-frame or mirrorless cameras preserves flattering proportions.
Exact settings to try
Use these tested combinations as starting points. For tight headshots: 85mm, f/1.8, 1/500s, ISO 100. For half-body portraits: 50mm, f/2.8, 1/250s, ISO 200. For environmental portraits with some context: 35mm, f/2.8, 1/250s, ISO 200. These settings deliver a smooth background while keeping the subject sharp.
Use light and background to separate the subject
Controlling light and background lets you create clearer portraits quickly. Seek even, open shade on bright days to avoid harsh contrast. Position the subject so the sun or bright sky sits behind them rather than in front; that placement produces soft rim light and helps the subject stand out.
Prefer simple backdrops when you can. Move a few steps left or right to swap a cluttered wall for distant trees or a sunlit meadow. Increasing the distance between subject and background increases blur, so location choice matters as much as lens settings.
- Seek open shade beneath a tree for even, soft illumination.
- Position your subject 6–12 feet away from the background to increase blur.
- Employ backlighting to create a rim glow and separate the subject.
How to reduce busy backgrounds
If the scene is cluttered, you can still obtain a clean portrait. Use a shallow focal plane and move the subject farther from distracting elements. Then tighten your framing to exclude busy parts of the scene, or drop to a low angle to include sky rather than a wall or crowd.
Introducing a simple prop or a contrasting color can also help. A bright scarf or hat will draw attention to the subject and create visual separation even when the background contains many details.
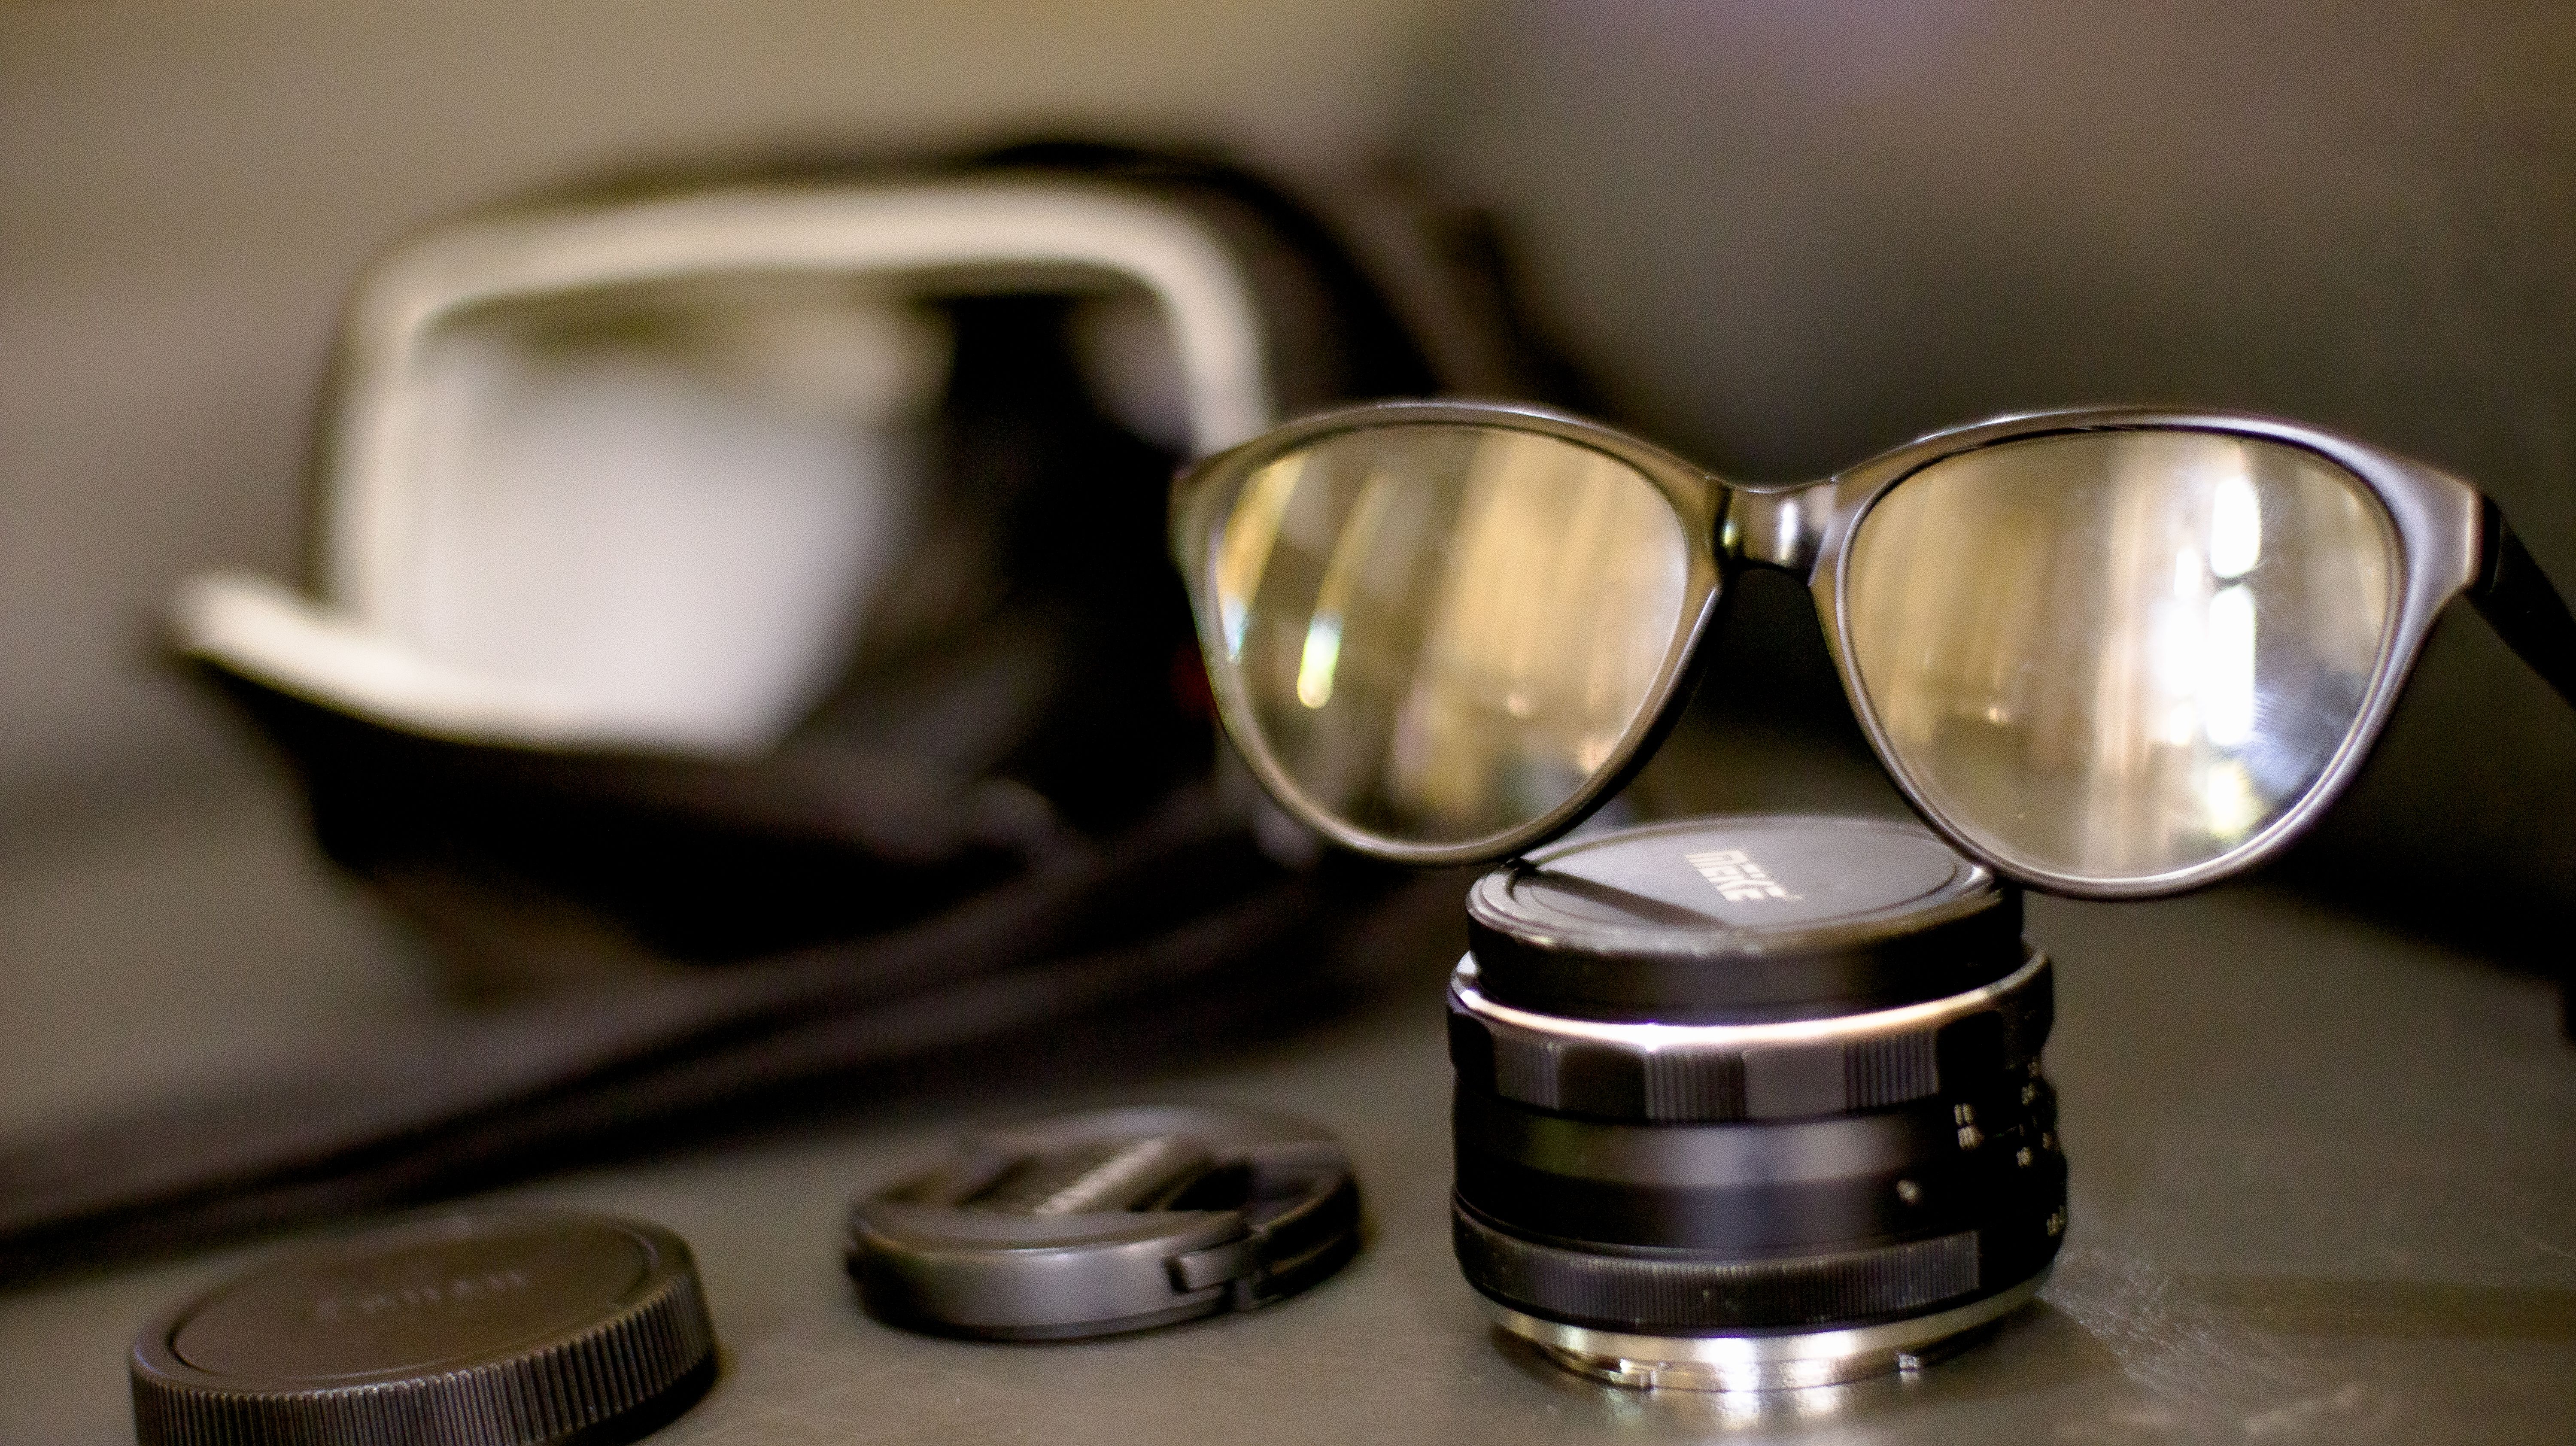
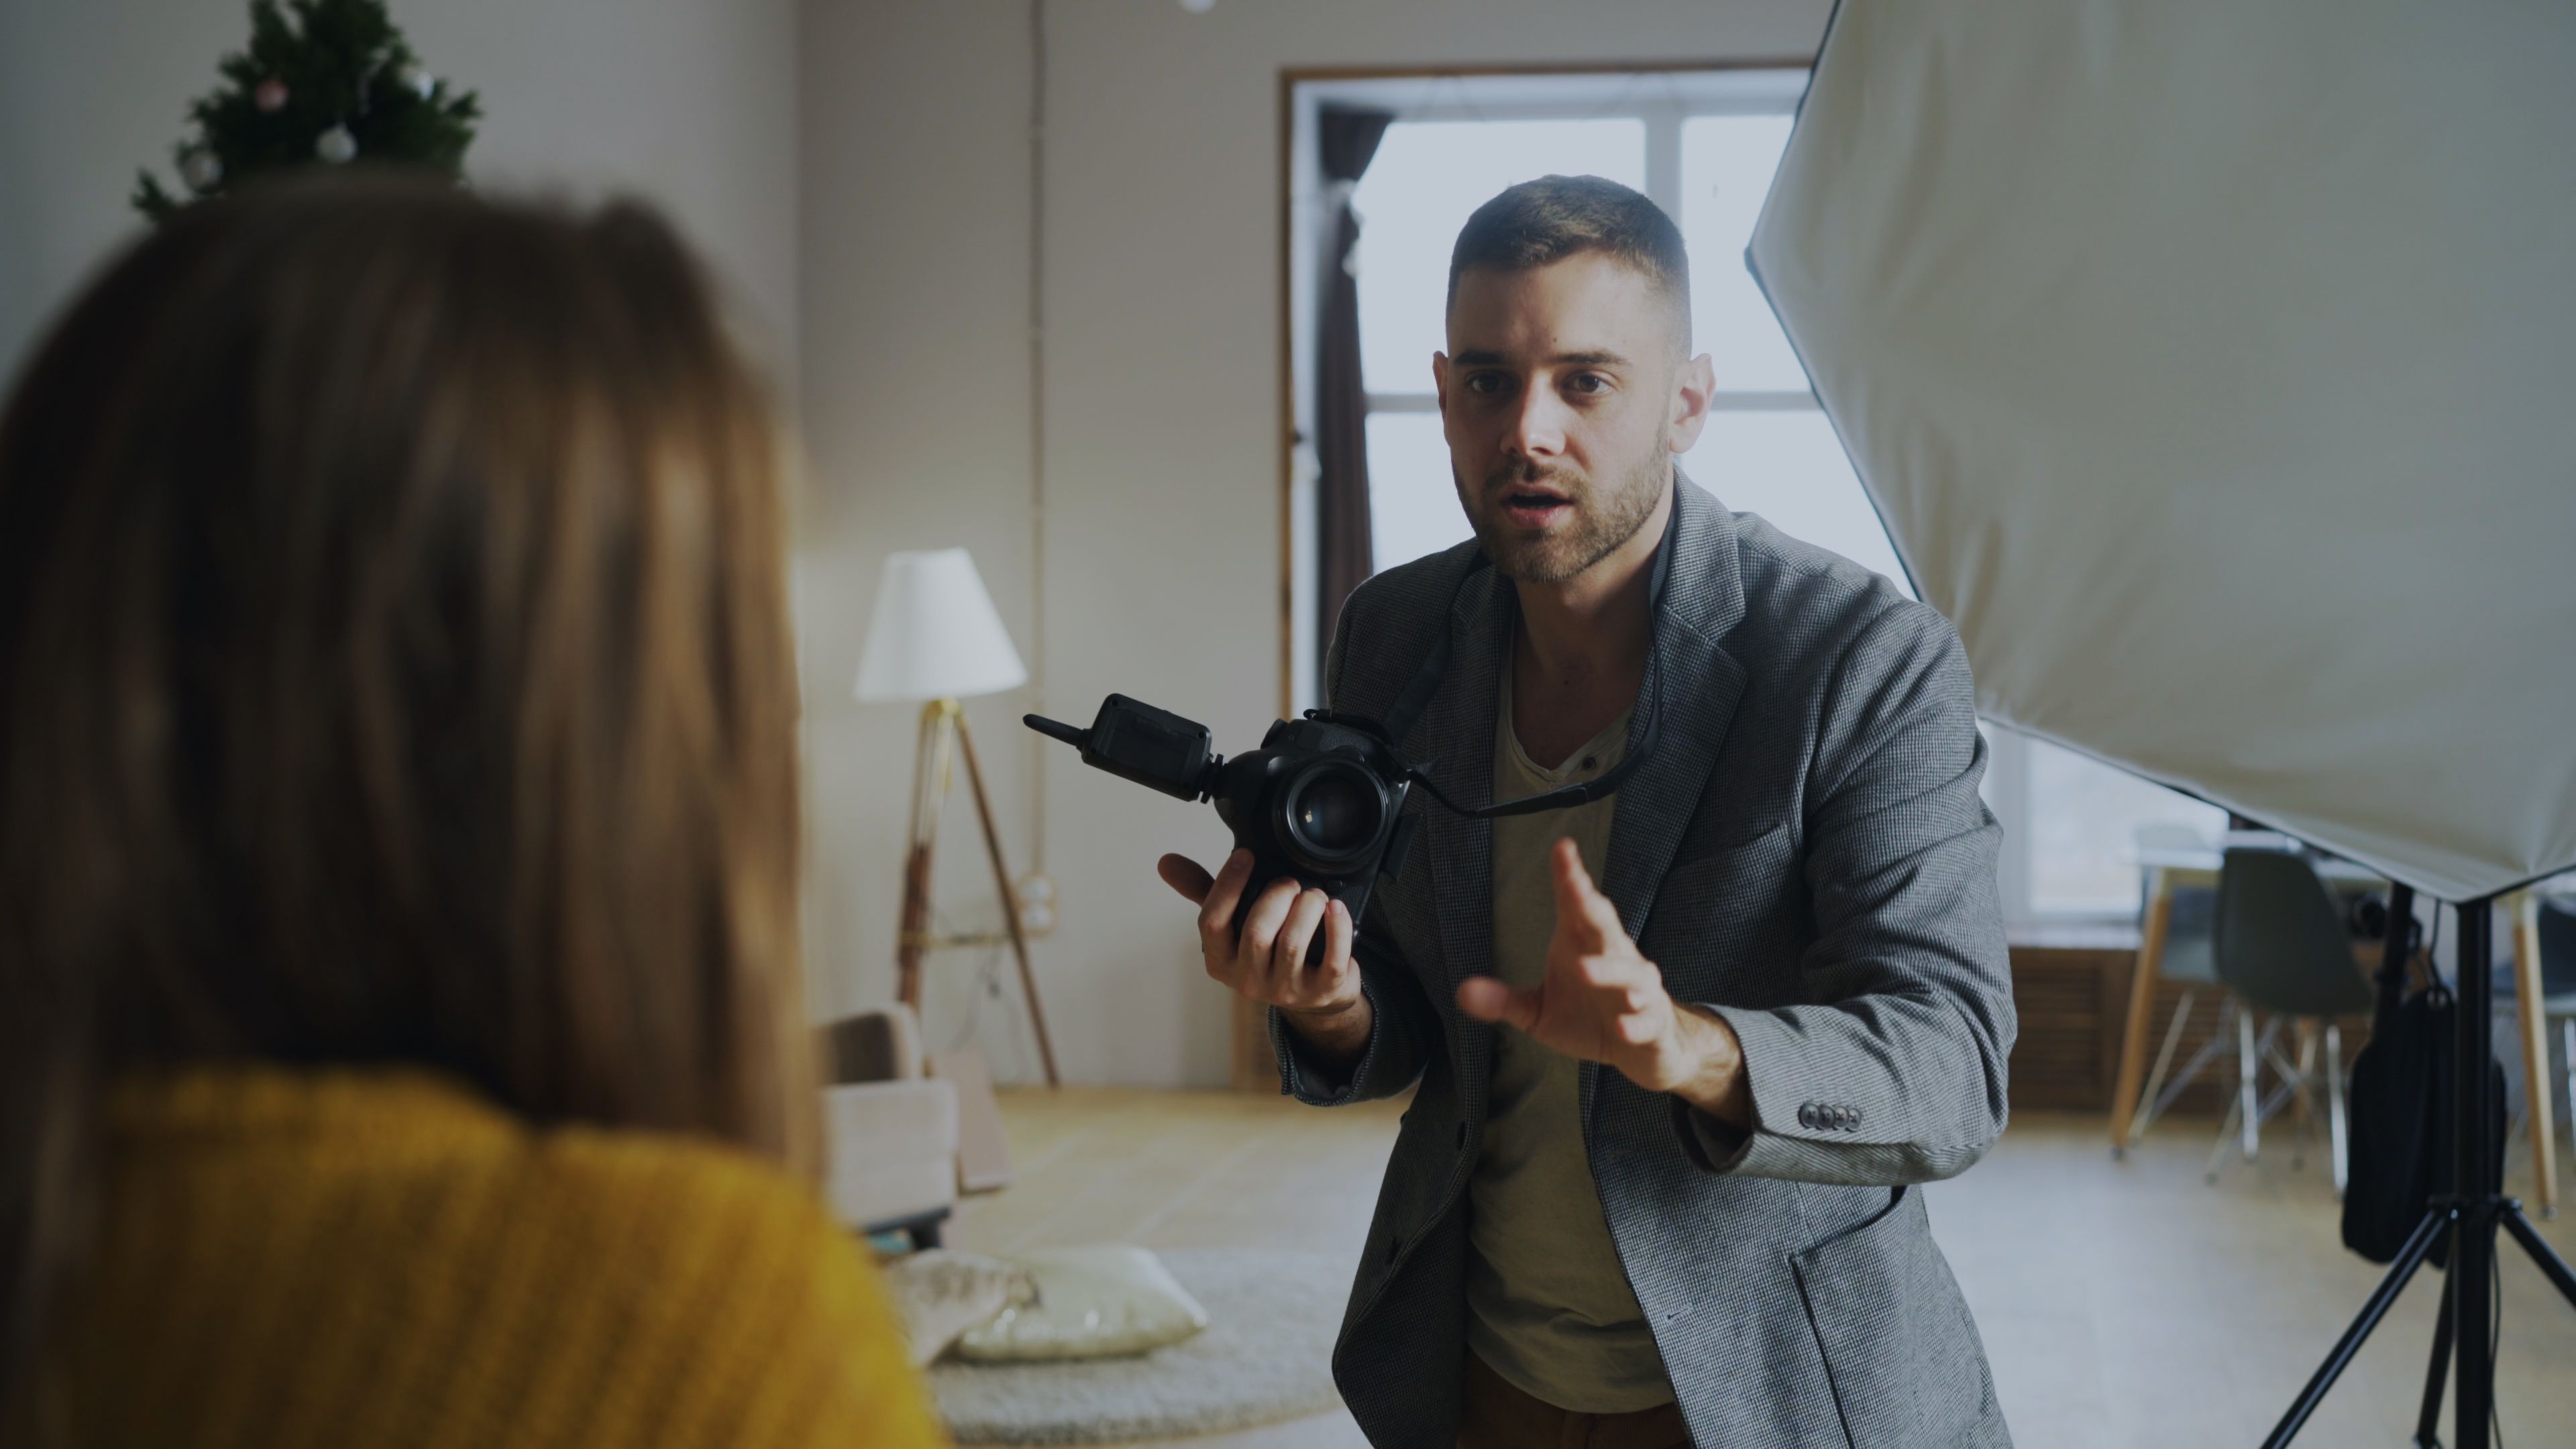
Gear and straps that help you create quick travel portraits
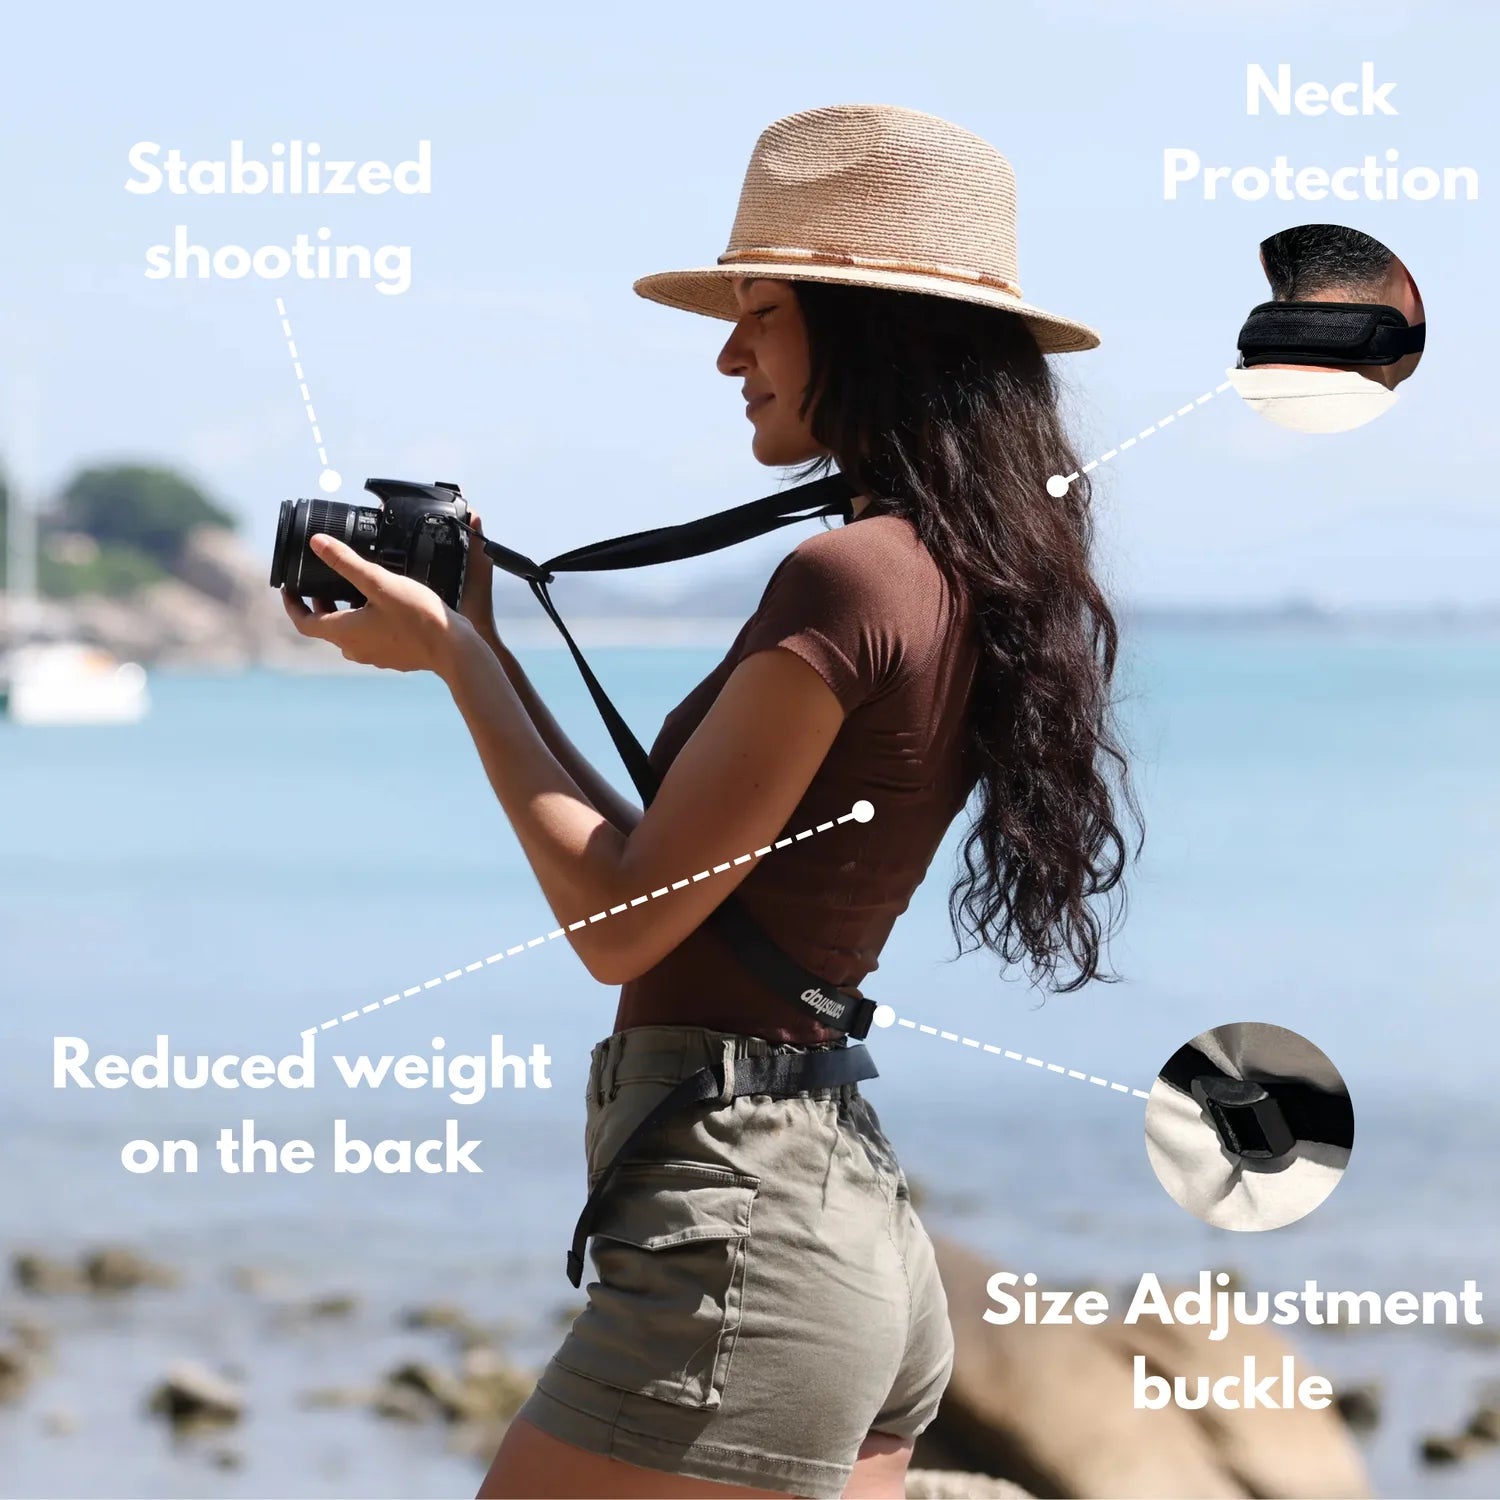
The right gear helps you shoot better while on the move. A short, padded strap makes it easy to bring the camera to your eye quickly, so you can frame fast and capture candid moments. Many travelers rely on this setup for both head-to-toe and environmental portraits.
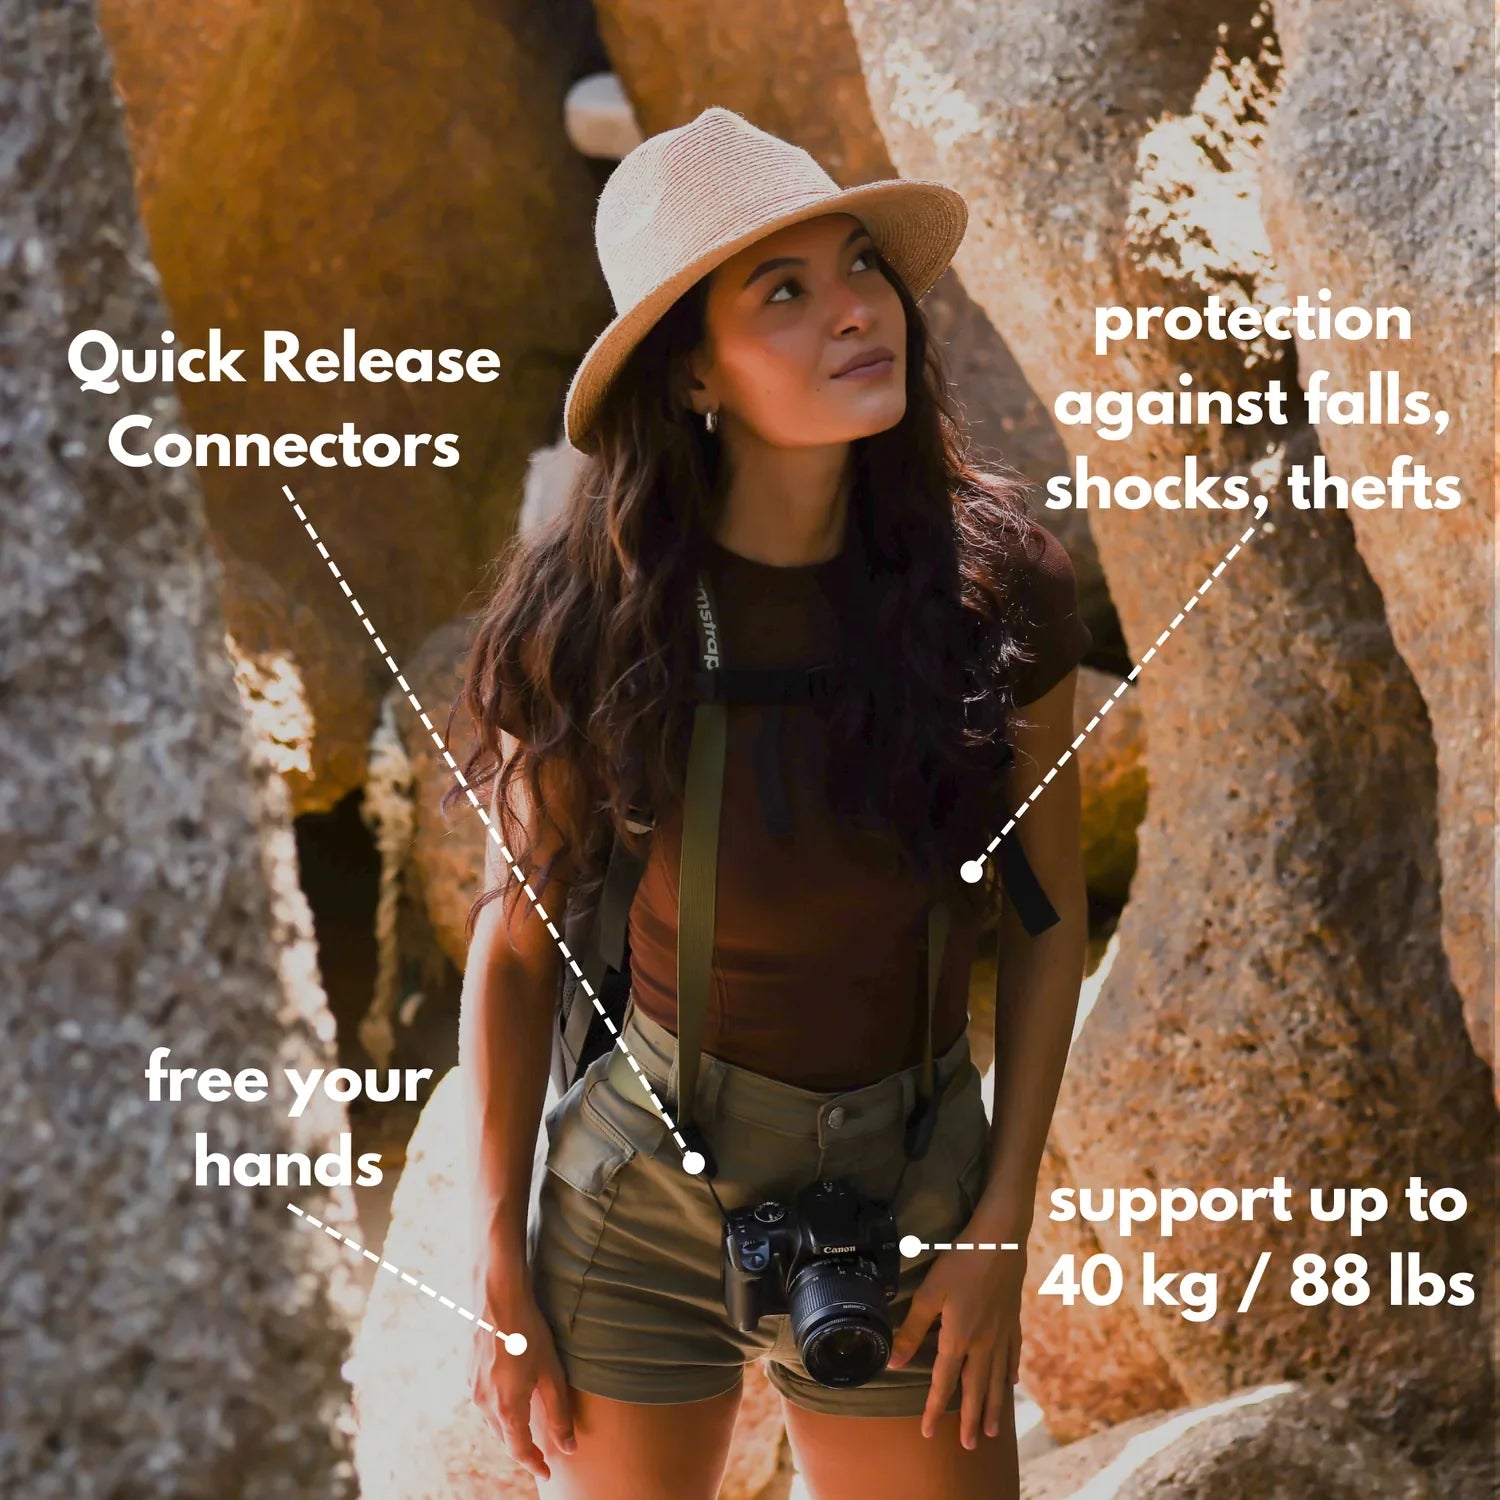
Think compact camera bodies, a fast 50mm prime, and a short strap as a lightweight kit. The camstrap voyager or camstrap explorer are solid choices for one-strap setups; they stay unobtrusive when you lift the camera. Other useful options include the camstrap nomad for padded carry and the camstrap magclip for rapid on-off attachment.
- Keep a short, padded strap for quick framing.
- Use a 50mm f/1.8 for easy shallow-depth images.
- Carry a small kit with 50mm and 85mm primes for variety.
Why a short strap helps

A shorter strap cuts down on swing when you raise the camera, letting you compose the shot faster. It also keeps the camera close to your chest while walking, which reduces bounce and helps you stay aware of your surroundings during travel shoots.
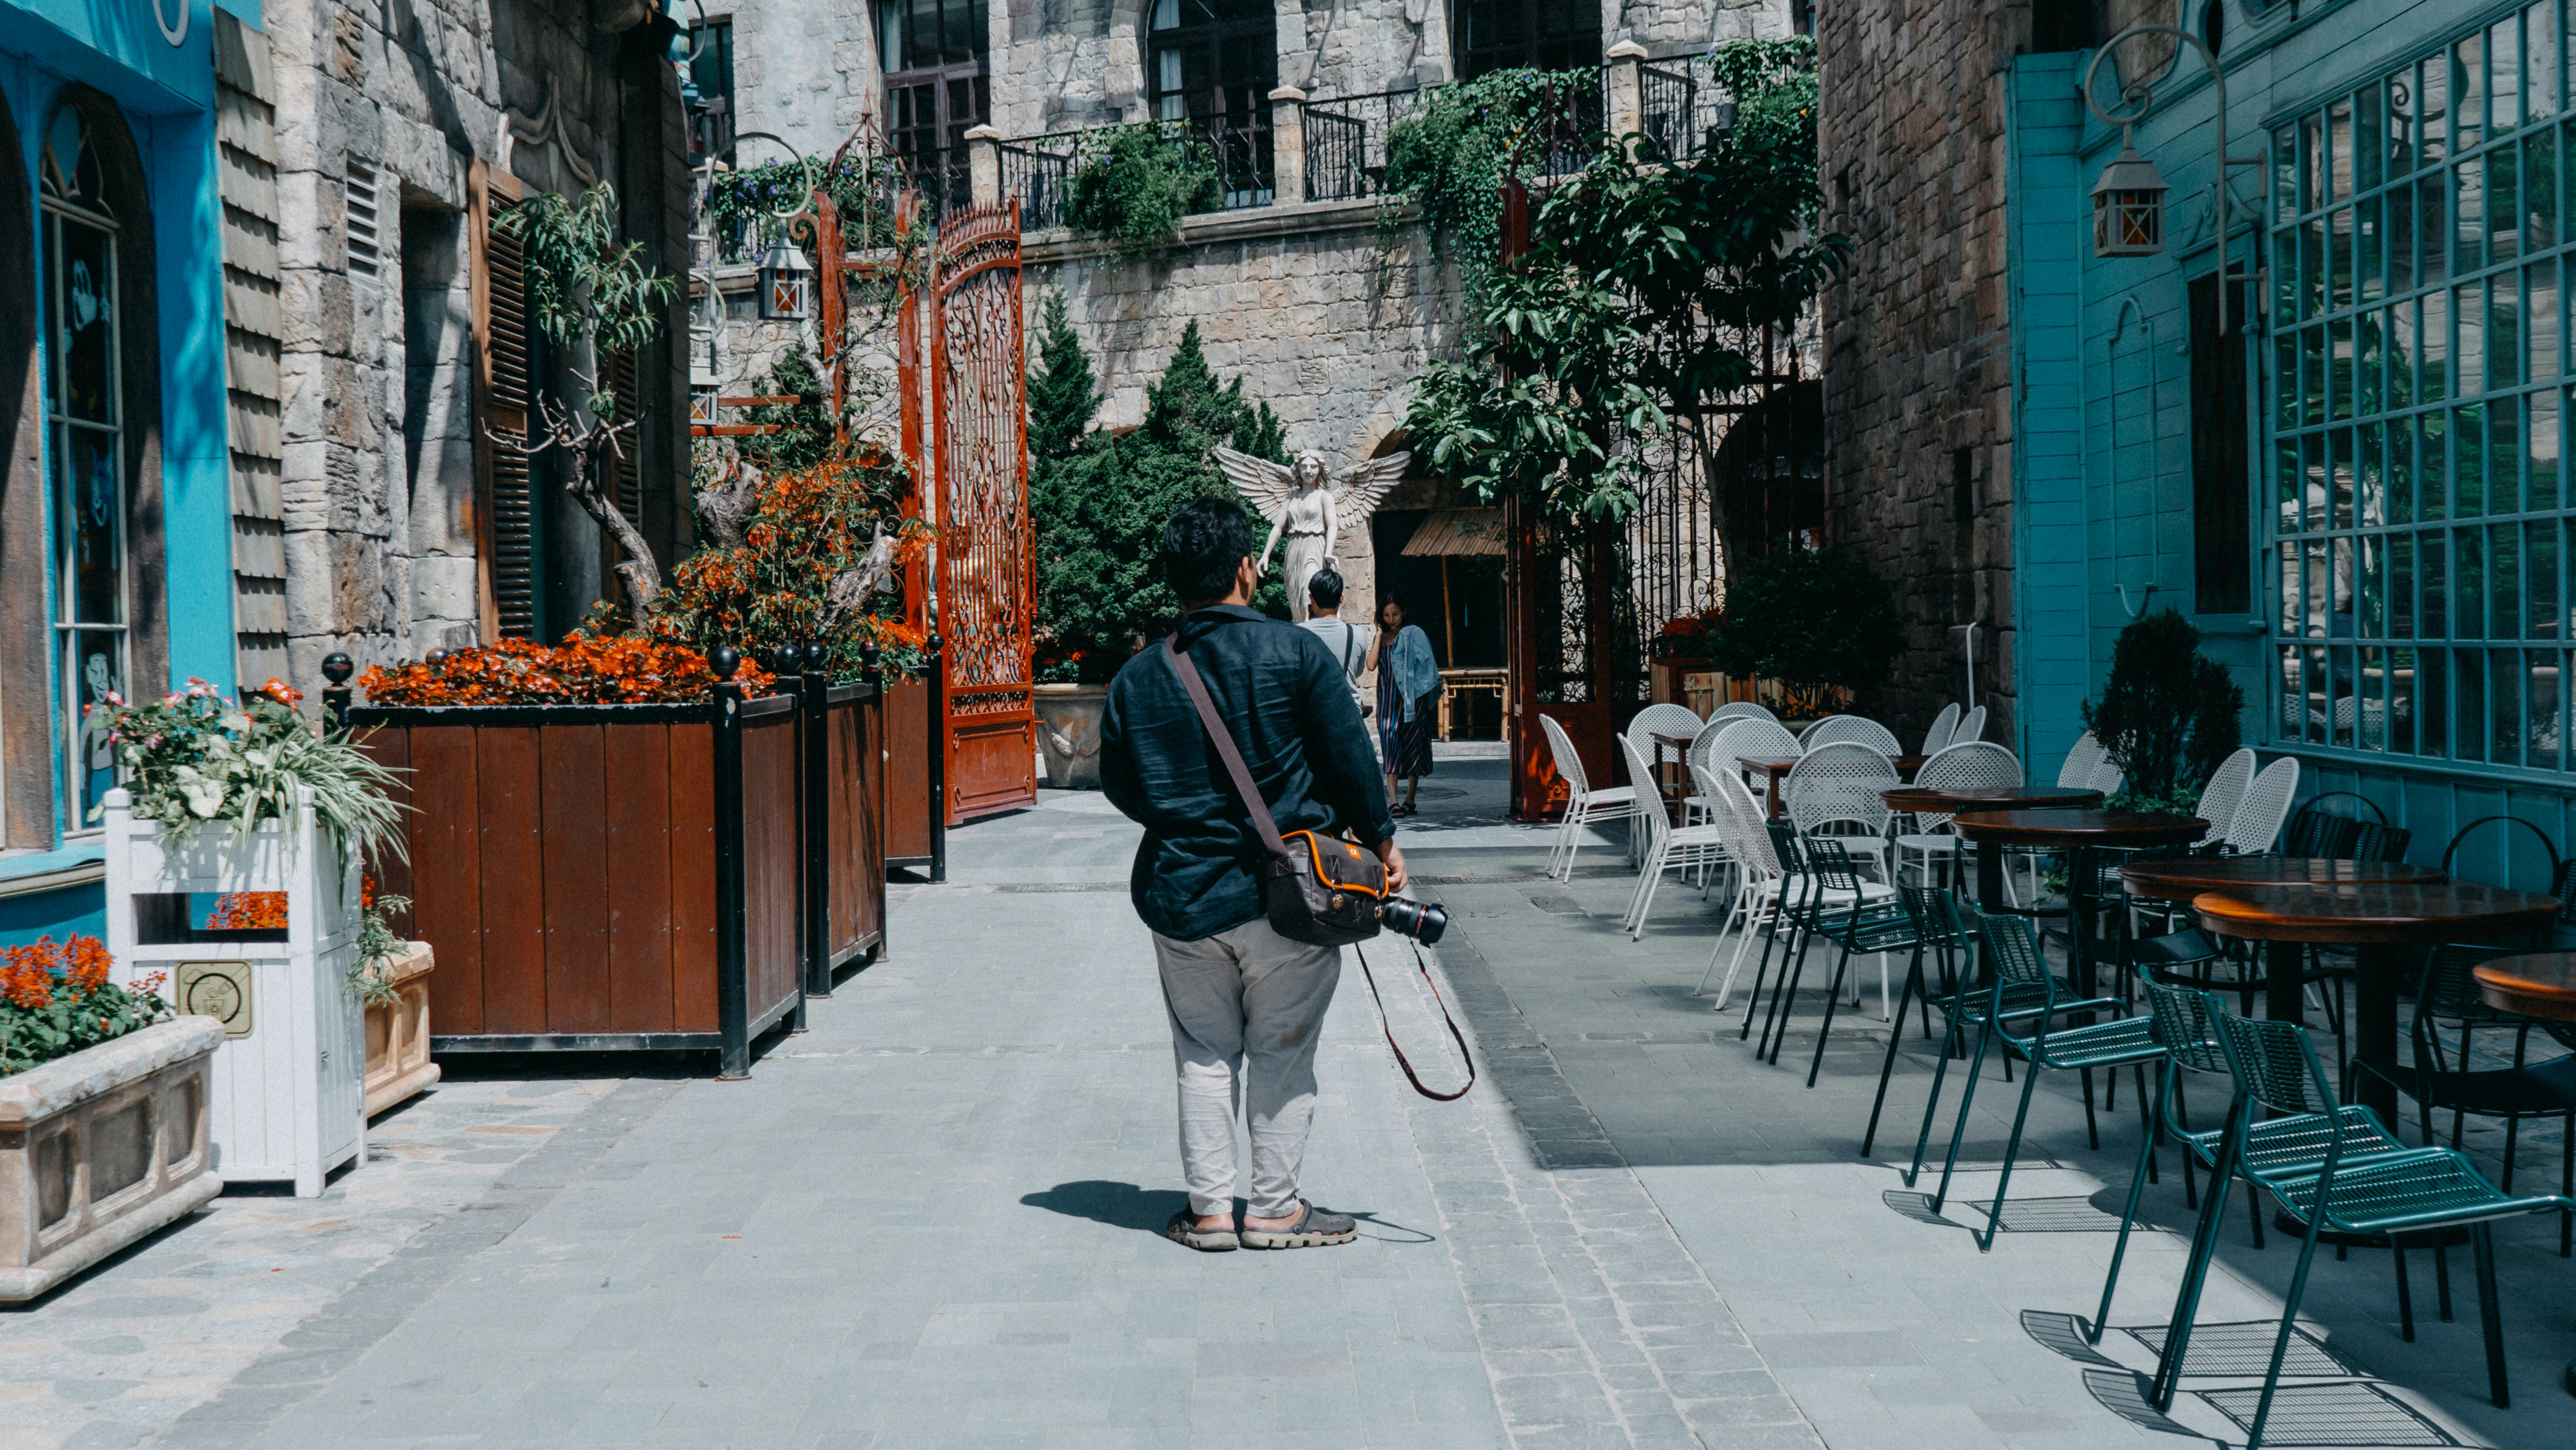
Create wide environmental portraits on the move
Environmental portraits reveal both person and place, and you can make them while traveling. Use a wider lens—around 24mm–35mm—for head-to-toe shots and place the subject so the background contributes meaningful context. Keep the aperture modestly shallow, such as f/2.8, to preserve subject separation while showing the scene.
Composition matters: use leading lines or foreground elements to direct the viewer’s eye to the subject. Move around to test angles; a small change in position often balances the image and strengthens the sense of place.
Quick composition checks

Run these simple checks to improve travel portraits quickly. First, scan for distracting bright spots in the background and remove them if possible. Second, choose an aperture and focal length that help the subject stand out. Third, shoot at about 1/250s or faster whenever motion might blur the image.
If you need to freeze action, bump shutter speed to 1/500s and raise ISO to maintain proper exposure. Those adjustments help keep images sharp even in breezy outdoor conditions.
Pose, connect, and direct for natural results
Building a connection produces more genuine moments in portraits. Talk with your subject and try simple prompts—ask them to recall a memory or to look toward a distant point. Those cues relax faces and make photographs feel honest and composed.
Offer concise posing tips to keep subjects comfortable. Have them angle one shoulder, bend a knee, or shift weight to a single foot, then move in or back to refine the framing. Small adjustments like these create flattering results while keeping the look natural.
- Request a small movement to elicit real expression.
- Keep sets short so energy stays high during long travel days.
- Shoot a mix of candid and posed frames for a broader range.
Faster direction for street or beach sessions
When time is limited, give one or two clear directions at a time. Ask the subject to look away and then look back, or have them walk slowly toward you and stop. These brief tasks produce a range of looks without lengthy setups.
Work with natural gestures—holding a hat or adjusting a strap—to add movement and context. Small, authentic actions make travel portraits feel alive and true to the place.
Post-processing tips to enhance shallow-depth effects
Editing can reinforce shallow-depth results after the shoot. Apply local contrast and modest sharpening to the subject to help them pop, and add subtle background blur only if it remains believable and natural-looking.
Tune color and exposure to match the mood you want—warmer tones often suit summer scenes. Crop with care to keep the subject balanced within the frame. Small, consistent edits will help your images read as part of a coherent travel story.
Quick edit settings to try
Apply these modest adjustments for a creamy feel: +10 clarity on the subject, -15 clarity on the background, and around +0.5 exposure on the face. Finish with a light vignette if you want to pull the eye inward. These steps preserve a natural, clean result.
Safety and ethics while you create travel portraits

Respect and safety improve both your photography and the memories you make. Always ask permission before photographing strangers; if someone declines, thank them and move on. Politeness helps you stay welcome in new places.
Be mindful of local rules in markets, religious sites, and private property. Keep a small, padded strap so your gear stays secure, and consider tools like the camstrap magclip to quickly free your hands when necessary.
Quick checklist for respectful shoots
Use this brief checklist to stay safe and courteous while traveling: ask before photographing, offer a small print or image if appropriate, and respect no-photo signs. If someone seems uncomfortable, step away. These practices help you create images that honor the people you meet.
Conclusion: How to create memorable shallow-depth travel portraits

You now have a practical plan for making shallow-depth travel portraits in summer light. Start by using a wide aperture or the longest focal length available, move your subject away from the background, and favor open shade. Those straightforward steps help you achieve creamy blur with both kit and prime lenses.
Pack gear that lets you move quickly: a short padded strap and a light prime such as a 50mm f/1.8 enable fast shooting. Consider strap options like camstrap voyager, camstrap explorer, camstrap nomad, or camstrap magclip as part of a travel-friendly kit. They’re practical additions to keep your camera ready.
Finally, practice engaging with subjects and framing rapidly. Use shutter speeds like 1/250s or 1/500s when needed and keep ISO generally between 100 and 400. Over time you’ll produce more natural portraits that convey both people and place.
Get out and test these techniques. Watch distance, aperture, and light, and be prepared to frame quickly. With practice you’ll capture honest, soft portraits that make your summer stories feel warm and alive.
Frequently Asked Questions
How do I get creamy background blur with a kit lens?
Use the lens’s longest focal length (e.g., 55mm on an 18–55mm), set the widest aperture available (typically f/5.6 at 55mm), and move the subject away from the background while you back up from the subject and tighten framing. In bright shade try ~1/250s shutter and ISO 100–200, cropping later if needed to improve framing.
What aperture should I use for outdoor portraits?
For shallow depth of field use wide apertures such as f/1.8–f/2.8 on 50–85mm primes for natural head-to-shoulder framing. If using a kit zoom at long end, use its widest aperture (often f/5.6); example starts: headshots 85mm f/1.8, half-body 50mm f/2.8, environmental 35mm f/2.8.
How do I separate the subject from a busy background?
Place the subject roughly 6–12 feet in front of the background and stand about 4–8 feet from the subject, use a longer focal length (50–85mm) and a wide aperture to blur the background. Also seek even open shade and position the sun or bright sky behind the subject to create soft rim light that helps them pop.


