
Cinematic motion-blur stills make travel photos feel like movie frames. This guide shows clear, step-by-step ways to shoot and edit motion-blur images. Read on to learn gear tips, shooting settings, panning moves, and simple edits you can use on the road.
Why cinematic Motion-Blur Stills Work for Travel Photos
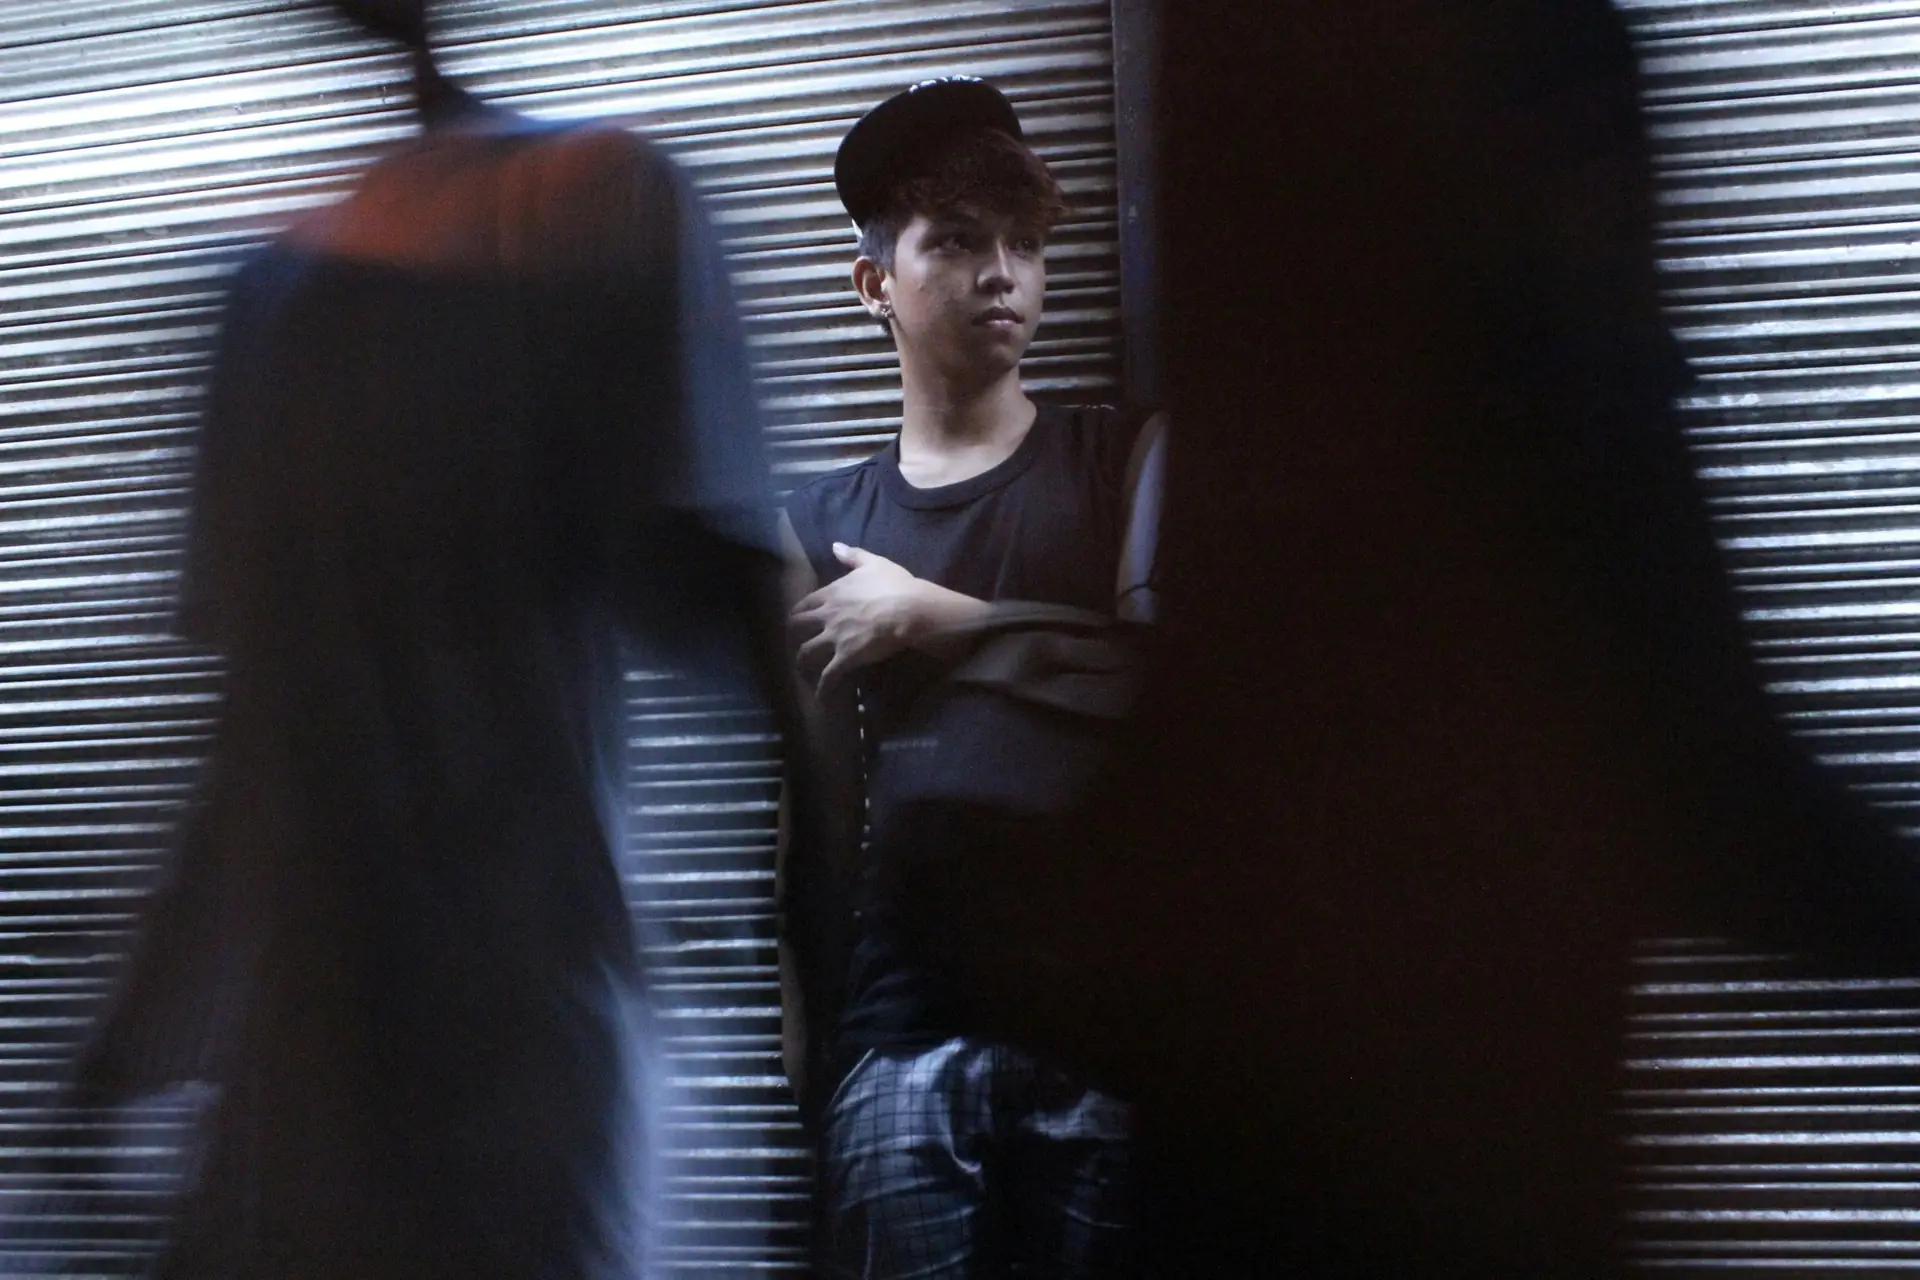
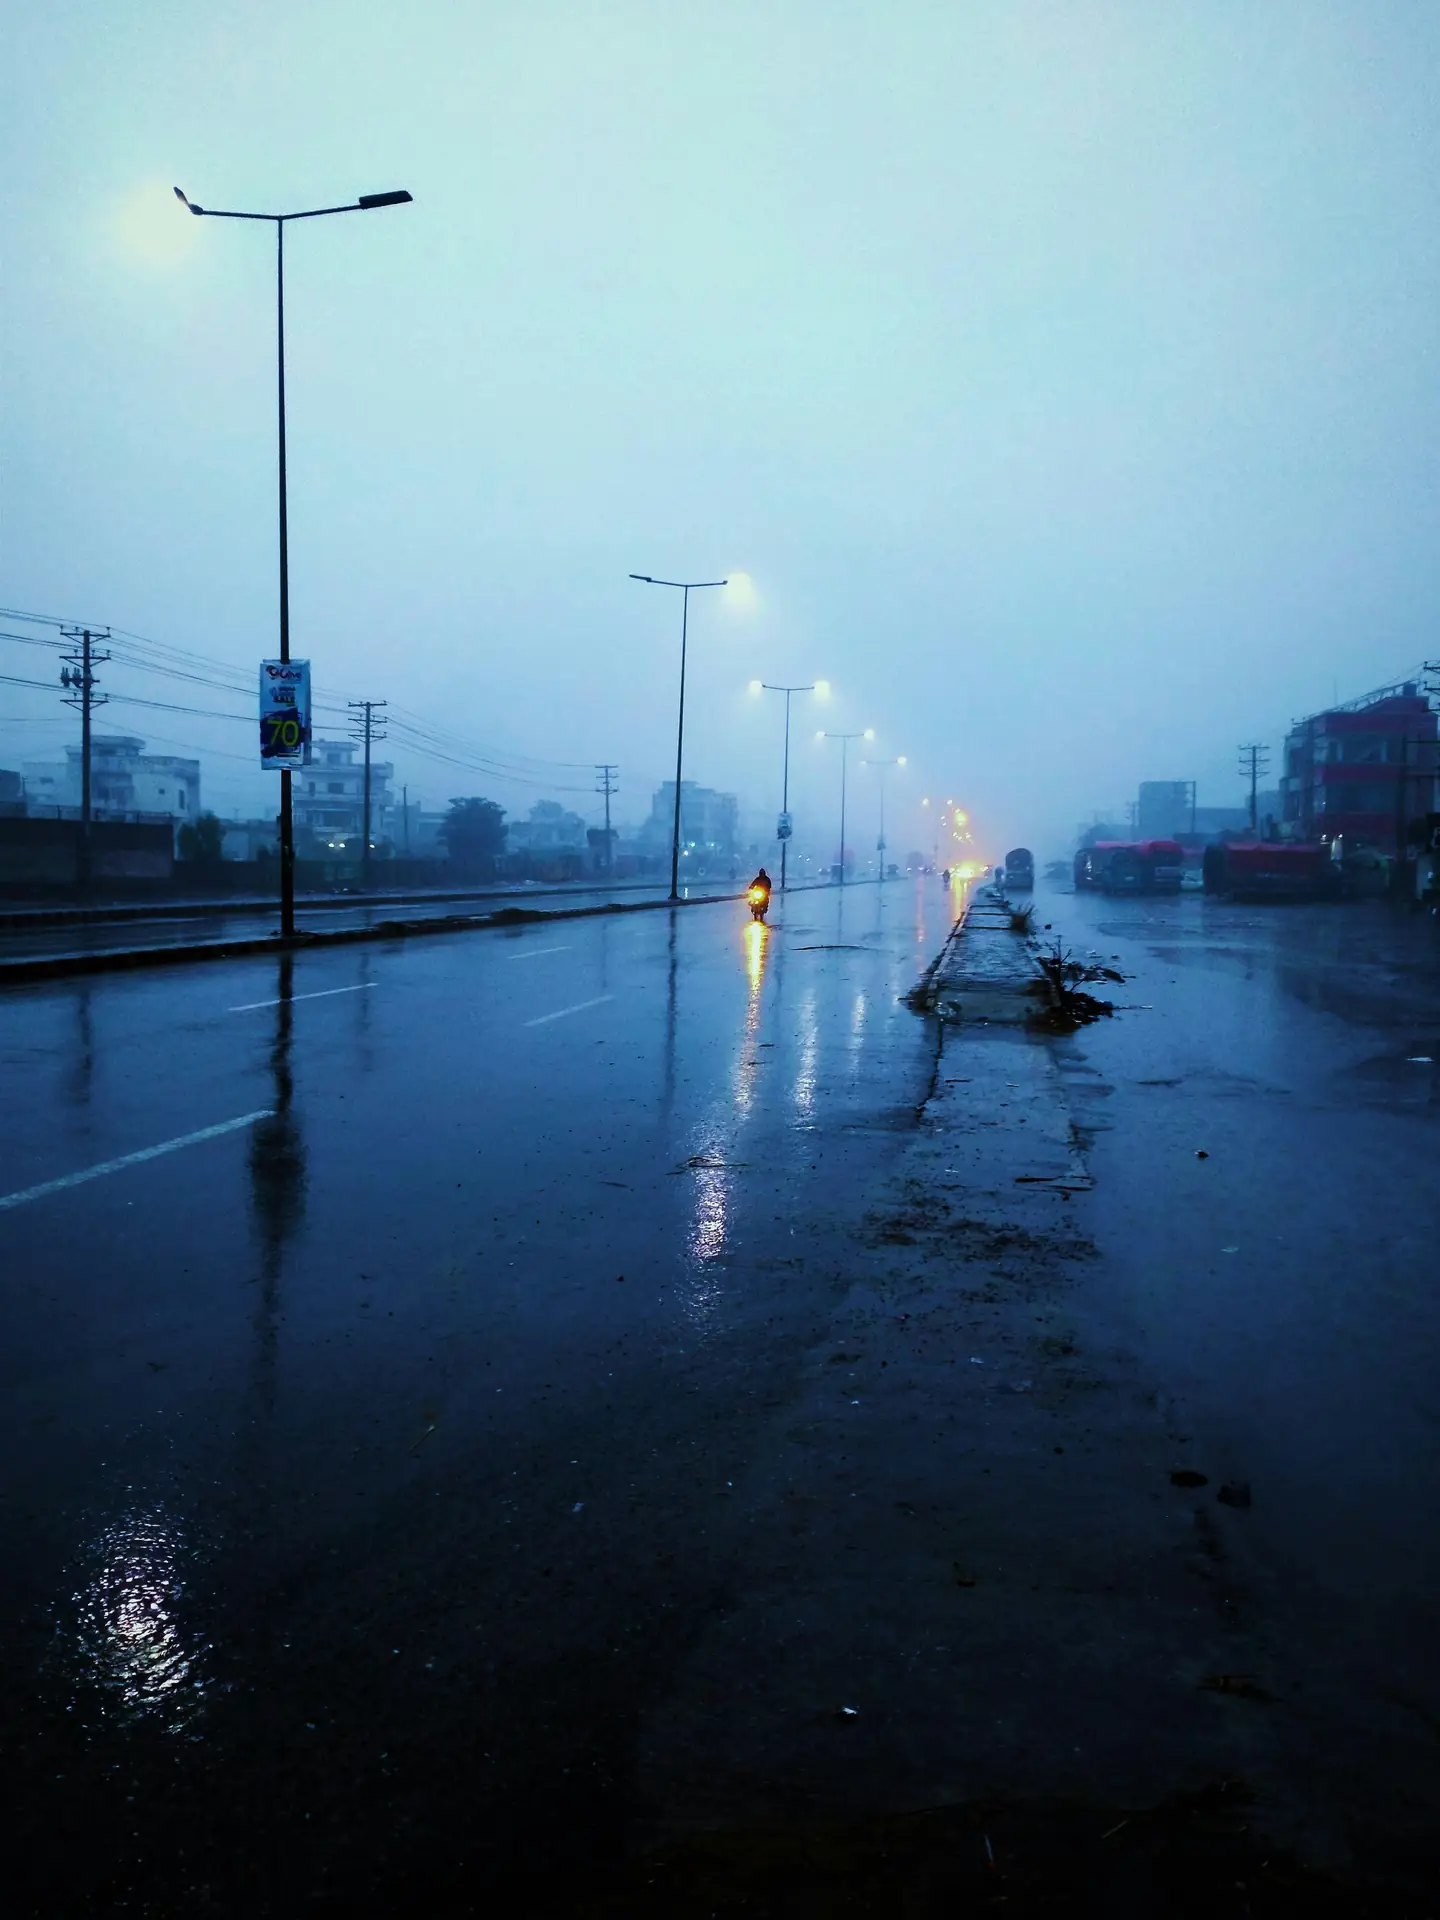
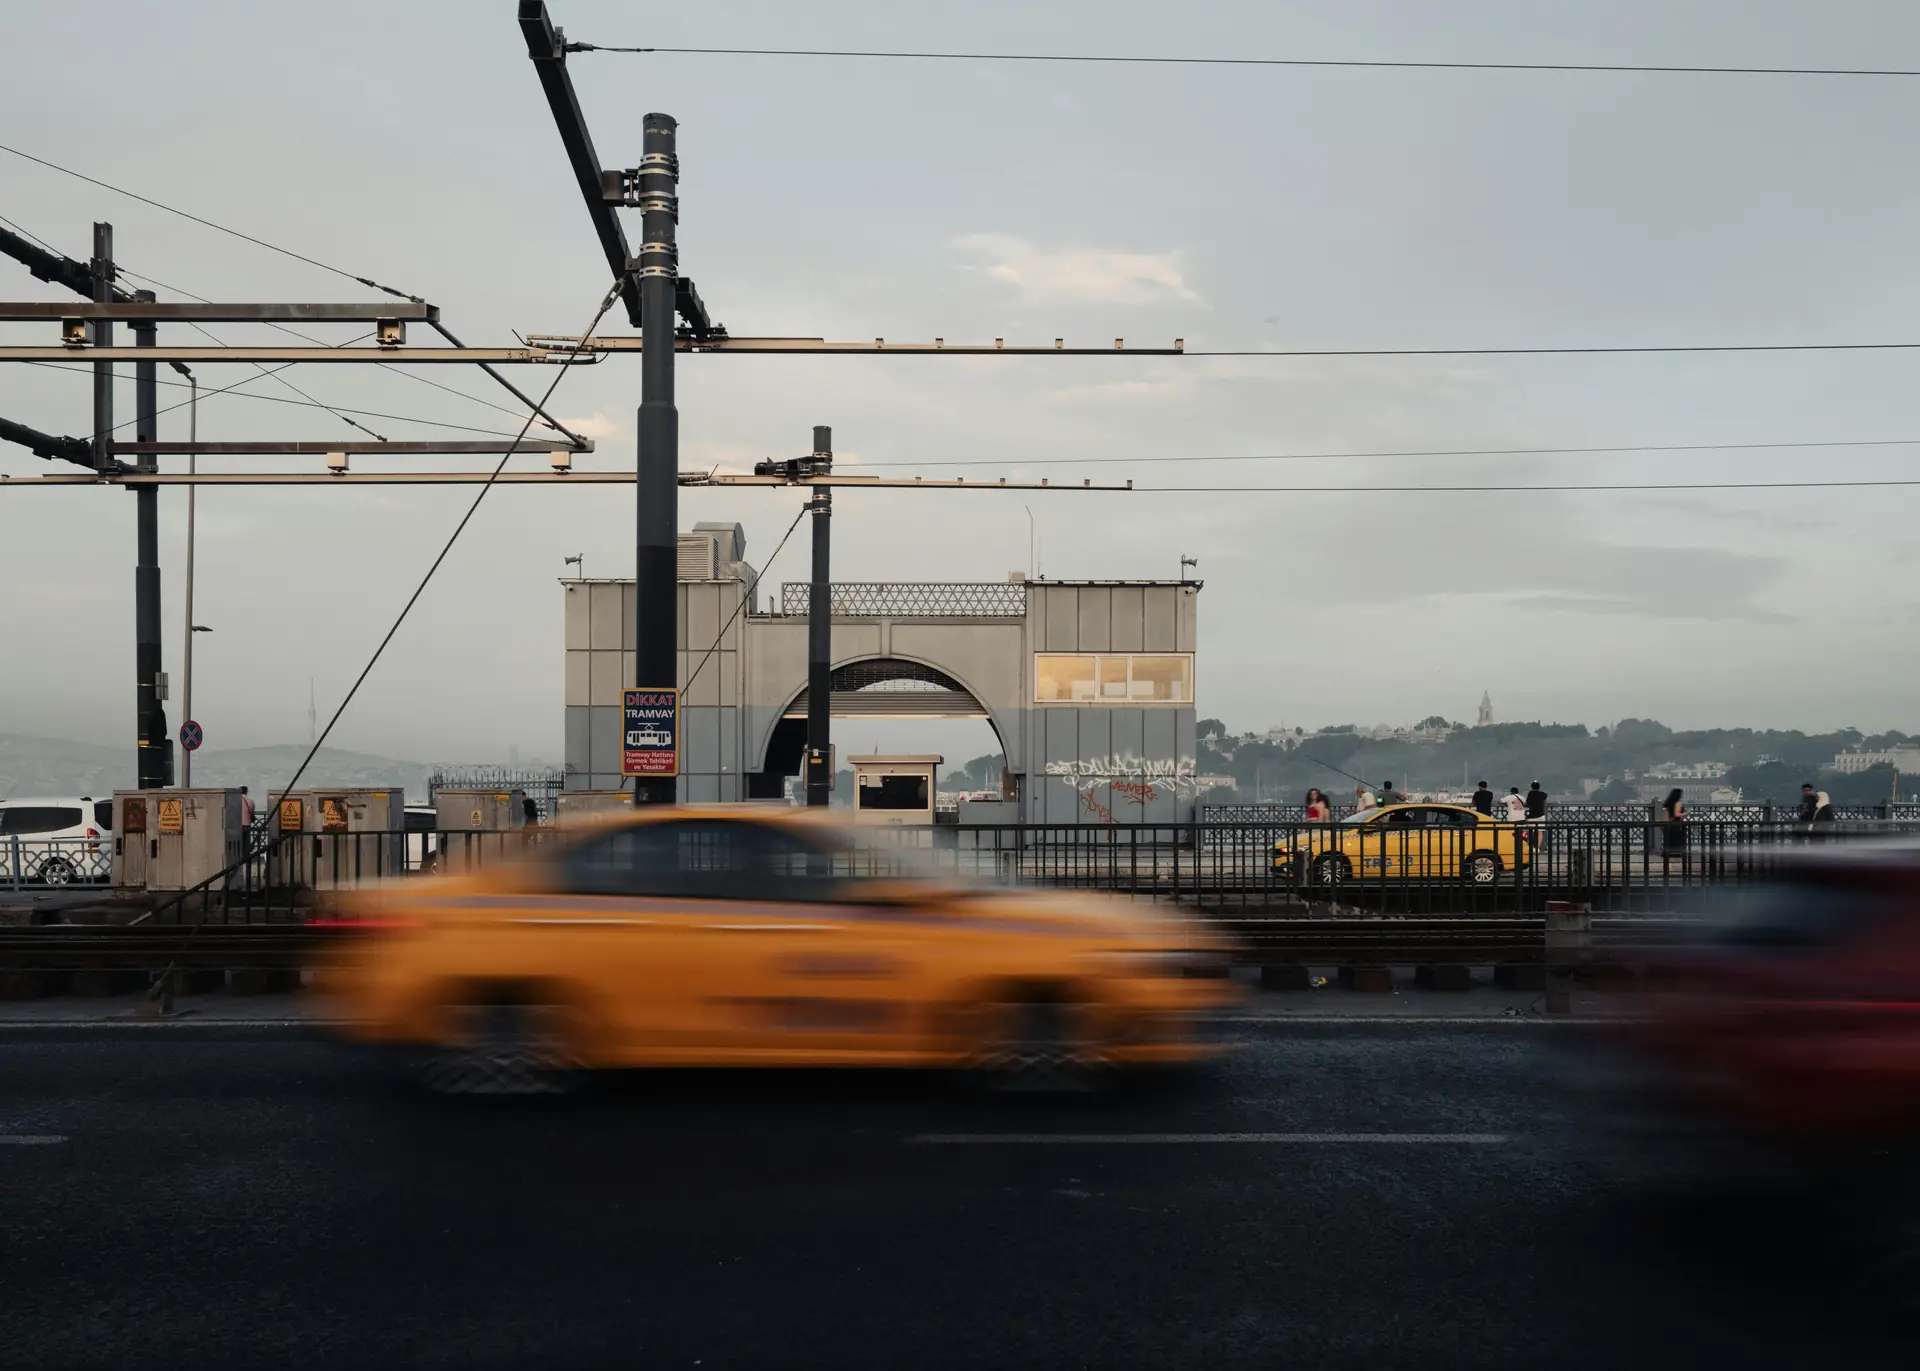
Cinematic motion-blur photos tell a scene in one frame. They show speed, mood, and time. Viewers feel like they are in the place.
Motion-blur makes a photo feel lived in and alive. It can show weather, pace, or a busy street. Use blur to support your subject and story.
Gear, Camstrap, and Personas for cinematic Motion-Blur Stills
You do not need heavy gear to get a cinematic look. Modern pocket cameras and mirrorless bodies give great image quality. Add a few simple tools and you can shoot motion-blur on any trip.
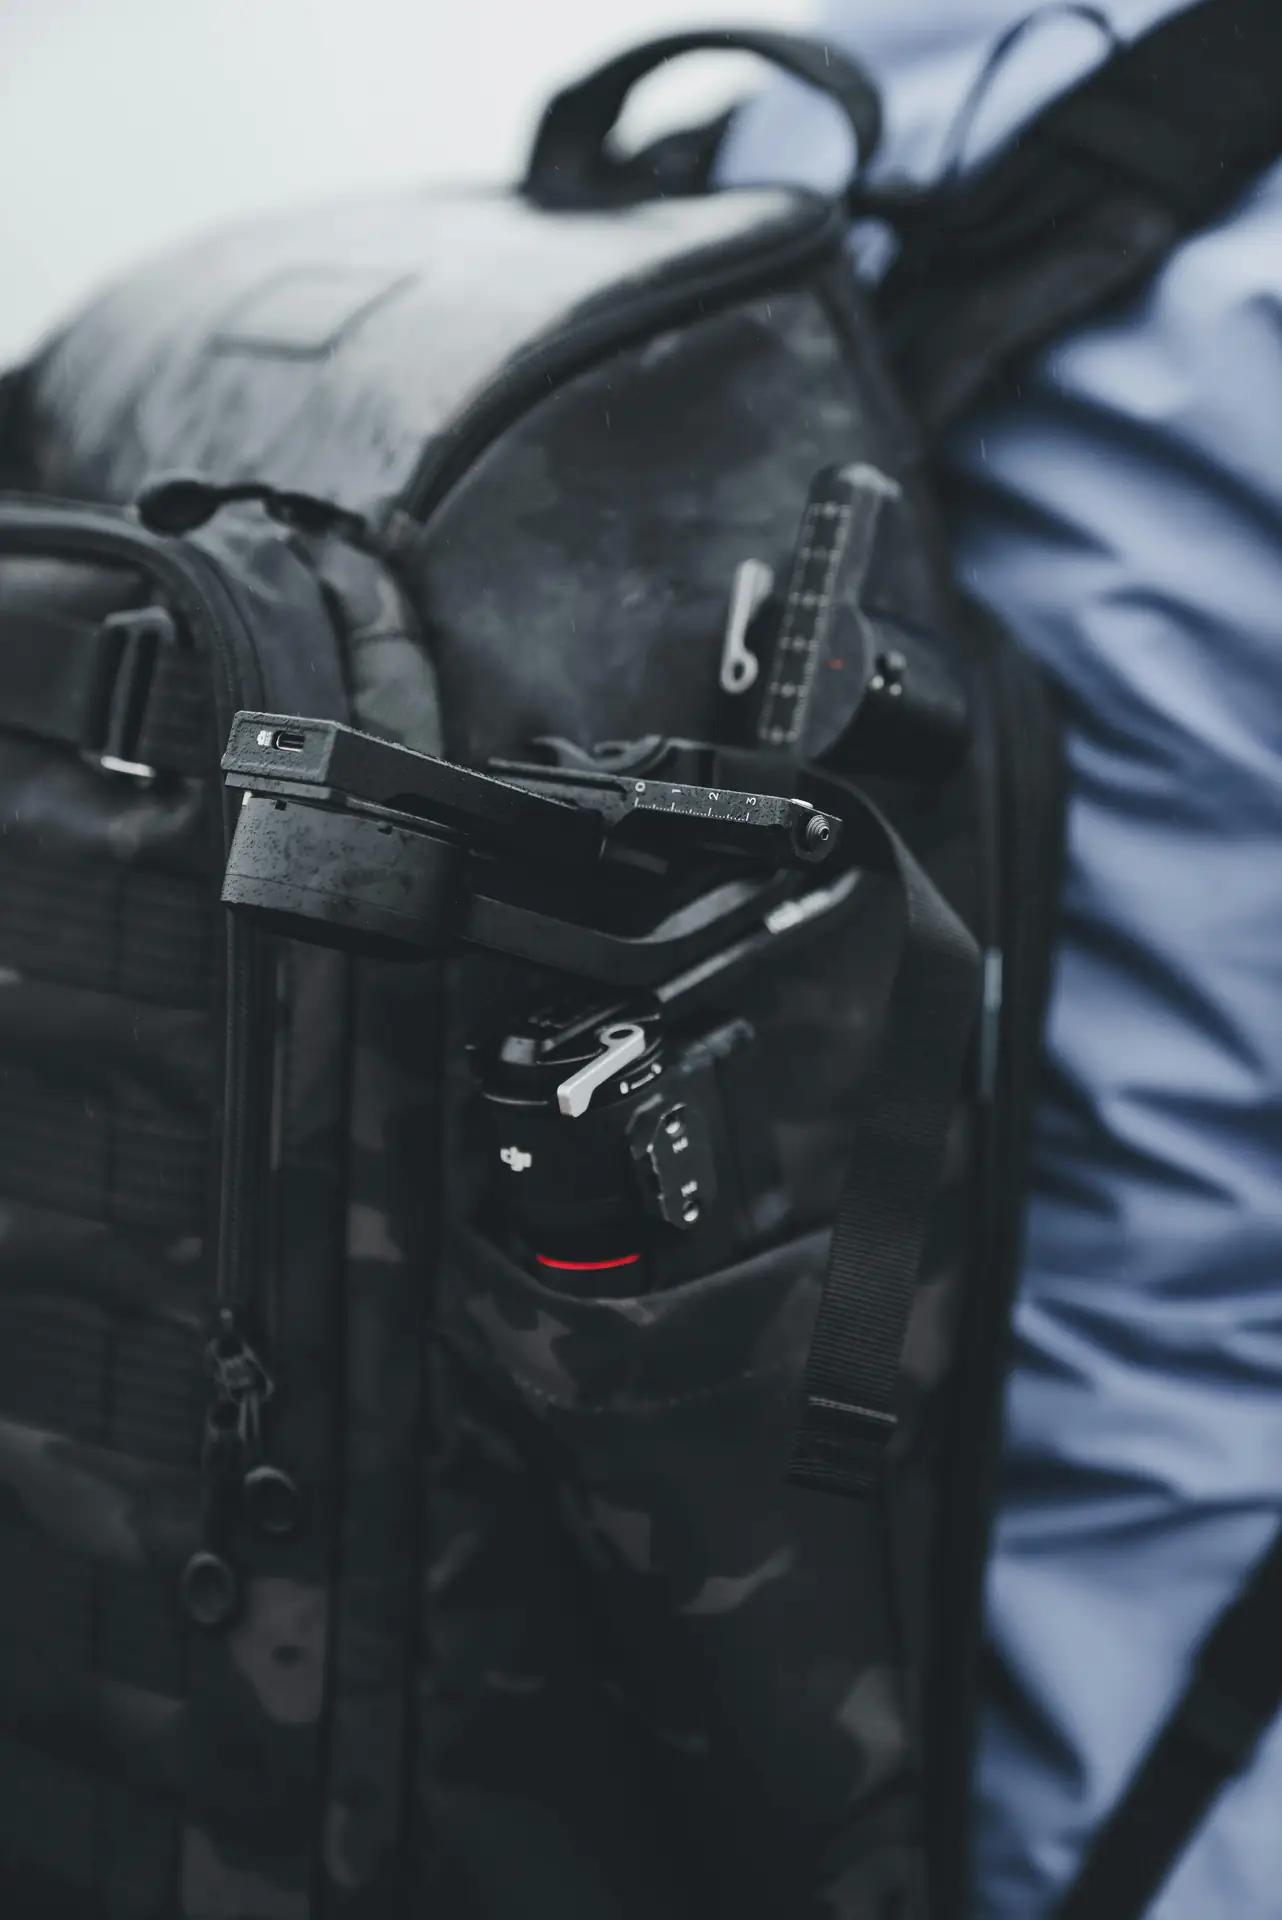
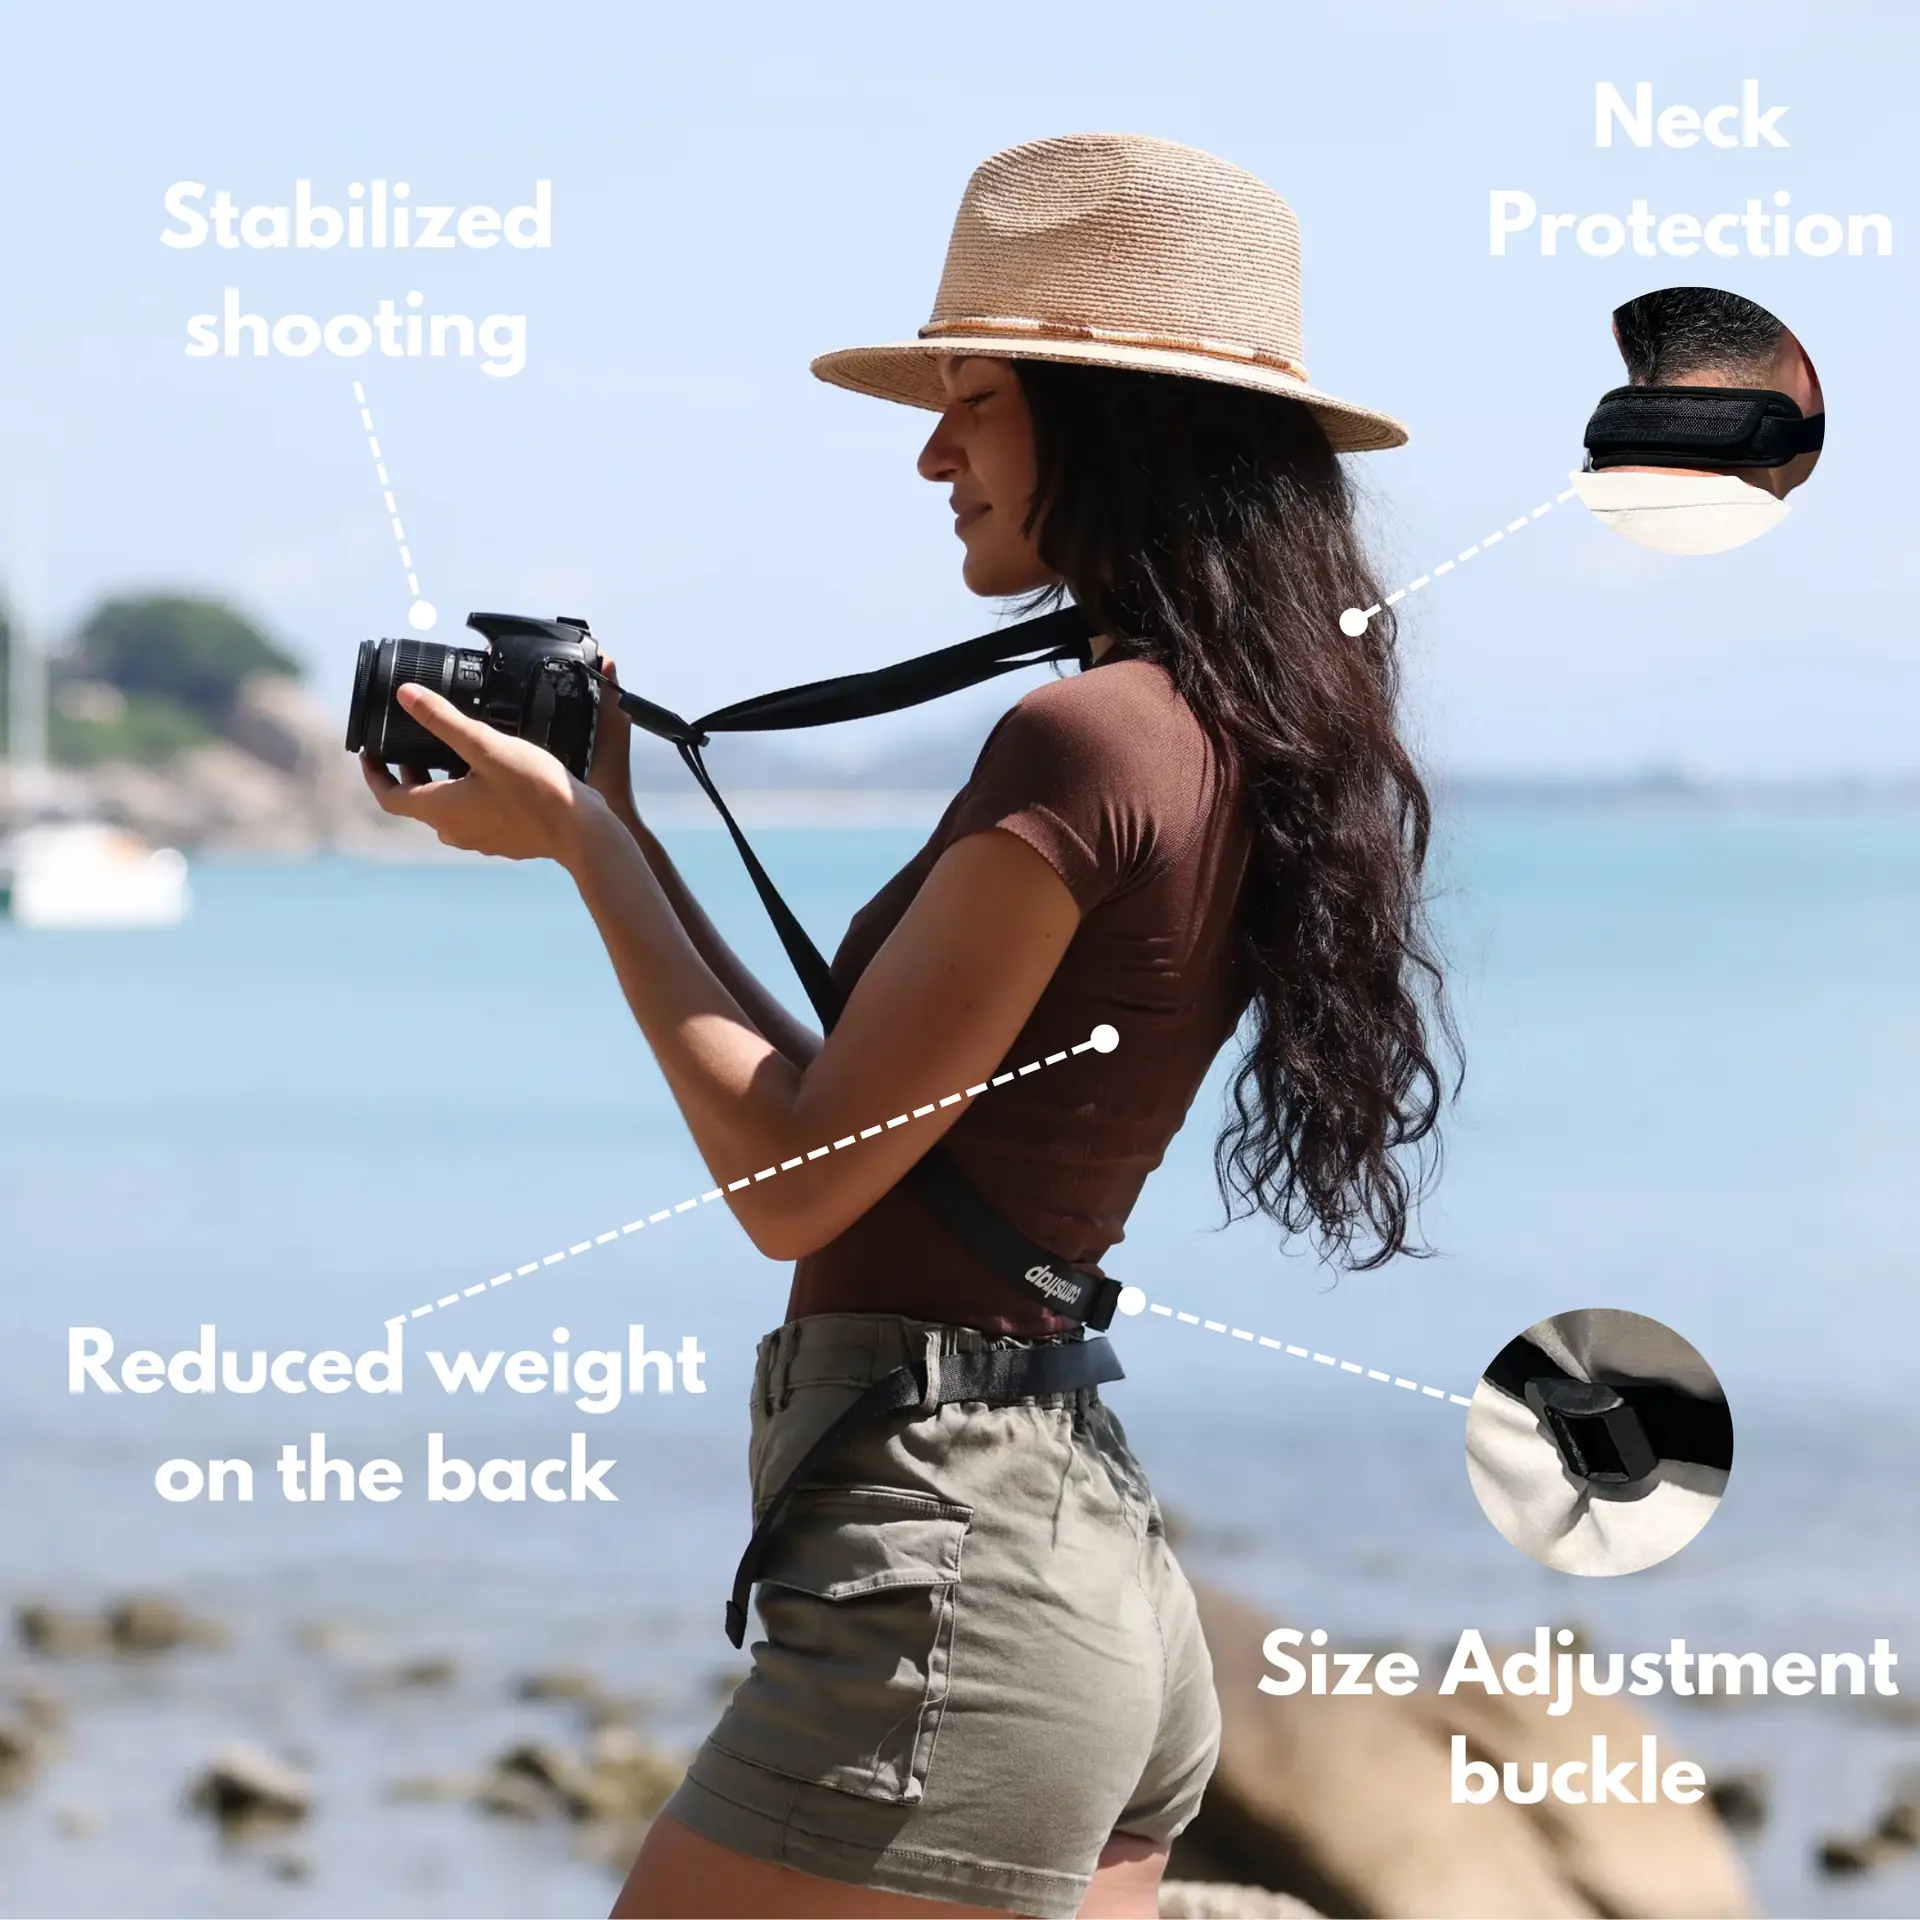
Camstrap is a brand that helps photographers carry gear with style and safety. Camstrap blends function with elegant design. Their straps make quick access and secure carry easy on hikes and city walks.
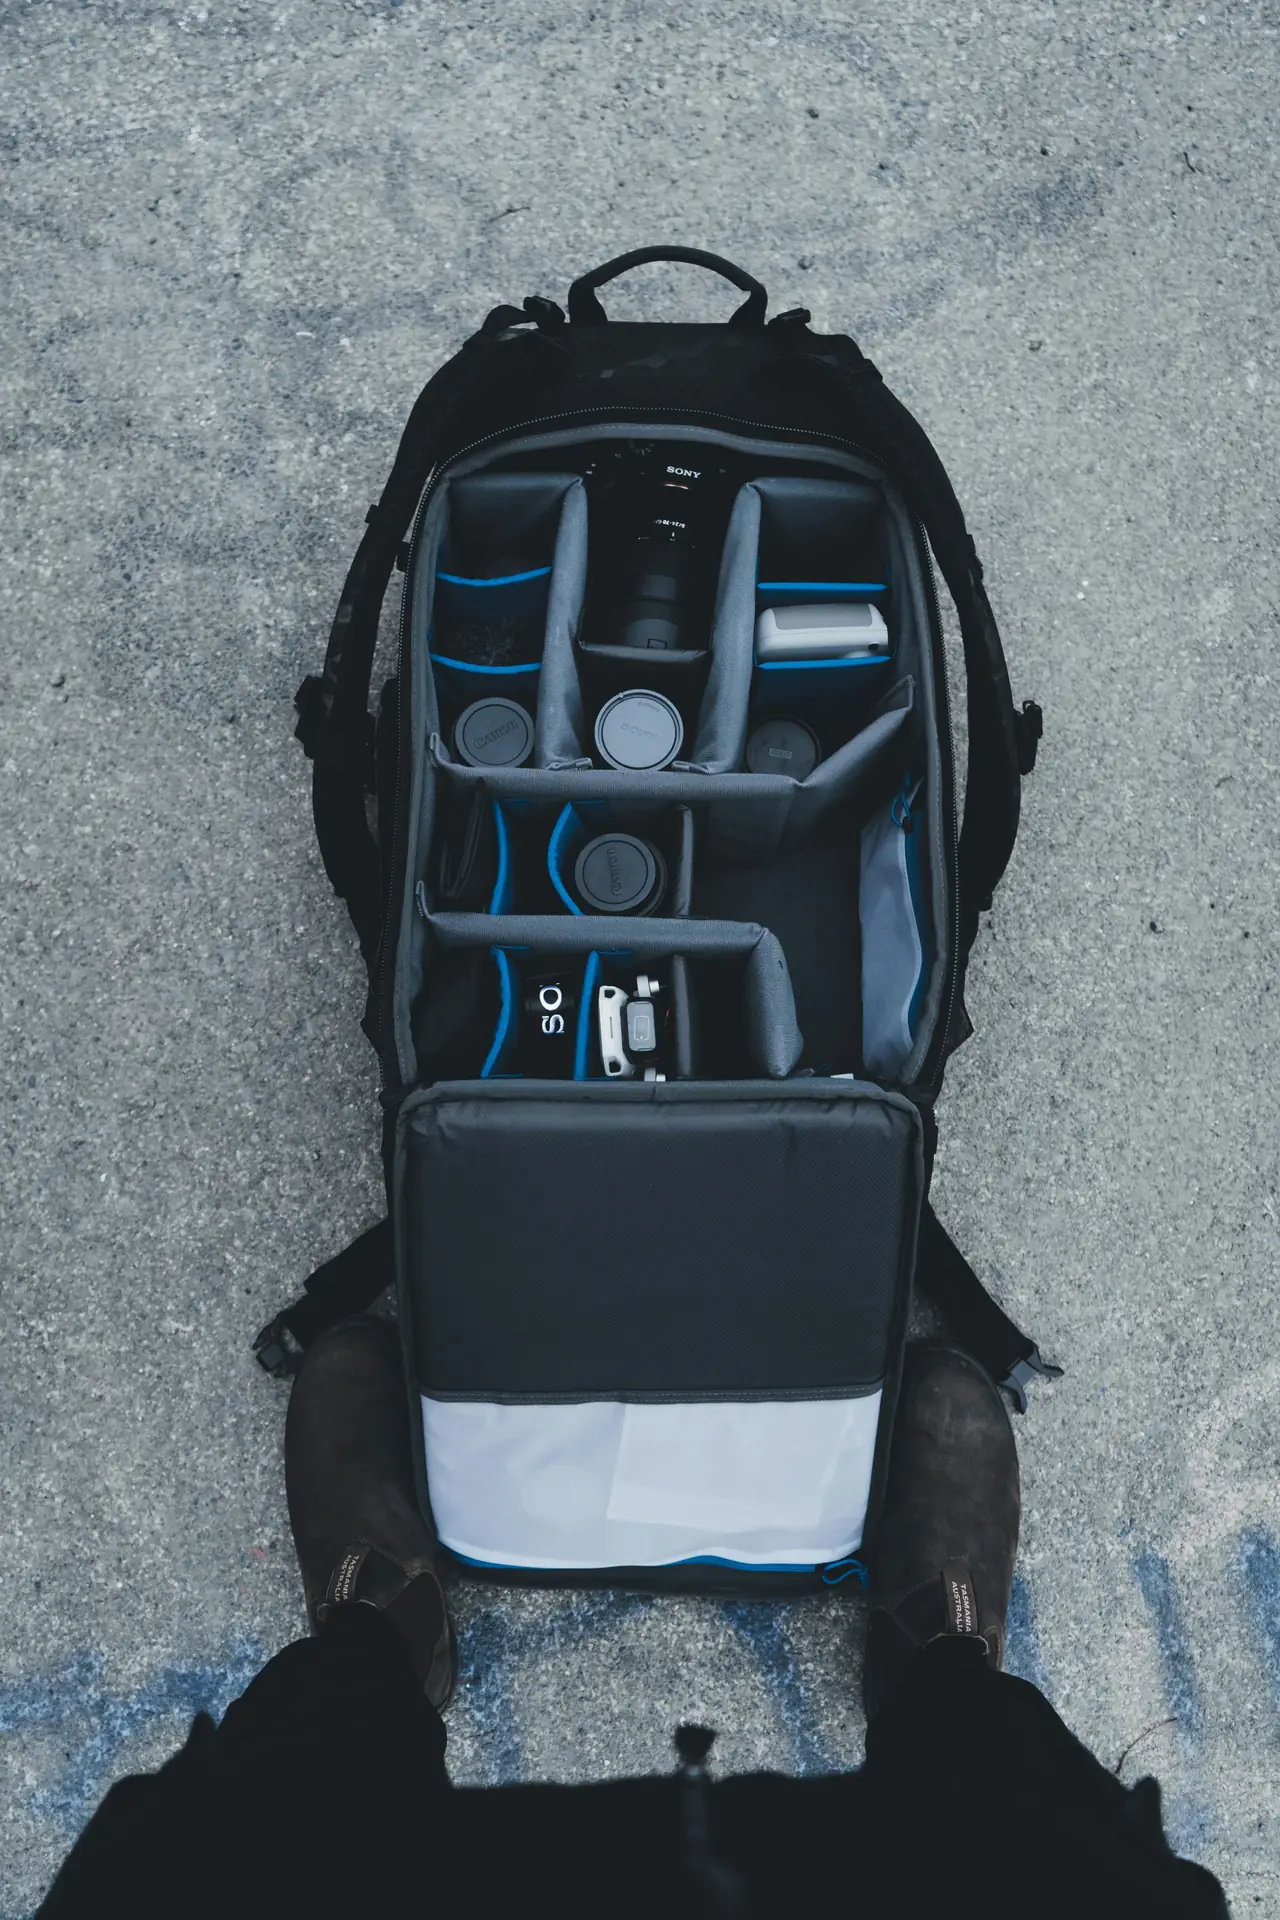
- Camera: modern pocket camera or mirrorless with manual shutter control and IBIS.
- Lenses: fast zoom or compact prime for sharp subjects.
- ND filters: variable ND helps slow shutter in bright light.
- Tripod or mini-leg: a travel tripod keeps the frame steady for long exposure.
- Strap and carry gear: use a sturdy camera strap like Camstrap Voyager for quick access.
Which strap fits you best depends on how you shoot. Travel Enthusiasts want fast access and light load. Outdoor Adventure Photographers need rugged straps that stay secure on trails. Amateur Photographers look for comfort and value. Camstrap offers models like Voyager, Explorer, and Nomad for these needs.
Pocket camera tips for cinematic motion-blur
Pocket cameras in 2026 have good sensors and AI help. Use manual shutter when you can. If not, pick shutter priority and lock exposure.
Add ND filters when your camera cannot reach slow shutter speeds. Turn on stabilization and then use a tripod for long exposures. This keeps the subject sharp and the background smooth.
Shooting Workflow and Panning Techniques for cinematic Motion-Blur Stills
A repeatable shooting workflow helps you move fast on the road. Follow the same simple order each time. This gives more consistent cinematic results.
- Scout the scene and pick a subject to keep sharp.
- Set shutter speed and aperture for motion and light.
- Use ND filters or lower ISO to reach the shutter you want.
- Steady the camera on a tripod or hand-hold with panning.
- Take test shots and tweak settings in small steps.
- Edit with motion-aware sharpening and a film-like color grade.
Step-by-step shooting explained
Scout and choose one subject to keep sharp. A runner, bike, tram, or walking person works well. Place that subject on a strong line or near a landmark.
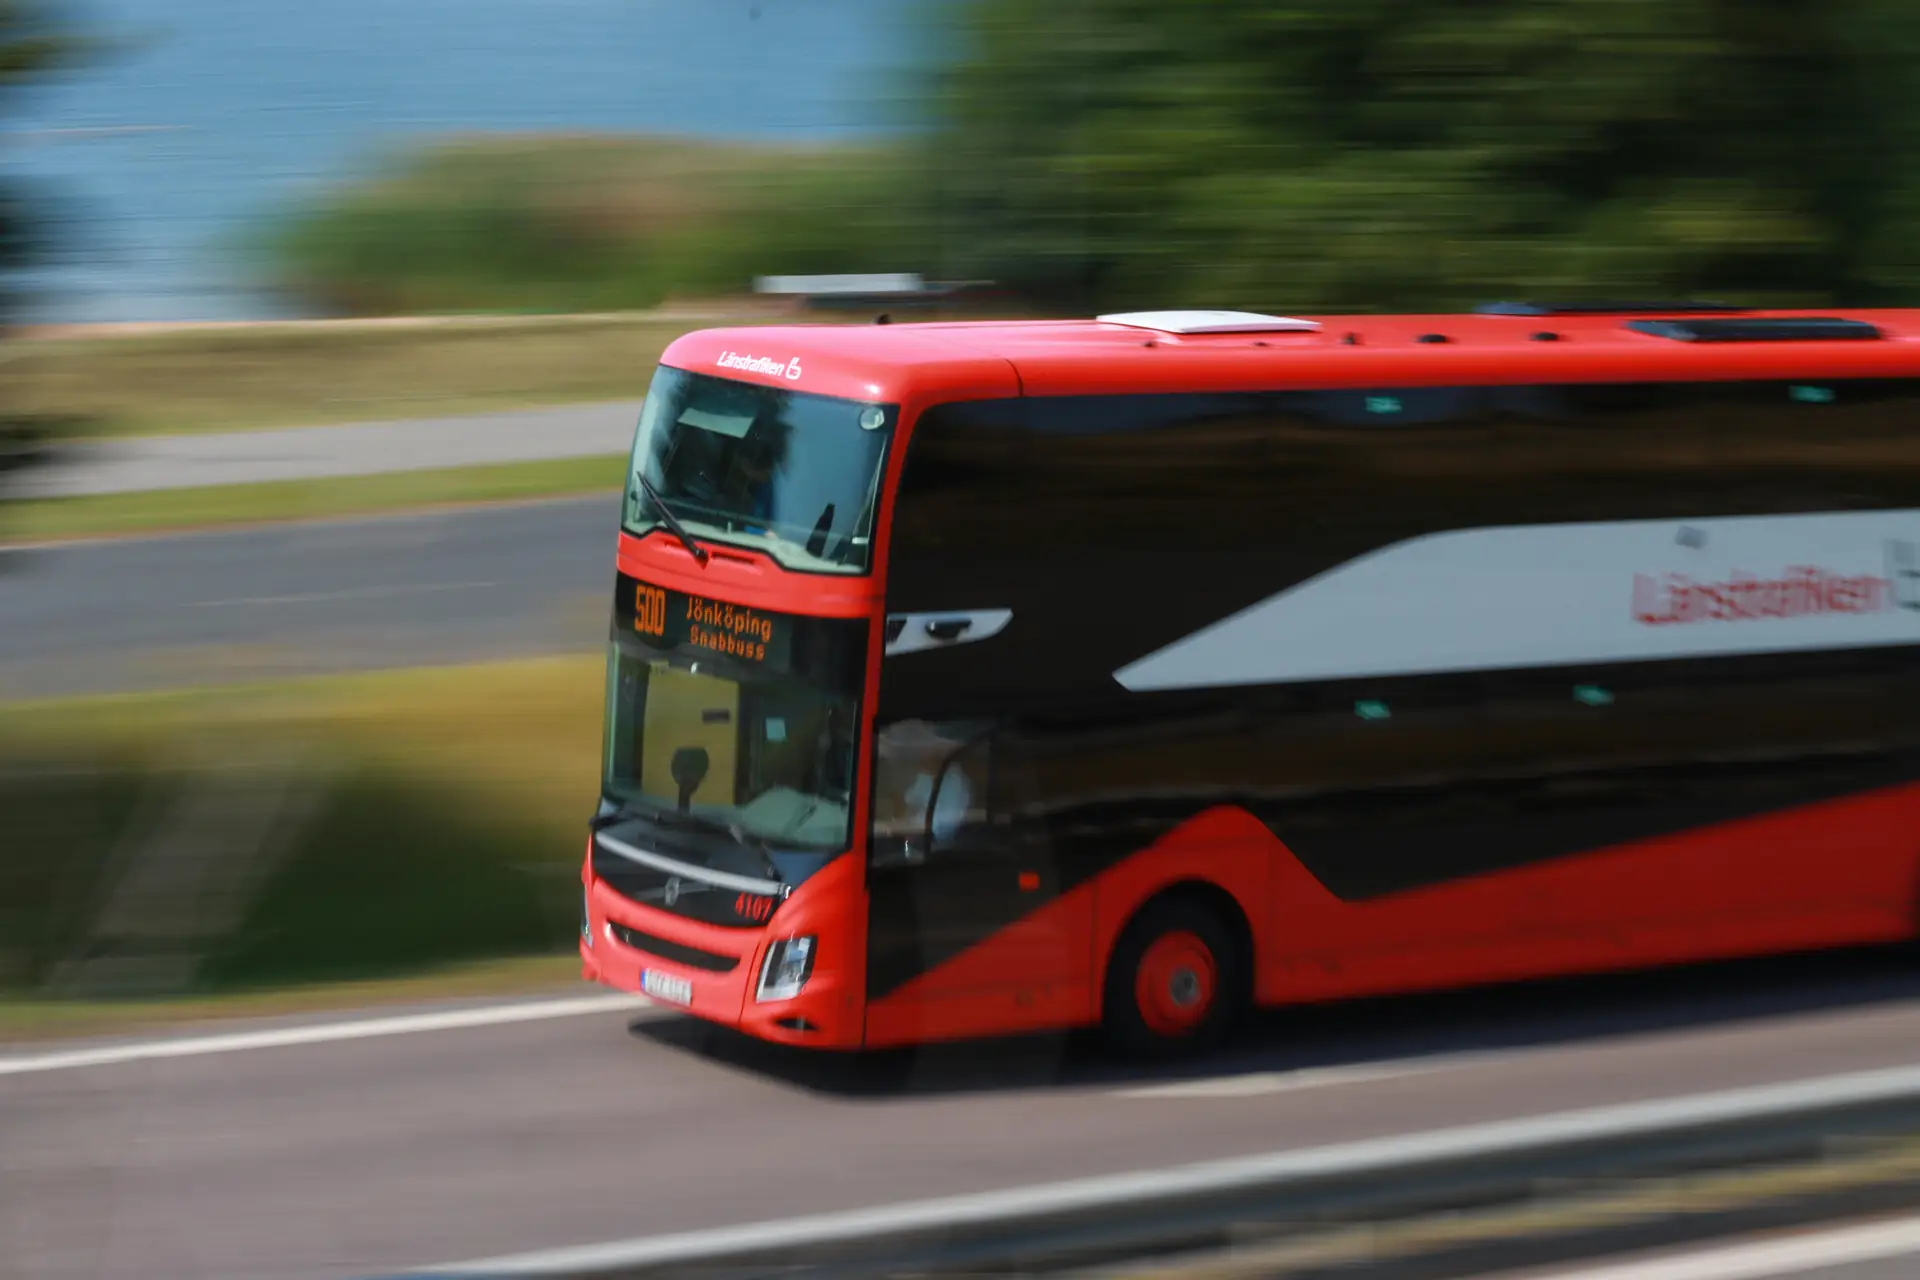
Set shutter and aperture next. For clear blur, try 1/15 to 1/2 second for people and cars. For fast vehicles, try 1/30 to 1/125 with panning. Keep ISO low to avoid noise and use ND filters if needed.
Panning tips that work on any trip
- Stance: stand with feet shoulder-width for balance.
- Grip: hold the camera steady to your face or chest.
- Follow-through: keep moving the camera one second after shooting.
- Practice: try different shutter speeds until you like the blur.
If the subject is slow, use longer shutters like 1/8 or 1/4 second. If the subject is fast, try 1/60 or 1/125 with a smooth pan. Test and adapt to the scene and light.
Editing and Color Grading for cinematic Motion-Blur Stills
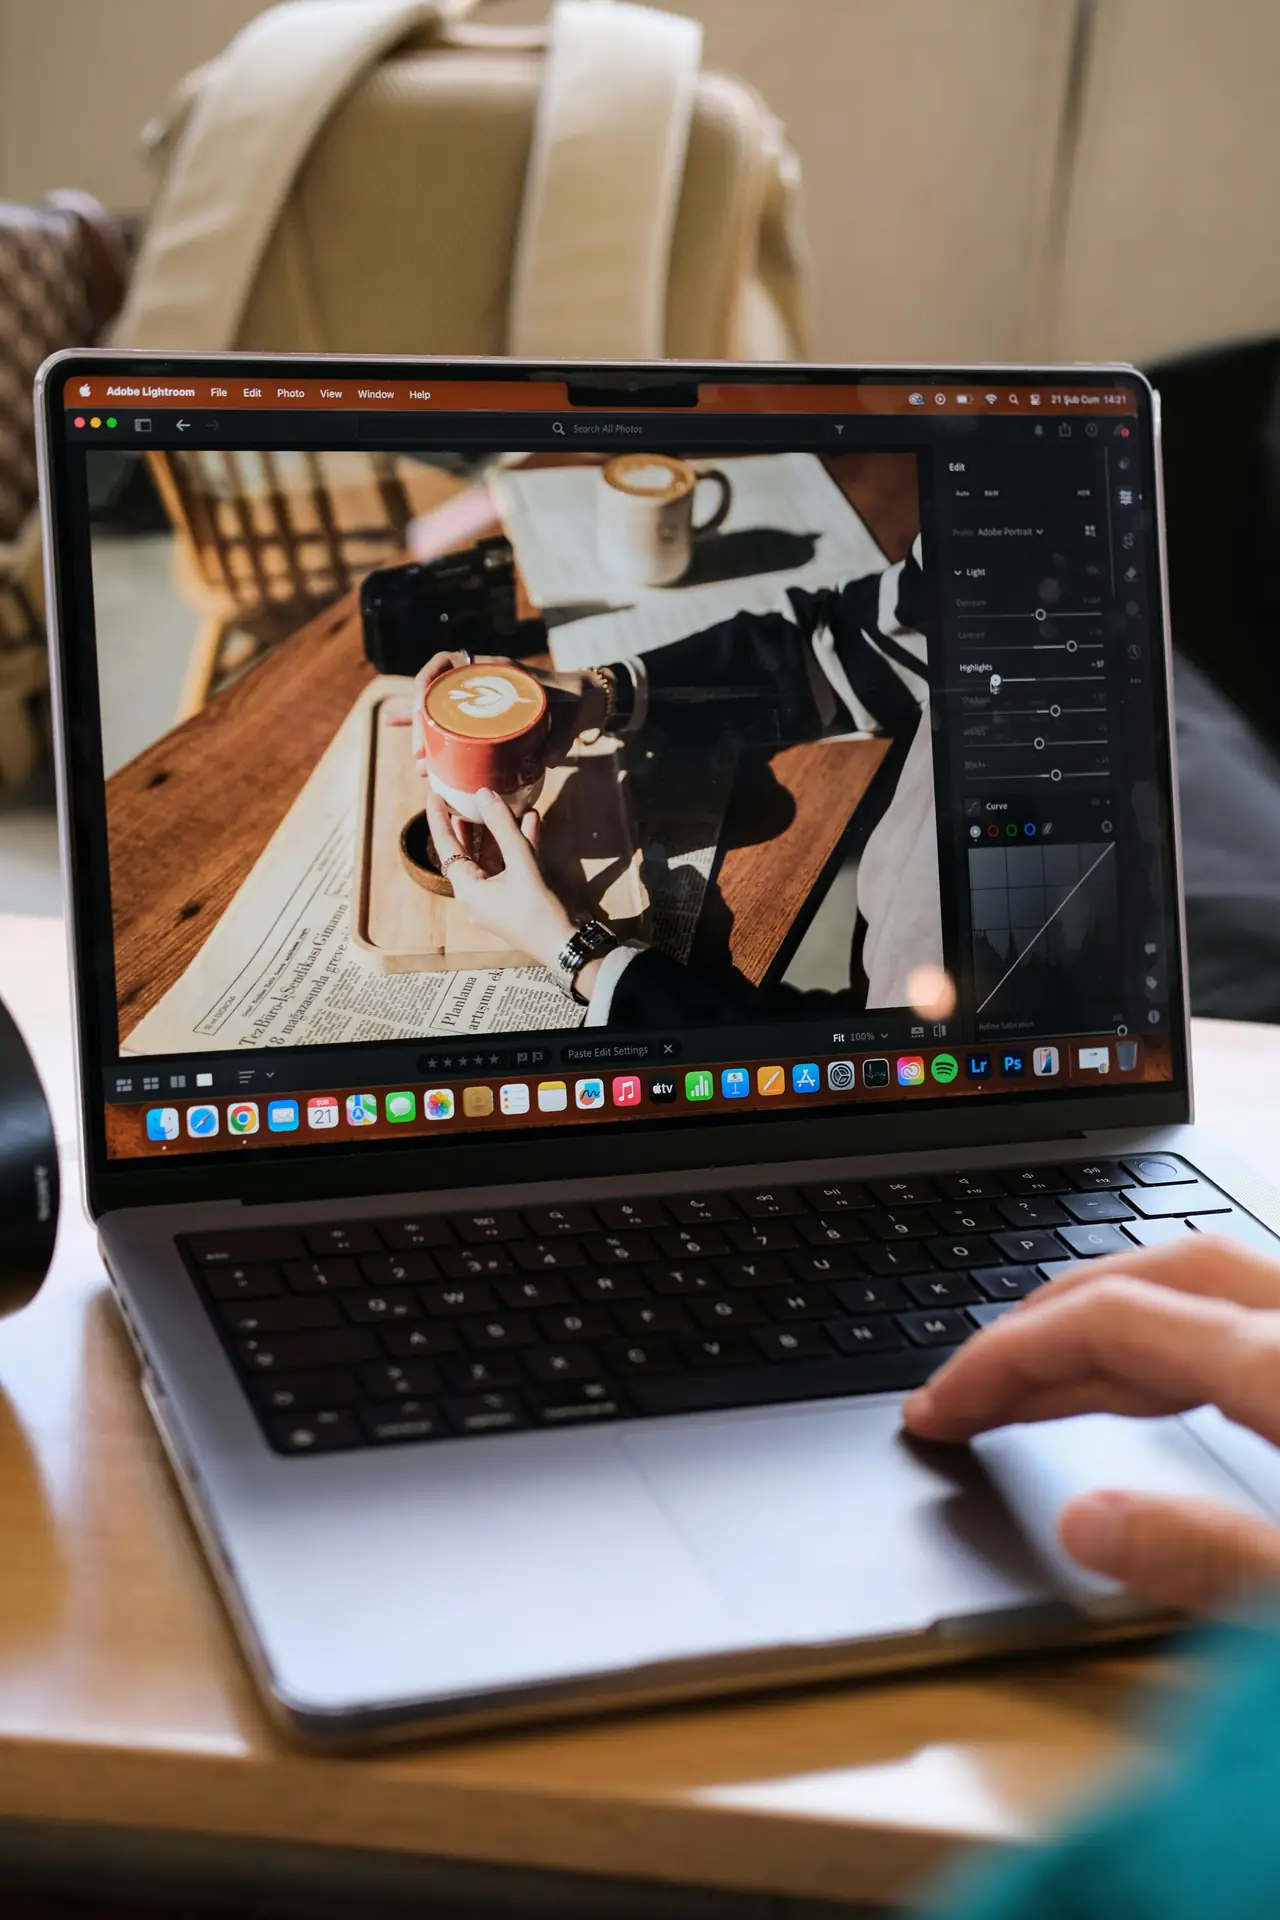
Editing takes a good capture and makes it cinematic. Start with exposure and crop. Then sharpen the subject and add a film-style color grade.
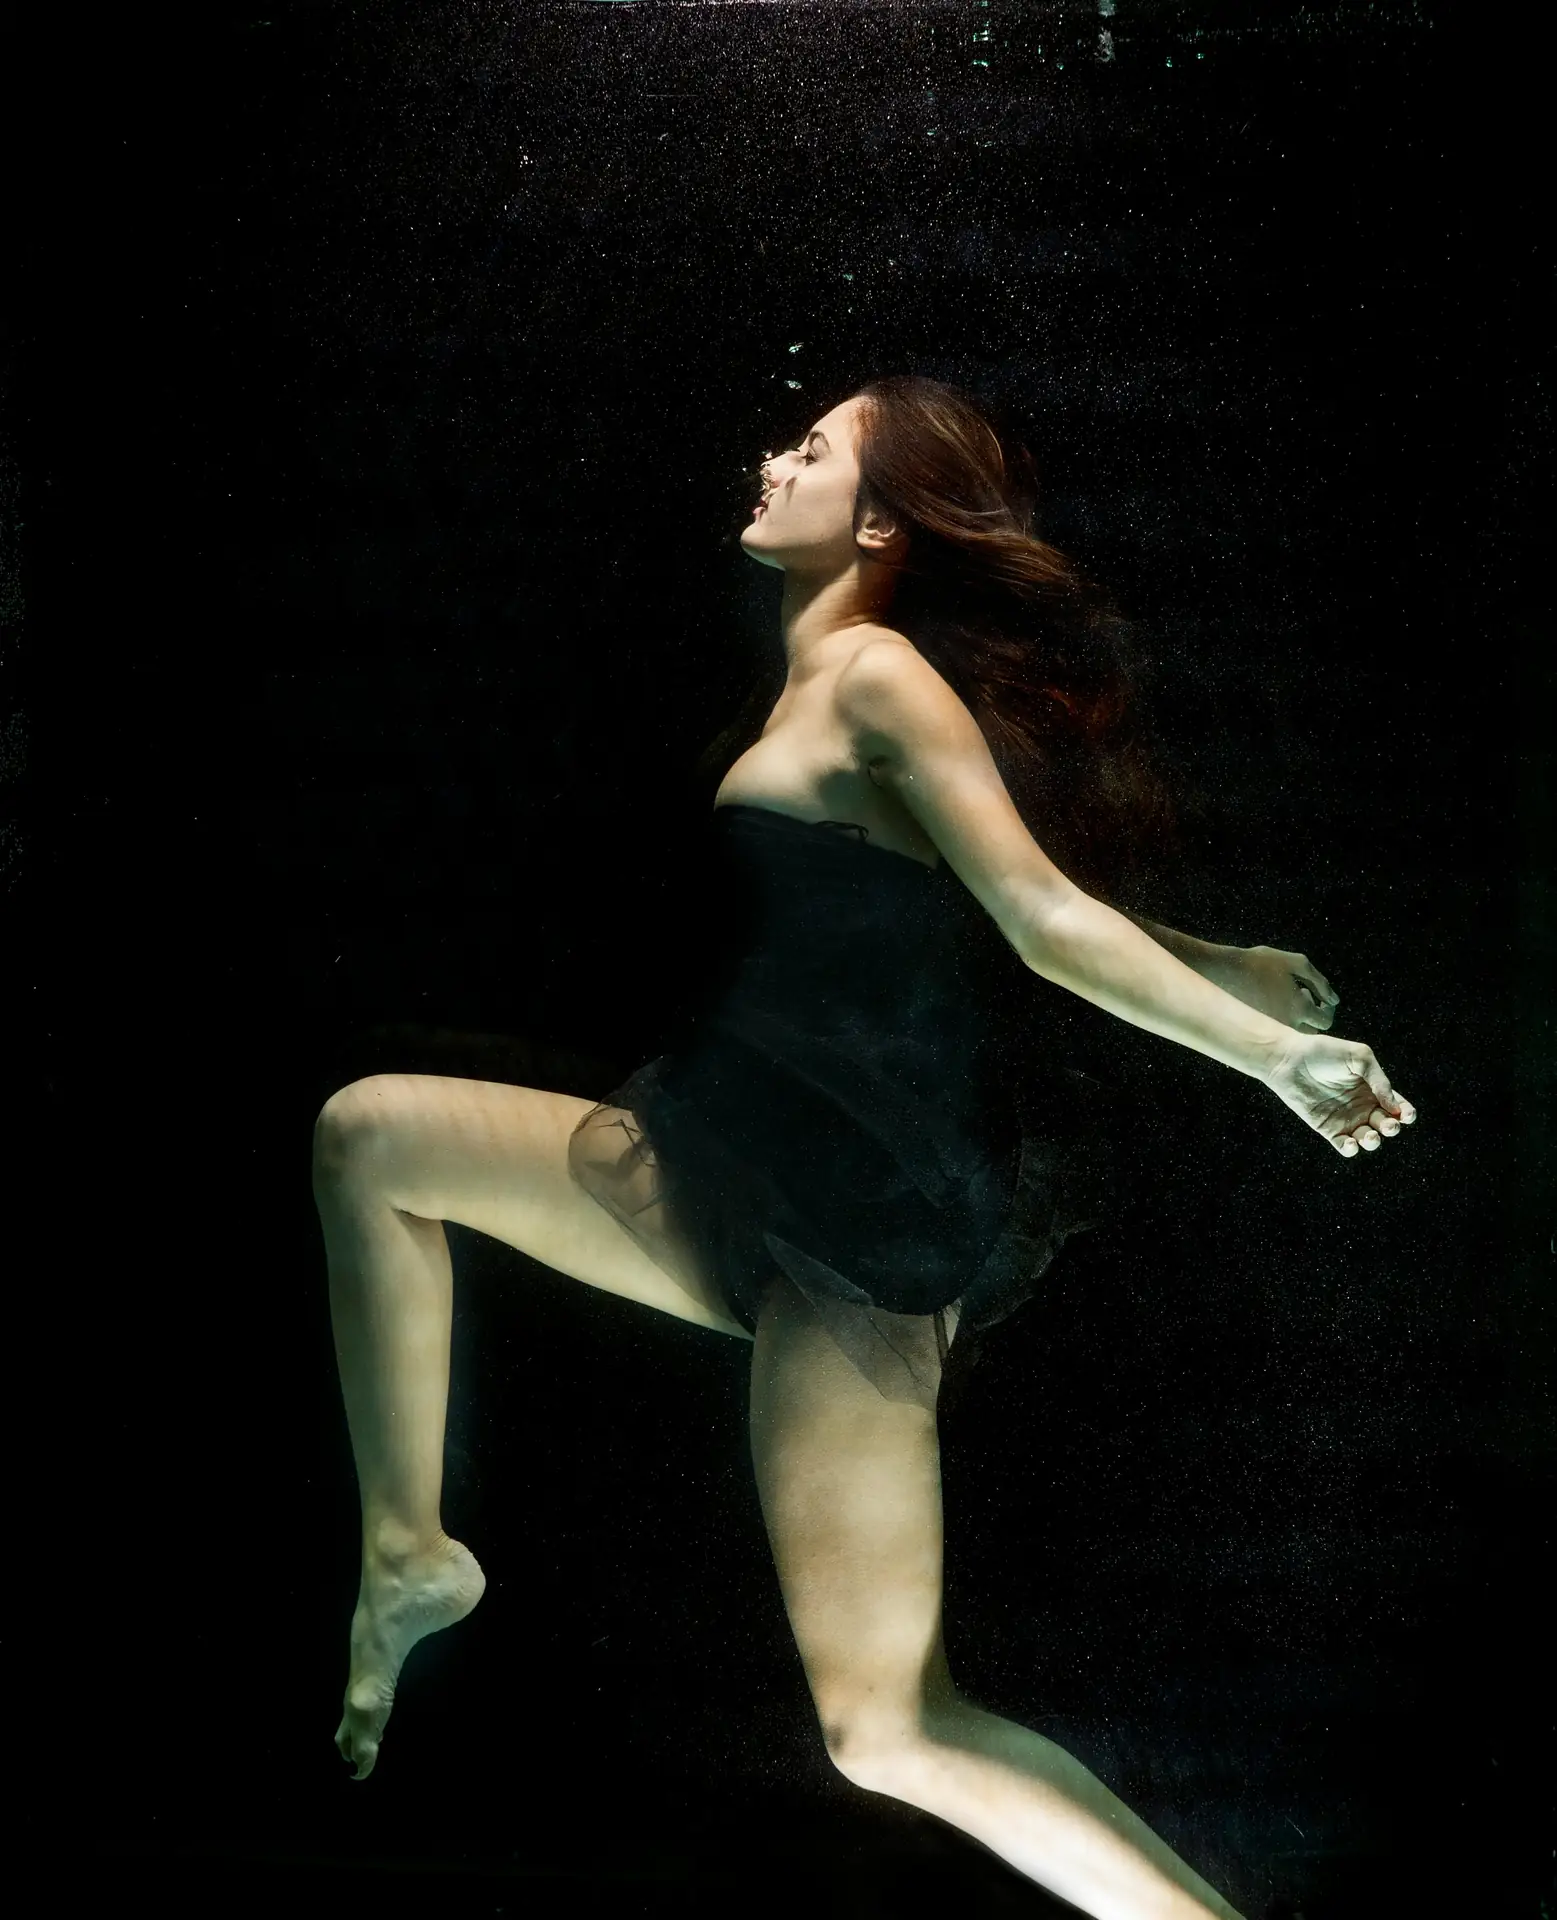
Use masks or local edits to keep the subject crisp. Add contrast and a little grain to get a film feel. Save one version with less edit for social platforms.
Simple edit steps to keep the cinematic mood
- Correct exposure and white balance.
- Use radial or brush masks to sharpen only the subject.
- Add contrast and adjust highlights and shadows.
- Apply a film-style color grade: teal shadows and warm mids.
- Add light grain and reduce noise in blur areas.

Export at the right size for prints or social. Large files keep detail for prints. Smaller files upload faster to phones and sites.
Travel Tips, Safety, and Common Fixes for cinematic Motion-Blur Stills
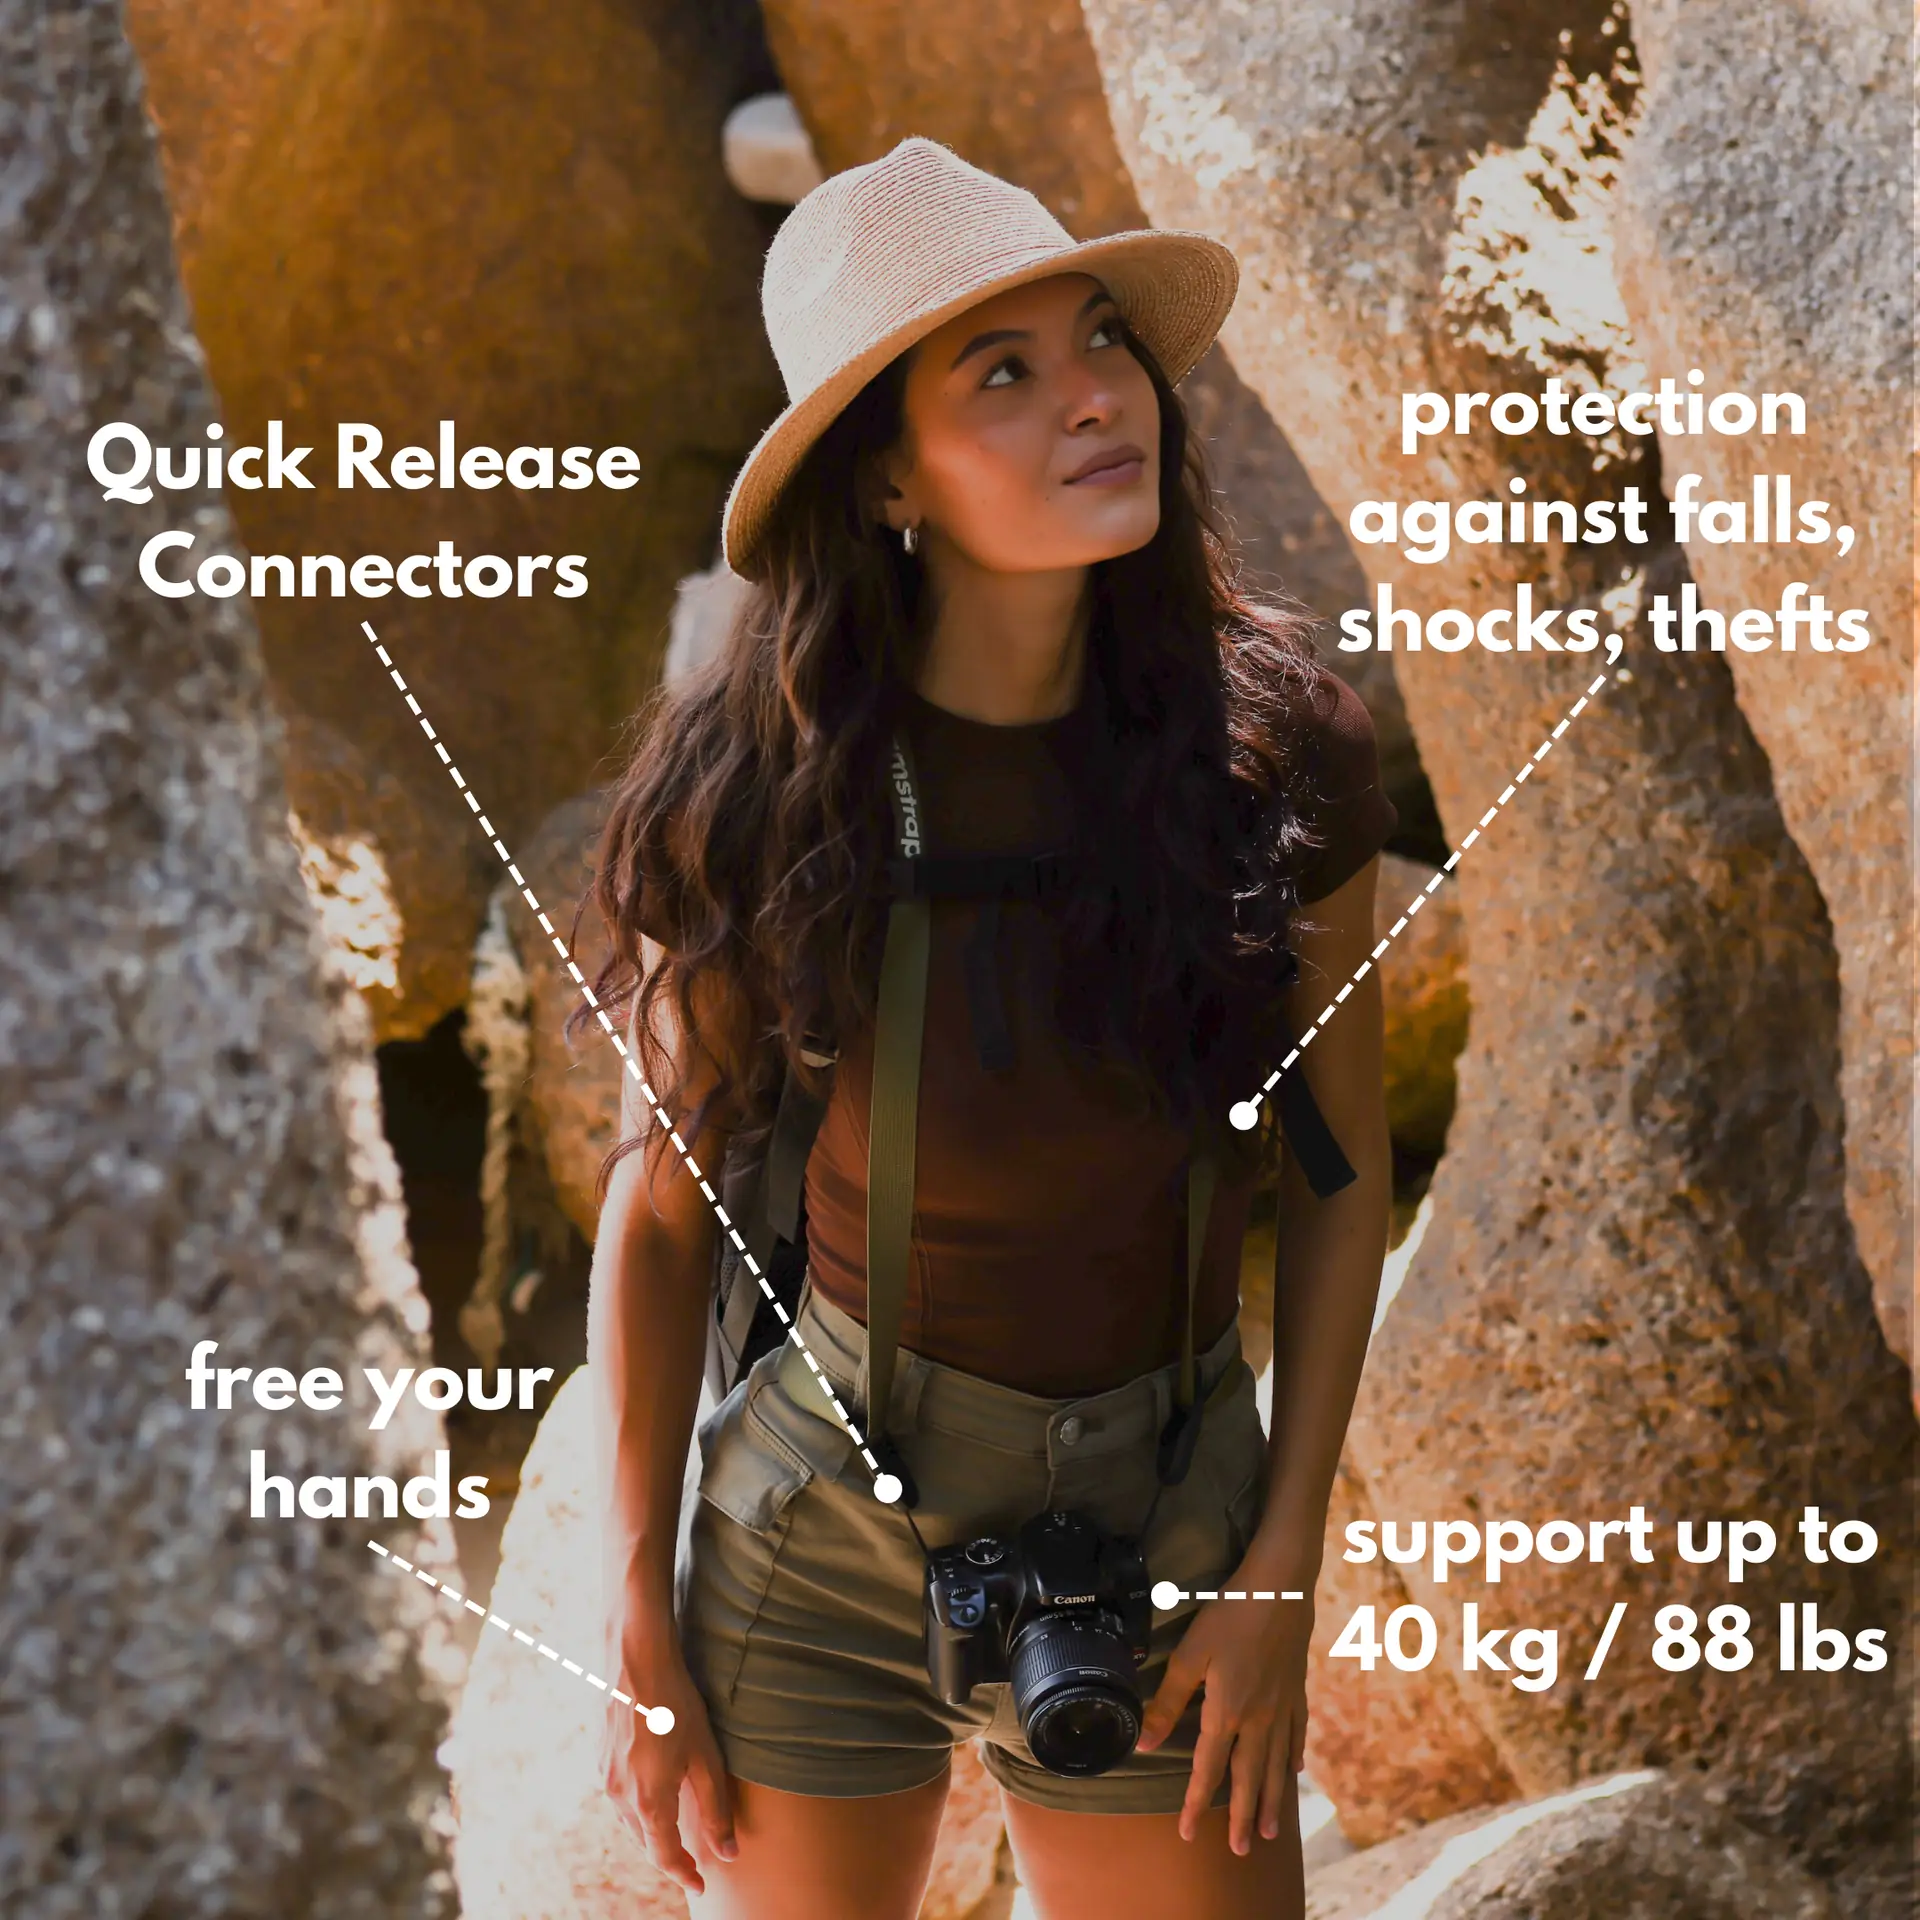
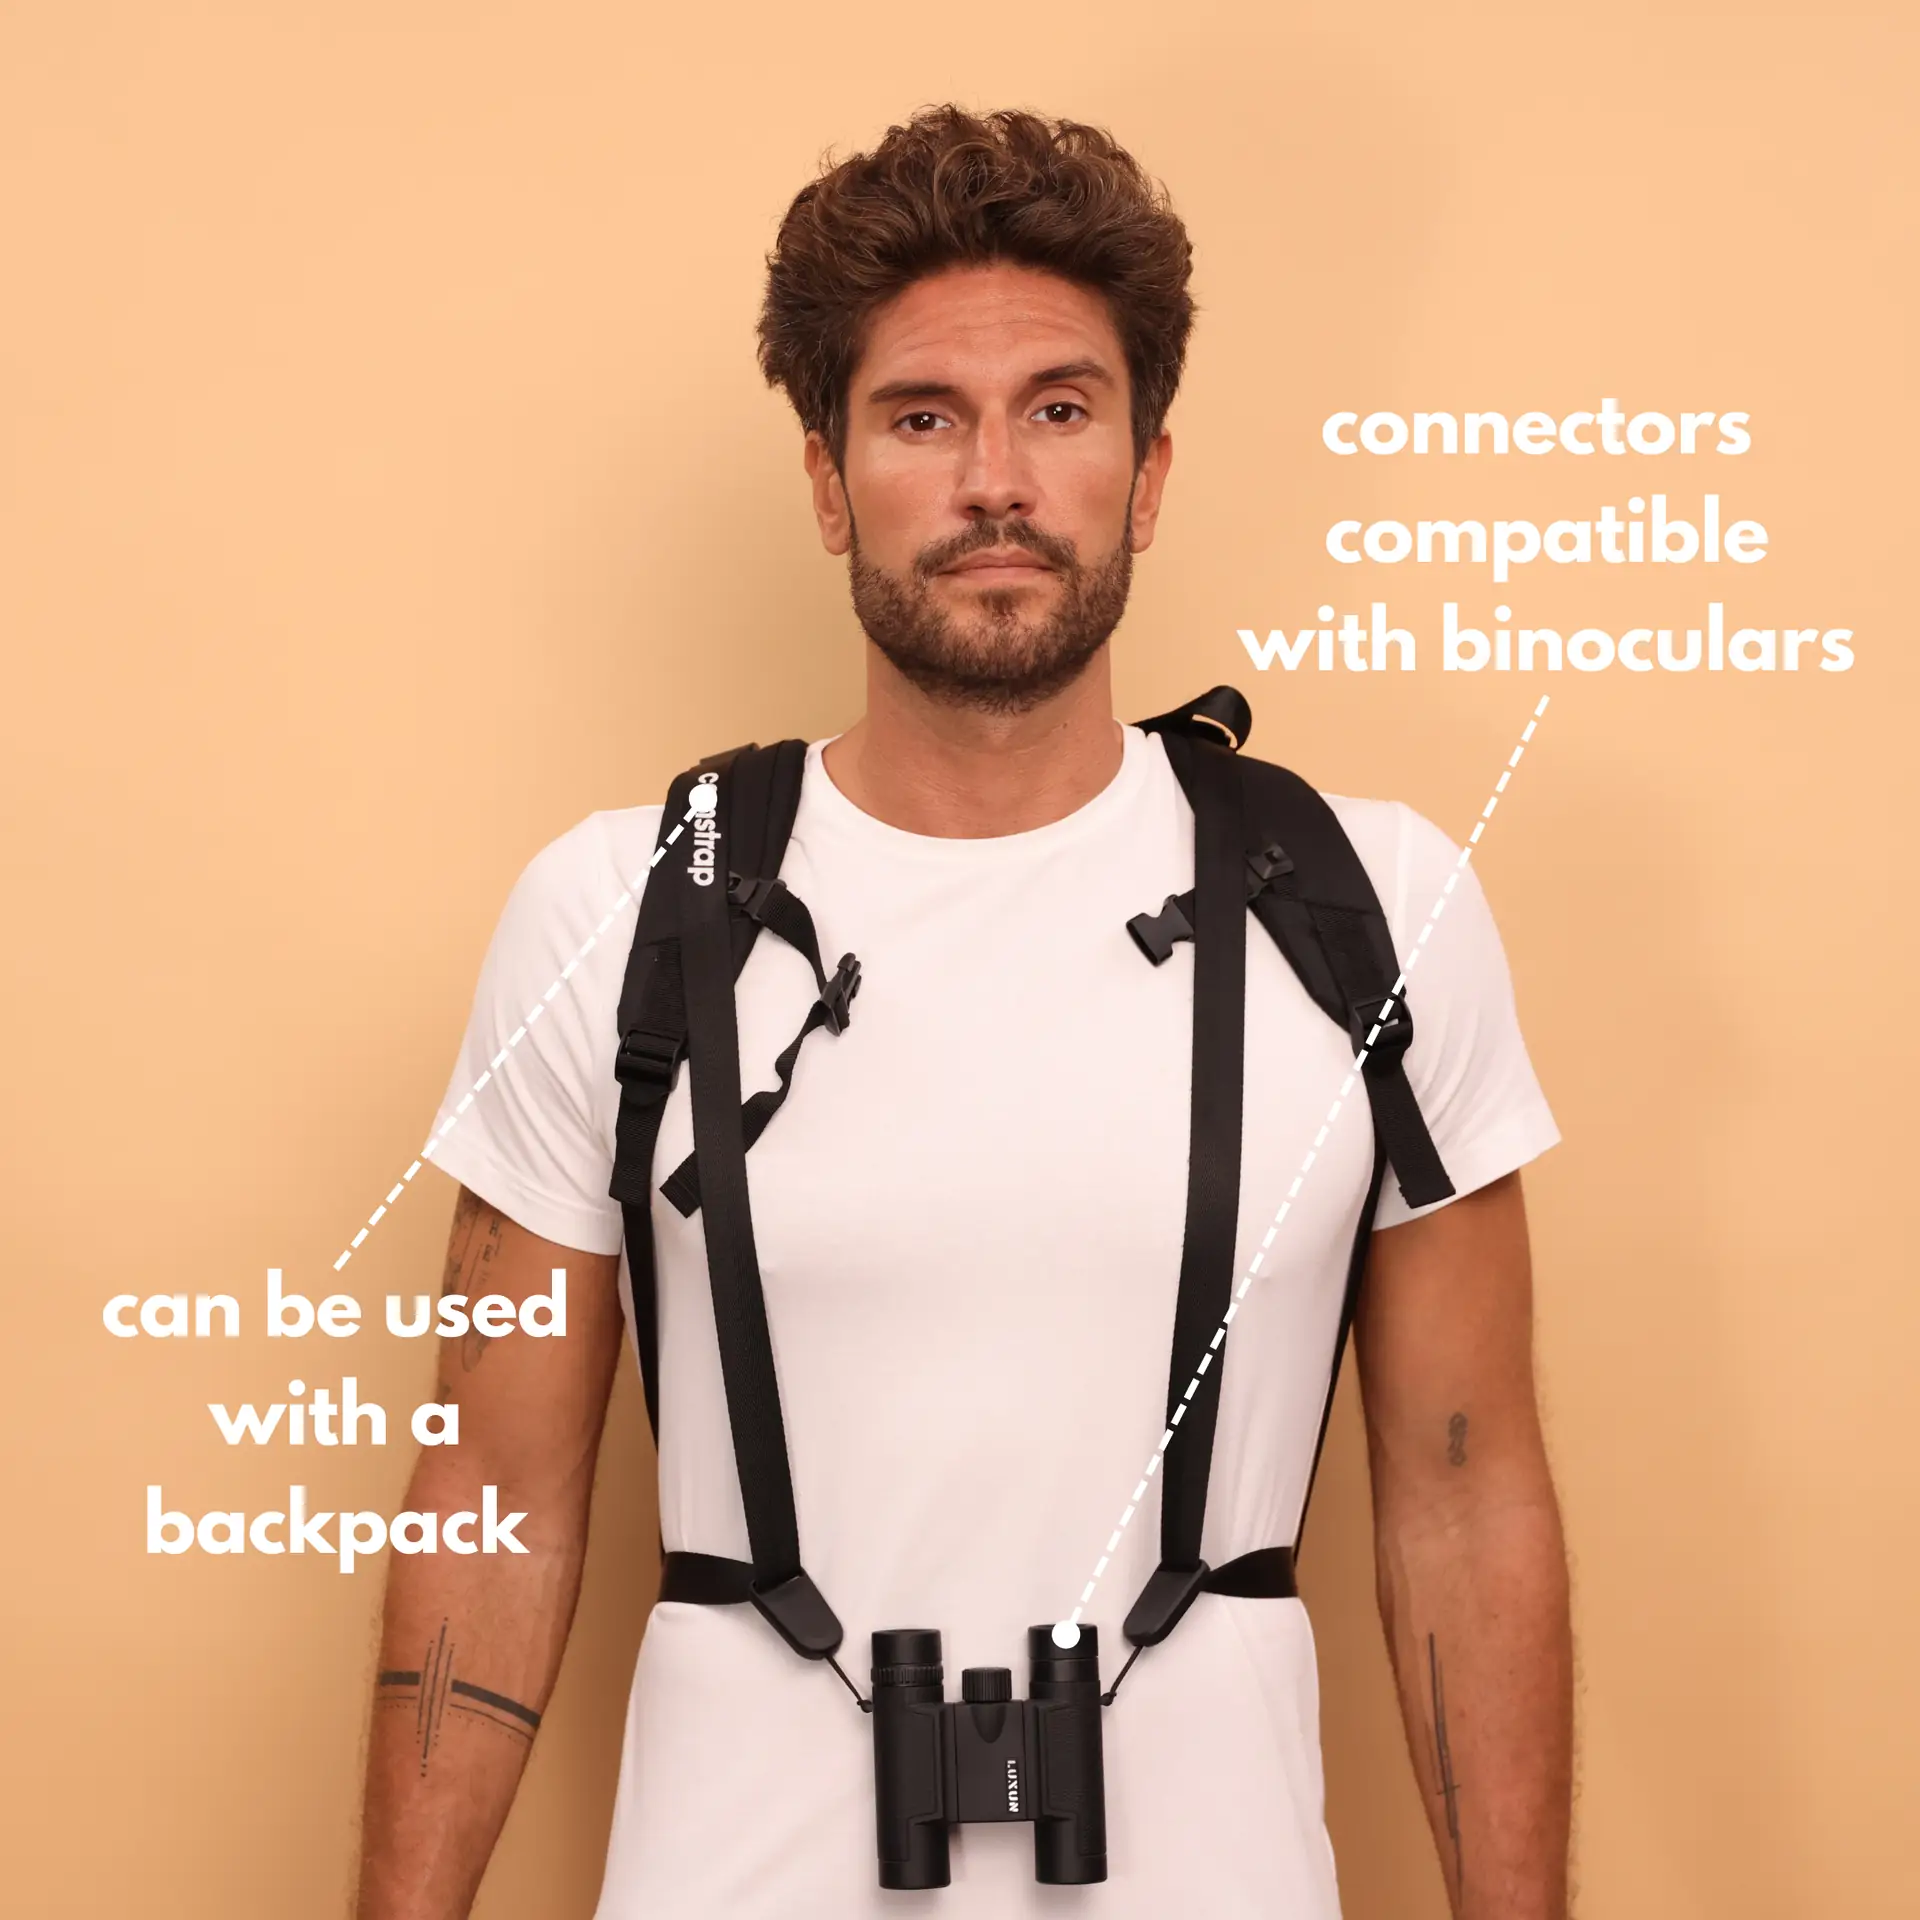
Protect your kit and stay safe while you shoot. Wear a secure strap like Camstrap Nomad on hikes and busy streets. Use the Camstrap MagClip for quick detach and safe reattach when you need it.
Back up photos each day and clean your lens often. Bring spare batteries and a small cleaning kit. For long exposures, bring a compact travel tripod or a small bean bag.
- If the subject is too blurry, raise shutter speed or tighten your pan.
- If the background is not smooth, slow the shutter or change angle.
- If the image is noisy, lower ISO and use noise reduction in edit.
- If highlights clip, underexpose slightly and brighten in edit later.
Practice drills to improve your cinematic shots
Do three quick drills while traveling. First, shoot a parked car at 1/4 and 1/15 second to see blur change. Second, pan with a cyclist at 1/60 and 1/30 second. Third, make a long exposure of a crowd at 1/2 second for ghosting effects.
These drills build muscle memory and show how your camera reacts in real light. They help you learn panning, long exposure, and ND filter use fast.
Putting It All Together: Workflow, Example, and Packing for cinematic Motion-Blur Stills
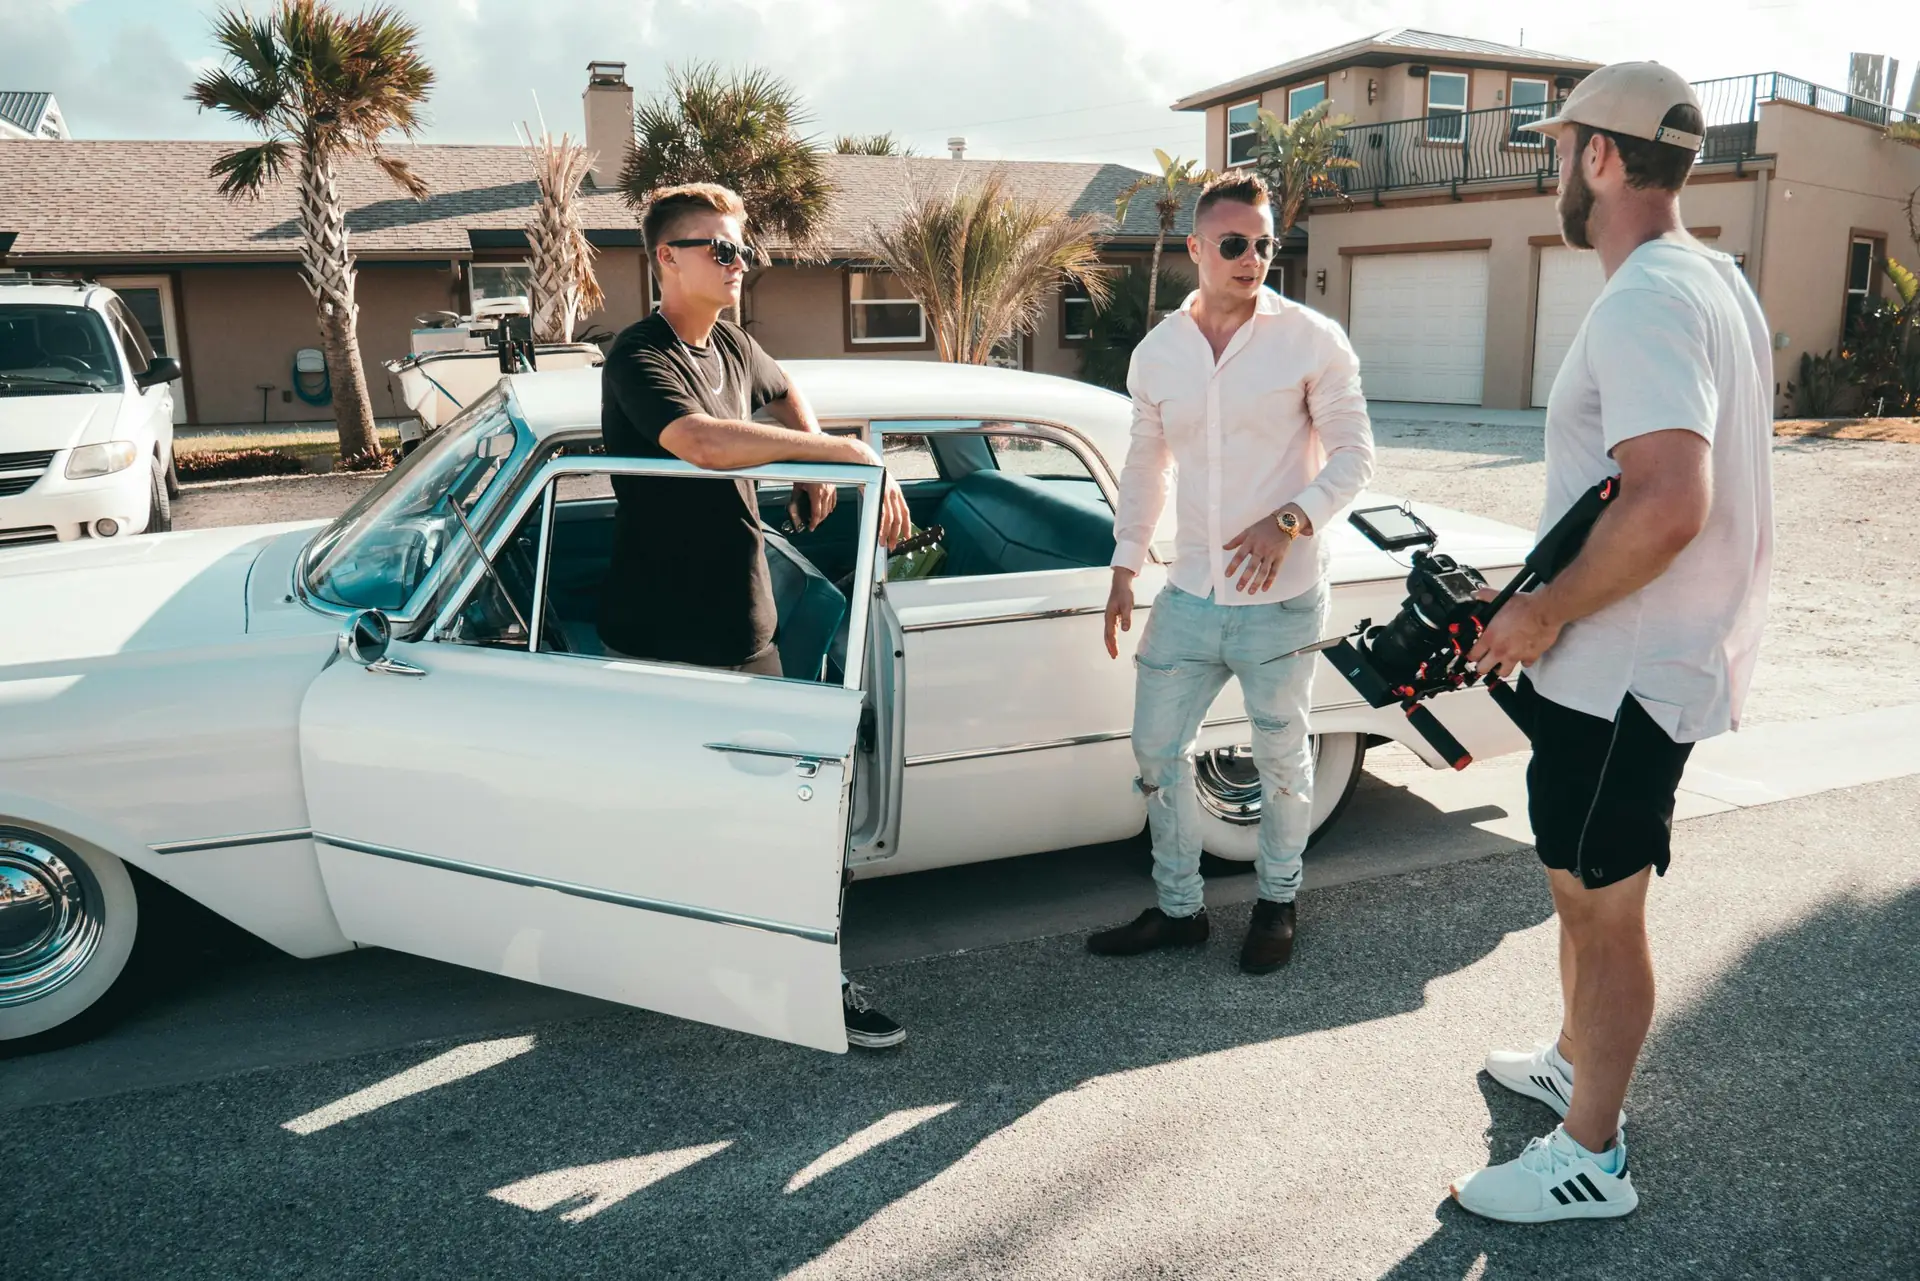
On a street shoot, find moving subjects and a clear background. Mount your camera on a travel tripod or go handheld with a Camstrap Explorer. Set shutter, aperture, and ISO for the motion and light.
Shoot test frames and adjust. Use panning for a sharp subject and streaked background. Use long static exposure for ghosted people and light trails. Edit with a film grade to keep the cinematic mood.
Example travel scenario
Imagine a coastal ferry at sunset. You want the boat sharp and the water blurred. Mount your camera on a tripod, set shutter to 1/4 second, and add ND to tame light.
Keep ISO low and pick aperture for depth of field. Clip the camera to a strap for safety and take several frames while varying pan speed. Then edit to warm highlights and cool shadows for a cinematic finish.
Conclusion: Master cinematic Motion-Blur Stills on Your Next Trip
Cinematic motion-blur stills give your travel photos mood and story. Use the steps here to plan, shoot, and edit on the road. Keep the subject clear, control the blur, and color grade for a film look.
Practice panning and long exposures often. Pack small, solid gear like Camstrap Voyager, Camstrap Explorer, Camstrap Nomad, and the Camstrap MagClip. These tools help you shoot fast and keep your camera safe.
Keep testing shutter speeds and pan moves, and save your best work. With steady practice, your travel photos will start to look like cinematic movie stills.


