


- Lock focus on the eye or face to make wildlife portraits feel alive.
- Track the seven pose points—eyes, head, ears, shoulders, hips, feet, tail—for cleaner, balanced frames.
- Study behavior first so you can pre-focus where the action will happen.
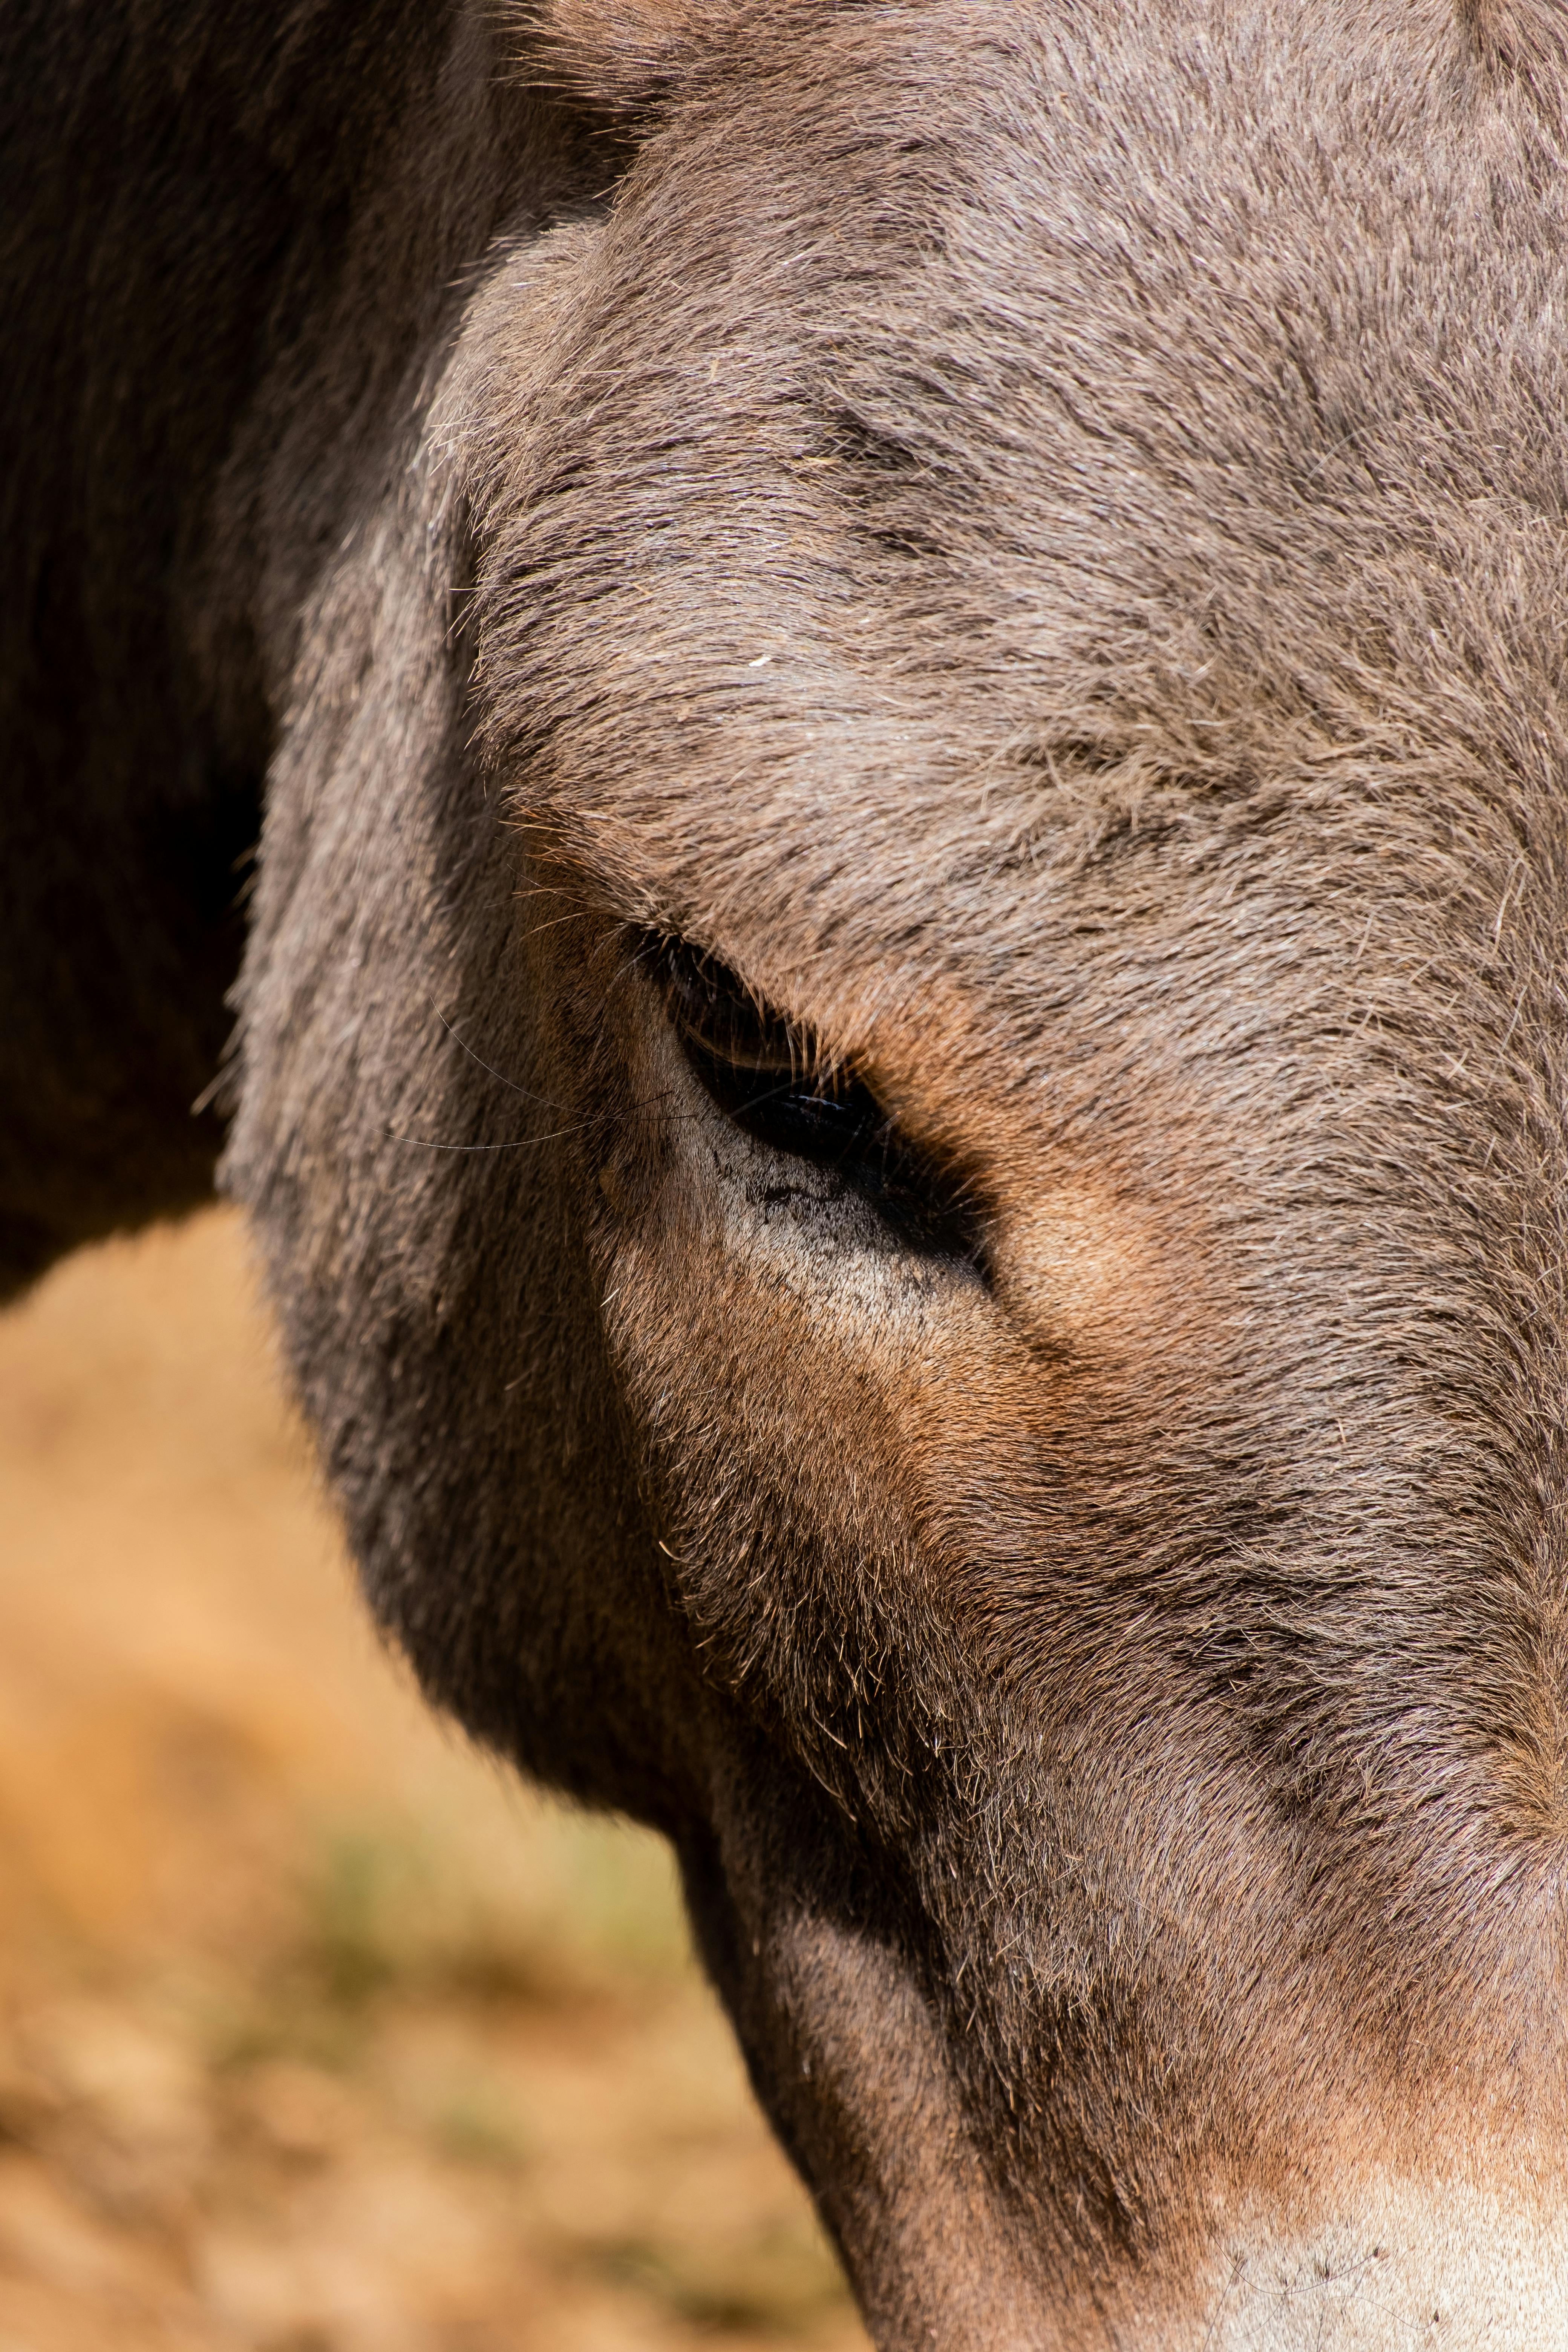
Focal point photography puts the viewer’s eye on the most important part of a scene, usually the subject’s face or eye. In wildlife work, that choice starts before the shutter clicks, because animal behavior shows you where attention will land. Watch first, then shoot. Learn an animal’s patterns and you can time the frame, place focus on the right spot, and skip rushed guesses.
Shop the setup

- Regular price
-
€42 - Regular price
-
€44 - Sale price
-
€42
By choosing the Camstrap strap, you are opting for a high-quality product designed to meet the needs of the most demanding photographers.
- Developed by a physiotherapist to relieve neck and back pain.
- Fast delivery with tracking by the Post Office 🚚
- Can be used as a shoulder strap or hands-free harness

- Regular price
-
€36 - Regular price
-
€42 - Sale price
-
€36
Free shipping included
What is the focal point in photography?
The focal point is the part of an image that catches attention first. In wildlife, it is often the eye, face, or head, since people read living subjects through those details quickly.
Out in the field, light, pose, and behavior decide the focal point. A clear eye often wins because it feels alive.
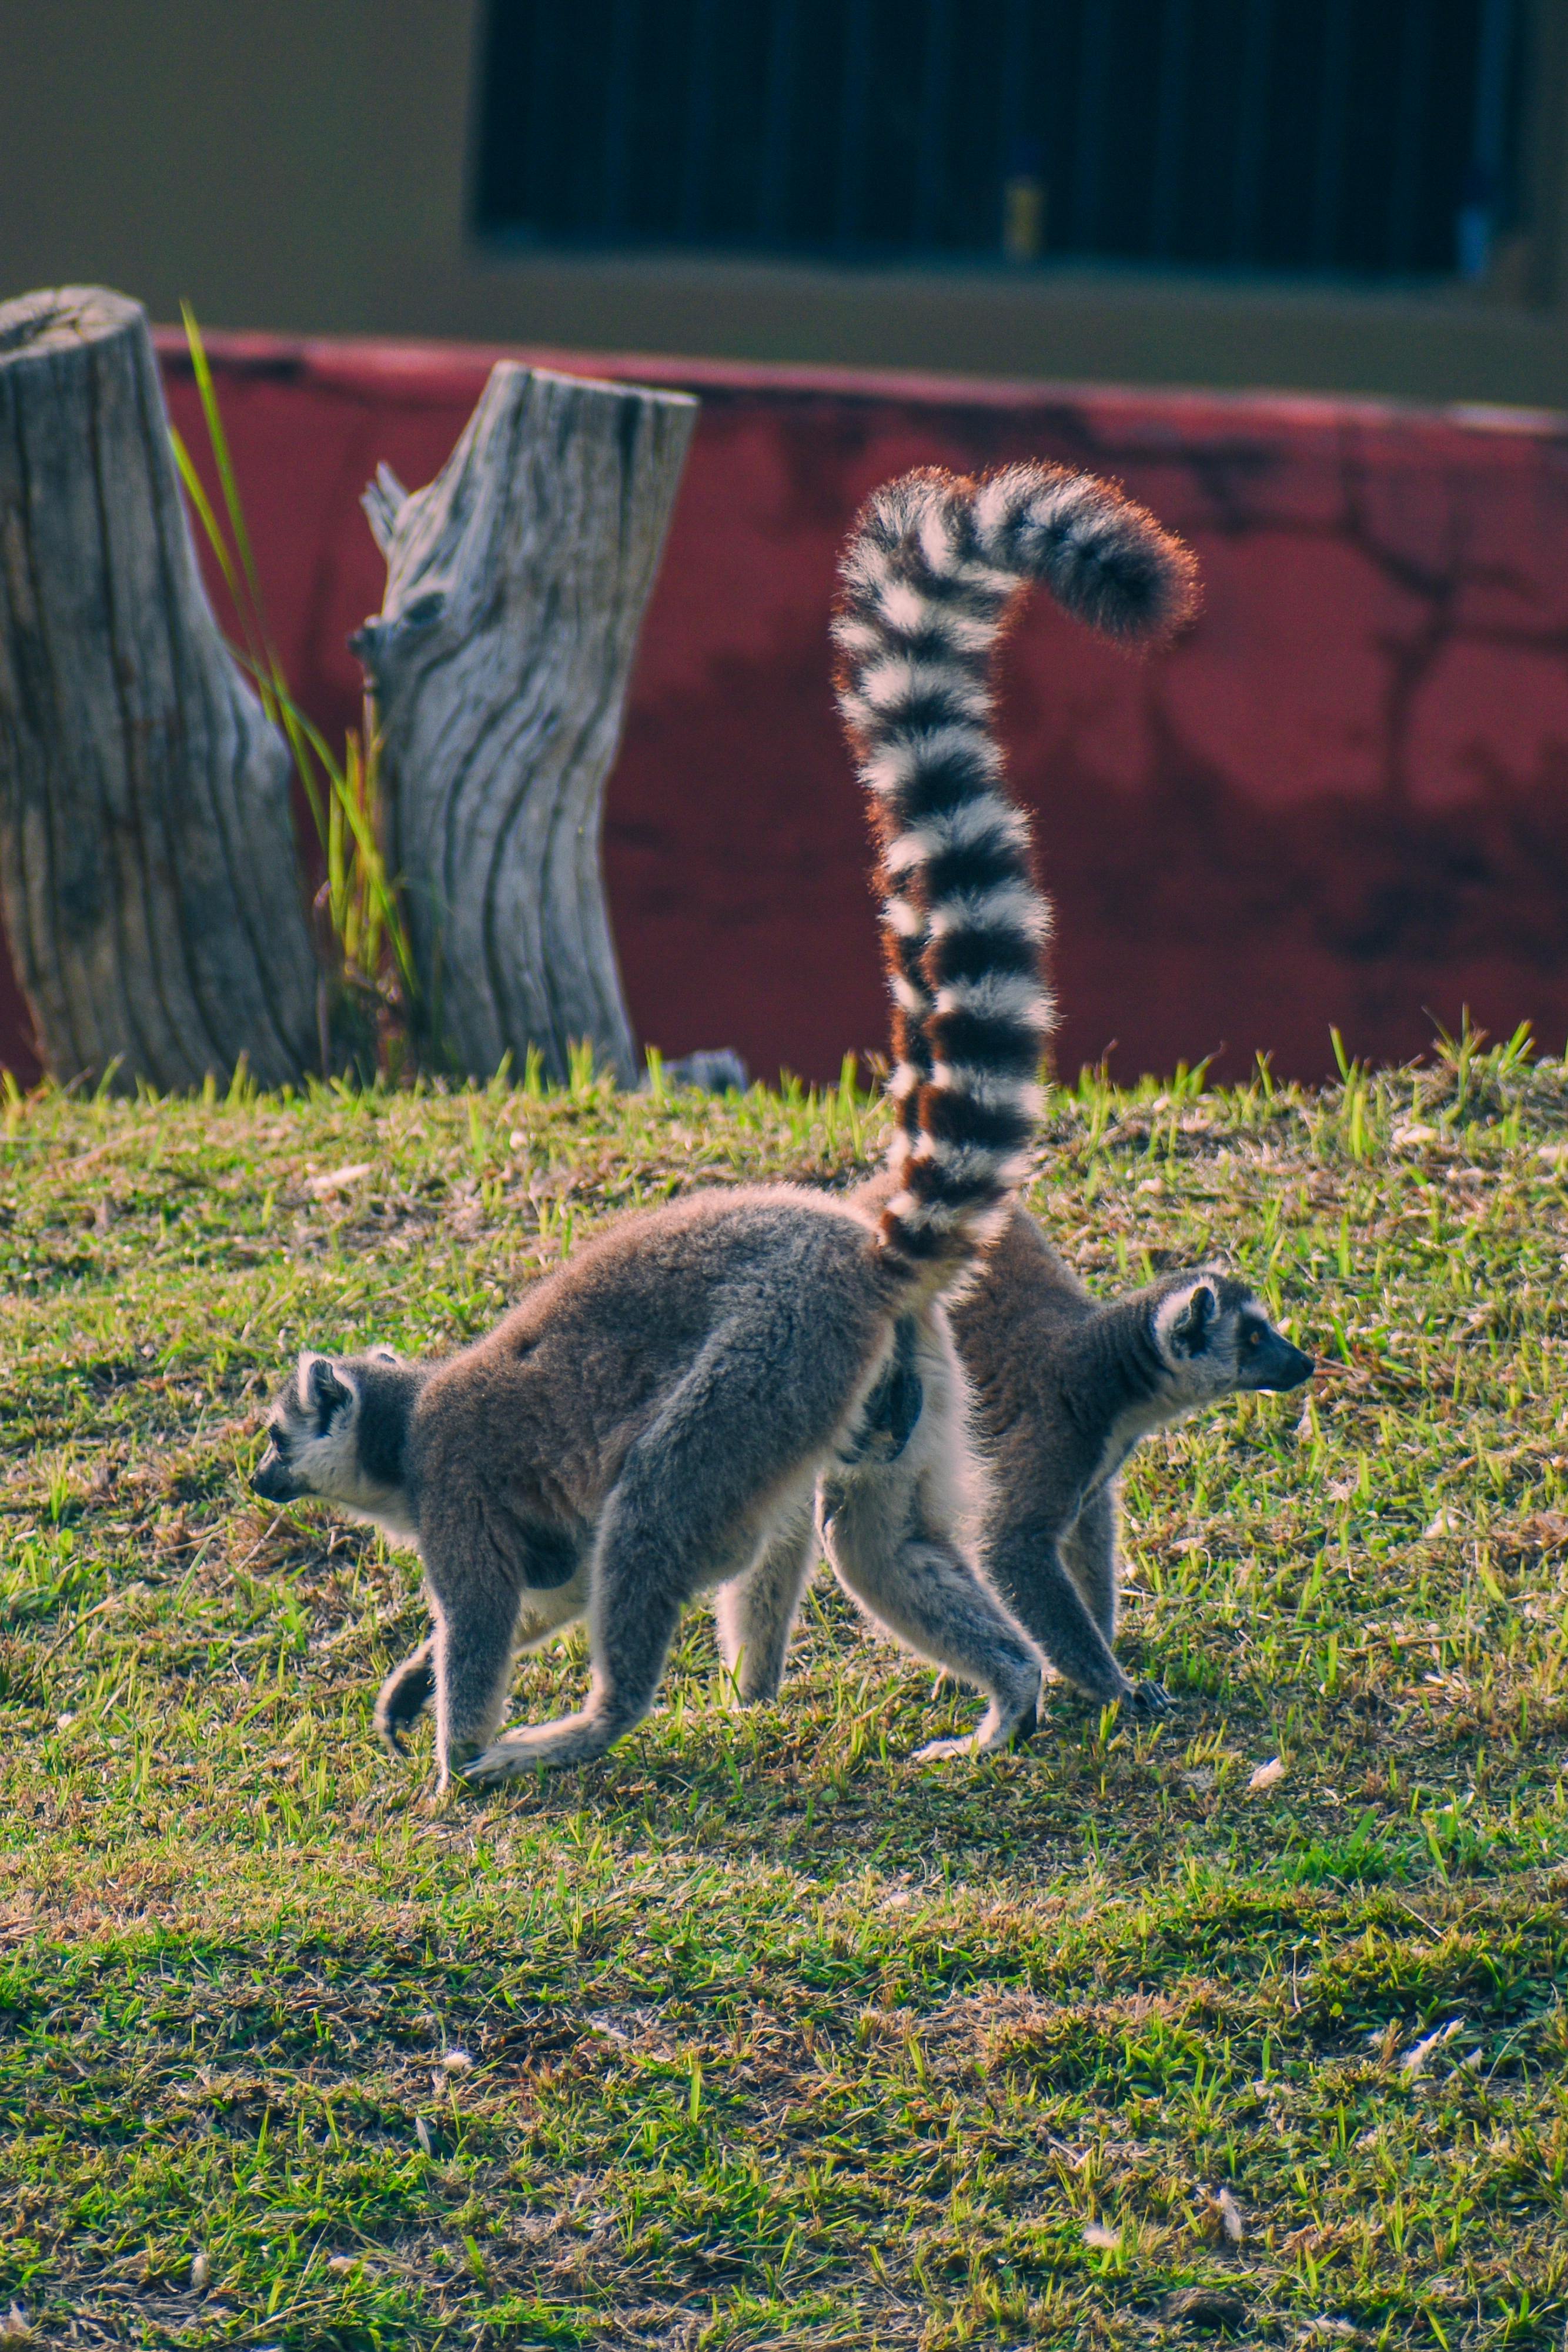
Why the eye carries the frame
The eye gives a portrait its link to the viewer. When it stays sharp, the whole photo feels stronger, even if the rest softens. Many wildlife guides point to a single focus point on the eye or face when the animal is still. That small change can improve sharpness right where it counts.
Reading movement before you lift the camera
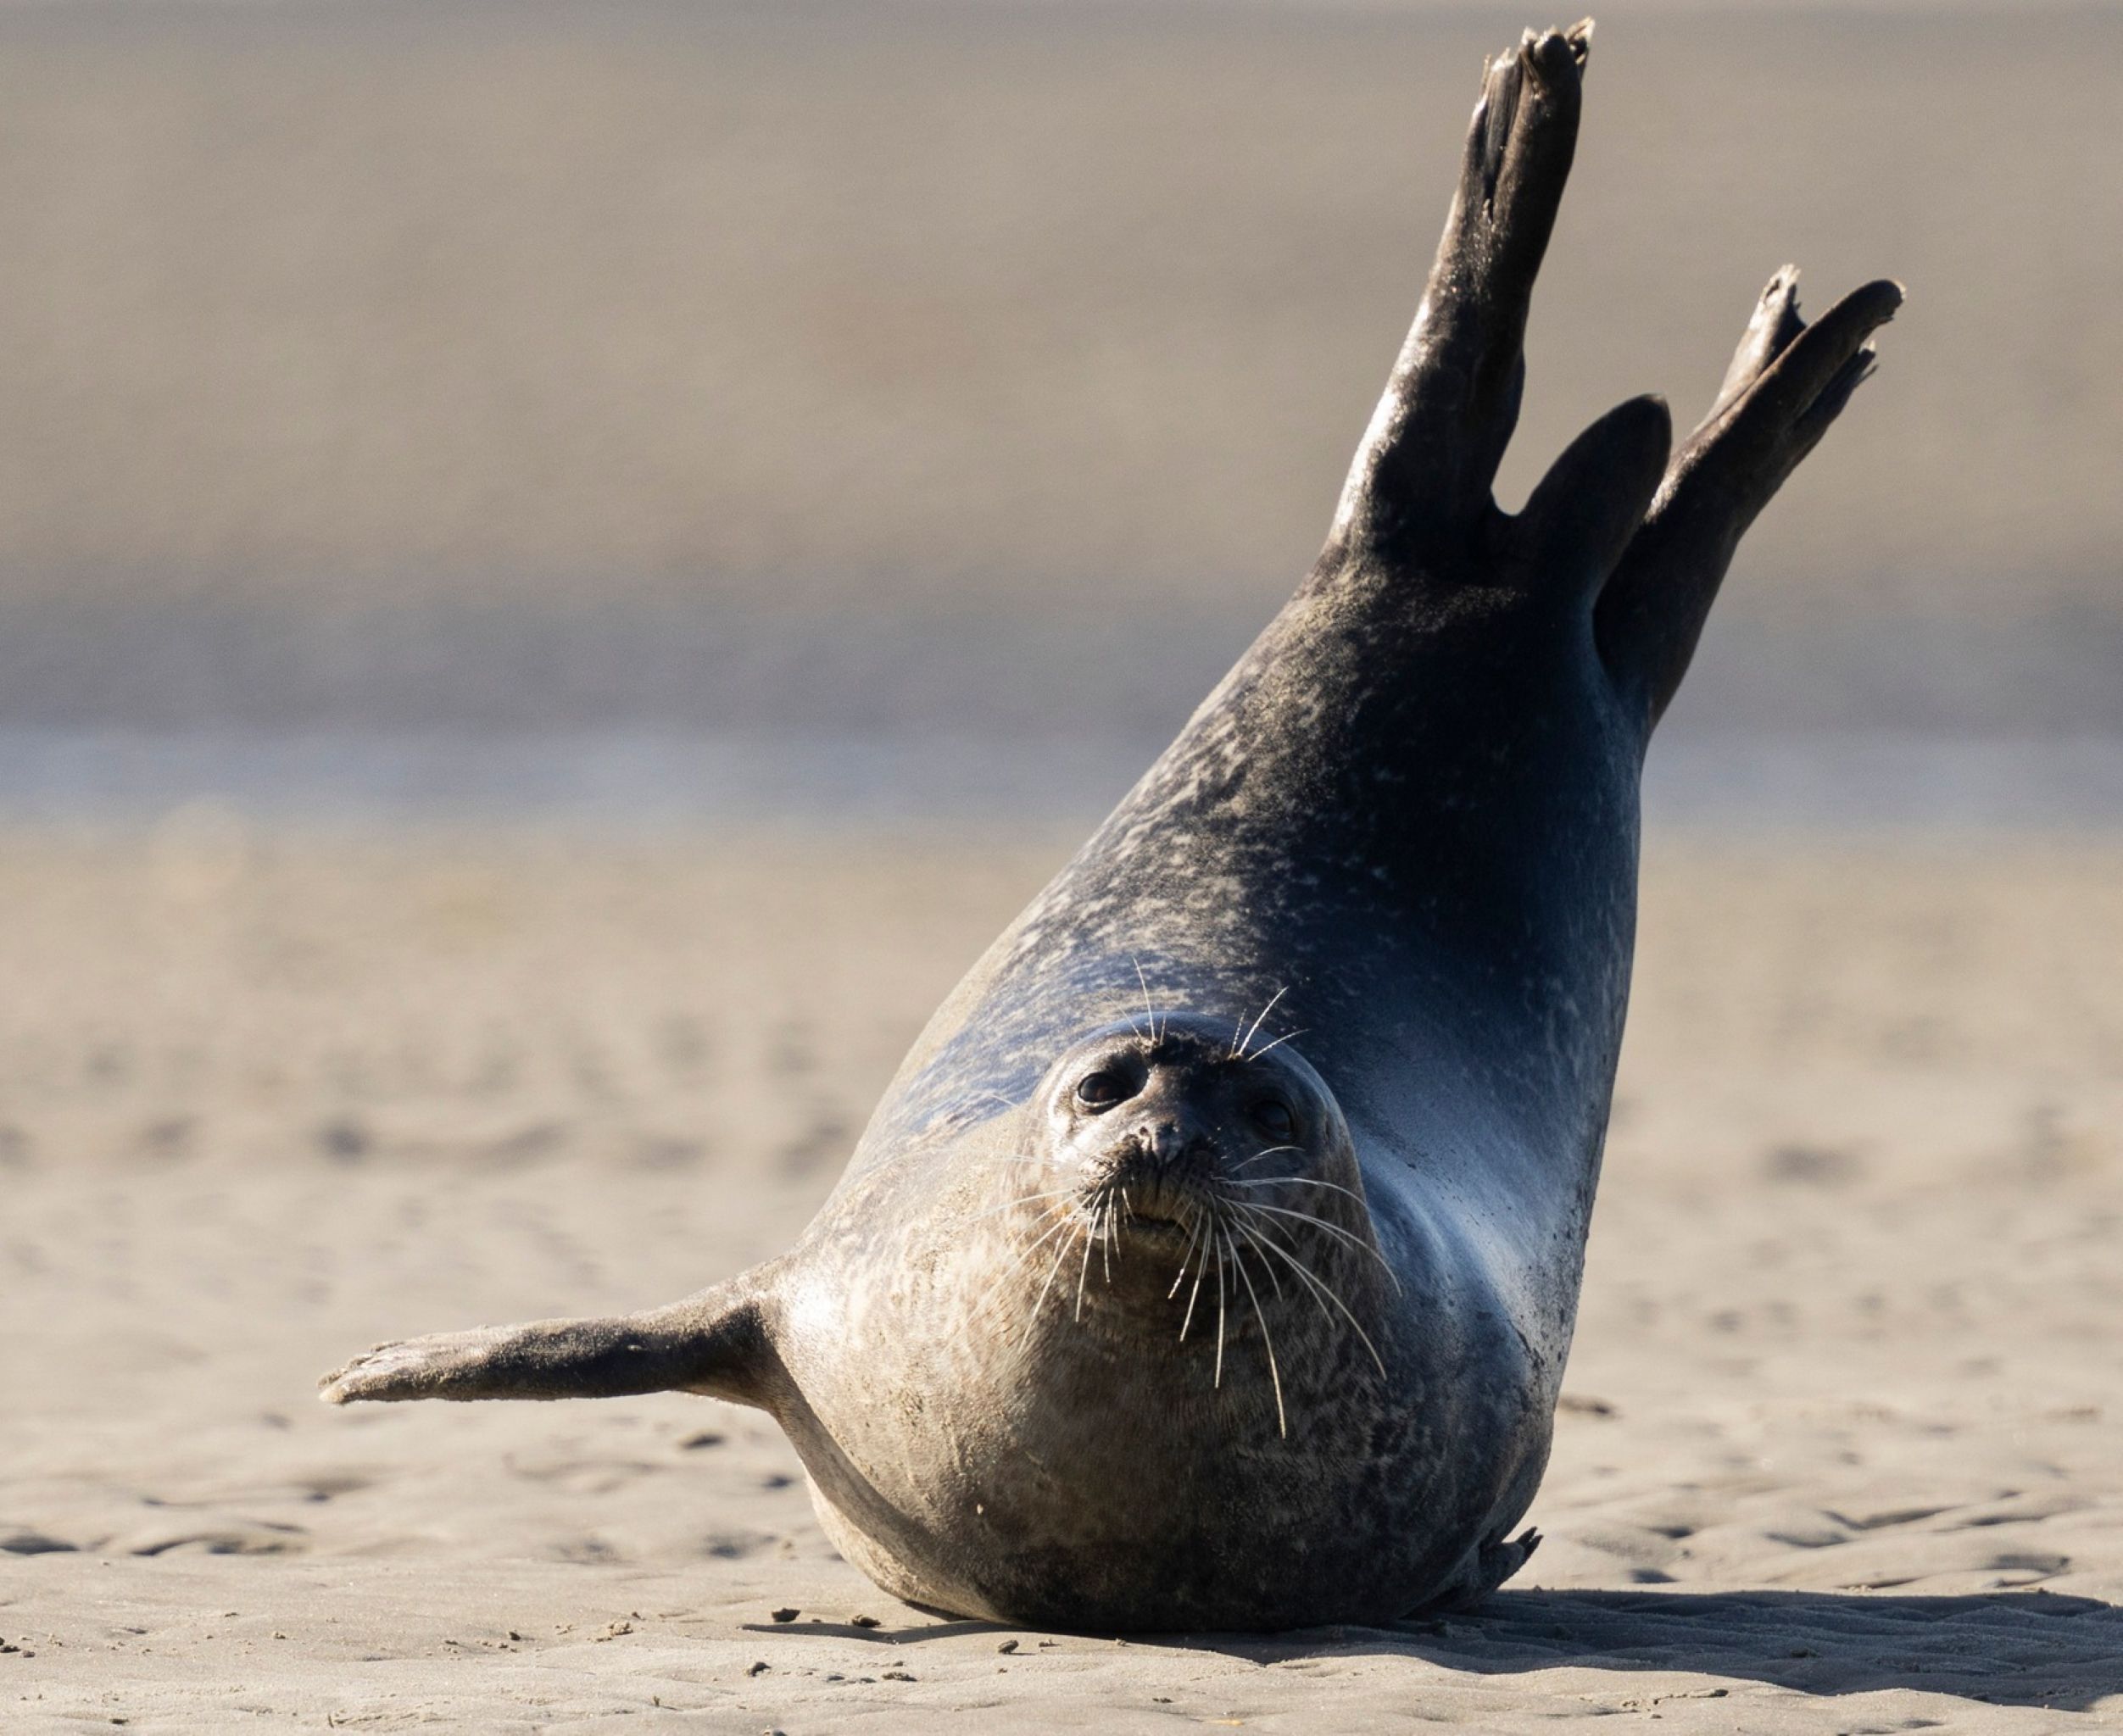
Animal behavior gives away the next moment if you watch closely enough. A head turn, a pause, a tail flick, or a shift in stance can signal that action is coming.
Routes and repeat moves matter as well. Birds often return to the same perch, deer often pause at the edge of cover, and shore birds often feed in short cycles.
What to look for first
- Head angle changes that signal alertness.
- Repeated pauses before a leap, stretch, or turn.
- Ear, tail, or wing movement that shows rising tension.
- Fixed paths between food, water, shade, or shelter.
These clues help you pre-focus on the likely spot. They also help you choose where to stand, which cuts down on late reactions. Once the animal settles into a pattern, the work gets easier. You stop chasing motion and start waiting for the frame to happen in front of you.
What are the 7 posing points?
The 7 posing points are the main parts of a subject that shape a strong pose in a photo. For wildlife, they usually include the eyes, head, ears, shoulders, hips, feet, and tail or wings.
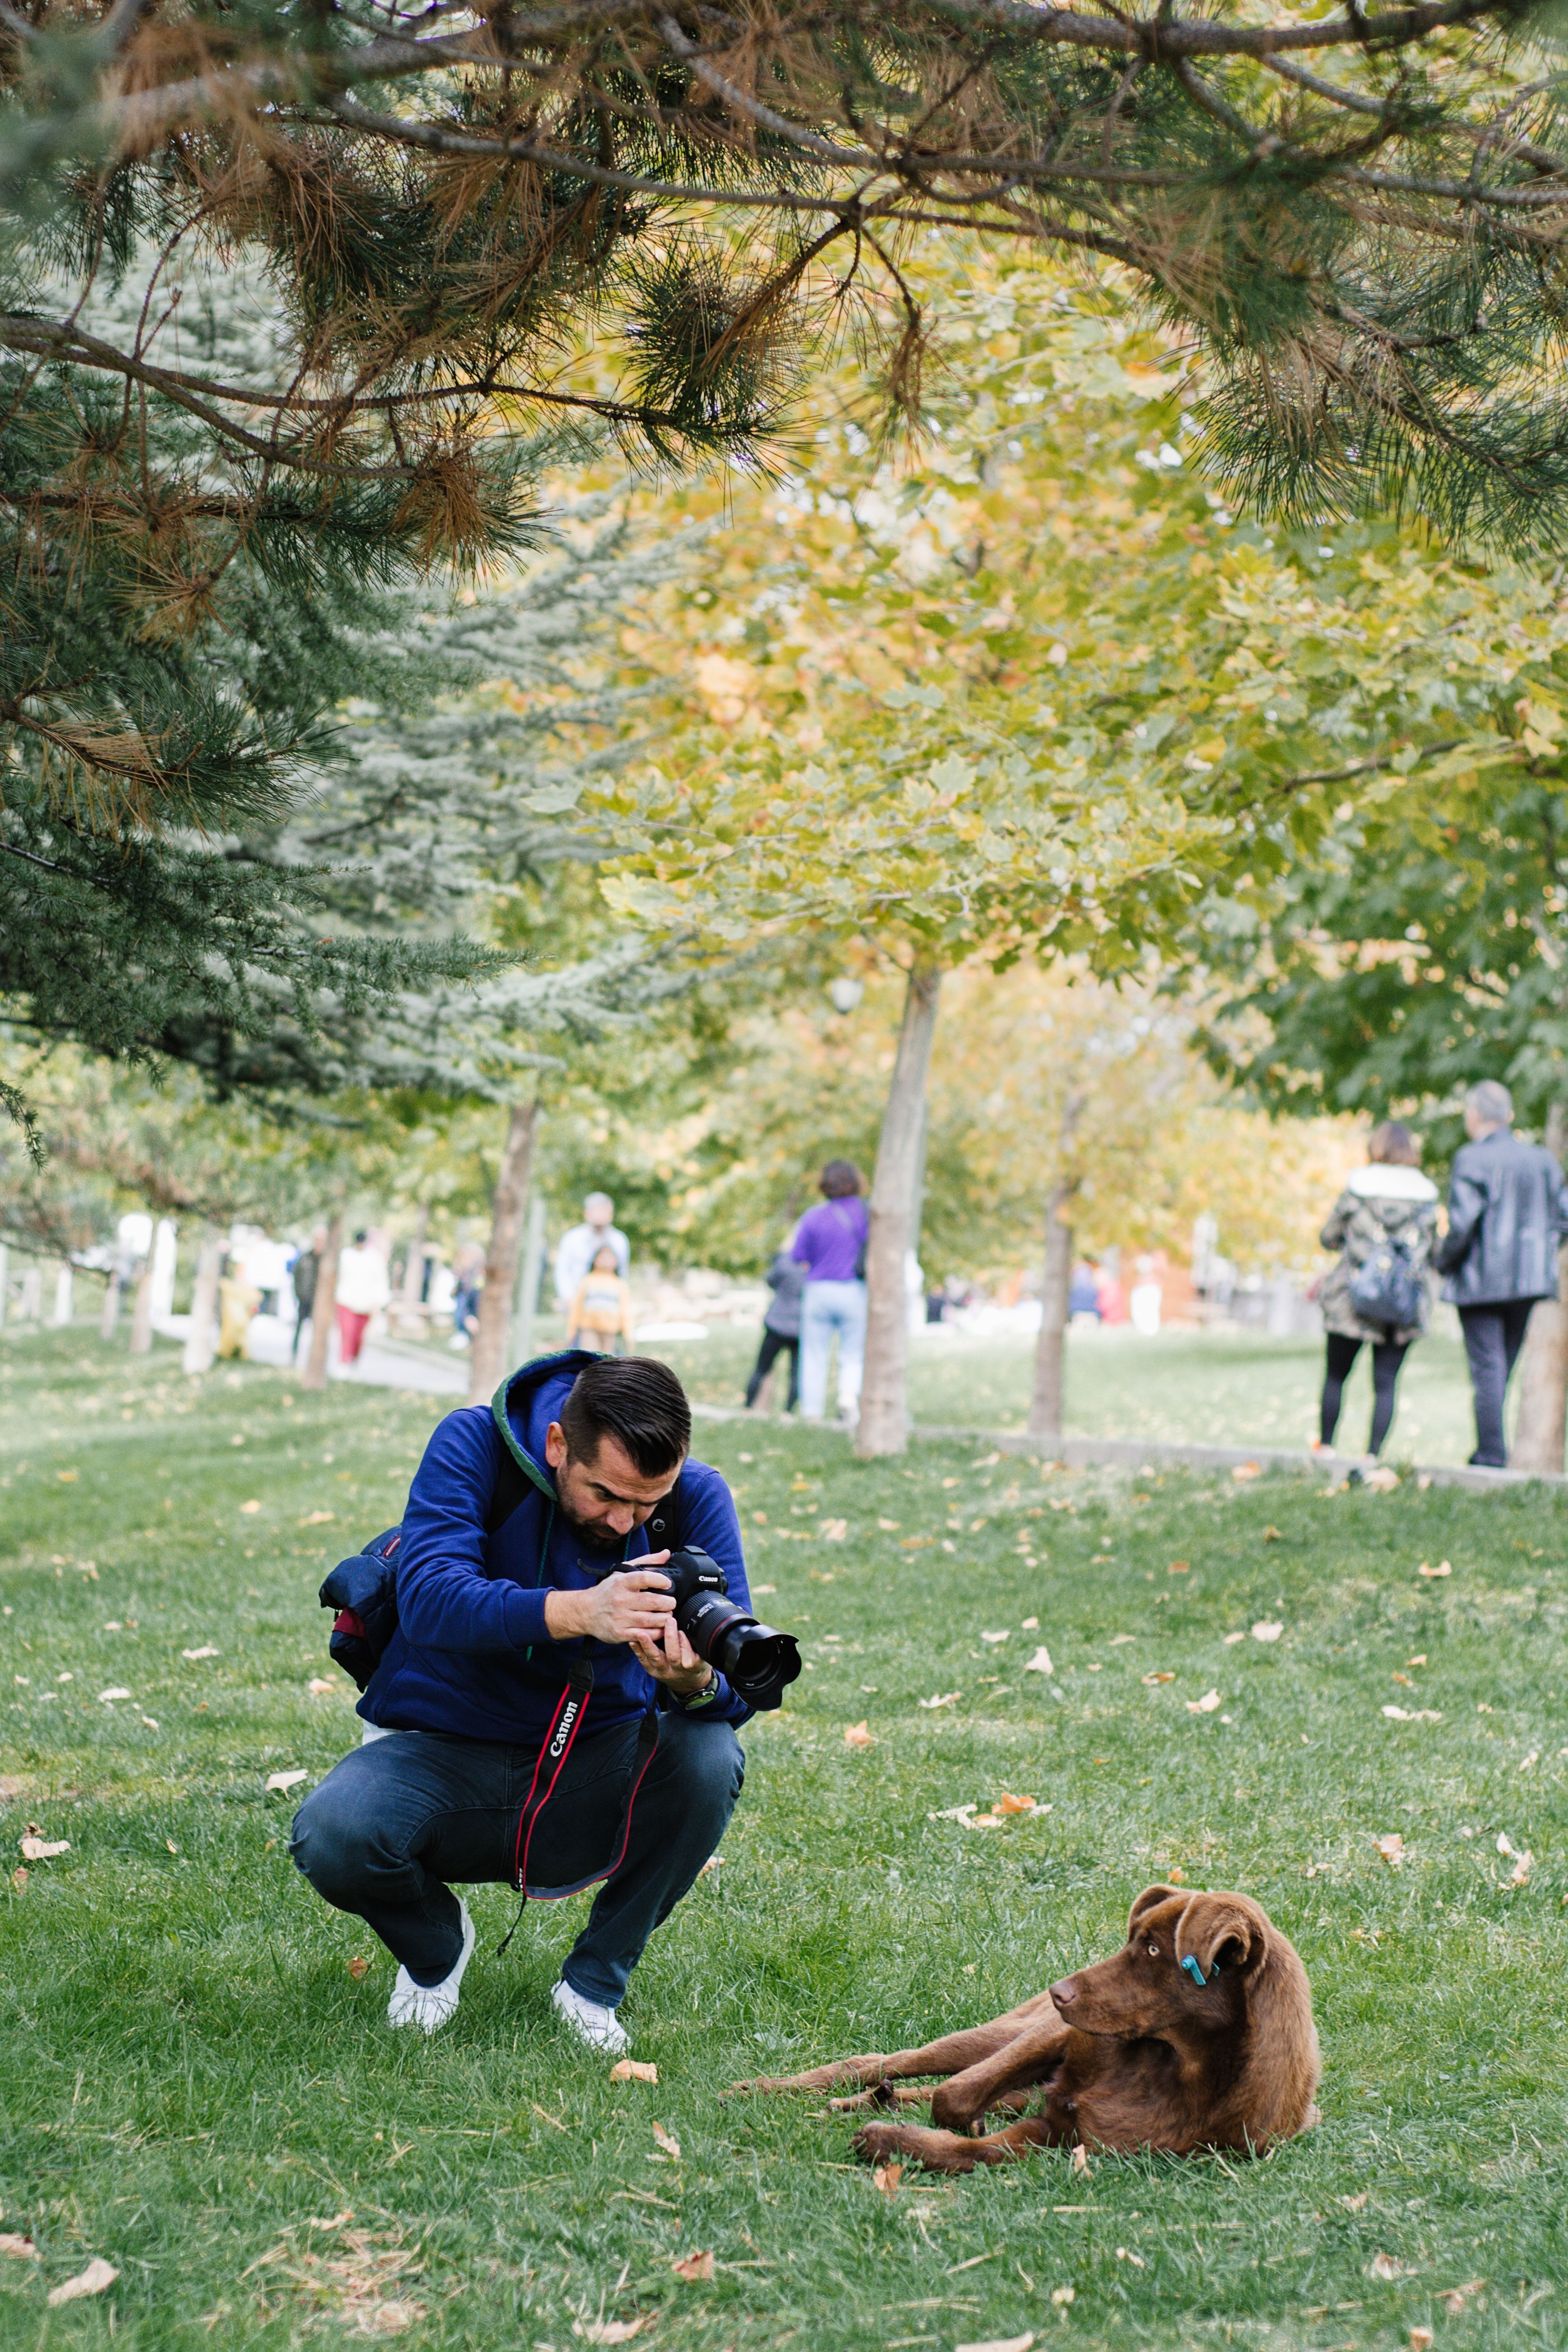
Those points work like a pose map. If several line up well, the body looks natural and balanced.
How pose points shape a wildlife frame
The eyes lead the viewer. The head gives direction, while the ears, feet, and tail show mood and motion. An alert fox with forward ears and a lifted head reads very differently from one with relaxed ears and a turned body. Those small signs tell you when to raise the camera and when to wait.
Eye level, space, and the frame that feels alive
For wildlife portraits, camera height changes everything. Placing the lens at the animal’s eye level creates a closer, more intimate view.

This angle also removes the “look-down” feel that can flatten a subject. The viewer meets the animal face to face.
Use the body to guide composition
Look at the animal’s line of sight, then leave space in front of it. That space gives the subject room to move and makes the frame feel calmer. A wider lens can work for nearby animals, but 50mm to 85mm often suits portraits, while longer lenses help when distance matters. A 400mm lens still needs good support, and the old reciprocal rule points to at least 1/400s to cut blur.
Hands-free carry can matter here. A strap like the Camstrap voyager keeps the camera ready without digging through a bag when wildlife appears fast.
What is the purpose of a focal point?
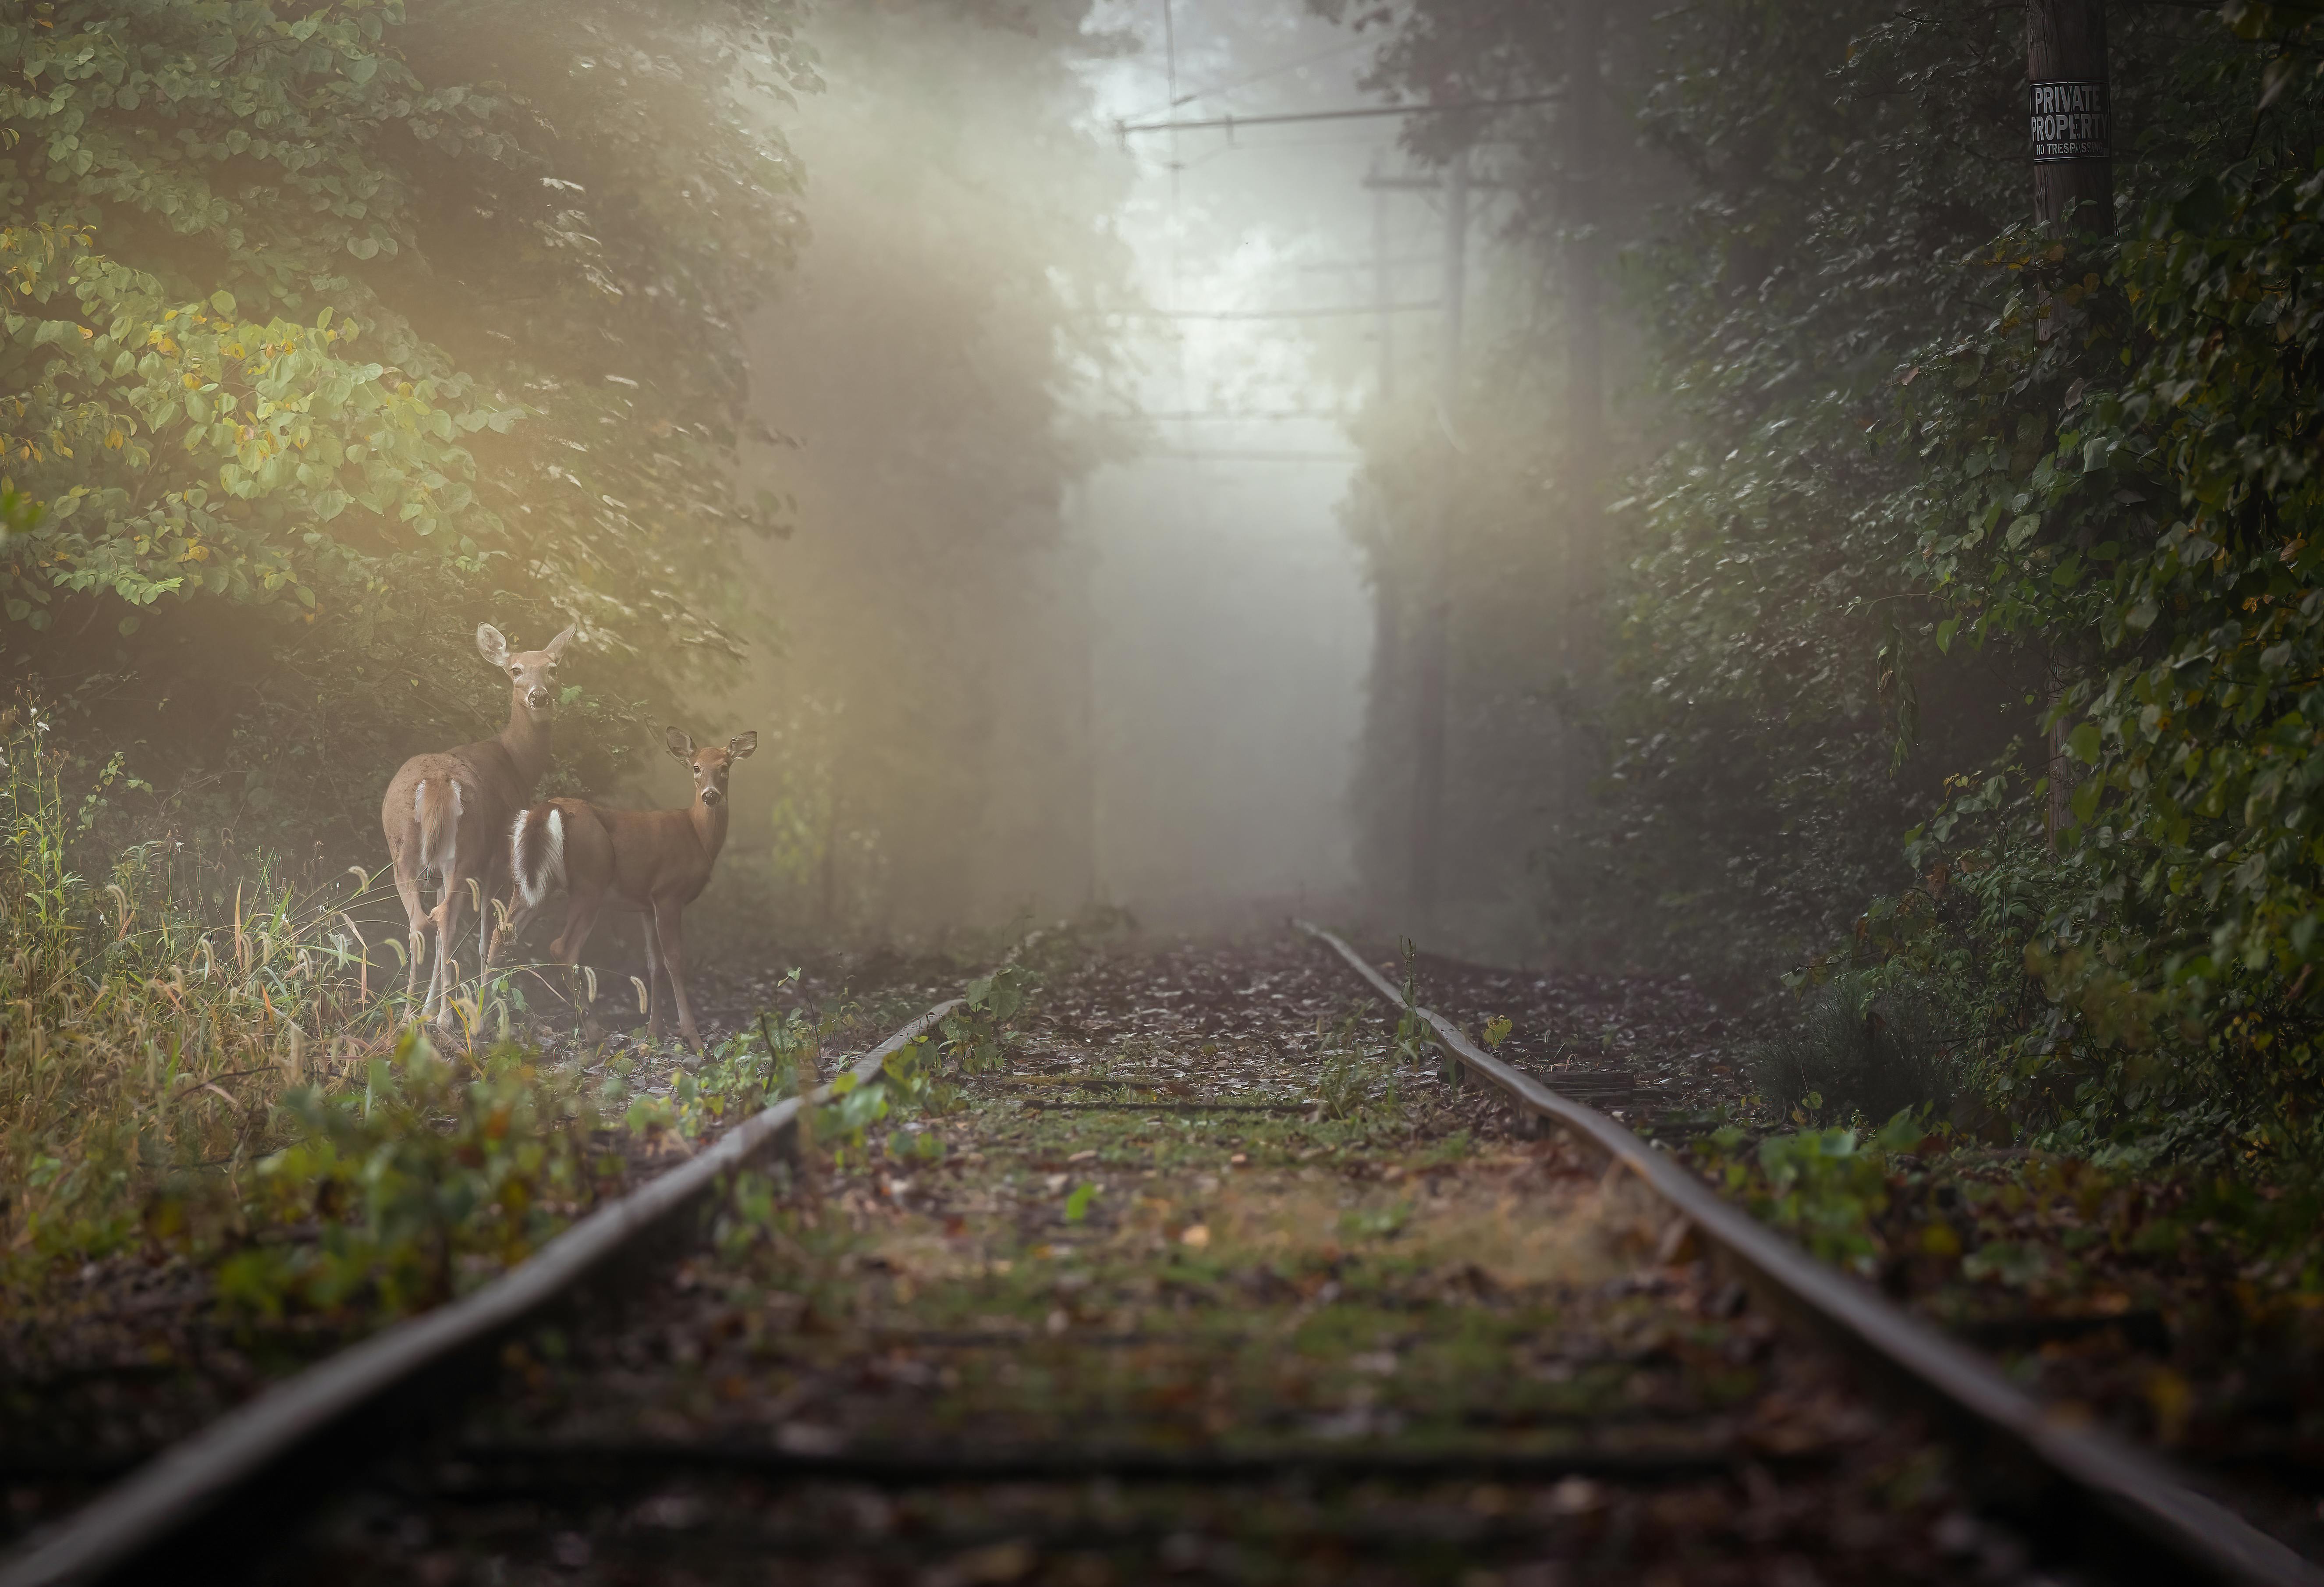
The purpose of a focal point is to steer the viewer’s eye to the most important part of the photo. In wildlife, that usually means the face, eye, or action that tells the story.
It also gives the frame order. Without a clear point, the background can steal attention and weaken the image.
How purpose changes your setup
Once you know what the photo should say, your camera choices get simpler. You choose the shutter speed, aperture, and focus mode that protect that one main idea. Wide apertures such as f/2.8, f/4, or f/5.6 work so well because they blur busy backgrounds and keep the eye in front.
Settings that match moving wildlife
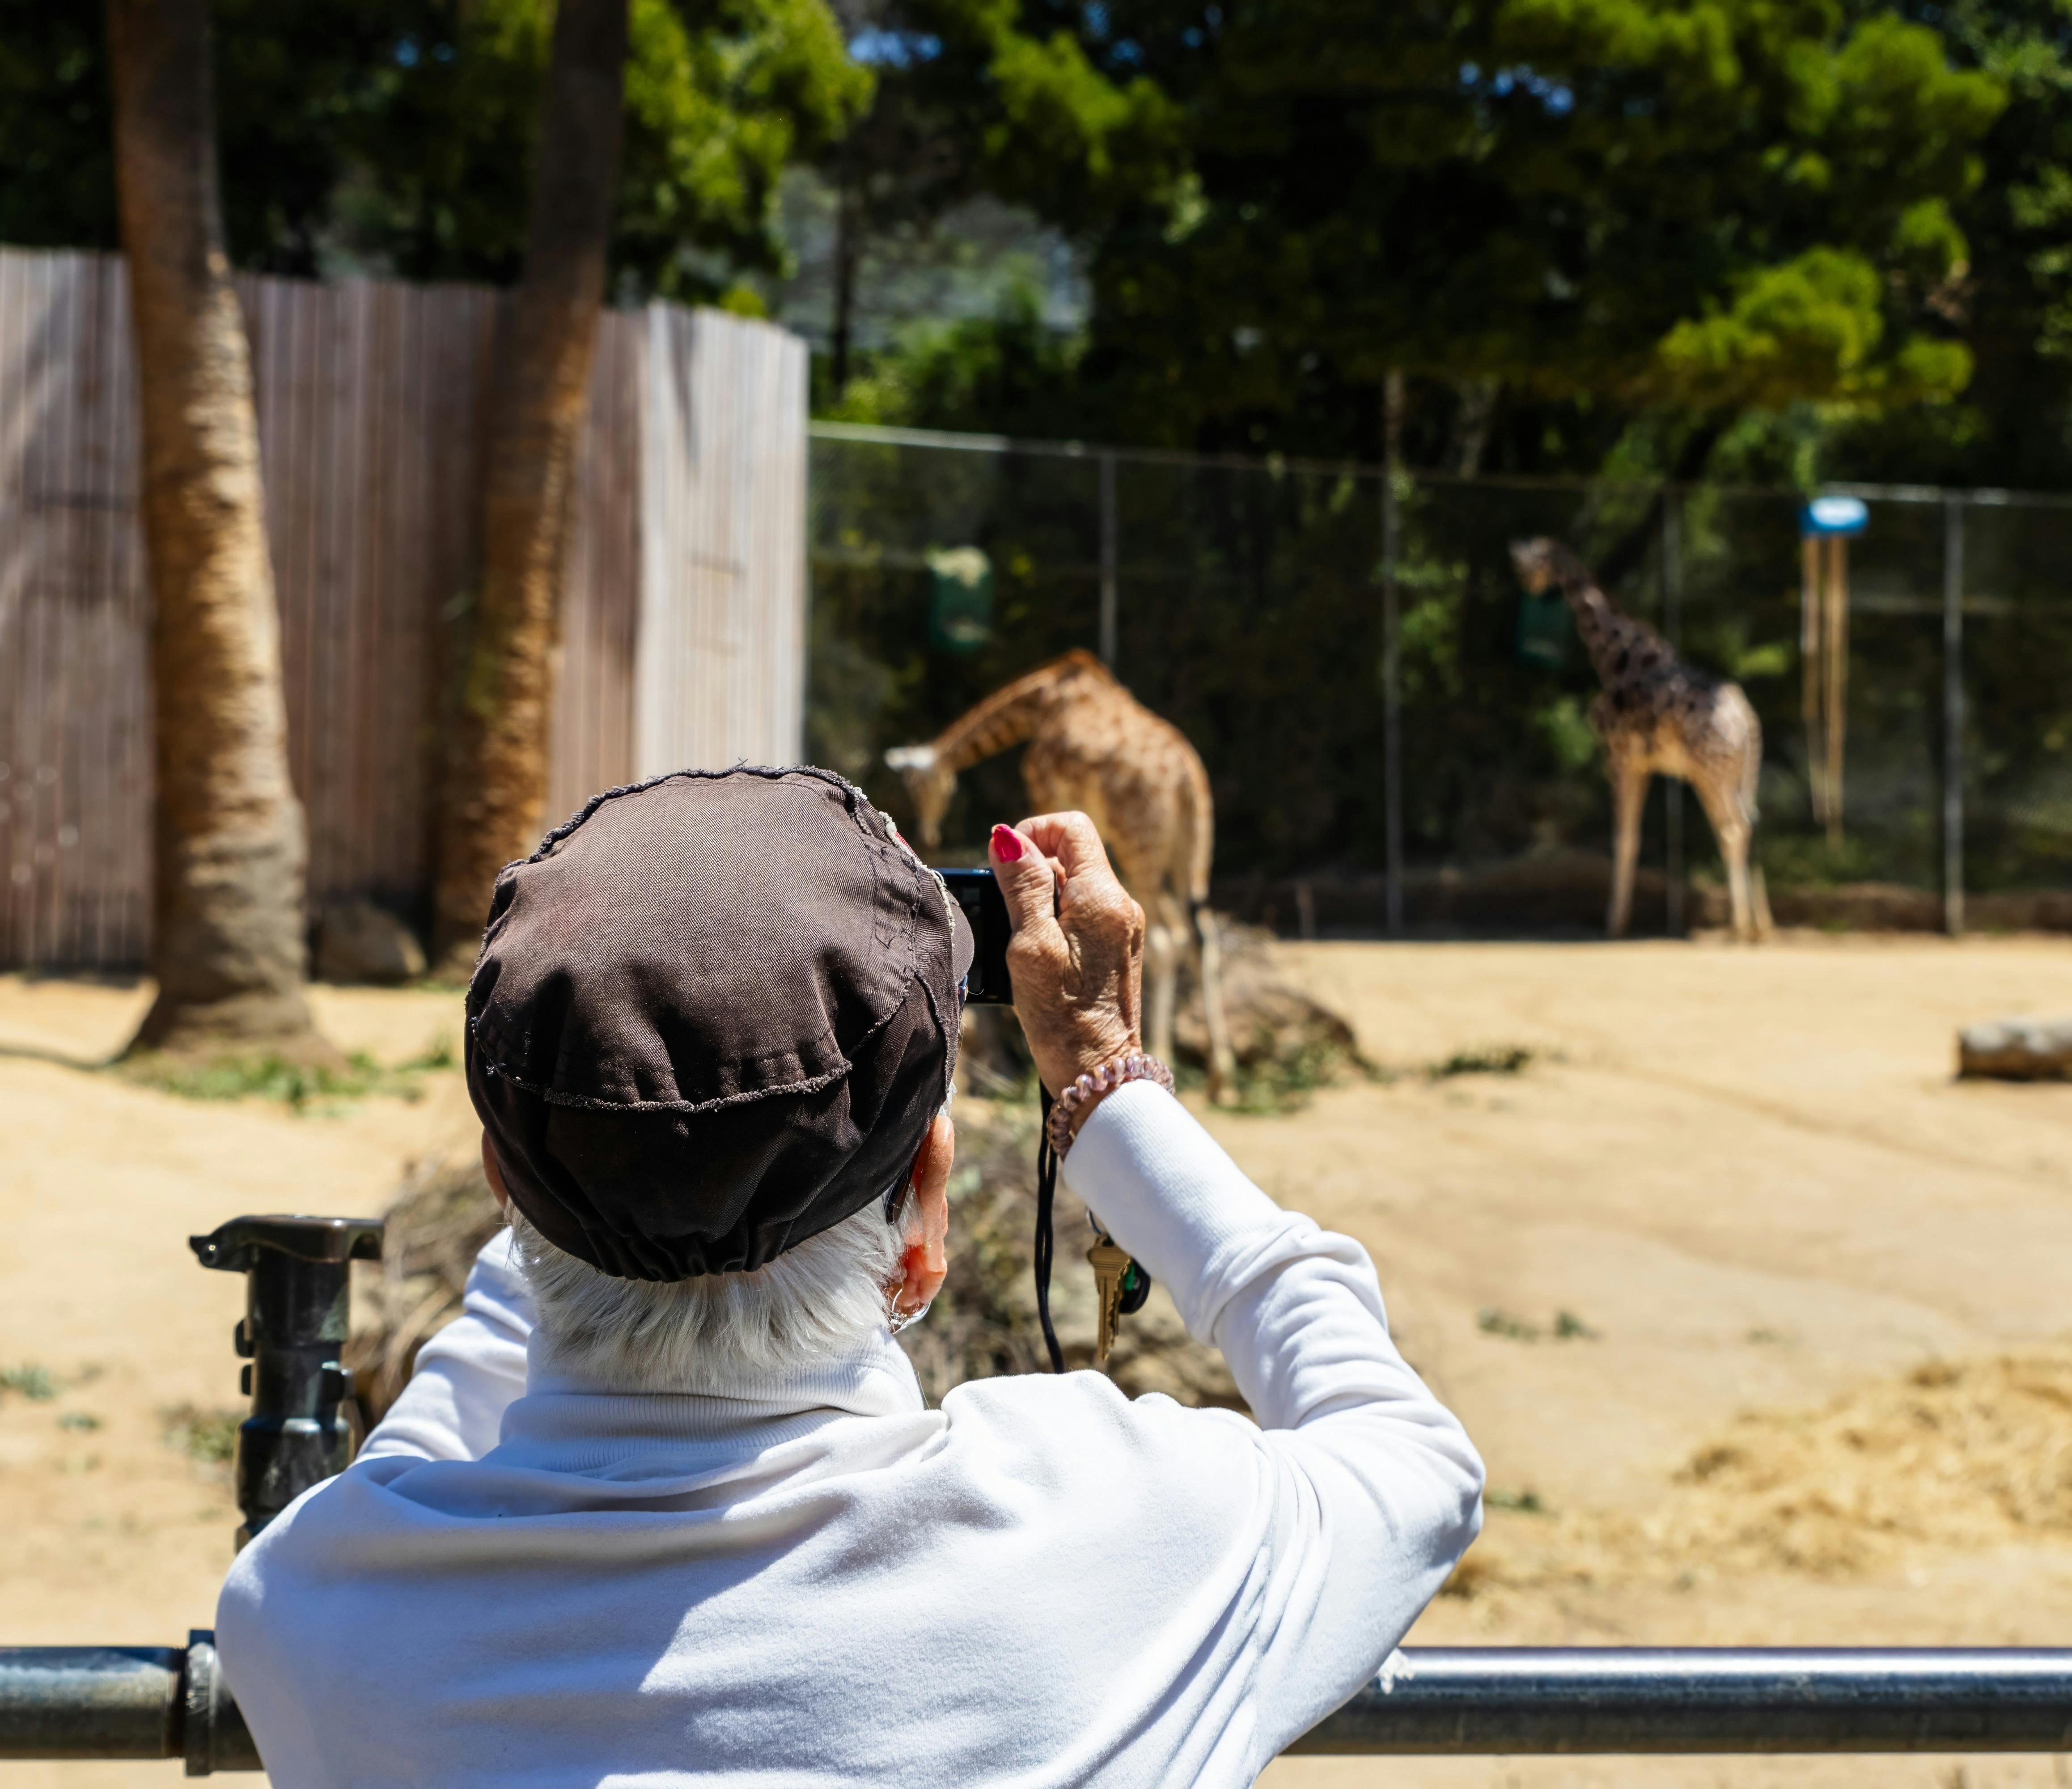
Moving animals need focus tools that can keep up. Continuous AF, also called AF-C or AI Servo, is a strong choice because it tracks motion as the subject shifts.
Back-button focus adds more control. It separates focus from the shutter, which makes it easier to hold on a waiting spot and then fire when the animal enters frame.
Practical speed and focus choices
- Use continuous AF with subject or eye detection when the animal is active.
- Set a shutter speed near 1/1000s for general motion.
- Move to 1/1250s or faster for birds in flight.
- Push to 1/2000s or more for fast animals or sudden jumps.
- Open the aperture to f/2.8, f/4, or f/5.6 when light allows.
There is a tradeoff. A wider aperture helps isolate the subject, but it also demands more precise focus and can thin the depth of field fast. For slower animals, 1/500s to 1/1000s may be enough. If the lens is long, the subject is still, and your stance is steady, that range can work well.
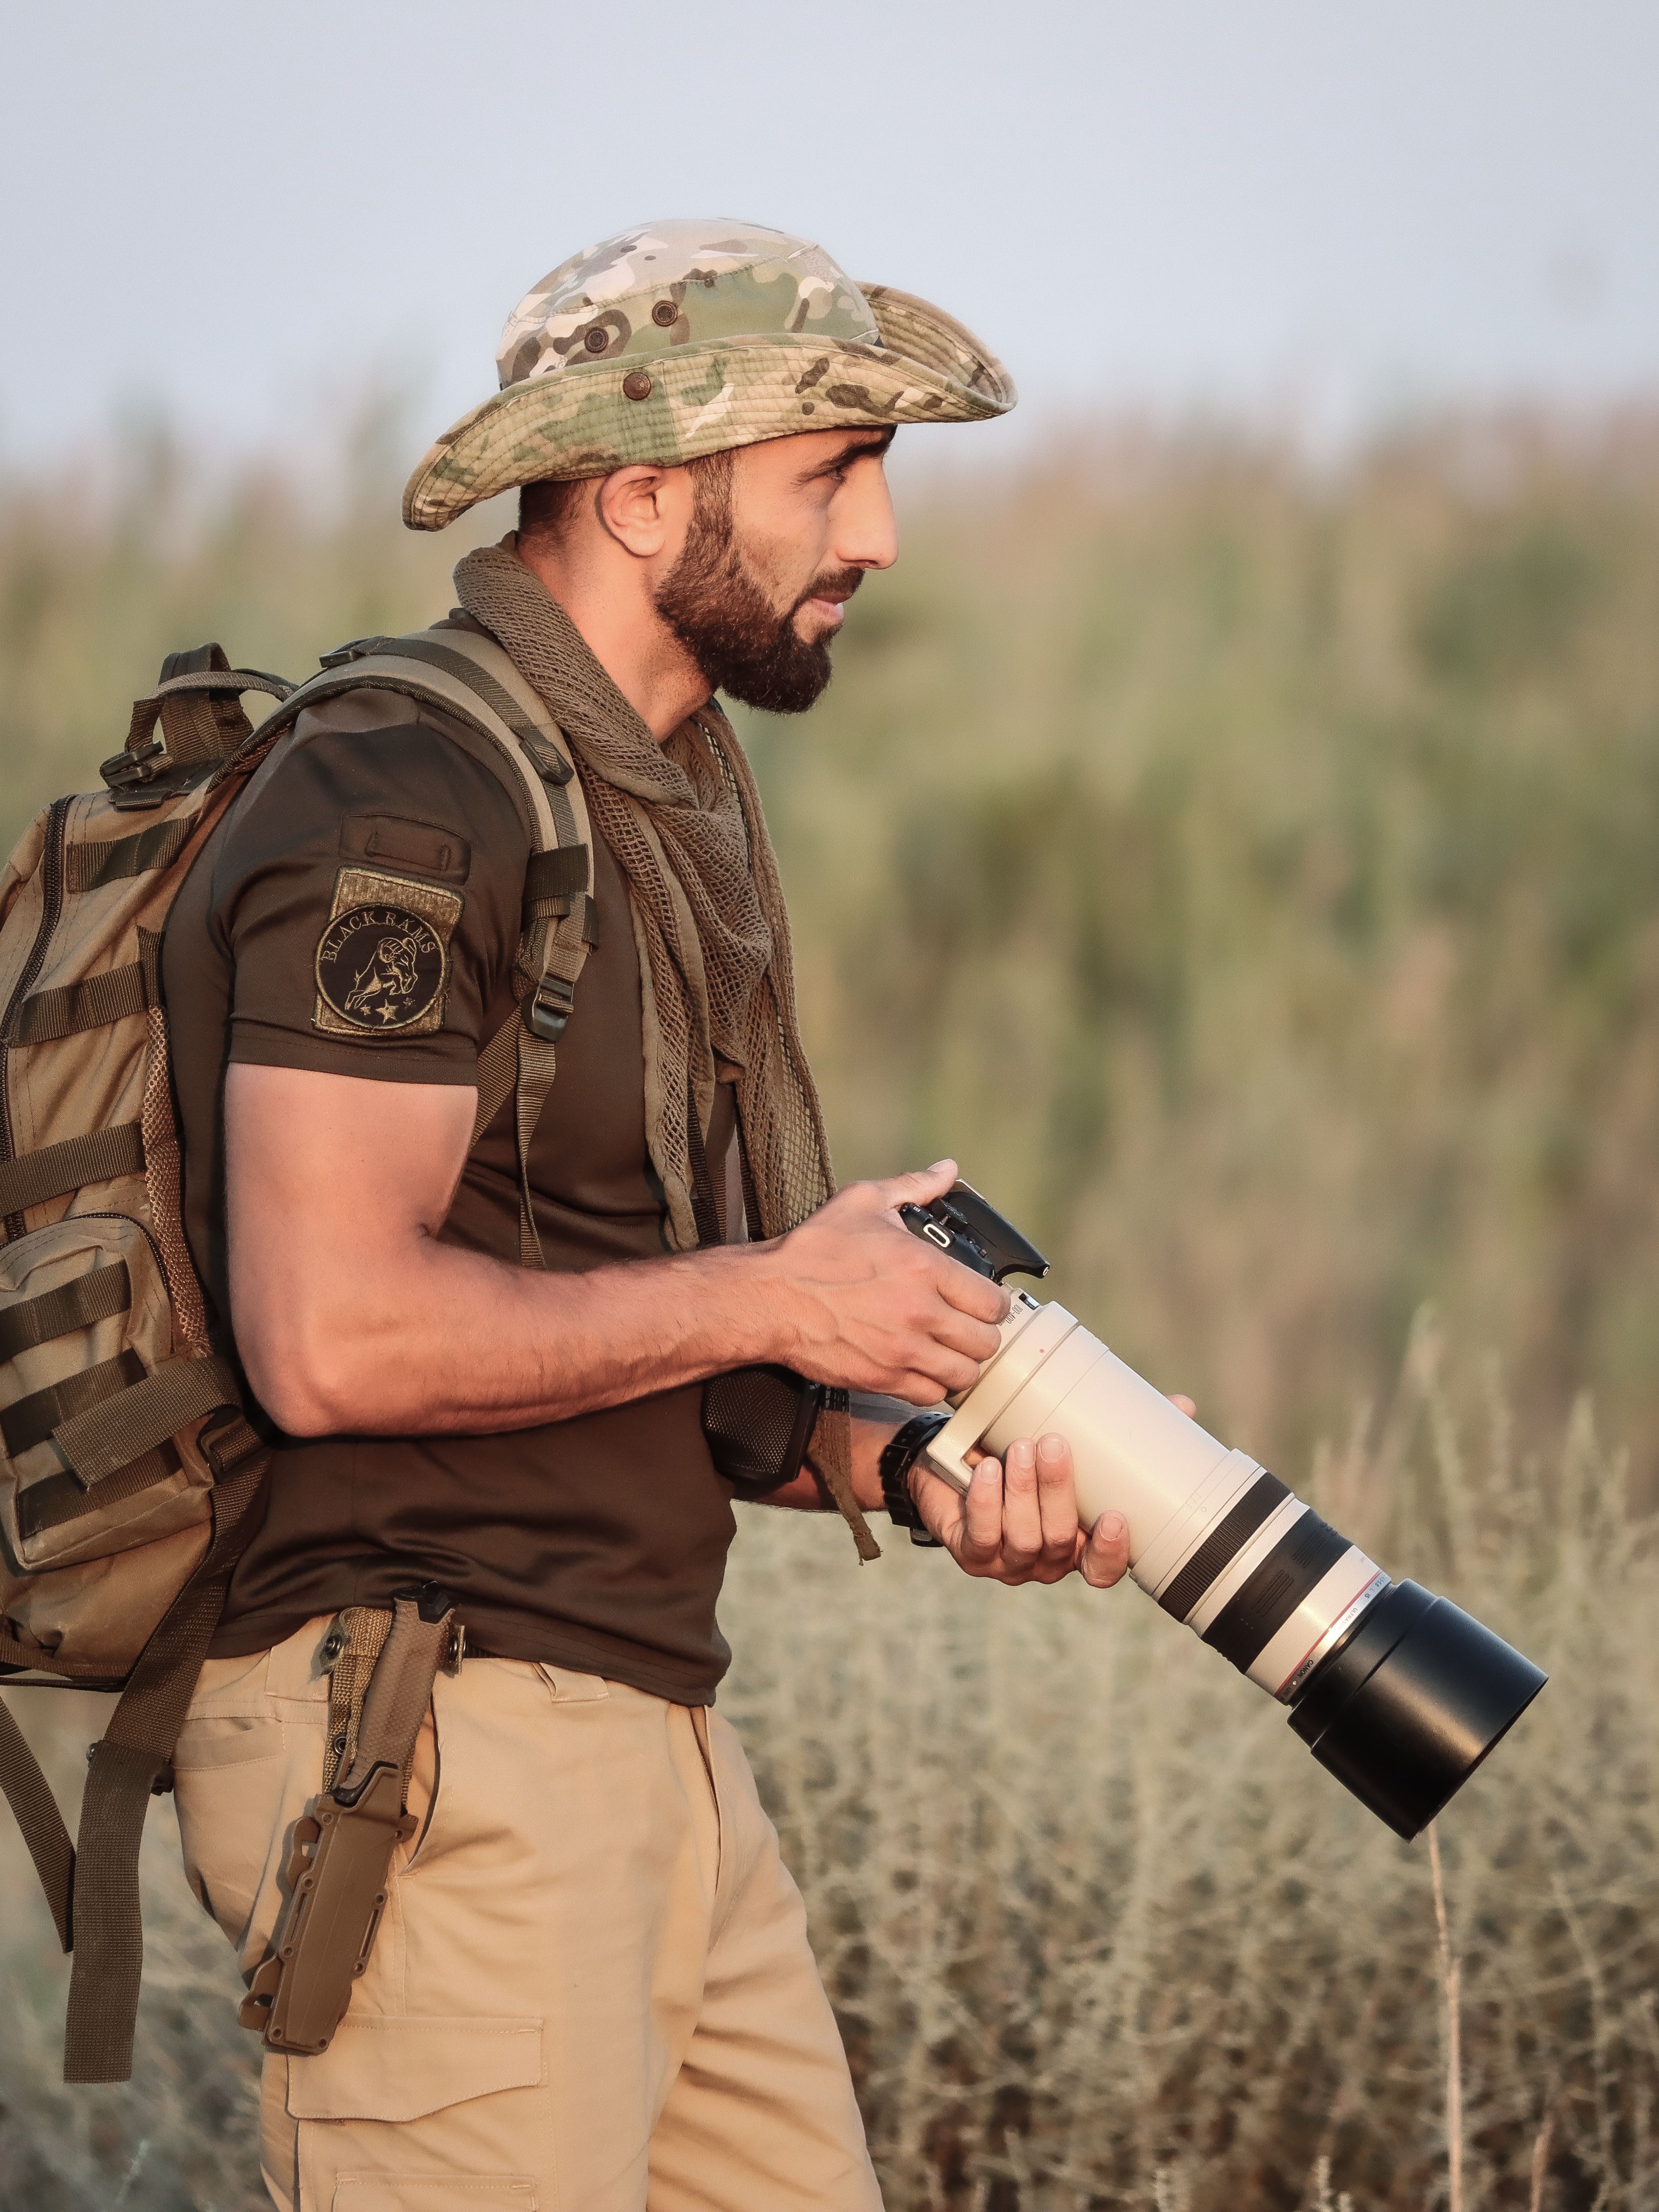
What is the 80 20 rule in photography?
The 80 20 rule in photography means a small part of your effort creates most of your results. In wildlife, about 20% of the work often happens before the shot, and it shapes most of the final image.
That early work includes watching behavior, picking a clean background, and choosing the right angle. It saves time later because you press the shutter only when the moment is ready.
Where the rule shows up in the field
Many missed shots come from poor timing, not weak gear. Study a subject long enough, and those misses drop fast. Pre-focusing on a perch, trail, or feeding spot is a good example. You guess the next move, then wait with the frame already set.
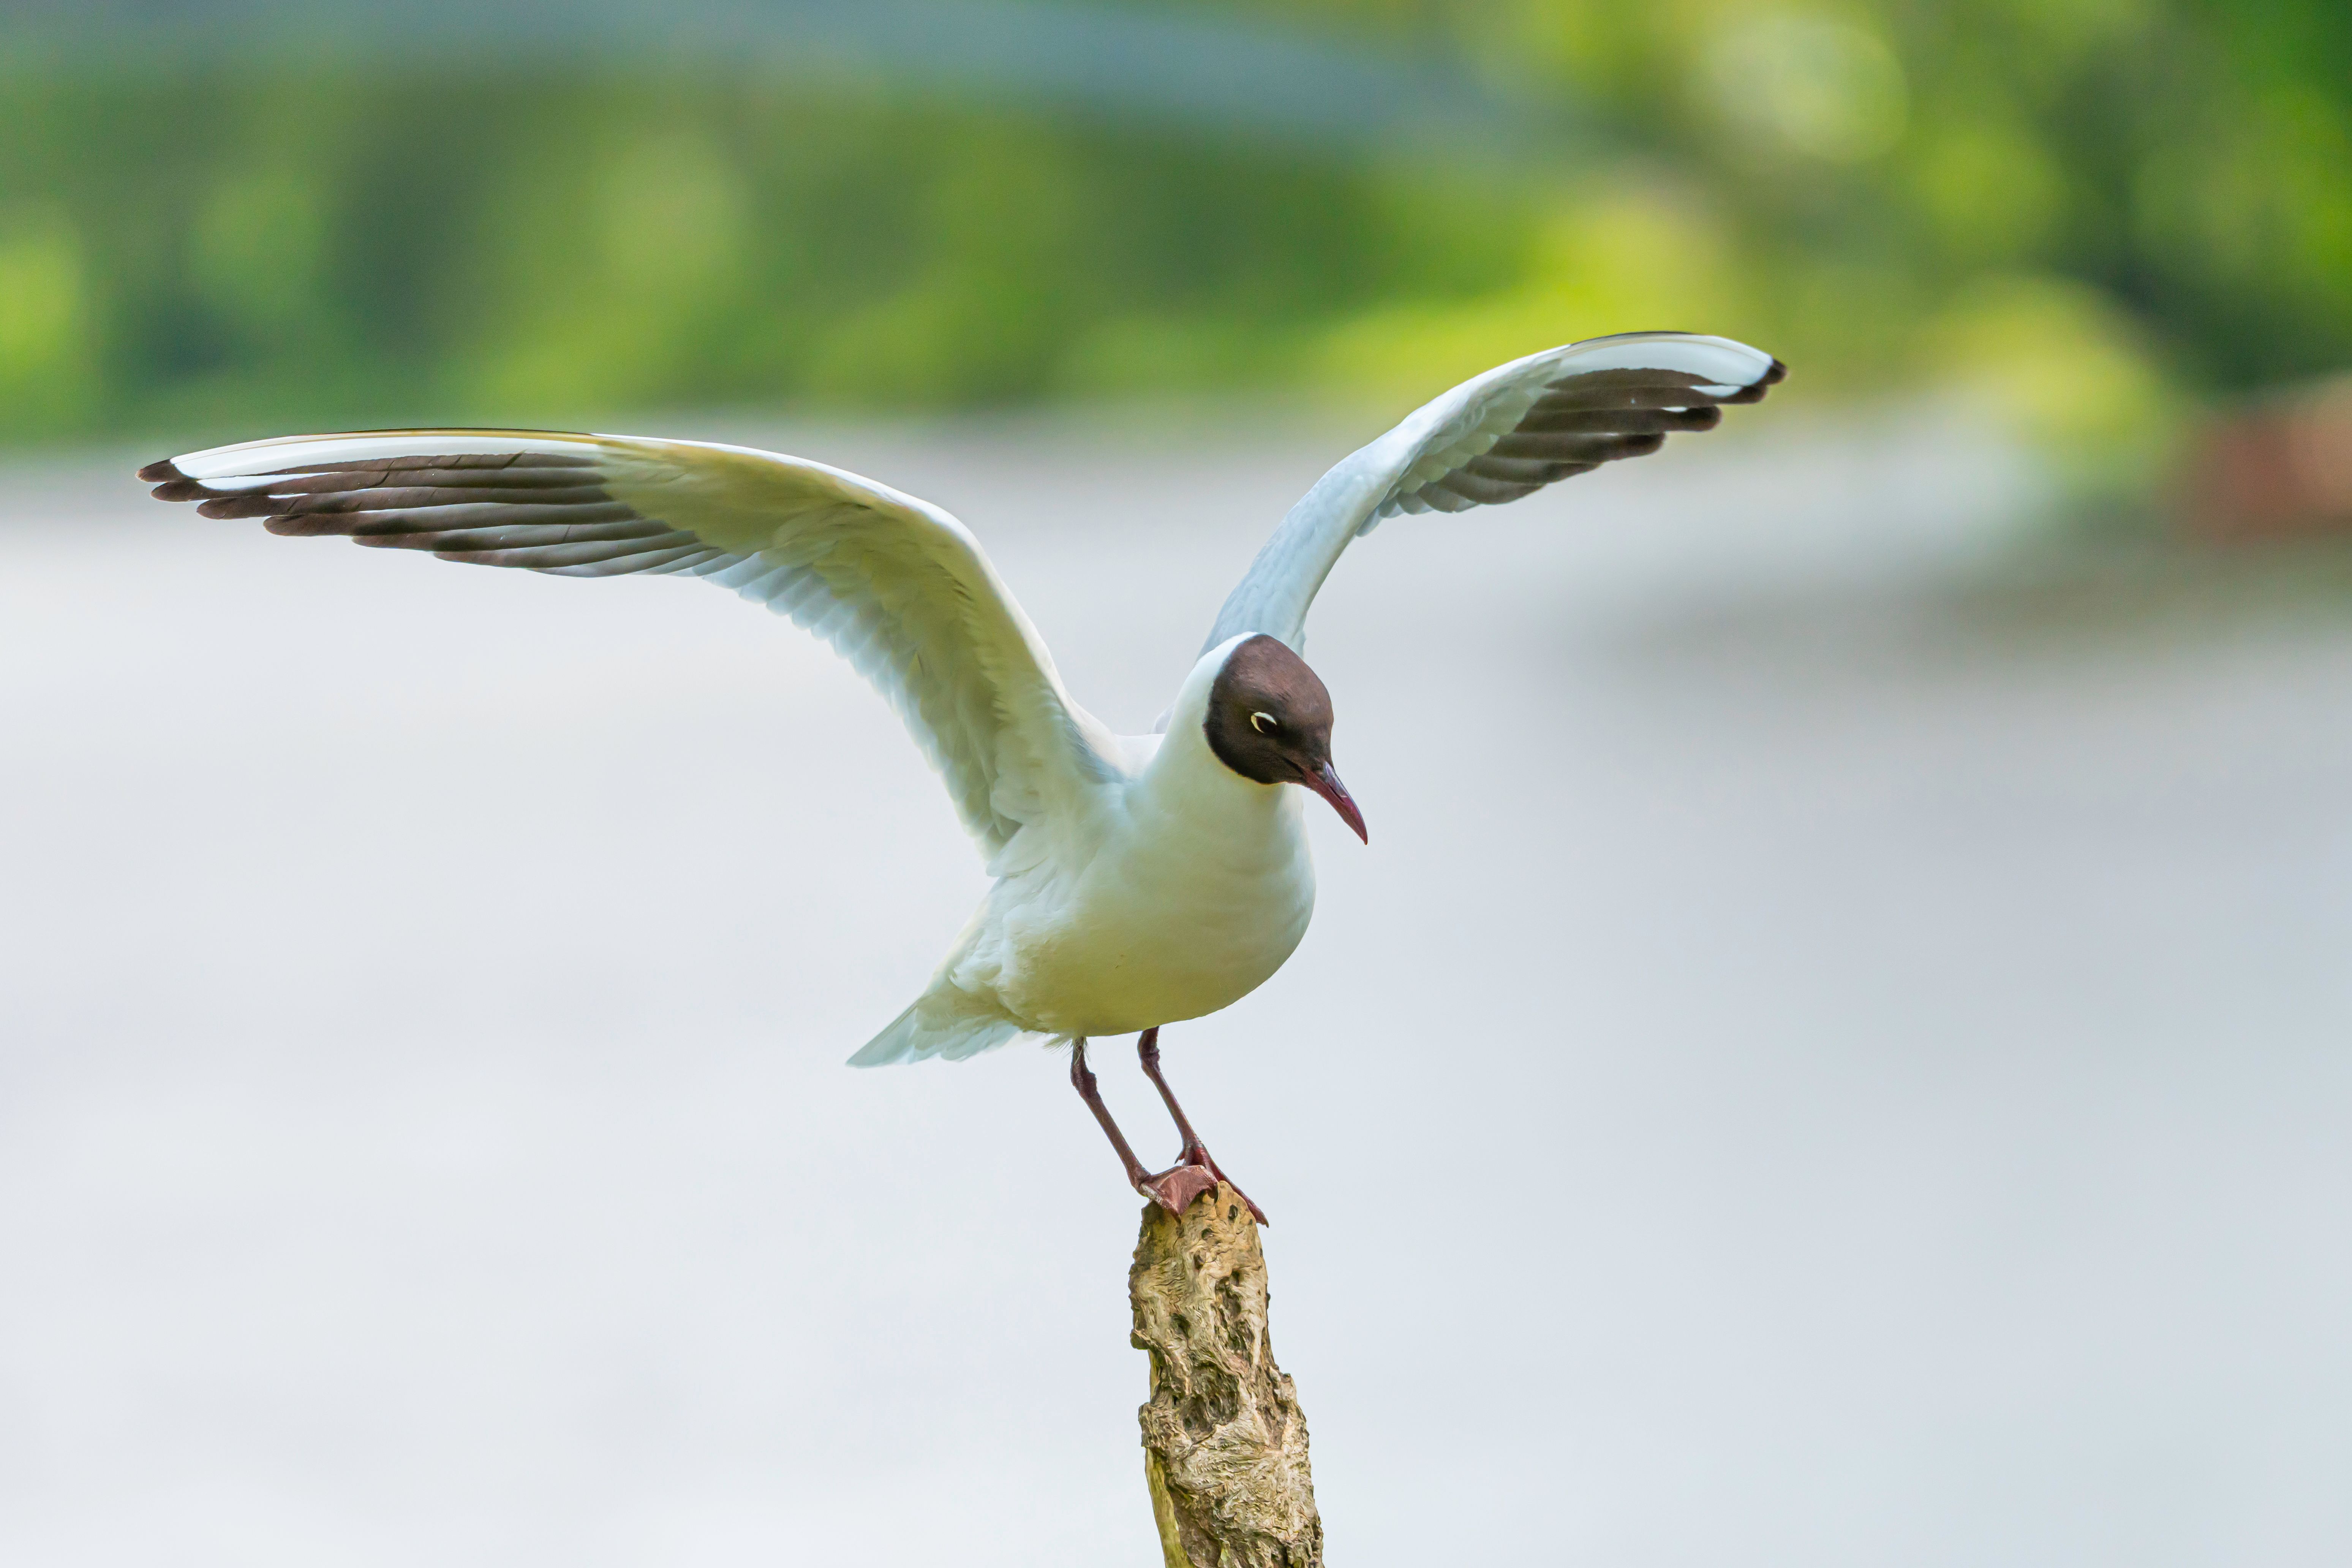
A simple field routine before the shutter clicks
A short routine keeps your mind clear when an animal enters the scene. I use it to slow my first reaction and check the subject before I shoot.
- Watch the animal for 10 to 30 seconds.
- Find the eye, head, and main direction of movement.
- Check the background for bright spots or clutter.
- Set continuous AF and place the focus point on the eye.
- Pick a shutter speed that matches the animal’s pace.
- Hold the camera steady and wait for the body to relax.
This is where memory cards and burst depth matter too. A mid-tier mirrorless body often holds roughly 20 to 40 RAW frames before slowing, while JPEG or a faster card gives you more room.
UHS-II V60 or V90 cards help the camera clear the buffer faster than UHS-I, and CFexpress is even quicker on supported bodies. That speed matters most when the animal gives you a short burst of action.
Why the right trigger point beats fast reflexes
Good wildlife photos often come from timing, not speed alone. The best frame usually lands one beat before or after the obvious action. Watch for the tiny change before the big move. A bird leans, a cat crouches, or a deer shifts weight, and that is your cue.
Continuous shooting can help, and knowing when to start the sequence matters more. Behavior tells you that better than guessing.
Closing the gap between watching and shooting
Reading animal behavior before you raise the camera turns wildlife work into a calmer process. You stop chasing every move and start waiting for a real pattern.

That shift sharpens focus, timing, and framing at the same time. It also makes the field feel more respectful, because you respond to the animal instead of forcing the moment.
Keep your eye on the subject, trust the pose clues, and stay ready with a clear path to the shutter. On my own outings, the most useful habit is still the simplest one: watch the eye, read the body, and lift the camera only when the next move is already starting.
Frequently Asked Questions
What is a focal point in photography?
A focal point in photography is the part of an image that catches attention first, usually the subject’s eye, face, or head. In wildlife photography, it is the area where the viewer’s eye lands immediately.

What are the 7 posing points?
The 7 posing points are the eyes, head, ears, shoulders, hips, feet, and tail or wings. These are the main body parts that shape a strong, natural-looking pose.
What is the purpose of a focal point?
A focal point directs the viewer’s attention to the most important part of the scene. In animal photography, it helps make the subject feel alive and strengthens the image when the eye or face stays sharp.
What is the 80 20 rule in photography?

The 80/20 rule in photography means a small part of the frame usually carries most of the visual impact. In practice, about 20% of the elements can create roughly 80% of the viewer’s attention or meaning.


