
- How do you take good photos at the beach in bright sun
- What camera settings work for beach photography
- How do I protect my camera from sand and salt spray
Beach days are a joy to photograph, but harsh sun and shifting water create fresh challenges. Sand, glare, and spray can also put your camera at risk. With the right settings and a safe setup, you can take stronger photos and enjoy the day with less stress.
This guide explains how to capture sharper images, improve color, and stay safe near the water. It also offers simple camera settings you can use right away. If you want easier beach travel, a secure carry system like the Camstrap voyager, Camstrap explorer, Camstrap nomad, or Camstrap magclip can help you move from sand to shore with more ease.
Why Capturing Beach Days Feels Harder Than Other Trips
Photographing the beach is tougher because the light changes quickly. Midday sun can be harsh, while evening light turns soft. Water, wet sand, and bright clouds can also confuse your camera meter.
Many people run into another issue as well: they cannot move quickly with loose gear. A camera that swings, slips, or picks up sand can turn a great outing into a frustrating one. As a result, a simple carry setup matters just as much as camera settings.
Light, glare, and motion all work against you
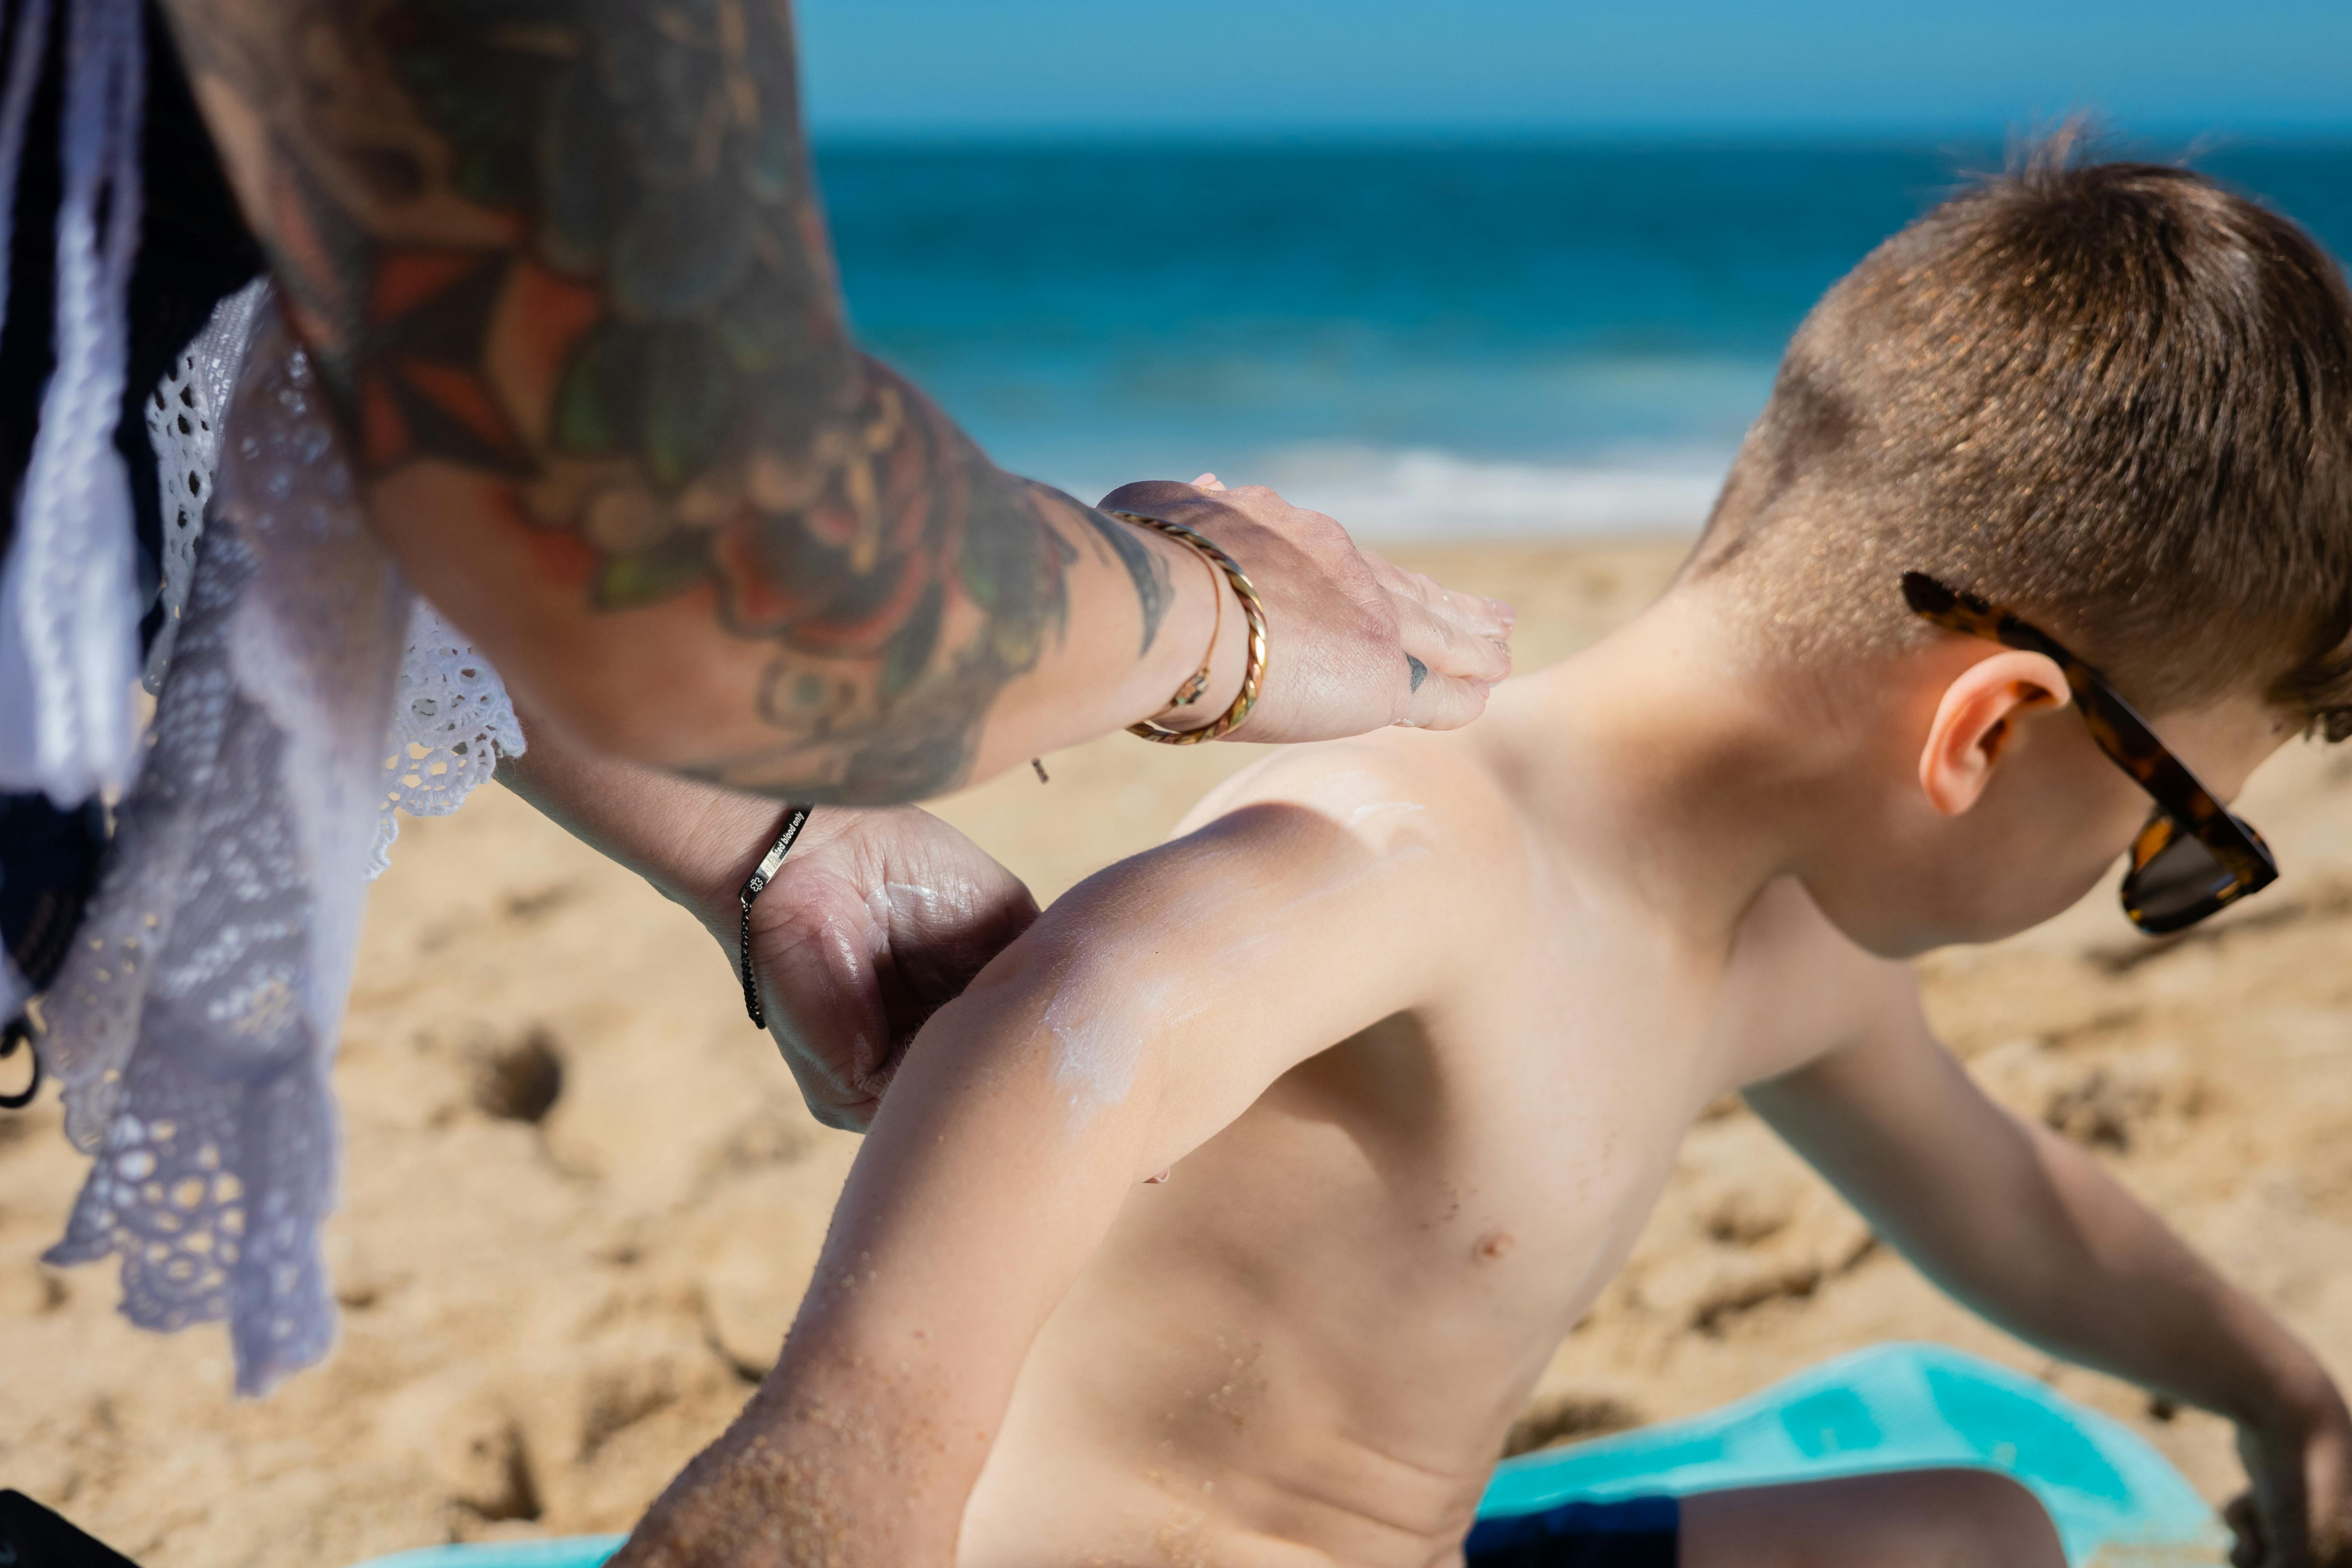
Beach light is intense and often flat. That can wash out faces and make colors look muted. It can also produce bright highlights on water and skin.
Meanwhile, beach scenes are full of movement. Waves roll in, children run, and birds skim low over the shore. So, capturing clean shots often requires quick settings and a steady hold.
Camera Settings for Capturing Better Beach Photos
The best beach settings depend on what you want to shoot. Even so, a few simple choices work well for most scenes. Begin with a low ISO, a sensible aperture, and a shutter speed that suits your subject.
For many beach photos, use ISO 100, an aperture of f/4, and exposure compensation of +0.3. This helps prevent flat-looking images in bright sun. It also gives a small boost when the scene feels a bit too dark.
Use fast settings for people and action
If you are photographing kids, surfers, or birds, use a shutter speed above 1/250s. That helps freeze motion and keeps your image sharp. For very fast action, 1/500s is often the better option.
For beach portraits, try f/2.8 on a 50mm to 85mm lens. This softens the background and draws attention to the face. For landscapes, use f/8 or f/11 to keep more of the scene in focus.
Use the Sunny 16 and Sunny 22 rules as quick guides
The Sunny 16 rule is a reliable starting point in bright light. Set the aperture to f/16 and use 1/125s for ISO 100 film, or 1/500s for ISO 400 film. This gives you a simple baseline when the sun is strong.
In very bright beach conditions, the Sunny 22 rule can help as well. Set the aperture to f/22 to manage extra light. This is useful when sand and water reflect a great deal of sun into your frame.
Choose RAW for more control later
Shooting in RAW is especially useful for beach photography. RAW preserves more detail and gives you greater room to correct exposure and color later. That matters when white sand and blue water create difficult lighting.
If your camera supports it, use RAW instead of JPEG for most beach trips. You can still shoot a few JPEGs for quick sharing. But RAW gives you much more flexibility when you are capturing images you want to edit well.
How to Improve Color When Capturing Bright Beach Scenes
Color can change quickly near the ocean. The sand may look too gray, or the water may shift toward green. Still, a few simple white balance choices can help you achieve a more natural look.
If you want warmer beach photos, switch white balance to cloudy mode. This adds a little warmth and can make skin tones appear softer. For neutral white sand and blue sea, use sunny or auto mode.
Watch the sand, sky, and skin tones
White sand can fool your camera into underexposing the scene. When that happens, the beach may look dull and flat. A small exposure boost of +0.3 can help.
Also check skin tones after each shot. Beach light can make faces look too red, too pale, or too dark. So, it helps to review your screen and make small changes as you go.
Simple ways to make beach color look better
- Use cloudy white balance for warm, soft color.
- Use sunny white balance for clean blue water and white sand.
- Shoot RAW so you can fix color later.
- Use +0.3 exposure if the scene looks flat.
- Keep an eye on highlights in sand and waves.
These small steps can make a big difference. They help you stay in control while capturing scenes that feel bright and true to life. In addition, they make editing faster when you get home.
Protecting Gear While Capturing Near Sand and Salt Spray
Beach air is hard on cameras. Sand can scratch lenses and buttons, while salt spray can leave residue on the body. Because of that, gear care should be part of every beach plan.
A secure carry setup helps you move between sand, shore, and boardwalk without worrying about your camera. That is one reason some photographers prefer sling-style or quick-clip options such as Camstrap voyager, Camstrap explorer, Camstrap nomad, or Camstrap magclip. Whatever setup you use should keep the camera close and stable.
Keep sand out before it gets in
Do not set your camera directly on open sand. Even a brief rest can let grit into ports and dials. Instead, use a bag, a cloth, or a strap that keeps the camera off the ground.
After each session, wipe the body with a dry microfiber cloth. If salt spray reaches the lens, clean it as soon as you can. This helps protect the glass and keeps your photos clear.
Move with the camera secured
Loose gear can swing into your body or fall when you walk on uneven sand. A snug carry system reduces that risk. It also makes it easier to move from beach shots to boardwalk shots.
That matters for travel enthusiasts, amateur photographers, and outdoor adventure photographers alike. You want the camera ready, but you also want your hands free. Therefore, a safe carry method supports both comfort and speed.
Water Safety Tips Every Beach Photographer Should Know

Great water shots should never come before safety. Waves can shift fast, and wet rocks can become slippery in an instant. So, you need to watch the ground as well as the scene.
Never stand or sit on wet ground or wet rocks. That damp area shows that the sea has recently washed over it. It can mean another wave is coming, and you could be pulled into the ocean.
Stay alert around waves and slick surfaces
Watch the water before you step closer. If waves are reaching the spot where you want to stand, move back. No photo is worth a dangerous risk.
Wear shoes with good grip when you can, and keep your balance on uneven rock. If you are carrying a camera, hold it firmly and avoid rushing. Safe footing helps keep both you and your gear out of trouble.
Use a simple safety checklist
- Check the tide and wave line before you start capturing.
- Avoid wet rocks, wet sand patches, and slick edges.
- Keep one hand free when walking near the water.
- Stay close to exits and paths back to dry ground.
- Keep your camera strap secure at all times.
This short list can prevent many common beach problems. It also helps you stay calm while you work. As a result, you can focus more on the shot and less on the risk.
Building a Better Beach Photo Plan
Good beach photography starts before you press the shutter. Think about the time of day, the light, and the kind of shot you want. Then pick settings that fit the scene.

Early morning and late afternoon often provide softer light and richer color. Midday is more difficult, but it can still work with the right settings. Therefore, planning ahead gives you a better chance of capturing photos you like.
A simple beach setup to try
- For landscapes: ISO 100, f/8 or f/11, and a steady stance.
- For portraits: f/2.8 on a 50mm to 85mm lens.
- For action: shutter speed above 1/250s, often 1/500s.
- For bright sun: use +0.3 exposure and check highlights.
- For color control: use sunny, cloudy, or auto white balance.
This combination gives you a solid foundation for capturing many beach moments. You can then adjust as the light changes. That flexibility is what helps good photos become even better ones.
Final Thoughts on Capturing Beach Days with Confidence

Beach days become easier to capture when you use simple settings, clear color choices, and safe habits. Start with ISO 100, adjust your aperture for the scene, and keep your shutter speed fast when motion matters. Then use RAW and white balance to refine the final look.
Just as important, protect your gear and protect yourself. Keep your camera off the sand, clean it after salt spray, and avoid wet rocks or wet ground. With a secure carry option and a careful plan, capturing beach moments becomes safer, smoother, and far more rewarding.
Frequently Asked Questions
How do you take good photos at the beach in bright sun?
Use the bright light to your advantage, but watch for glare and washed-out highlights from sand and water. A low ISO, steady composition, and exposure compensation around +0.3 can help keep beach scenes from looking flat.

What camera settings work for beach photography?
A good starting point is ISO 100, f/4, and slight positive exposure compensation. For action, use a shutter speed above 1/250s, and for portraits try f/2.8; for landscapes, use f/8 or f/11.
How do I protect my camera from sand and salt spray?
Keep your camera in a secure carry system so it does not swing, slip, or pick up sand. Avoid exposing it directly to spray, and wipe it down after use to reduce damage from salt and grit.


