


- Meter the coast often; sand, surf, and haze can shift exposure fast.
- Bracket shots to catch the best light before clouds rewrite the scene.
- Use bulb mode for long seascapes when seconds turn into minutes.

Exposure is the balance of aperture, shutter speed, and ISO that determines how bright a photo looks. On a coast, water, sand, clouds, and haze keep changing the light, so that balance can shift in minutes. Even on a calm day, the change can feel abrupt. One moment the scene is soft and bright; the next it turns flat, harsh, or dim.
Translation missing: en.blog_cta.bundle_heading

- Regular price
-
€42 - Regular price
-
€44 - Sale price
-
€42
By choosing the Camstrap strap, you are opting for a high-quality product designed to meet the needs of the most demanding photographers.
- Developed by a physiotherapist to relieve neck and back pain.
- Fast delivery with tracking by the Post Office 🚚
- Can be used as a shoulder strap or hands-free harness

- Regular price
-
€36 - Regular price
-
€42 - Sale price
-
€36
Translation missing: en.blog_cta.free_shipping_included
Why shore light shifts so quickly
The sea works like a huge moving mirror, bouncing light back into the scene. Clouds, mist, and spray block and scatter it in new ways from moment to moment.
Sand adds another layer of trouble. Bright sand and water can fool the meter into cutting exposure, which often leaves the frame too dark.

Reflective surfaces keep moving the meter
Most cameras try to turn a scene into middle gray. Metering often targets about 18% reflectance, which works well in many settings but not in bright beach light. White surf, wet rocks, and pale sand can all push the camera the wrong way. The meter sees too much brightness and pulls exposure down.
In practice, the same scene may need a different setting every few steps. A cloud edge can also change the light before you lift the camera again.
Low sun speeds up the shift
Near sunrise and sunset, the sun sits low and throws long shadows. Small changes in cloud cover then alter color and contrast very quickly.

Air near the shore often carries mist and salt haze as well. Those tiny particles soften distant detail and can make the frame look flatter than it did seconds earlier.
Because of that, the coast rewards quick checks. A glance at the histogram or live view can save a frame before the light moves again.
How the three exposure controls work by the water
Aperture controls how much light enters the lens, shutter speed controls how long the sensor gets light, and ISO controls sensor sensitivity. Change one, and you often need to adjust another to keep the same look. At the beach, that tradeoff matters because the light can swing from bright glare to deep shade. A setting that works on open rocks may fail once a cloud drifts over the sun.
What the numbers really mean

Exposure values can match across very different settings. At ISO 100, 1/500s at f/1.4 gives the same EV as 1s at f/32.
At ISO 400, 1/60s at f/16 also lands at EV 10. Those examples show how much room you have to move between settings when light changes.
For coastline work, I often start around f/2.8 to f/5.6 for people or detail shots. For waves or birds, I move shutter speed first, then raise ISO if the light drops.
Shutter speed becomes the big choice near surf
A fast shutter freezes spray, shifting feet, and birds skimming the water. Canon recommends 1/1,000s or faster for moving wildlife. Slower speeds create blur in waves and foam. At 1/30s or slower, motion blur becomes easy to see.
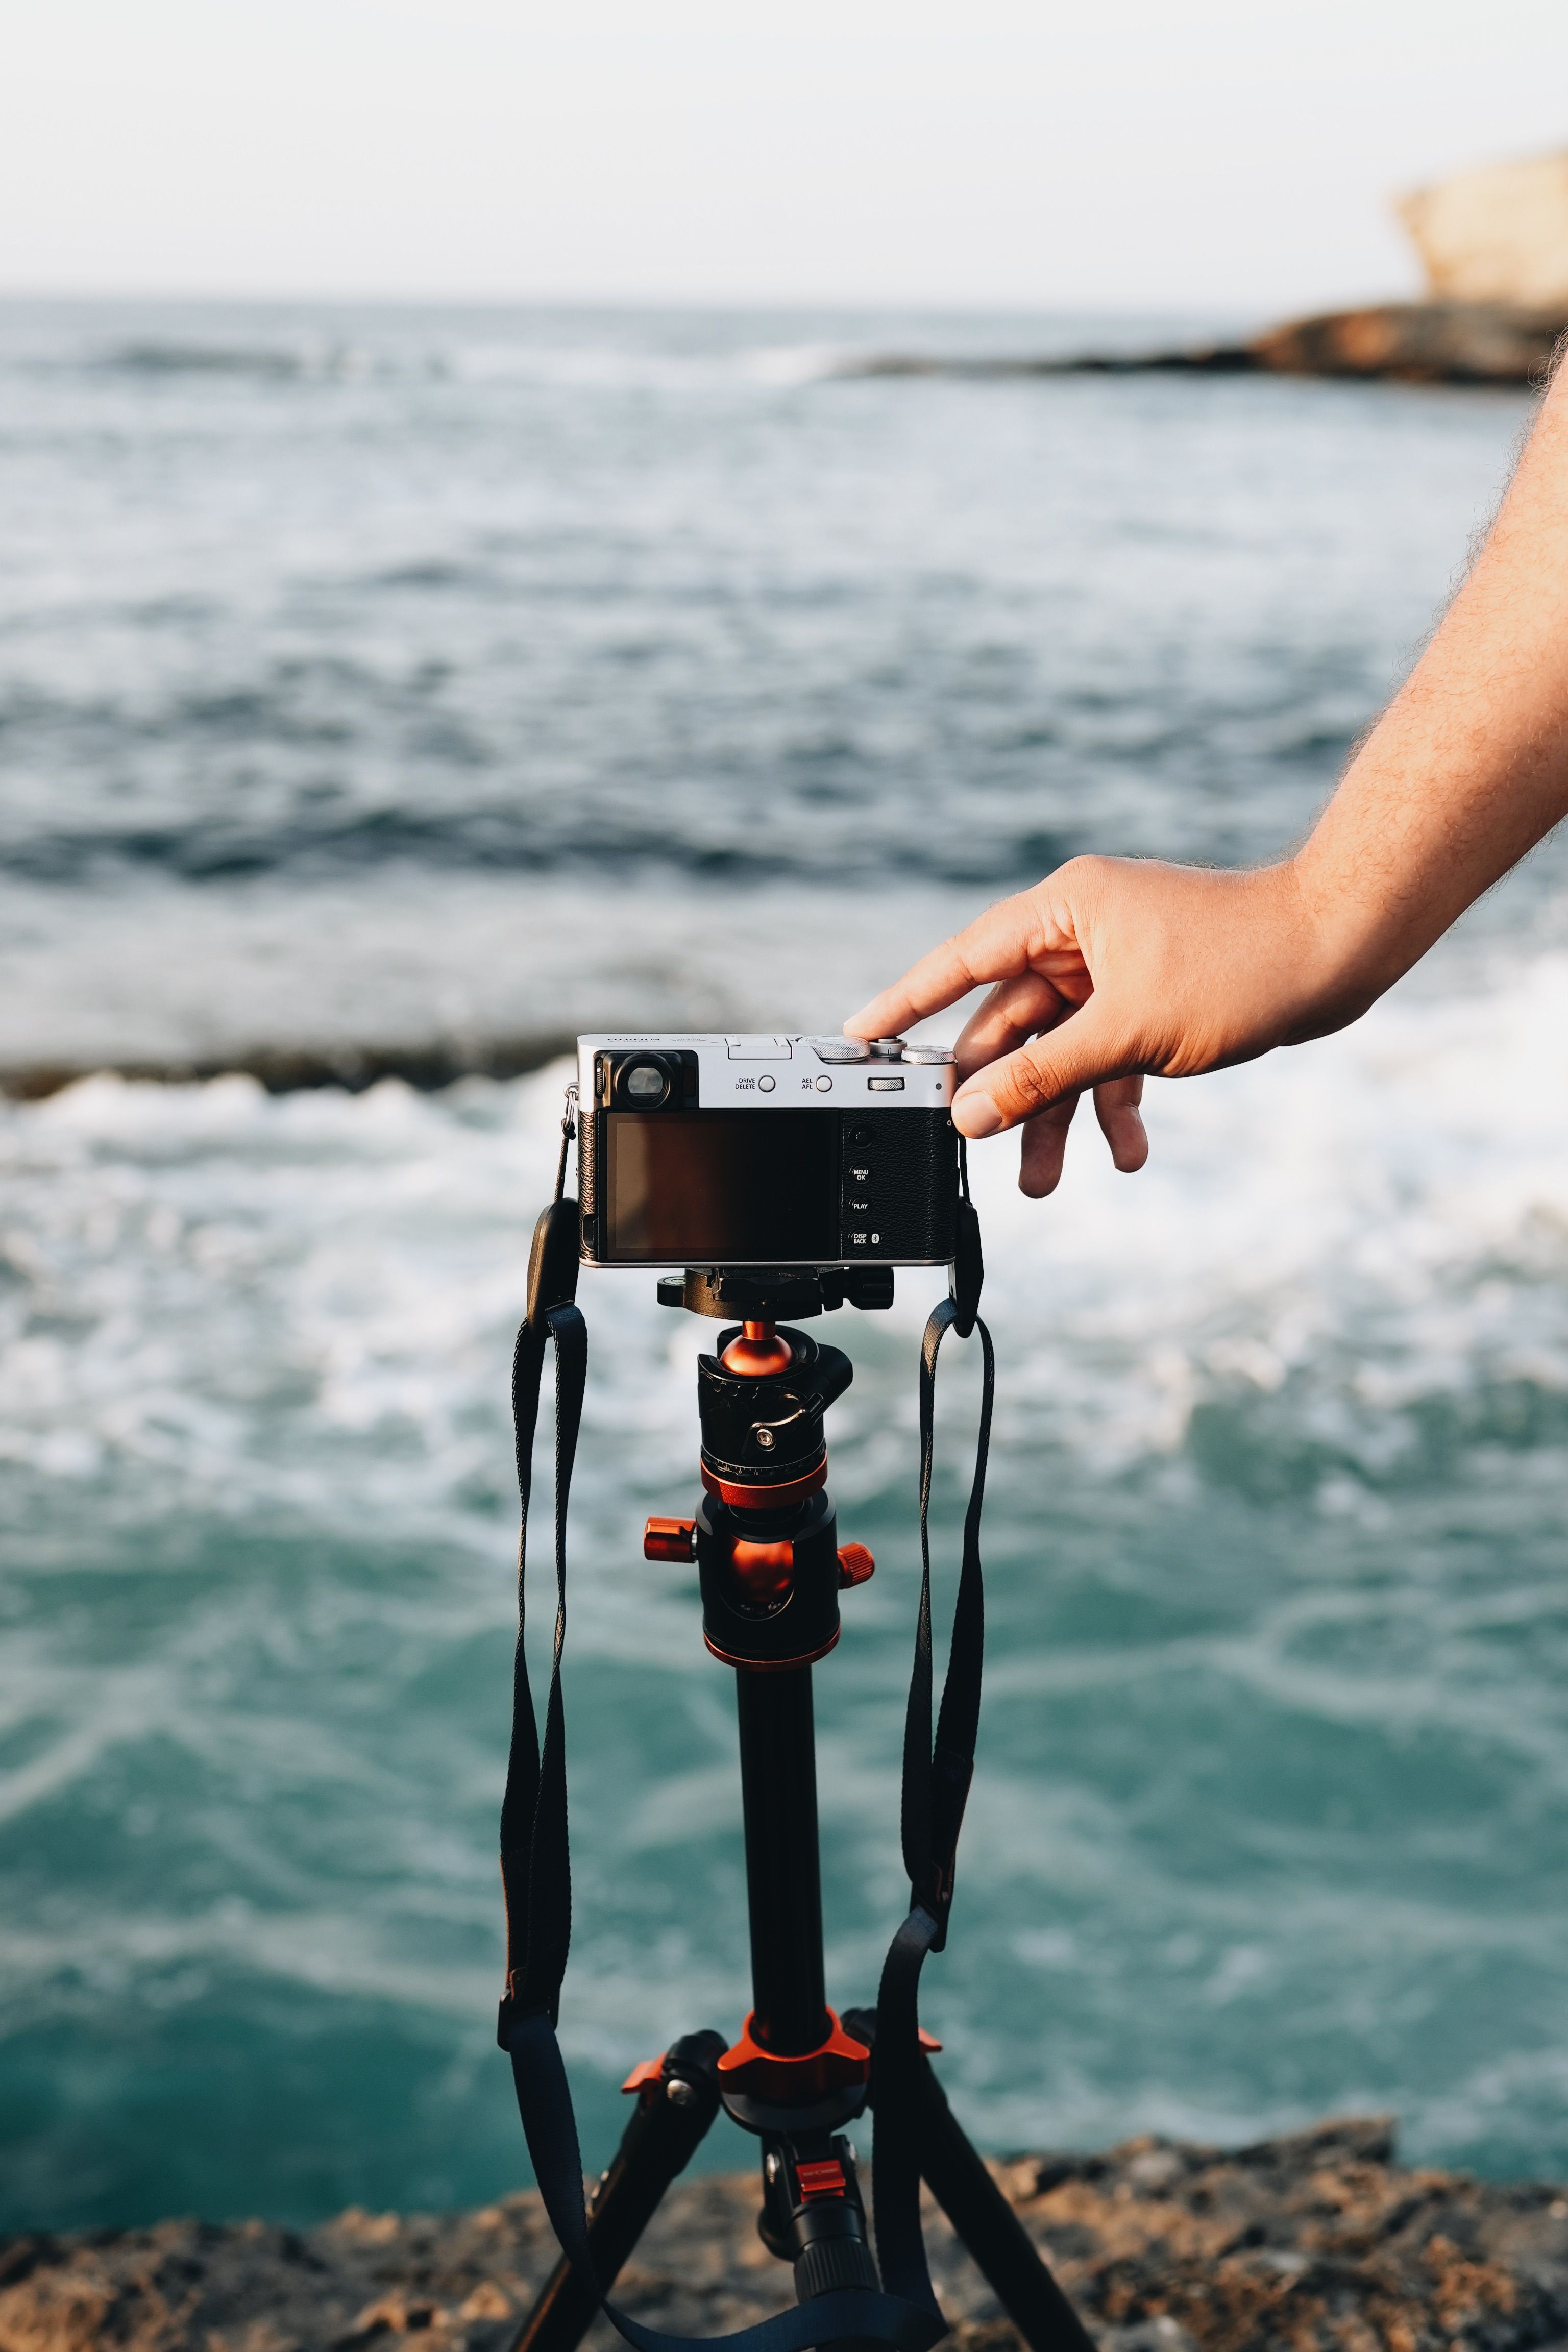
That blur can look great on water, but it can also ruin a sharp face or flying gull. The coast asks you, frame by frame, which motion should stay and which should smear.
What the meter gets wrong on sand and water
Bright beach scenes often confuse a camera meter because they do not resemble a normal city street. The meter tries to protect highlights, so it cuts exposure more than it should.
Canon offers a useful guide here: try +2 to +3 stops for scenes with lots of sand or snow. If the subject sits with strong water behind it, about +1 stop may be enough.
Exposure compensation fixes the common beach error
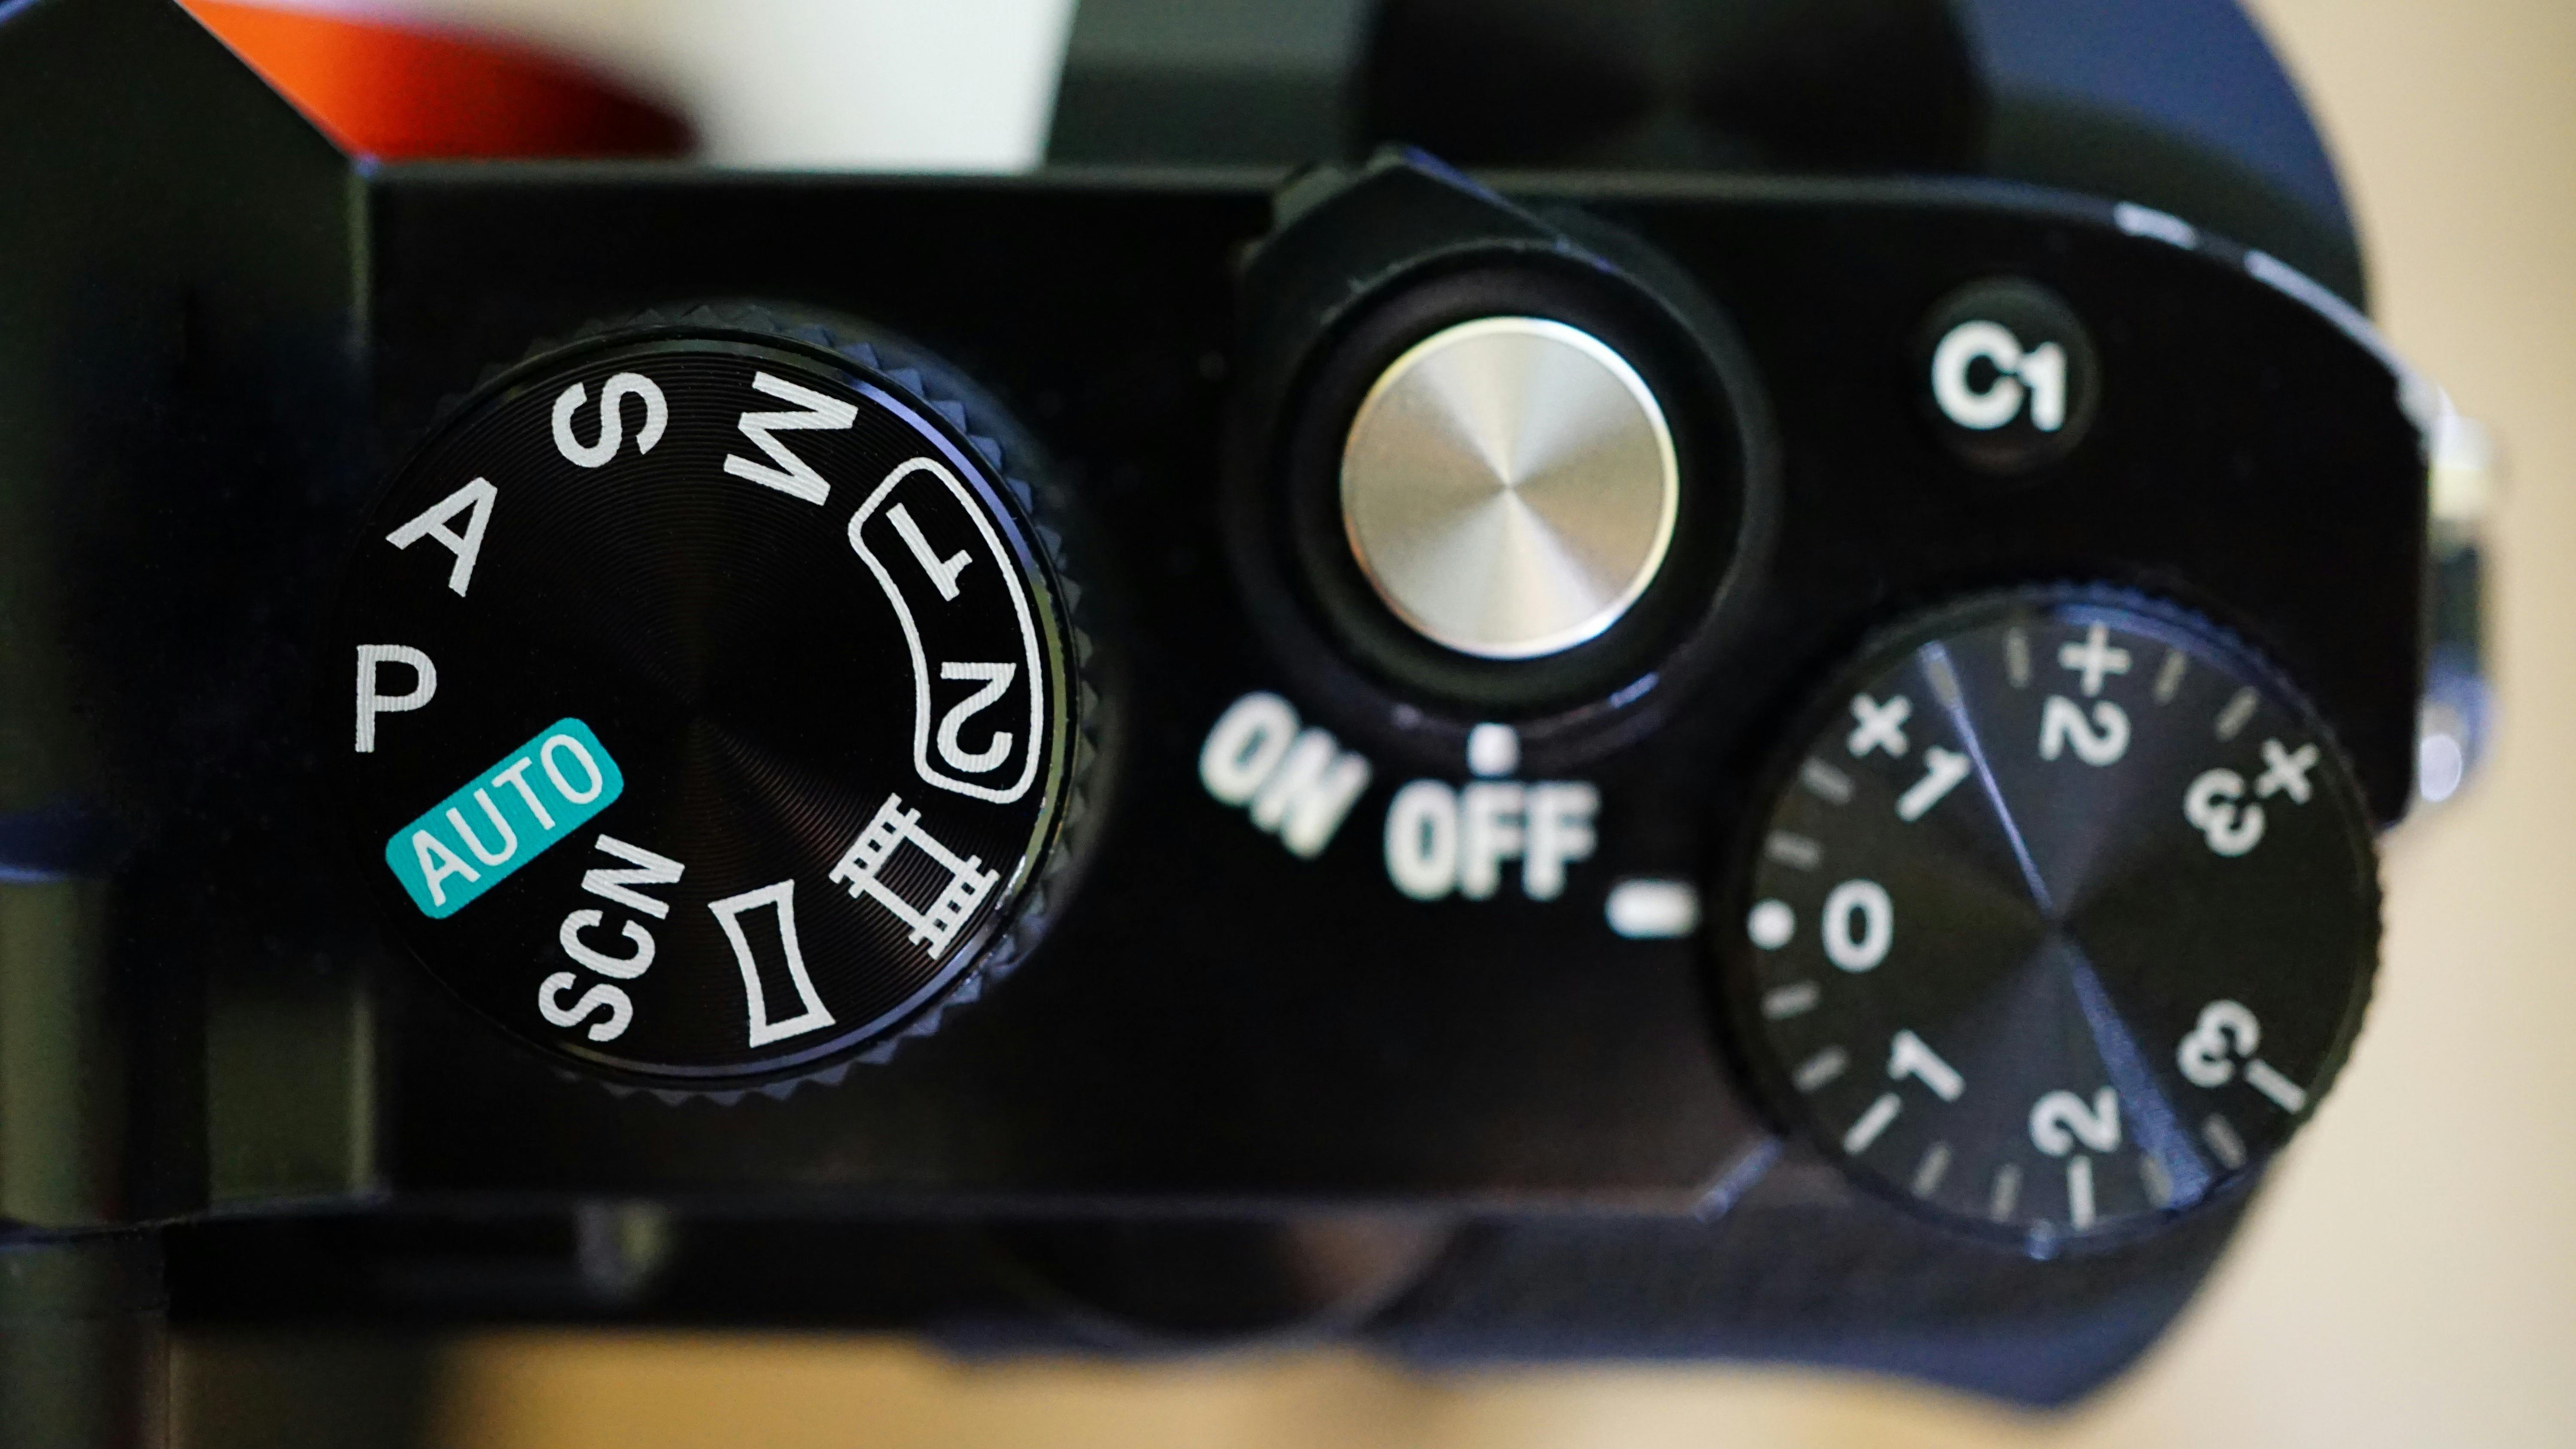
Exposure compensation lets you tell the camera to brighten or darken the meter’s choice. It works well when the scene is mostly bright sand, white surf, or pale sky. Use it before you start chasing settings by hand. A small dial turn can save time when the light keeps changing every few seconds.
This matters most in evaluative or matrix metering, where the camera judges the whole frame. A quick +1.3 or +2.0 stop shift often brings back detail in the sand and foam.
Bracketing gives you a safety net
Bracketing means taking several frames at different exposures. A common setup is three shots at -1, 0, and +1 stop.
It helps when the sky is bright but the foreground stays dark. It also helps when you are not sure whether the sun will break through the clouds.

For still scenes, bracket early and often. If the light is racing, the extra frames can catch the one version that holds both sky and shore detail.
- Use exposure compensation first for beach glare.
- Use bracketing when the sky and foreground fight each other.
- Check the histogram after each change in cloud cover.
- Watch for clipped highlights on foam, wet rocks, and white clouds.
What exposure means in digital photography
In digital photography, exposure is the amount of light recorded by the sensor. It decides whether a frame looks dark, bright, or balanced. The camera sets that light level through aperture, shutter speed, and ISO. A change in any one of them can change the whole result.
On the coast, exposure is never just technical. Bright glare, soft haze, and dark clouds all tell a different story.

How to keep pace with changing shoreline light
Fast-changing light needs a simple setup that you can adjust without breaking your rhythm. Aperture priority or manual mode gives the most control once the scene starts shifting.
For moving subjects, use continuous AF, often called AF-C or AI Servo, with eye or subject detection. Pair that with a burst rate around 10 fps if your camera offers it.
A practical field setup
- Set aperture for the look you want, often f/2.8 to f/5.6.
- Choose a shutter speed that matches motion, such as 1/1,000s for birds.
- Raise ISO only when the light drops enough to threaten shutter speed.
- Use exposure compensation when sand or surf fools the meter.
- Check the histogram after clouds, spray, or sun angle changes.

Card speed and buffer depth can become the limit before anything else does. A mid-tier body may slow after roughly 15 to 25 RAW frames, while RAW plus pre-capture can fill it faster. UHS-II V60 cards handle lighter use, but UHS-II V90 or CFexpress gives more breathing room for long bursts and quick writes. That matters most if you shoot RAW and keep the camera in continuous drive for surf action.
Back-button focus also helps. It lets you lock focus once, then fire when the wave or bird reaches the right spot.
Hands-free support helps more than people expect
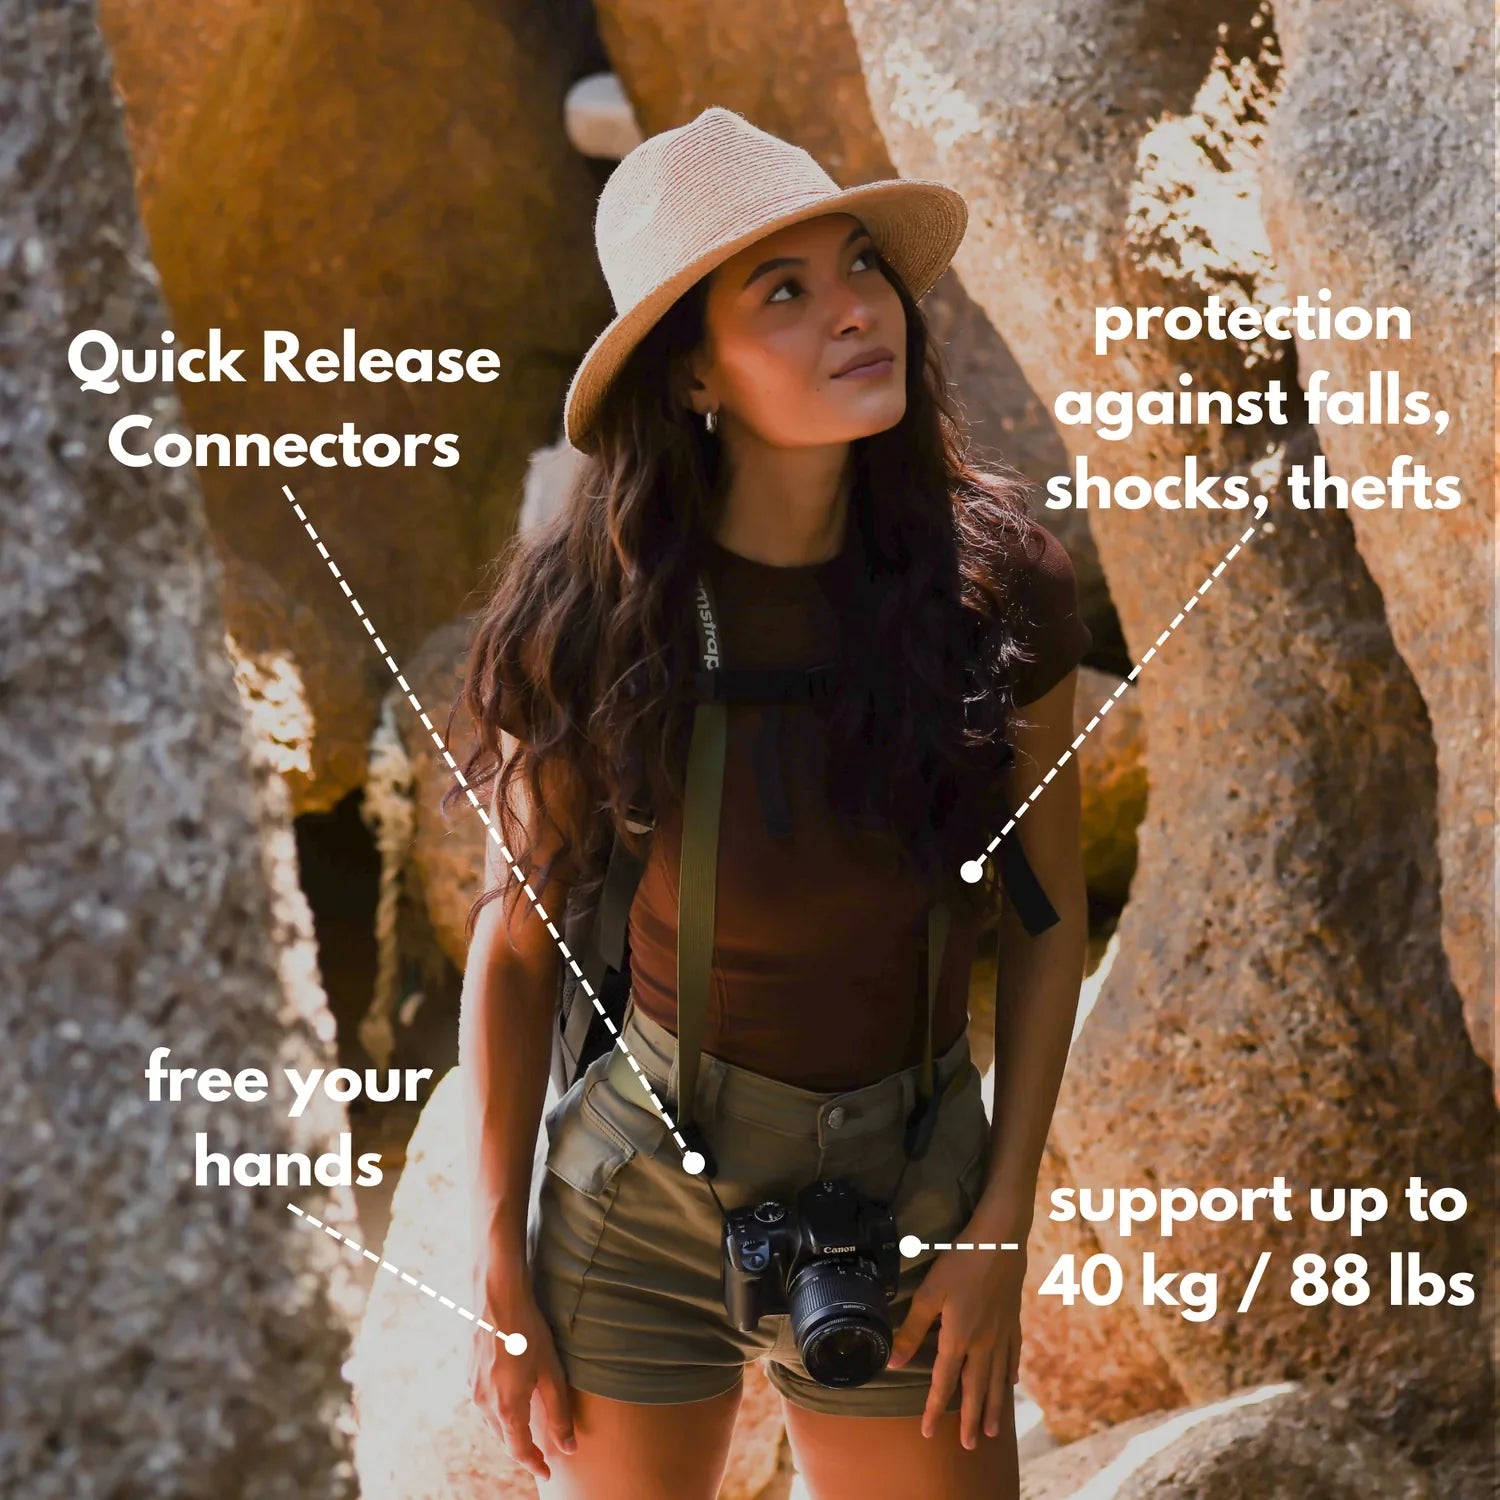
A stable strap matters because you often need both hands for balance on wet rock. A hands-free setup like Camstrap Voyager keeps the camera secure while you climb, brace, or react to spray.
That kind of carry keeps the camera ready without dangling into saltwater. It also makes it easier to raise the camera the second the light turns good again.

For beach work, that small speed gain can matter as much as a setting change. Coastal scenes reward the photographer who is ready before the light shifts.
What is exposure compensation?
Exposure compensation is a camera control that tells the meter to brighten or darken the image. A setting of +1 stop makes the image one stop brighter, while -1 stop makes it darker. It is one of the fastest ways to handle beach glare. Use positive values when white sand, surf, or haze makes the frame look too dark.
A good habit is to watch the preview, then nudge the dial in small steps. A third of a stop can be enough when the scene changes from sun to cloud.
What is bracketing in photography?
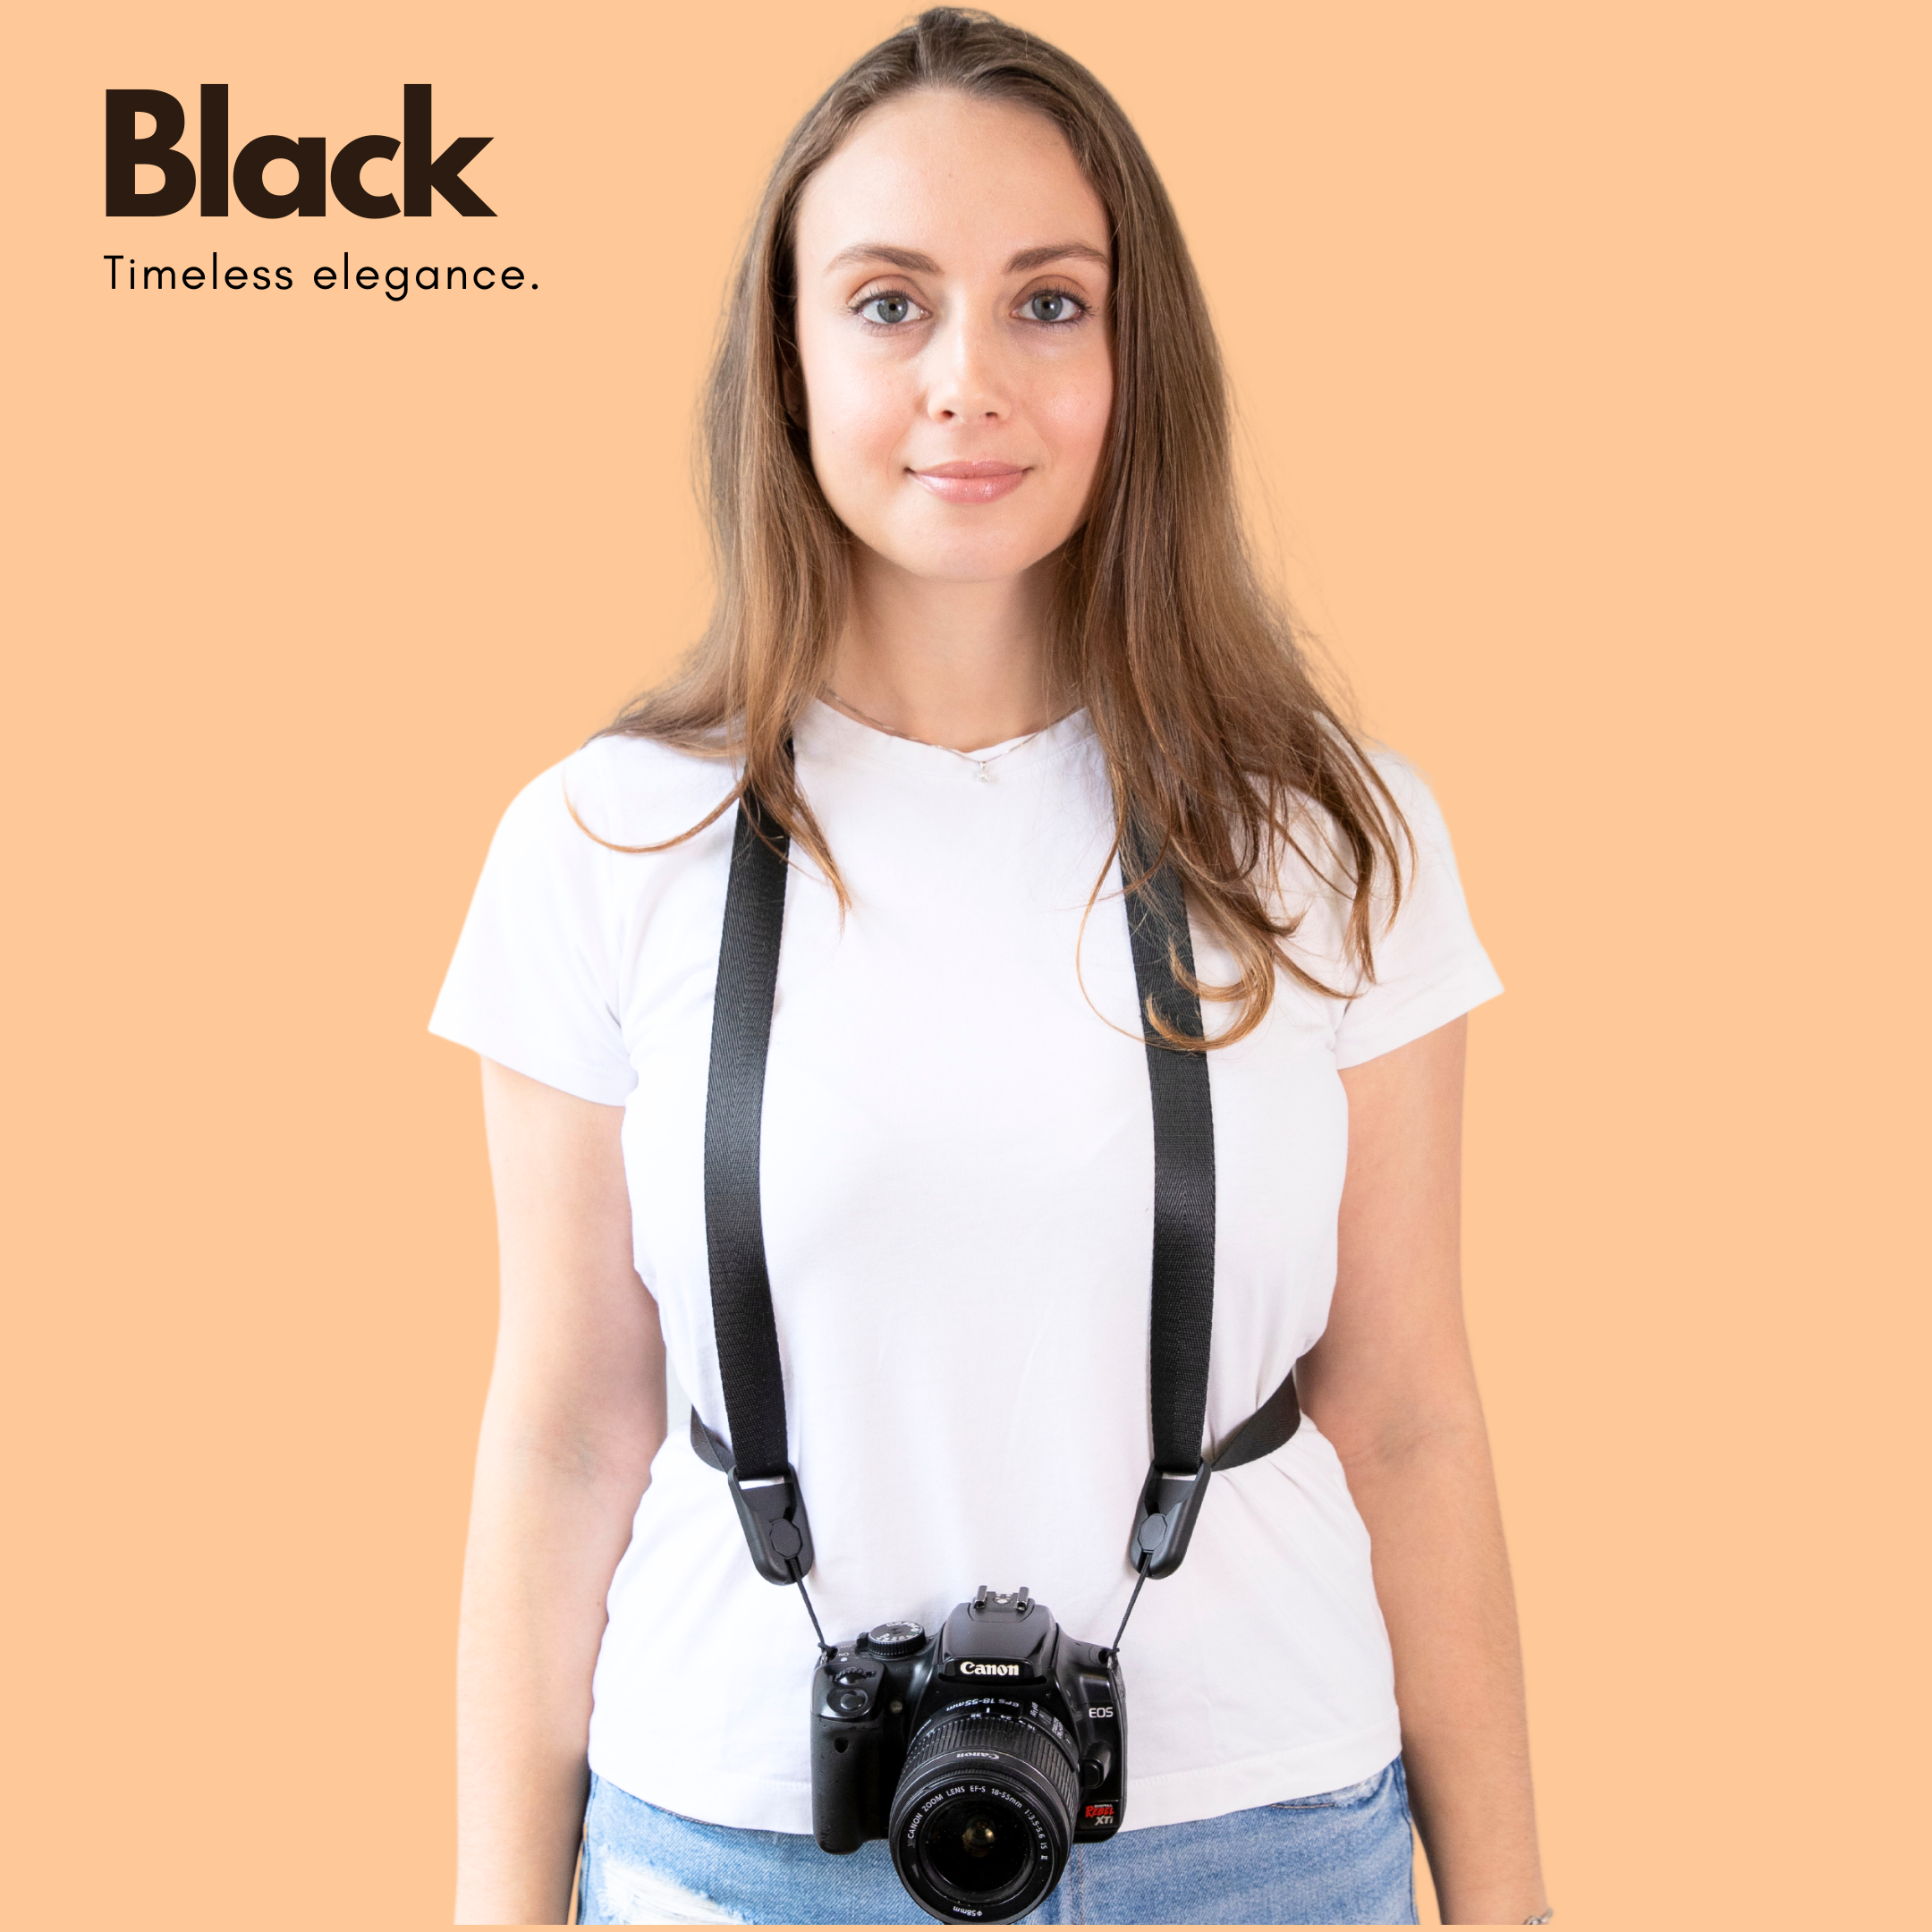
Bracketing means making several versions of the same scene at different exposures. A common set is three frames spaced one stop apart.
This method helps when the shoreline has both bright sky and dark foreground. It also helps when the light changes faster than your eye can judge it.
Many cameras can shoot auto exposure bracketing with one press. That makes it easier to catch a safe frame before the cloud edge moves on.
What is bulb mode?
Bulb mode keeps the shutter open as long as you hold the button down or use a remote release. It is used for very long exposures, often beyond 30 seconds. At the coast, bulb mode helps with silky water, light trails, or moving cloud layers at night. A tripod and a remote make the result steadier and easier to control.
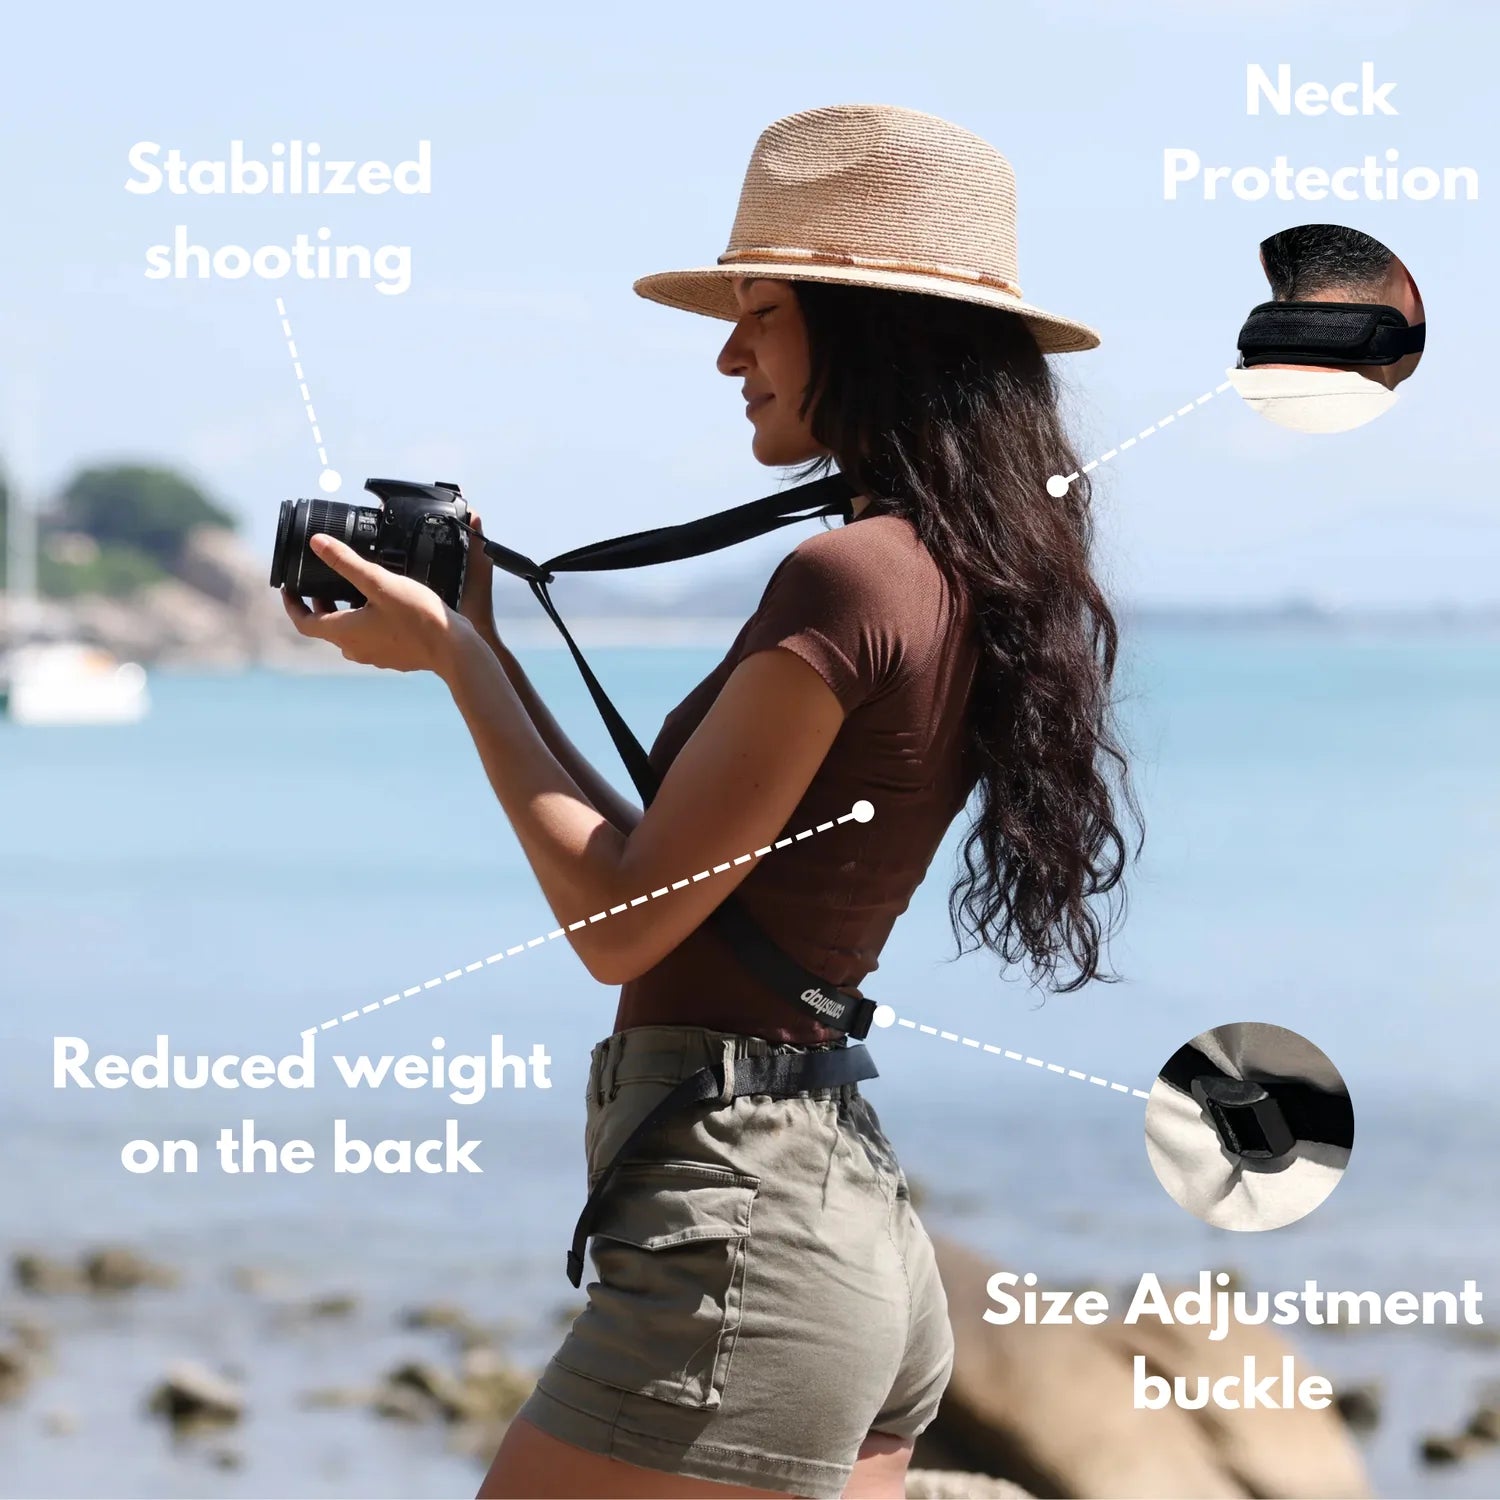
It also needs patience. Wind, spray, and battery drain can all affect the shot, so check the frame after each long exposure.
Coastal light changes faster than many photographers expect because the scene itself keeps moving. Water, sky, sand, and mist all fight for control of the meter.
Once you learn how exposure reacts, the beach becomes easier to read. Use compensation for glare, bracket when the range is wide, and choose shutter speed with motion in mind. Stay ready for the next shift in light. On the shore, the best frame often arrives just after the last one, when the clouds part for a few seconds and the surf turns silver.
Frequently Asked Questions
What does exposure mean in digital photography?
Exposure is the balance of aperture, shutter speed, and ISO that determines how bright a digital photo looks. Changing any one of those three settings affects the final brightness and often requires adjusting the others to keep the same look.
What is bracketing in photography?
Bracketing is taking multiple shots of the same scene at different exposure settings. It helps capture a range of brightness levels when light is changing quickly or the meter is unreliable.
What is bulb mode?
Bulb mode is a camera setting that keeps the shutter open for as long as the shutter button is held down. It is used for very long exposures, such as night scenes or light trails.
What is exposure compensation?
Exposure compensation is a camera adjustment that tells the meter to make the image brighter or darker without changing the basic shooting mode. Positive compensation adds brightness, while negative compensation darkens the frame.


