


- Check legality, exit routes, and obvious structural red flags before entering.
- Use a wide aperture, steady support, and higher ISO to beat low light blur.
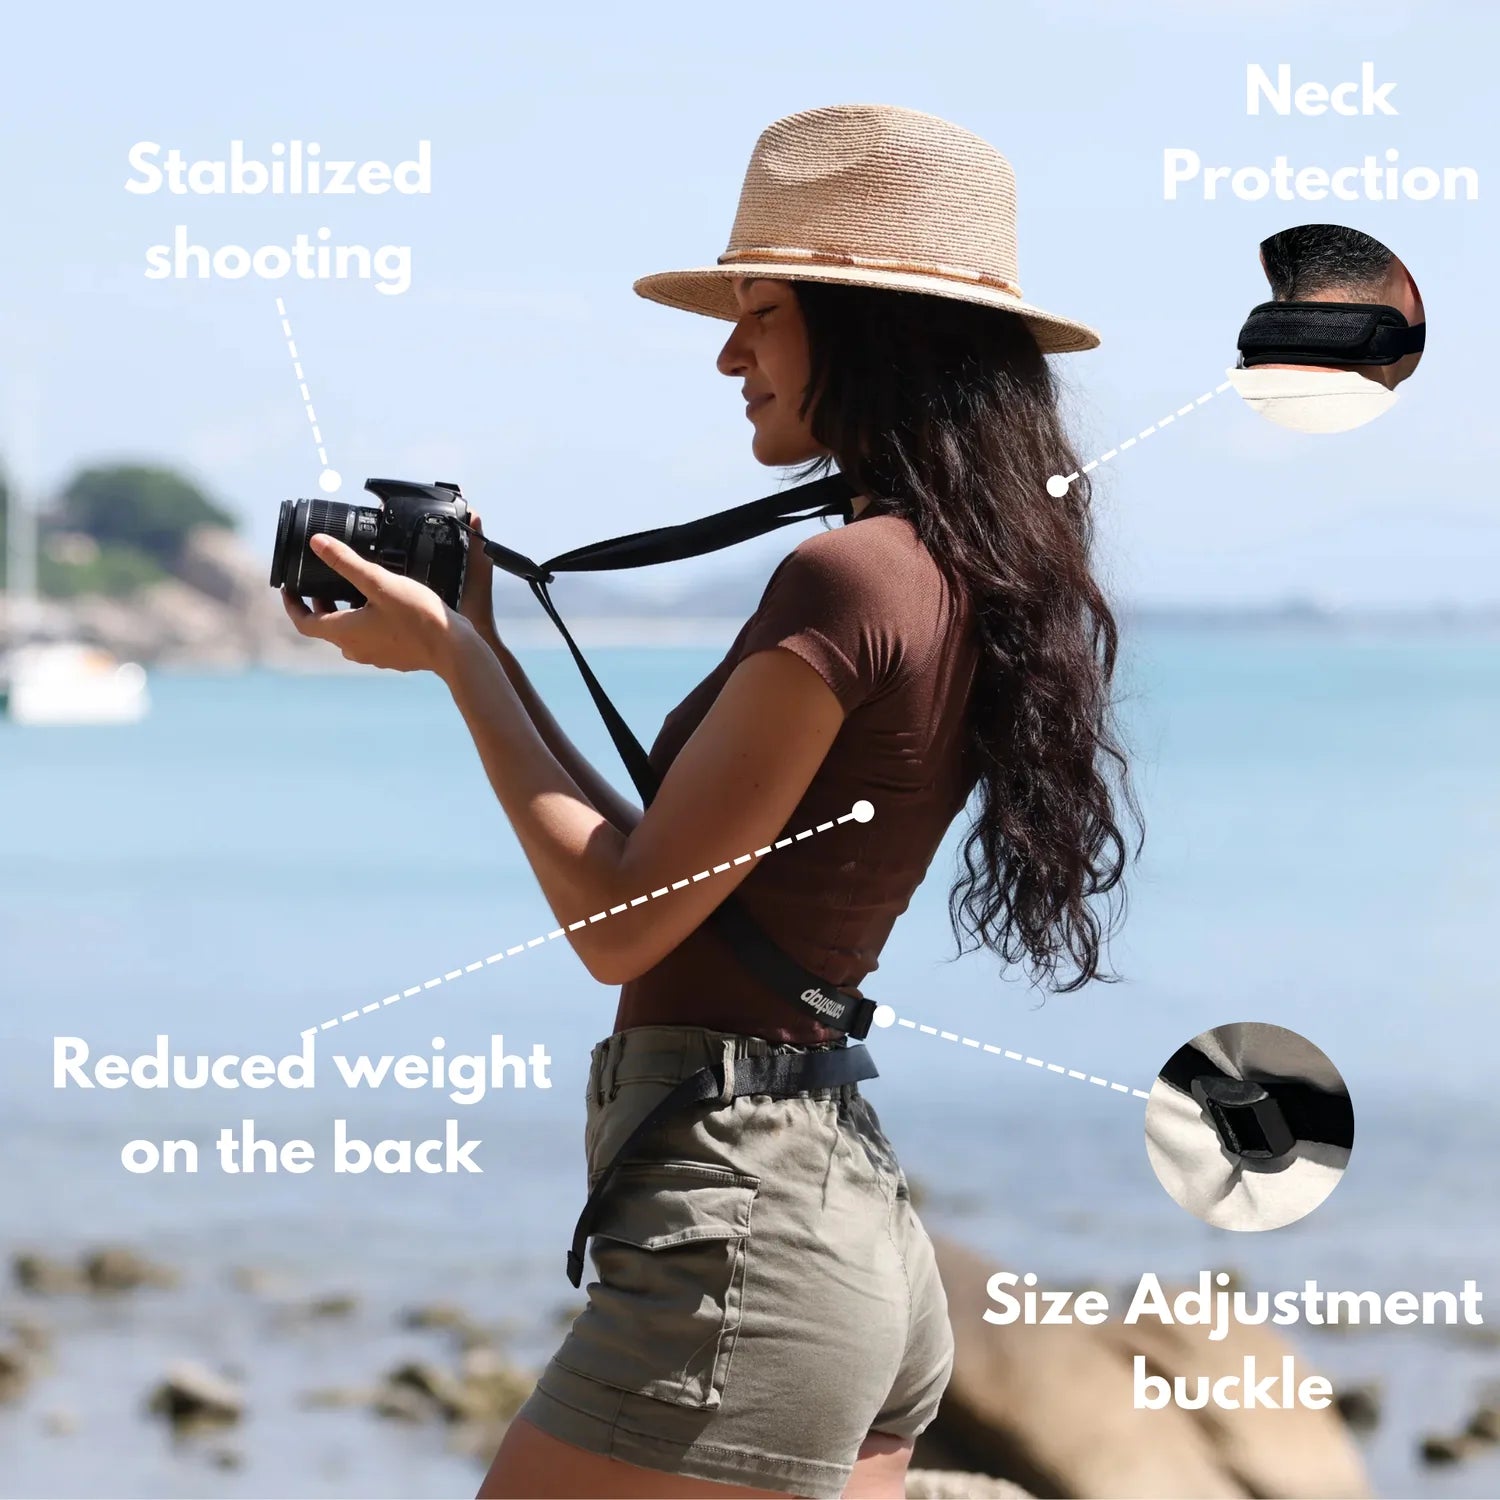
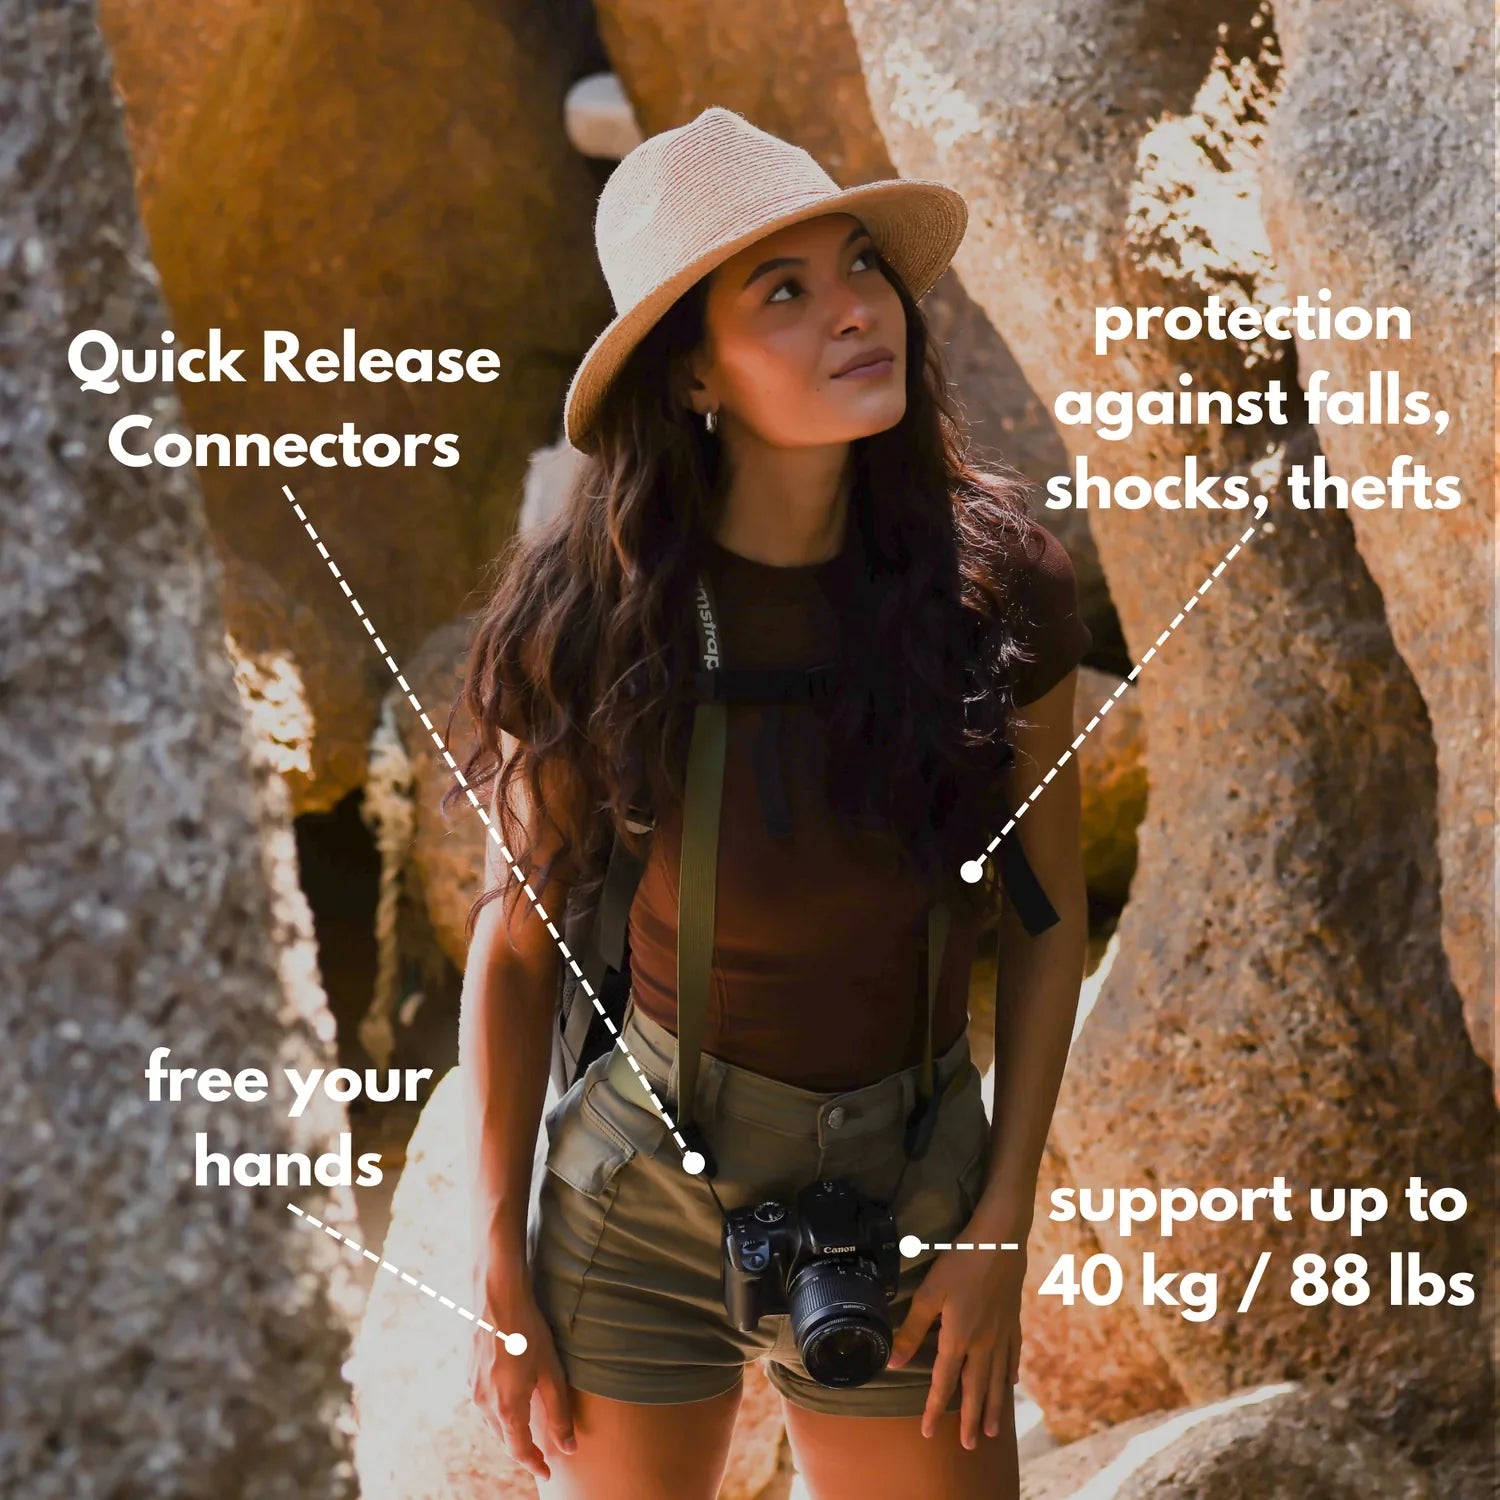
- Carry only essentials: hands-free camera strap, flashlight, phone, and sturdy shoes.

A photography tip for beginners is a simple habit that keeps you safe, speeds up your work, and improves your images in risky places. Before you enter a half-abandoned building, check the legality, the structure, the light, and your exit path.
Translation missing: en.blog_cta.bundle_heading

- Regular price
-
€42 - Regular price
-
€44 - Sale price
-
€42
By choosing the Camstrap strap, you are opting for a high-quality product designed to meet the needs of the most demanding photographers.
- Developed by a physiotherapist to relieve neck and back pain.
- Fast delivery with tracking by the Post Office 🚚
- Can be used as a shoulder strap or hands-free harness

- Regular price
-
€36 - Regular price
-
€42 - Sale price
-
€36
Translation missing: en.blog_cta.free_shipping_included
Old buildings can look quiet from the outside. Inside, they often hide broken floors, sharp metal, weak stairs, and poor light. A calm check before you step in can keep a quick mistake from turning serious.
Check the legal status and the outside first
Start by finding out whether the building is legal to enter. An empty-looking place is not the same as public land, and trespass rules still apply.
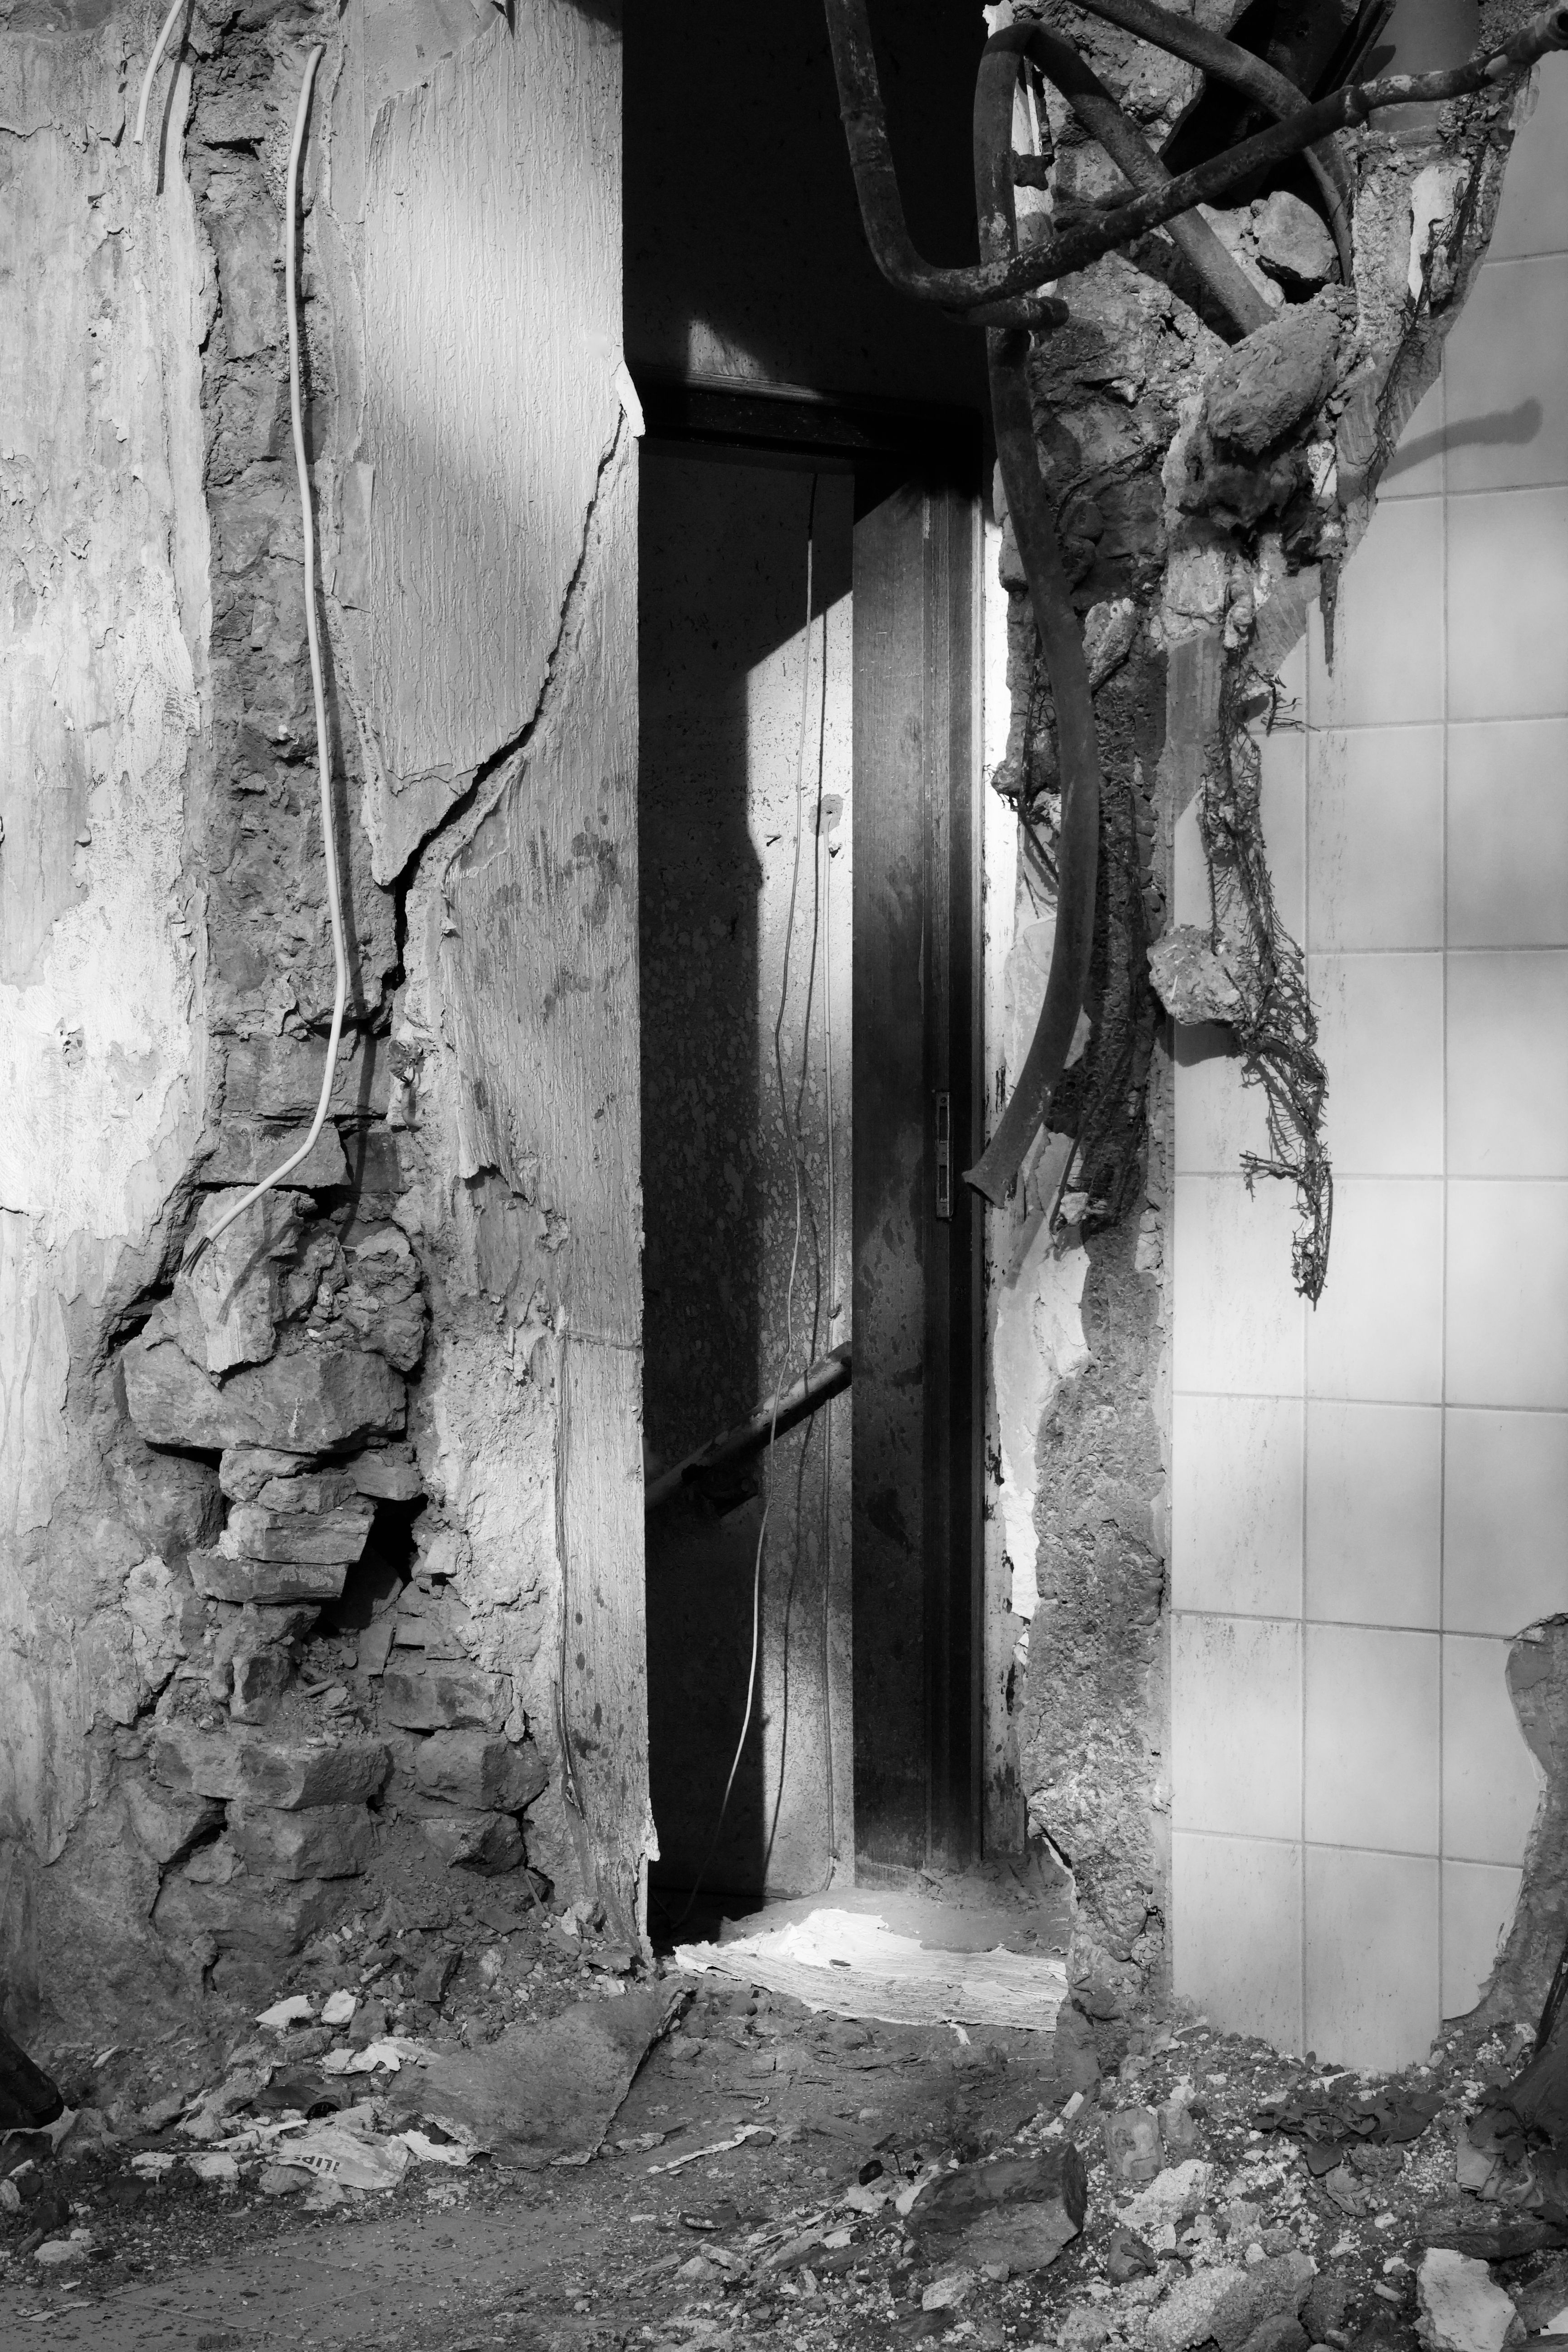
Then look at the exterior from a distance. Fresh locks, warning signs, active workers, new fencing, cameras, or posted notices all signal trouble. If the site looks unstable or sealed, leave it alone.
What to notice at a glance
Spend a minute on the outer shell before you go near the door. Cracks in brick, sagging roofs, loose boards, and leaning walls can all point to real danger.
- Do not enter if the floor near the door looks sunken or soft.
- Avoid places with hanging glass, exposed nails, or broken handrails.
- Skip any room that smells strongly of gas, mold, or burning material.
- Watch for wet patches that may hide weak flooring below.
If you are unsure, walk away. A photo is never worth a fall through bad flooring or a blocked exit.

Read the structure before you cross the threshold
Check the doorway, the first room, and the path behind you before you go deeper. A half-abandoned building can look stable for two steps, then change fast. Use a three-point scan as you move: floor, walls, ceiling. Loose plaster, bowed beams, and broken glass often show up before the real hazard does, and that keeps your attention on the parts most likely to fail.
Watch for the parts that fail first
Floors near sinks, tubs, old vents, and basement edges deserve extra care. Water damage weakens wood and makes hidden holes more likely.
Stairs matter too. If they bounce, tilt, or creak loudly, treat them as suspect. A slow step on the edge can tell you more than a quick glance.

Keep your hands free when you move. A secure, hands-free camera carry helps when you climb stairs, duck beams, and switch rooms in tight spaces. A strap that spreads weight well, like the Camstrap voyager, keeps the camera close without swinging into walls.
Set your camera for dim rooms and mixed light
Aperture, shutter speed, and ISO work together, so each change affects the others. In a dark building, a wider aperture lets in more light, while a lower shutter speed or higher ISO can help balance the exposure.
For a practical start, try f/2 to f/2.8 if your lens allows it. A 50mm lens at about 1/50s is a common handheld floor, and Nikon gives that speed as a good rule of thumb for avoiding blur.
A simple starting point for interior shots

Use manual mode or aperture priority if the light shifts from room to room. Start at ISO 400, then move to ISO 800 if you need a faster shutter speed. That tradeoff can add visible noise, but it may save the frame.
- Set the lens to its widest clean aperture.
- Pick a shutter speed near 1/focal length for handheld work.
- Raise ISO only as much as needed to hold that speed.
- Check the histogram after each room change.
Wide apertures such as f/1.4, f/2.8, and f/3.5 gather more light and can soften the background. Focus gets thinner as the aperture opens, so lock onto the main subject and recheck it often.
Is urban exploration photography safe for beginners?
Urban exploration photography is only safe for beginners when the site is legal, stable enough, and easy to leave fast. A place that looks empty can still hold real hazards, so beginners should start with low-risk sites and short visits.
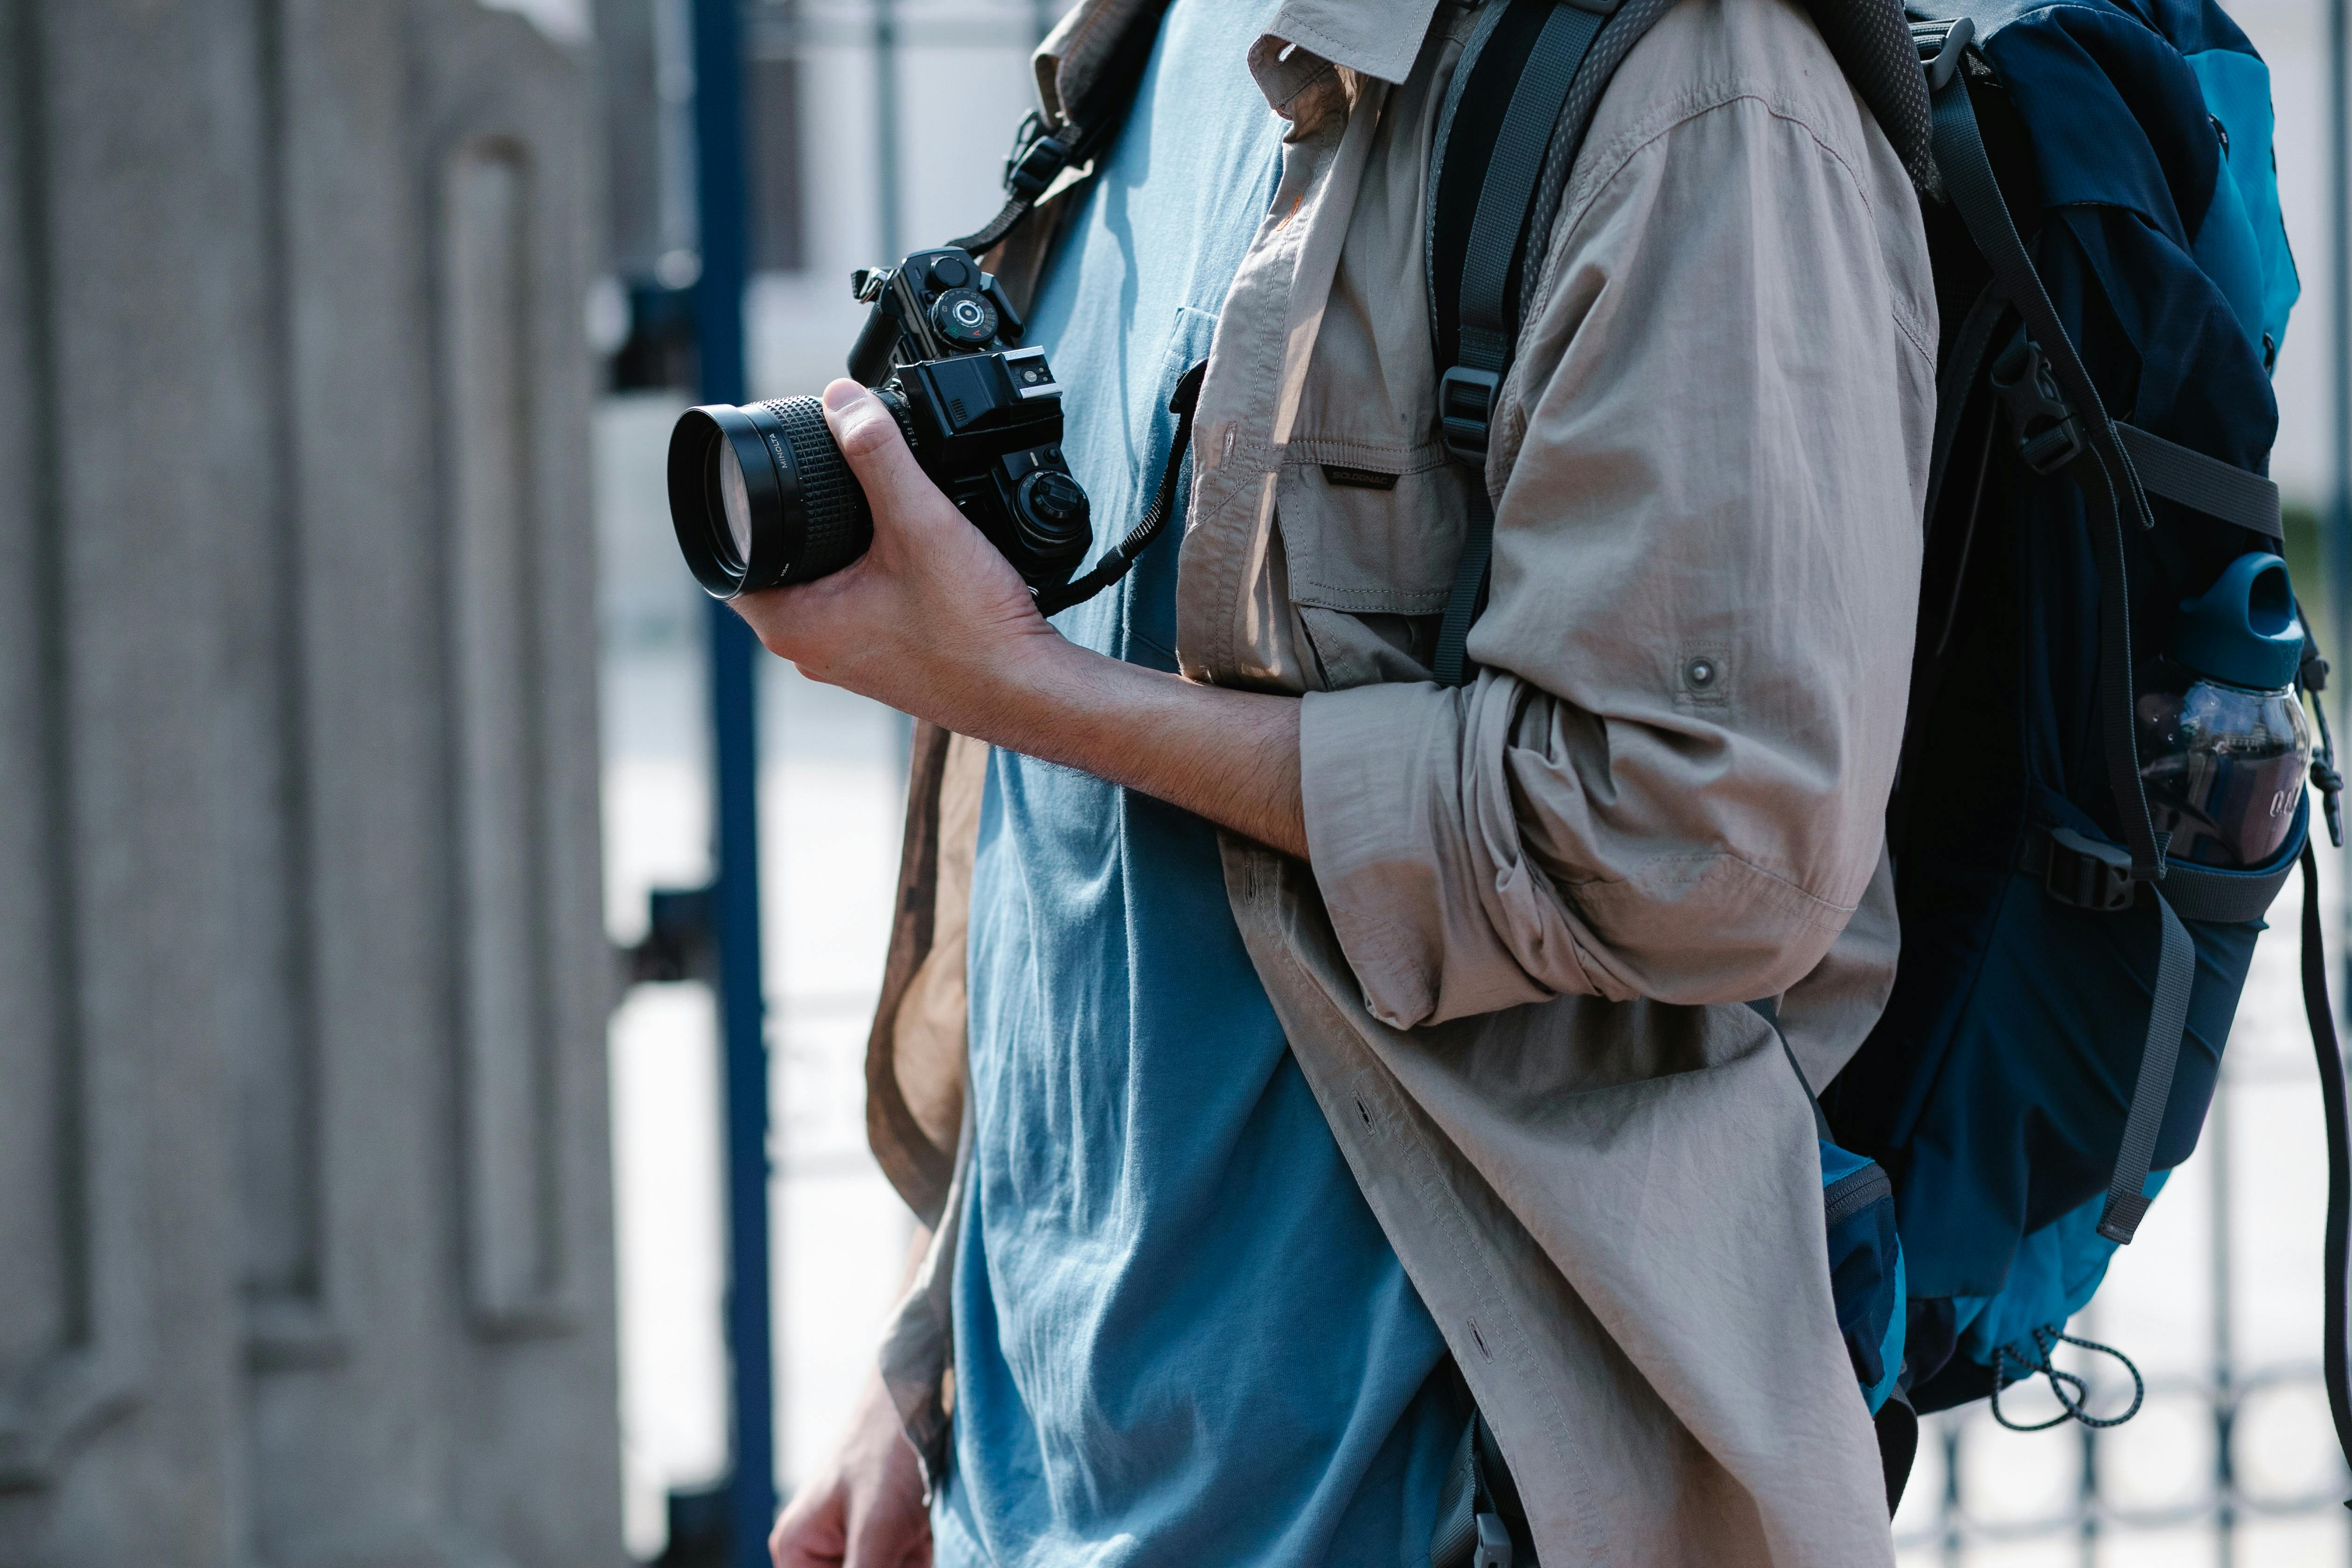
Begin with places that have clear floors, open rooms, and visible exits. A one-room look inside is better than a long walk through an unknown shell. If the first room already feels wrong, turn around.
A beginner-friendly risk check
Check three things before you move far from the door: the ground, the air, and the route out. If any one of them seems bad, stop the visit.
- Ground: no soft spots, holes, or loose boards.
- Air: no strong chemical smell, smoke, or heavy dust clouds.
- Exit: no locked route, blocked hallway, or unstable stairs.
Bring a friend when you can. A second person gives you help, a backup phone, and another set of eyes on the same hazards.

How do I avoid blurry shots in dark abandoned spaces?
Blur in dark rooms usually comes from slow shutter speed, camera shake, or missed focus. Brace the camera, use a wider aperture, and keep shutter speed high enough for handheld work. In dim interiors, press the camera against a wall, doorway, or sturdy ledge if you can. Lens-based vibration reduction can also help, but it cannot fix every shake problem.
Ways to keep the frame sharp
Use continuous AF-C or AI Servo with subject detection if the scene has moving light or dust. Back-button focus helps here because it keeps focus separate from the shutter press.
- Hold the camera with both elbows tucked in.
- Take one breath out before pressing the shutter.
- Use a 1/50s to 1/125s range for many handheld interior frames.
- Raise ISO to 800 before you slow the shutter too far.

Nikon suggests avoiding shutter speeds slower than about 1/focal length for handheld use. That means a 50mm lens wants about 1/50s or faster, while an 85mm lens often needs about 1/85s or faster.
What should I bring for a short urban exploration walk?
A short walk needs a small kit that keeps you light, safe, and ready to leave fast. Carry only what supports the shoot and the exit.
Keep the load simple. Heavy bags catch on broken rails and slow you down when the floor feels weak.
Short kit checklist
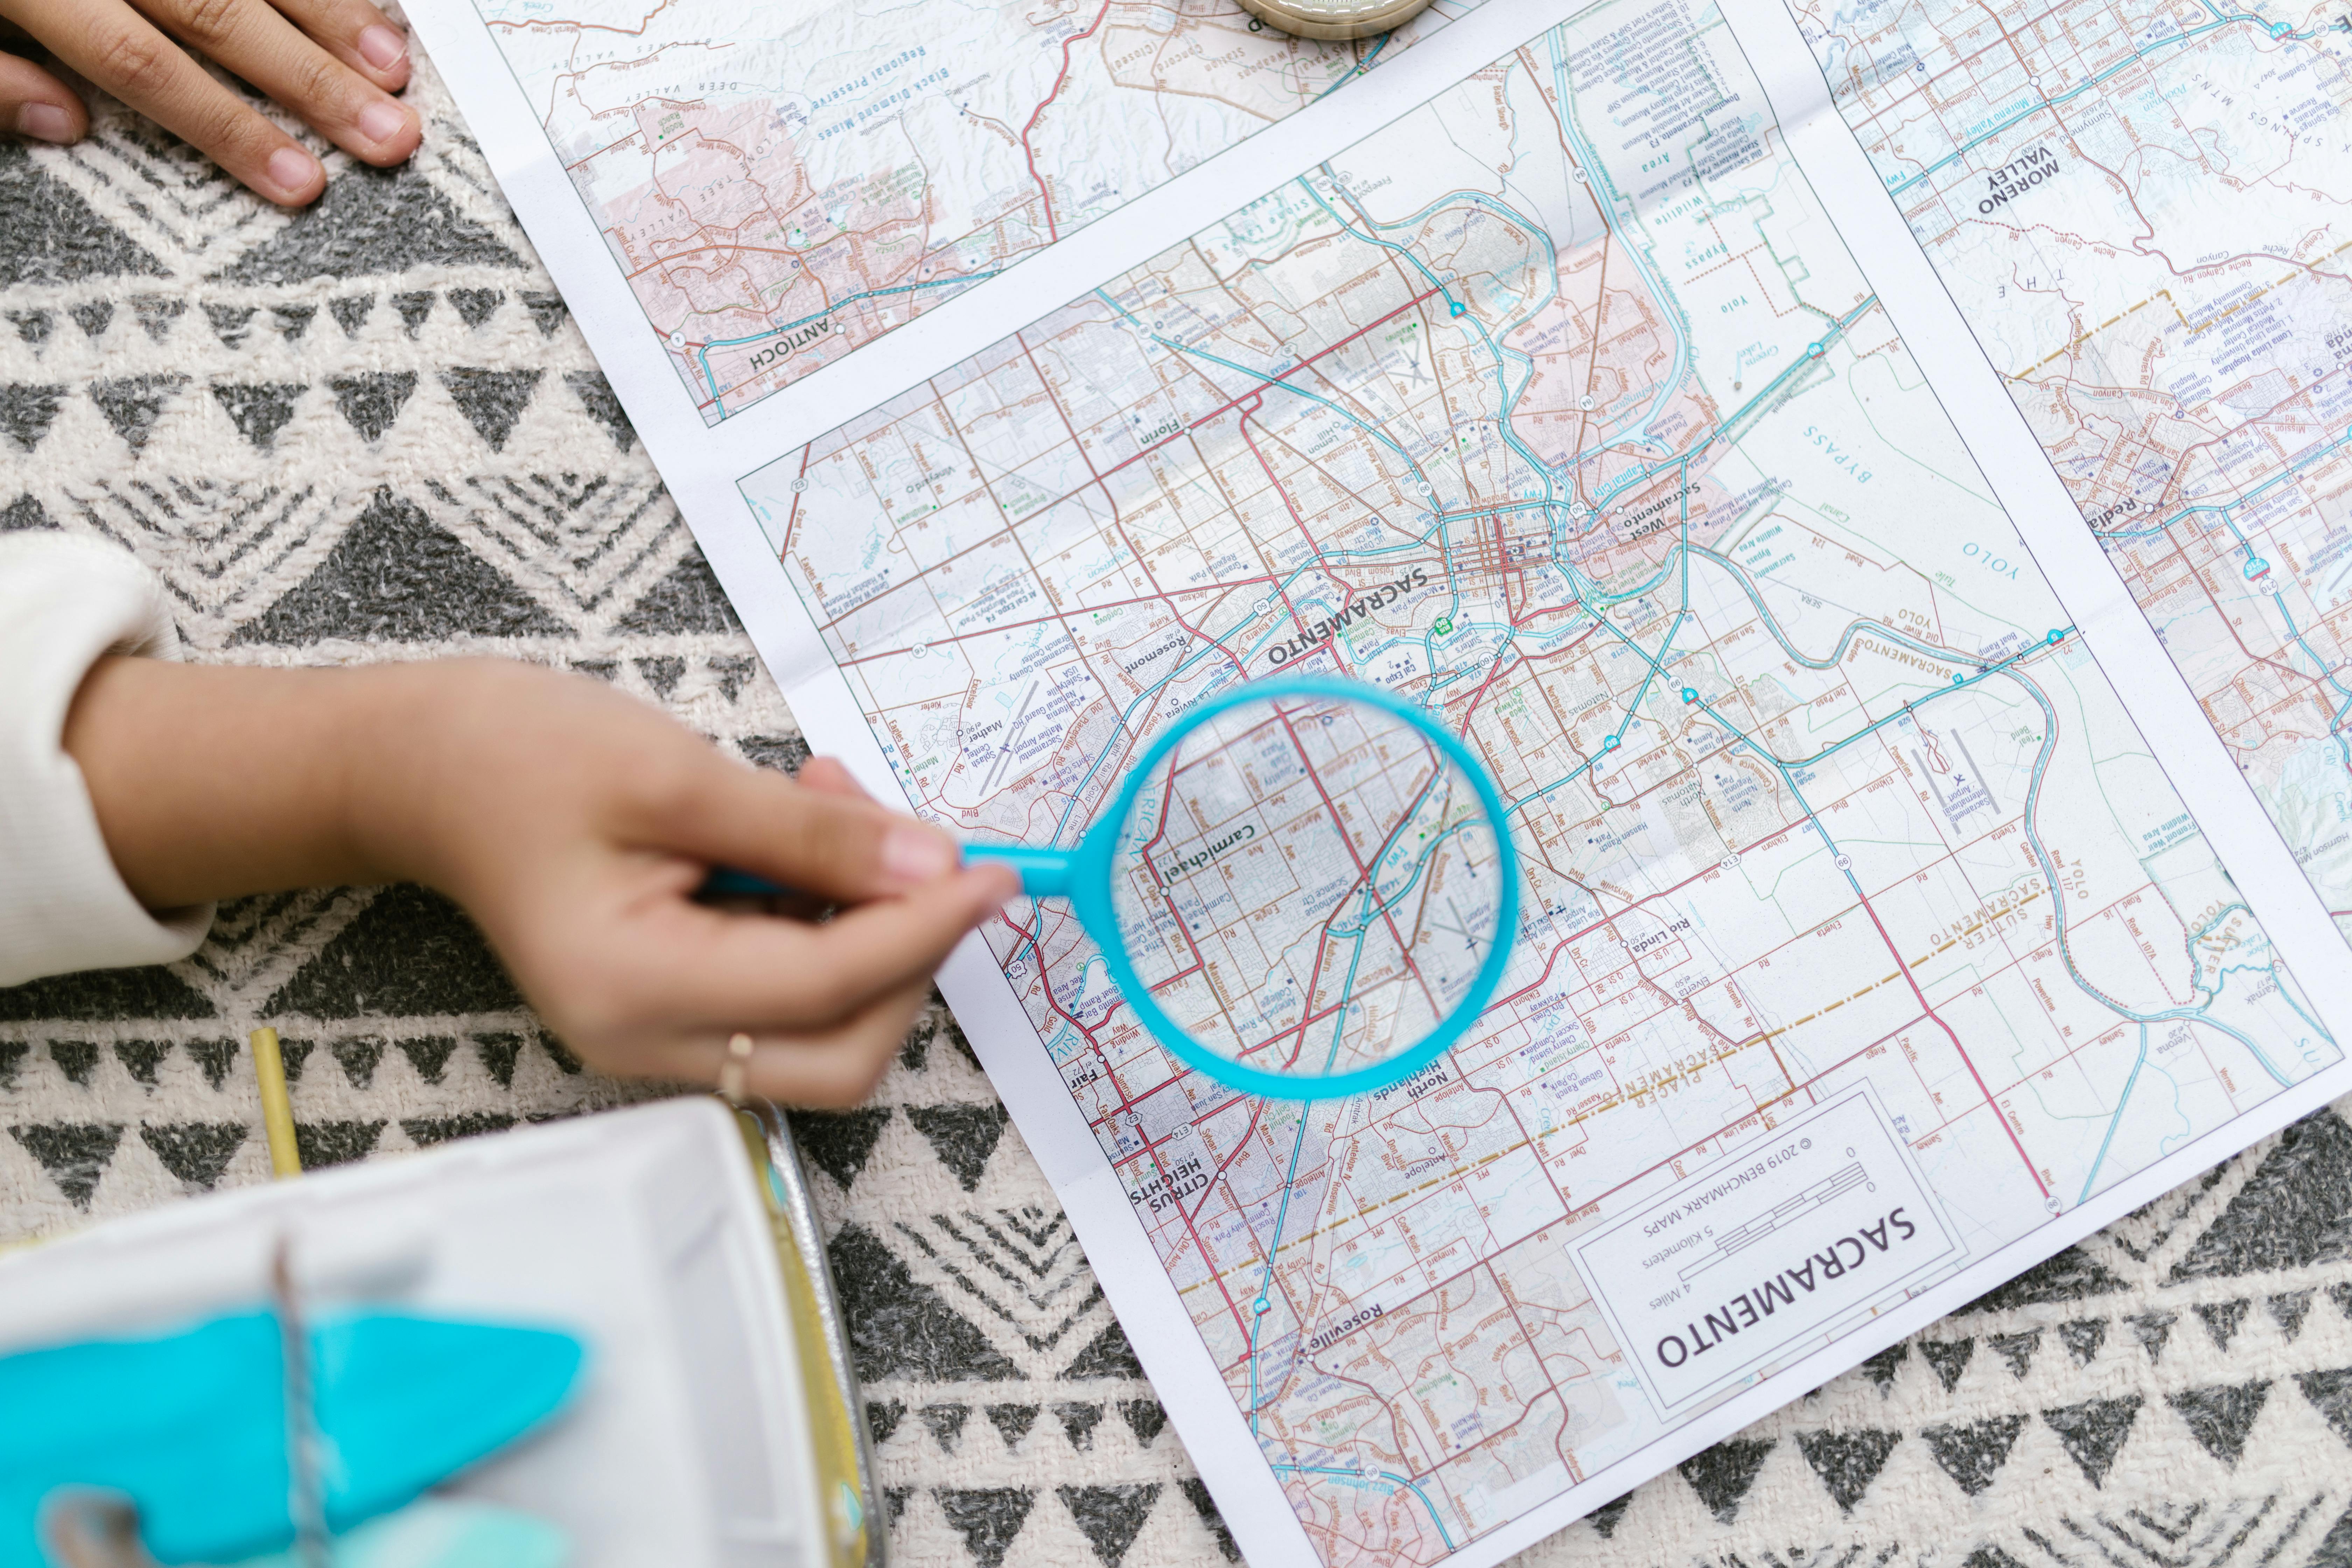
- Camera with one lens, ideally 24-70mm or 35mm to 50mm
- Fully charged battery
- One spare battery
- Memory card with room left for RAW files
- Small flashlight or headlamp
- Phone with location sharing on
- Gloves with grip
- Water bottle
A fast card helps if you shoot bursts in low light or want quick review. UHS-II cards with V60 or V90 ratings suit modern bodies well, while UHS-I can slow write times once the buffer fills. On a mid-tier mirrorless body, a short burst usually will not fill the buffer. The real limit is often RAW file size, card speed, and how long you keep firing, not a quick three-frame sequence.
How do I expose for broken windows and deep shadows?
Broken windows create bright highlights while deep shadows hide detail, so the scene has a wide brightness range. A good exposure choice protects the window first, then lifts shadow detail later if needed.
Use spot metering on the bright edge near the window if you want to save detail there. If you prefer more room in the shadows, bias the exposure a little to the right, then check the histogram so you do not clip the highlights hard.

Balancing bright glass and dark rooms
Start by exposing for the brighter side of the frame. The shadows can often be lifted in editing, but blown window detail is hard to bring back. If the scene is static, bracket three frames at -1, 0, and +1 EV. That gives you options later without forcing one risky guess in the field.
For very contrasty rooms, use your camera’s highlight alert and histogram. Those tools show clipped whites better than your rear screen alone, especially in sunlight.
Can I use a phone for urban exploration photos?
A phone can work well for urban exploration photos when the light is decent and the space is safe enough to hold still in. Modern phones handle wide scenes, quick framing, and simple edits very well.
Use the main rear camera, not the ultra-wide lens, unless you need the extra view. The main lens usually gives cleaner detail in low light and less edge stretch.
Phone habits that help in low light
Tap to set focus on the main subject, then lower exposure a touch if the window area is too bright. Many phones also let you lock focus and exposure together, which helps when you move from room to room.
- Turn on the grid for straighter lines.
- Hold the phone with two hands and brace your elbows.
- Use night mode only when the scene is still.
- Clean the lens before each room change.
Phone cameras work best when you slow down and keep the scene still. For cleaner files later, shoot near a window or doorway instead of deep in the dark.
Leave with a clear plan, not a rushed shot
Before you step in, decide what you need most: safety, one strong frame, or a short set of shots. That choice keeps you from wandering too far into a risky space. Check the building, set your exposure basics, and keep your route out in sight. Move with care, take only the shots that matter, and stop before the place starts to feel uncertain.
If the light drops, the floor feels soft, or the exit gets blocked by debris, leave at once. The best last frame is the one you can walk away from with steady feet and a full memory card.
Frequently Asked Questions
Is urban exploration photography safe for beginners?
Urban exploration photography is not automatically safe for beginners, because half-abandoned buildings can hide broken floors, weak stairs, sharp metal, and poor light. Safety starts with checking legality, structure, light, and the exit path before entering.
How do I avoid blurry shots in dark abandoned spaces?
To avoid blurry shots in dark abandoned spaces, use a wider aperture, a slower shutter only as far as your handholding allows, and raise ISO as needed. A practical starting point is f/2 to f/2.8, with about 1/50s on a 50mm lens as a common handheld minimum.
What should I bring for a short urban exploration walk?
For a short urban exploration walk, bring a hands-free camera carry so your hands stay free for stairs, beams, and tight rooms. A secure strap or carrier that keeps the camera close and stable reduces swinging and makes movement safer.
How do I expose for broken windows and deep shadows?
To expose for broken windows and deep shadows, use manual mode or aperture priority and meter for the bright window areas if detail outside matters most. Mixed light in abandoned buildings usually forces a tradeoff, so bracketing exposures can help capture both highlights and interior shadow detail.
Can I use a phone for urban exploration photos?
A phone can be used for urban exploration photos if it can handle the low light and you keep your movement controlled. Low-light interiors often push phone cameras into slow shutter speeds and higher noise, so stability and careful exposure matter more than the device itself.


