


- Practice flash in manual first: lock exposure, then tweak power and bounce.
- Use the 20-60-20 rule to balance subject, background, and ambient light.
- Face the flash slightly off-axis and add soft front light for flattering portraits.
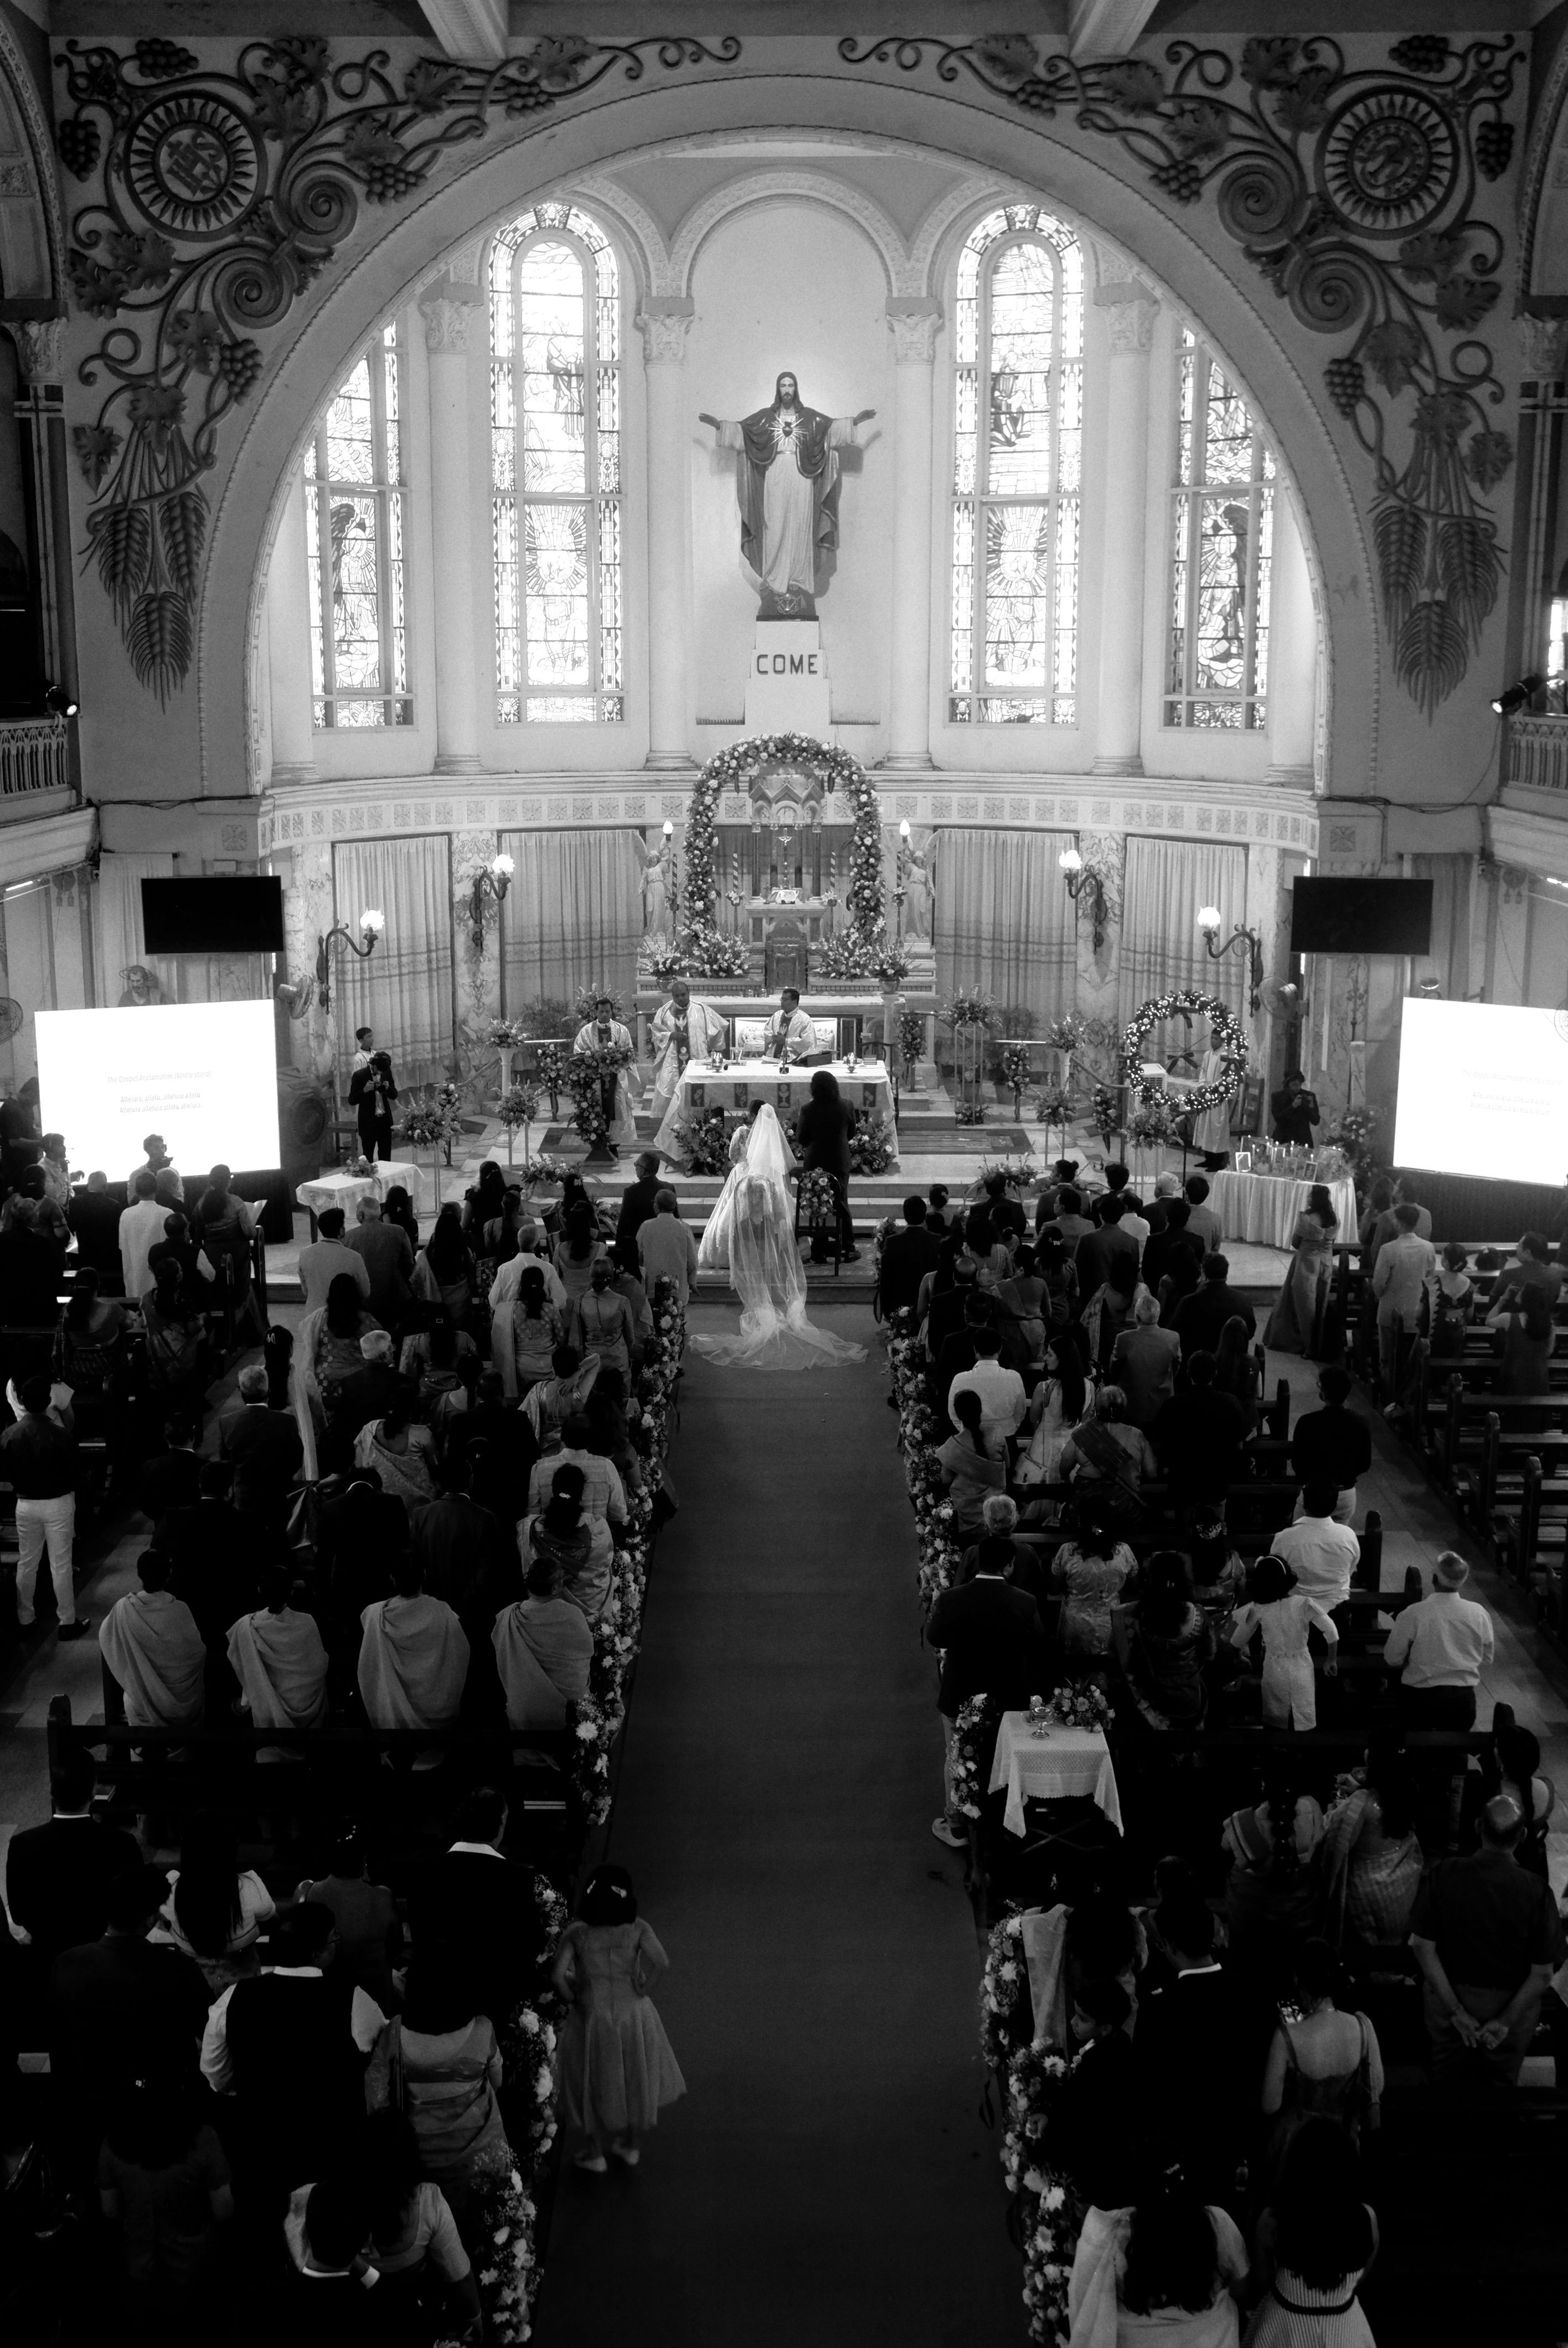
Flash photography tips help photographers add clean light, steady color, and better detail in low light. For a guest wedding shoot across town, I pack for speed, comfort, and backup.
Shop the setup

- Regular price
-
€42 - Regular price
-
€44 - Sale price
-
€42
By choosing the Camstrap strap, you are opting for a high-quality product designed to meet the needs of the most demanding photographers.
- Developed by a physiotherapist to relieve neck and back pain.
- Fast delivery with tracking by the Post Office 🚚
- Can be used as a shoulder strap or hands-free harness

- Regular price
-
€36 - Regular price
-
€42 - Sale price
-
€36
Free shipping included
A guest wedding shoot feels different from a paid all-day job. I’m there to enjoy the event, yet I still need to be ready for the moments that matter. I keep only what I can carry easily, use quickly, and trust once the room gets dark.
Comfort and access lead my carry plan
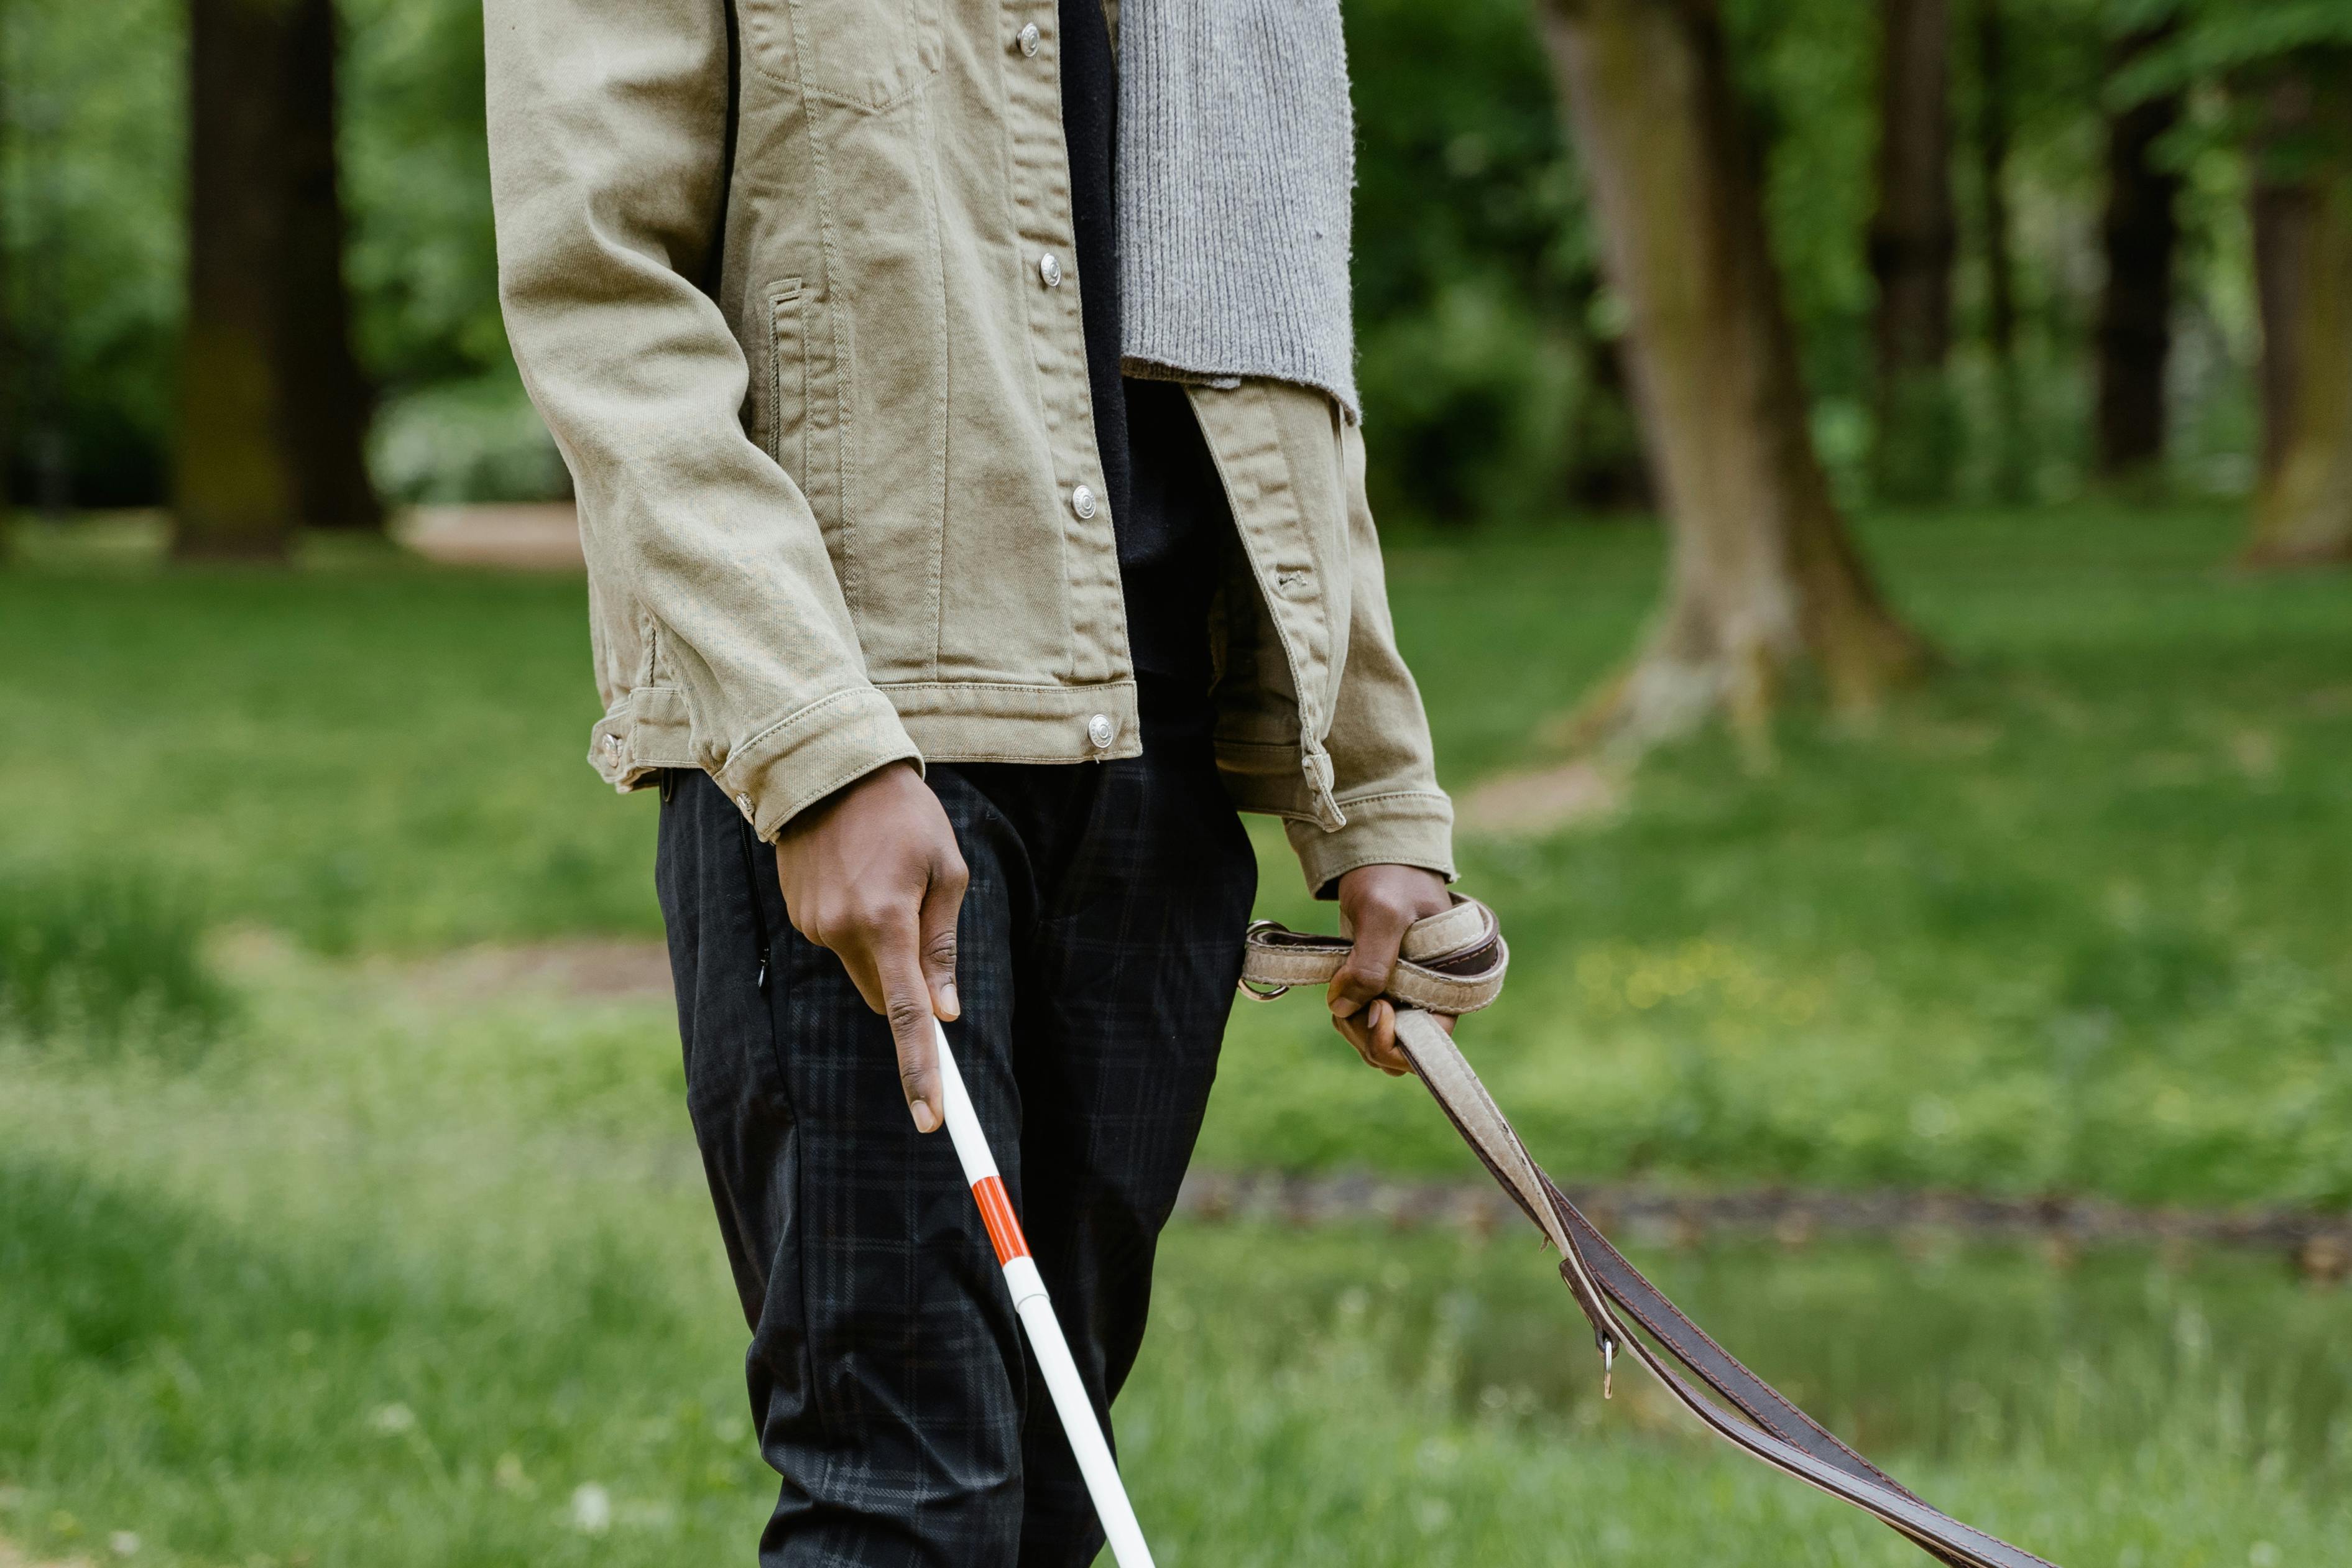
The first thing I pack is a hands-free way to carry the camera. Across town, I want both hands free for a coat, a drink, or a quick hello, and I want the camera ready in seconds instead of buried in a bag. A sling or balanced strap is more useful here than a huge kit. A setup like the Camstrap Voyager works well because it keeps the body close, spreads the weight, and still lets me lift the camera with one hand.
What stays on me during the trip
- Camera body with one lens mounted
- One spare battery
- One spare memory card
- Small lens cloth
- Compact flash unit if the venue is dark
- Phone for timing, maps, and contact notes
I keep this part light on purpose. A short trip across town can still mean stairs, traffic, and crowded sidewalks, so a small, calm setup makes it easier to move fast when the pace changes. Hands-free carry helps during arrival shots and family hugs; I don’t want to set a bag down and miss a moment.
The camera body and lens choices I trust
My main body is a mirrorless camera with reliable face and eye AF. For this kind of shoot, I want quick lock-on, clean high ISO, and enough battery life for a long evening. Dual card slots are a bonus, even for guest work.
The most useful lens range is usually 24mm to 85mm, with a fast prime in the bag. A 35mm or 50mm lens works for candids, while an 85mm lens gives pleasing face shape and room to stand back. If I only bring one lens, I pick a 24-70mm f/2.8 or a fast 50mm.
My small kit gives me the most range
- 24-70mm f/2.8 for general coverage
- 35mm f/1.8 or 50mm f/1.8 for low light
- 85mm f/1.8 for portraits and quiet moments
- Camera with continuous AF-C or AI Servo
- Eye detection turned on for people shots
This mix covers arrivals, table scenes, and quick portraits without heavy swapping. I avoid too many lenses because changes slow me down and add dust risk. A simple kit also keeps my attention on people, not gear.
I don’t choose the fastest lens just because it’s fast. A zoom often gives me more useful frames than a bright prime, and the right choice depends on the room, the light, and how much movement I expect.
How I set up light for the room
I pack a small flash when the venue looks dim or mixed. A speedlight gives me control when ceiling light is weak or warm, and it keeps skin tones more even than high ISO alone.
For flash photography tips that actually work, I start simple: bounce flash when I have a white or light ceiling, and use direct flash only when I have no good surface. I keep the flash in TTL at first, then trim power with flash exposure compensation. That saves time when people move fast.
My basic flash setup for wedding scenes
- Set the camera to manual exposure.
- Start at 1/200s, f/2.8 to f/4, and ISO 800 to 1600.
- Put the flash in TTL.
- Zoom the flash head to match the lens if needed.
- Bounce the light off a pale ceiling or wall.
- Check skin and dress highlights on the rear screen.
This setup gives me a clean base fast. I can nudge ISO up or down instead of chasing every frame, and if the room is very dark, I raise ISO before I push flash too hard because that keeps the light more natural.
Natural-looking flash also depends on angle. I keep the flash off the direct line of the lens when I can, and that small move softens shadows and cuts the flat look that can happen in tight rooms.
Building skill with flash photography
Getting good at flash photography means learning how ambient light and flash light work together. I practice with one flash, one room, and one subject until I can predict the result. The goal is control, not more power.
I start with three checks: ceiling color, subject distance, and background brightness. A white ceiling gives a fast bounce option, while a dark or high ceiling often needs direct flash or a small diffuser. If the subject stands 6 to 10 feet away, TTL usually stays easier to manage.
What I practice before the wedding
- Flash on-camera in TTL
- Bounce flash from white ceilings
- Manual flash at 1/32 to 1/8 power
- Mixing flash with window light
- Changing flash exposure compensation by 1/3-stop steps
I also test one useful habit: I shoot a short burst, then check the face shadow and eye catchlight. That quick review shows me whether the light looks soft or harsh. After a few practice rounds, the flash starts to feel less like a guess.
I don’t wait for the venue to teach me on the day. I test the same flash settings in a living room or hallway before the shoot, and that prep makes the first real frame much easier.
What is the 20-60-20 rule in photography?

The 20-60-20 rule in photography says to spend about 20% of the time on setup, 60% on the main action, and 20% on polish and cleanup. I use that split when I arrive at a wedding guest shoot because the day moves in waves, and it keeps me from rushing early or drifting late.
The first 20% covers gear check, white balance, and a few test frames. The middle 60% is where I stay alert for hugs, speeches, dances, and table moments. The last 20% is for detail shots, backup frames, and one last check of battery and card space.
How the rule helps on a busy day
- Setup: batteries in, card formatted, flash tested
- Main time: follow people, not gear menus
- Wrap time: clean frames, group candids, and safe pack-down
This pattern helps because weddings have clear peaks. If I spend too long on gear early, I miss the first strong moments, and if I stay in main mode too late, I leave without the small images that round out the story. I treat the rule as a pacing tool, not a strict law. It keeps my head clear when the event gets noisy and fast, especially when I’m there as a guest and have less control over the schedule.
How to look better in flash photos?
Looking better in flash photos starts with softer light, a better angle, and less tension in the face. I ask people to turn slightly away from the flash, lower the chin a touch, and relax the mouth. A tiny change in pose can do a lot.
I also try to keep flash from hitting straight-on when possible. Side bounce, ceiling bounce, or a small angle from the camera helps shape the face. In group shots, I make sure the front row does not stand too close to the flash.
Simple pose cues that work fast
- Turn the body 10 to 30 degrees from camera
- Push the chin out a little and down a little
- Keep shoulders loose, not raised
- Use a small smile first, then a bigger one
- Step back if the flash feels too bright
Clothes and skin tone matter too. Dark rooms can make shiny skin look stronger, so I keep a blotting cloth or tissue handy for a quick touch-up. A calm face and even light beat a perfect pose with harsh flash every time.
One useful trick is to watch catchlights. A small bright reflection in the eyes brings life to the frame, and if the eyes look flat, I adjust the flash angle or bounce surface before I keep shooting.
Is it better to raise ISO or use flash?
Flash works better when I need clean subject light and steady color, while higher ISO is better when I want to protect the scene’s mood. I often use both at once, with one tool leading and the other supporting.
If the room is warm, dark, and full of people, I start with flash and keep ISO around 800 to 1600. If the light is already good and I only need a little lift, I raise ISO first and keep the flash off. That choice keeps the room from looking overlit.
My quick decision rule
- Use flash for faces, movement, and mixed light
- Raise ISO for ambient feel and quiet moments
- Keep shutter at 1/160s to 1/200s with flash when possible
- Open aperture to f/2 to f/2.8 when depth of field is not a problem
The tradeoff is simple. Higher ISO adds more noise, but flash can change the mood of the room. I look at the scene and decide which problem matters more.
For a guest wedding shoot across town, that balance is the whole job. I want good light without carrying too much or thinking too hard. With the right body, one or two lenses, a small flash, and a ready carry setup, I can move from arrival to dance floor without slowing down.
By the end of the night, I want my bag to stay light, my battery to have a little left, and my memory cards to hold the best moments. The best pack is the one that lets me stay present at the wedding and still come home with strong, clean frames.

Frequently Asked Questions
How to get good at flash photography?
To get good at flash photography, start with simple bounce flash and practice with one small speedlight until you can control direction, softness, and skin tone. Flash photography skills improve fastest by using flash in different rooms, adjusting power and angle, and learning when direct flash is useful.
What is the 20-60-20 rule in photography?
The 20-60-20 rule in photography is a planning rule that splits attention into three parts: the first 20% for getting oriented, the middle 60% for steady shooting, and the last 20% for capturing the most important moments and final details. It helps photographers stay ready without carrying too much gear or overcomplicating the session.

How to look better in flash photos?
To look better in flash photos, use bounced flash when possible because it gives softer light and more even skin tones than harsh direct flash. Flash photos also look better when the light comes from slightly above or to the side, rather than straight-on at face level.
Is it better to raise ISO or use flash?
Flash is better than raising ISO when the venue is dark and controlled light is needed, because a speedlight gives steadier color and more even skin tones. Raising ISO is better when flash would be distracting, unwanted, or too slow to set up, and the camera can still handle low light cleanly.


