


- Make the eyes the first stop by isolating the face from visual distractions.
- Use the 20-60-20 balance to place most interest on the subject, not the scene.
- Create separation with distance, longer focal lengths, and a wide aperture.

Focal point photography means guiding the eye to one clear subject while the rest of the frame supports it. In a park portrait, the person needs to stand apart from trees, paths, signs, and bright gaps behind them. Park scenes can look simple at first, then shift in a heartbeat. A bench edge, a trash can, or a pale fence can pull attention away from the face in seconds.
Translation missing: en.blog_cta.bundle_heading

- Regular price
-
€42 - Regular price
-
€44 - Sale price
-
€42
By choosing the Camstrap strap, you are opting for a high-quality product designed to meet the needs of the most demanding photographers.
- Developed by a physiotherapist to relieve neck and back pain.
- Fast delivery with tracking by the Post Office 🚚
- Can be used as a shoulder strap or hands-free harness

- Regular price
-
€36 - Regular price
-
€42 - Sale price
-
€36
Translation missing: en.blog_cta.free_shipping_included
Why park backgrounds turn cluttered
Outdoor clutter comes from shape, color, and placement. A busy background does not have to be ugly to distract; it only has to compete with the face for attention.
Bright patches are a common trap. Sunlit leaves, pale sidewalks, and people moving in the distance can all break the calm of a portrait frame.
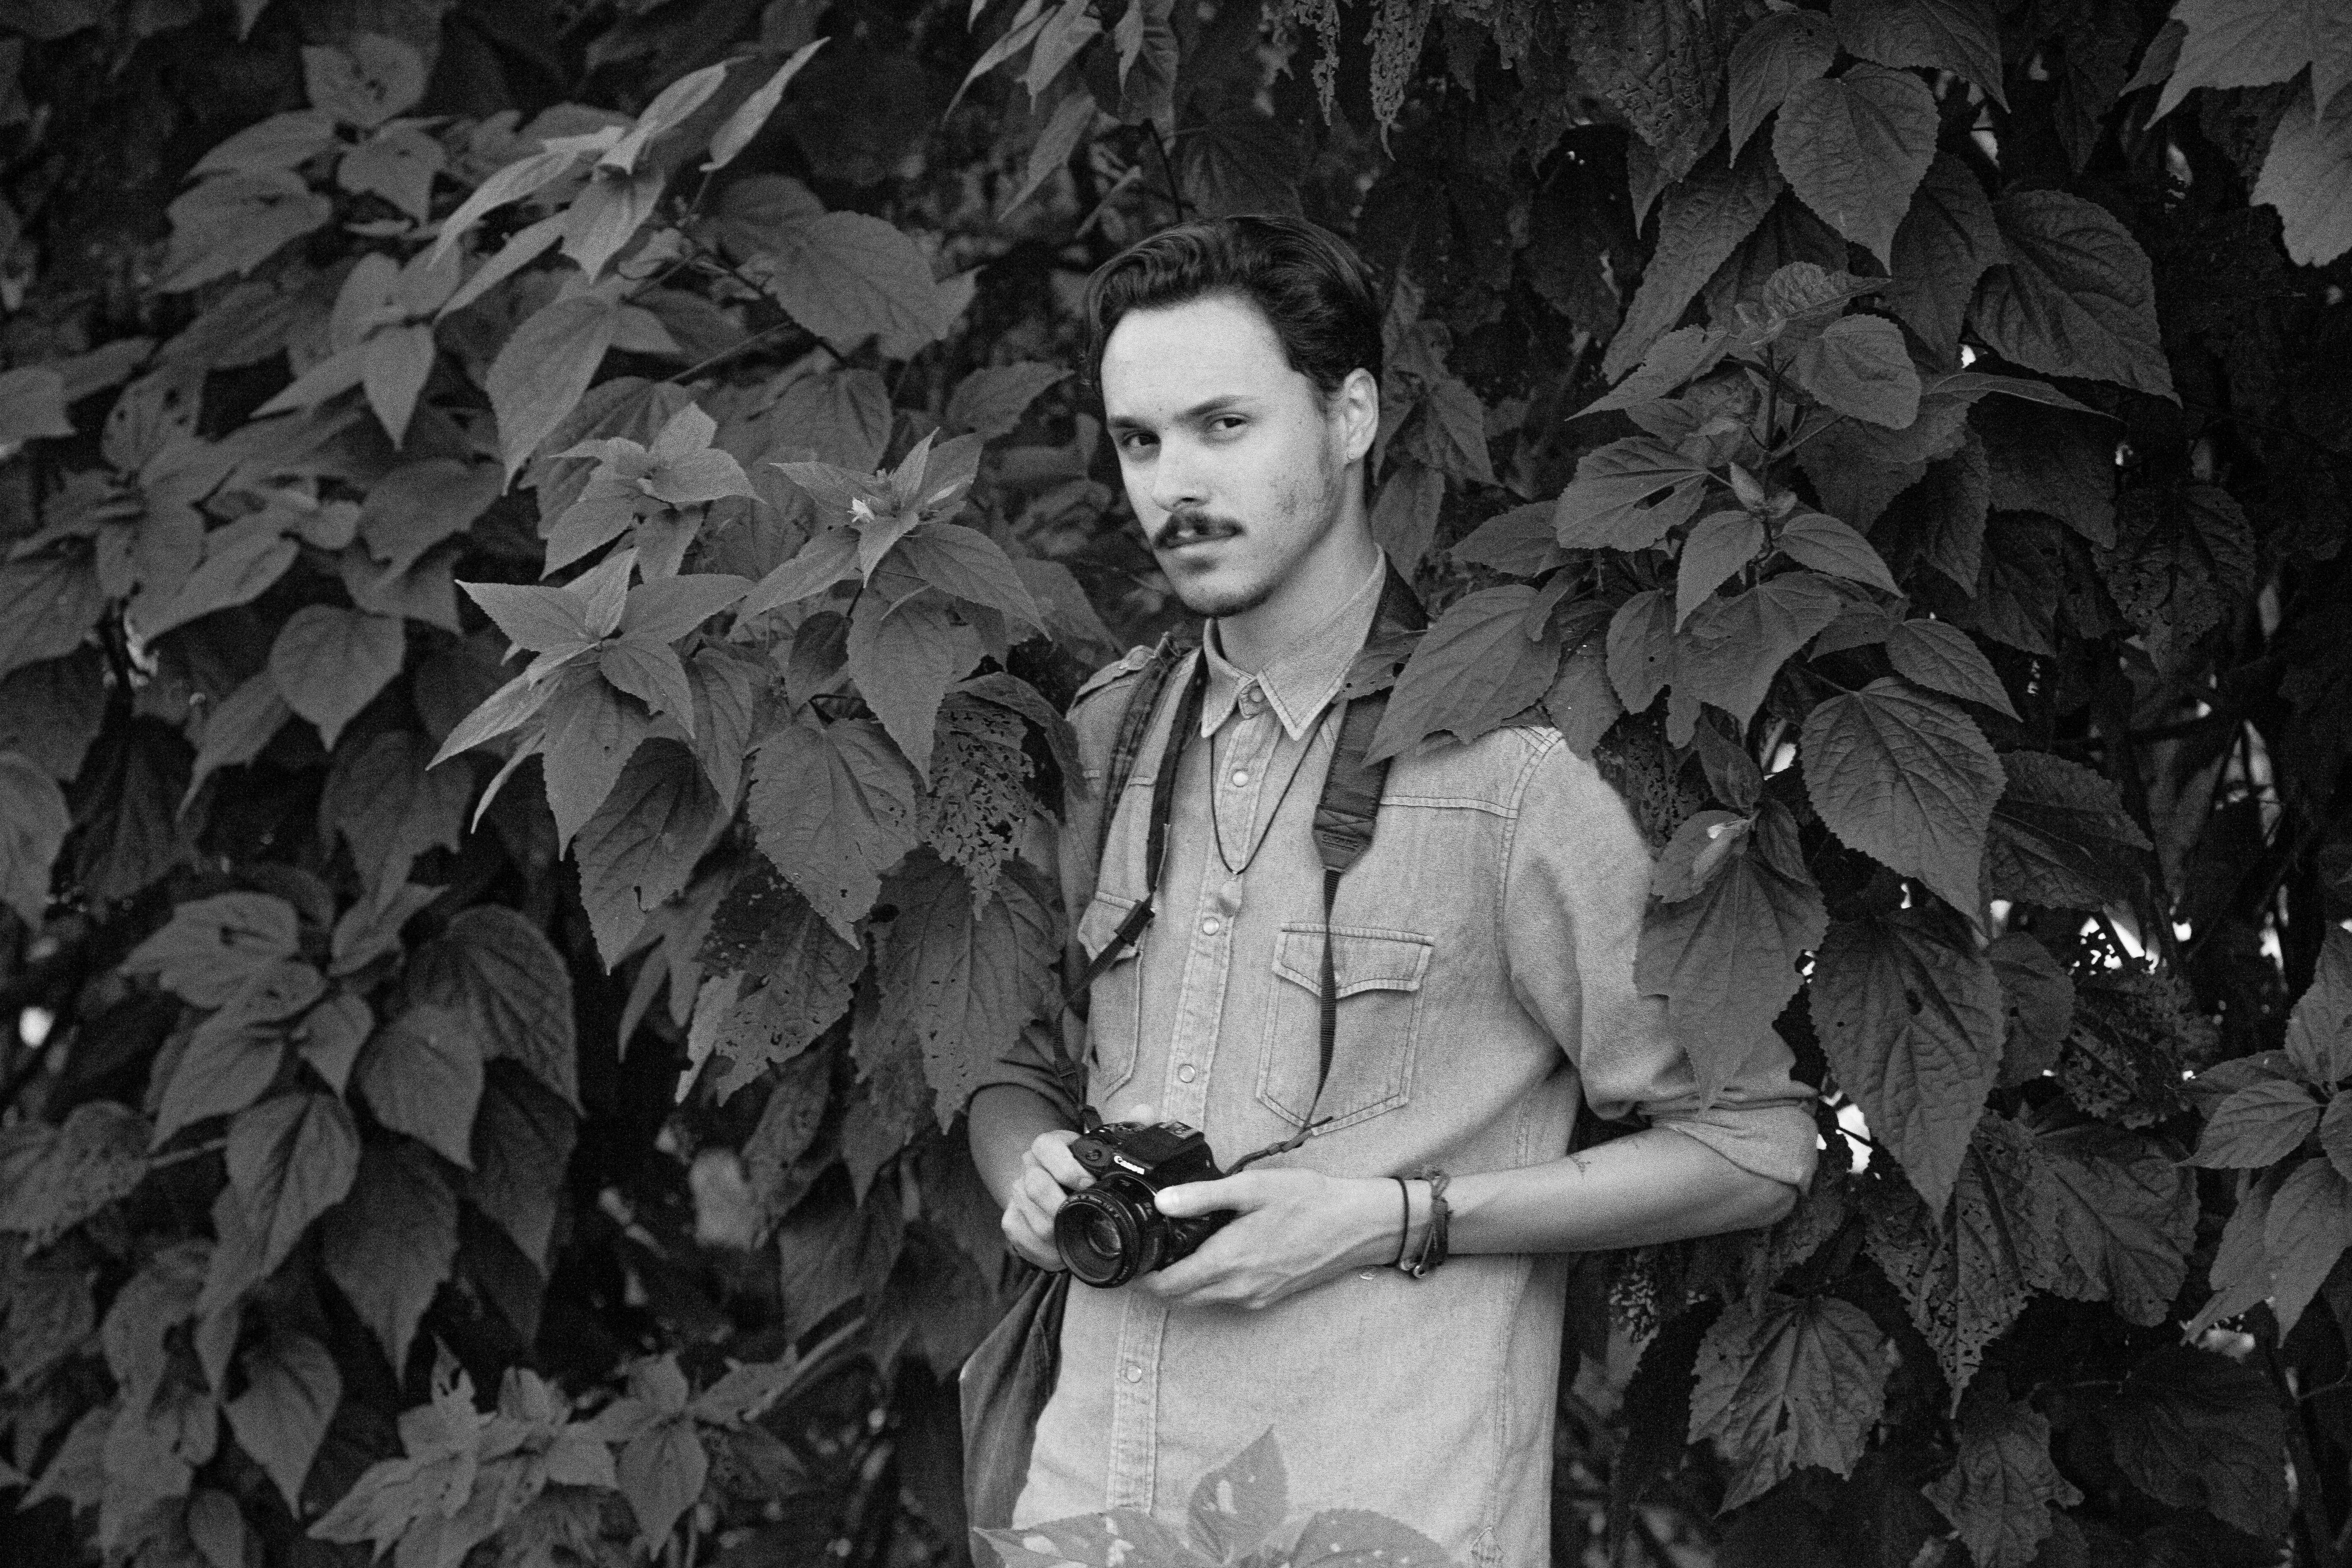
Common trouble spots to look for
- Tree trunks that seem to grow out of the head
- Path lines that cut across the face
- Light spots behind dark hair
- Benches, signs, and railings near the shoulders
- Faces or dogs passing in the far background
Background clutter gets worse when the subject stands too close to it. Separation is the first fix, and it matters more than almost any edit later.
A cleaner frame starts with simple setup
Longer focal lengths around 50mm to 85mm compress the scene and make clutter feel smaller. A wide aperture near f/2 to f/2.8 softens the background while keeping the eyes sharp. For park portraits, step back, zoom in, and let distance do some of the cleaning.
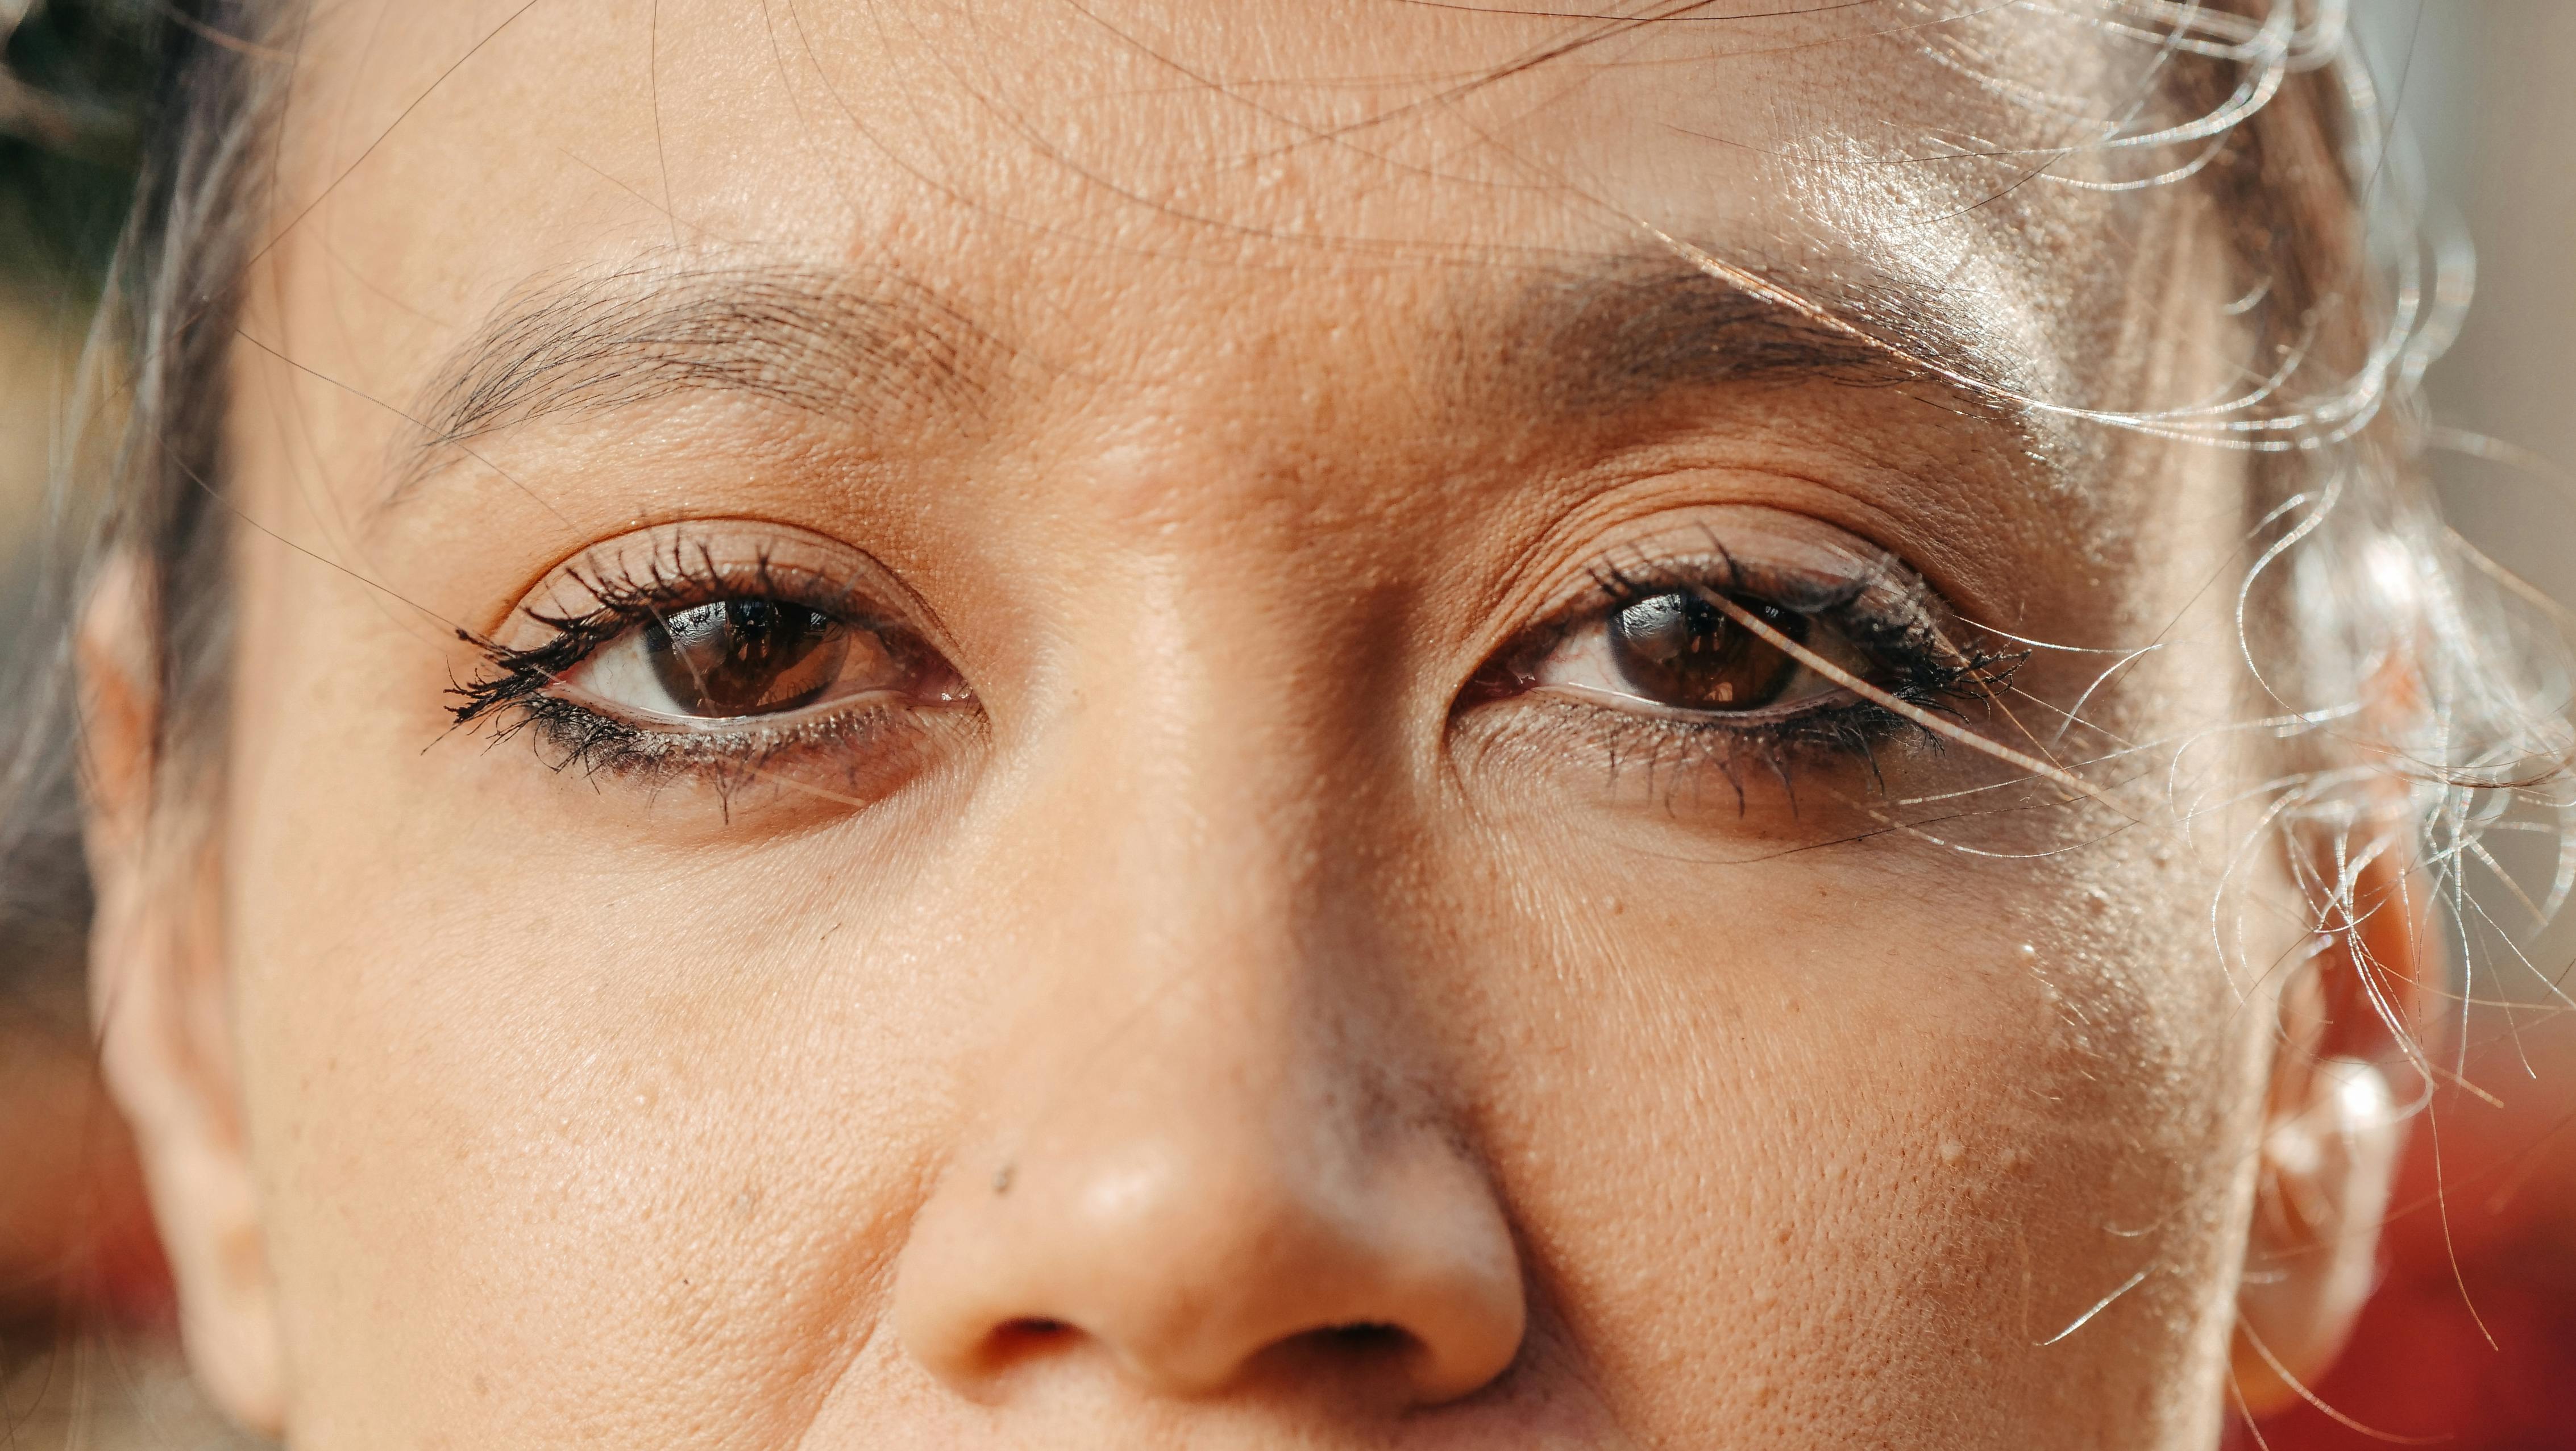
Distance does the heavy lifting
Place the subject well away from hedges, fences, and benches. Even a few extra feet can change how soft the background looks.
One education source notes that 85mm at f/2.8 from 2 meters can leave only about 8–12 cm of depth of field. That is narrow enough to keep the face crisp while the scene behind it fades away.
For a headshot, I reach for an 85mm prime around f/1.8 to f/2.8. For a wider full-body view, 50mm to 85mm at about f/2.8 to f/4 gives more room while still keeping the subject separated from the park.
What a focal point is in photography

A focal point is the part of the image that grabs the viewer’s eye first. In a portrait, that is usually the eyes, face, or upper body. In park work, the focal point should win the frame fast. If the eye lands on a bright sign or a shiny path first, the portrait loses its pull.
How the 20 60 20 rule works
The 20 60 20 rule is a framing guide that splits visual weight across the image. About 20% of the frame holds strong interest, about 60% supports it, and about 20% gives the eye rest.
In a park portrait, the face can carry the main 20%, the body and nearby surroundings fill the middle, and a calmer open area gives balance. The rule helps you avoid a frame that feels crowded from edge to edge.
What a focal point is meant to do

The purpose of a focal point is to control attention. It tells the viewer what matters first and what can stay soft or simple. In a park, that counts even more because nature already gives you plenty of detail. A clear focal point keeps the portrait from turning into a scene report.
How to find the focal point
The focal point is where the sharpest focus and the strongest visual pull meet. In portrait work, that spot should usually sit on the near eye.
On most mirrorless bodies, use AF-C or continuous AF with eye detection. On a DSLR, AI Servo with a single focus point works well. If the camera offers subject detection, turn it on and check that the eye box locks where you want it.
Look at the scene through the viewfinder or EVF before you shoot. Ask one quick question: where does my eye go first?

Fast ways to check in the field
- Turn on eye or face detection.
- Put the focus point on the near eye.
- Half-press or lock focus, then reframe only a little.
- Review one frame at 100% zoom and check the eye.
If the face is sharp but attention goes to a bright pole behind it, the frame still fails. Focus and attention must agree.
How to place your subject for a cleaner park portrait
Good placement solves more clutter than any filter. I start by moving the subject a few steps left, right, and forward before I touch the camera settings.

That small shift can hide a pole, break a bad line, or move the head away from a bright patch. It also gives the lens more room to soften what stays behind the subject.
Work with the scene in layers
Think in three layers: subject, middle space, and background. The subject should sit in the cleanest layer you can find, with the background pushed far back. A row of trees can help if it stays soft. The same row can hurt if branches cross the head or shoulders.
For walking portraits, a hands-free strap helps here because it keeps the camera ready while you move. A strap like the Camstrap voyager makes quick reframing easier, since the camera stays close and can be lifted fast when the light or background improves.
Camera settings that cut distractions
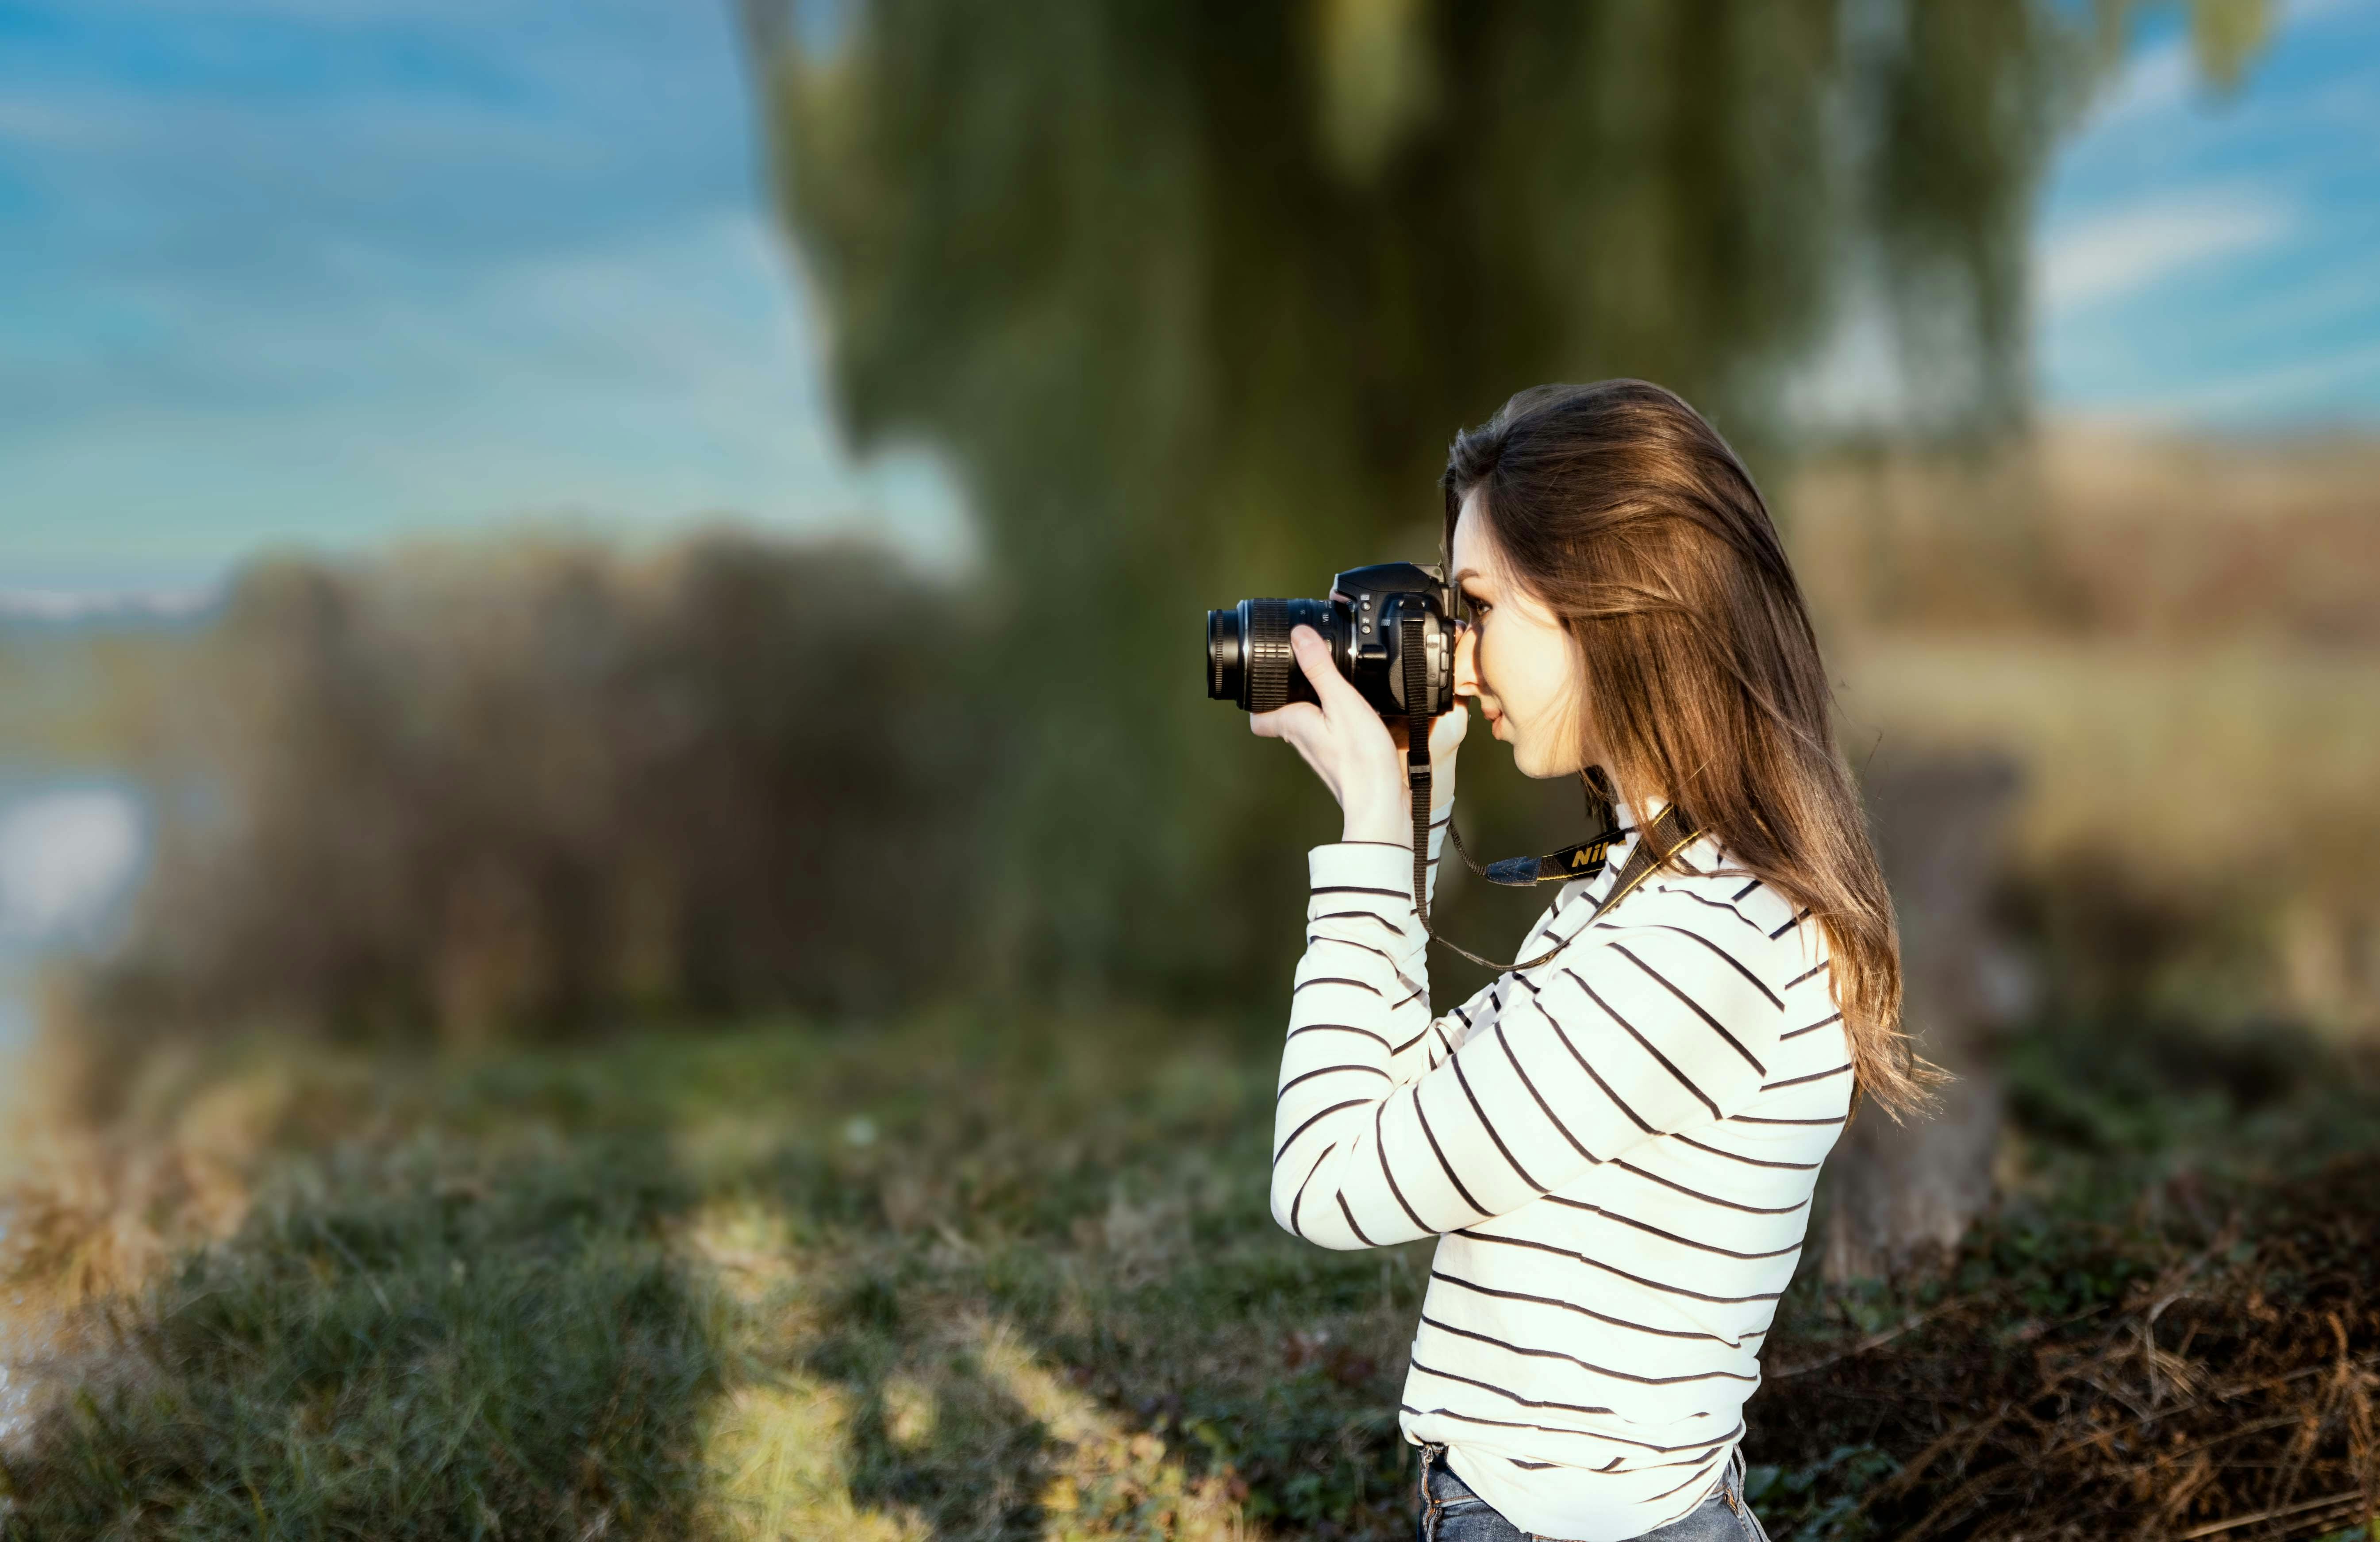
Aperture is the first setting I change for cleaner separation. Around f/2 to f/2.8 gives a strong blur, but it also narrows depth of field, so the focus point must stay exact.
Shutter speed should stay high enough for people who move while posing. Around 1/500s is a safe start for natural walk-and-turn portraits, especially when you are shooting in changing park light.
ISO should support the shot, not save it at the last second. In open shade, ISO 100 to 400 is often enough. Under trees, ISO 800 or more may be needed if you want to keep that shutter speed.
Gear choices that pay off in real use
- 50mm to 85mm lens for better background compression
- AF-C or AI Servo for moving poses
- Eye detection for fast focus on the face
- Single focus point if the camera keeps drifting
- RAW format for more room to balance bright leaves and dark clothing later

Buffer depth can matter if you shoot short bursts during a walk. Many mid-tier mirrorless bodies slow after roughly 15 to 25 RAW frames, while JPEG usually lasts longer. A UHS-II V60 or V90 card helps clear that buffer faster than UHS-I, but it will not fix slow focus by itself.
Electronic shutters can also help in quiet park spaces, yet they bring tradeoffs. Fast pans can show rolling-shutter skew, and some LED or fluorescent lights can band in the frame.
Field moves that keep the frame clean
Framing gets easier when you work in a simple order. I scan the background first, then place the subject, then fine-tune the camera. This order saves time and cuts bad frames. It also helps you notice distractions before you start asking for poses.
- Find a simple patch of shade or open light.
- Check for poles, bins, and bright gaps behind the head.
- Move the subject several feet away from the nearest clutter.
- Set a long focal length and open the lens wide.
- Focus on the near eye and shoot a short burst if the pose changes.

Short bursts can help catch natural motion like a step, a laugh, or a head turn. Use them with care, since the best frame still comes from clean placement and sharp eye focus.
Edits that finish the job without hiding the mistake
Editing should polish the frame, not rescue a poor setup. A small crop can tighten the composition, but it cannot remove a bad line that cuts through the face.
In Lightroom or Photo Mechanic, I flag the strongest frame first, then check the eye at 100%. After that, I crop only enough to improve balance and keep the subject clear.
If a bright spot still pulls the eye away, lower its strength with local adjustments rather than heavy blur. That keeps the image natural and honest.

Clean park portraits come from simple choices made early. Put the subject away from clutter, use 50mm to 85mm, open to about f/2 to f/2.8, and keep the focus on the near eye. Do that, and the face stays in charge of the frame while the park becomes the backdrop instead of the distraction.
Frequently Asked Questions
What is a focal point in photography?
A focal point in photography is the part of an image that grabs the viewer’s eye first. In a portrait, it is usually the eyes, face, or upper body.
What is the 20 60 20 rule in photography?

The 20 60 20 rule in photography is a framing guide that divides visual weight into three parts: about 20% strong interest, 60% supporting elements, and 20% visual rest. It helps create balance so the frame does not feel crowded.
What is the purpose of a focal point?
The purpose of a focal point is to control attention by showing the viewer what matters first. It also tells the eye what can stay soft, simple, or less important.
How do I know where the focal point is?
The focal point is where your eye lands first when you look at the image. In a park portrait, check whether the face stands out most, and watch for bright signs, paths, or highlights that pull attention away from it.



