


- Use exposure to balance aperture, shutter speed, and ISO for usable night images.
- For cityscapes on a tripod, start at f/8–f/16, ISO 100–200, and 30–60 seconds.
- Choose the brightest setting that preserves detail; protect highlights and avoid blur.
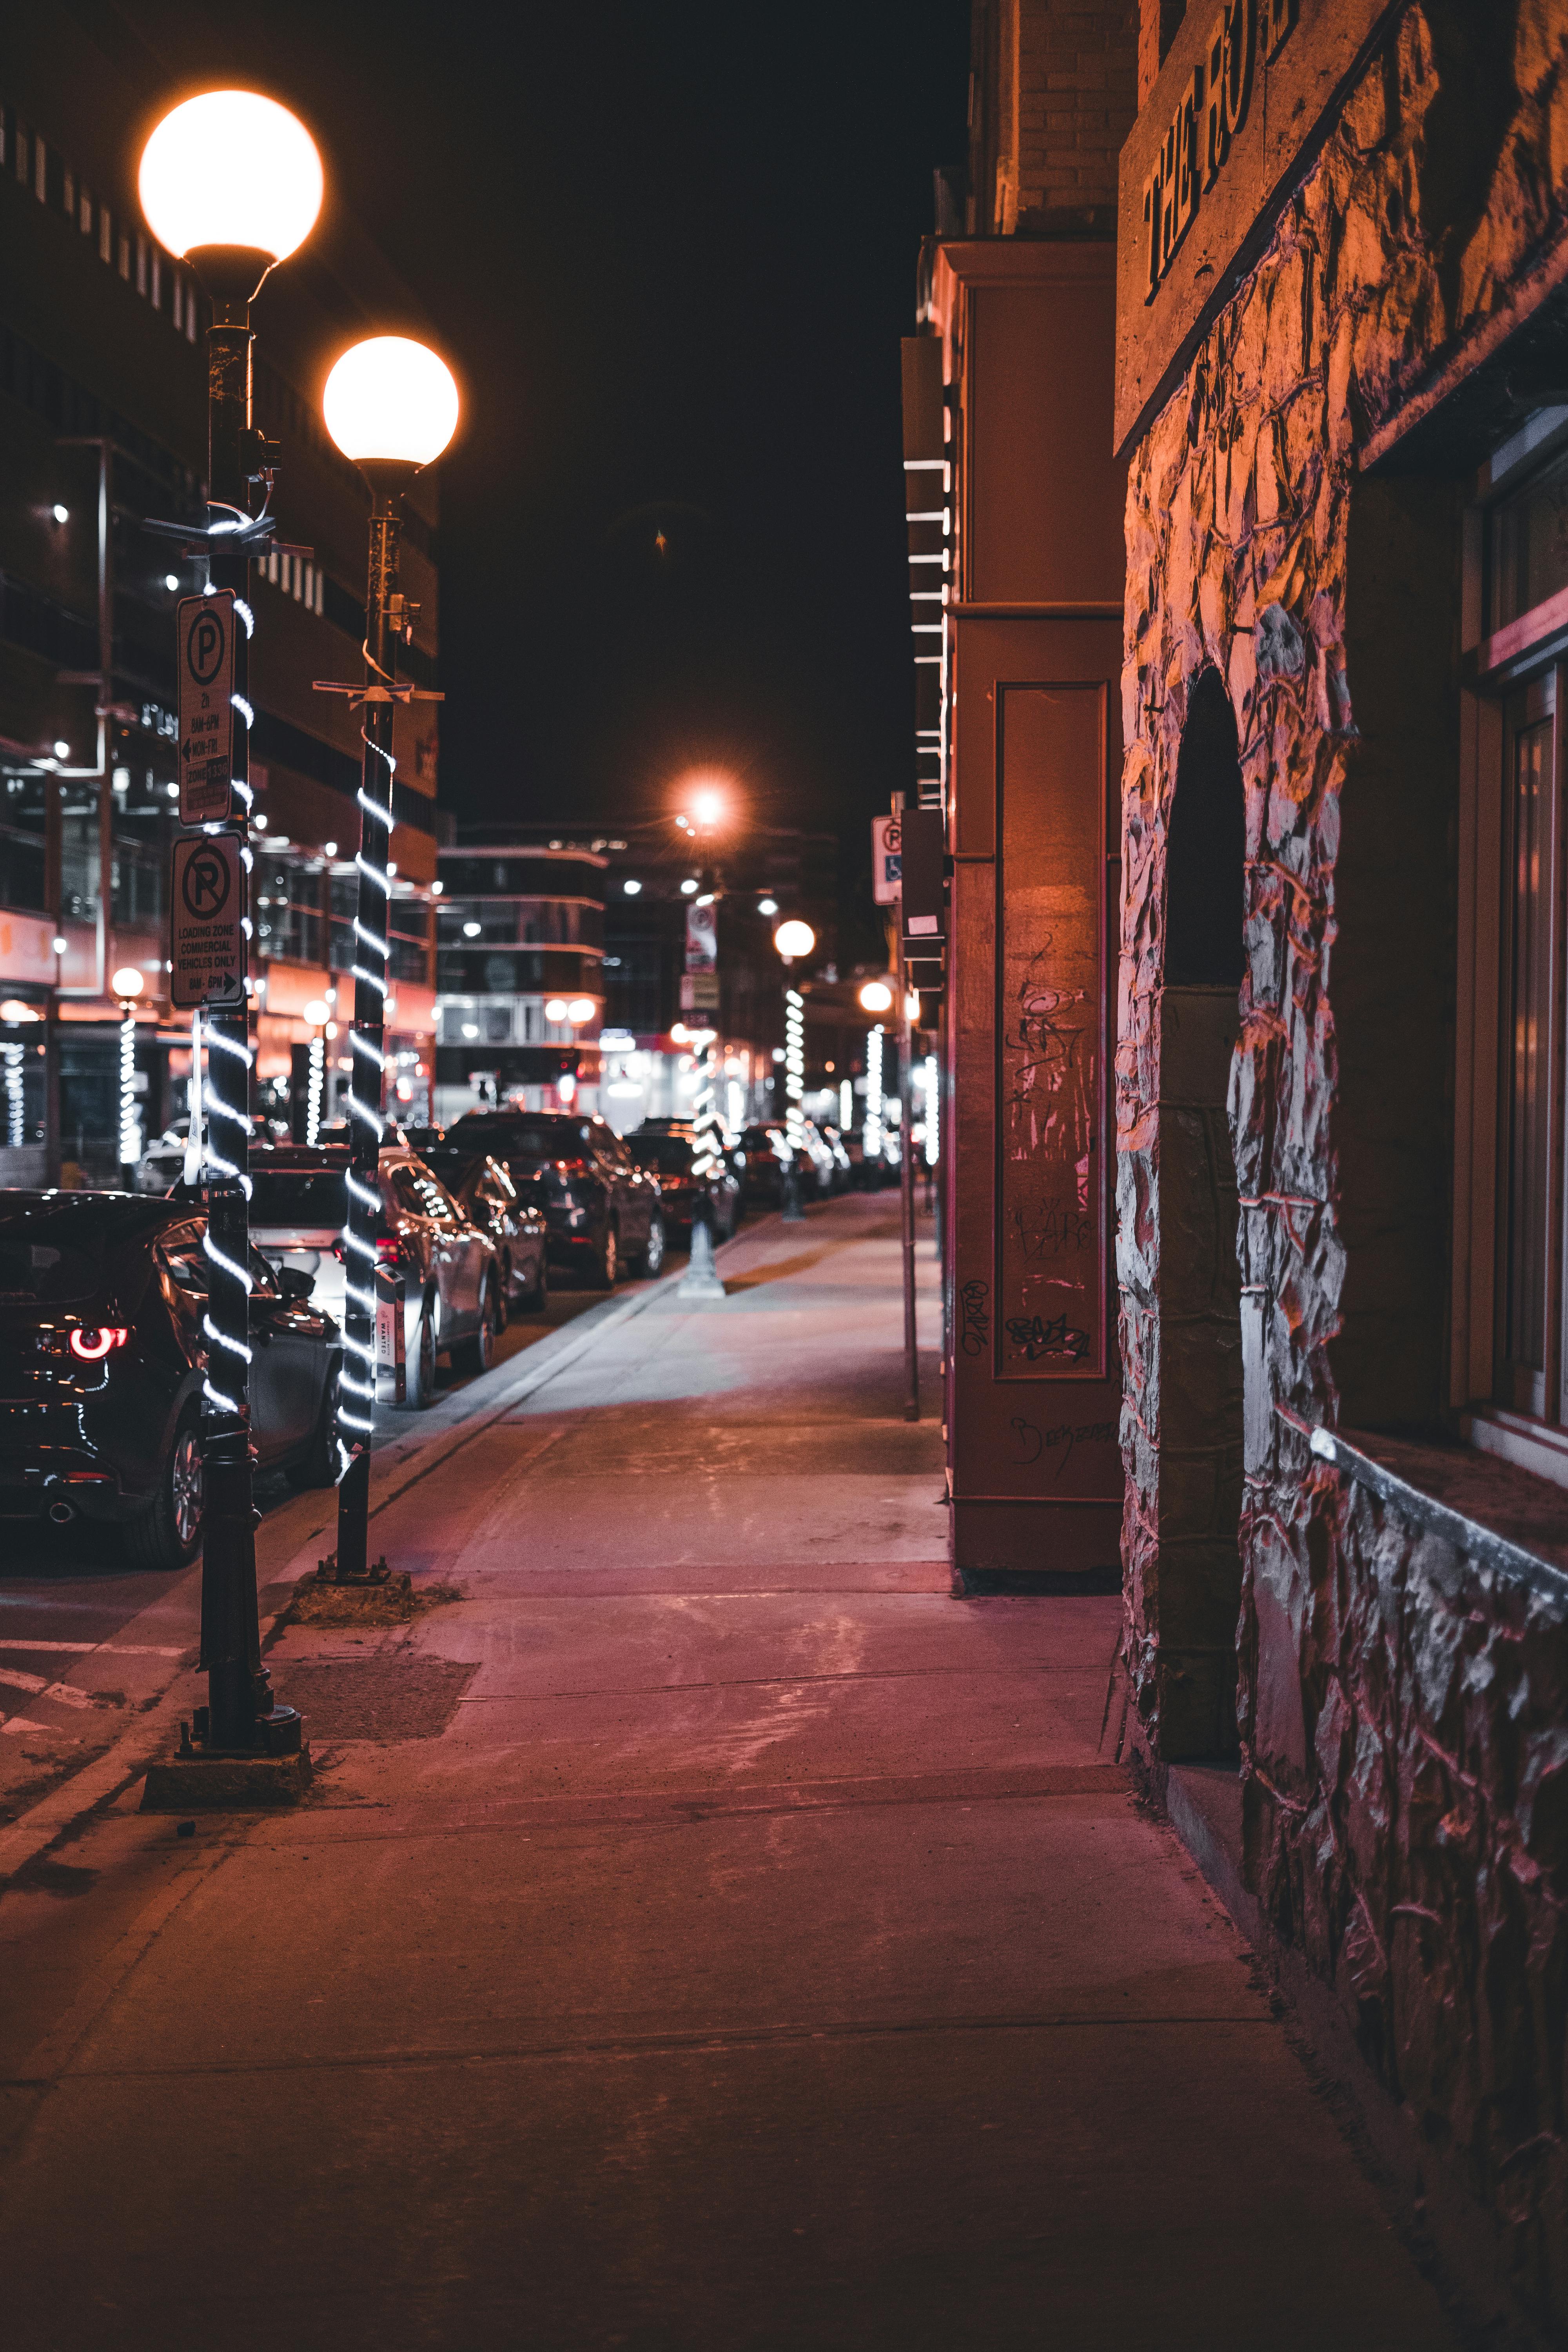
Exposure is the balance of light, aperture, and shutter speed that gives you a usable image. After sunset, city light falls fast while signs and lamps stay bright, and that balance gets much harder to hold. Many night photos fail for the same reason: the camera cannot gather enough light without changing the scene’s look. The result is mud, blur, or blown highlights that kill the city’s glow.
Translation missing: en.blog_cta.bundle_heading

- Regular price
-
€42 - Regular price
-
€44 - Sale price
-
€42
By choosing the Camstrap strap, you are opting for a high-quality product designed to meet the needs of the most demanding photographers.
- Developed by a physiotherapist to relieve neck and back pain.
- Fast delivery with tracking by the Post Office 🚚
- Can be used as a shoulder strap or hands-free harness

- Regular price
-
€36 - Regular price
-
€42 - Sale price
-
€36
Translation missing: en.blog_cta.free_shipping_included
What changes in a city after dark
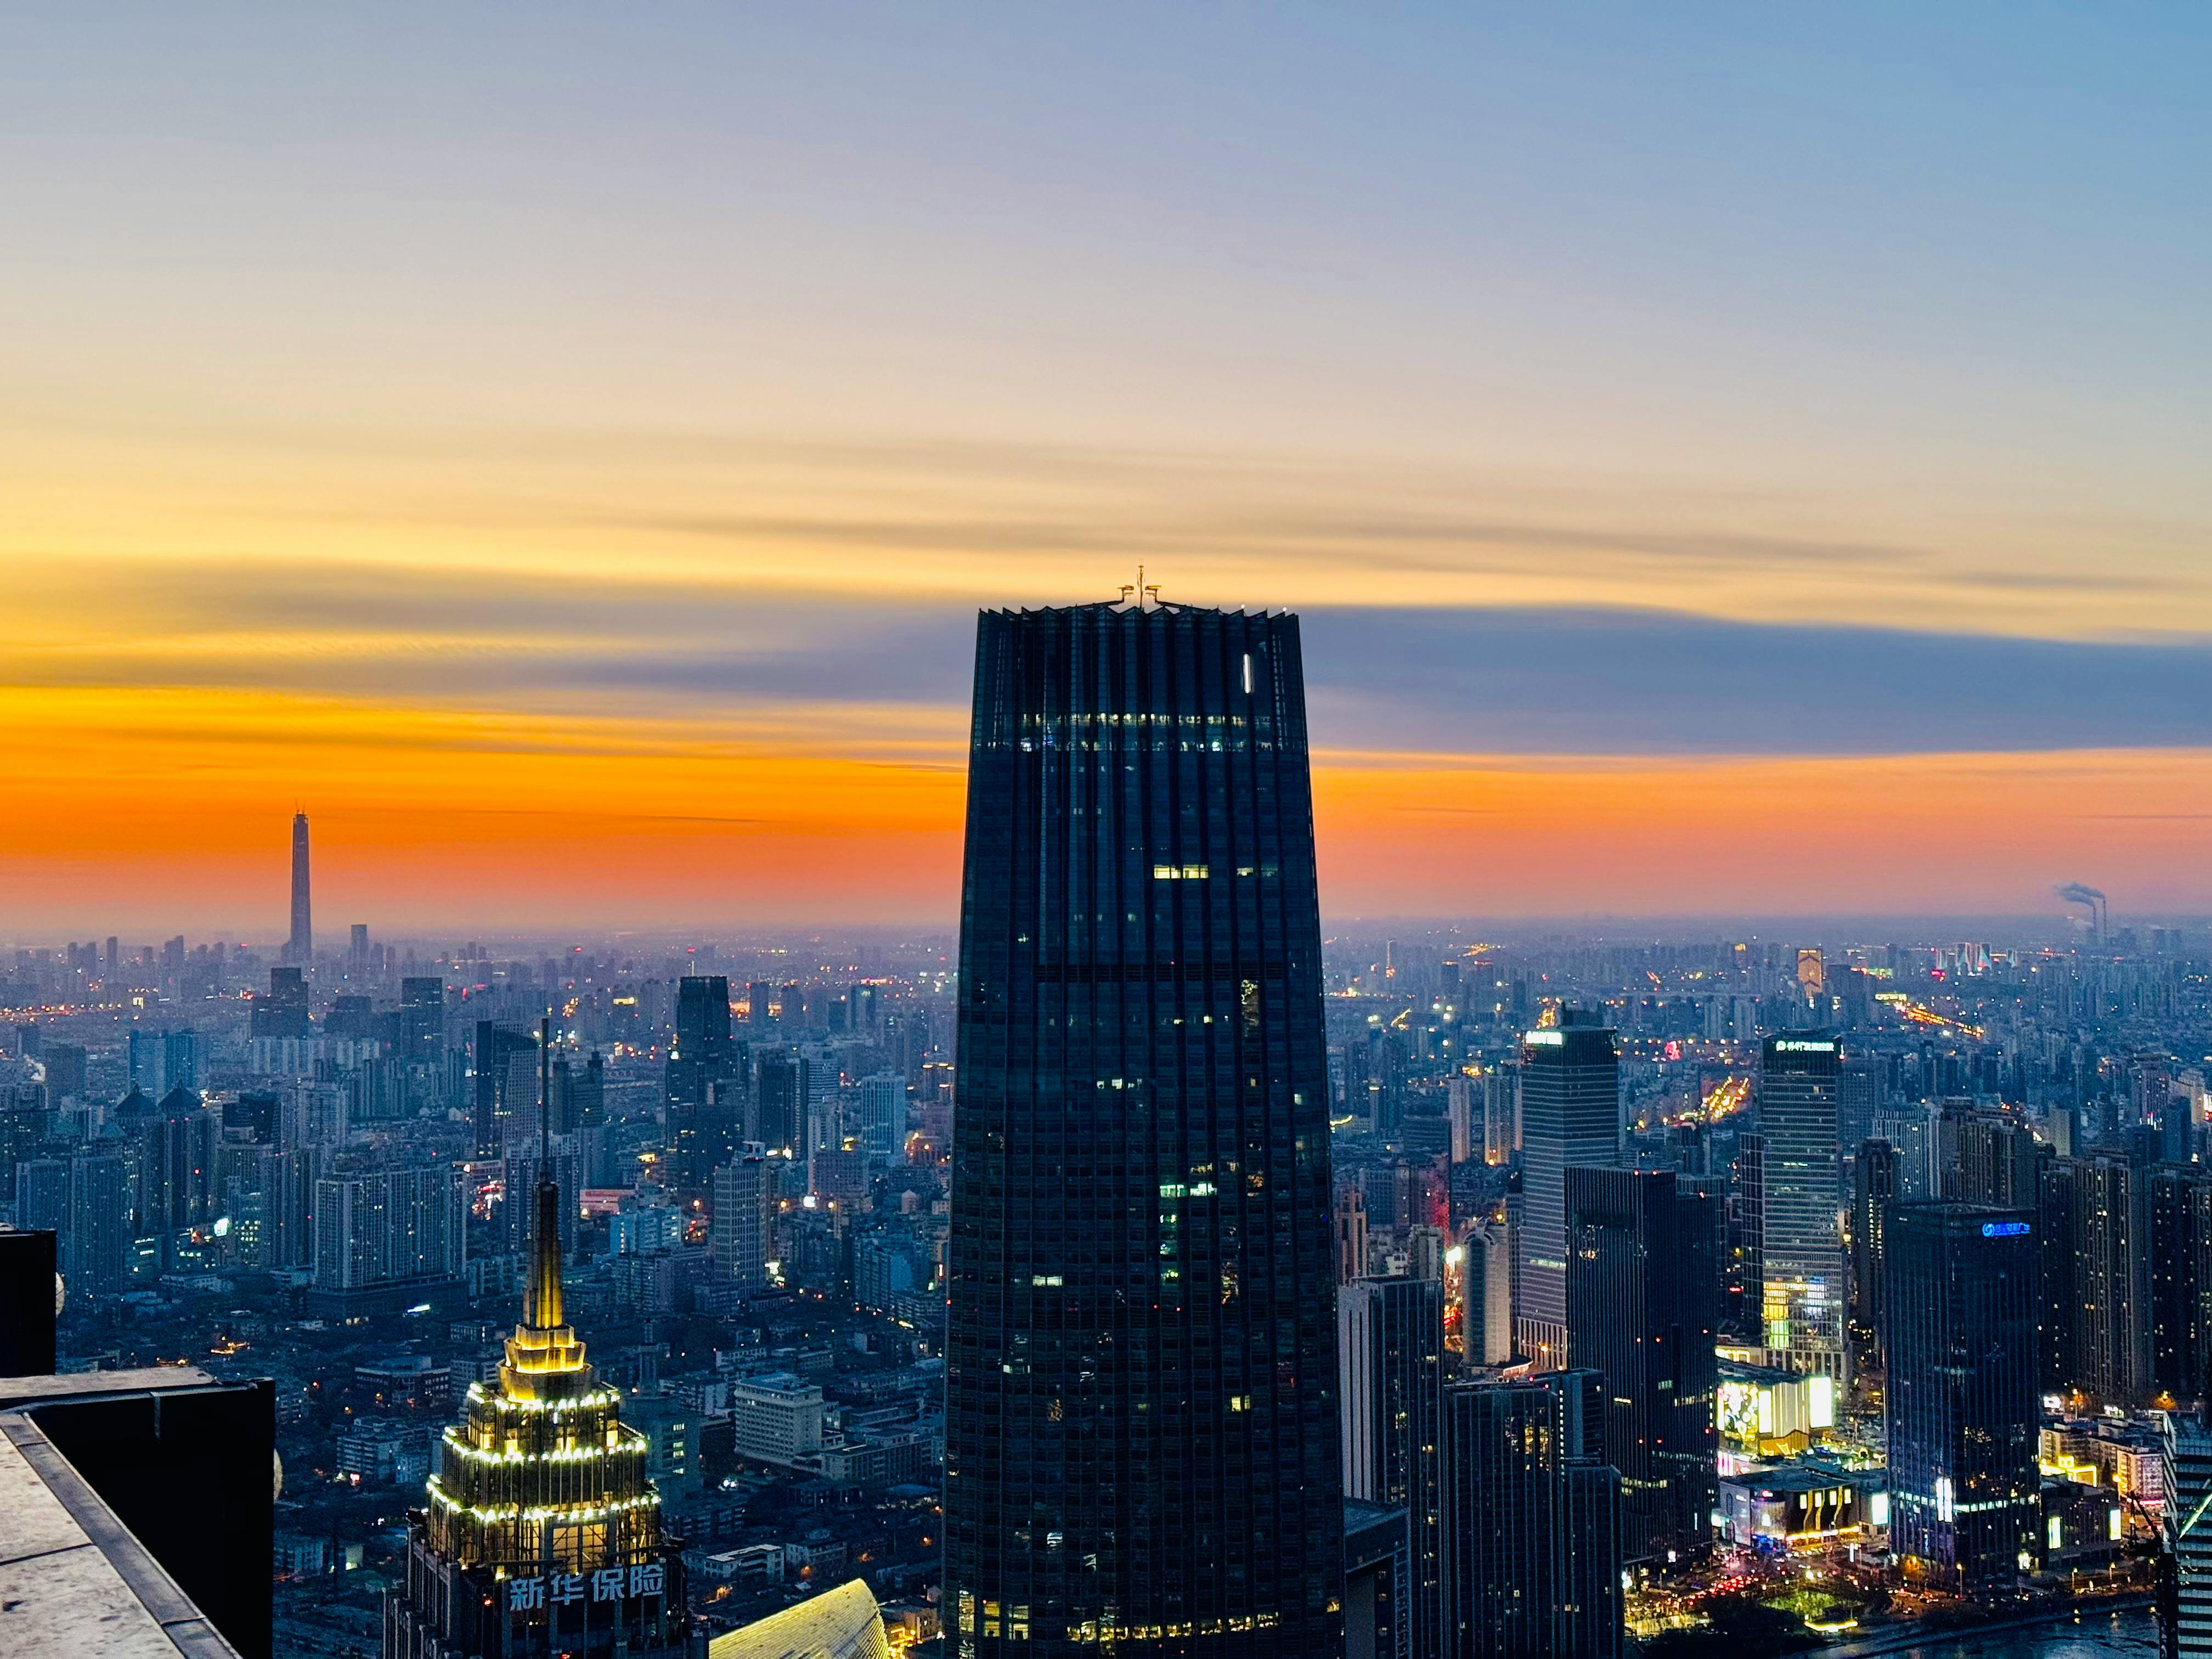
Once the sun drops, the scene shifts quickly. Street lamps, windows, and signs take over, while the sky and side streets sink into shadow.
Bright and dark areas end up far apart, so your camera can only hold so much of that range in one frame. Expose for the wrong part and the shot feels weak.
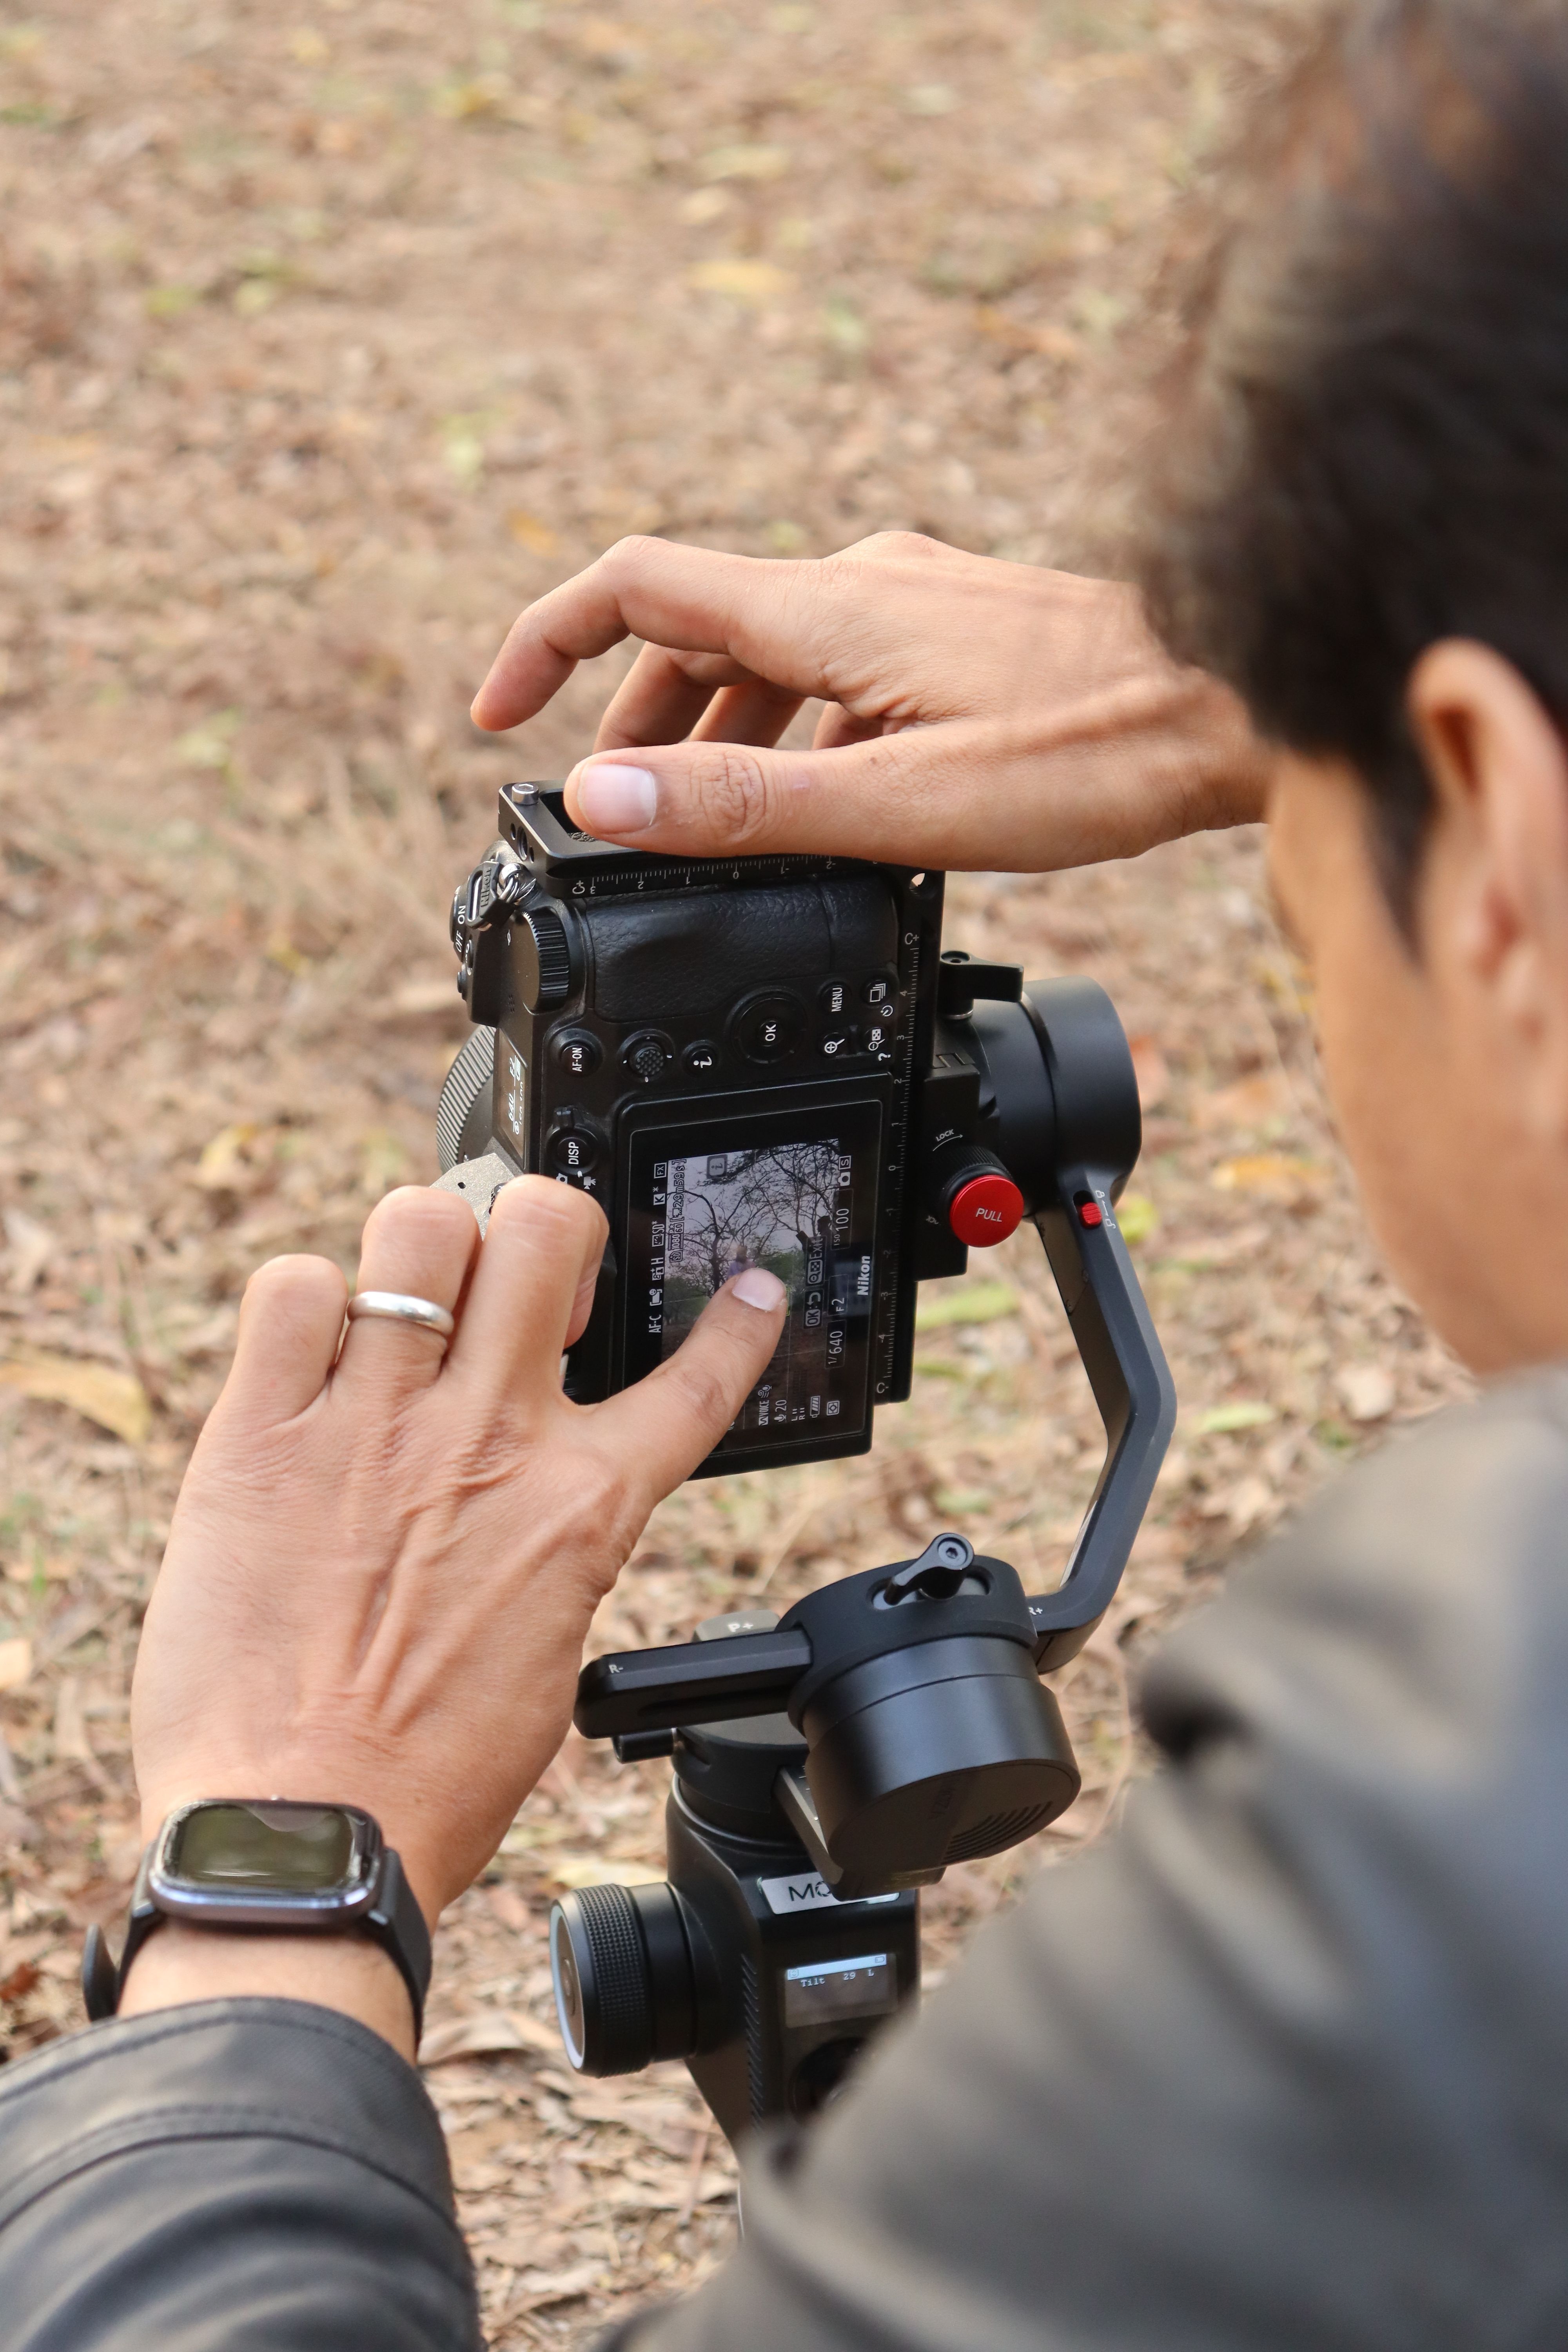
Light fades faster than most cameras expect
After dusk, you usually need a wider aperture, a slower shutter, a higher ISO, or all three. For a static cityscape on a tripod, settings around f/8 to f/16, ISO 100 to 200, and 30 to 60 seconds are common starting points. Those settings give the sensor more time to collect light and keep building edges and lamp shapes crisp when the camera stays still.
Motion makes the problem harder
People, cars, and buses keep moving after sunset. Slow the shutter too much, and those subjects blur before the frame looks bright enough.
That tradeoff leaves many city shots feeling off at night. The camera either freezes motion and goes dark, or brightens the frame and loses shape.
What exposure means on a camera
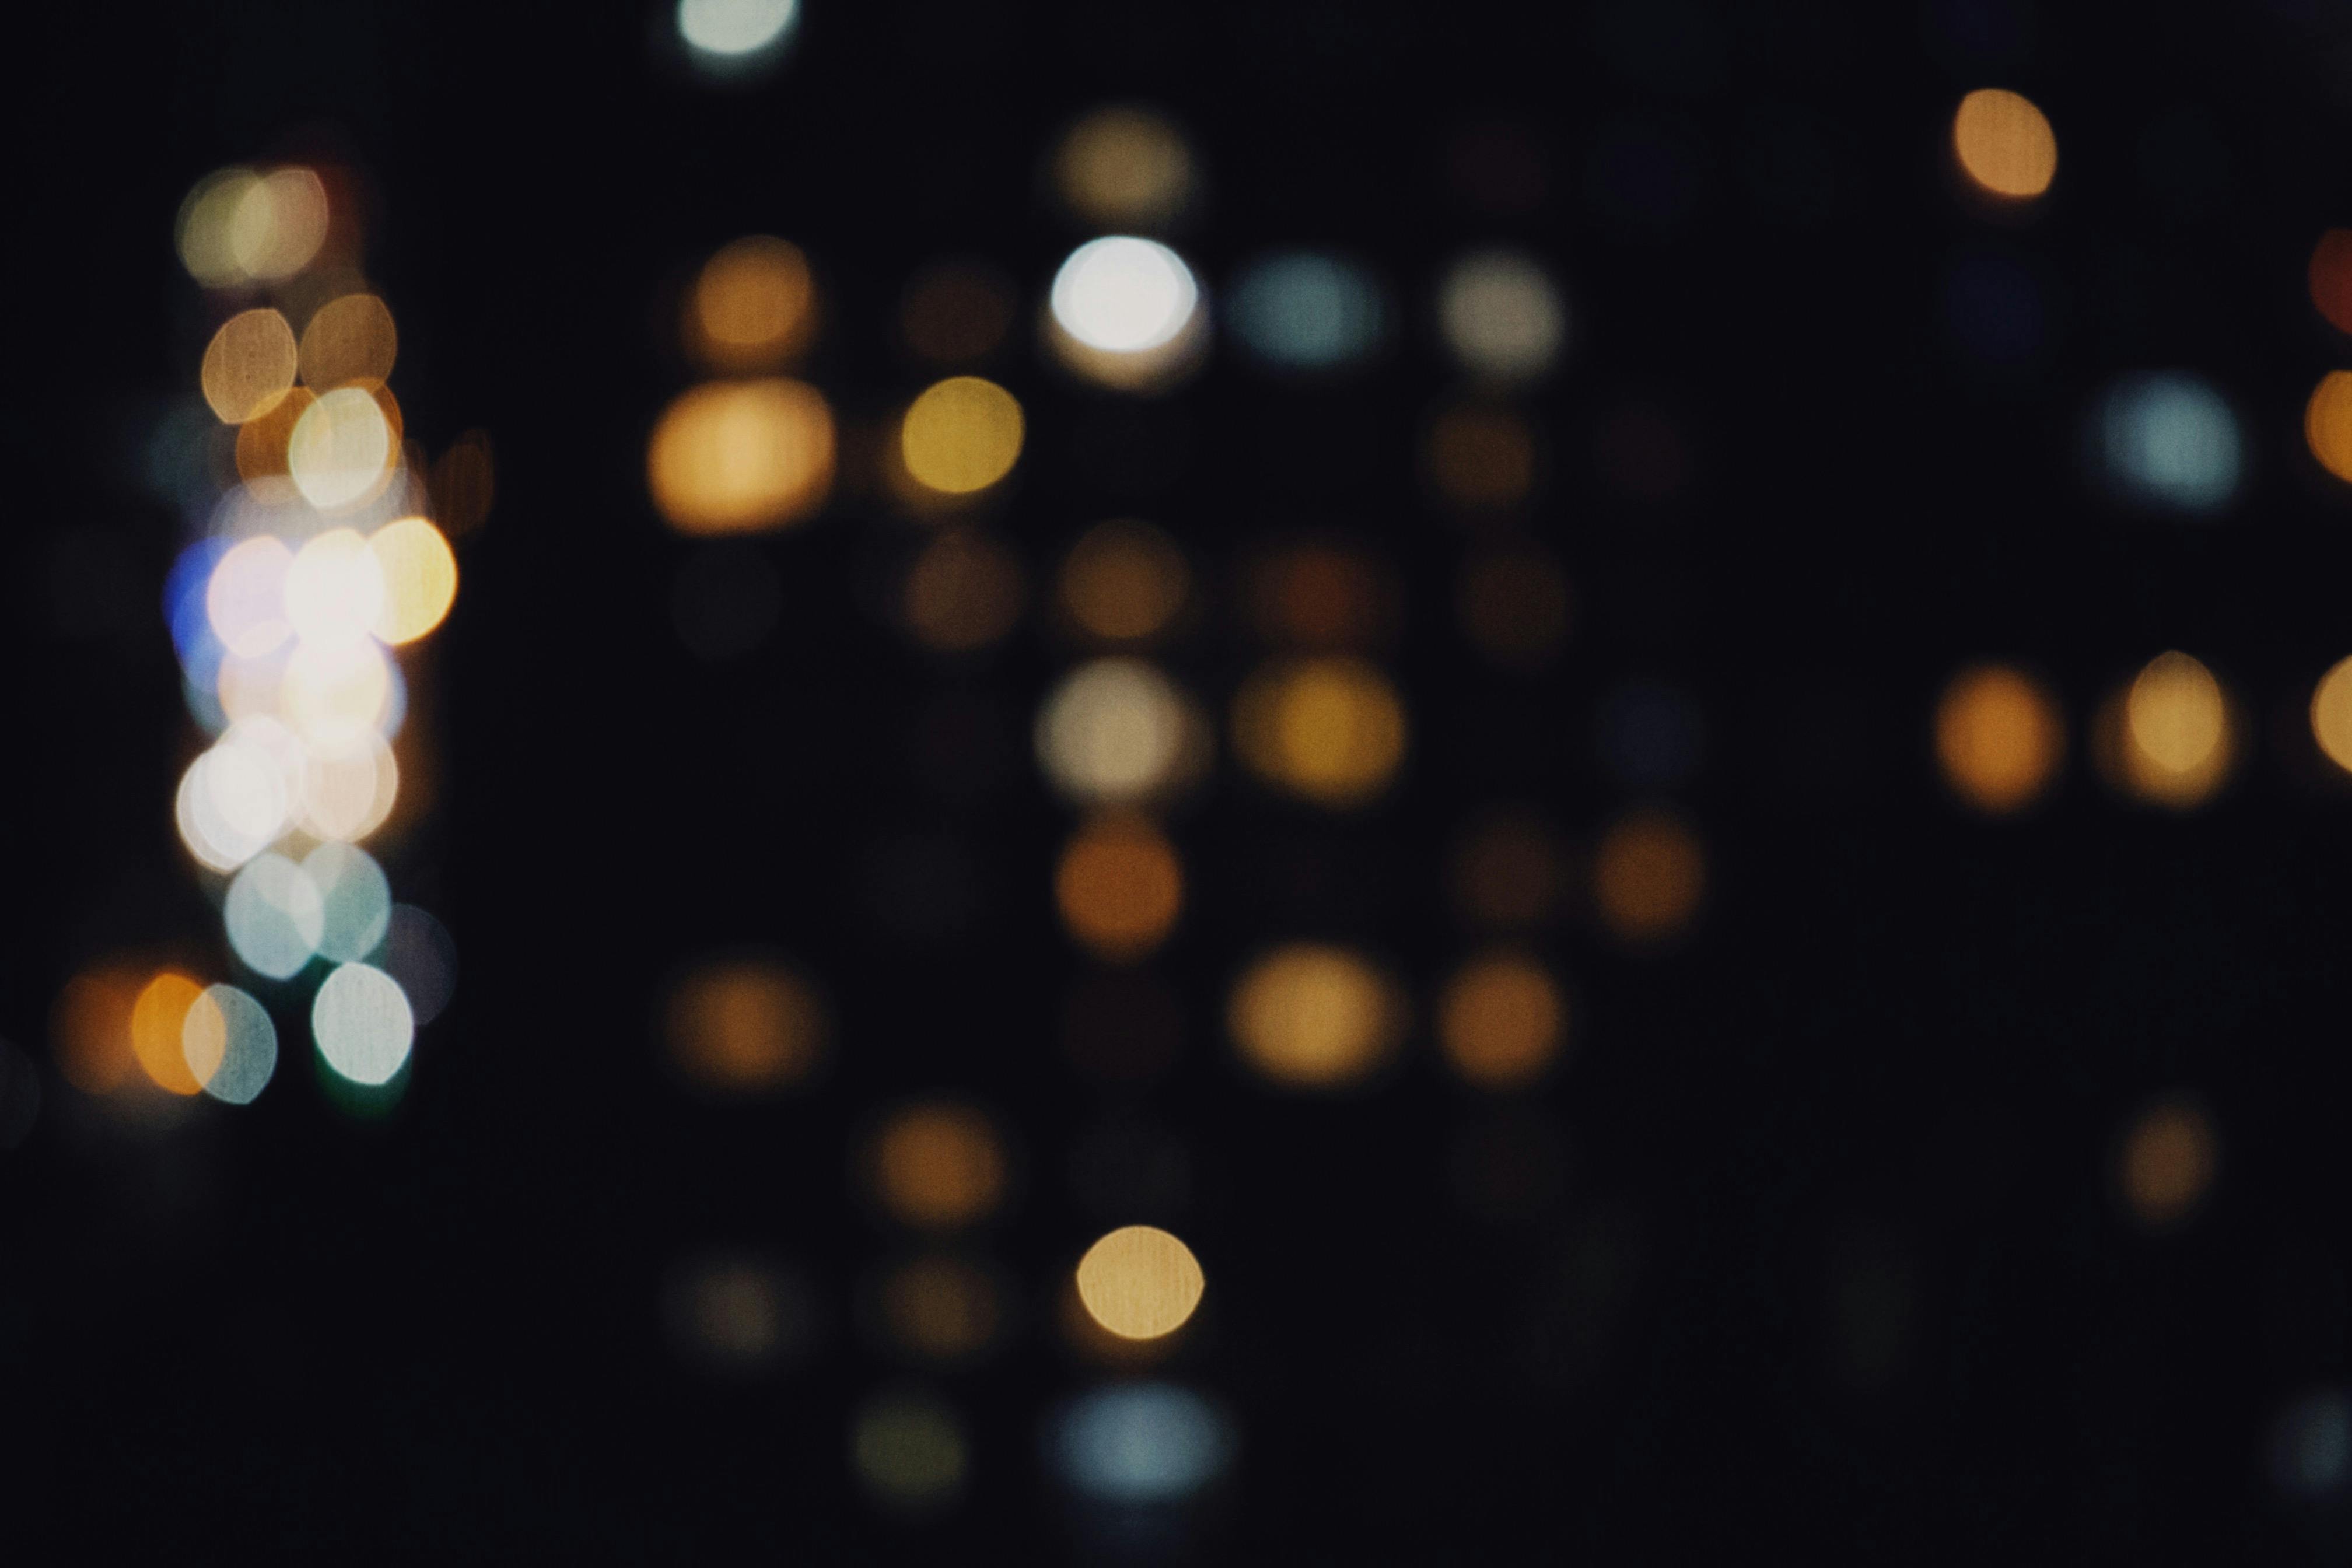
Exposure is the amount of light that reaches the sensor during a shot. Aperture, shutter speed, and ISO work together to control it.
Open the aperture wider, and more light enters. Slow the shutter, and the sensor gets light for longer. Raise ISO, and the camera amplifies the signal.
Why the balance matters after sunset
At night, each control changes the look of the photo. A wide aperture helps with light levels, but it also shrinks depth of field. A long shutter brightens the frame, but it also records motion. Higher ISO can save a handheld shot, but it adds noise and weakens fine detail.
Why files go dull, noisy, or blurry
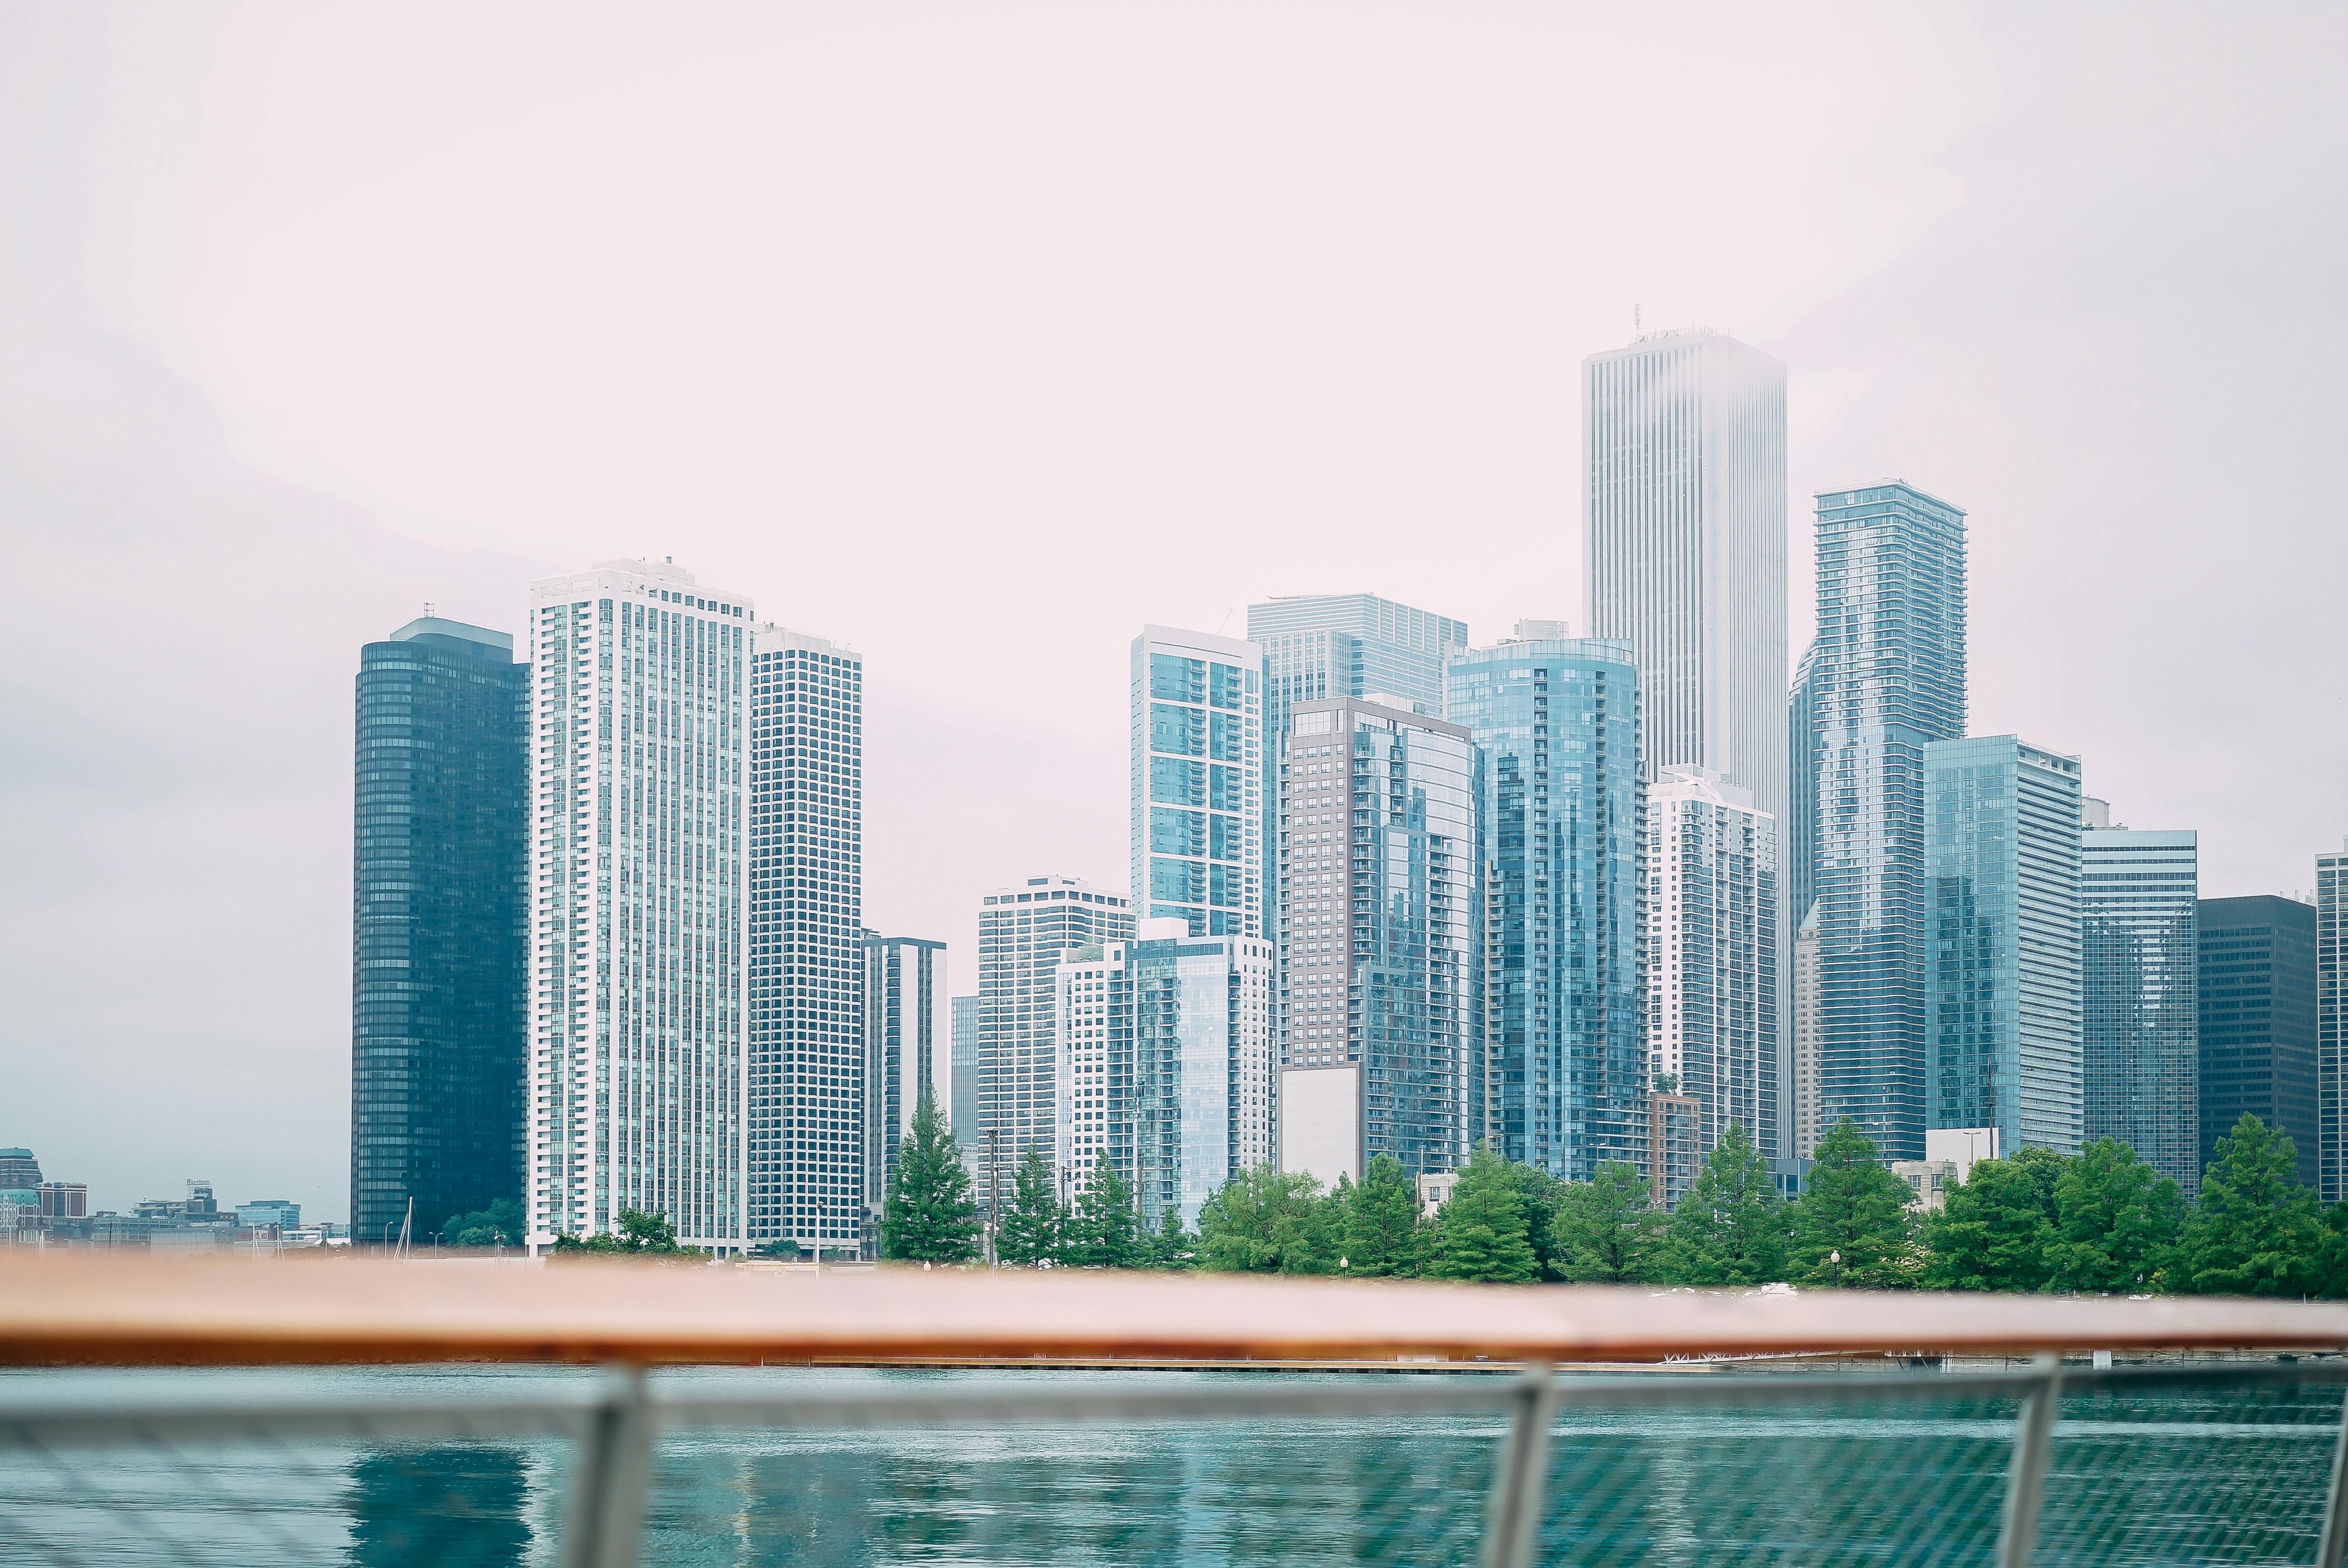
Flat city shots usually come from one of four mistakes. The camera may be underexposed, the shutter may be too slow, the ISO may be too low, or the frame may be composed around dead space.
Each one leaves its own mark. Underexposure makes colors look thin, slow shutter speed smears moving parts, and high ISO roughens shadows.
Tripod shots and handheld shots need different settings
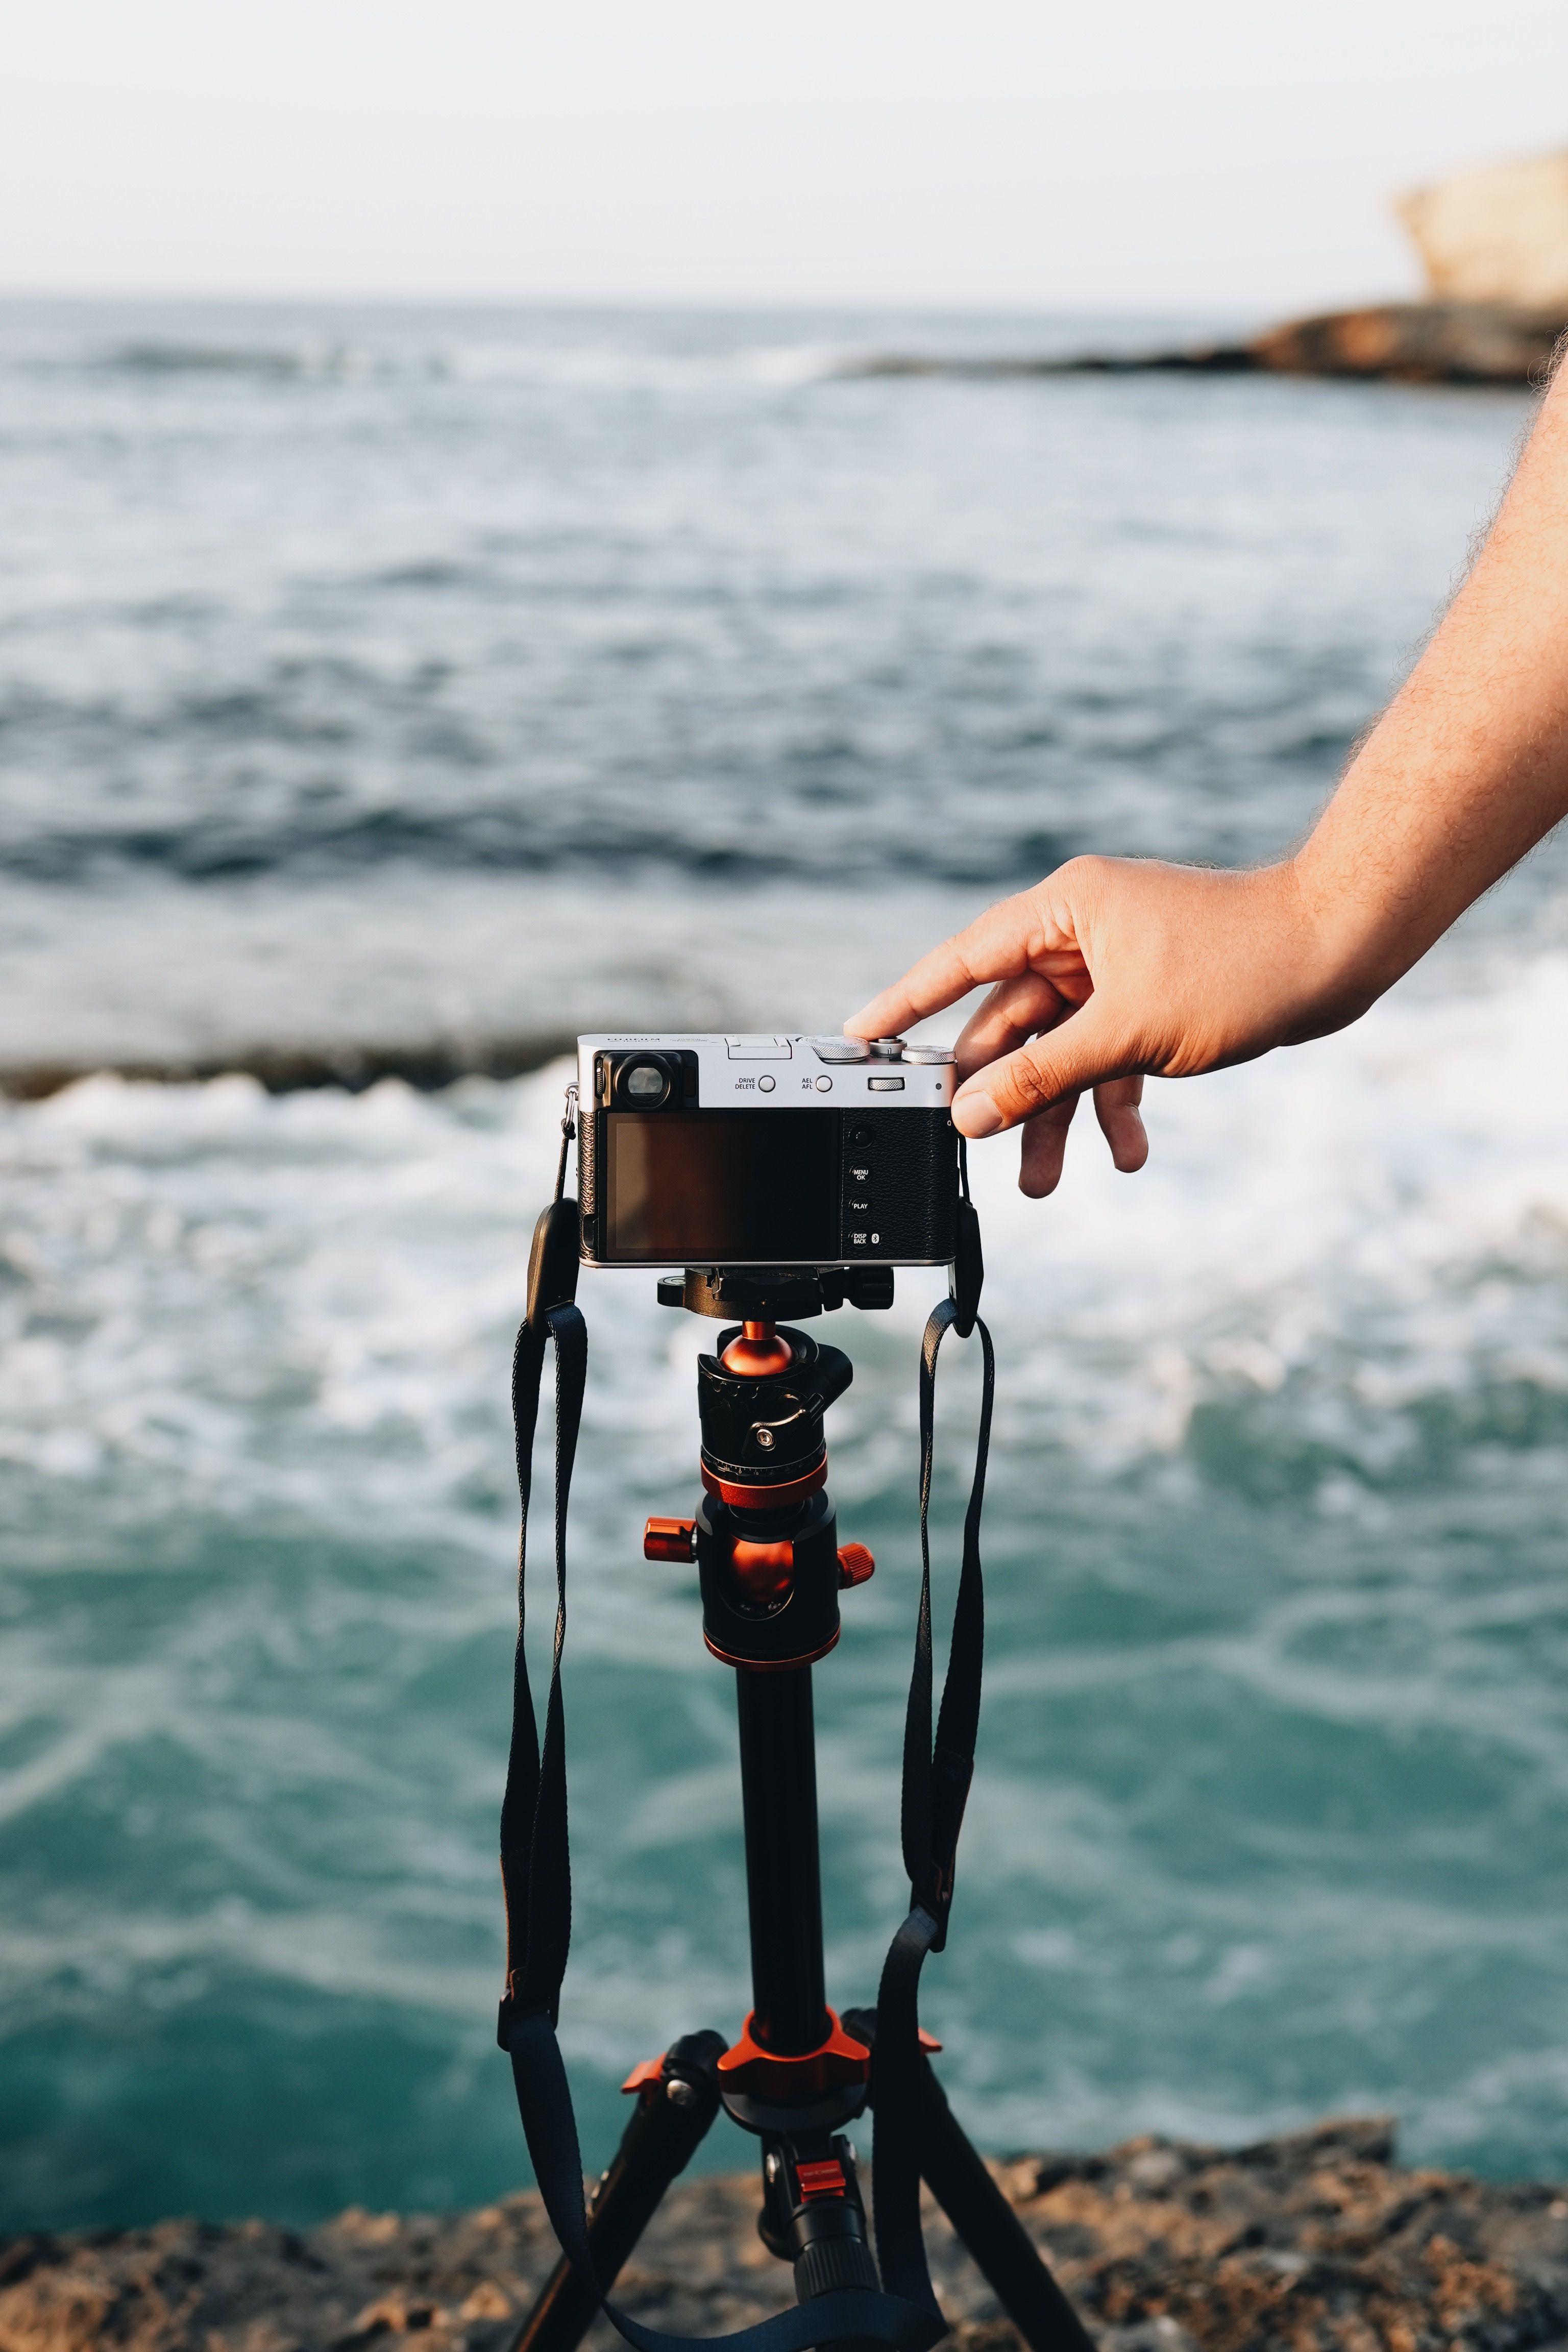
With a tripod, I keep ISO low and let the shutter run long. A practical range for lights and reflections is often f/4 to f/8, 5 to 15 seconds, and ISO 100 to 400. For handheld night shots, I start much faster. A good base is f/1.8 to f/2.8, ISO 800 to 3200, and 1/30s to 1/60s.
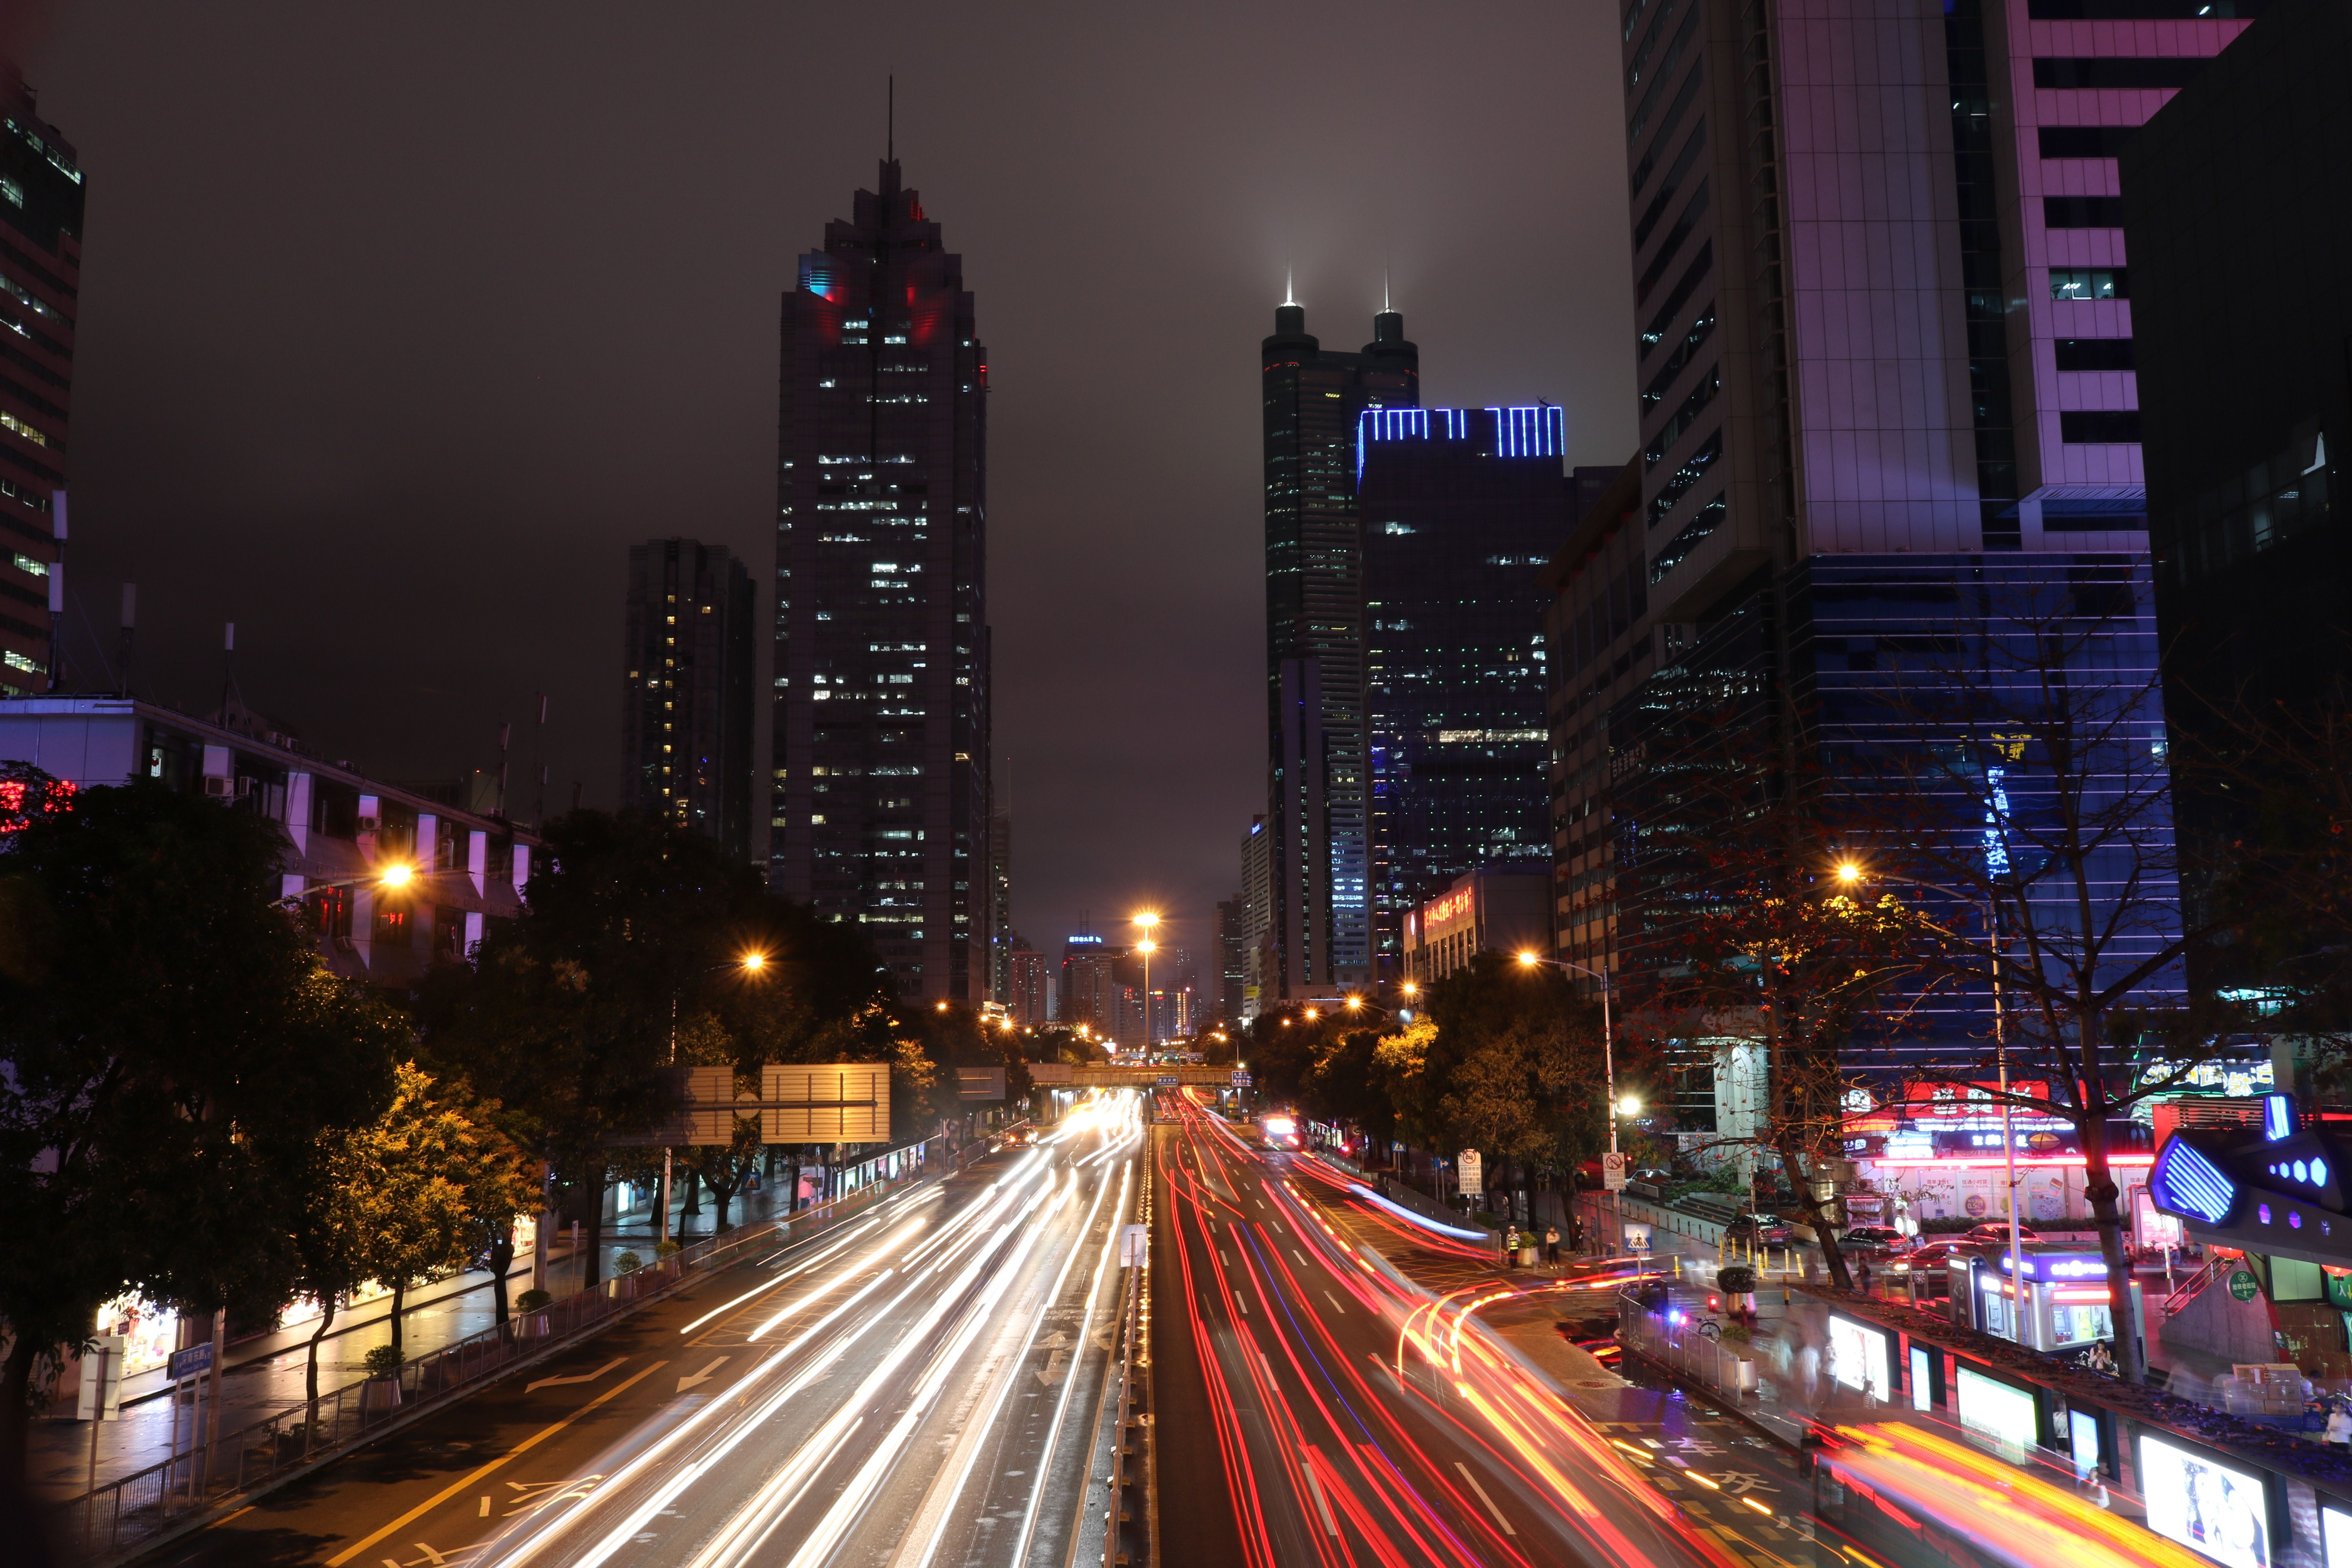
Moving subjects need more speed still. A common low-light floor for handheld work is about 1/60s, while 1/125s to 1/250s helps when people move faster.
Which exposure setting should I use?
The right setting depends on the scene, the lens, and whether you can hold the camera steady. For static city views, aperture-priority or manual mode with Auto ISO works well if you watch shutter speed closely.
A simple starting point is f/8, ISO 100, and a shutter speed that lands near 5 to 10 seconds on a tripod. For handheld work, open the lens to f/2.8 or wider and keep the shutter near 1/60s before you raise ISO further.
Pick the mode that fits the scene
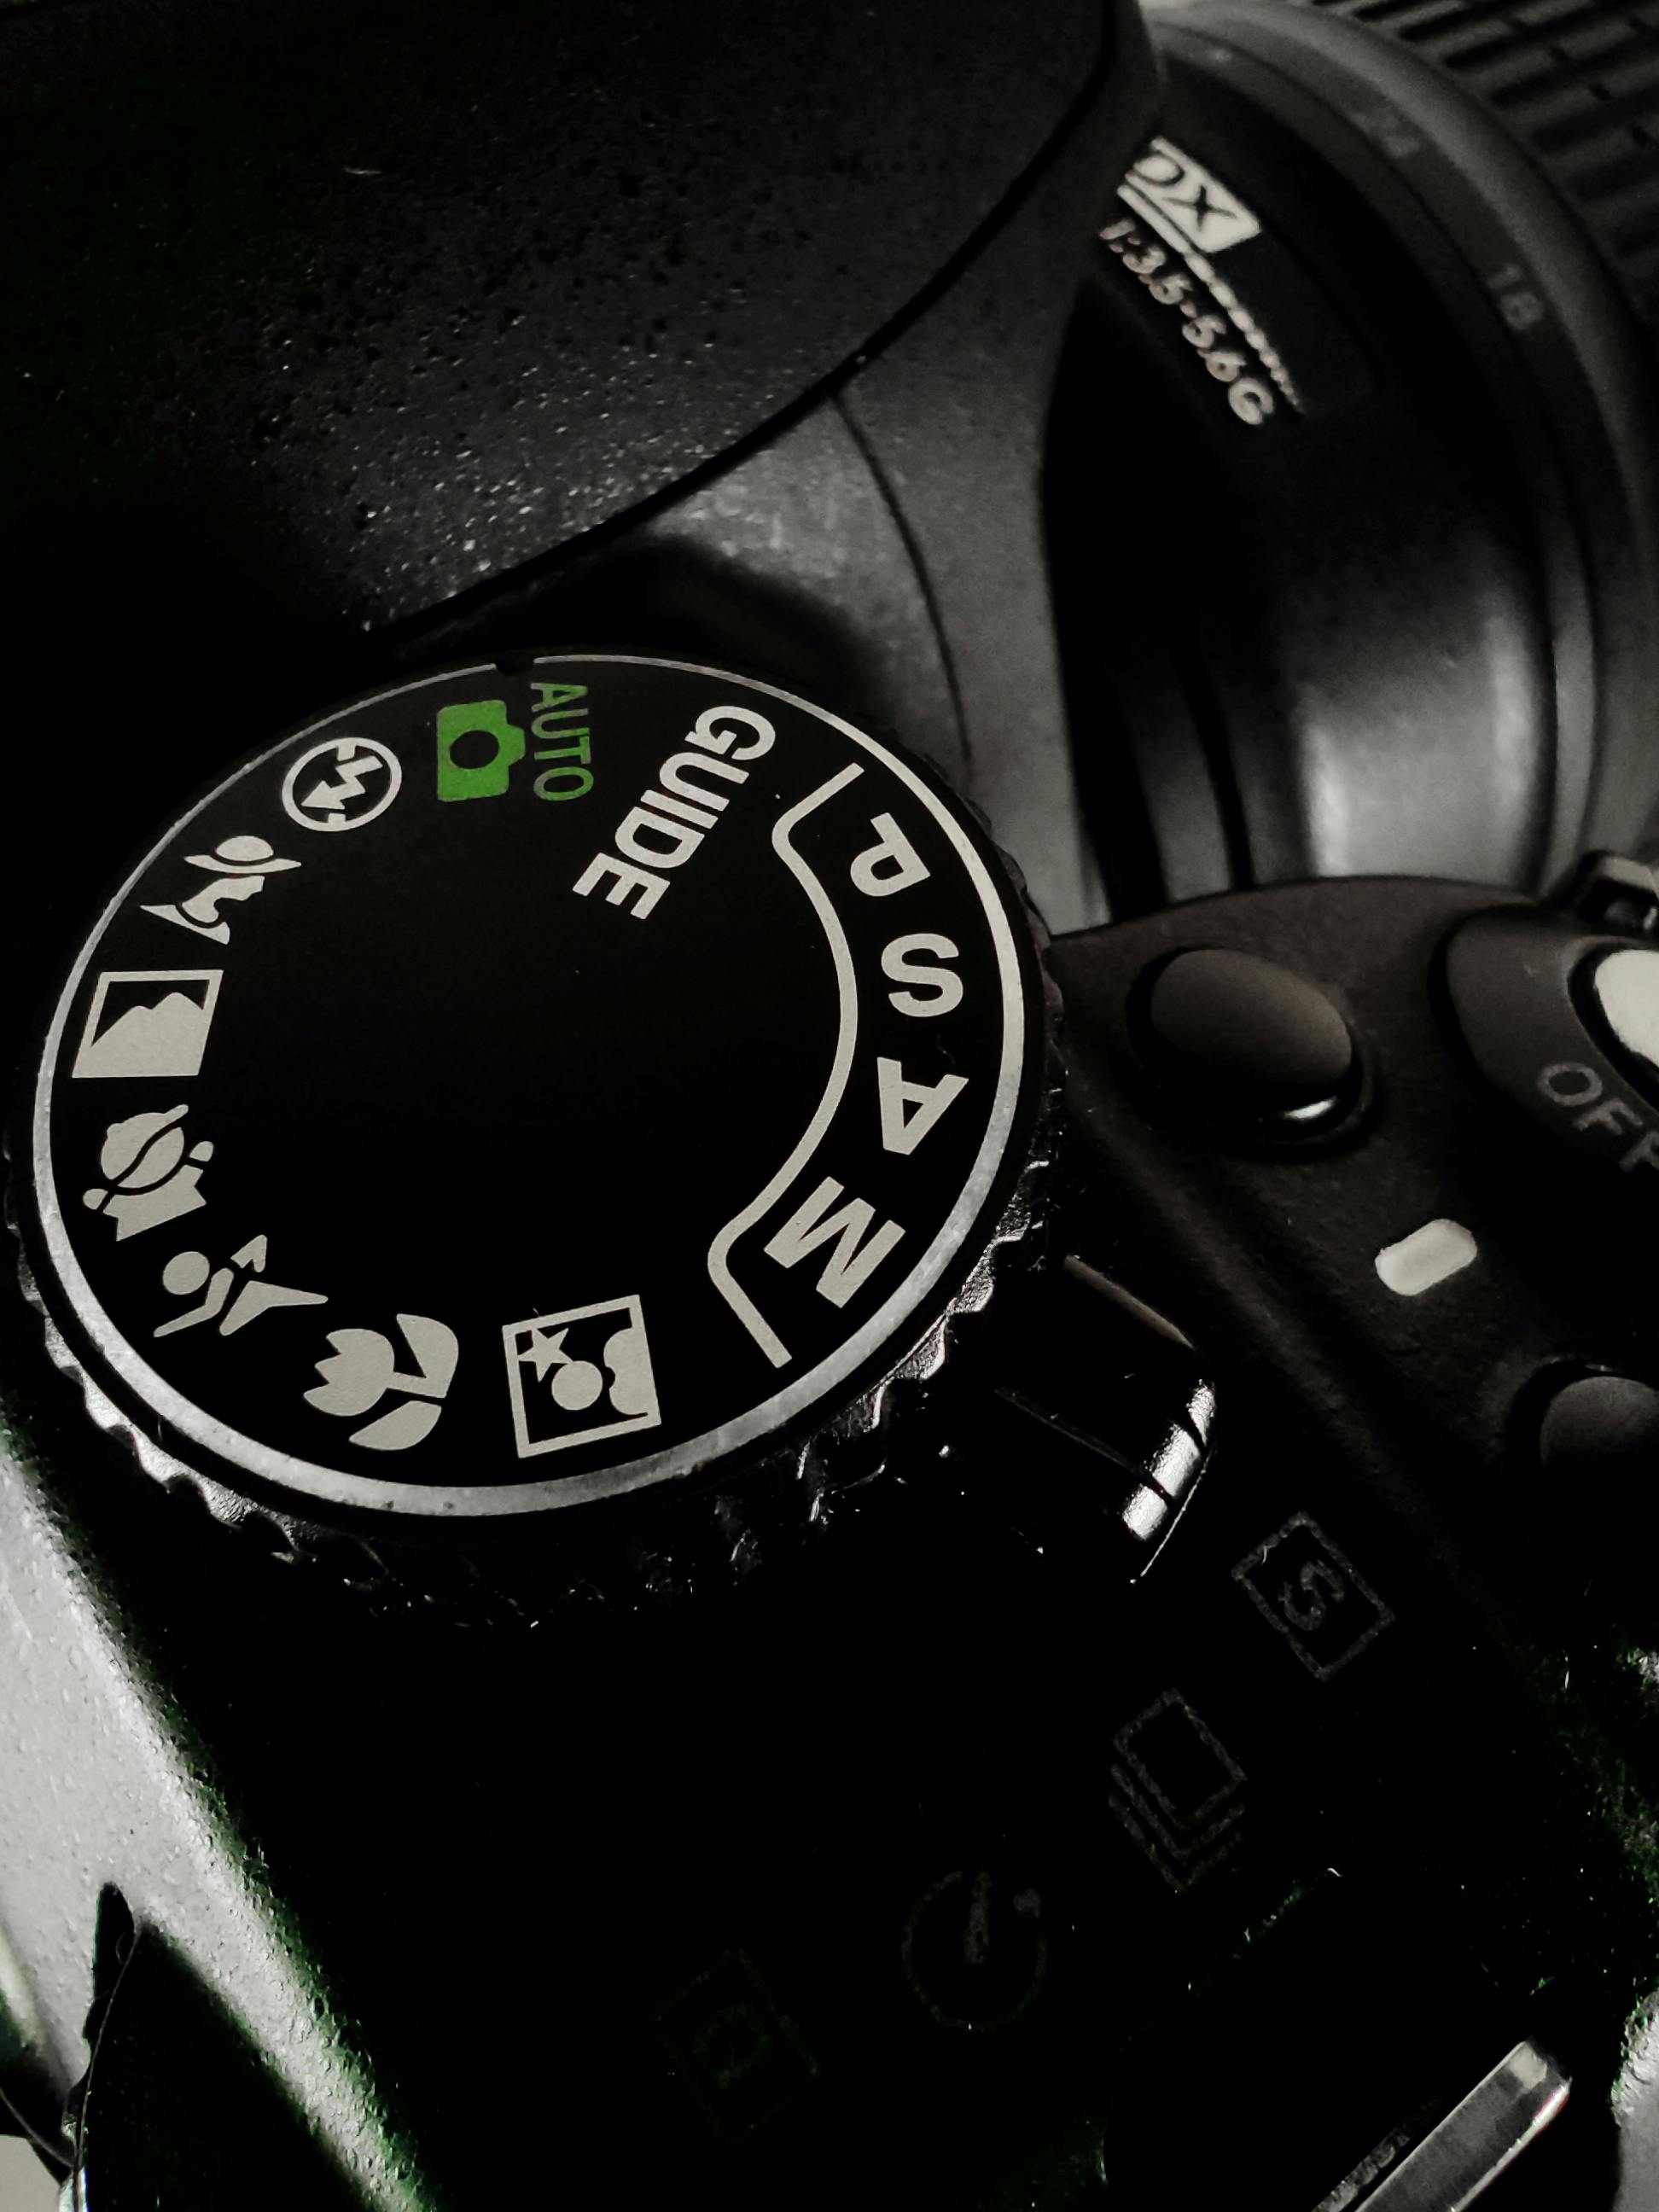
- Manual mode helps when the scene stays steady and you want full control.
- Aperture priority helps when depth of field matters and light keeps changing.
- Auto ISO helps when you must keep shutter speed above a safe floor.
- Exposure compensation helps when bright signs fool the meter.
Metering matters more after dark. Spot metering on a lit wall or a bright face can protect key details, while evaluative metering may try to darken the whole city too much.
What does a higher exposure mean?
A higher exposure means more light reaches the sensor, either through a wider aperture, a slower shutter, or a higher ISO. It can make a dark scene usable, but it can also erase highlight detail if you push too far. In a city scene, that often means glowing windows turn white or neon signs lose their edges. A small shift in shutter time can change that fast, especially around bright lamps and reflective glass.
Watch the bright parts, not just the histogram
The histogram helps, but it does not tell the whole story. City lights can clip even when the graph still looks usable, so I check highlight warnings and zoom in on the brightest areas.
This is where exposure choice gets practical. You are not just making the frame brighter; you are deciding which parts of the city stay real.
Is 24 or 36 exposure better?
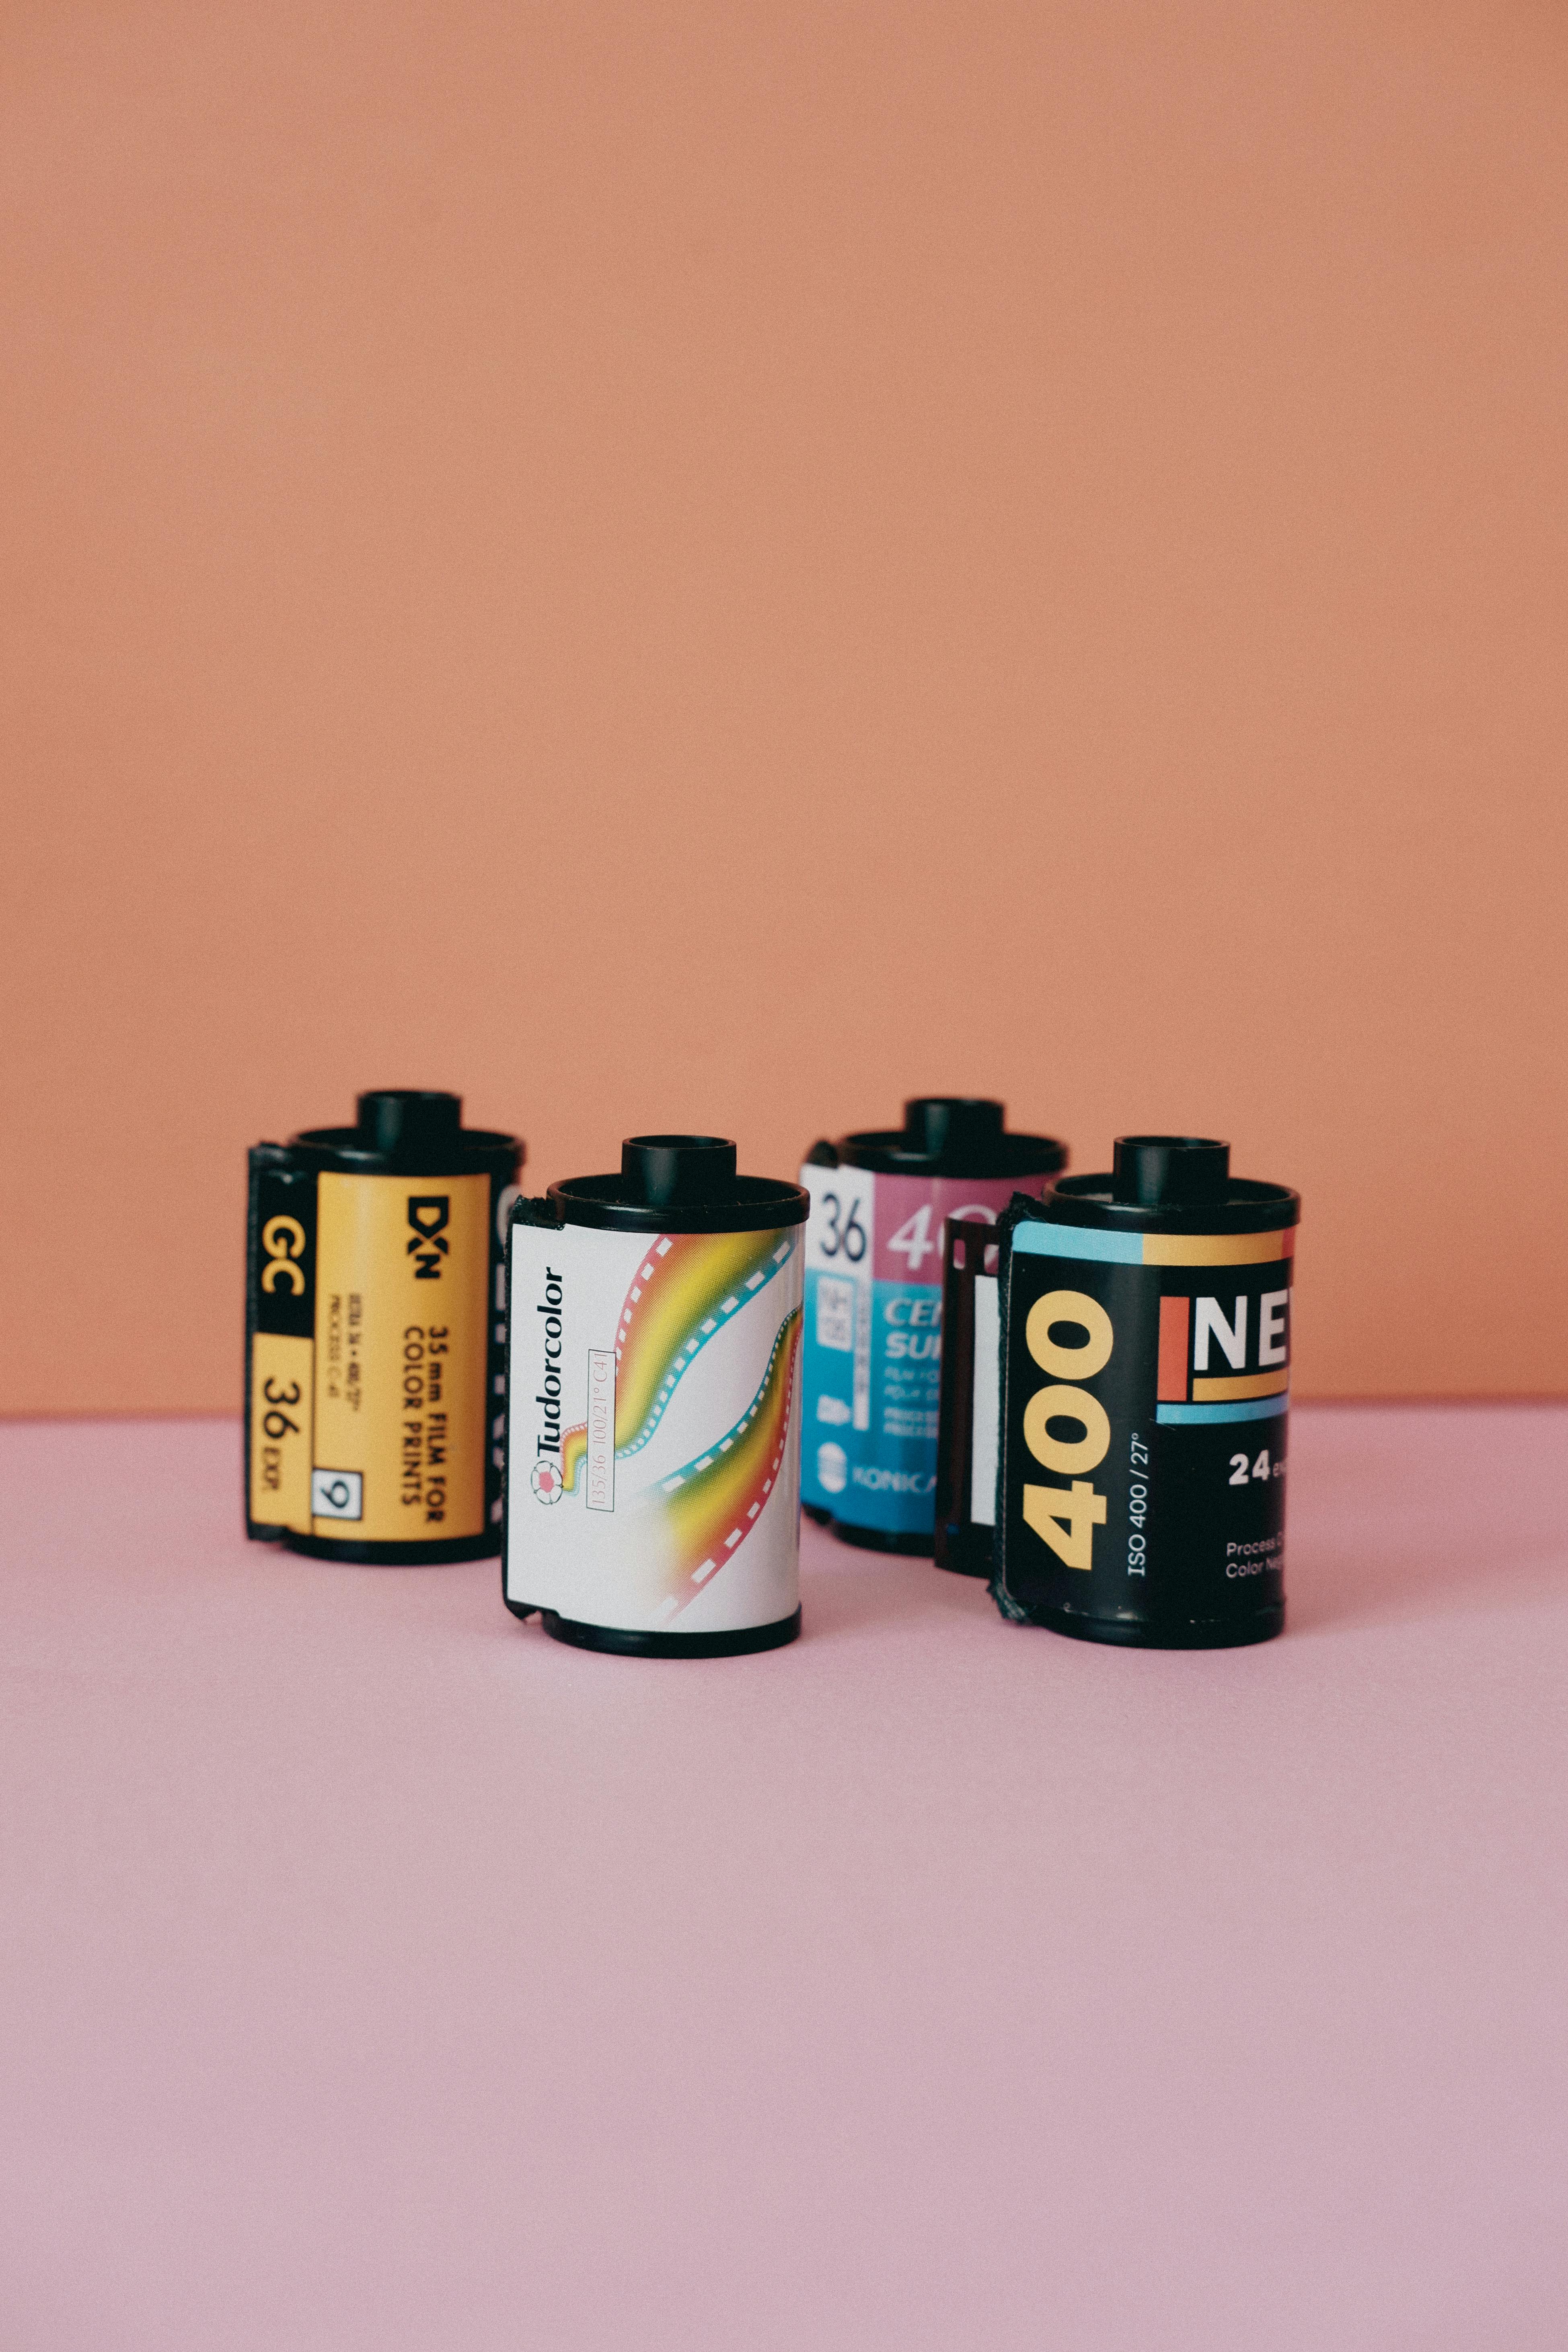
Thirty-six exposures is usually better if you want more room for mistakes, bracketing, or changing light. Twenty-four exposures is fine for short outings, but it gives you fewer chances when dusk shifts fast. That choice matters more at night because the light changes by the minute. One frame may need a 2-second shutter, and the next may need 8 seconds after the sky darkens.
Think about the pace of the shoot
If you are walking a lit street or moving between viewpoints, more frames give you more options. If you are testing angles and waiting for traffic trails, a longer roll or larger card gives you room to work.
This is also where easy carry helps. A strap that keeps the camera ready, like the Camstrap voyager, makes it simpler to move between scenes without digging in a bag.
How to fix flat night city photos in the field
The fastest fix is to give the camera a clear job. Decide first whether motion or detail matters more, then set the exposure around that choice. For a still skyline, I lock the camera down, turn on a two-second timer or remote release, and use a small aperture between f/8 and f/16. For moving streets, I open the lens, raise ISO, and protect shutter speed before anything else.
- Choose the subject that must stay sharp.
- Set shutter speed for that subject first.
- Open the aperture until the meter moves near center.
- Raise ISO only as much as needed.
- Check the brightest signs and windows for clipping.
One more detail helps a lot: shoot RAW. RAW files keep more tone in shadows and highlights, which gives you more room to save a dim city frame later.
Low-light focus needs its own plan
Use continuous AF with subject detection when people move through the frame. Back-button focus also helps because it keeps focus separate from the shutter.
For burst work, a mid-tier body often holds roughly 20 to 40 RAW frames before slowing, depending on the card and file size. UHS-II V60 or V90 cards clear that buffer faster than UHS-I, and CFexpress is stronger still for heavy bursts.
Frame rate is not the whole story. A camera may shoot 10 fps on the mechanical shutter, or 20 to 40 fps on the electronic shutter, but fast LED signs can band and fast motion can skew with the electronic readout.
What to check before you leave the spot
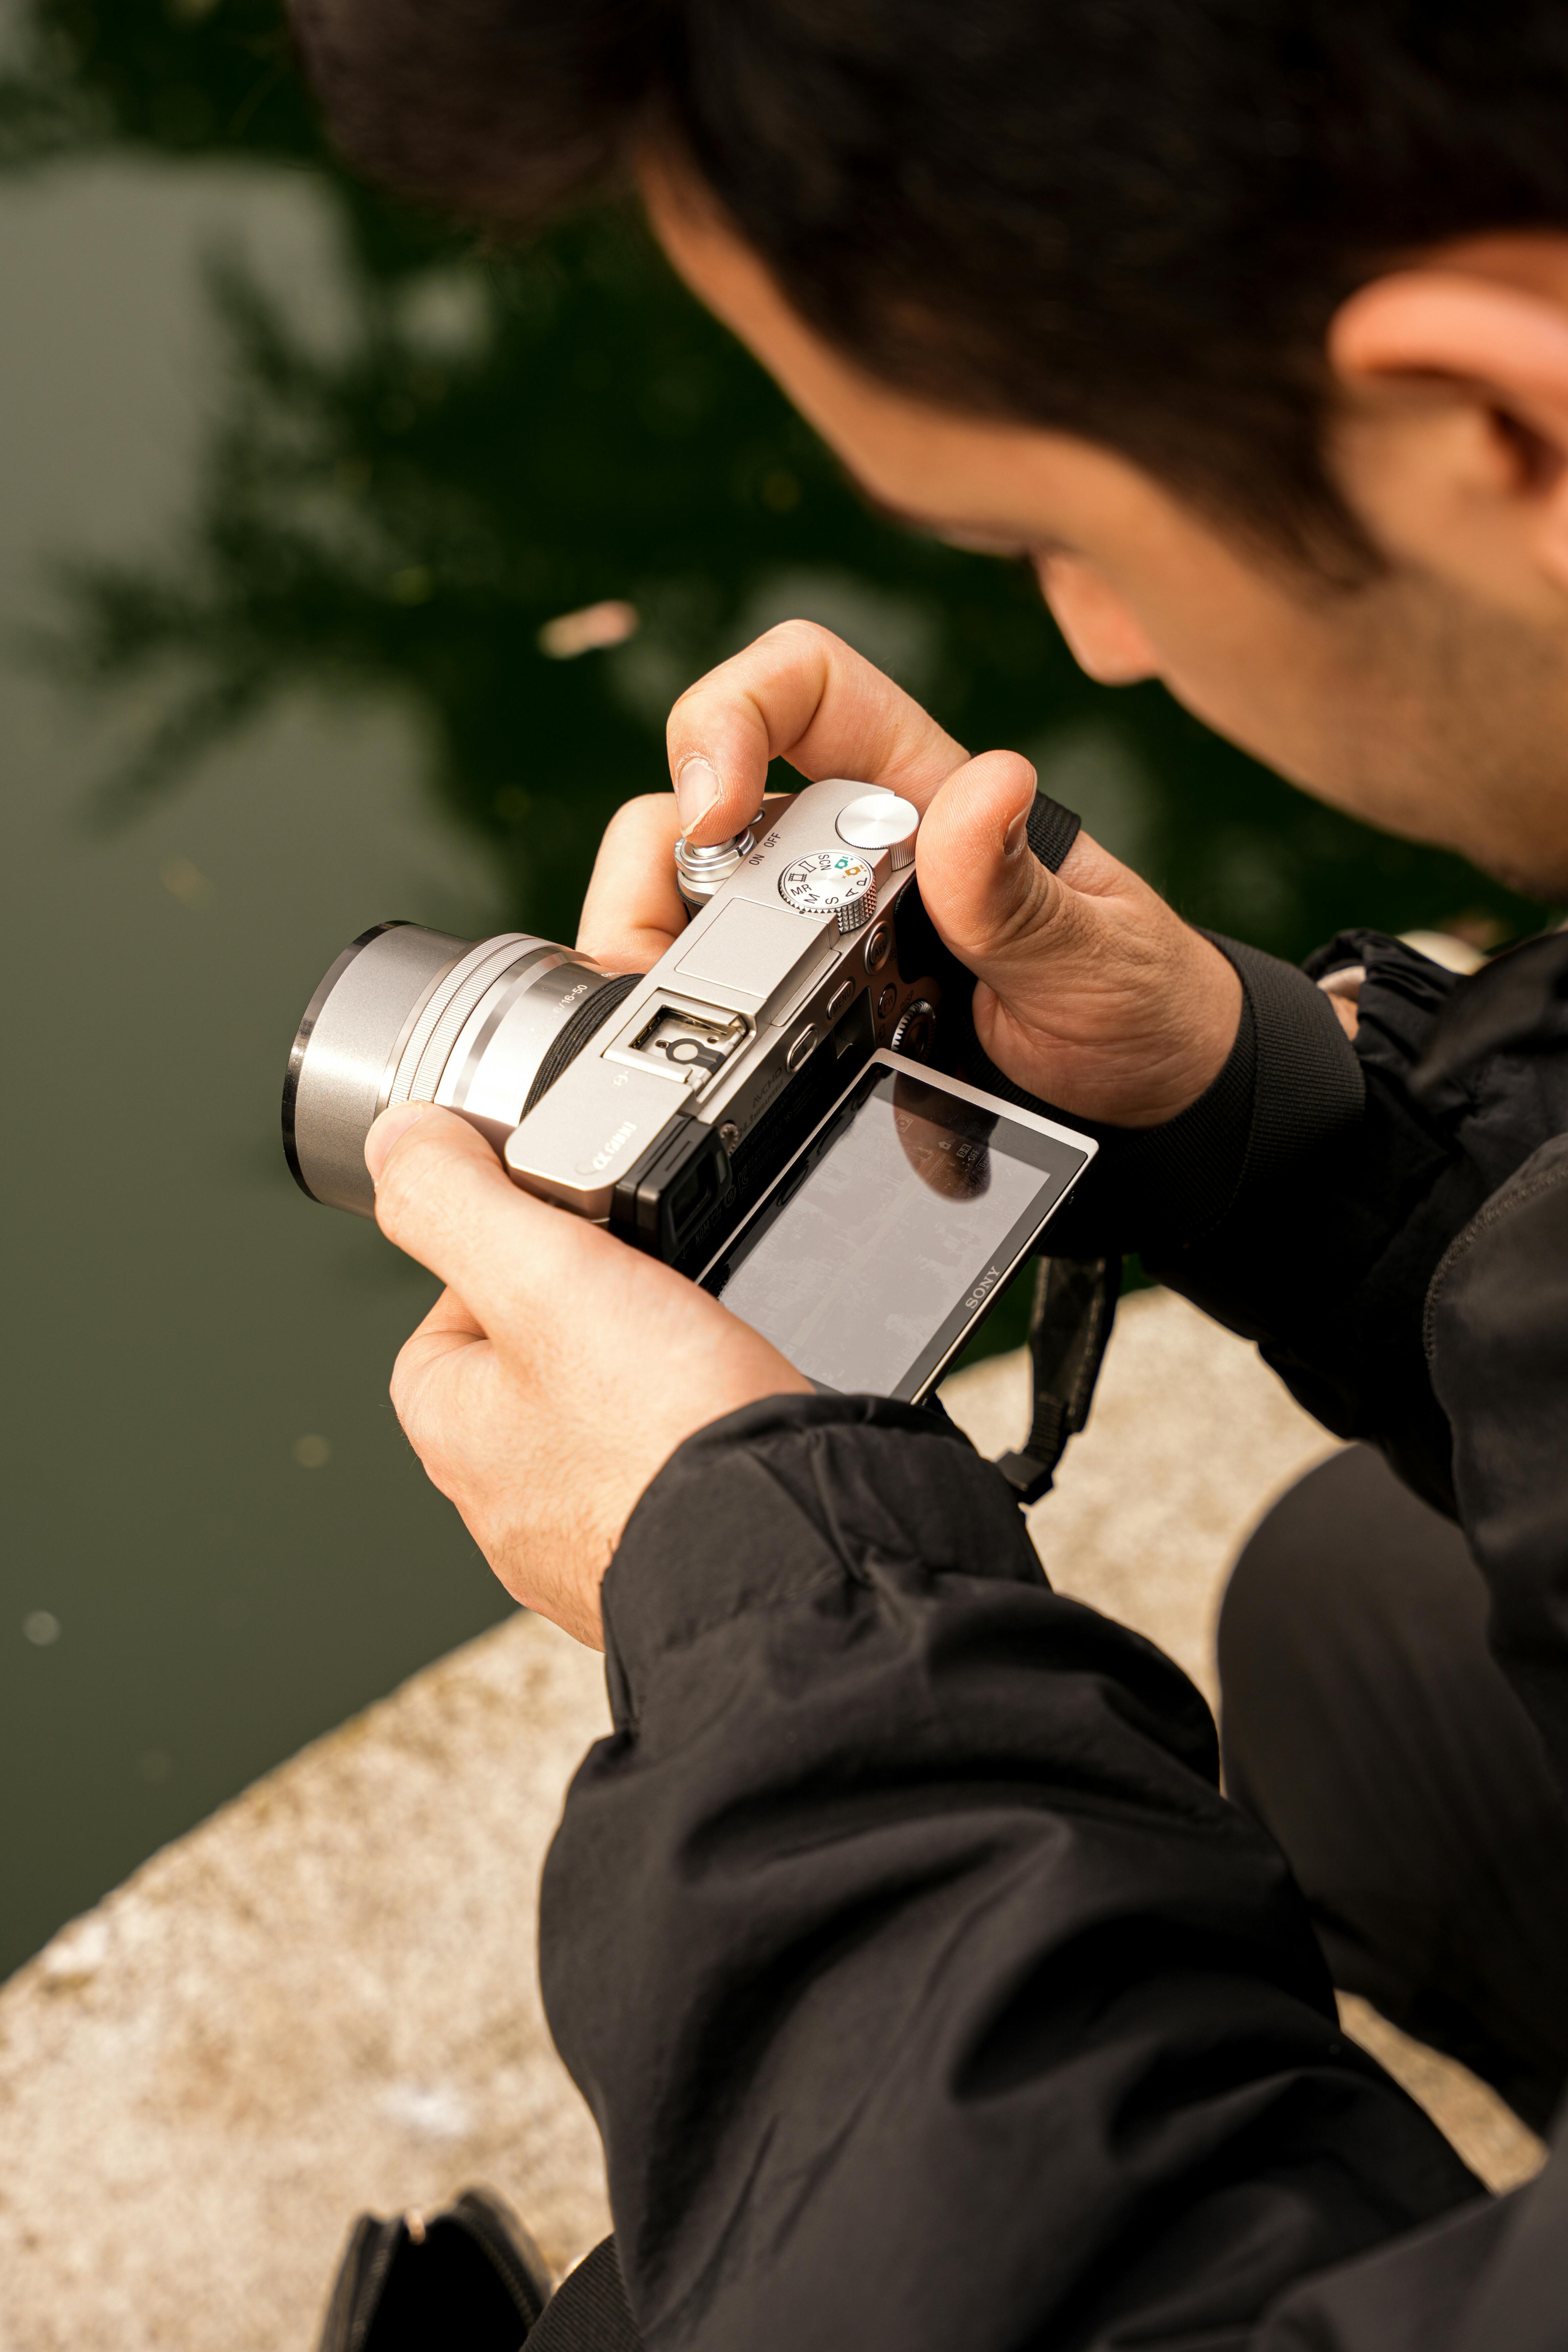
Night city work gets easier when you review a few frames on purpose. A quick check on the rear screen can show you if the sky is too bright, if shadows are crushed, or if a light source has clipped. Keep image review brief on mirrorless bodies, since the EVF and LCD drain power faster than many shooters expect. That matters on a long walk through several blocks of lit streets.
- Zoom in on lamps and windows.
- Look for blur in signs, trees, and people.
- Check the histogram for hard clipping on the right side.
- Re-shoot with one small change, not five at once.
That last step saves time. Small changes make it clear which setting fixed the frame.
Why sharp, lively night city photos hold together

After sunset, city shots fall flat when the exposure does not match the scene. The fix is simple in concept, but it needs a clear order: hold detail in the bright parts, give the sensor enough light, and keep motion under control.
Once you know when to use a tripod, when to open the lens, and when to raise ISO, the city starts to hold its shape again. On the next walk, start with one clean base setting, then adjust only one control at a time as the light drops further.
Frequently Asked Questions
What is exposure on a camera?
Exposure on a camera is the amount of light that reaches the sensor during a shot. Aperture, shutter speed, and ISO work together to control that light balance.

Is 24 or 36 exposure better?
24 exposure is not better or worse than 36 exposure for image quality, because exposure means light reaching the sensor, not a camera setting number. If this question refers to film count, 36 exposures simply means 36 frames on a roll, while 24 exposures means 24 frames.
What is the best exposure setting for my camera?
The best exposure setting for a camera depends on whether the shot is handheld or on a tripod, and on how much motion is in the scene. For a static cityscape on a tripod, a common starting point is f/8 to f/16, ISO 100 to 200, and 30 to 60 seconds; for handheld night shots, f/1.8 to f/2.8, ISO 800 to 3200, and 1/30s to 1/60s are common starting points.
What does a higher exposure mean?

A higher exposure means more light reaches the camera sensor, so the image looks brighter. Higher exposure can come from a wider aperture, a slower shutter speed, or a higher ISO, but each change also affects sharpness, motion blur, or noise.


