


- Carry the camera at the top or side, with a strap-ready body for instant access.
- Choose a 24–70mm zoom to cover streets, portraits, and views without lens swaps.
- Keep battery, card, and cloth in one flat pouch so you shoot fast in transit.
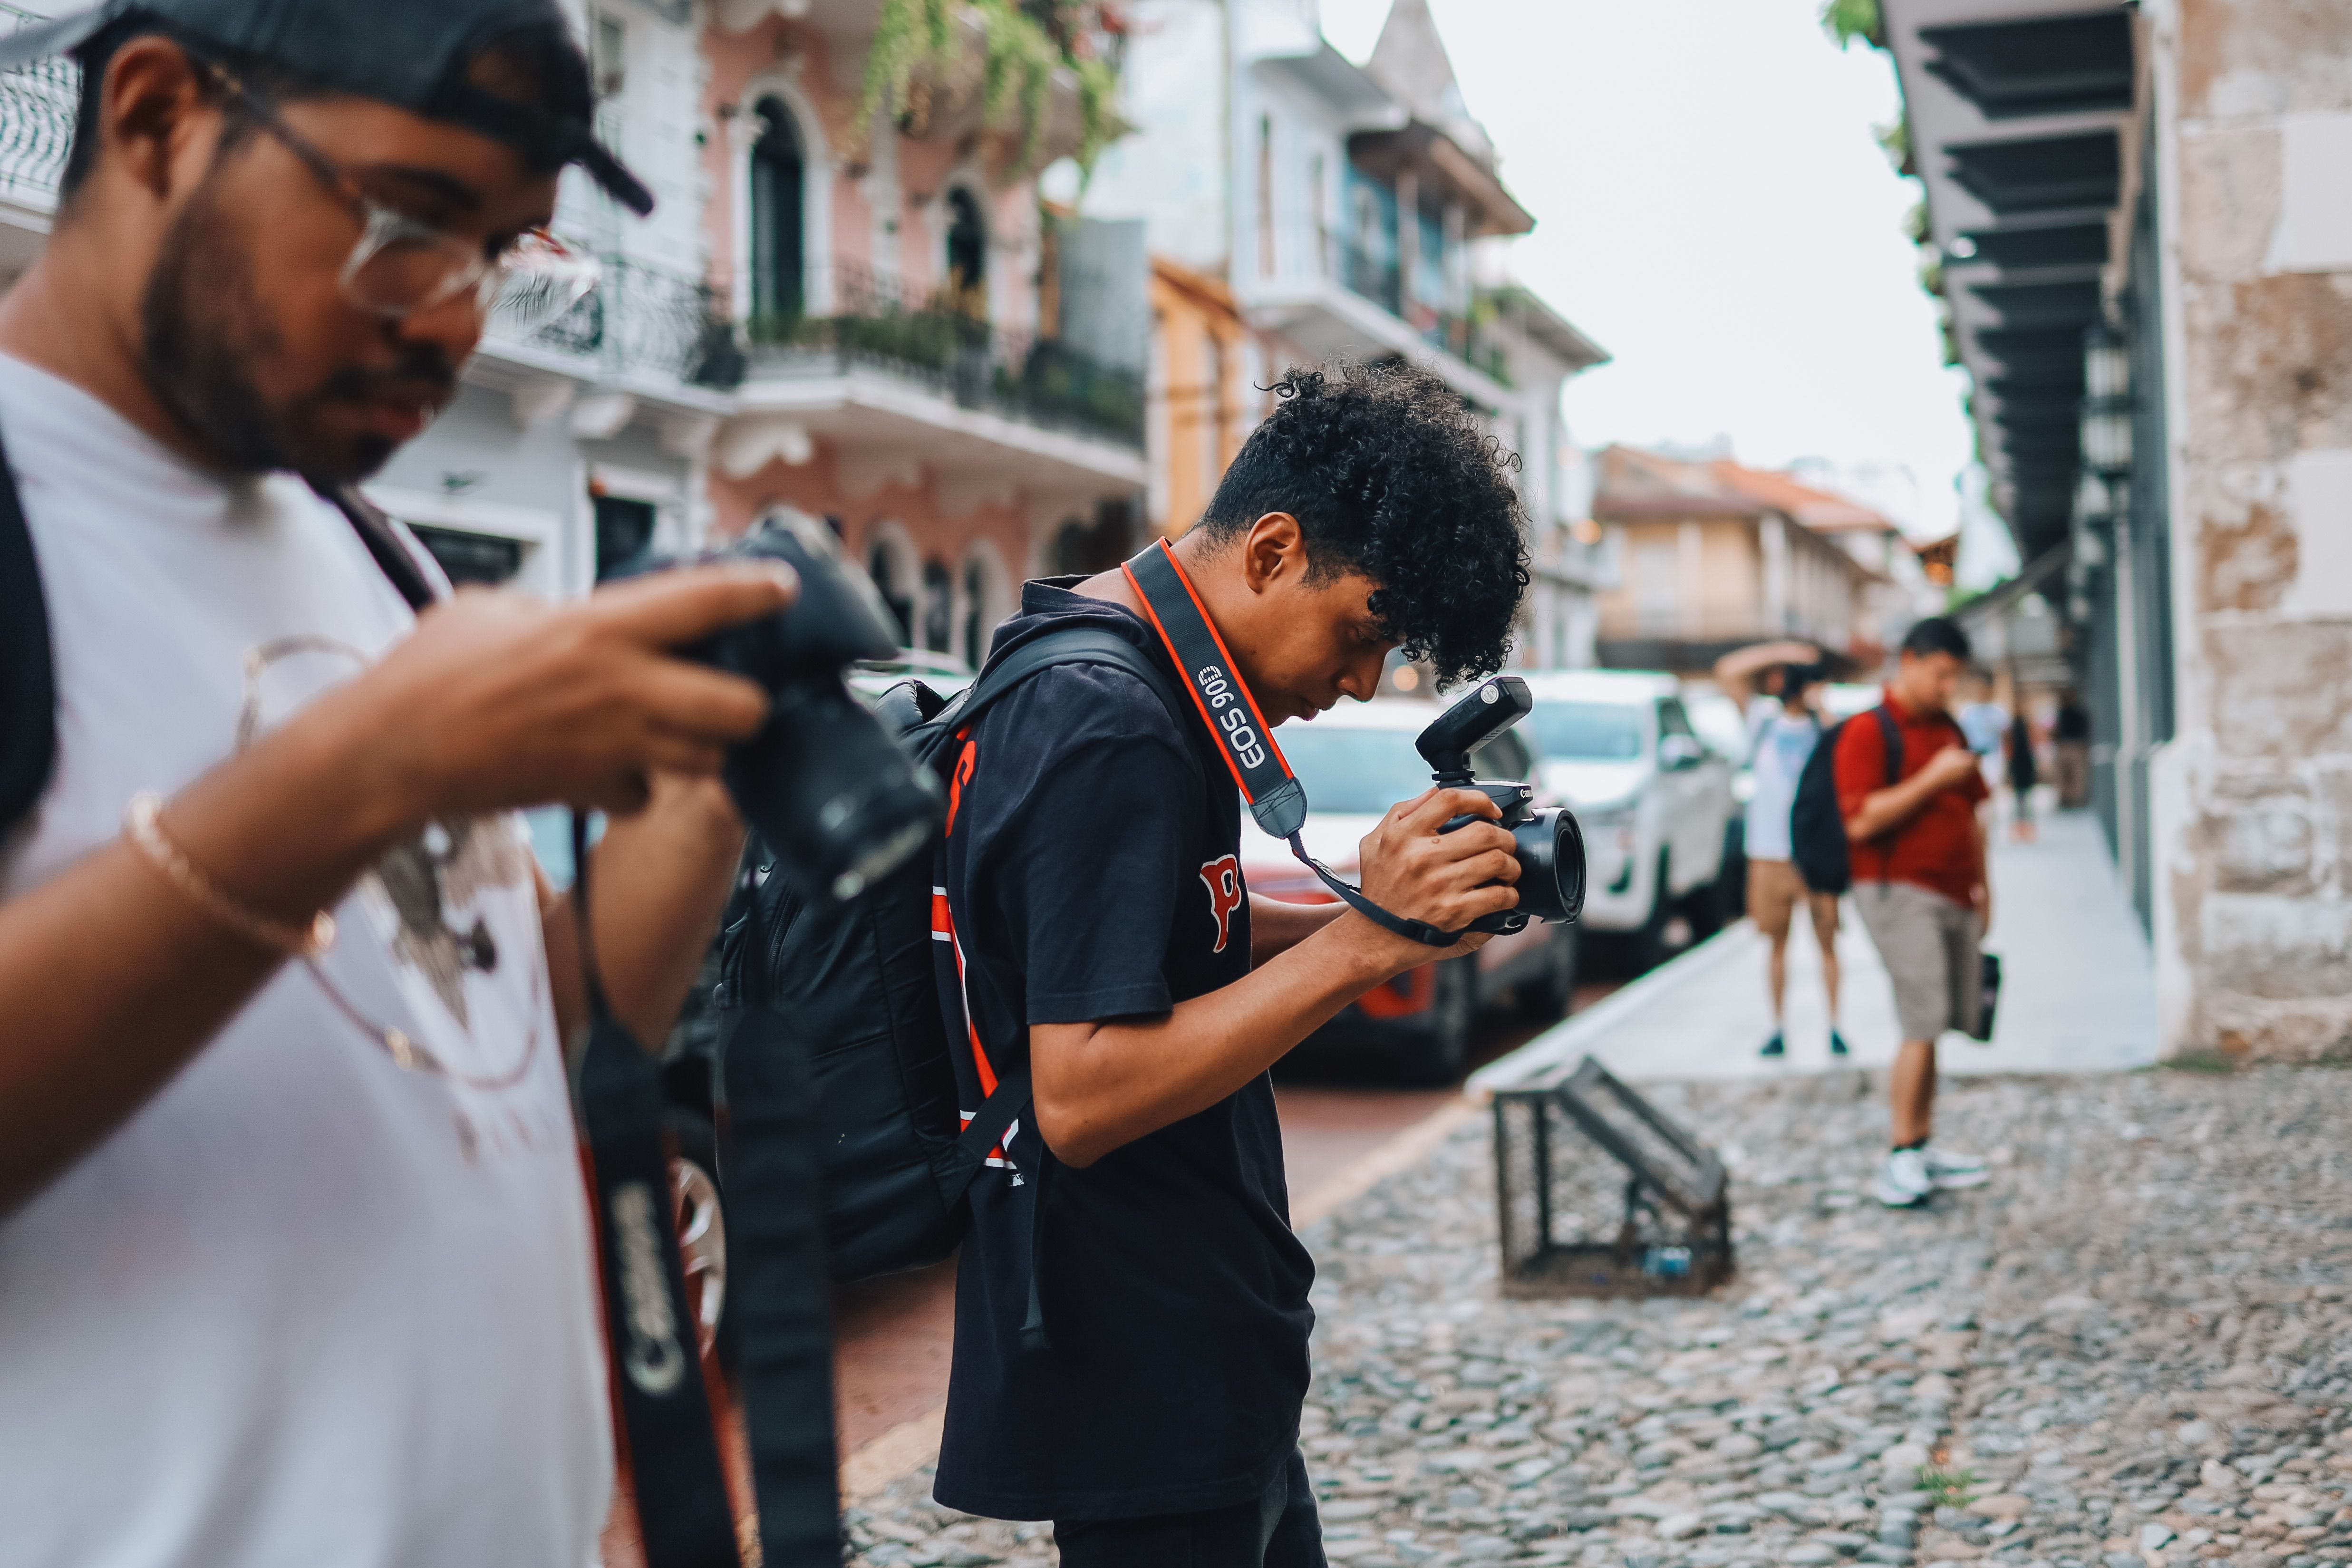
One-bag travel photography keeps camera gear, personal items, and daily essentials in a single carry bag. I use it when I want quick access, less weight, and fewer stops between a flight, a street walk, and a viewpoint. The goal is simple: stay ready without rummaging through a backpack every few minutes. Every item has to earn its place, and every pocket has to make sense.
Translation missing: en.blog_cta.bundle_heading

- Regular price
-
€42 - Regular price
-
€44 - Sale price
-
€42
By choosing the Camstrap strap, you are opting for a high-quality product designed to meet the needs of the most demanding photographers.
- Developed by a physiotherapist to relieve neck and back pain.
- Fast delivery with tracking by the Post Office 🚚
- Can be used as a shoulder strap or hands-free harness

- Regular price
-
€36 - Regular price
-
€42 - Sale price
-
€36
Translation missing: en.blog_cta.free_shipping_included
The core idea behind a lean camera day
A camera day in one bag works best when the bag supports movement instead of storage. I want a setup that lets me move from airport to train to sidewalk without resetting anything along the way.
Speed, comfort, and reach shape the load. Anything that slows me down or needs extra setup stays home.
What the bag needs to do
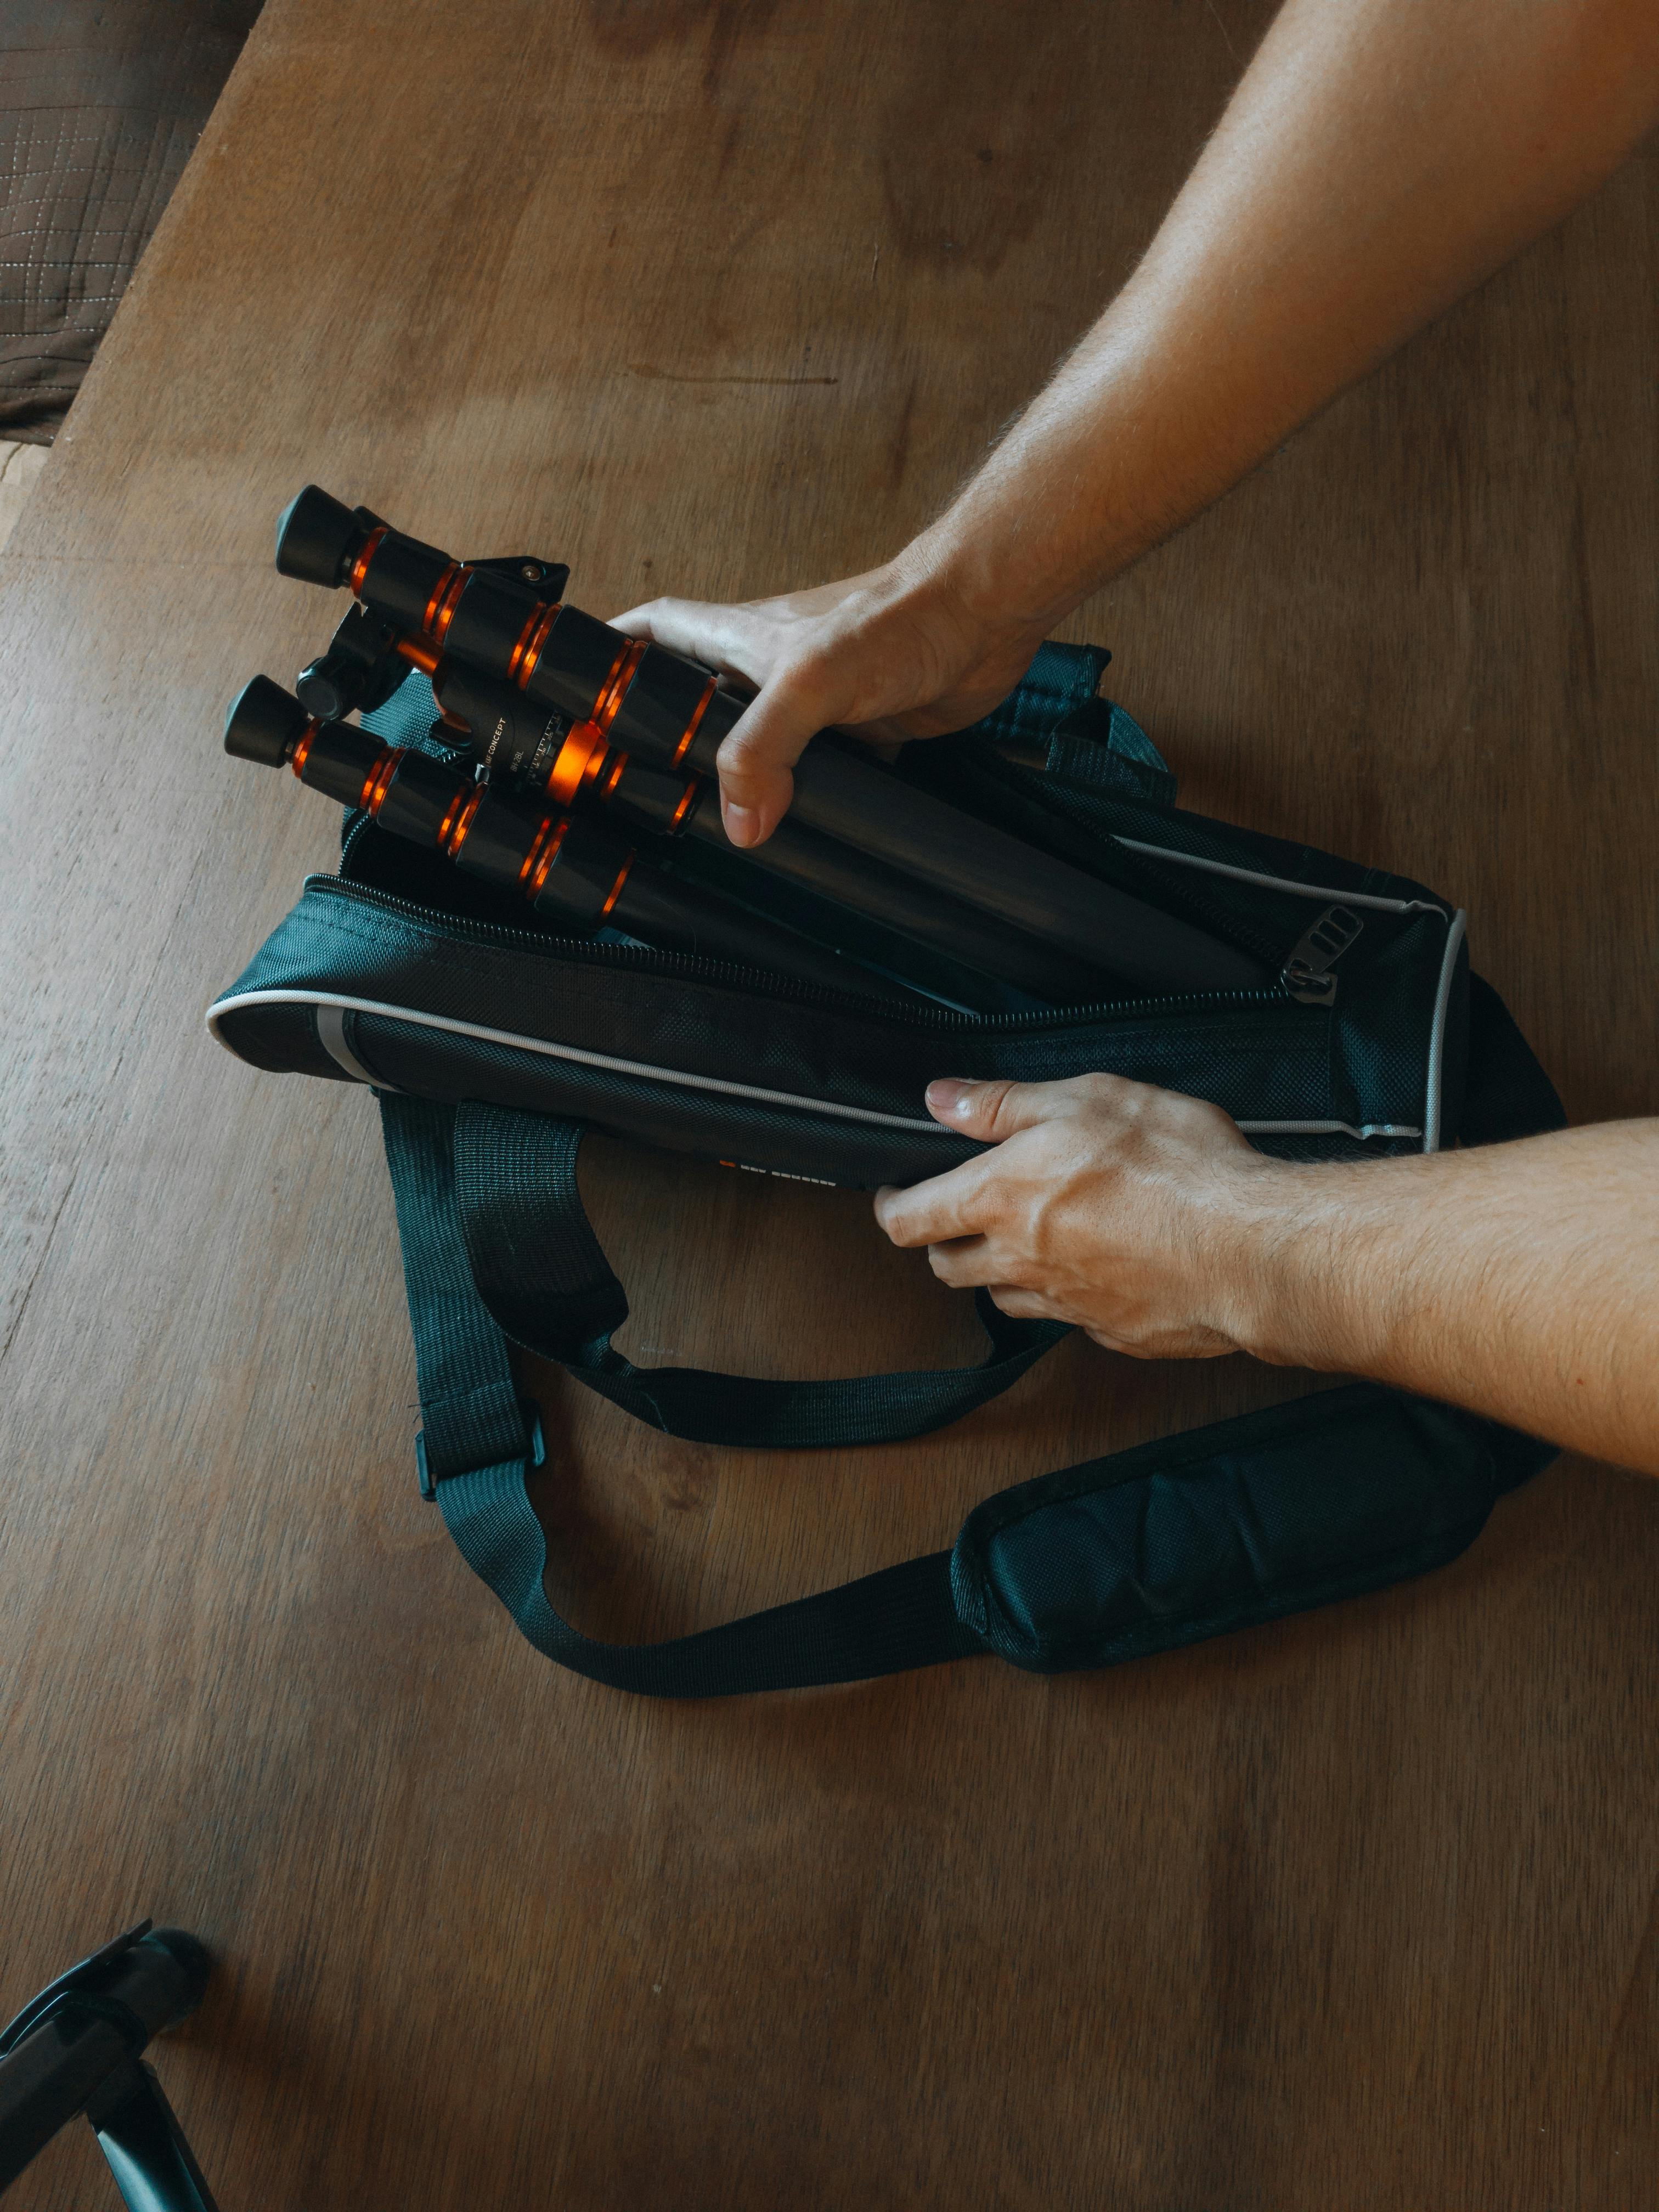
My bag has to keep the camera easy to grab, protect the lens, and hold a few daily items too. A side opening or top access point helps because I can get the body out in seconds. A good strap matters here as well. A load-spreading strap like the Camstrap voyager keeps the camera close and steady while I walk.
My pack logic in plain terms
I think in layers. The camera sits in the fastest spot, the lens stays on the body, and the small extras live in one simple pouch.
That order saves time and cuts stress. It also makes the bag easier to move through crowds, gates, and narrow train aisles.
How do you carry a camera with one-bag travel luggage?
Keep the camera in a quick-access spot, with the strap on your body and the rest of the luggage packed around it. I keep the camera at the top or side of the bag, then use a sling-style carry or shoulder strap when I want it out. This setup reduces the number of steps between seeing a scene and taking the shot. If the camera lives inside the bag, you lose moments while you dig.
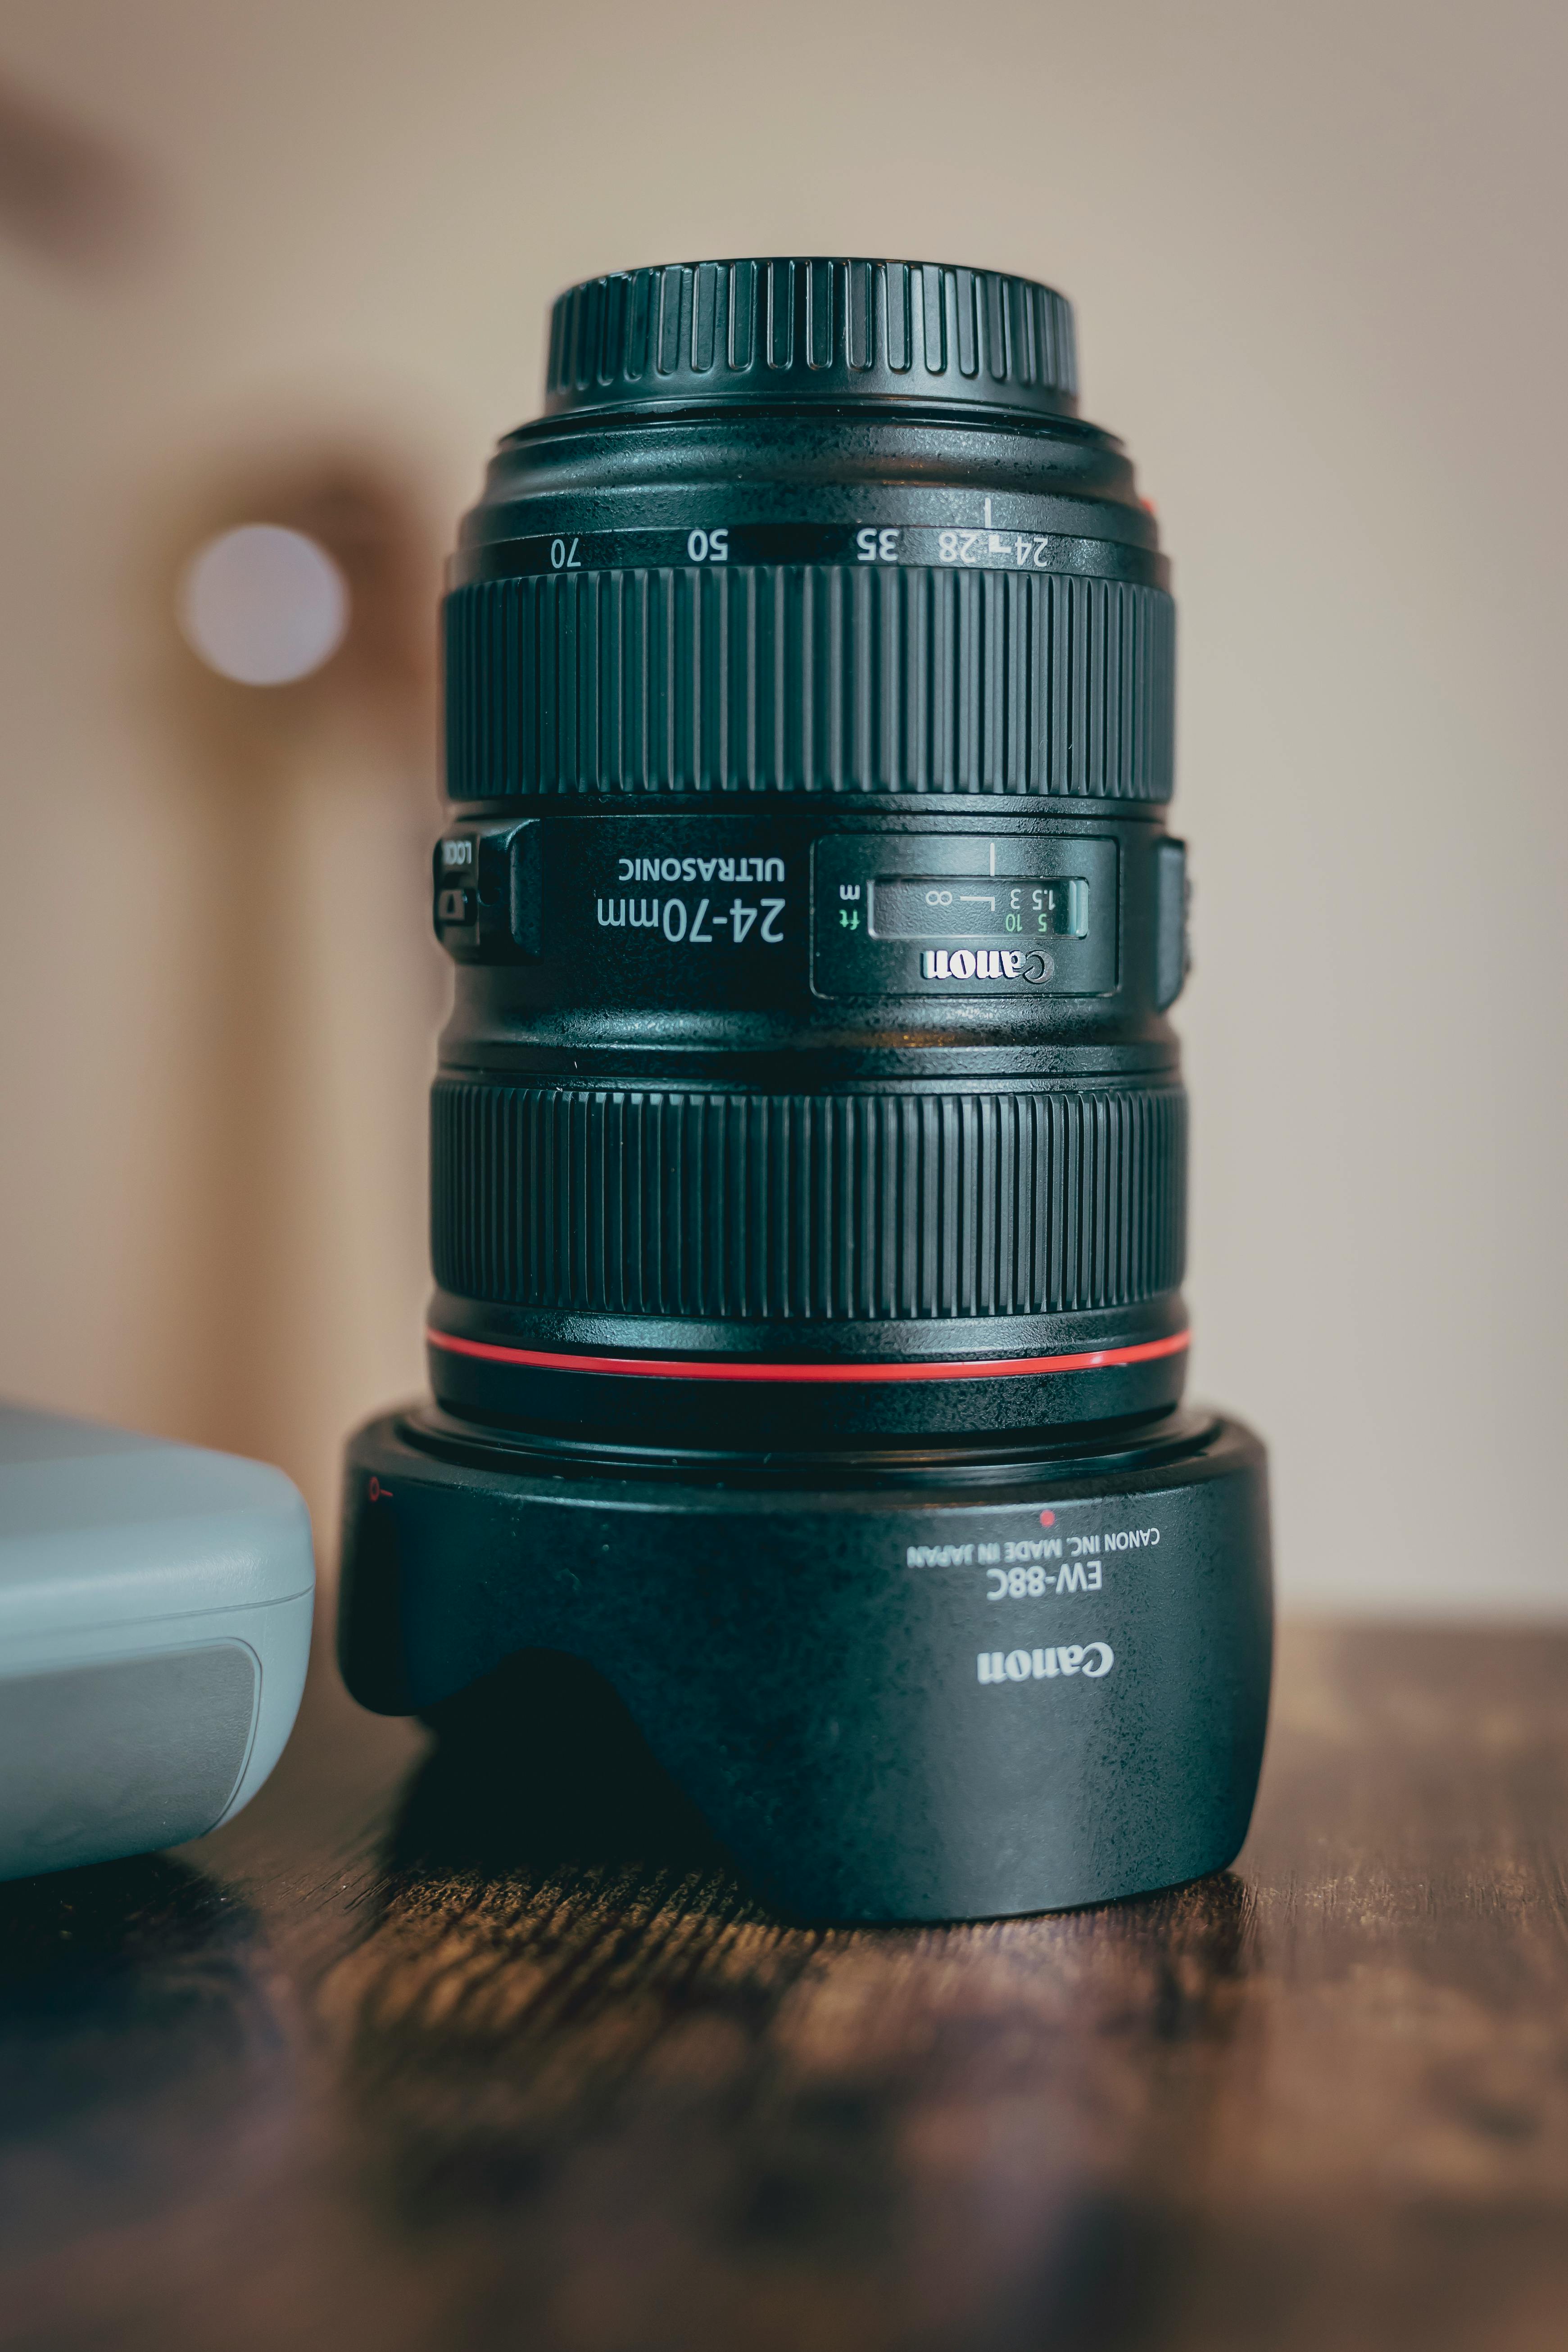
For a travel day, I like a body with a small zoom or a compact prime already mounted. A 24-70mm zoom covers most street, food, and view shots without lens swaps.
- Camera body with one mounted lens
- Memory card already in the camera
- One spare battery in a side pocket
- Charging cable and plug adapter in a flat pouch
- Small microfiber cloth for dust or rain
That list stays lean on purpose. Every extra item adds a pause, and pauses cost frames when the light changes fast.
What lens works best for travel days with one bag?
A 24-70mm lens is the most useful choice for travel days because it covers wide scenes and tighter portraits in one piece of glass. If I want a lighter kit, I go with a 35mm or 50mm prime and accept the fixed view.
The best lens depends on how much you walk and how much you want to carry. A zoom gives range, while a prime gives less weight and often a wider aperture like f/1.8 or f/2.
How I choose between zoom and prime
For city travel, I like the 24-70mm range because it lets me react fast. At 24mm, I can show a building or street scene. At 70mm, I can isolate a face or detail.
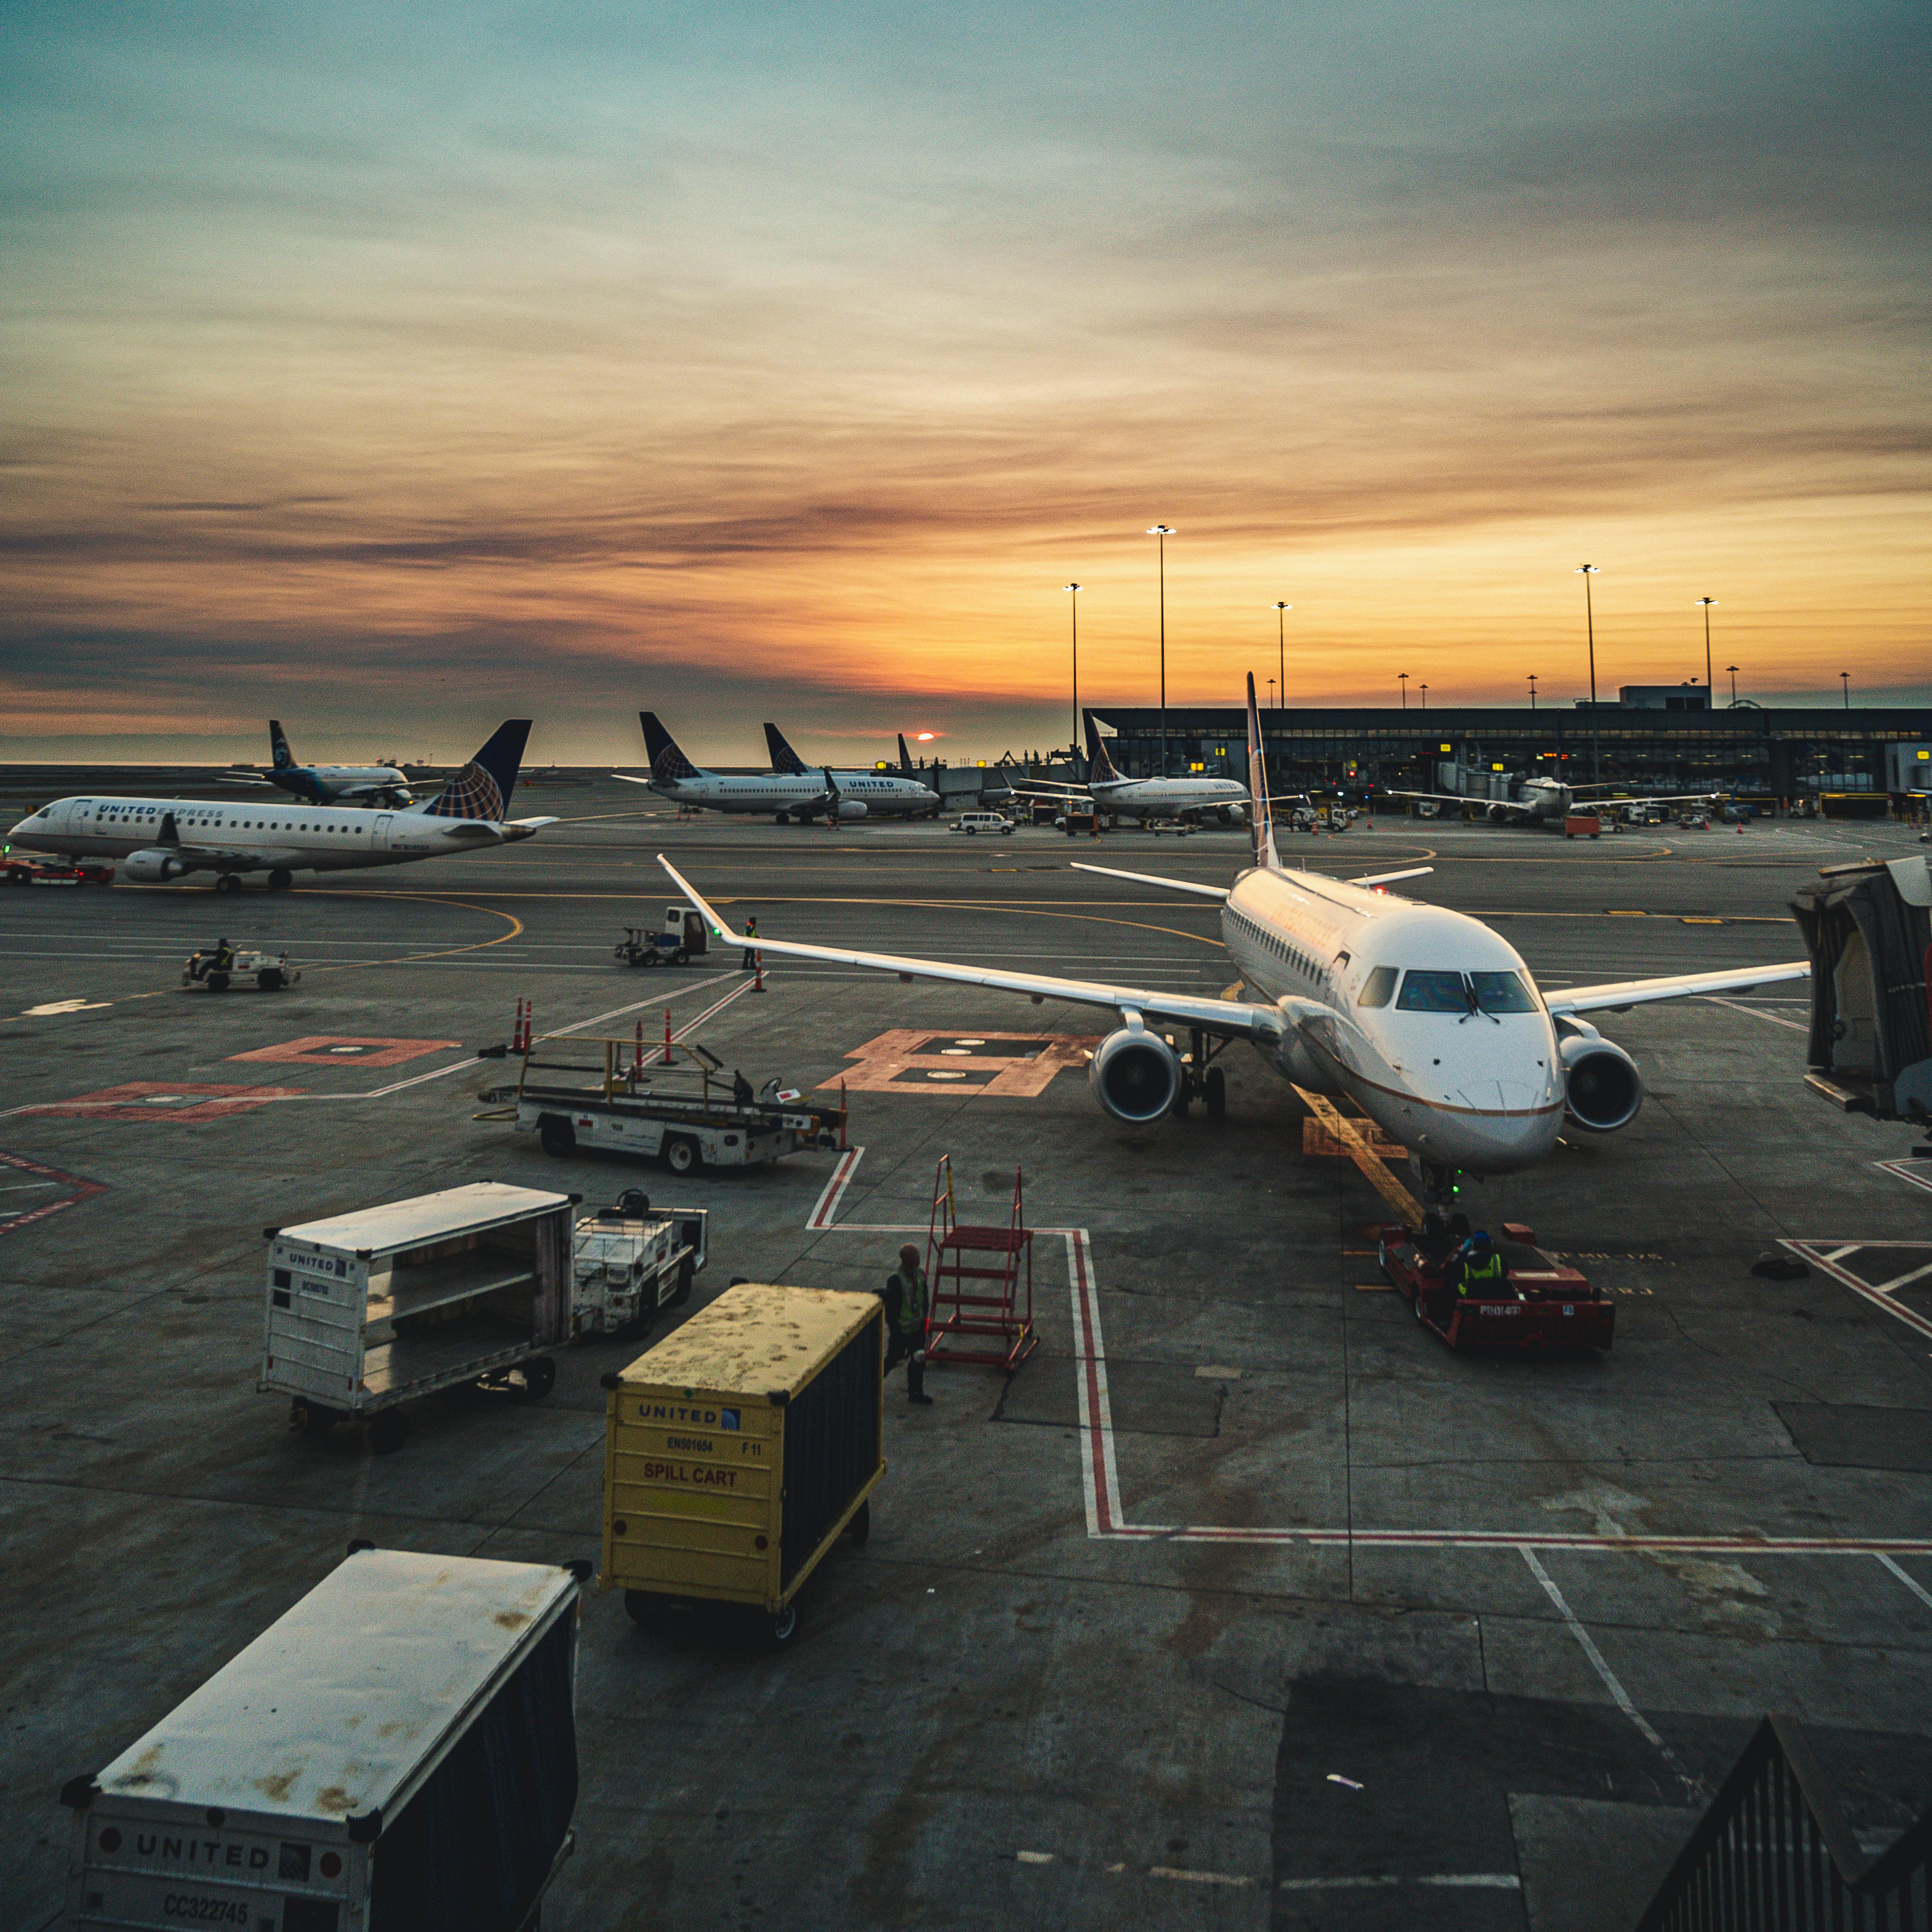
A 35mm f/1.8 is my next pick when I want a smaller bag and a more natural look. A 50mm f/1.8 is even simpler, and it works well for food, portraits, and quiet scenes.
Low light is the tradeoff. A slower zoom may push ISO higher, while a fast prime can keep ISO lower but needs more framing care.
What lens choice changes in the field
Lens choice shapes how often I swap gear. Fewer swaps mean less dust, less delay, and less chance of missing a moment. It also changes how I move. A smaller lens feels better on long walk days, while a zoom is better when I expect mixed scenes all day.
What should stay in your day bag for walk-around travel photography?
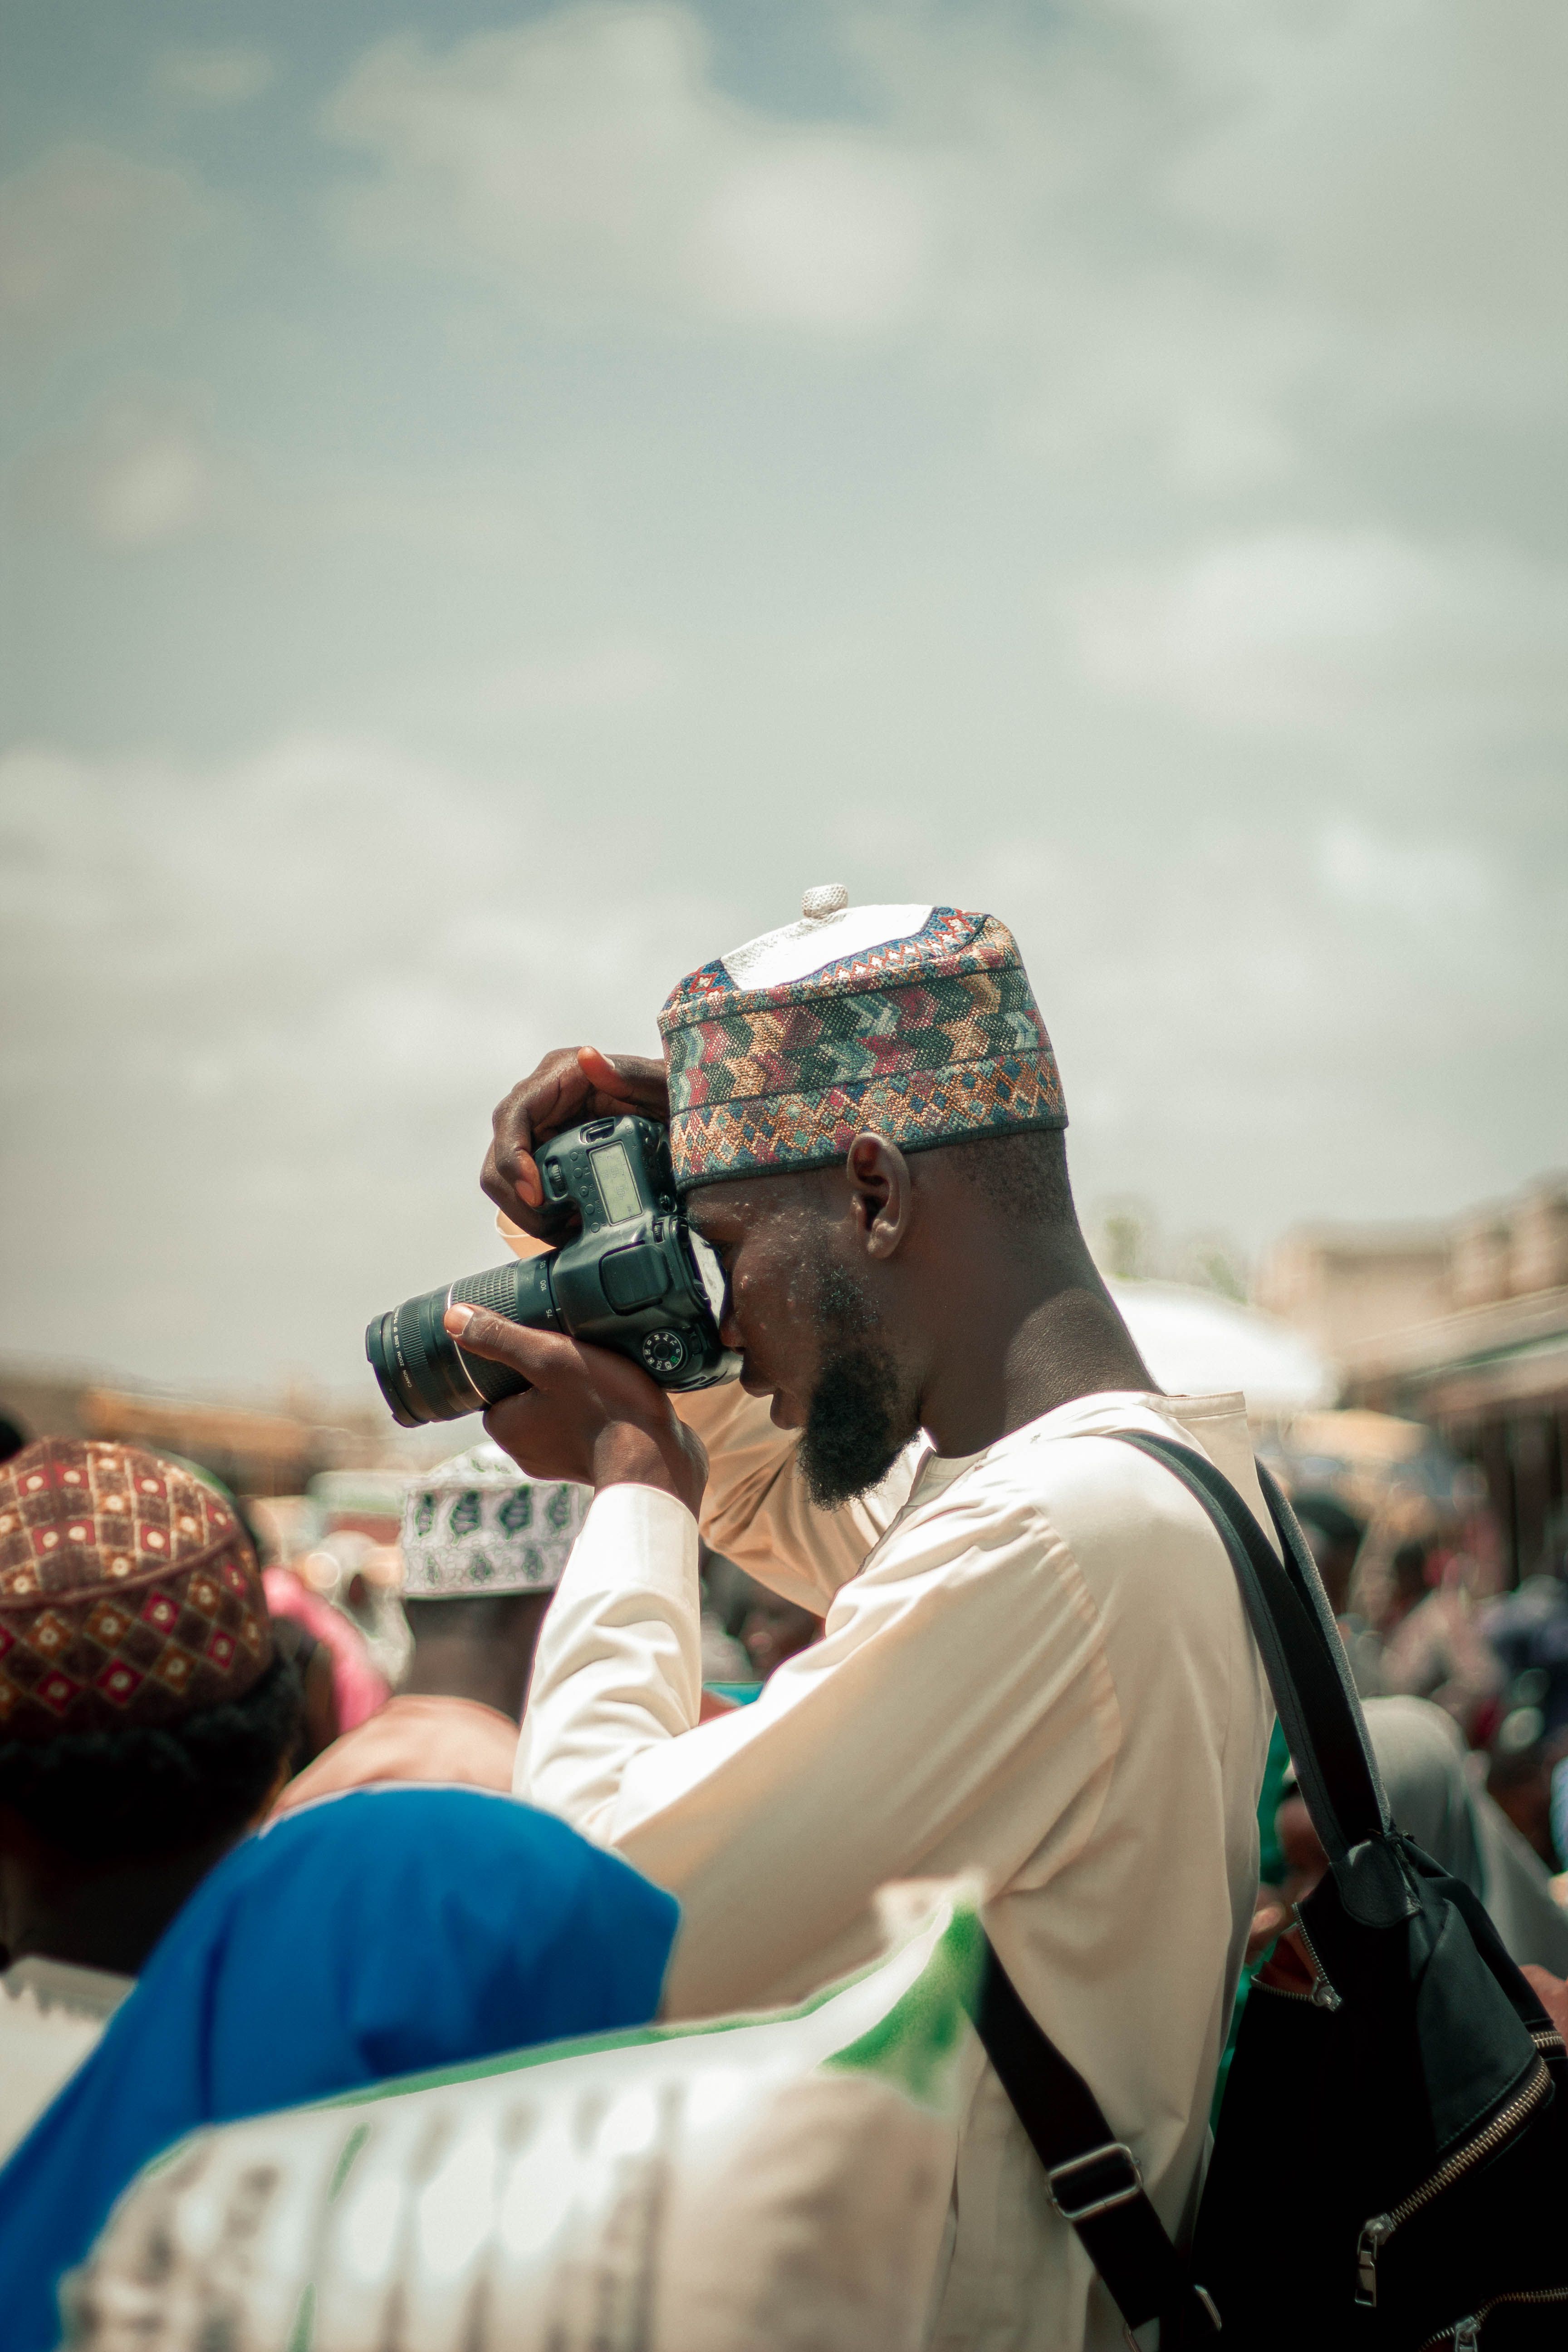
Your day bag should hold only the things that keep the camera working and the day smooth. I keep the load small, because a crowded bag gets slow fast.
The best carry kit is practical, not flashy. It should help with power, weather, comfort, and the next shot.
- One camera body
- One lens already mounted
- One spare battery, charged
- One empty card slot or one spare card
- USB-C cable or charger if the body supports in-bag charging
- Microfiber cloth
- Small water bottle or snack, if the bag has room
I also keep one flat divider or insert if the bag needs shape. That stops the camera from shifting when I set the bag down on a train seat or café floor. Travel days are long, so comfort matters too. A lighter pack means I keep shooting later, and that usually matters more than carrying extras I never touch.
How do you keep a camera ready in airports and train stations?
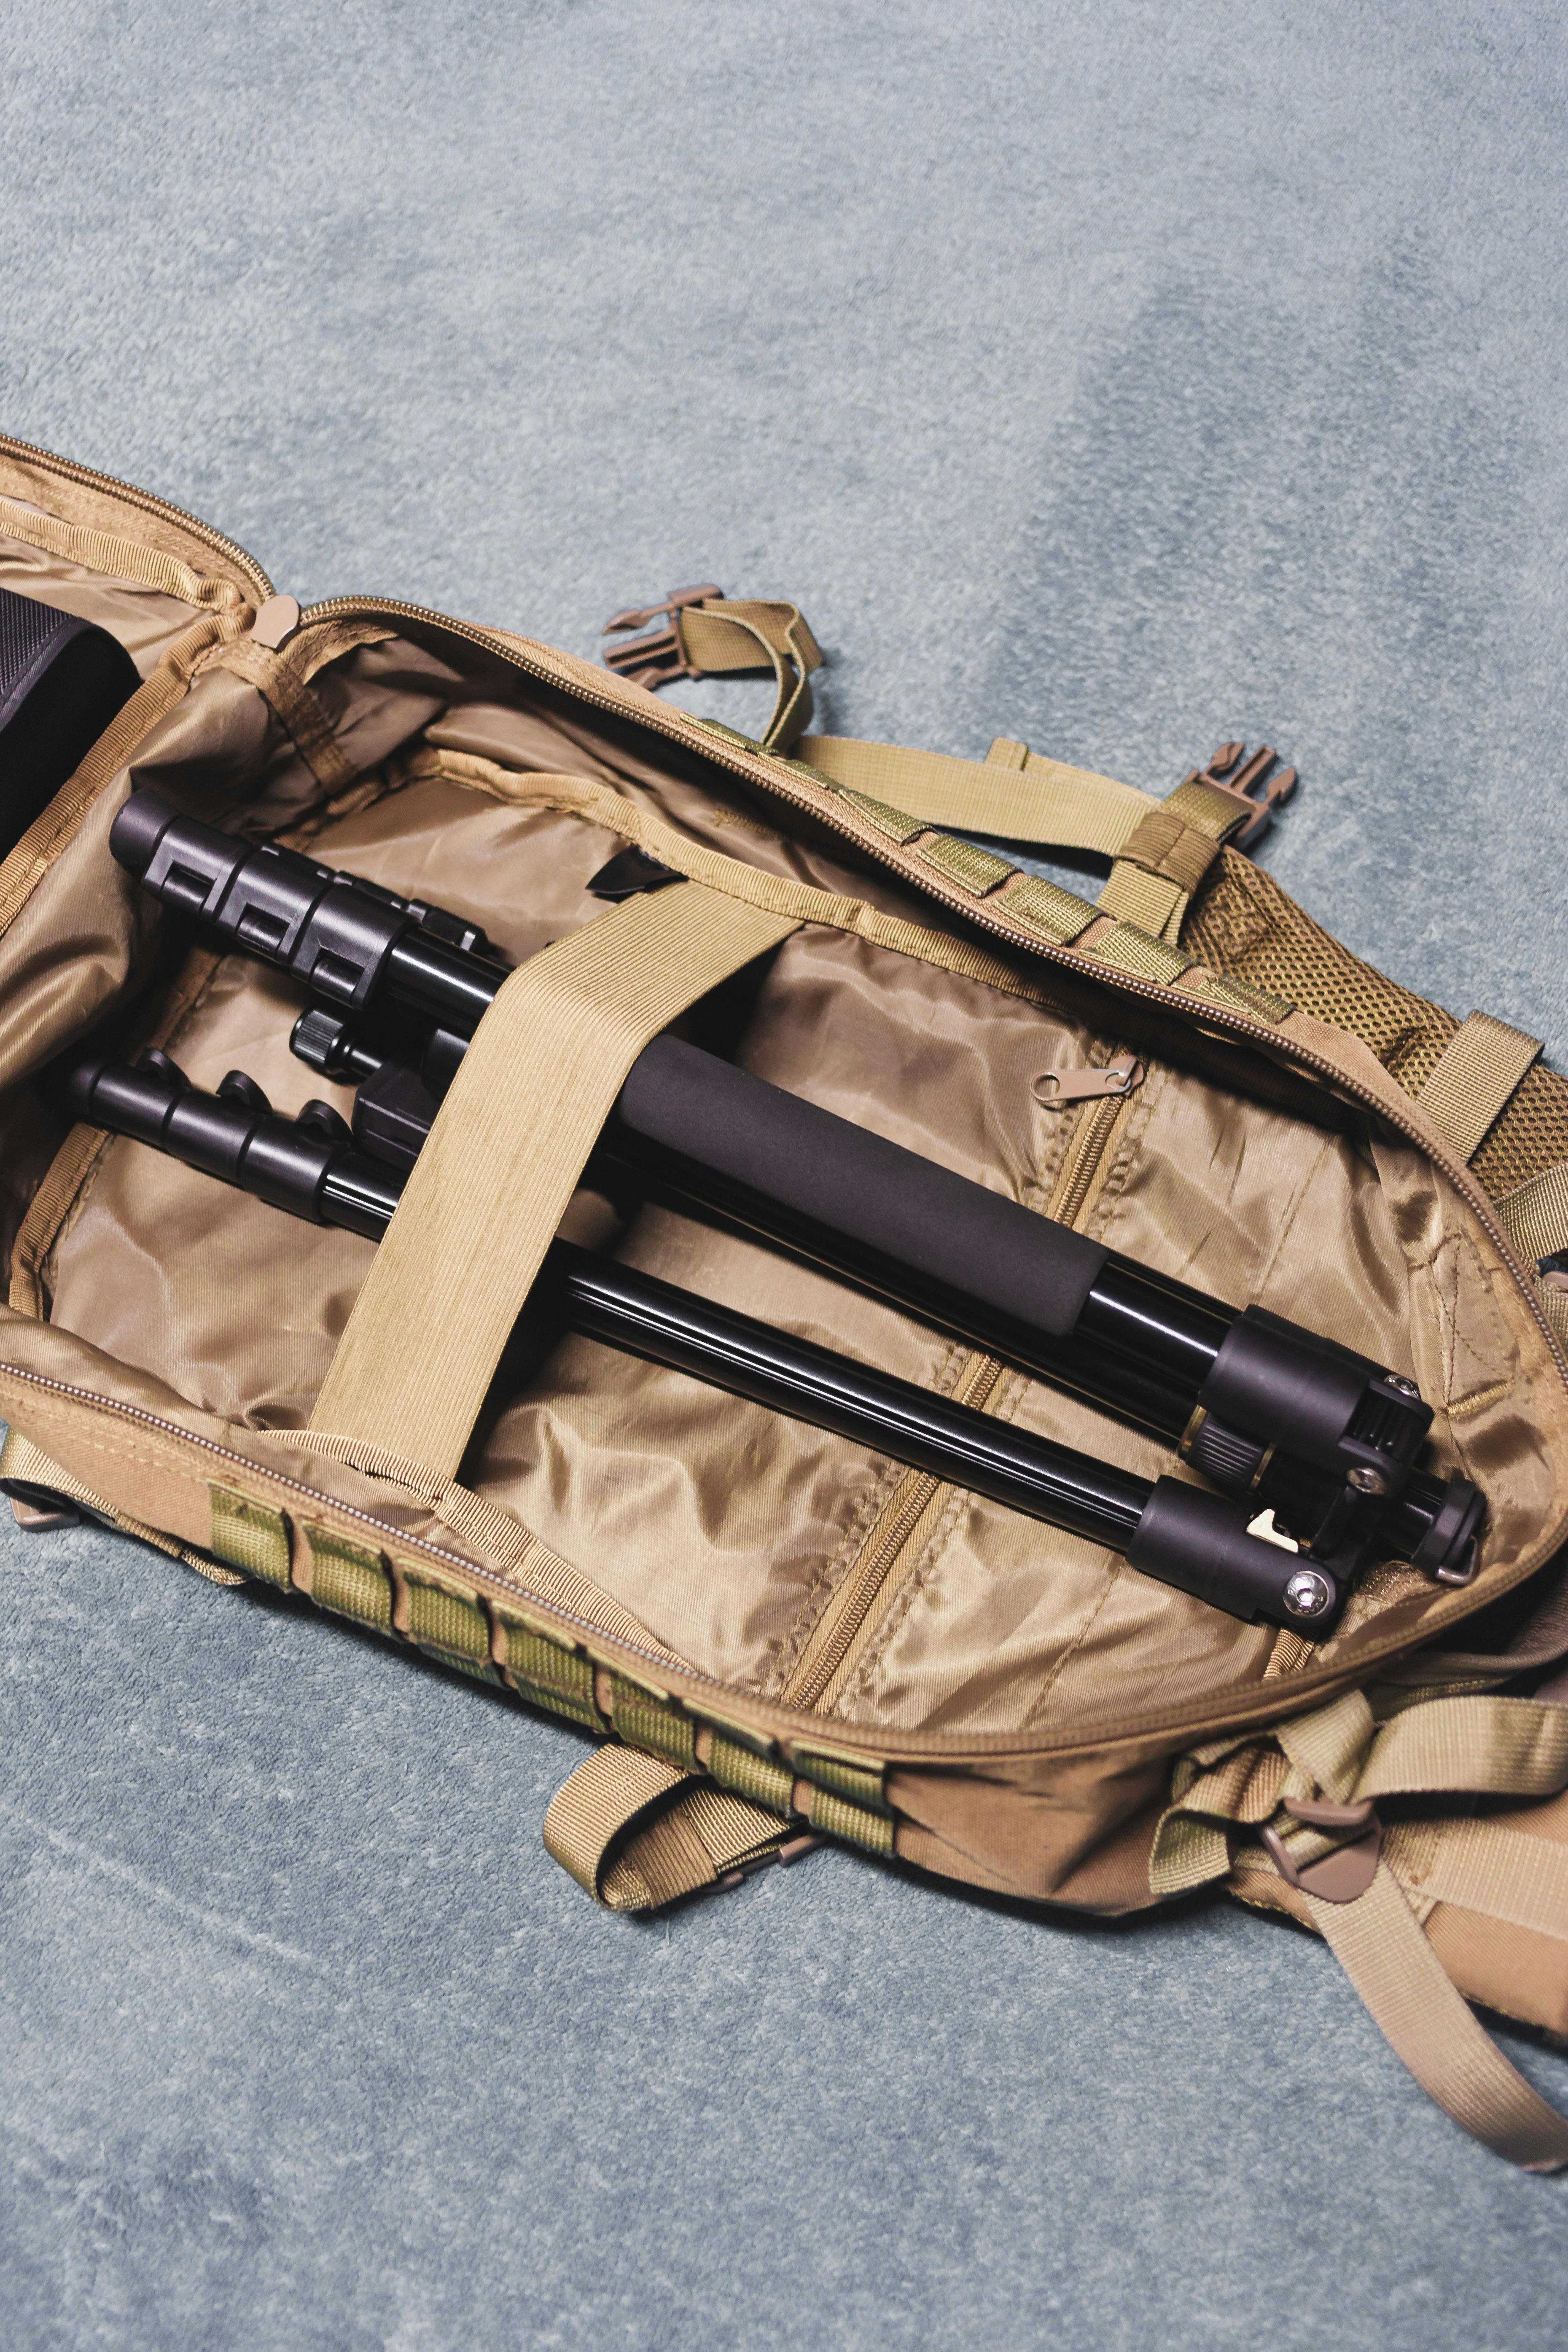
Keep the camera ready by leaving it on, in standby, or set for a fast wake-up with the right focus mode. I use continuous AF, eye or subject detection, and back-button focus when I expect moving people or changing light.
This works best when the camera is not buried in the bag. A body on the strap wakes fast, and a mounted lens means I can shoot before the moment passes.
Camera settings that help
I start with aperture priority or manual mode, then set a shutter speed that matches the scene. For moving people in stations, 1/500s is a safe starting point, and 1/250s can work for slower walks. On many mirrorless bodies, the big battery drain comes from the EVF, the rear screen, and image review. I save power by lowering screen brightness and turning off long review times.
Fast shooting without wasting frames
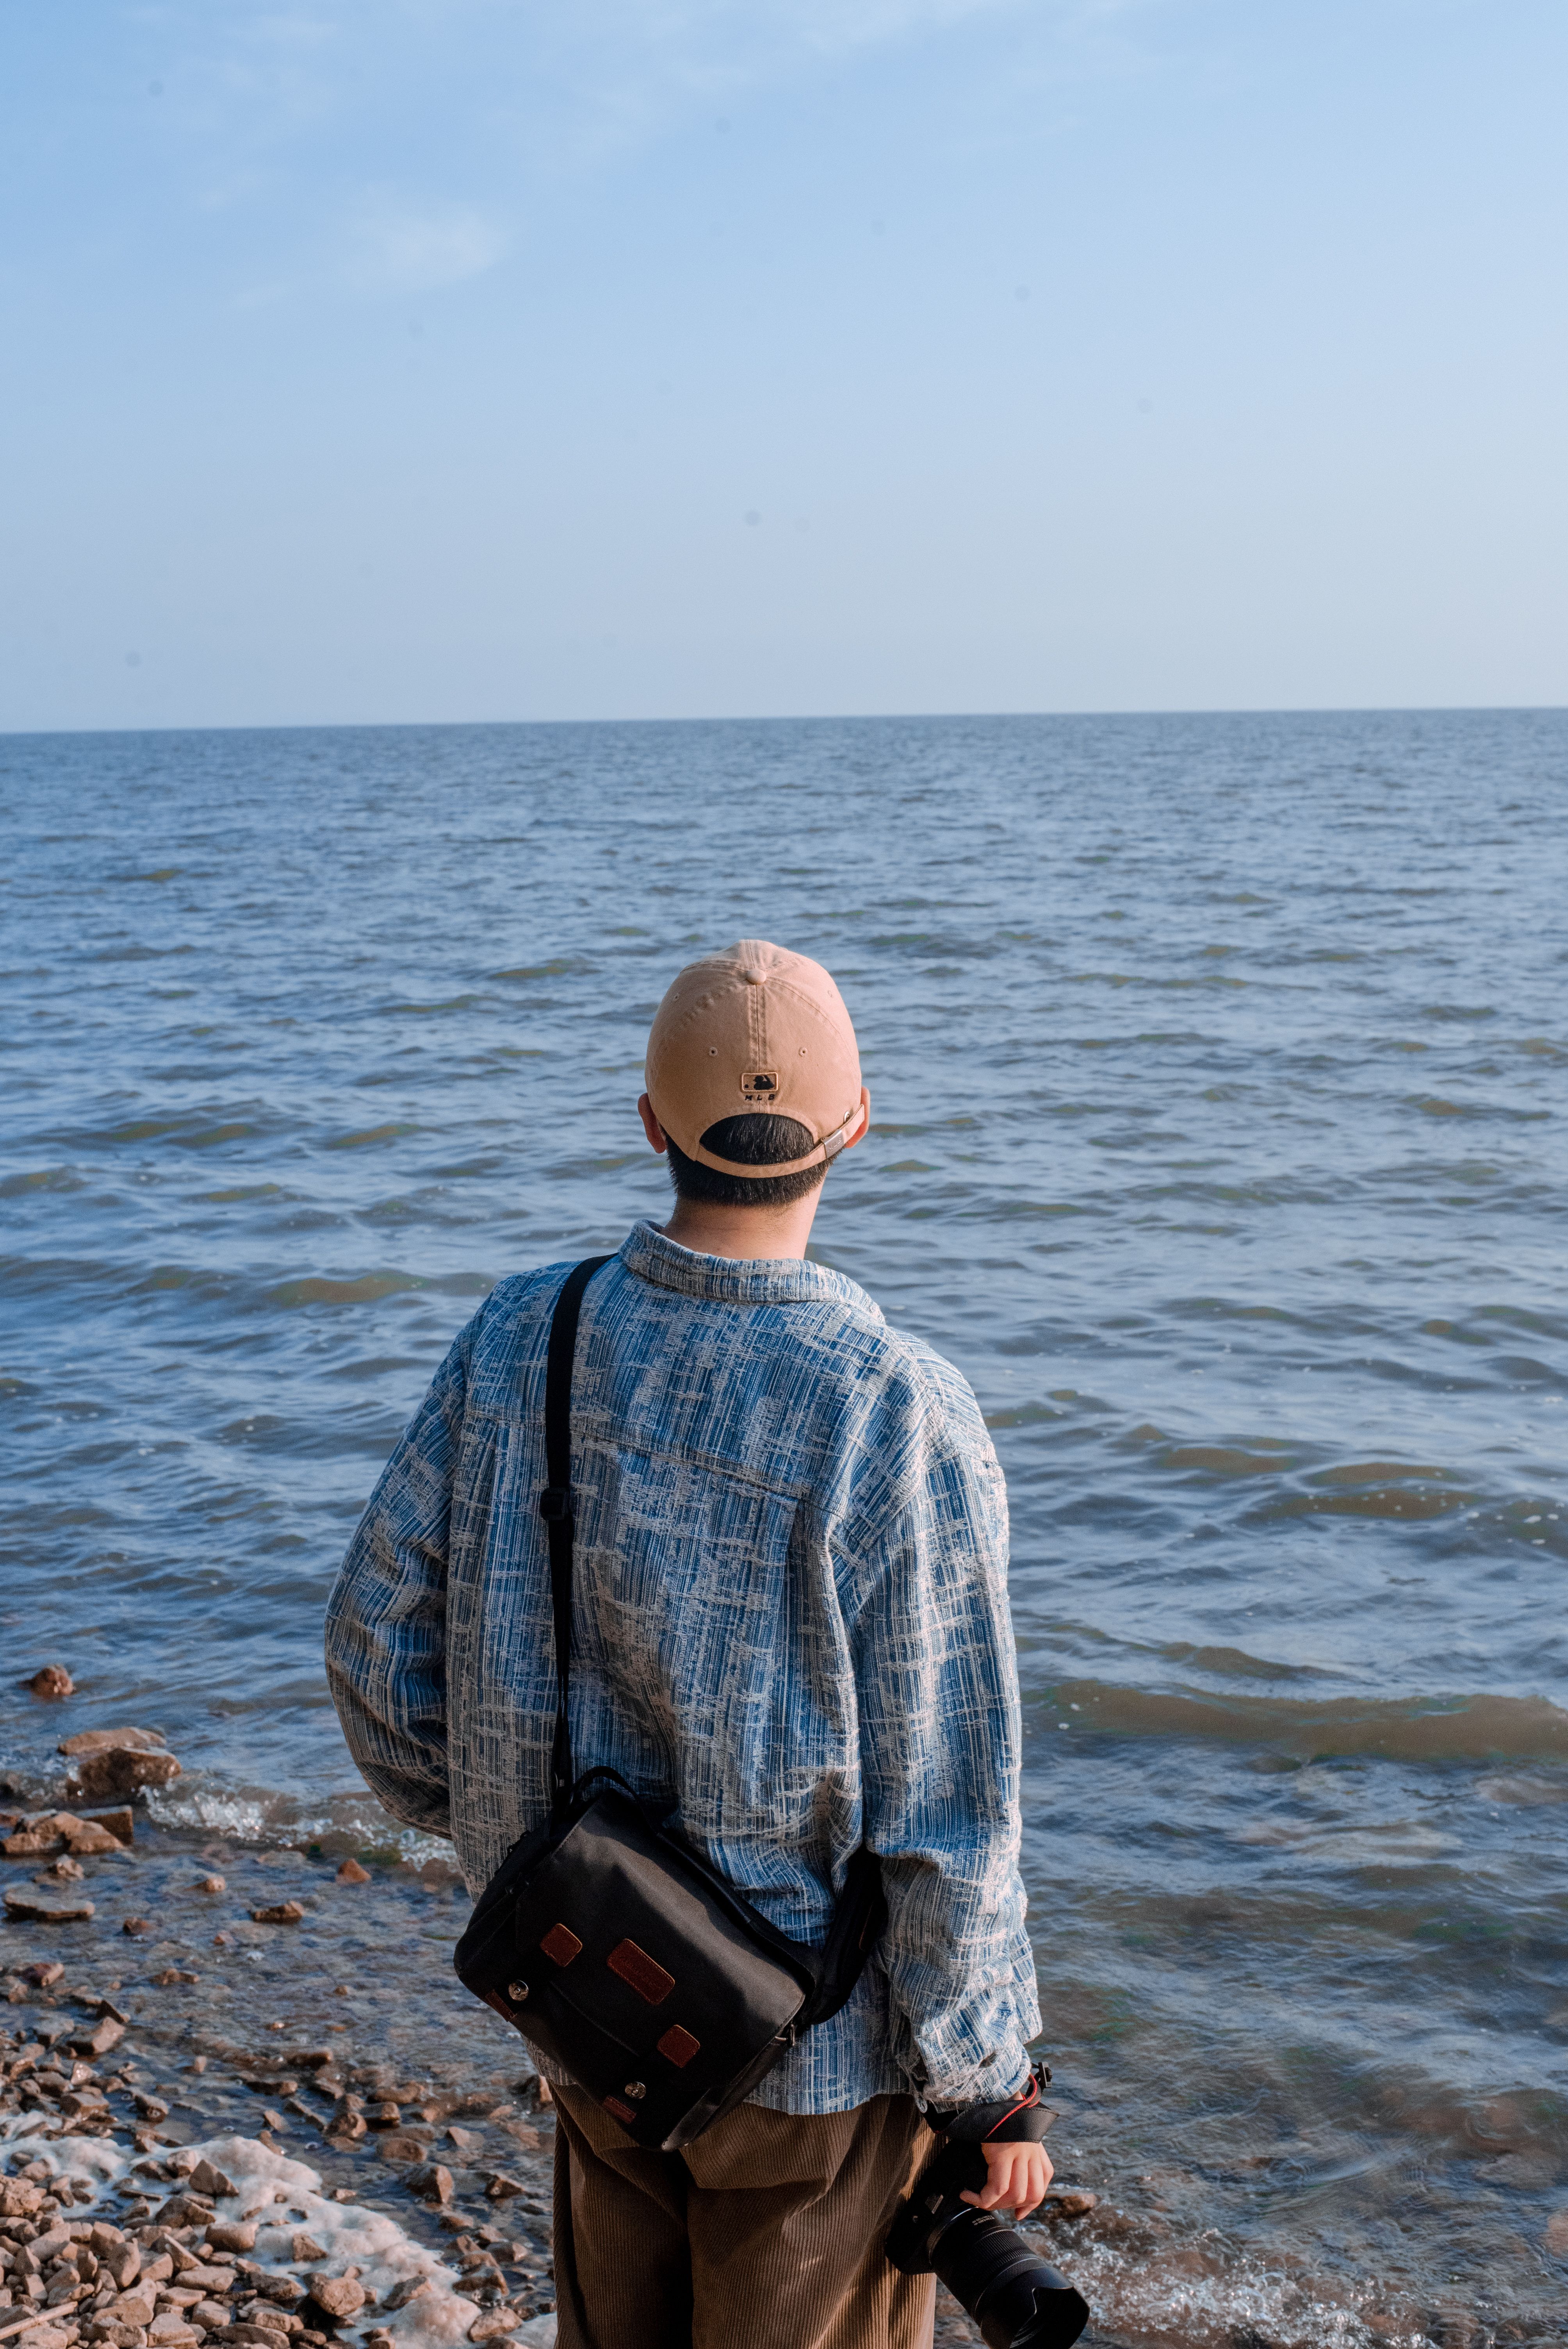
Modern mid-tier bodies often buffer roughly 20 to 40 RAW frames before slowing, depending on the camera and card speed. That is enough for short bursts, but it is not a reason to spray shots all day.
If the body offers pre-capture or pre-burst, I turn it on for fast moments like a train arrival or a gate opening. It records frames from just before the full press, which gives me a small safety net.
Card speed matters too. UHS-II V60 or V90 cards clear data faster than UHS-I cards, and that helps when I shoot bursts or RAW files. A fast card does not make the camera faster by magic, but it does help the buffer recover sooner.
How do you protect camera gear while moving through crowded places?
Keep gear close, locked down, and hard to bump. I wear the camera on the strap, keep the zipper path simple, and avoid hanging anything loose outside the bag. Crowds are where a clean carry system pays off. A body that stays against your side is harder to grab, and it swings less when you turn fast.
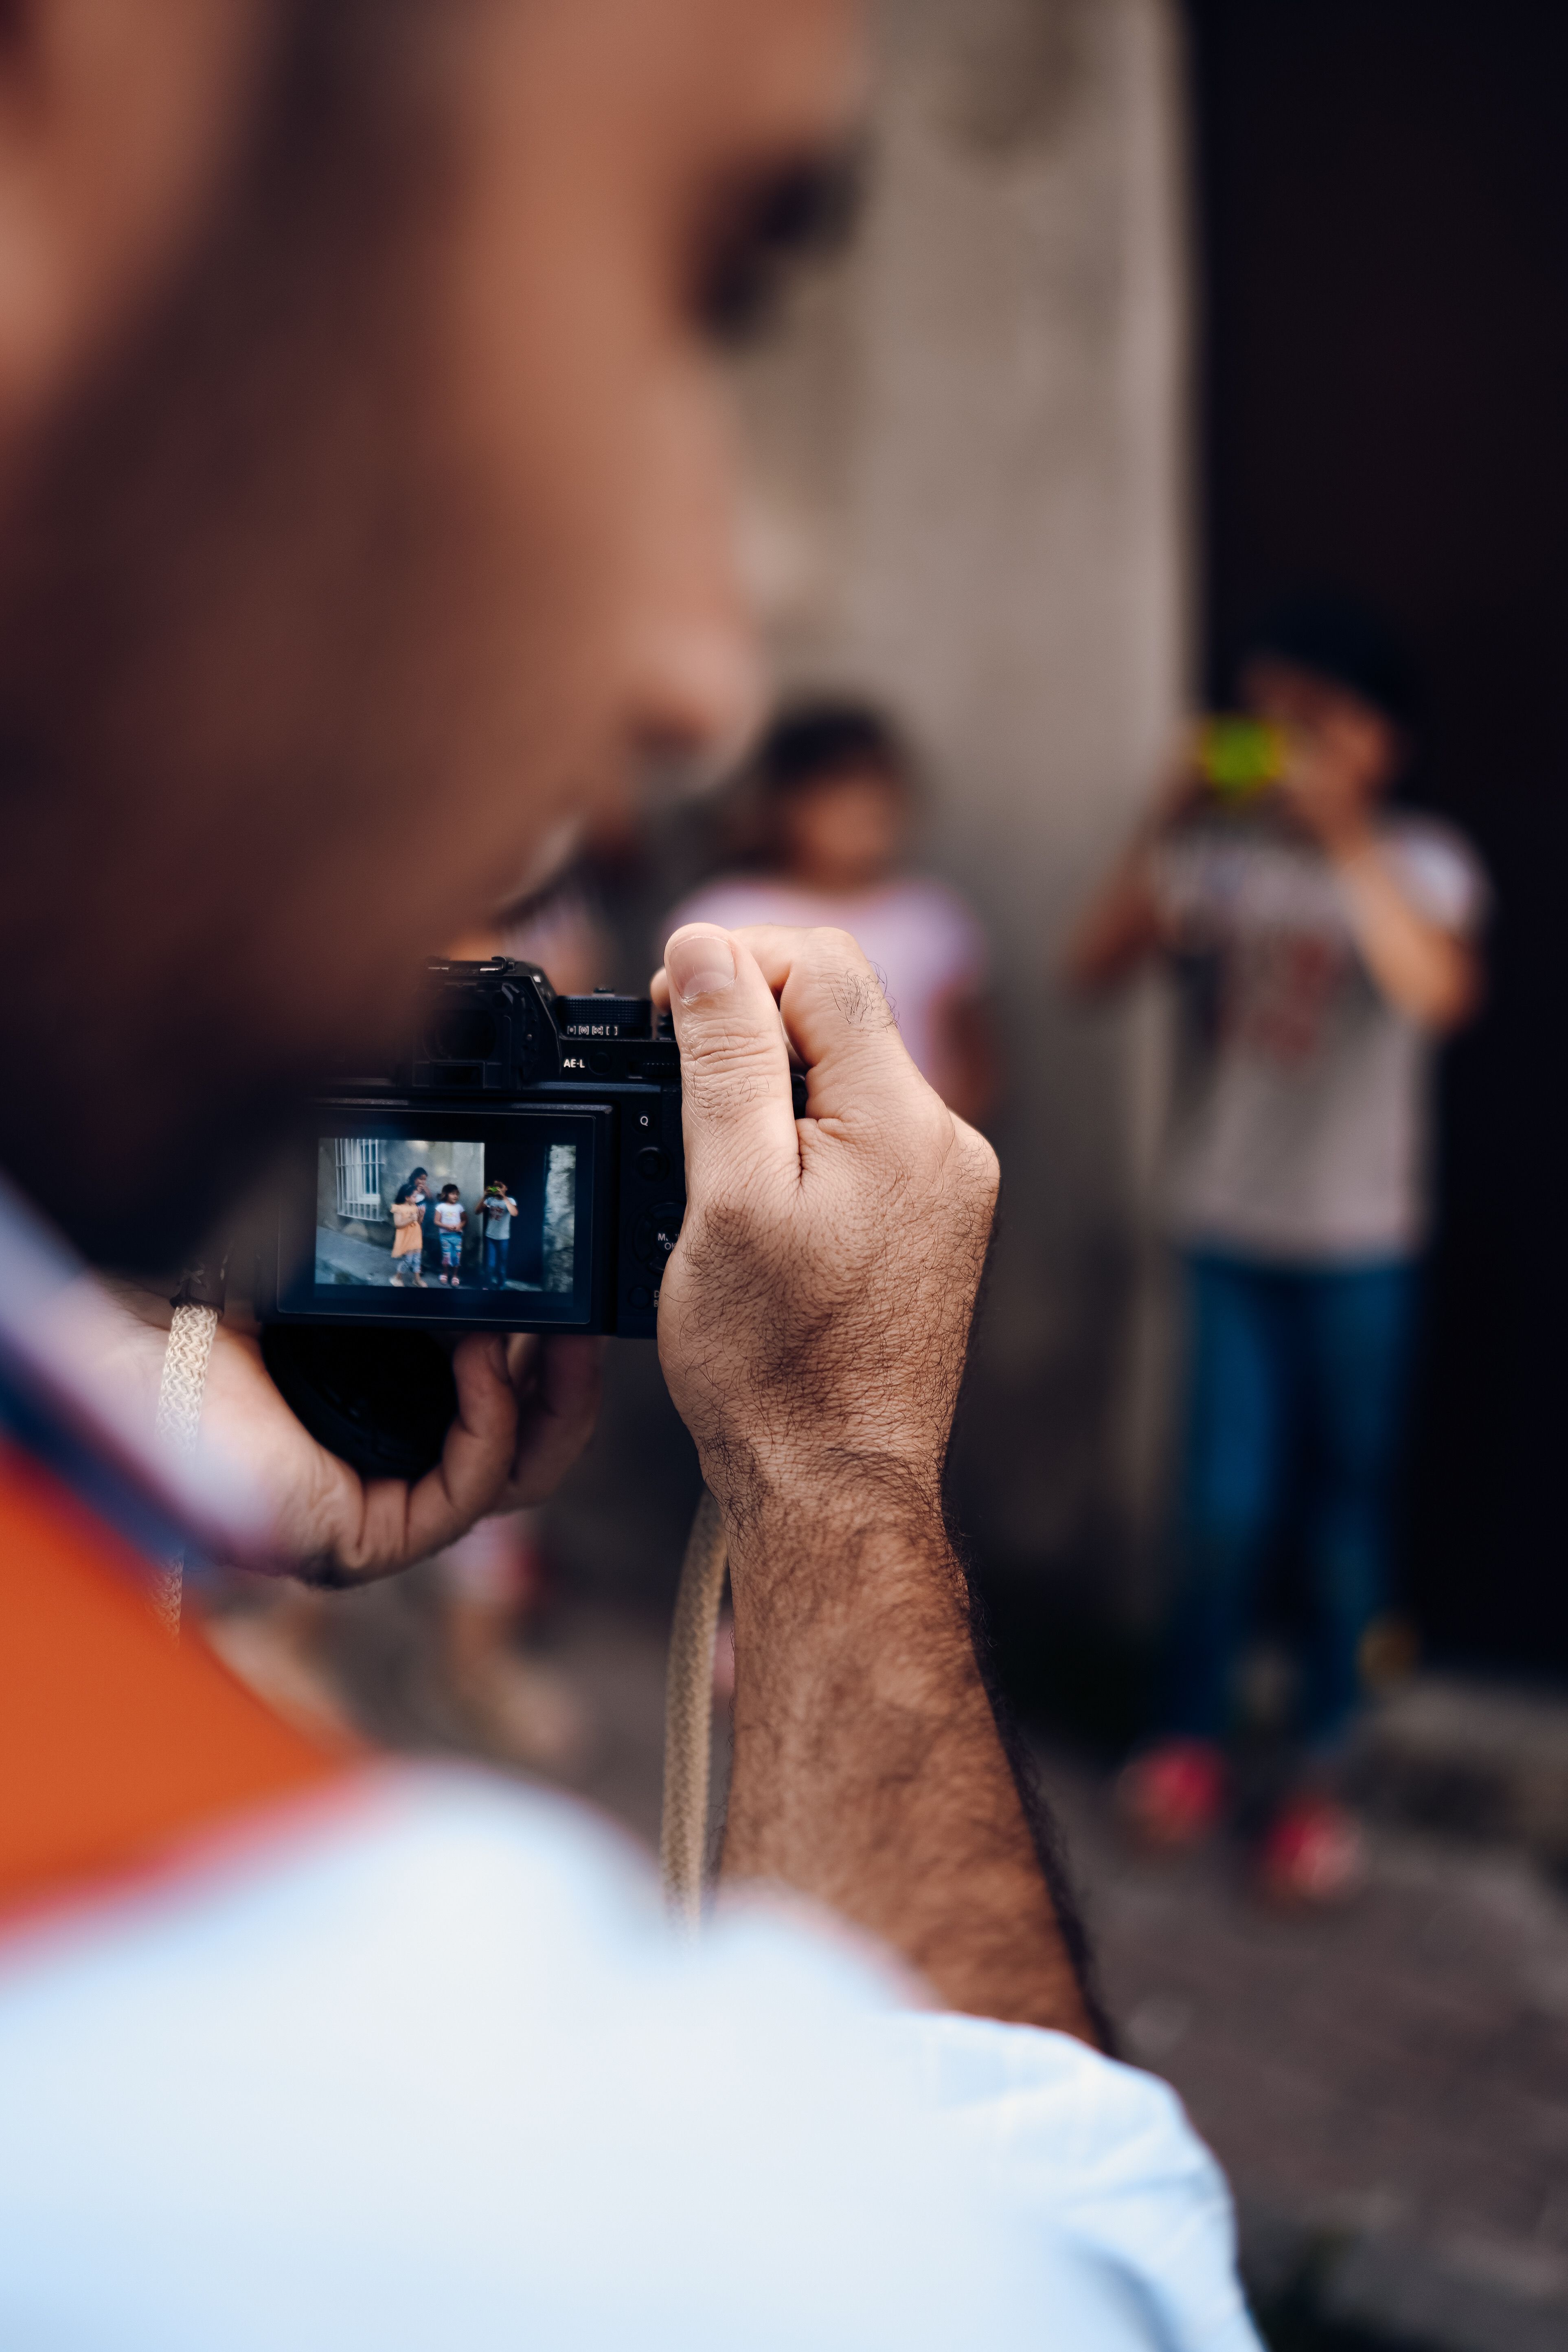
Small habits that make a big difference
I keep the lens hood on when I have room, because it helps with bumps and stray light. I also close the bag before I move, even if I expect to stop again in one minute.
When I stand in a crowd, I shift the bag to the front or keep one hand on it. That simple move helps in station lines, market streets, and packed platforms.
- Keep zippers facing your body
- Use one carry mode for quick access
- Keep the camera strap snug, not loose
- Store the spare card and battery in the same pocket every time
- Wipe the front element before you pack up
Weather adds another layer. A small rain cover or even a jacket can save the day during sudden showers, especially when you are far from shelter.
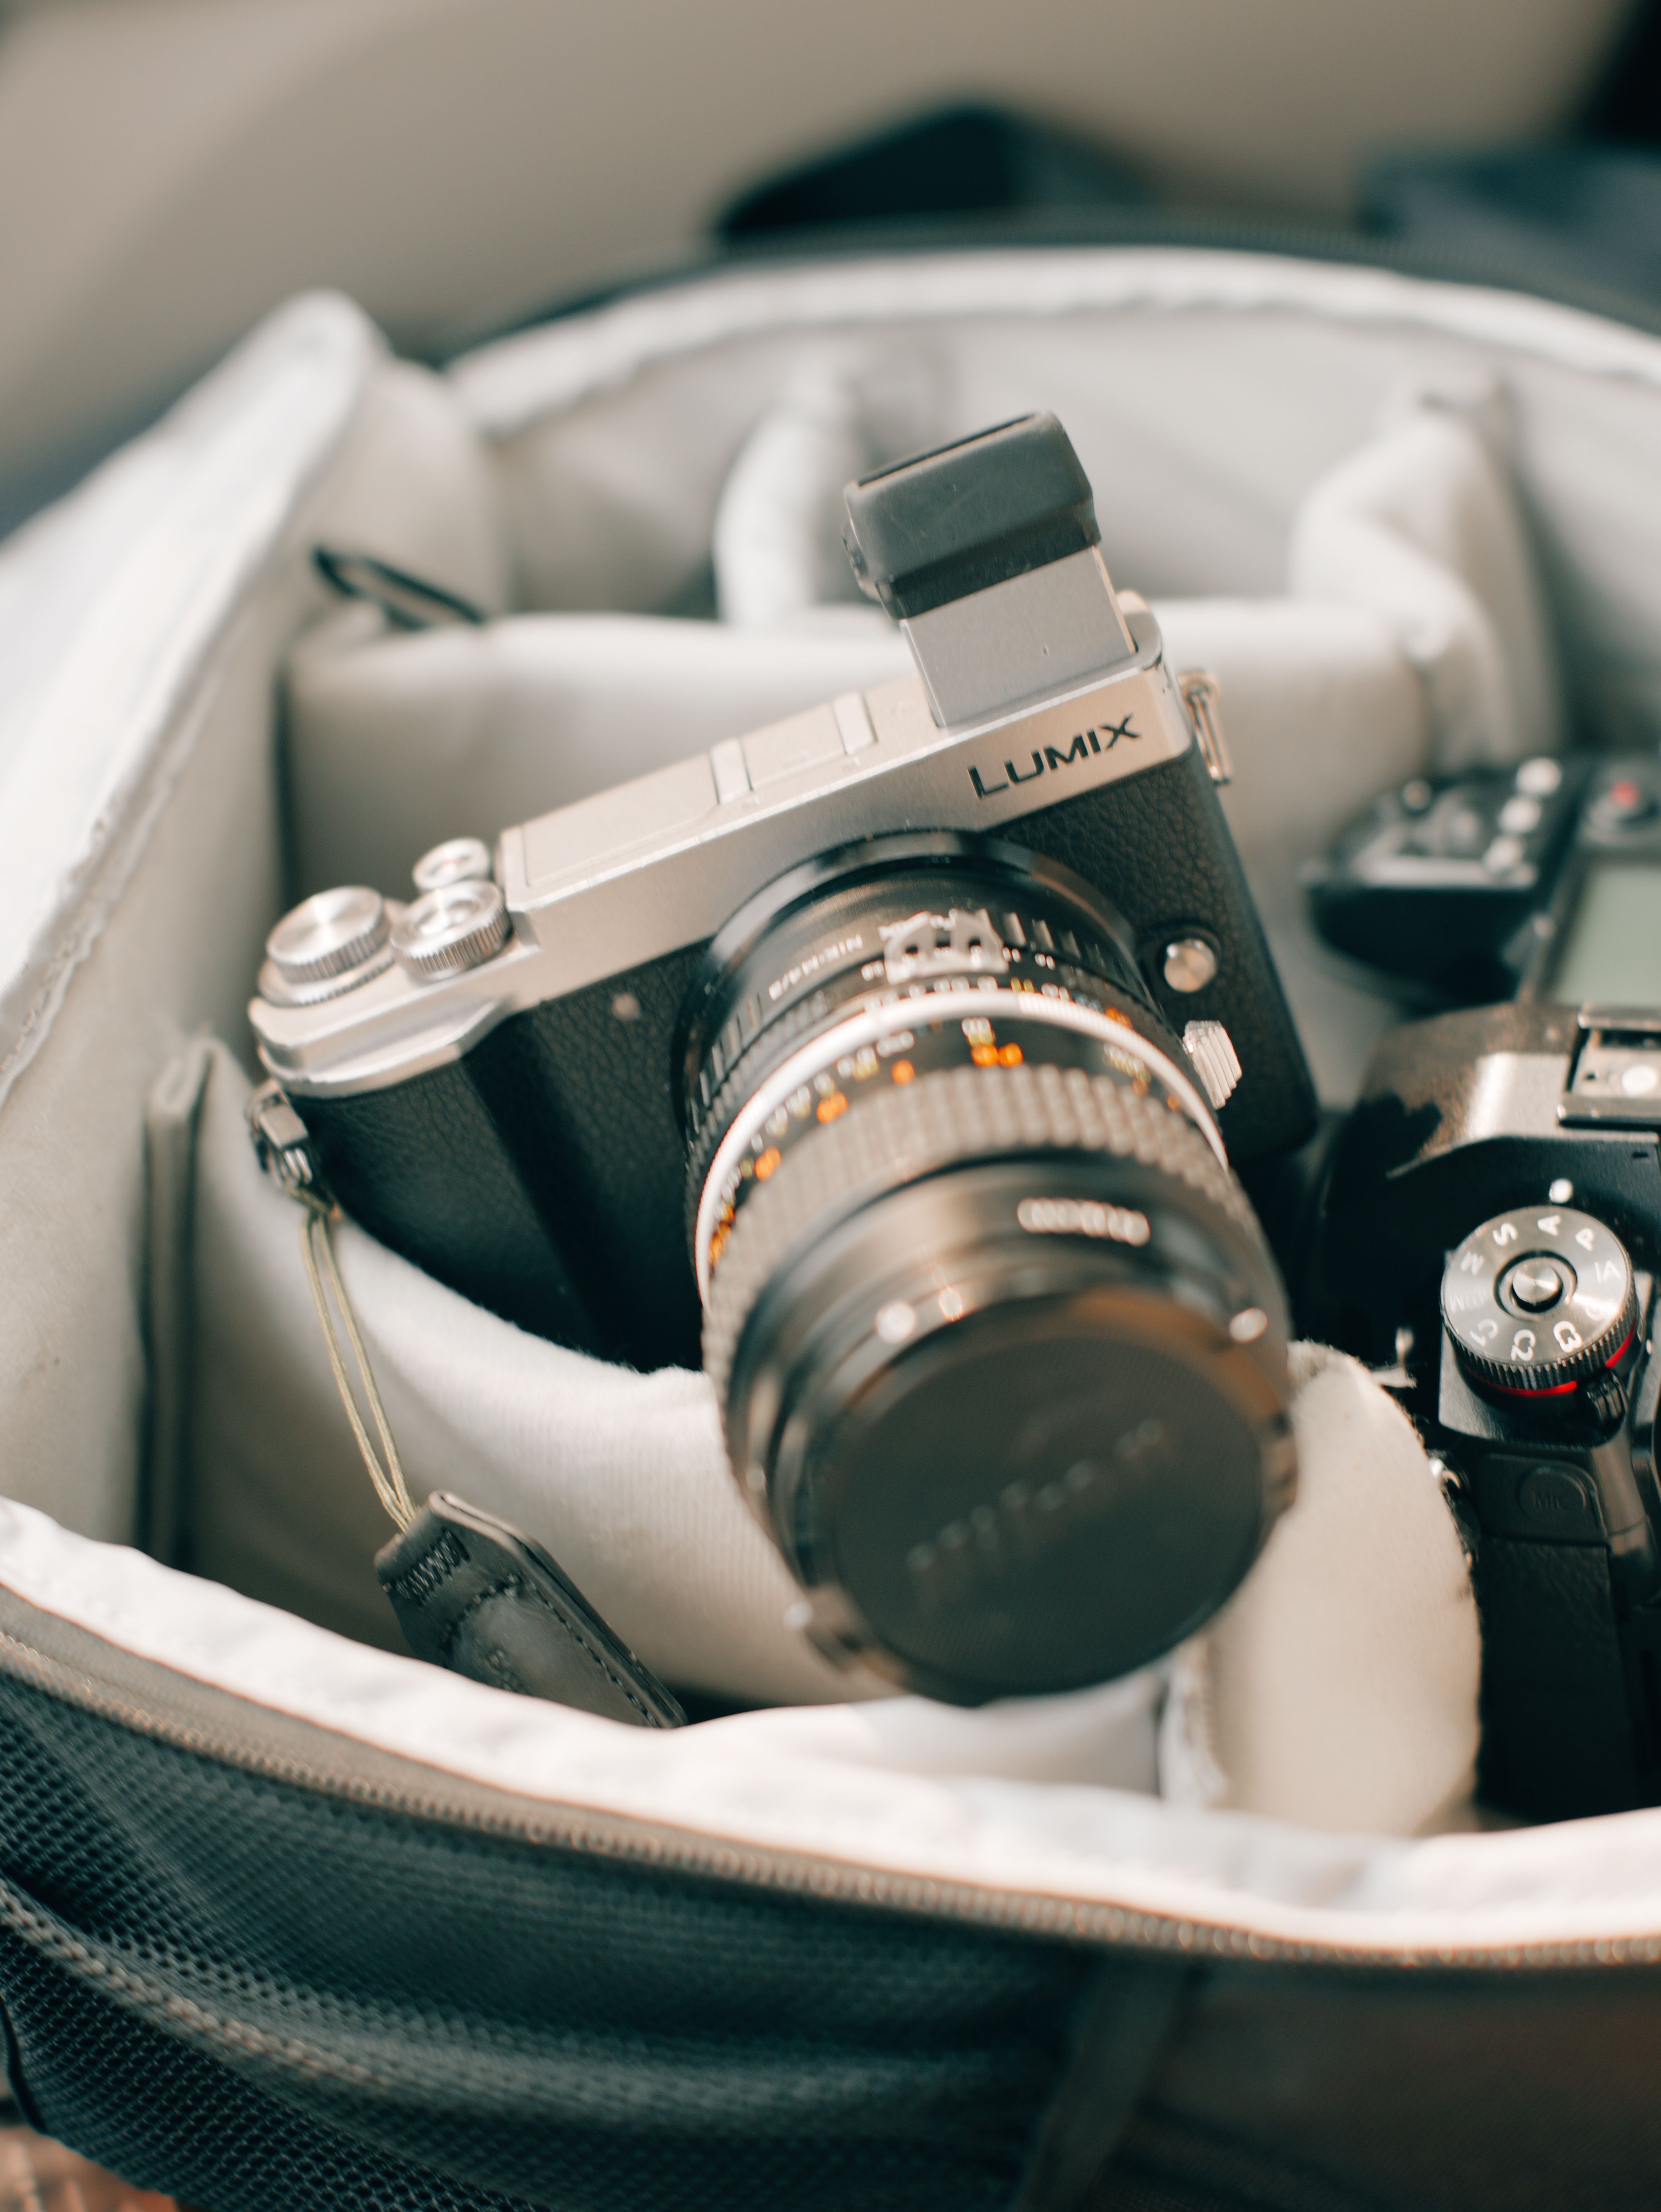
The exact kit I reach for before I leave
My own one-bag setup stays simple, because simple gear gets used more. I start with a camera body, a 24-70mm lens, one spare battery, one card, and a cloth.
Then I add only what the day truly needs. If I expect long indoor stretches, I bring a second battery. If I expect a lot of walking, I keep the bag even lighter.
That balance is the whole point of one-bag travel photography. It keeps me ready without making the day feel like a gear test.
My quick leave-the-room check

Before I head out, I make sure the lens cap is off, the battery is full, and the card has space. I also check that the camera is on the strap and not buried under clothes or cables. One last glance saves more time than any extra accessory. The best kit is the one that is ready when the light turns good near the next corner.
Frequently Asked Questions
How do you carry a camera with one-bag travel luggage?
Carry the camera in a quick-access spot at the top or side of the bag, and keep the strap on your body for immediate use. A sling-style or shoulder carry lets the camera stay close while the rest of the luggage sits packed around it, reducing delay between seeing a scene and taking the shot.
What lens works best for travel days with one bag?

A 24-70mm lens works best for travel days with one bag because it covers wide scenes and tighter portraits without lens swaps. A 35mm or 50mm prime is a lighter alternative if less weight matters more than zoom range.
How do you keep a camera ready in airports and train stations?
Keep the camera mounted with a lens already on it, and store it in the fastest-access pocket so it can be grabbed in seconds. A side opening or top access point helps because it avoids rummaging through the bag during transfers.
What should stay in your day bag for walk-around travel photography?
Keep only the essentials in the day bag: the camera body with one mounted lens, a memory card already in the camera, one spare battery, a charging cable and plug adapter, and a small microfiber cloth. This lean kit keeps the bag light and avoids delays when the light changes fast.

How do you protect camera gear while moving through crowded places?
Protect camera gear in crowded places by keeping it close to the body with a load-spreading strap and storing the camera in a bag layout that makes movement easy. Packing the camera first and the small extras in one pouch also reduces snagging and helps the bag move cleanly through gates, aisles, and crowds.


