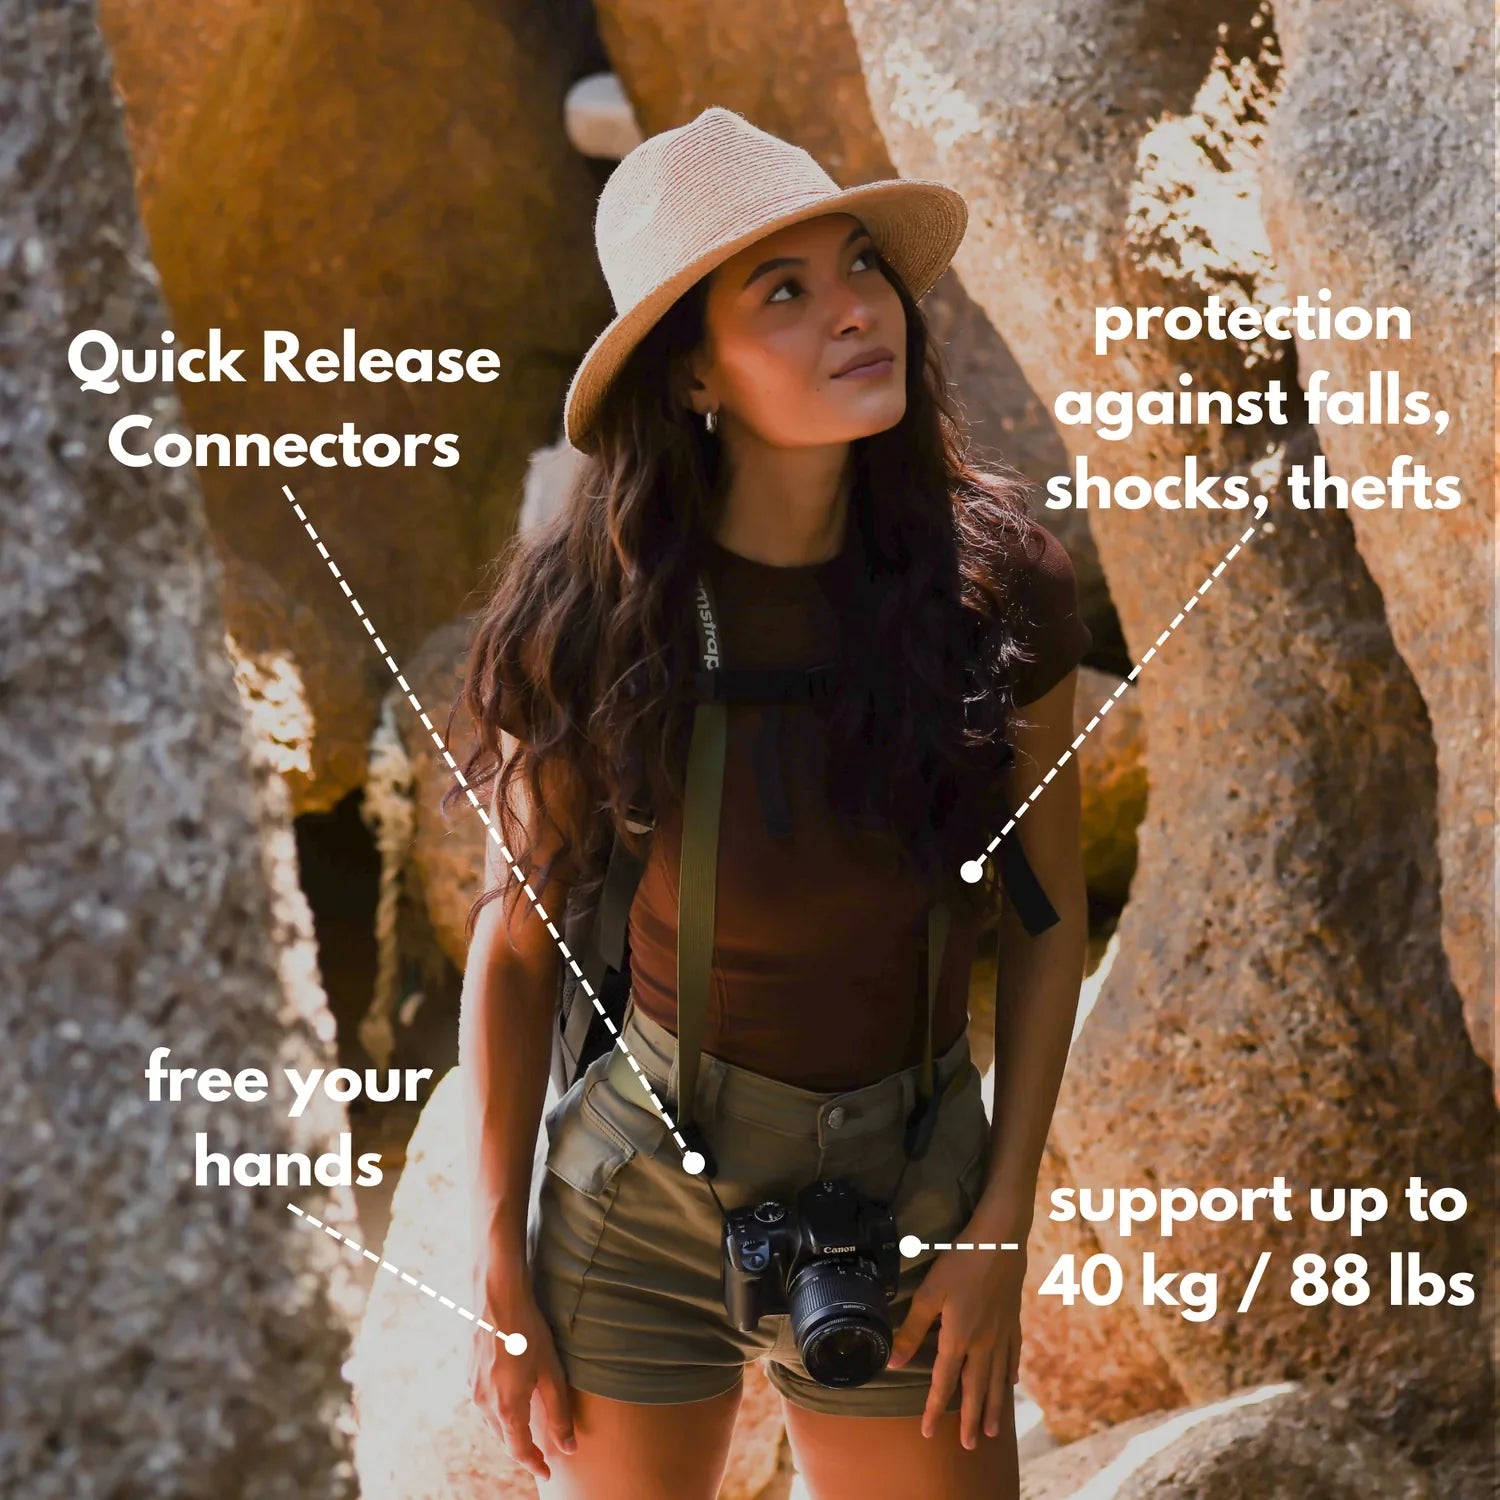
- Carry your camera high and snug across your chest to stop bounce on long walks.
- Keep one body, one lens, and a spare battery clipped to your strap for quick access.
- Shield gear in hostels and transit with a padded insert, wrap, or locking closure.

One-point perspective photography arranges a road, hallway, or path so the eye runs straight toward a single vanishing point. On the Camino, I lean on that idea all day. Roads, corridors, bunk beds, and long streets all suit it, and a sensible pack setup means I am ready when the scene appears without warning.
Shop the setup

- Regular price
-
€42 - Regular price
-
€44 - Sale price
-
€42
By choosing the Camstrap strap, you are opting for a high-quality product designed to meet the needs of the most demanding photographers.
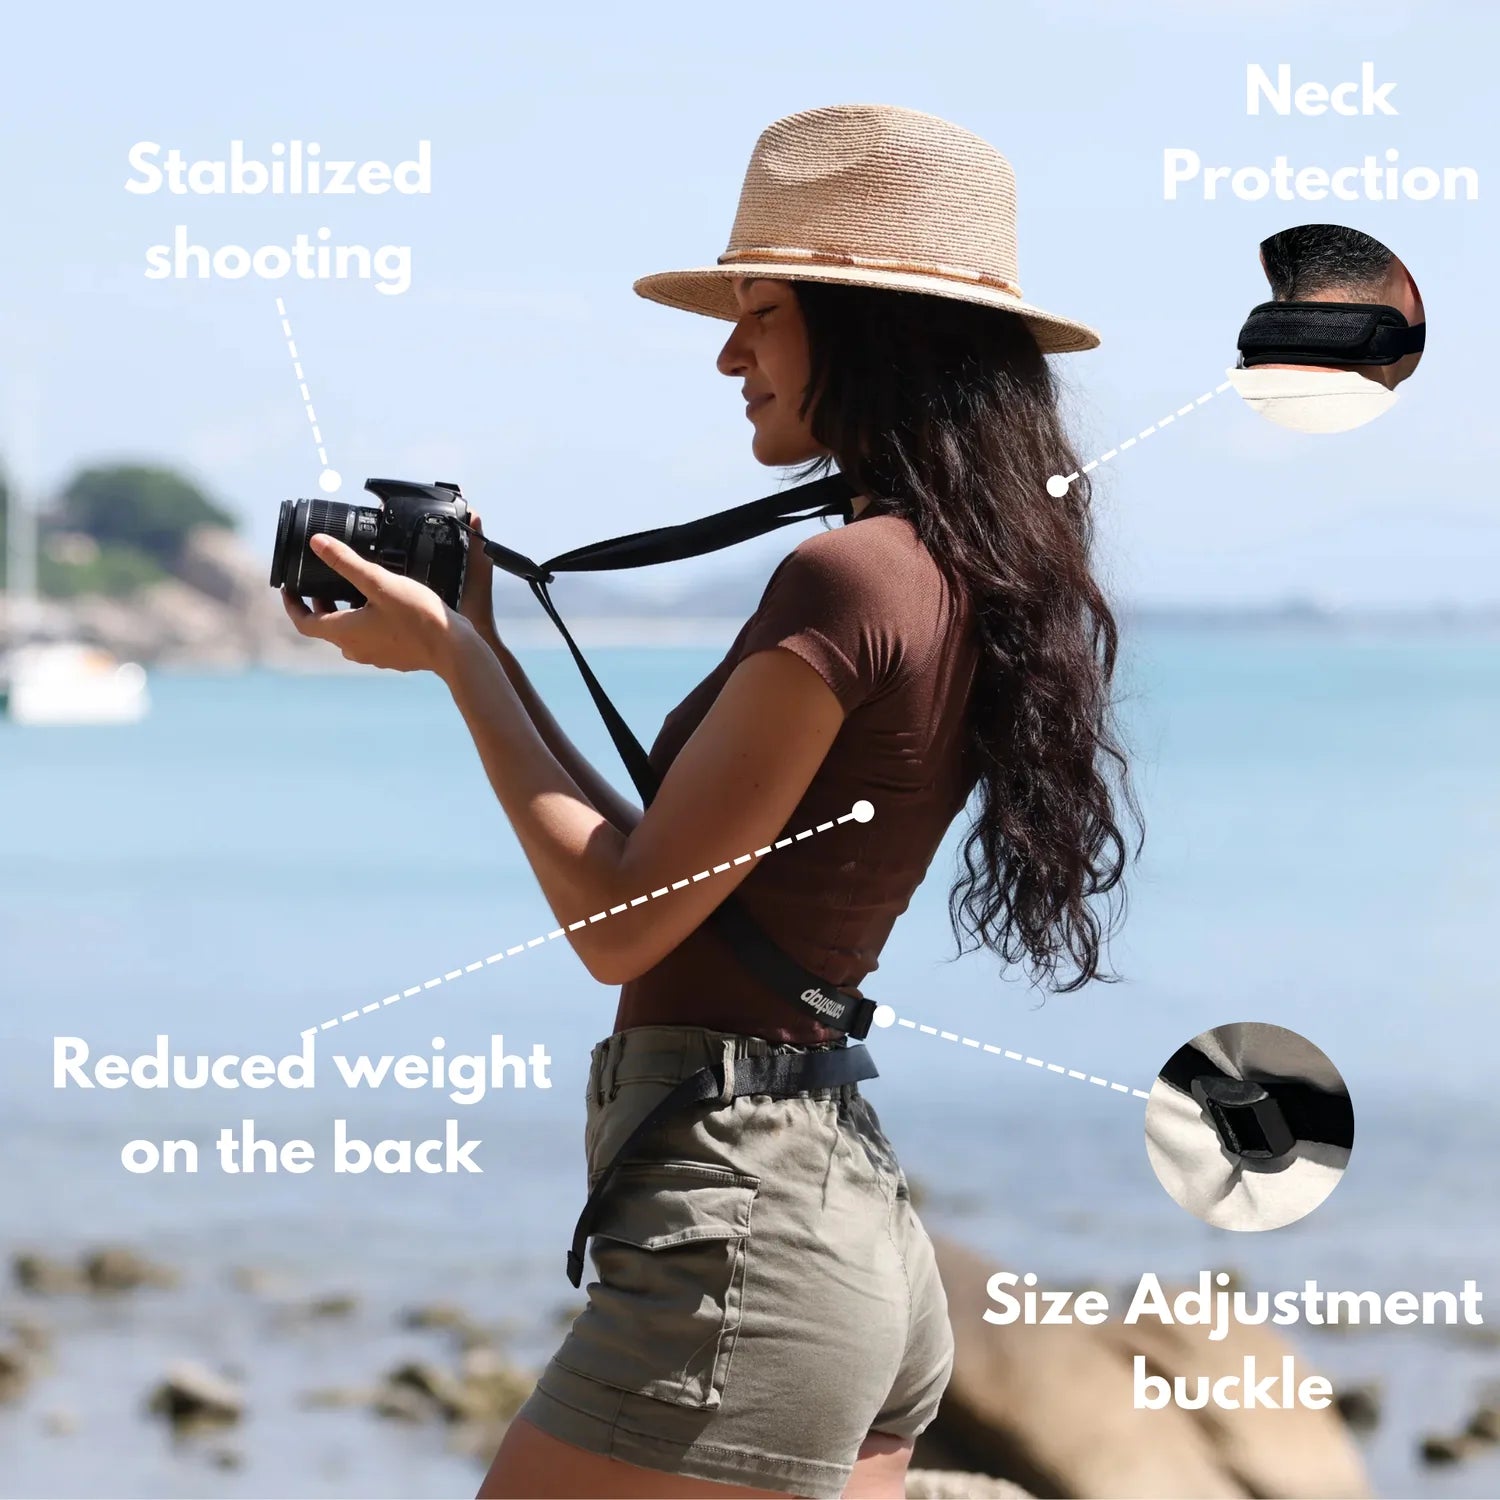
- Developed by a physiotherapist to relieve neck and back pain.
- Fast delivery with tracking by the Post Office 🚚
- Can be used as a shoulder strap or hands-free harness

- Regular price
-
€36 - Regular price
-
€42 - Sale price
-
€36
Free shipping included
How I keep gear light enough for a full walking day
A full Camino day works best with a small, balanced kit. Many backpacking guides cap pack weight at 10% of body weight, water included, and that ceiling becomes real when you are on your feet for hours.
For a 70 kg walker, the target comes out to about 7 kg total. Keep the camera load light, and your shoulders hold up better with steadier framing late in the day.

The core kit
- One camera body
- One lens, usually a 35mm, 50mm, or short zoom
- One spare battery
- One memory card, or two if you shoot RAW
- A small lens cloth
- A pack or strap system that keeps the camera close to your chest
I keep the setup simple on purpose. A fixed-focal-length lens changes framing with your feet, while a zoom lets you adjust without swapping glass; either approach works well on travel days. For me, a standard lens around 50mm feels right for streets, hostels, and small scenes. Canon places 35mm to 85mm in a useful standard travel range, and the Camino fits that range neatly.
How do you carry a camera comfortably on a full day of walking?
A camera rides best when the weight sits high, close, and still. A chest carry or a well-fitted sling keeps the lens from swinging and takes pressure off your neck and shoulder on long walks.
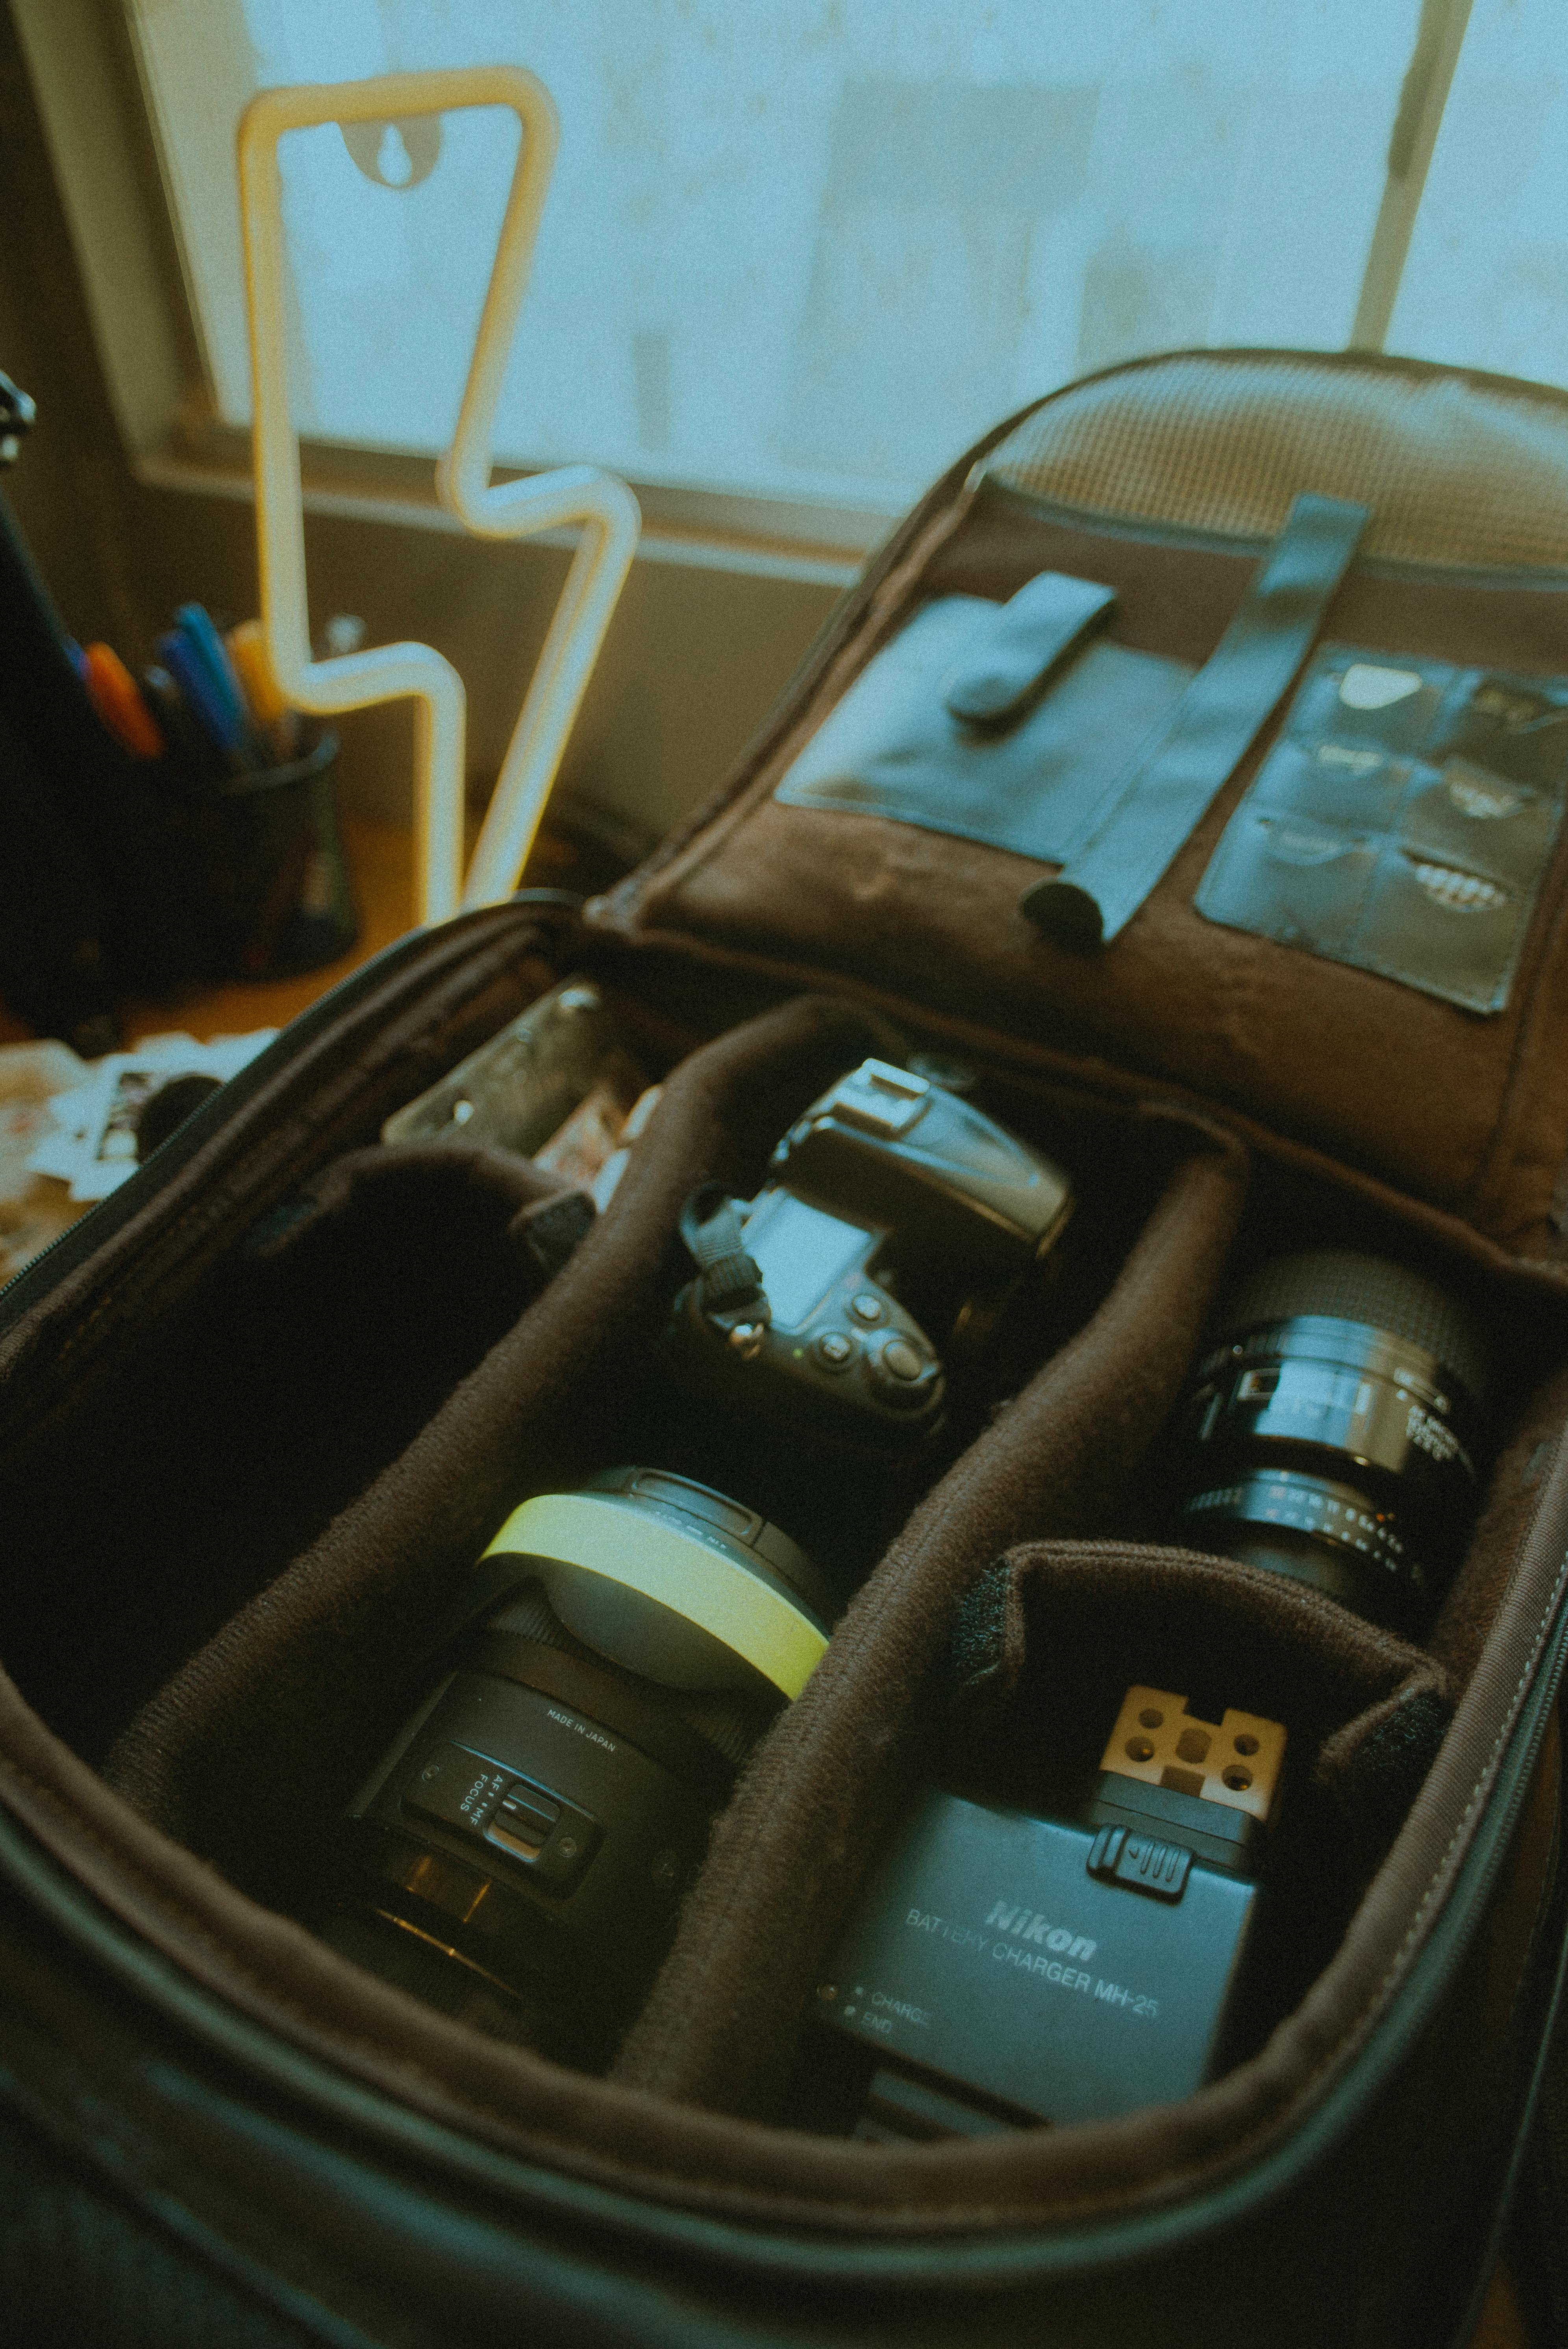
Every bounce adds strain. After 20 or 30 kilometers, even a light load starts to feel heavier than it should.
I prefer a strap that lets the camera rest against my torso while I walk. The Camstrap Voyager suits that job because it spreads the load across the body and keeps the camera easy to grab with one hand. That quick reach pays off on the Camino. A gate, a pilgrim sign, or a street corner is easy to catch without stopping to rummage through a bag.
Small adjustments that make walking easier
- Shorten the strap so the camera rests above your hip.
- Keep the lens hood on if you expect glare or drizzle.
- Use one body and one lens for the day.
- Turn the camera screen off between shots when you can.
- Clip loose straps so they do not flap or catch on zips.
Those changes look minor, but they add up across a long day. Less movement means less fatigue, and less fatigue leaves you ready when the scene opens up.

What should a one-bag traveler keep on their camera strap while sightseeing?
A one-bag traveler should keep only the camera, a loose lens cap, and a secure quick-grab grip on the strap. Anything extra tends to swing, snag, or rub against clothing while you move through towns.
I keep the strap clear because it is part of the shooting system. When the camera is within reach, I miss fewer scenes and waste less time opening my bag.
My best use for the strap is simple: keep the camera ready, not decorated. A small wrist loop or chest carry can help, but the main job remains fast access and steady support. For sightseeing, I like a setup that stays flat against the body and does not shift when I bend down. Stairs, buses, and crowded lanes become easier to manage that way.
How do you protect a camera from bumps in crowded hostels and transit?

A camera stays safest with a soft buffer and a fixed place inside the bag. Hostels and buses are full of tight turns, low beds, and sudden elbows, so the gear needs more protection than it does on the trail.
I use a padded insert or a wrapped pouch inside my day bag, then keep the camera out of loose traffic. That cuts the chance of a hard knock when someone drops a pack beside mine.
On transport days, I shorten the strap so the body does not swing into railings or seat backs. If the camera has to stay out, I place it on top of my bag, never on the bed edge or the bunk ladder.
Hostel habits that help
- Put the camera in the same spot every night.
- Keep batteries and cards in a separate pocket.
- Pack the camera before the room gets busy.
- Use the locker if the hostel provides one.
- Wipe dust off the body before it goes back into the bag.

These habits save time and lower stress. They also make early departures easier, because the kit is ready before the rest of the room wakes up.
What kind of camera setup works best for light travel days?
A light travel setup works best with one body, one standard lens, and settings that suit changing light. Canon notes that a standard focal length sits around 50mm, with 35mm to 85mm still inside a useful travel range. That range gives a natural view for people, streets, and hostel scenes. It also keeps the kit small enough to carry all day without wishing you had left half of it behind.
For sharp scenes with both near and far detail, I use a small aperture, usually f/8 to f/11. Canon recommends that range when I want foreground and background sharp at the same time.
Light on the Camino shifts fast. Morning shade, bright noon streets, and dim hostel corners all call for a setup that can move from one scene to the next without fuss.

My light-day camera settings
- Mode: Aperture priority or manual
- Aperture: f/8 to f/11 for layered scenes
- Shutter speed: 1/50s or faster with a 50mm lens
- ISO: Raise as needed, often 400 to 3200 in mixed light
- Focus: Continuous AF-C or AI Servo for moving people
Canon gives a handheld shutter-speed guide of one over lens focal length or faster. With a 50mm lens, that lands around 1/50s or quicker, and I go faster when my hands are tired. One tradeoff stands out. A smaller aperture helps depth of field, but it also pushes ISO higher indoors, and that can add noise in hostel rooms or late-evening halls.
How do you keep a camera accessible without taking off your backpack?
A camera stays accessible when it hangs outside the pack system and sits where your hand can reach it fast. Then you do not need to stop, remove your backpack, and dig through layers each time a scene appears.
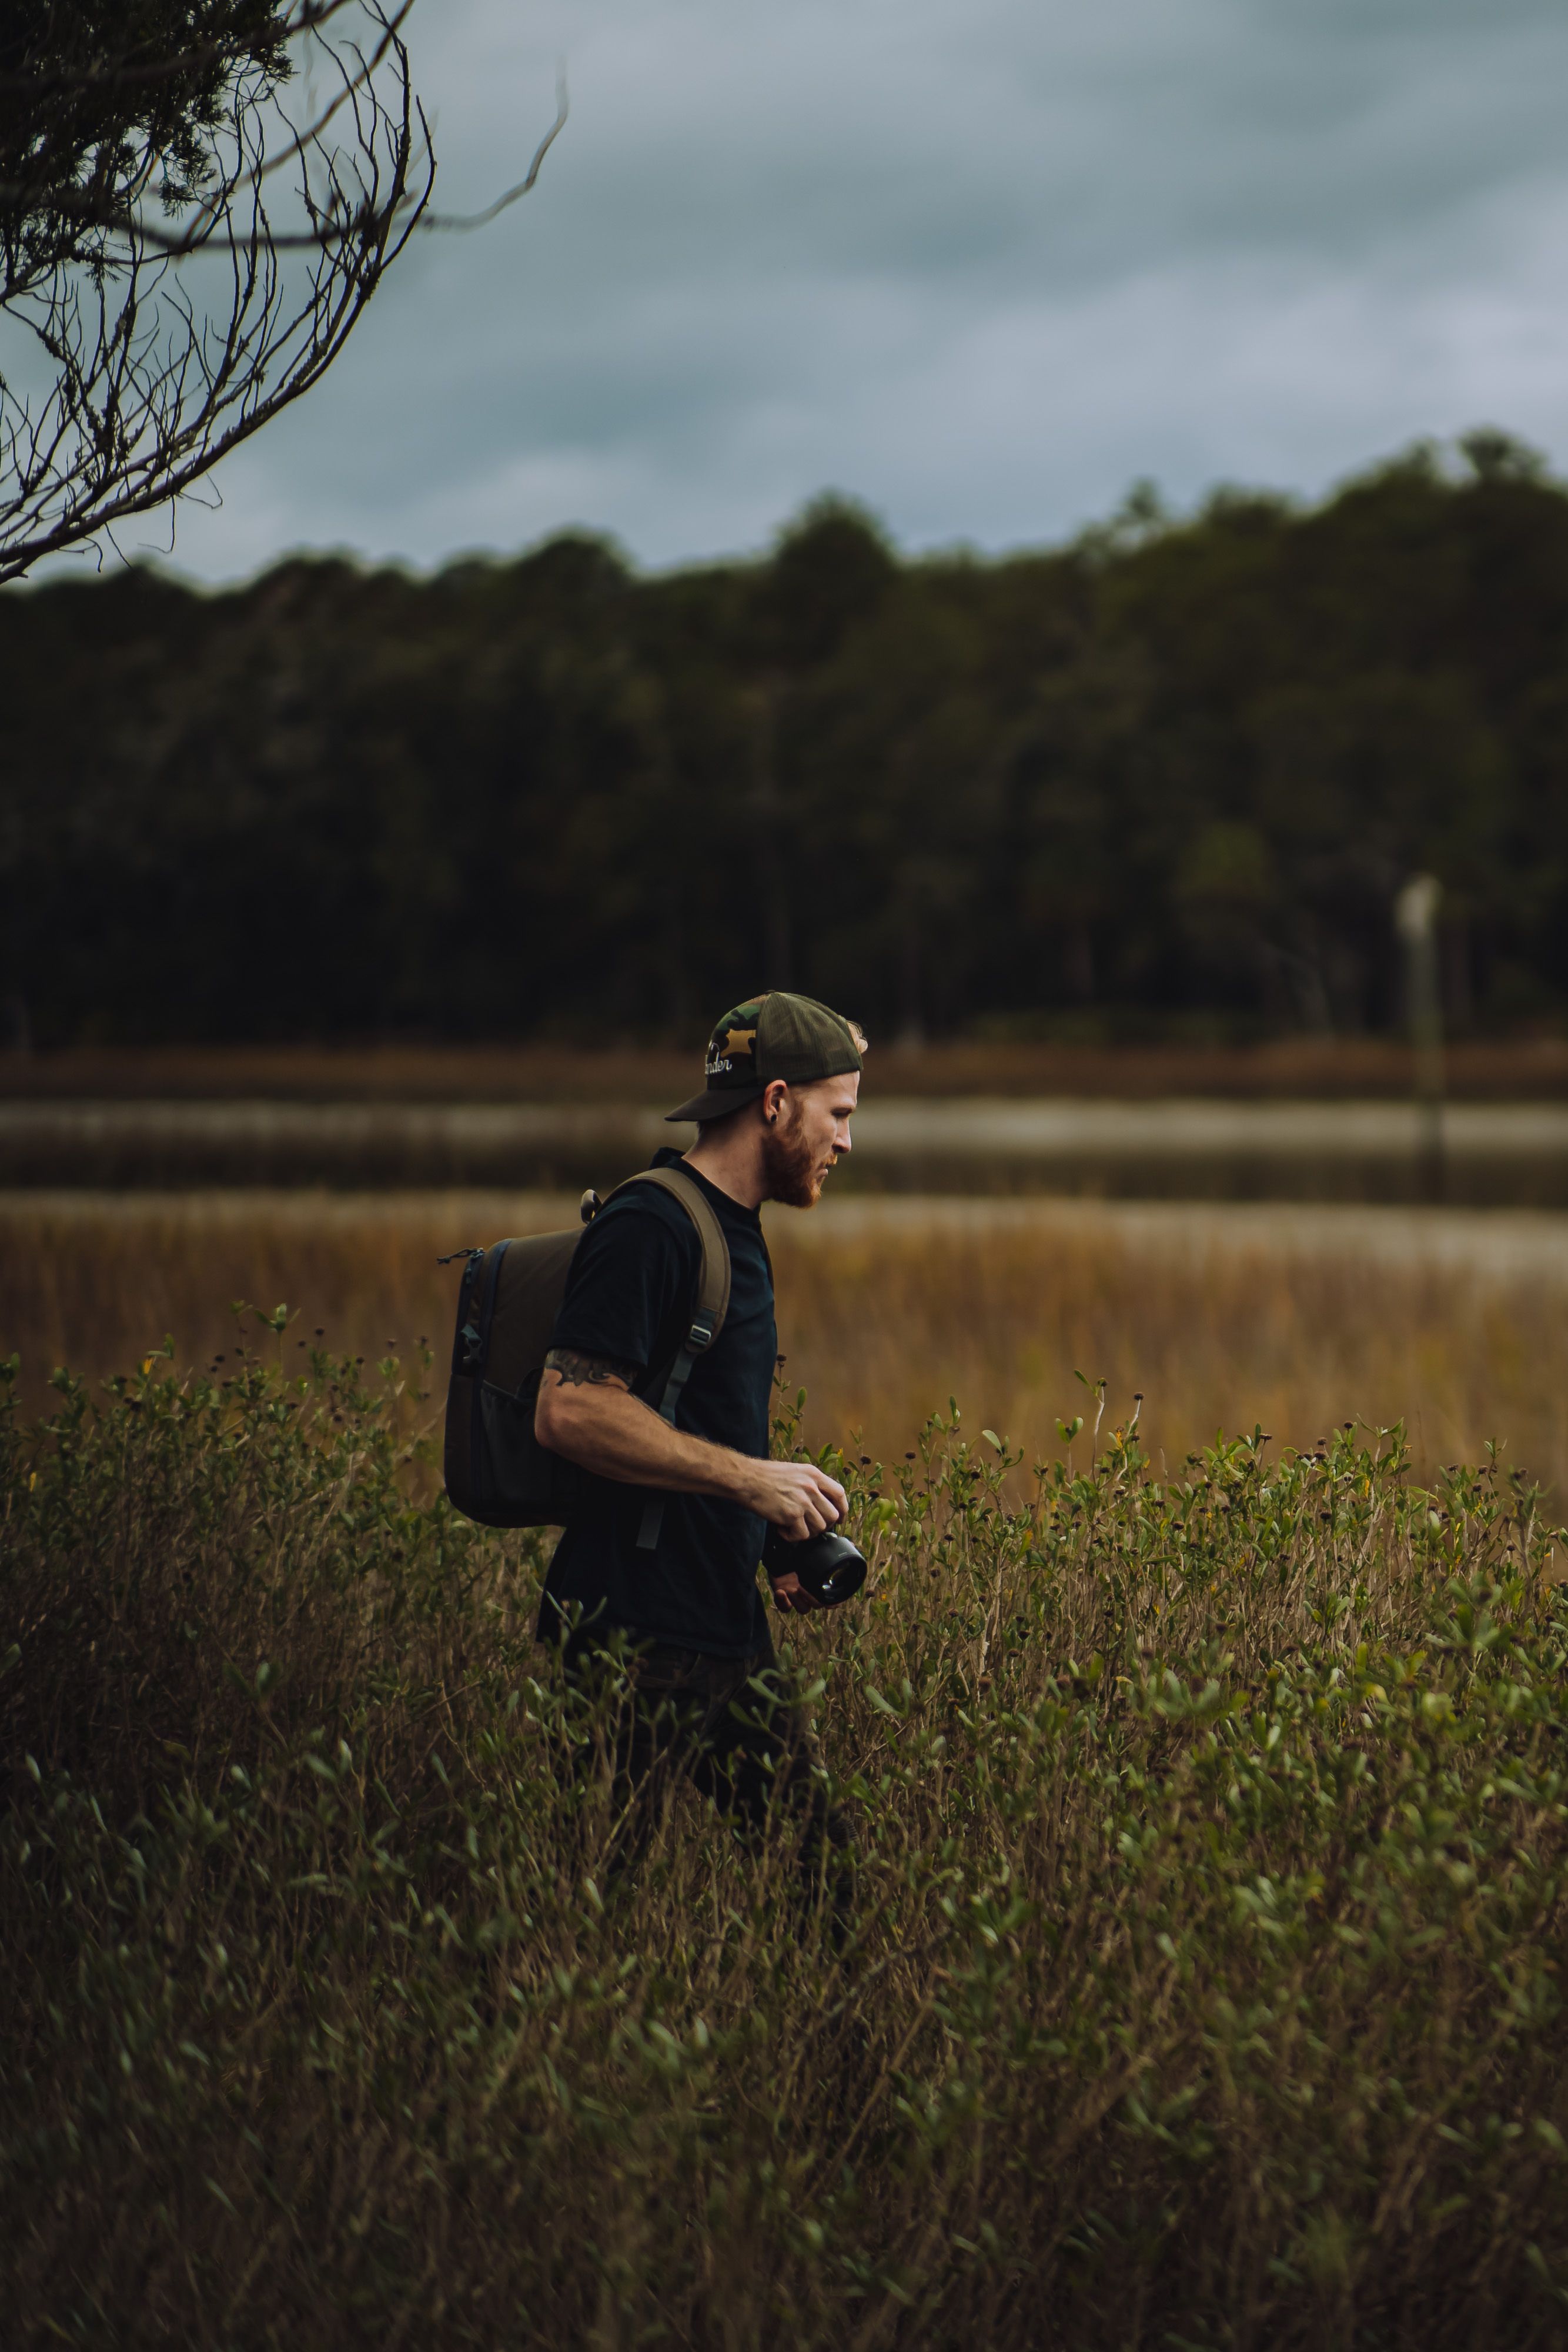
This is where a chest or side carry earns its place. It keeps the camera ready for signs, doorways, food stalls, and long paths that suddenly open into a strong view.
I keep my backpack straps clear and the camera separate from the main load. That simple split saves time at crossings, on trains, and in towns where I may shoot five frames, then walk again in seconds.
When speed matters most
Some moments on the Camino pass quickly. A pilgrim turns into light, a corridor lines up, or a road bends just enough to create a strong leading line. For those moments, I use continuous AF-C or AI Servo with eye or subject detection. That helps the camera stay locked when people move across the frame, especially in busy towns or hostel entrances.
If your camera has pre-capture or pre-burst, turn it on for scenes with motion. It records frames just before the full press, which can save a moment you only get once.

Buffer size matters too, especially on mid-tier bodies. Many cameras handle a short burst well, but RAW files fill the buffer sooner, while JPEG leaves more room; a UHS-II V60 or V90 card usually speeds writing more than a basic UHS-I card.
A modern body with about 10 fps mechanical shooting is often enough for travel life. Electronic shutter can run much faster, but it can also show rolling-shutter skew or banding under some LED lights. I match the mode to the light, the scene, and how fast the subject is moving.
What I pack for a camera day, from first light to hostel check-in
My pack stays simple because the day is long. I want enough gear to handle changing light, but not so much that I dread carrying it.
The best days usually start before breakfast and end after the room gets quiet. A clean kit helps me keep moving, keep shooting, and keep the camera safe without thinking about it every five minutes.

- Camera with a standard lens around 35mm to 85mm
- One spare battery, charged before I leave
- One or two memory cards, already formatted
- Chest or sling carry for fast access
- Small padded insert for hostel stops
- Lens cloth for dust and mist
- Water and snacks kept separate from the camera
That list covers most days. If rain looks likely, I add a simple cover; if I expect indoor scenes, I decide on my aperture and ISO range before I leave. The goal is to carry well, move freely, and still have the camera in hand when a scene lines up.
On the Camino, that balance holds from the first step to the last bunk bed, and the best sign that it works is plain: I end the day with a full card, a sore but manageable back, and a camera that is still easy to grab at sunrise.
Frequently Asked Questions
How do you carry a camera comfortably on a full day of walking?
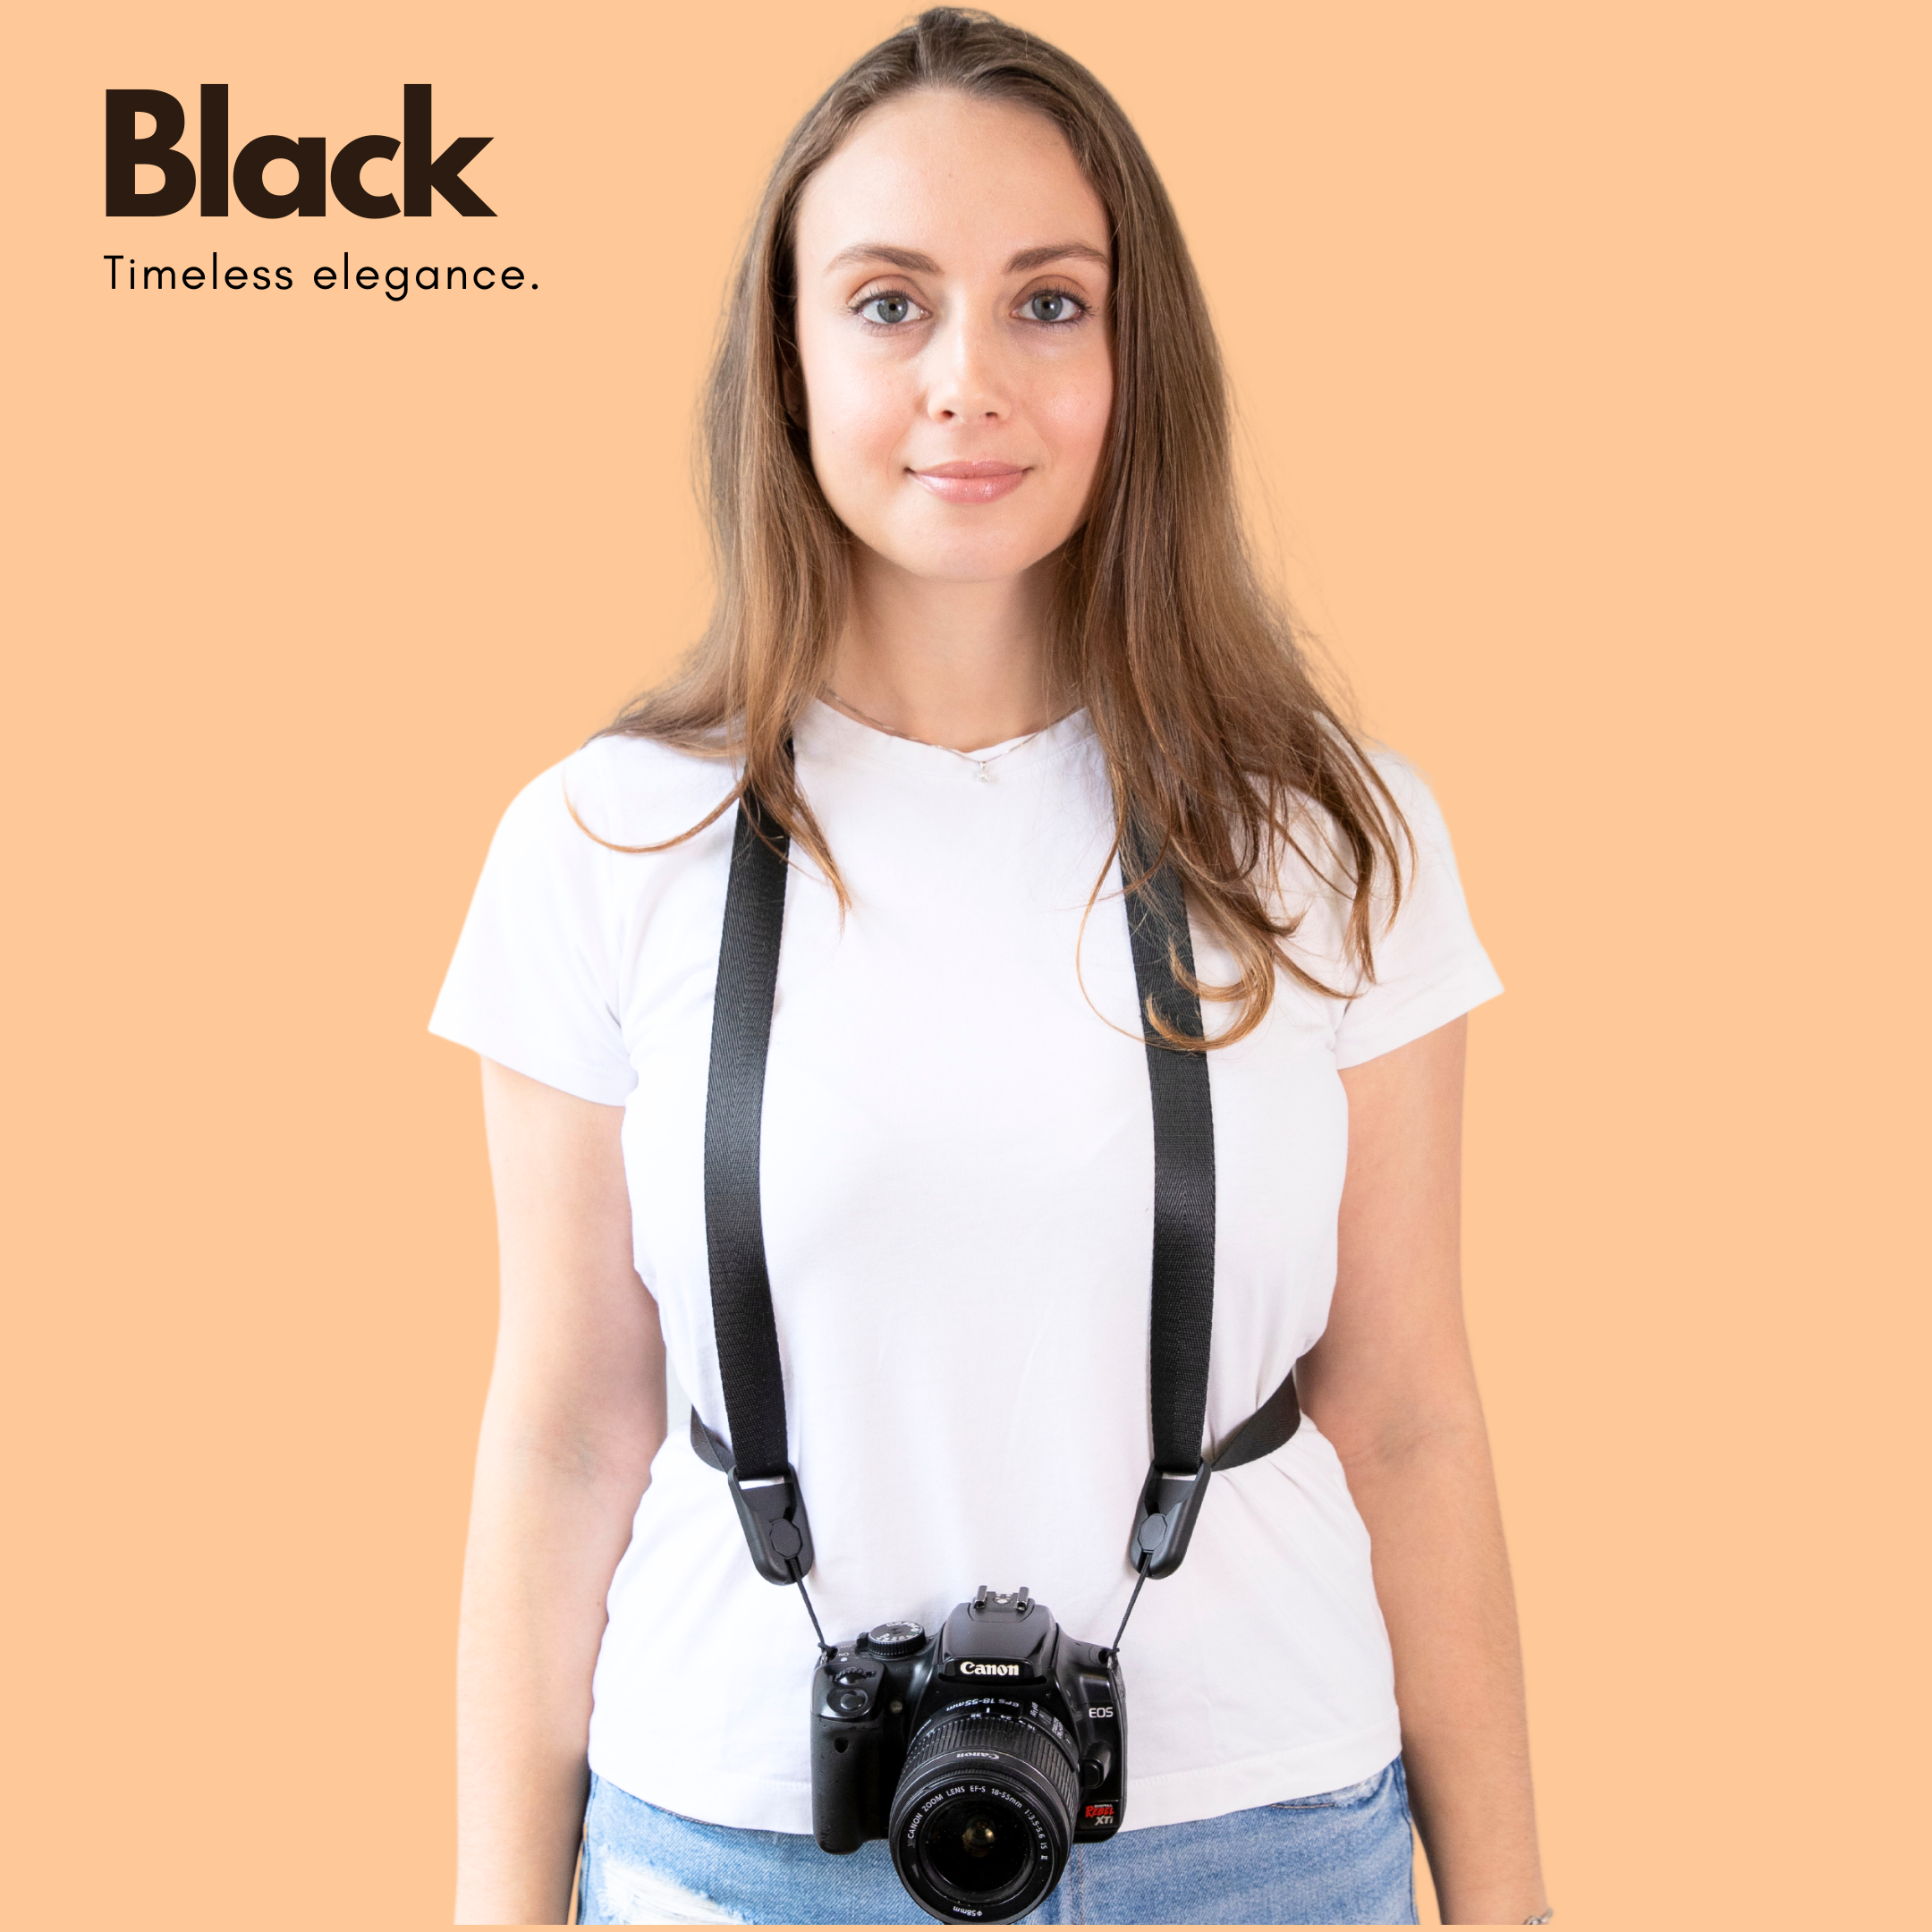
A camera carries most comfortably when the weight sits high, close to the body, and does not swing. A chest carry or well-fitted sling that rests the camera against the torso reduces neck and shoulder strain on long walks.
What should a one-bag traveler keep on their camera strap while sightseeing?
A one-bag traveler should keep only the camera, a loose lens cap, and a secure quick-grab grip on the camera strap. Extra items tend to swing, snag, or rub against clothing while moving through towns.
How do you protect a camera from bumps in crowded hostels and transit?
A camera stays safer in crowded hostels and transit when it rides close to the body on a chest carry or sling instead of dangling freely. Shortening the strap and clipping loose ends also reduces bumps, snags, and accidental catches on zips or bunk beds.
What kind of camera setup works best for light travel days?
A light travel camera setup works best with one camera body, one lens, one spare battery, one or two memory cards, and a small lens cloth. A standard lens around 35mm to 50mm or a short zoom keeps the kit simple and flexible for streets, hostels, and small scenes.
How do you keep a camera accessible without taking off your backpack?
A camera stays accessible without removing a backpack when it is carried on a strap or pack system that keeps it close to the chest. That placement lets the camera be reached with one hand quickly, so you can shoot without stopping to dig through a bag.