


- Brace your stance, lock focus, and shoot at 1/320s or faster for macro sharpness.
- Apply balance, contrast, emphasis, movement, pattern, rhythm, and unity to guide the frame.
- Keep one-third of the scene in focus to simplify exposure, composition, and timing.
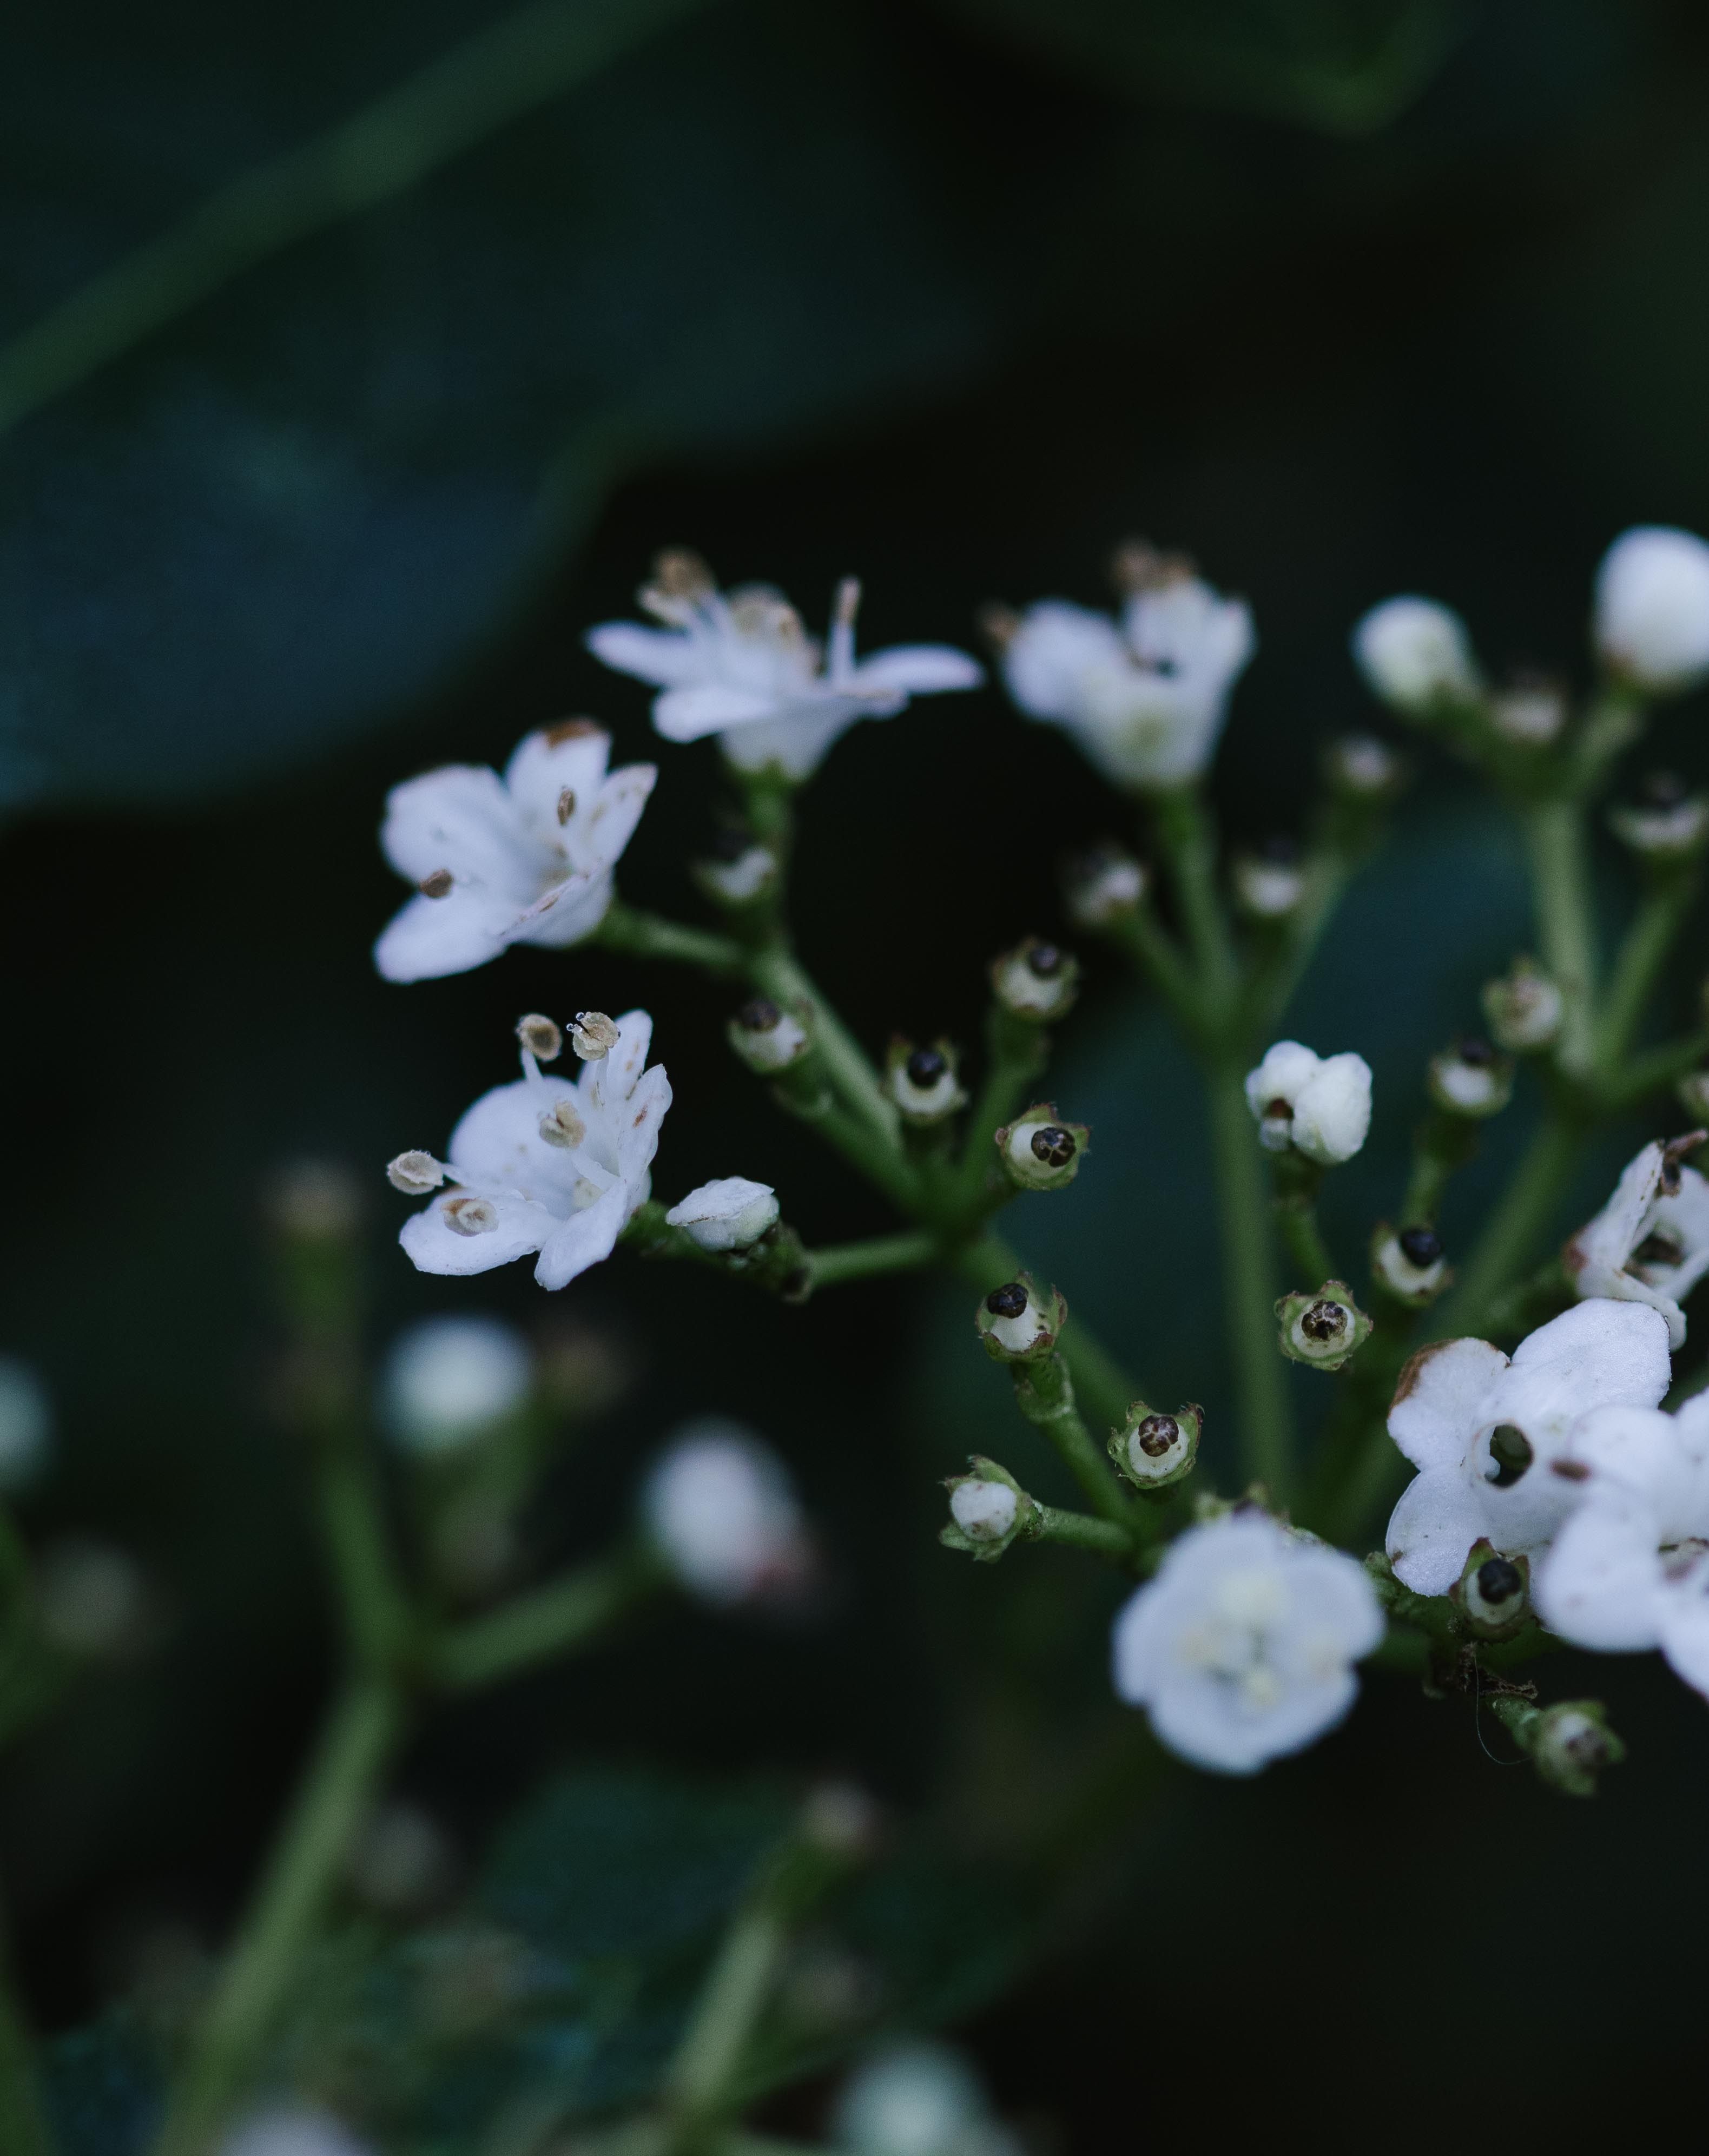
Tiny flowers, huge detail: how to stay steady on a trail is a close-up field skill that keeps a camera still enough to reveal texture, shape, and color. Patience, balance, and clean camera control do the heavy lifting on uneven ground, which is why macro photography tips matter.
Translation missing: en.blog_cta.bundle_heading

- Regular price
-
€42 - Regular price
-
€44 - Sale price
-
€42
By choosing the Camstrap strap, you are opting for a high-quality product designed to meet the needs of the most demanding photographers.
- Developed by a physiotherapist to relieve neck and back pain.
- Fast delivery with tracking by the Post Office 🚚
- Can be used as a shoulder strap or hands-free harness

- Regular price
-
€36 - Regular price
-
€42 - Sale price
-
€36
Translation missing: en.blog_cta.free_shipping_included
Trailside scenes shift in a hurry. Wind stirs petals, boots slip on loose dirt, and hands start to tremble after a long walk. A few simple habits can make close-up shots much sharper.
Why shaky hands punish small subjects

Close-up work magnifies every small movement. At macro distances, even a slight body shift can move the focus point off the flower’s center. Support changes the game. A tripod or similar aid keeps the camera fixed and cuts blur, especially with still subjects.
The trail adds three extra problems
Uneven ground comes first. Your stance keeps changing as you crouch and stand, and wind can move the subject while you are still trying to hold focus.
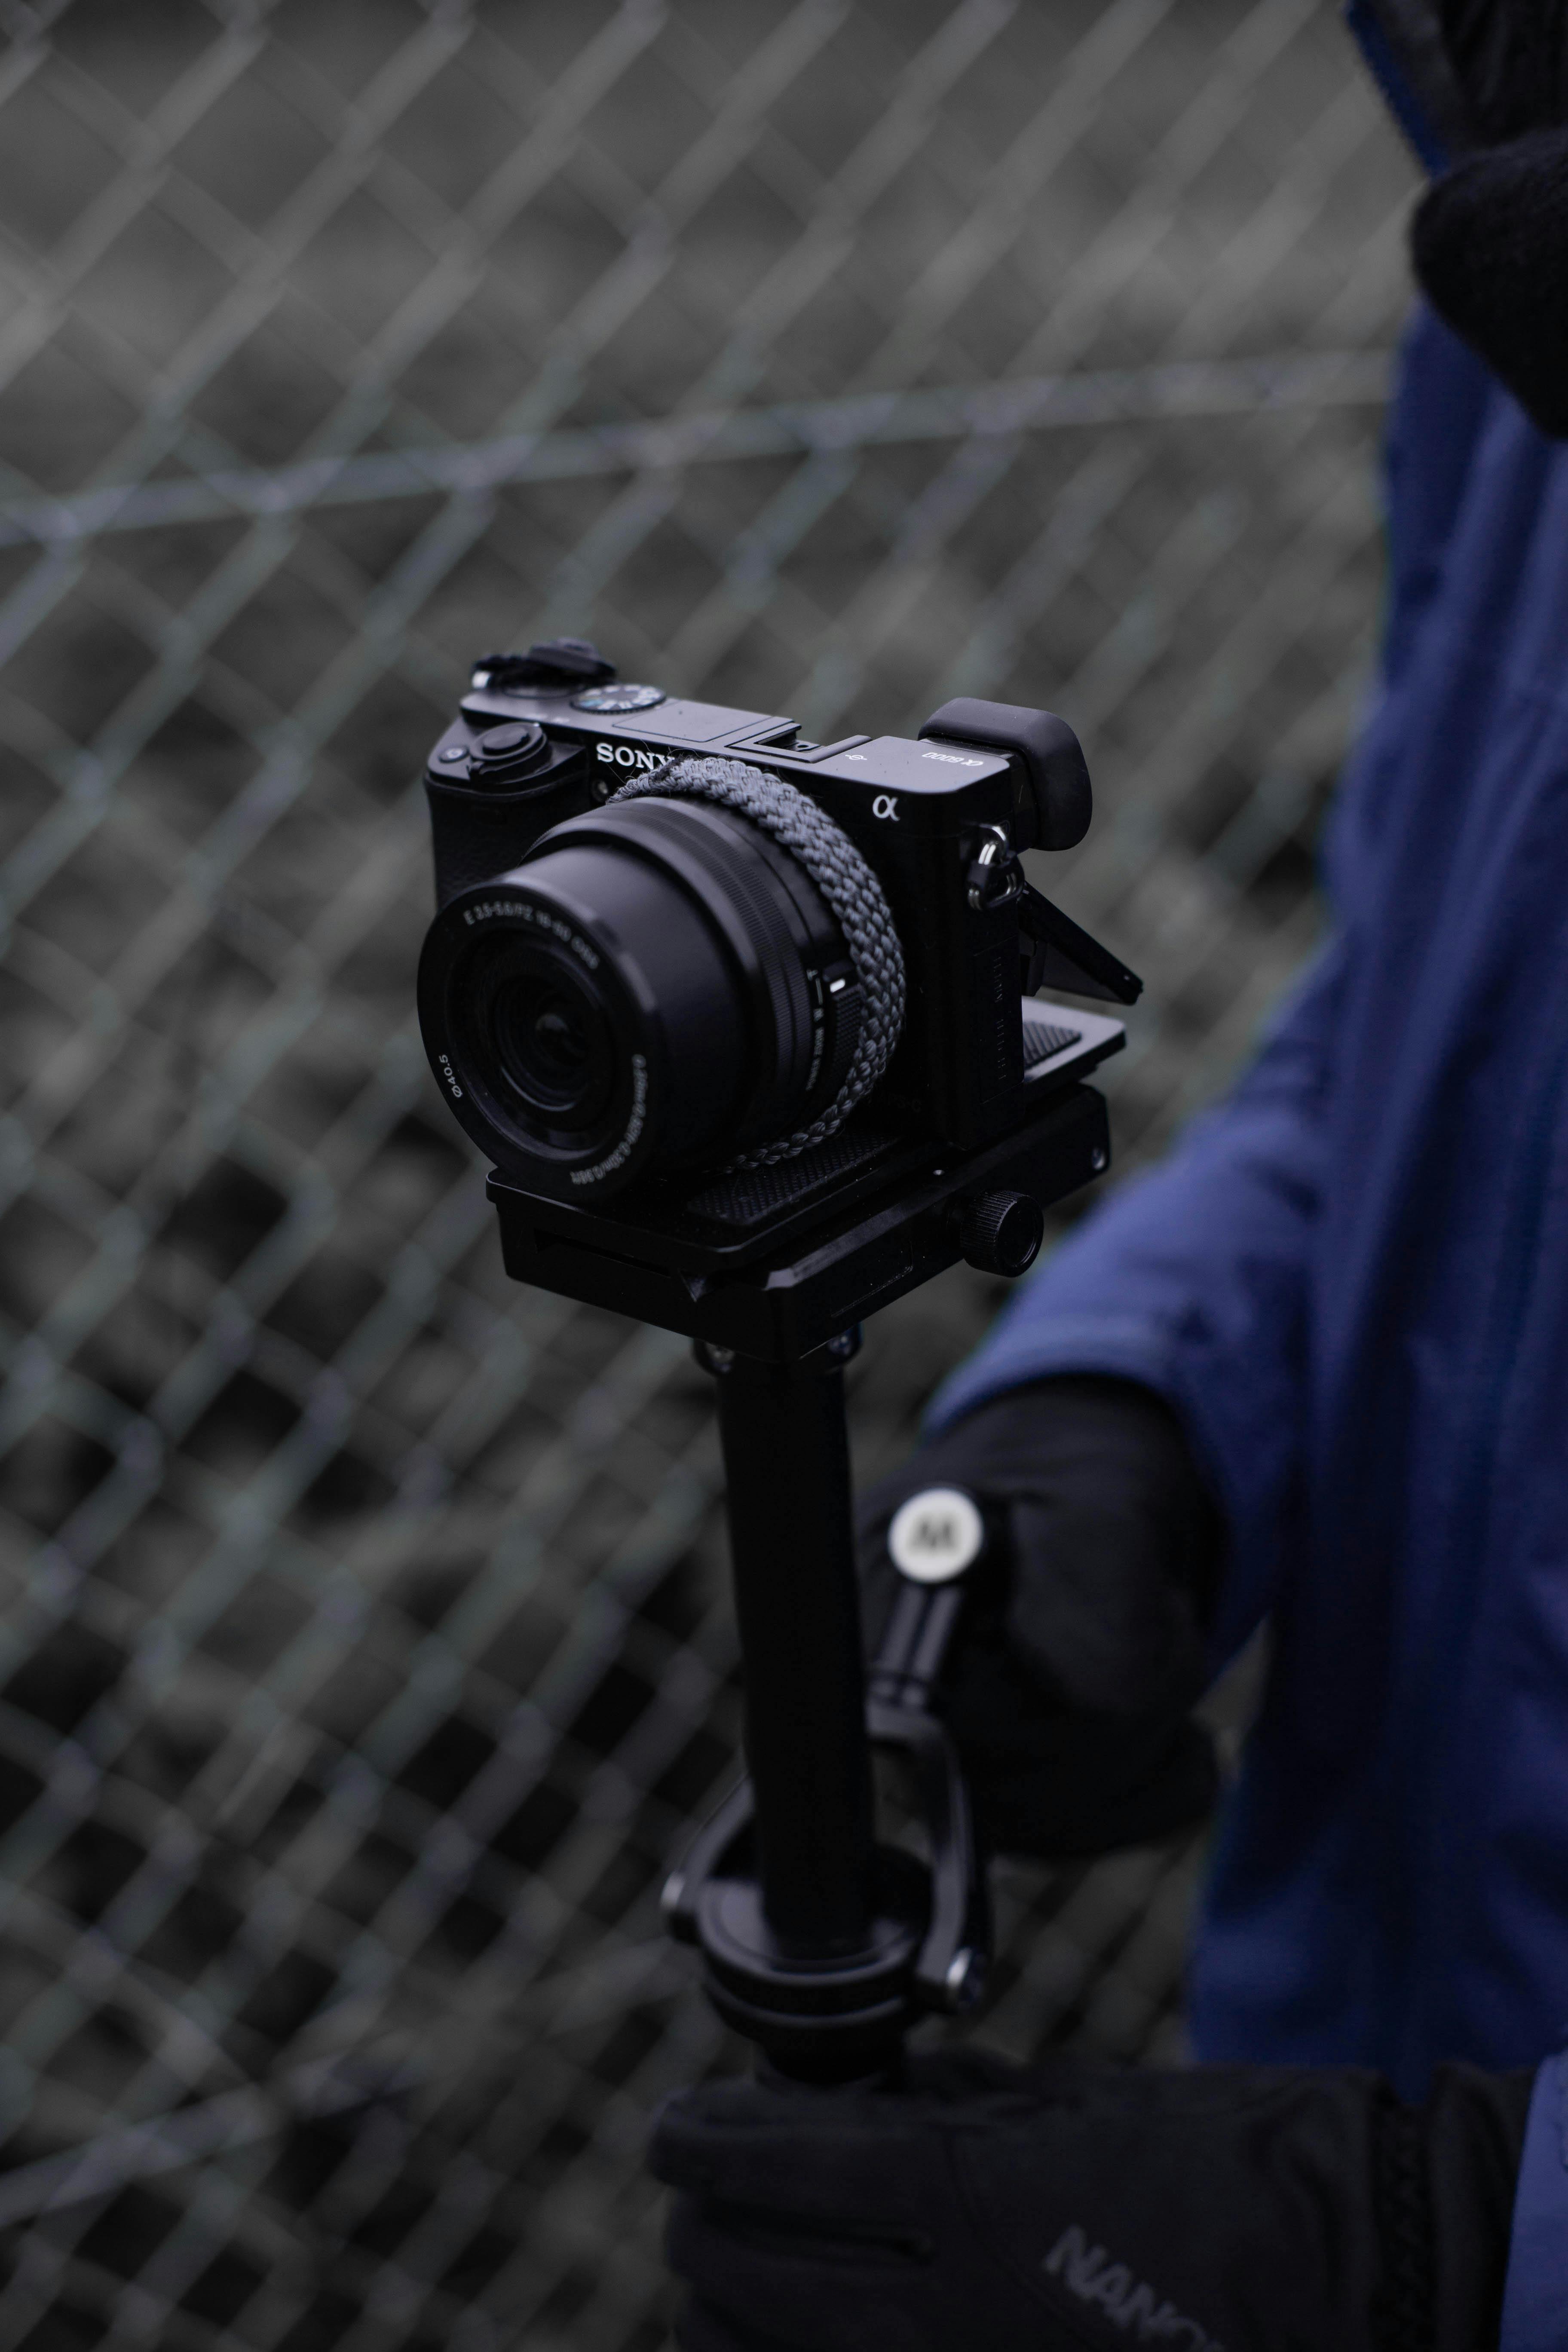
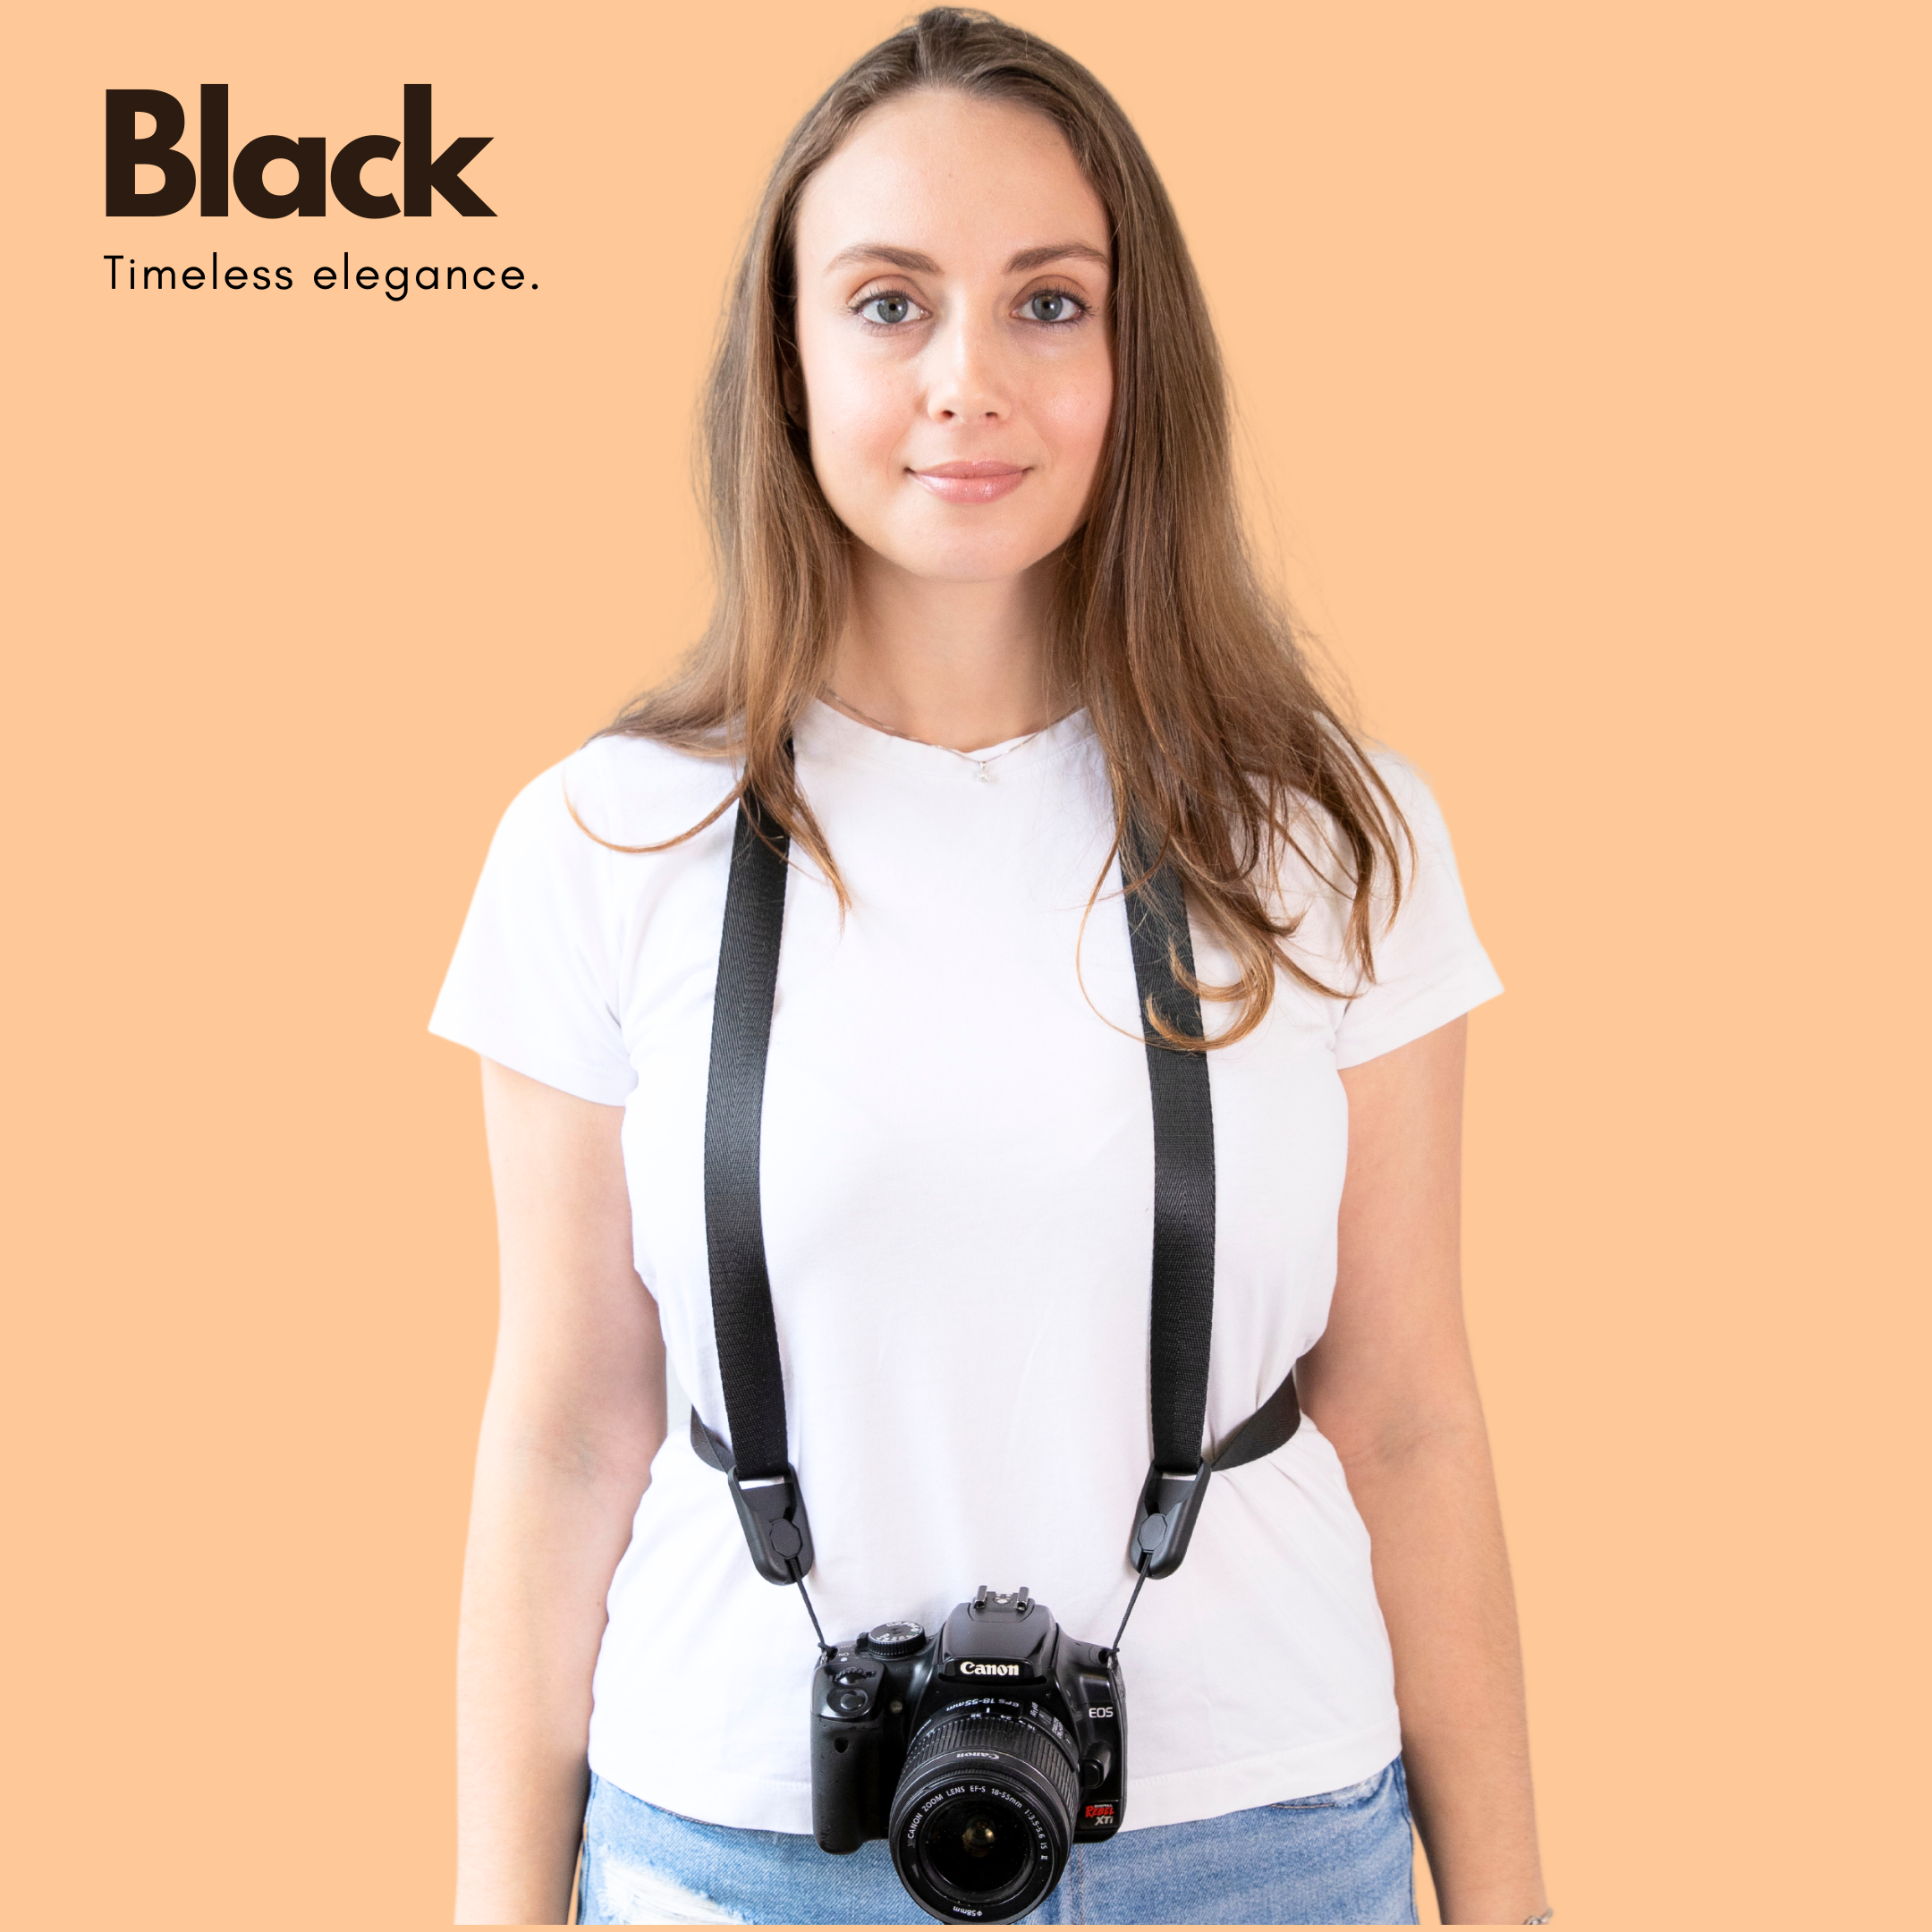
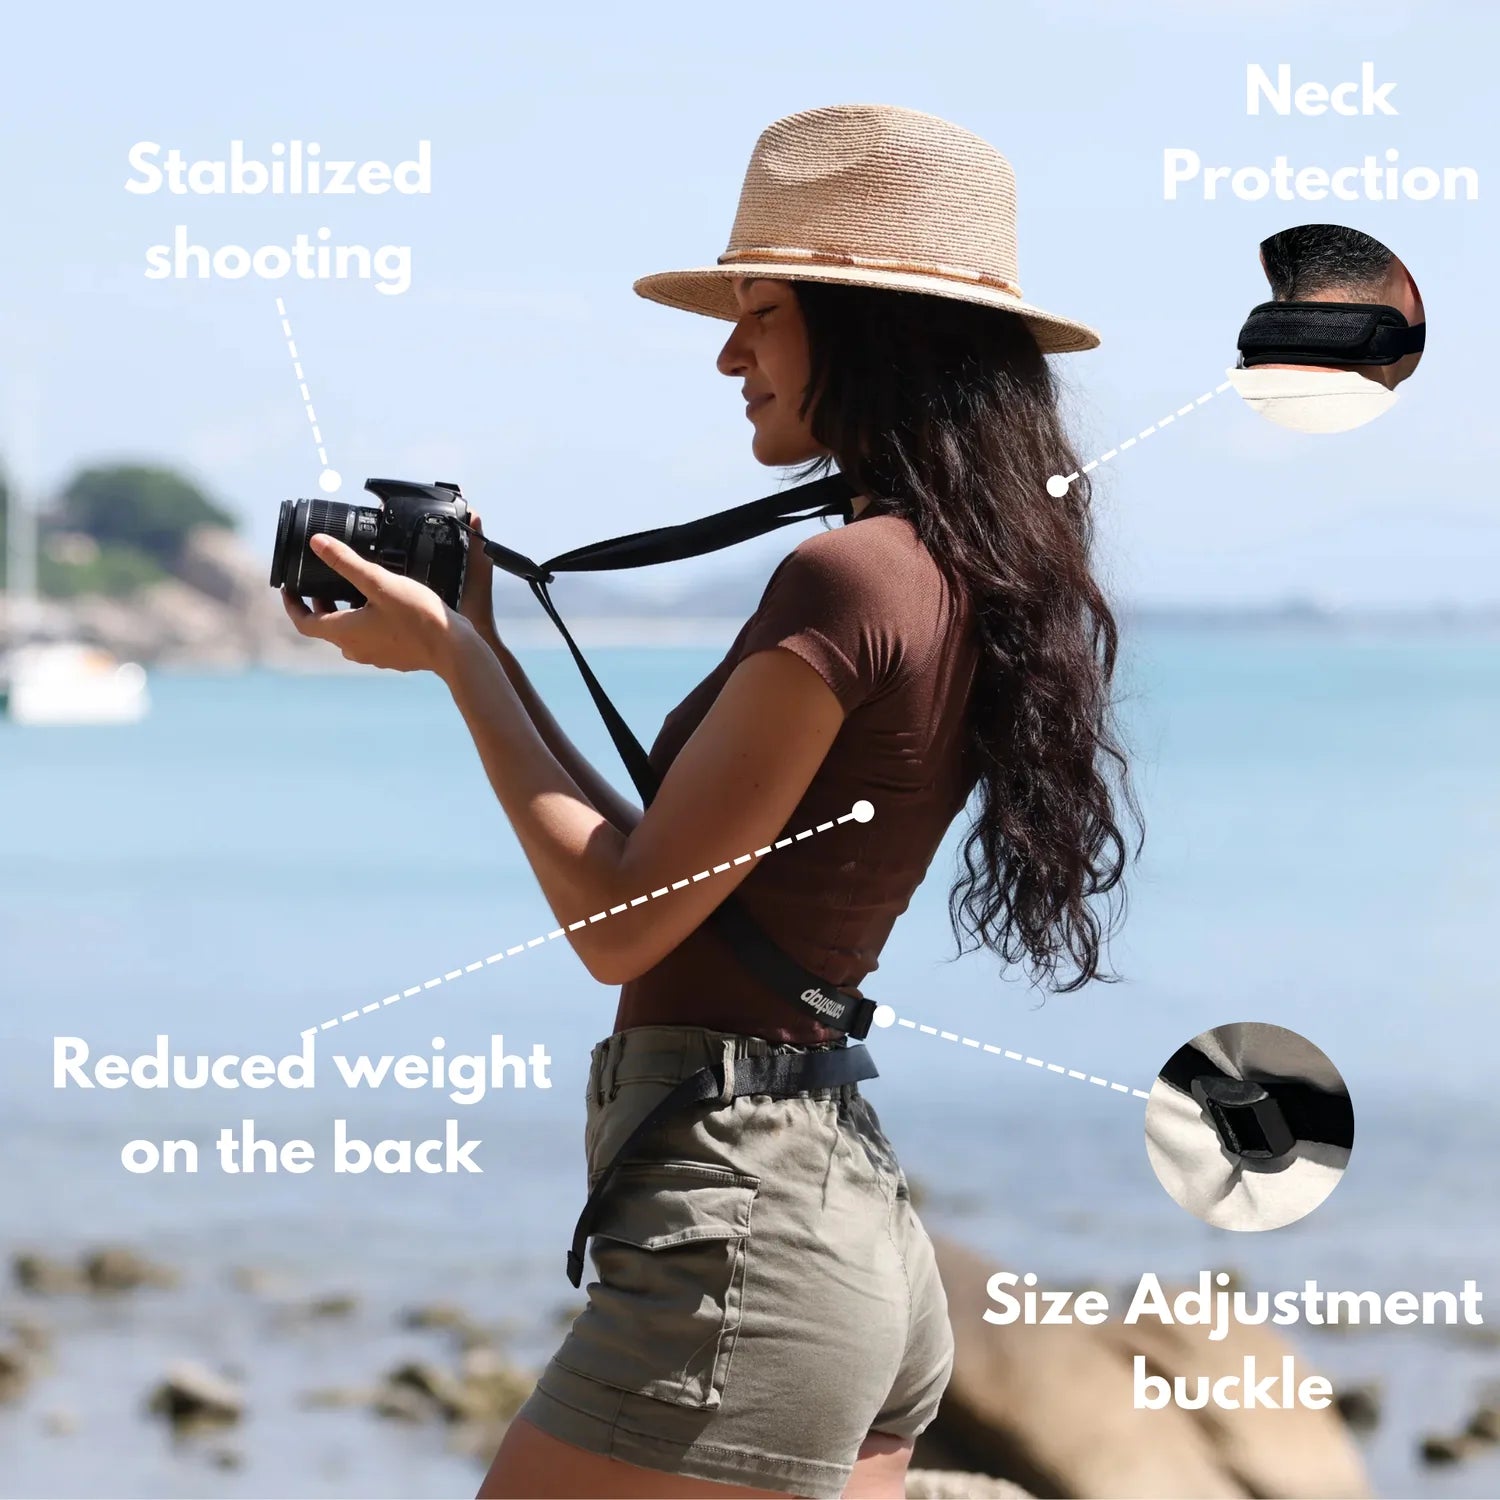
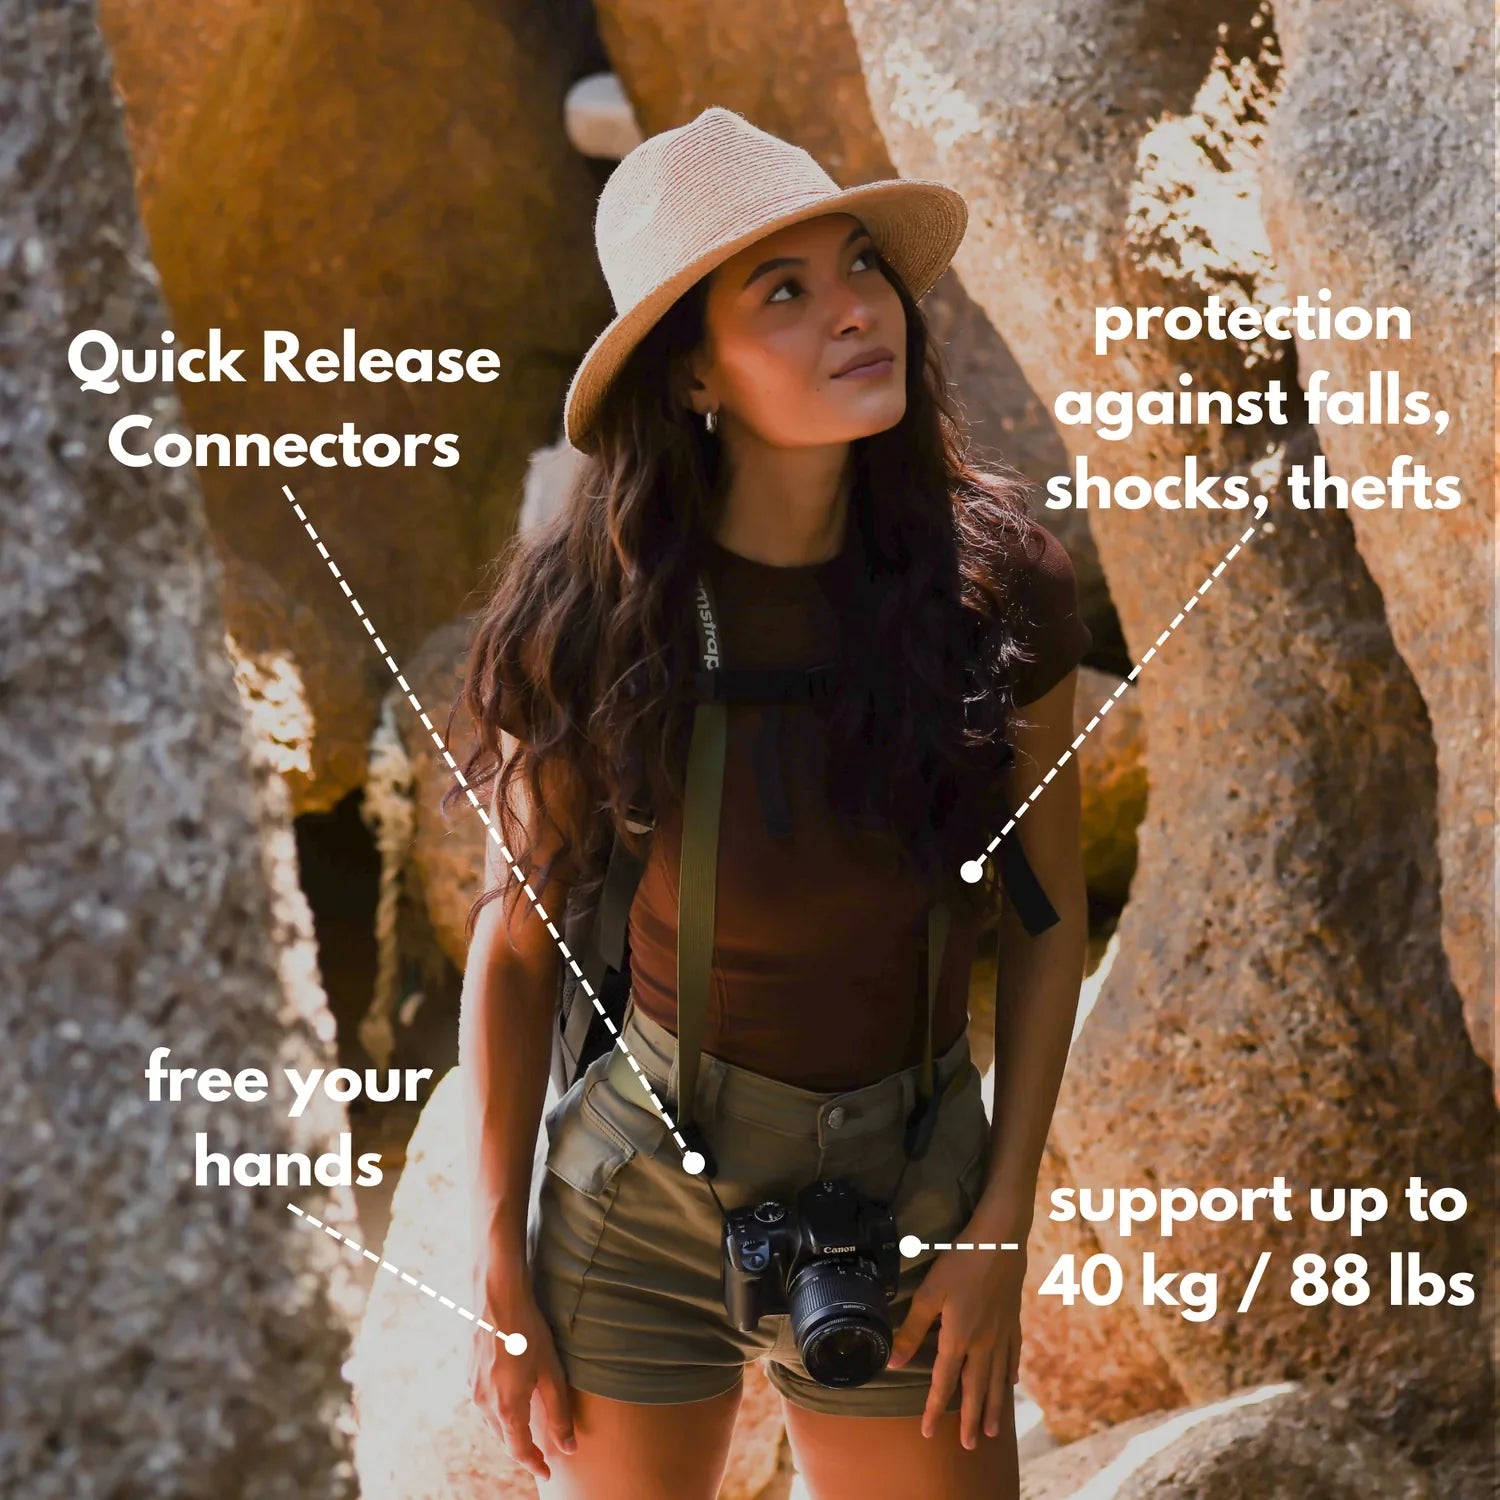
A hands-free strap helps because it keeps the camera secure while you move between spots. A strap such as the Camstrap Voyager can also spread weight across your body, making it easier to kneel, rise, and keep your grip free for balance.
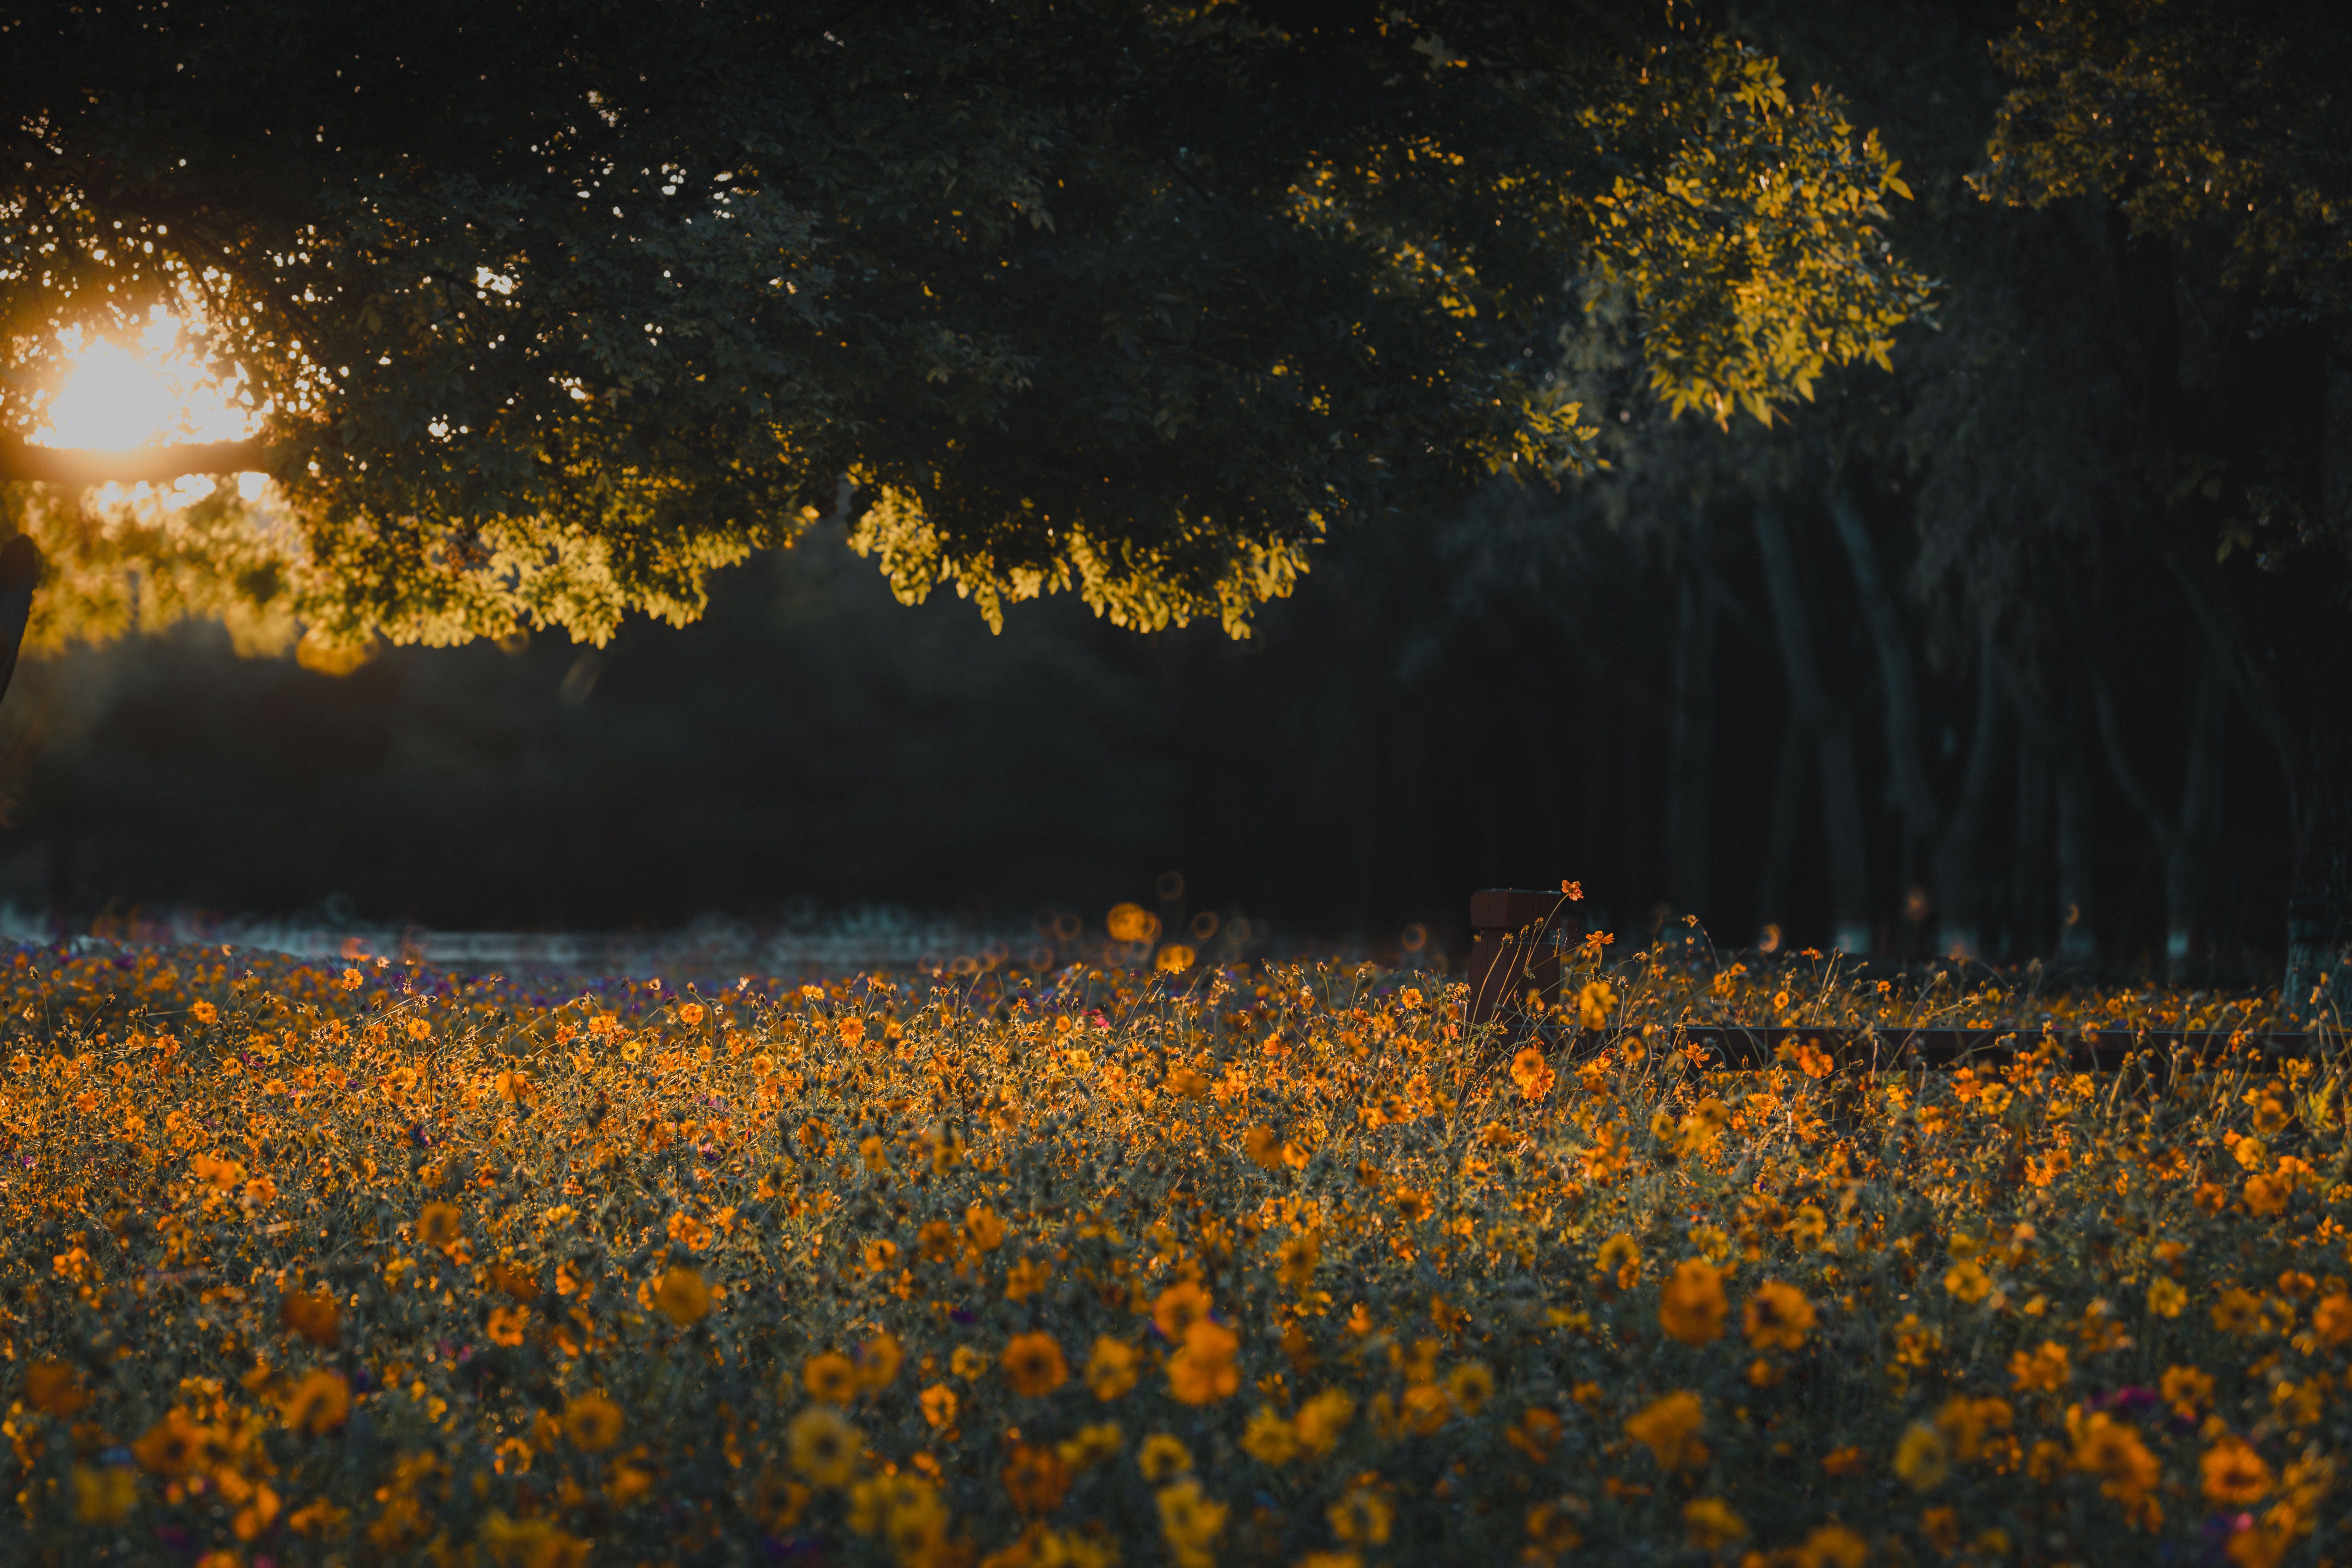
When the camera hangs safely, you spend less time fighting the load and more time watching the flower.
How do I take a macro picture?
Lock the camera down, focus carefully, and use a fast enough shutter speed to stop hand shake. For still flowers, start at f/5.6 or faster, then raise ISO only as needed. Use a short, repeatable setup. A simple field workflow often works best:
- Plant your feet and brace your elbows against your ribs.
- Set the lens front parallel to the flower face.
- Focus once, then switch to manual focus to hold that point.
- Use a two-second self-timer or remote release.
- Check the sharpest petal edge at 100% zoom.

For handheld shooting, Nikon recommends about 1/500s. If you cannot hold that, a faster shutter still helps more than a wider aperture alone.
For macro work without flash, 1/320s or faster is a strong floor. One practical workflow also uses Auto ISO with a ceiling around ISO 3200, which gives room to keep the shutter quick.
The seven habits that shape a clean frame
The seven principles of photography are balance, contrast, emphasis, movement, pattern, rhythm, and unity. In close-up work, each one can change how a tiny flower reads in the frame.
How each principle helps in the field
- Balance: Keep the flower from feeling pulled to one side.
- Contrast: Use light petals against dark leaves, or the reverse.
- Emphasis: Put the sharpest focus on the main bloom.
- Movement: Let a stem angle guide the eye inward.
- Pattern: Show repeated petals or clustered buds.
- Rhythm: Space similar shapes with care.
- Unity: Keep colors and background simple.
These ideas sound broad, but they guide real choices. If the background is messy, step left or right before touching any setting. If the bloom looks flat, change your angle until the light catches one edge.
Macro shots often fail because the frame has too many small distractions. Strong composition solves that problem before editing ever starts.

Where the 20 60 20 rule fits in close-up work
The 20 60 20 rule in photography is a simple way to think about visual weight in a frame, with most of the scene held in the middle area. In close-up work, that middle zone often becomes the place where the eye lands first. Use the rule as a loose guide. Keep about 60% of the visual energy in the center, then let the outer 20% on each side stay quiet.
That approach works well on a trail because edges get messy fast. Grass blades, bright stones, and stray stems can pull the eye away from the flower.
Place the bloom so the center of attention lands in the middle band. Then let the outer space frame the subject instead of fighting it.
Focus, support, and the right body position
For the sharpest result, keep the front of the lens parallel to the subject plane. This helps more of the flower stay in focus, especially when the petals sit in one flat layer. After focus is set, switch to manual focus if the scene is still. That stops autofocus from hunting between shots and shifting the focus point on you.
Three small changes that matter a lot
- Kneel low instead of bending at the waist.
- Brace one elbow on a knee or rock.
- Use a light touch on the shutter, or a timer.
If the camera is on a tripod, turn image stabilization off. Canon advises this, since stabilization can add movement when the body is already fixed.
Still subjects let you slow down. Moving flowers need a different choice; raise shutter speed first, then trim depth of field only if you still have room.
How to take macro photos with S24 Ultra?
Use the 200MP main camera or the close-focus mode in the Camera app, then keep the phone steady and tap to focus on the petal edge. The phone’s short minimum focus distance works best when the subject stays still and the light is good. Hold the phone with two hands and rest your elbows against your body. If the wind moves the flower, wait a beat before taking the shot, because the phone’s small sensor still needs a clean, still frame.

Use Pro mode if you want more control. Keep ISO low, then raise shutter speed enough to freeze hand shake and petal movement. A steady stance matters more than digital zoom, which can soften fine detail.
Take two or three frames in a row. Tiny shifts between frames can save one image from a blink, gust, or missed focus point.
Trail light changes fast, so watch the edge light on the petals. If the flower starts to glow from one side, move a few inches and try again.
Choosing settings that fit the light

Macro settings work best when they match the scene, not a fixed rule. A bright trail lets you use faster shutter speeds and lower ISO, while shade often forces a tradeoff.
Canon suggests starting at f/5.6 or faster when using image stabilization. Smaller apertures like f/16 to f/22 give more depth of field, but they also demand slower shutter speeds.
If you stop down hard, you may need more ISO or a flash to keep the shot sharp. A 50mm lens on a 1.6x crop body gives a minimum-shutter example of 1/80s from Canon. That is a useful baseline, but close-up work often needs faster than that once you move in tight.
Very small apertures can also soften fine detail from diffraction. For many flowers, a middle aperture gives the best mix of sharpness and depth.
What to watch when the trail is rough
Uneven ground changes your balance before it changes your camera settings. Loose soil, rocks, and steep slopes all make tiny hand motions worse.
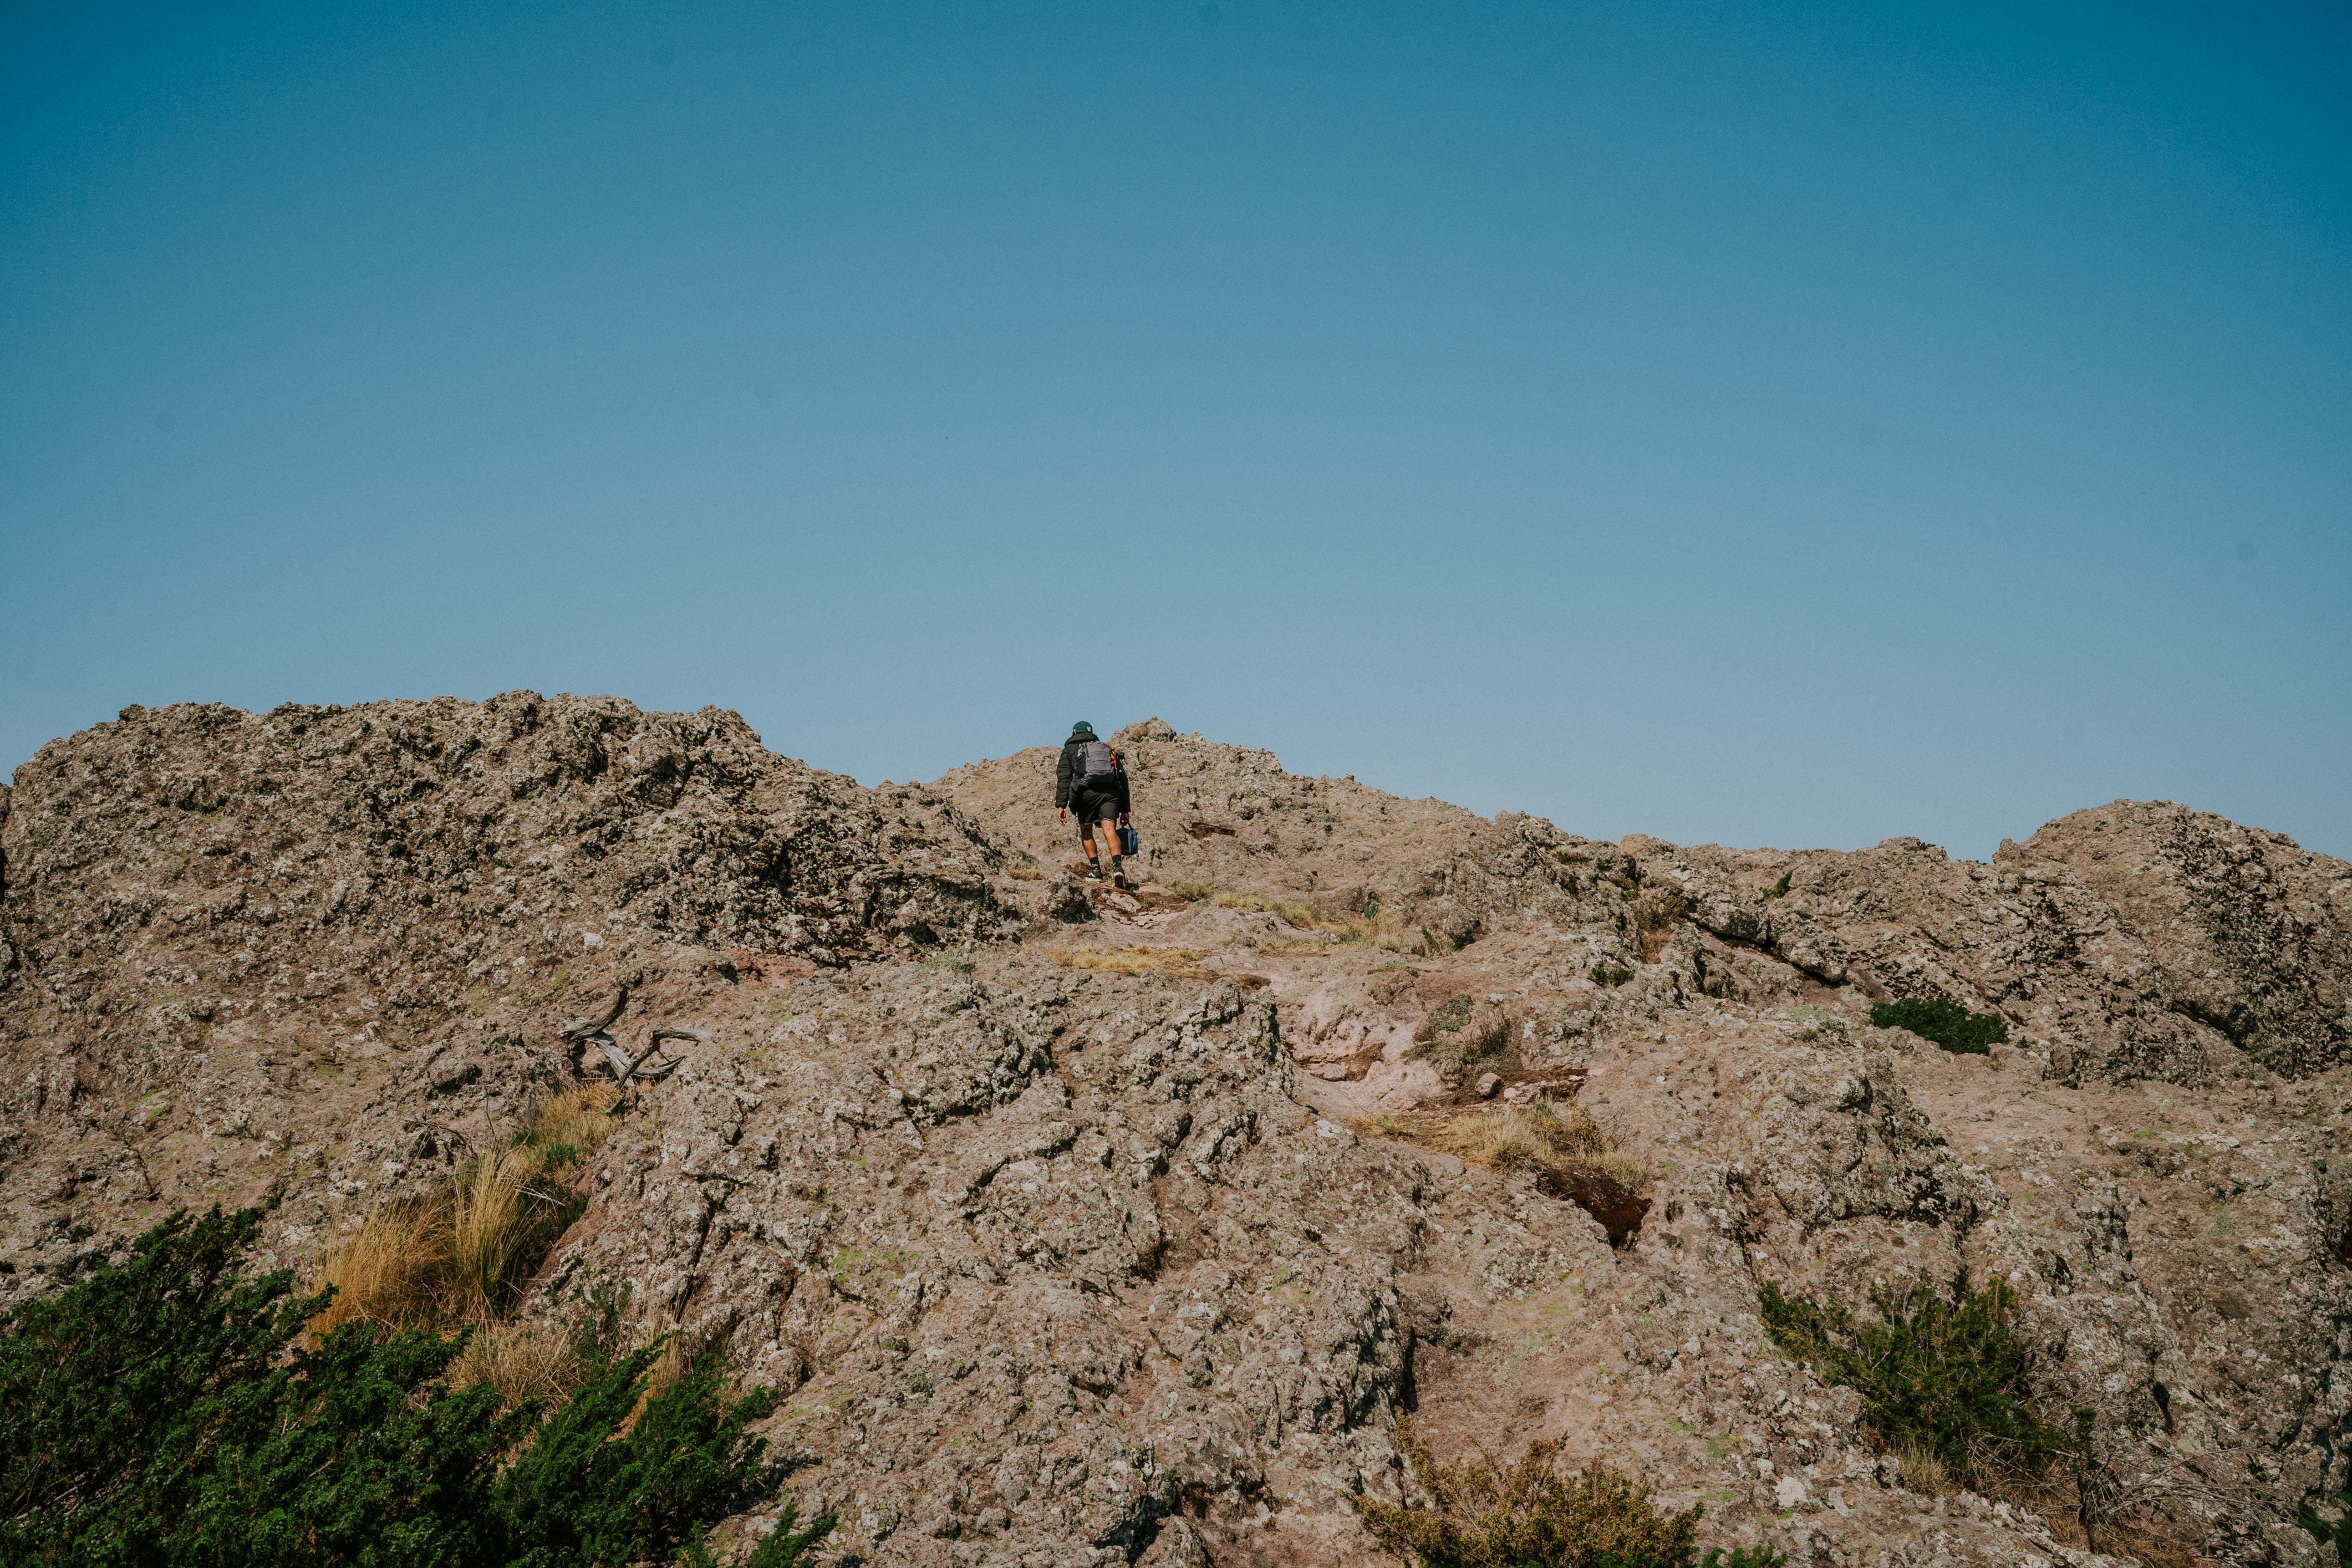
Use the trail itself as support when you can. A backpack, a knee, a low log, or a rock can steady your body long enough to make a clean frame.
- Check your footing before you raise the camera.
- Pause after each step, especially on a slope.
- Shield the flower from wind with your own body.
- Review focus only when the scene has not changed.
Battery life can fall faster on mirrorless bodies when the EVF or rear screen stays on. Review less, and you will often keep shooting longer without changing a thing. Discipline helps more than extra gear. A calm stance, a clean focus point, and a stable camera will do most of the work.
In the end, the best trail macro frame comes from a steady body, a clean background, and one sharp petal edge that holds the eye. If the wind drops for even five seconds, that is the moment to press the shutter.
Frequently Asked Questions
How do I take a macro picture?
To take a macro picture, lock the camera down, focus carefully, and use a fast shutter speed to reduce hand shake. For still flowers, start at f/5.6 or faster, plant your feet, brace your elbows, keep the lens front parallel to the flower face, focus once, switch to manual focus, and use a two-second self-timer or remote release.
What are the 7 principles of photography?
The 7 principles of photography are balance, contrast, emphasis, movement, pattern, rhythm, and unity. In close-up work, they help control how a tiny subject reads in the frame through placement, light, focus, direction, repetition, spacing, and background simplicity.
What is the 20 60 20 rule in photography?
The 20 60 20 rule in photography is not defined in the provided text. No explanation or definition of that rule appears in the article excerpt.
How to take macro photos with S24 Ultra?
To take macro photos with an S24 Ultra, use the same macro basics: steady the phone, focus carefully, keep the lens parallel to the subject, and use the quickest shutter speed available. For a sharp result, hold the camera still with a stable stance, use manual or locked focus if available, and check the image at full zoom for the sharpest petal edge.


