


- Choose one clear subject so the eye lands on it instantly.
- Shoot where soft side light and simple lines do the heavy lifting.
- Use the 20/60/20 rule: foreground, subject, and background stay balanced.
Focal point photography means steering the viewer’s eye to the main subject through focus, light, or placement. In travel work, a frame can shift from a café table to a windy shore and still feel crisp and controlled. Travel scenes change in a blink, and focus can slip just as quickly. Busy streets, mixed light, and moving people all test a camera setup, so solid habits beat heavy gear.
Translation missing: en.blog_cta.bundle_heading

- Regular price
-
€42 - Regular price
-
€44 - Sale price
-
€42
By choosing the Camstrap strap, you are opting for a high-quality product designed to meet the needs of the most demanding photographers.
- Developed by a physiotherapist to relieve neck and back pain.
- Fast delivery with tracking by the Post Office 🚚
- Can be used as a shoulder strap or hands-free harness

- Regular price
-
€36 - Regular price
-
€42 - Sale price
-
€36
Translation missing: en.blog_cta.free_shipping_included
What gives a scene a sharp, clear center
A strong photo starts with one subject that reads immediately. The sharpest part of the frame pulls the eye first, even when the rest of the scene is crowded or in motion.
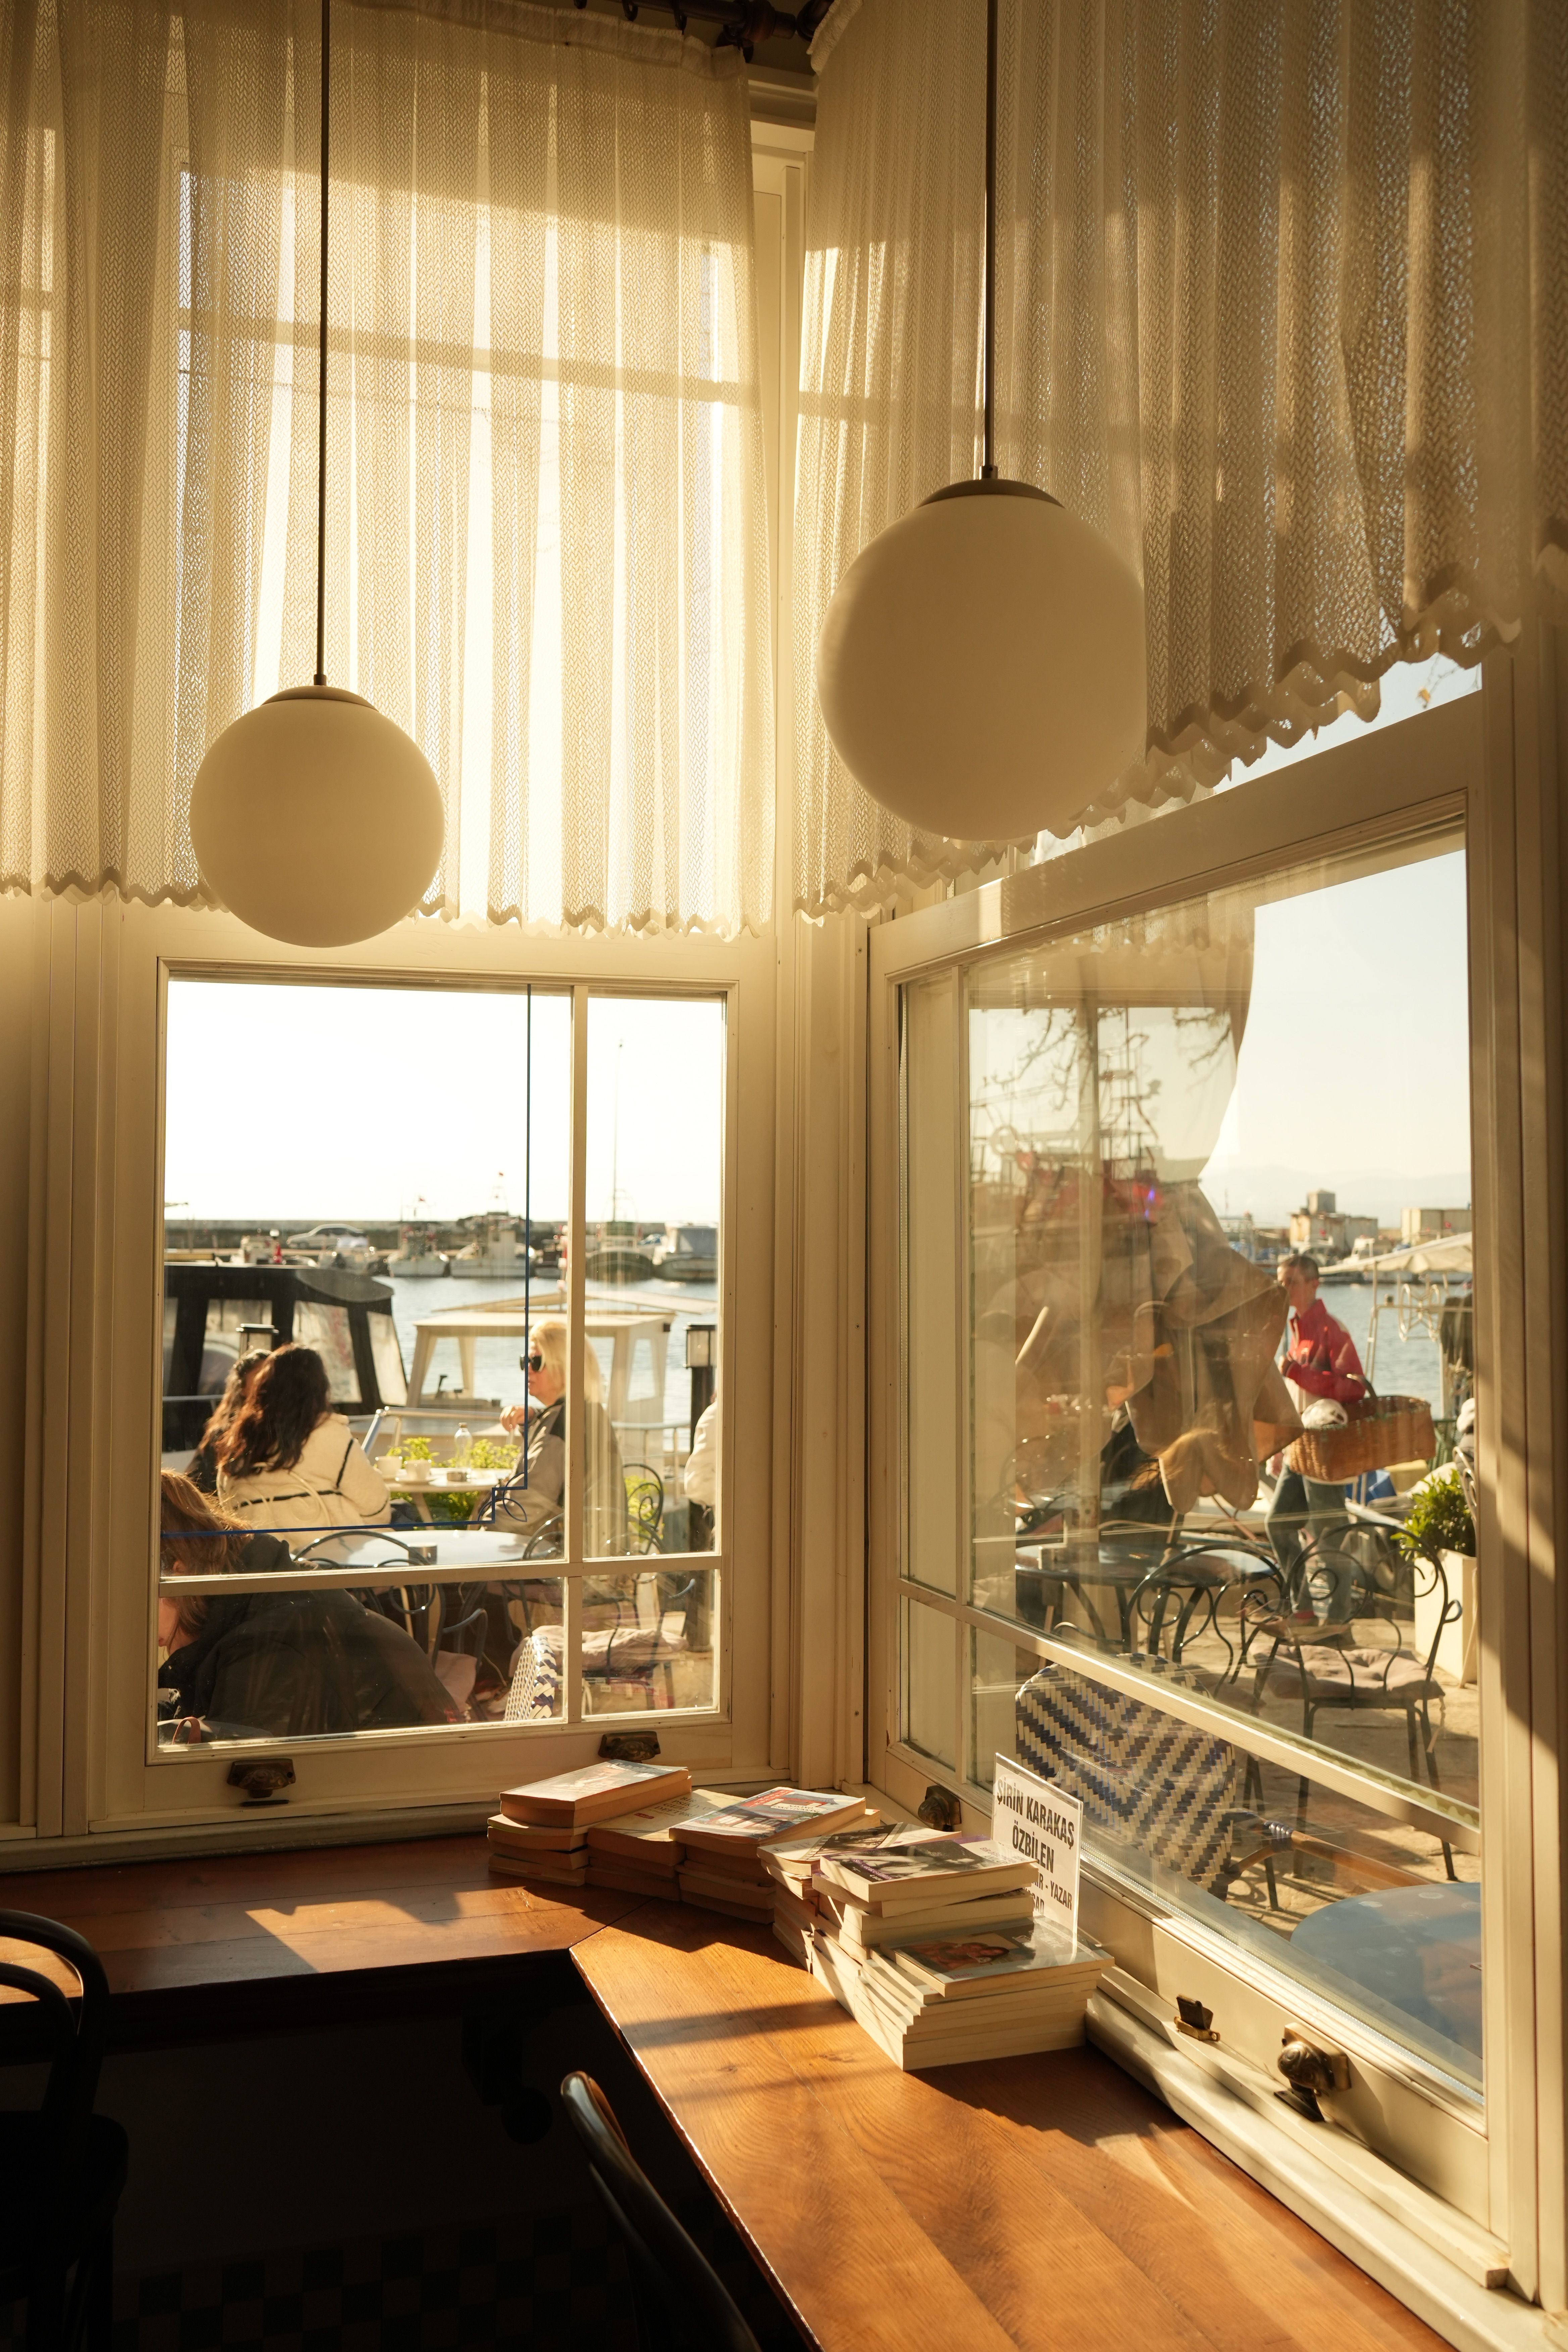
In art, a focal point is the part of the image that draws attention first, often through sharp focus, bright color, contrast, or strong placement. In a café, that might be a cup near a sunlit window; on a coast, it could be a lone figure against the surf.
Let the subject steer the focus, not the whole frame
Good travel shots do not come from luck. They rely on one subject, one focus choice, and one clean frame edge to hold attention. For this kind of work, a 35mm or 50mm lens gives a natural view, while an 85mm can separate a person from a messy background. Wide open at f/2 or f/2.8, the blur behind the subject grows, and the margin for focus error shrinks.
That tradeoff shows up near café windows and at sunset. Light may be soft, but a subject can shift a few inches and fall out of the sharp zone.
Which spot works best for a photograph?
The best spot has good light, a clear subject, and room to move. In travel scenes, that often means a café seat by a window, a shaded street corner, or a coast with open sky and clean foreground lines.
Light comes first, then the view. A place with soft side light and one strong subject usually beats a famous location with harsh glare.
Watch for light, lines, and breathing room

Harsh midday sun can flatten detail and push a camera toward tiny apertures or higher shutter speeds than the scene needs. Early morning and late afternoon usually bring softer light, which helps skin tones, food, water, and stone surfaces look clean.
- Pick a spot with one clear subject.
- Watch for side light through windows or along walls.
- Leave space to step back or change angles.
- Use railings, paths, and tables as simple leading lines.
At the coast, a low angle adds depth to rocks, sand, or waves in front of the subject. In a café, a seat near the edge of the room can give you a cleaner background and less visual noise.
How I set the camera for travel scenes

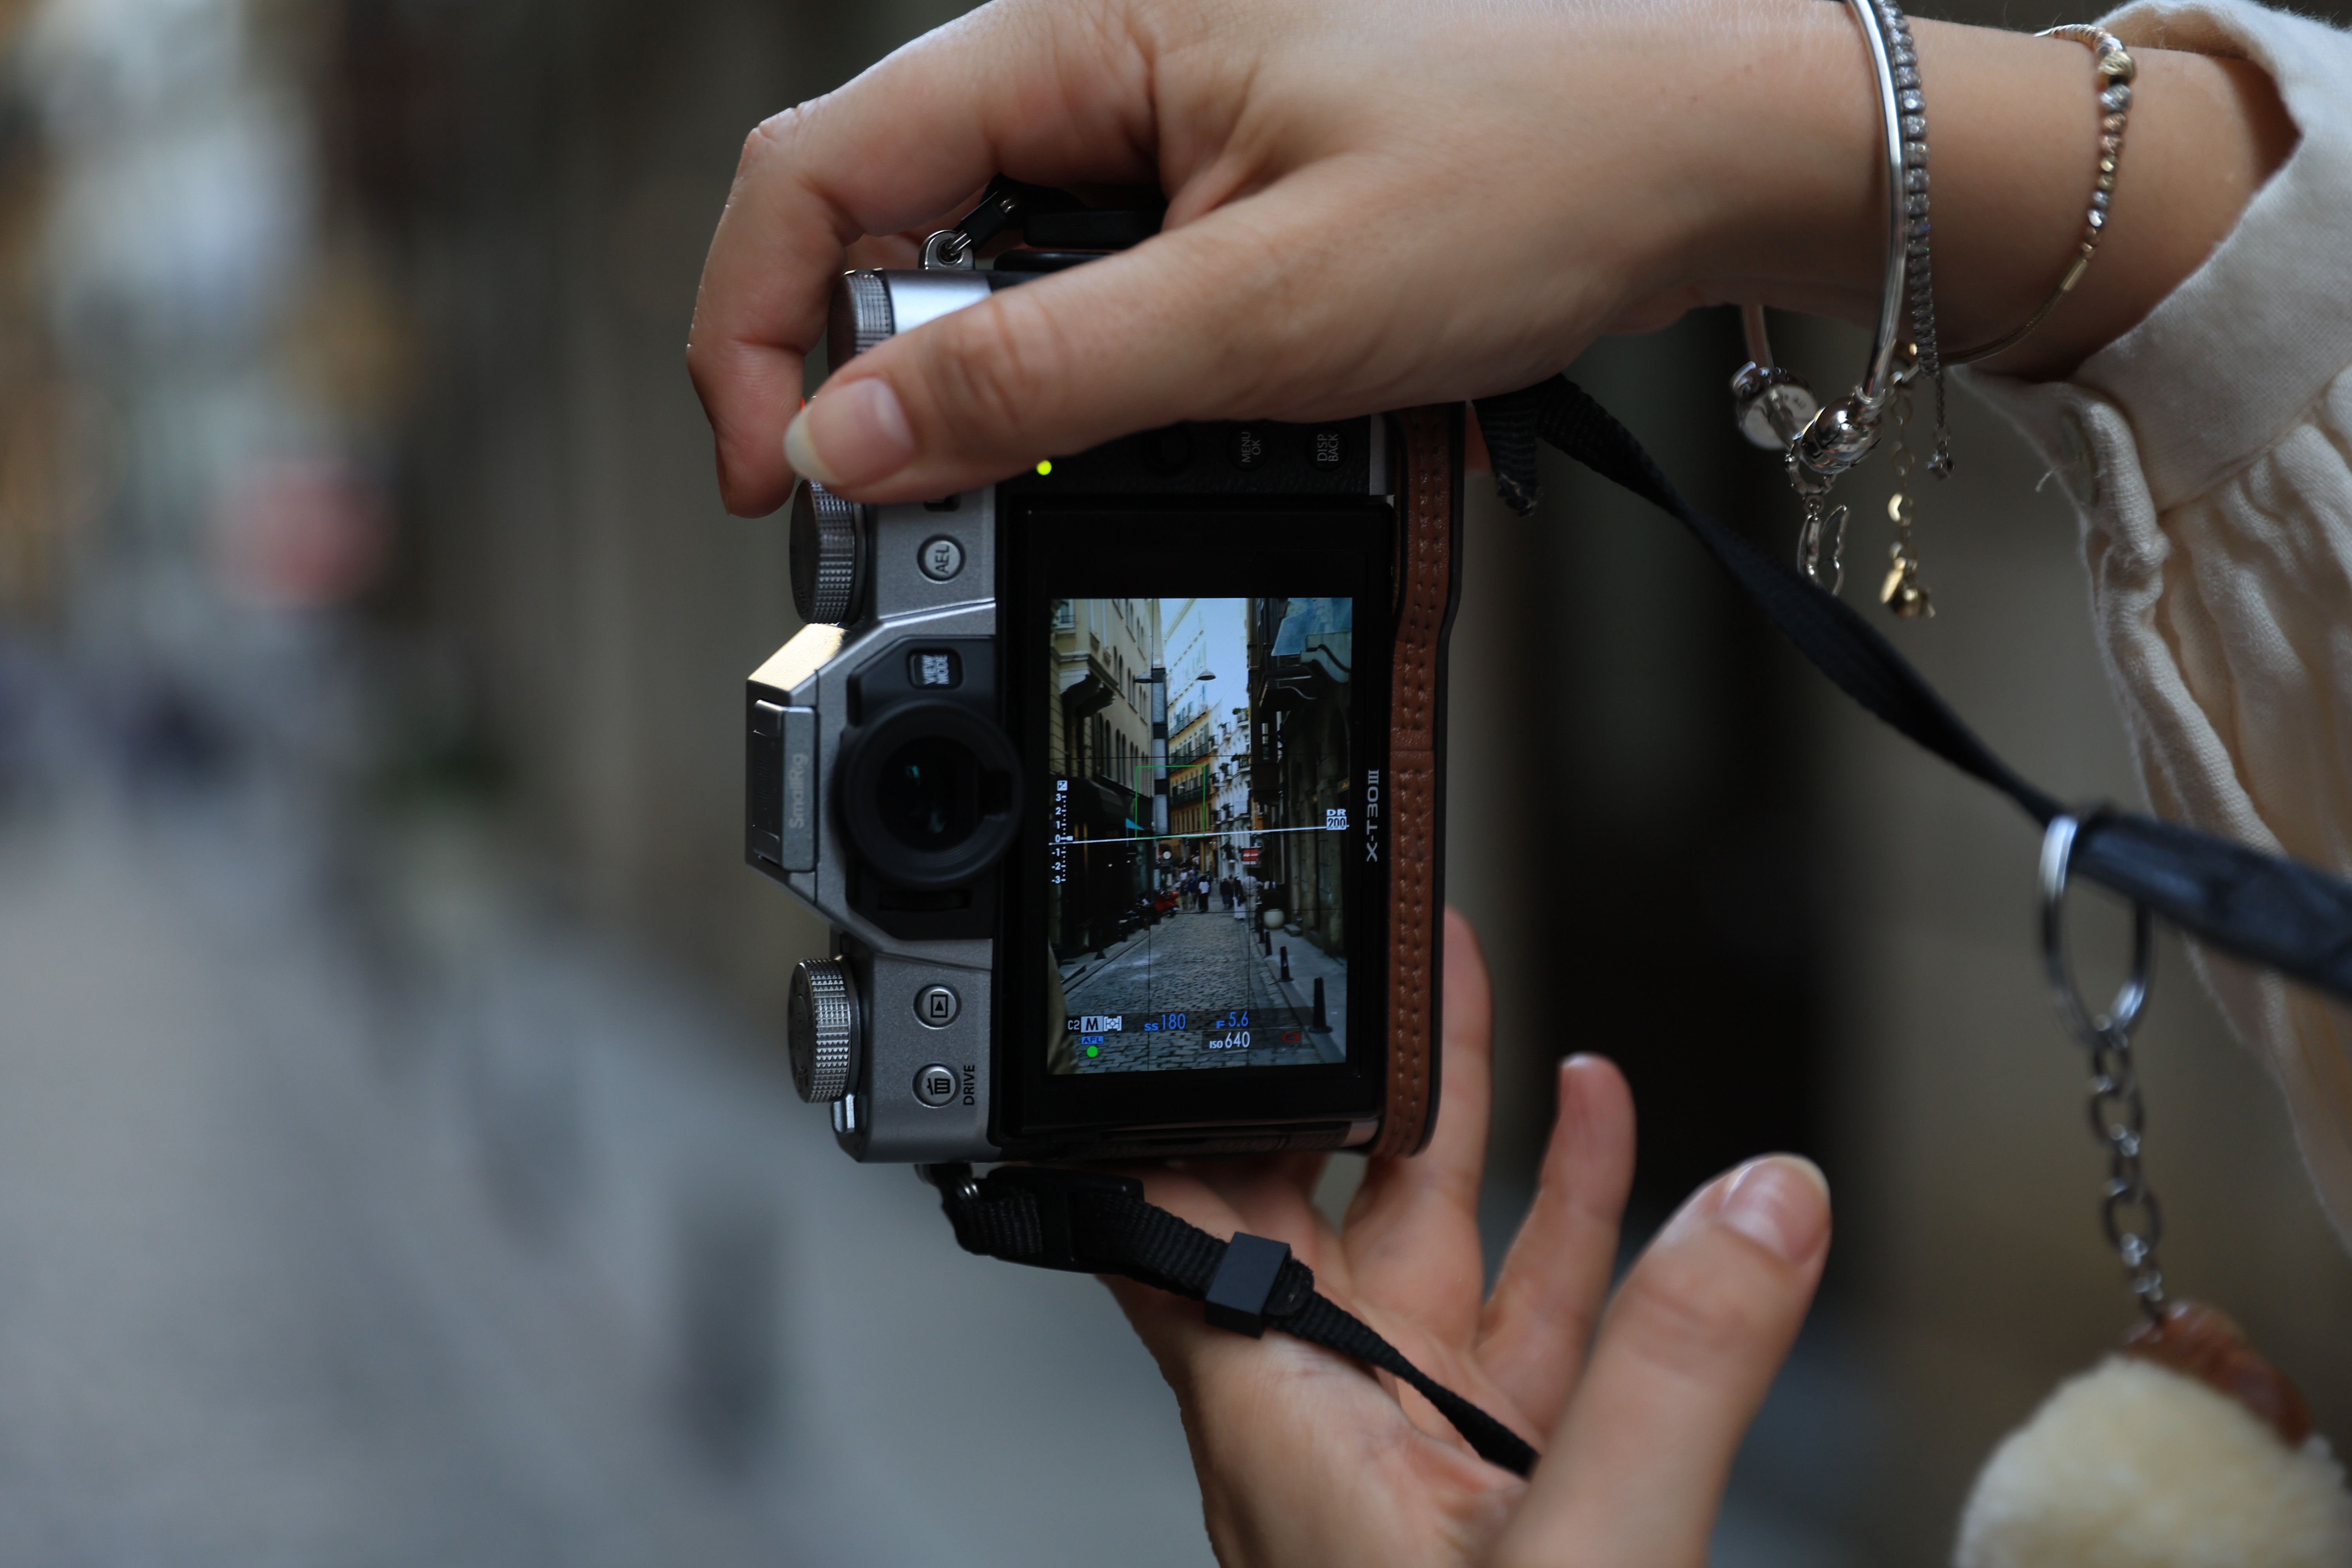
Manual focus rarely helps in most travel moments. Single-point AF lets the photographer place the AF point on the exact subject, which gives more control than letting the camera guess. To find the focus point, move the active AF point over the main subject, then confirm focus with a half-press or back-button focus. On many Canon bodies, spot AF uses a smaller area than single-point AF, which helps when one eye, one flower, or one mug handle needs to stay sharp.
Match the AF mode to the subject
One-Shot AF suits still subjects such as drinks, plates, buildings, and portraits. AI Servo AF suits people walking, waves breaking, and anything that keeps changing distance.
Canon’s guidance is useful here. For an off-center subject, focus on the subject, hold focus with a half-pressed shutter button, recompose, and then take the shot. If your camera offers automatic AF-point selection, it often chooses the closest object under an AF point, which is fast but not always the right call.

Modern mirrorless bodies offer far more AF coverage than older DSLRs. Canon’s EOS R5 has 5,940 autofocus areas that cover virtually 100% of the frame, while the EOS R3 has 4,779 AF points covering 100% of the frame.
Older cameras can still do the job well if you place the point carefully. The EOS 1000D manual lists 7 AF points and says the center point is the strongest, while the EOS 20D manual lists 9 AF points that you can select by hand.
What does the 20 60 20 rule do in photography?
The 20 60 20 rule splits attention into three parts: 20 percent for the subject, 60 percent for the surrounding scene, and 20 percent for support or context. It keeps the main idea clear while still showing where the photo was made. The rule is a simple way to balance subject, setting, and detail without crowding the frame. In travel work, it can keep a café portrait from feeling cramped and a beach shot from feeling empty.
Use it on café tables and shorelines
Reserve the 20 percent part for the main subject, like a hand, a face, or a cup. Let the 60 percent part hold the space around it, which gives the eye room to rest.
The last 20 percent can hold the small details that make the place feel real. That might be foam on coffee, a chair leg in shadow, or surf lines fading into the distance.
This rule is a guide, not a law. If the frame feels busy, cut back on the edges before you change gear or raise ISO.

Why lens choice, shutter speed, and ISO still shape the result
Sharp travel shots depend on enough shutter speed for the scene. A person turning in a café may need 1/250s, while a child running on wet sand may need 1/500s or faster to stay crisp.
Aperture and ISO need to fit the light as well. f/2 to f/2.8 works indoors or at dusk, but it makes focus placement less forgiving. If the light drops, raising ISO to 1600 or 3200 may be cleaner than letting shutter speed fall too low.
Know the tradeoffs before pressing the shutter

Electronic shutters can shoot very fast, often 20 to 40 frames per second on many bodies, but they can show rolling-shutter skew with fast motion. They can also show banding under some LED or fluorescent lights. Mechanical shutters are often slower, and they avoid some of those issues. In a café with mixed lighting, I often prefer the steadier look of a normal shutter speed and a modest burst instead of chasing the fastest rate.
Buffer depth matters as well. A mid-tier body may hold roughly 20 to 30 RAW frames before slowing, while JPEG gives you more room. That is enough for a short burst, but not a reason to hold the shutter down all day.
How do you locate the focus point?
The focus point is the active spot in the frame where the camera locks focus. You find it by moving the AF point with the joystick, d-pad, or touch screen until it sits on the subject.
Start with single-point AF, place it on the subject’s eye or key detail, and check the confirmation in the viewfinder or screen. If the scene is moving, switch to continuous AF and keep the point on the subject as long as you can.
Use a short sequence you can repeat quickly
- Pick One-Shot AF for still scenes or AI Servo AF for moving scenes.
- Select a single AF point or spot AF for tight control.
- Place the point on the subject’s strongest detail.
- Half-press the shutter or use back-button focus to lock.
- Recompose only if the subject stays still.
- Check the edge of the frame before you shoot again.
Back-button focus helps a lot during travel because it separates focus from the shutter. Once focus is set, you can reframe quickly without forcing the camera to refocus every time.
Carry gear so the shot stays ready
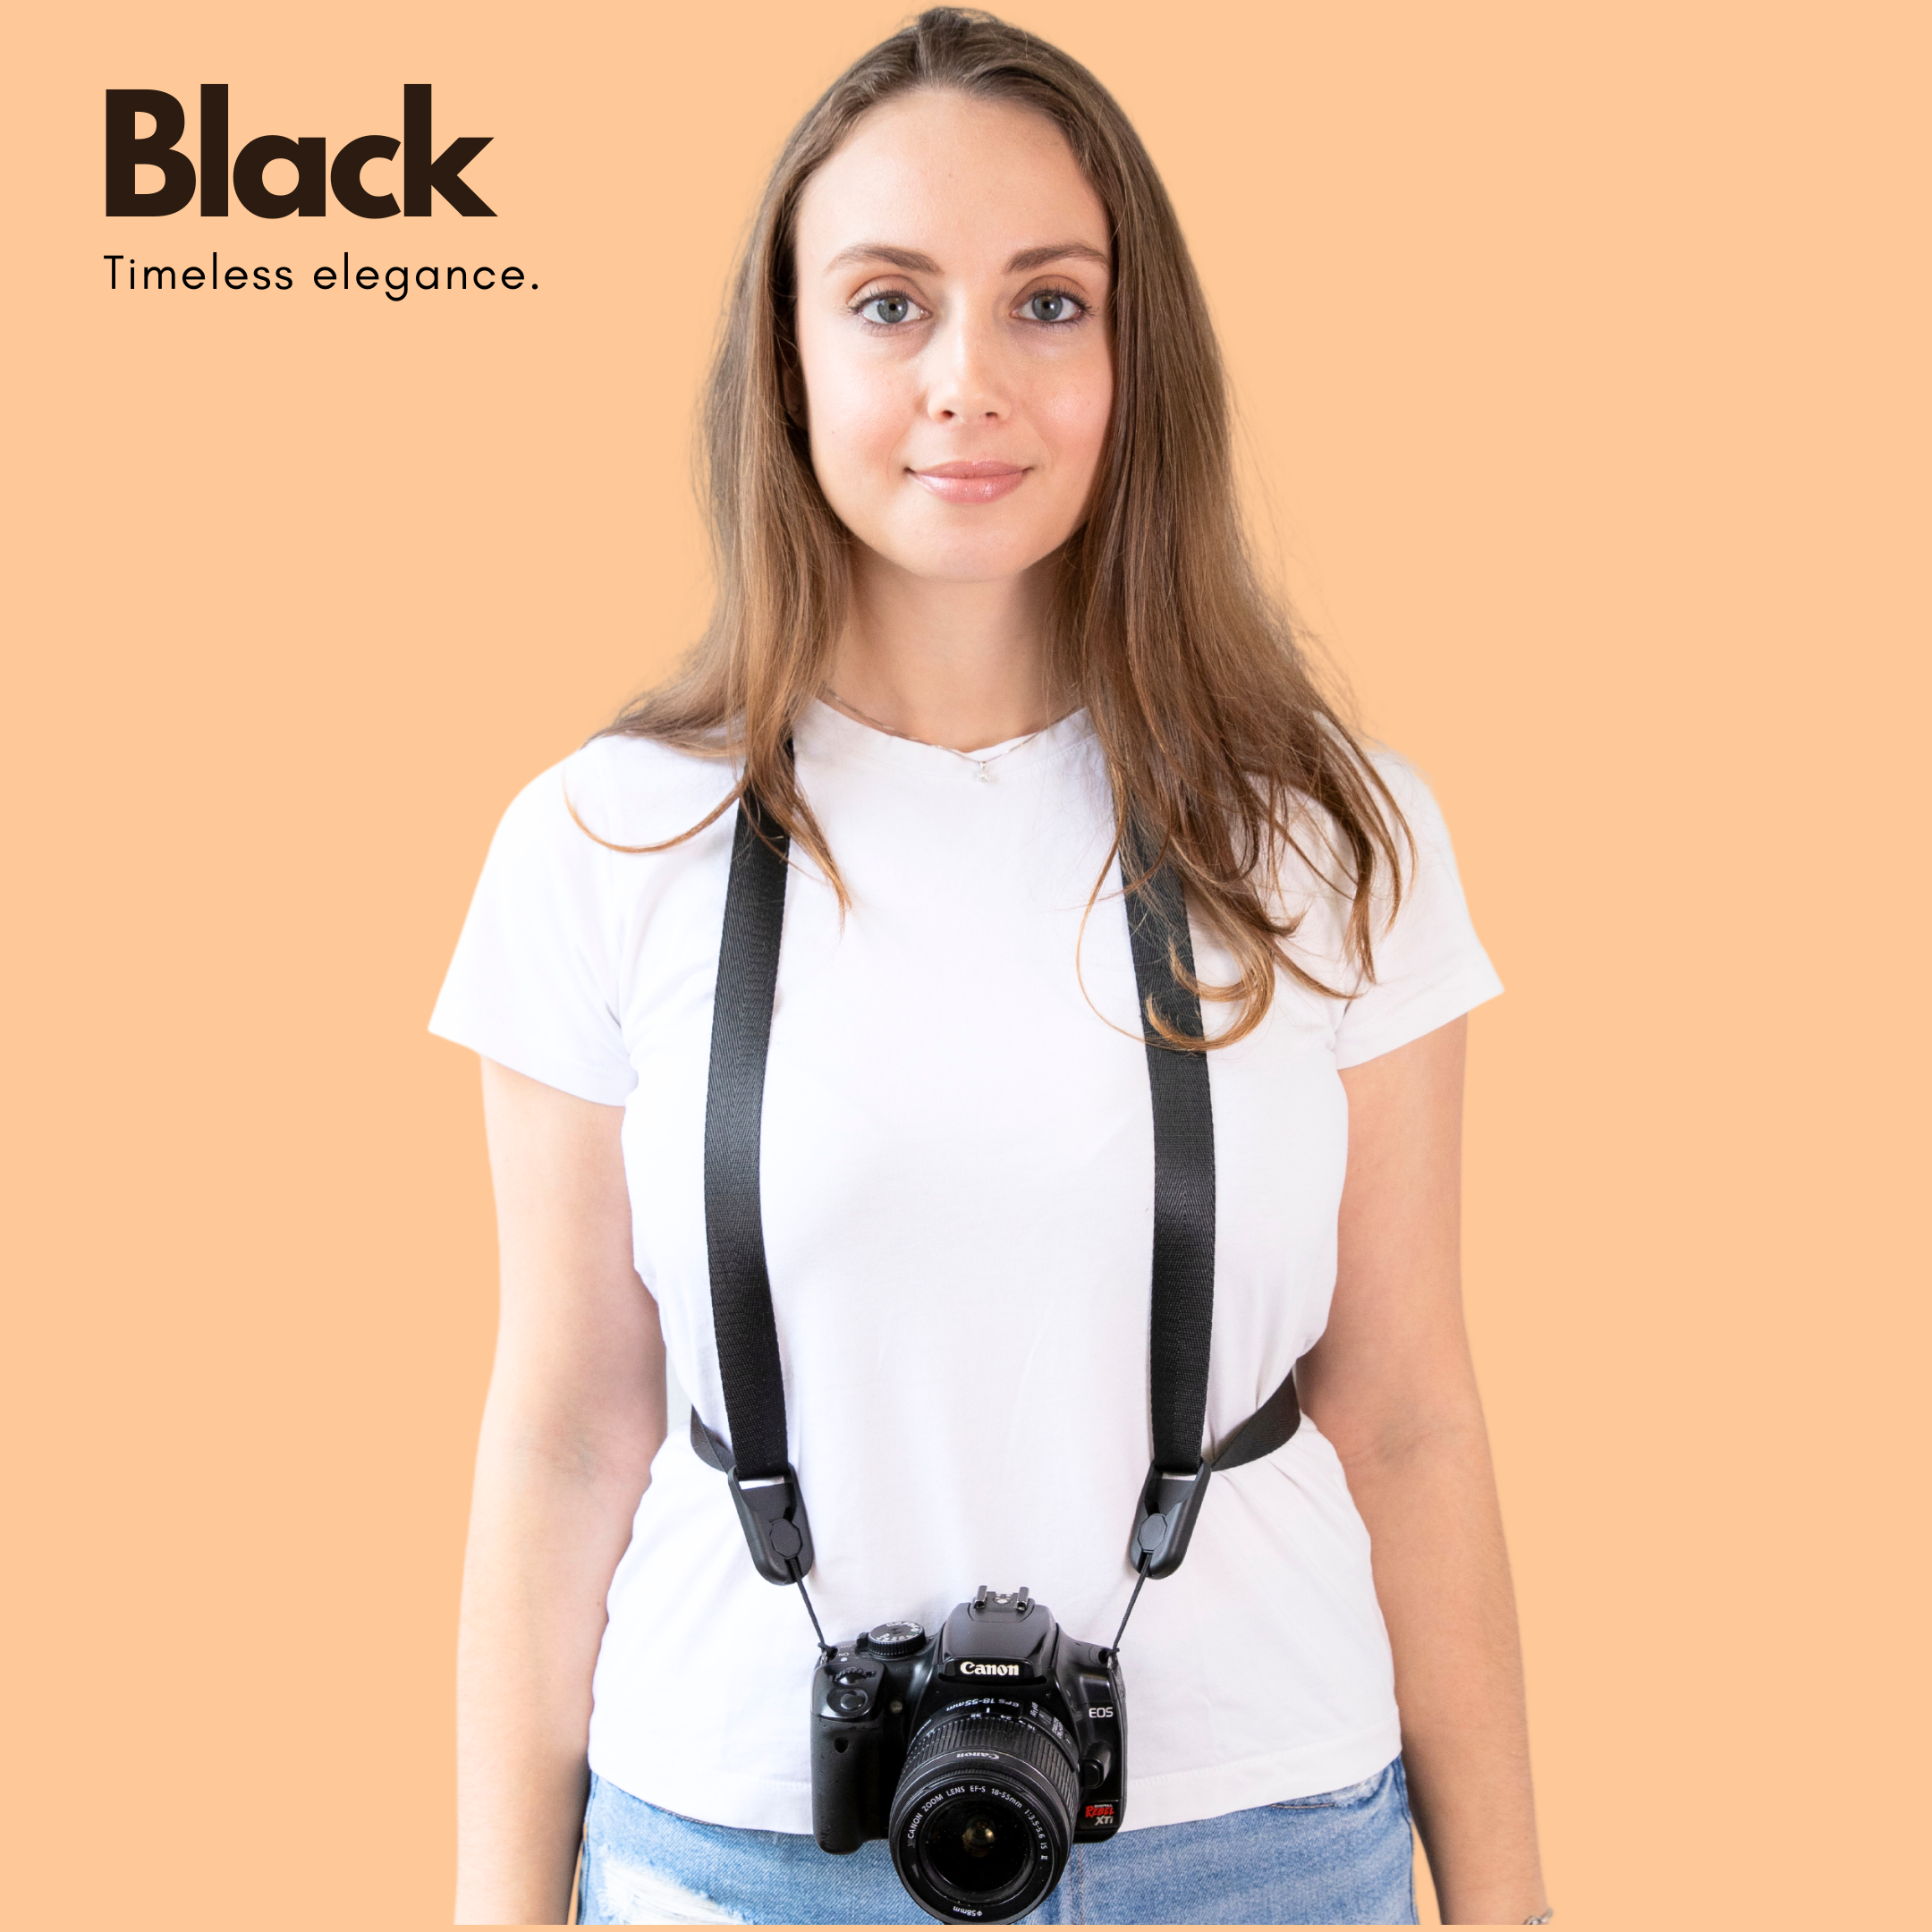
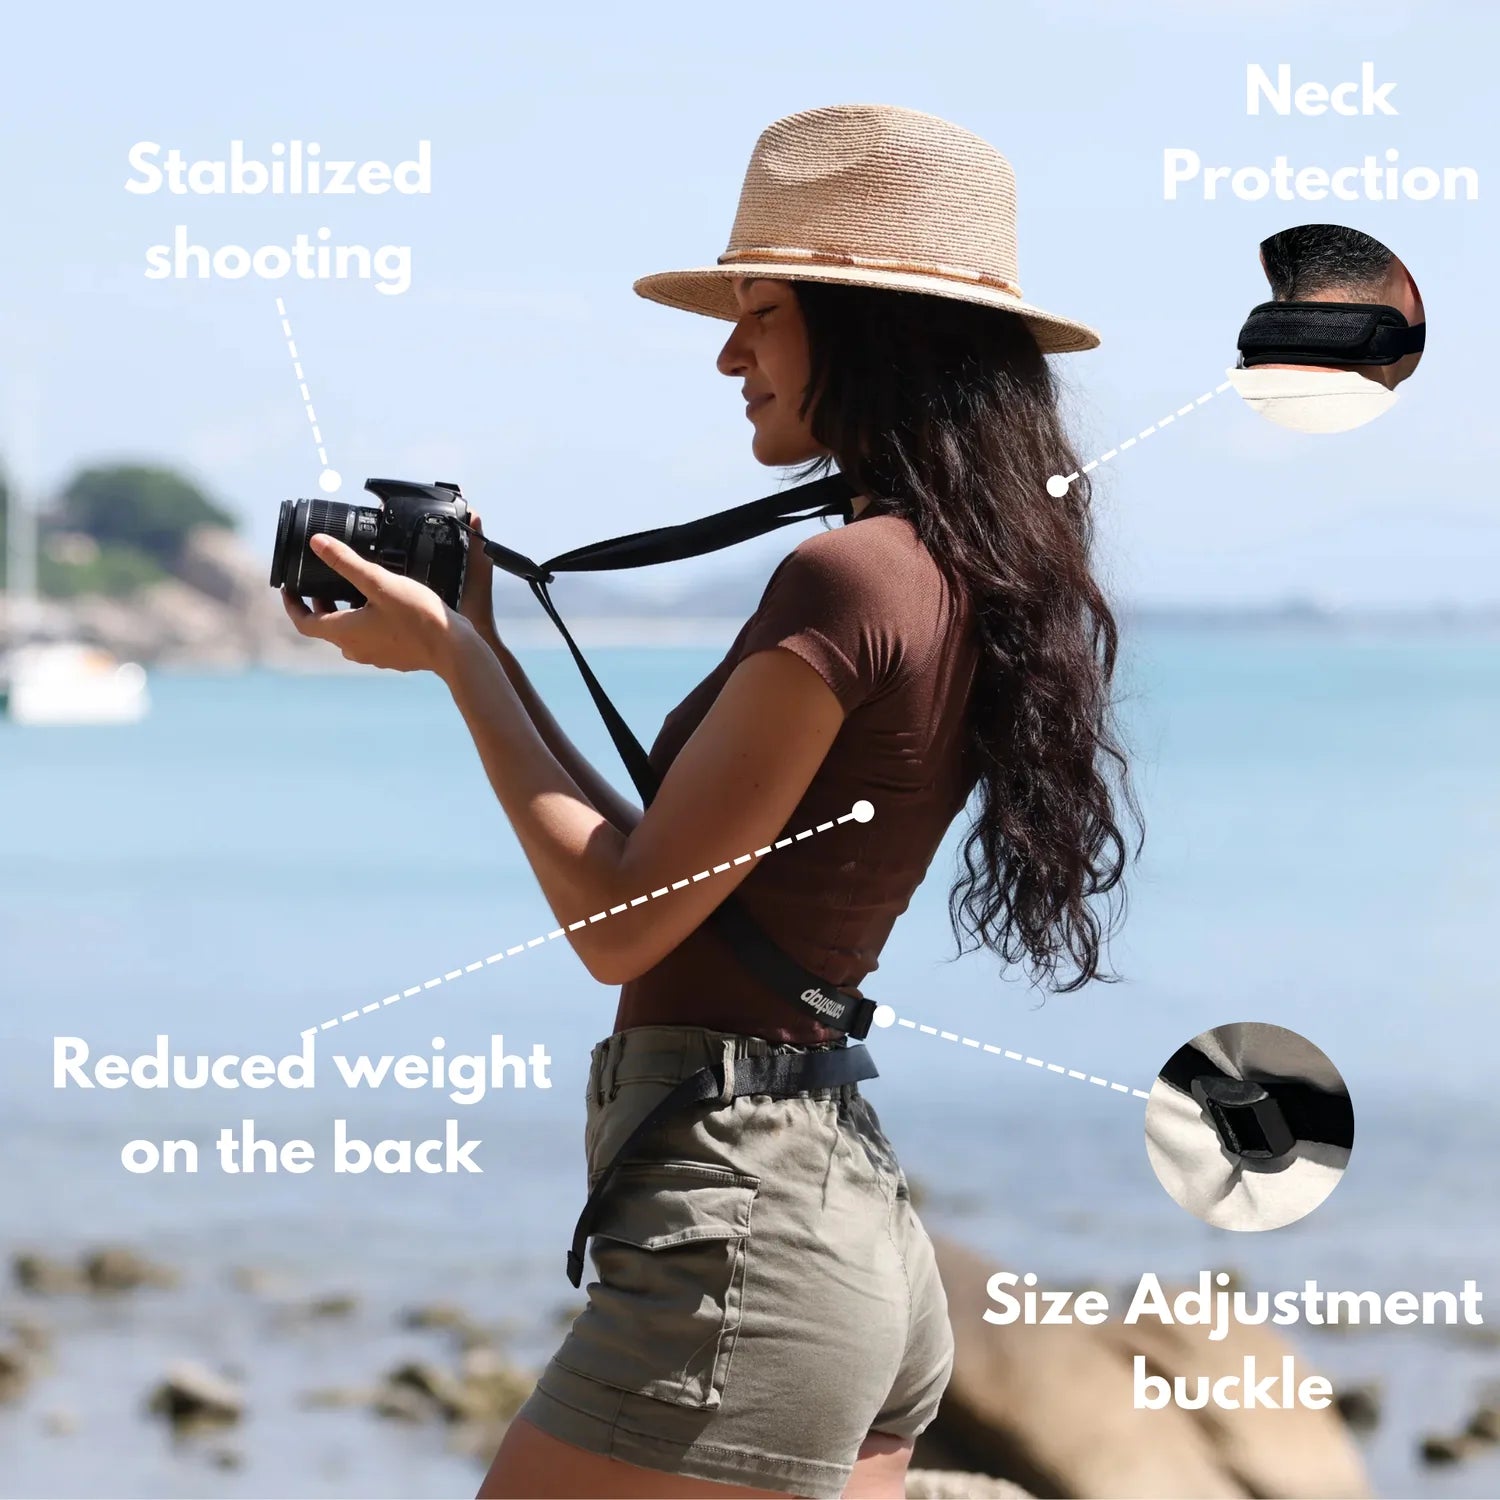
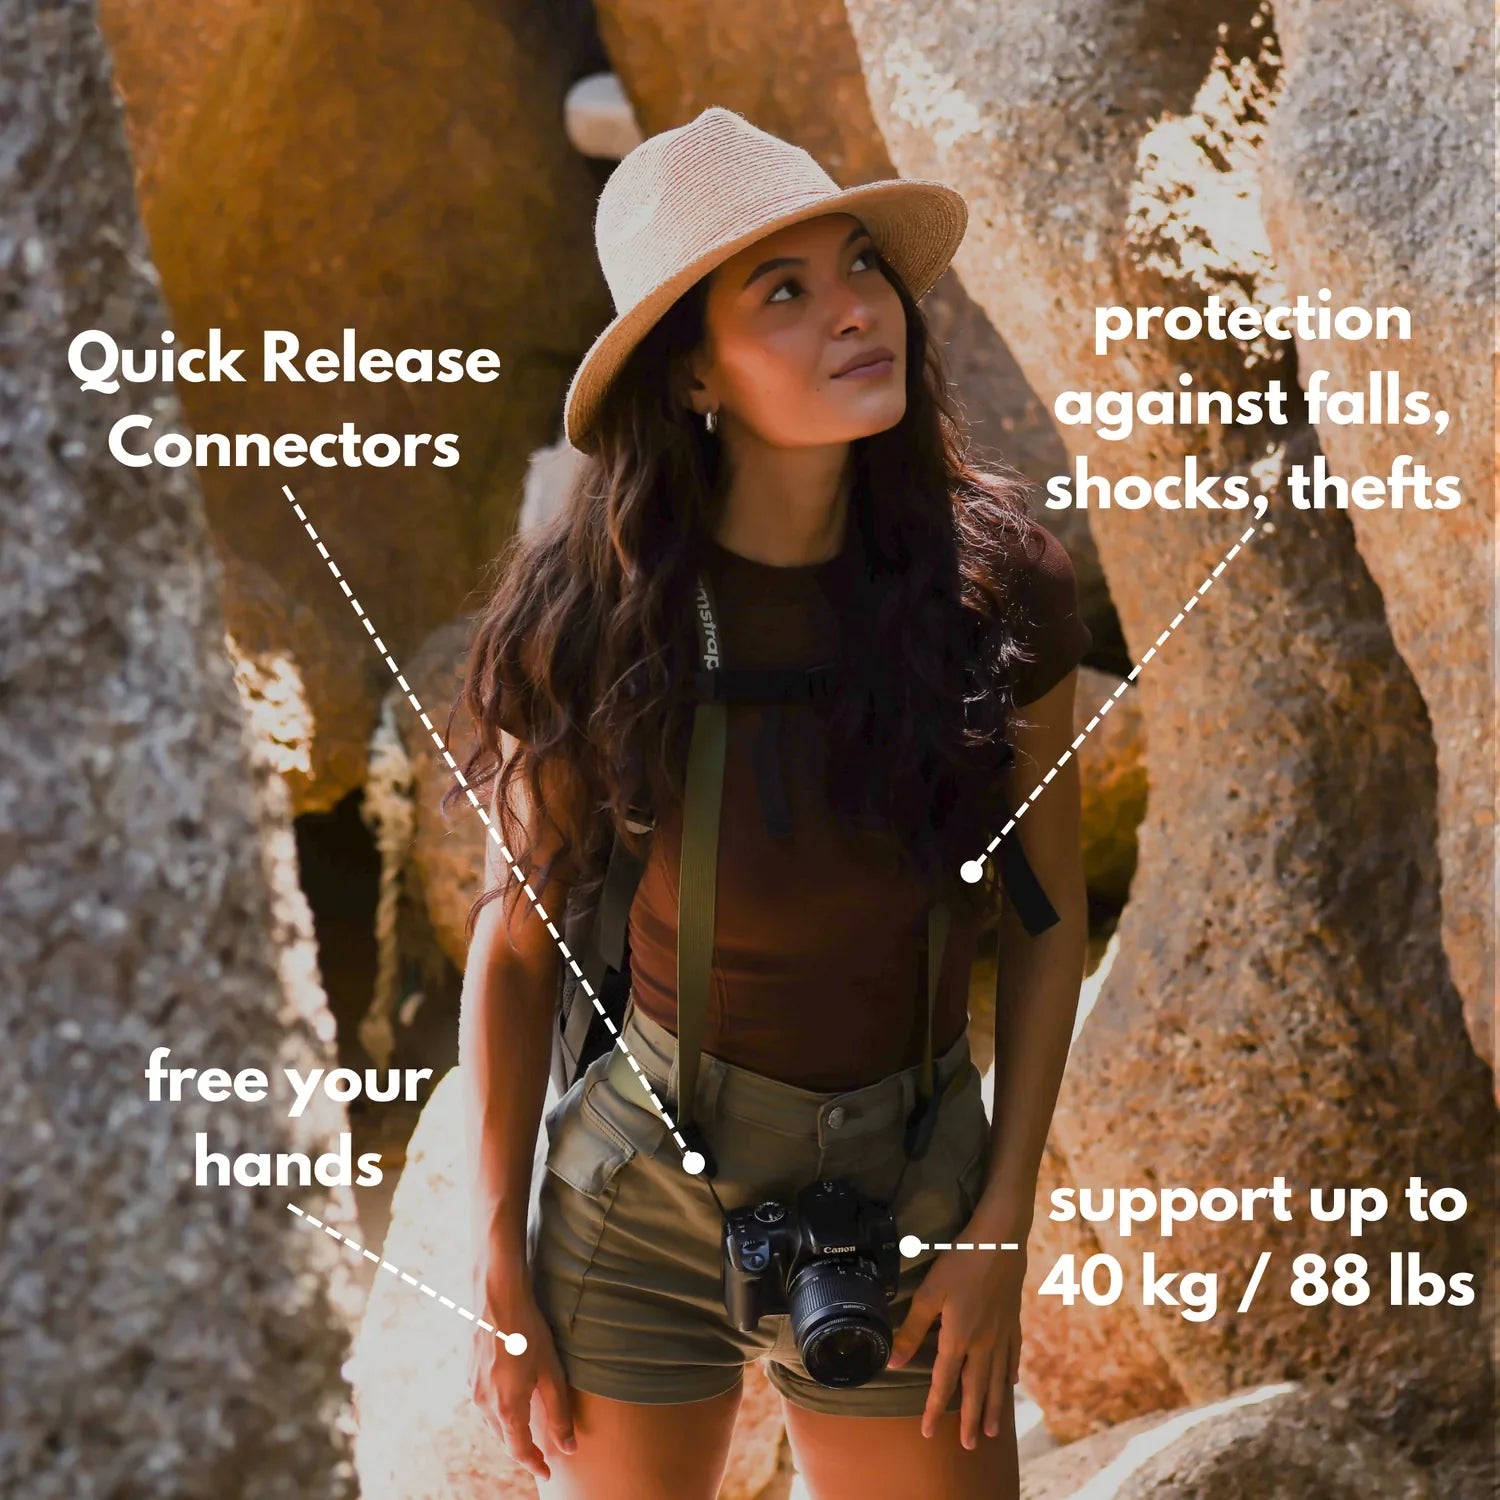
A camera buried in a bag misses more moments than one that is easy to reach. Secure carry matters because the best frame often lasts two seconds, then disappears into a crowd or a wave. A sling or shoulder strap that keeps the camera stable while walking also helps focus. When the camera swings less, it comes up faster, settles faster, and gives you more time to place the AF point before the scene changes.
One useful example is the Camstrap voyager, which spreads weight across the body and makes it easier to lift the camera one-handed in busy places. That kind of carry is not about style; it simply makes the camera feel ready when a street scene opens or a wave breaks cleanly.
Pack for speed, not only safety
- Keep one body ready with a lens already mounted.
- Use a spare battery, because EVFs and rear screens drain power fast.
- Carry a high-write card, such as UHS-II V60 or V90, if you shoot bursts often.
- Turn off extra image review when you need longer battery life.
The EVF and LCD use more power than many people expect, and long review times can drain a battery before the day ends.
If you plan to shoot fast movement, pre-capture or pre-burst features can save a frame that happens just before full shutter press. They help with waves, street gestures, and quick café expressions, where timing is hard to predict.
Travel sharpness comes down to small habits. Place the AF point with care, match shutter speed to motion, and keep the camera ready enough to shoot the moment the scene turns good. On the next café stop, I would start with single-point AF, f/2.8, and 1/250s, then move up to 1/500s the moment people start moving.
Frequently Asked Questions
What is a focal point in art?
A focal point in art is the part of the image that draws attention first. It is often created with sharp focus, bright color, contrast, or strong placement.
Which place is best for photography?
The best place for photography has good light, a clear subject, and room to move. A café seat by a window, a shaded street corner, or a coast with open sky and clean foreground lines often works well.
What is the 20 60 20 rule in photography?
The 20 60 20 rule is not defined in the provided material. The article does not explain this rule or give a photography-specific meaning for it.
How do you find the focus point?
To find the focus point, move the active AF point over the main subject and then confirm focus with a half-press or back-button focus. Single-point AF or spot AF helps place focus on the exact subject instead of letting the camera guess.


