


- Pack one light mirrorless body with a versatile zoom or compact prime.
- Use a cross-body sling or wide strap to keep your camera close and hands-free.
- For day trips, carry the camera, one lens, a spare battery, and a card holder.
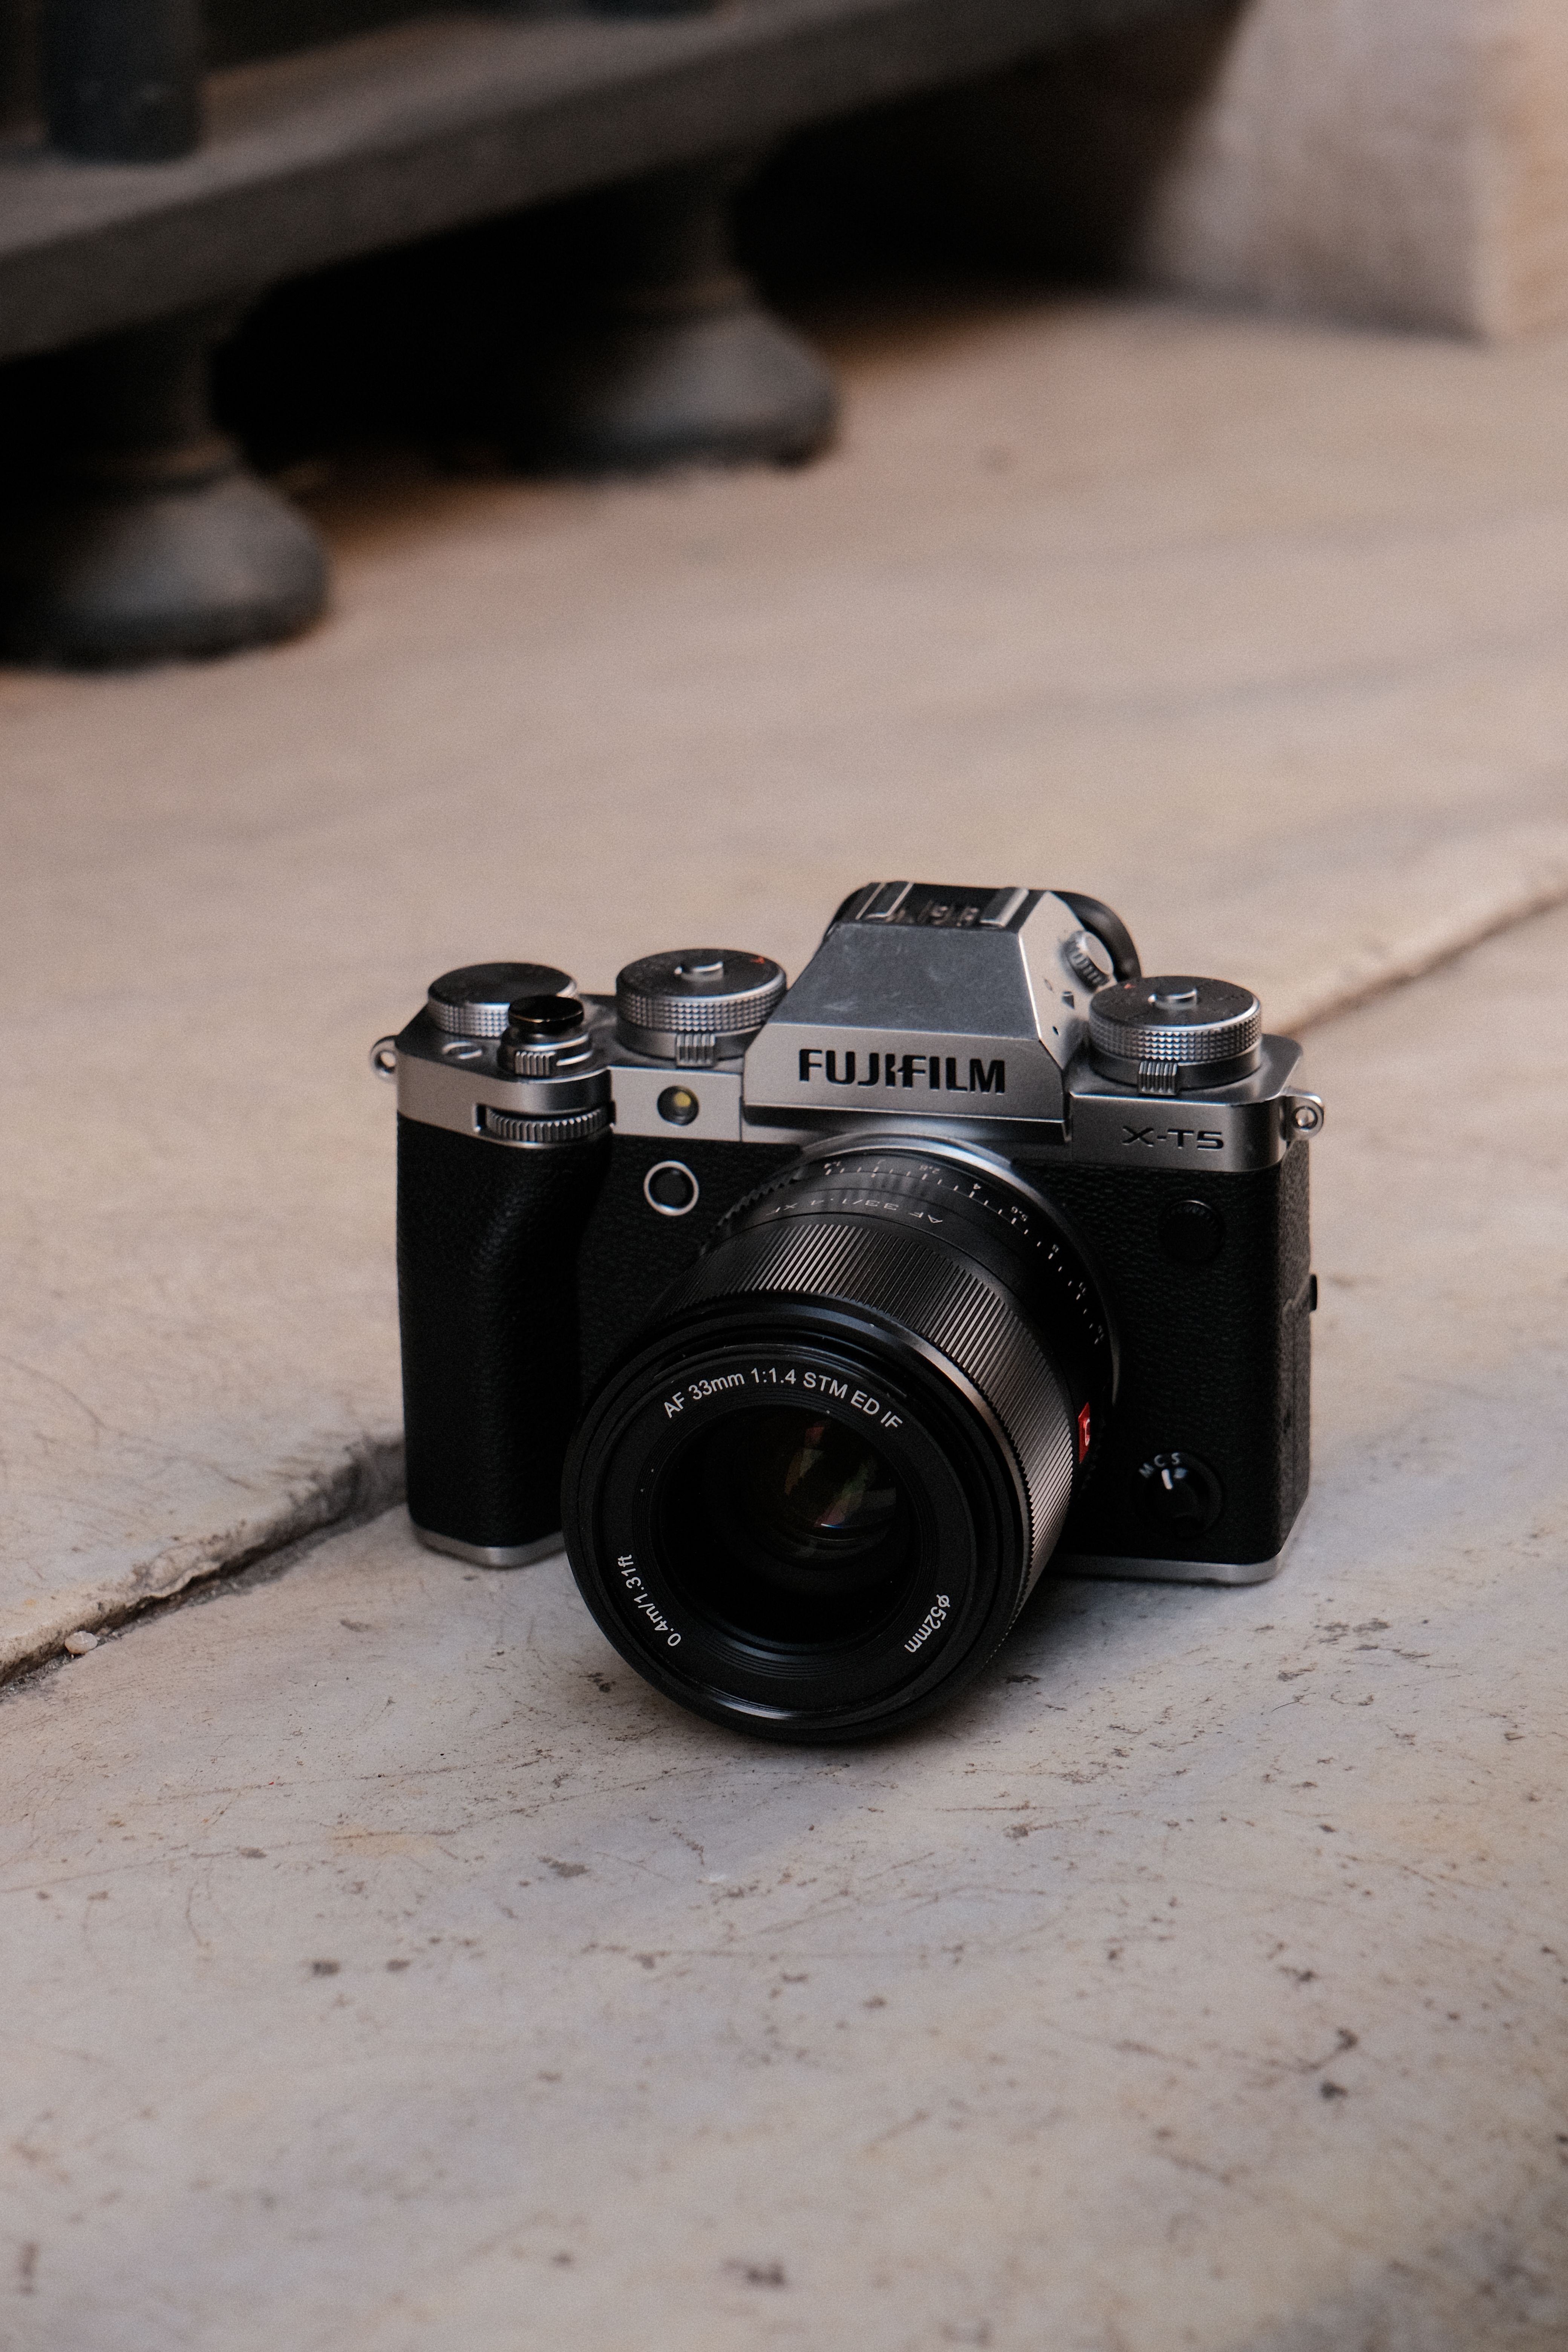
A compact travel camera kit gives you a light, simple way to bring a camera, one lens, and a few essentials on summer trips. It keeps the gear ready for street scenes, long walks, train rides, and quick stops without a heavy bag slowing you down. In summer, that difference shows up fast. Heat and long days make bulky gear feel even bulkier, while a smaller setup helps you move quicker, stay comfortable, and shoot more often.
Shop the setup

- Regular price
-
€42 - Regular price
-
€44 - Sale price
-
€42
By choosing the Camstrap strap, you are opting for a high-quality product designed to meet the needs of the most demanding photographers.
- Developed by a physiotherapist to relieve neck and back pain.
- Fast delivery with tracking by the Post Office 🚚
- Can be used as a shoulder strap or hands-free harness

- Regular price
-
€36 - Regular price
-
€42 - Sale price
-
€36
Free shipping included
Which travel camera setup works best?
The strongest travel setup pairs a light body with one versatile lens, a spare battery, and a small card holder. A mirrorless camera with a 24–70mm zoom or a 35mm prime keeps the kit flexible without adding much bulk.
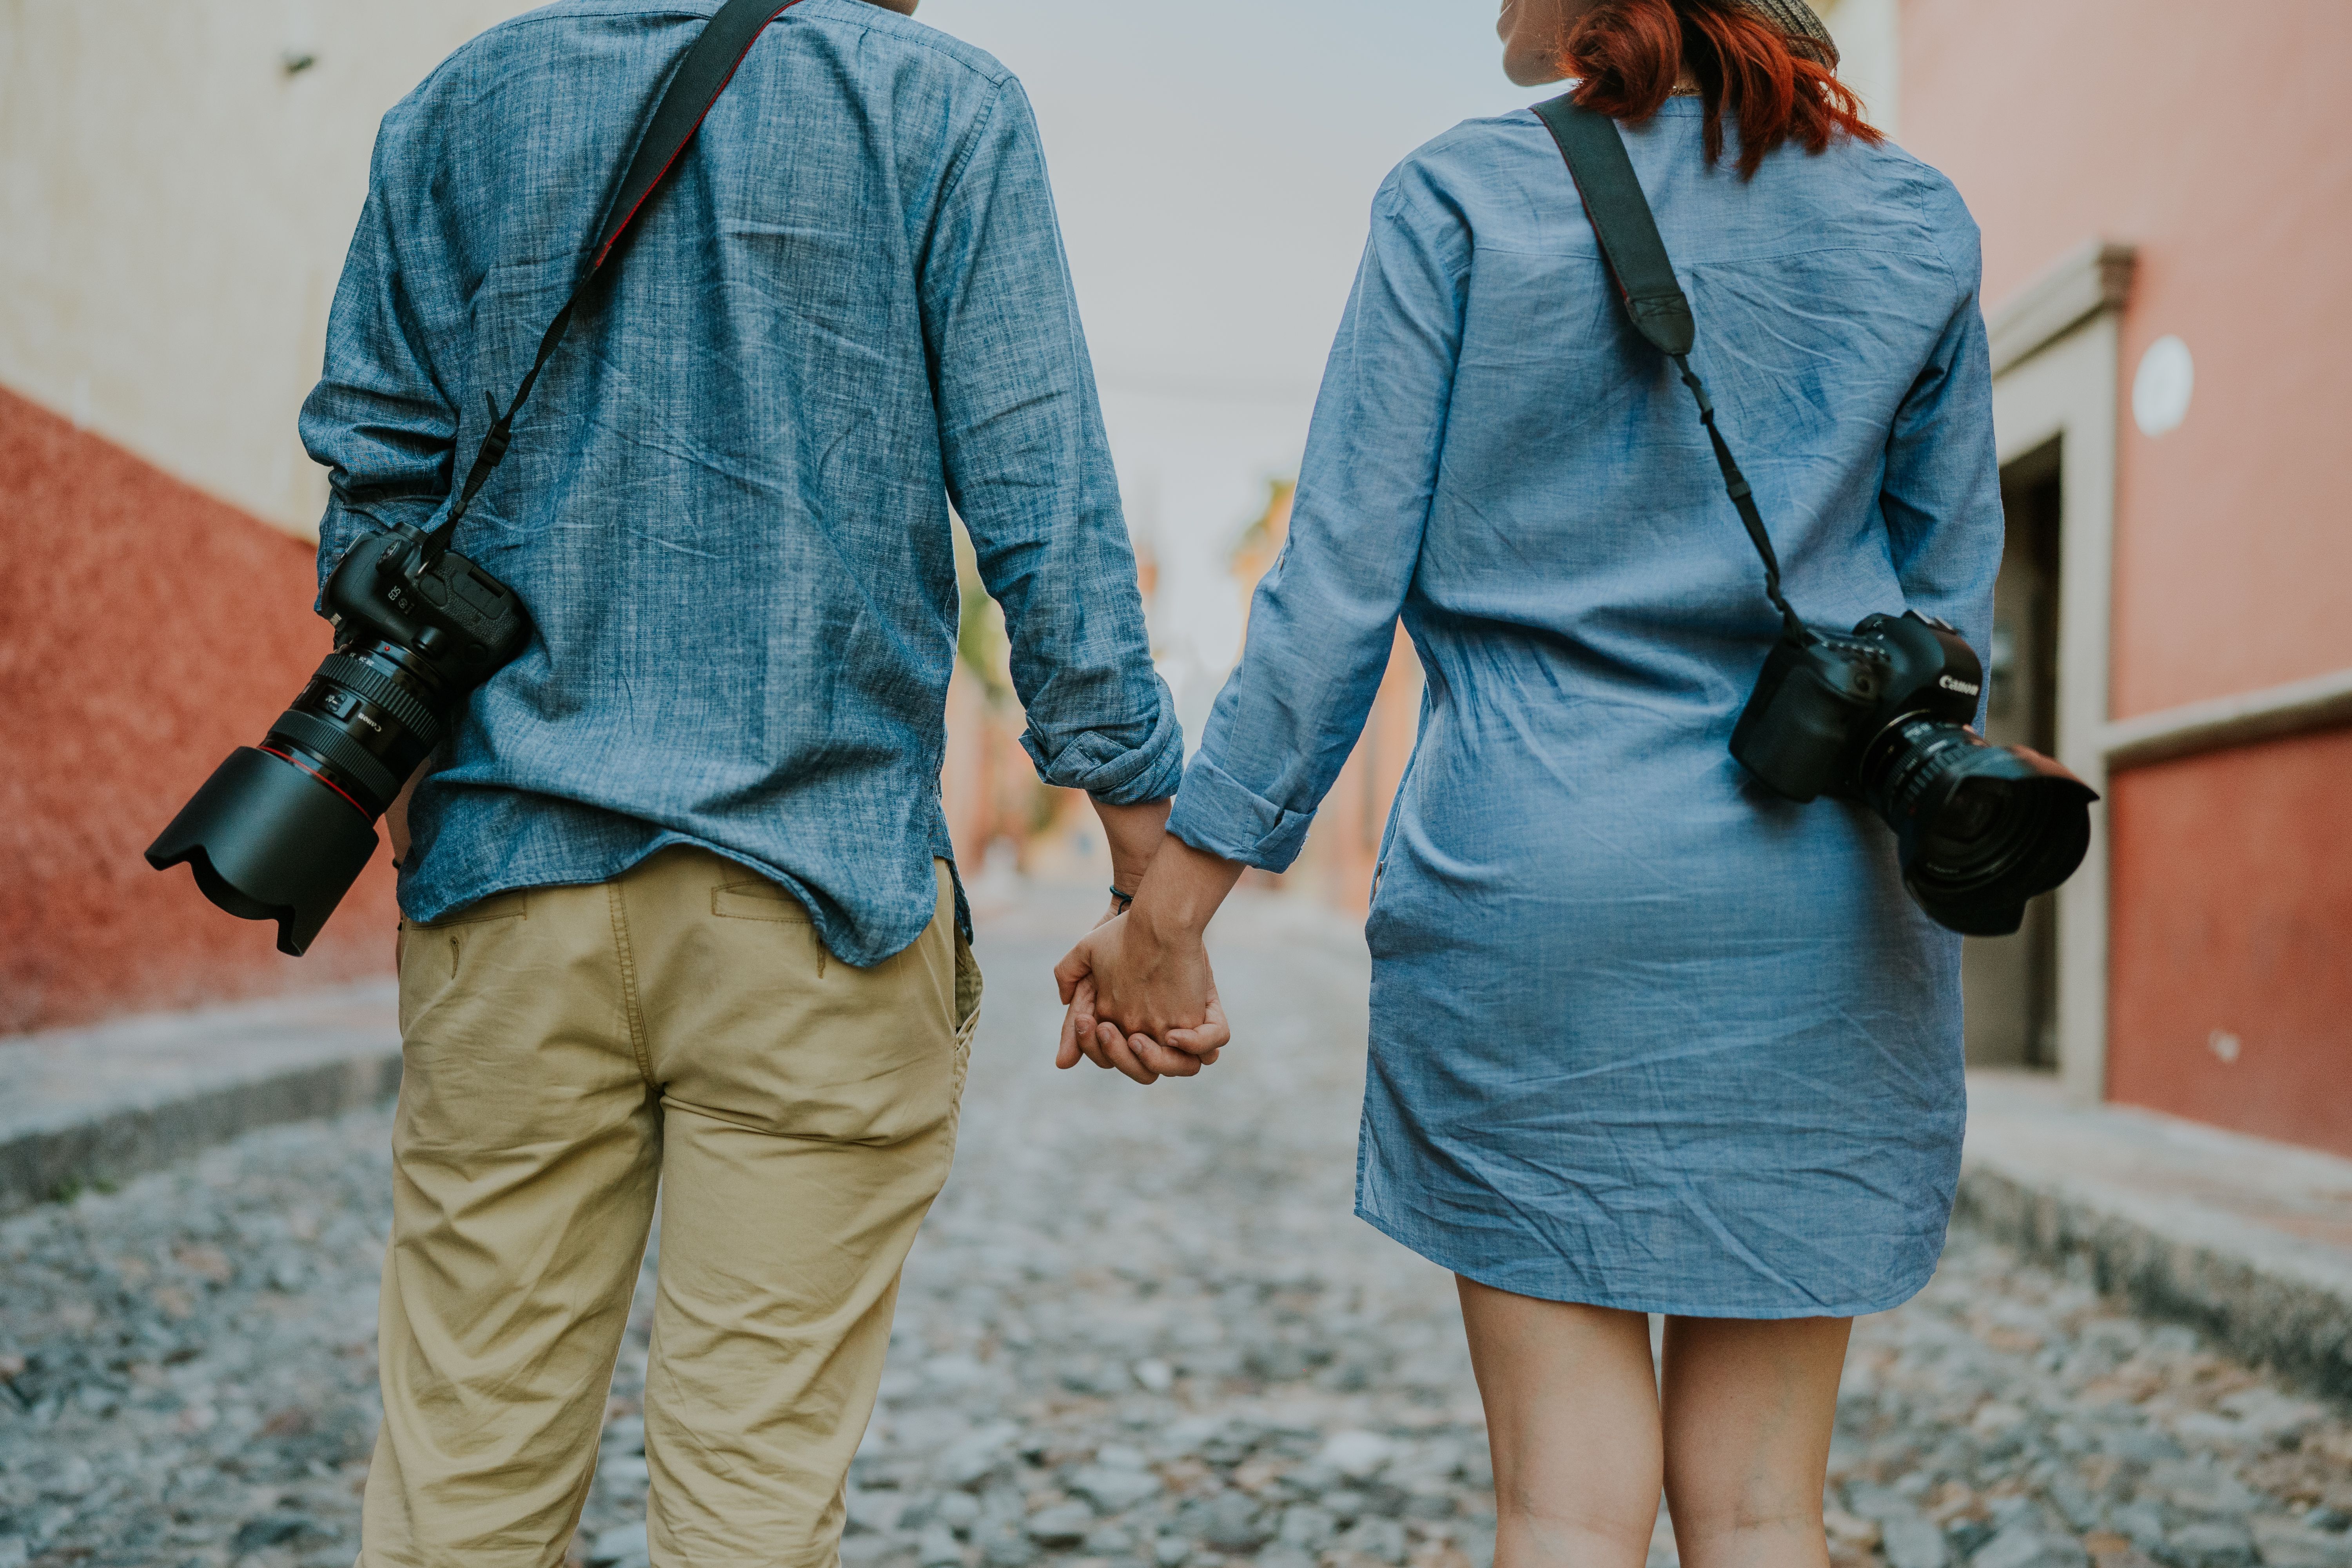
For most trips, I reach for one lens instead of a full bag. A 24–70mm f/2.8 handles streets, food, people, and details, while a 35mm or 50mm prime trims weight and size. In-body image stabilization helps too, since it lets me keep the shutter slower in shade or indoors.
Choose gear for the day you have, not the one you imagine
Summer travel rewards speed and comfort. A body that produces clean files at ISO 1600 or ISO 3200 is often more useful than a heavy kit with extra glass.
Newer mirrorless bodies usually bring practical burst options as well. Mechanical bursts around 10 fps cover most travel moments, while electronic shutter can reach 20 fps or more on some cameras. Electronic shutter can still cause rolling-shutter skew and banding under LED or fluorescent light, so it is a poor fit in some rooms and train stations.

Set focus and file options with real travel use in mind
Continuous AF, or AF-C / AI Servo, handles moving people and quick street scenes well. Eye or subject detection saves time when subjects change fast, and back-button focus lets me hold focus while recomposing.
RAW is the safer file choice for travel, especially in harsh sun and deep shade. JPEG takes less card space and can keep bursts going longer, while RAW leaves more room to recover white balance and highlights later. A mid-tier body often slows after roughly 20 to 40 RAW frames, while JPEG stretches much farther.
How can I carry a camera comfortably while sightseeing?
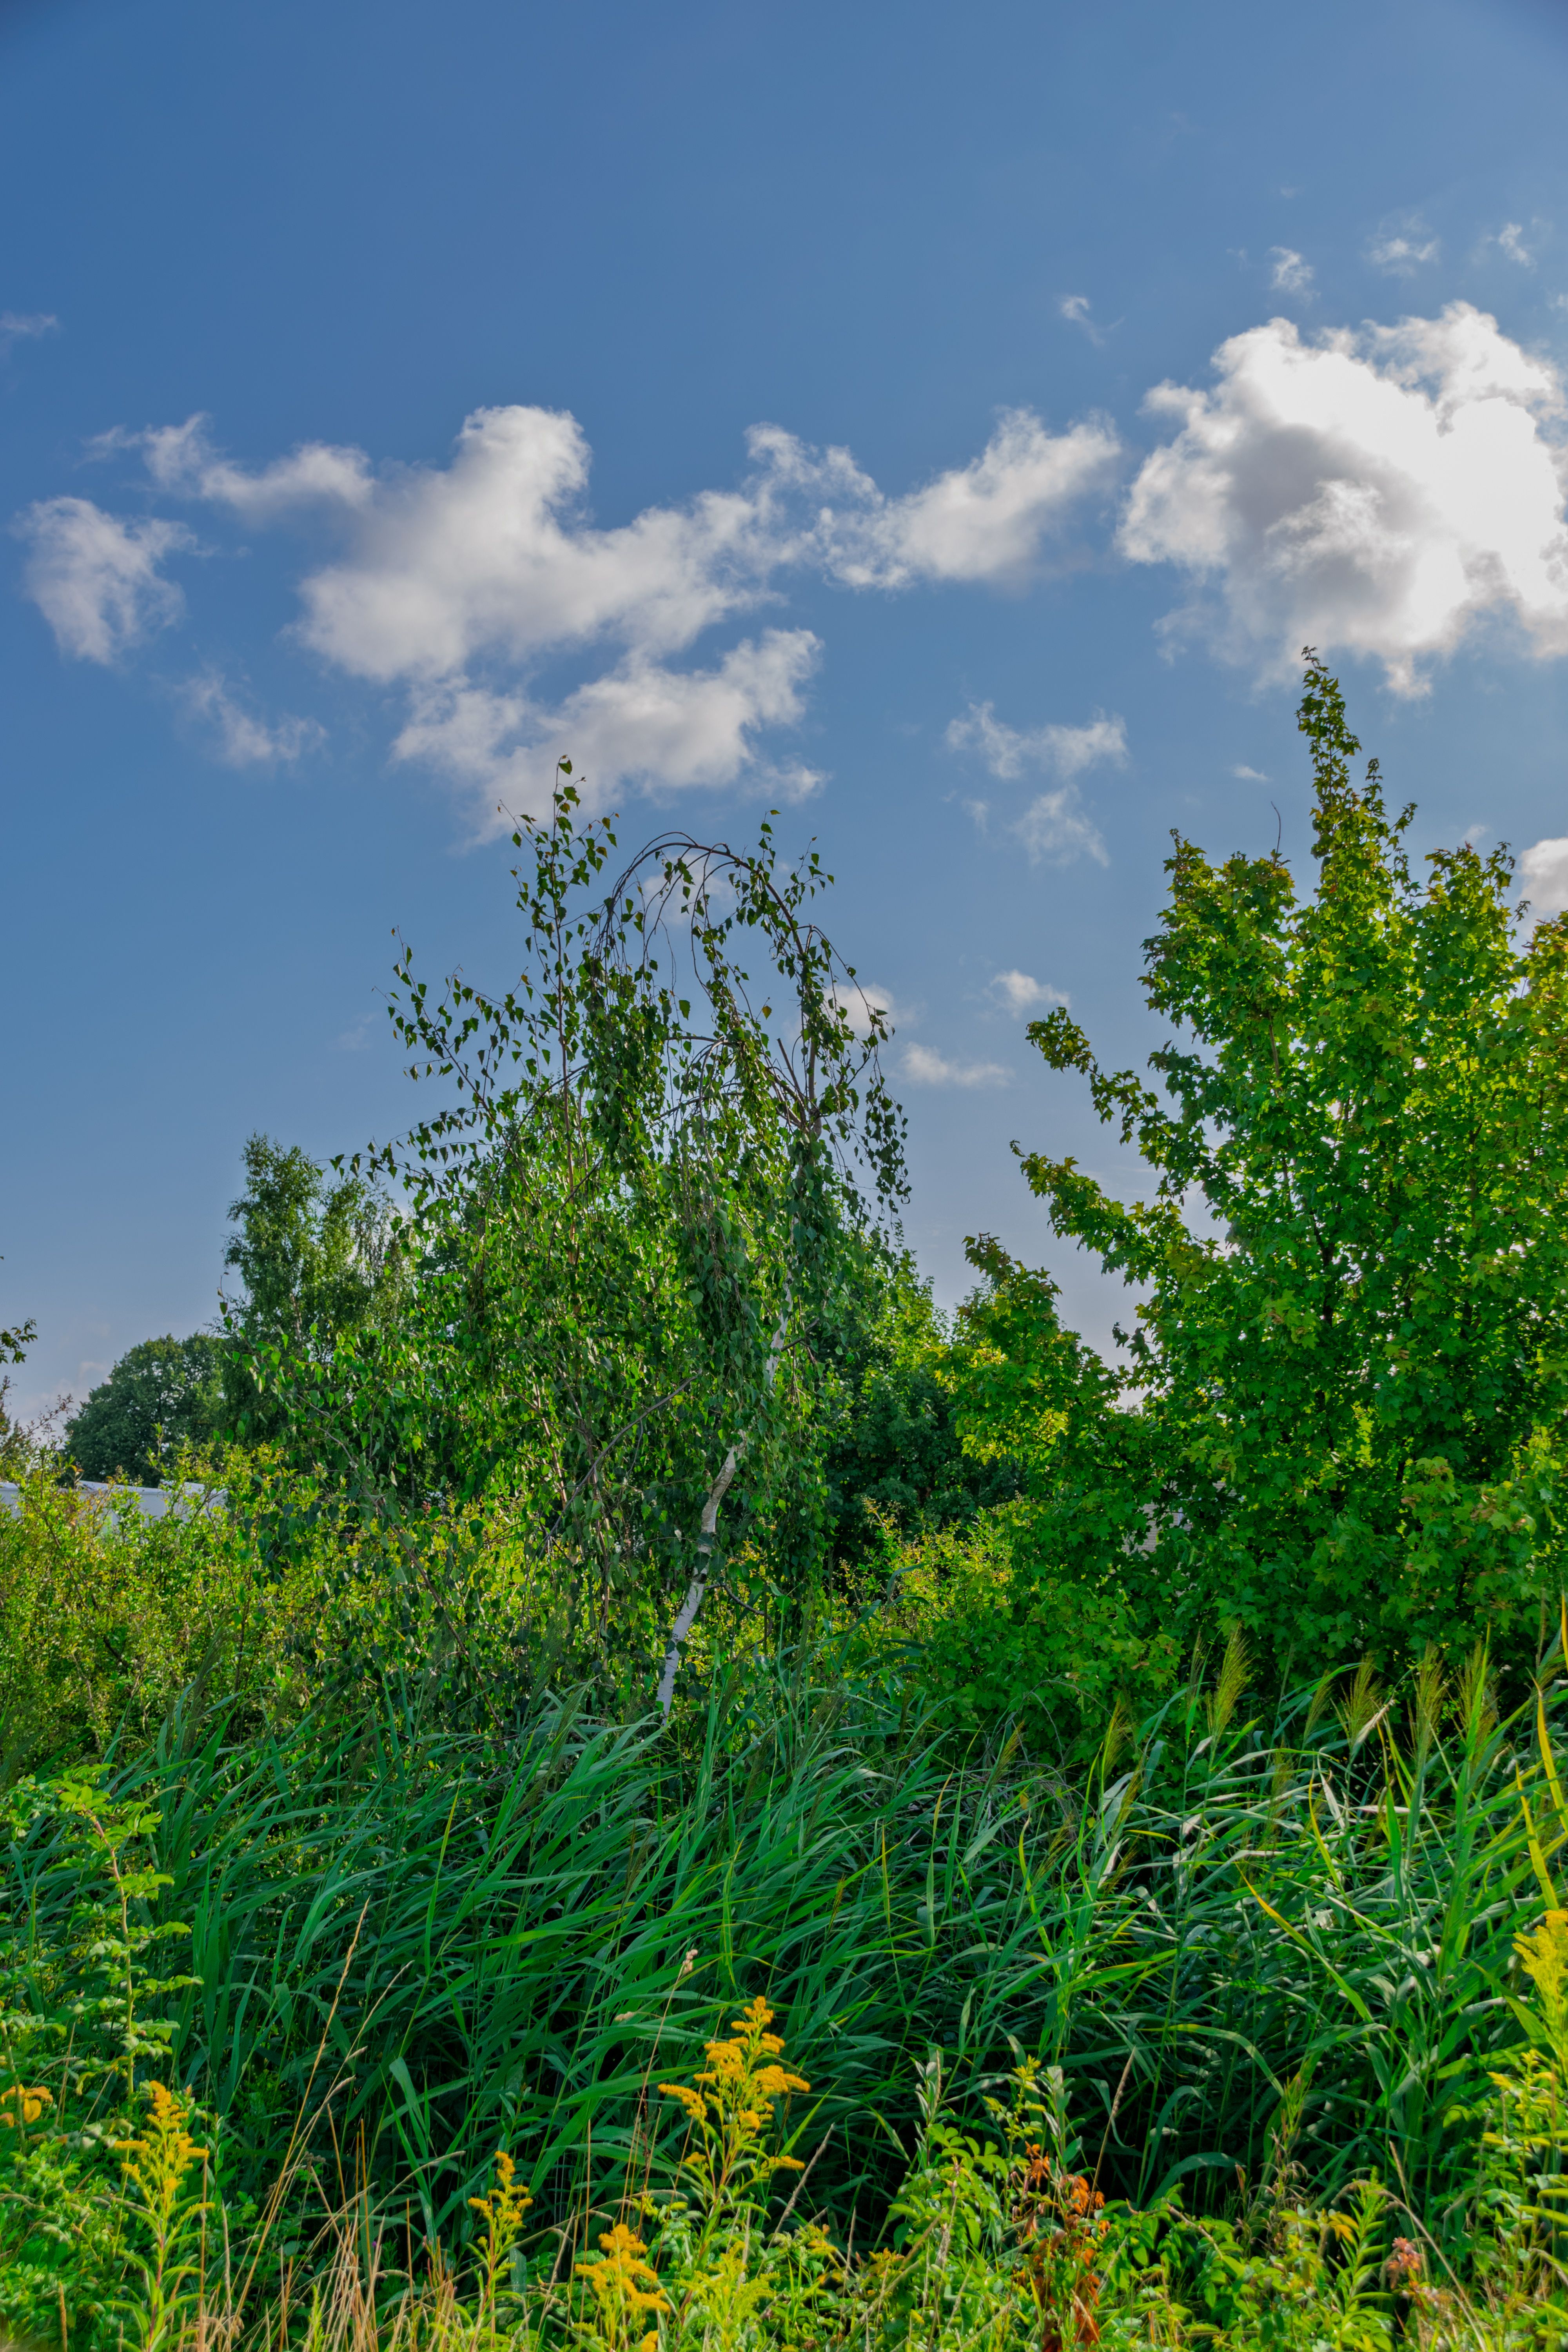
A strap or sling that spreads weight across the body and keeps the camera close is the most comfortable carry. It makes it easier to walk, climb stairs, and use maps without swinging gear into your ribs.
A wide strap earns its place. It spreads the load across the shoulder and reduces pressure points on long city days, and a quick-adjust design lets me shorten it for crowded streets or loosen it for easy walks.
Keep the camera within reach, not in the way
Wear the camera at hip height or just below the chest. That position makes it easy to lift for a shot while staying clear when you sit on a tram or bend for a bag. One useful option in this space is the Camstrap voyager, because its carry style keeps the camera stable and easy to bring up one-handed. It suits sightseeing, where you might shoot a door, a market stall, then a passing cyclist in seconds.
- Keep one lens on the body.
- Use a strap with a wide contact area.
- Clip a spare battery in a small pocket.
- Leave the extra lens at the hotel unless you know you will need it.
Watch the features that actually drain the battery
Mirrorless cameras use power mostly through the EVF, LCD, image review, and wireless features. Leave the screen bright all day, and the battery will drop much faster than many first-time travelers expect.
Lower screen brightness and shorten auto review time if you want more shots per charge. One charged spare is usually enough for a day trip, especially if you use burst mode only when you need it.
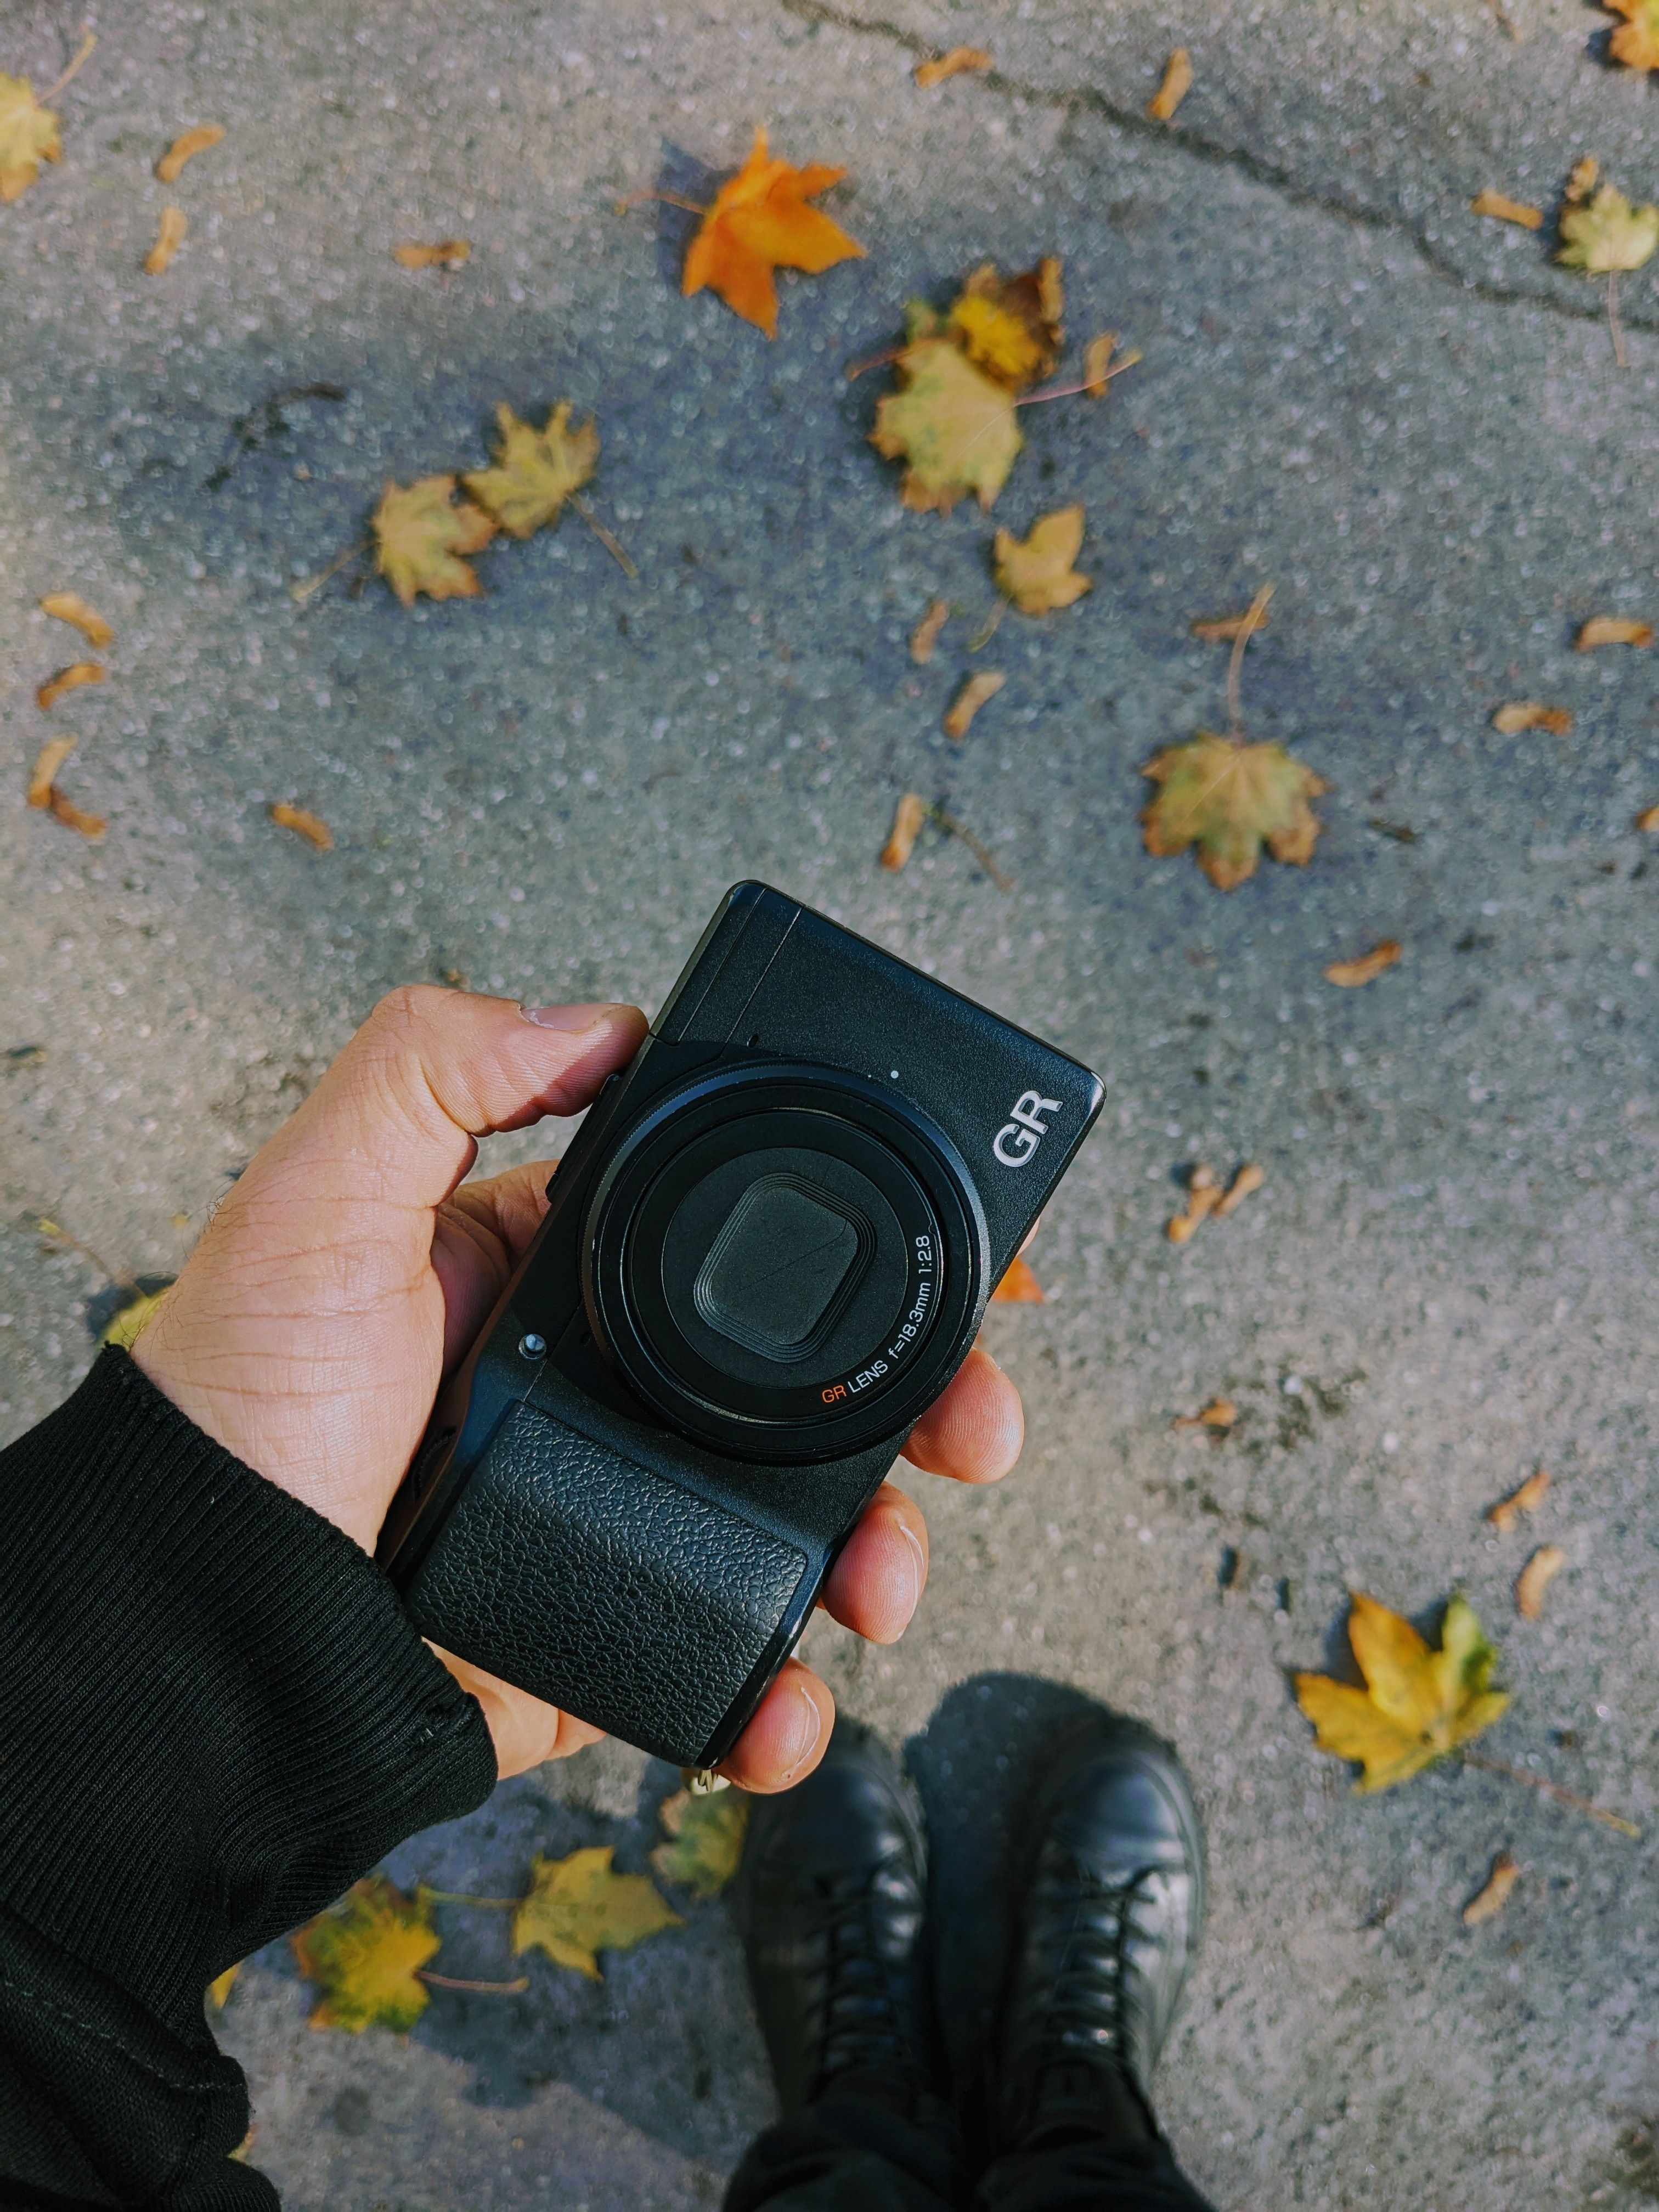
What should I pack for a camera day trip?
A good day-trip pack keeps the camera protected, quick to reach, and easy to put away. The aim is to carry less and miss fewer photos, not to bring more.
Start with the camera, one lens, a battery, a card, and a soft divider or sleeve. Pack the camera with the lens pointed sideways or downward in a small insert so it does not shift while you walk. If rain is possible, add a thin cover or even a zip pouch that fits the insert.
A simple packing order works best
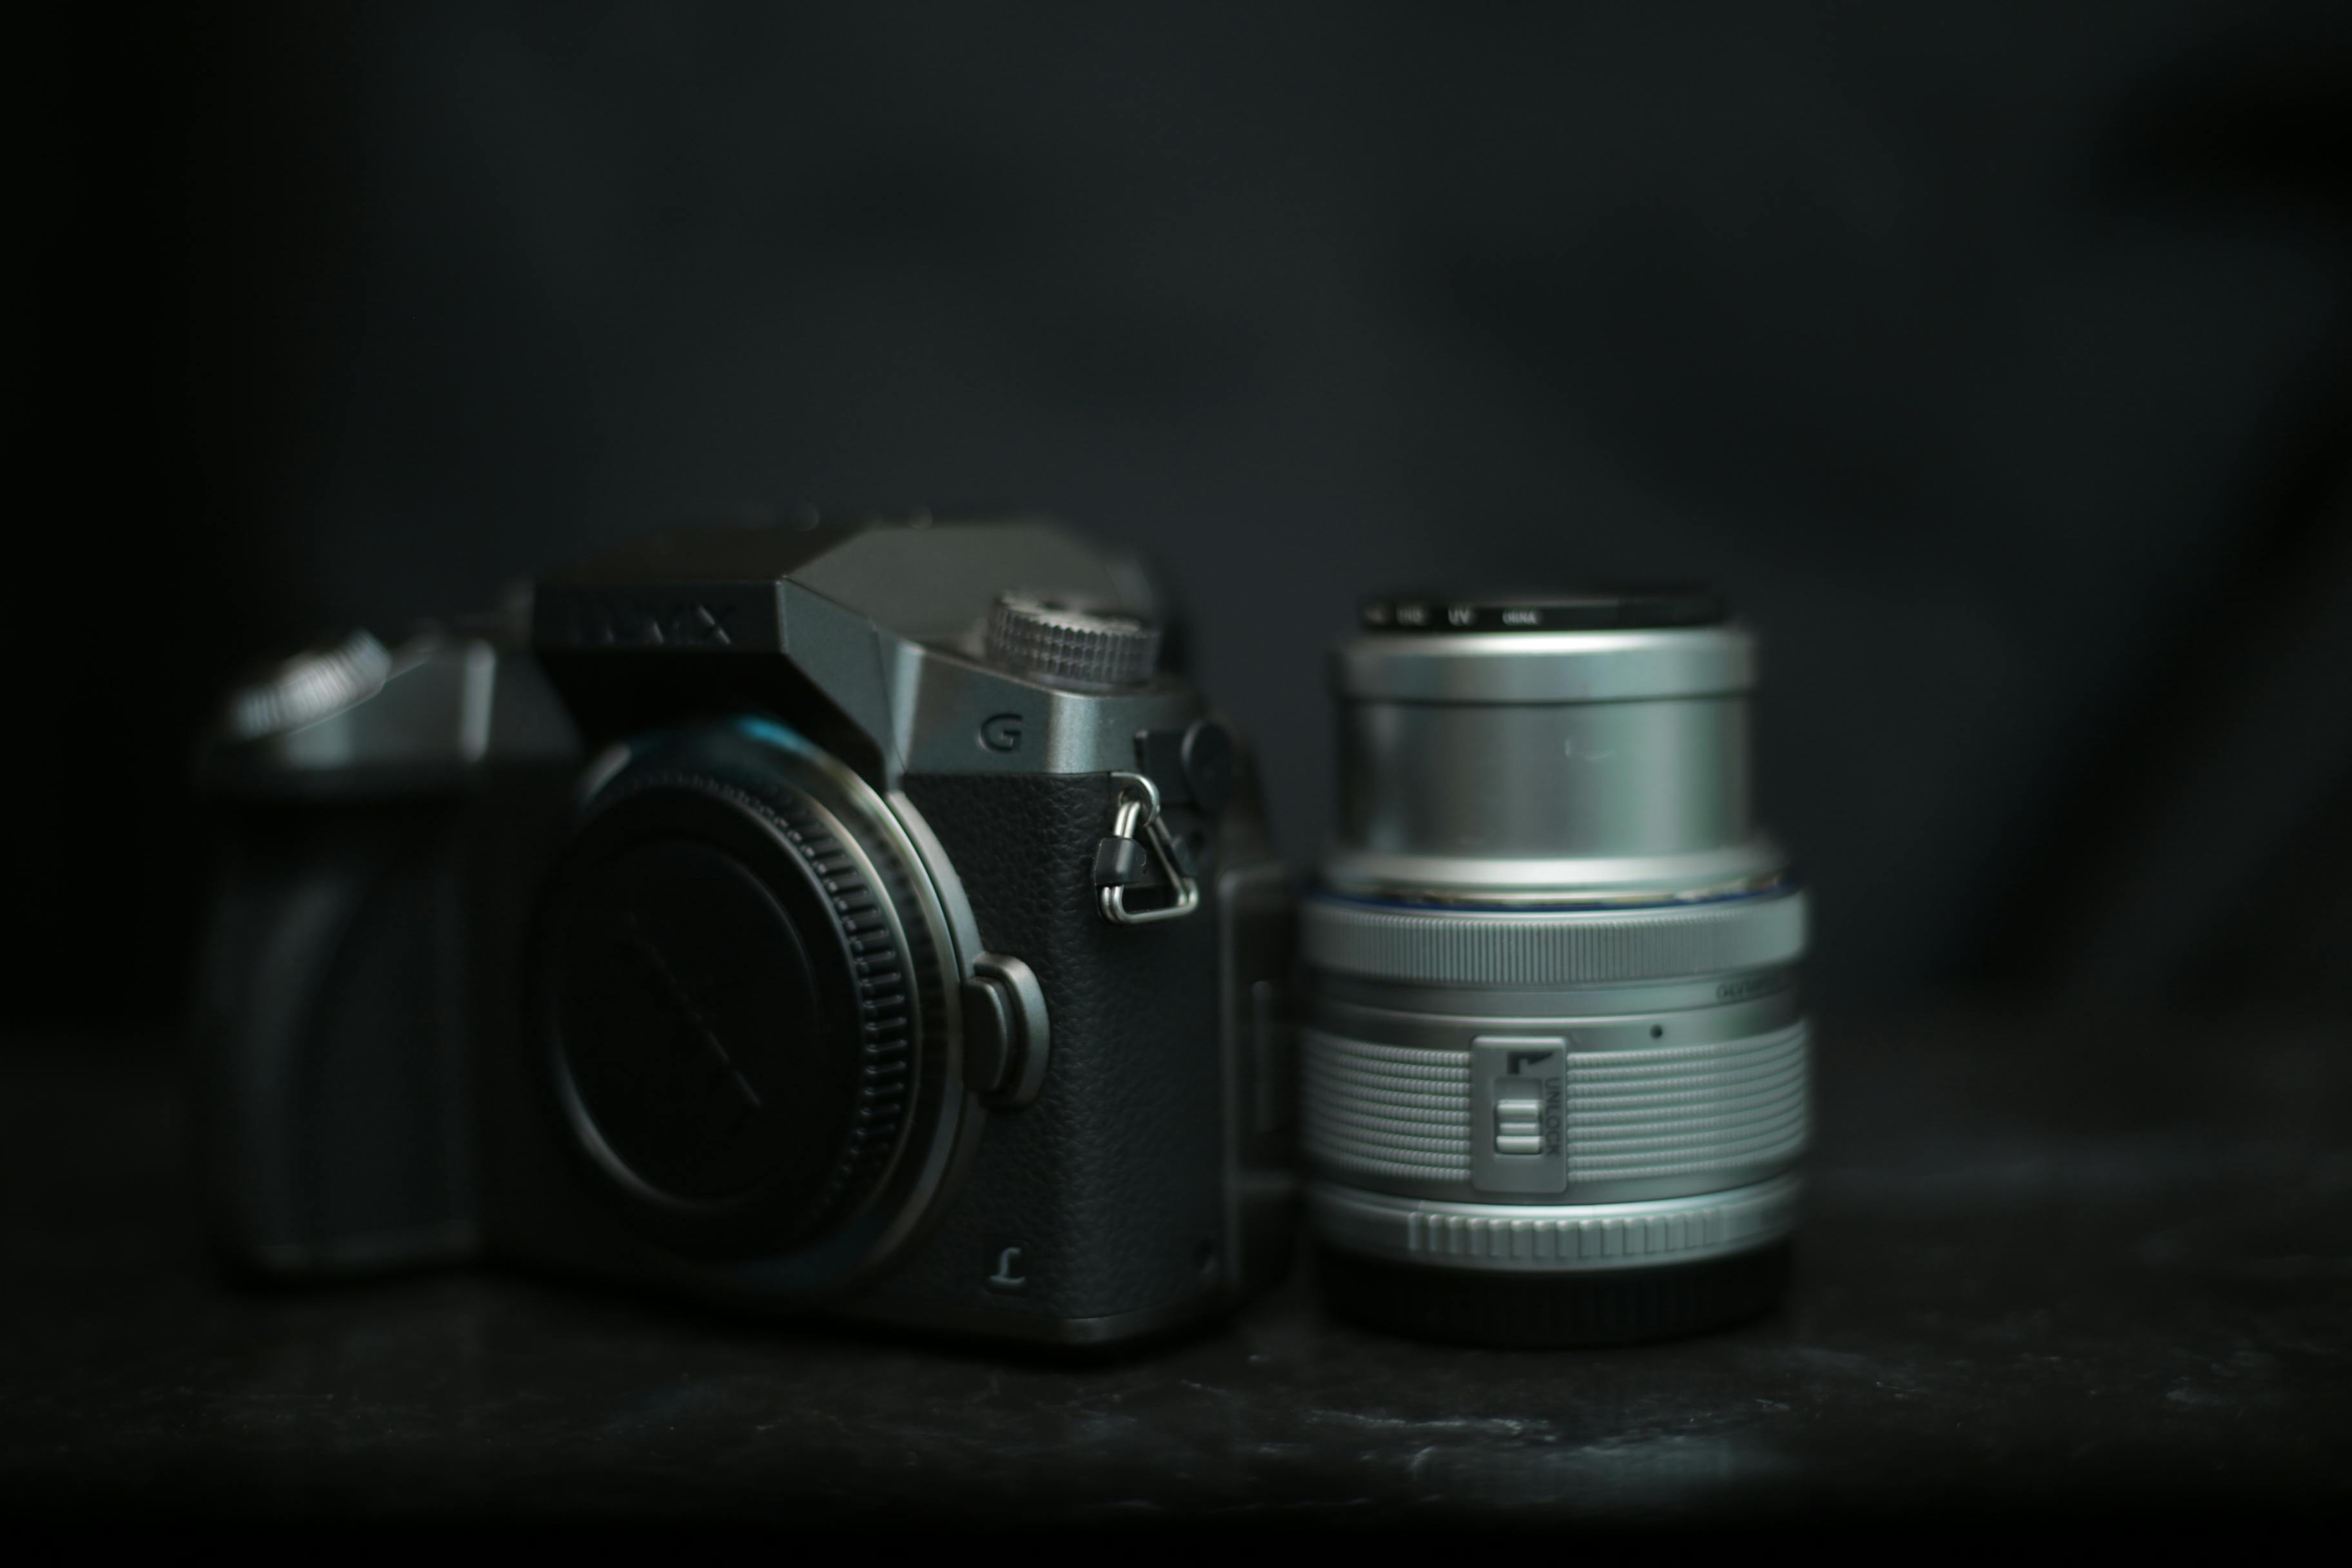
- Put the camera in the top or side slot.
- Mount the main lens before you leave.
- Place the spare battery where you can reach it fast.
- Store the card holder in a dry inner pocket.
- Keep a small cloth near the opening of the bag.
That order saves time when light changes fast. Nobody wants to dig past chargers, filters, or random extras when a scene appears.
For cards, UHS-II models with V60 or V90 speed ratings make more sense than older UHS-I cards if you shoot bursts or RAW. Faster write speed clears the buffer sooner, which helps on mid-tier bodies that slow after a few dozen RAW frames. If you mostly shoot single frames, comfort and access still matter more.
Settings that keep summer scenes sharp

Sharp travel photos come from simple settings that match the moment. In bright sun, I start around 1/500s, f/2.8 to f/5.6, and Auto ISO for a clean result without much delay.
For moving people, I like 1/500s or faster. Walking portraits can work at 1/250s, but only if the subject moves slowly. A 50mm to 85mm lens helps here because it keeps faces natural and gives a little subject separation.
Use burst mode with a clear purpose
Burst shooting helps on crossing streets, bus arrivals, and candid laughs. Short bursts of 3 to 6 frames usually do not fill a modern buffer, so they are safe for most travel use.
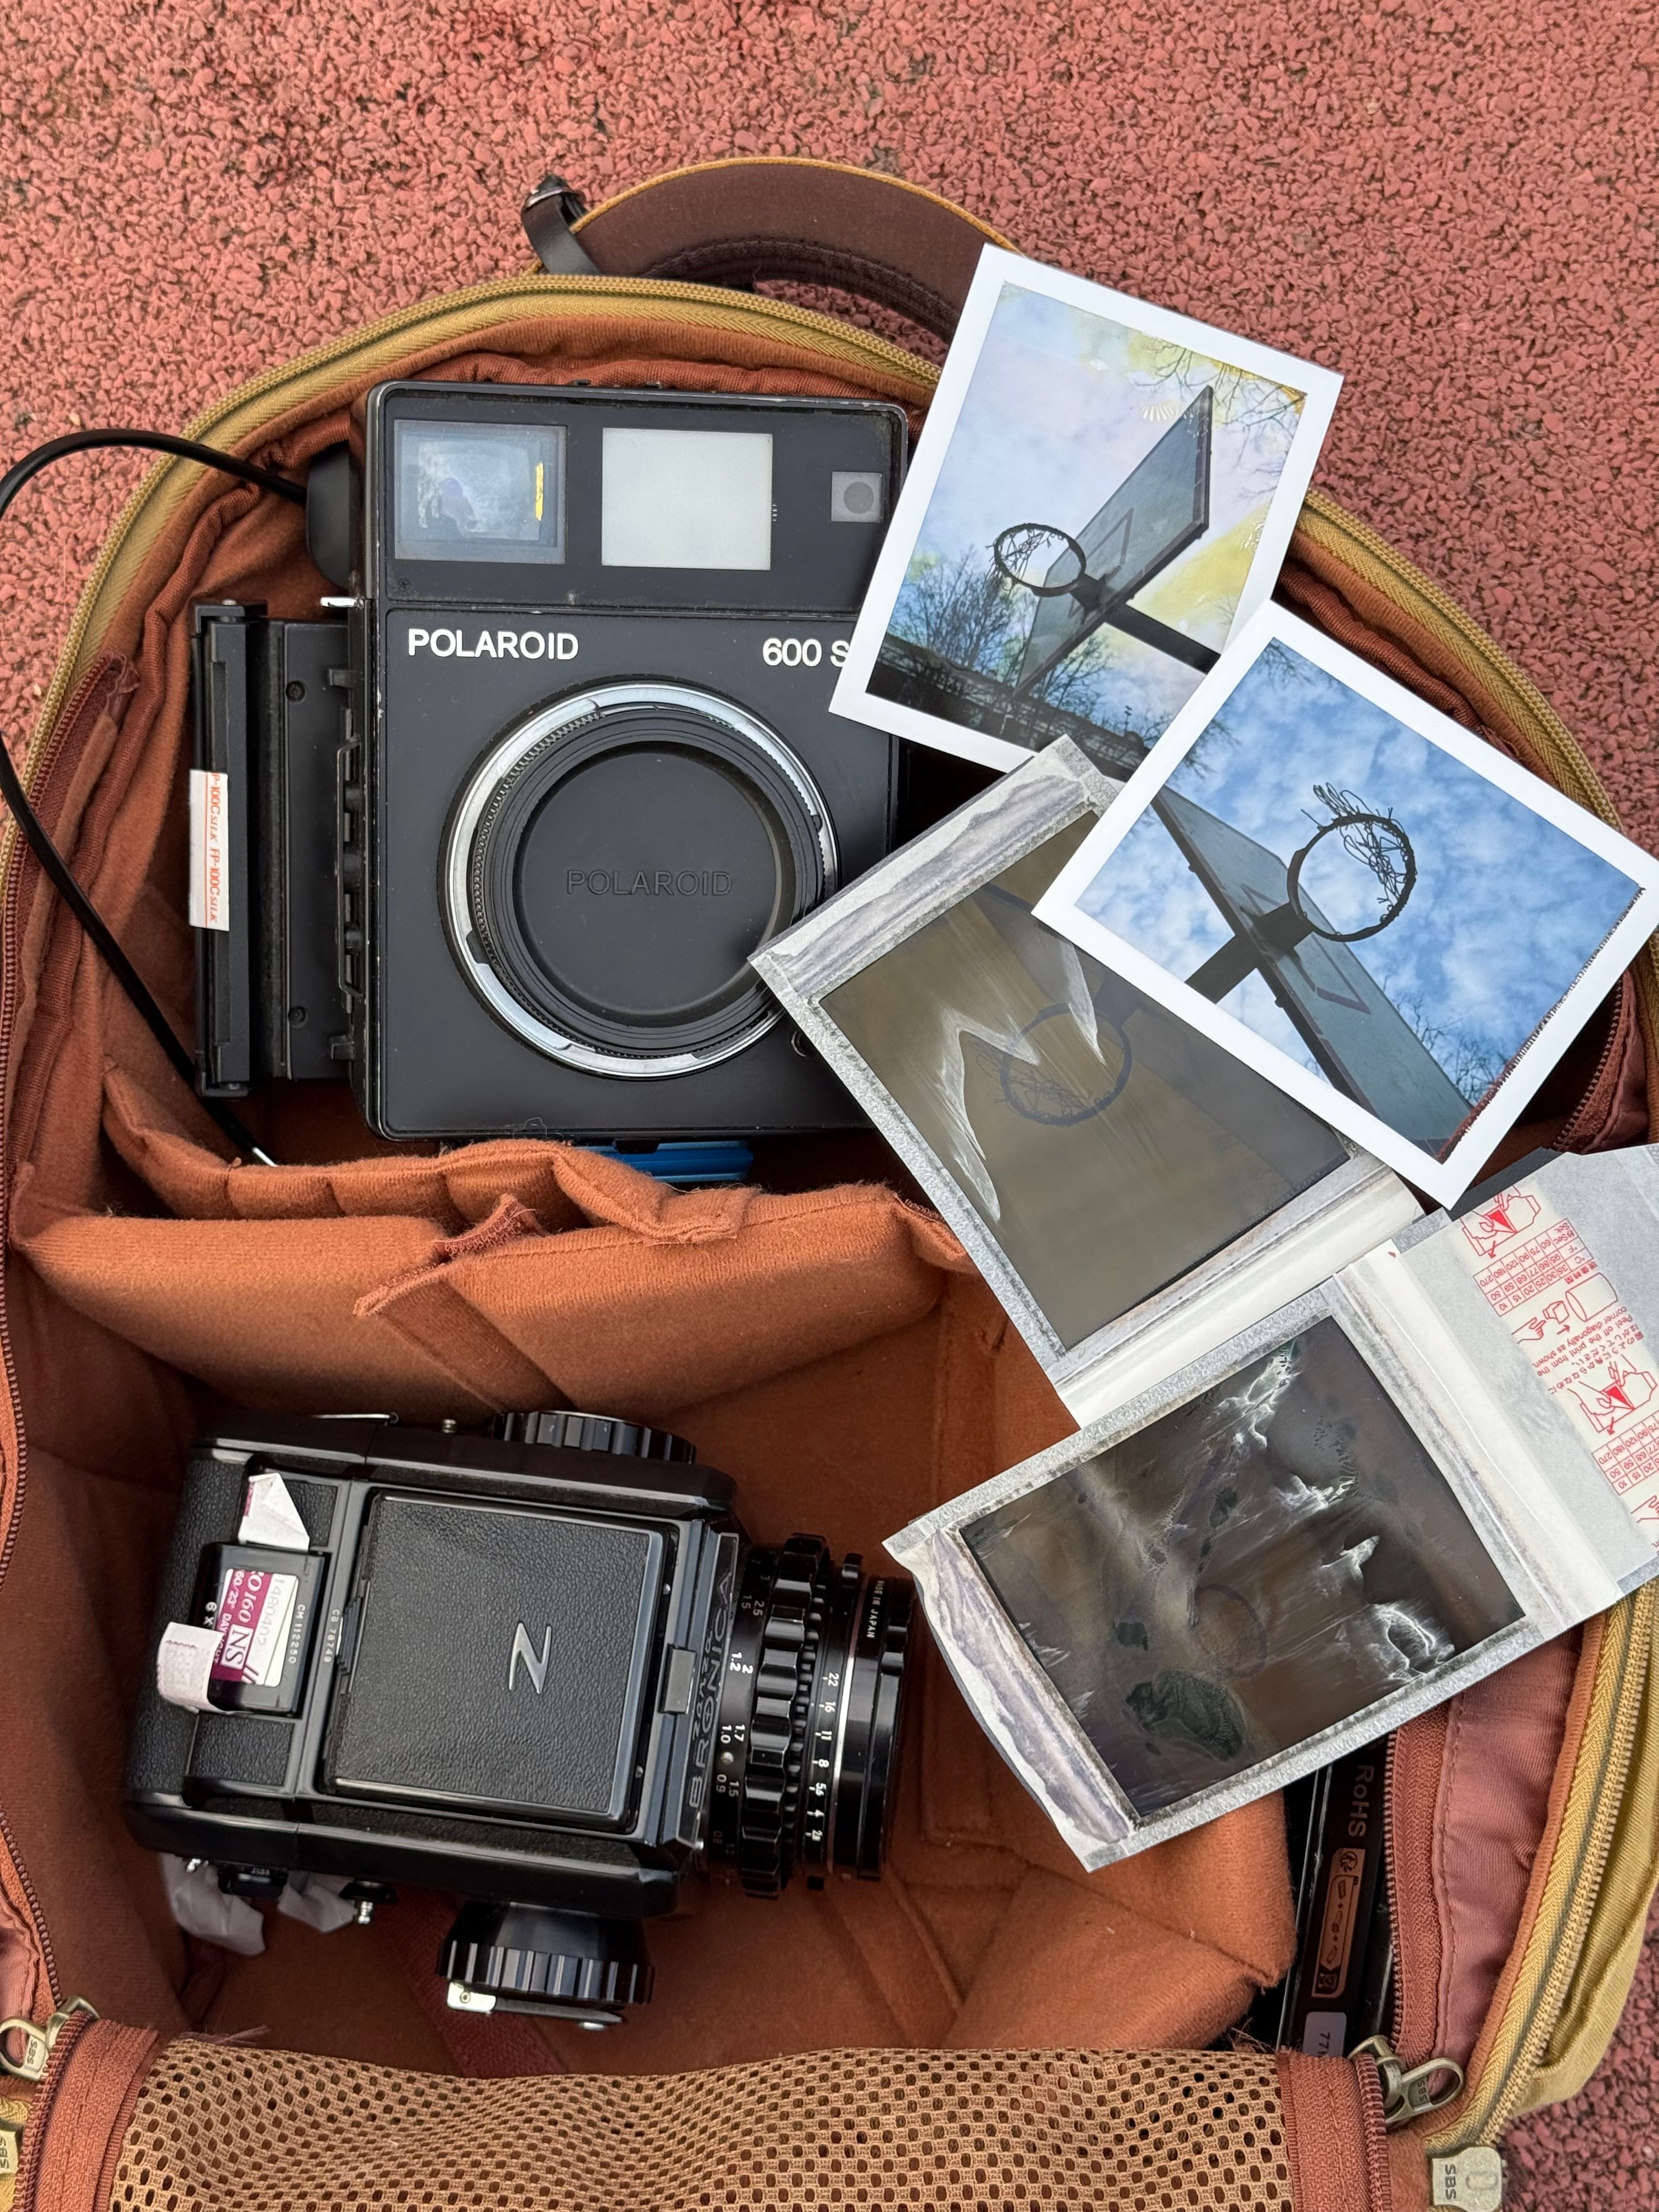
Pre-capture or pre-burst can help if the camera supports it. The camera saves frames just before full press, which is handy for a splash, a jump, or a child turning toward you. Back-button focus pairs well with this because it keeps focus control separate from the shutter.
Timing and position still produce the best travel photos. Stand where the light works, keep the camera ready, and know the frame you want before you lift it.
Simple habits that keep the kit light all day
Light travel photography works best when every item earns its place. A spare battery matters, but a second zoom often stays in the bag all day.

Think about your route before you leave. A museum morning, a beach afternoon, and a sunset walk may call for different choices, yet they rarely need a full backpack of gear. If you know you will shoot mostly street scenes, one compact lens and a good strap are enough.
A quick pre-walk check saves time later
- Battery charged to 100%.
- Empty card in the camera.
- Lens hood on.
- AF-C set with eye detection.
- Screen brightness lowered one step.
This takes less than a minute, but it changes the day. You spend less time fixing setup and more time noticing light, faces, and small scenes.

Clean results without the heavy bag
Summer travel photos work best when the camera stays easy to carry and quick to use. A compact body, one smart lens, and a strap that still feels good after three hours can do more than a full bag of gear.
Keep the setup simple, then tune the settings to the scene. Use 1/500s for motion, lean on AF-C with eye detection, and pack for one day instead of one fantasy shoot. On a warm city walk, the best camera is the one you still want on your shoulder at sunset.
Frequently Asked Questions

What camera setup is best for travel?
A compact travel camera setup with a light mirrorless body, one versatile lens, a spare battery, and a small card holder is the best choice for travel. A 24–70mm zoom covers streets, food, people, and details, while a 35mm or 50mm prime keeps the kit smaller and lighter.
How do I carry a camera comfortably while sightseeing?
A strap or sling that spreads the weight across the body and keeps the camera close is the most comfortable way to carry a camera while sightseeing. A wide, quick-adjust strap reduces pressure points and keeps the camera stable at hip height or just below the chest.

How do I pack a camera for a day trip?
For a day trip, pack a camera body, one lens, a spare battery, and a small card holder in a compact carry instead of a full bag. Keeping the setup minimal makes the camera easier to access, lighter to carry, and less tiring during long walks and stops.


