


- What camera should I bring for day trips
- How do I keep my camera comfortable to carry all day
- How do I take good travel photos in bright summer light
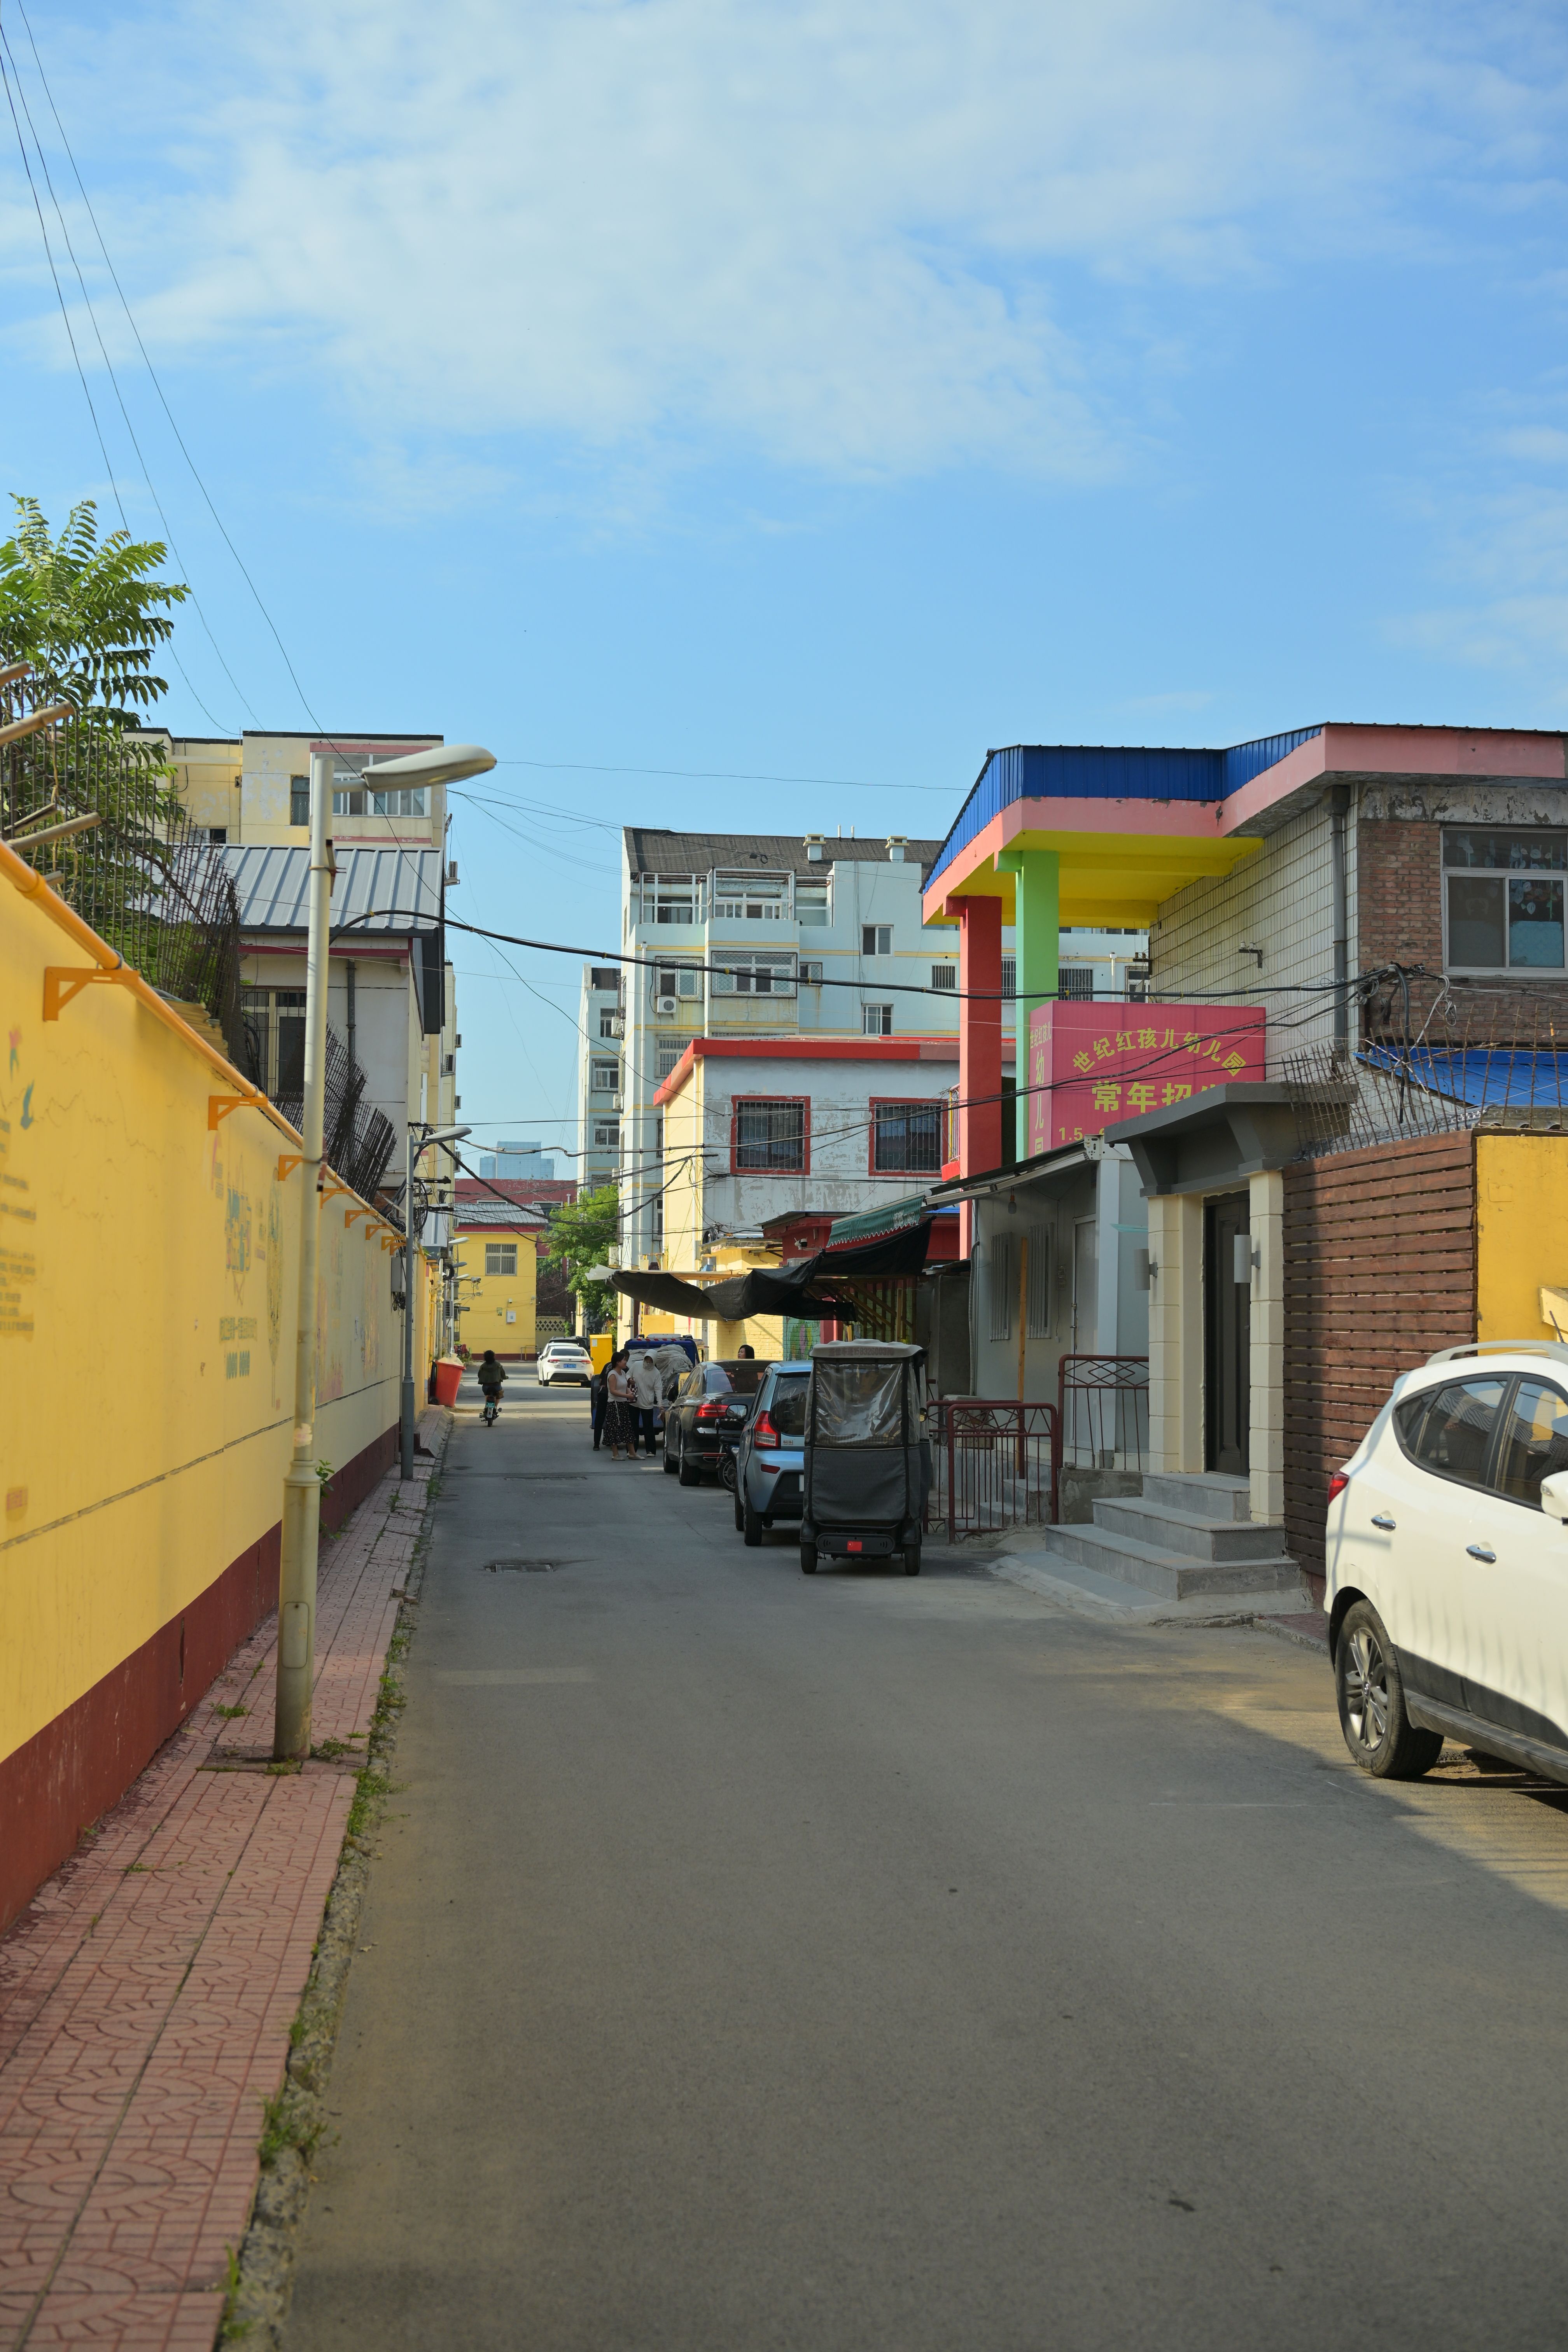
Summer travel photography is one of the best ways to preserve the memory of a day trip. A compact camera makes that easier, since it stays light, quick, and ready whenever you need it. You can move from a train station to the beach, then on to a market or hilltop, without feeling bogged down.
Shop the setup

- Regular price
-
€42 - Regular price
-
€44 - Sale price
-
€42
By choosing the Camstrap strap, you are opting for a high-quality product designed to meet the needs of the most demanding photographers.
- Developed by a physiotherapist to relieve neck and back pain.
- Fast delivery with tracking by the Post Office 🚚
- Can be used as a shoulder strap or hands-free harness

- Regular price
-
€36 - Regular price
-
€42 - Sale price
-
€36
Free shipping included
The strongest summer images often come from simple gear and thoughtful decisions. In this guide, you will learn what camera to bring, how to carry it comfortably, and how to handle bright light. You will also see how a few small settings can make your summer travel photos look noticeably better.
Why Summer Travel Photography Works So Well on Day Trips
Summer brings long days, vivid color, and more time to explore. As a result, you get more chances to photograph street scenes, food, friends, and views. It also means your camera should be easy to carry, simple to use, and ready when moments move quickly.
Day trips usually include a series of short stops. You might wander through a city, take a boat ride, or pause at a café. A compact camera suits that pace well because it never slows you down.
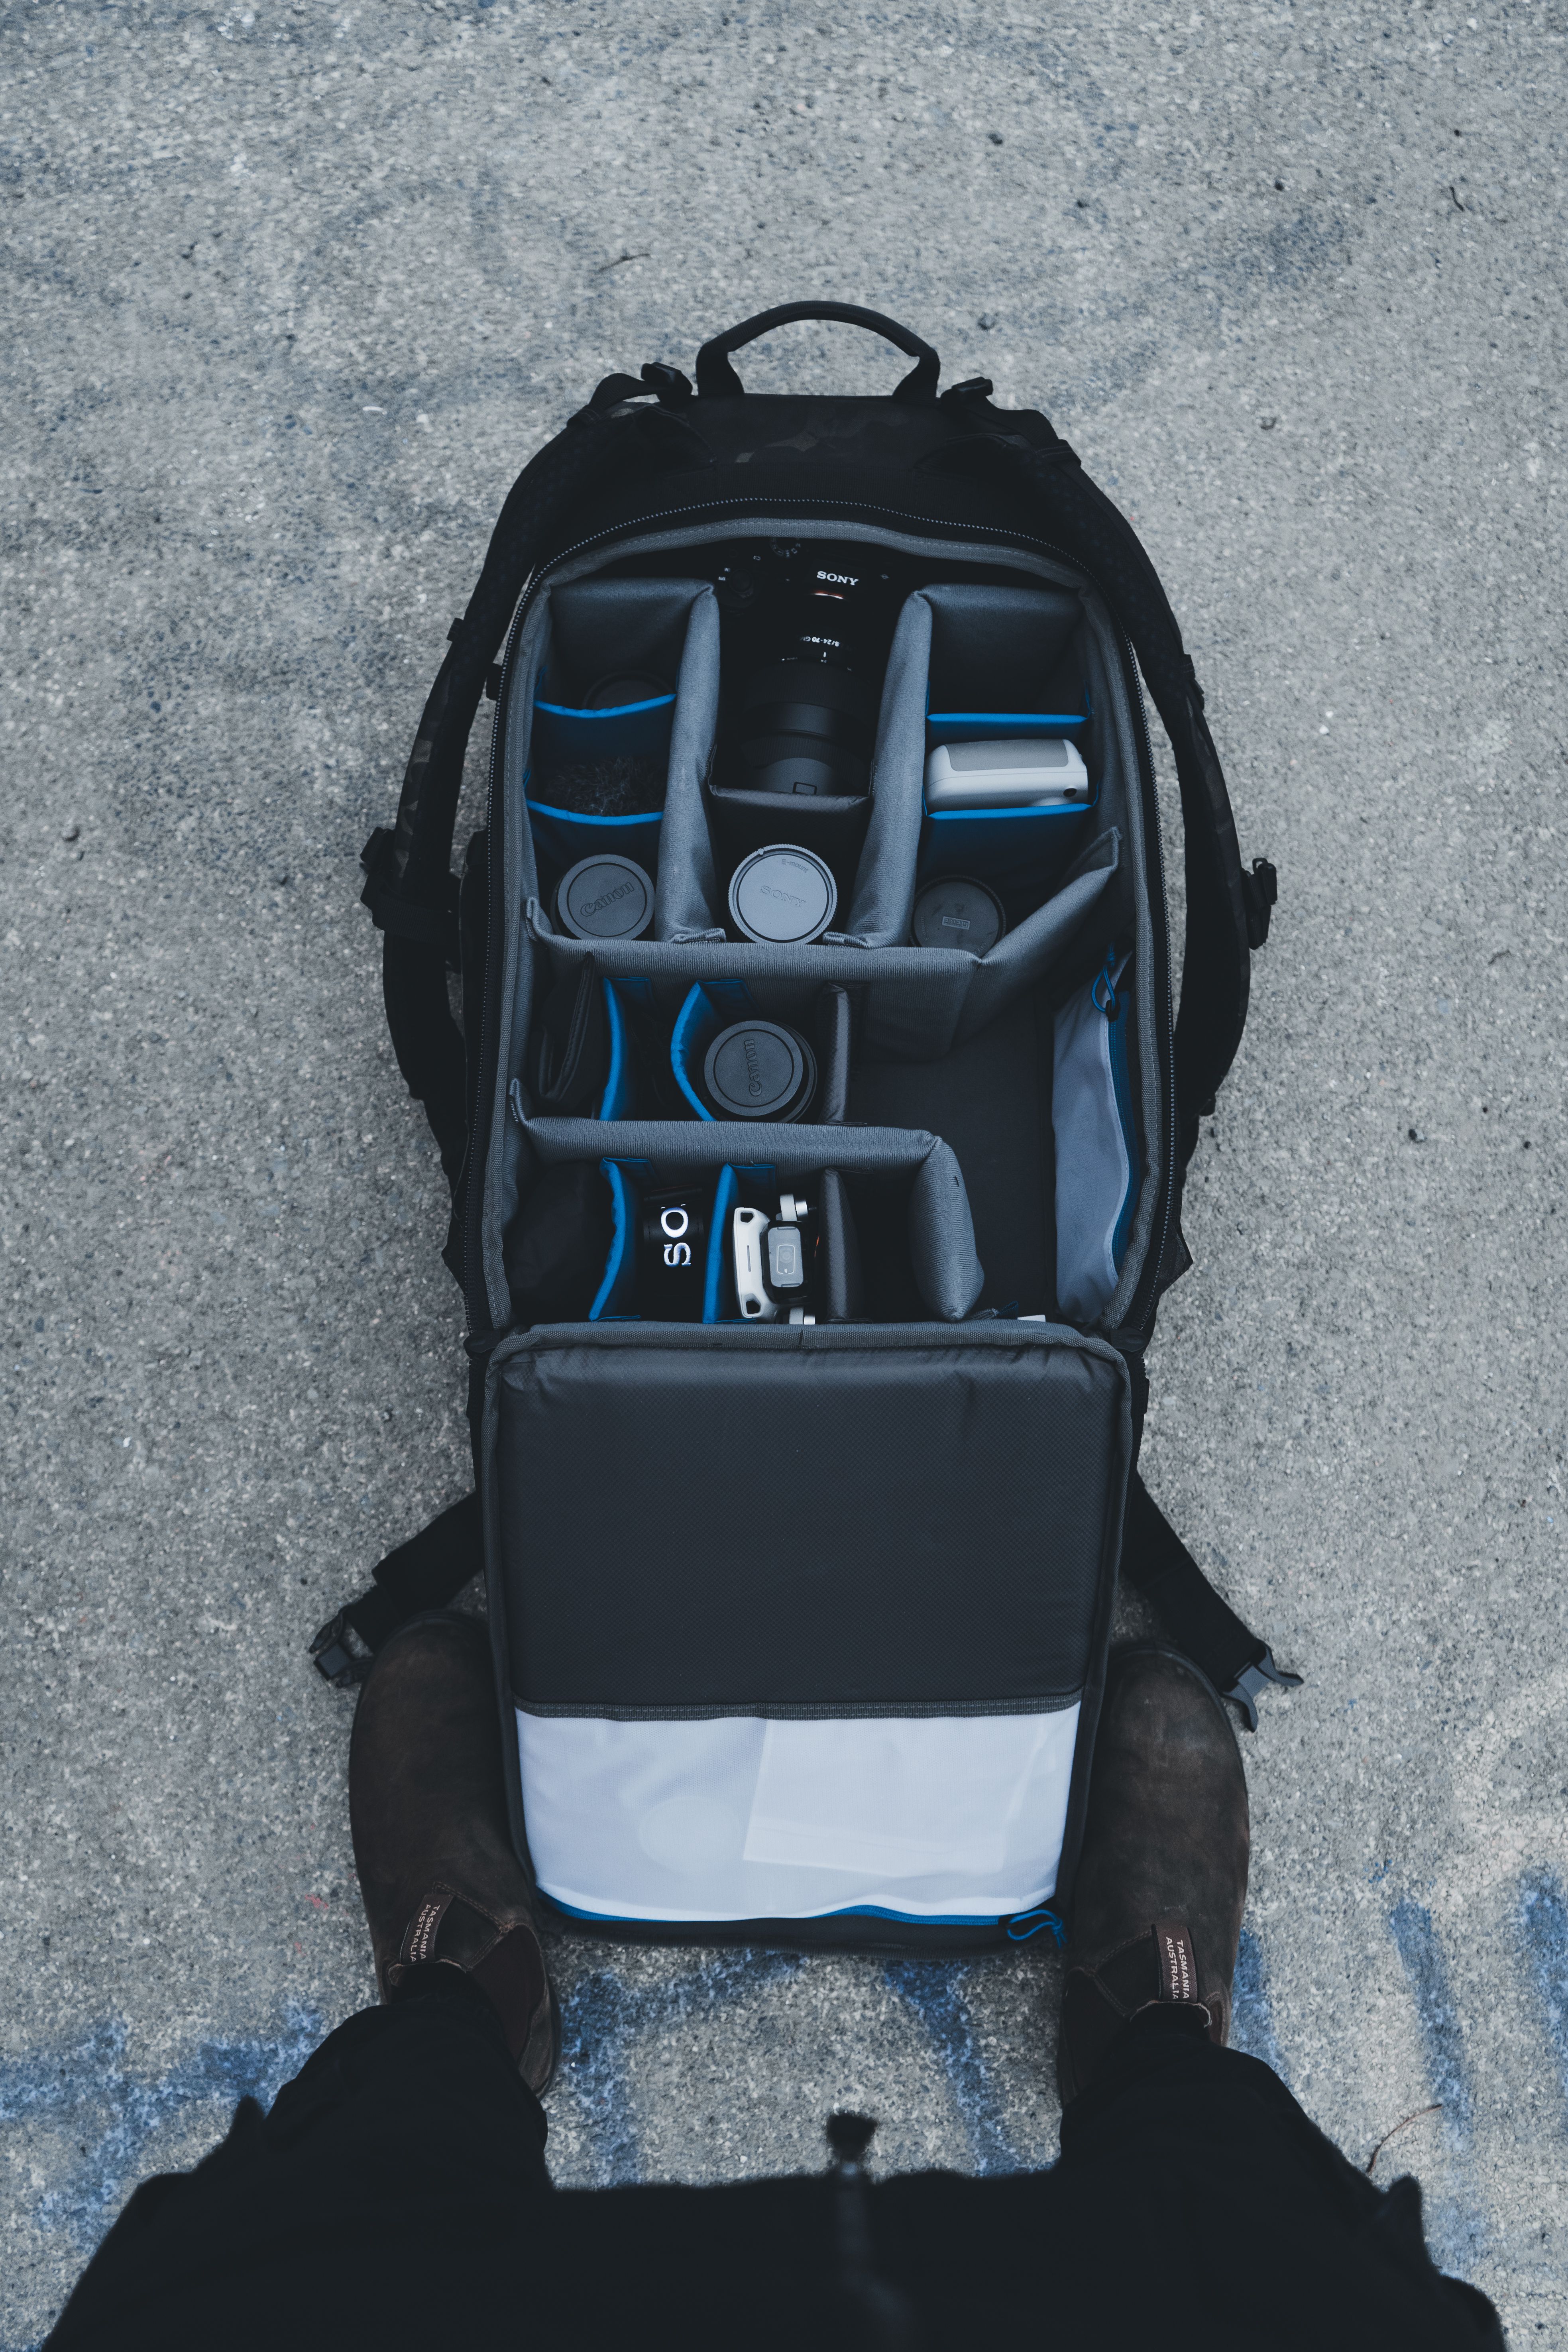
Simple gear helps you stay focused
When your bag is light, you pay more attention to your surroundings. You notice the light on a wall, a child running through a fountain, or a vendor mixing fruit drinks. That is the core of good summer travel photography. It begins with having enough freedom to move and observe.
A small camera also makes it easier to blend in. You can capture quick moments without pulling out a large setup. Therefore, your photos often feel more natural and less staged.
What Camera Should I Bring for Day Trips in Summer?
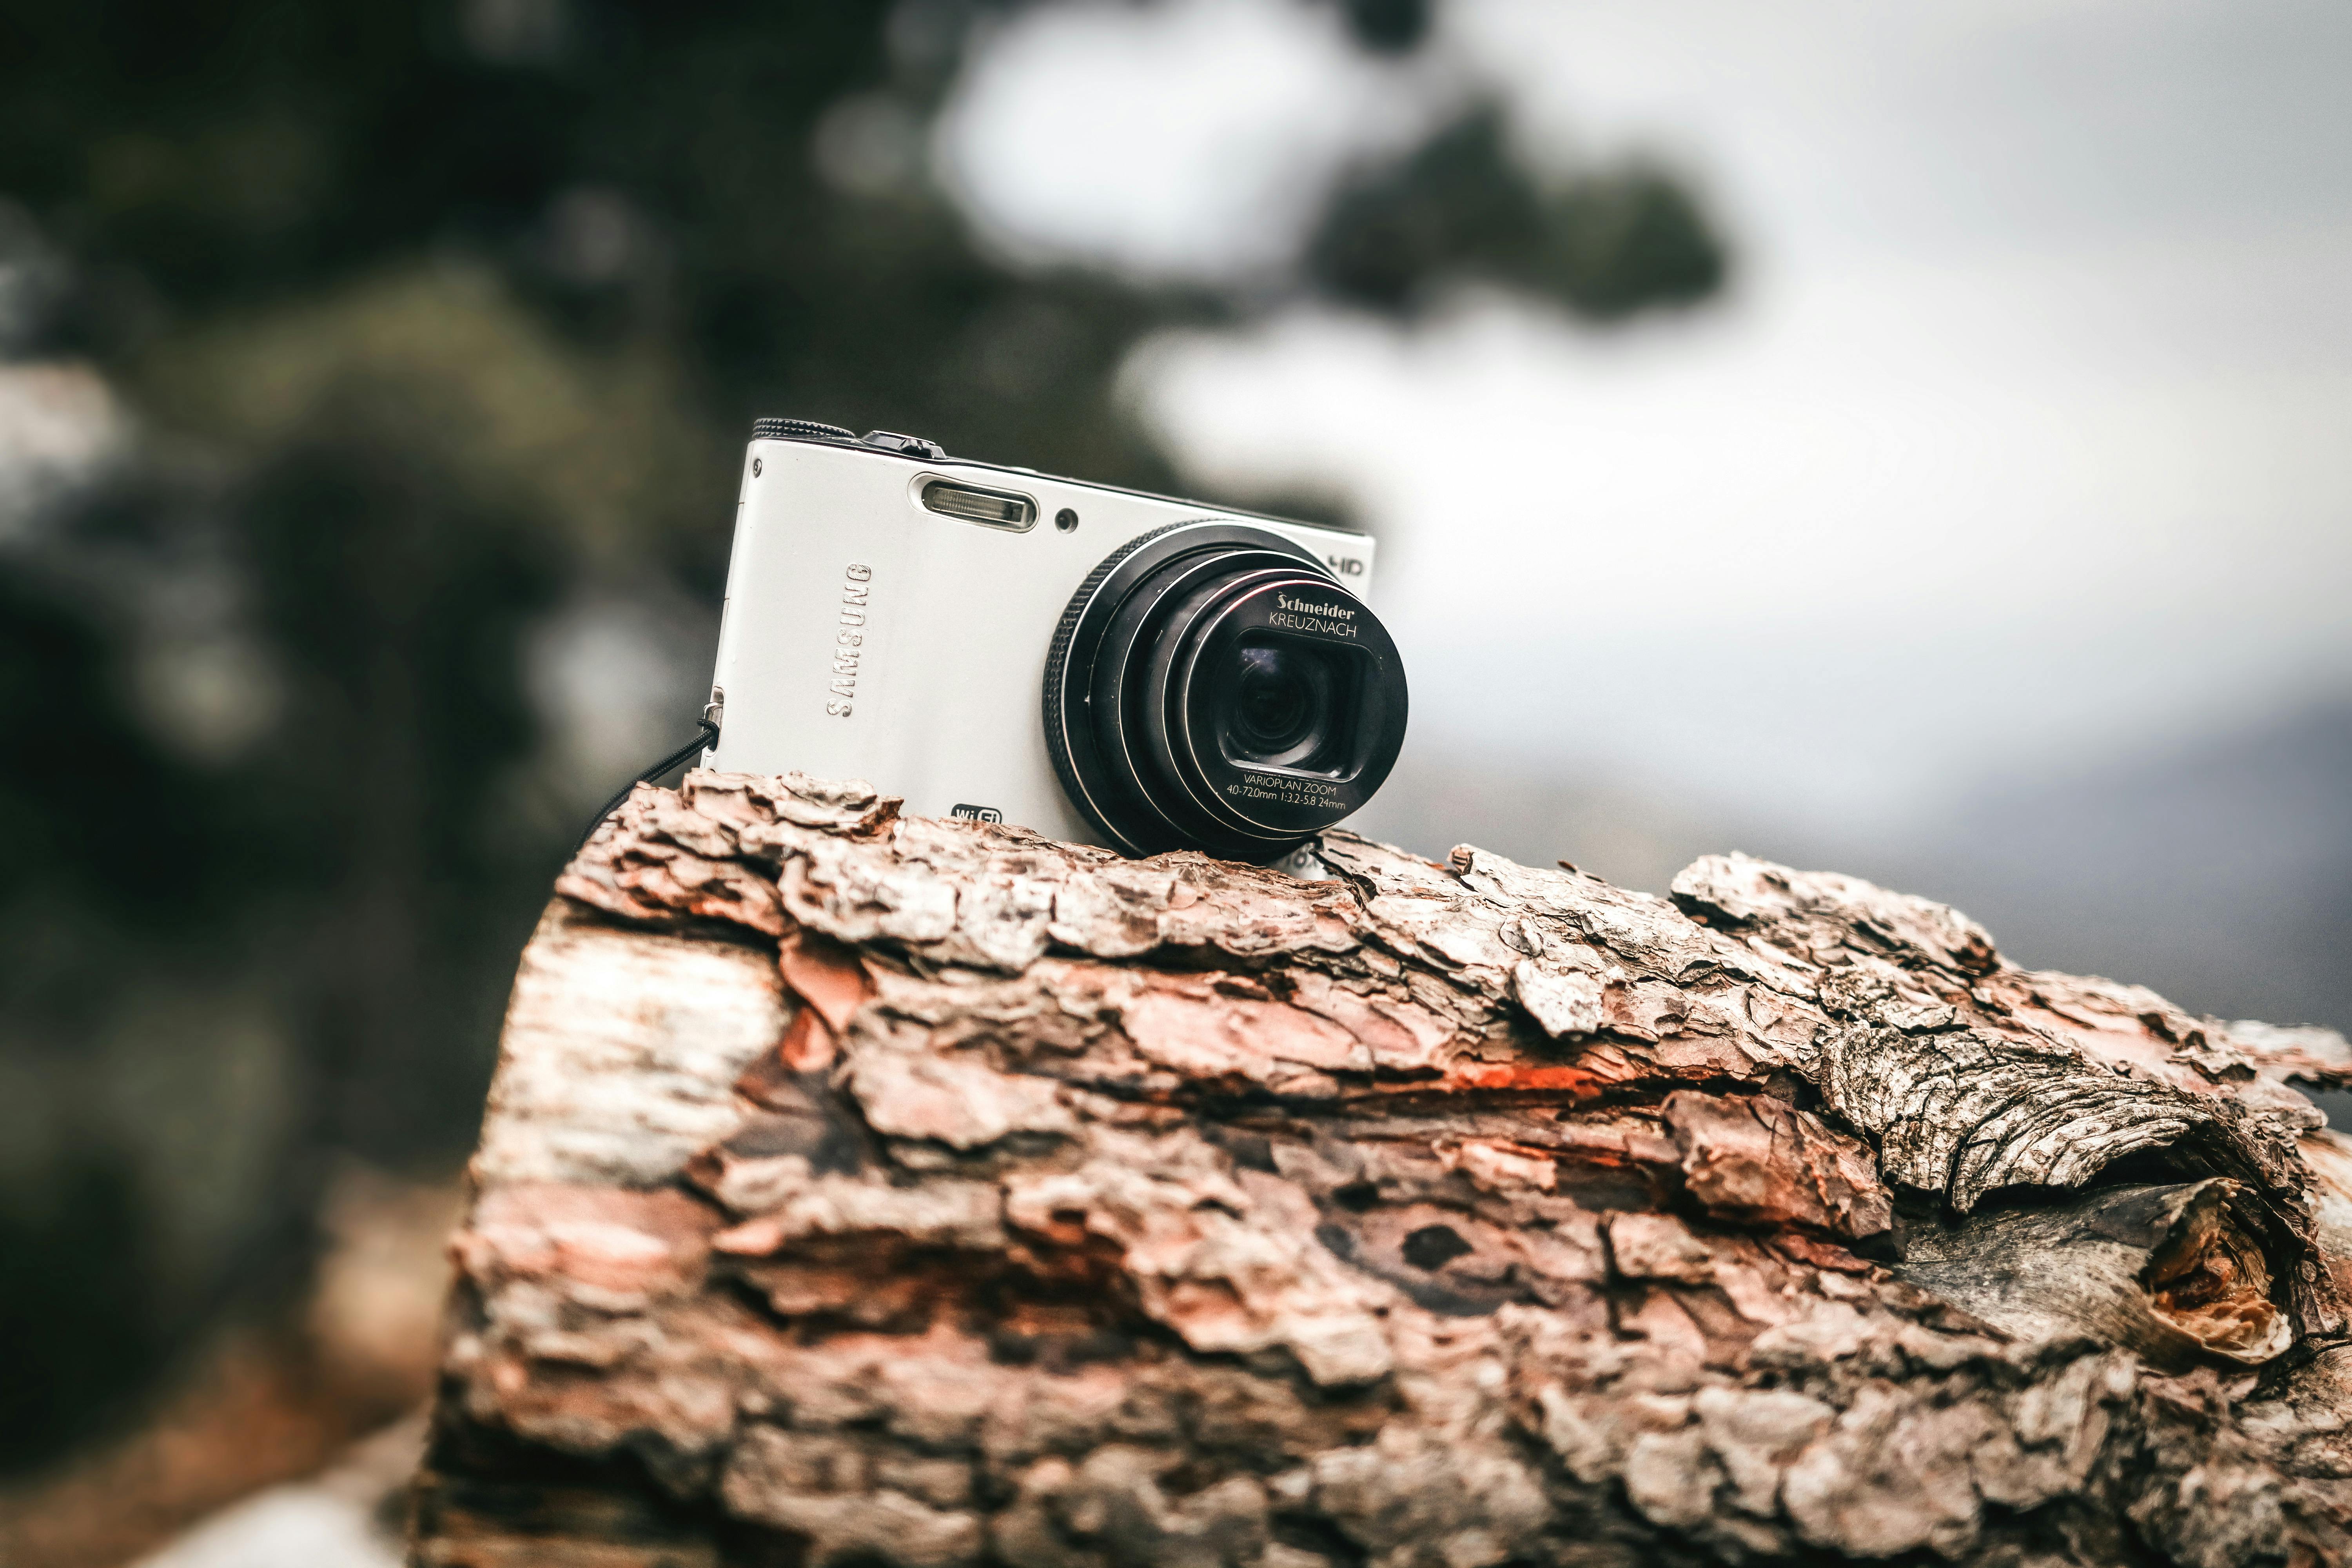
If you ask, “What camera should I bring for day trips?” the simplest answer is the one you will actually carry all day. For many people, that means a compact travel camera with a fast lens and a strong sensor.
For summer travel, a fast lens with an aperture of f/1.8 to f/2.8 is an excellent choice. It helps in lower light, such as museums, cafés, or late sunsets. It also separates your subject from the background, giving photos more depth.
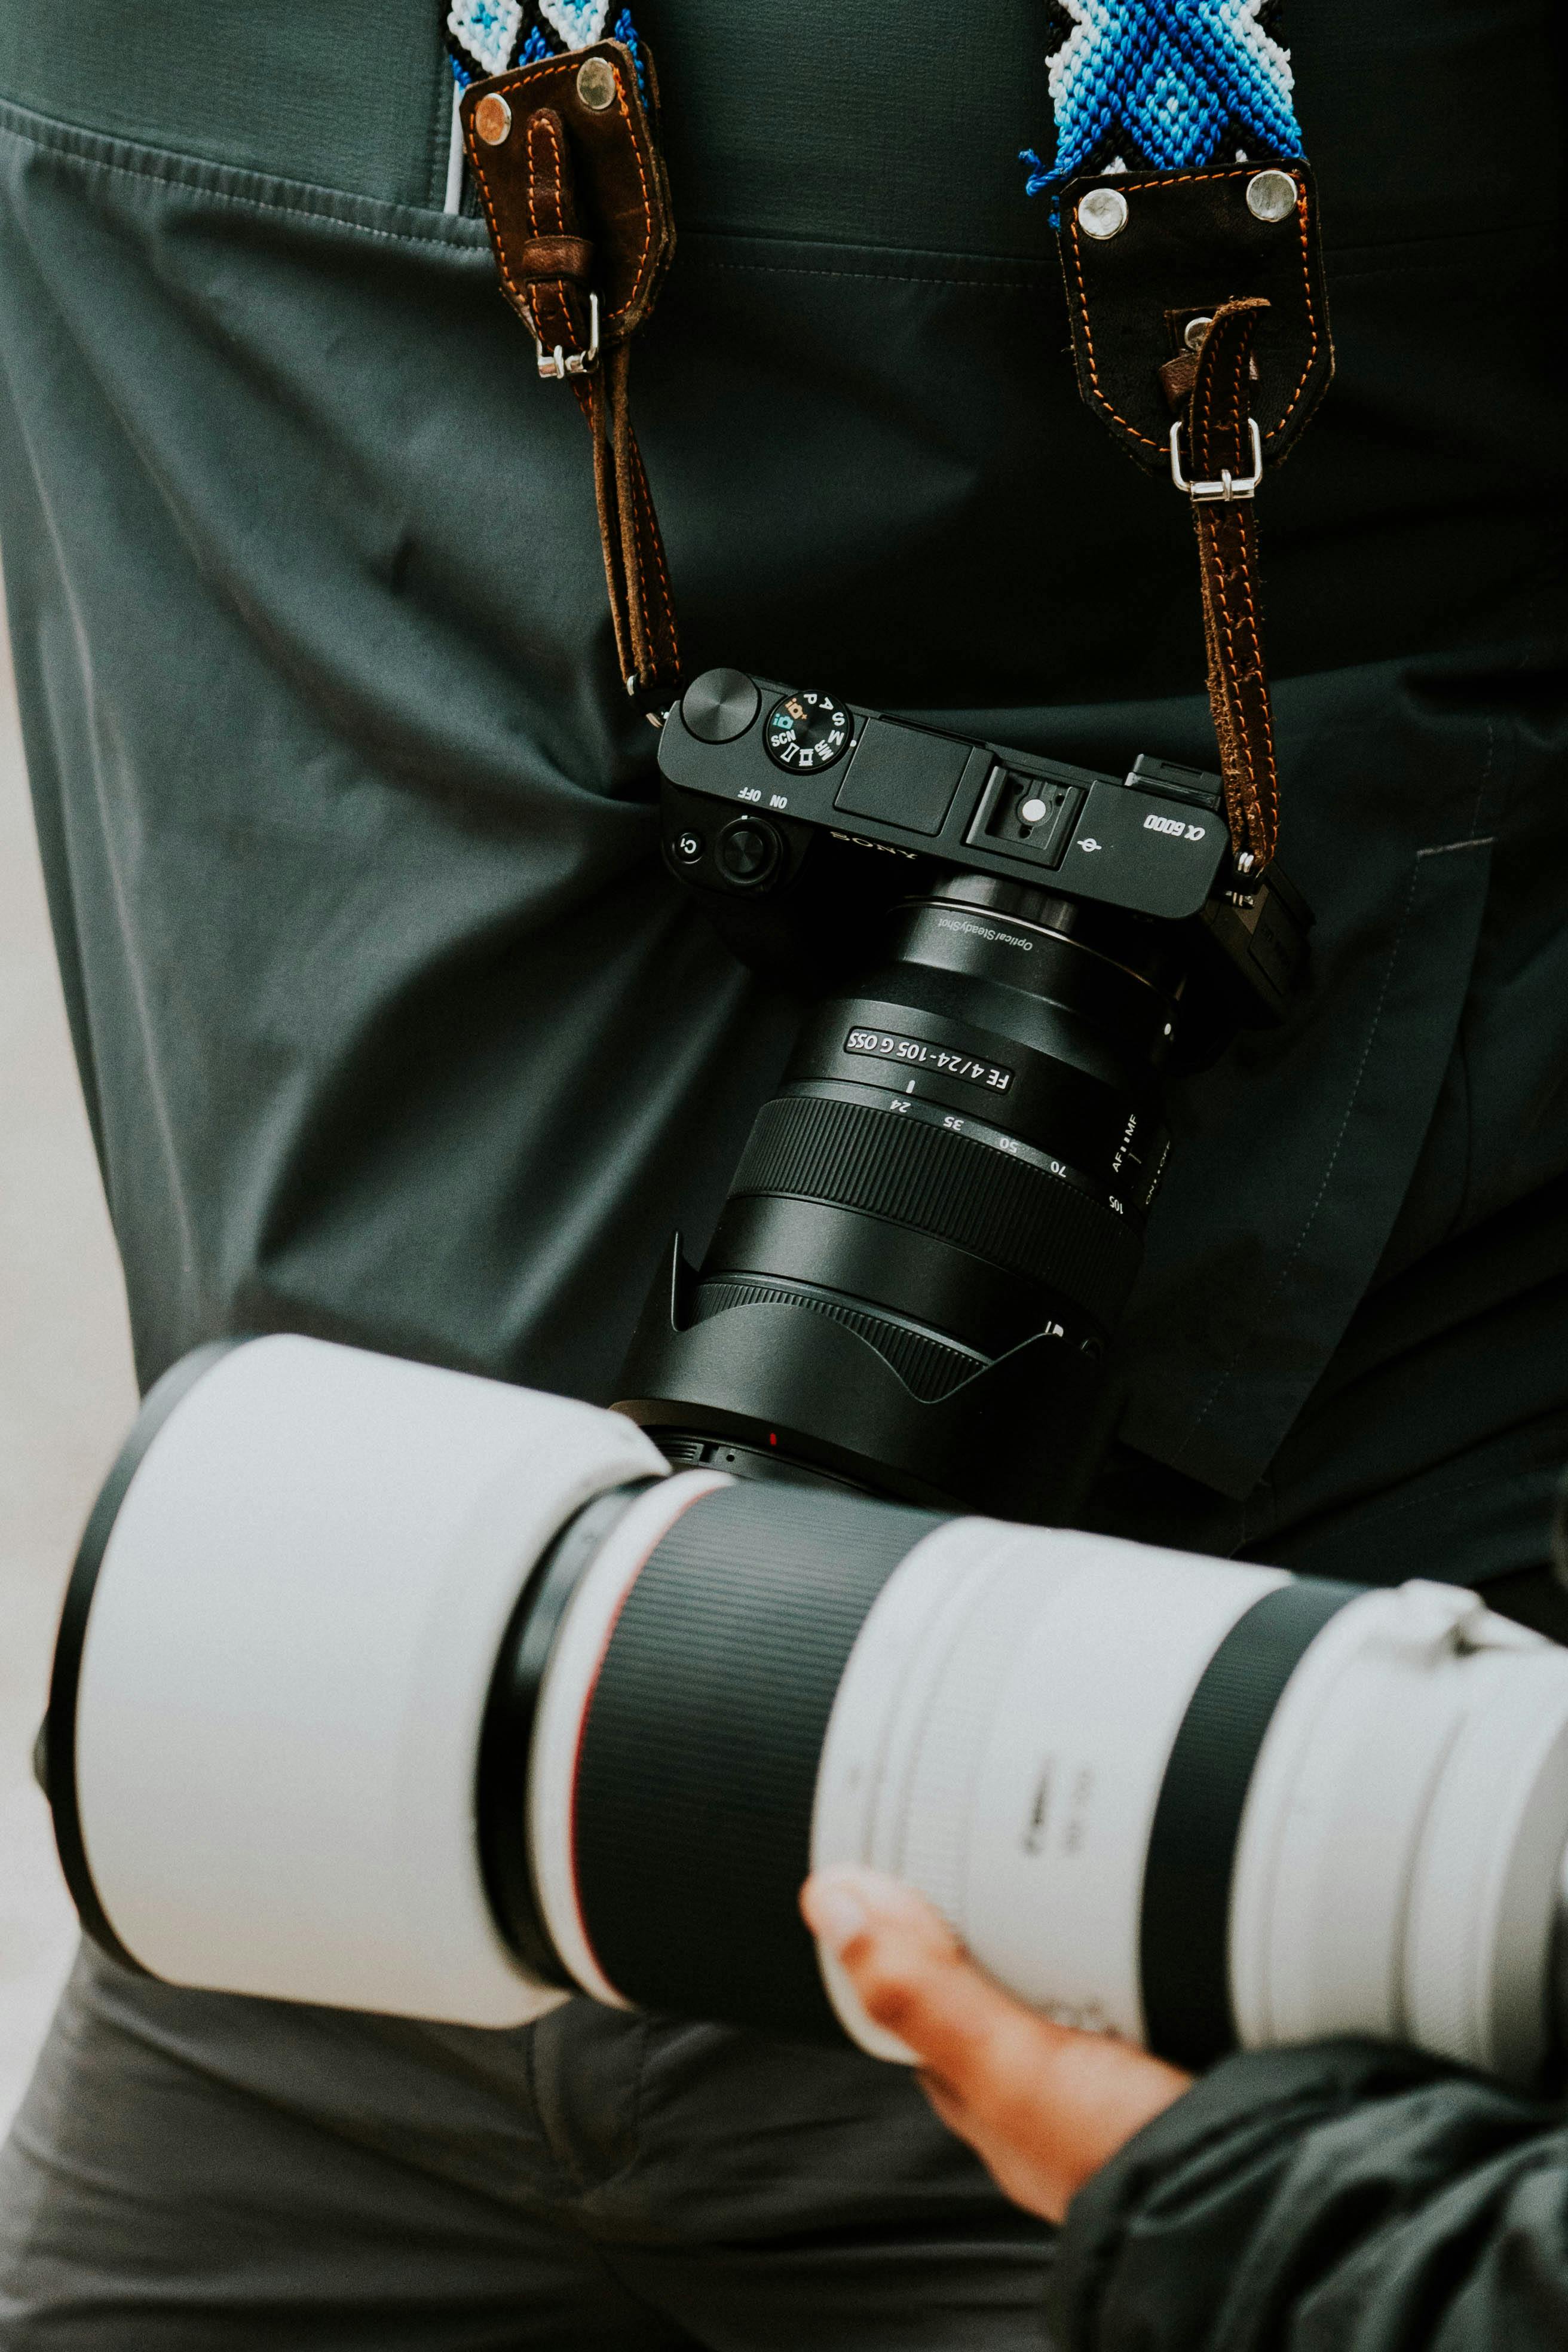
Look for the right sensor and lens
A camera with a 1-inch or APS-C sensor is often a better travel option than one with a smaller sensor. Larger sensors usually deliver stronger low-light results and more control over background blur. That can matter a lot when you move from bright streets to shaded lanes.
Many compact cameras perform well with a fixed focal length around 28mm to 35mm. This range is a favorite for street and travel photography. It creates a natural view and works well for people, buildings, food, and everyday scenes.
Choose gear that fits the way you shoot
If you prefer quick, uncomplicated shooting, a compact camera is enough for most day trips. If you want more reach, a small zoom model may suit you better. Even so, the best option is the one that stays in your bag and feels comfortable in your hand.
Keep your summer plans in mind as well. A beach day, a city walk, and a mountain trip all call for slightly different tools. Still, a small camera with a fast lens will handle most of them well.
- For street scenes: 28mm to 35mm is a strong range.
- For low light: Look for f/1.8 to f/2.8.
- For more detail: A 1-inch or APS-C sensor helps.
- For all-day use: Pick a body you can carry without stress.
How to Keep Your Camera Comfortable to Carry All Day
Comfort matters more than many people realize. If your camera feels awkward, you may leave it in the bag. That means fewer photos and fewer good moments caught as they happen. A good strap or sling can fix that problem quickly.
Your camera should feel like part of the day, not a burden. When you move through airports, train stations, and busy stops, you need quick access and dependable support. That is why many travel photographers rely on a strap that distributes the weight well.
Use a strap that matches your pace
A neck strap can work, but it may become tiring after a few hours. A sling often feels more practical for summer travel, since the camera rests at your side and swings up quickly. That keeps your hands free when you need them.
Camstrap offers a few options that fit this kind of use. The camstrap voyager, camstrap explorer, camstrap nomad, and camstrap magclip can each suit different travel styles. One person may want a simple sling, while another may prefer a setup that feels more secure in crowds.
Keep movement easy in busy places
Day trips often include stairs, buses, and long walks. A comfortable strap helps you get through those parts of the day without strain. It also reduces the chance of dropping your camera when you are tired.
If you move around a lot, keep the camera close to your body. That improves balance and safety. It also lets you lift the camera quickly when a strong summer scene appears.
- Use a sling if you want fast access.
- Use a padded strap if you carry the camera for hours.
- Keep the camera close in crowds.
- Check that clips and mounts feel secure before leaving.
How to Take Good Travel Photos in Bright Summer Light

Bright summer light can be both an advantage and a challenge. It gives you strong color and crisp detail, but it can also create harsh shadows and blown highlights. The key is knowing when to shoot and how to set your camera.
The golden hours, soon after sunrise and before sunset, are the best times for soft light. This warm glow flatters skin, buildings, and water. It also gives summer scenes a calmer, richer feel.
Use simple exposure settings
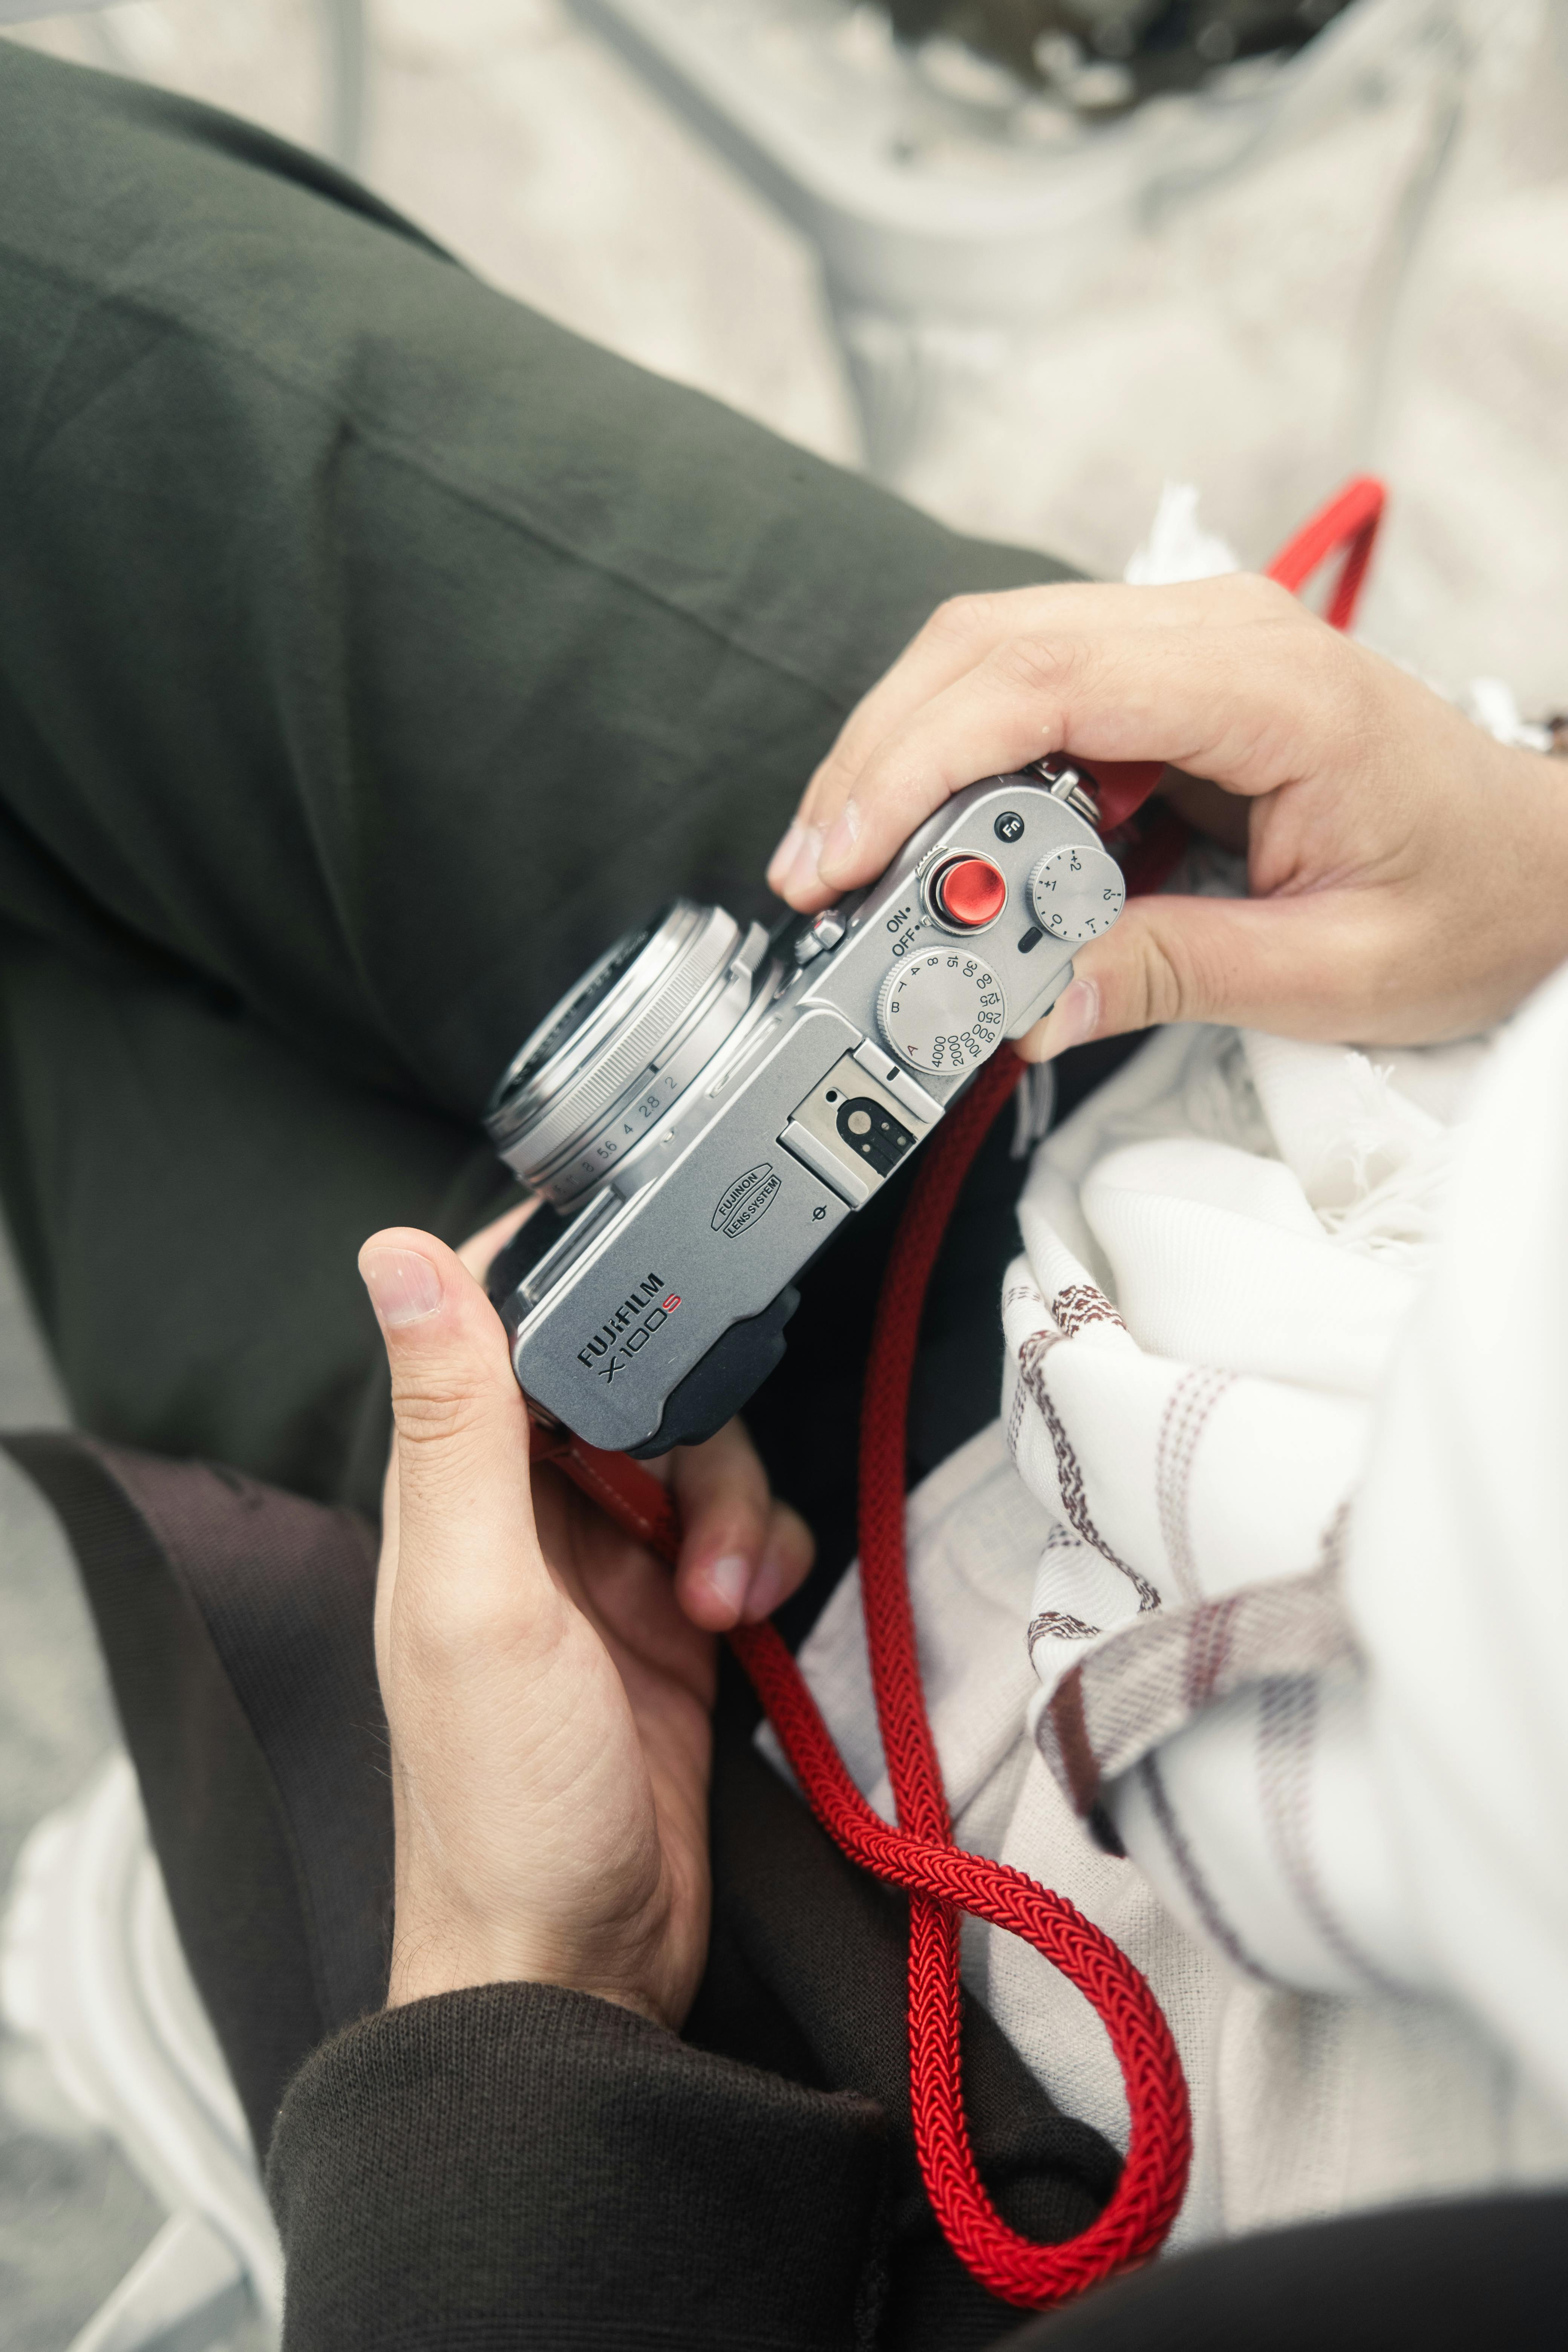
Aperture Priority mode is a smart choice for travel photography. It lets you control depth of field while the camera handles shutter speed. That is especially useful in summer, when light can shift quickly as you move from shade to sun.
Around f/8 is a good setting for balanced sharpness and depth of field. It works well for buildings, landscapes, and group shots. If you want your subject to stand out more, open the lens wider, such as f/2 or f/2.8.
In strong summer light, you can often lower ISO to ISO 50 to keep image quality high. That can help reduce noise and preserve clean color. Still, keep an eye on shutter speed so your image remains sharp.
Freeze motion the easy way
Summer trips often include movement. People walk, bikes pass by, and kids run into the water. To freeze motion, use a shutter speed of 1/500s or faster when needed.
That speed is often enough for swimming, hiking, and other active scenes. If your subject moves very fast, go even higher. Therefore, it helps to check your shutter speed often, even in Aperture Priority mode.
Work with light instead of fighting it
When the sun is intense, place your subject in open shade if possible. That gives softer skin tones and better detail. You can also turn your subject so the light falls from the side rather than directly overhead.
If you shoot near water, sand, or light walls, watch for glare. Bright surfaces can fool your camera’s meter. In that case, lower the exposure a bit to keep highlights from burning out.
- Shoot early or late for the best summer light.
- Use Aperture Priority for fast control.
- Try f/8 for balanced scenes.
- Drop to ISO 50 in strong sun if your camera allows it.
- Use 1/500s or faster for moving subjects.
Summer Photo Ideas That Work on Short Trips
Short trips are ideal for focused photo ideas. You do not need a long shot list. Instead, you need a few simple goals and the patience to look closely. That makes summer travel photography feel less rushed and more enjoyable.
Try to combine wide scenes with smaller details. A harbor view tells part of the story, but so does a hand holding an iced drink or a ticket tucked into a pocket. Together, these images create a fuller memory of the day.
Use wide frames and close details
When you move in close, a wider focal length like 28mm or even 20mm can help fill the frame. This works well in narrow streets, on docks, or inside busy markets. It also lets you show context, not just the subject.
After that, step back and look for details. A sign, a shoe in the sand, or light on a window can all add life to a summer story. These smaller shots often become the images people remember most.
Build a simple shot list
A short list can keep you on track without slowing you down. You do not have to follow it strictly. Instead, use it as a guide when you feel stuck.
- A wide scene of the place
- A close shot of food or drink
- A person in motion
- A texture, sign, or local detail
- A sunset or golden hour view
This mix works well for summer day trips because it captures place, people, and mood. It also gives you more chances to tell a story with one small camera.
Quick Editing and File Tips for Travel Photography

Good photos do not need heavy editing. In most cases, a few small adjustments are enough. You can refine brightness, contrast, and color so the image matches how the day felt.
Start by reviewing your files after the trip, while the memory is still fresh. That makes it easier to pick the best shots and build a simple set of favorites. It also helps you learn what worked in the summer light.
Keep your files organized
Rename or sort your photos as soon as you can. A clear folder system saves time later. It also helps you find the best shots when you want to share them online or print them.
If your camera shoots RAW, you will have more room to adjust light and color. If it shoots JPEG, keep your exposure as close to correct as possible. Either way, careful shooting on the day matters most.
Edit with a light touch

For summer photos, small changes often work best. Lift shadows slightly if the sun was harsh. Lower highlights if the sky looks too bright. Then check skin tones, because summer light can shift color quickly.
Do not push colors too far. Natural summer images often look best when they feel clean and real. That style works well for travel blogs, social posts, and personal albums alike.
Final Thoughts on Summer Travel Photography with a Compact Camera
Summer travel photography becomes much simpler when you keep your setup light and your plan clear. A compact camera, a fast lens, and a good strap can make day trips far easier. You will carry less, move more, and shoot with less stress.
If you want the best results, focus on three things. Pick a camera you enjoy using. Carry it in a comfortable way. Then work with the summer light instead of fighting it. That is how small gear can still produce strong photos.
In the end, the best summer photos come from being ready when the moment appears. Use golden hour when you can, keep an eye on shutter speed, and keep your camera close. With the right habits, even a short day trip can produce images worth keeping.

Frequently Asked Questions
What camera should I bring for day trips?
Bring the camera you will actually carry all day, usually a compact travel camera with a fast lens and a strong sensor. A 1-inch or APS-C sensor and a lens around 28mm to 35mm are good choices for travel and street photography.
How do I keep my camera comfortable to carry all day?
Choose a light camera that feels comfortable in your hand and fits your shooting style. A compact model is easiest for day trips because it stays unobtrusive and does not slow you down.
How do I take good travel photos in bright summer light?

Use simple gear and thoughtful settings so you can react quickly to changing light. A fast lens helps in shaded areas and late sunsets, while a compact camera makes it easier to capture natural moments in bright summer scenes.


