


- Use a tripod, manual mode, and 1–4 second shutters to blur surf cleanly.
- Apply the 500 rule: divide 500 by focal length for safe star-free exposures.
- Avoid wobble, overlong shutter speeds, blown highlights, and salt spray on the lens.
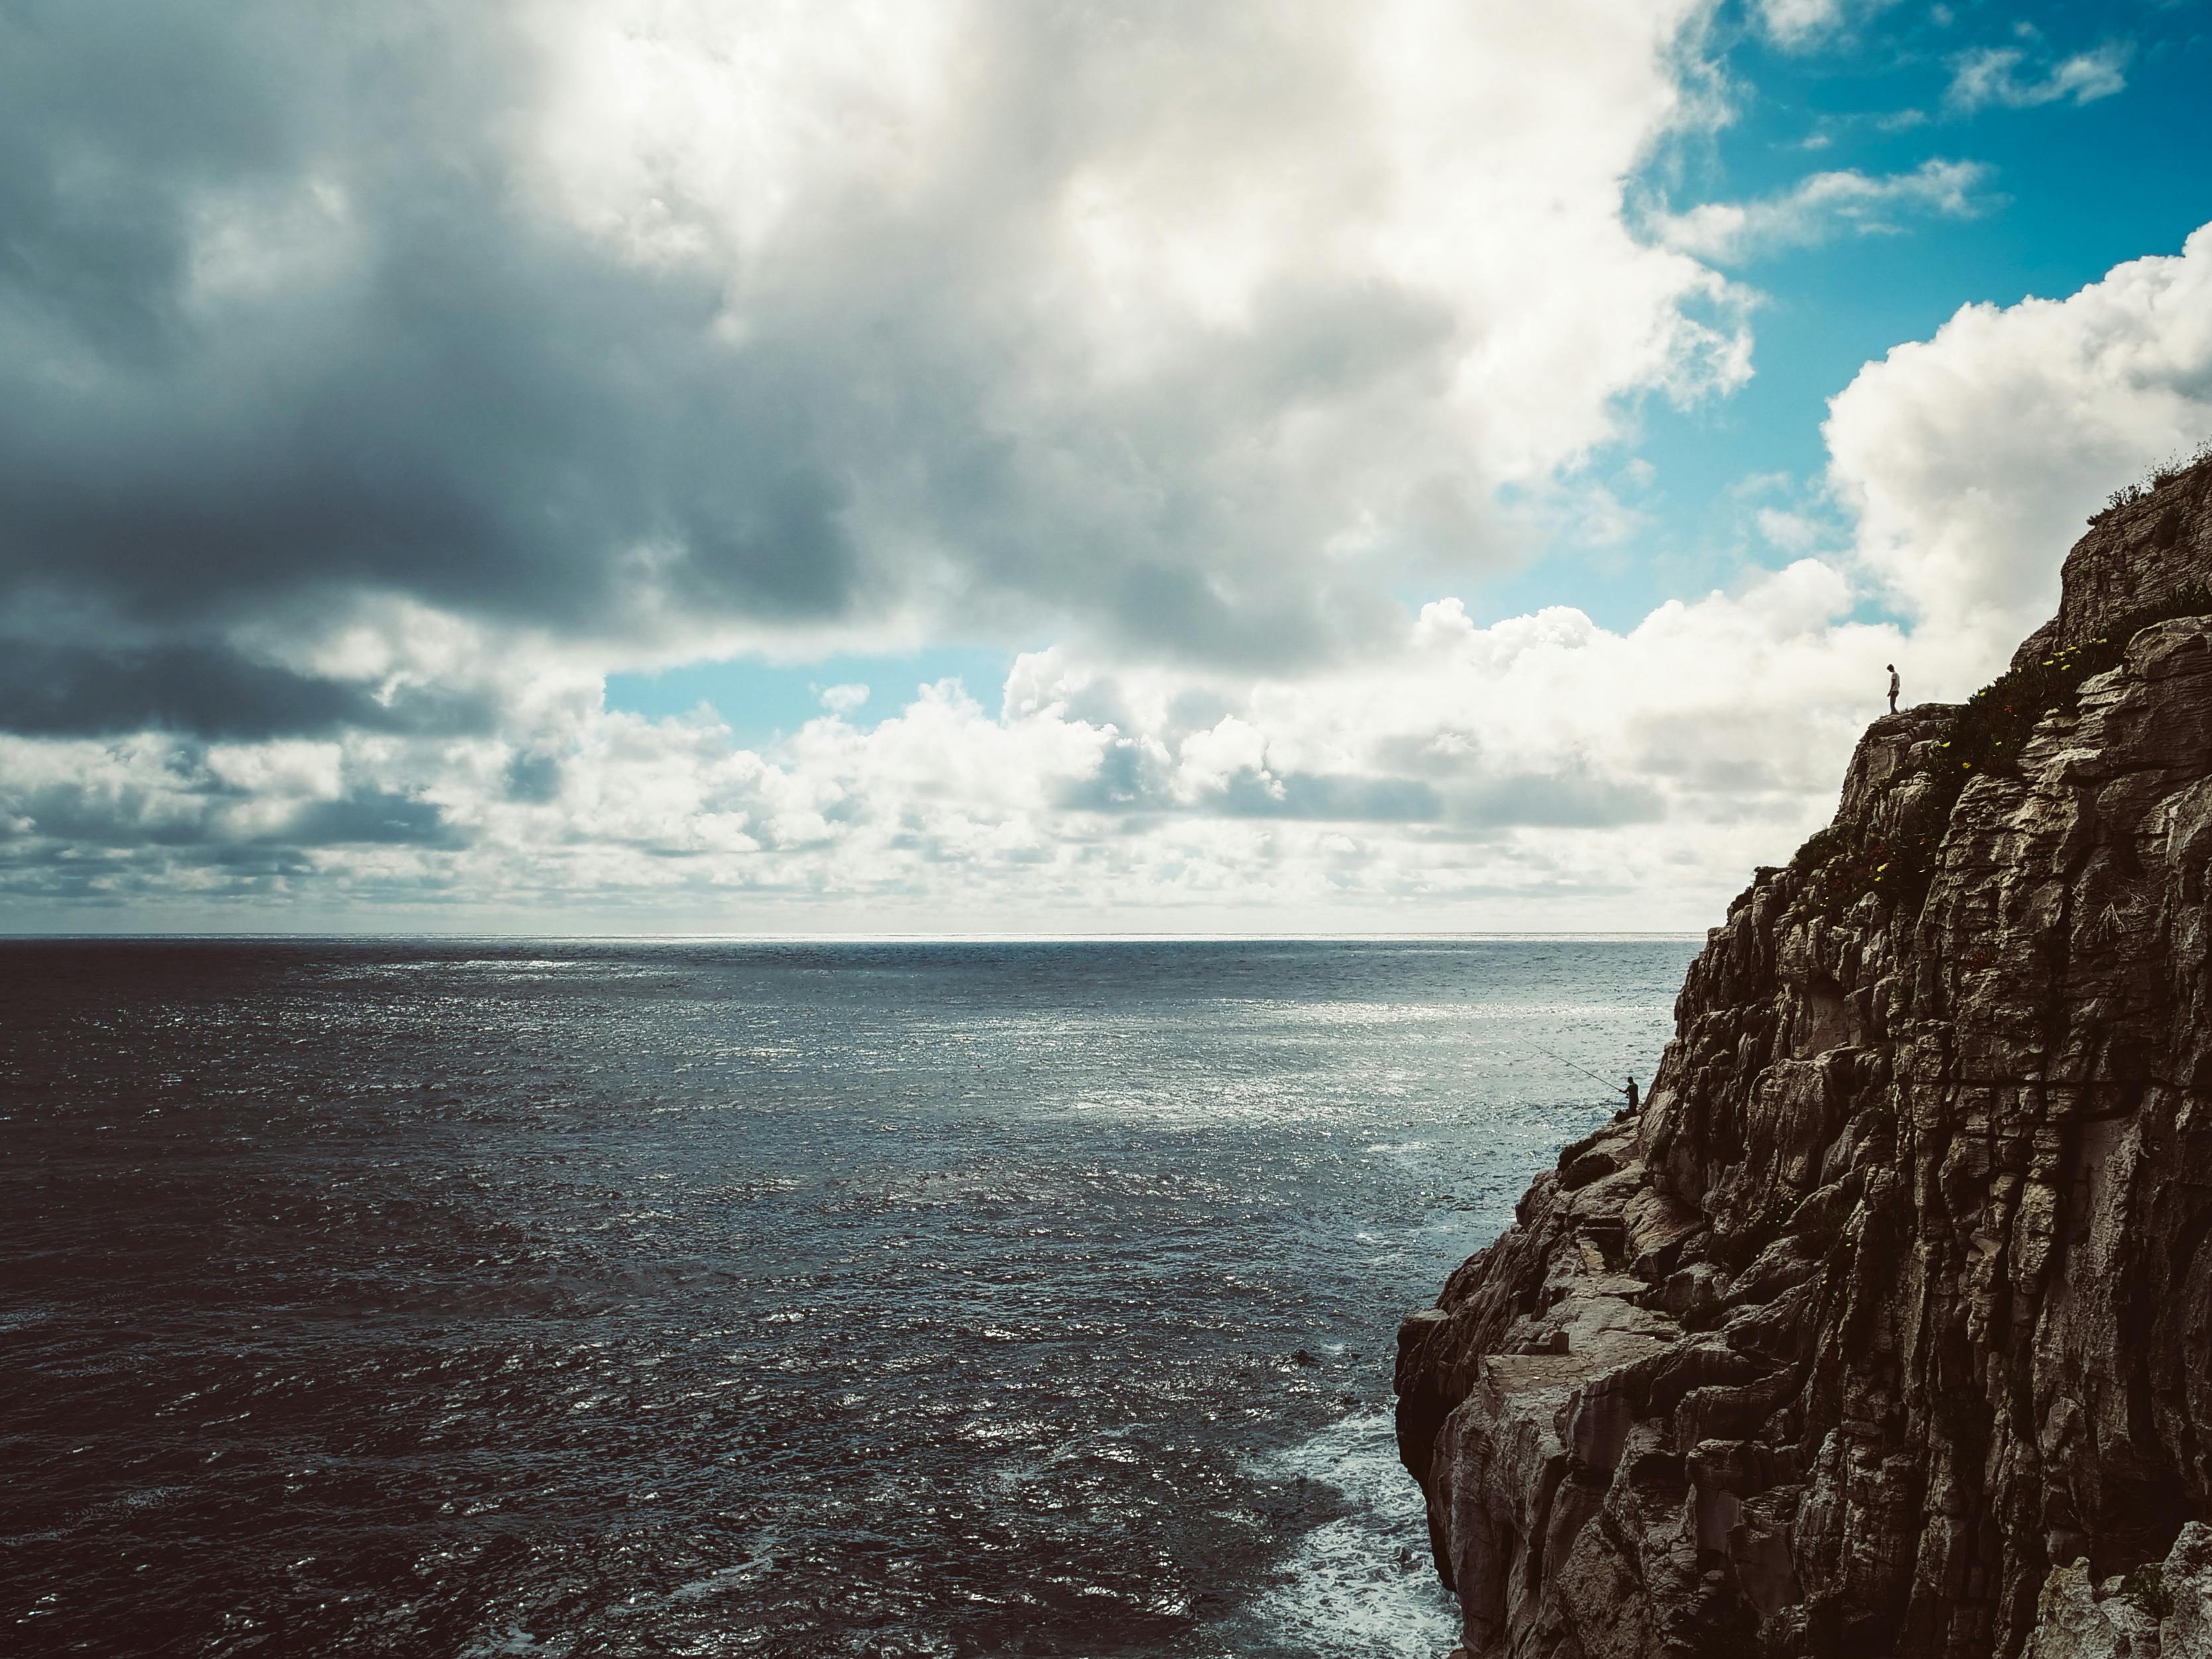
Long exposure photography turns motion into blur while keeping the important parts of a scene crisp. On a cliff walk, it can turn waves, clouds, and fading light into a calm, layered image. Blue hour brings soft color, low contrast, and water with clear shape. It suits a tide line shot, though it leaves little room for error.
Translation missing: en.blog_cta.bundle_heading

- Regular price
-
€42 - Regular price
-
€44 - Sale price
-
€42
By choosing the Camstrap strap, you are opting for a high-quality product designed to meet the needs of the most demanding photographers.
- Developed by a physiotherapist to relieve neck and back pain.
- Fast delivery with tracking by the Post Office 🚚
- Can be used as a shoulder strap or hands-free harness

- Regular price
-
€36 - Regular price
-
€42 - Sale price
-
€36
Translation missing: en.blog_cta.free_shipping_included
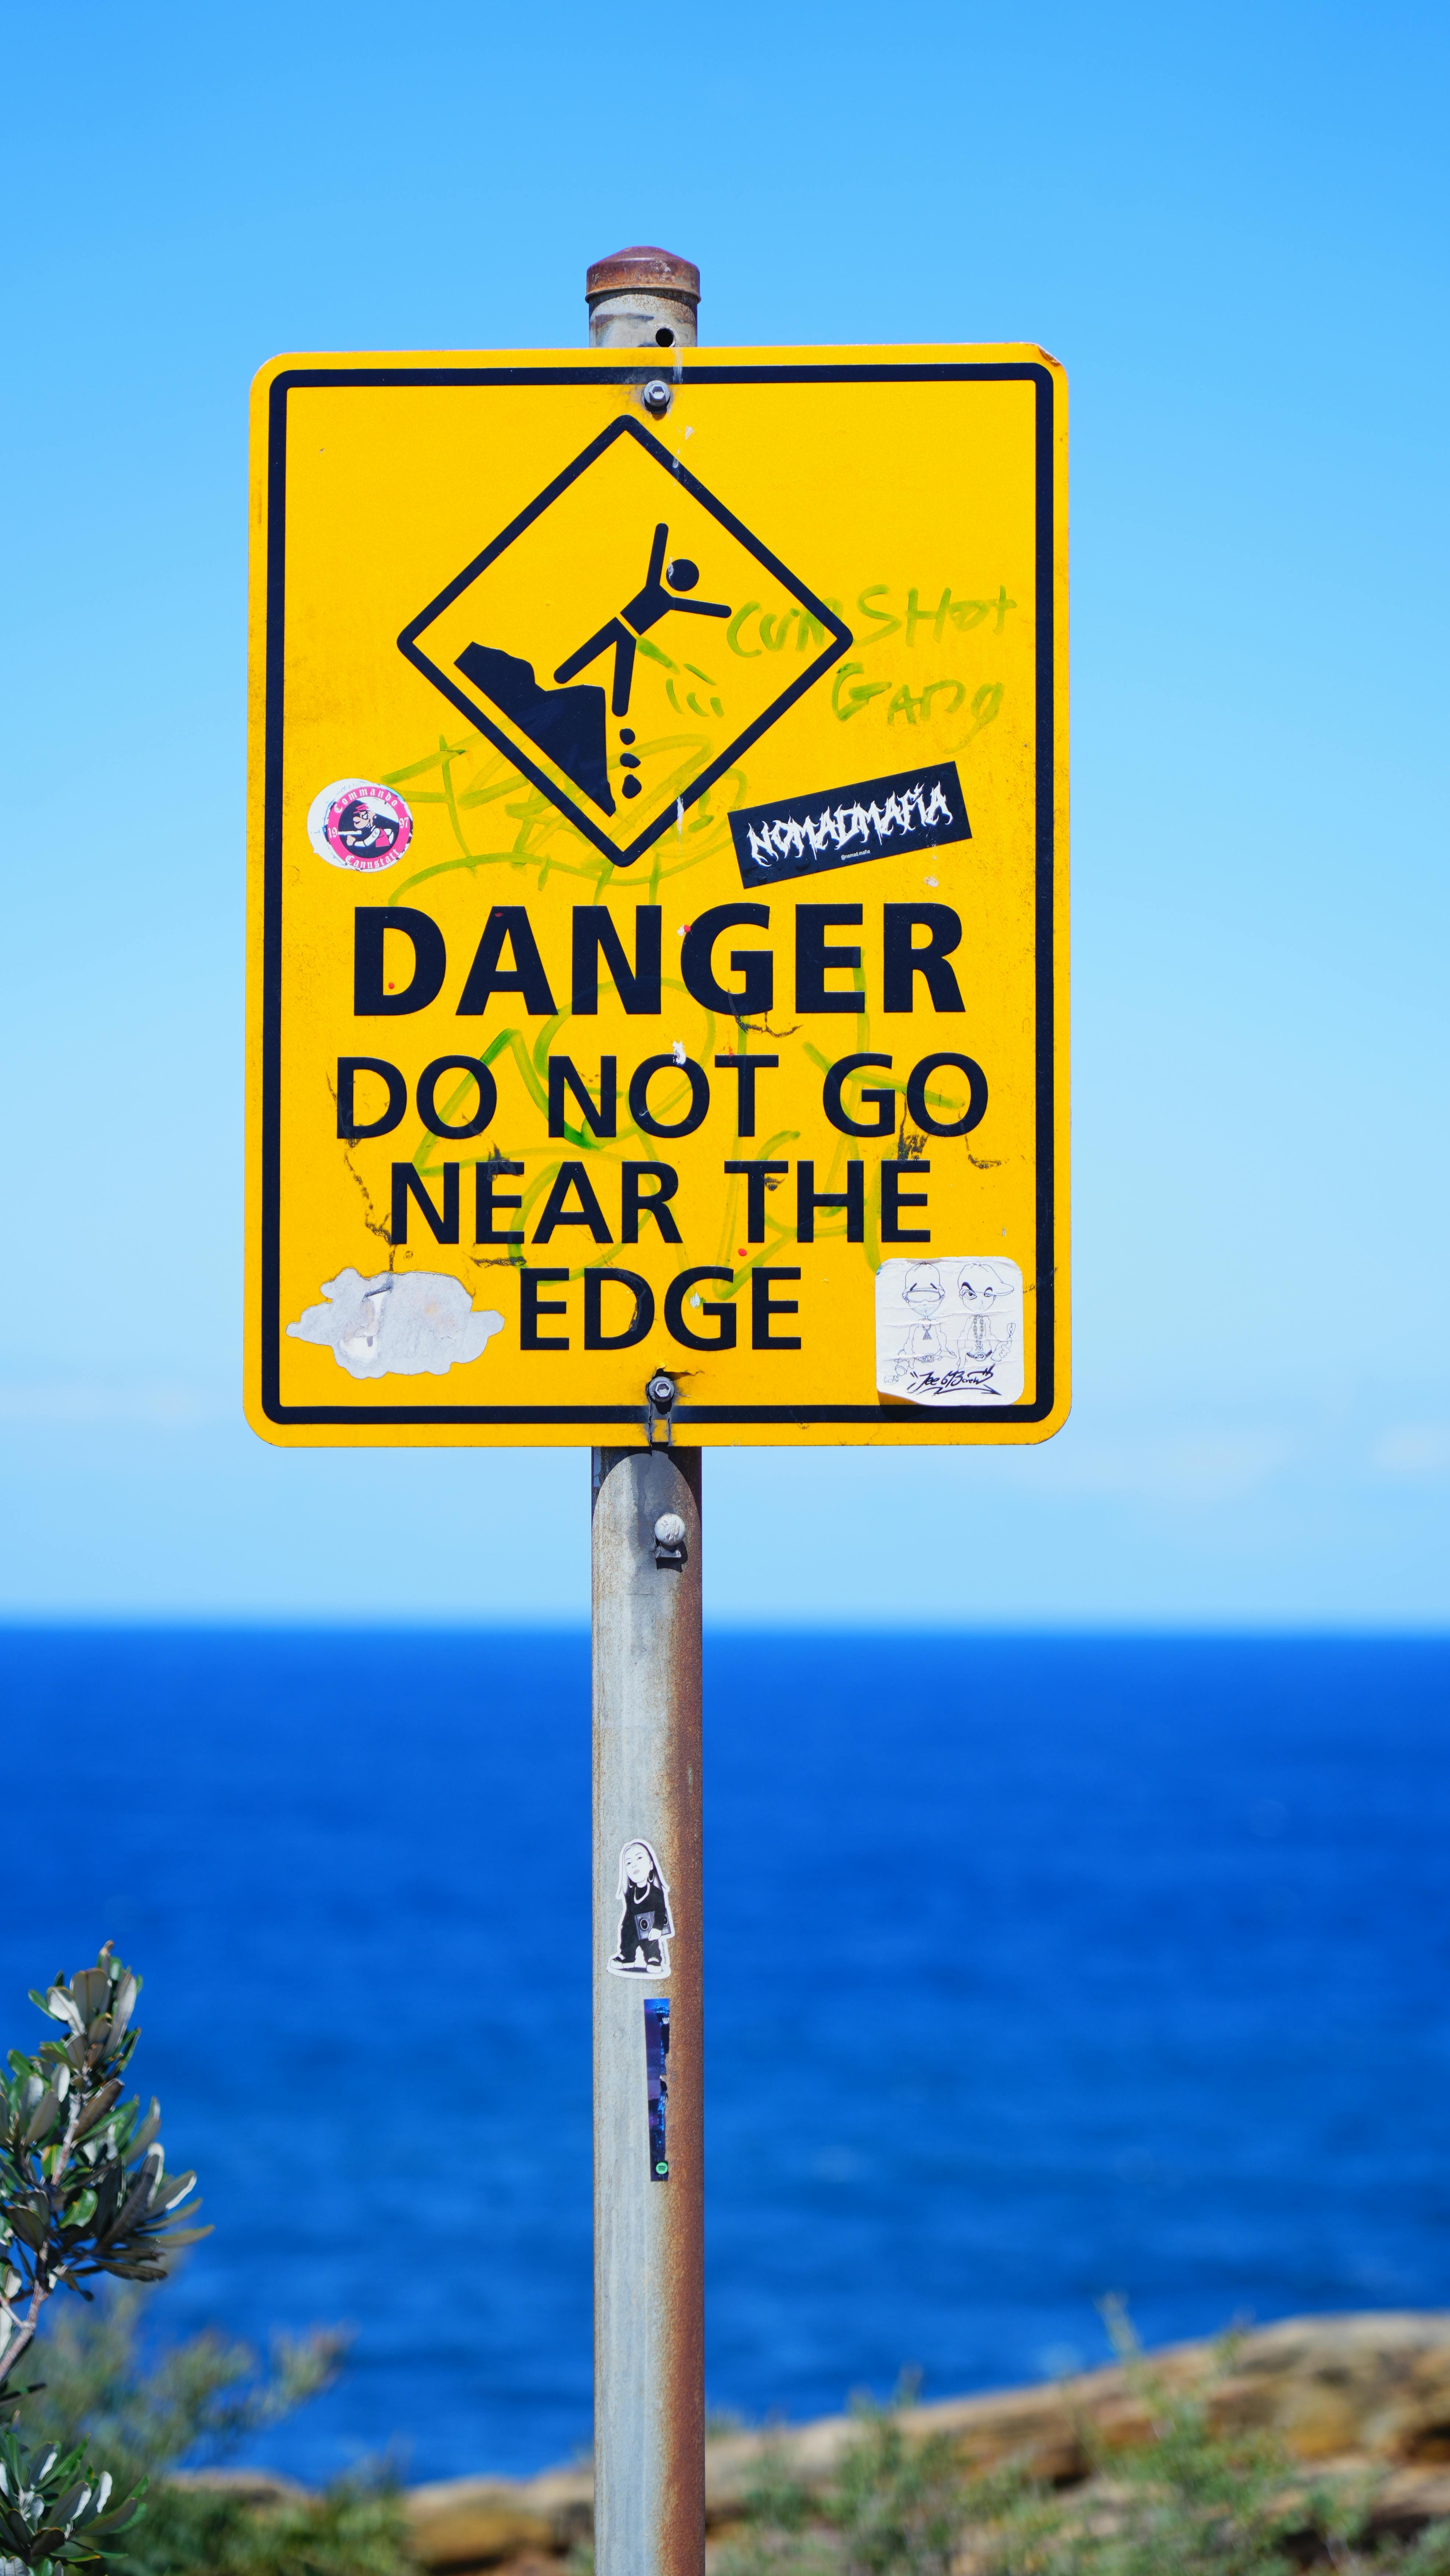
Why the cliff edge changes the whole scene
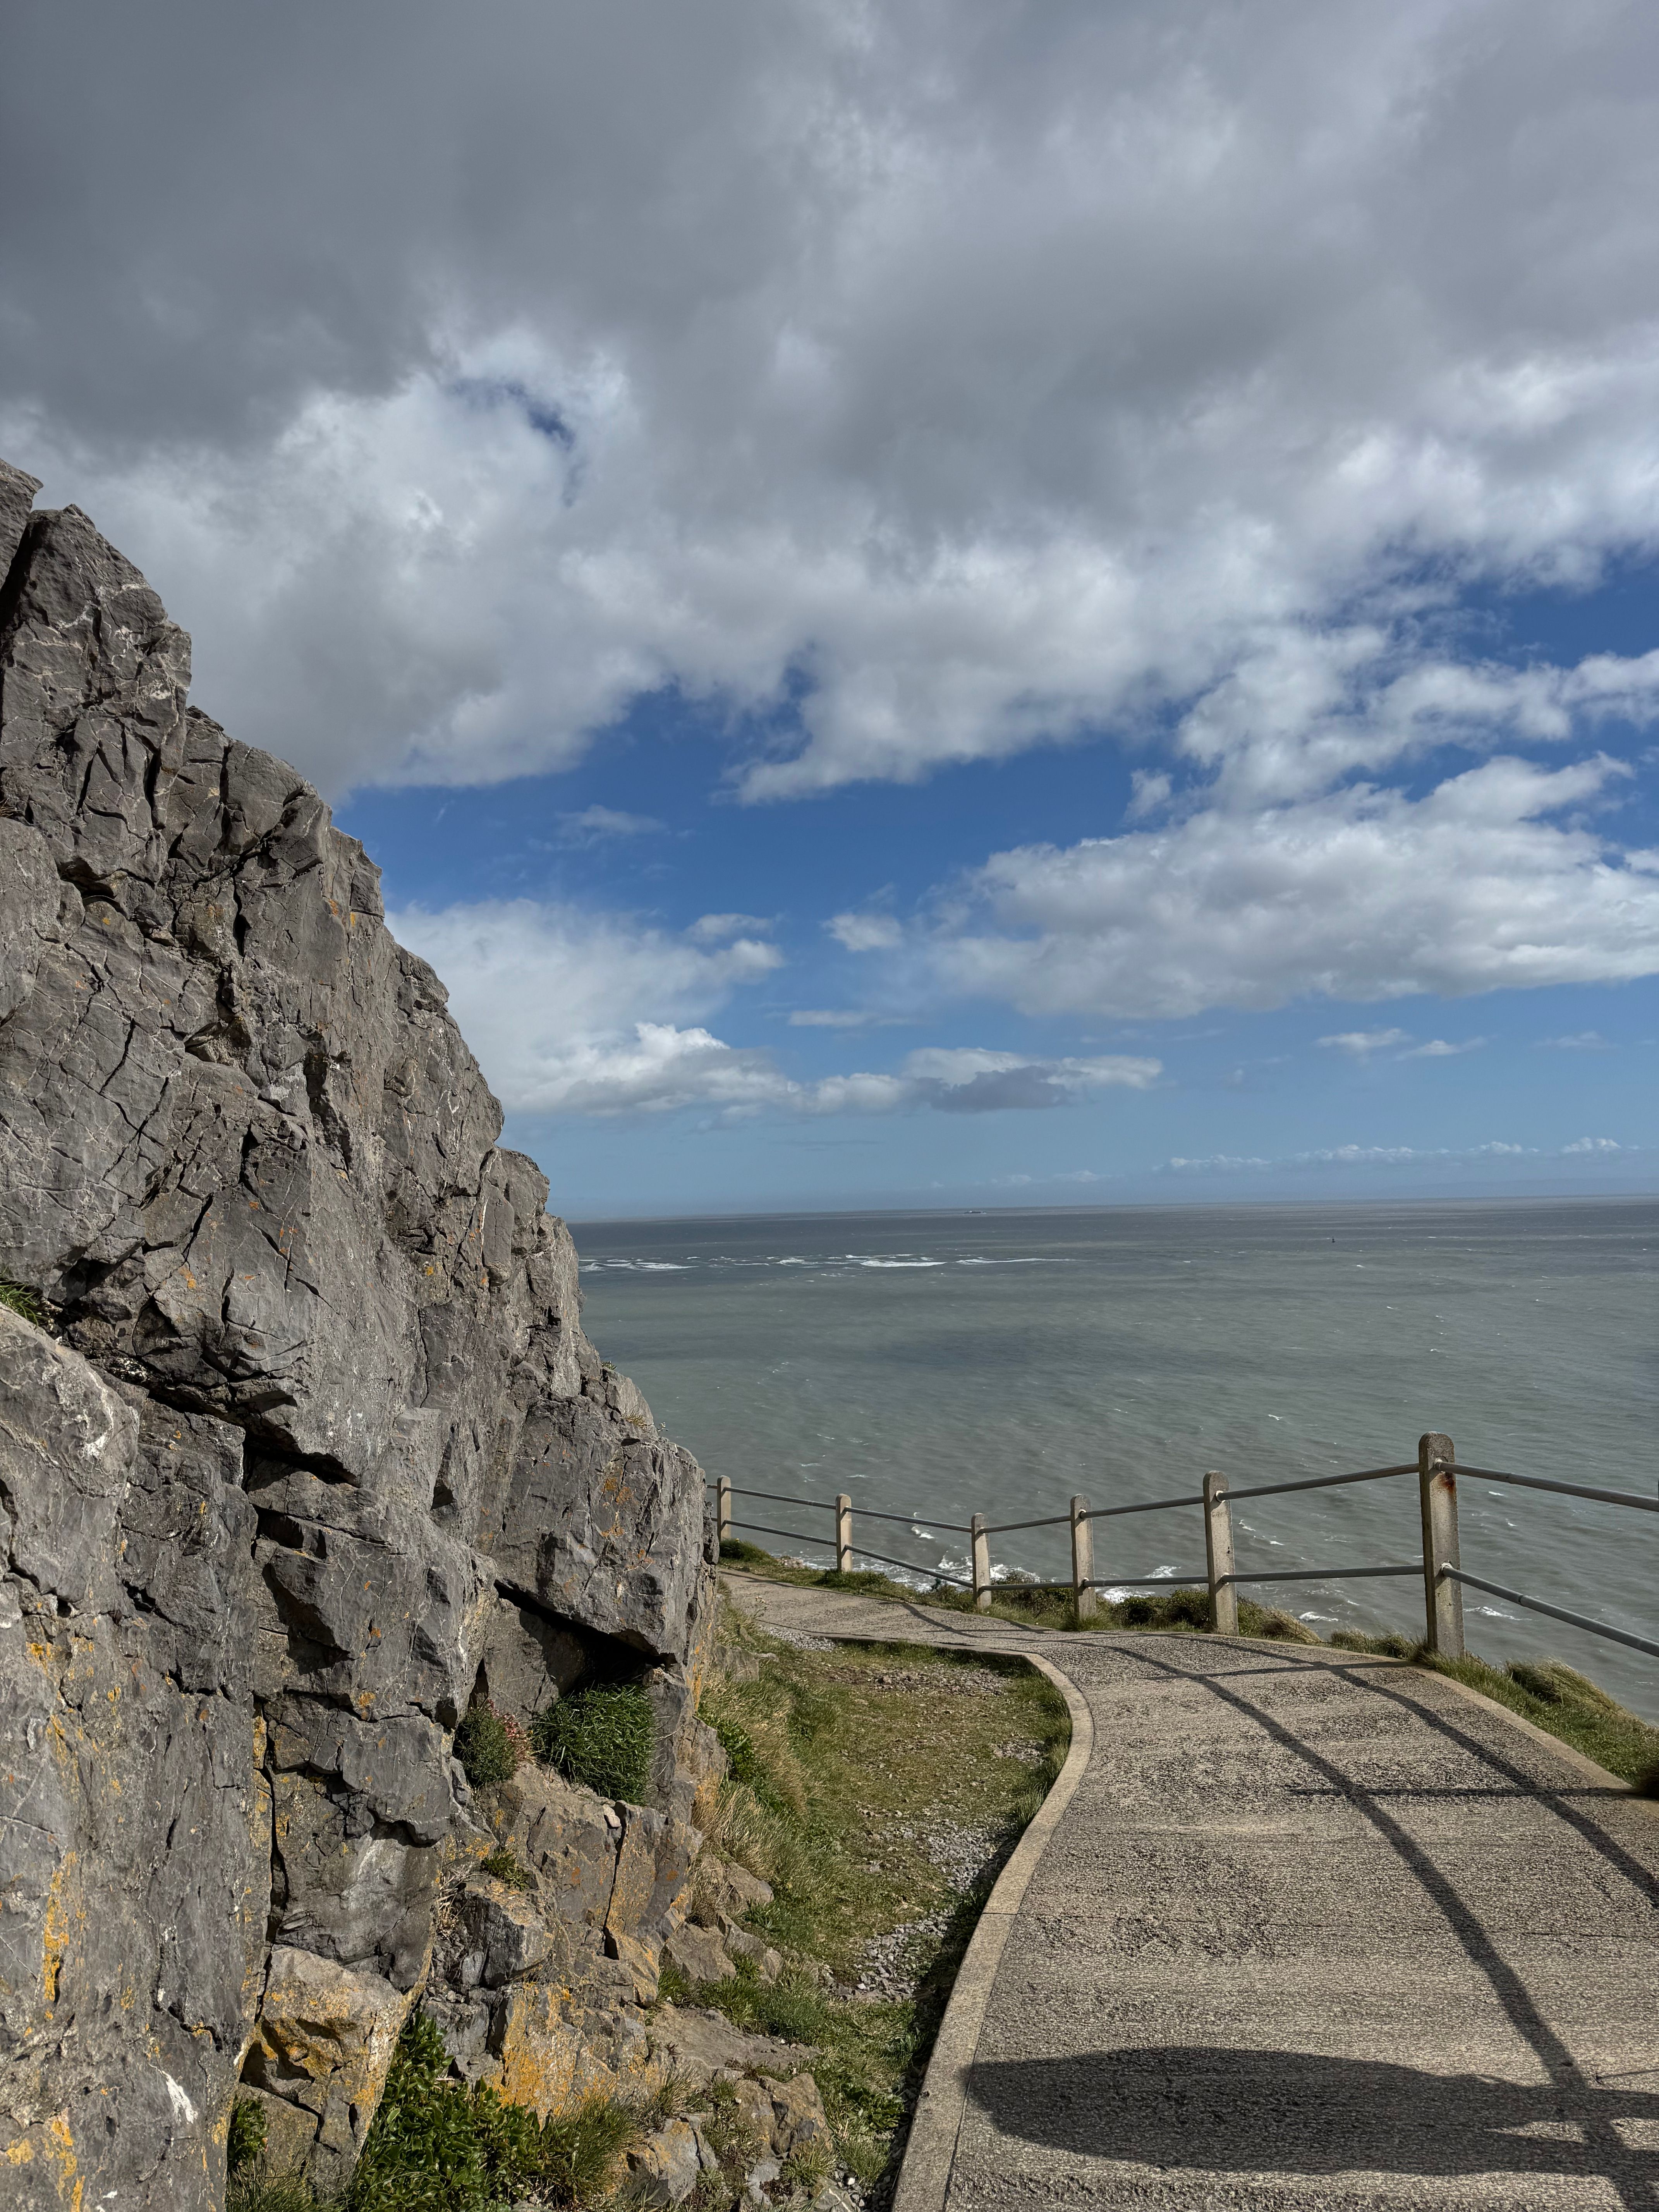
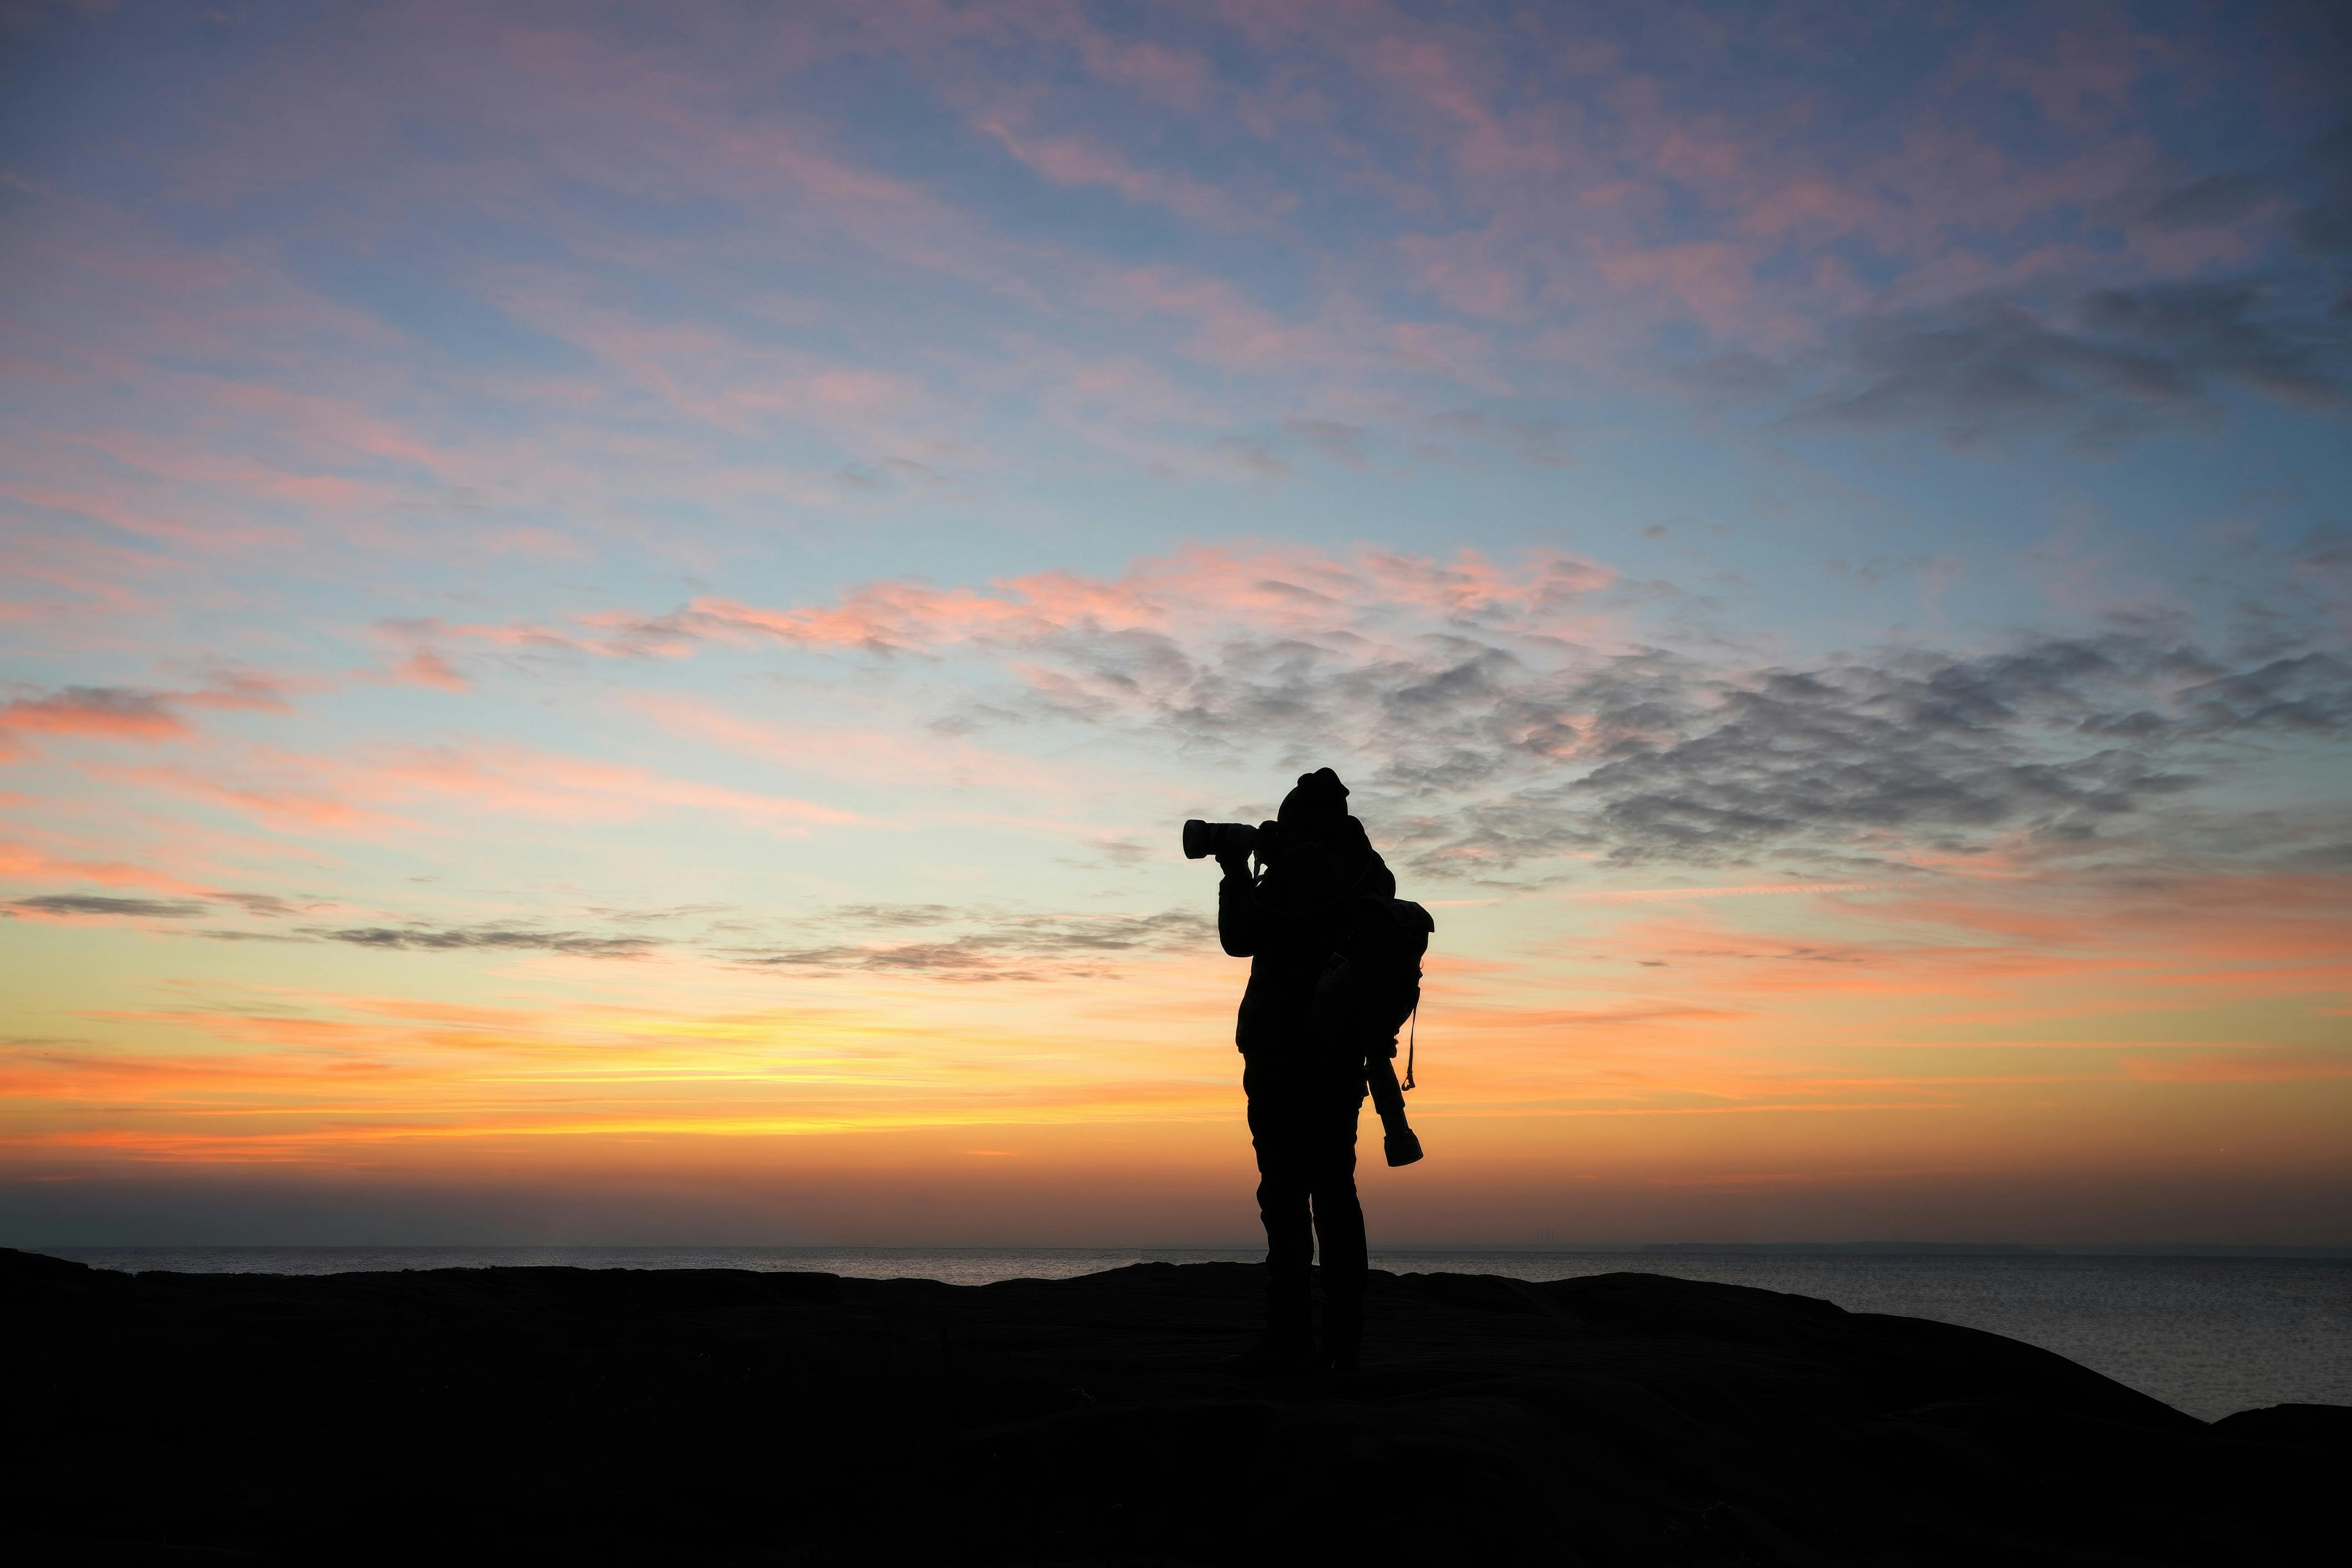
A cliff walk gives you a broad view over the sea, and it also demands caution. You may need to move quickly between markers, climb over rough ground, or change lenses with one hand free. A hands-free carry setup keeps the camera ready while you stay balanced.
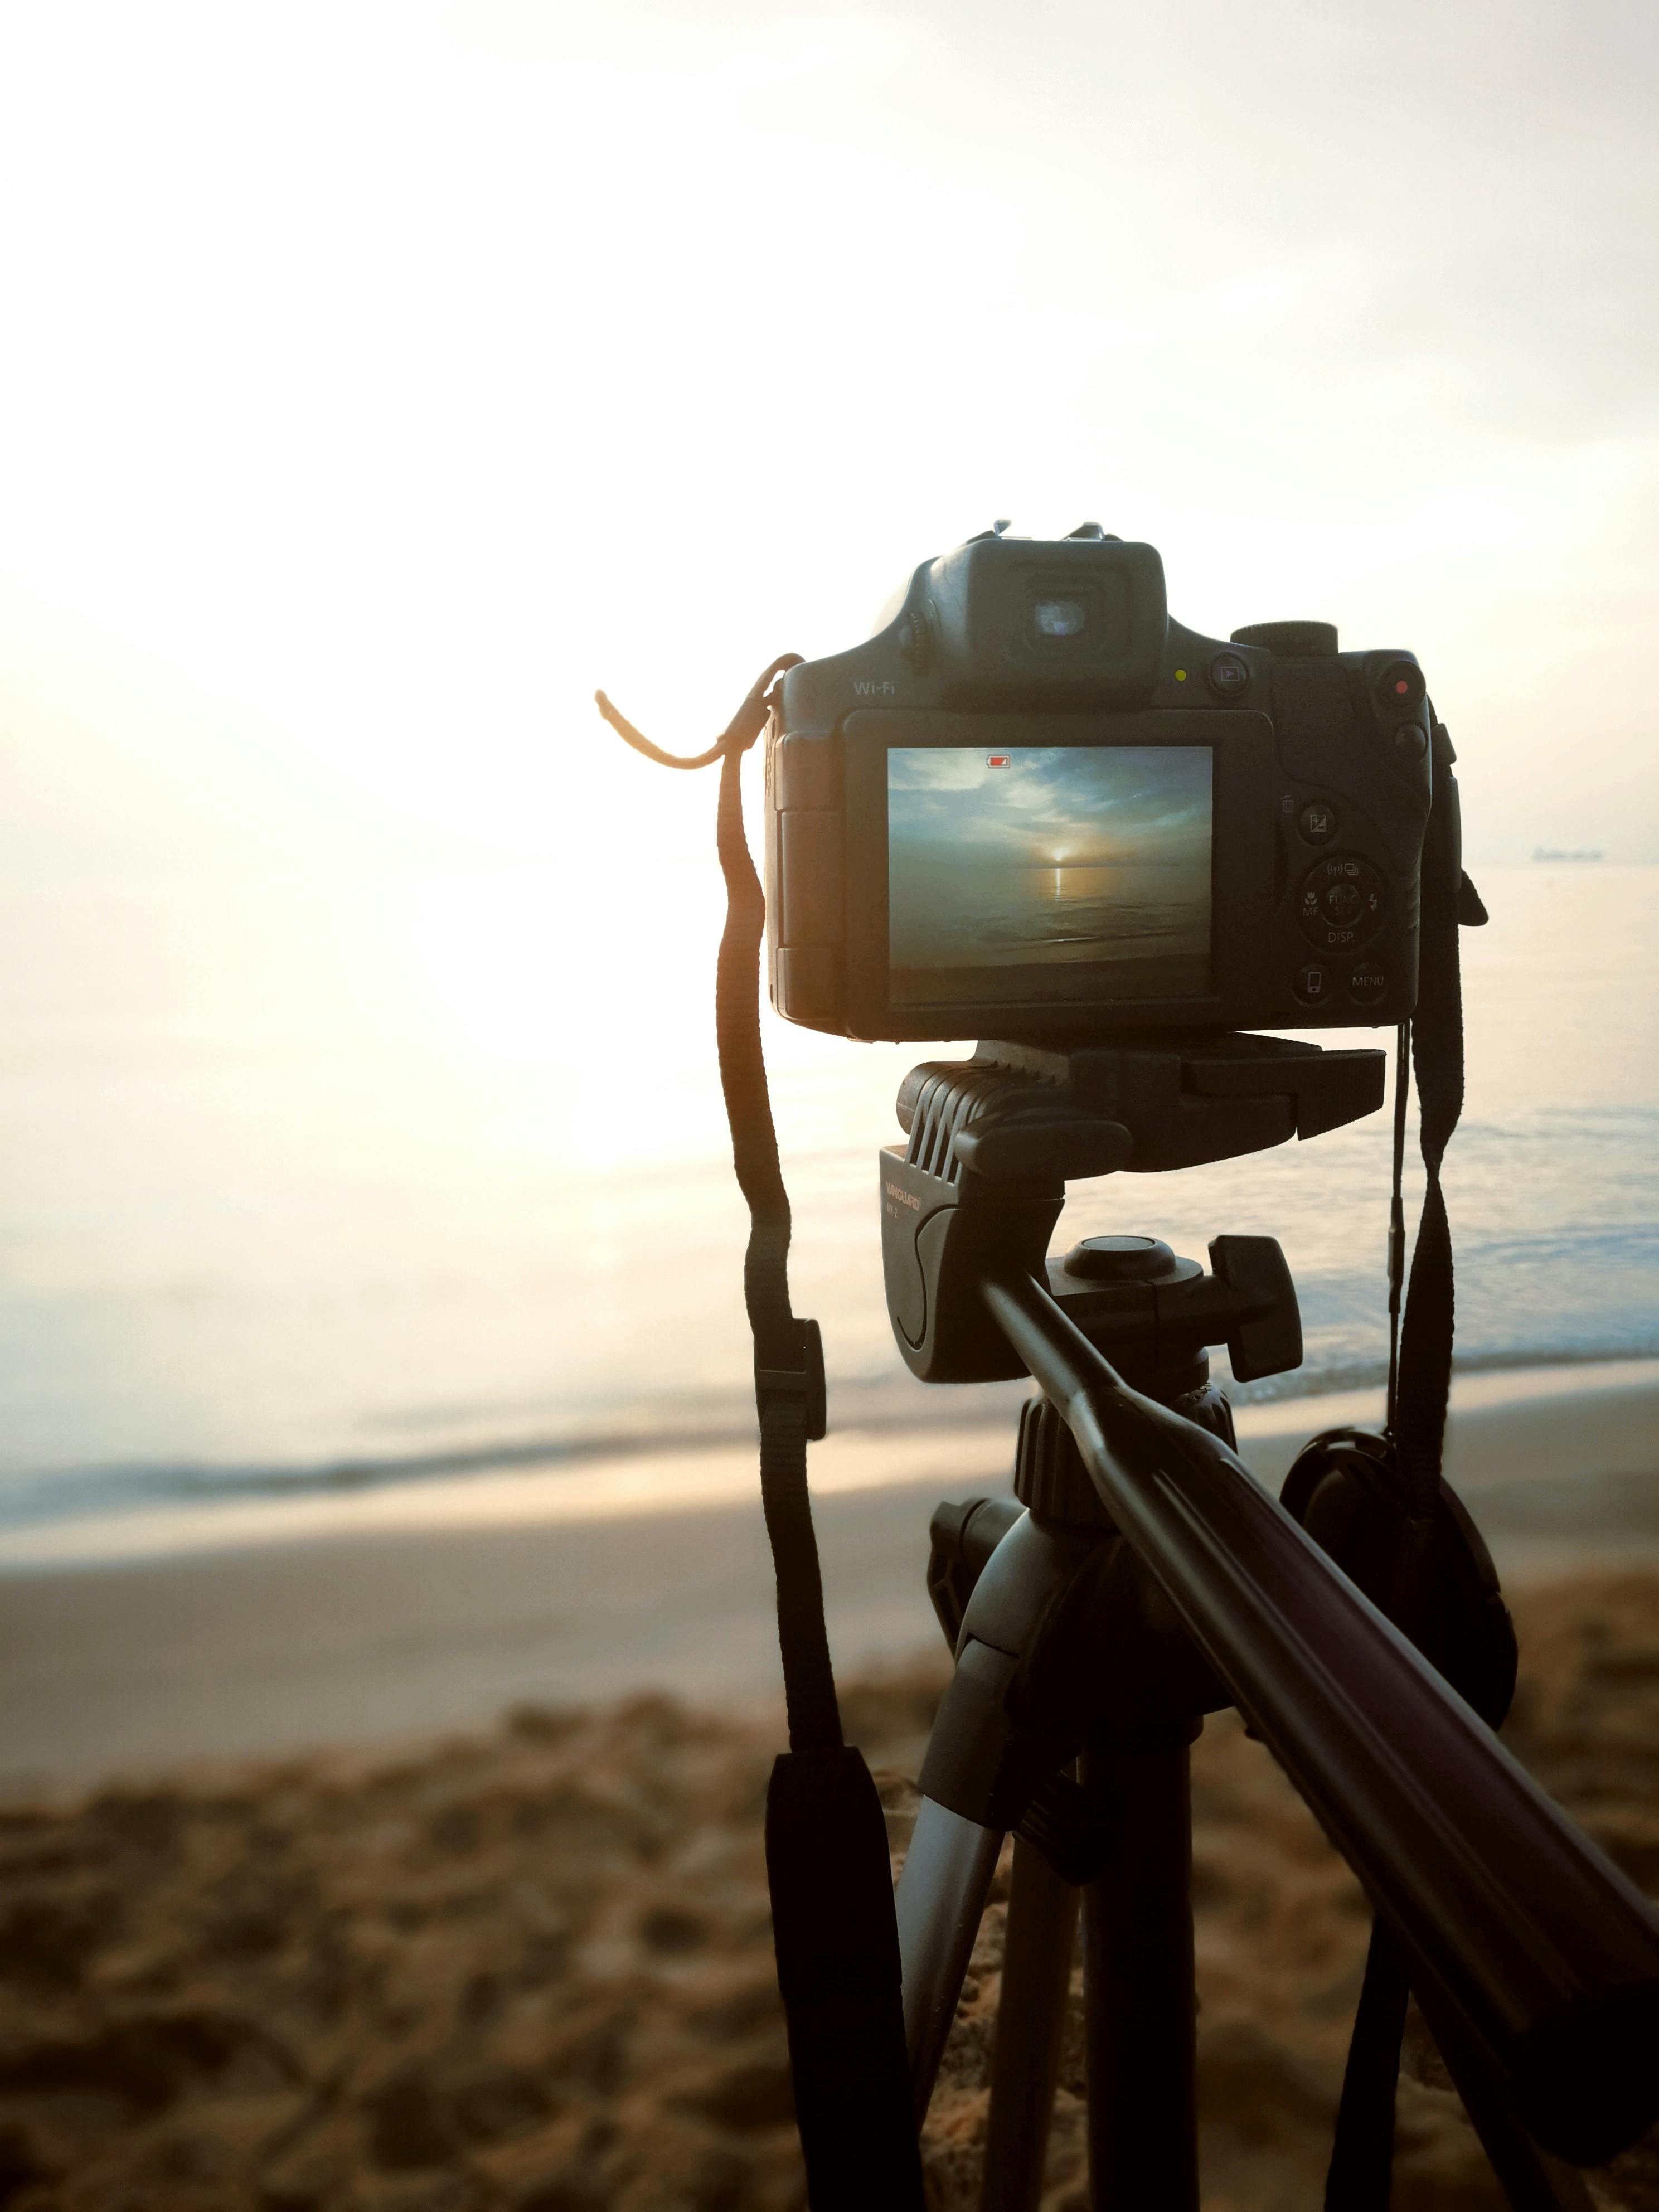
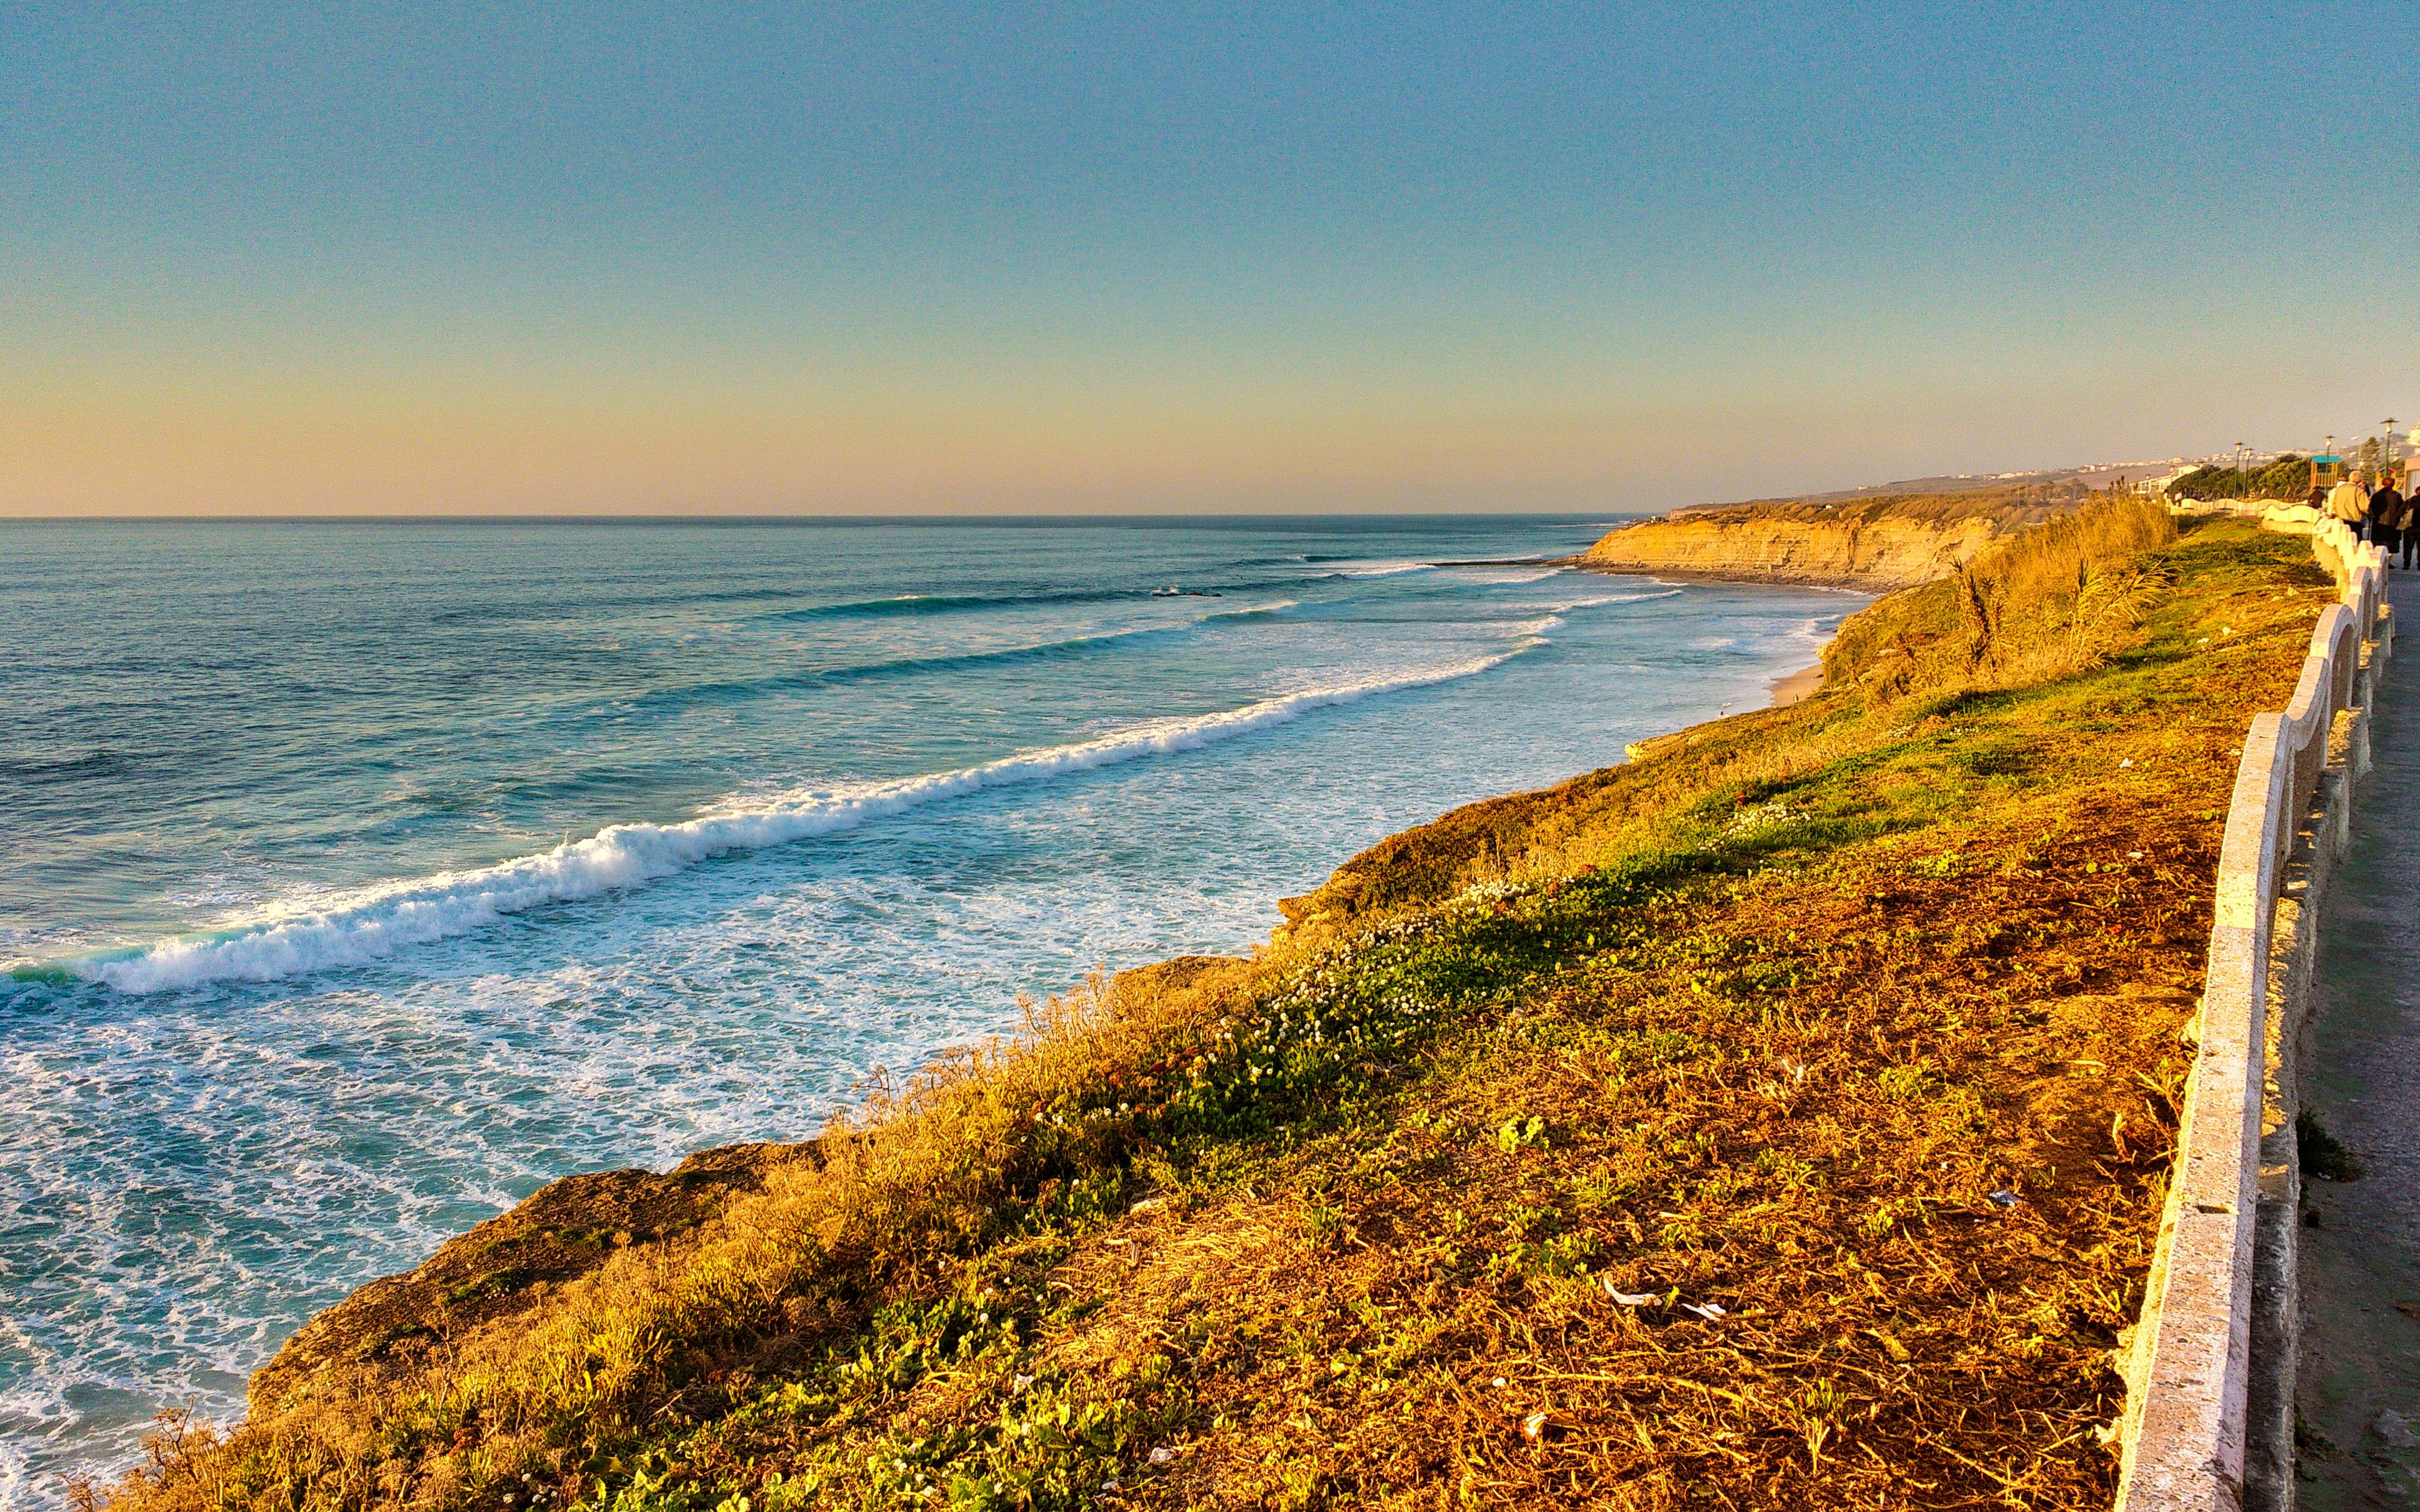
The blue hour tide line works best when the frame has both motion and structure. Water can glow as it slides across rock, while the sky holds a soft band of blue and gold. The result feels deeper than a simple beach shot.
What to look for before you set up
Start by studying the tide line from a safe spot. Look for wet rock, pools, and a clear path where the waves repeat in a steady rhythm. A 50mm to 85mm lens helps compress the cliff edge and the sea, while a wider lens shows more sky and shore.
Let the scene set the pace. Fast-moving water calls for a slower shutter to smooth the foam, while smaller waves usually look better with a shorter exposure that keeps more shape in the water.
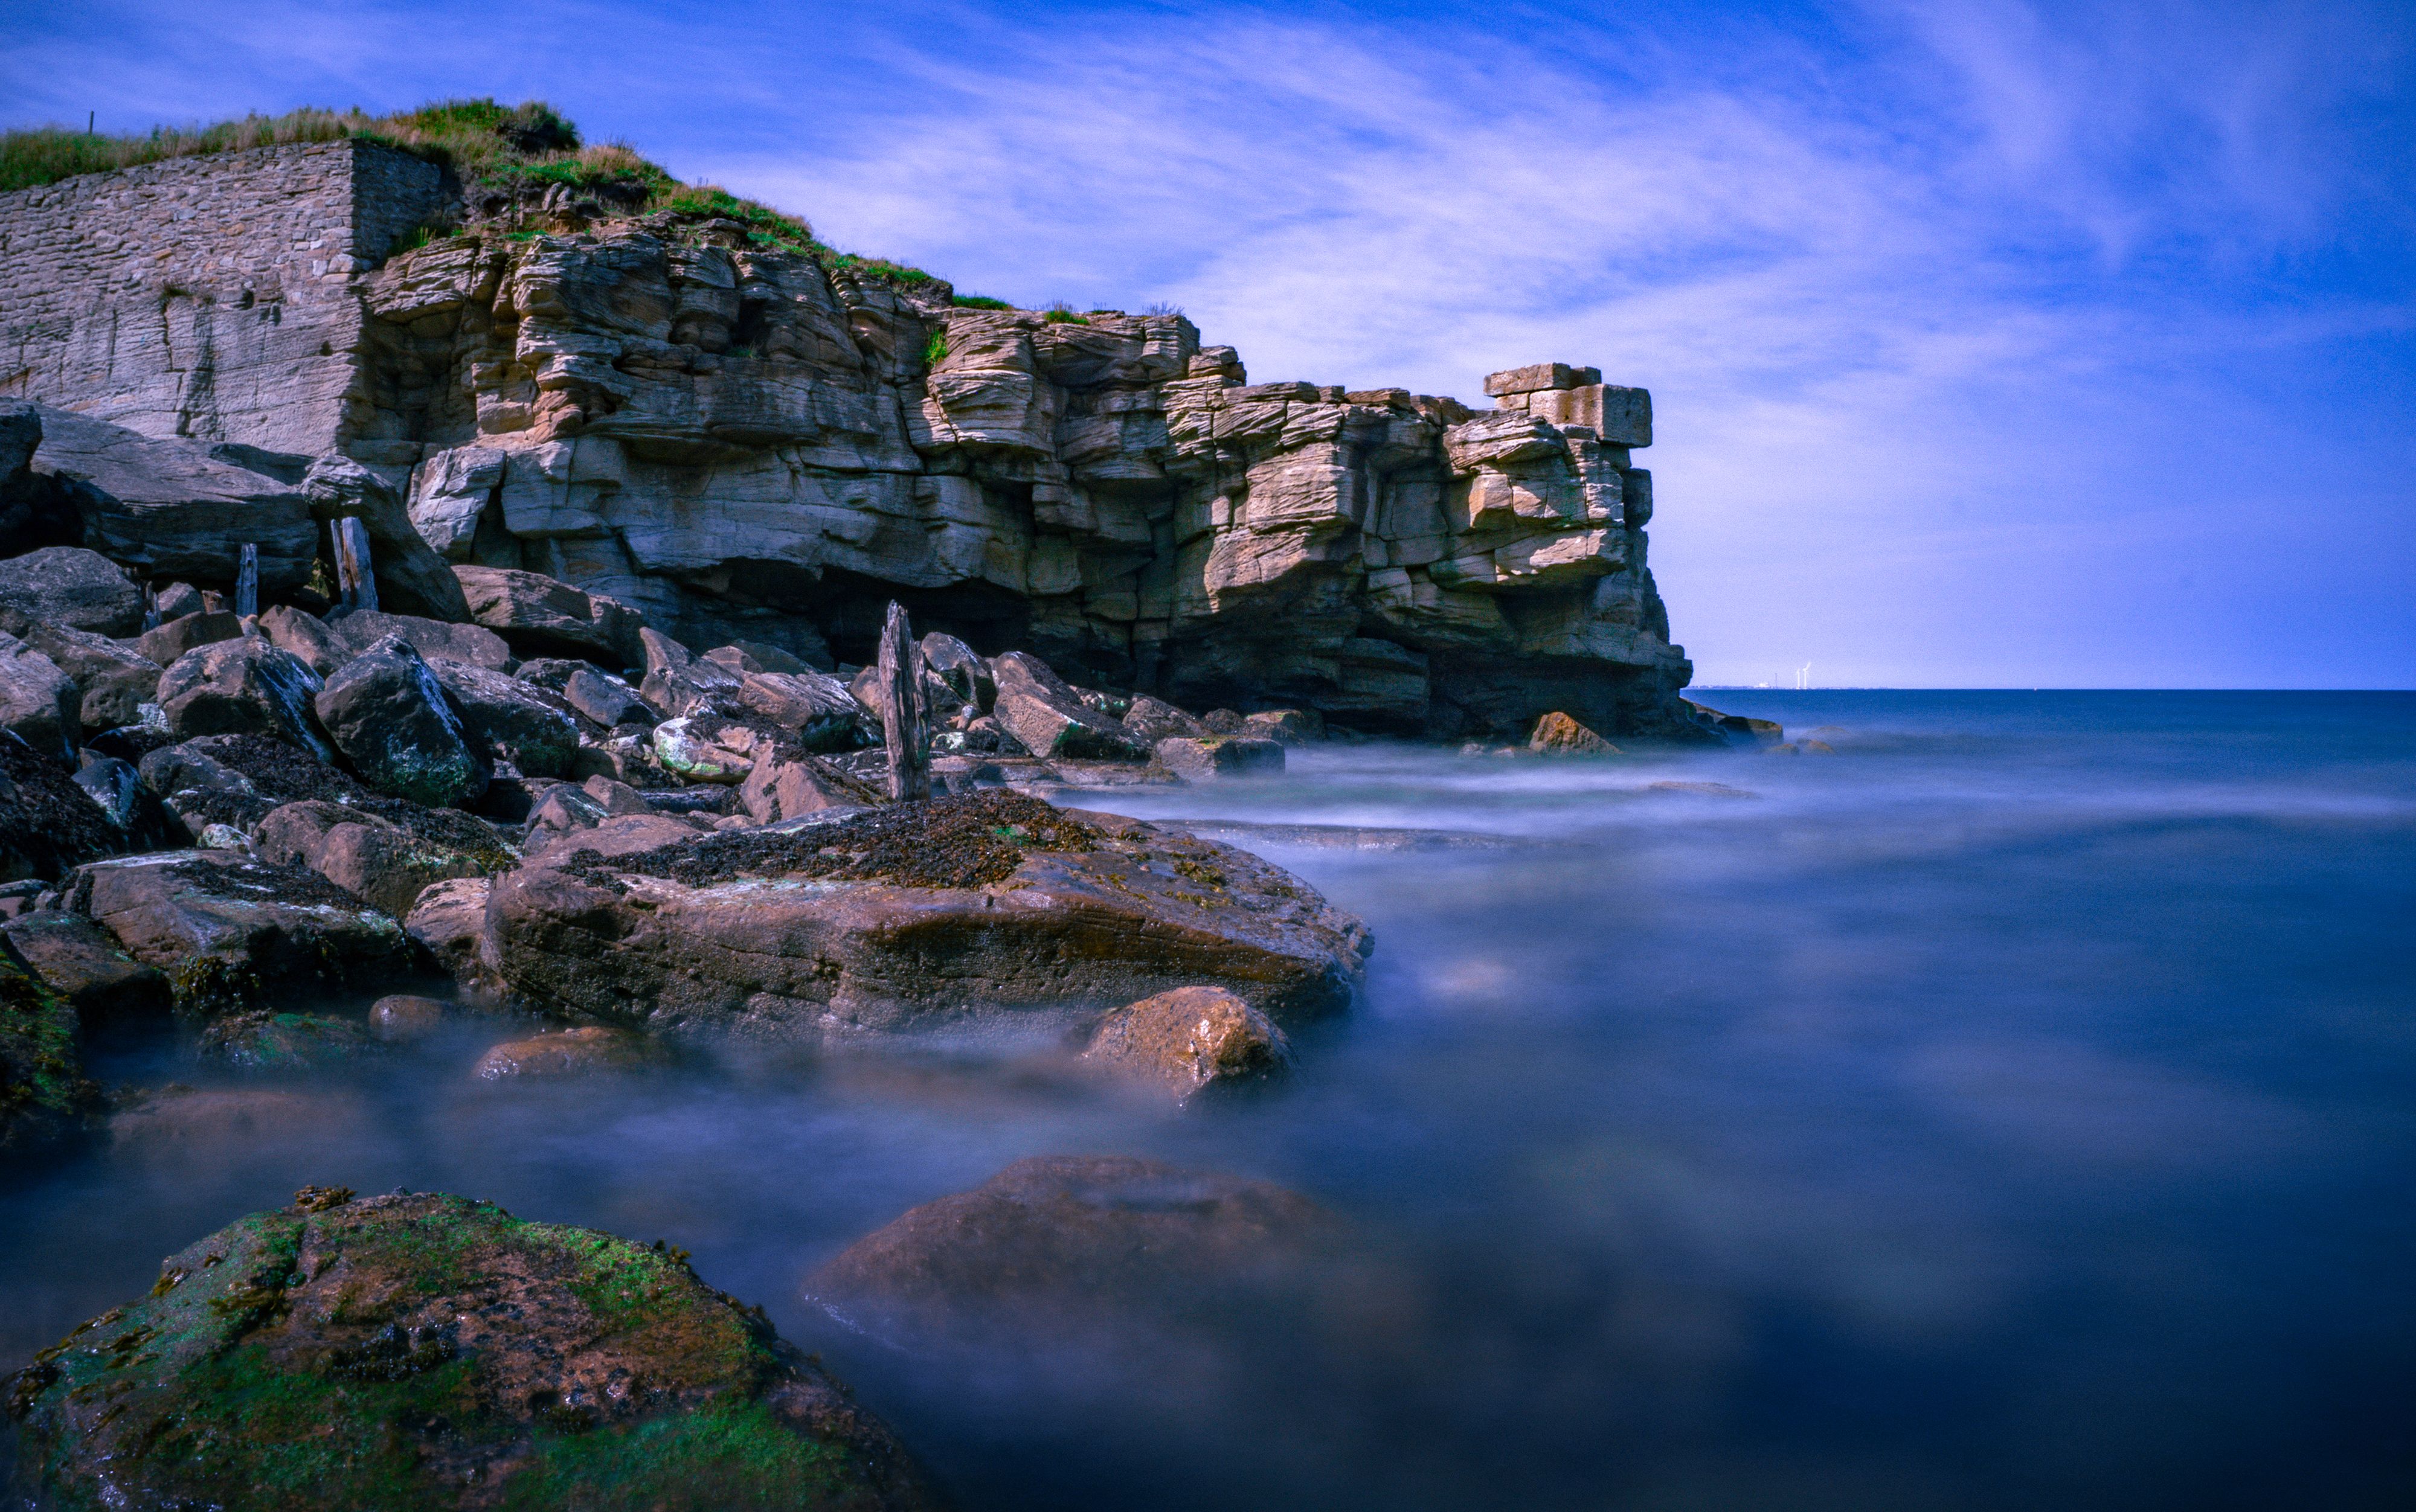
The setup that makes the shot work
Strong results come from a stable base, clean timing, and simple settings. Mount the camera on a tripod, switch to manual mode, and start around f/8, ISO 100, and 1 to 4 seconds for moving surf. If the light fades quickly, lengthen the shutter before you push ISO too far.
Hands-free carry matters here because cliff walks change by the minute. A strap like the Camstrap voyager keeps the camera close and steady while you move, which helps when you need to step, pause, and shoot without delay. It also reduces the chance of swinging gear bumping the rock face.
Core kit for this kind of shoot
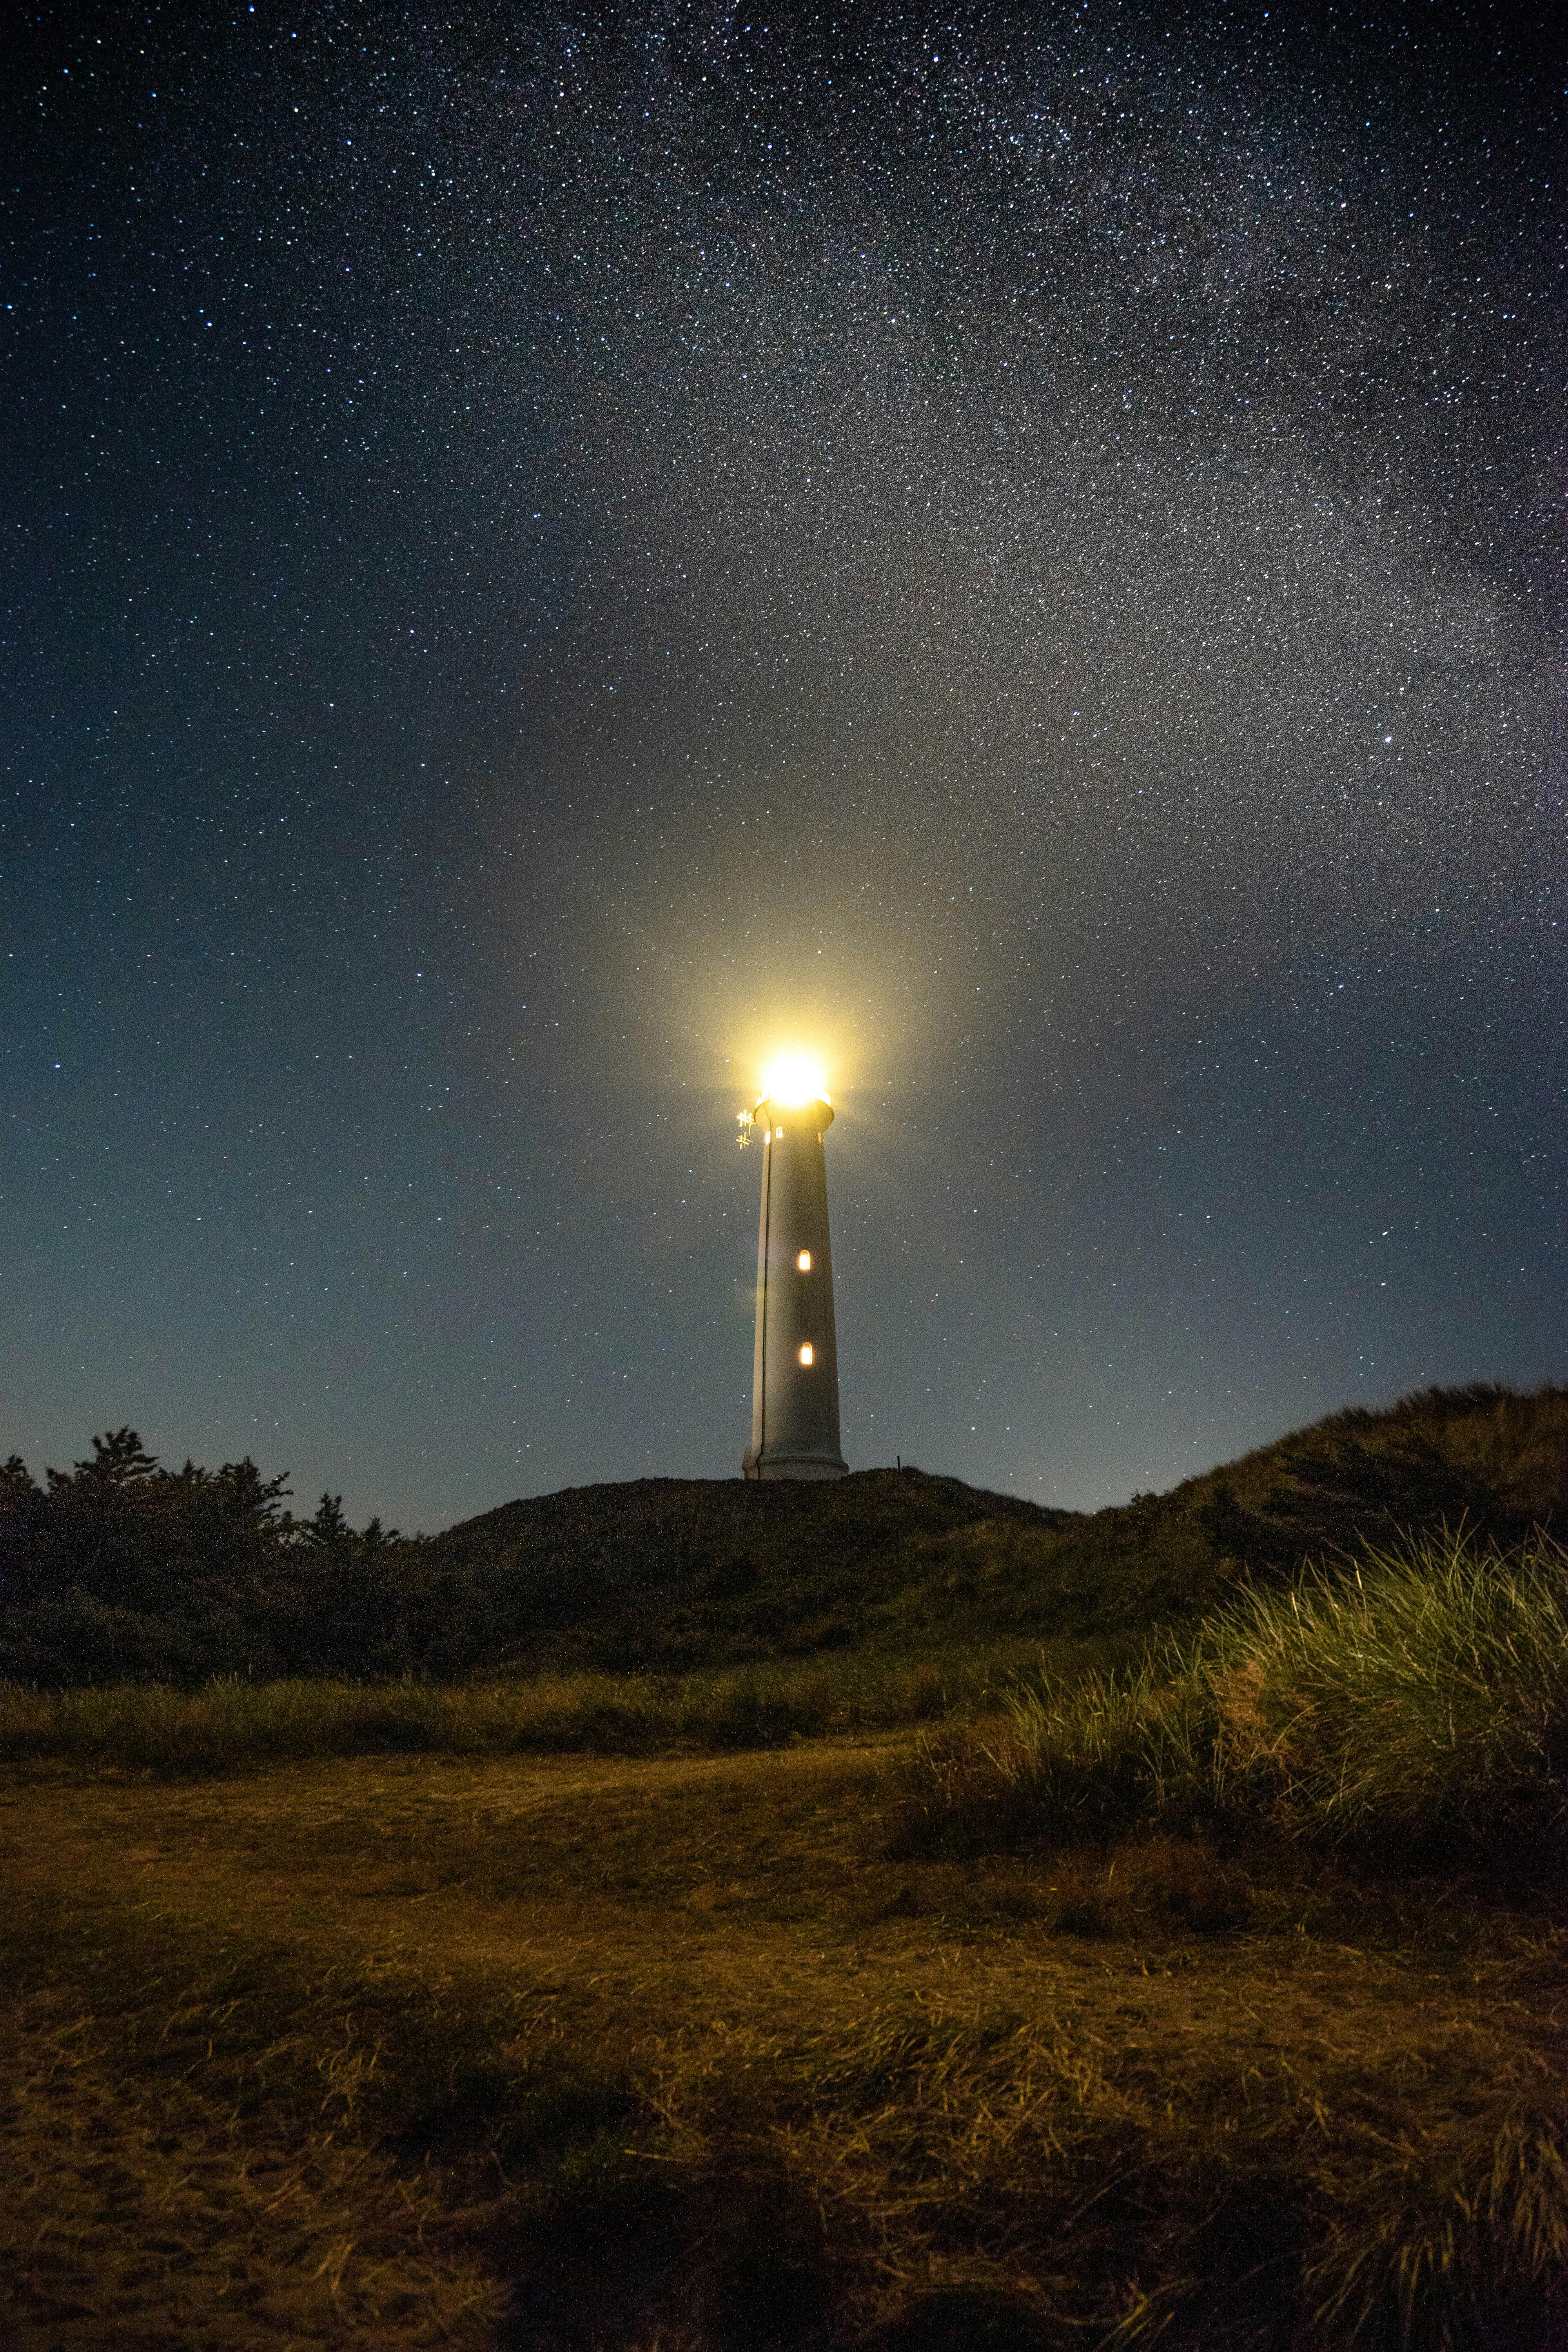
- Tripod with a firm lock and a level head
- Wide or standard lens, often 24mm to 50mm
- Neutral density filter if you need 5 to 30 second exposures
- Microfiber cloth for salt spray
- Spare battery, since cold sea air drains power faster
A neutral density filter gives you more shutter time without overexposing the frame. A 6-stop filter often turns a bright blue-hour edge into a 15-second exposure, which can smooth the surf and keep the sky rich.
Use continuous AF-C or AI Servo only if the scene still has moving parts you want to track before the long exposure. For the final frame, manual focus with live view magnification is usually easier on cliff walks. It avoids focus hunting when the light drops.
How to achieve long exposure photography?
Long exposure photography starts with a slow shutter, a steady camera, and a clear subject plan. On a cliff walk, set the camera on a tripod, choose manual or shutter-priority mode, and test between 1 second and 30 seconds based on wave speed and light.
Check the histogram, not just the rear screen. Blue hour scenes can look darker on screen than they are in the file, and the histogram shows whether the highlights on wet rock are still safe.
- Set ISO to 100 or the base ISO on your body.
- Choose an aperture near f/8 to f/11 for good depth and sharpness.
- Use a shutter time that blurs the water but keeps the rocks defined.
- Meter the brightest part of the sky or foam, then adjust in small steps.
- Trigger with a 2-second timer or remote to avoid shake.
One strong starting point is 2 seconds at f/8 and ISO 100. If the surf still looks too stiff, move to 4 or 6 seconds. If the light drops too fast, open to f/5.6 before you raise ISO.
In very dark blue hour light, live view brightness can mislead you. Use exposure simulation if your camera has it, but trust the histogram more than the preview glow.
What is the 500 rule for long exposure?
The 500 rule is a quick guide for the longest shutter speed you can use before star trails or visible blur appear in night sky shots. It divides 500 by the focal length, then adjusts for crop sensor cameras, so a 24mm lens on full frame gives about 20 seconds. For a cliff walk at blue hour, the rule is less about stars and more about understanding motion limits. It shows how focal length changes the blur you see, and a longer lens makes small movement show up faster.
Why the rule still helps at the shore

Even when you are not shooting stars, the 500 rule gives you a rough way to think about shake and scene motion. A 50mm lens shows more camera shake than a 24mm lens at the same shutter time. That means a longer view needs firmer support and a cleaner trigger.
Modern cameras can also be less forgiving than the rule suggests. High-resolution sensors show tiny blur more clearly, and many photographers stay well below the rule when they want crisp detail. At the shore, that means treating 20 seconds as a ceiling, not a goal.
Where mistakes creep in at blue hour
Common mistakes in long exposure happen fast on a cliff walk because the light changes every few minutes. One of the biggest errors is setting up too close to the edge, which makes it hard to work with calm hands. Another is forgetting that salt spray can soften contrast and leave drops on the front glass.
Focus errors show up often too. If you refocus after framing, the camera may lock on a bright foam patch instead of the rock line you wanted. Manual focus with magnified live view gives you more control.
Problems worth avoiding
- Using too slow a shutter for the wave size, which turns the scene to mush
- Leaving image stabilization on a tripod when your lens warns against it
- Raising ISO too high and losing the soft blue tone
- Checking the LCD after every frame and wasting the best light
- Standing in one spot too long and missing better tide lines nearby
Buffer limits are rarely the issue here, because long exposure shooting is usually slow and deliberate. Battery life is the real limit, since mirrorless bodies drain faster with a bright EVF or LCD in low light. Keep review off when you can, and carry a charged spare.
One more tradeoff matters on the coast. A strong ND filter helps with motion blur, but cheap glass can add a color cast and reduce contrast. If the blue hour color starts to look muddy, remove the filter and shorten the exposure instead.
How should the 20-60-20 rule be used here?
The 20-60-20 rule is a simple composition guide that gives the top 20% of the frame to sky, the middle 60% to the main subject, and the bottom 20% to the foreground or base. On a cliff walk, it can help you place the horizon, tide line, and rock shelf with more balance.
Use it as a starting layout, not a fixed law. A lower horizon works well when the sky still holds color, while a higher horizon can give more weight to the tide pattern and wet stone.
Ways to tune the frame
If the cloud band is strong, give the sky more space than the rule suggests. If the water is doing the heavy work, let the tide line own the center strip and keep the foreground clean. Small shifts of even 5% can change the mood a lot.
Watch the edge of the frame as closely as the center. A stray sign, a bright splash, or a distracting footpath can weaken the whole shot. One careful step left or right often fixes the problem without any crop later.
Tools and settings that save time on the rocks

Fast setup matters because blue hour fades in minutes, not hours. Use back-button focus only when you need quick pre-focus checks, then switch to manual focus for the frame. If your camera offers pre-capture or pre-burst, save it for fast wave moments; it is more useful for action than for long exposures.
Card speed matters less than steady workflow, yet it still helps. UHS-II V60 or V90 cards clear files faster than UHS-I, which matters if you shoot RAW and want quick review. A mid-tier body may slow after roughly 20 to 40 RAW frames in fast bursts, but that is usually far beyond what a tide-line session needs.
For sorting later, flag the best frames in Lightroom or Photo Mechanic before you start deep edits. That keeps the keepers from getting lost in a set of nearly identical wave studies.
Practical field habits

- Set a custom mode for blue hour with ISO 100, f/8, and a safe shutter range
- Use a lens cloth after every few frames if spray is present
- Pack a headlamp with a red mode for the walk back
- Keep one eye on the tide chart and one on the horizon line
Small habits add up at the coast. A clean front element, a stable stance, and a clear mode preset can save the shot when the sky peaks for only a few minutes. This is the real edge of the work.
Blue hour cliff work rewards patience, but it also rewards simple systems. When the tide line glows and the water smooths into silver bands, the camera should already be set. The best frame is often the one you can make without breaking your rhythm.
Frequently Asked Questions

How to achieve long exposure photography?
Long exposure photography is achieved by using a slow shutter speed with a very steady camera and a clear subject plan. On a cliff walk, place the camera on a tripod, use manual or shutter-priority mode, and start with test exposures between 1 and 30 seconds depending on the light and how much motion blur you want.
What is the 500 rule for long exposure?
The 500 rule is a quick guide for avoiding star trails in night photography: divide 500 by the focal length to estimate the longest safe shutter speed in seconds. For example, a 50mm lens suggests about 10 seconds before stars begin to visibly trail, though sensor crop and sharpness demands can make a shorter time safer.
What are common mistakes in long exposure?
Common long-exposure mistakes include camera shake from an unstable support, overexposure from using too long a shutter without filtering, and missed focus caused by focus hunting in low light. On cliff walks, another frequent error is poor footing or unsafe positioning near the edge, which can ruin timing and create risk.
What is the 20-60-20 rule in photography?
The 20-60-20 rule in photography is a composition guide that divides attention across three areas: about 20% for the first visual hook, 60% for the main scene, and 20% for the final detail or exit point. It helps build a frame with a clear start, middle, and finish, which can work well for layered seascapes and cliff-edge views.


