


- Use a tripod, manual mode, and a wide lens to capture sharp Milky Way stars.
- On iPhone, enable Night mode or use a long-exposure app for star trails.
- For film, choose a fast stock and expose longer to pull out faint starlight.
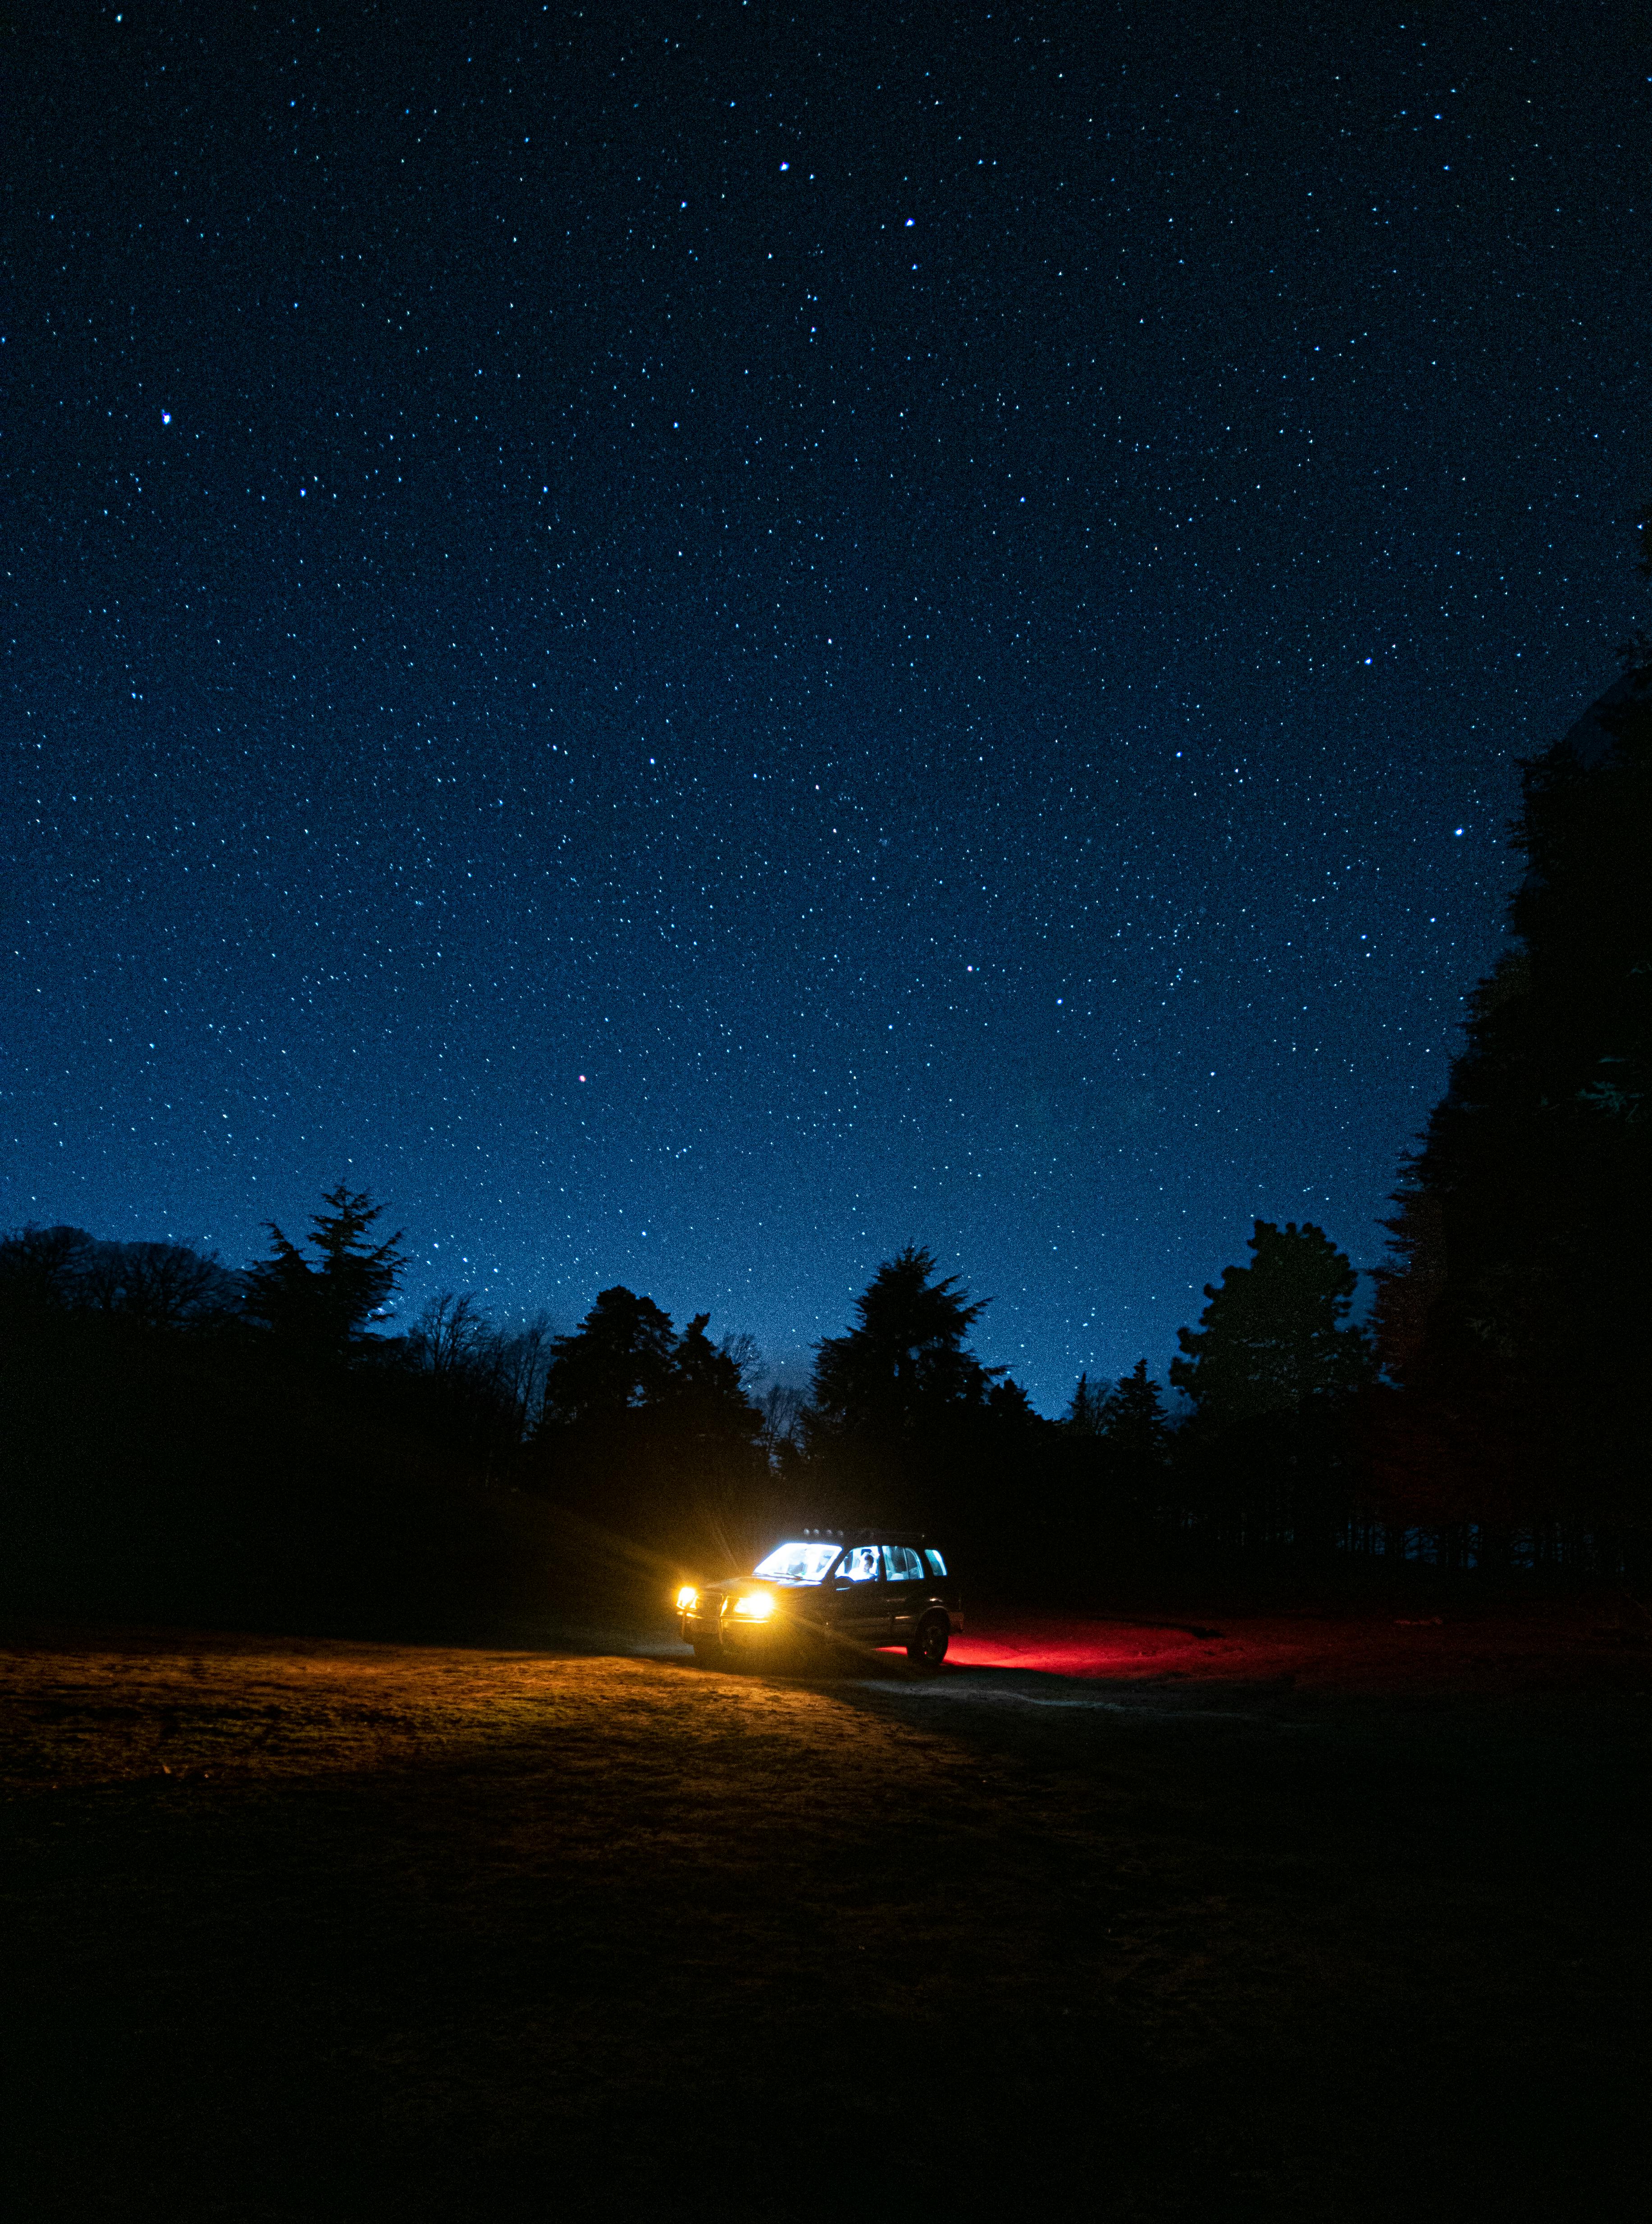
Long exposure photography keeps the shutter open long enough to gather faint light from the night sky. At trailhead pull-offs, I can set up safely, frame the scene, and wait for the stars to emerge. Road noise drops away, the sky deepens, and the Milky Way begins to separate from the dark.
Translation missing: en.blog_cta.bundle_heading

- Regular price
-
€42 - Regular price
-
€44 - Sale price
-
€42
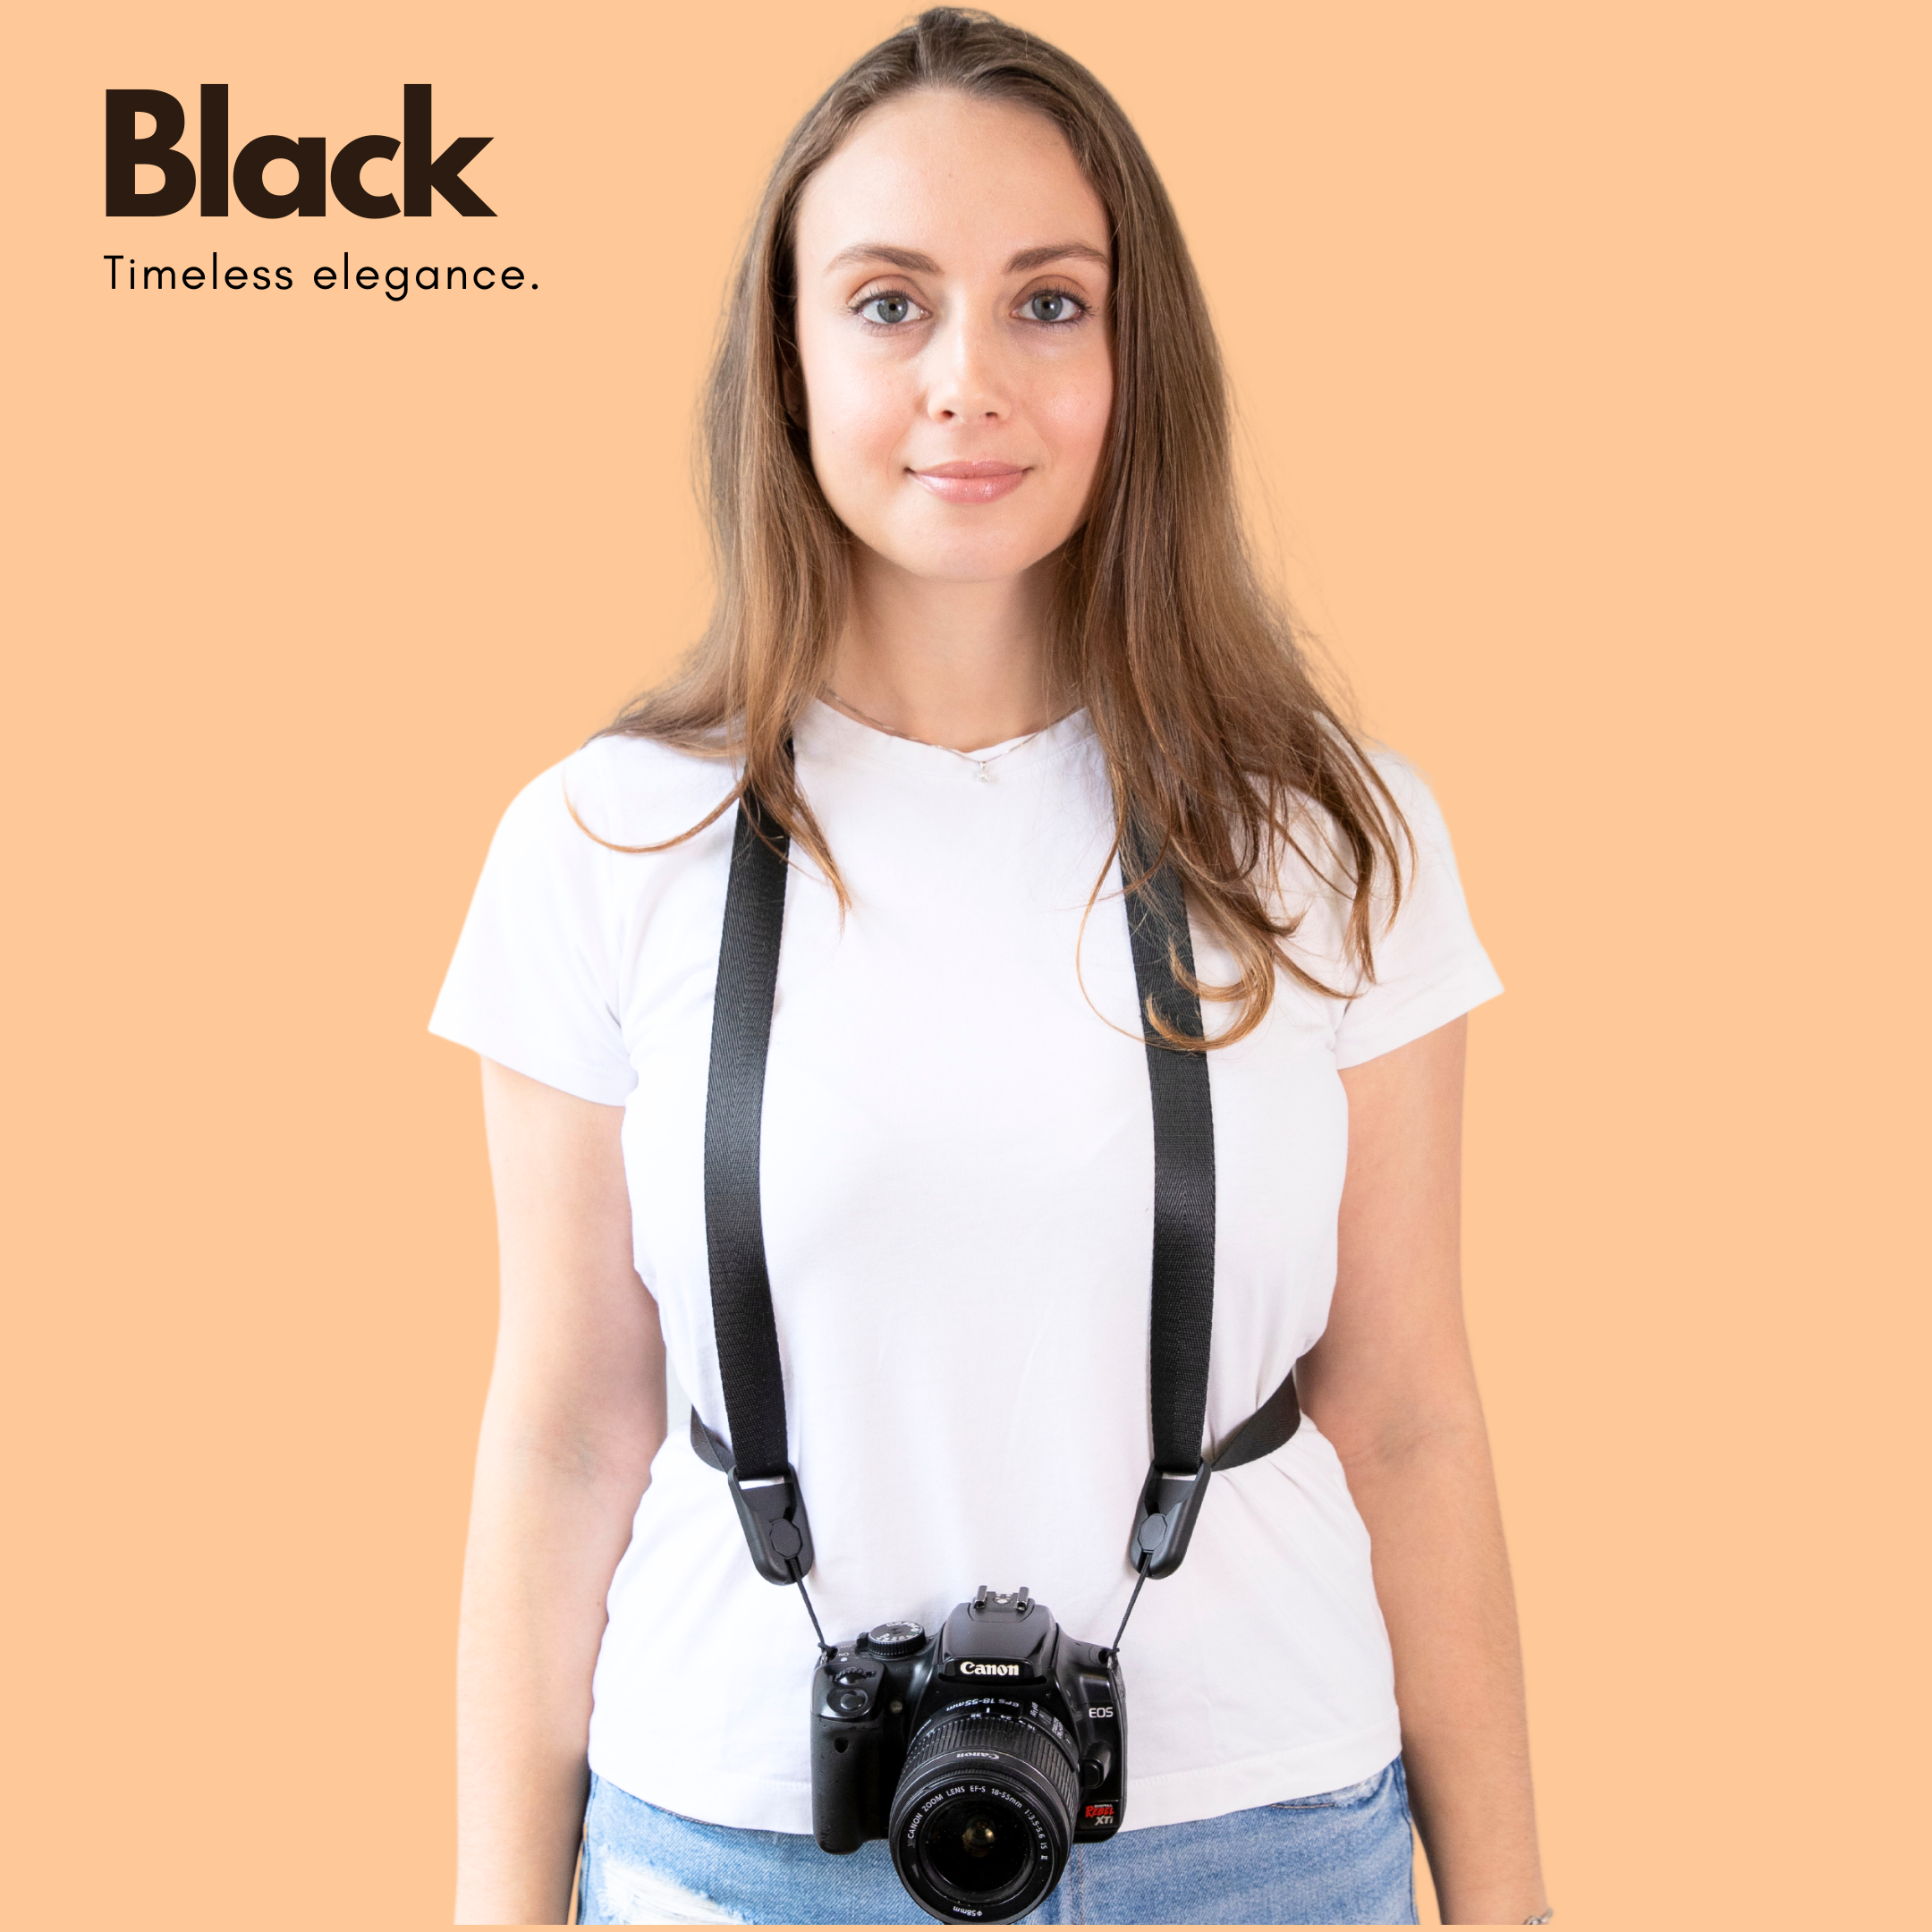
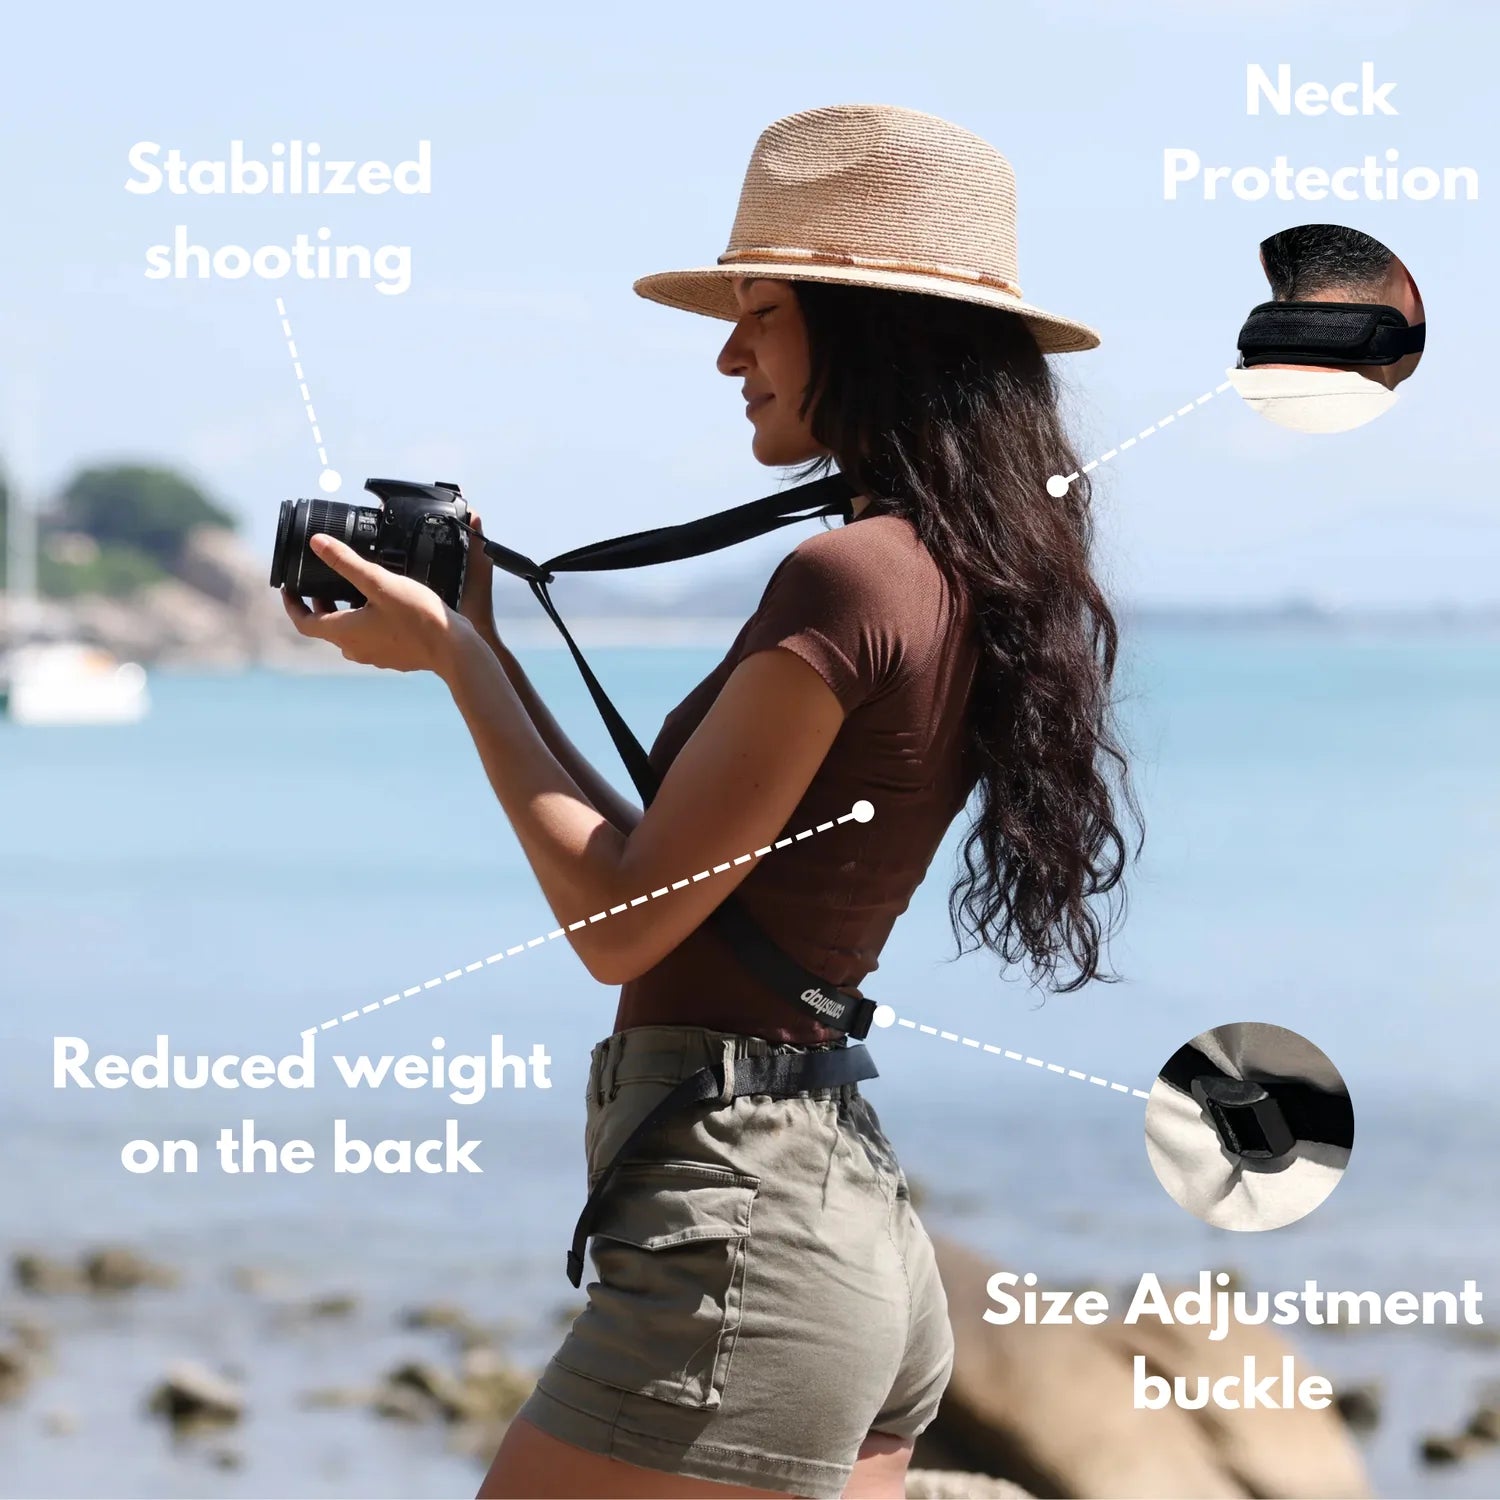
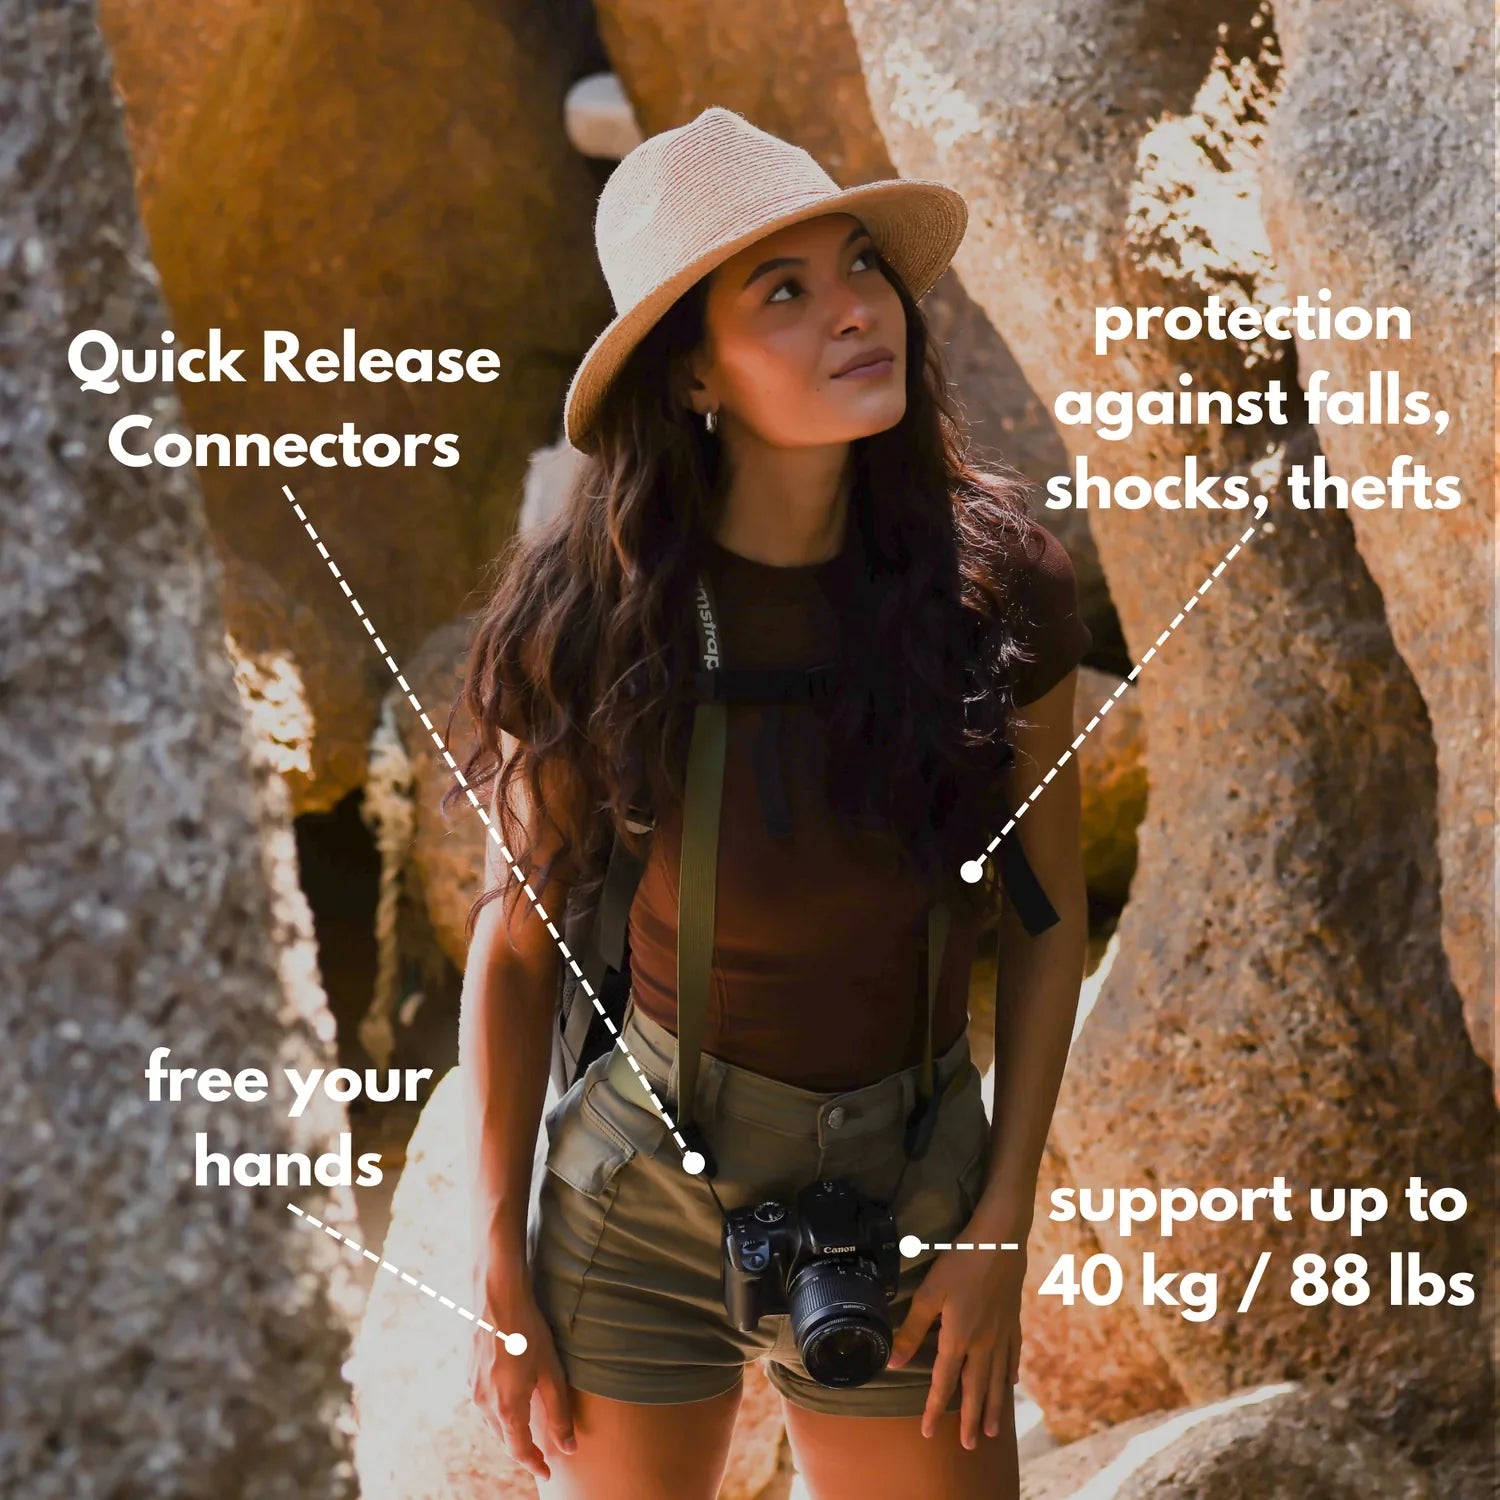
By choosing the Camstrap strap, you are opting for a high-quality product designed to meet the needs of the most demanding photographers.
- Developed by a physiotherapist to relieve neck and back pain.
- Fast delivery with tracking by the Post Office 🚚
- Can be used as a shoulder strap or hands-free harness

- Regular price
-
€36 - Regular price
-
€42 - Sale price
-
€36
Translation missing: en.blog_cta.free_shipping_included
This kind of shot works best when you arrive ready, because dark-sky windows do not last long. A pull-off saves time on gear changes, and a hands-free strap, such as the Camstrap voyager, keeps the camera close while I move from one viewpoint to the next.
Why a trailhead pull-off works so well
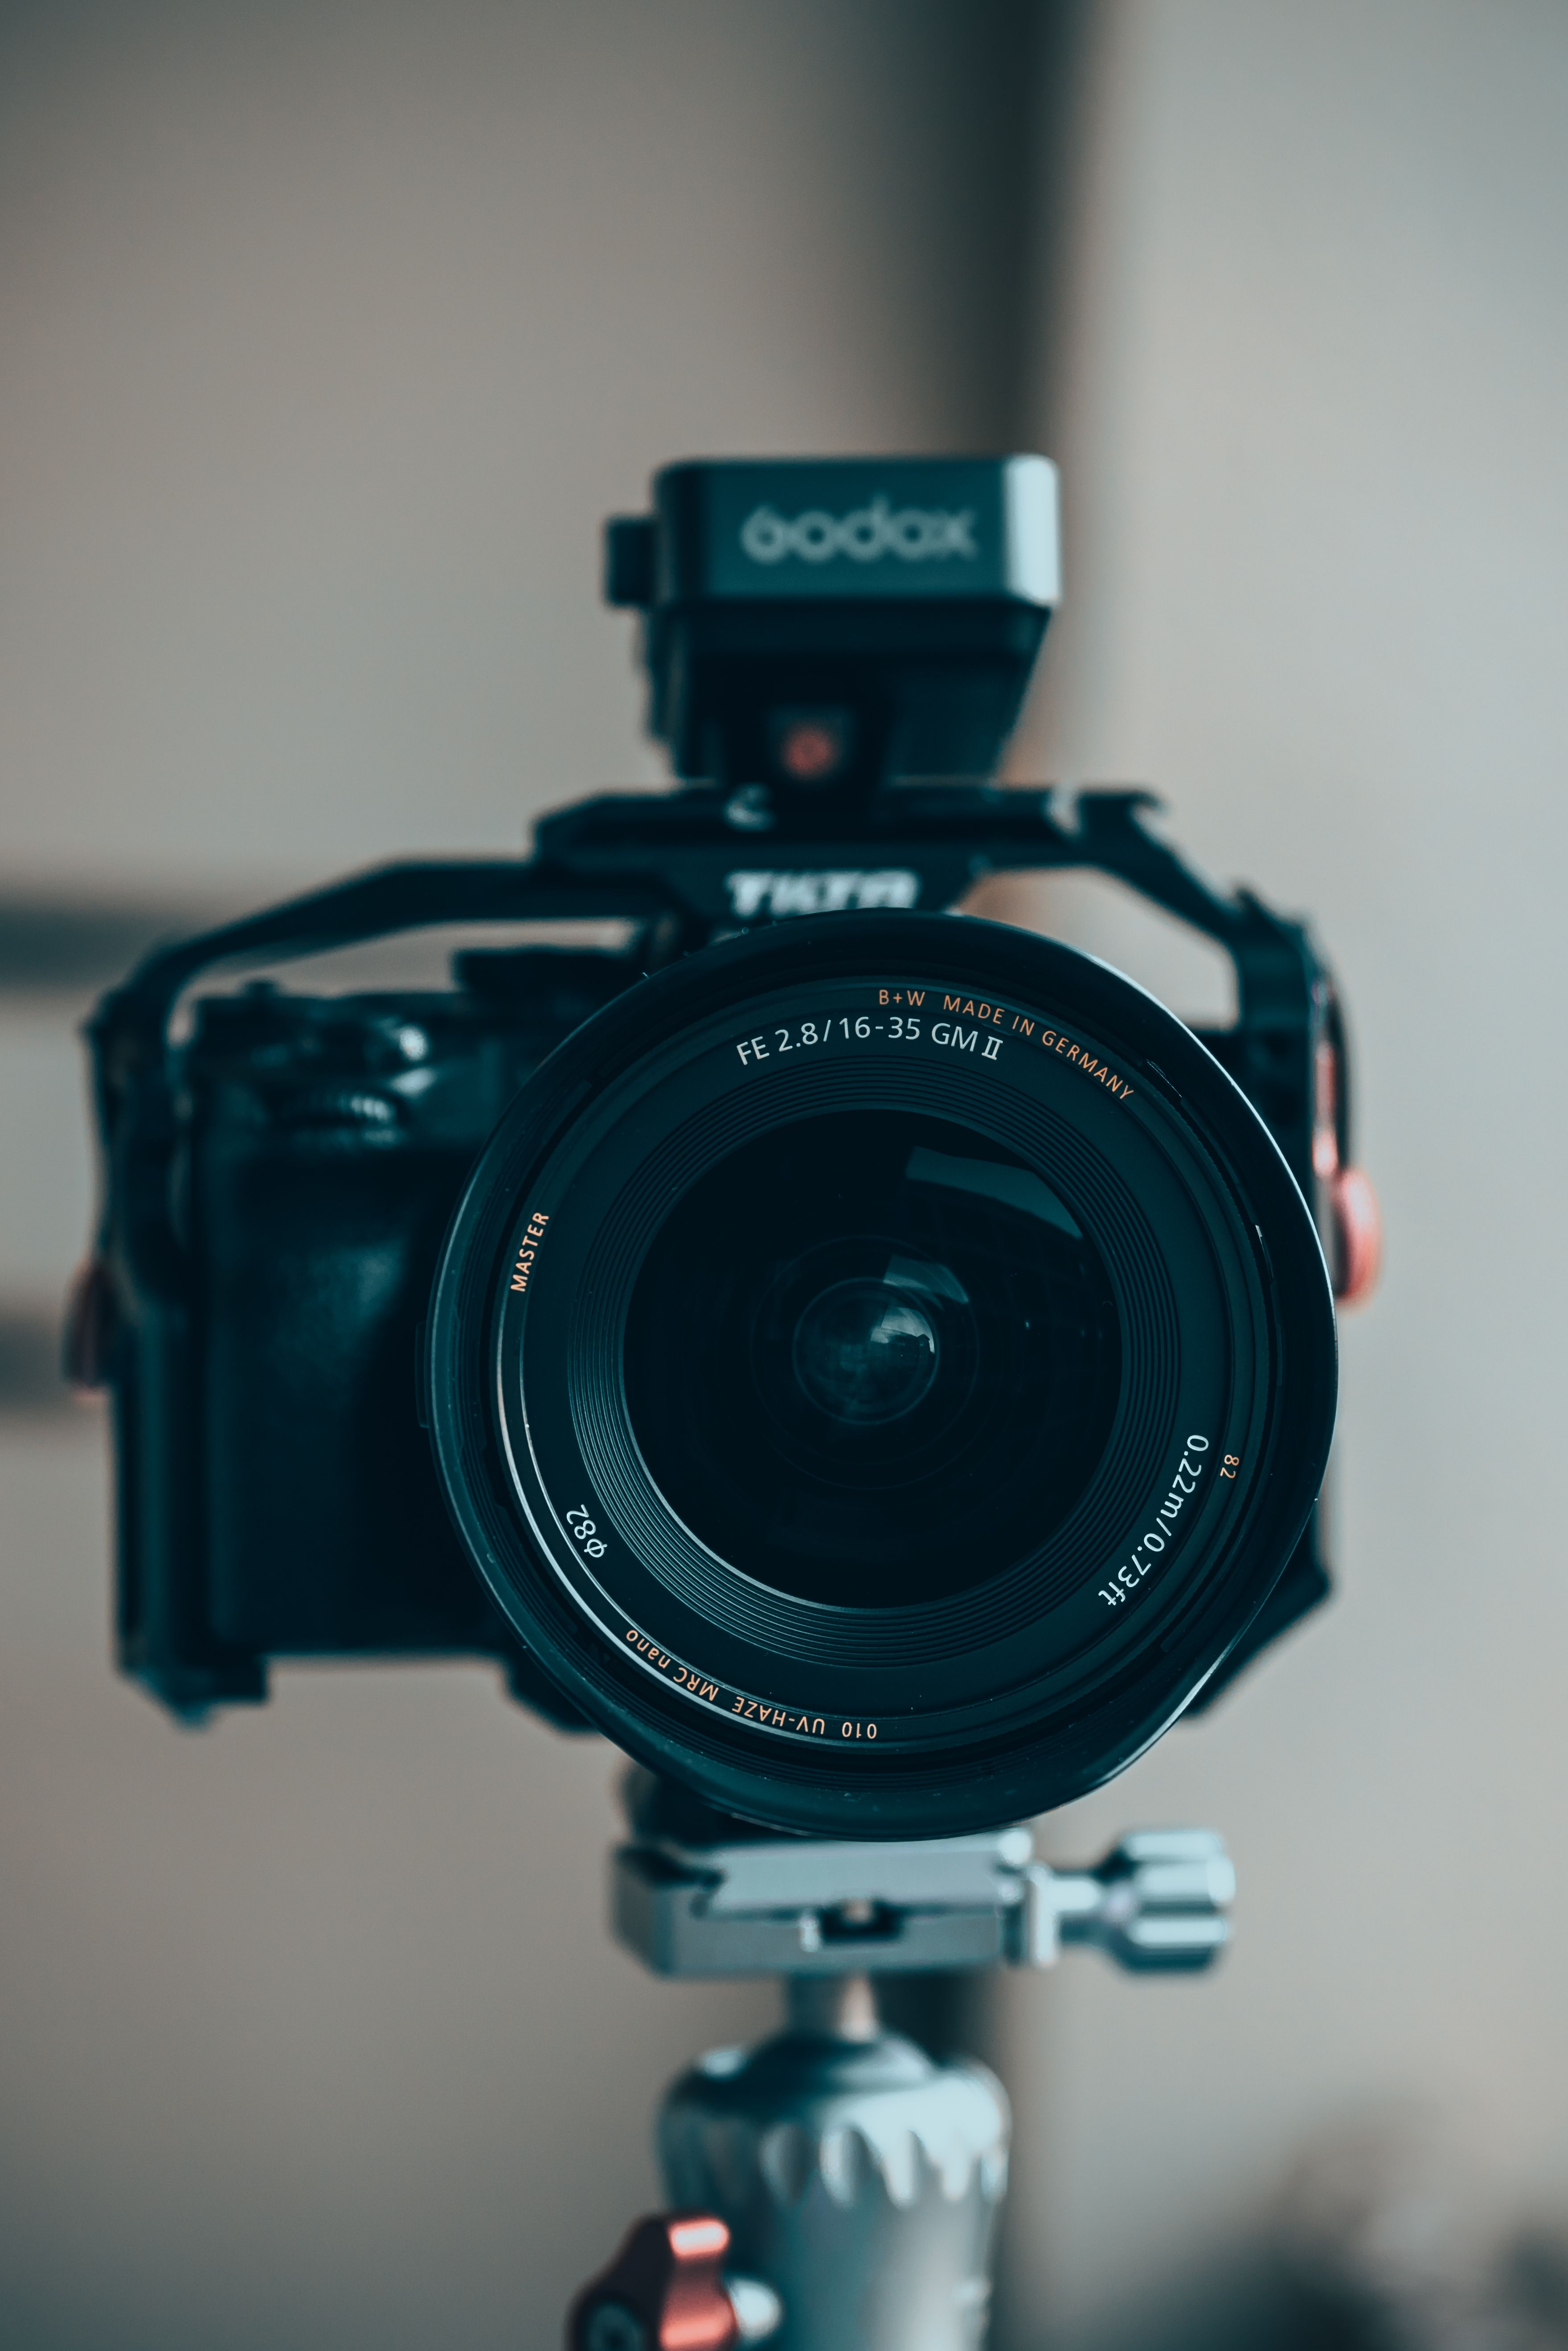
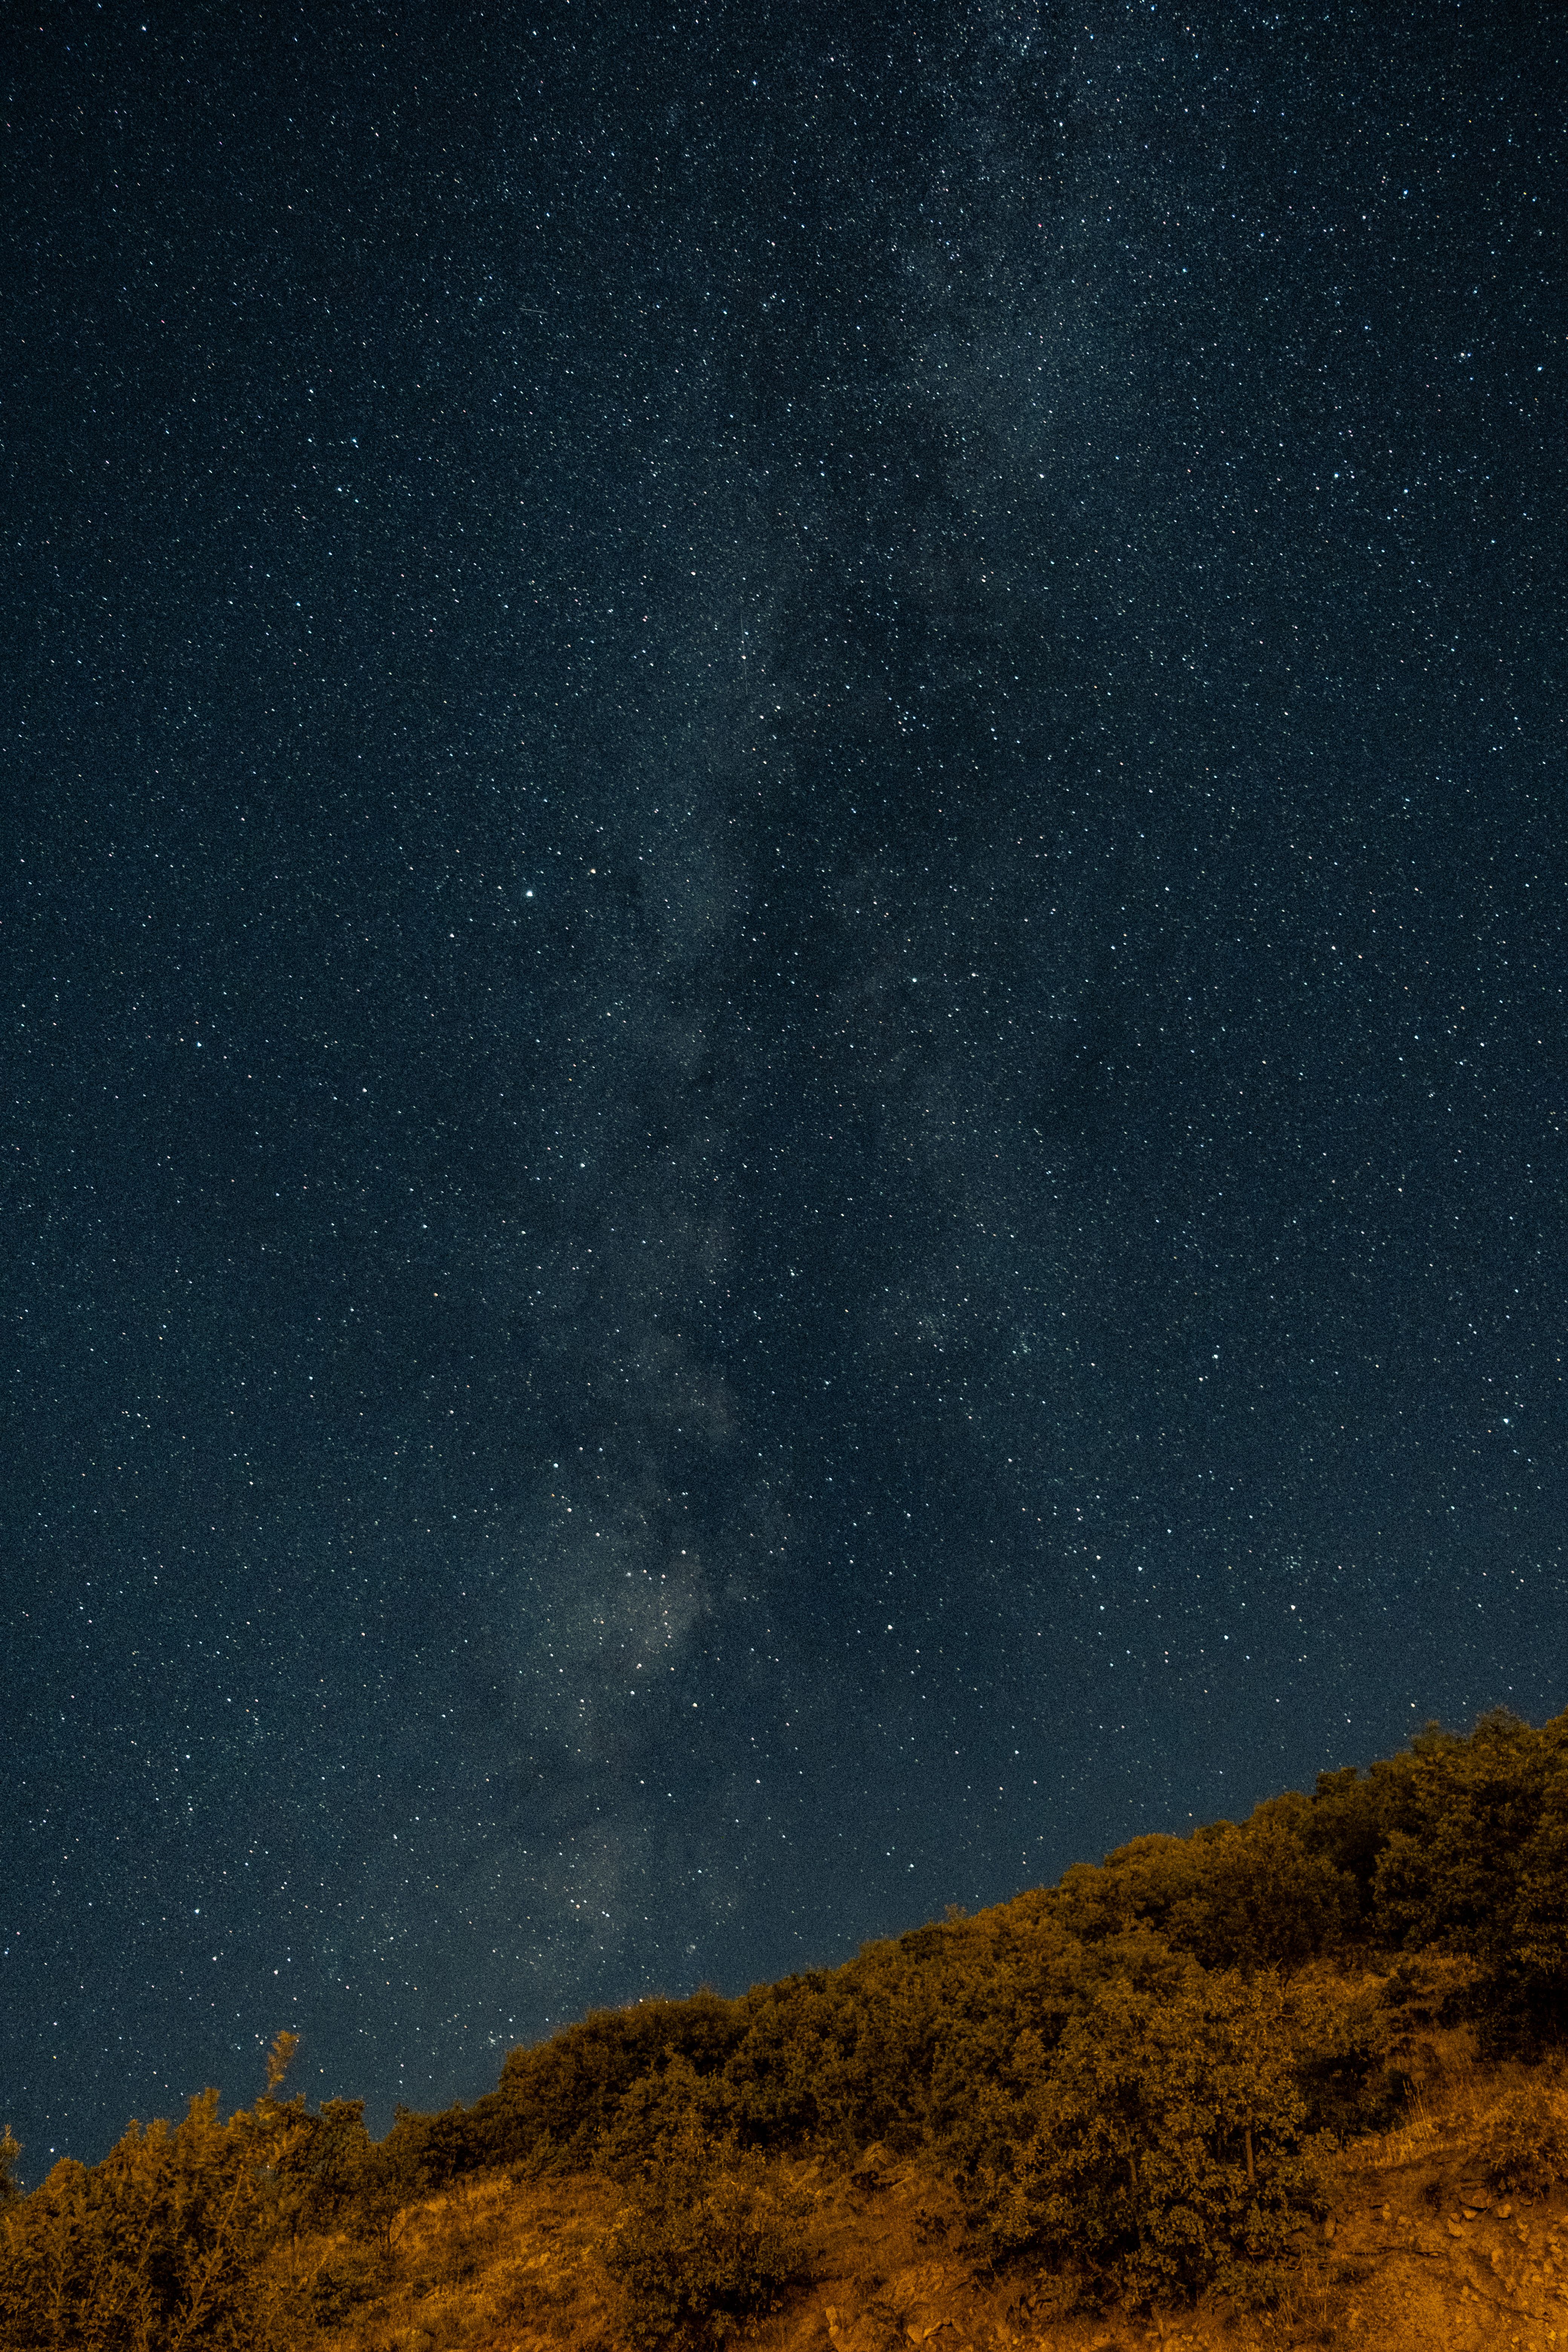
A trailhead pull-off gives you a fast start with less walking in the dark. It makes it easier to test a frame, adjust focus, and recompose without losing your spot. Location still does the heavy lifting. The Milky Way core stands out under dark skies, away from city glow, and it usually looks best during a new moon or a thin moon phase.
What makes this spot useful
- You can park close to the frame you want.
- You can check the sky before committing to a long hike.
- You can keep your tripod stable on firm ground.
- You can move fast if clouds drift in.
A pull-off can also give you a clean foreground. A low ridge, road sign, pine tree, or rock wall can anchor the scene without stealing the show. If the foreground turns into a black shape, it can still work because the stars stay the main subject.
Gear that keeps the setup simple
Bring a camera with full manual control. A wide lens around 14mm to 20mm is a strong choice because it holds more sky and lets you use a slower shutter before stars trail.

A sturdy tripod matters more than extra lenses. A remote release helps, but a two-second timer can work if you keep the camera still. When I wear the camera between lookouts, a strap that spreads the weight well leaves both hands free for rocks, roots, and gates.
Pack this core kit
- Camera with manual mode and RAW capture
- Wide-angle lens, such as 14mm, 15mm, or 20mm
- Tripod with a solid head
- Spare battery
- Memory card with enough write speed for RAW files
- Headlamp with a red light mode
- Lens cloth for dew and dust
Battery use adds up quickly on mirrorless bodies. The EVF, rear screen, and image review drain power faster than many people expect, so dim the screen and review less often. A fresh battery can be the difference between one good frame and a rushed exit.
Settings that give the stars shape

Manual exposure, manual focus, and a wide aperture make the best starting point. Nikon recommends testing ISO before the trip and gives a useful start of f/2.8, 20s, ISO 4000, and 4000K white balance.
Canon gives a similar range for Milky Way work. It suggests the widest aperture, 15–30s shutter speeds, and ISO 3200–6400 for night-sky scenes.
Use this as a first test frame
- Set the lens to its widest aperture.
- Start at 20 seconds.
- Set ISO to 3200 or 4000.
- Switch to manual focus and magnify live view.
- Focus on a bright star or a far light, then fine-tune.
Keep the lens as wide open as it can go unless coma gets ugly near the edges. If the sky looks too dark, raise ISO before you lengthen the shutter too much. That order helps protect star shape.
How to keep stars sharp at the trailhead
The 500 Rule gives a simple starting point for star sharpness. Canon defines it by dividing 500 by the lens’s effective focal length, and the result tells you the longest shutter time before stars begin to trail.
A 20mm lens gives you about 25 seconds. A 15mm lens gives you about 30 seconds, and a 14mm lens works out to about 36 seconds. In practice, I stay a little below those limits when I want clean, point-like stars.
Practical shutter guidance
Use 15 to 30 seconds for most trailhead Milky Way frames. Keep below 25 seconds if you want extra safety on a 20mm lens, and shorten the time if you use a longer lens.

The tradeoff is simple. A shorter shutter protects star shape, but it makes the frame darker, so ISO must rise. On a modern body, ISO noise is easier to fix than streaked stars.
How to turn a photo into long exposure?
A photo becomes a long exposure when the shutter stays open long enough to collect more light than a normal shot. For the Milky Way, that usually means manual mode, a tripod, and a shutter time near 15 to 30 seconds.
Start by mounting the camera, setting manual focus, and dialing in a wide aperture. Next, make one test shot and inspect the stars at full zoom. If the sky is too dim, raise ISO first, then add a little more time only if the stars still look round.
What is long exposure on an iPhone camera?

Long exposure on an iPhone camera is a phone effect that turns motion into soft streaks or blur. It can mimic a longer shutter look, but it does not match a real camera for Milky Way work. In Live Photo mode, the iPhone can create a long exposure effect from a moving subject such as water or traffic. Night sky work is different, because the stars need real light gathering and a stable tripod, not just an effect filter.
Can you do long exposure on film?
Long exposure on film is possible, and film cameras have done it for decades. A bulb mode or timed shutter lets the film gather light for many seconds or minutes.
For stars, film can work well with the right stock and careful metering, but reciprocity failure becomes a real issue on many films. That means the film does not respond linearly as the exposure gets longer, so test rolls matter more than with digital.
What is the best shutter speed range for long exposure photography?
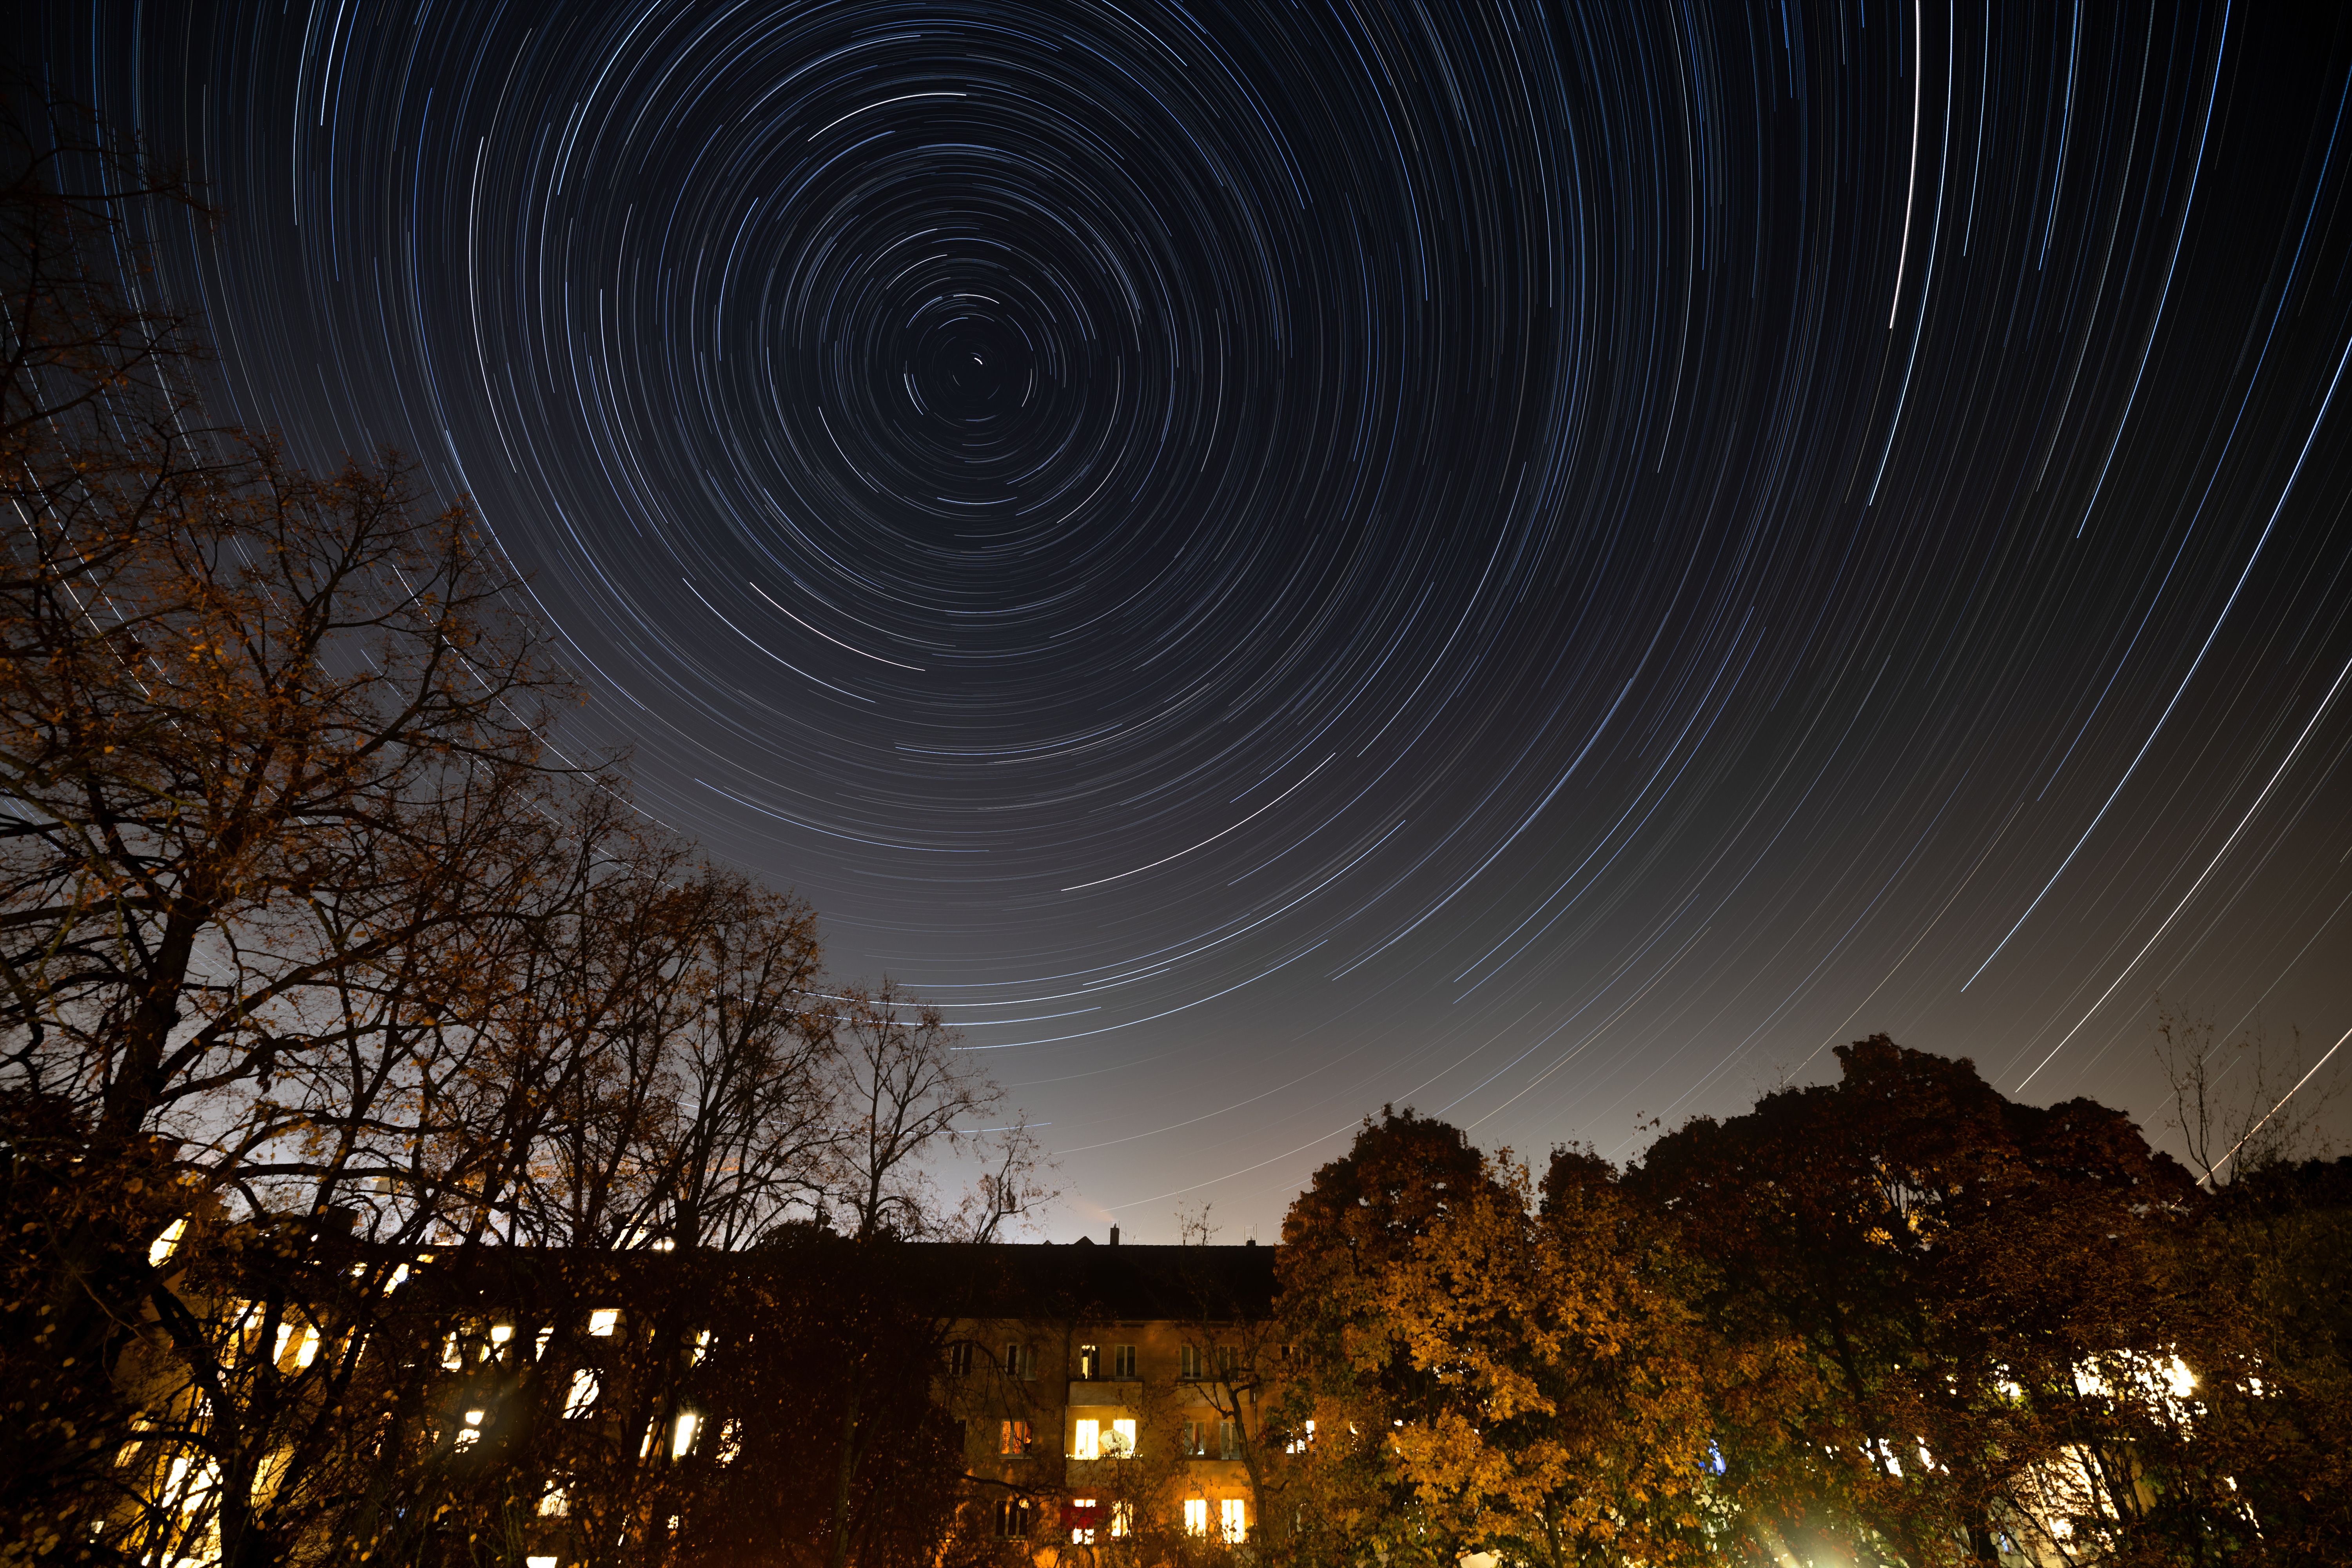
The best shutter speed range for night sky work is usually 15 to 30 seconds. That range gives enough light for the Milky Way while still keeping stars fairly sharp on wide lenses.
Canon’s guidance fits that range closely, and Nikon’s 20-second start point sits right in the middle. If you use a 14mm lens, 25 to 30 seconds can work well. If you move to a 20mm lens, stay closer to 20 seconds or less.
Foreground choices that make the frame feel real
A dark or silhouetted foreground makes the sky feel larger and more dramatic. A trail sign, ridge line, or tree line gives the eye a place to rest before it moves up to the stars.
Brief flash or light painting can also lift a rock, tent, or path edge. Use just enough light to show shape. Too much light flattens the scene and steals attention from the Milky Way.

Small ways to improve the frame
- Place a shape in the lower third of the frame.
- Keep bright lights out of the edge of the shot.
- Try one frame with a dark foreground and one with a lit foreground.
- Use a simple line, like a trail or ridge, to lead into the sky.
This is where trailhead pull-offs shine. They often give you a natural edge or curve that helps the sky feel larger without making the frame busy. A clean foreground also makes later editing easier.
Editing the RAW file without overworking it
Canon recommends exposing RAW files toward the brighter end of the histogram without clipping highlights. That approach gives you more room to reduce brightness later and still keep detail in the stars.

In editing, start with white balance, exposure, and contrast. A common Milky Way white balance start is around 4000K, which keeps the sky from looking too warm or too blue. Then lift shadow detail only as much as needed, because heavy shadow push can add noise fast.
A quick post path
- Open the RAW file in Lightroom or similar software.
- Set white balance near 4000K.
- Adjust exposure until the core looks natural.
- Lower highlights if any bright stars clip.
- Apply light noise reduction, then sharpen the stars lightly.
Use a clean cull process, too. Pick the frame with the best focus, the least star trail, and the strongest foreground line. A few careful edits beat a heavy rescue job.
A simple field sequence that saves time
Arrive before full dark so you can scout the pull-off safely. Set the tripod first, then frame the horizon and the sky together.
After that, switch to manual focus and make a test image. Check the stars at full zoom, then adjust focus and shutter time if needed. Once the frame looks right, shoot a small set of backups with slight changes in ISO or timing.
The routine gets easier when the camera stays simple to carry between stops. A well-fitted strap keeps the body ready without making the climb awkward, which helps when you move from the pull-off to a better angle a few minutes later.
The strongest frame often comes from patience, not fancy gear. Wait for a clear gap in the clouds, watch the moon, and keep your settings close to the numbers that already work. At a dark trailhead pull-off, a 20-second frame at f/2.8 and ISO 4000 is a strong place to start.
Frequently Asked Questions
How to turn a photo into long exposure?
A photo can be turned into a long exposure by keeping the shutter open longer so the camera gathers more light over time. For Milky Way photography, that usually means using manual exposure with a tripod, wide aperture, and a shutter speed around 15–30 seconds.
What is long exposure on an iPhone camera?
Long exposure on an iPhone camera is a mode or effect that simulates a slower shutter by blending motion over time into a single image. It is commonly used to smooth moving water or light trails, but a true long-exposure night-sky shot is typically easier with a camera that offers full manual control.
Can you do long exposure on film?
Yes, long exposure can be done on film if the camera is set to keep the shutter open for an extended time. For night-sky work, the same basic principle applies: use a stable tripod, a wide aperture, and a shutter that stays open long enough to record faint stars.
What is the best shutter speed range for long exposure photography?
For Milky Way long exposure photography, a good starting range is about 15–30 seconds. Nikon’s example starts at 20 seconds, and Canon suggests 15–30 seconds for night-sky scenes before star trailing becomes more noticeable.


