


- What camera settings work best for golden hour portraits
- How do I pose subjects naturally while travelling
- Which lenses are good for travel portraits
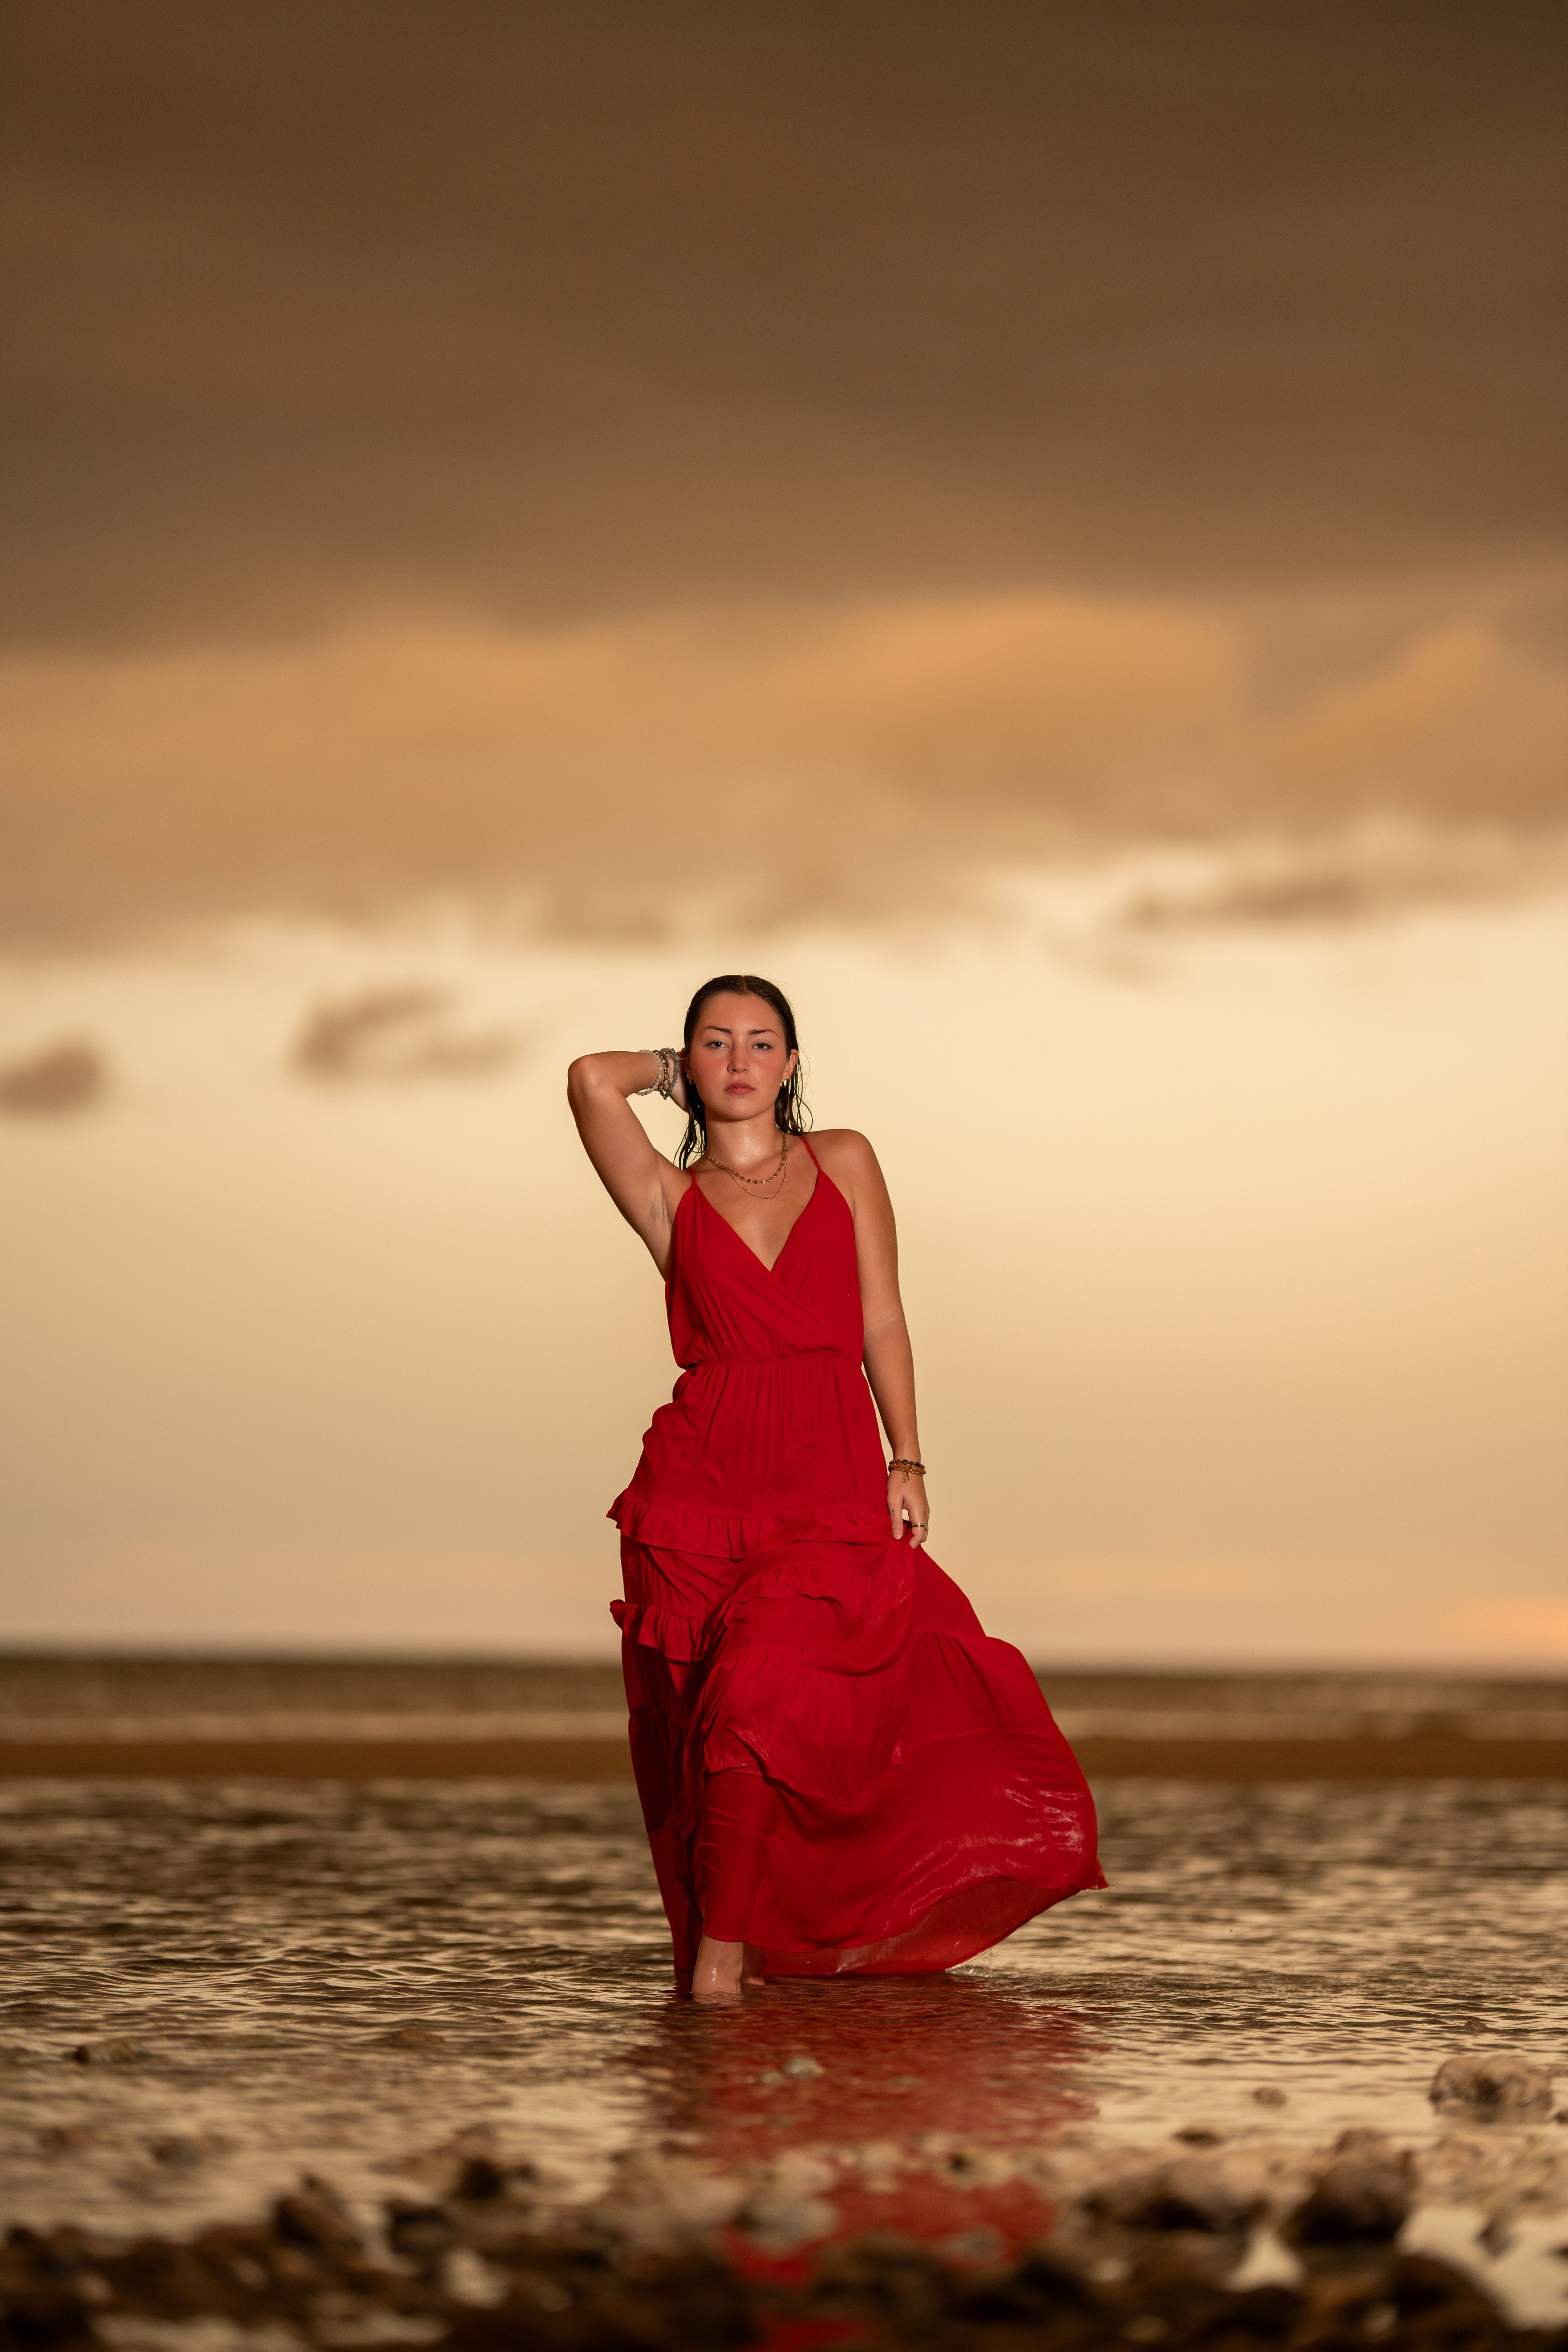
If you want to shoot stunning summer travel portraits, golden hour is your best ally. It delivers soft light, warm tones, and a relaxed look that flat midday sun simply cannot provide. With the right timing, settings, and posing approach, you can create travel portraits that feel natural and alive.
Shop the setup

- Regular price
-
€42 - Regular price
-
€44 - Sale price
-
€42
By choosing the Camstrap strap, you are opting for a high-quality product designed to meet the needs of the most demanding photographers.
- Developed by a physiotherapist to relieve neck and back pain.
- Fast delivery with tracking by the Post Office 🚚
- Can be used as a shoulder strap or hands-free harness

- Regular price
-
€36 - Regular price
-
€42 - Sale price
-
€36
Free shipping included
This guide will walk you through shooting better portraits as you travel. You will learn when to head out, what gear to pack, which lens to use, and how to pose people in an uncomplicated way. You will also see how a crossbody camera strap, such as the Camstrap Voyager, Camstrap Explorer, Camstrap Nomad, or Camstrap MagClip, can help you move quickly and keep your camera close at hand.
Why Golden Hour Helps You Shoot Stunning Summer Travel Portraits
Golden hour is the last 45 to 60 minutes before sunset. During that time, the light is soft, warm, and flattering to skin tones. That is why so many photographers rely on it to shoot stunning travel portraits with a dreamy feel.
Summer brings extra color and energy to your images. Long days, warm air, and outdoor settings make it easier to photograph in memorable places. Even so, the sun can still be harsh earlier in the day, which makes timing especially important.
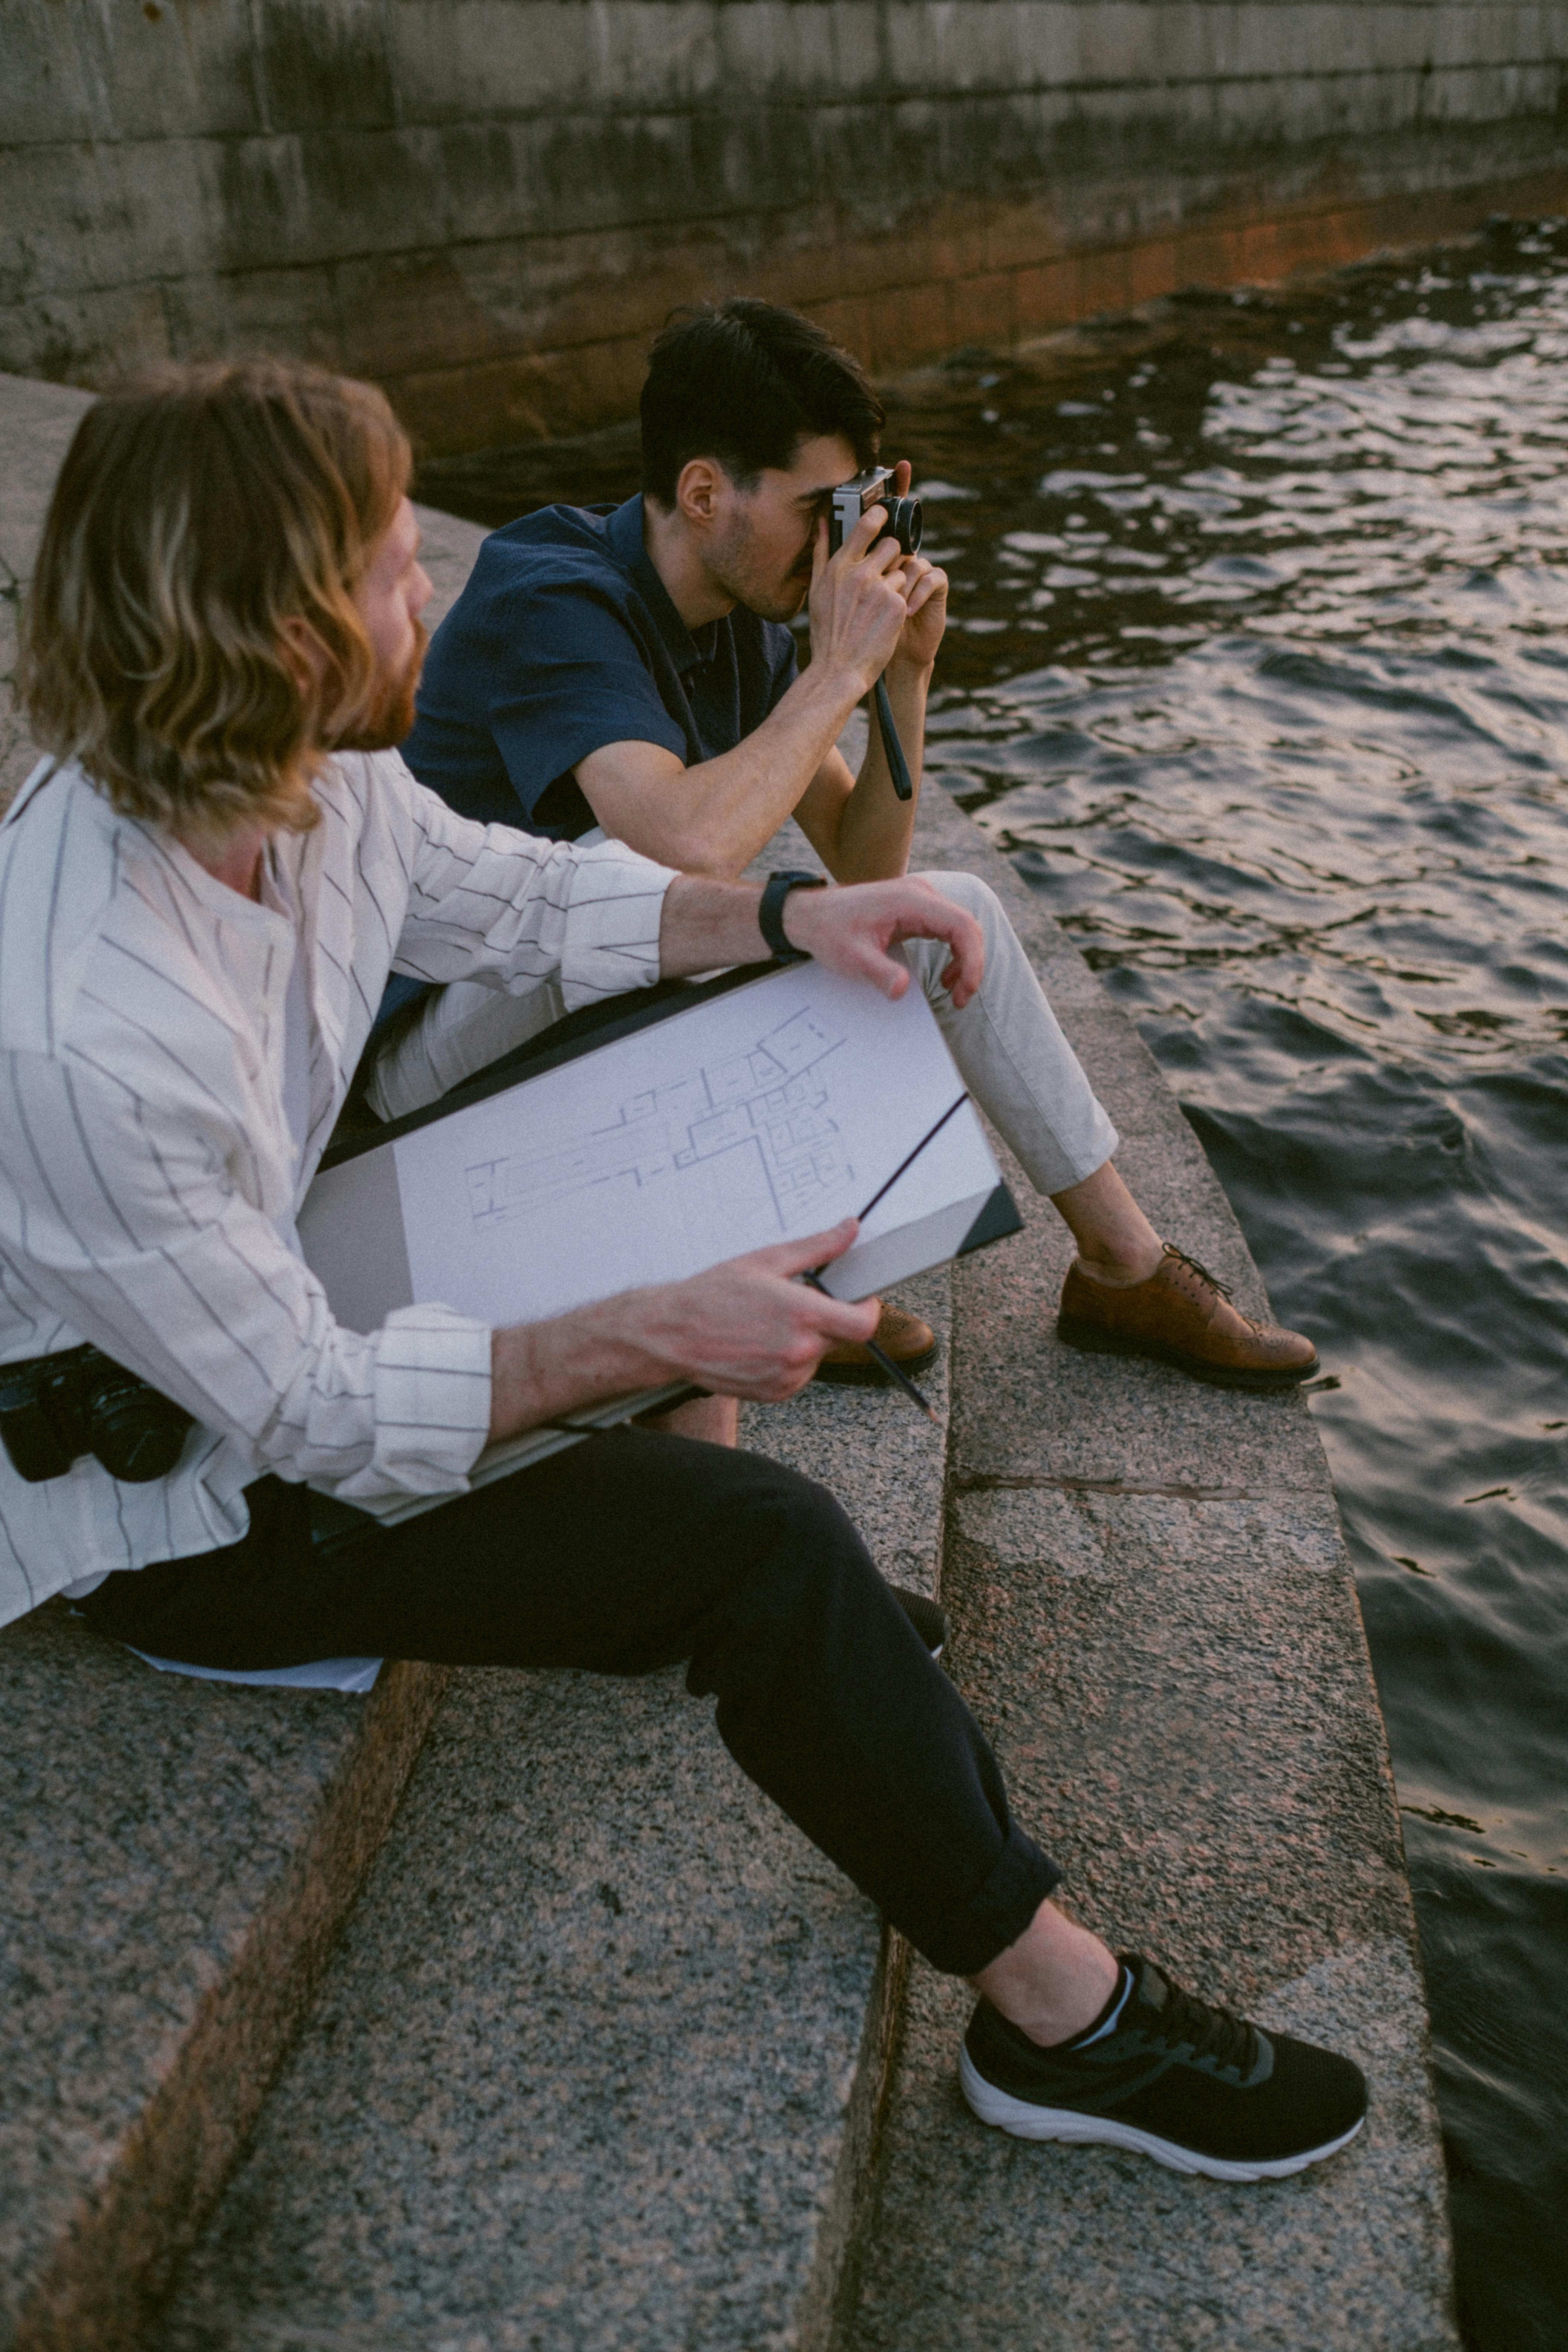
Why this light looks so good
Because golden hour light sits low in the sky, it spreads more gently across the scene. As a result, faces show fewer hard shadows. It also creates a warm glow that suits beach scenes, city strolls, mountain views, and street shots.
So, if you want portraits that feel soft and honest, golden hour gives you a strong advantage. It helps both beginners and experienced photographers get better results with less effort.
When to arrive for the best results
Begin planning about 45 minutes before sunset. Aim to be at your location 30 to 40 minutes before the sun goes down. That leaves enough time to walk in, test your framing, and shoot before the light disappears.
This timing becomes even more important while traveling. You may need a few extra minutes to find the right wall, path, beach edge, or overlook. A hands-free strap can help, since it lets you move quickly while keeping your camera within reach.
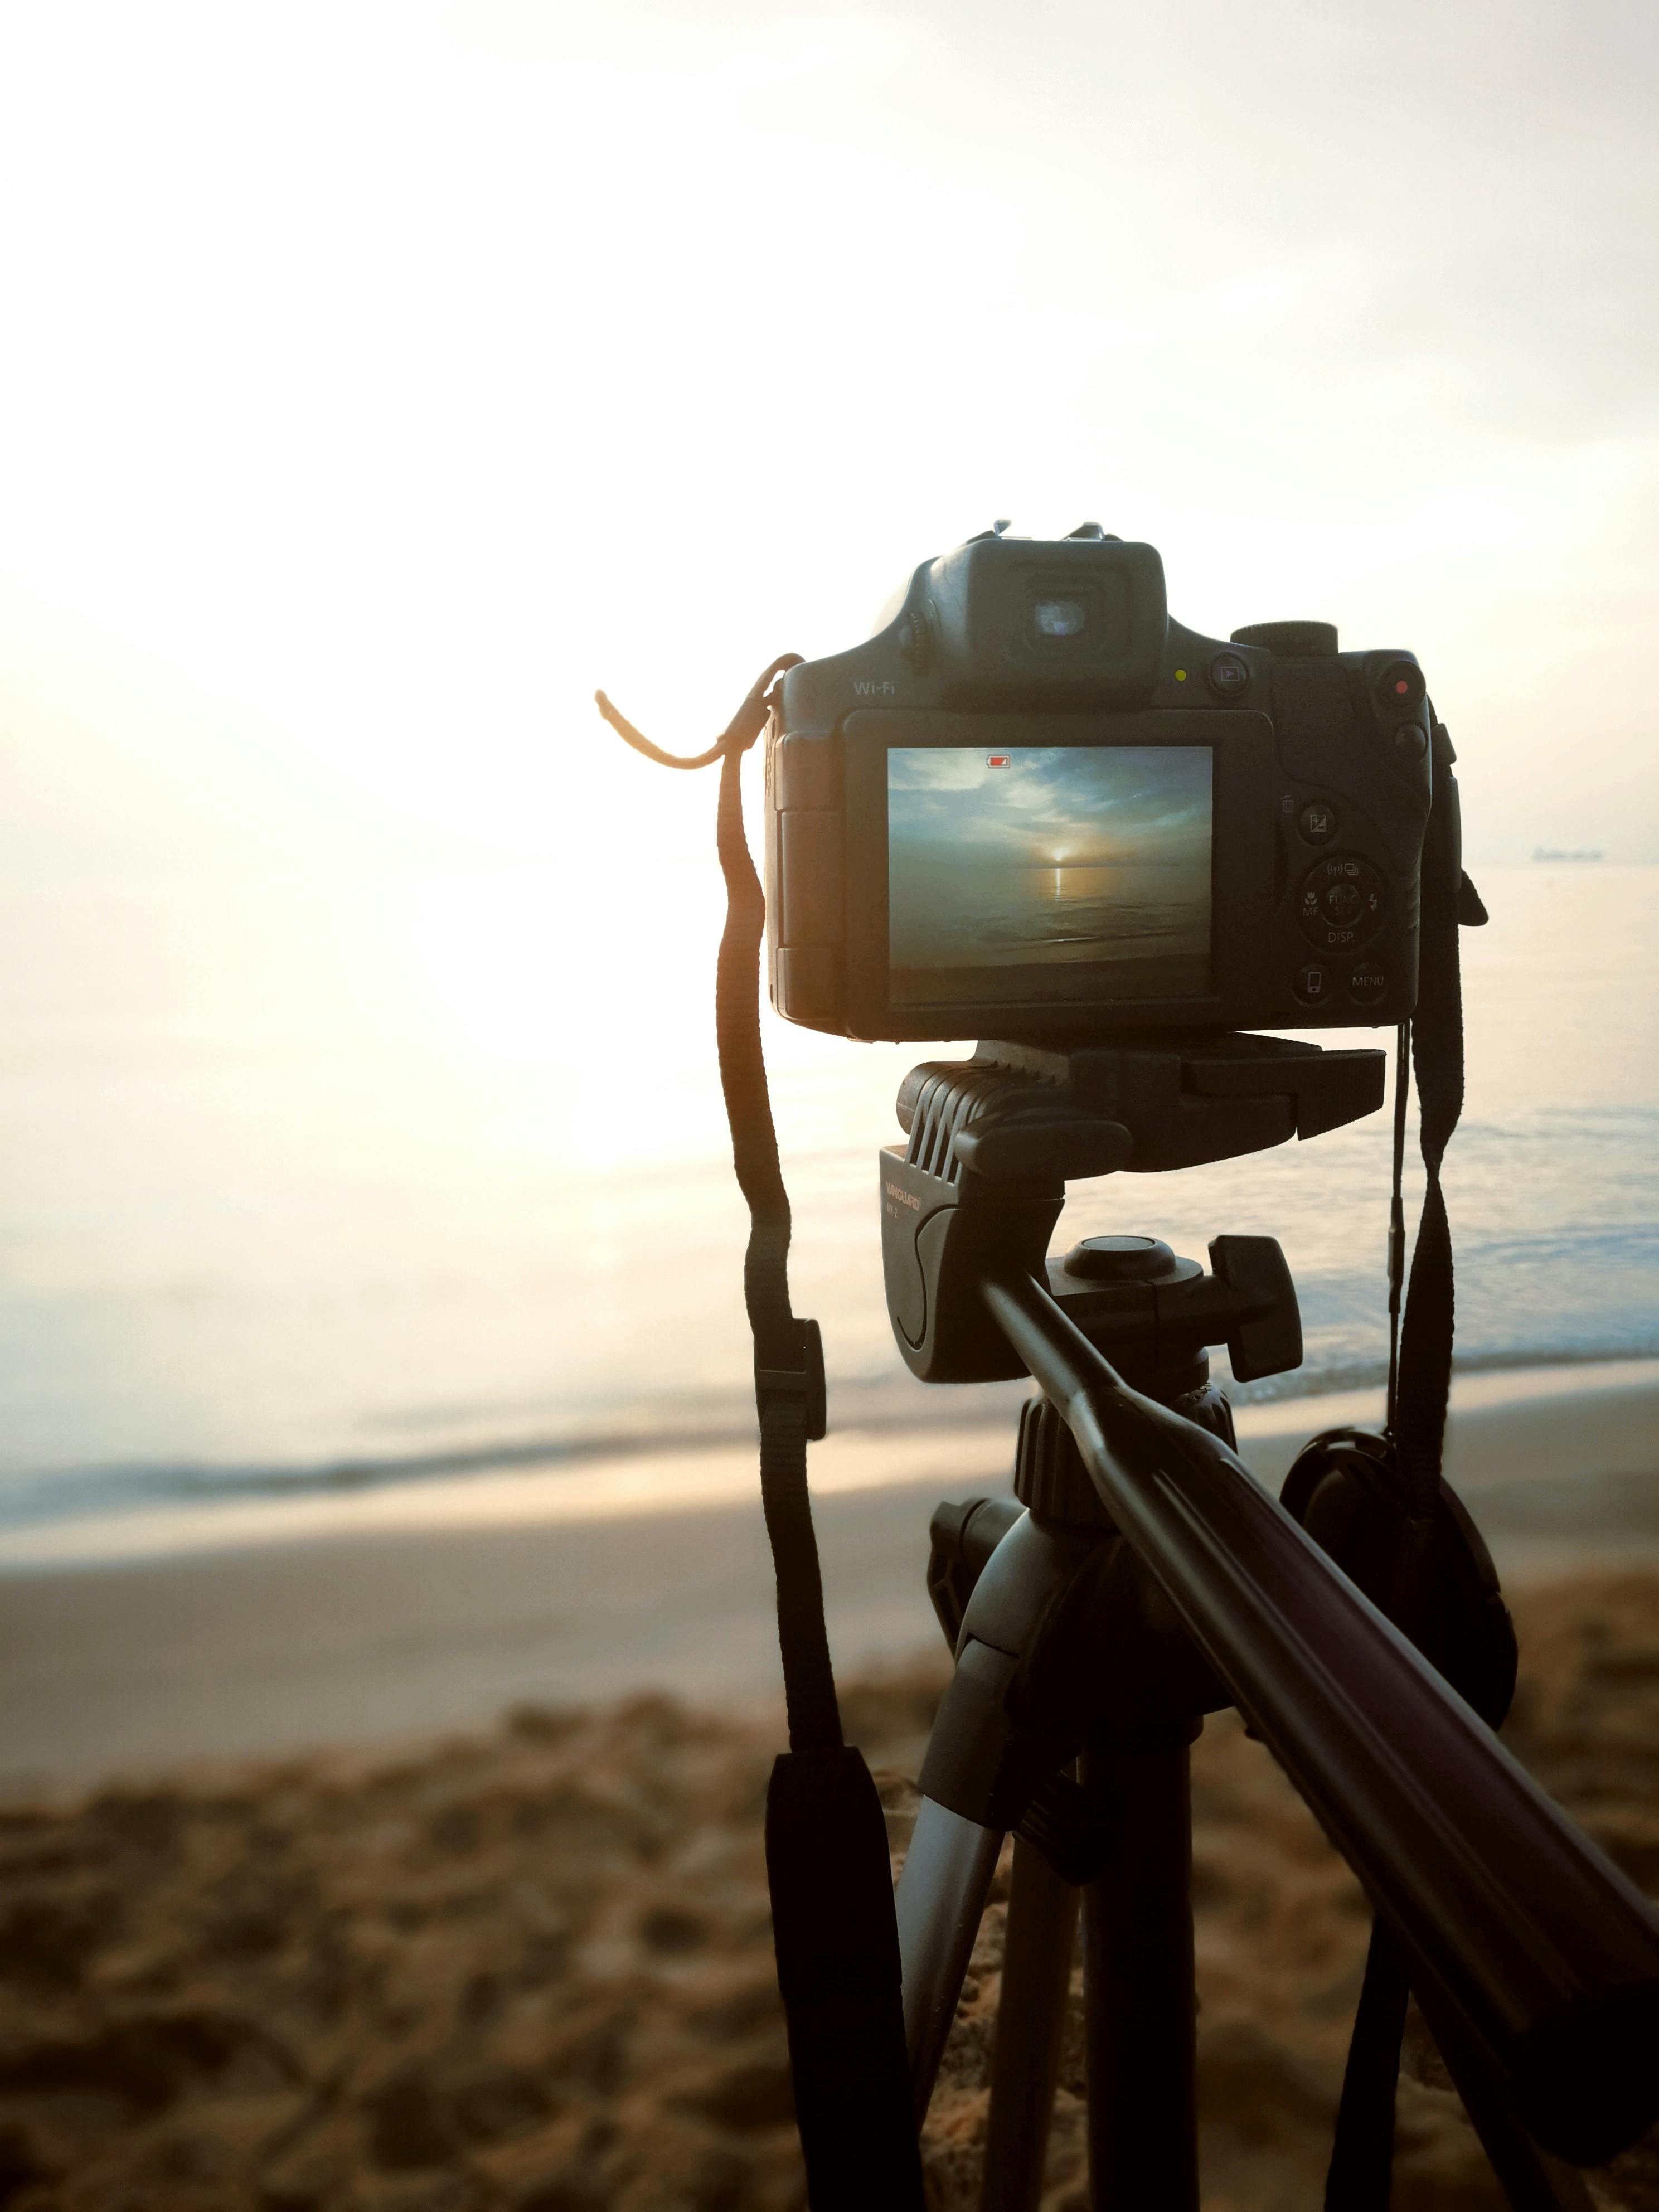
Plan the Shoot: Location, Timing, and Summer Light
Smart planning makes it much easier to shoot stunning portraits. You do not need a complicated setup. Instead, focus on the right place, the right time, and a clear sense of how the light will fall on your subject.
When traveling in summer, look for open areas with a clear view of the sky. Beaches, rooftops, fields, docks, and wide streets often work well. Trees, walls, and buildings can also help shape the light and add depth to your frame.
Choose places that fit the light
Try to find a spot where the sun can sit behind your subject. That creates a soft rim of light around the hair and shoulders. It also helps you produce a more cinematic image.
If you want a brighter face, turn the subject toward the last bit of light or angle them slightly. Doing so helps prevent dark eye sockets and heavy shadows. It also keeps skin tones warm and even.
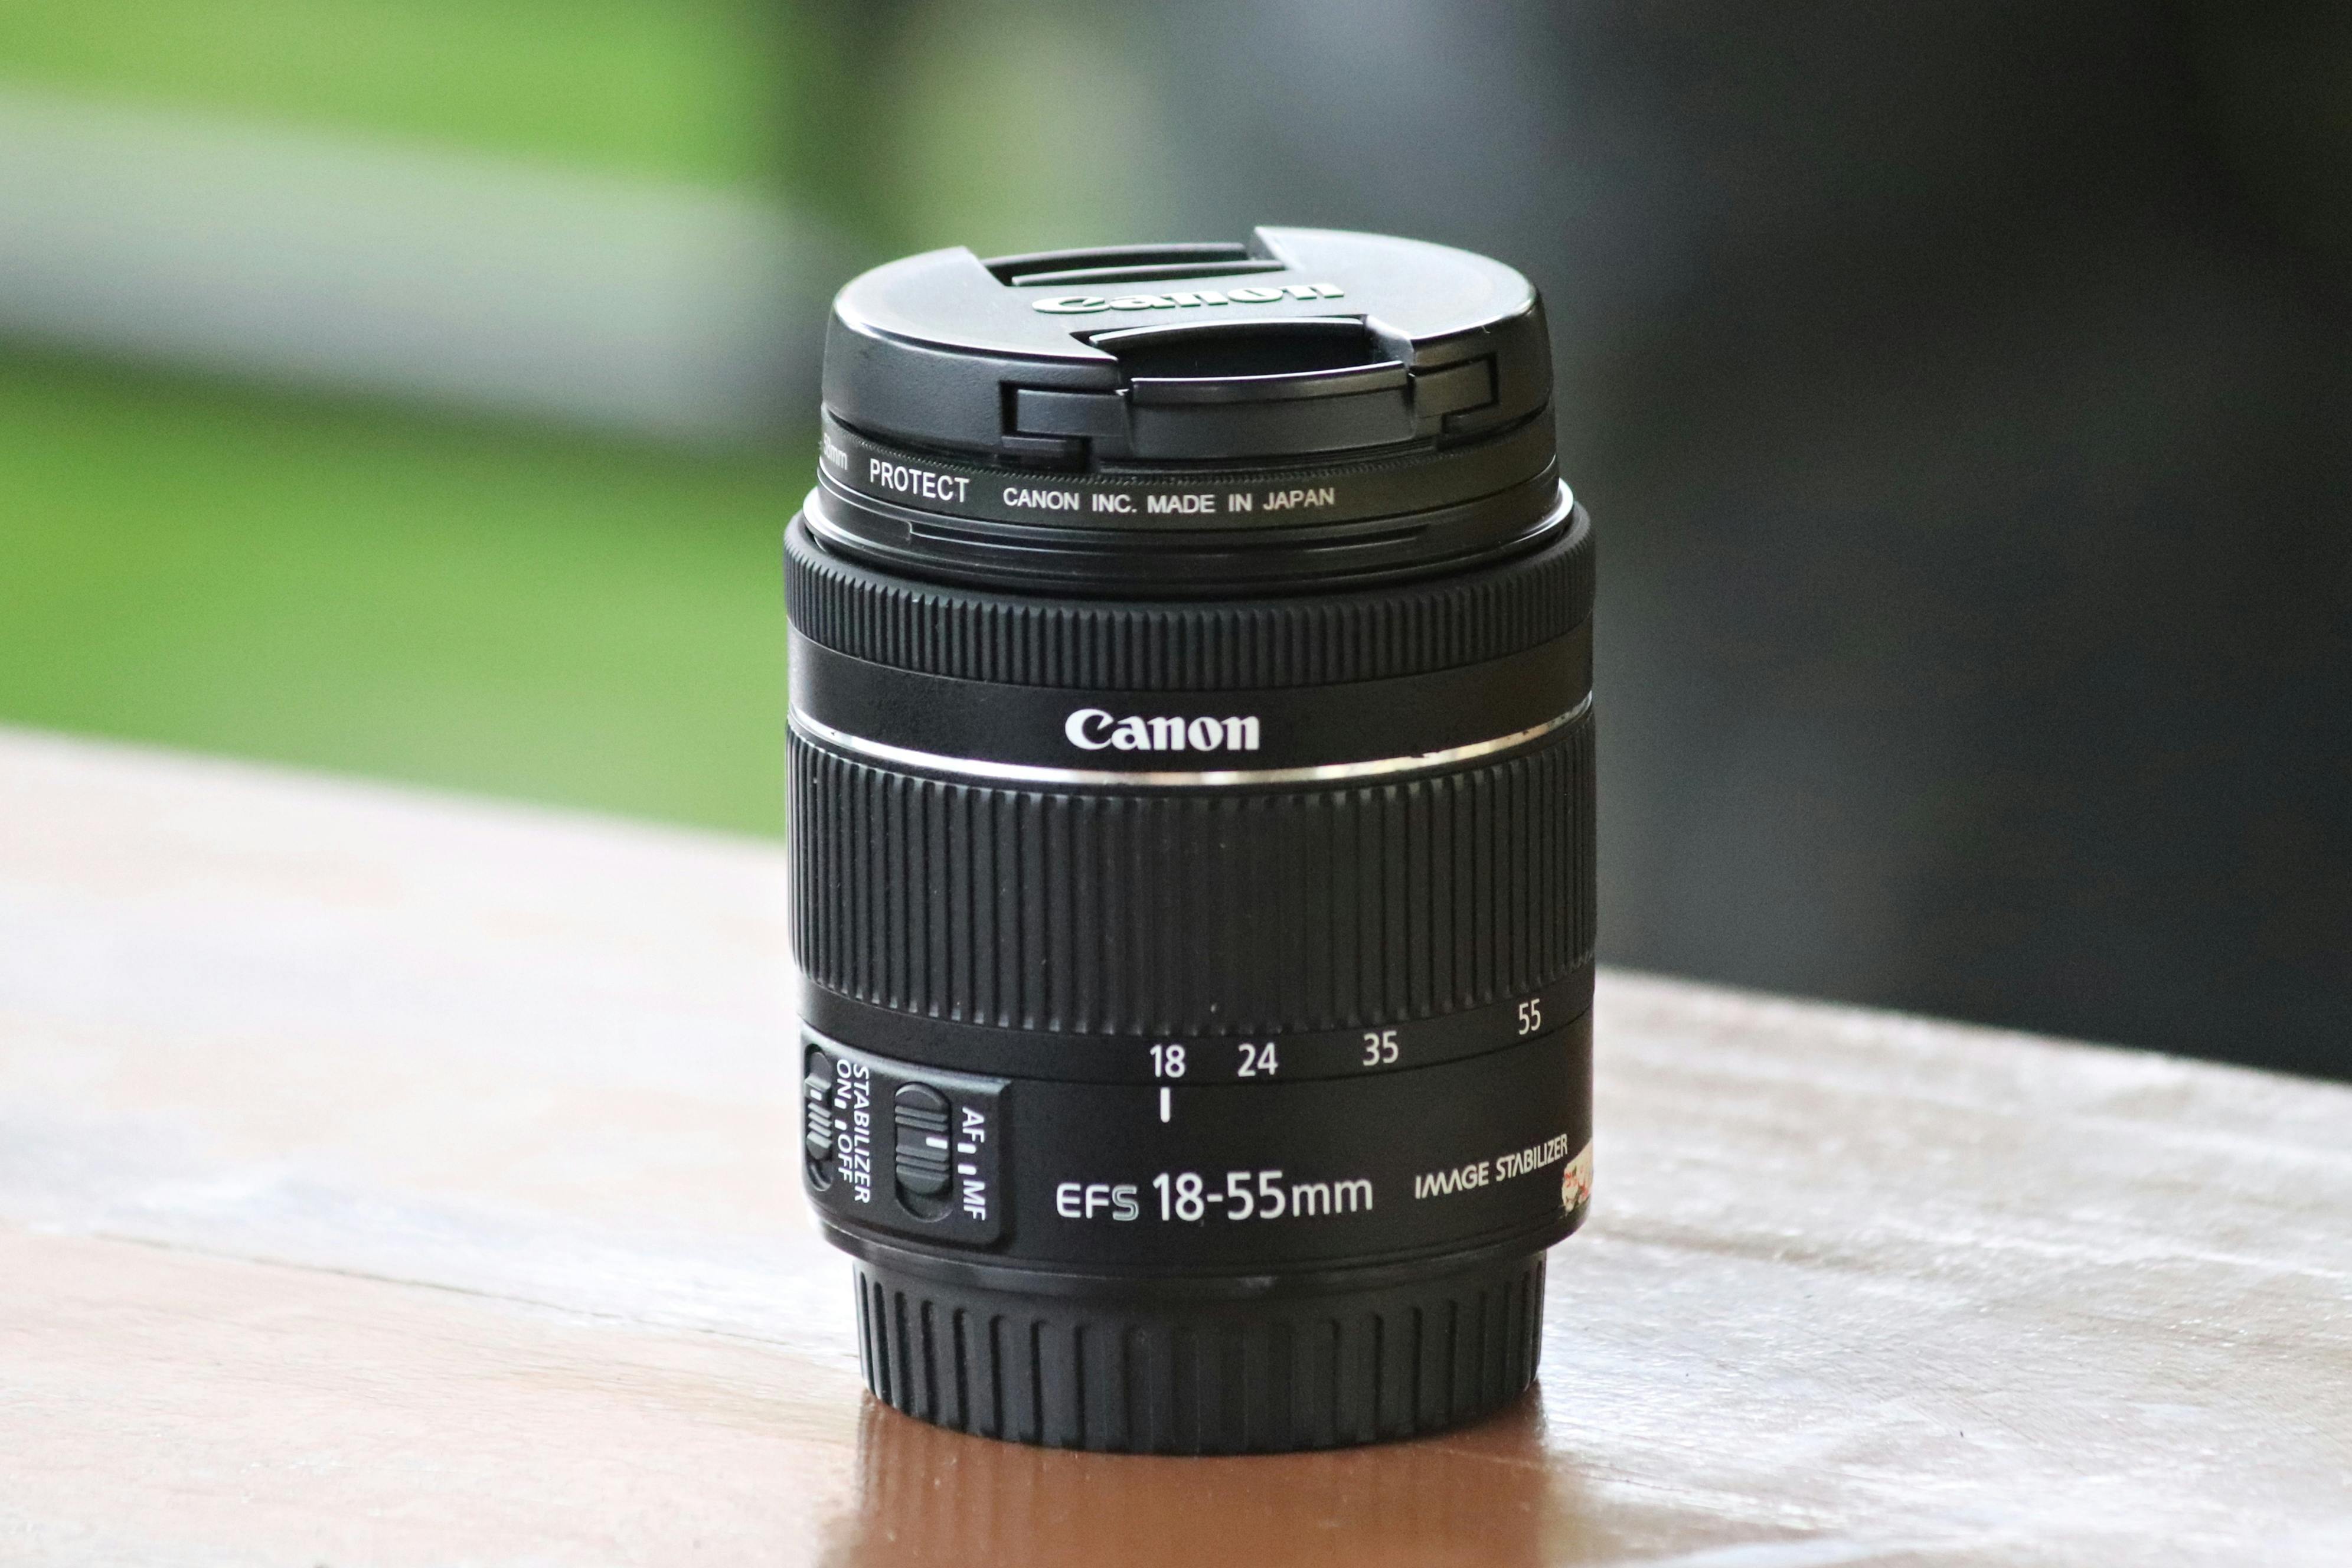
Keep your gear light while traveling
Travel days can be long, so heavy gear quickly becomes a burden. A crossbody strap helps you carry your camera with less strain and more freedom. Camstrap Voyager, Camstrap Explorer, Camstrap Nomad, and Camstrap MagClip are all practical choices if you want fast access while moving between locations.
That matters during golden hour, because the light changes quickly. If your camera stays ready at your side, you can capture a candid smile, a hair flip, or a walking shot without missing the moment.
Camera Settings to Shoot in Golden Hour
If you want to shoot stunning summer travel portraits, start with simple settings. Golden hour gives you plenty of room to work, but you still need to manage light and blur. The right setup helps keep the face sharp while softening the background.
For portraits, use a wide aperture such as f/1.8 to f/4. This blurs the background and helps your subject stand out. A common starting ISO is 100, though you can raise it as the light fades.
Best starting settings for portraits
- Aperture: f/1.8 to f/4 for soft background blur
- ISO: 100 as a base, then 250, 400, or 800 as light fades
- Shutter speed: about 1/250s to freeze gentle movement
- Focus: single-point focus on the eye closest to the camera
Think of these settings as a strong starting point, not a strict formula. If your subject moves quickly, increase shutter speed to something like 1/500s. When the scene is very bright, lower the ISO or stop down a little.
How to avoid bright highlights
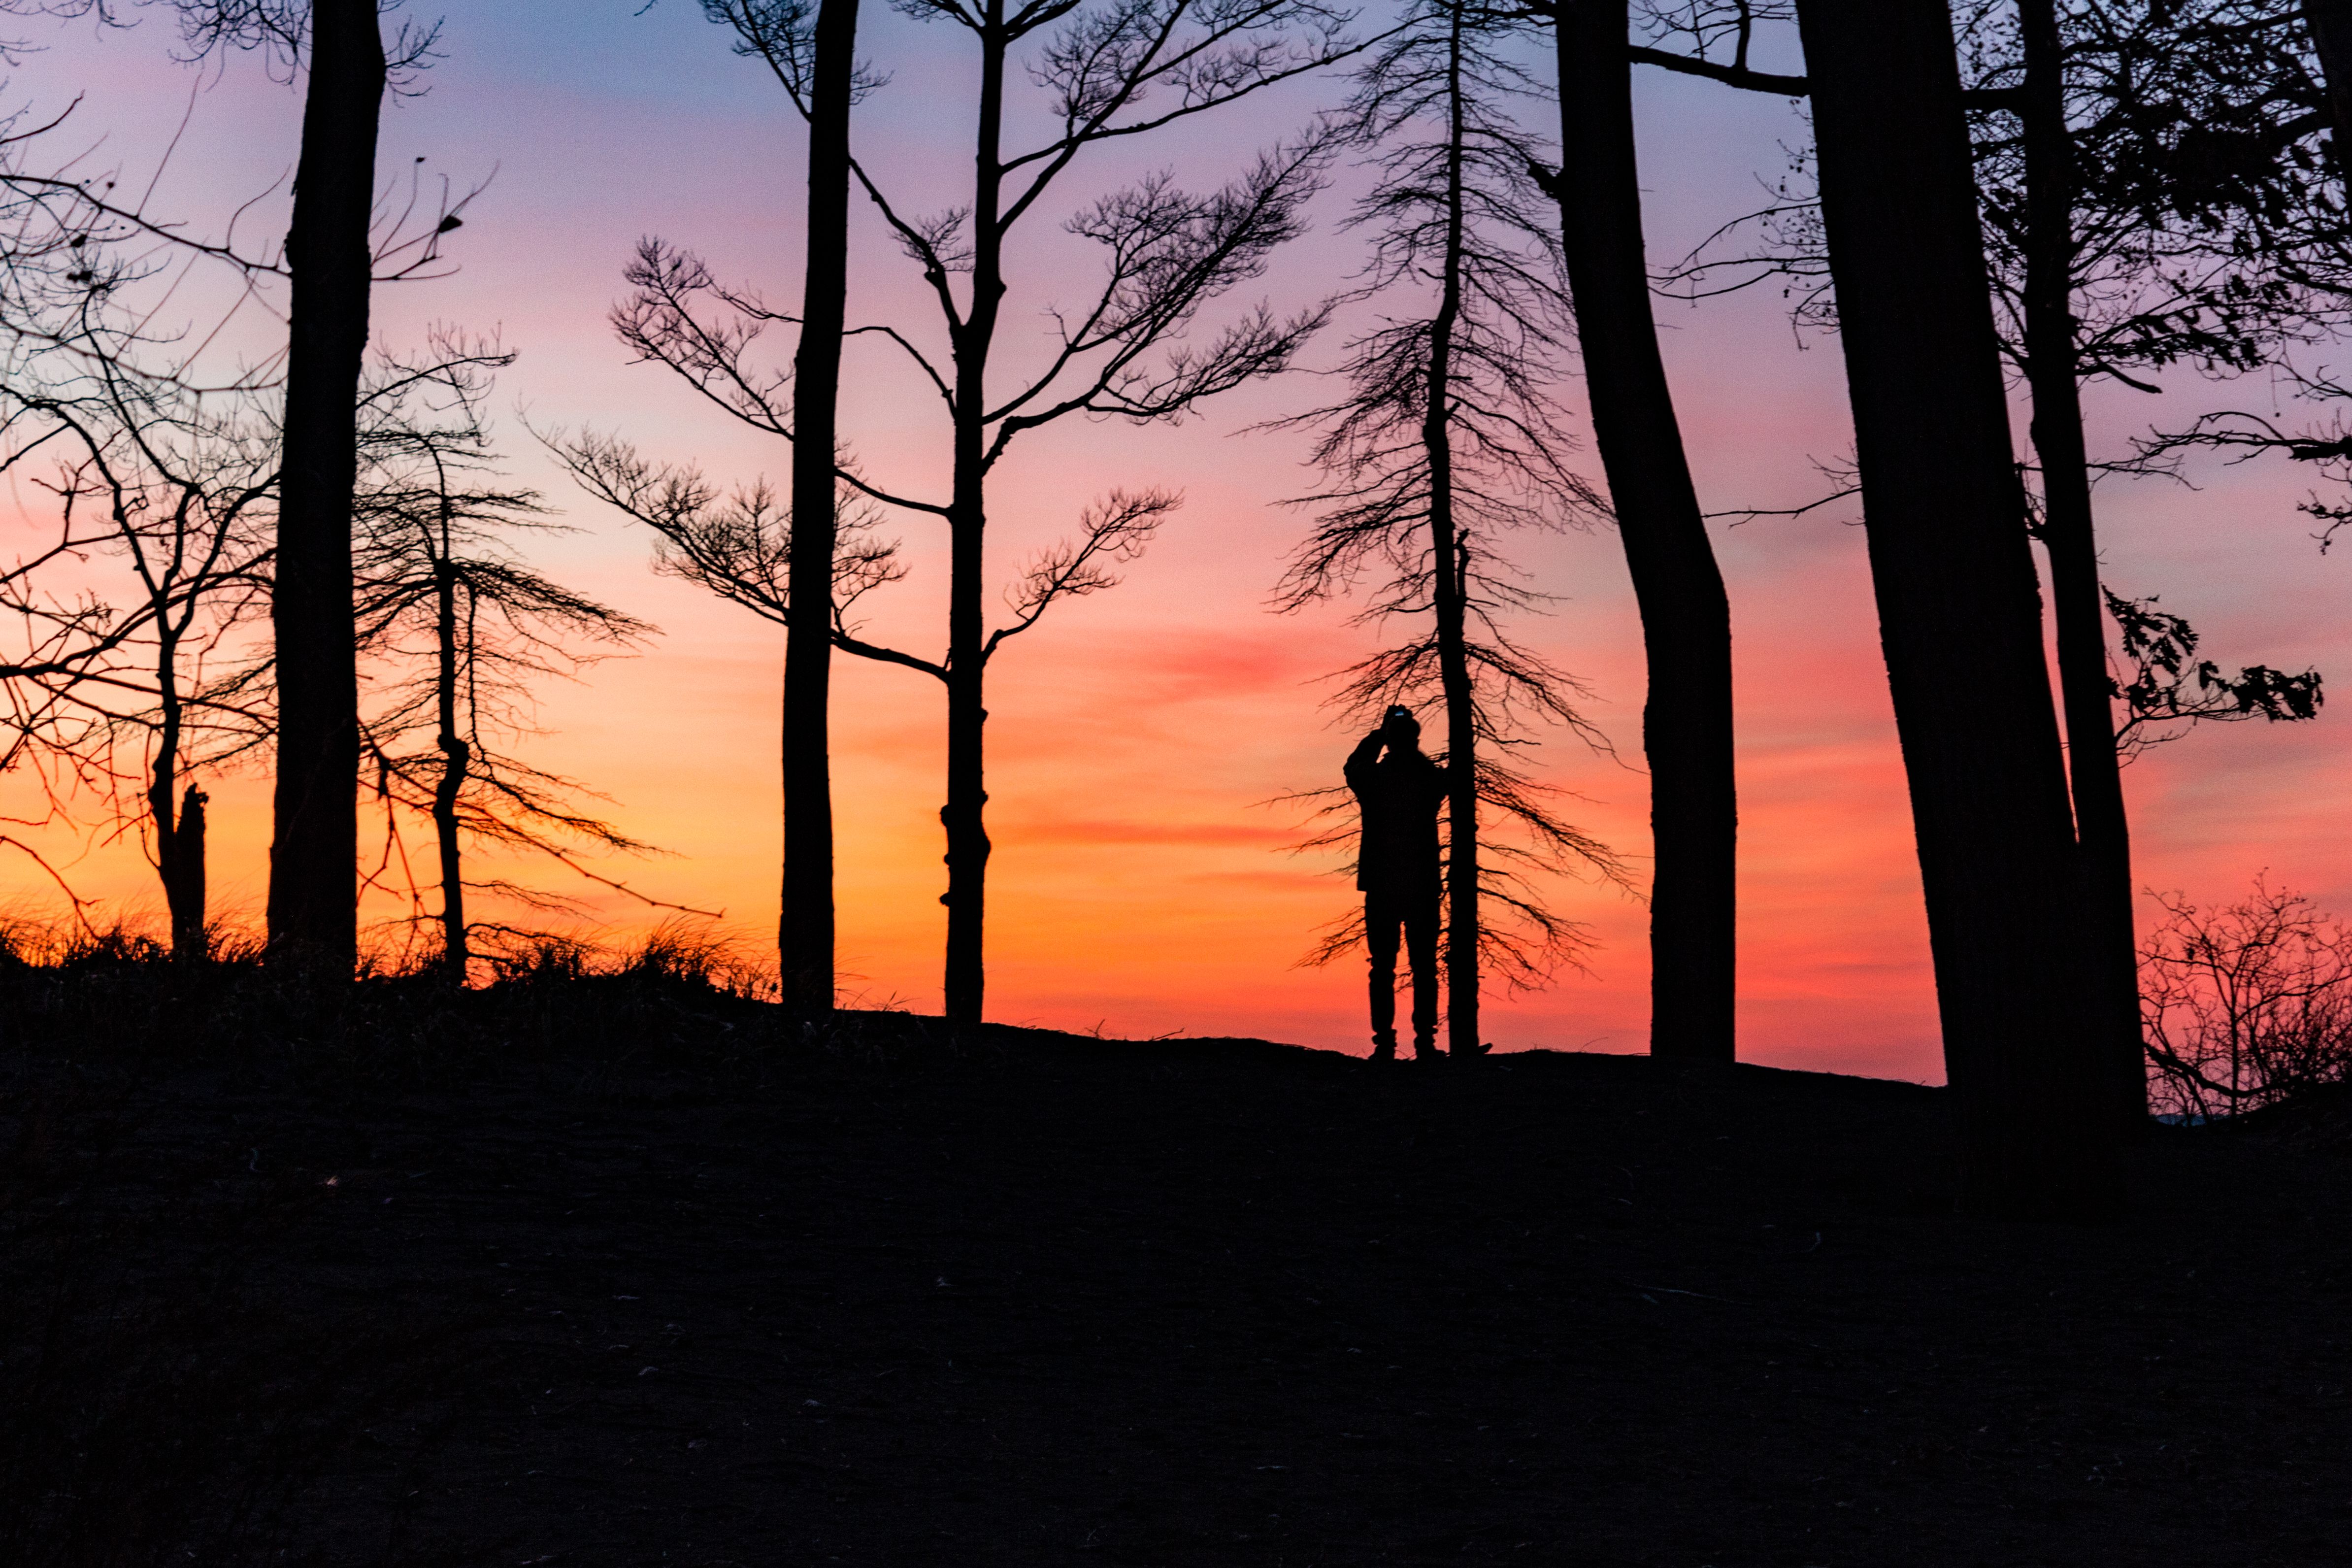
Golden hour can still produce a bright sky. If you want a silhouette, expose for the sky instead of the face. This keeps the sun from blowing out the frame and gives your subject a clean outline.
If you want detail in both the sky and the face, keep an eye on your histogram if your camera offers one. You can also underexpose slightly and lift the shadows later. That simple step helps preserve color in the clouds and sky.

Portrait settings versus landscape settings
For portraits, use f/1.8 to f/4. For landscapes, use f/8 to f/22 if you want the full scene sharp. That small shift can dramatically change the mood of your photo.
So, think about the goal of each frame before you press the shutter. If the person is the focus, open the aperture. If the location is the star, stop it down and show more detail.
Pick the Right Lens for Travel Portraits
The lens you use shapes the look and feel of your portrait. A strong travel lens should be light, sharp, and easy to handle in changing light. It should also help you move quickly as you explore.
Prime lenses are an excellent choice for golden hour. A 50mm f/1.4 is a classic option because it is sharp and creates creamy background blur. An 85mm lens also works beautifully for tighter portraits with flattering face shape and strong subject separation.

Best lens options for summer travel
- 50mm prime: good for street scenes, half-body portraits, and easy travel use
- 85mm prime: great for flattering close portraits and soft backgrounds
- 35mm prime: useful when you want more of the place in the frame
- 24-70mm zoom: flexible if you want one lens for many scenes
If you are new to travel portraits, the 50mm is often the easiest place to begin. It produces a natural look and performs well in many environments. If you want more blur and a tighter composition, move up to an 85mm lens.
How lens choice changes the mood
A wider lens, such as 35mm, shows more of the street, beach, or city behind the person. That works well when the location matters as much as the portrait. A longer lens, such as 85mm, compresses the background and makes the subject stand out.
As a result, your lens choice can tell a very different story. Use a wider lens for travel context and a longer lens for a cleaner portrait feel.

Pose People Naturally While You Travel
Good posing should feel easy, not stiff. When you shoot in a travel setting, people often relax if your directions stay simple. The strongest poses usually look like a real moment rather than a pose at all.
Start with small movements. Ask the person to walk, look away, touch their hair, or shift their weight to one leg. These simple actions help you create more natural frames in less time.
Easy pose ideas that work well
- Ask them to walk toward the light.
- Tell them to look just past the camera.
- Have them turn one shoulder toward you.
- Ask for a hand in the hair or on the collar.
- Let them sit on steps, curbs, or rocks.
These small movements help the body look relaxed. They also add shape to the arms, neck, and shoulders. Therefore, the frame feels more open and less forced.
Use the place to guide the pose
Travel portraits work best when the pose matches the setting. On a beach, let the person walk barefoot with loose arms. In a city, use walls, doors, and steps to create clean lines and strong shapes.
Also, pay attention to the wind. Summer breeze can add appealing movement to hair and clothing. If the wind is strong, ask the subject to face slightly into it for better control.
Use Light, Angles, and Motion to Shoot Better Frames
Once your settings and pose are in place, turn your attention to light and angle. These small choices can transform a good shot into a stunning one. They also help you work faster before the sun sinks too low.
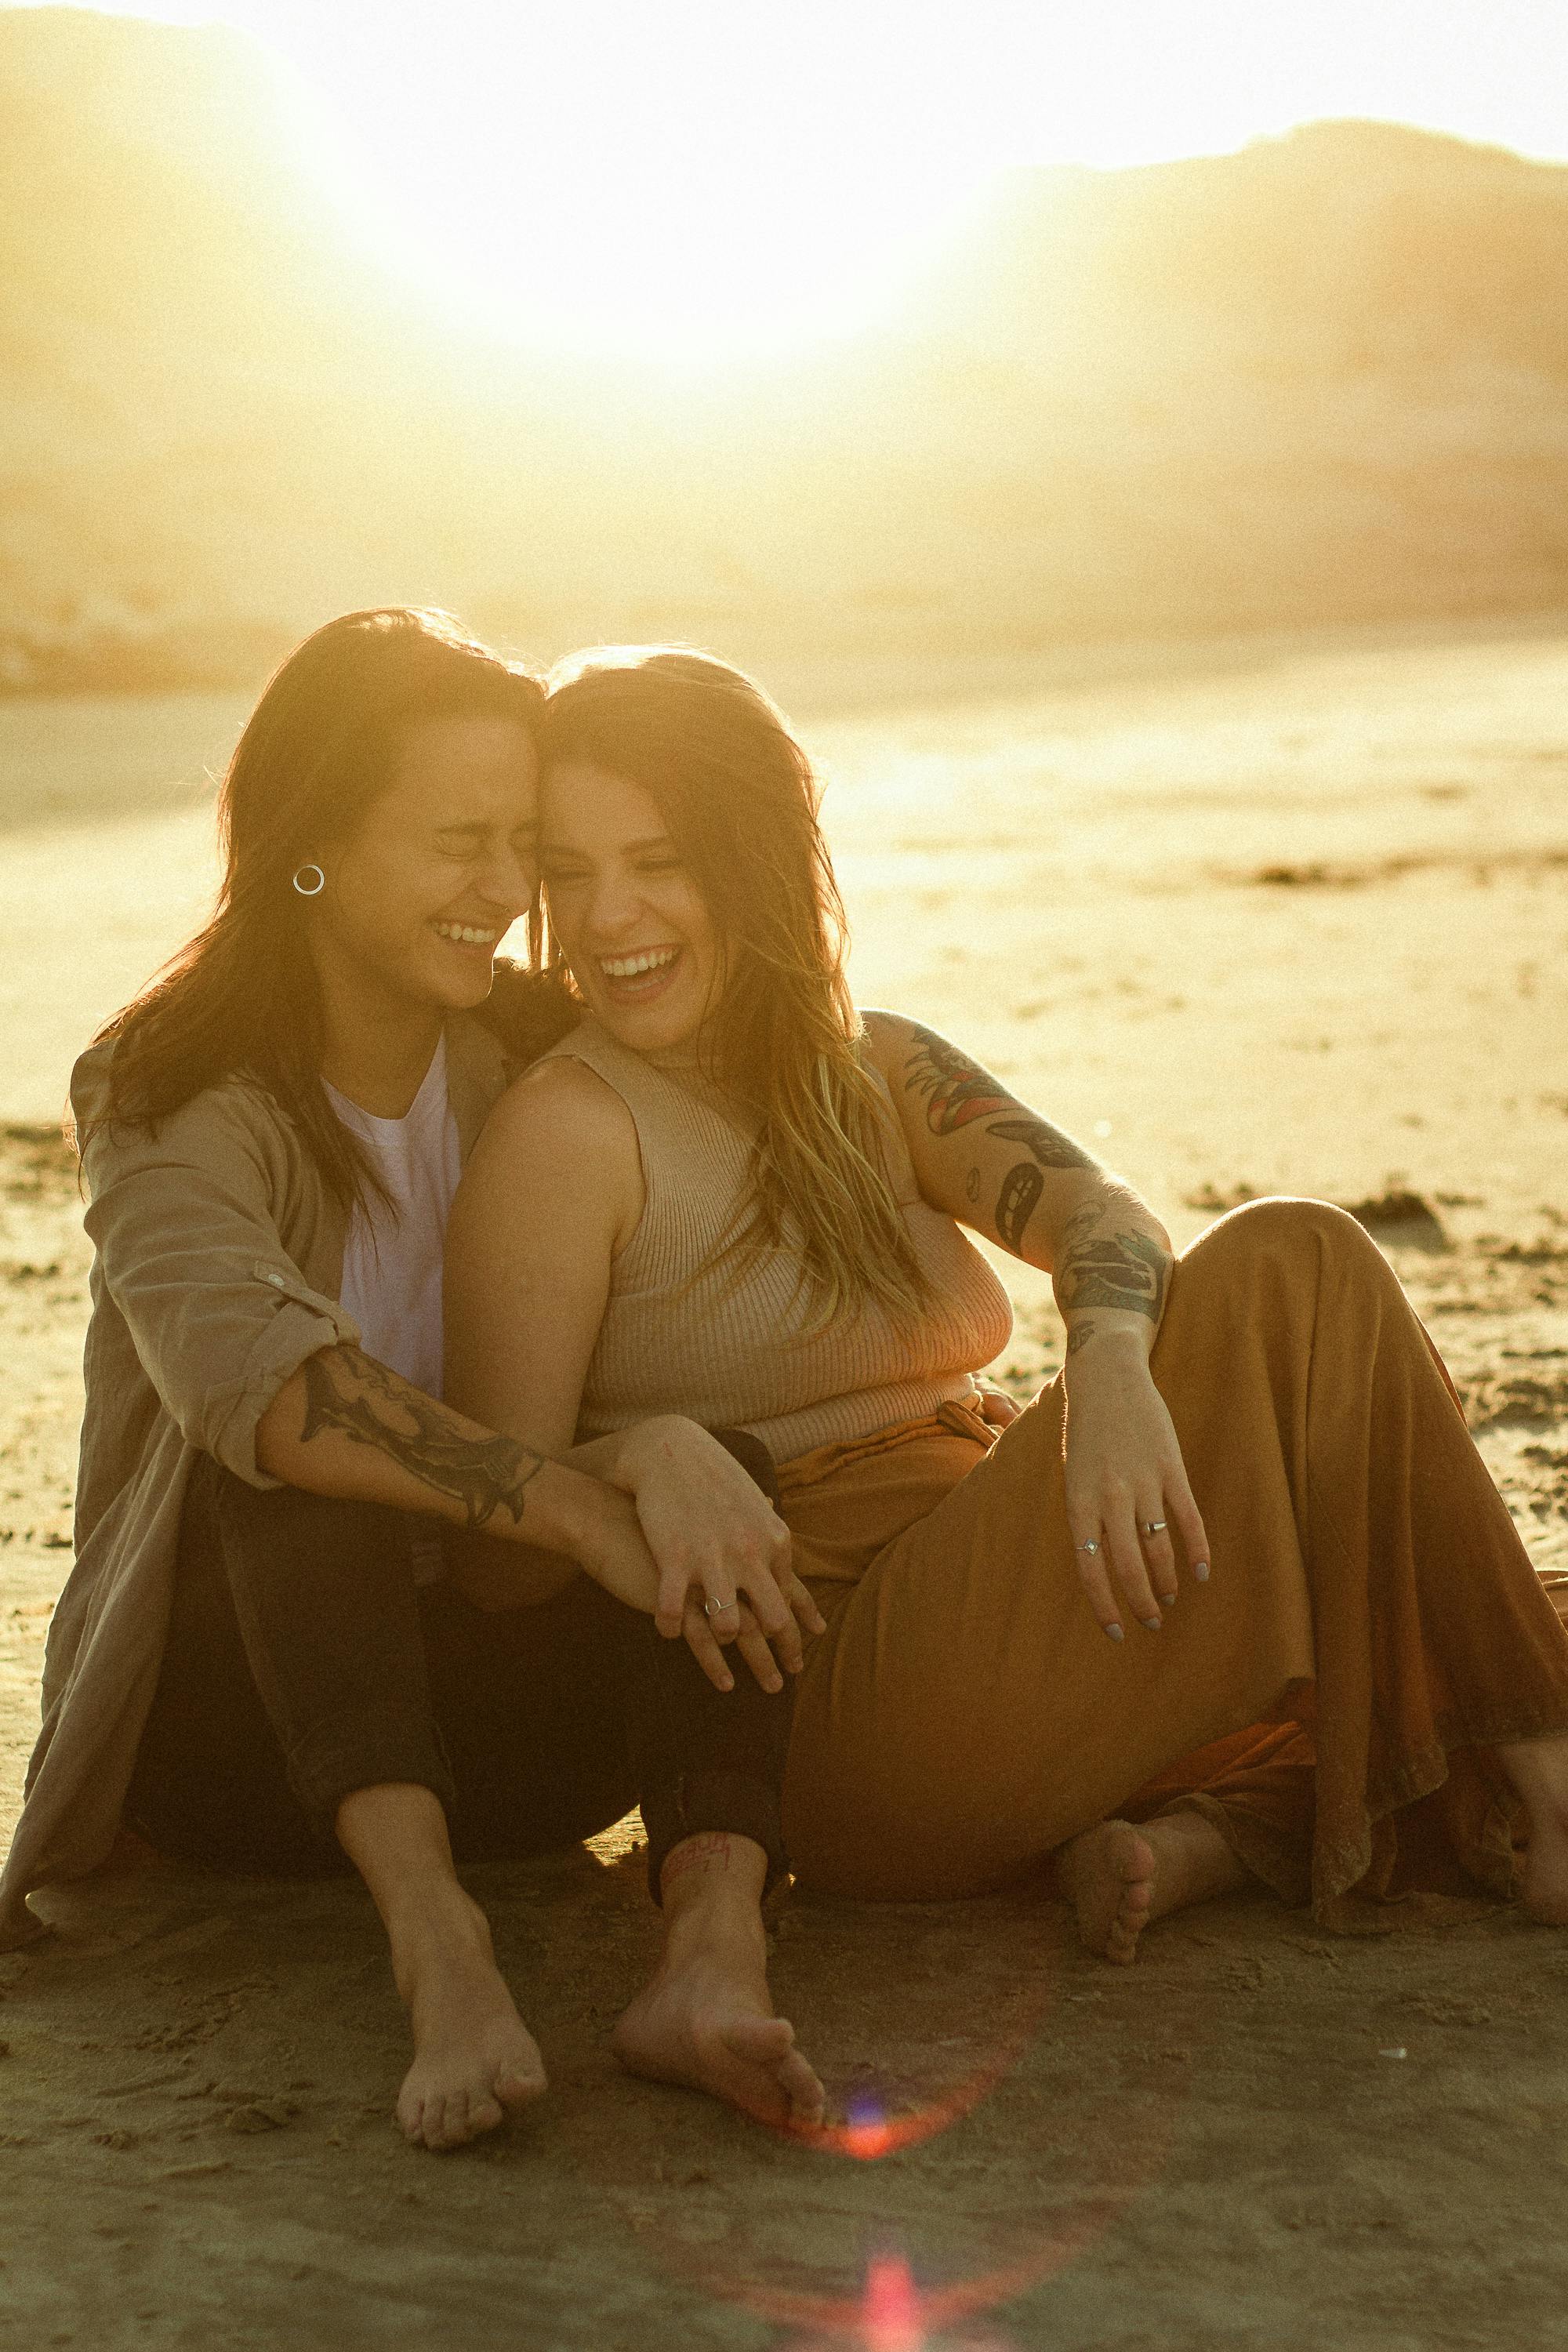
Place the sun behind the subject to create a glowing rim of light. Then step a little left or right until the light wraps around the body cleanly. This backlit setup is one of the best ways to shoot dreamy golden hour portraits.
Try backlight for a soft glow
Backlight is one of the simplest tricks to use at sunset. The bright edge around the subject adds depth and makes the photo feel warm. It also softens the scene and can hide busy backgrounds.
If the face becomes too dark, ask the subject to turn back toward the light. Even a slight adjustment can bring the eyes and skin back into balance. This keeps the portrait bright without losing the glow.
Use motion to make the scene feel alive
Travel portraits often look stronger when they include motion. Ask the person to walk, spin, laugh, or brush hair from the face. These small actions create a more genuine and lively image.
Try shooting a burst of three to five frames as the subject moves. That gives you more chances to catch a natural expression. It also helps when you want clean hand placement or better eye contact.

Quick Golden Hour Workflow for Travel Portrait Sessions
A short workflow helps you stay calm when the light changes quickly. You do not need a long checklist. What you need is a simple order that helps you move from setup to final shot.
This is especially helpful while traveling. You may have only a brief window before sunset, so every minute matters. A light camera setup and quick access make a big difference in that moment.
A simple step-by-step plan
- Arrive 30 to 40 minutes before sunset.
- Check where the sun will drop.
- Set aperture to f/1.8 to f/4.
- Start at ISO 100 if the scene is bright.
- Place the sun behind the subject.
- Ask for simple poses and small movements.
- Raise ISO if the light gets weaker.
This plan helps you work with less stress. It also keeps your attention on the subject rather than the clock. As a result, you can shoot more frames with better timing.

Keep your camera ready between spots
When you travel, you often move from one viewpoint to the next. A crossbody strap lets you walk, climb, or turn without packing your camera away each time. That makes it easier to catch a quick portrait when the light opens up.
That is one reason many travel photographers appreciate simple carry tools such as Camstrap Voyager, Camstrap Explorer, Camstrap Nomad, or Camstrap MagClip. They are not just about style. They help you stay ready when the best light appears.
How to Shoot Stunning Summer Travel Portraits: Final Tips
If you want to shoot stunning summer travel portraits, keep the process simple. Use golden hour, pick a lens that suits the scene, and give your subject easy directions. Then let the light do most of the work.
Remember the core steps. Start 45 minutes before sunset. Use a wide aperture like f/1.8 to f/4. Put the sun behind your subject for a soft glow. Then adjust ISO as the light fades and keep your camera ready for quick moments.

Most of all, keep shooting. The more you practice in summer travel settings, the easier it becomes to read the light and direct people. With a calm pace, a light setup, and the right timing, you can create portraits that feel warm, natural, and full of life.
Frequently Asked Questions
What camera settings work best for golden hour portraits?
The article emphasizes using golden hour’s soft light rather than specific settings. In practice, exposure settings should be adjusted to the available light, and it recommends arriving early enough to test framing and shoot before the light fades.
How do I pose subjects naturally while travelling?
Keep poses simple and uncomplicated so the portraits feel natural and alive. Use the environment and light to guide positioning, such as placing the subject with the sun behind them for a soft rim light or turning them toward the last bit of light for a brighter face.
Which lenses are good for travel portraits?
The provided article excerpt does not name specific lenses. It focuses instead on timing, location, and posing, and mentions using a crossbody camera strap to keep your camera accessible while moving around.


