


- Pick one bloom with contrast, light, or shape to lead the eye.
- Use that lead flower to organize the scene and keep depth intact.
- Back up and leave space so the meadow reads as layered, not flat.
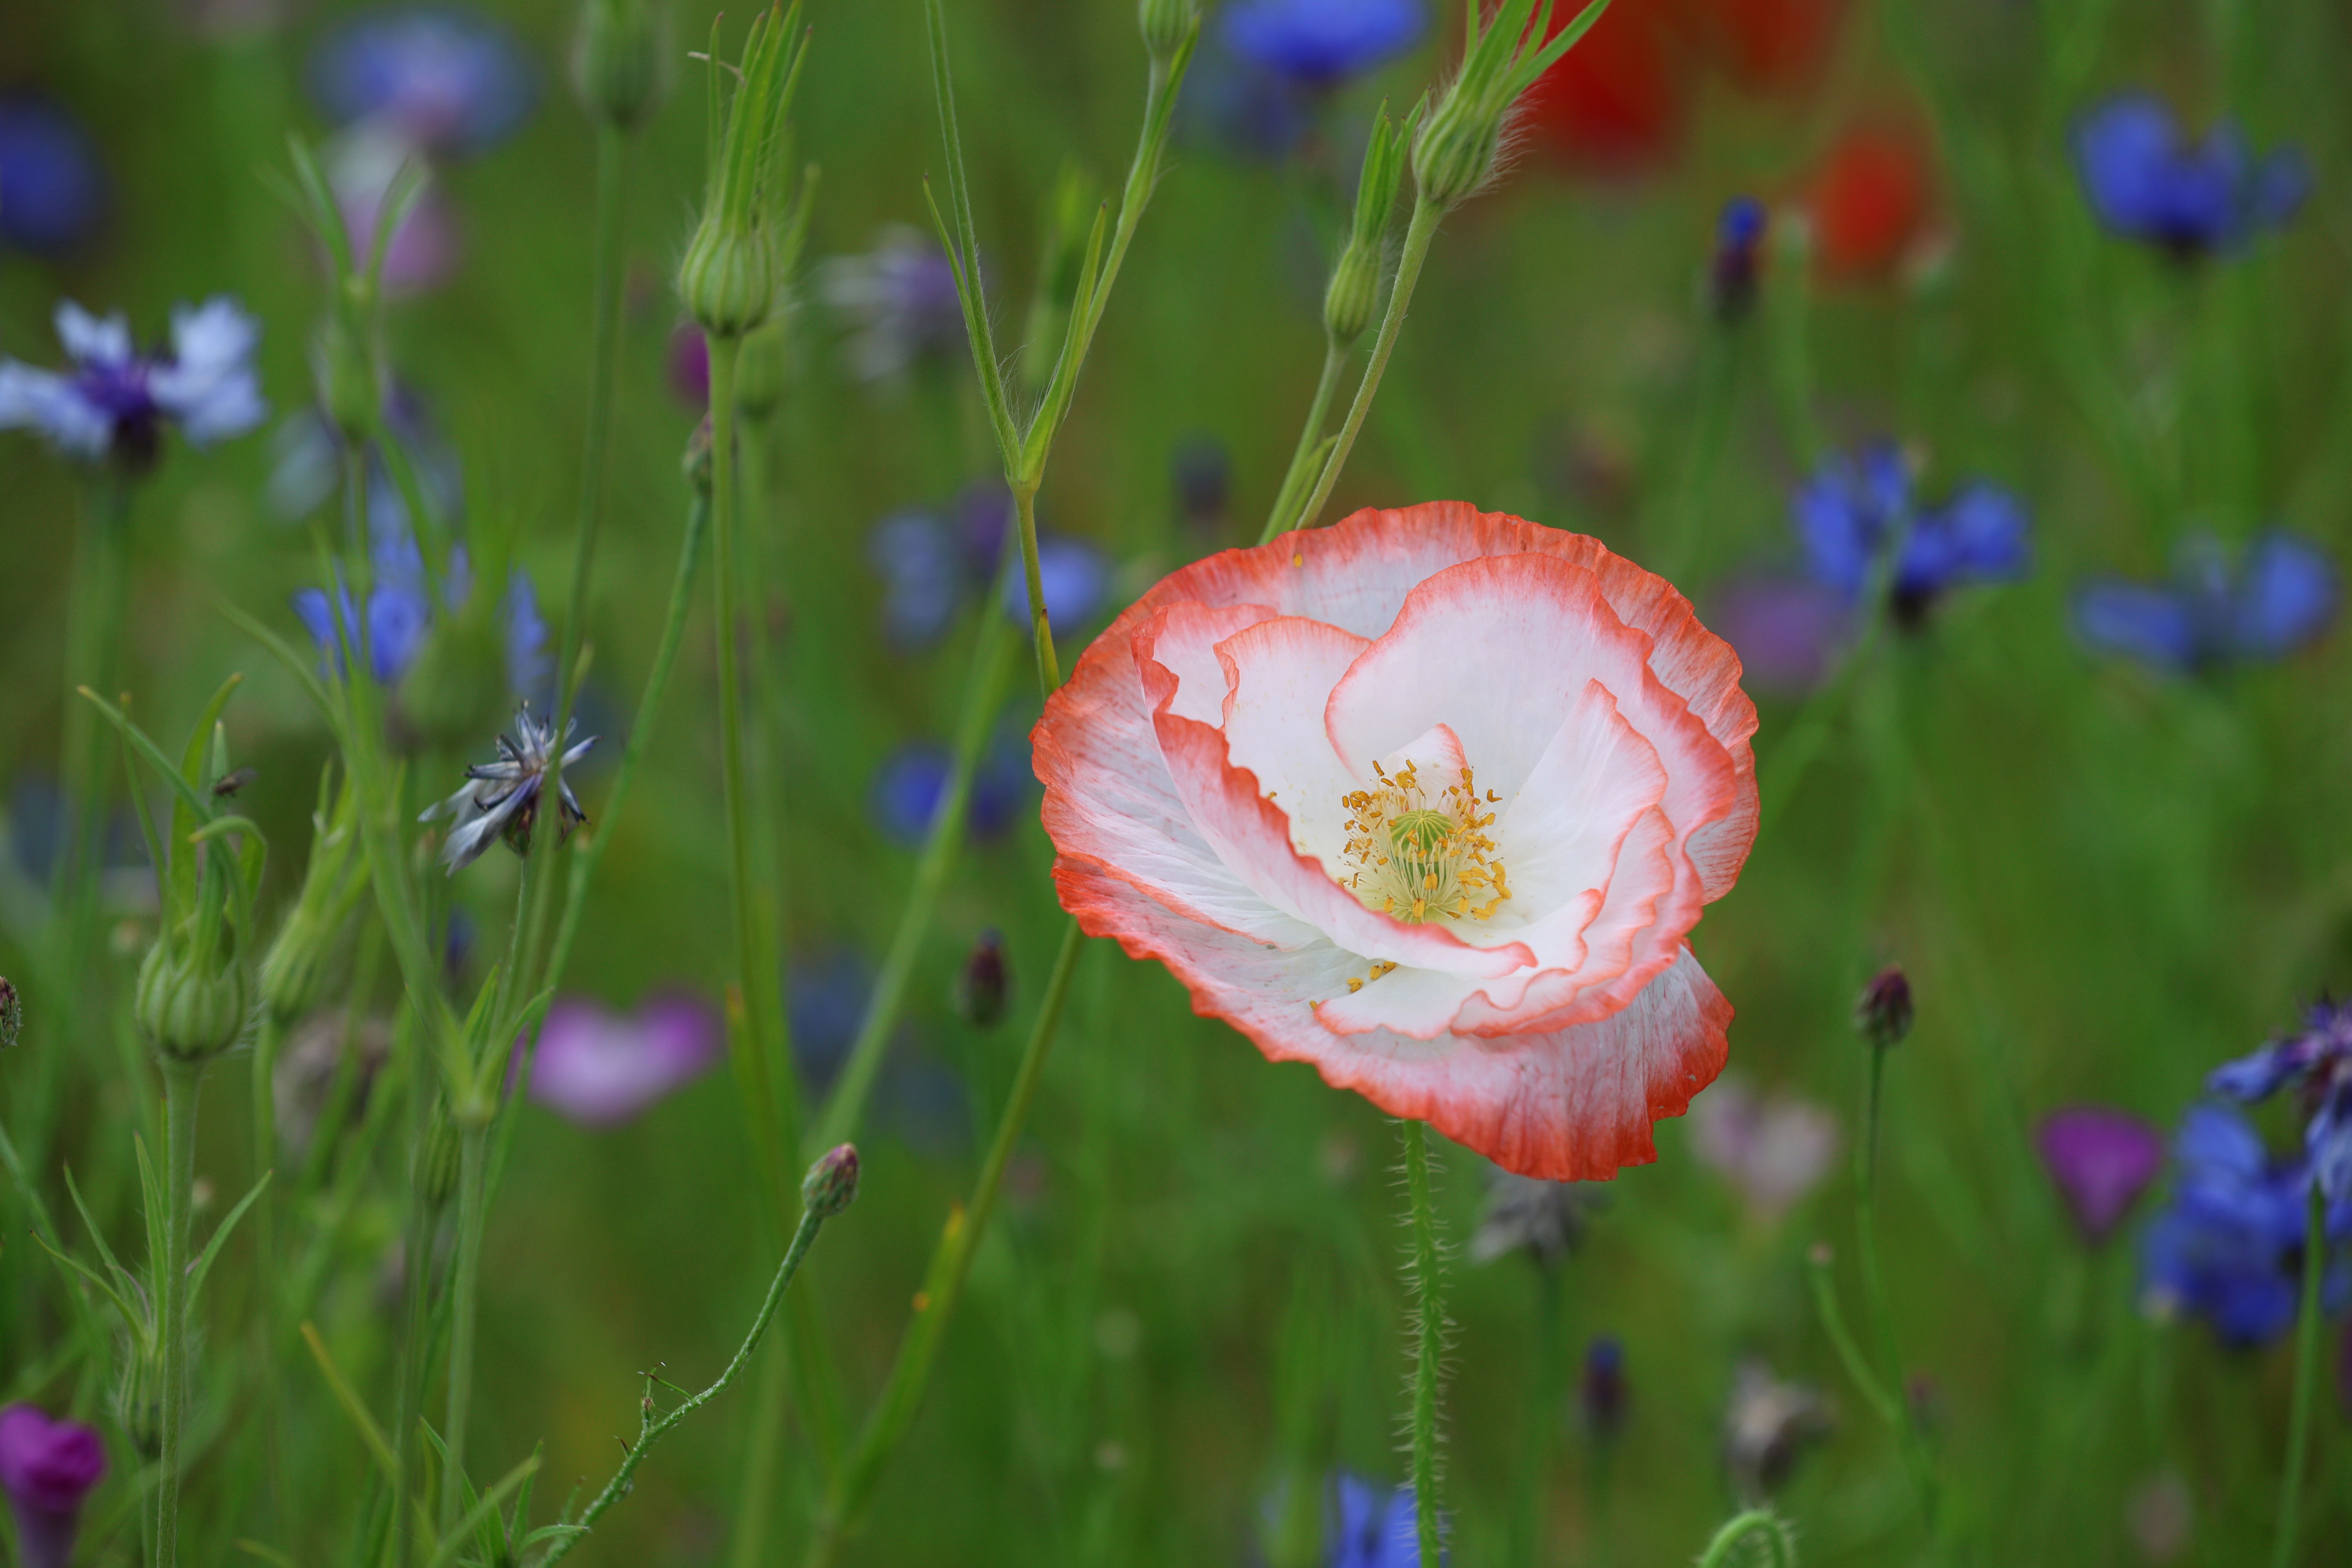
Focal point photography directs the viewer’s eye to one main subject while the rest of the frame stays in support. In wildflower fields, that choice changes the whole picture. One bloom can lead the eye, and the meadow still reads as wide and alive.
Shop the setup

- Regular price
-
€42 - Regular price
-
€44 - Sale price
-
€42
By choosing the Camstrap strap, you are opting for a high-quality product designed to meet the needs of the most demanding photographers.
- Developed by a physiotherapist to relieve neck and back pain.
- Fast delivery with tracking by the Post Office 🚚
- Can be used as a shoulder strap or hands-free harness

- Regular price
-
€36 - Regular price
-
€42 - Sale price
-
€36
Free shipping included
See the meadow in layers, not as a blur of blossoms
Wildflower fields may look simple at first glance, yet they’re built from layers. Flowers can sit in front, stems gather through the middle, and hills or sky wait behind them.
Treating every bloom as equal flattens the frame. Look for one flower, one clump, or one small patch that can carry the scene.
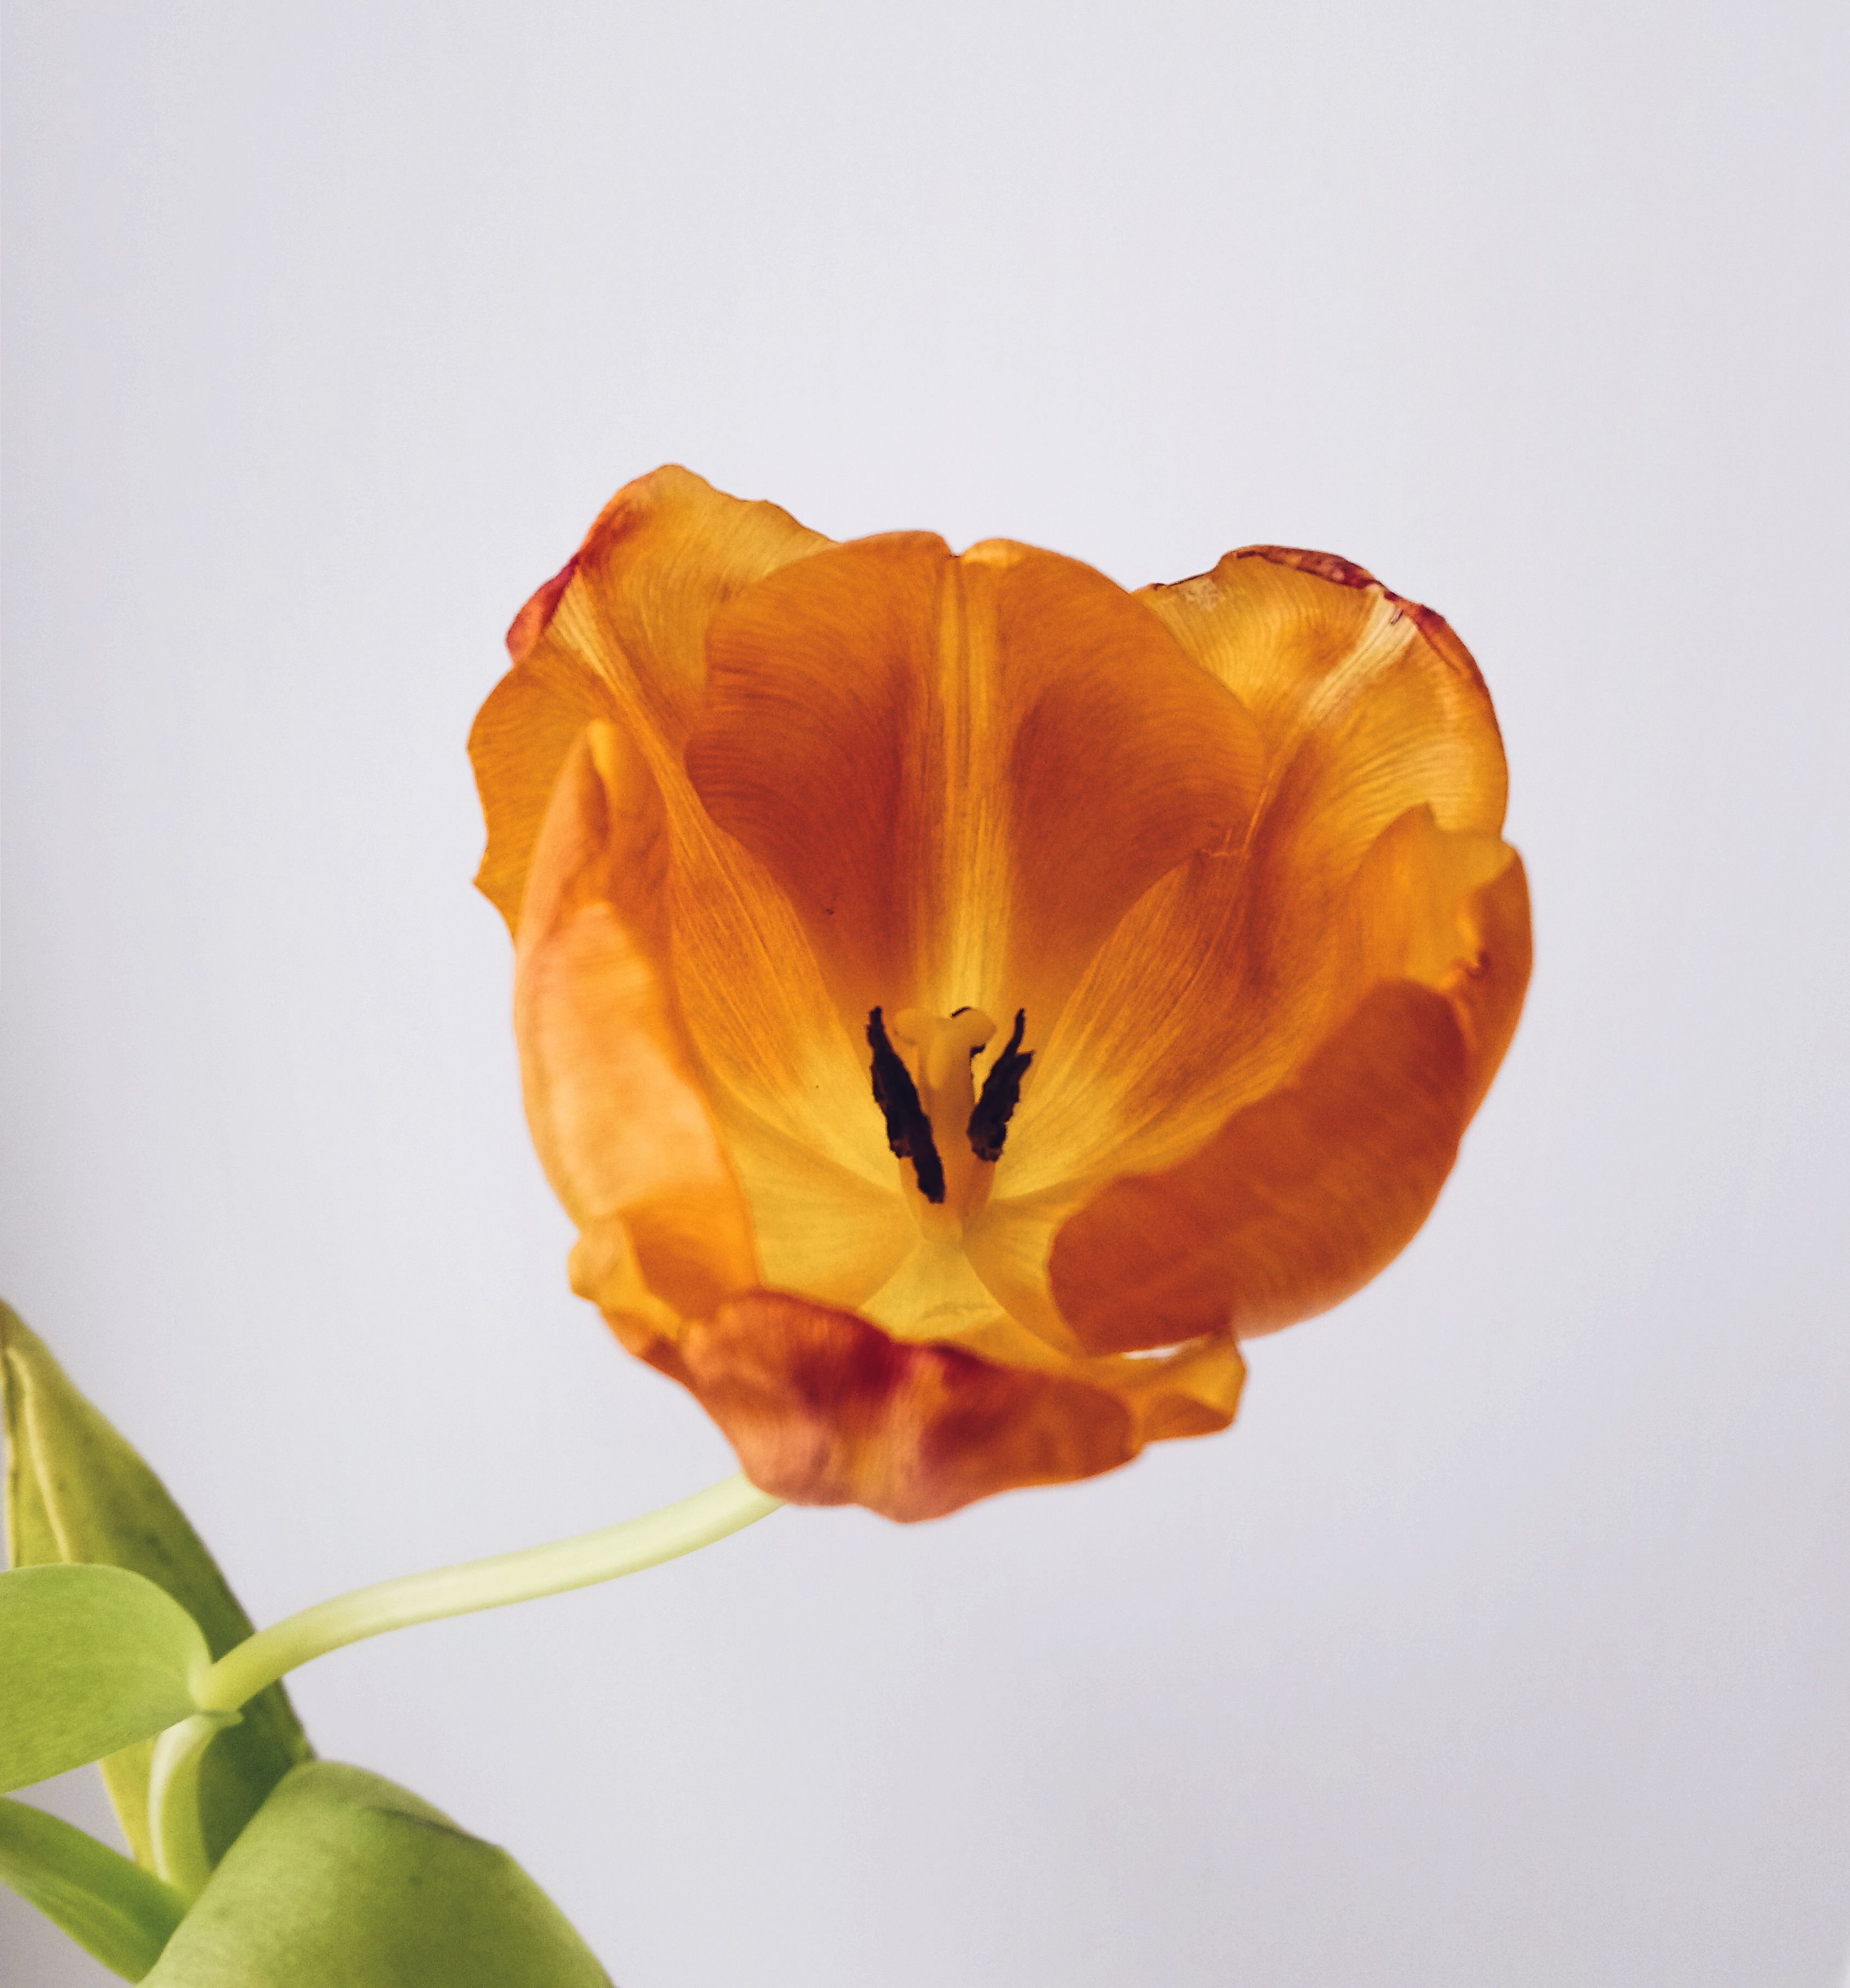
Choose one subject and let the rest play support
The main subject needs shape, color, light, or breathing room to stand apart. A lone pink bloom against green grass works well because the eye finds it quickly. A stem with a gentle bend can help too. A flower leaning into open space feels more natural than one trapped in a busy patch.
Step back to preserve depth in the frame
When the scene starts to feel crowded, give it more distance. A little extra space often separates the foreground, middle, and background more clearly.
A 50mm to 85mm lens helps because it compresses the view without making it feel stiff. The result is cleaner, and the field still reads as a field.
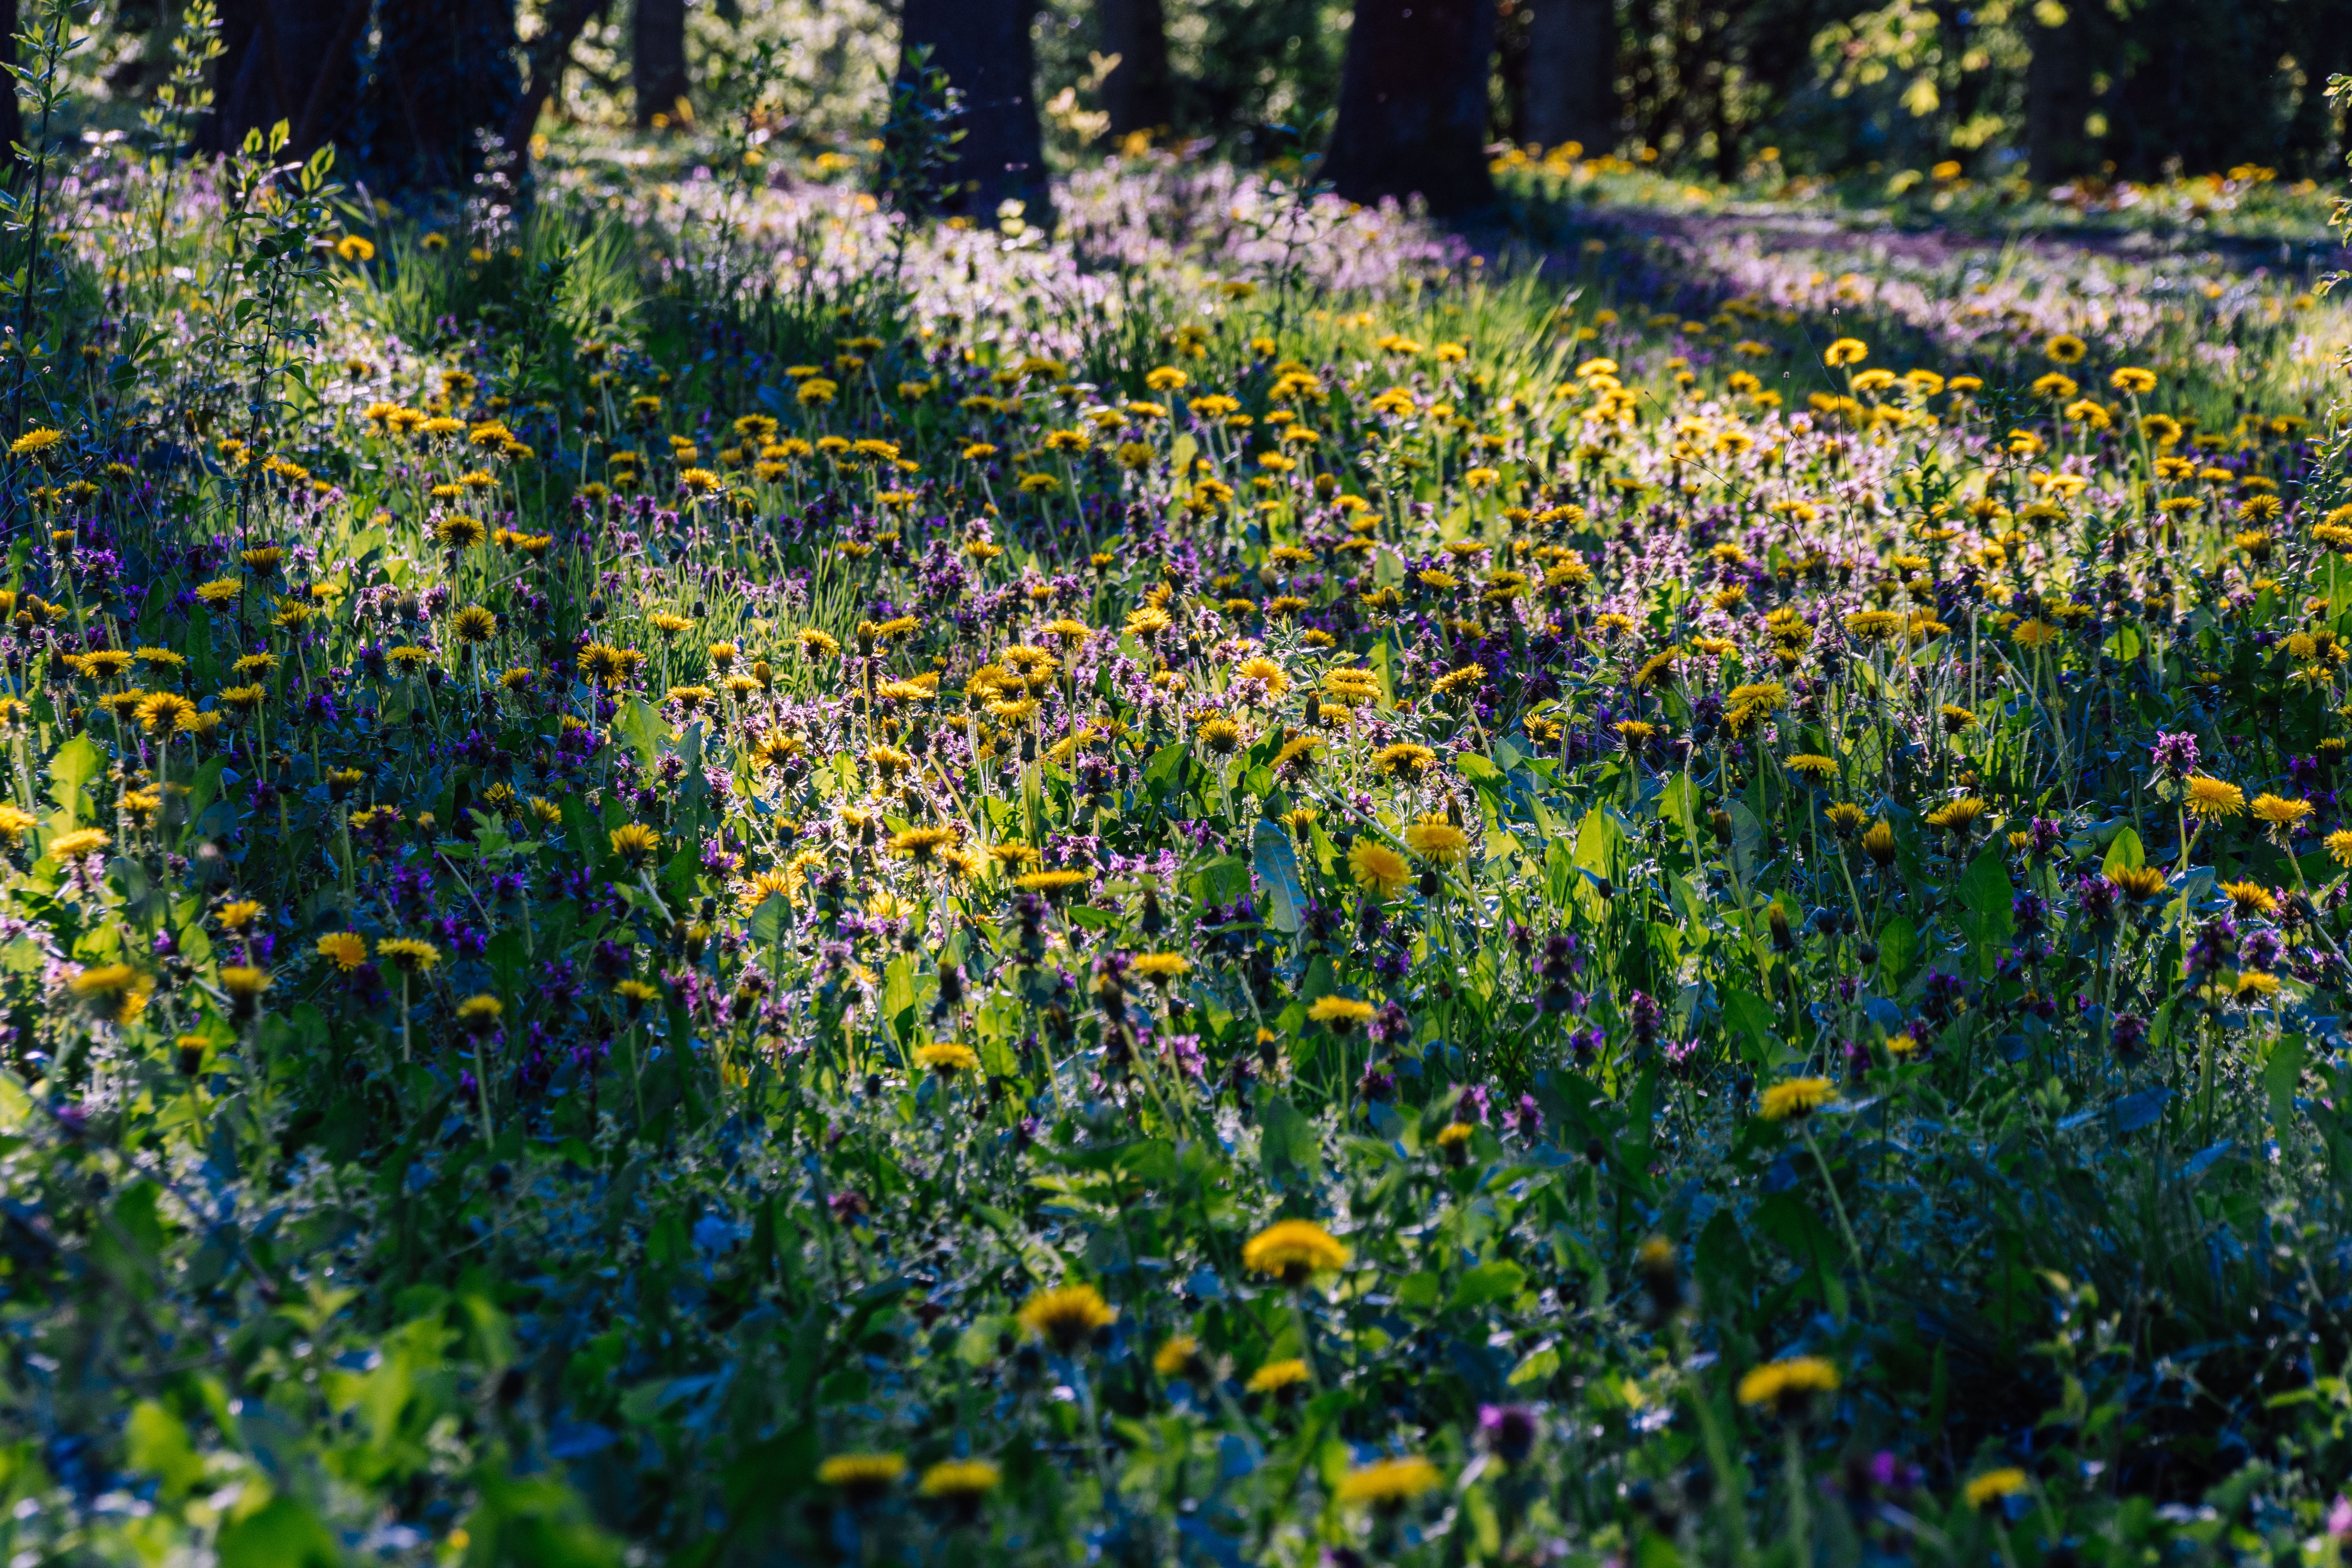
How a focal point works in photography
A focal point is the part of the image that catches attention first. It might be a single flower, a bright color, a sharp edge, or a small pocket of light. In a wildflower scene, it keeps the viewer from drifting through the frame without direction.
Common ways a flower scene creates one
- A bright bloom among muted plants
- A sharp flower against a soft background
- A subject placed where lines lead toward it
- A bloom lit by sun while the rest sits in shade
The role of a focal point in the frame
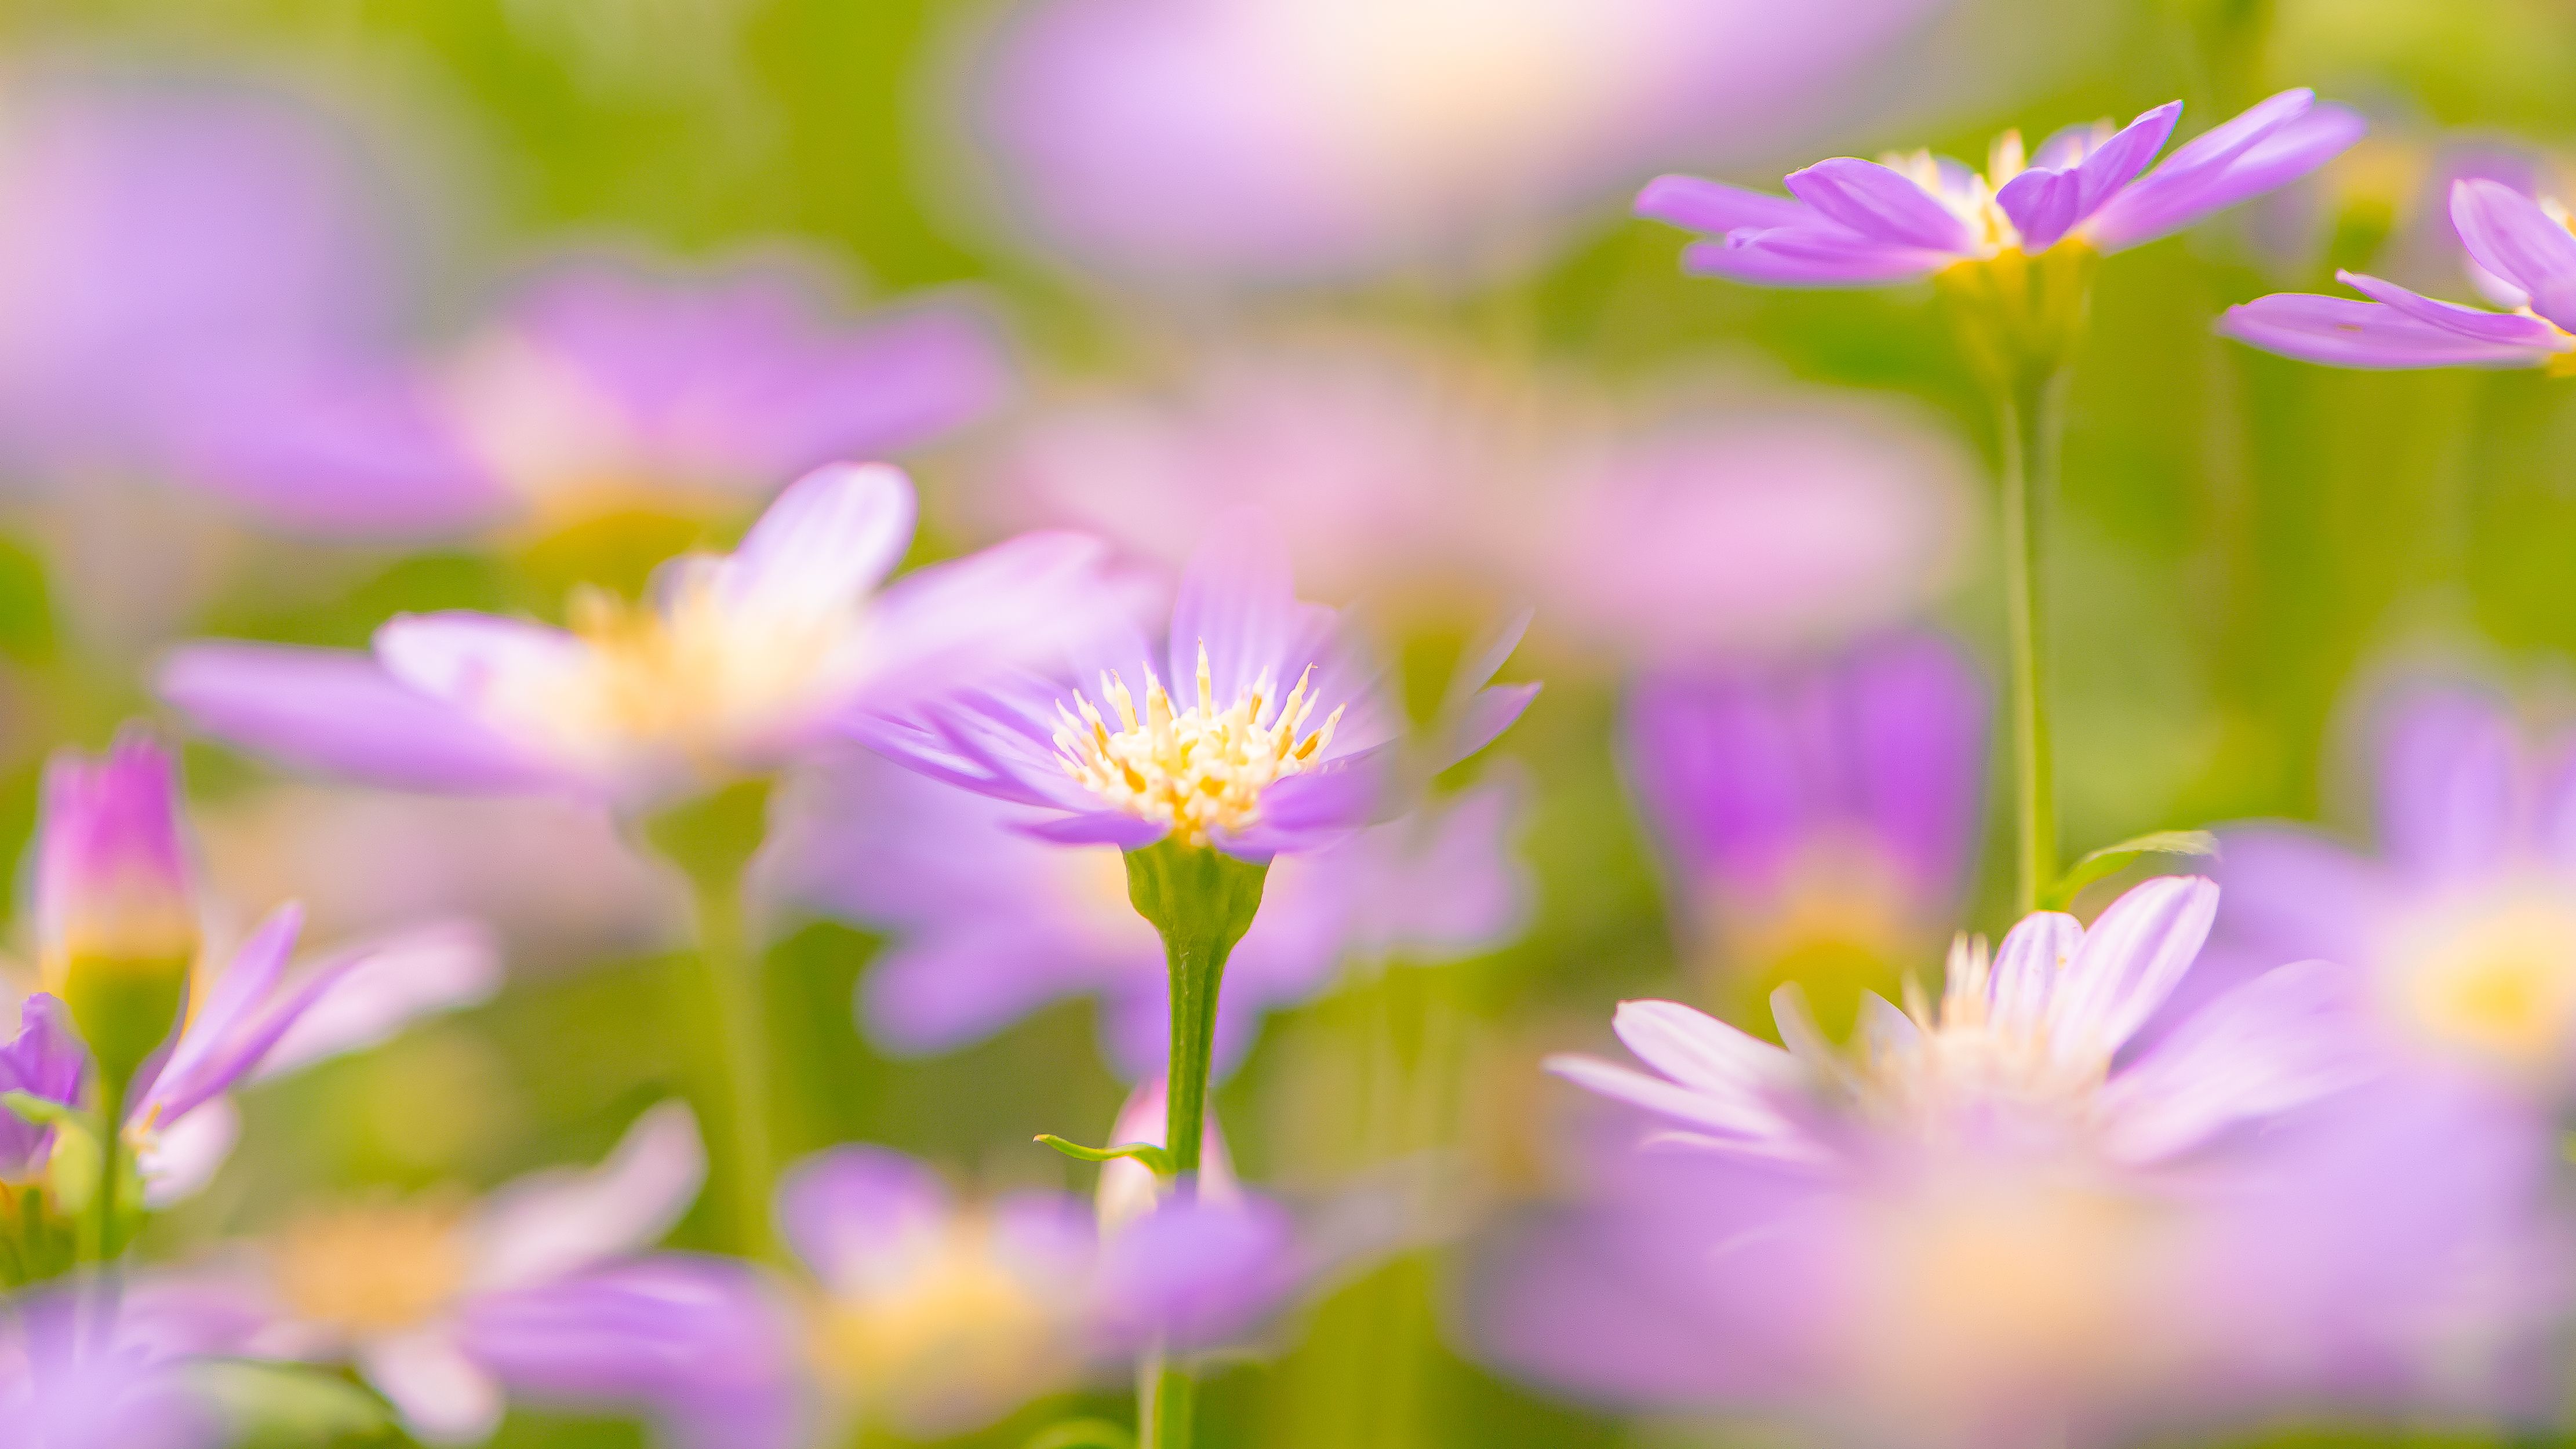
A focal point gives the photo a clear path for the eye.
It settles the frame even when the field is crowded with detail. Without that guide, the picture can turn into a wall of color.
Wide meadow scenes rely on this even more. The eye likes order, and a strong lead subject gives the whole image more force. Studies of visual attention back that up. People notice contrast, edge detail, and bright areas first, which is why a well-placed bloom can shape the whole view.
Why one clear lead makes the image stronger
A single lead subject adds structure. It gives the viewer a place to enter and a path deeper into the scene.
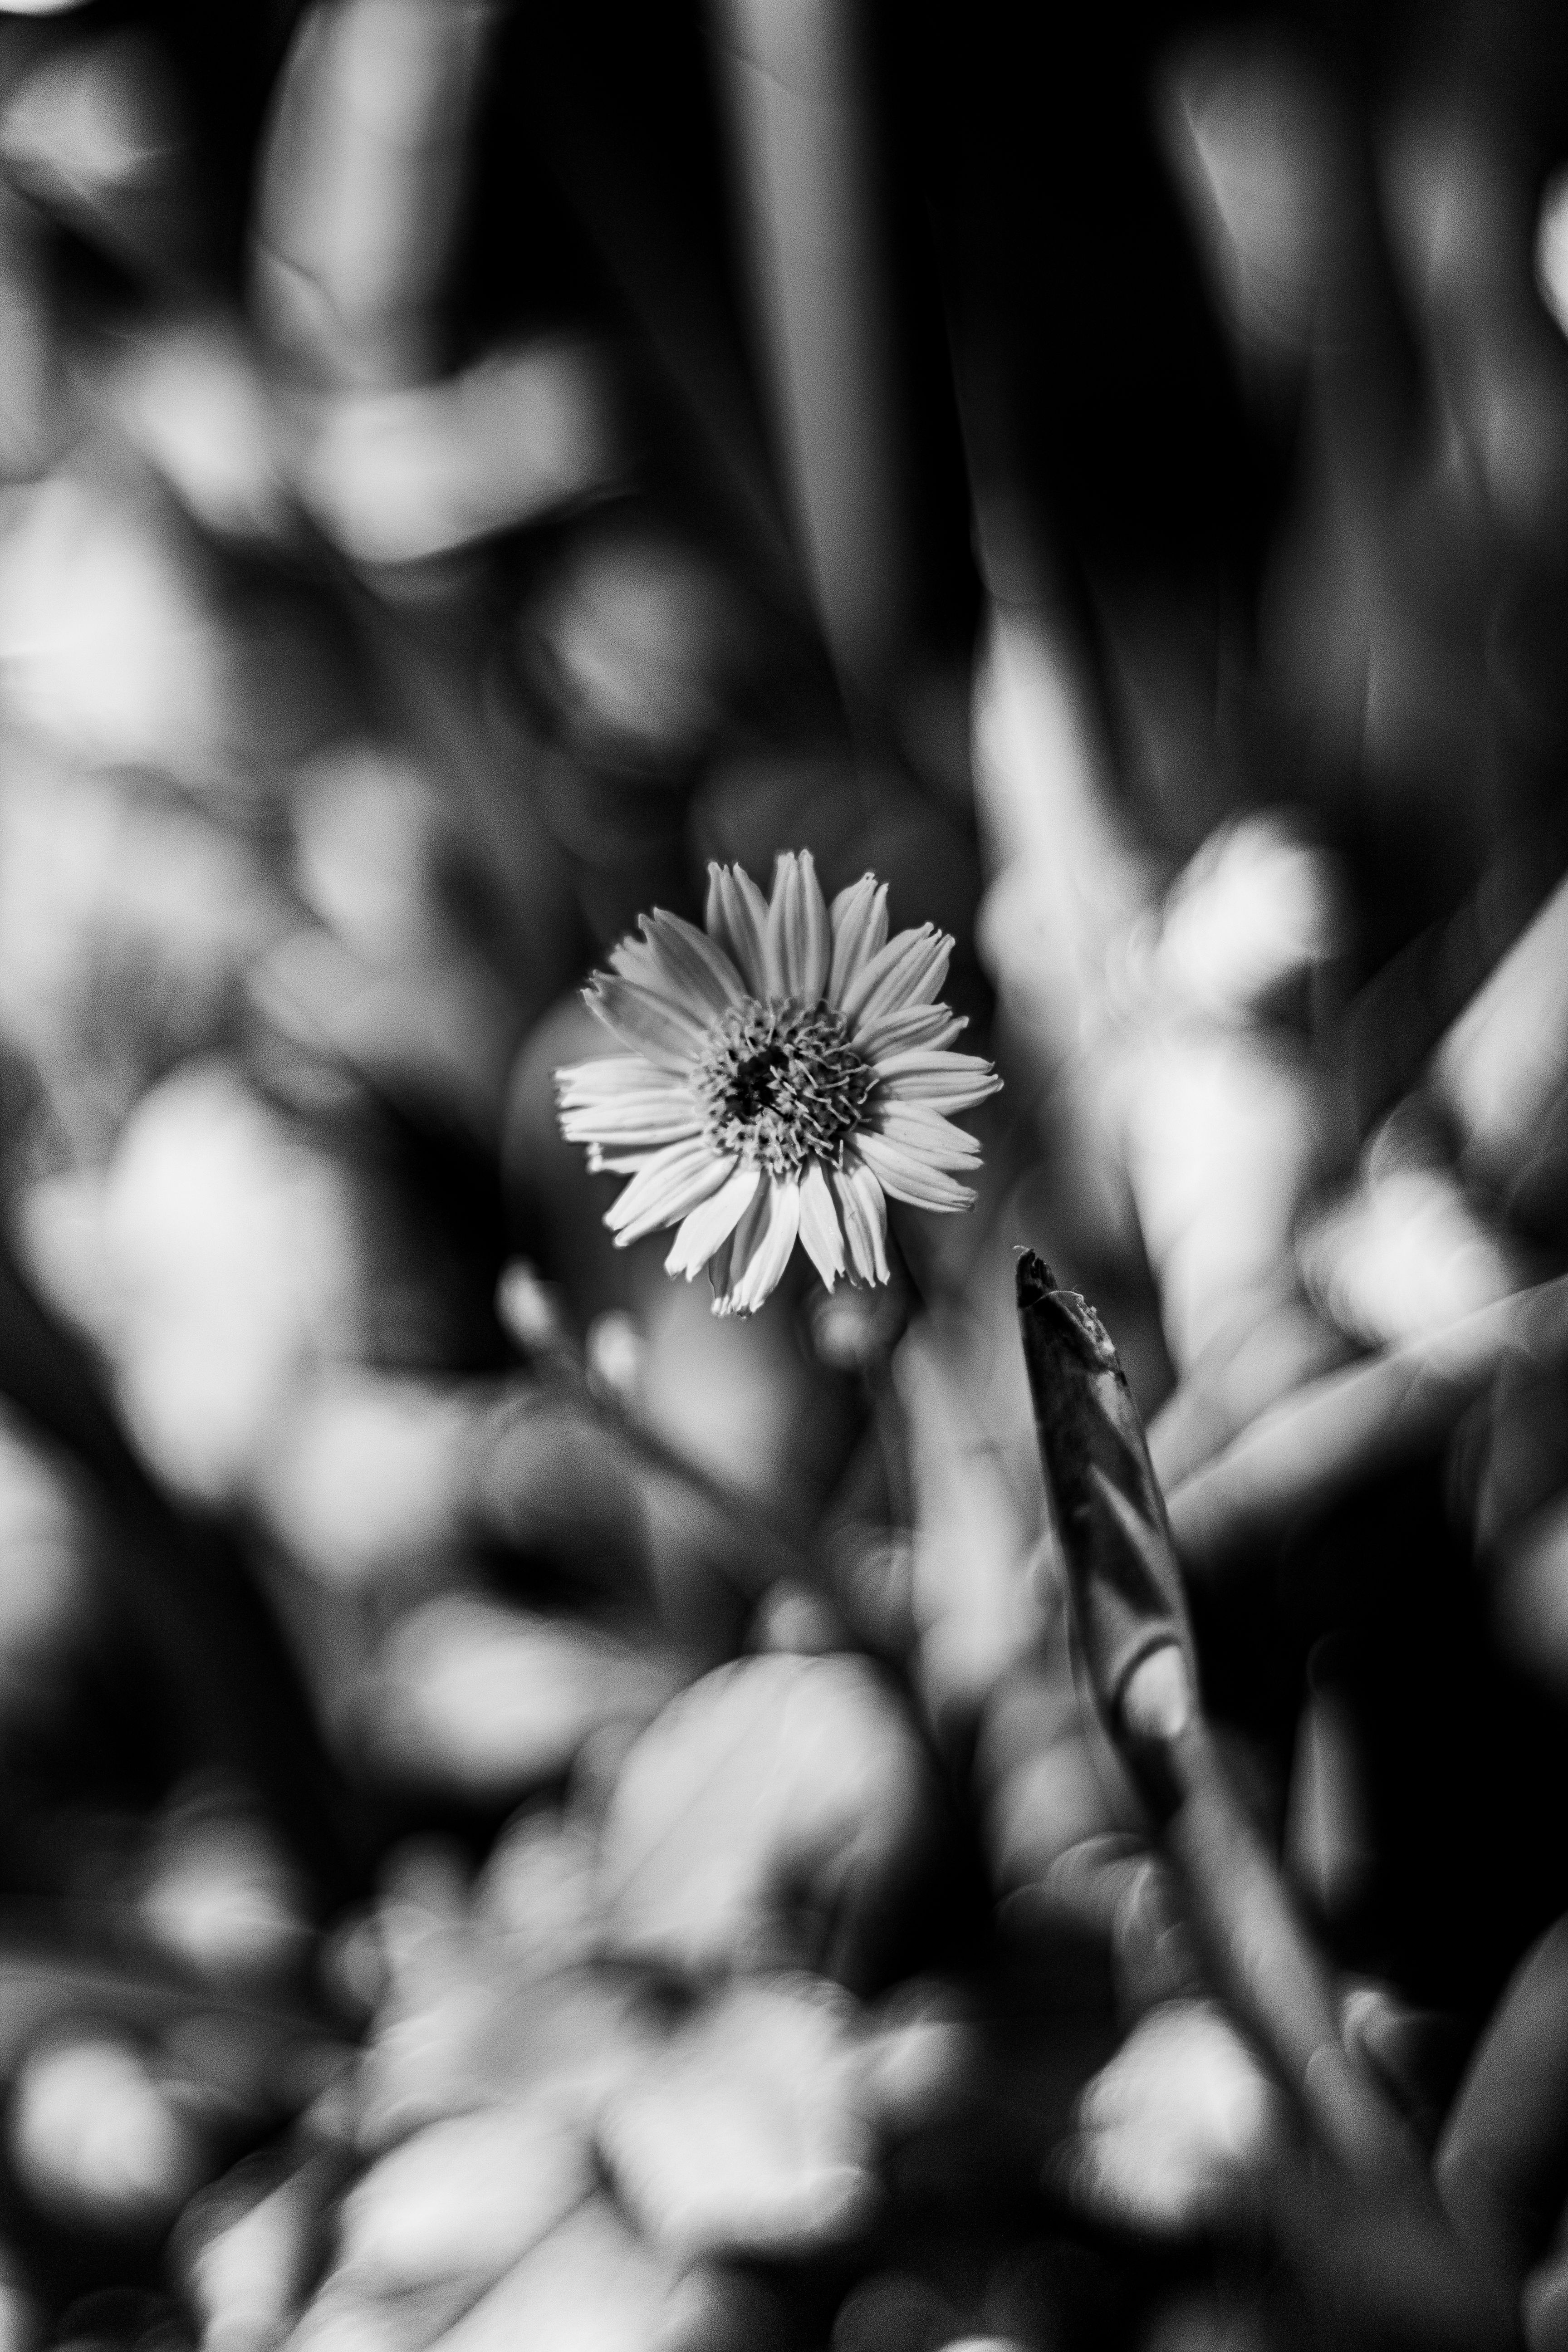
It also helps when you plan to crop later. A frame with one clear anchor can survive small edits, while a cluttered frame often falls apart.
Choose camera settings that protect depth
Wildflowers look best when the main bloom stays detailed and the background softens without losing the sense of place. A wide-open lens can blur the field, but too much blur can erase the meadow itself. For many scenes, f/2 to f/2.8 gives a clean subject and a gentle background. If more than one flower matters, stop down to about f/4 or f/5.6.
Use focus mode with care
Continuous AF, or AF-C / AI Servo, helps when you’re moving over uneven ground. Pair it with a single focus point or subject detection when the bloom sits apart from the rest.
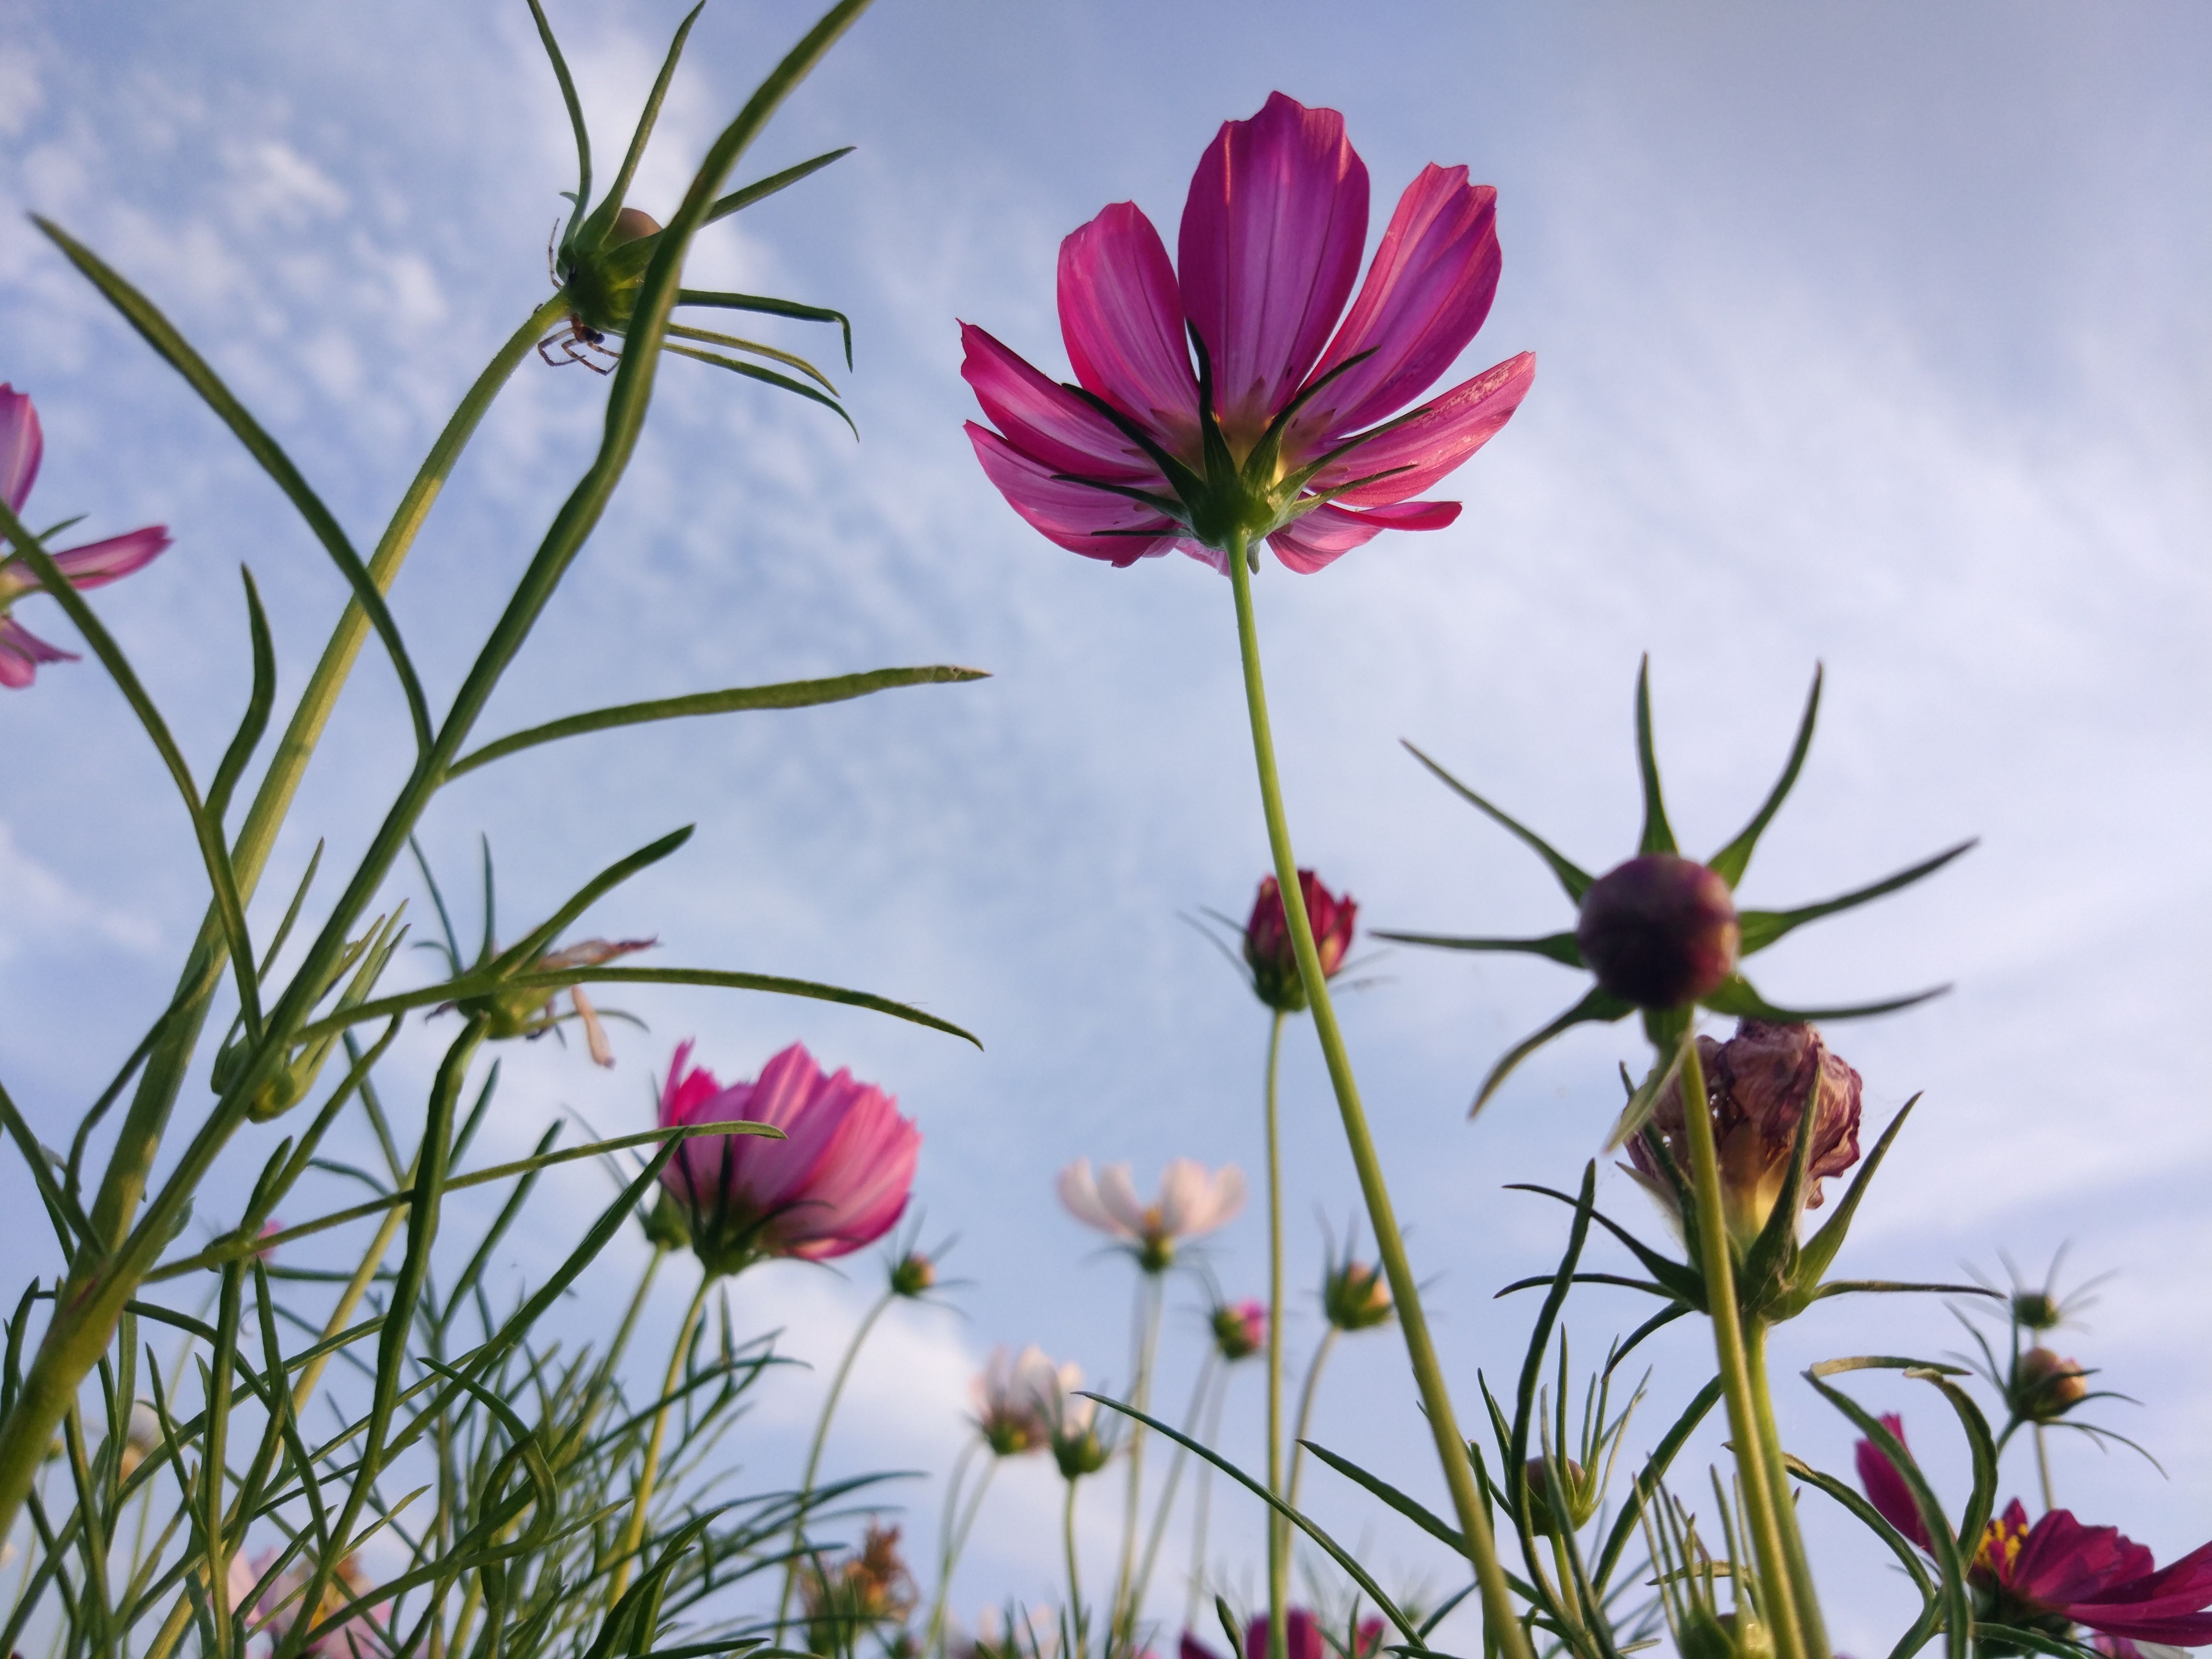
Back-button focus lets you lock focus before you reframe. That comes in handy when stems sway and the wind keeps changing the scene.
Match shutter speed to movement
When flowers move in the wind, use 1/500s or faster to keep petals crisp. On calmer days, 1/250s may be enough if your hands stay steady. A stable stance still matters. At 1/125s, even a small body sway can soften the edges of a close flower.
What makes the best focal point?
The strongest focal point is the one that fits the scene in front of you.

In a wildflower field, that’s often the bloom with the best shape, light, or color contrast. A flower with a clean edge and a little space around it usually works better than a crowded group.
There isn’t a single answer for every frame. A red flower may lead one scene, while a white cluster may work better in another because it catches side light. Look for the subject that keeps the scene open. That choice preserves richness without tipping the frame into clutter.
What works best in real fields
One strong bloom near the lower third often feels natural. It lets the background spread out while still giving the eye a clear place to start.
If the field is thick, try a small gap in the plants. Negative space can make the main flower feel calmer and more distinct.
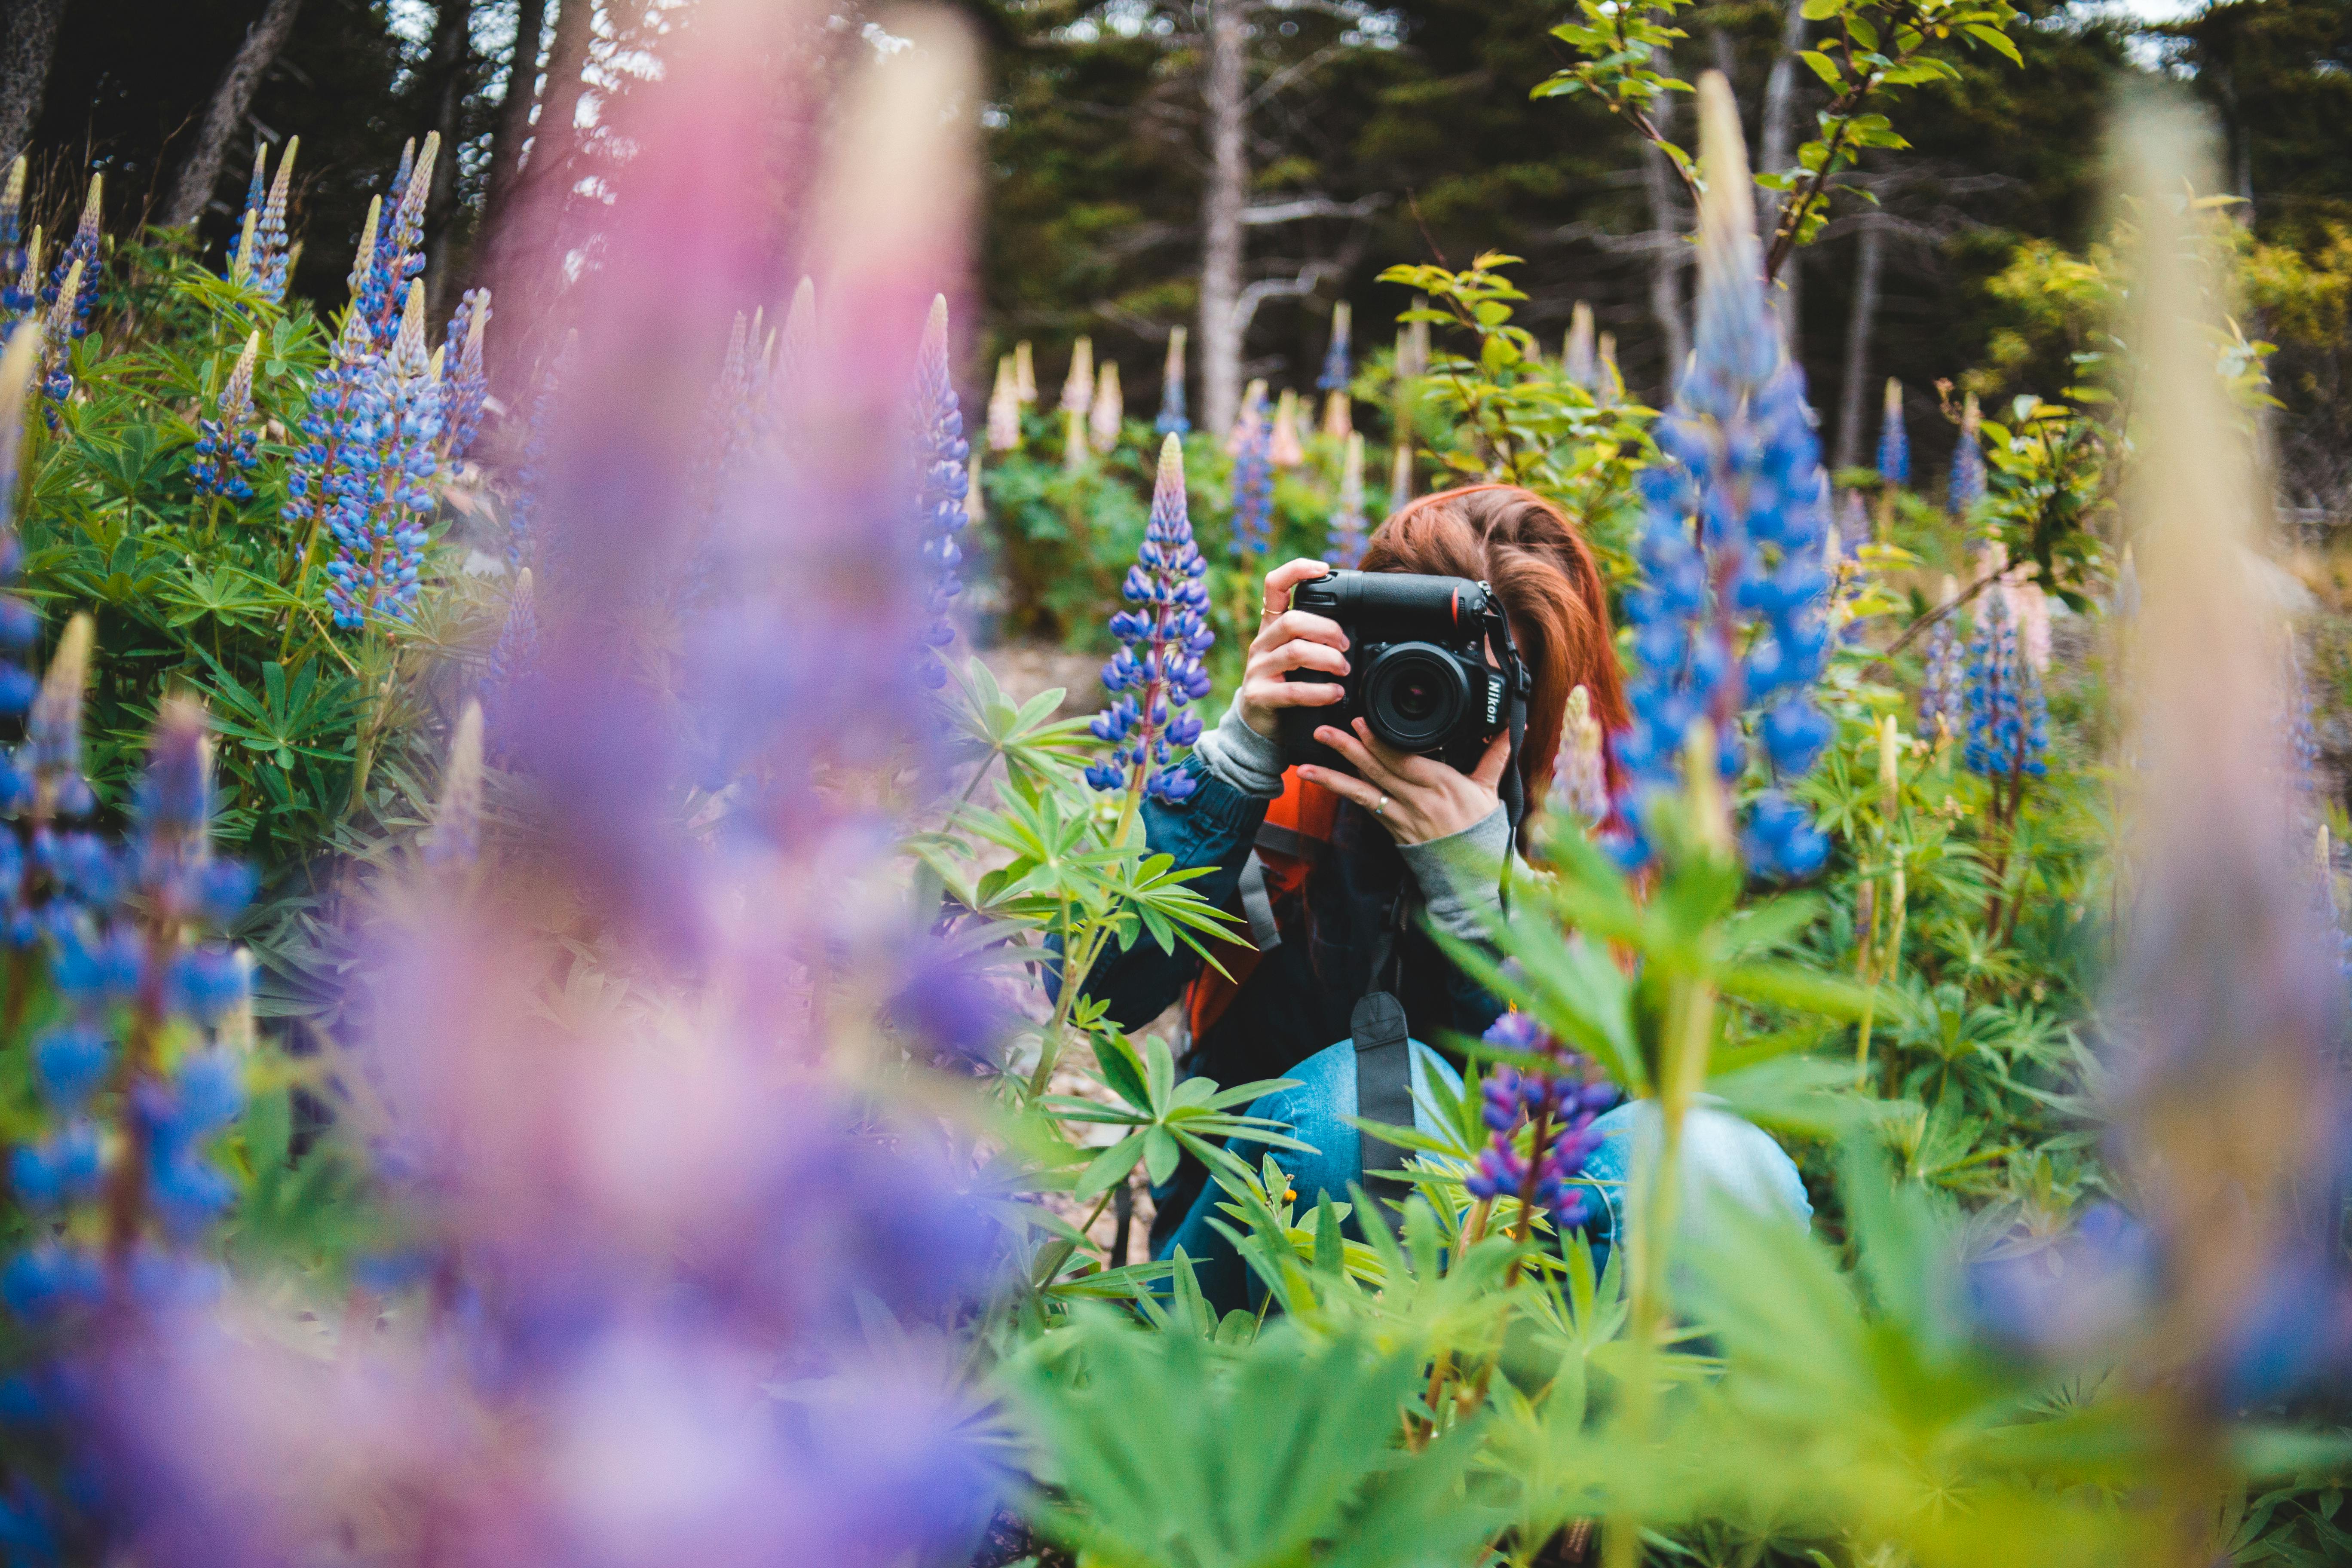
Build the frame with angle, height, and focus point photography
Angle changes more than most people expect. A low camera position can place flowers against the sky, while a higher view can show rows and patches across the meadow. That shift changes what competes with the subject. A small move left or right can clear a bright stem or open a cleaner background.
Work from below the bloom
Kneel low and bring the camera near stem level. This view often turns messy grass into soft color and gives the main flower more presence.
If your camera hangs on a hands-free strap, you can crouch, stand, and shift quickly between frames. A design like Camstrap voyager helps here because the camera stays ready without a full hand carry.
Use the background as part of the subject
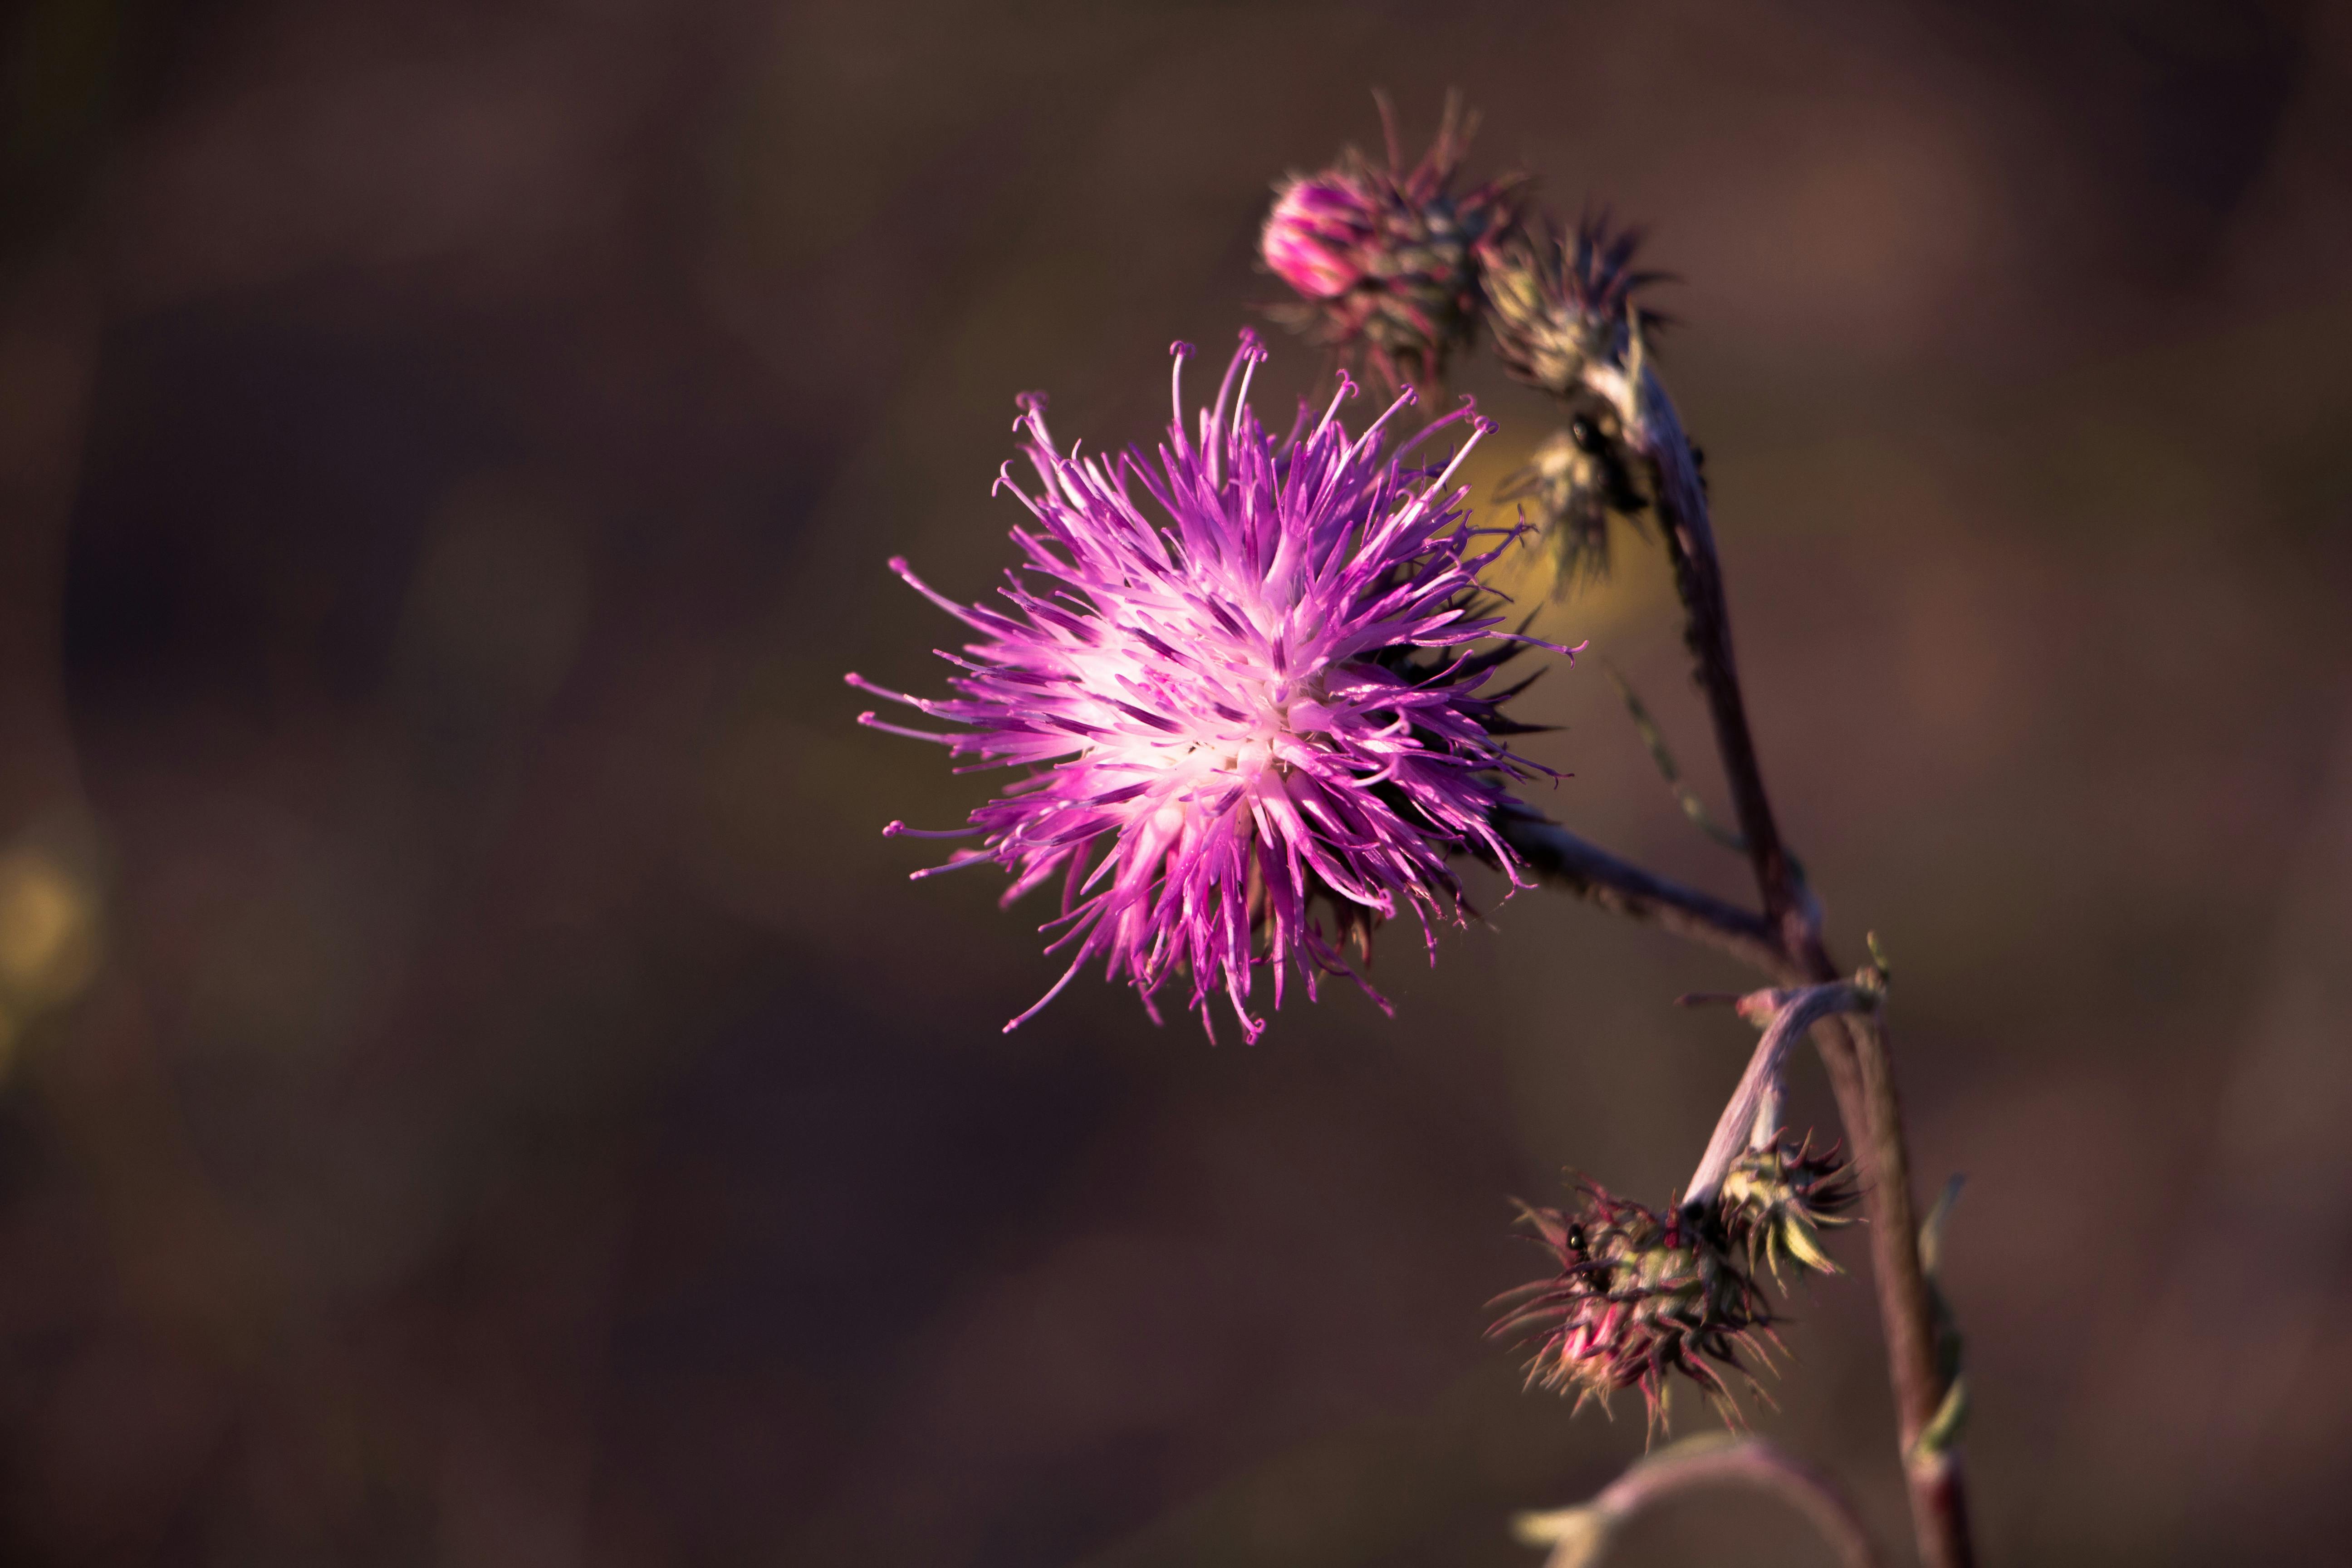
Background blur should support the flower, not hide the field. A smooth wall of color works well when the bloom has strong shape or bright detail. A little background texture can add depth. A distant ridge, a soft trail, or a patch of sun keeps the scene from feeling cut out.
Do you need a focal point in every photograph?
Yes, every photograph should have some kind of focal point.
It may be obvious or quiet, but the eye still needs a place to land. A wide meadow shot can use one bloom, one patch of light, or one line of stems as that anchor.

Some photos hold more than one subject, but one usually leads. When two blooms fight for attention, the frame can feel tense and split. Placement is the difference. A subject near a third of the way into the frame often feels clearer than one buried in the center of a crowded field.
Quick checks before you press the shutter
- Look for one main bloom or one clear group.
- Check the edges for bright distractions.
- Make sure the background is softer than the subject.
- Shift your feet before changing settings.
- Take one frame, then review at 100% for edge sharpness.
Use speed, storage, and handling tools the smart way
Wildflower work may look slow, but wind can speed it up fast. A camera that shoots about 10 fps in mechanical mode gives you room for small shifts in petals and stems.

Electronic shutters can reach 20 to 40 fps on many mirrorless bodies, though they can bring rolling-shutter skew or banding under LED light. For outdoor meadows, that tradeoff usually works if the scene is bright and steady.
Know your buffer and card limits
A mid-tier body may hold roughly 20 to 40 RAW frames before it slows, while JPEGs usually last longer. A UHS-II V60 or V90 card clears that buffer faster than UHS-I, and CFexpress is faster still. That matters when you try a short burst through moving flowers. A 3 to 6 frame burst won’t stress a modern buffer, but long bursts can delay the next shot.
Use capture aids that fit the job
Pre-capture or pre-burst mode can save frames from just before the full press. That helps when a petal shift lasts less than a second.

Image review and a bright EVF can drain mirrorless batteries fast, so keep the screen off when you move between spots. Less review leaves more time for shooting, and that improves the odds of finding the right bloom.
Shape the meadow instead of flattening it
The best wildflower photos feel deep because they leave room between layers. A sharp foreground bloom, a softer middle patch, and a calm background give the image real shape. Use the field’s own lines, gaps, and light to build that depth. Then let one flower lead the eye through the rest of the scene.
Research on how people view images shows that contrast and brightness pull attention first. Your job is simple: place one clear subject, keep the frame open, and avoid needless clutter.
When the scene starts to feel busy, move your feet, lower your angle, or switch to a longer lens. Those small changes often do more than a new setting.

A strong wildflower photo doesn’t show every bloom at once. It gives the eye one place to begin and enough room to wander after that. Before you leave the trail, take one last frame with the main flower against open space, and keep the camera ready for the next small patch of light.
Frequently Asked Questions
What is a focal point in photography?
A focal point in photography is the part of an image that catches attention first. It can be a single flower, a bright color, a sharp edge, or a small pocket of light.
What is the purpose of a focal point?
The purpose of a focal point is to give the viewer’s eye a clear path through the frame. It keeps a crowded scene from turning into a wall of detail and adds structure to the image.
What is the best focal point?
The best focal point is a subject that stands apart through shape, color, light, or breathing room. In a wildflower field, a lone bloom or a small patch with strong contrast often works best.
Can you find a focal point in each photograph?
Yes, each photograph should have one main subject, such as a bright bloom, a sharp flower, or a bloom lit differently from the rest. A clear focal point gives the eye an entry point and helps the whole scene read as a single composition.


