


- Choose one textured hero object and let the rest support it.
- Use the focal point to anchor attention and stop the frame from feeling cluttered.
- Keep the subject in the middle 60%, using the outer 20s for context and balance.

Focal point photography guides the eye to one main subject while the rest of the scene supports it. In market stall work, that subject might be a pile of figs, a woven basket, a chalk price tag, or a vendor’s hand. A market stall can look flat if every detail fights for attention in the frame. The goal is a scene that feels touchable, busy, and real, built from smart choices about subject, light, angle, and focus.
Shop the setup

- Regular price
-
€42 - Regular price
-
€44 - Sale price
-
€42
By choosing the Camstrap strap, you are opting for a high-quality product designed to meet the needs of the most demanding photographers.
- Developed by a physiotherapist to relieve neck and back pain.
- Fast delivery with tracking by the Post Office 🚚
- Can be used as a shoulder strap or hands-free harness

- Regular price
-
€36 - Regular price
-
€42 - Sale price
-
€36
Free shipping included
Let texture do the talking first
Markets are full of strong surfaces: rough paper bags, glossy fruit skin, frayed cloth, wooden crates, and wet ice. Pick one texture to lead the frame, then let the others support it.
Close framing helps a lot here. A 50mm to 85mm lens keeps shapes honest and avoids warping the stall edge too much. Move in close, and the viewer can almost feel the scene.
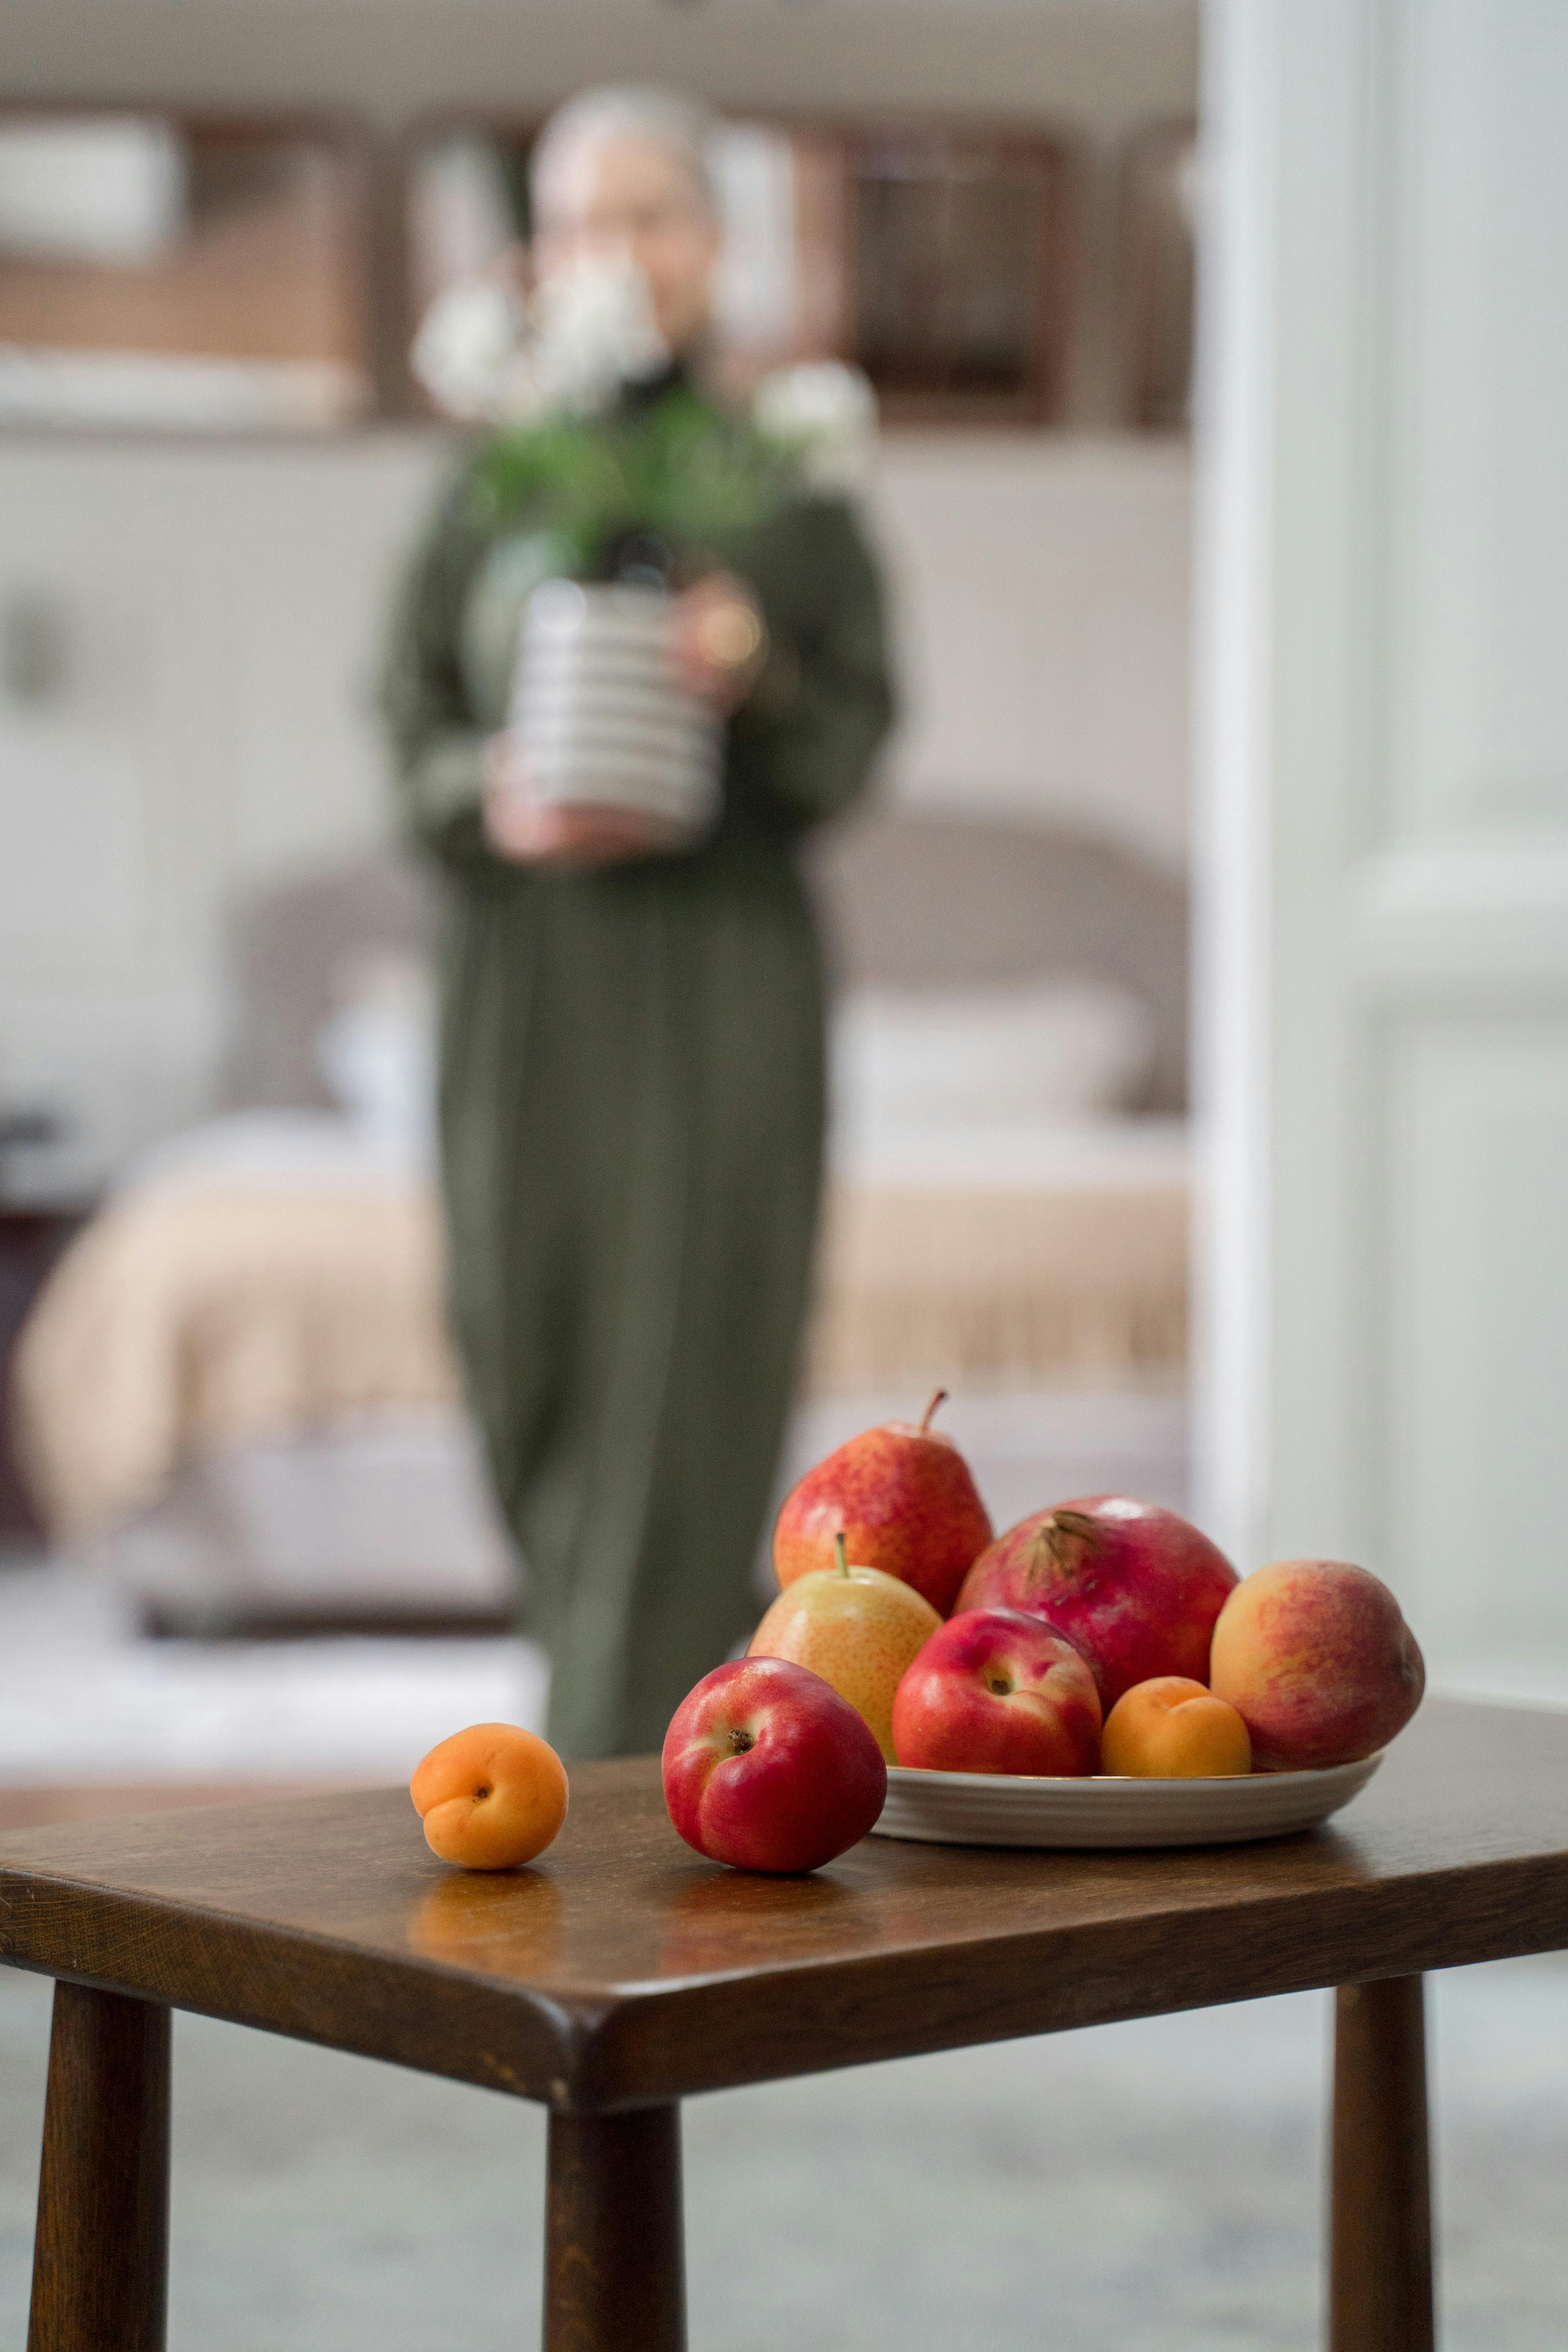
Pick one hero detail
Every stall has a small moment that feels alive, whether it is the shine on tomatoes, steam from bread, or dust on peaches. Build the photo around that single piece.
- Choose a subject with clear texture.
- Keep bright clutter out of the edges.
- Use side light to show shape and grain.
- Include one human touch, like a hand or a label.
This approach makes the frame feel real fast. The eye stays put instead of drifting across too many items at once.
What counts as the focal point in photography?
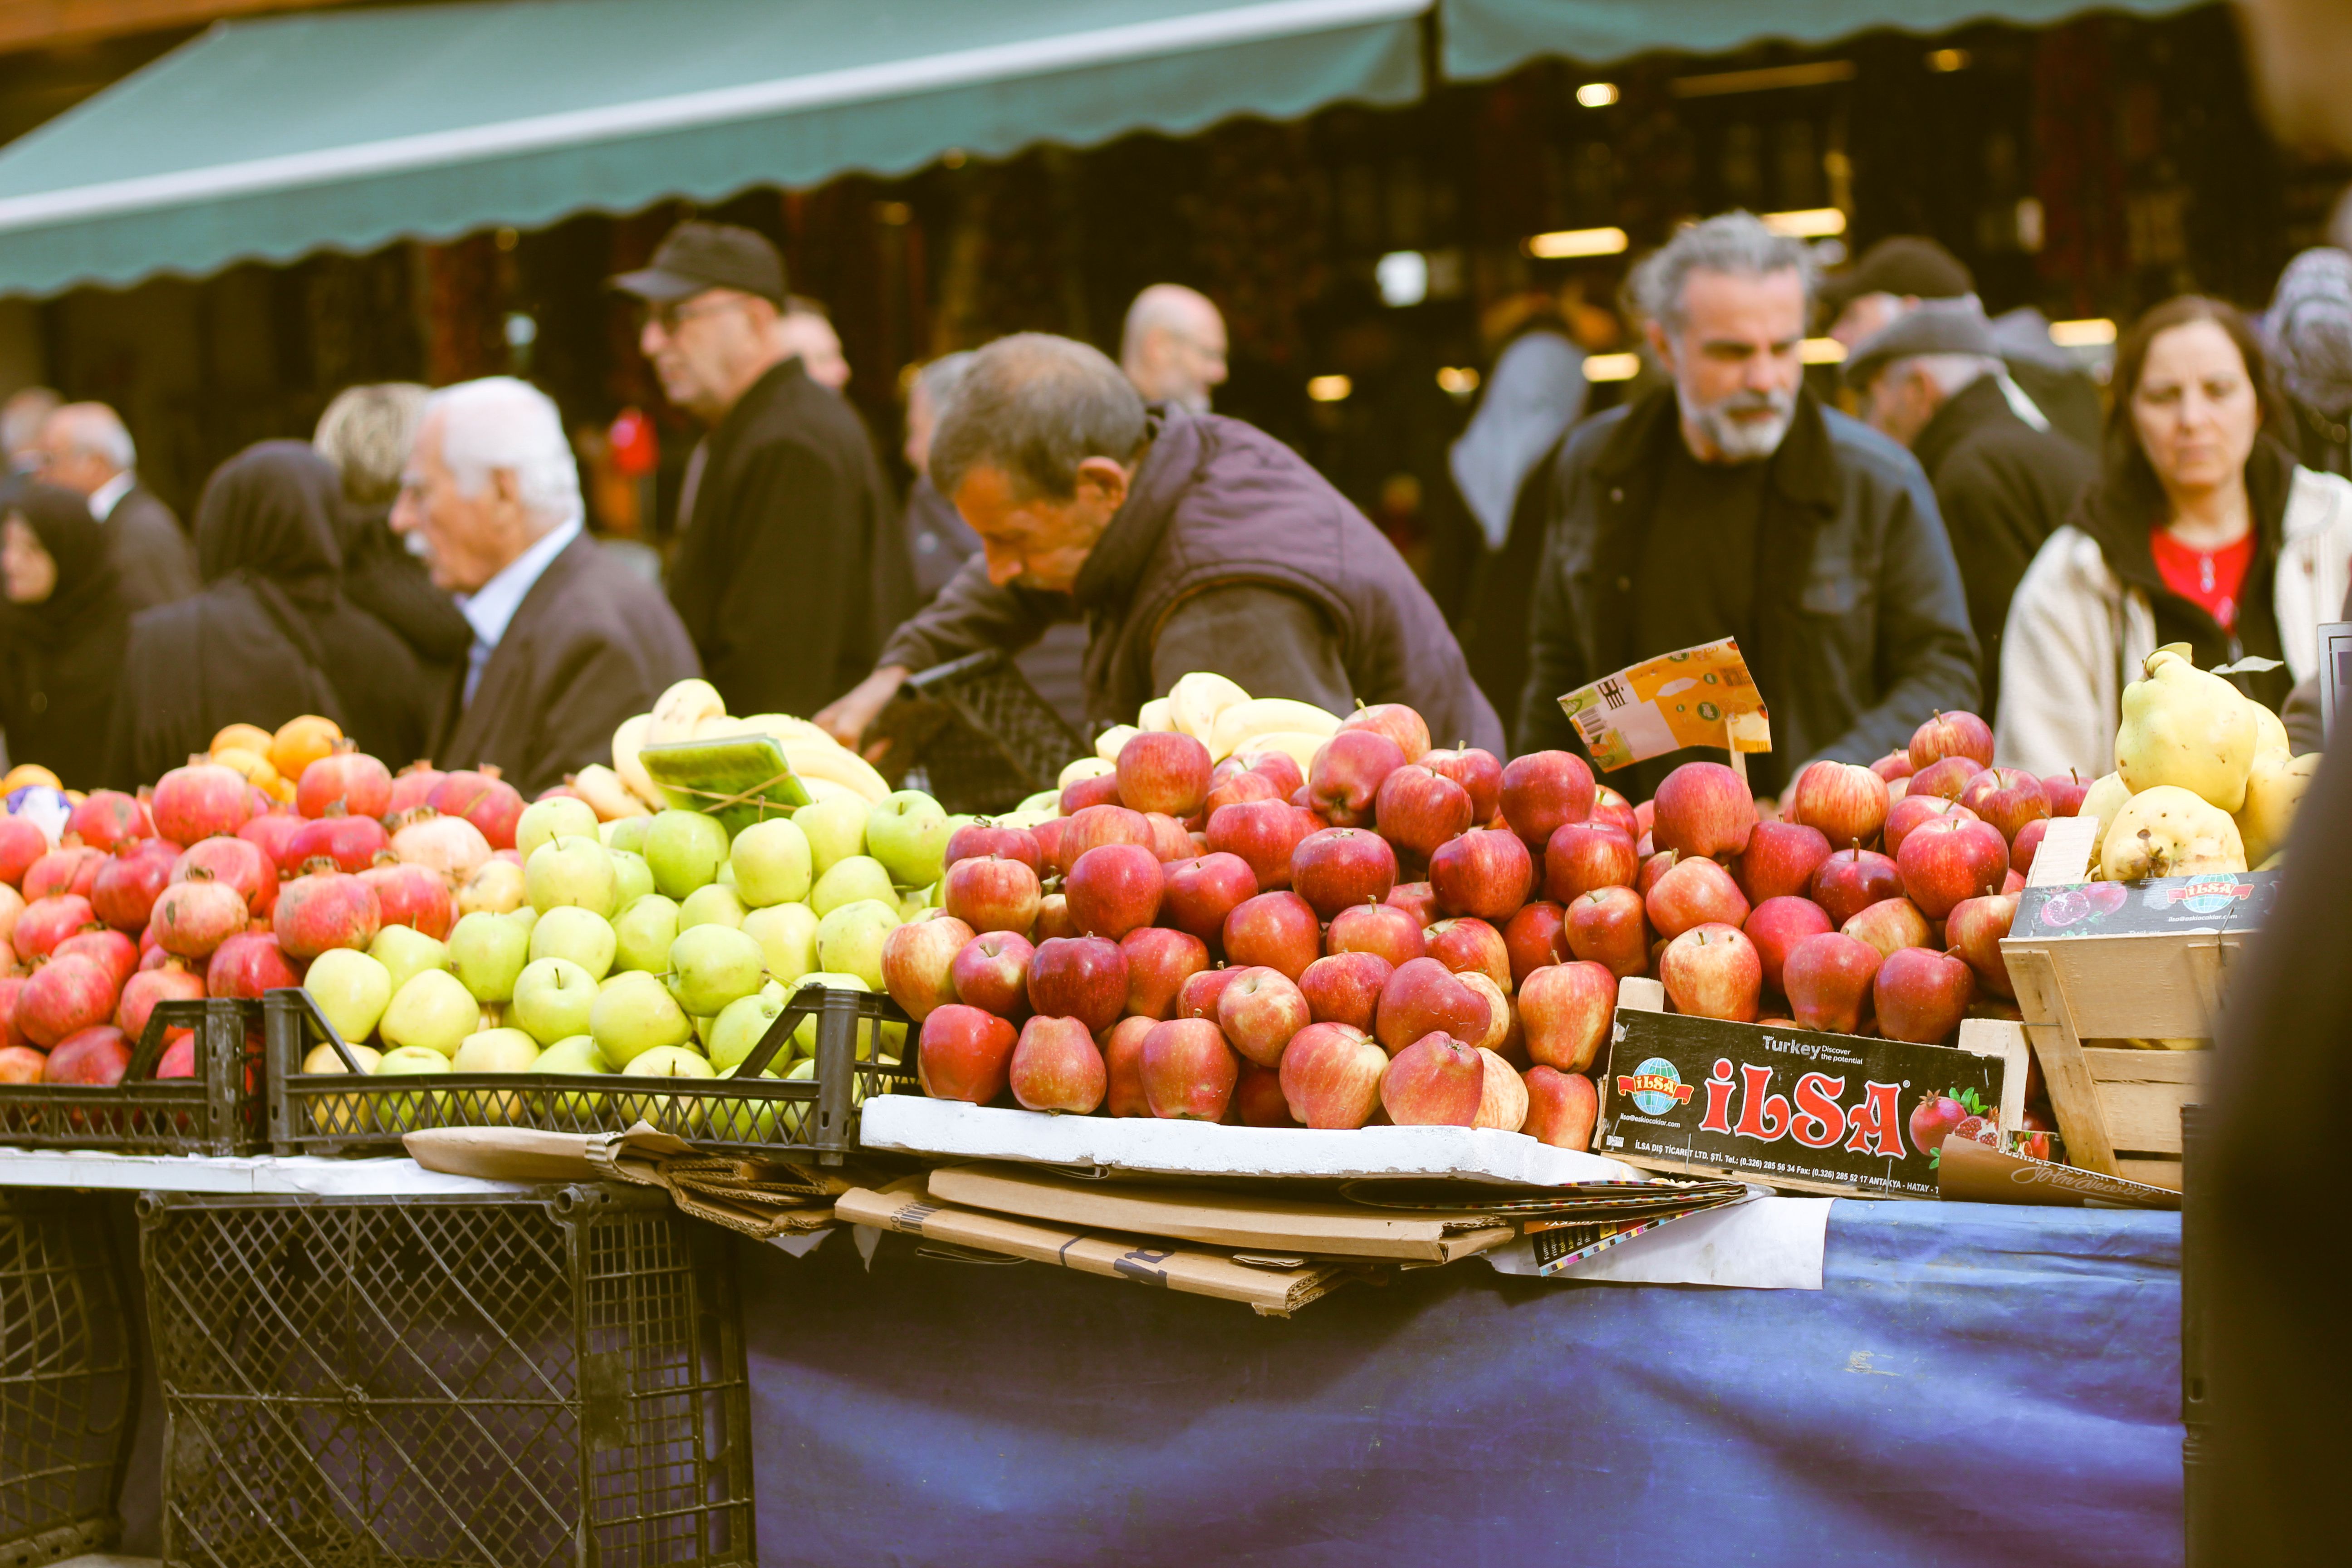
The focal point is the part of the image that draws the eye first. It acts as the visual anchor and usually carries the strongest light, sharpest detail, or boldest color.
In a market stall, that anchor might be one pear in a crate or one stack of herbs. The rest of the frame should point toward it, not compete with it.
Why use a focal point at all?
A focal point gives the viewer one clear place to look. It keeps the photo calm, even when the stall is packed with objects. It also gives the image a story. A frame with a clear subject feels like a moment, not just a record of goods for sale.
How does the 20 60 20 rule work in photography?
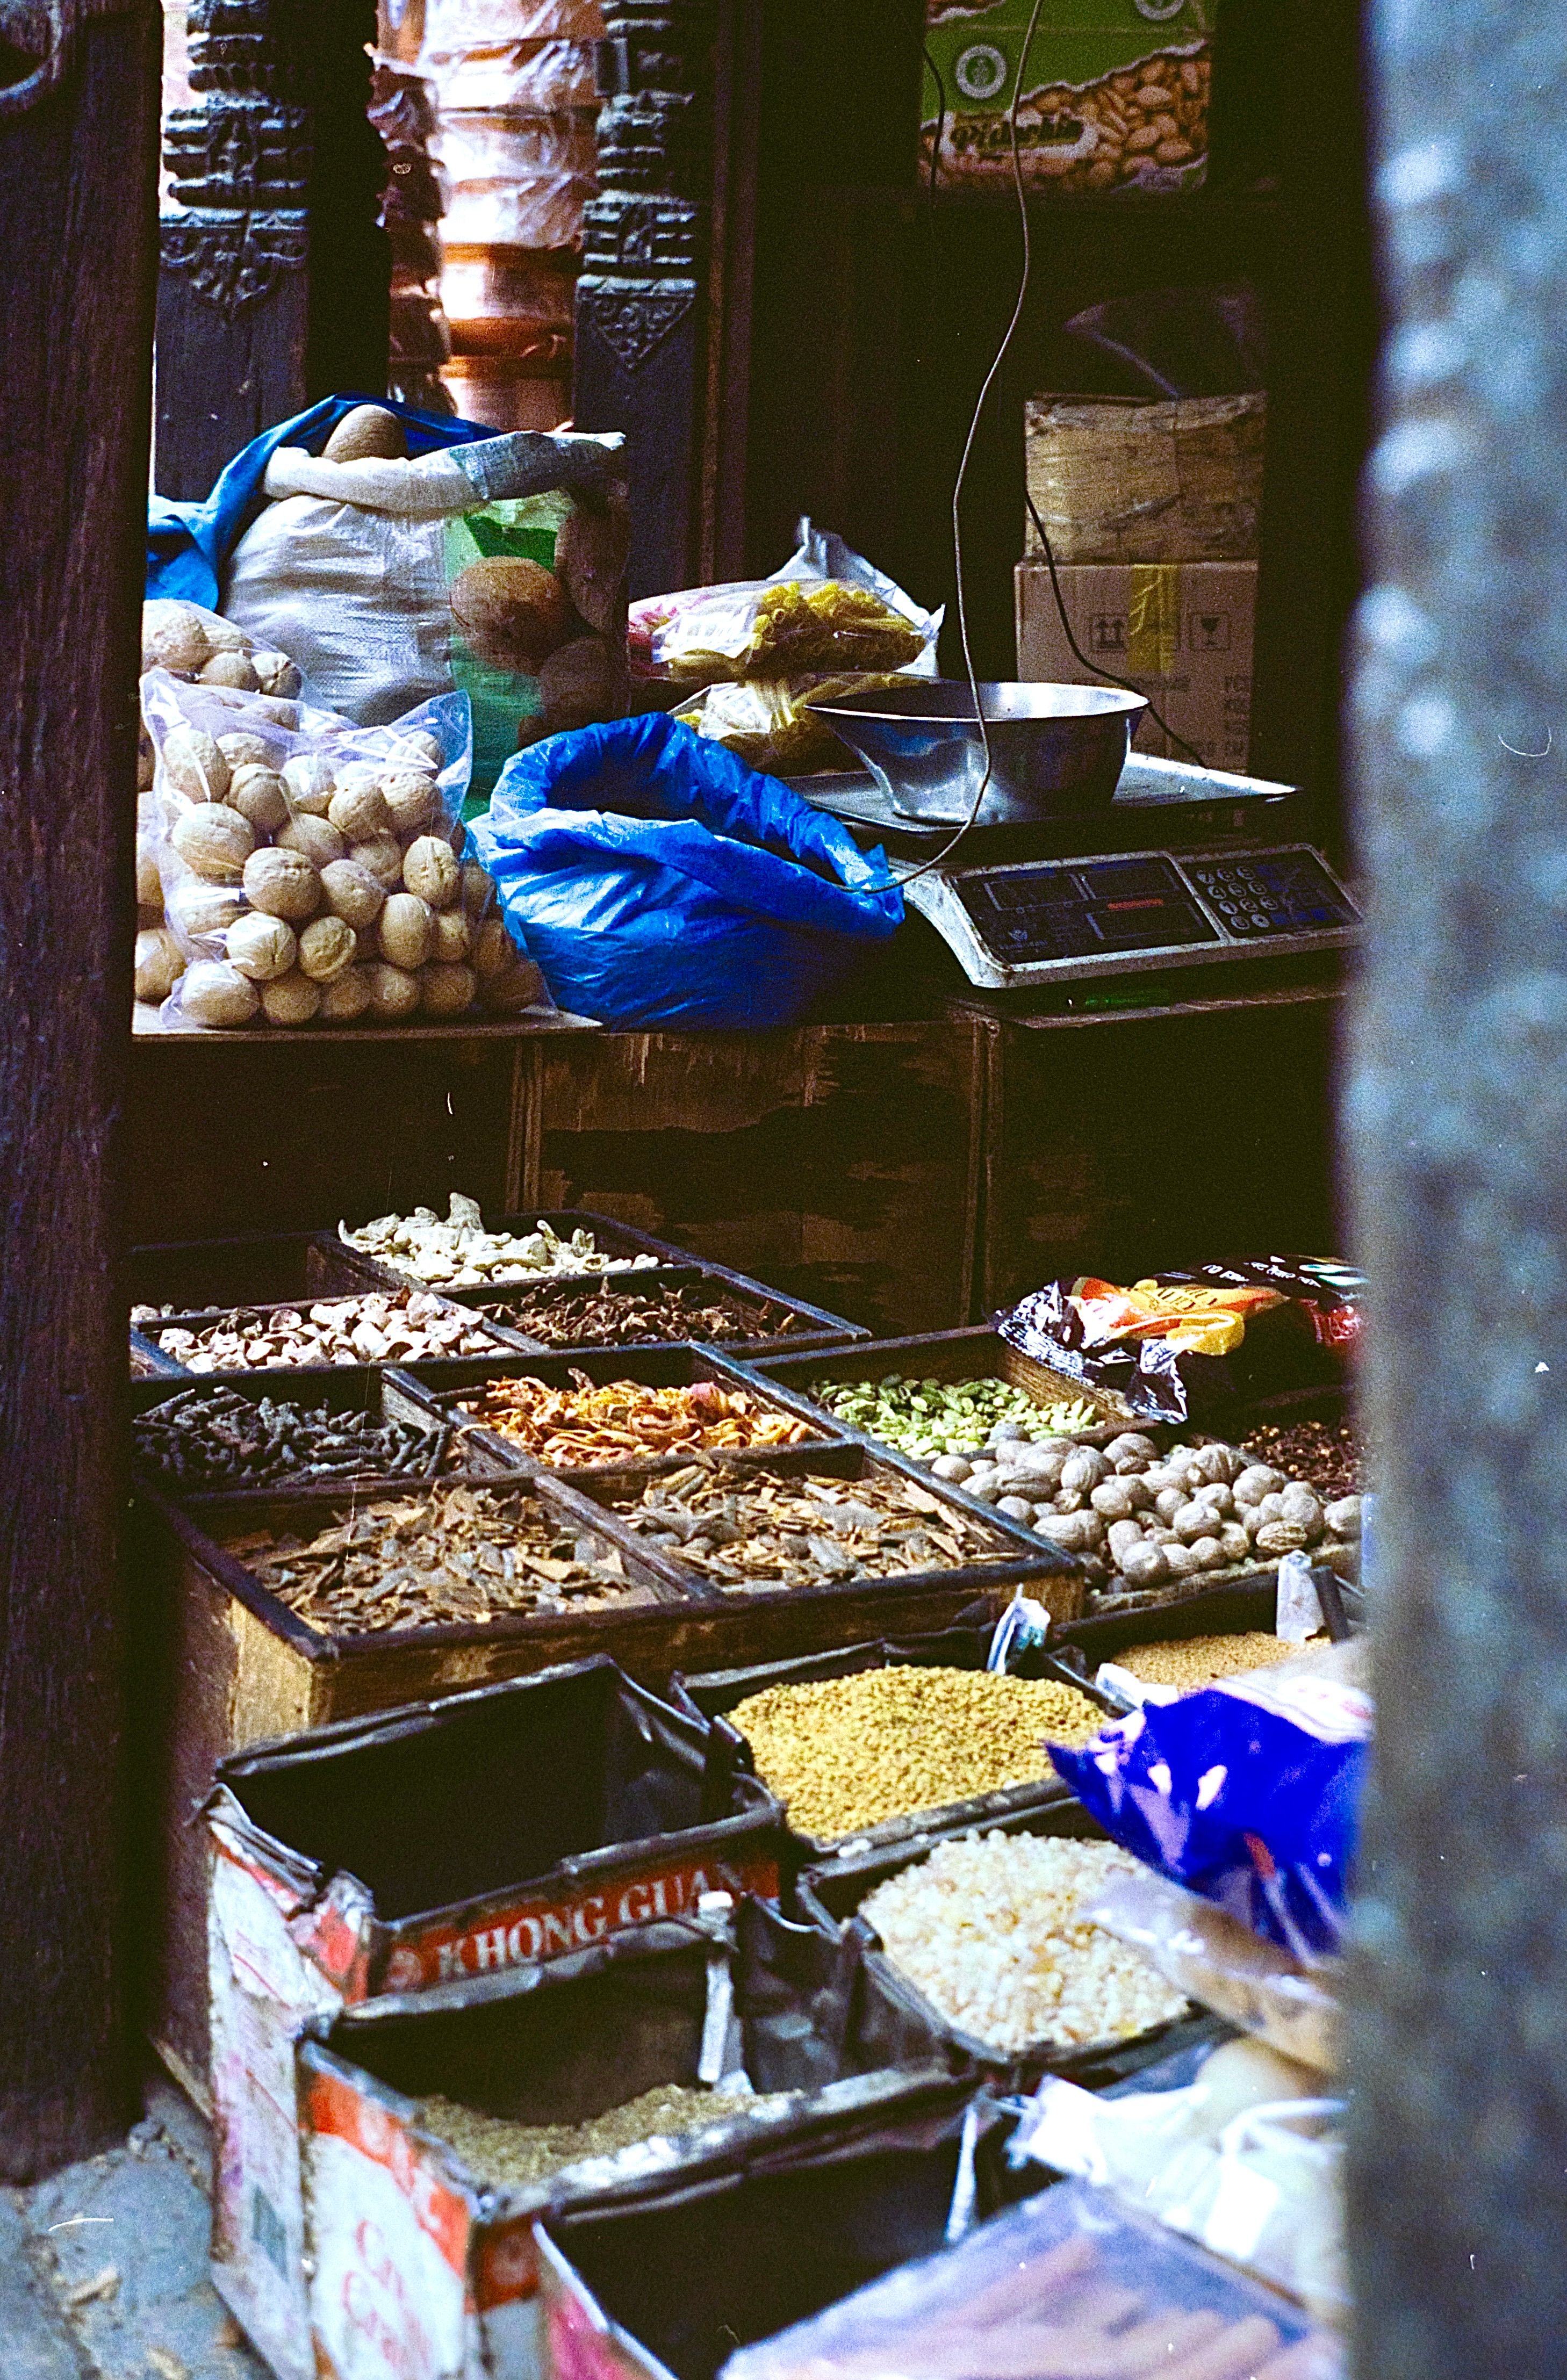
The 20 60 20 rule splits the frame into three parts, with the middle 60% as the main area. The outer 20% on each side adds balance, edge detail, and context.
For stalls, this rule helps keep clutter under control. Place the most important texture or item in the middle zone, then use the outer zones to hint at the wider market scene.
This rule pairs well with a tight crop. It gives you a simple way to decide what stays in and what gets cut out.
Where does the eye land first?
The focal point is the spot your eye lands on first when you look at the photo at full size. In a strong market image, that area often has the best contrast, the cleanest shape, or the sharpest focus.
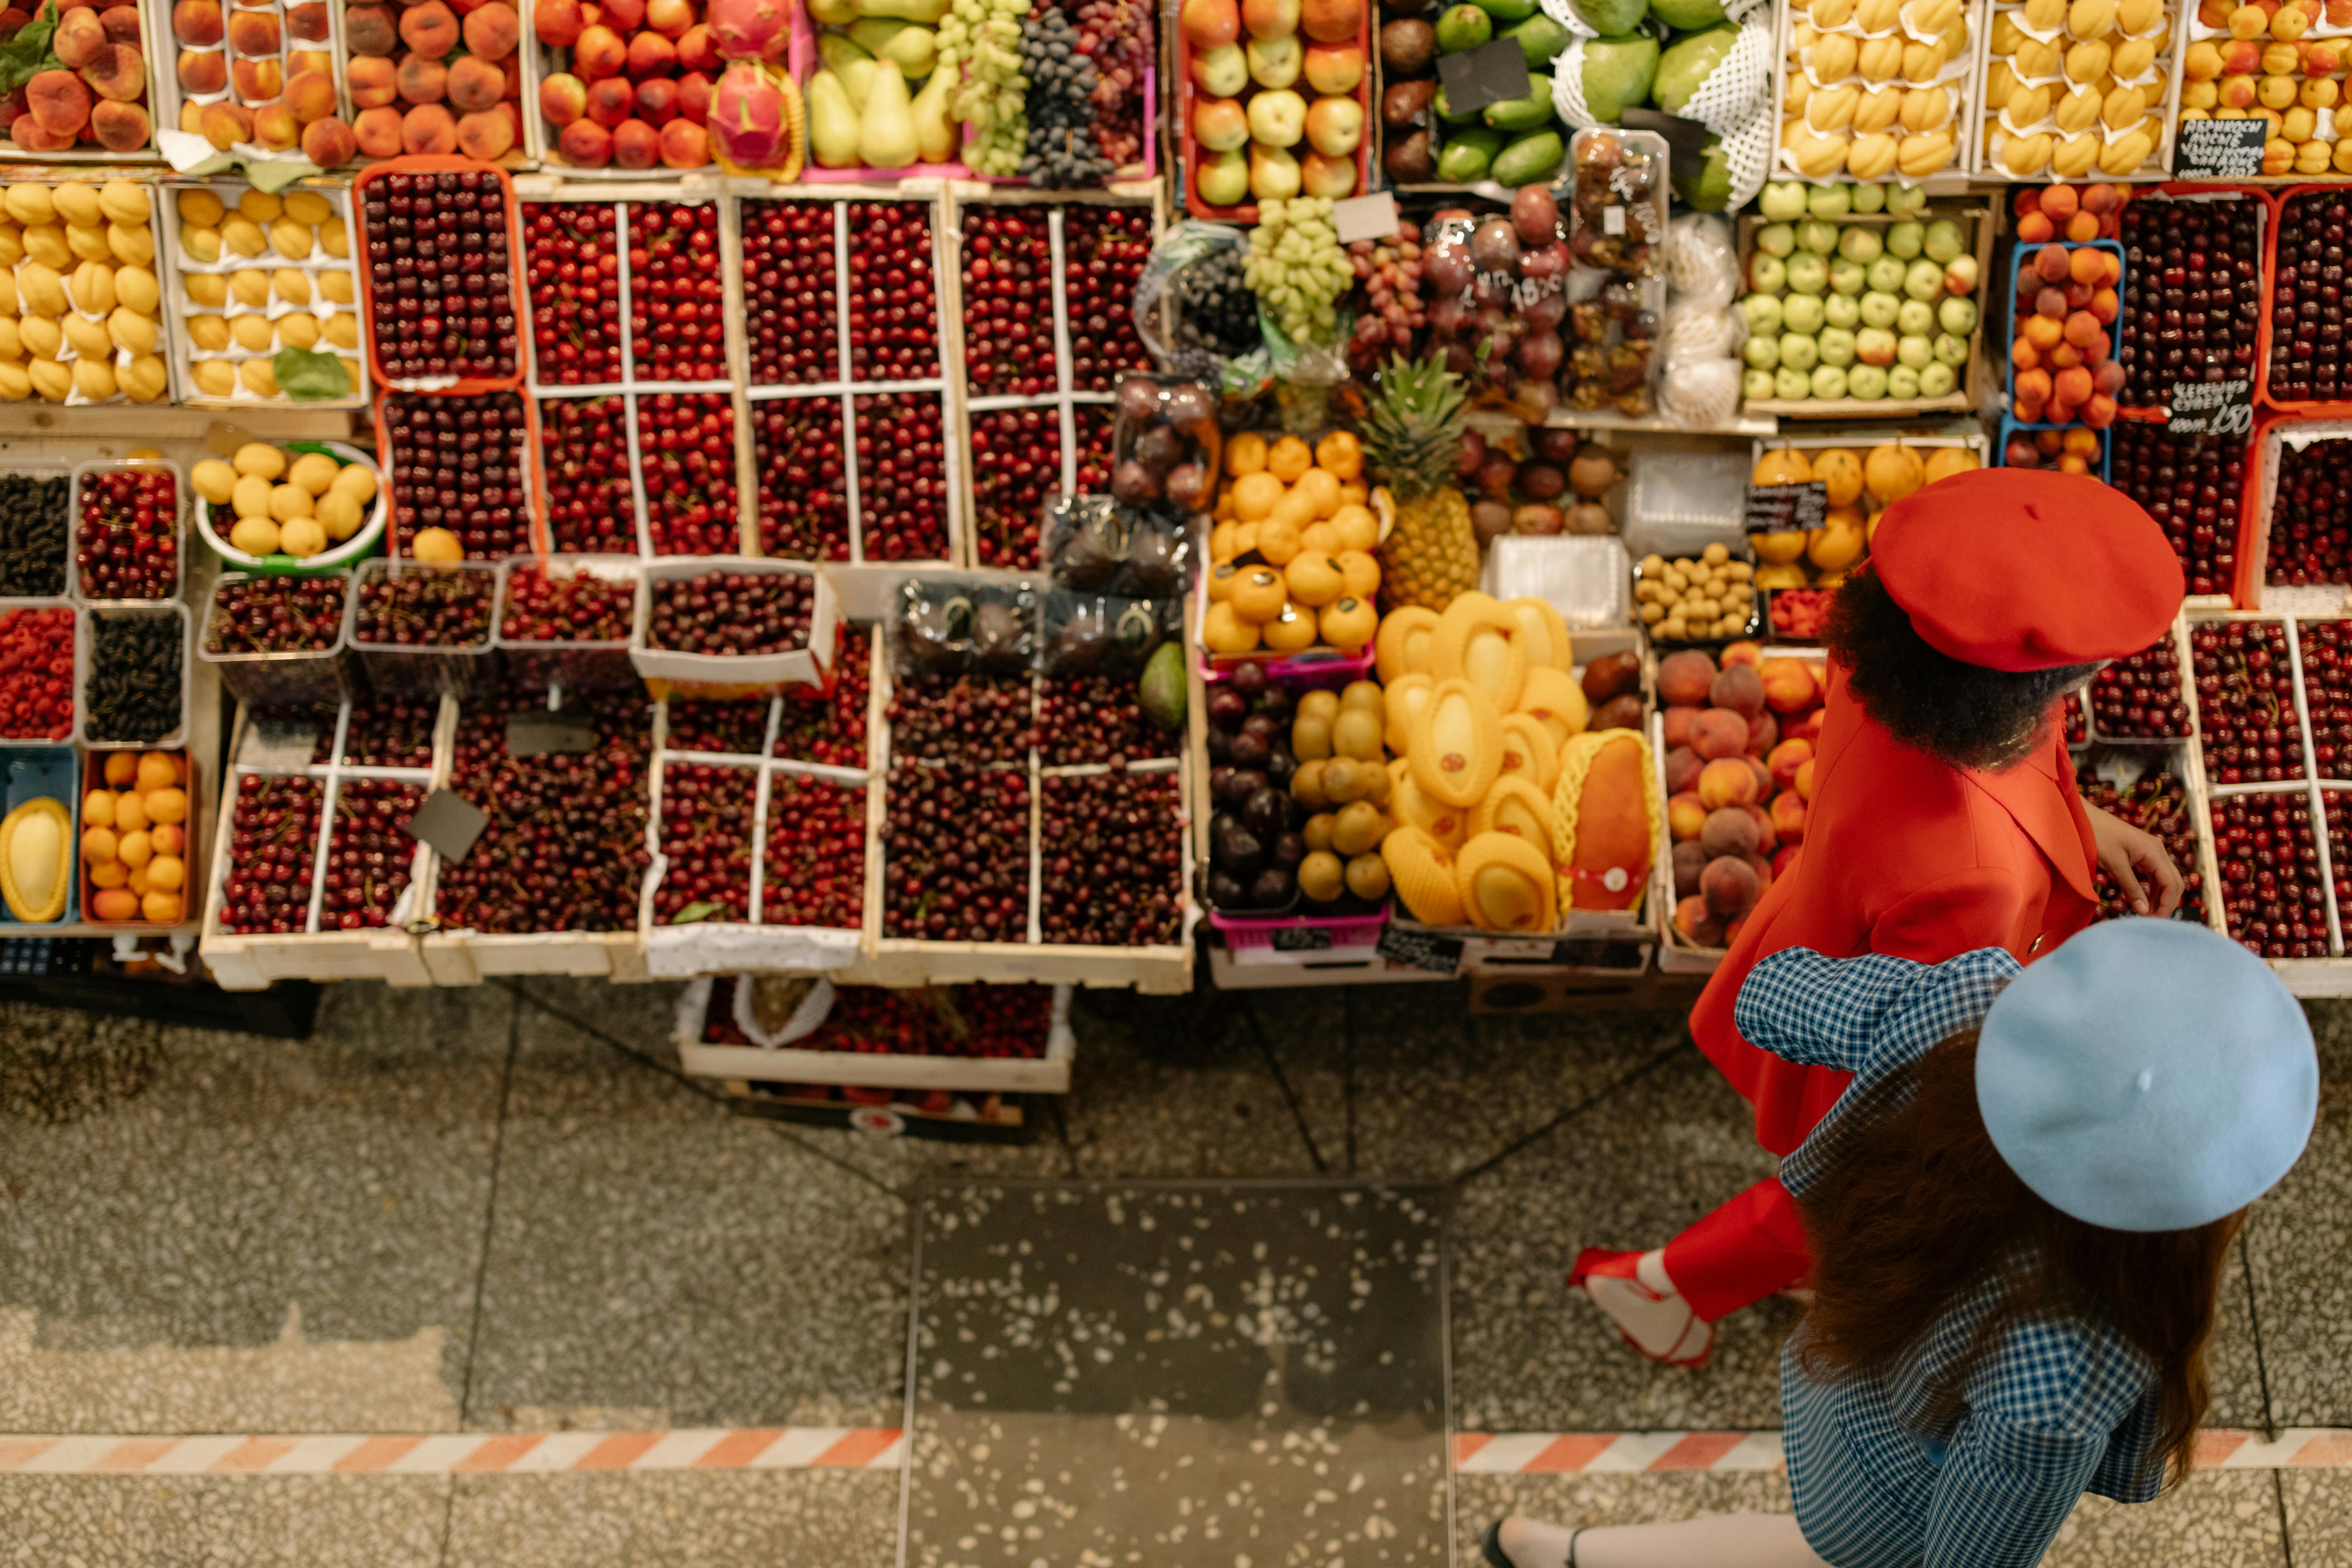
A quick test helps. Squint at the frame or step back from your screen. If your eye keeps jumping around, the image needs one stronger anchor.
Side light, angle, and depth make the stall feel real
Side light is your best friend in a busy market. It brings out ridges, skins, folds, and grain, while flat front light can make food and fabric look smooth and dull. Try shooting in open shade or near a stall edge where light falls from one side. A low angle can make crates and baskets feel deeper, while a slight top-down angle works better for stacked goods.
Keep depth without losing the subject
A wide open aperture like f/2 to f/2.8 can soften the background and keep the eye on the main item. That works well when the stall is crowded, though you should avoid blurring so much that the setting stops feeling like a market.
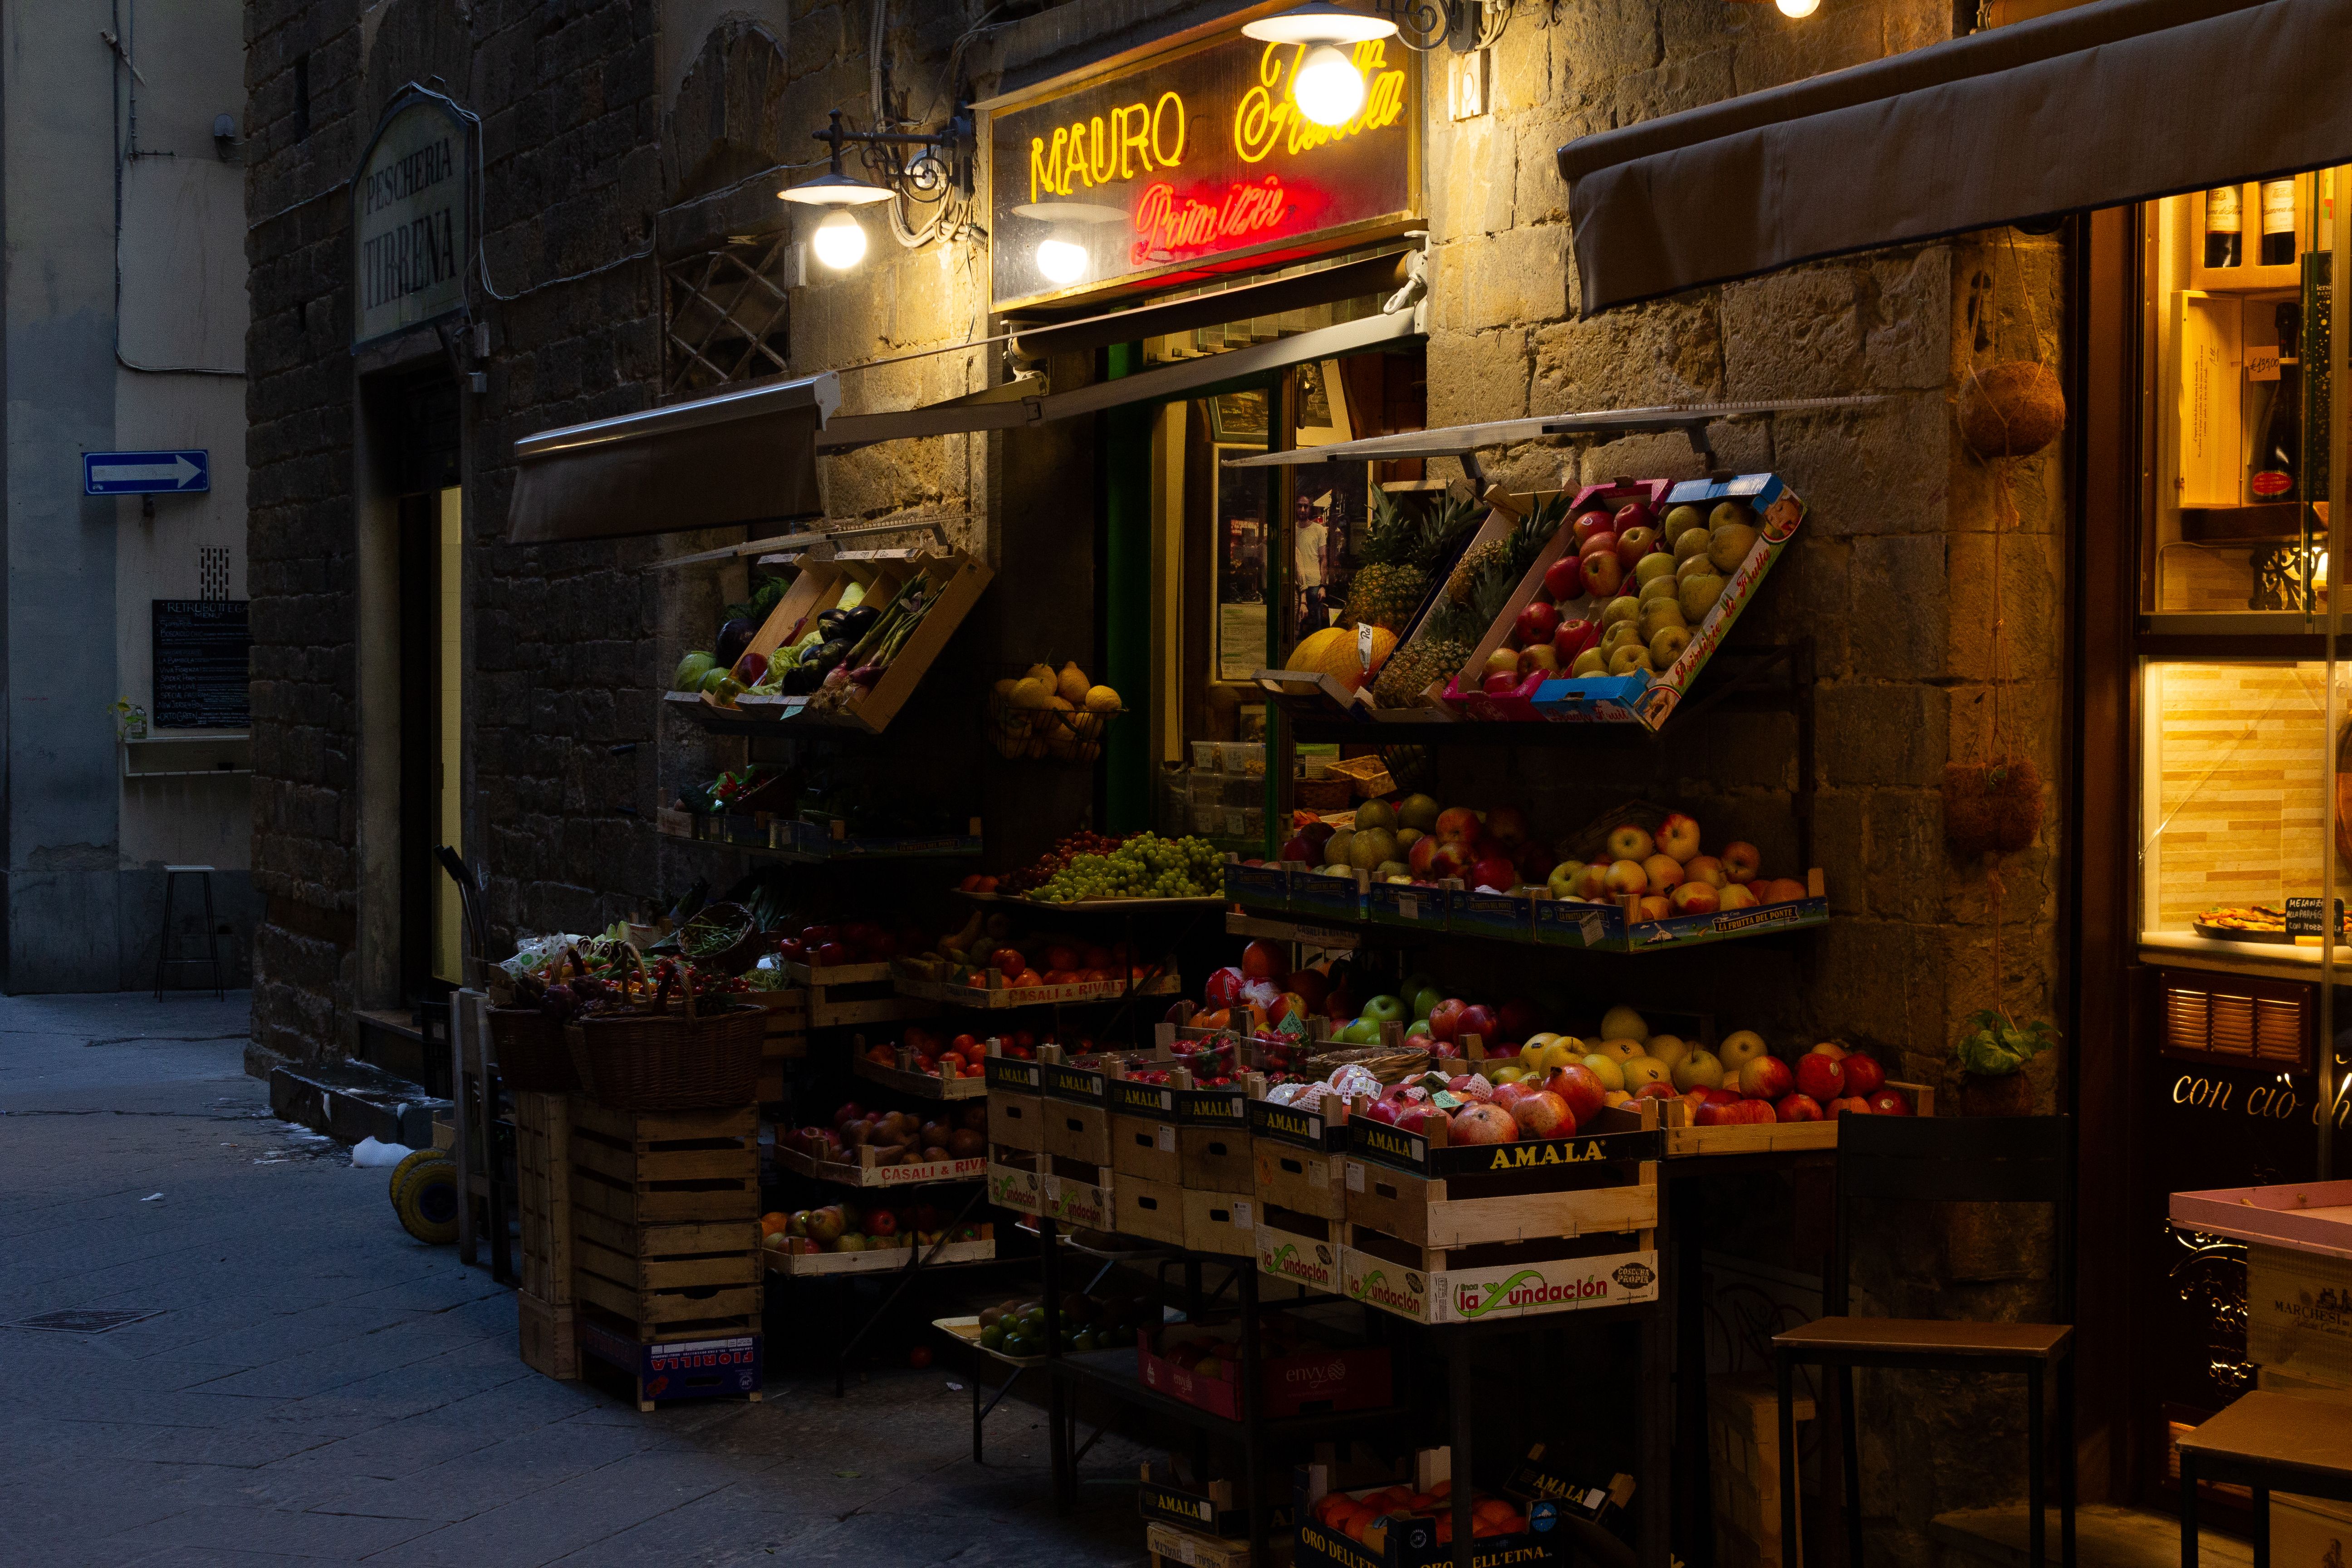
For a true-to-life look, keep some layers readable. The viewer should see enough of the stall to trust the scene.
Shutter speed matters more than many people think. For handheld close work, 1/250s is a safe floor, and 1/500s is better if people are moving. If the light drops, raise ISO before blur ruins the shot.
Watch for mixed light. LED signs and cheap bulbs can shift color and create odd patches on skin and fruit. A steady white balance, set in Kelvin or with a custom WB card, keeps the colors grounded.
Camera settings that keep detail crisp
Good market photos need sharp focus on the main subject and enough depth to show texture. Continuous AF, or AF-C / AI Servo, helps when hands, shoppers, and hanging goods keep moving. Eye or subject detection is useful for people, while tap-to-focus can be faster for still-life-style stall details.
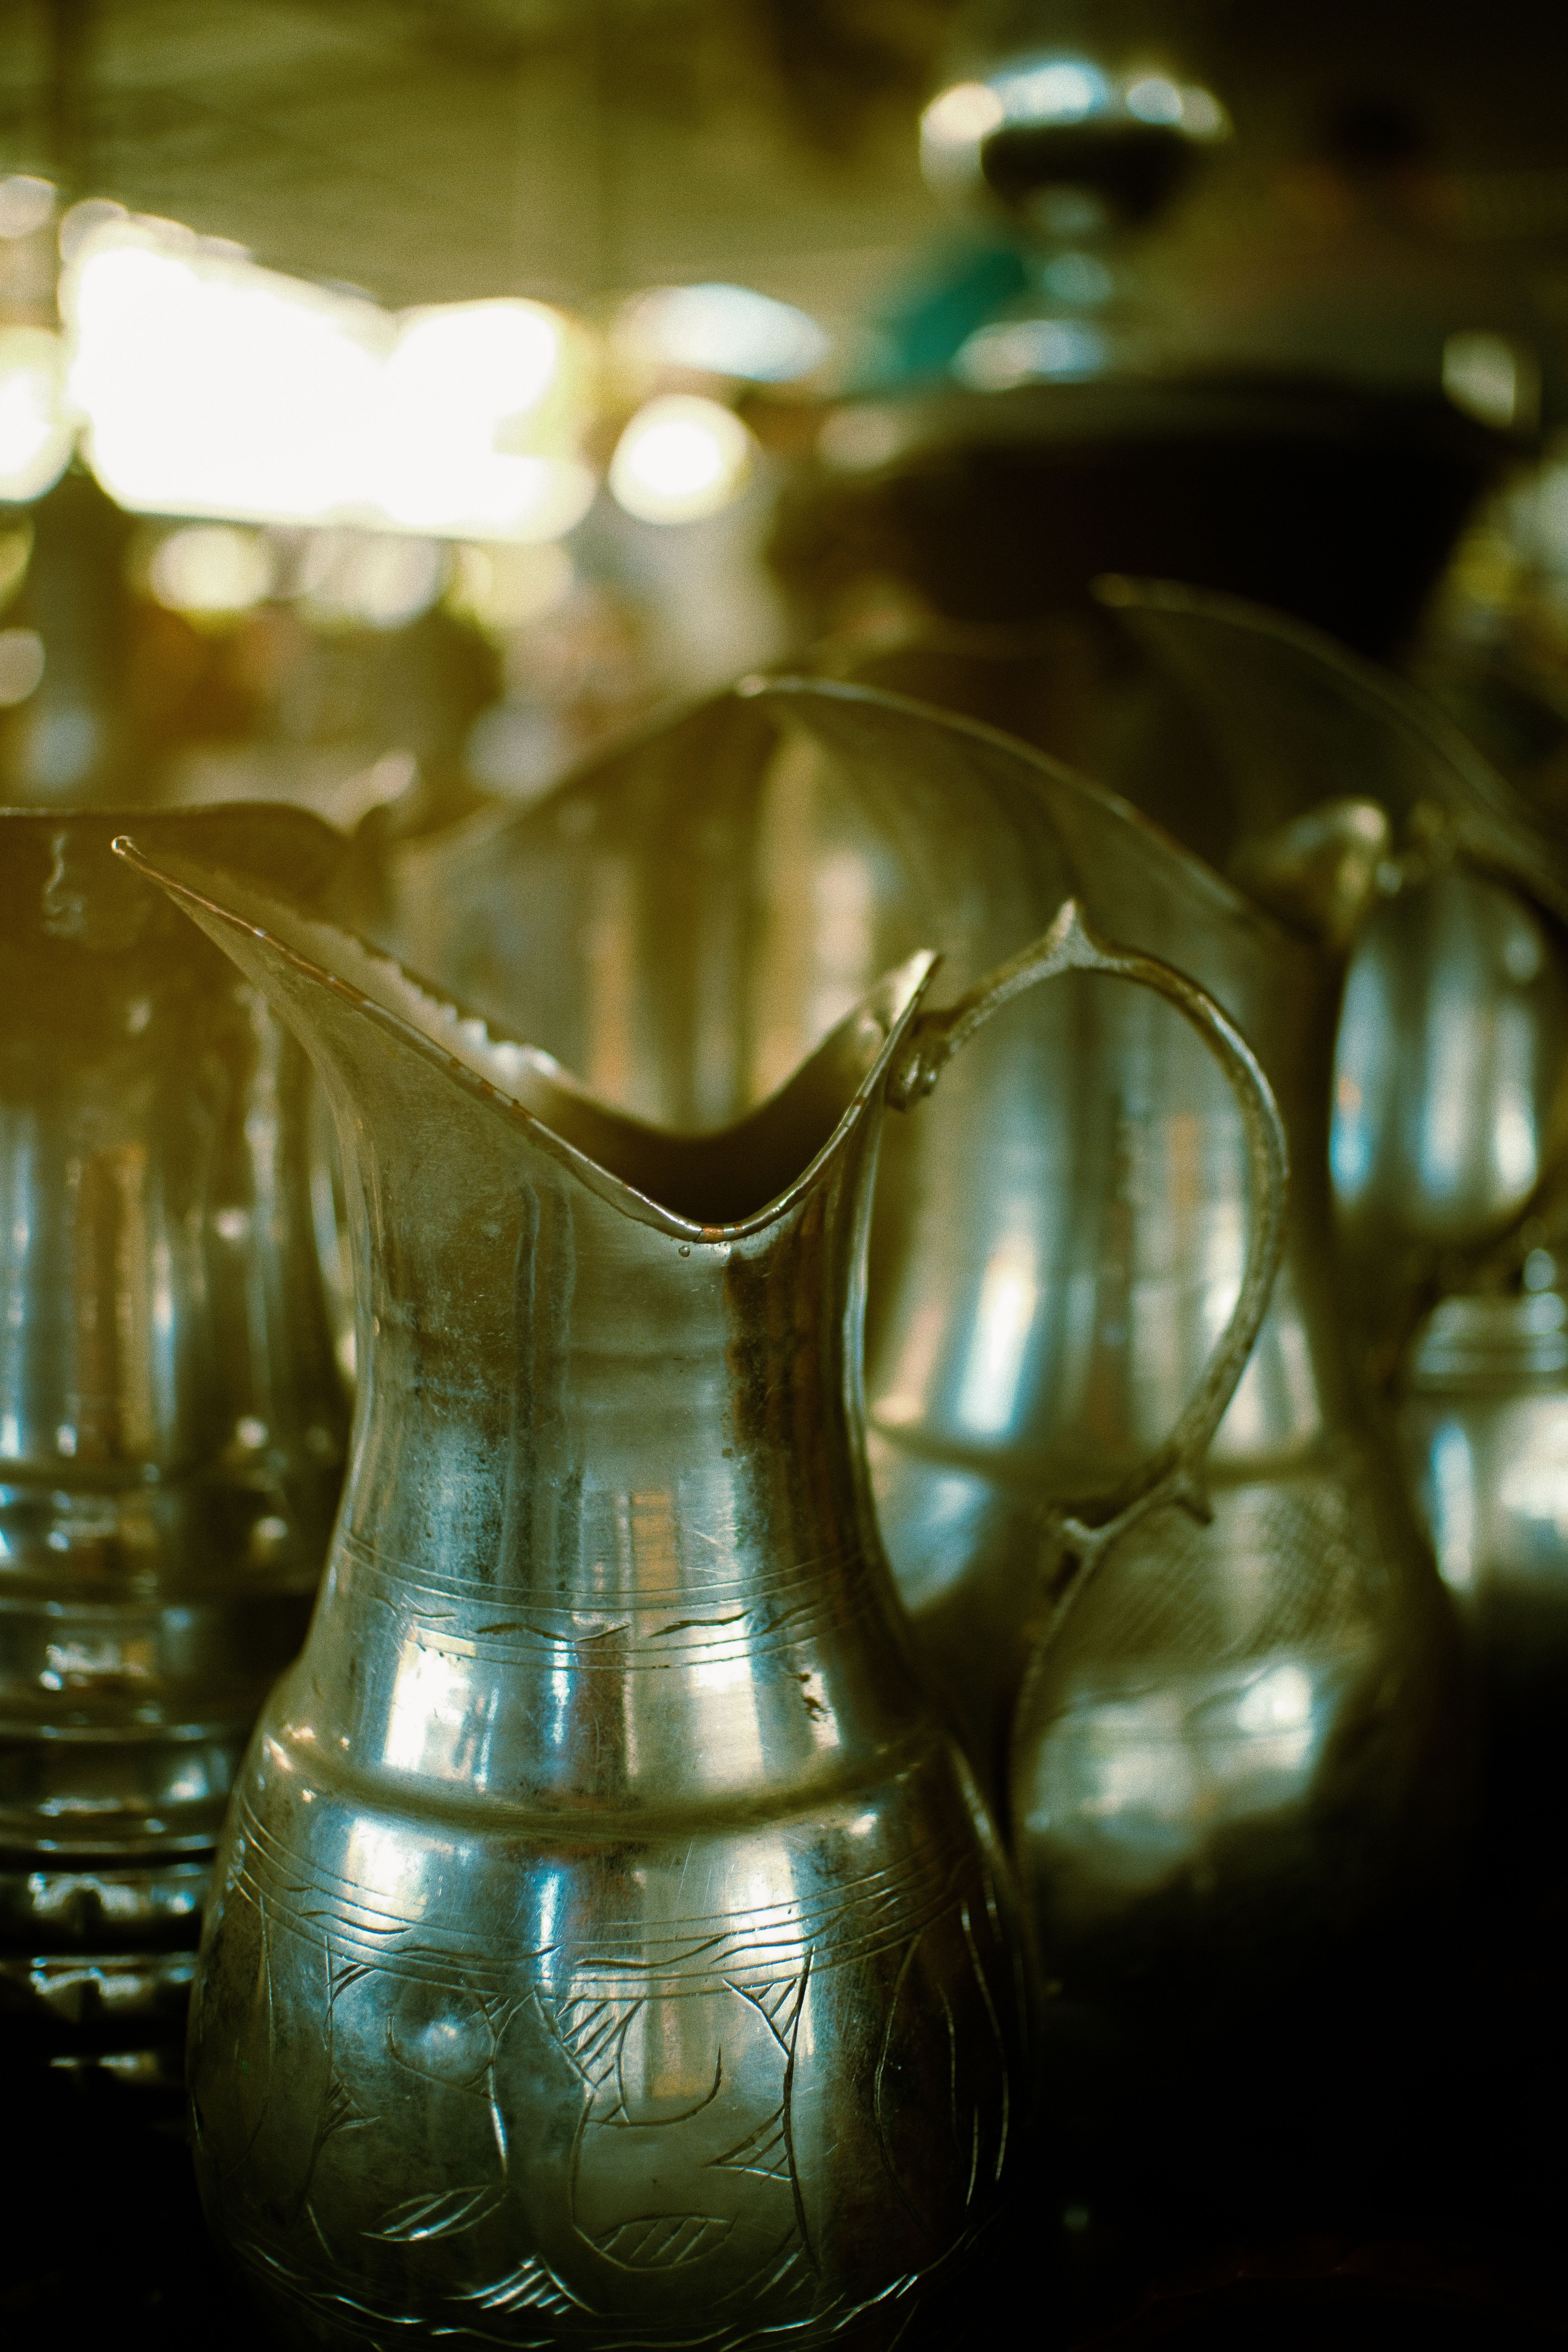
Use burst mode only when motion matters. A modern mid-tier body often handles about 10 fps on the mechanical shutter, or 20 to 30 fps on the electronic shutter. Electronic shutters can show rolling-shutter skew, and some LED lights can cause banding.
One practical setup
- Set aperture to f/2.8 to f/4 for a soft but readable background.
- Start shutter speed at 1/250s for still scenes, then move to 1/500s for motion.
- Use Auto ISO with a cap that fits your camera’s noise level, often ISO 3200 or ISO 6400.
- Pick continuous AF when people are reaching, lifting, or handing over produce.
- Turn on pre-capture or pre-burst if your camera offers it.
Pre-capture can save frames from just before you fully press the shutter. That helps with a vendor’s hand placing fruit or a buyer lifting a loaf. A mid-tier camera may slow after roughly 20 to 40 RAW frames, while JPEG can run deeper.
Card speed matters too. UHS-II cards with V60 or V90 labels clear the buffer faster than UHS-I, and CFexpress is faster still. If you shoot long bursts, buffer recovery becomes part of the look, because a stalled camera misses the next good moment.
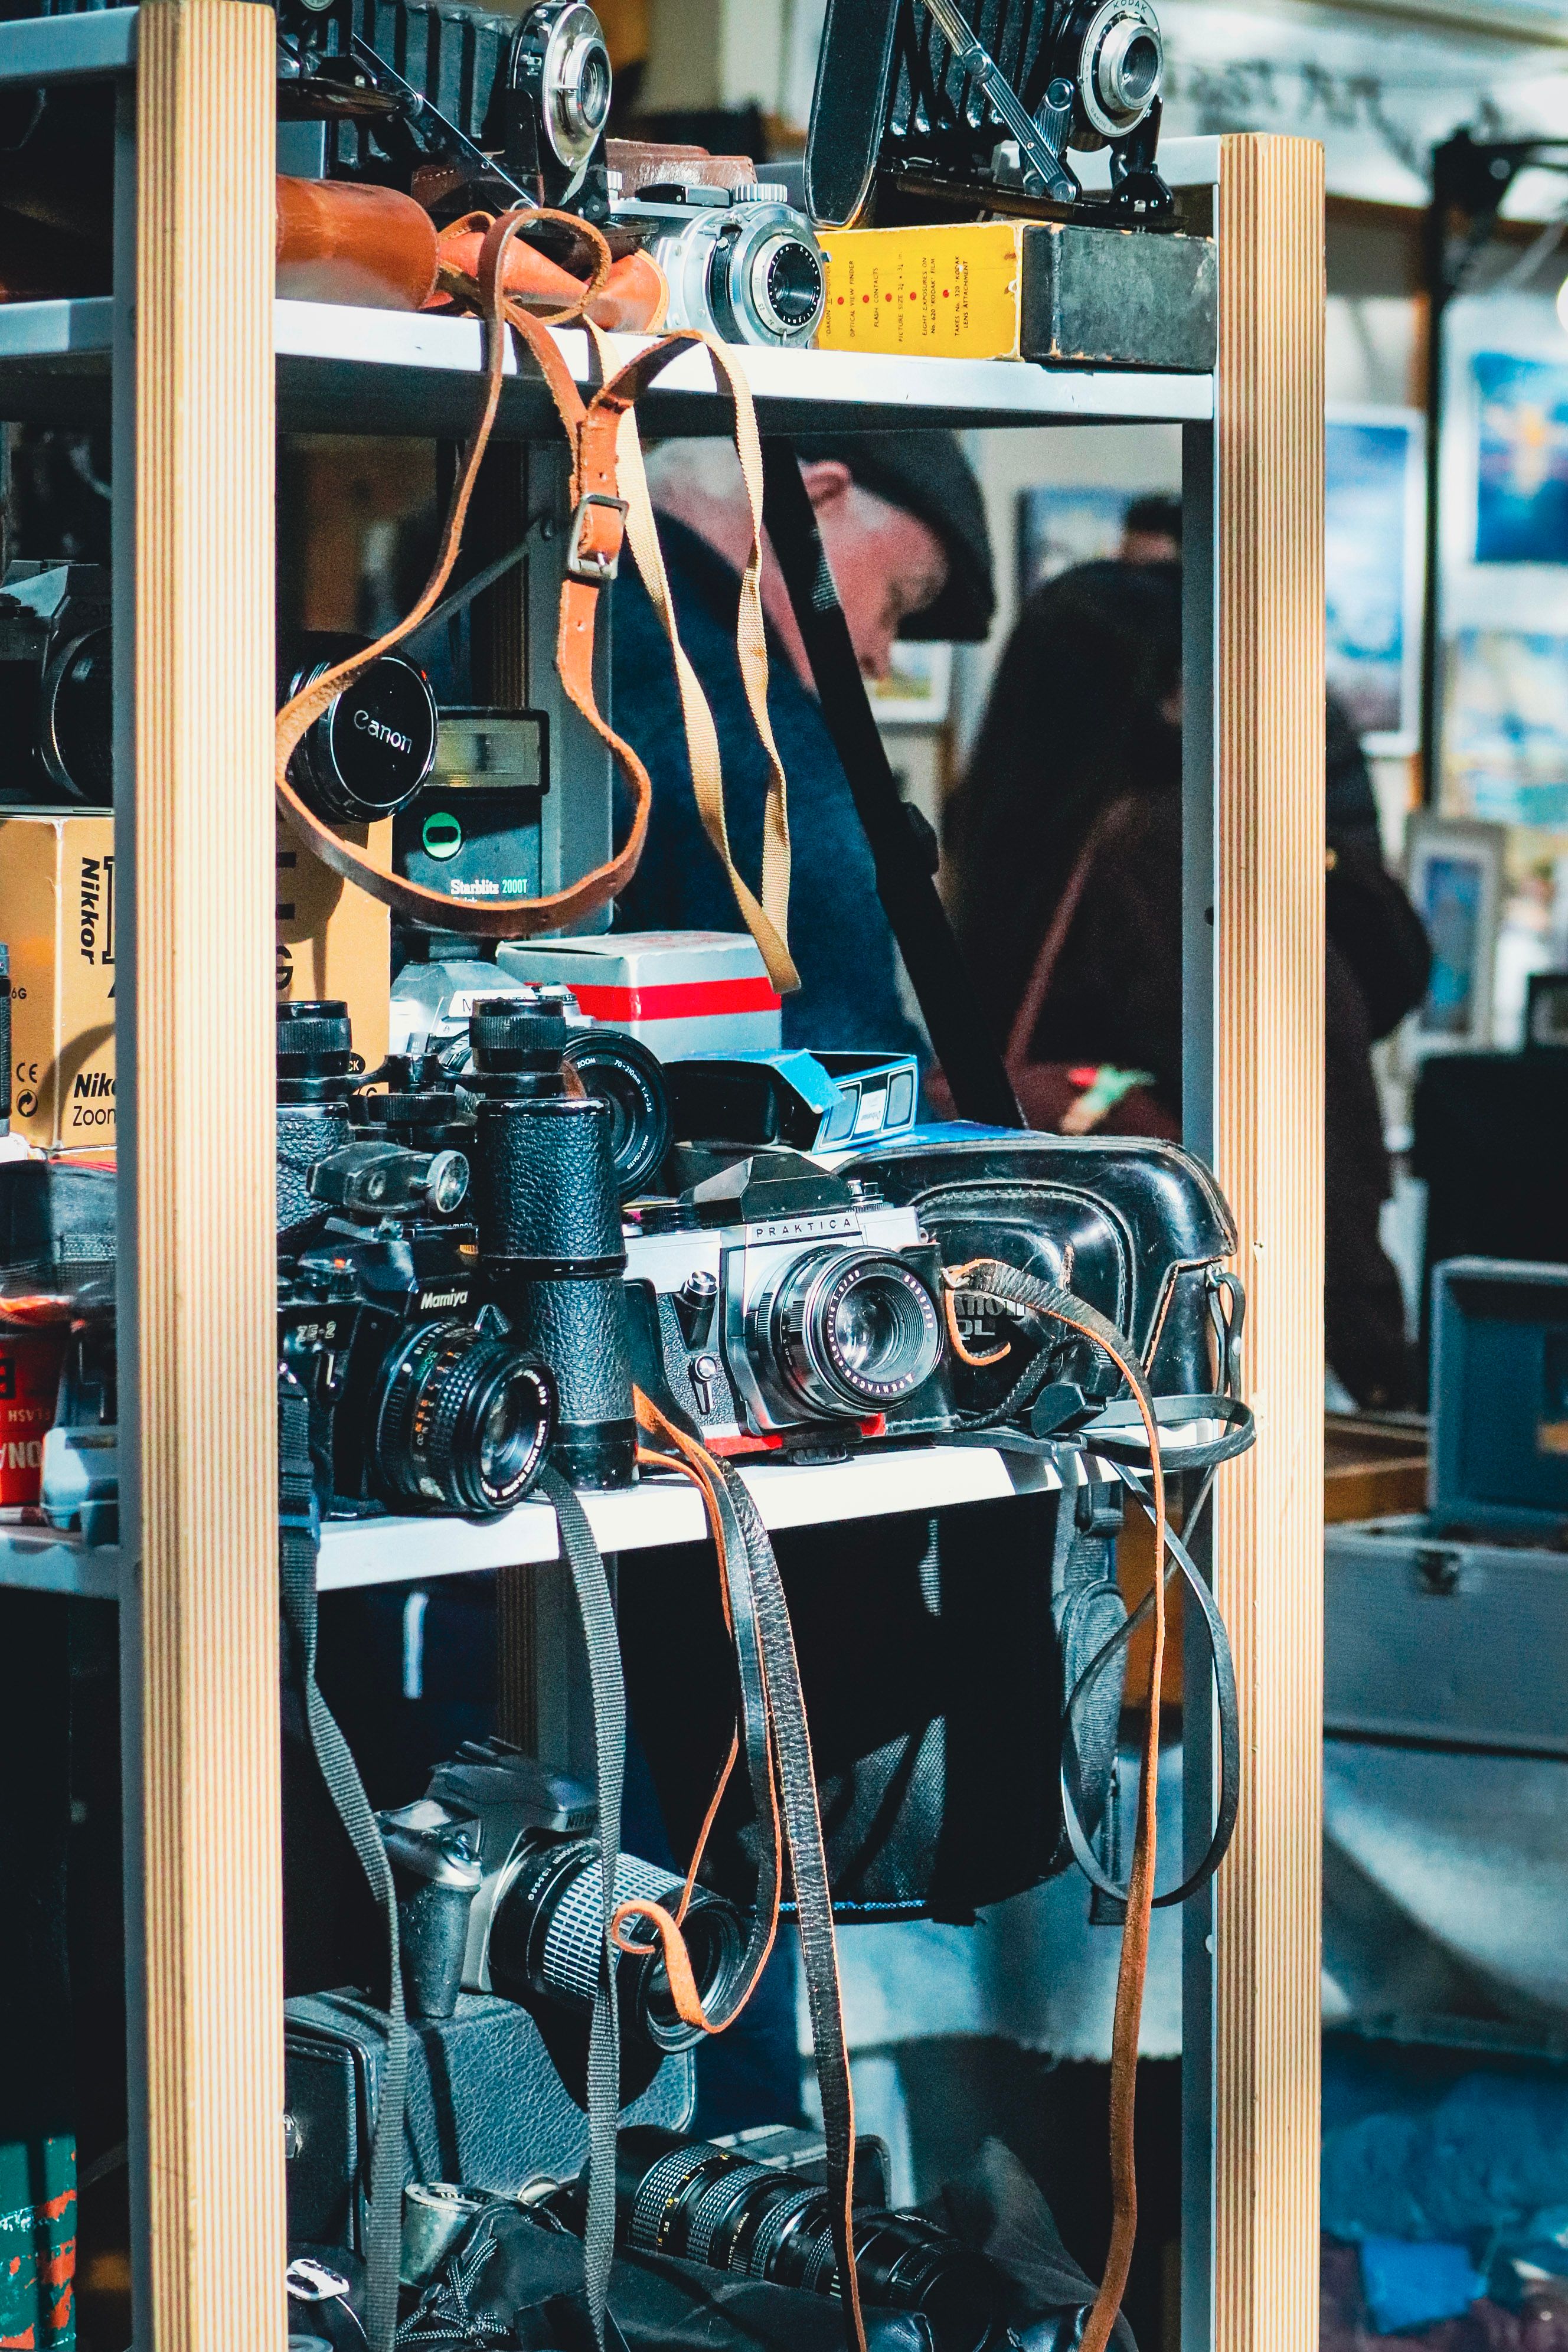
Back-button focus also helps in tight market spaces. It lets you lock focus once, then reframe without refocusing every time. That works well when you move between stalls and need speed without constant hunting.
Gear choices that keep the camera ready
A hands-free strap makes a real difference in a market. A strap like Camstrap voyager keeps the camera close and easy to grab, so you can compare textures, lift fruit, and shoot without setting gear on a wet stall edge.
That helps because market work is full of quick shifts. One hand may hold a basket or bag, while the other needs to lift the camera fast. A secure strap cuts that delay and keeps you in the scene.
Pack for movement, not just weight

- Carry one mid-range zoom or one short prime.
- Bring a small microfiber cloth for rain or mist.
- Keep one spare battery ready, since EVF and LCD use drain power fast.
- Use a fast card so burst shooting does not stall the camera.
Battery drain on mirrorless bodies often comes from the always-on screen, the EVF, and image review. If you check every frame, power drops faster than expected. Reducing playback time can save more battery than many extra accessories.
Keep the kit light. A small setup lets you lean in close, change angle fast, and follow the light as it shifts across the stall.
Once the stall is framed, shape the feeling
Now shape the image so it feels touched, not staged. Use foreground items to build depth, and let one edge fall a little out of focus. A crate lip, a hanging tag, or a hand near the lens can make the photo feel lived in.
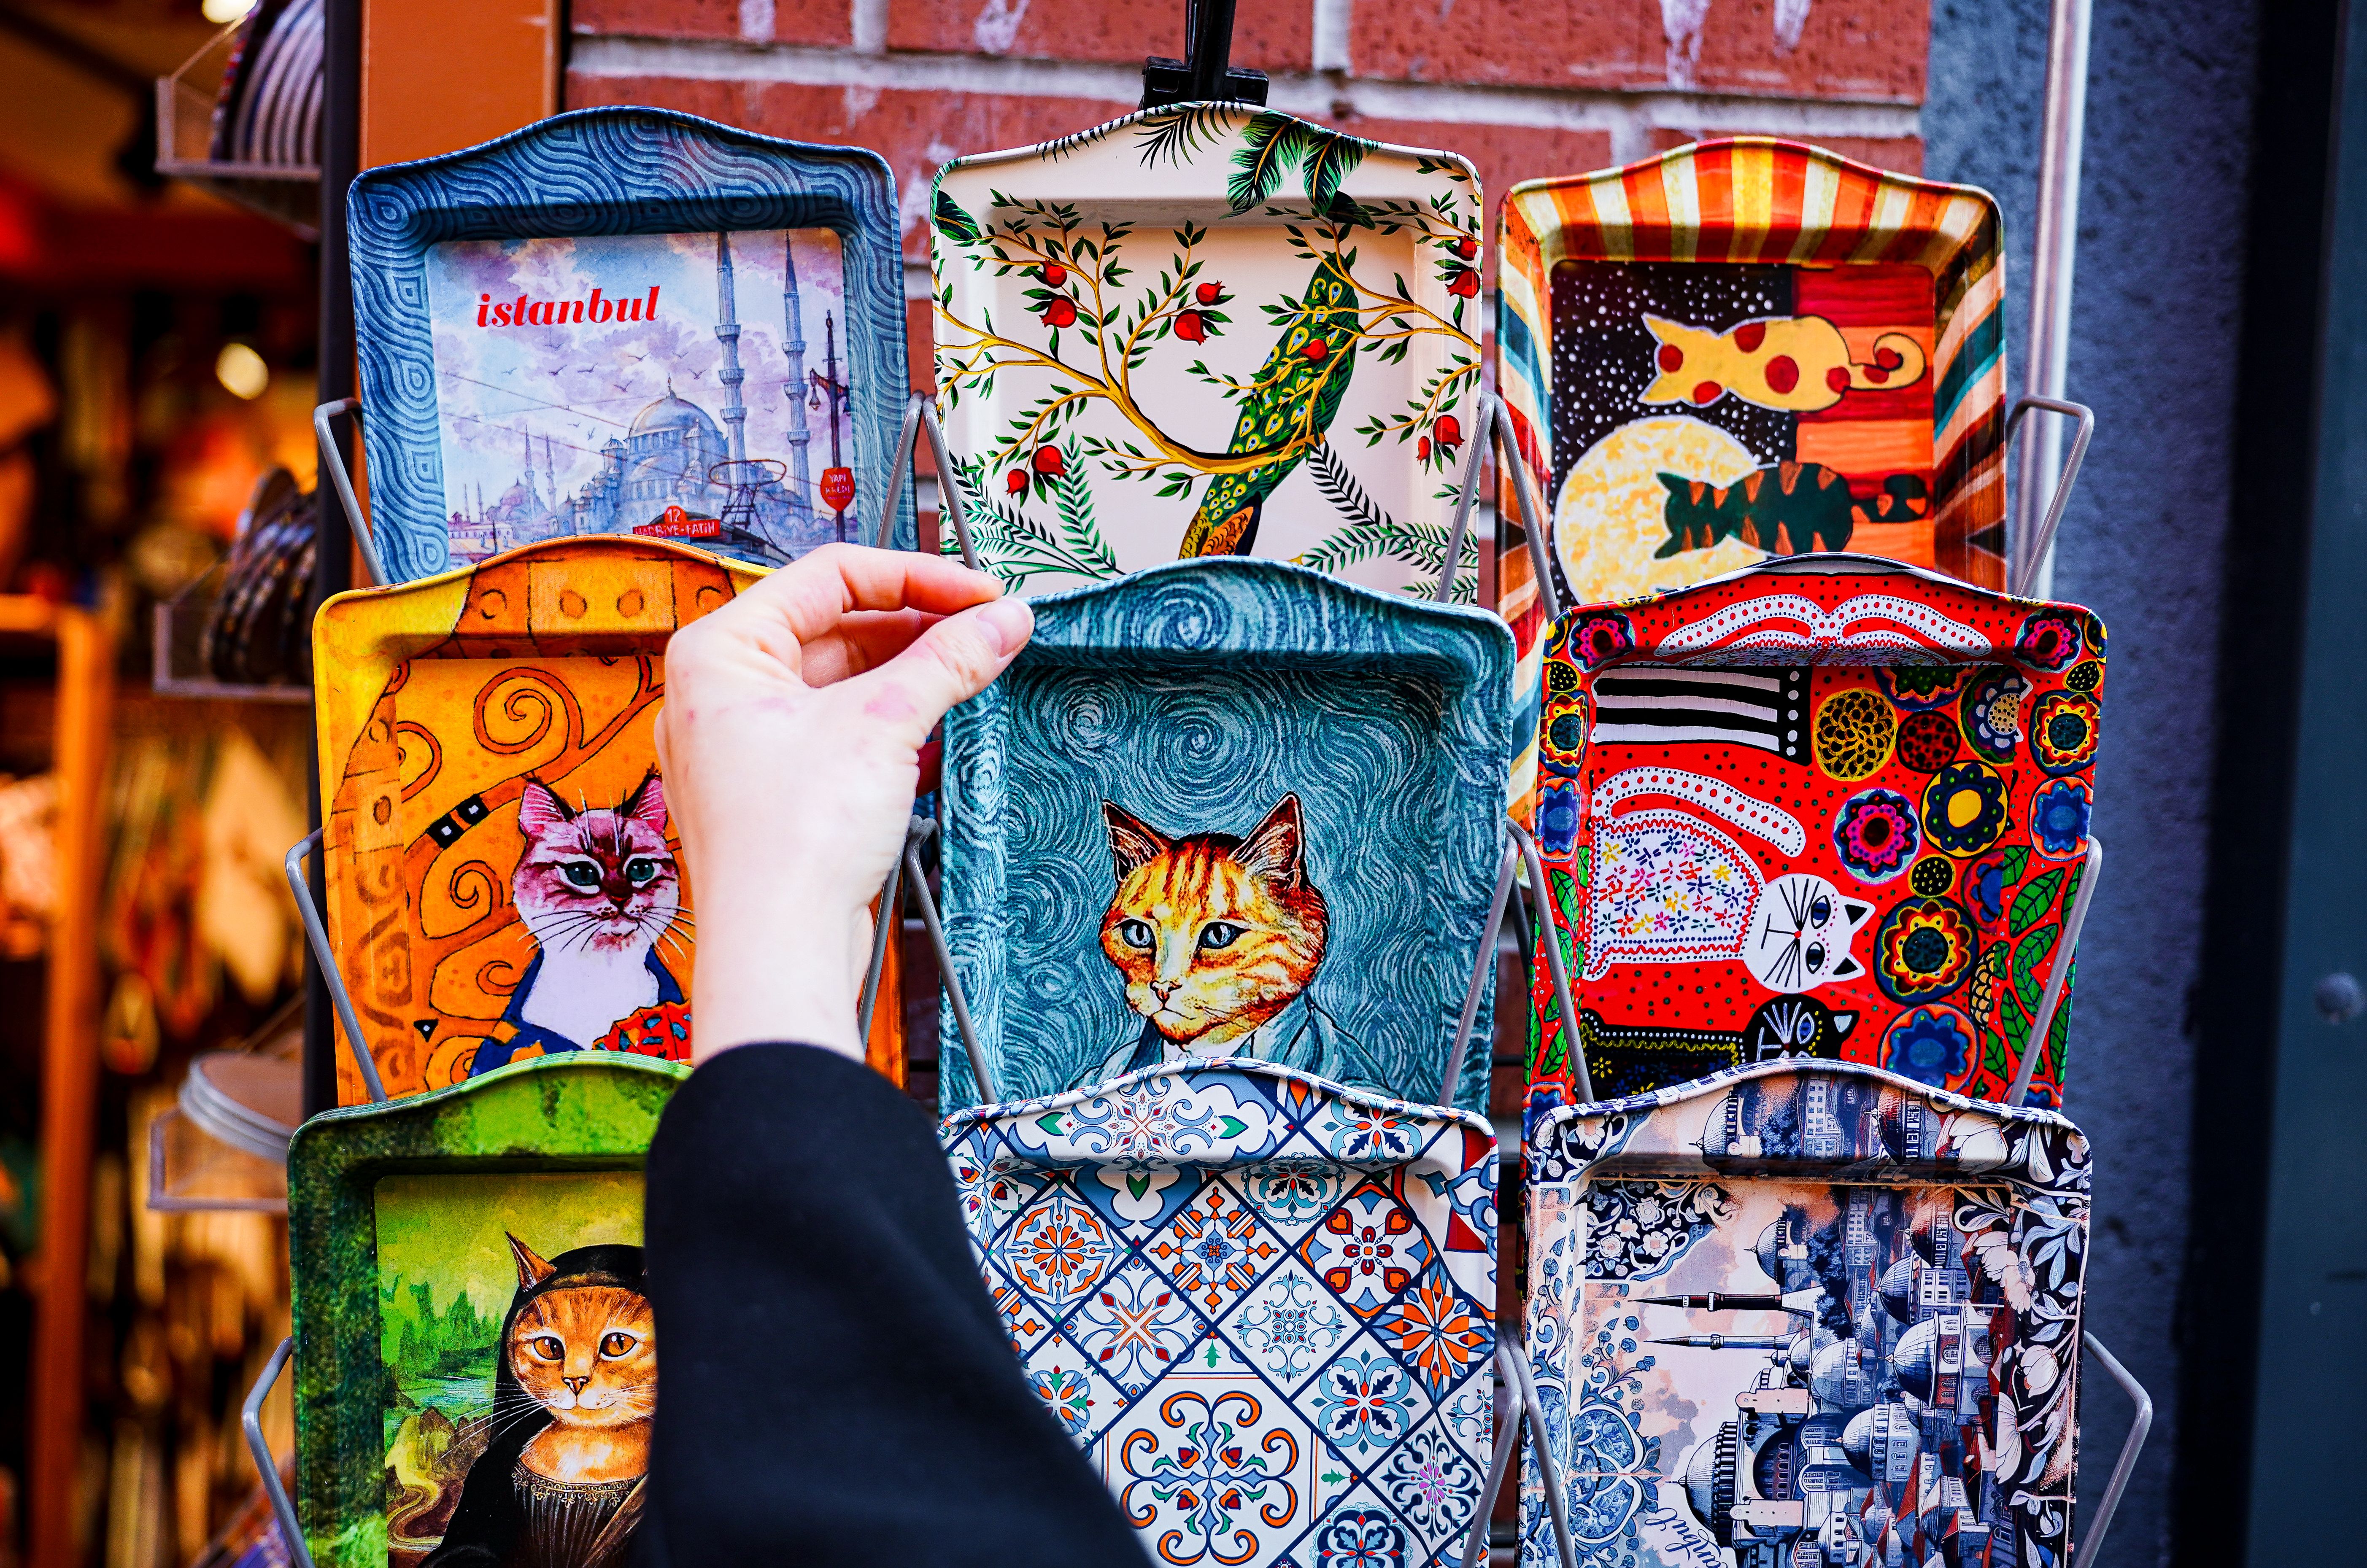
Look for small signs of trade and use. Scuffed wood, printed labels, folded paper, and stacked change all add truth. These details show a stall that works, not one arranged just for the camera.
Color helps too. Warm fruit against cool shadow feels rich and natural, and green herbs against brown paper can do the same job with less noise in the frame.
Keep the edit light. Lift shadows a little, protect highlights, and skip heavy clarity or overdone sharpening. The aim is to keep the touch of the scene, not turn it into a hard, digital look.
Make it feel like a moment, not a display
The best stall photos show action in small ways. A hand reaching, a paper bag folding, or water beading on leaves can make a still scene feel alive. These are tiny signs, but they carry a lot of weight.

Use the 20 60 20 rule as a guide, then break it when a real moment appears. A good market frame often has a little mess, a little motion, and one clear anchor. That balance gives the photo its texture and truth.
In practice, the strongest files often come from slow looking. Walk the stall once, watch the light, then pick the spot where shape and surface meet best. After that, take a few careful frames and check the focus point before you move on.
When the subject is sharp, the light is kind, and the frame holds one clear story, the stall feels touchable. Aim for that: honest, close, and full of life.
Frequently Asked Questions
What is a focal point in photography?

A focal point in photography is the part of the image that draws the eye first. It usually has the strongest light, sharpest detail, or boldest color and acts as the visual anchor.
What is the purpose of a focal point?
The purpose of a focal point is to give the viewer one clear place to look. It keeps the image organized and helps the photo feel like a deliberate moment rather than a cluttered record.
What is the 20 60 20 rule in photography?
The 20 60 20 rule in photography divides the frame into three zones, with the middle 60% reserved for the main subject or action. The outer 20% on each side adds balance, edge detail, and context.

How do I know where the focal point is?
The focal point is the spot your eye lands on first when viewing the photo at full size. It is often the area with the most contrast, cleanest shape, or sharpest focus.


