


- Plant your feet first, then lift from below for a dramatic low-angle frame.
- Brace your core and use a snug strap to steady handheld shots on switchbacks.
- Choose a fast shutter—around 1/500s—to freeze motion on steep trails.
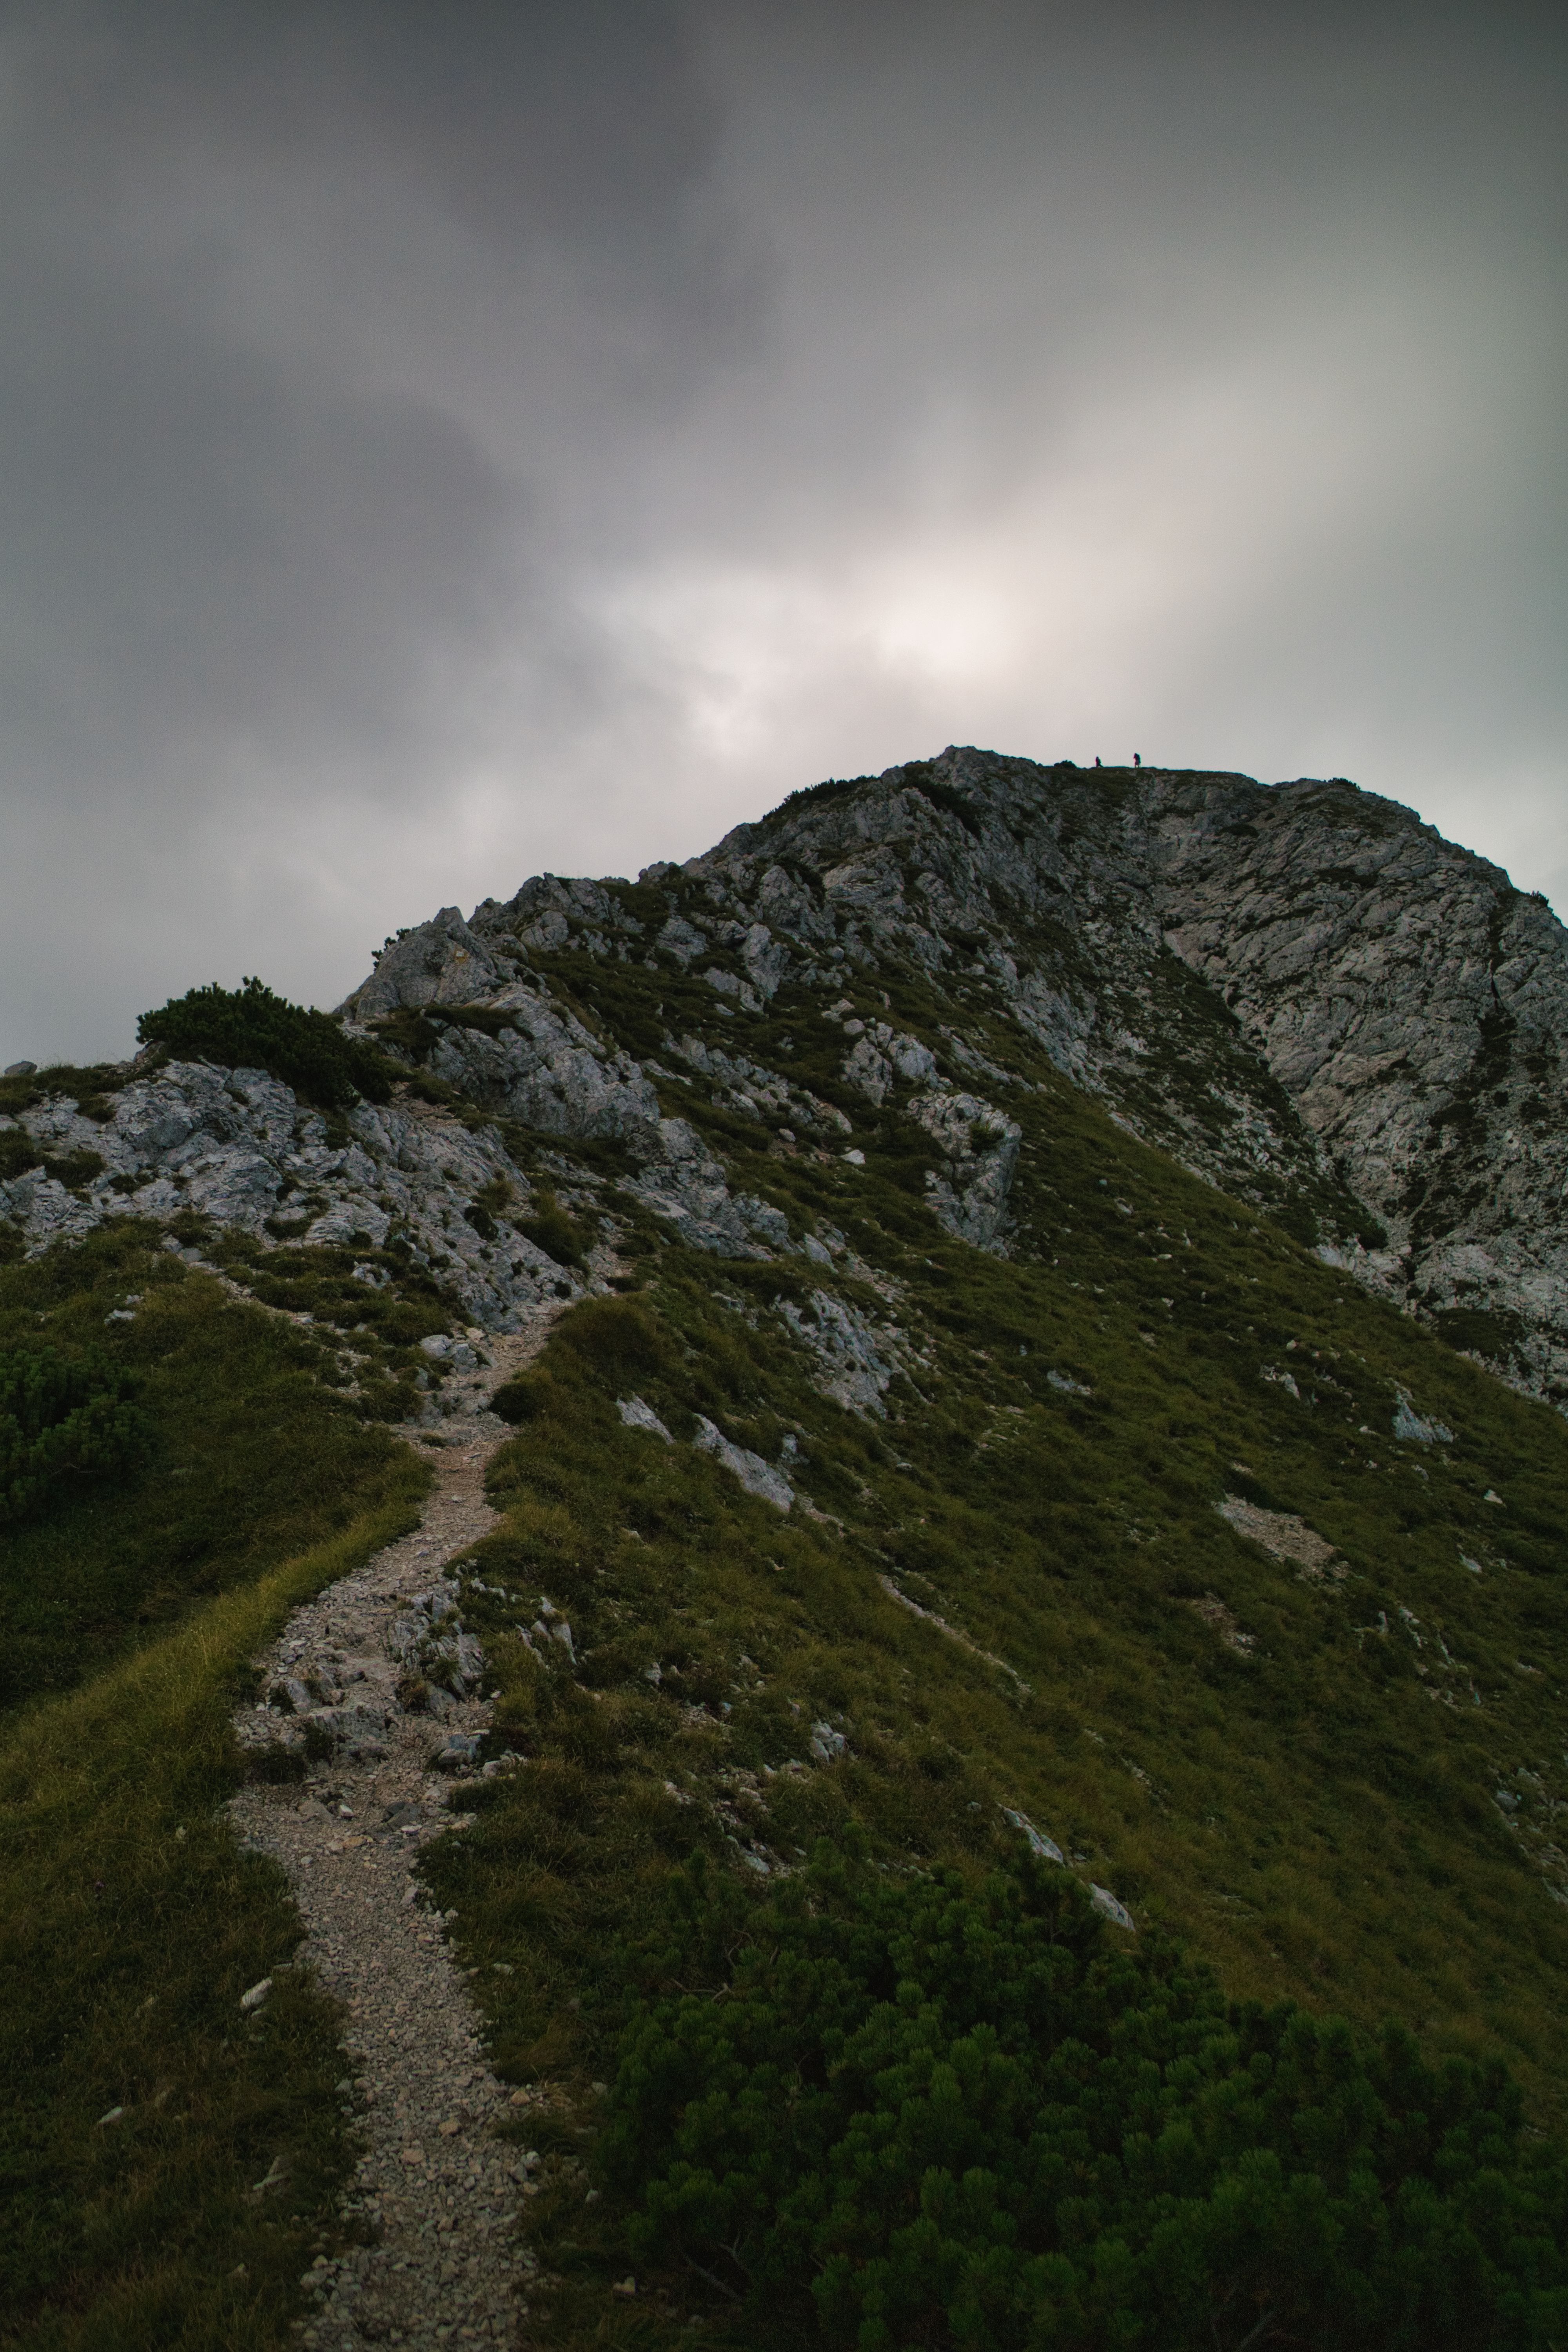
Low-angle photography frames a subject from a lower camera position for stronger depth, shape, and impact. On steep trail switchbacks, that lower view can make rocks, trees, hikers, and ridgelines feel larger and more alive. It also adds a real challenge. Your feet keep moving, the grade pulls your body off balance, and your camera starts to swing unless you build better control into each step.
Translation missing: en.blog_cta.bundle_heading

- Regular price
-
€42 - Regular price
-
€44 - Sale price
-
€42
By choosing the Camstrap strap, you are opting for a high-quality product designed to meet the needs of the most demanding photographers.
- Developed by a physiotherapist to relieve neck and back pain.
- Fast delivery with tracking by the Post Office 🚚
- Can be used as a shoulder strap or hands-free harness

- Regular price
-
€36 - Regular price
-
€42 - Sale price
-
€36
Translation missing: en.blog_cta.free_shipping_included
What is a low-angle shot in photography?
A low-angle shot comes from below the subject, with the lens usually pointed upward. The angle can stretch the scene, hide clutter, and make a trail bend or summit line feel dramatic.
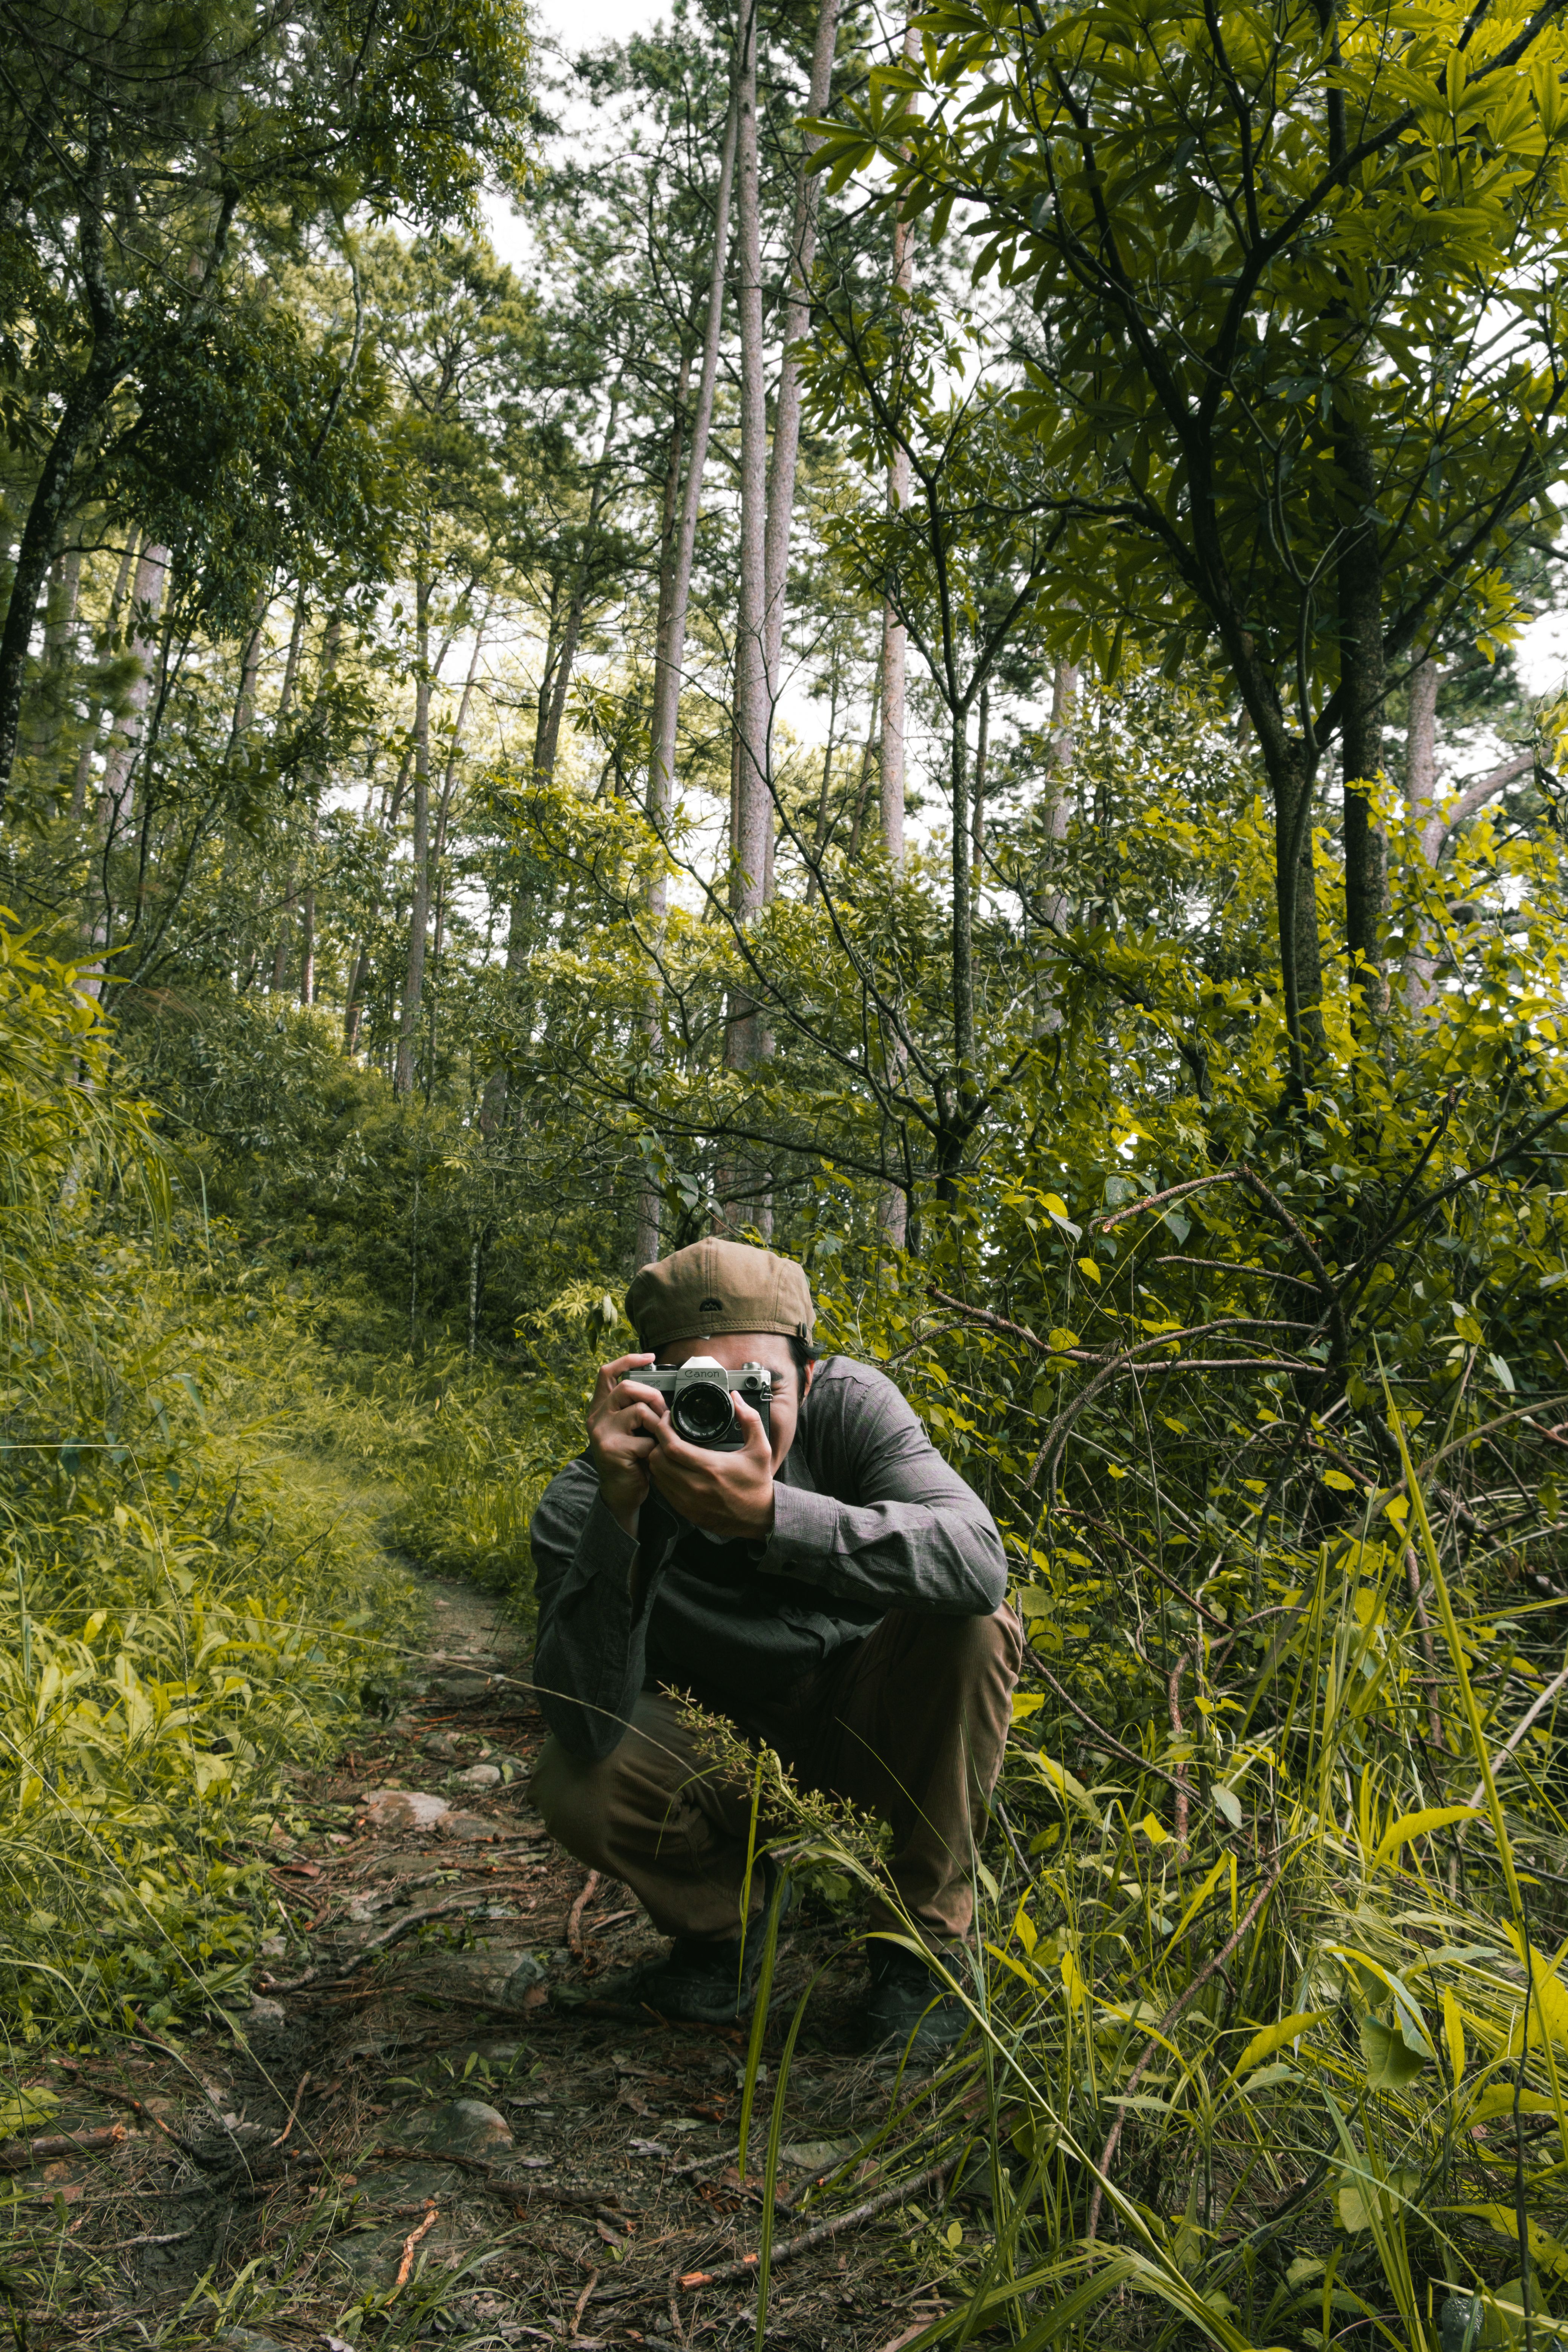
On switchbacks, it works especially well because the path already gives you leading lines. A bend in the trail can guide the eye up to a rider, hiker, or peak with very little extra effort.
How to shoot low-angle photography?
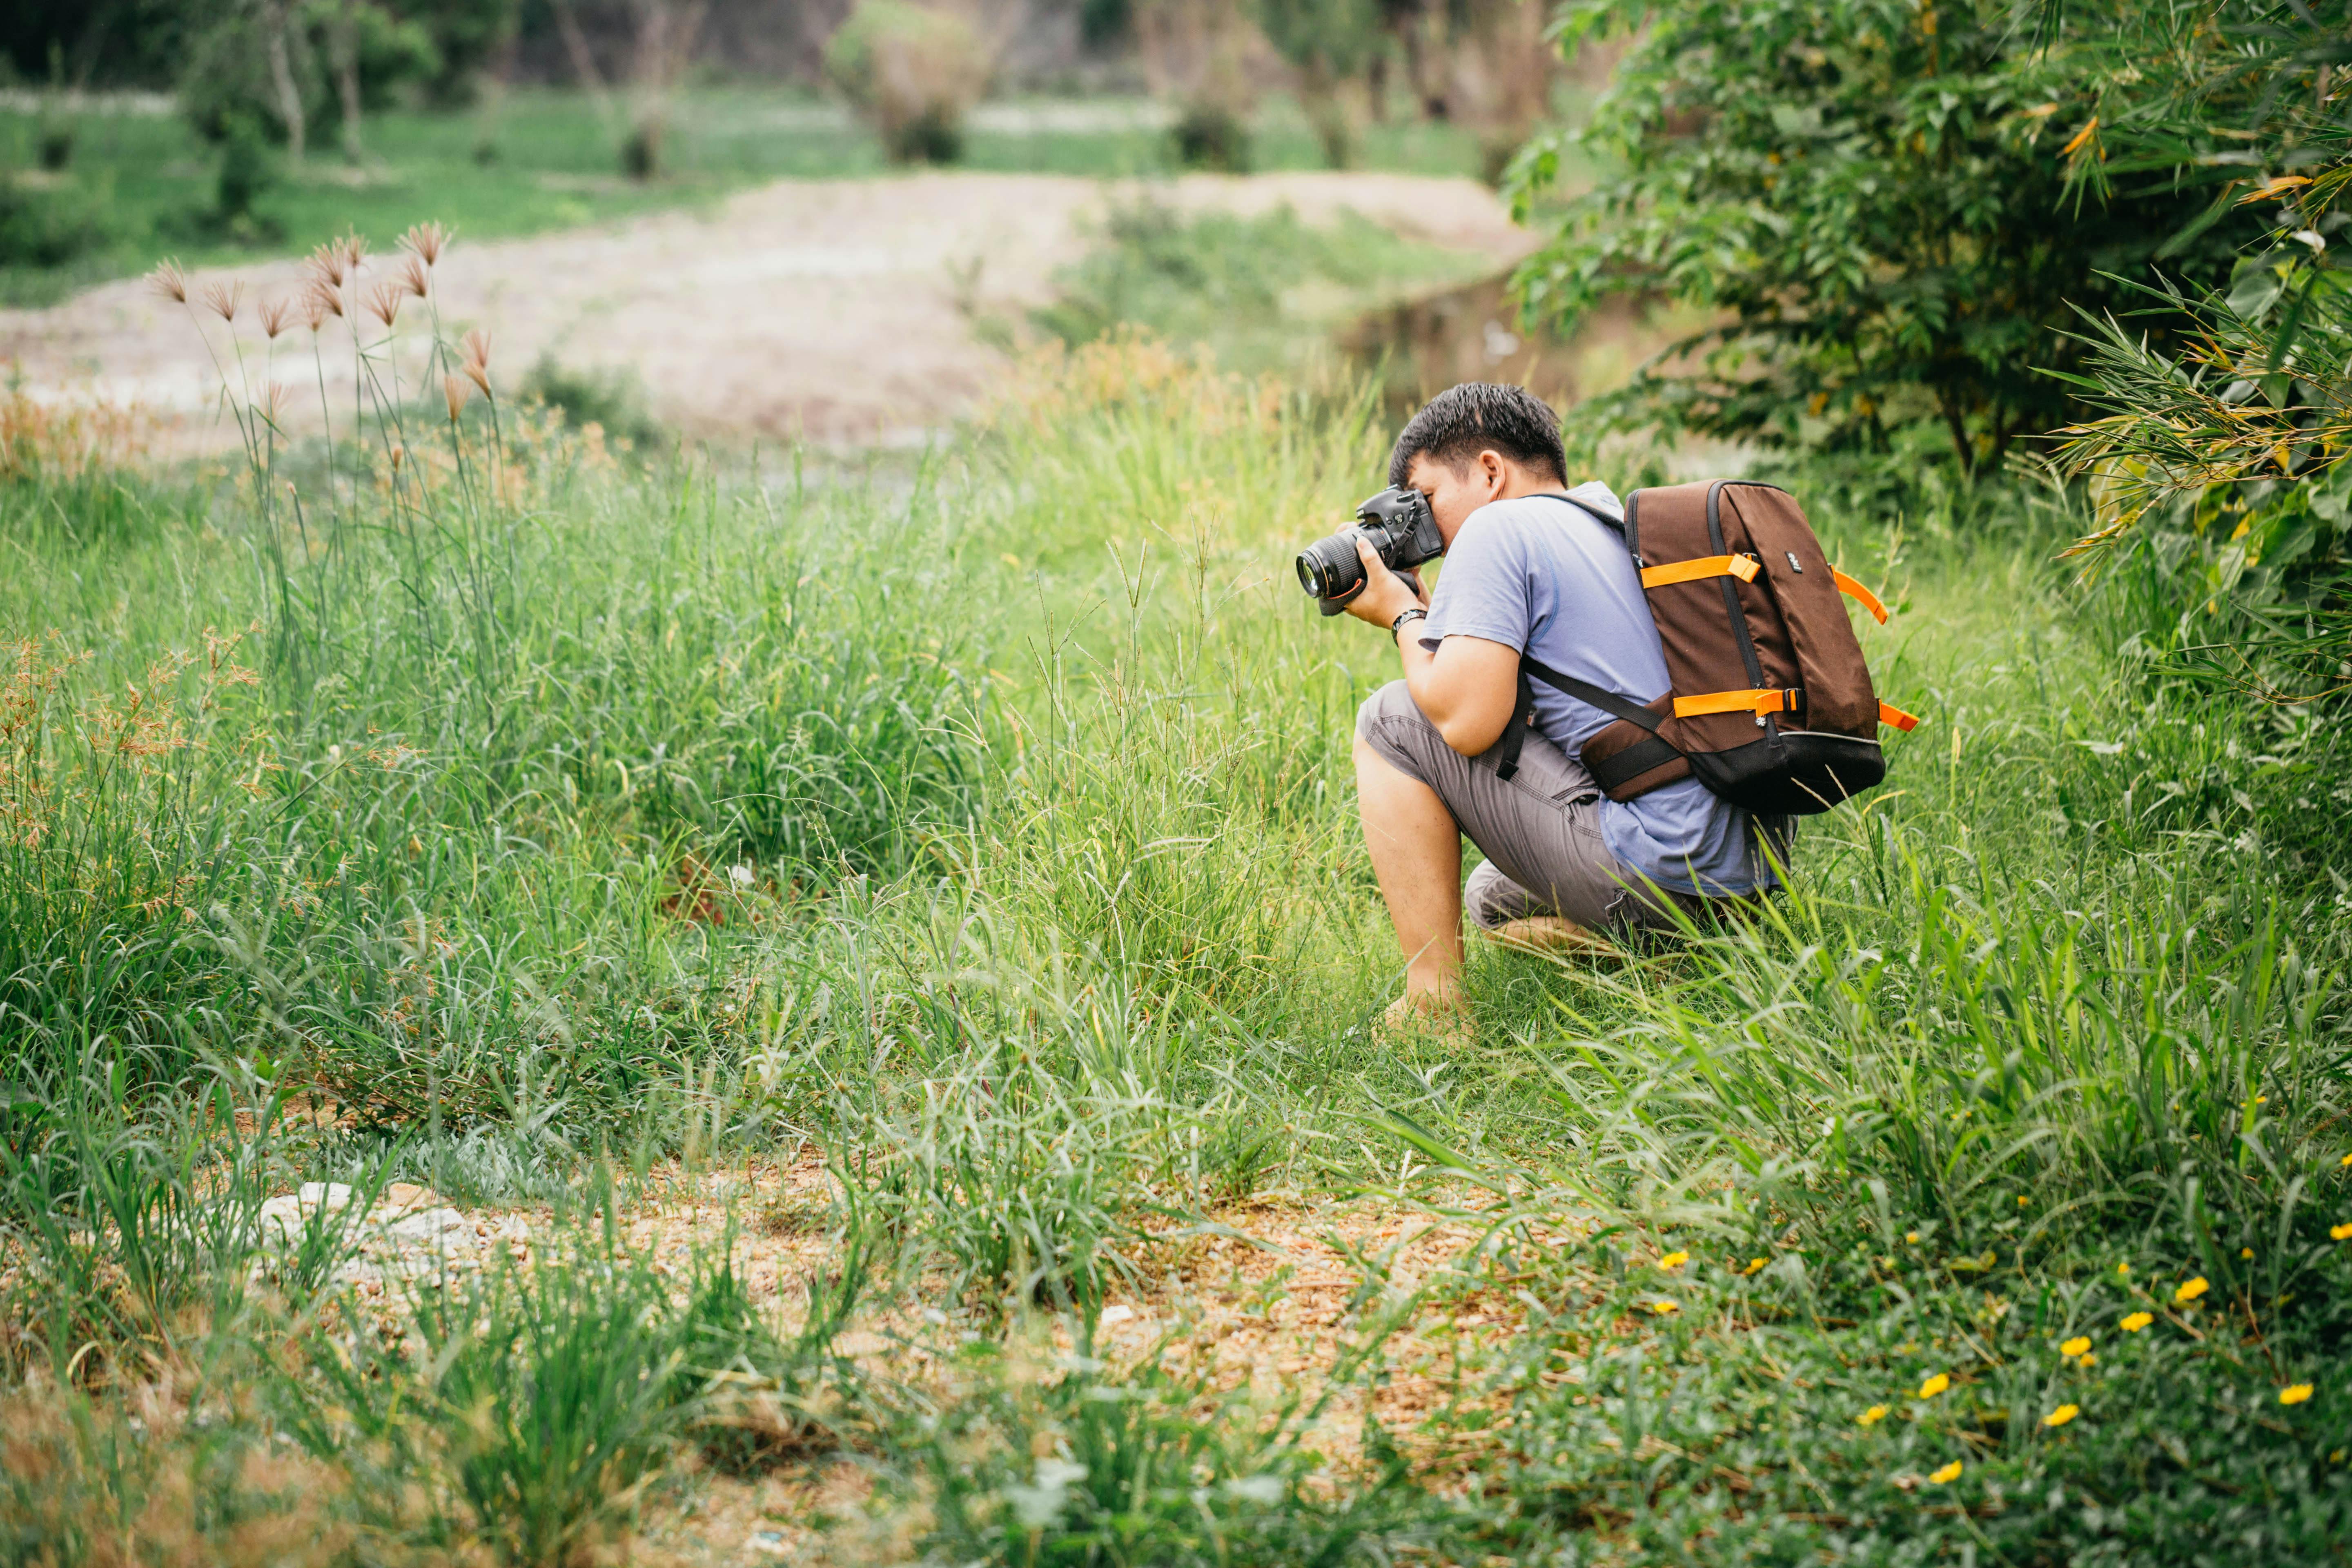
Low-angle work on a steep trail starts with body control, not camera settings. I keep my elbows close, bend my knees, and plant my uphill foot first, because that side usually holds the most weight. A camera sling or strap helps too, since it keeps the body close and ready. A secure carry matters on rough ground, and a well-fitted strap like the Camstrap voyager can spread weight across the shoulder while keeping the camera from bouncing as you climb.
1. Brace your body before you lift the camera
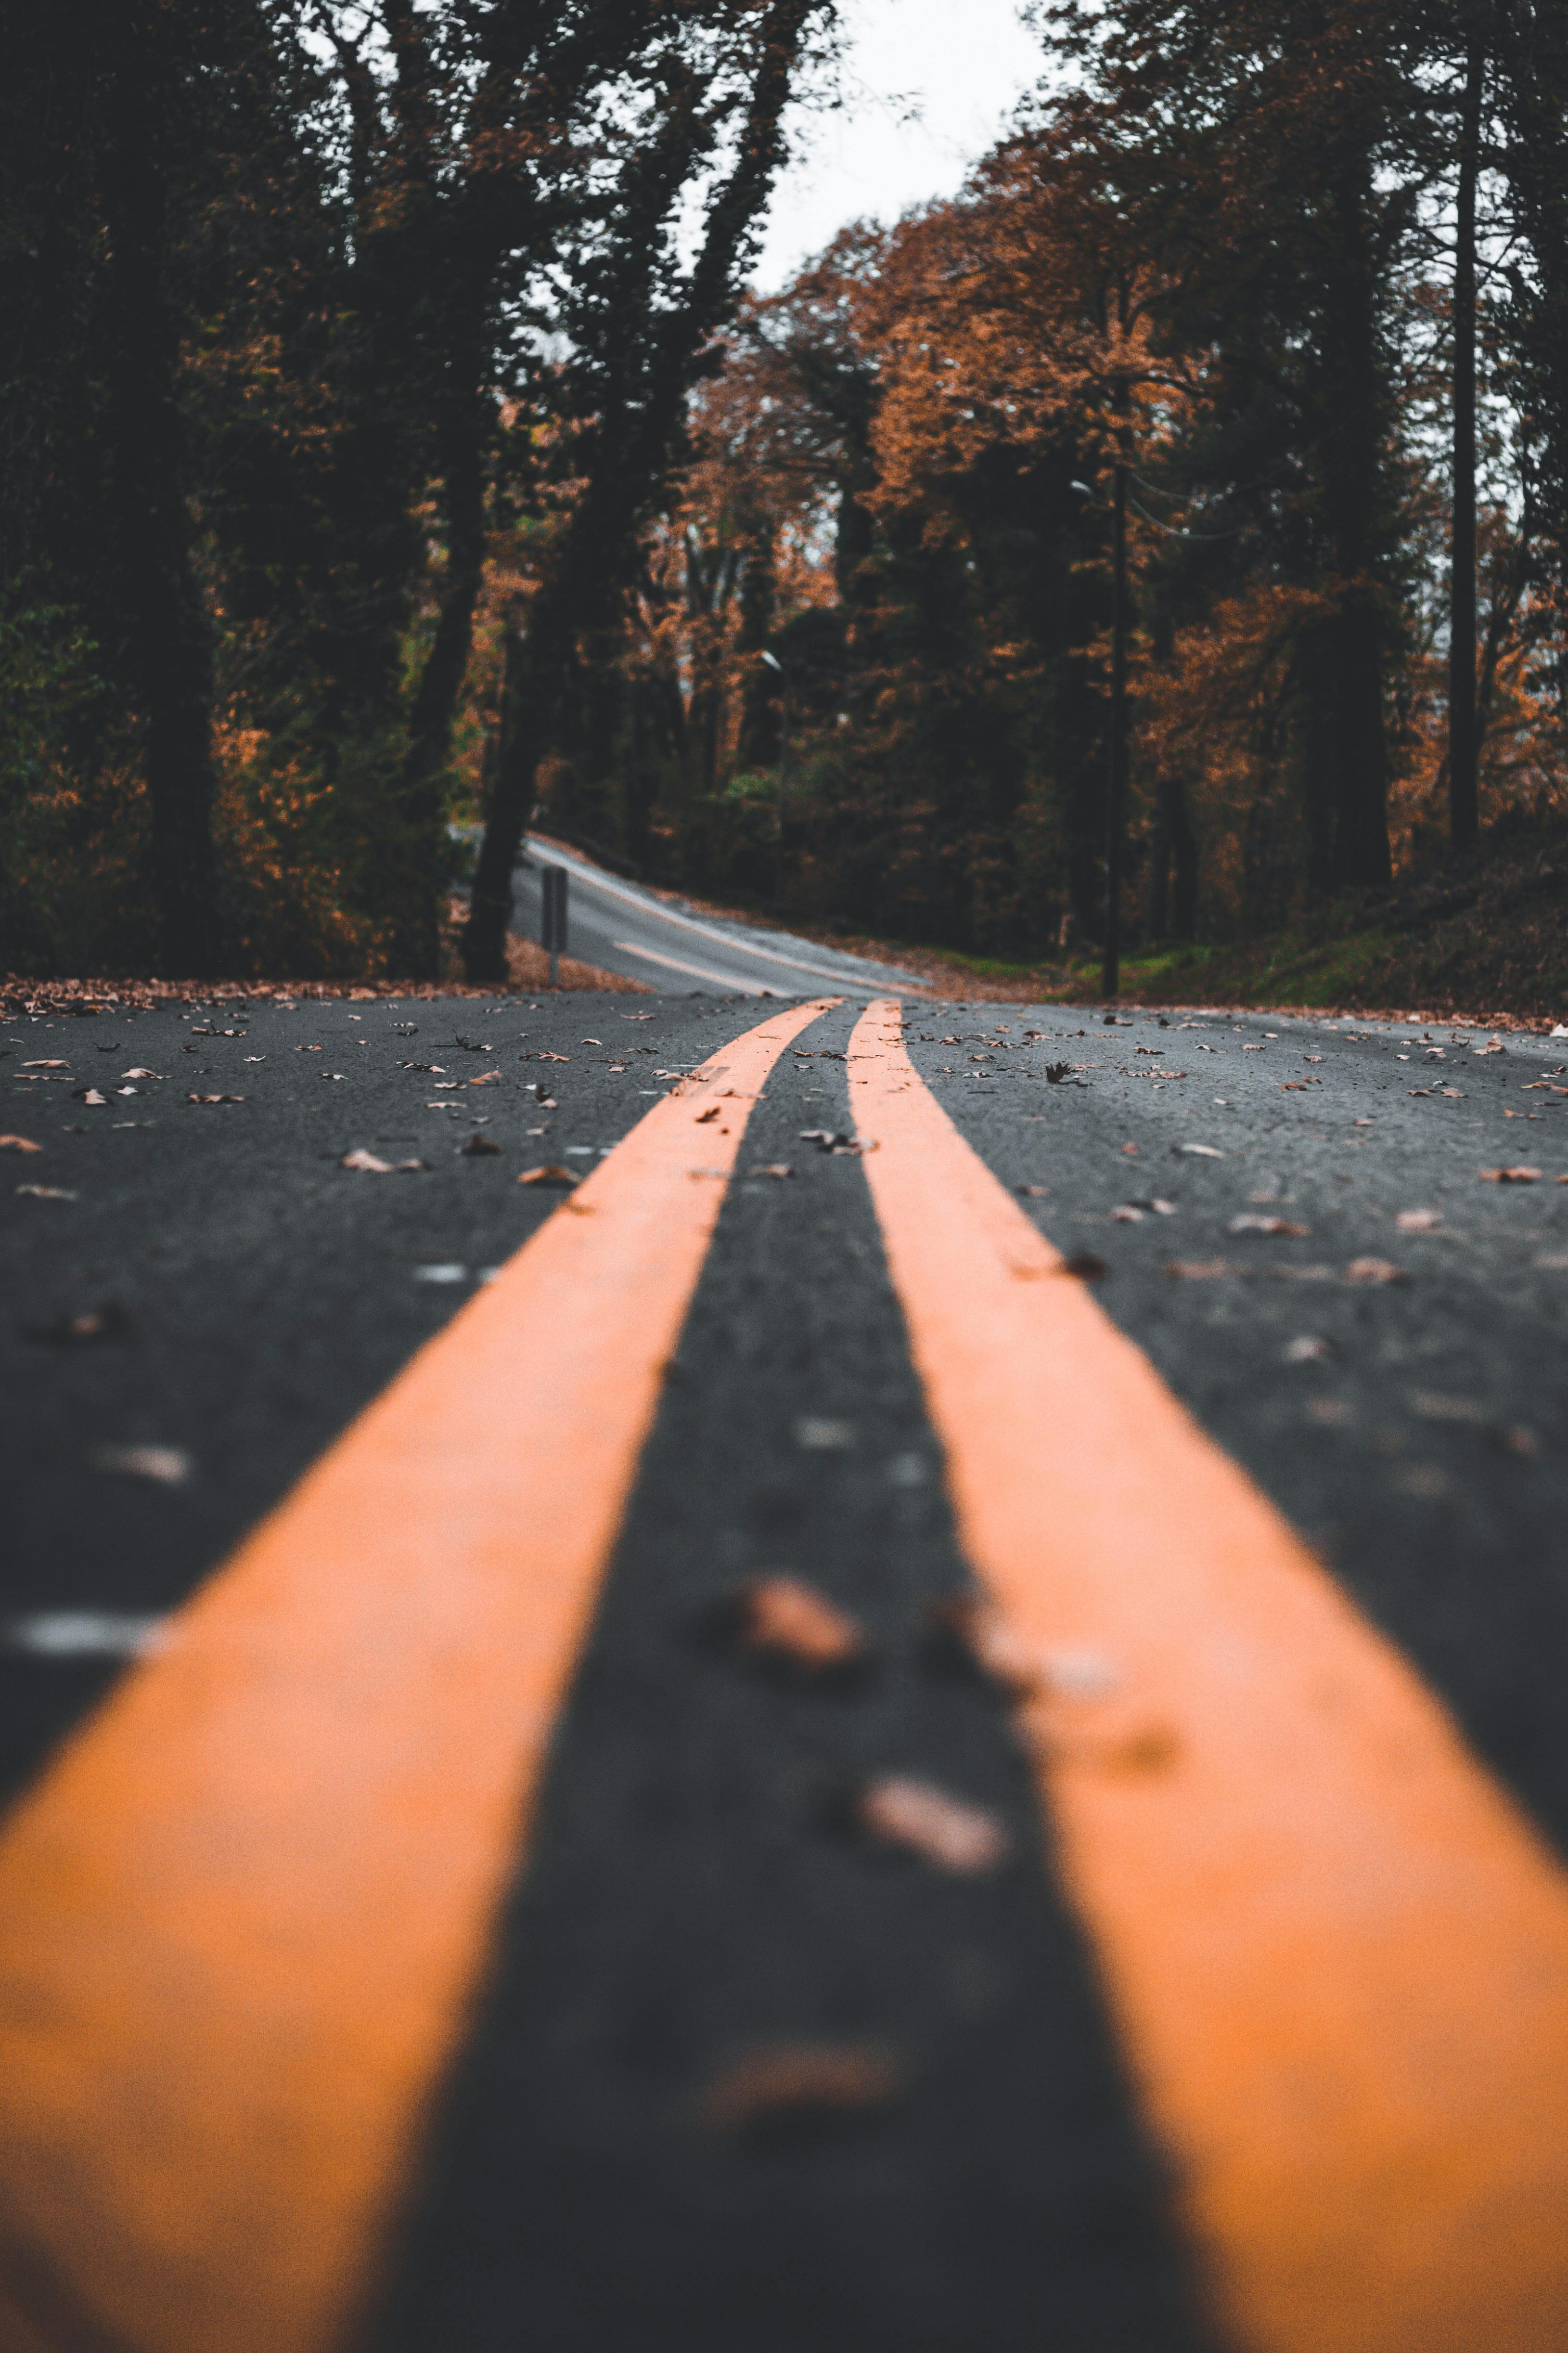
Set your feet before the shot. One foot should sit on firmer ground, while the other helps you balance against the slope.
Then lock your core and bring the camera up in one smooth move. Most blur starts in the hands and shoulders before the shutter even fires, so a clean lift makes a real difference.
2. Use your strap as a third point of support
Keep the strap snug, not loose. A loose strap swings into your frame, while a tight one gives you light tension that steadies the camera. I often pull the camera gently against the strap while shooting from a bend in the trail. That small bit of resistance helps when the ground shifts under my boots.

3. Choose a fast enough shutter for the trail
Use at least 1/500s for hikers in motion, and go faster if the light and lens allow it. A 50mm to 85mm lens can show small shakes more clearly, so shutter speed matters even more there.
If the scene is calm, 1/250s may still work for still subjects. Steep trail switchbacks add tiny body shifts, so I treat 1/500s as a safer base for handheld frames.
What is a low-angle shot called?
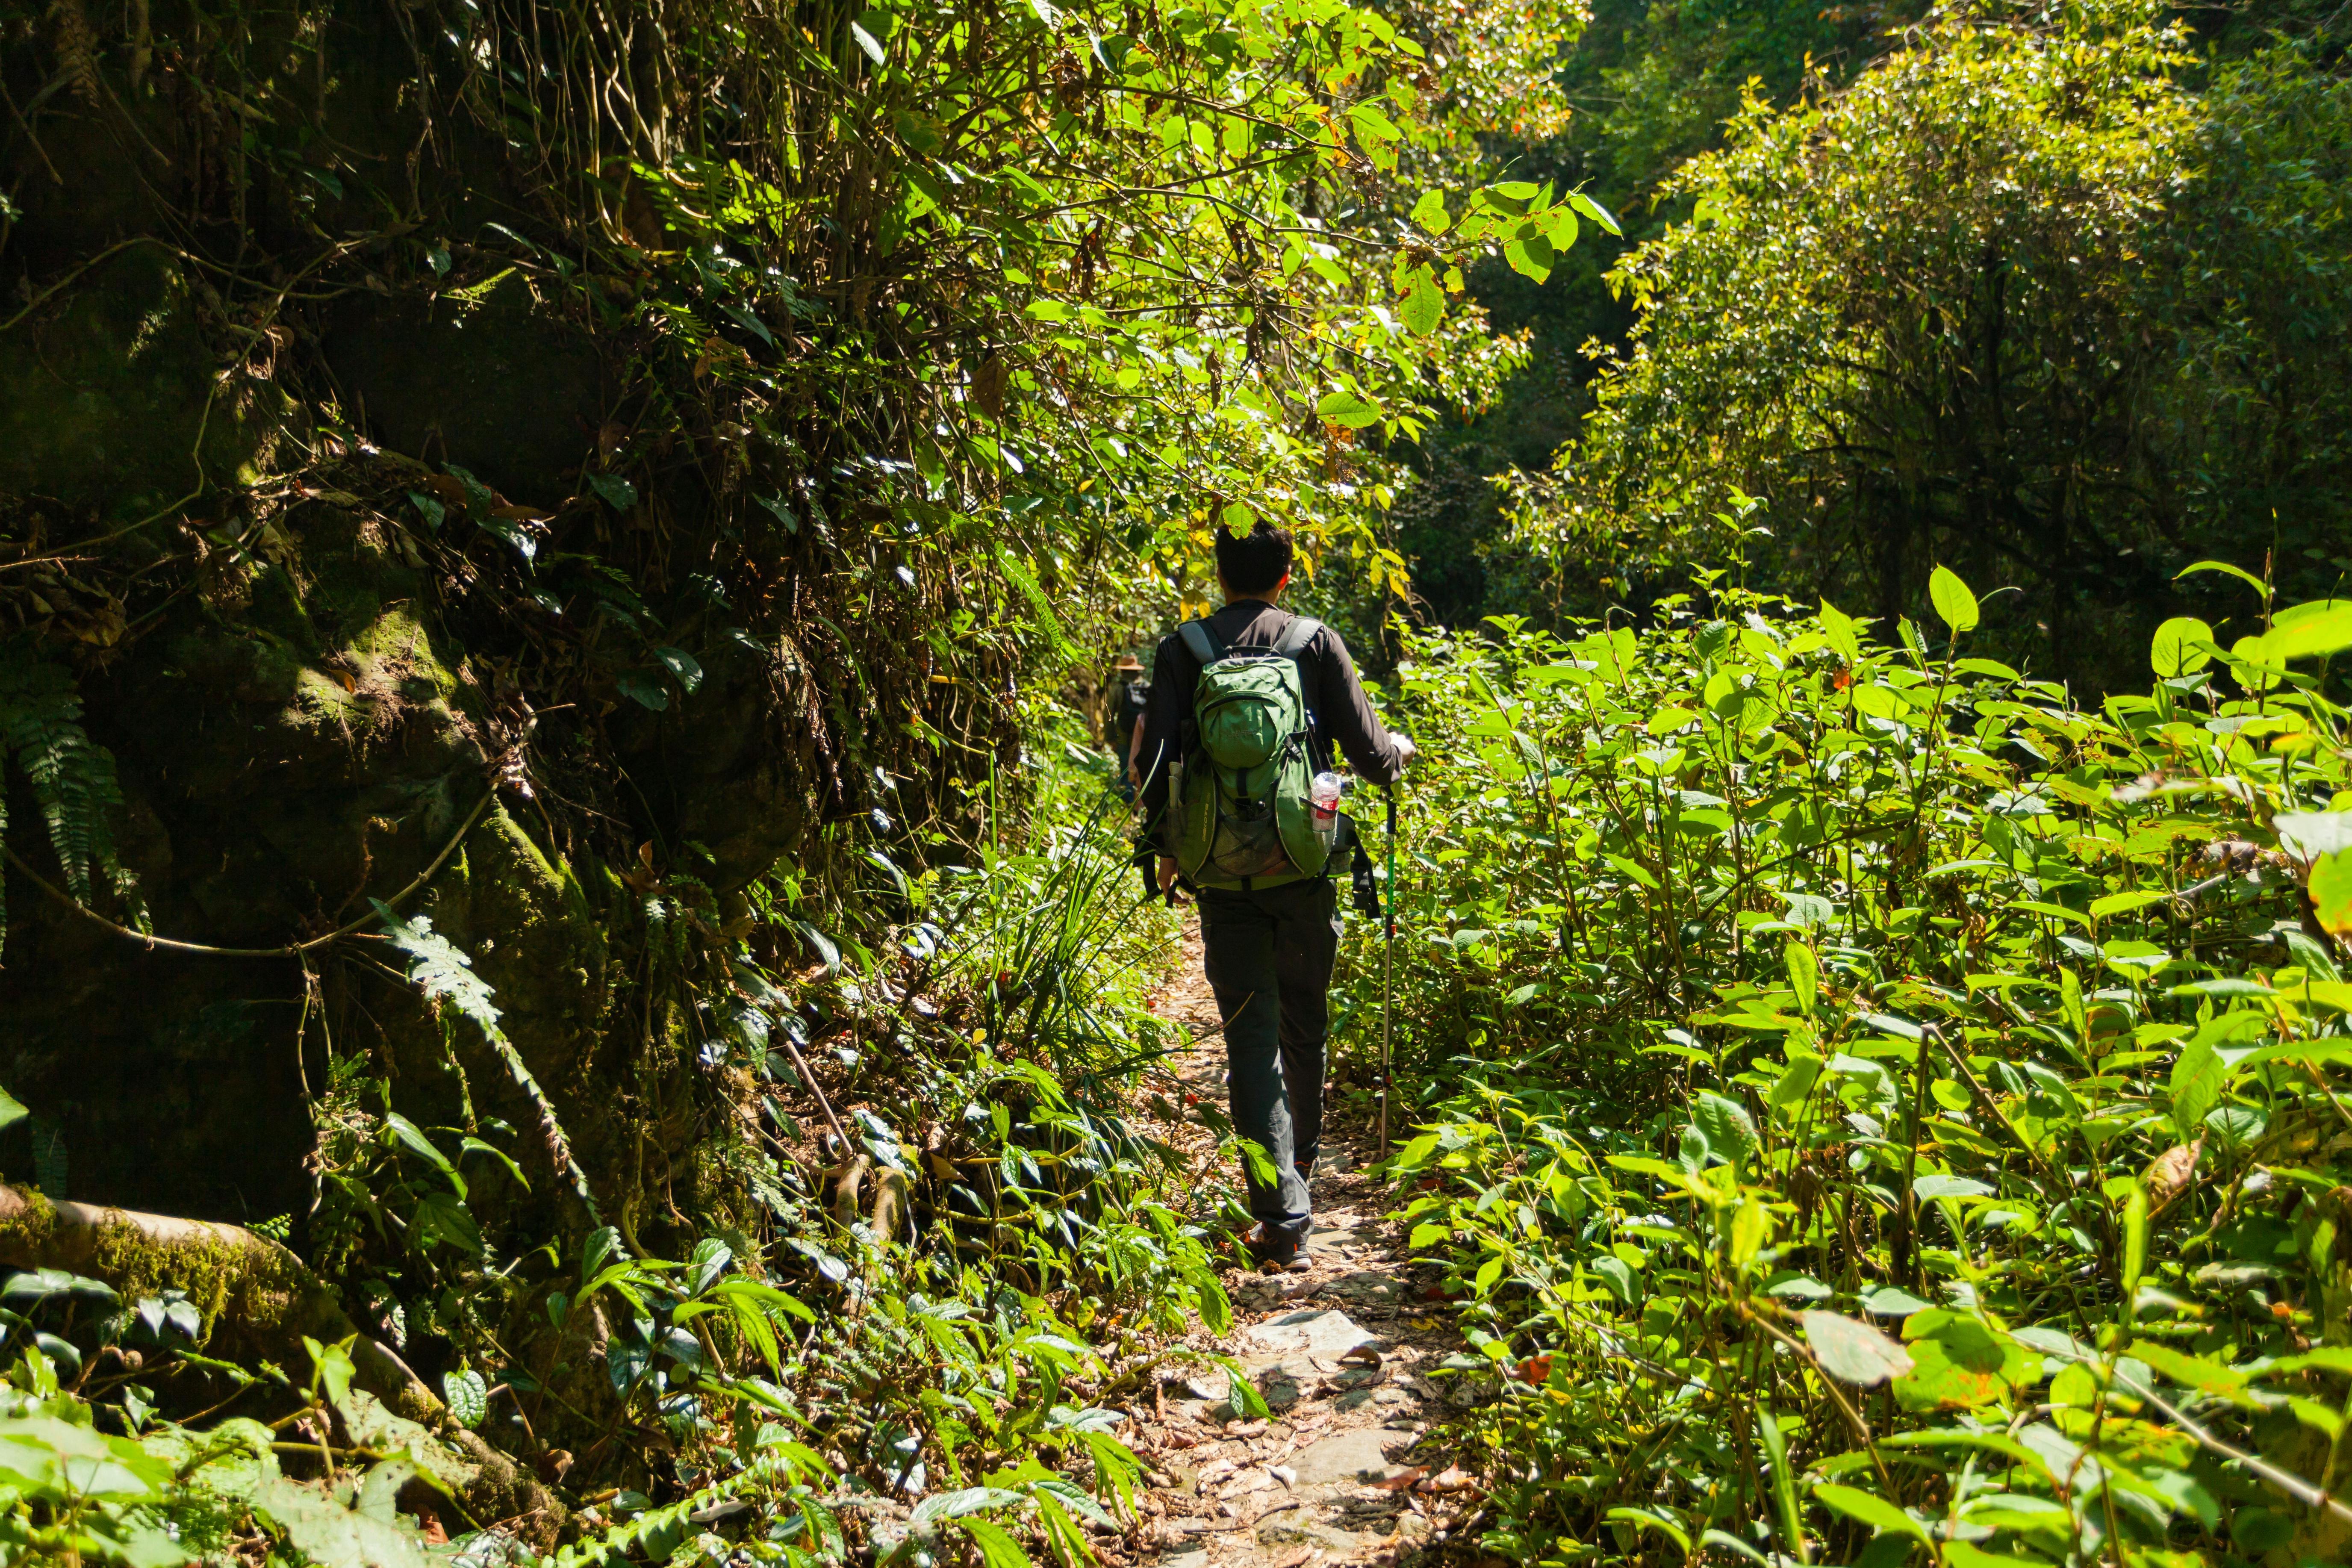
A low-angle shot is also called a worm’s-eye view. The name fits because the camera sits low to the ground and looks up through the scene. In trail work, that view can turn a simple switchback into a strong shape study. A pine trunk, a boot print, or a sharp turn in the trail can all lead the eye upward from that low point.
4. Build a simple stance for each switchback turn
Pause on the outside edge of the turn if the ground is stable. That spot often gives you room to lean, frame, and then step on.
Keep your camera close to your body while you shoot. The farther it sits from your chest, the easier it is for the lens to drift off target.
5. Use autofocus modes that match movement
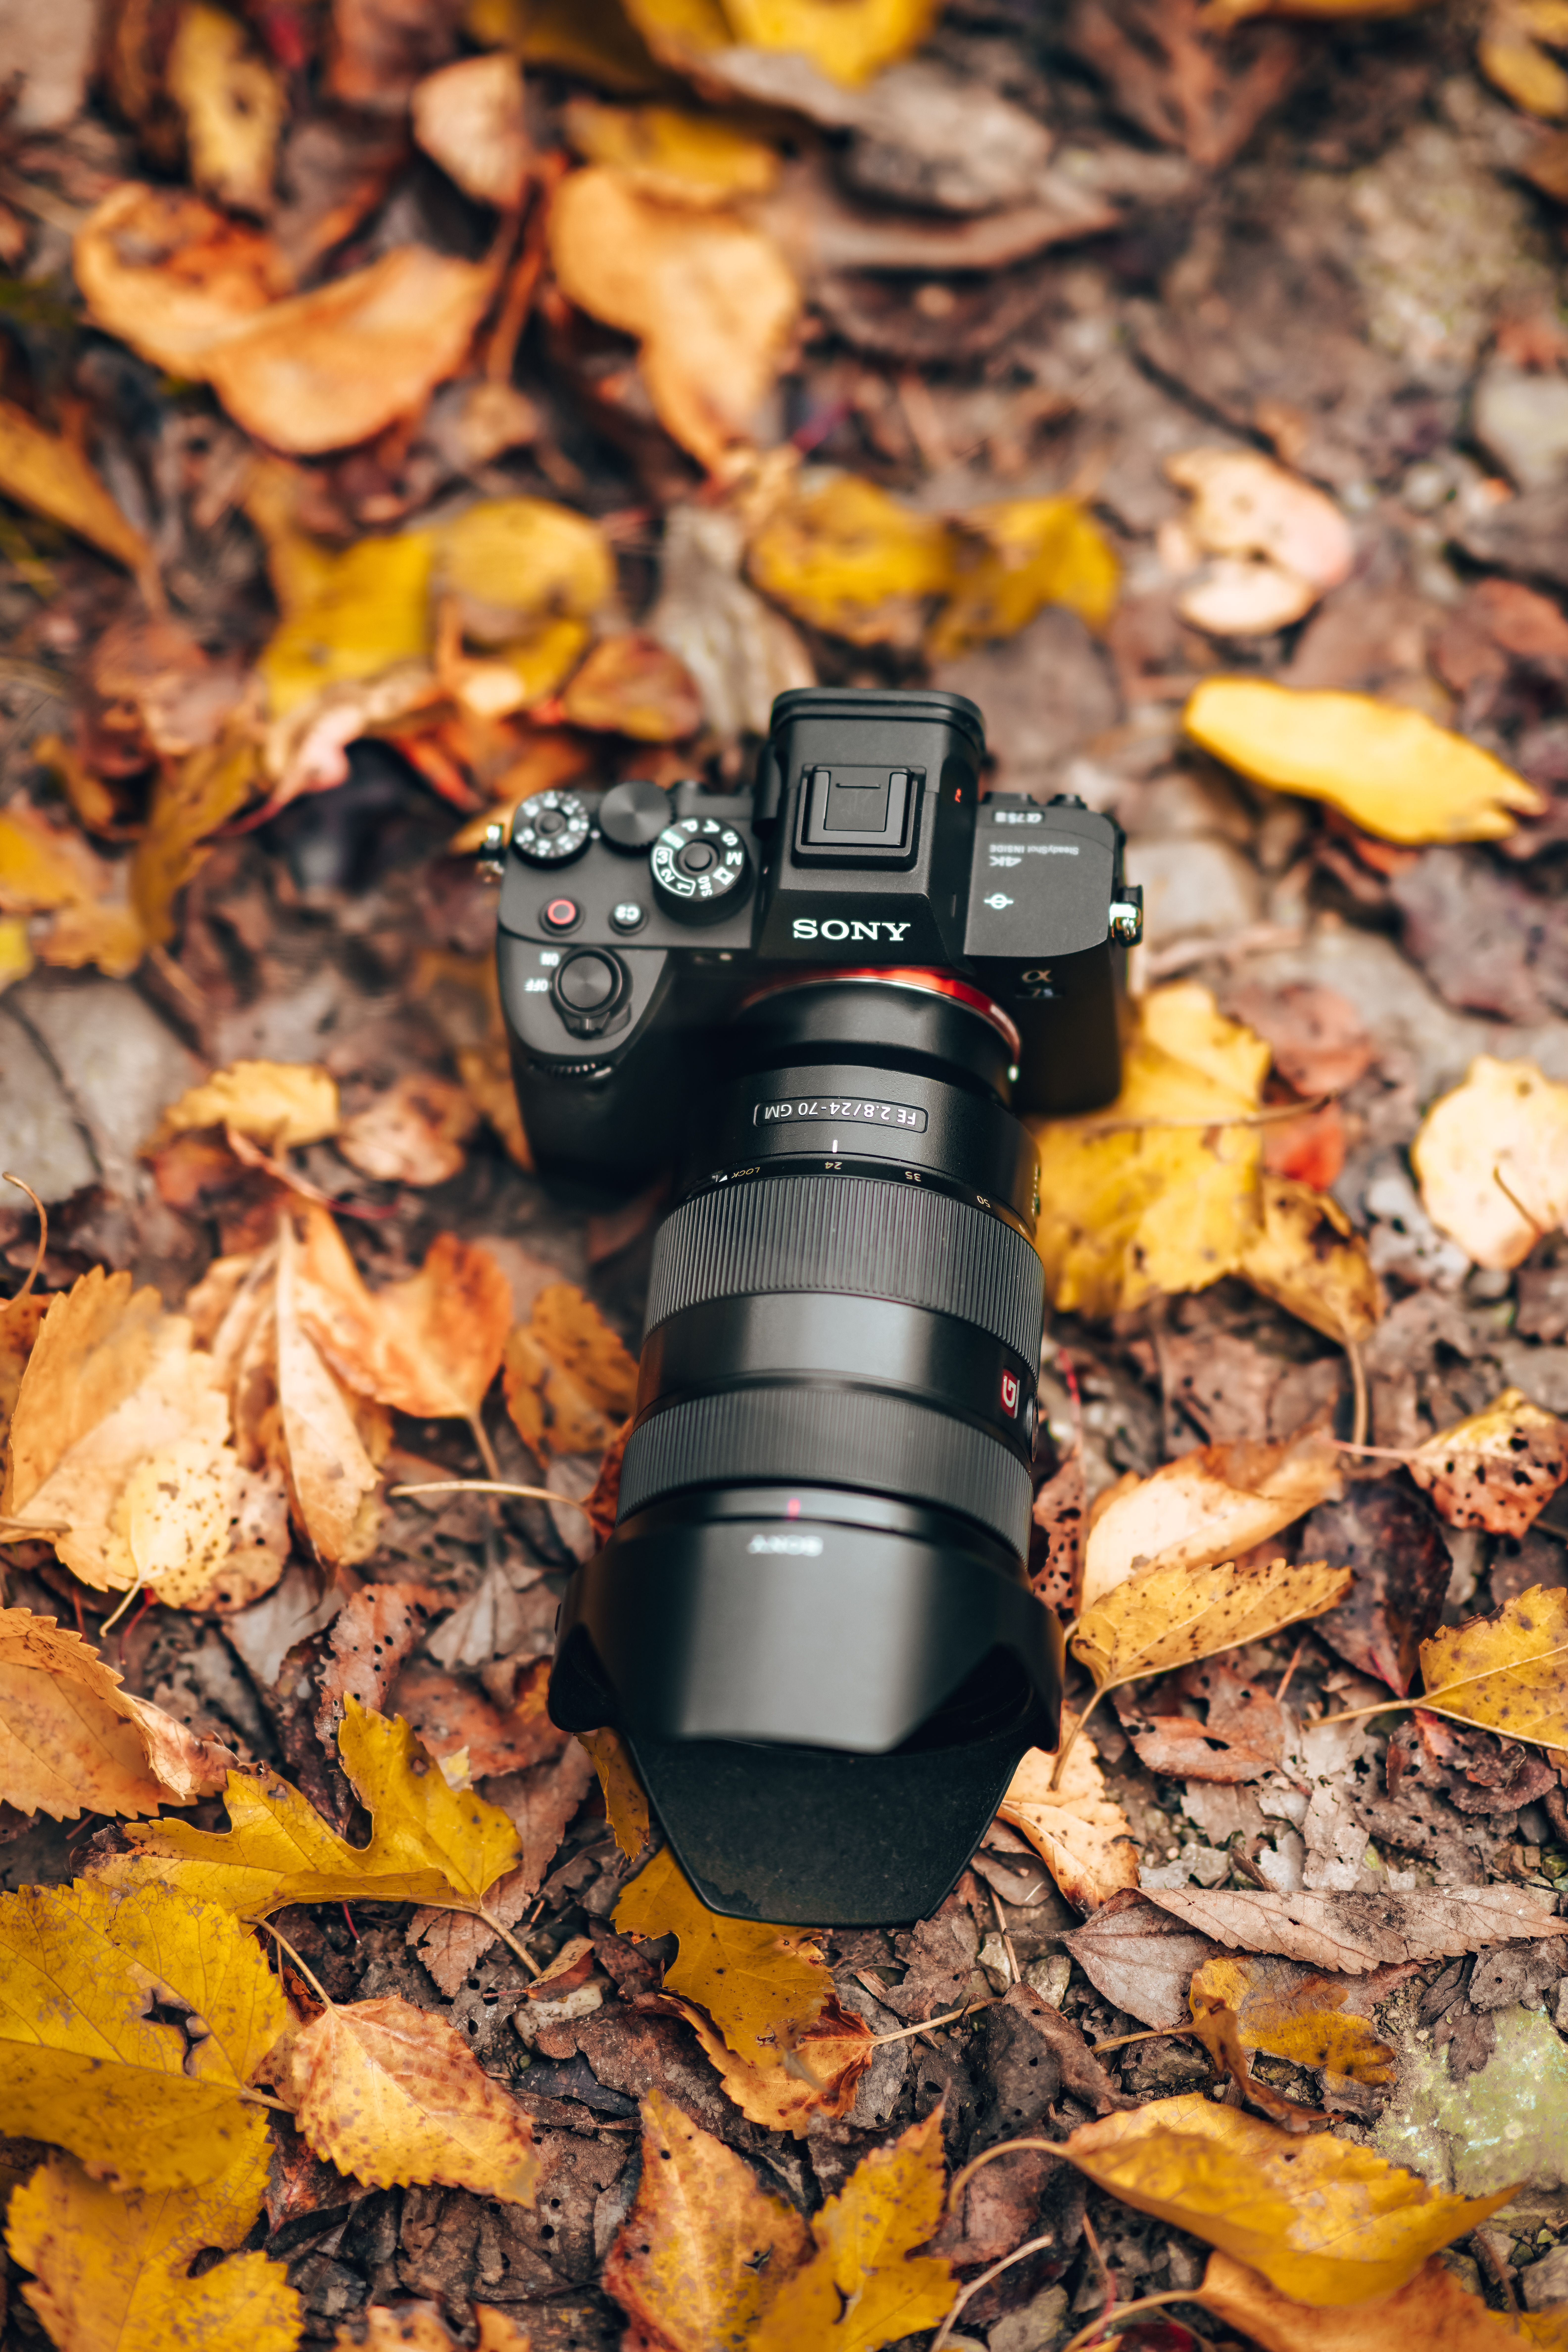
Continuous AF with eye or subject detection works well when people move through the frame. On mirrorless bodies, back-button focus helps because it keeps focus control under your thumb. If your camera offers pre-capture or pre-burst, turn it on for fast trail moments. A mid-tier body often holds about 20 to 40 RAW frames before it slows, and that buffer is enough for short bursts, not long sprays.
- Use AF-C or AI Servo for moving hikers.
- Try back-button focus if the scene changes fast.
- Use burst mode at about 8 to 10 fps for short action.
- Save electronic burst modes for bright, steady light.
Electronic shutters can reach 20 to 40 fps, but they can show rolling-shutter skew or banding under some LED or fluorescent light. On a shaded trail, the tradeoff is usually worth it only when motion is fast and the scene is clean.
What is the 20 60 20 rule in photography?
The 20 60 20 rule splits attention across the frame, with the top, middle, and bottom each getting a clear role. In trail scenes, it helps you place the horizon, trail line, and subject without crowding the image.
Use the top 20 percent for sky or trees, the middle 60 percent for the main action, and the bottom 20 percent for trail texture or foreground detail. That balance works well on switchbacks because the curve often needs room to breathe.
6. Shape the frame with foreground and line

Place rocks, roots, or trail edges low in the frame to lead the eye upward. This helps the low angle feel intentional instead of случайная, and it adds depth without extra gear. An aperture around f/2 to f/2.8 can blur a busy background, but a narrow trail path may need f/5.6 or f/8 if you want more of the scene sharp. If the light is dim, expect ISO to rise, and watch your noise before you chase a dark, muddy frame.
7. Shoot the pack so your hands stay free
Keep the camera easy to reach, not buried in a bag. When the camera stays ready, you spend less time digging and more time holding steady at the turn.
That matters on steep switchbacks because the best view often lasts only a few seconds. A quick draw also means you can stop, frame, shoot, and move before your legs start to wobble.

- Keep one lens on the camera when possible.
- Review images only when you reach a flat step or rest spot.
- Lower screen time and EVF use if battery life matters.
- Carry one spare battery for long climbs.
Mirrorless power drains mostly come from the always-on EVF, the LCD, and image review, not from any shutter motor. If you check every frame on the trail, you burn power fast, so I save review for safe stops.
Why steady handling matters on steep trail switchbacks
Steady handling does more than reduce blur. It also keeps you ready for quick frames when a hiker steps into clean light or a trail bend opens toward a summit view. Carrying style, body control, and camera setup work together here. A camera that stays close is faster to raise, easier to hold, and less likely to swing when the slope steepens.
For handheld work, I like a short routine: plant the feet, brace the elbows, set AF-C, and fire a short burst. A 3 to 6 frame burst is usually safe and useful, and it does not stress a modern buffer the way long bursts can.
Keep the camera out, keep your stance simple, and watch the trail like part of the composition. The best frame on a switchback is often the one you can take without losing your balance.
Frequently Asked Questions
What is a low-angle shot in photography?

A low-angle shot in photography is a photo taken from below the subject, usually with the lens pointed upward. This angle can make the subject look larger, more dramatic, and more powerful while reducing clutter in the frame.
How to shoot low-angle photography?
To shoot low-angle photography, stabilize your body first by setting your feet, keeping your elbows close, and bracing your core before lifting the camera. A snug strap, a firm stance on the slope, and a shutter speed of at least 1/500s for moving subjects help reduce blur on steep trails.
What is a low-angle shot called?

A low-angle shot is called a worm’s-eye view. The name describes a camera position very close to the ground looking up through the scene.
What is the 20 60 20 rule in photography?
The 20 60 20 rule in photography is not defined in the provided article. The article does not explain that rule or relate it to low-angle trail photography.


