


- Balance shutter speed, aperture, and ISO to control exposure fast.
- Start with aperture-priority or auto ISO for changing travel light.
- No—ISO is only one part of exposure, not exposure itself.
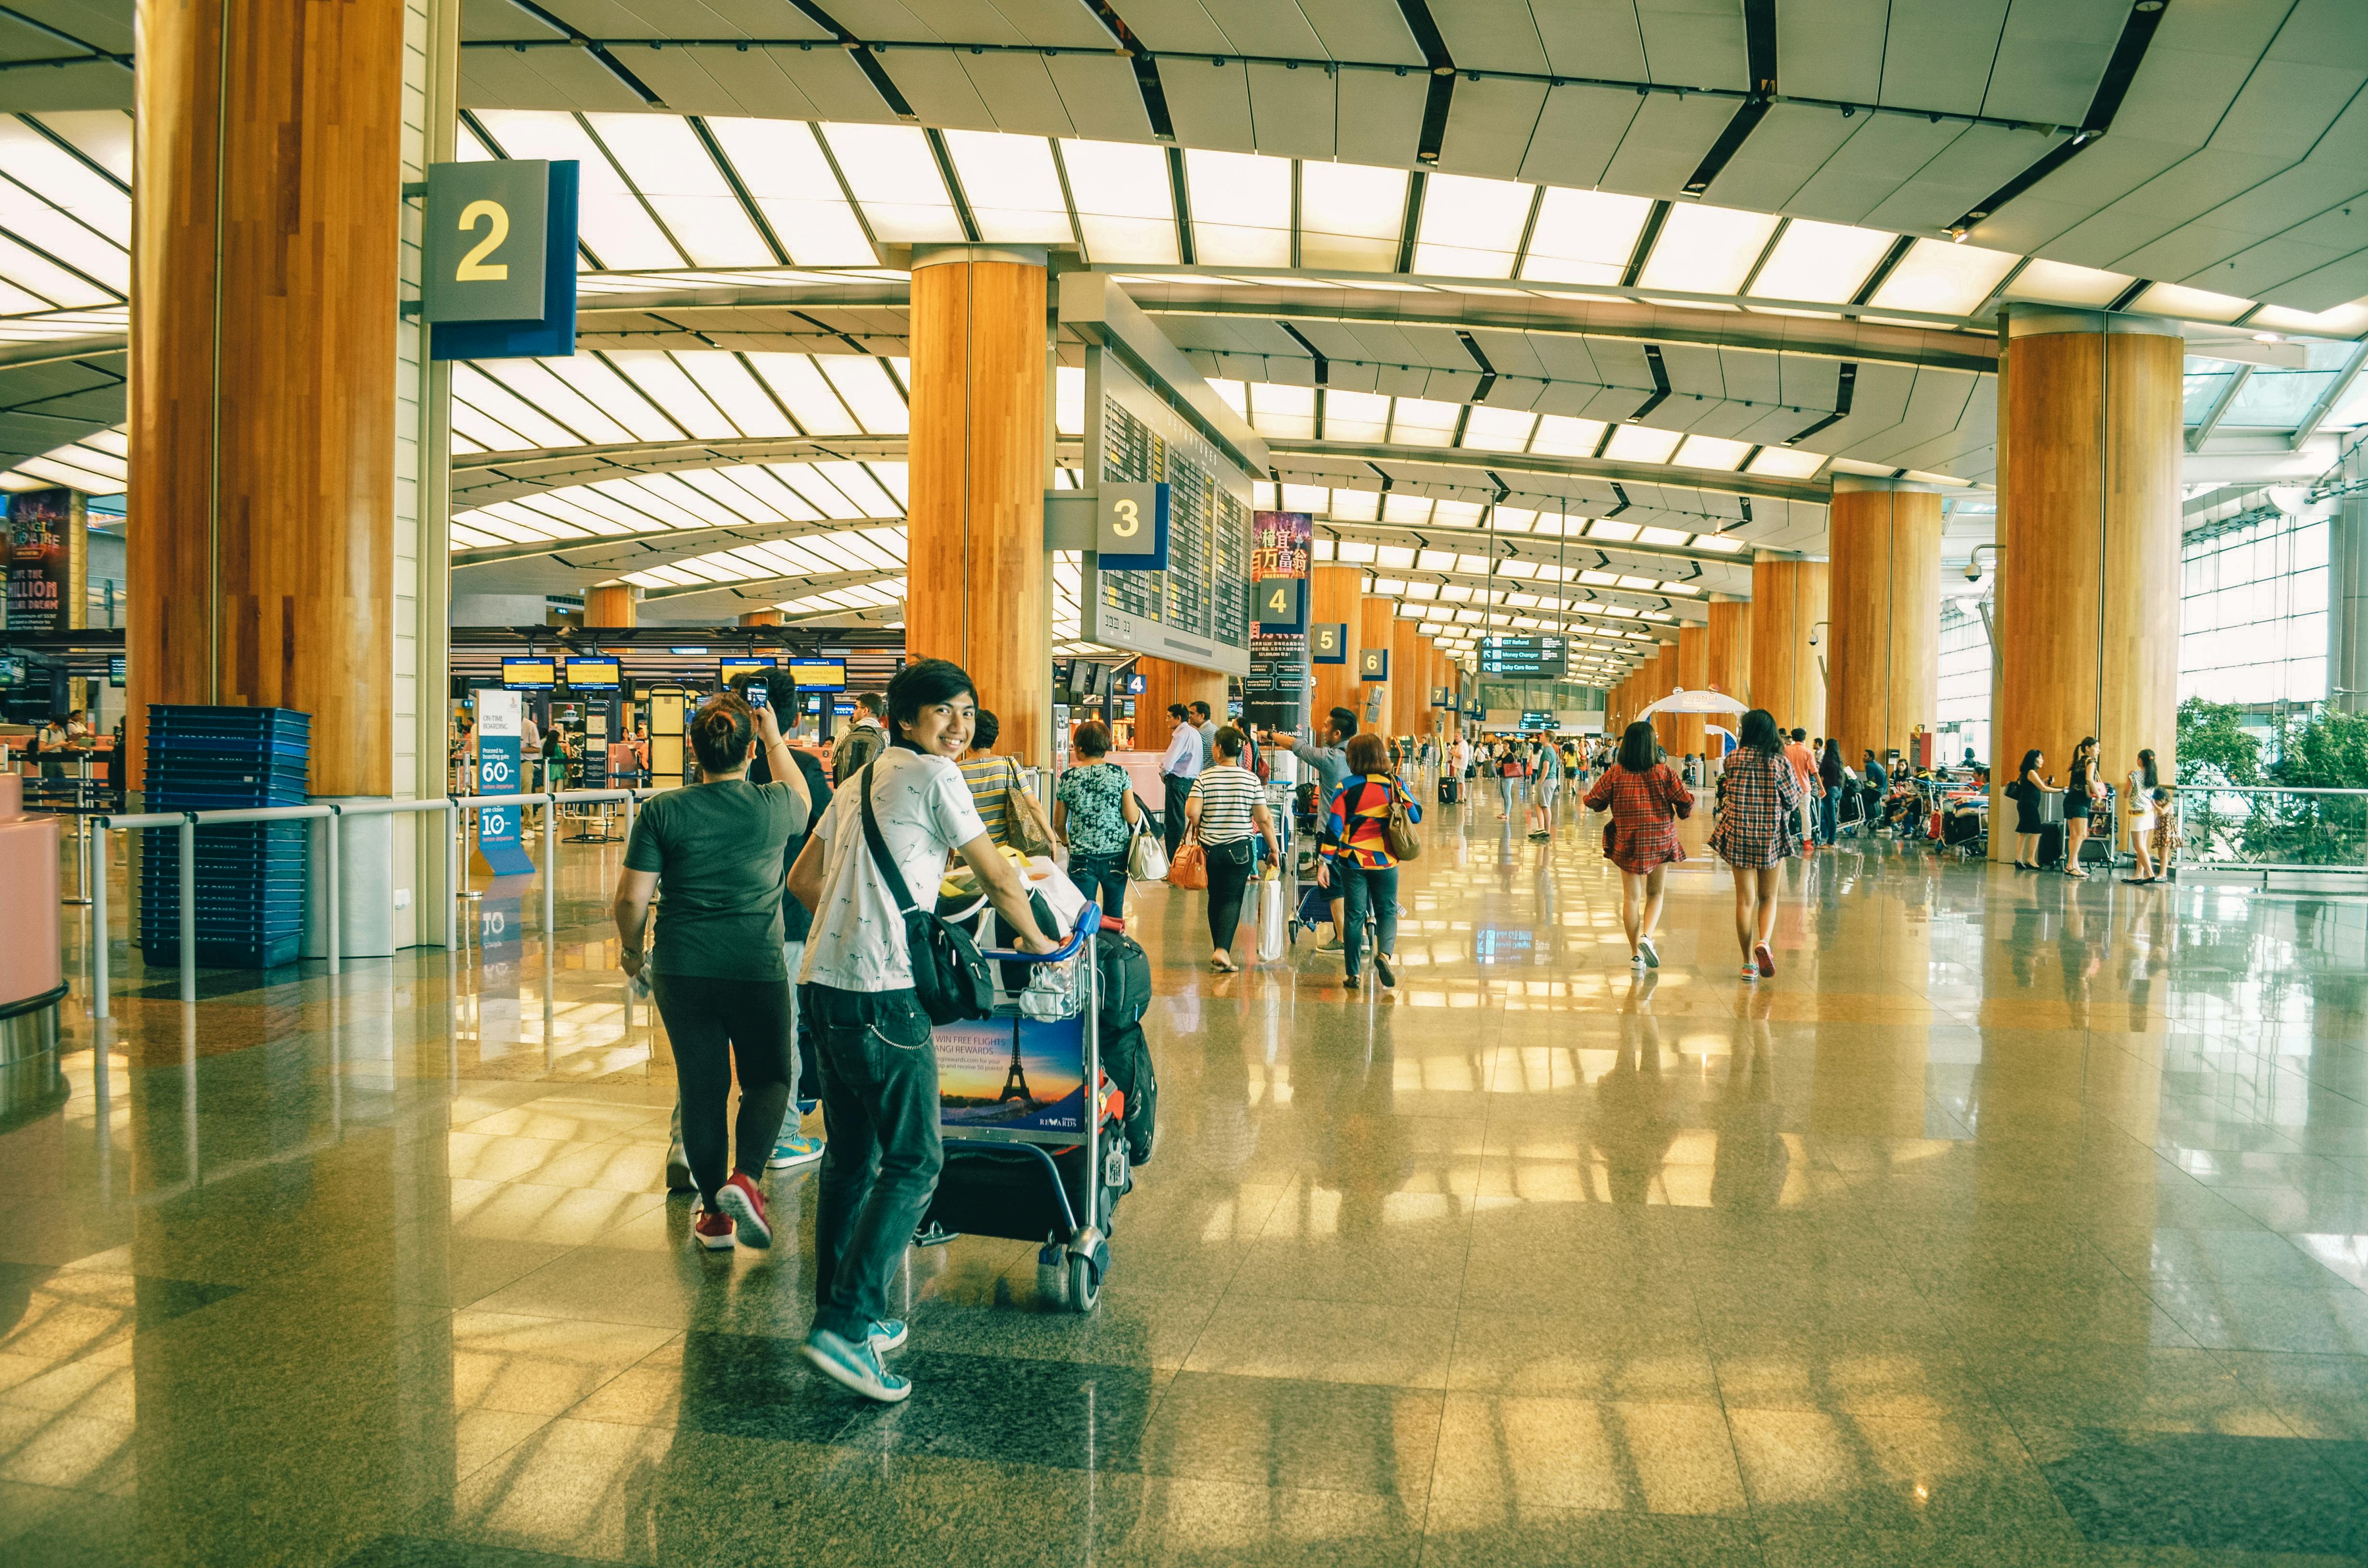
Camera exposure is the mix of shutter speed, aperture, and ISO that controls how bright a photo looks. On travel days with airport stops and train platforms, that balance has to stay nimble because light shifts fast and moments disappear even faster. Travel days also bring motion, crowds, and cramped spaces. A hands-free carry setup keeps the camera protected, easy to reach, and less tiring during long walks between gates and platforms.
Shop the setup

- Regular price
-
€42 - Regular price
-
€44 - Sale price
-
€42
By choosing the Camstrap strap, you are opting for a high-quality product designed to meet the needs of the most demanding photographers.
- Developed by a physiotherapist to relieve neck and back pain.
- Fast delivery with tracking by the Post Office 🚚
- Can be used as a shoulder strap or hands-free harness

- Regular price
-
€36 - Regular price
-
€42 - Sale price
-
€36
Free shipping included
Why Fast Access and Solid Control Matter on Travel Days
Airport stops and train platforms share one problem: your hands are rarely free. Bags, tickets, signs, and crowd flow all compete for attention, and a camera held loosely in hand soon turns into something in the way.
Readiness solves that. Keep the camera close to your chest or side, lift it in one motion, frame the shot, then lower it again without fumbling.
How travel shooting differs from a normal photo walk
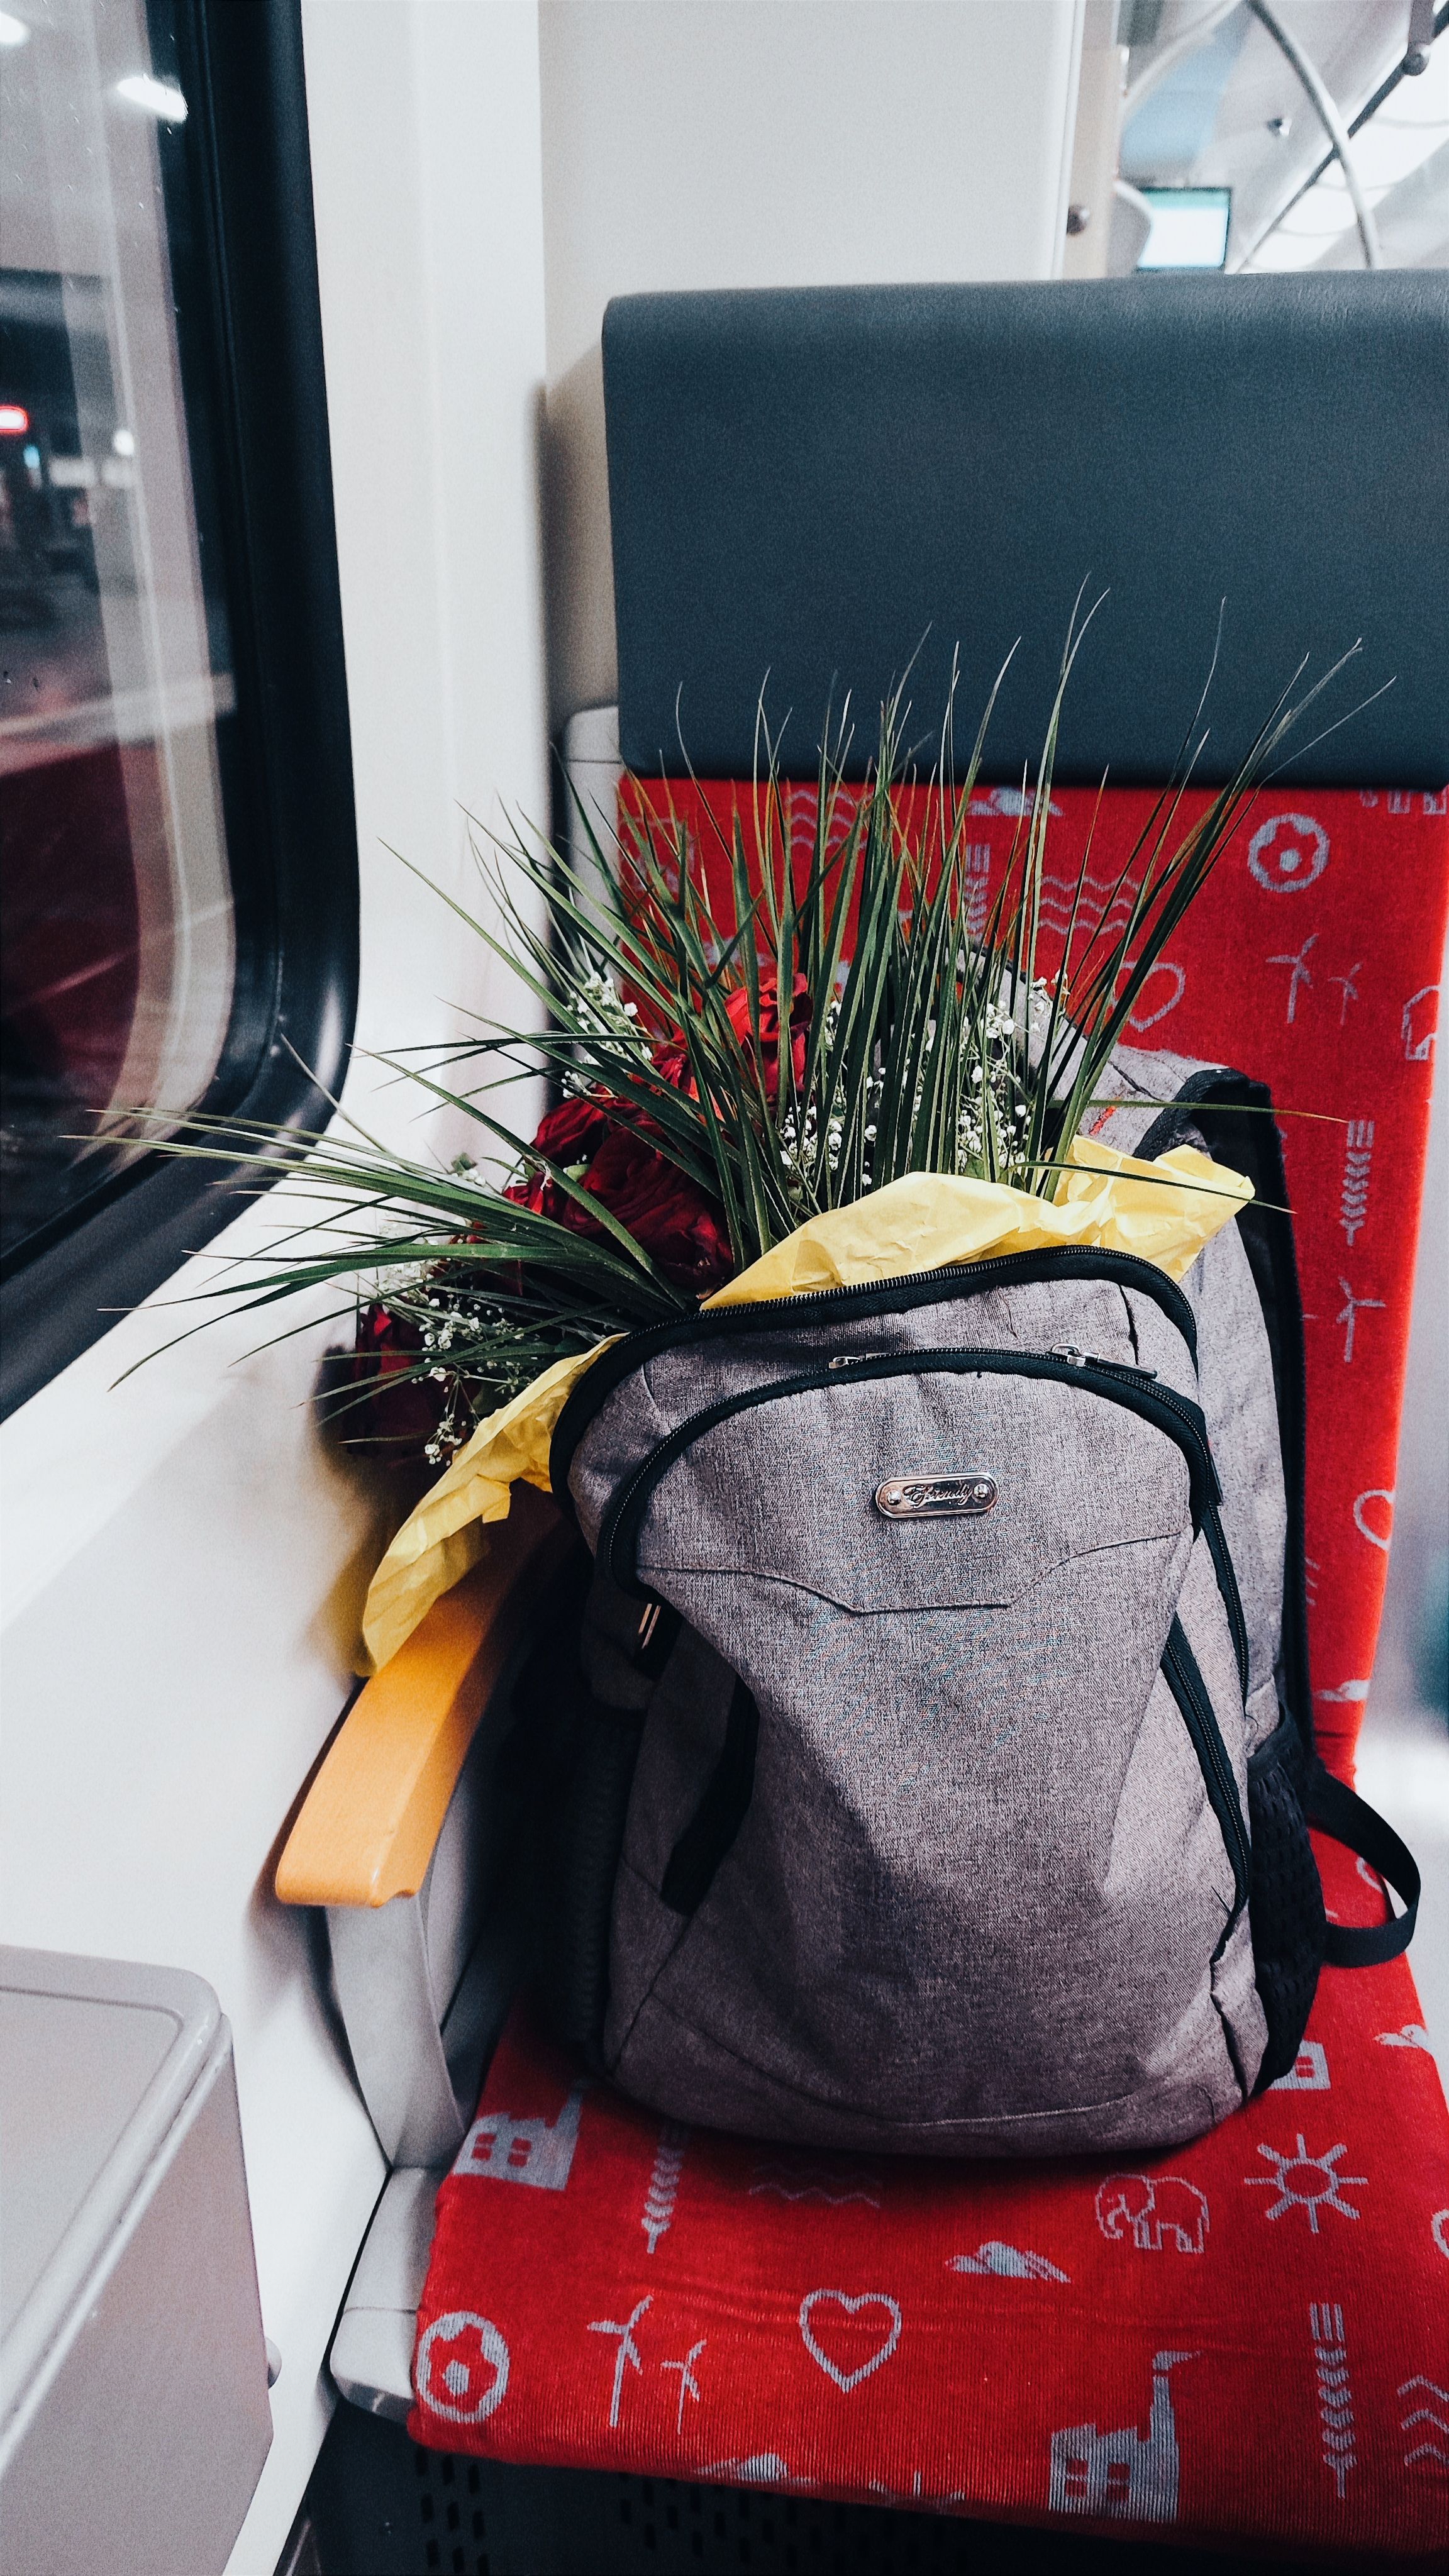
Travel scenes vanish in seconds. A red train, a shaft of light through glass, or an interesting face in the crowd may be gone before you can open a bag. Airport and rail rules shape the kit too. Short waits, bag checks, and quick moves through gates are common, so the camera has to stay secure and easy to reach.
Why a hands-free carry setup helps
A hands-free setup moves the weight off your wrist and onto your body. It eases strain and keeps the camera in one known place, which saves time when a shot appears.
Camstrap works well here because a well-built strap spreads the load and holds the camera steady against your body. That steadier carry helps you move through a platform or terminal without the camera swinging out of place.

Gear That Keeps the Camera Close and Protected
The right carry gear should do two things at once. It should protect the camera and let you shoot without delay. For travel, I prefer a low-profile setup. Bulky gear gets awkward near seats, turnstiles, and narrow platform edges.
What to look for in the carry system
- A secure quick-release point for fast lift and drop.
- A strap or sling that keeps the camera flat against the body.
- Adjustable length for chest carry or hip carry.
- Wide contact points that spread weight and reduce neck strain.
- Metal or reinforced clips that stay firm under movement.
A small mirrorless body with a 24-70mm or 35mm lens often works best on travel days. That range handles signs, people, and station details without constant lens swaps.
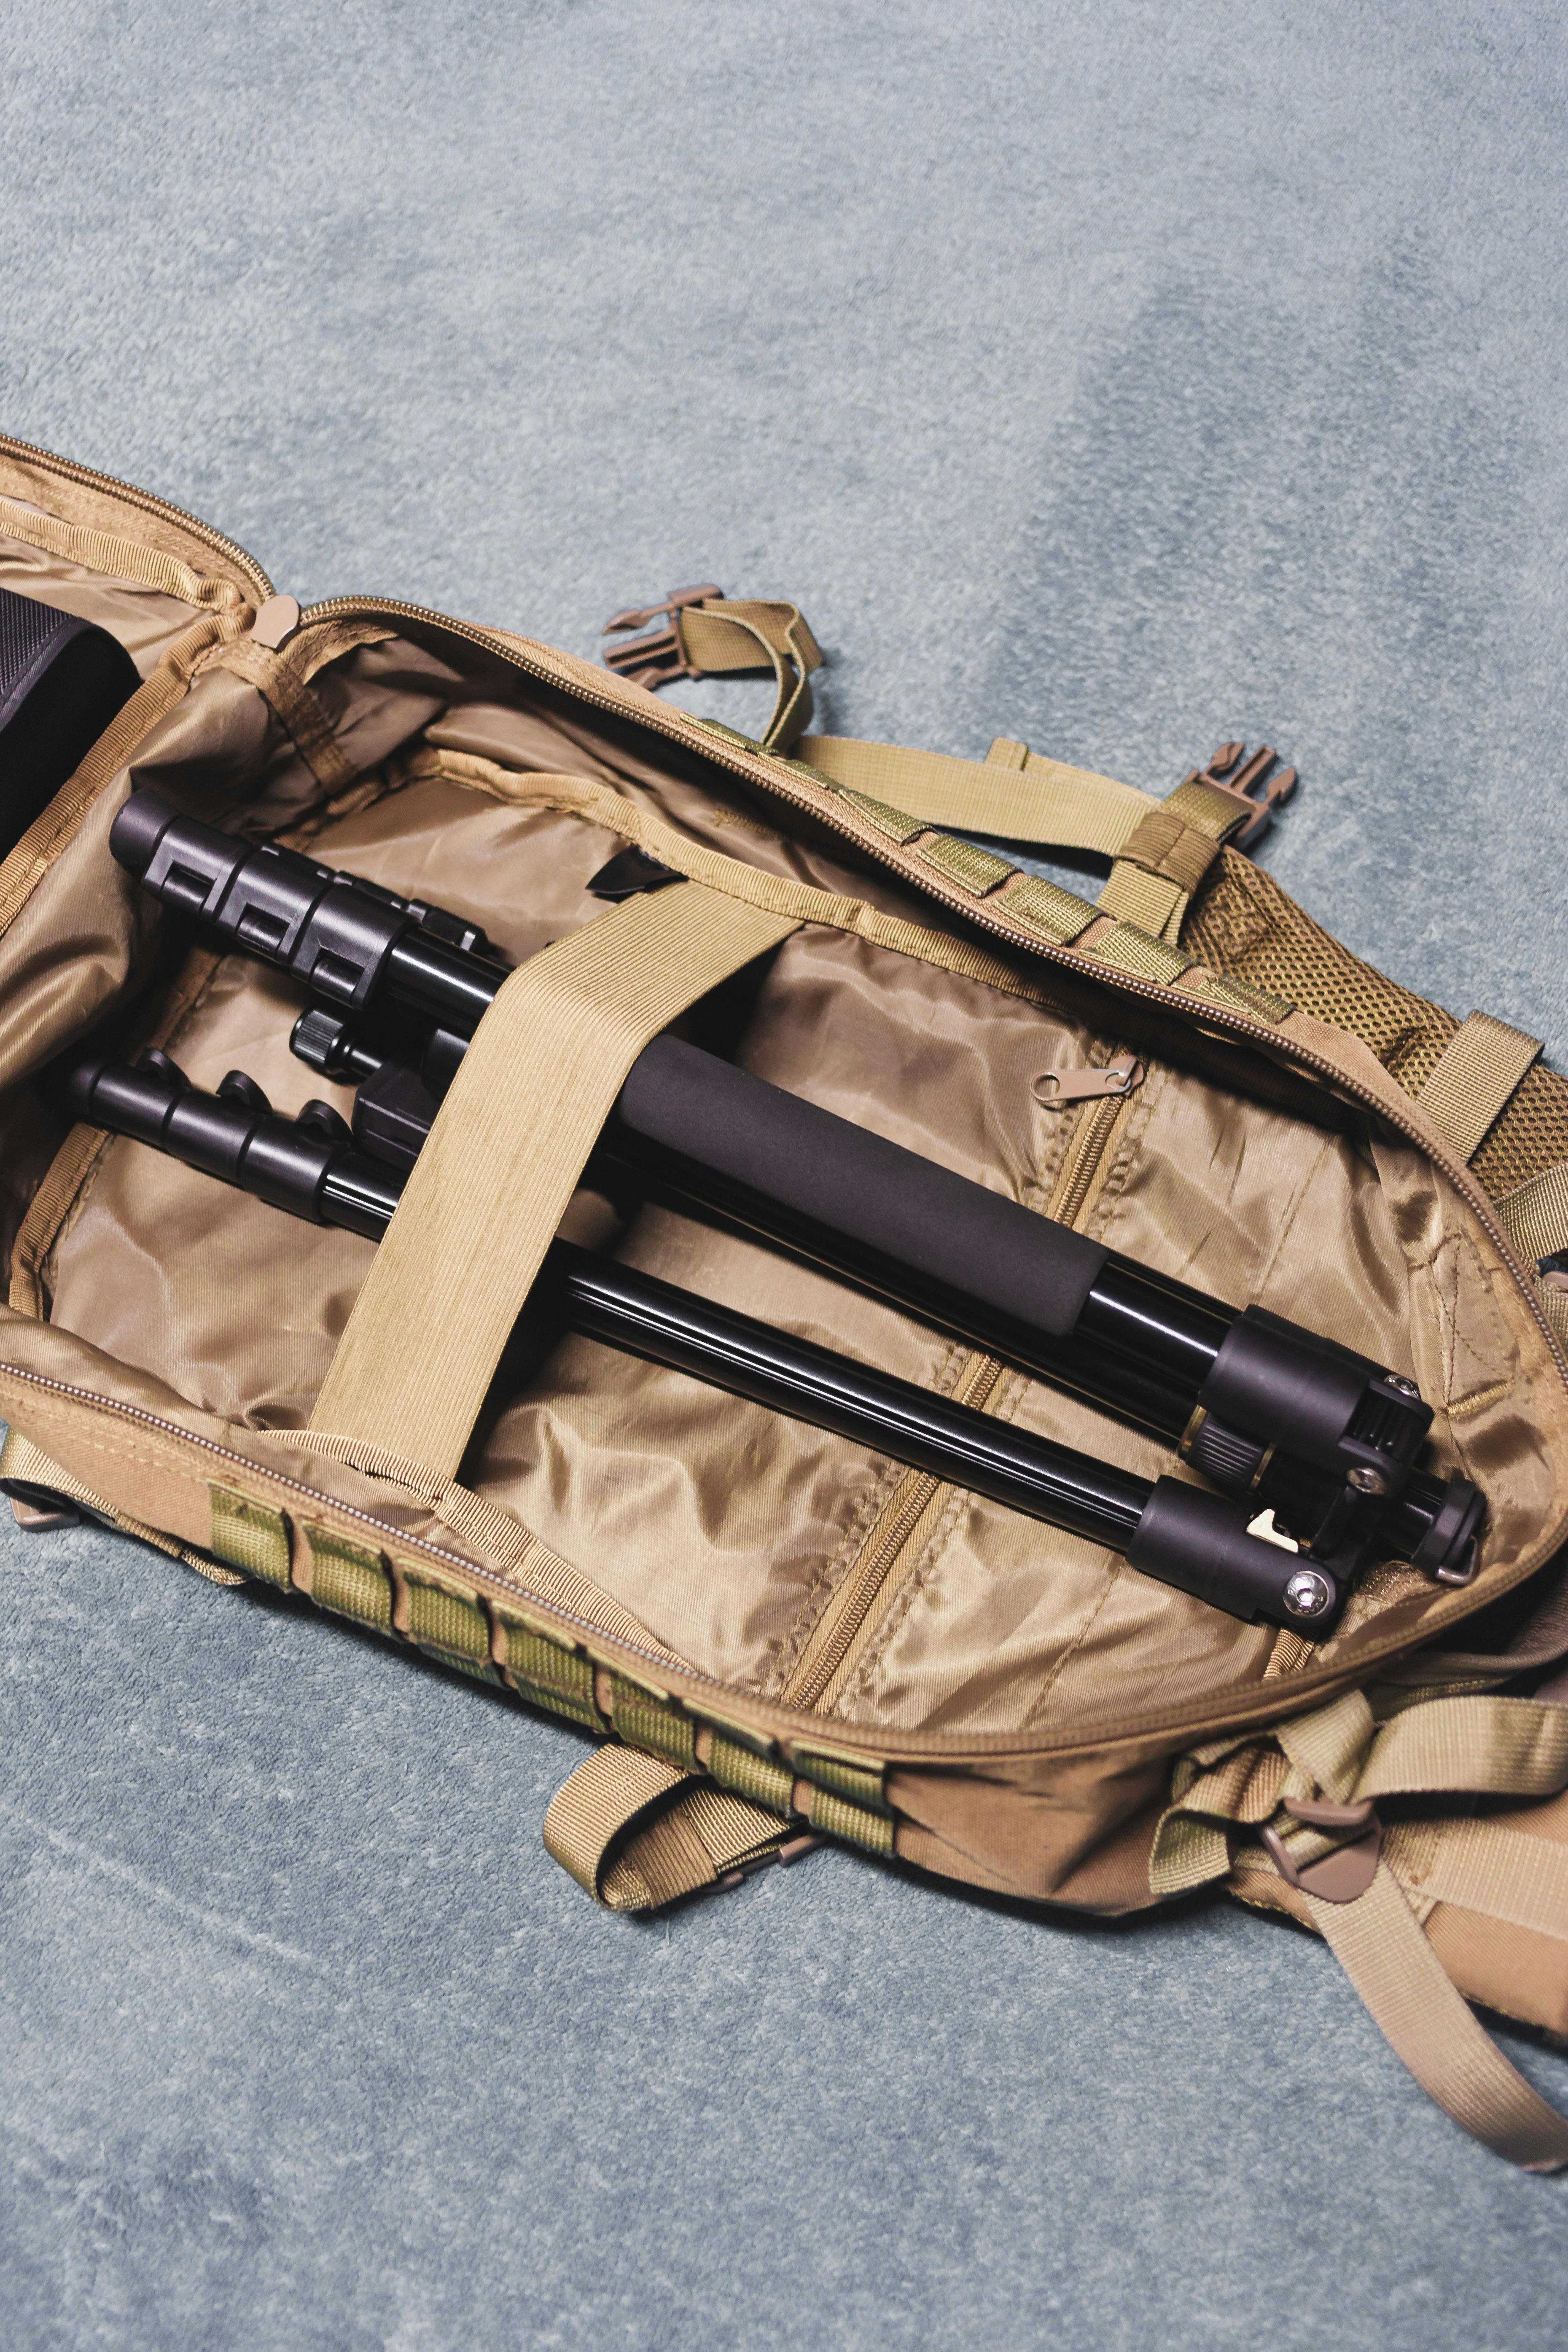
One lens means less dust, less stress, and fewer missed moments. In busy terminals, every extra bag opening becomes a delay.
Settings That Help You Shoot Fast in Mixed Light
Travel light can jump from bright windows to dark corners in a few steps. I like settings that leave the camera ready for those quick shifts. Shutter priority works well when motion is the main concern, while aperture priority helps when the light changes more than the subject speed. Manual mode can still work, but only if the light is likely to stay steady for a while.
Practical starter settings for moving travel scenes
For people walking through a station, start near 1/500s. That speed gives you a fair chance of freezing a stride, a bag swing, or a quick turn.
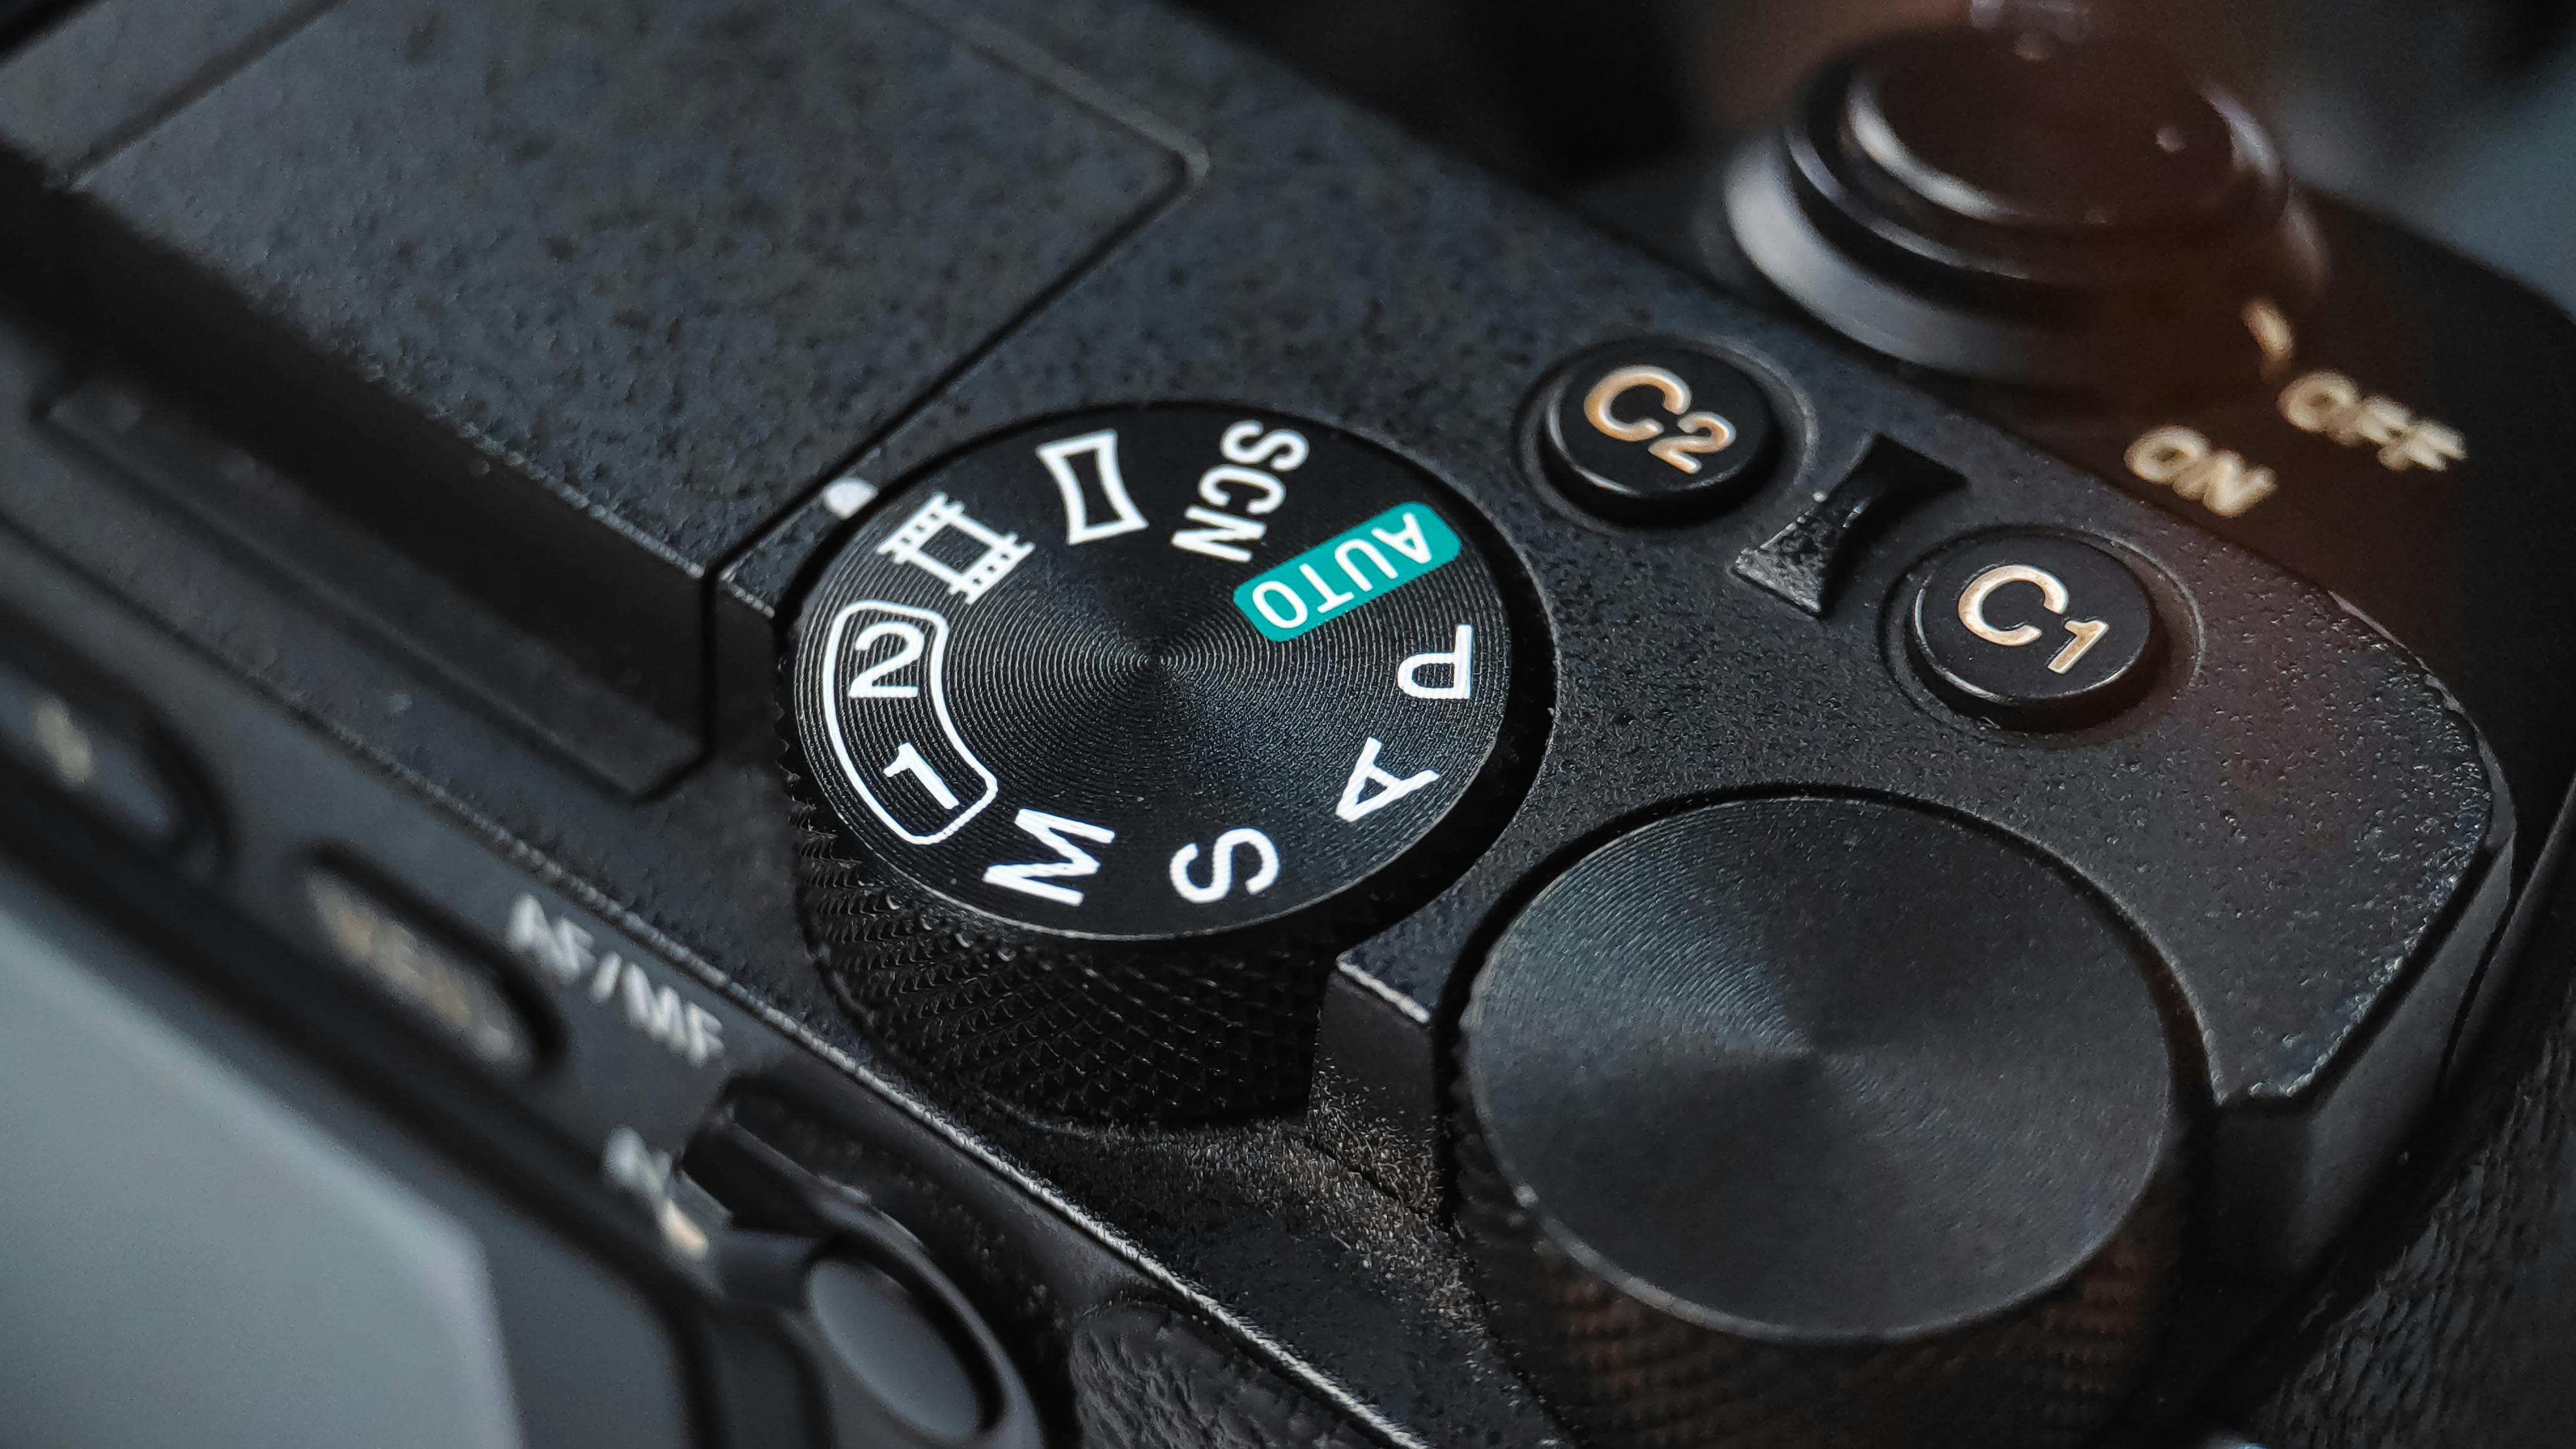
Use f/2 to f/2.8 if your lens allows it and you want more light. For a platform scene that needs more depth, f/4 can still look clean, though you may need more ISO.
Let ISO rise as needed. On many mirrorless bodies, ISO 800 to 3200 is a useful range for indoor stops, while brighter platforms may stay lower.
Focus modes that keep pace with movement
Continuous AF, also called AF-C or AI Servo, is the best starting point for travel action. Add eye or subject detection when people are moving toward you. Back-button focus helps too. It separates focus from the shutter, so you can lock focus, reframe, and fire without the camera hunting again.
A mid-tier mirrorless body often holds about 20 to 40 RAW frames before it slows, while JPEG can stretch farther. That buffer handles short bursts, but card speed still matters when the platform crowd keeps moving.

Travel Light Without Giving Up the Shot
Packing well keeps the camera ready before you even reach the platform. The best travel bag is the one that lets you open, grab, and close it without stopping your walk.
One body, one lens, one spare battery, and one memory card are often enough. More gear can help, but it also slows you down when the train is late and the gate is already open.
A simple carry kit that works
- Camera body with a charged battery.
- One flexible lens, like 24-70mm or 35mm.
- Spare battery in a small pouch.
- One fast card, such as UHS-II V60 or V90.
- Lens cloth for dust and rain.

Card choice matters. UHS-II V60 cards can write fast enough for most bursts, while V90 or CFexpress helps when you shoot long RAW bursts or high frame rates. Write speed affects how soon the camera clears its buffer. If the buffer is still busy, you may miss the next face, sign, or train door opening.
Battery habits that save the day
Mirrorless cameras drain power faster when the EVF or LCD stays on all day. Image review also uses battery, so it helps to check less often during tight travel moves.
Carry one spare battery in an easy pocket. A cold station or a long airport wait can drain a battery faster than expected.
What is exposure on a camera?
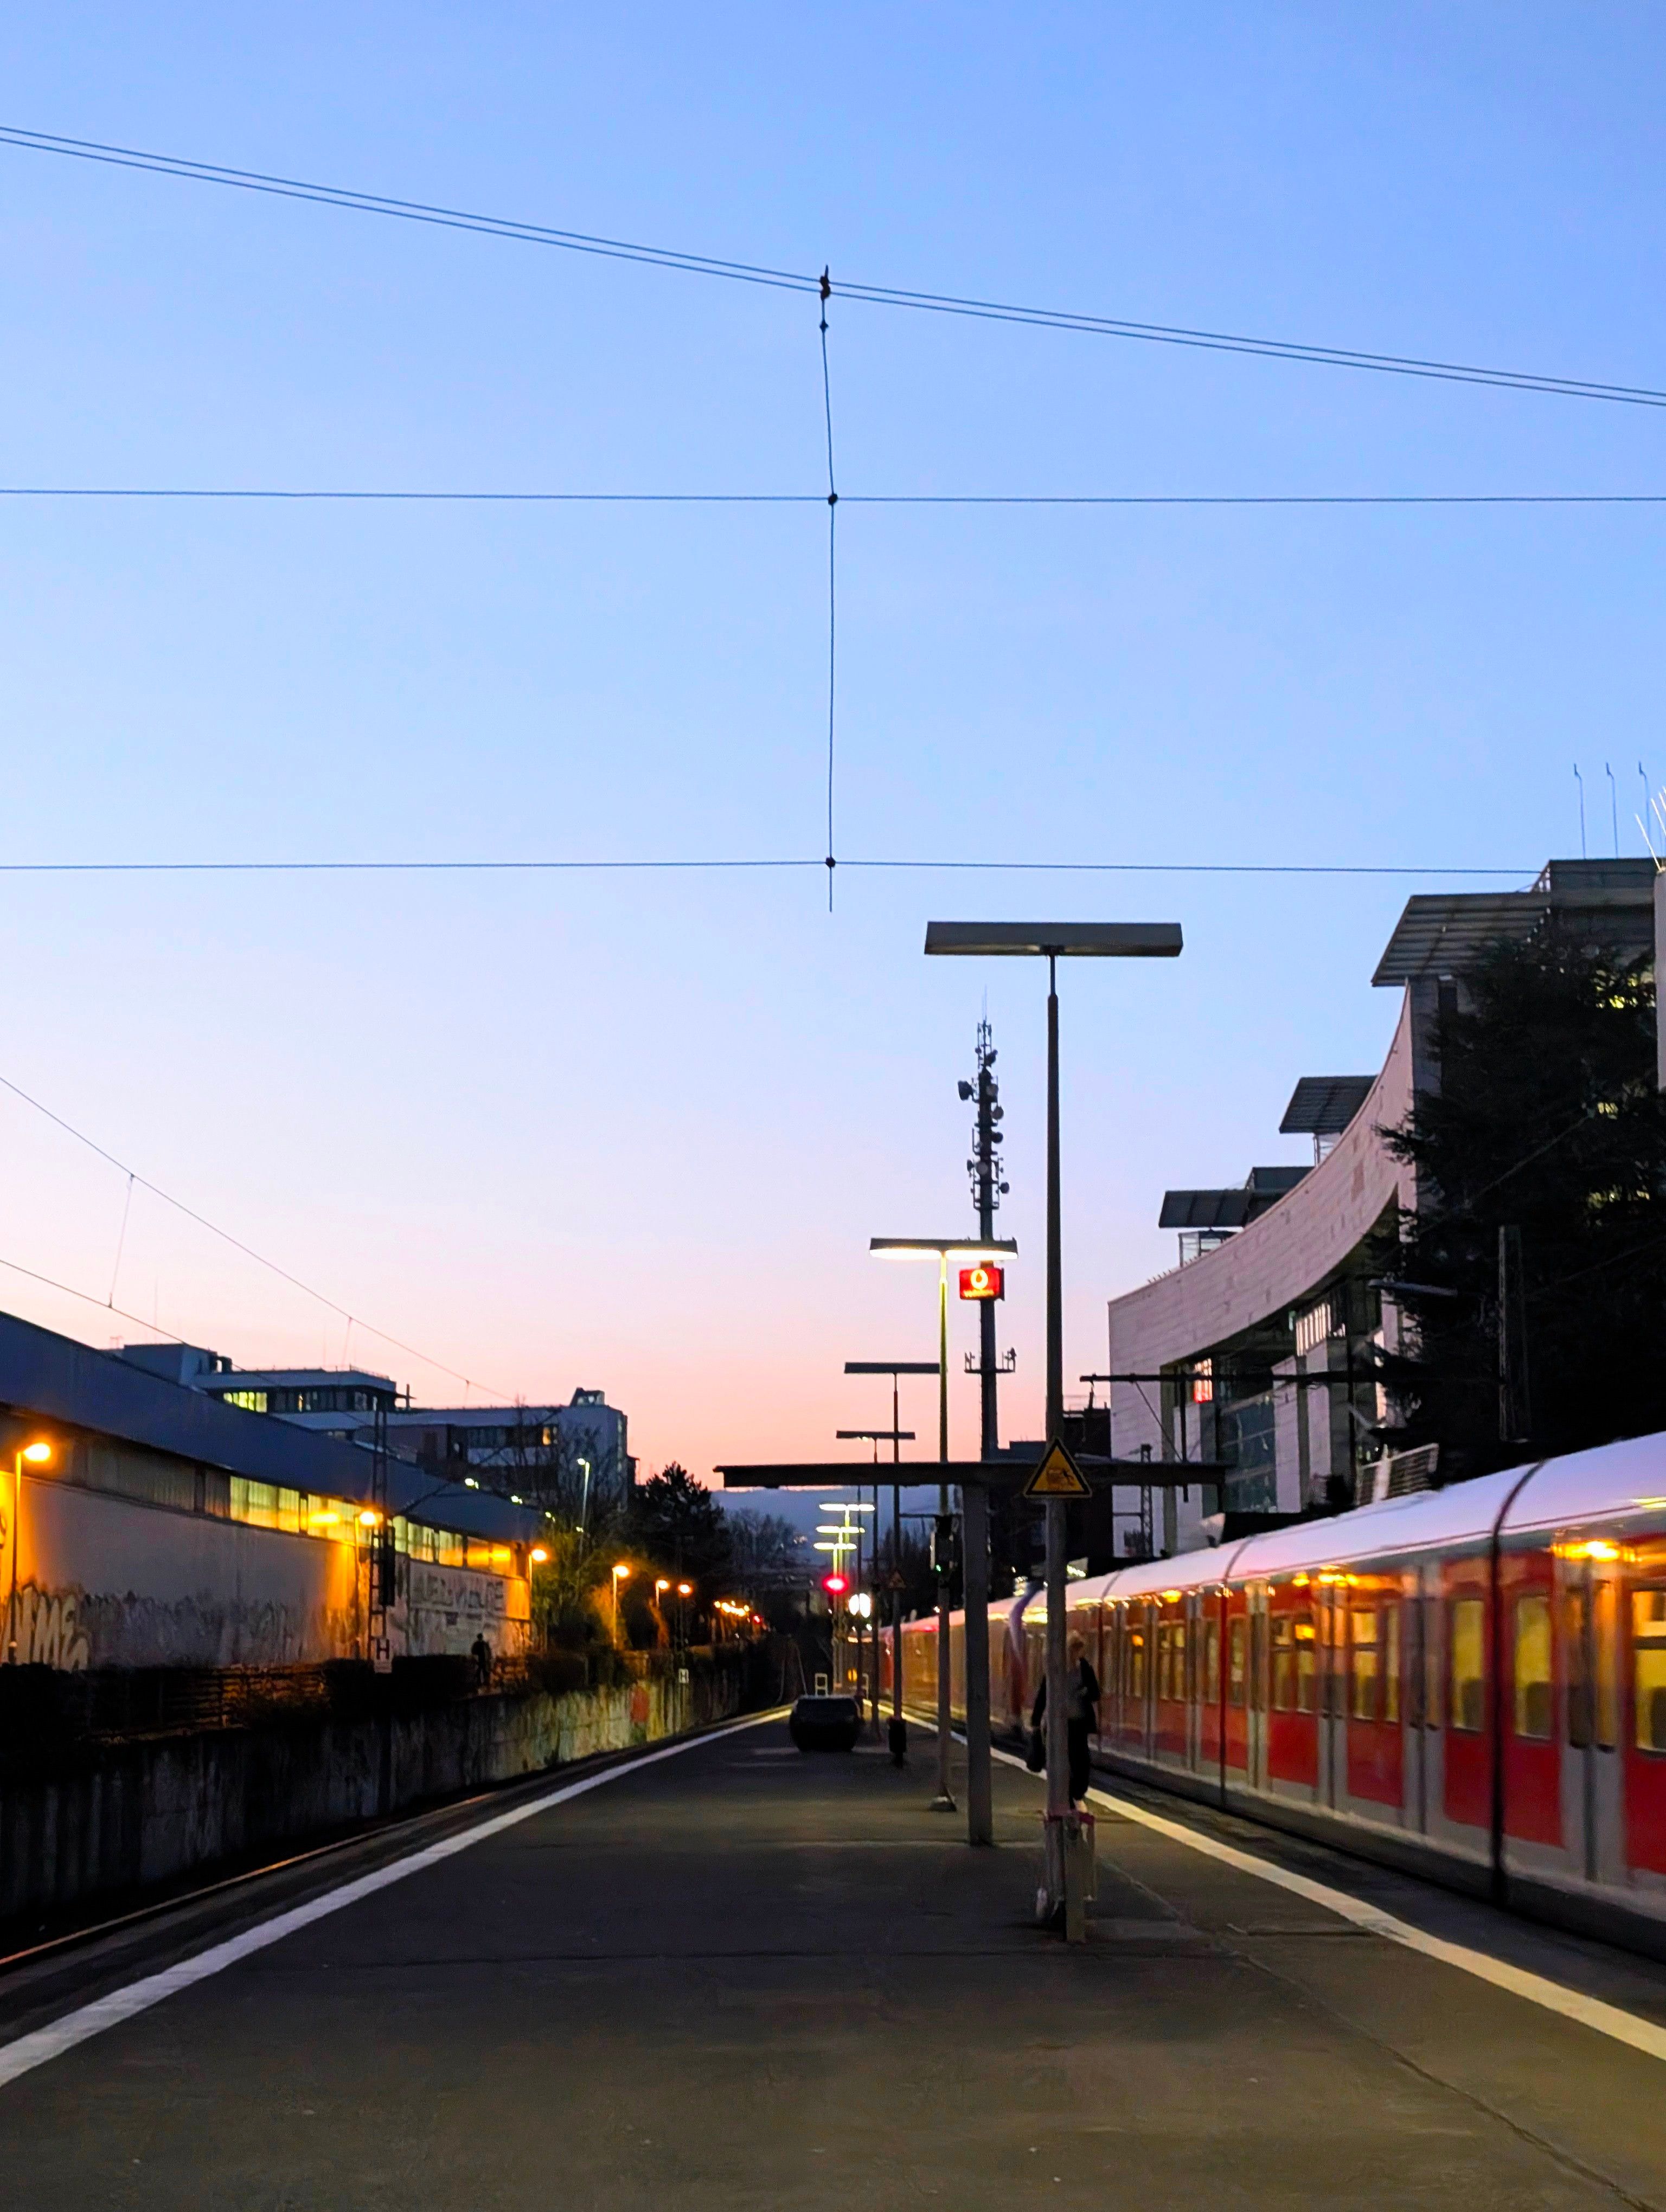
Exposure on a camera is the amount of light that reaches the sensor and makes the photo bright or dark. It comes from shutter speed, aperture, and ISO working together. On a train platform, a faster shutter can hold back blur, while a wider aperture or higher ISO can lift a dim scene. The right balance depends on how much motion you want to freeze and how much grain you can accept.
What exposure should my camera be on?
Your camera should match the light and motion in front of you. A good travel starting point is shutter priority at 1/500s for people in motion, then let ISO rise as needed.
If the scene is calmer, aperture priority at f/2.8 to f/4 can keep the camera flexible. For a still platform shot with clean lines, a lower ISO and slower shutter may work well, but only if the subject is not moving.
Is ISO the same as exposure?
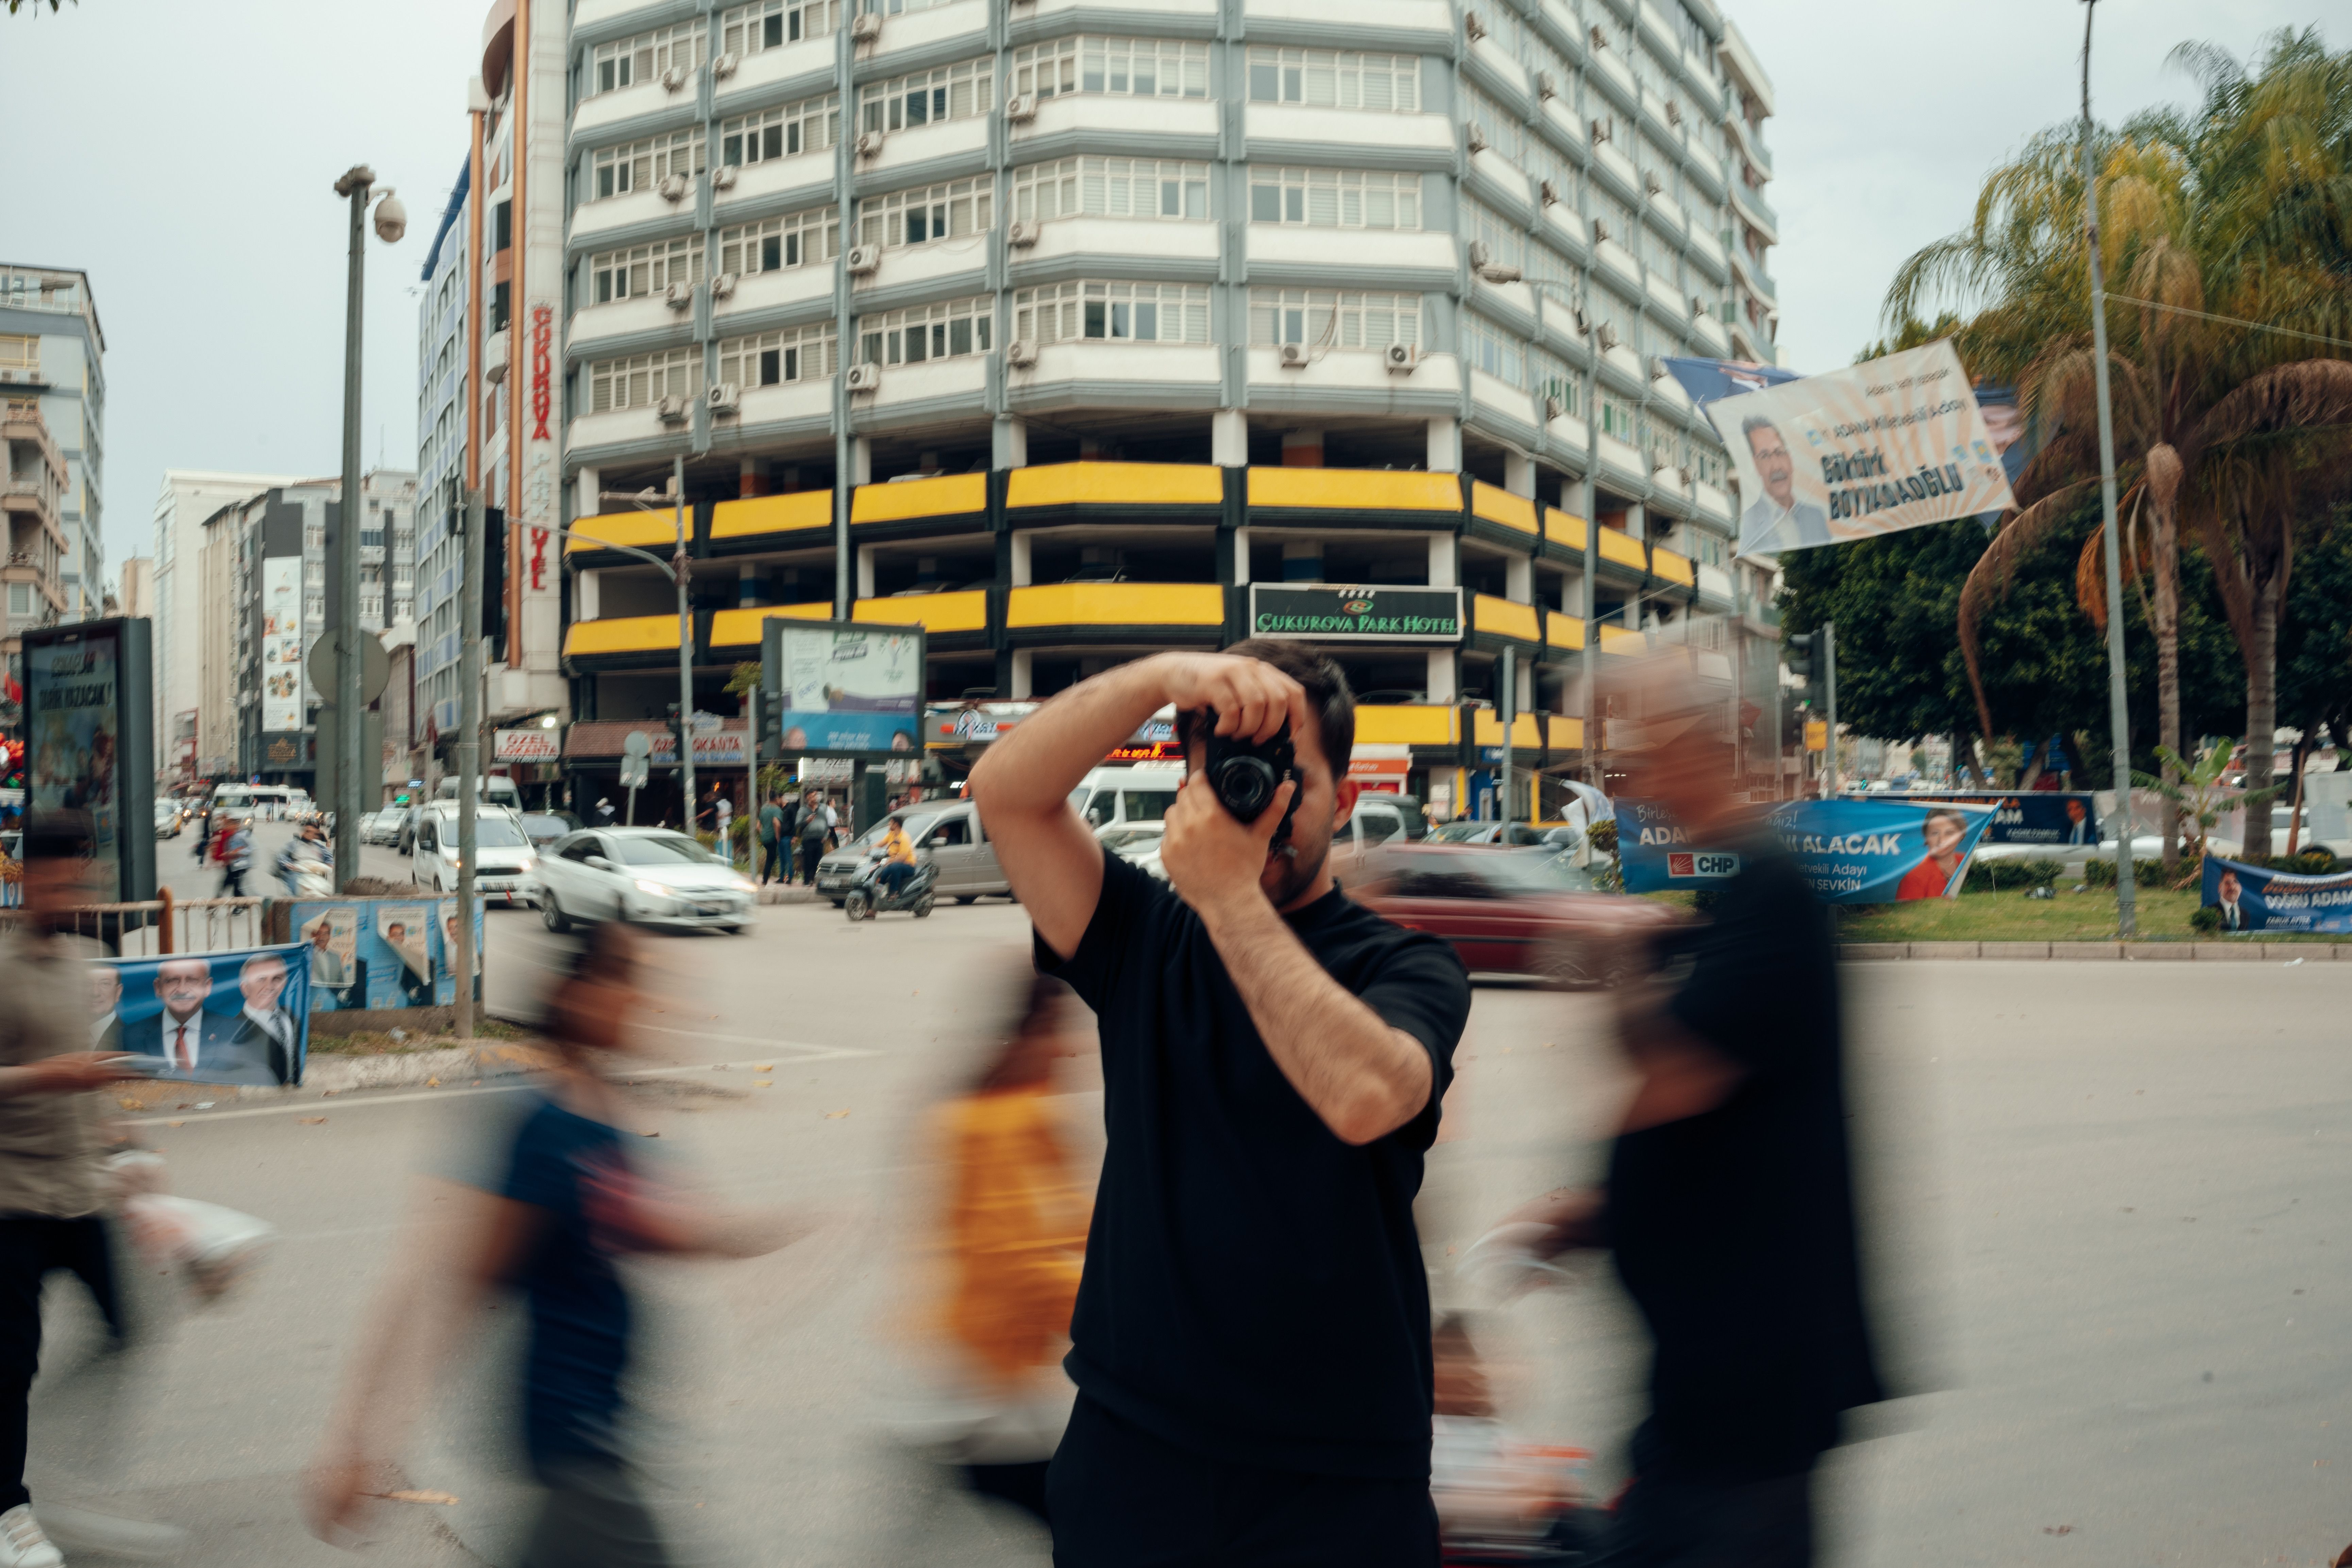
ISO is one part of exposure, not the whole thing. Exposure also depends on shutter speed and aperture, which shape both light and motion. Think of ISO as a gain control. Raising it from ISO 400 to ISO 1600 makes the photo brighter, but it can also add more noise, so use it only as much as you need.
What does a higher exposure mean?
A higher exposure means more light has reached the sensor, so the image looks brighter. That can happen through a slower shutter, a wider aperture, or a higher ISO.
In travel work, higher exposure can save a dark train interior or an underlit concourse. Too much exposure can clip highlights on windows, signs, or white walls, so watch the histogram and protect bright areas.
Moving through airports and platforms without missing a frame

The best travel rhythm is simple. Keep the camera attached, keep the settings close to ready, and keep your bag easy to open. Use a strap or sling that lets the camera rest at chest level, then lift it in one motion. That keeps your hands free for tickets, phones, and bags, and it shortens the gap between seeing and shooting.
A quick pre-shoot check
- Clean the front element.
- Set AF-C or AI Servo.
- Choose a usable shutter speed before you step in line.
- Check battery level and card space.
- Turn on subject or eye detection if people are the main target.
If you expect a fast moment, switch to continuous drive and keep your finger ready. A short burst can catch a stride, a glance, or a train entering the frame.
Pre-capture or pre-burst modes can help on newer bodies because they store frames from just before the full press. This feature is useful when a door opens, a sign changes, or a person turns at the last second.

Small habits that make travel shooting smoother
Good travel shooting usually comes down to timing, not more gear. A tidy carry setup, a ready focus mode, and a known set of settings keep the camera useful when the space gets crowded. Review less while you are on the move. Shoot the next frame first, then check exposure and focus when you reach a safe pause near a wall, bench, or gate.
Keep the camera on your body, not buried in your bag, and set your default travel mode before you leave home. When the next patch of platform light appears, you will already be ready.
Frequently Asked Questions
What is exposure on a camera?

Camera exposure is the mix of shutter speed, aperture, and ISO that controls how bright a photo looks. It determines how much light reaches the sensor.
What exposure should my camera be on?
The correct camera exposure is the one that makes the photo bright enough without blowing out highlights or making shadows too dark. In changing travel light, shutter priority or aperture priority can help the camera adjust quickly while you keep the image usable.
Is ISO the same as exposure?
ISO is not the same as exposure. ISO is one part of exposure, along with shutter speed and aperture, and it changes how sensitive the sensor is to light.

What does a higher exposure mean?
A higher exposure means a brighter photo. It usually comes from letting in more light with a slower shutter speed, wider aperture, higher ISO, or a combination of those settings.


