


- Wear the camera high on a padded strap for hands-free, comfortable airport movement.
- Use Aperture Priority with Auto ISO and one versatile lens for fast travel shots.
- Stow battery and cards in carry-on, and keep the camera body close for transfers.
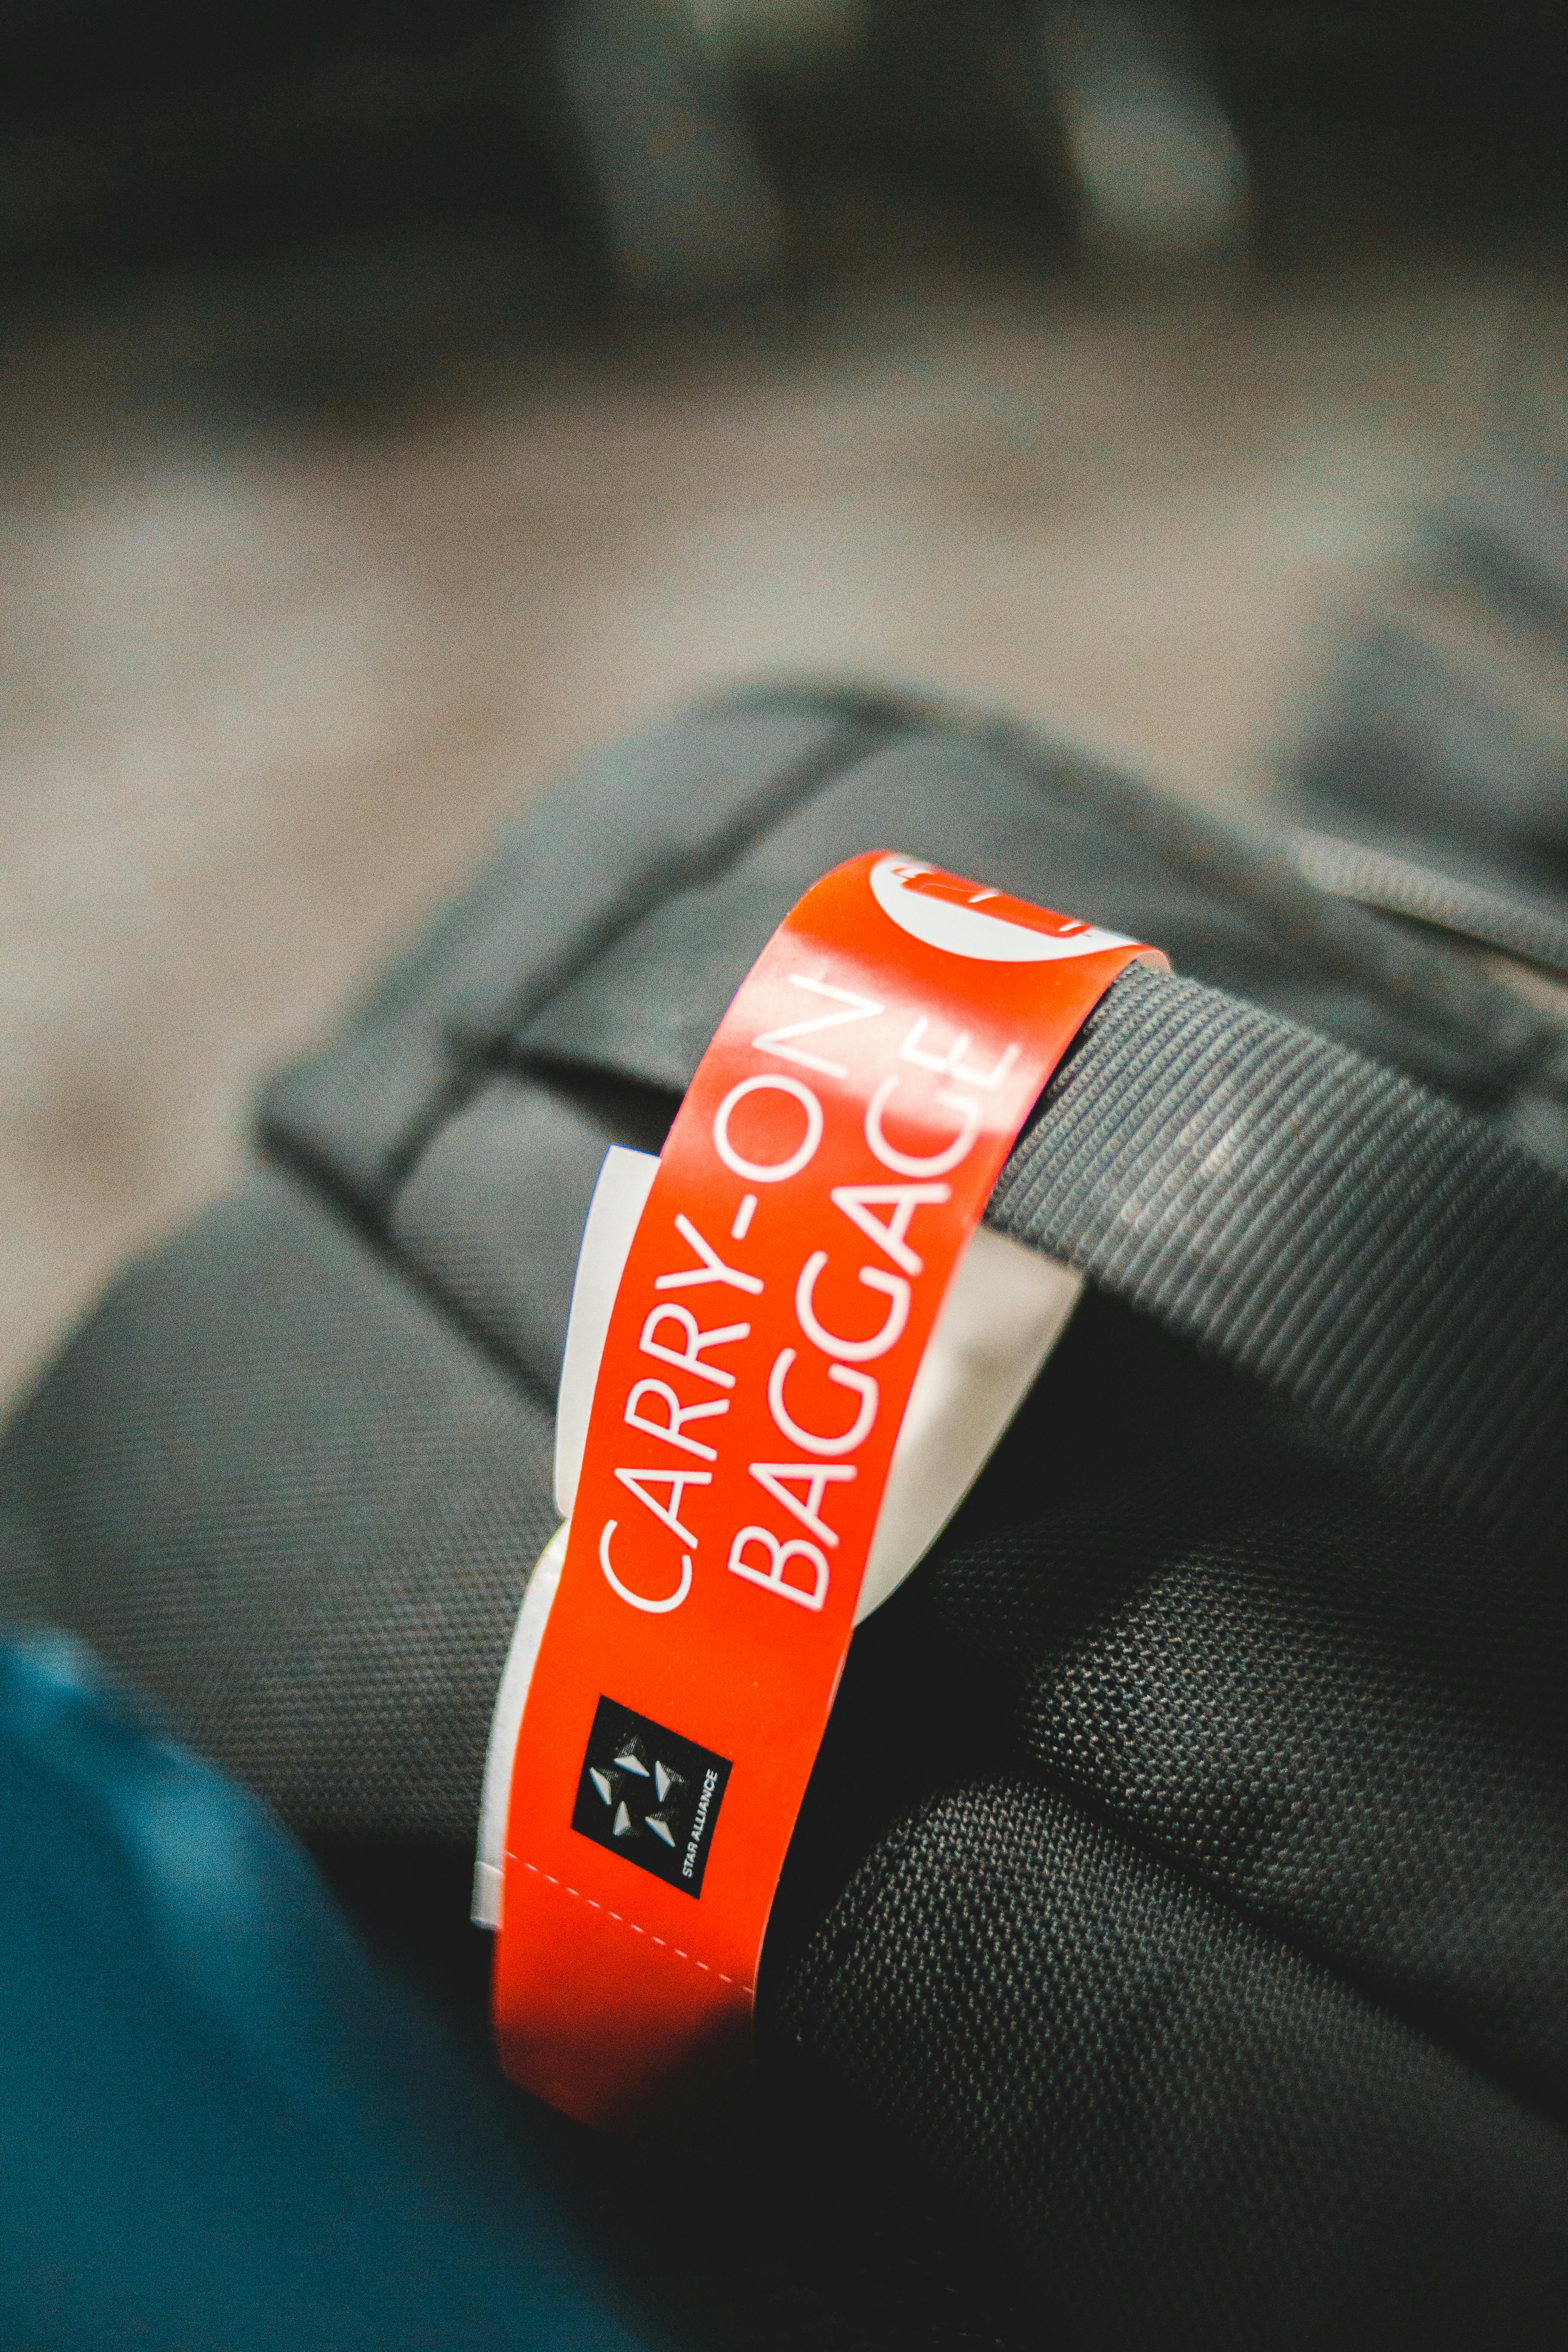
Travel photography means making strong images while moving through airports, transfers, and unfamiliar streets. It works best when the camera stays within easy reach and ready for sudden shifts in light or subject. With a few practical settings and a lean carry plan, you can shoot from check-in to arrival without slowing down.
Translation missing: en.blog_cta.bundle_heading

- Regular price
-
€42 - Regular price
-
€44 - Sale price
-
€42
By choosing the Camstrap strap, you are opting for a high-quality product designed to meet the needs of the most demanding photographers.
- Developed by a physiotherapist to relieve neck and back pain.
- Fast delivery with tracking by the Post Office 🚚
- Can be used as a shoulder strap or hands-free harness

- Regular price
-
€36 - Regular price
-
€42 - Sale price
-
€36
Translation missing: en.blog_cta.free_shipping_included
The aim is straightforward: keep the camera protected, keep the battery compliant, and keep the setup quick enough for real travel moments.
Pack it so the camera stays close and light
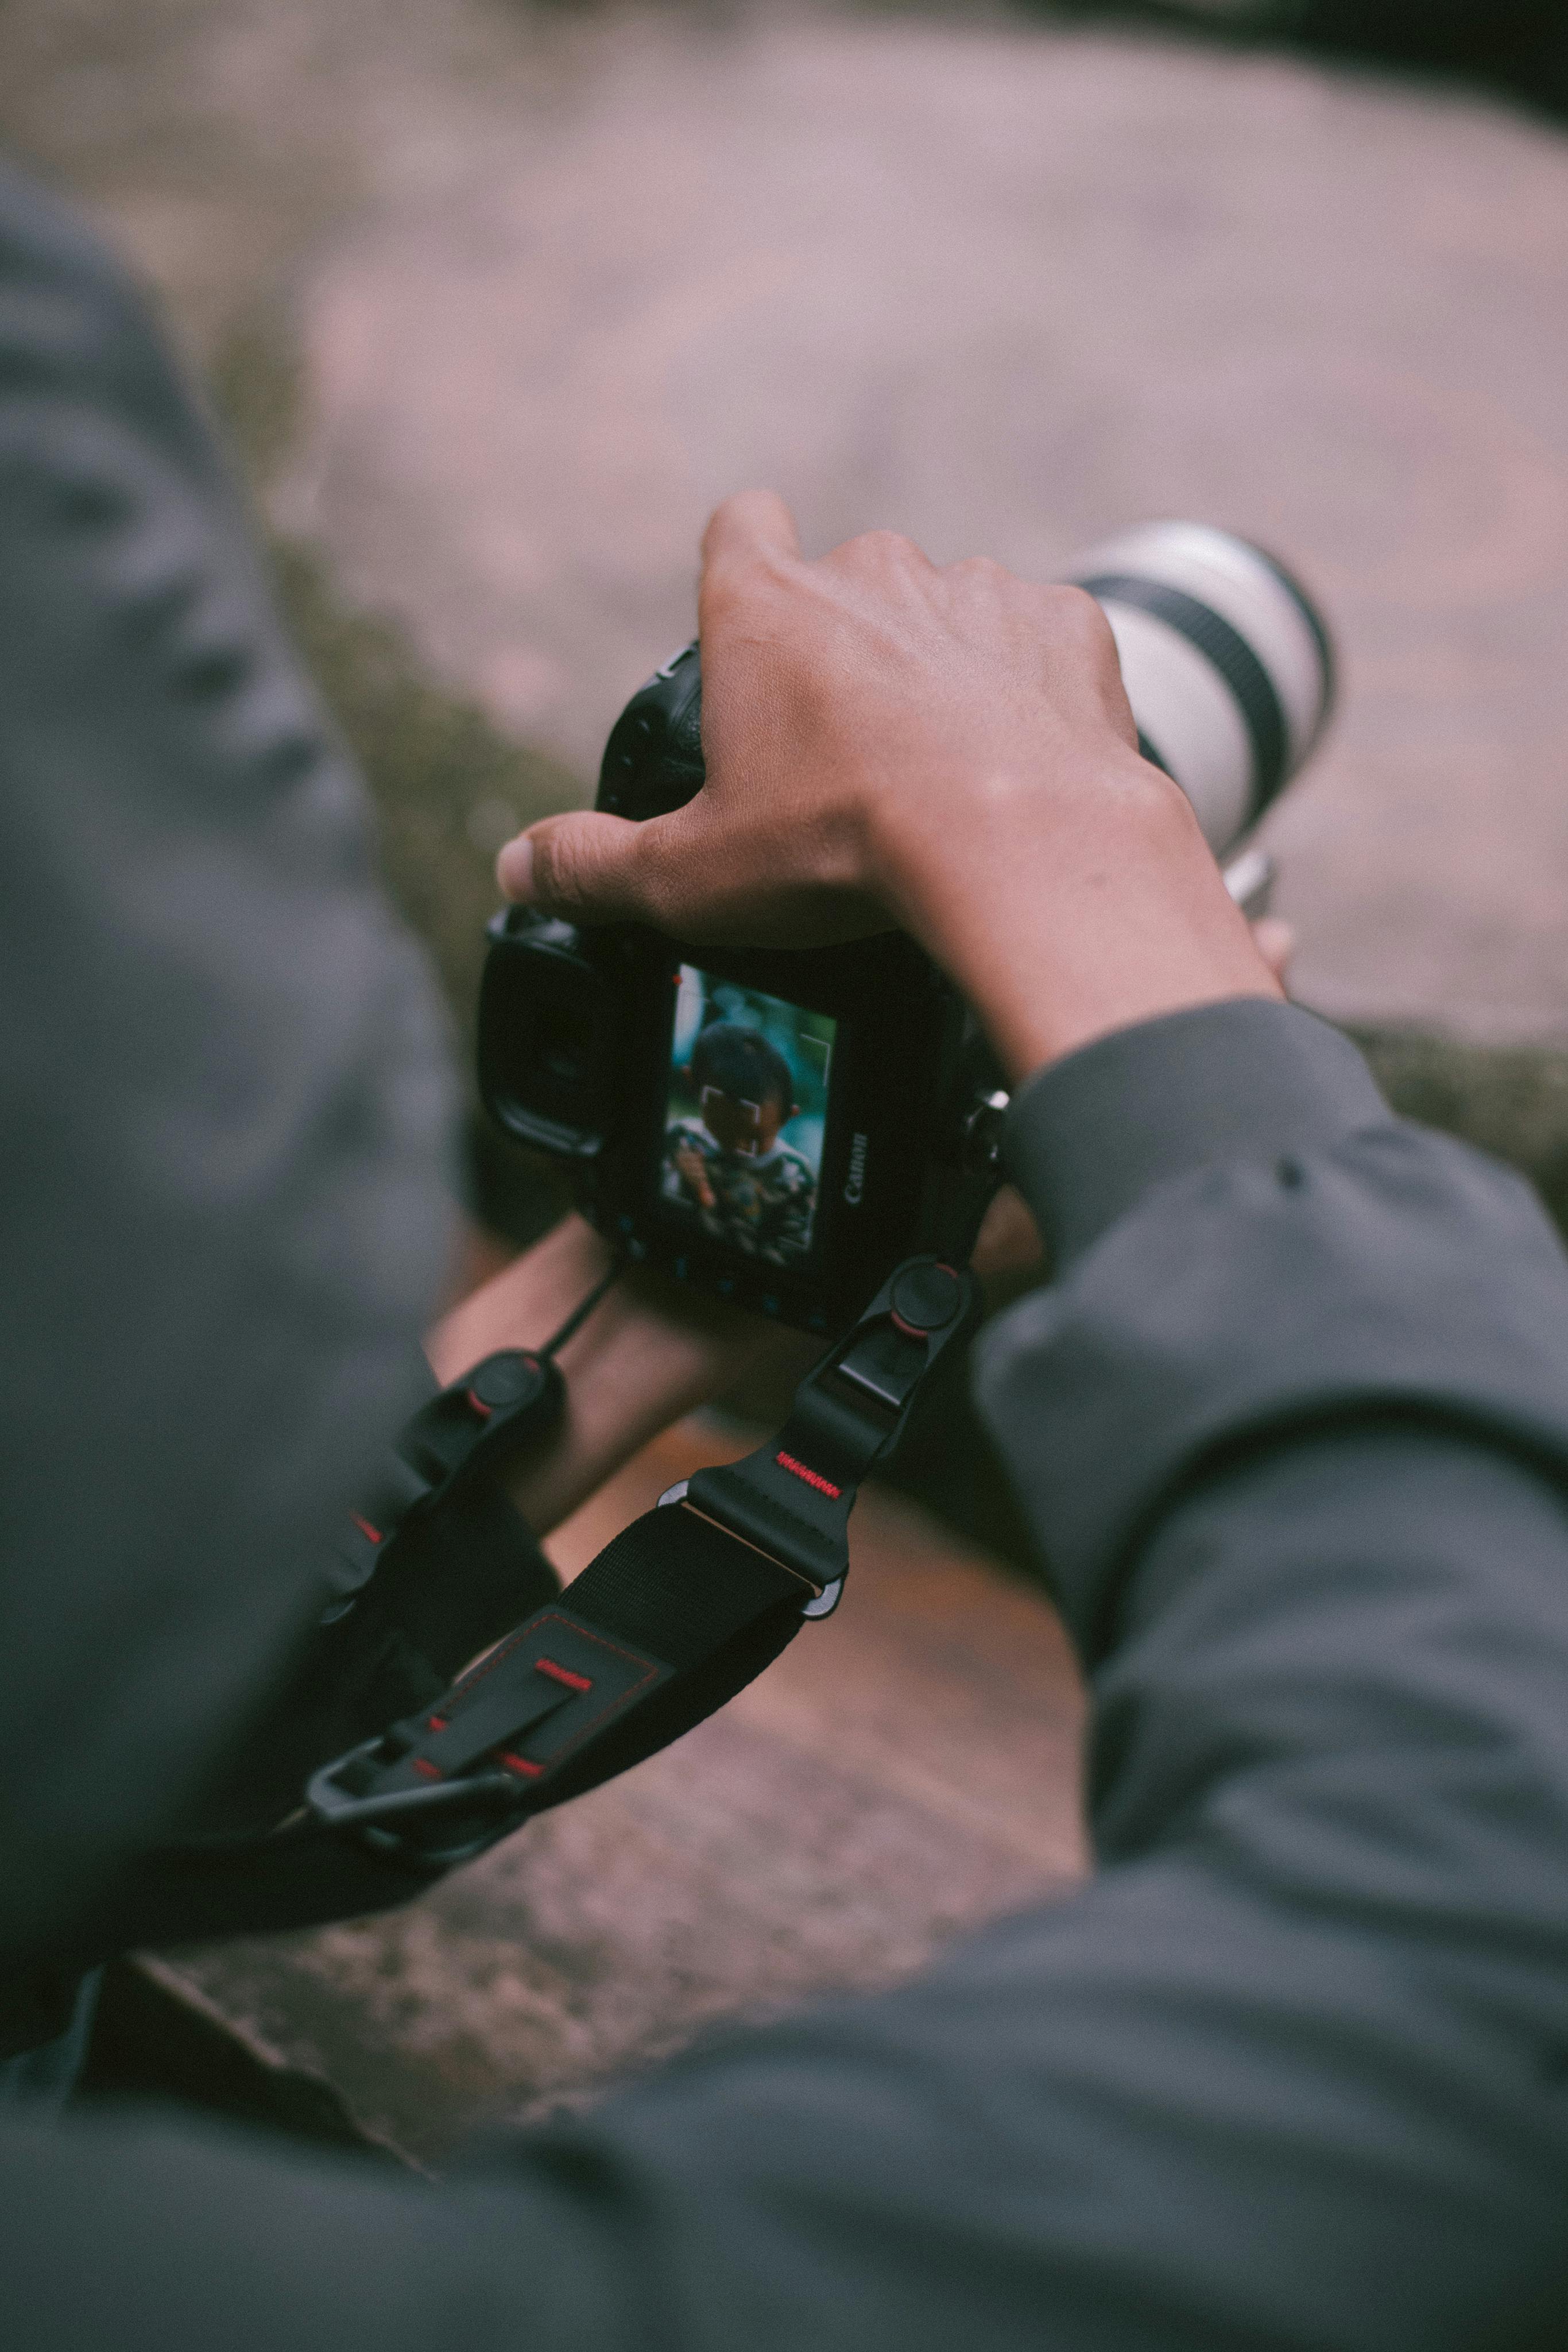
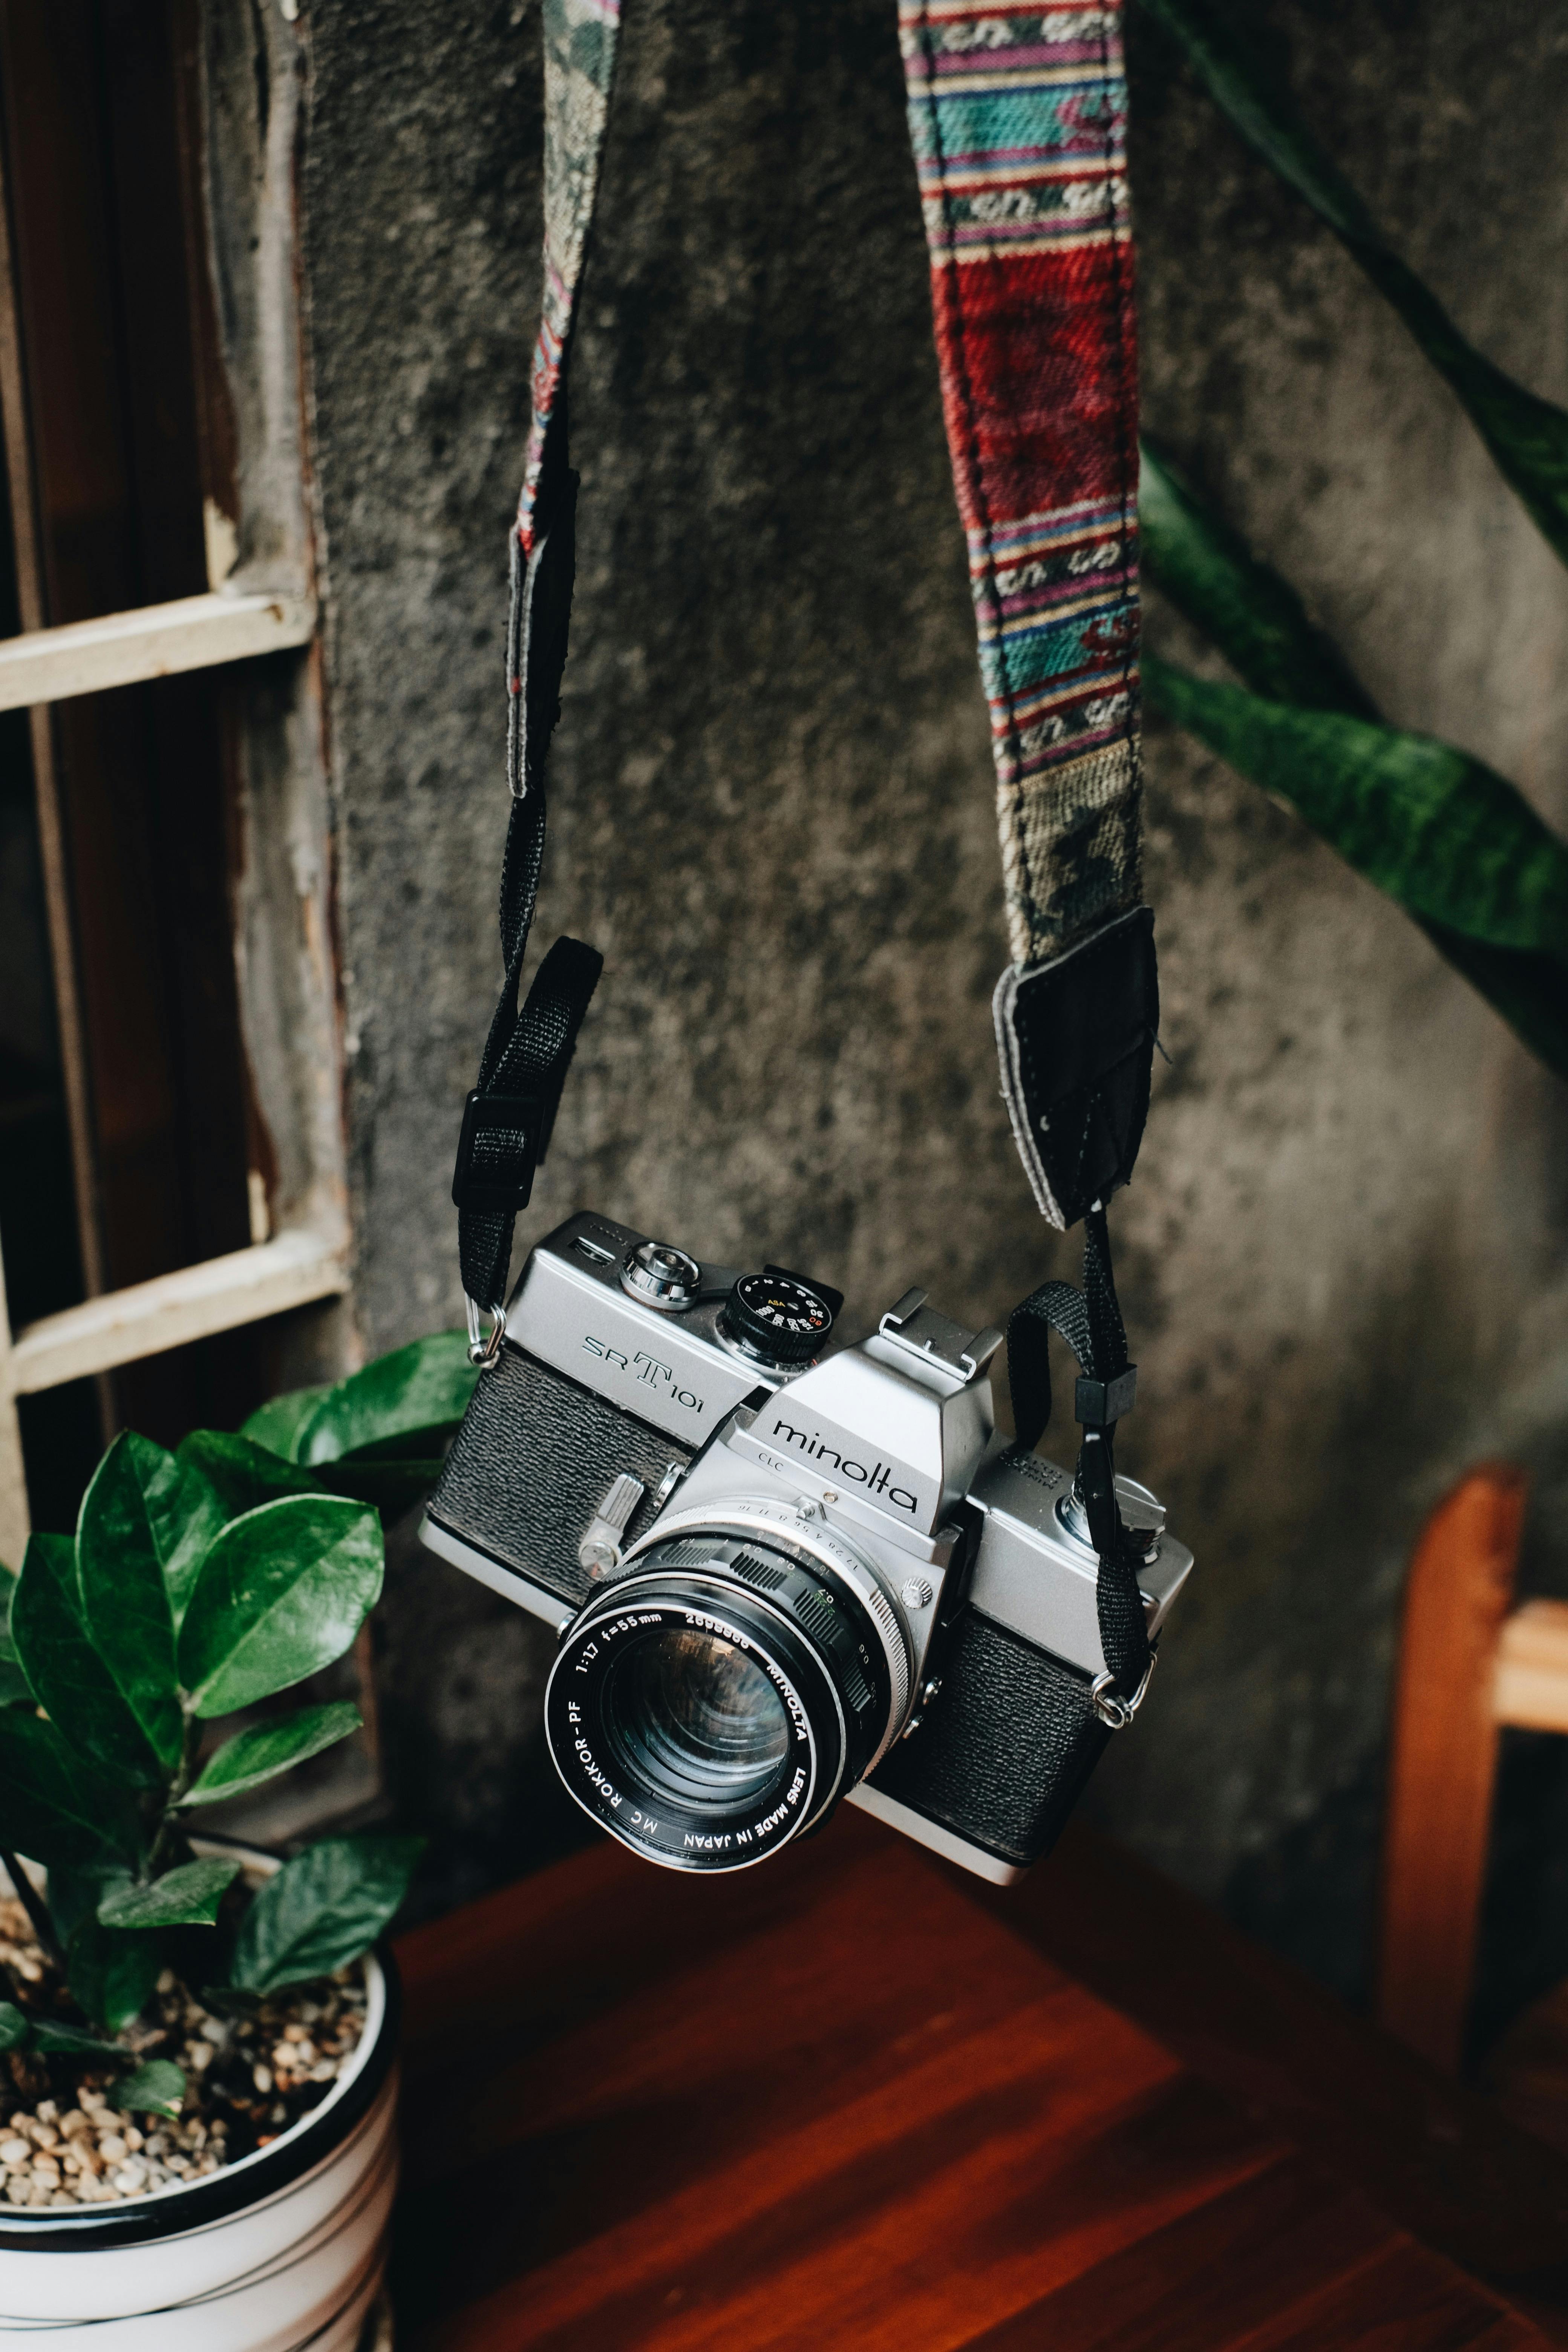
A solid airport carry setup keeps the camera on your body instead of buried in a bag. The best frame often appears during a gate change, a taxi ride, or a short walk between terminals. A strap that spreads weight well, like the Camstrap voyager, helps by keeping the body stable and easy to grab with one hand.
Start with balance. Carry the body, one lens, one spare battery, and one card where you can reach them fast. If the kit feels heavy at check-in, it will feel worse after two hours of walking.
What to keep on you
- Camera body with one lens attached.
- One spare battery in cabin baggage.
- One or two memory cards in a slim case.
- Lens cloth and a small rain cover if the weather may change.
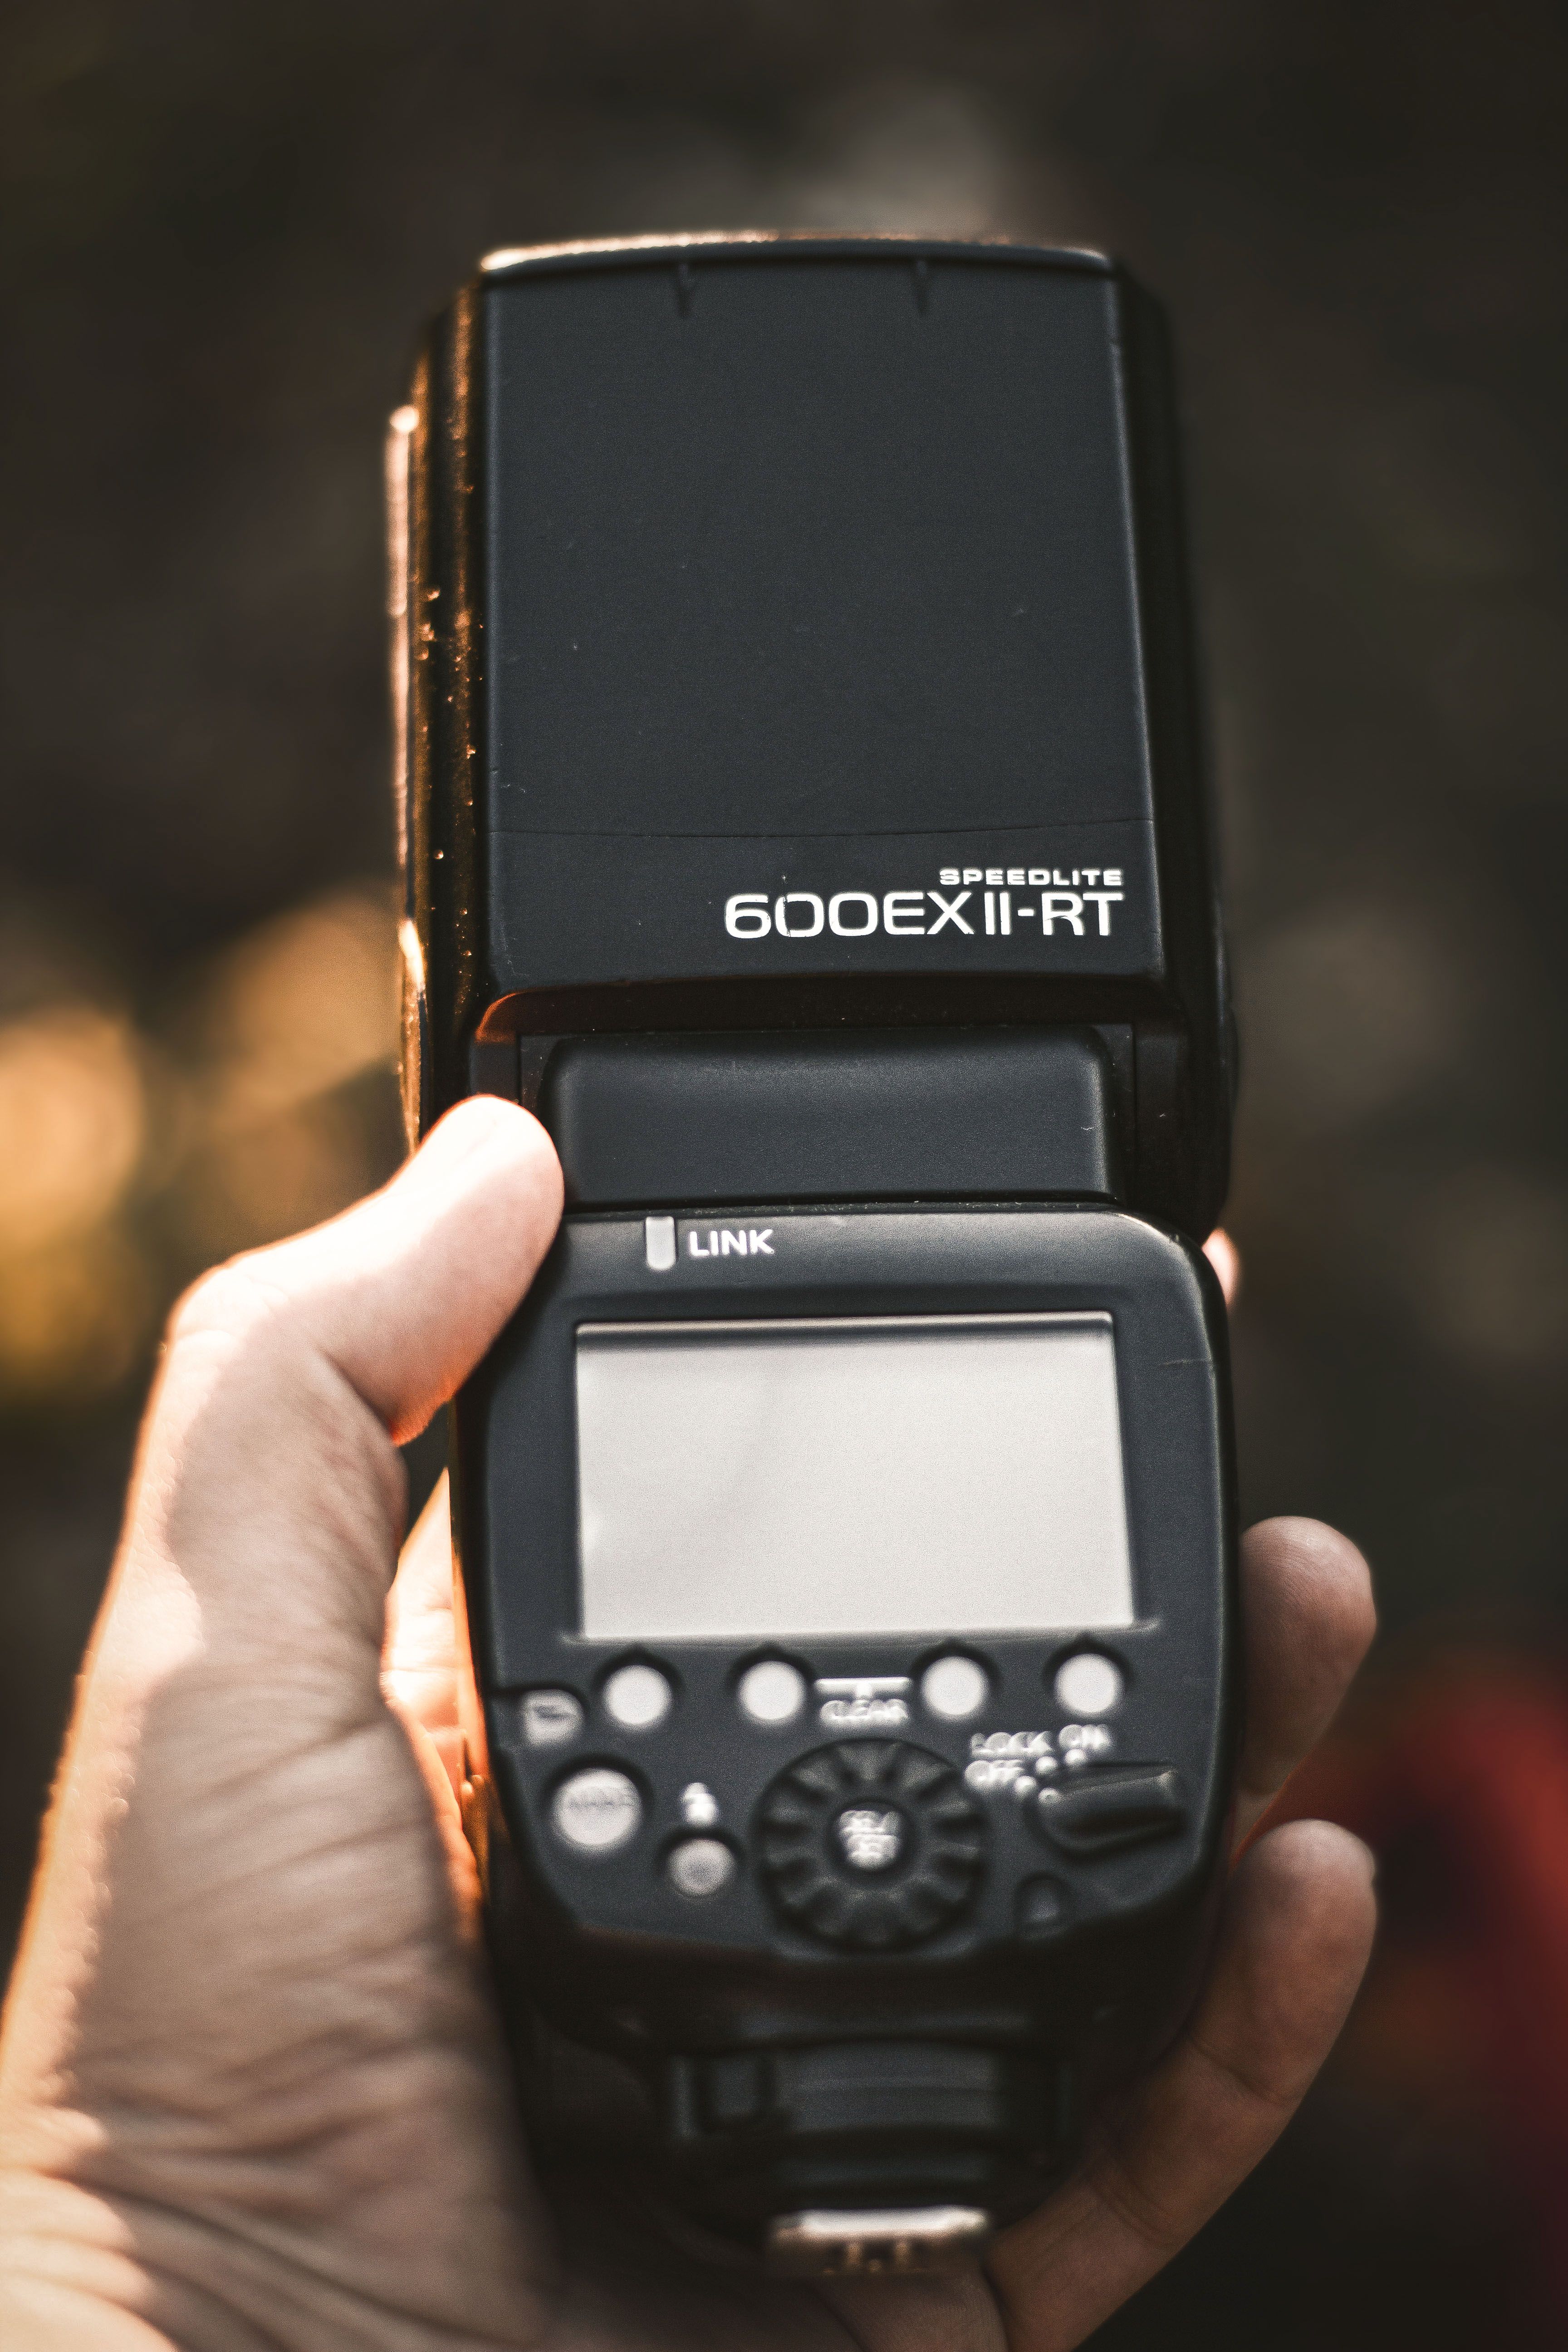
Keep the kit lean. A 24-70mm zoom covers most airport-to-city scenes, while a 35mm or 50mm prime keeps the setup even simpler.
How do you carry a camera comfortably through the airport?
Use a padded strap, a snug fit, and a setup that rides close to your chest. A body on a sling or shoulder strap sits better than one bouncing at hip level, especially during long walks and security lines. The goal is quick access without strain.
Set the strap so the camera hangs high enough to grab fast. Keep one hand free for your bag and boarding pass. If you wear the camera all day, swap sides now and then to ease shoulder pressure.

Simple carry rules that help
- Wear the camera before you reach the terminal.
- Keep the lens cap off only when you are moving fast.
- Hold the body close when you bend, sit, or load bags.
- Use a strap with a wide pad if the body or lens is heavy.
That setup saves time at security and at the gate. It also keeps the camera ready when a window seat gives you a clean view of the runway.
Which camera settings work best for travel shots indoors and outdoors?
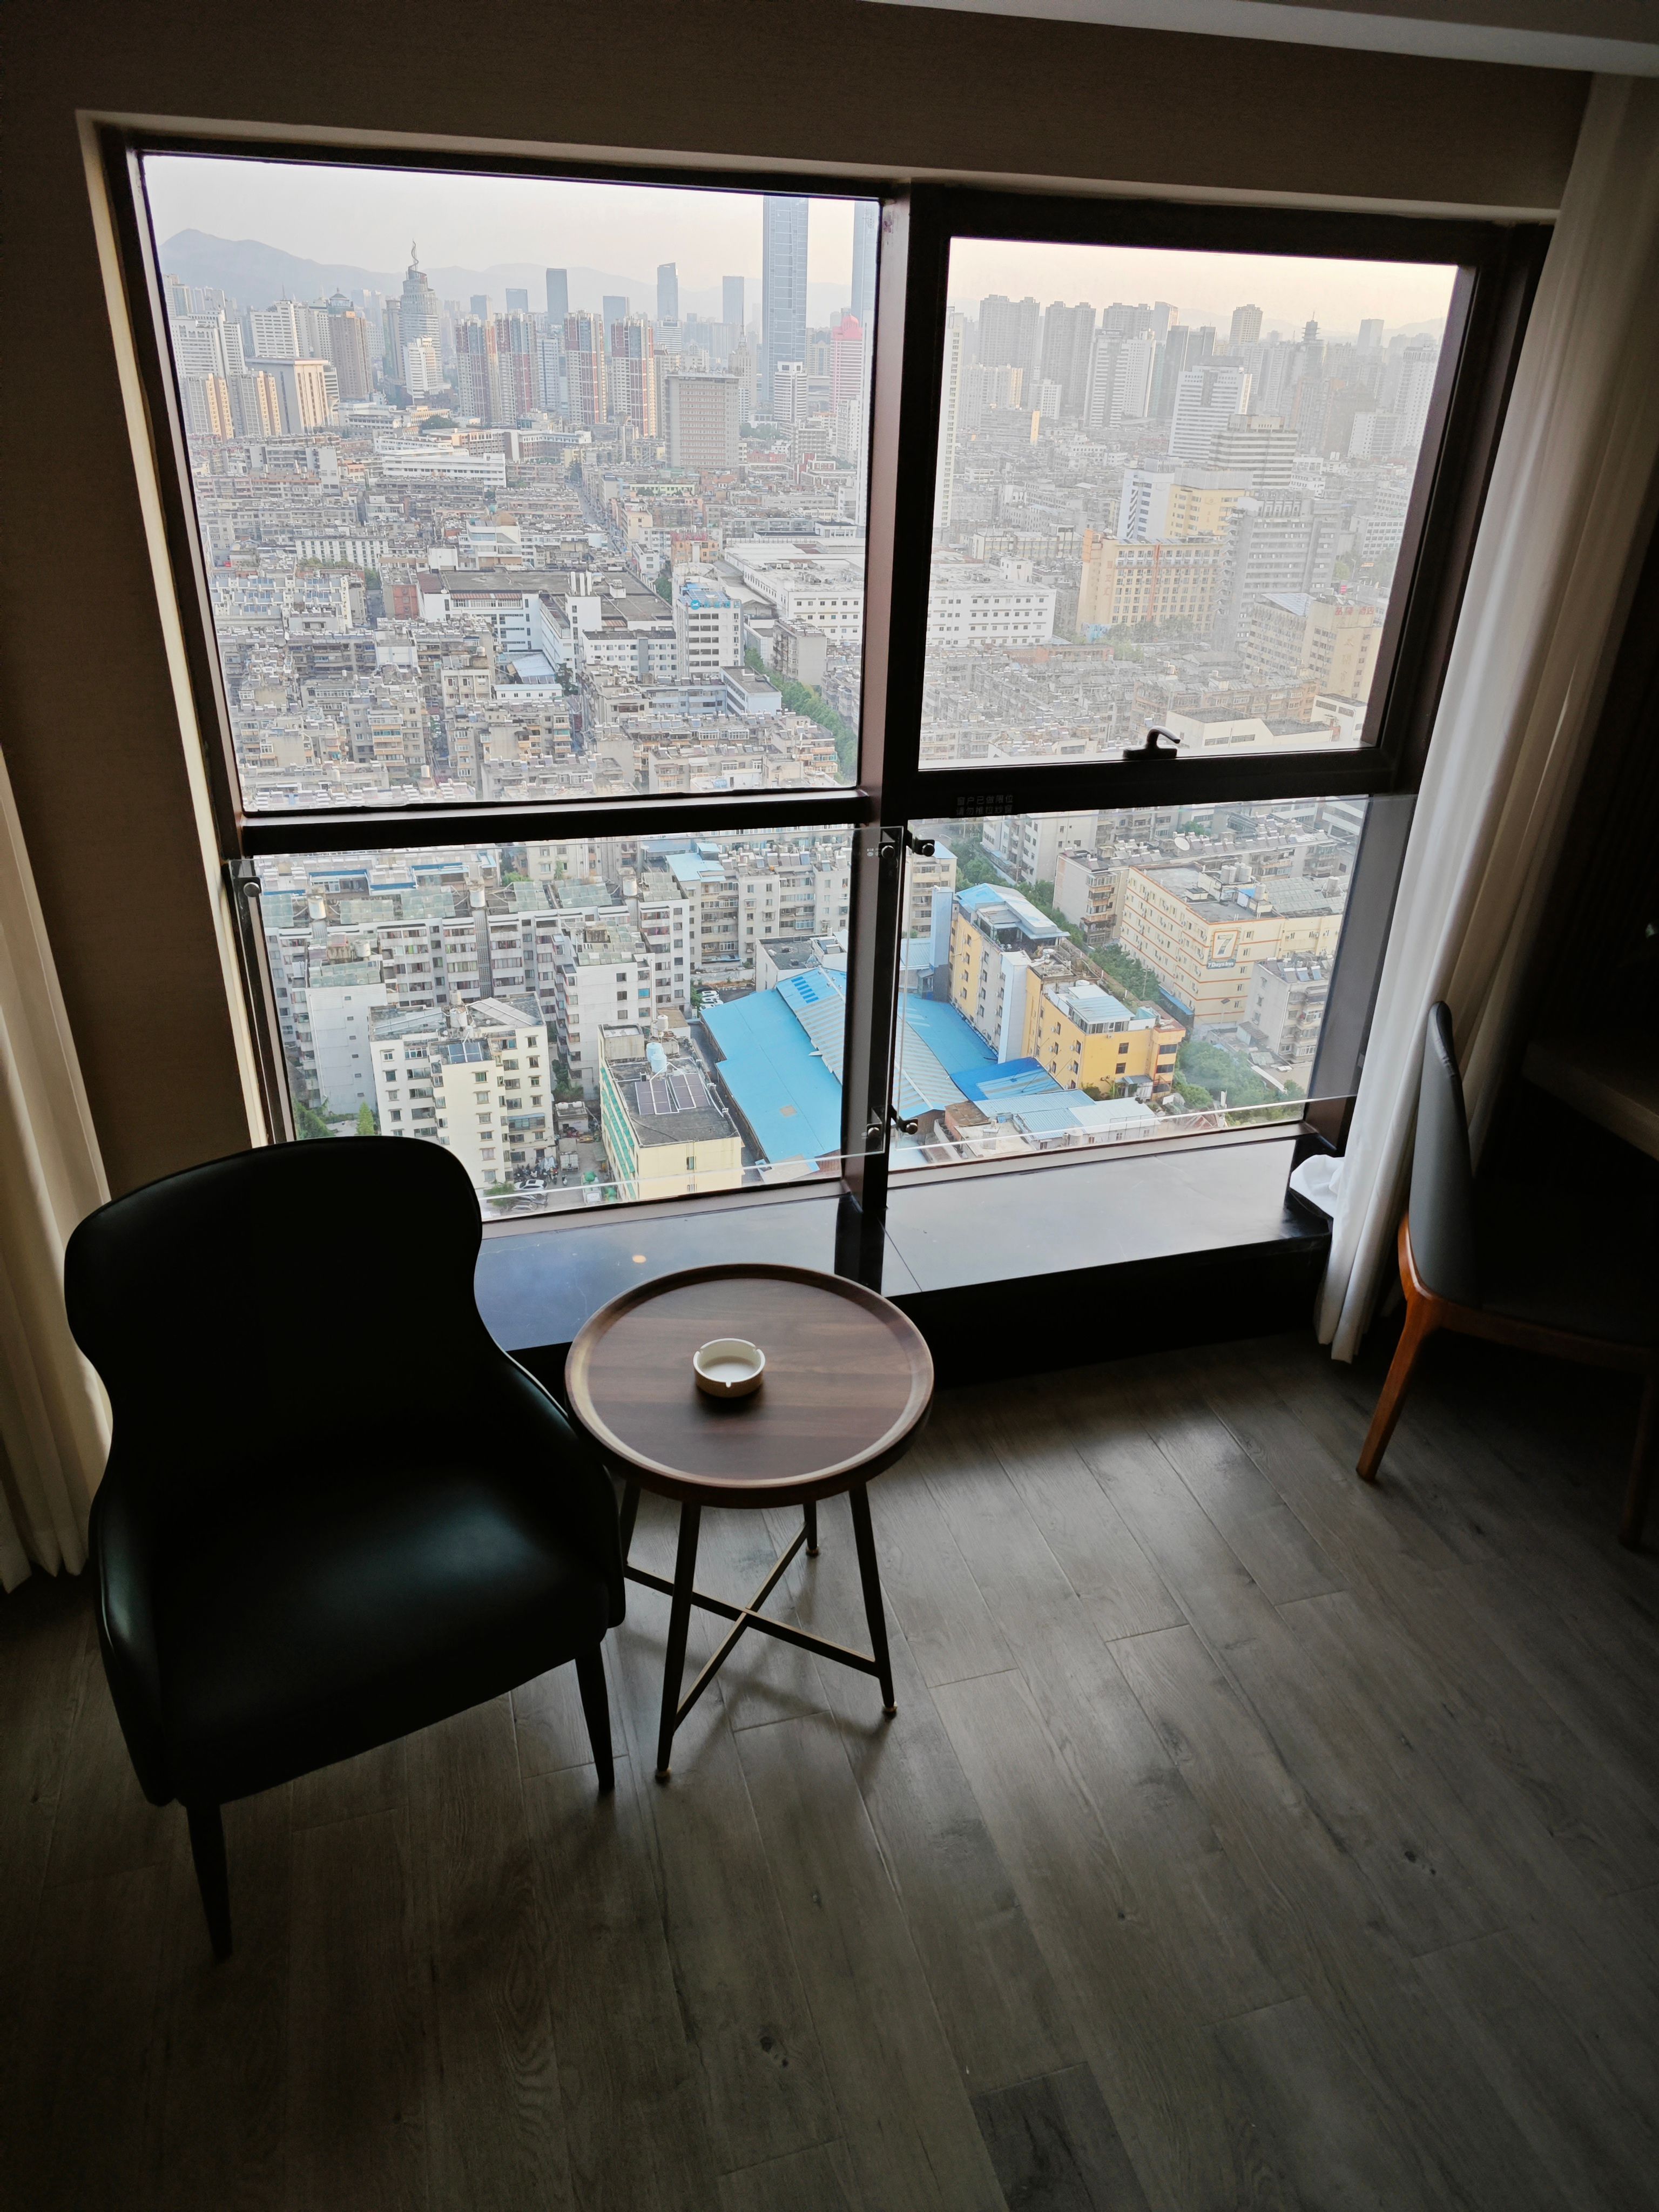
Aperture priority with Auto ISO is the easiest place to start for travel snapshots indoors and outdoors. It lets you control depth of field while the camera handles shifting light. For portraits and detail shots, f/2.8 gives good subject separation, while f/5.6 to f/8 works well for streets and landmarks.
Shutter speed deserves more attention than many travelers give it. For stationary scenes, 1/125s is a safe handheld baseline. For people and moving street scenes, use 1/250s or faster, and 1/500s to 1/1000s when you want to freeze motion.
Settings that fit common travel light
- Mode: Aperture priority with Auto ISO.
- Portraits: f/2.8, Auto ISO, eye detection on.
- Street scenes: f/5.6, 1/250s, Auto ISO.
- Indoor quick shots: 1/125s minimum, then raise ISO as needed.

On a 50mm lens, the old reciprocal rule suggests 1/50s as the theoretical floor. In real travel use, 1/100s to 1/125s gives a safer margin. If light drops, raise ISO before the shutter slips too low.
How do you protect a camera while moving between planes, trains, and taxis?
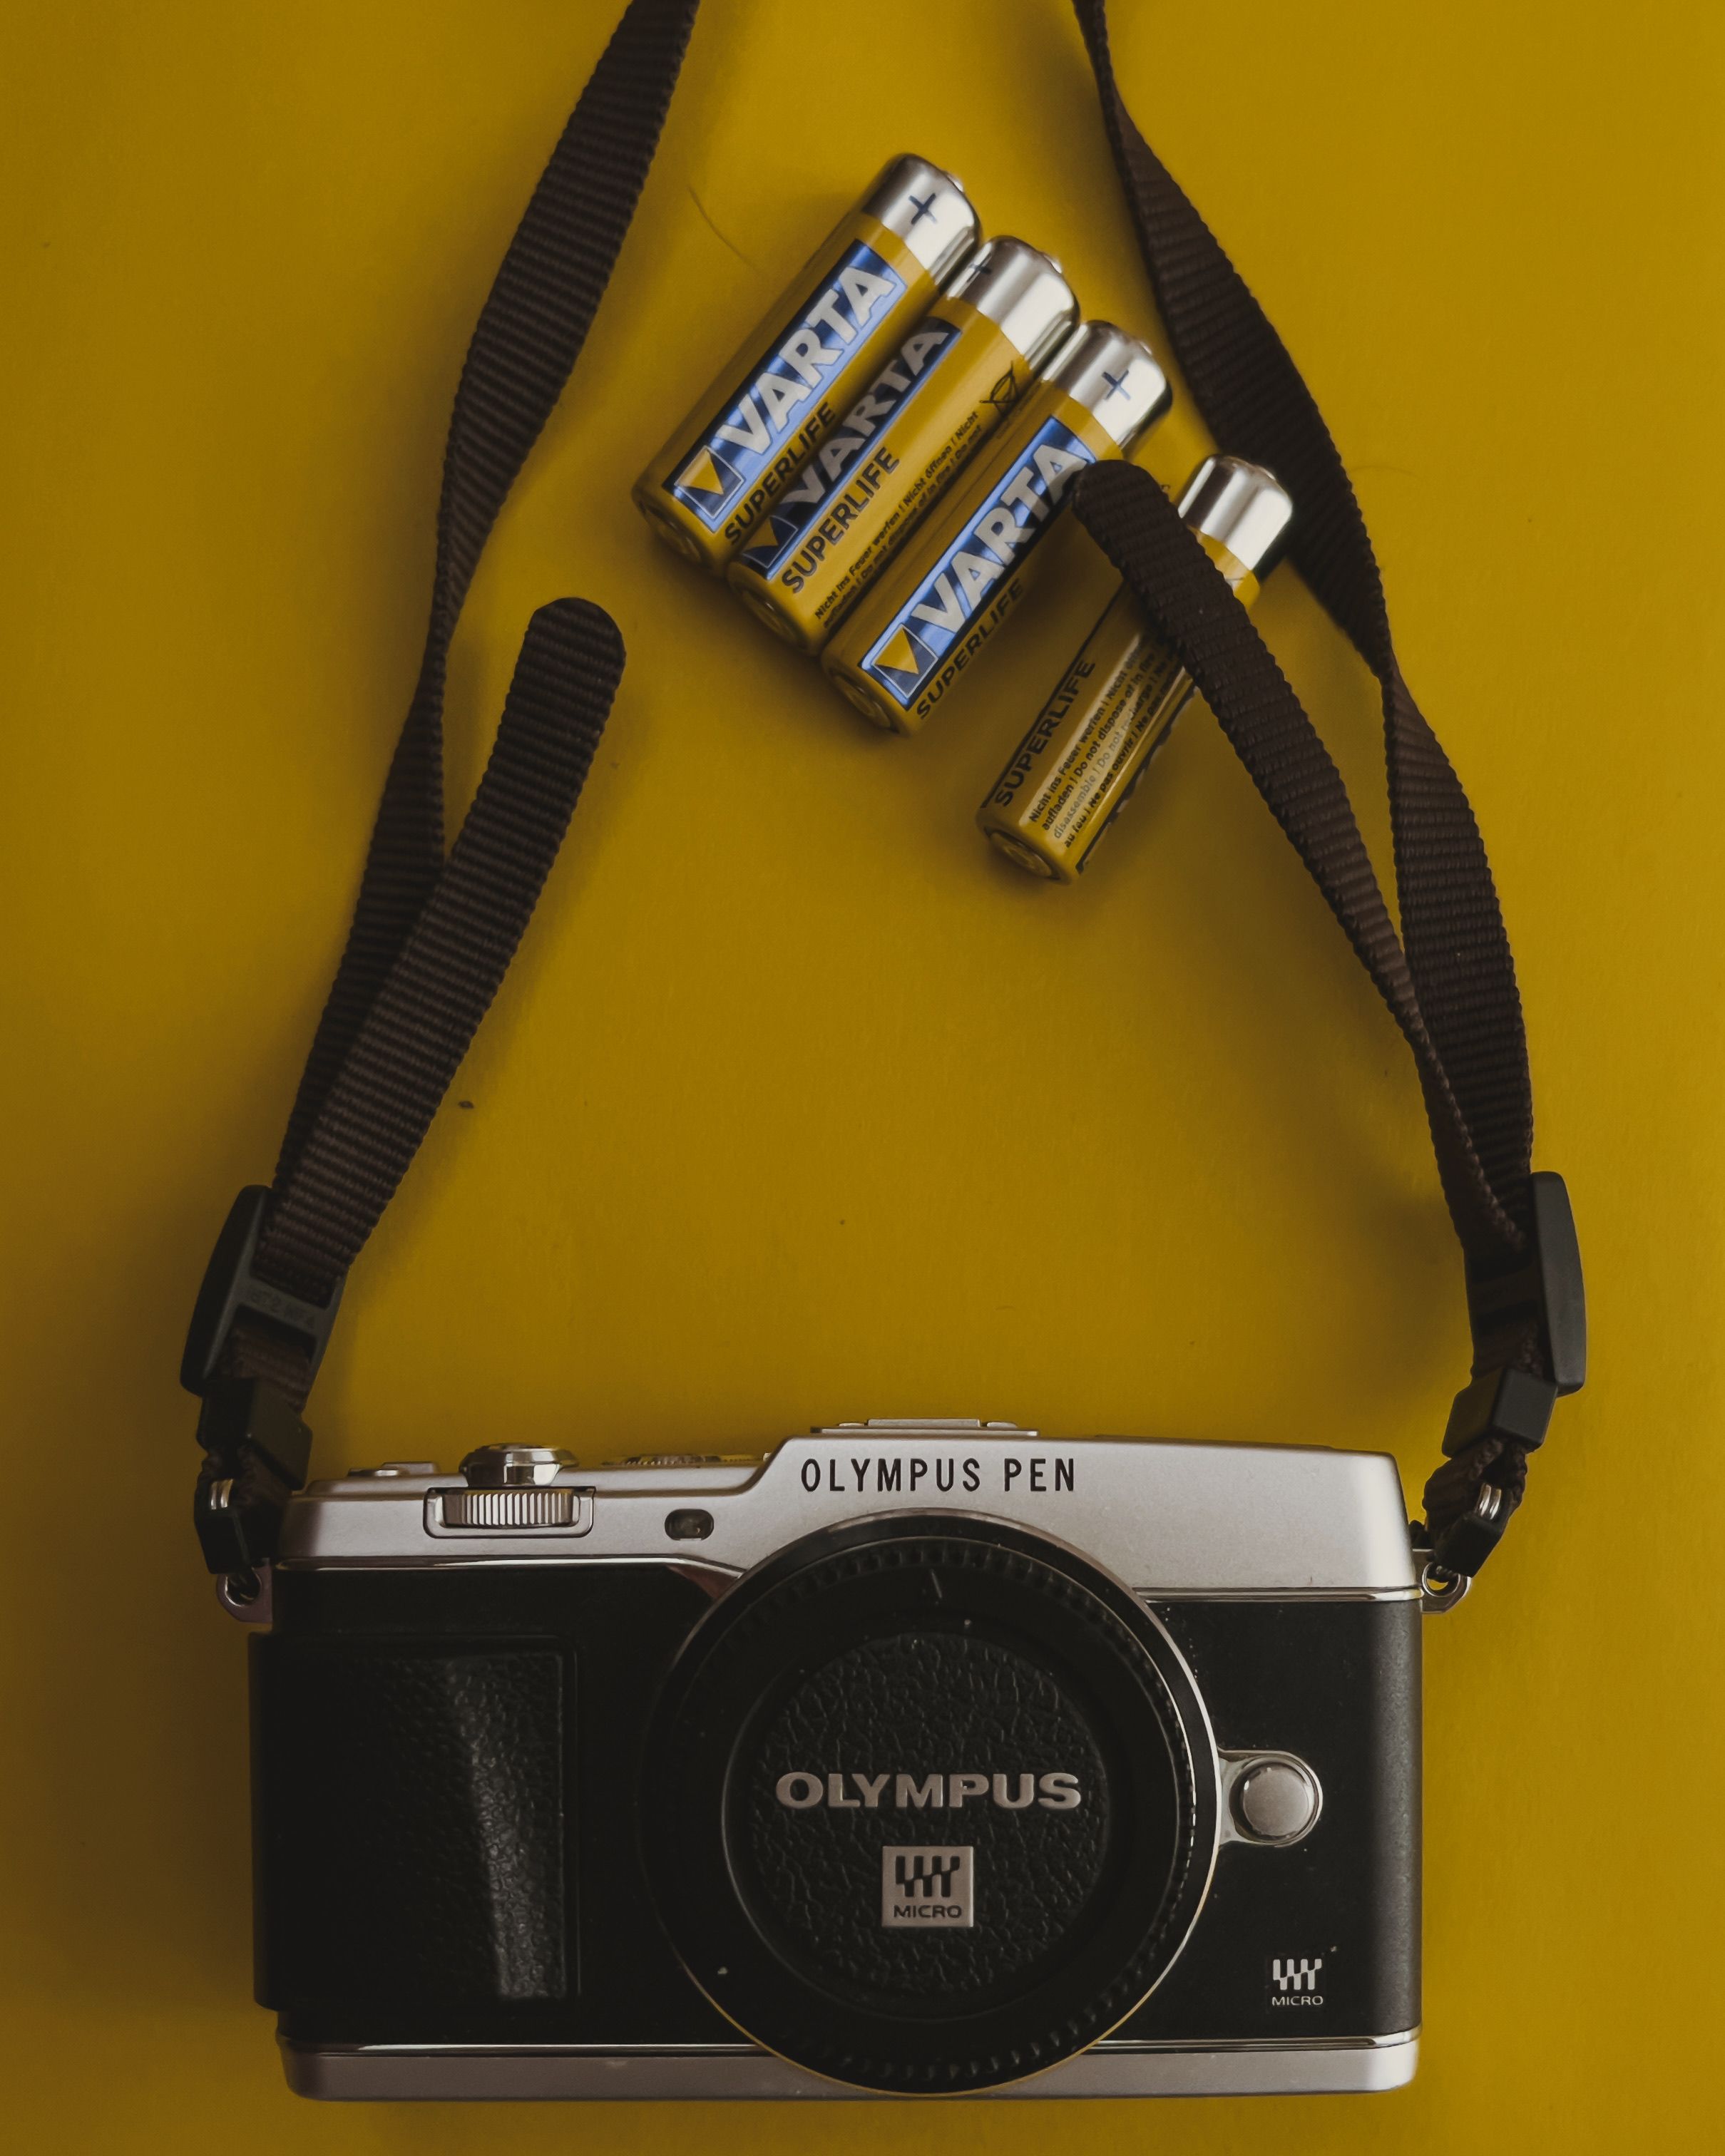
Protect the camera by keeping power safe, padding the body, and packing the bag so nothing shifts. Spare lithium-ion batteries must go in cabin baggage, not checked bags. FAA rules allow 0–100 Wh on passenger aircraft, 101–160 Wh only with airline approval, and anything above 160 Wh is forbidden.
Keep each spare in its original pack, tape the terminals, or place it in a separate pouch or plastic bag. That stops short circuits and keeps security checks smooth.
Move-ready protection plan
- Store all spare batteries in carry-on luggage.
- Keep each battery covered at the terminals.
- Place the camera in a padded divider or wrapped cloth slot.
- Lock lens caps or use a hood for light front protection.
- Keep cards in a separate pocket, not loose in the bag.
During transfers, avoid deep bag stacks that bury the camera. If the body sits under clothing, chargers, or shoes, you will lose time every time you want a frame. A clean top pocket or side slot makes a real difference when the cab stops at a busy curb.
What should you photograph first after arriving in a new city?
Start with light, place, and scale. The view outside your hotel, the street nearest your stay, or a simple landmark will tell you where you are before the day gets busy.
Then move to one wide scene and one close detail. A street corner, a café sign, or a local doorway can anchor the whole story. These early frames also help your eyes adjust to the city’s color and contrast.
A quick first-hour sequence
- Make one wide shot of the neighborhood.
- Find a person or object that shows local life.
- Take a detail shot with a wider aperture.
- Walk one block farther and repeat if the light is good.
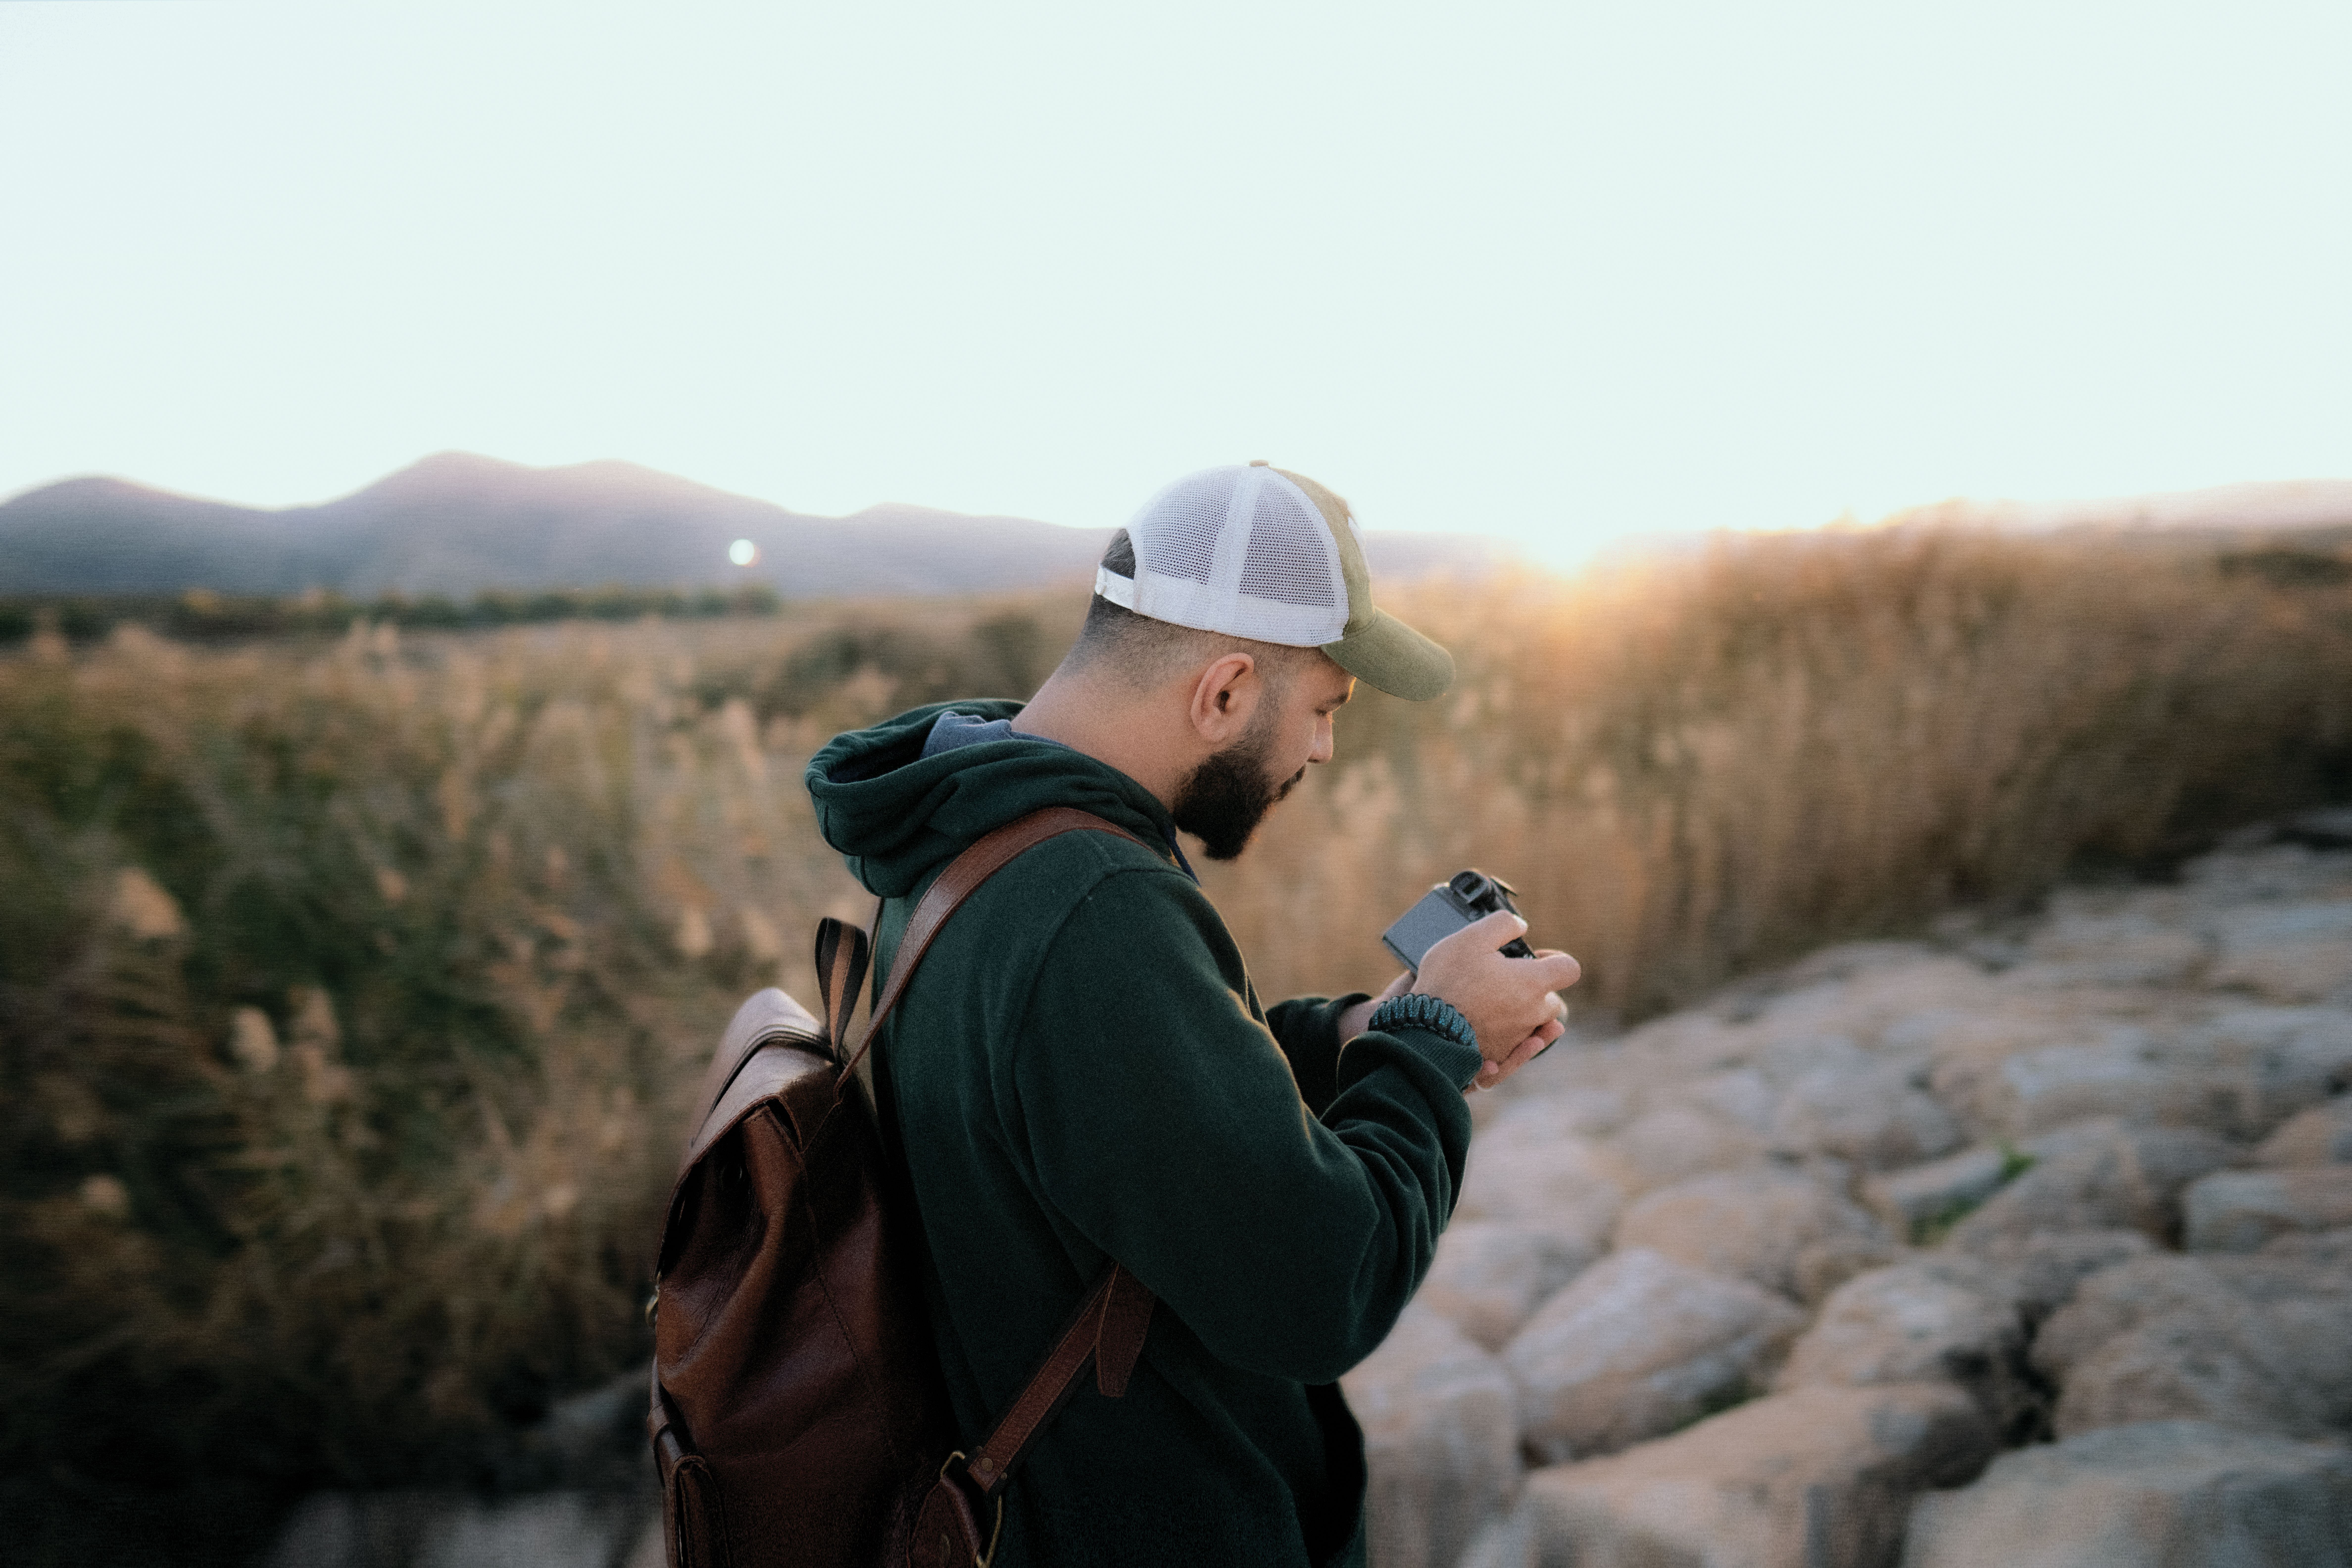
Use 35mm or 50mm for this first pass if you can. Those focal lengths keep the scene natural and help you work fast without changing lenses. If you have only one chance before sunset, shoot the broad view first.
How can you shoot more candid travel moments without stopping every few minutes?
Keep the camera on, use continuous AF, and stay ready for short bursts. Back-button focus helps too, because it separates focus from the shutter and lets you track a subject without refocusing every time. On many mid-tier bodies, a buffer of about 20 to 30 RAW frames is enough for short bursts, but it will slow if you hold the shutter too long.
For moving people, use a shutter near 1/250s at minimum. If the scene is lively, 1/500s or 1/1000s gives cleaner motion. A mirrorless body with eye or subject detection can work well here, but the real drain is often the always-on EVF or LCD, not the act of shooting itself.
Fast candid workflow
- Set AF-C or AI Servo with eye or subject detection.
- Use back-button focus for people in motion.
- Set drive mode to a short burst, not a long hold.
- Use RAW if you want range, or JPEG if you need longer burst depth.
- Turn down image review so the screen does not wake after every shot.
Pre-capture or pre-burst modes help when action starts fast, because they record frames from just before the full press. That works well for a child running into frame or a street musician turning toward you. One tradeoff matters here: electronic bursts can reach high frame rates, but some scenes may show rolling-shutter skew or LED banding.
Light also affects speed. Indoors, a wide aperture such as f/2.8 helps, but it may push ISO higher than you want. That tradeoff is normal in travel work, and it is better than missing the moment while you search for a perfect setting.

A simple arrival routine that keeps you ready
The best travel habits are small and repeatable. Check the battery level before boarding, keep spare cells in your carry-on, and set the camera before you land. Do those things, and the camera is ready when the first street scene appears.
After landing, clean the front element, confirm the card has space, and set a safe base file mode. I usually start with Aperture priority, Auto ISO, AF-C, and a shutter floor of 1/250s for moving scenes. That gives me a fast start without hunting through menus.
From there, the rest is movement. Keep the camera close, shoot the first light you get, and stay alert for one strong frame before the day rushes past. The best travel image is often the one you can make in ten seconds at the curb.

Frequently Asked Questions
How do you carry a camera comfortably through the airport?
Carry a camera comfortably through the airport with a padded strap, a snug fit, and the body riding close to your chest. A sling or shoulder strap keeps the camera stable and easy to grab, while a wide-padded strap helps with heavier bodies or lenses.
What camera settings are easiest for travel snapshots indoors and outdoors?

Aperture priority with Auto ISO is the easiest setting for travel snapshots indoors and outdoors because it handles changing light automatically. Use f/2.8 for portraits and detail shots, and f/5.6 to f/8 for streets and landmarks, with 1/125s as a safe handheld baseline.
How do you protect a camera while moving between planes, trains, and taxis?
Protect a camera while moving between planes, trains, and taxis by keeping the kit lean, close, and on your body instead of buried in a bag. Carry the body with one lens attached, one spare battery in cabin baggage, one or two memory cards, and hold the camera close when bending, sitting, or loading bags.
What should you photograph first after arriving in a new city?
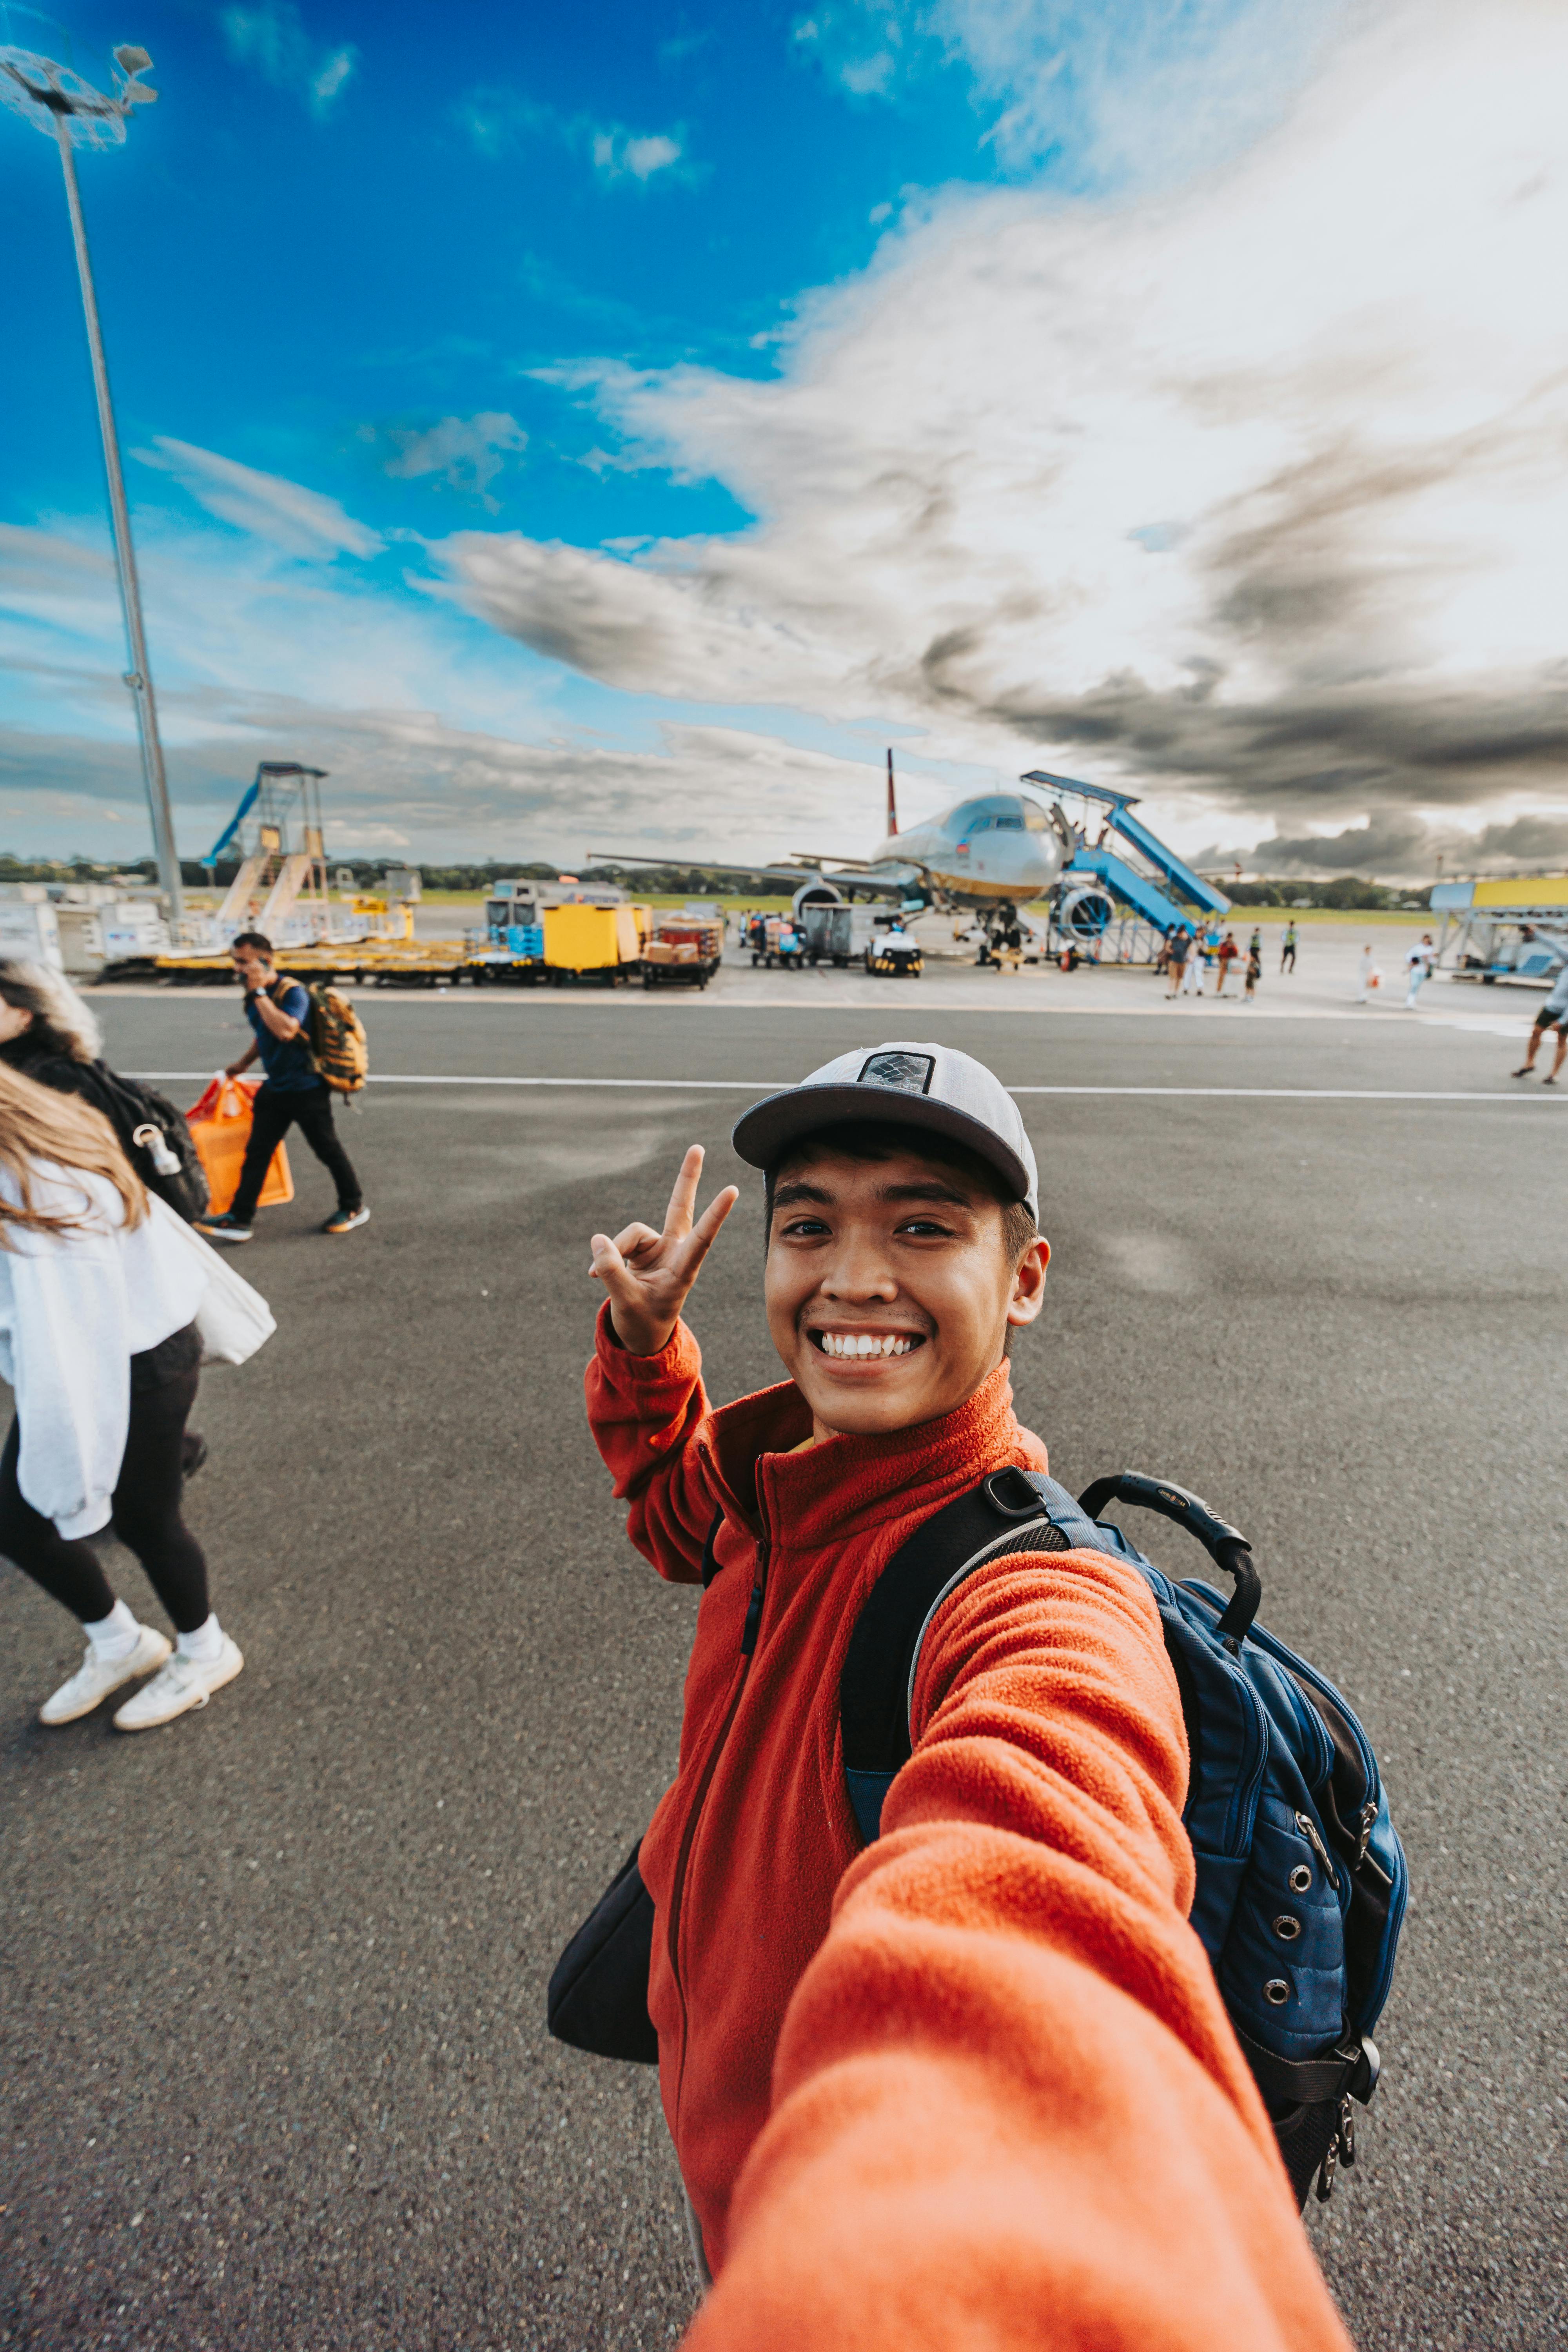
Photograph the first strong arrival moments in a new city, such as the taxi ride, the walk from the station, or the gate-to-street transition, because those scenes often reveal the city immediately. A lens-ready camera also makes it easy to capture runway views, street signs, and first impressions before the light or moment changes.
How can you shoot more candid travel moments without stopping every few minutes?
Shoot more candid travel moments by keeping the camera ready on a strap, staying in aperture priority with Auto ISO, and using a zoom or prime that stays simple to handle. Holding the camera close and keeping one hand free lets you lift it quickly for spontaneous scenes instead of stopping to adjust gear.


