


- Arrive 20–30 minutes early; summer golden hour usually stretches about an hour on either side of sunset.
- Shoot side-lit scenes, lower your angle, and keep the sun just out of frame for richer color.
- If photos look dull, expose for the sky and slightly brighten subjects instead of trusting auto mode.

Golden hour travel photography is about making images in the soft, warm light after sunrise and before sunset. Plain streets, beaches, and hills pick up richness in that light, and shadows stay gentle enough to move around without harsh contrast getting in the way.
Translation missing: en.blog_cta.bundle_heading

- Regular price
-
€42 - Regular price
-
€44 - Sale price
-
€42
By choosing the Camstrap strap, you are opting for a high-quality product designed to meet the needs of the most demanding photographers.
- Developed by a physiotherapist to relieve neck and back pain.
- Fast delivery with tracking by the Post Office 🚚
- Can be used as a shoulder strap or hands-free harness

- Regular price
-
€36 - Regular price
-
€42 - Sale price
-
€36
Translation missing: en.blog_cta.free_shipping_included
Why low sun flatters travel scenes
Golden hour sits close to the horizon, usually for about an hour after sunrise and an hour before sunset. The sun skims across a scene instead of dropping straight down on it, so shapes and textures stand out more clearly.

Walls, waves, rocks, and faces gain depth from that angle, while skies and water take on warmer color. Early and late light usually beats midday sun for seascapes.
What low light reveals in a scene
Long shadows give a frame direction and show the form of a place. Skin looks softer, and bright areas hold together longer. In a busy market, on a dock, or along a cliff edge, the scene stays easier to manage.
Places that tend to work best
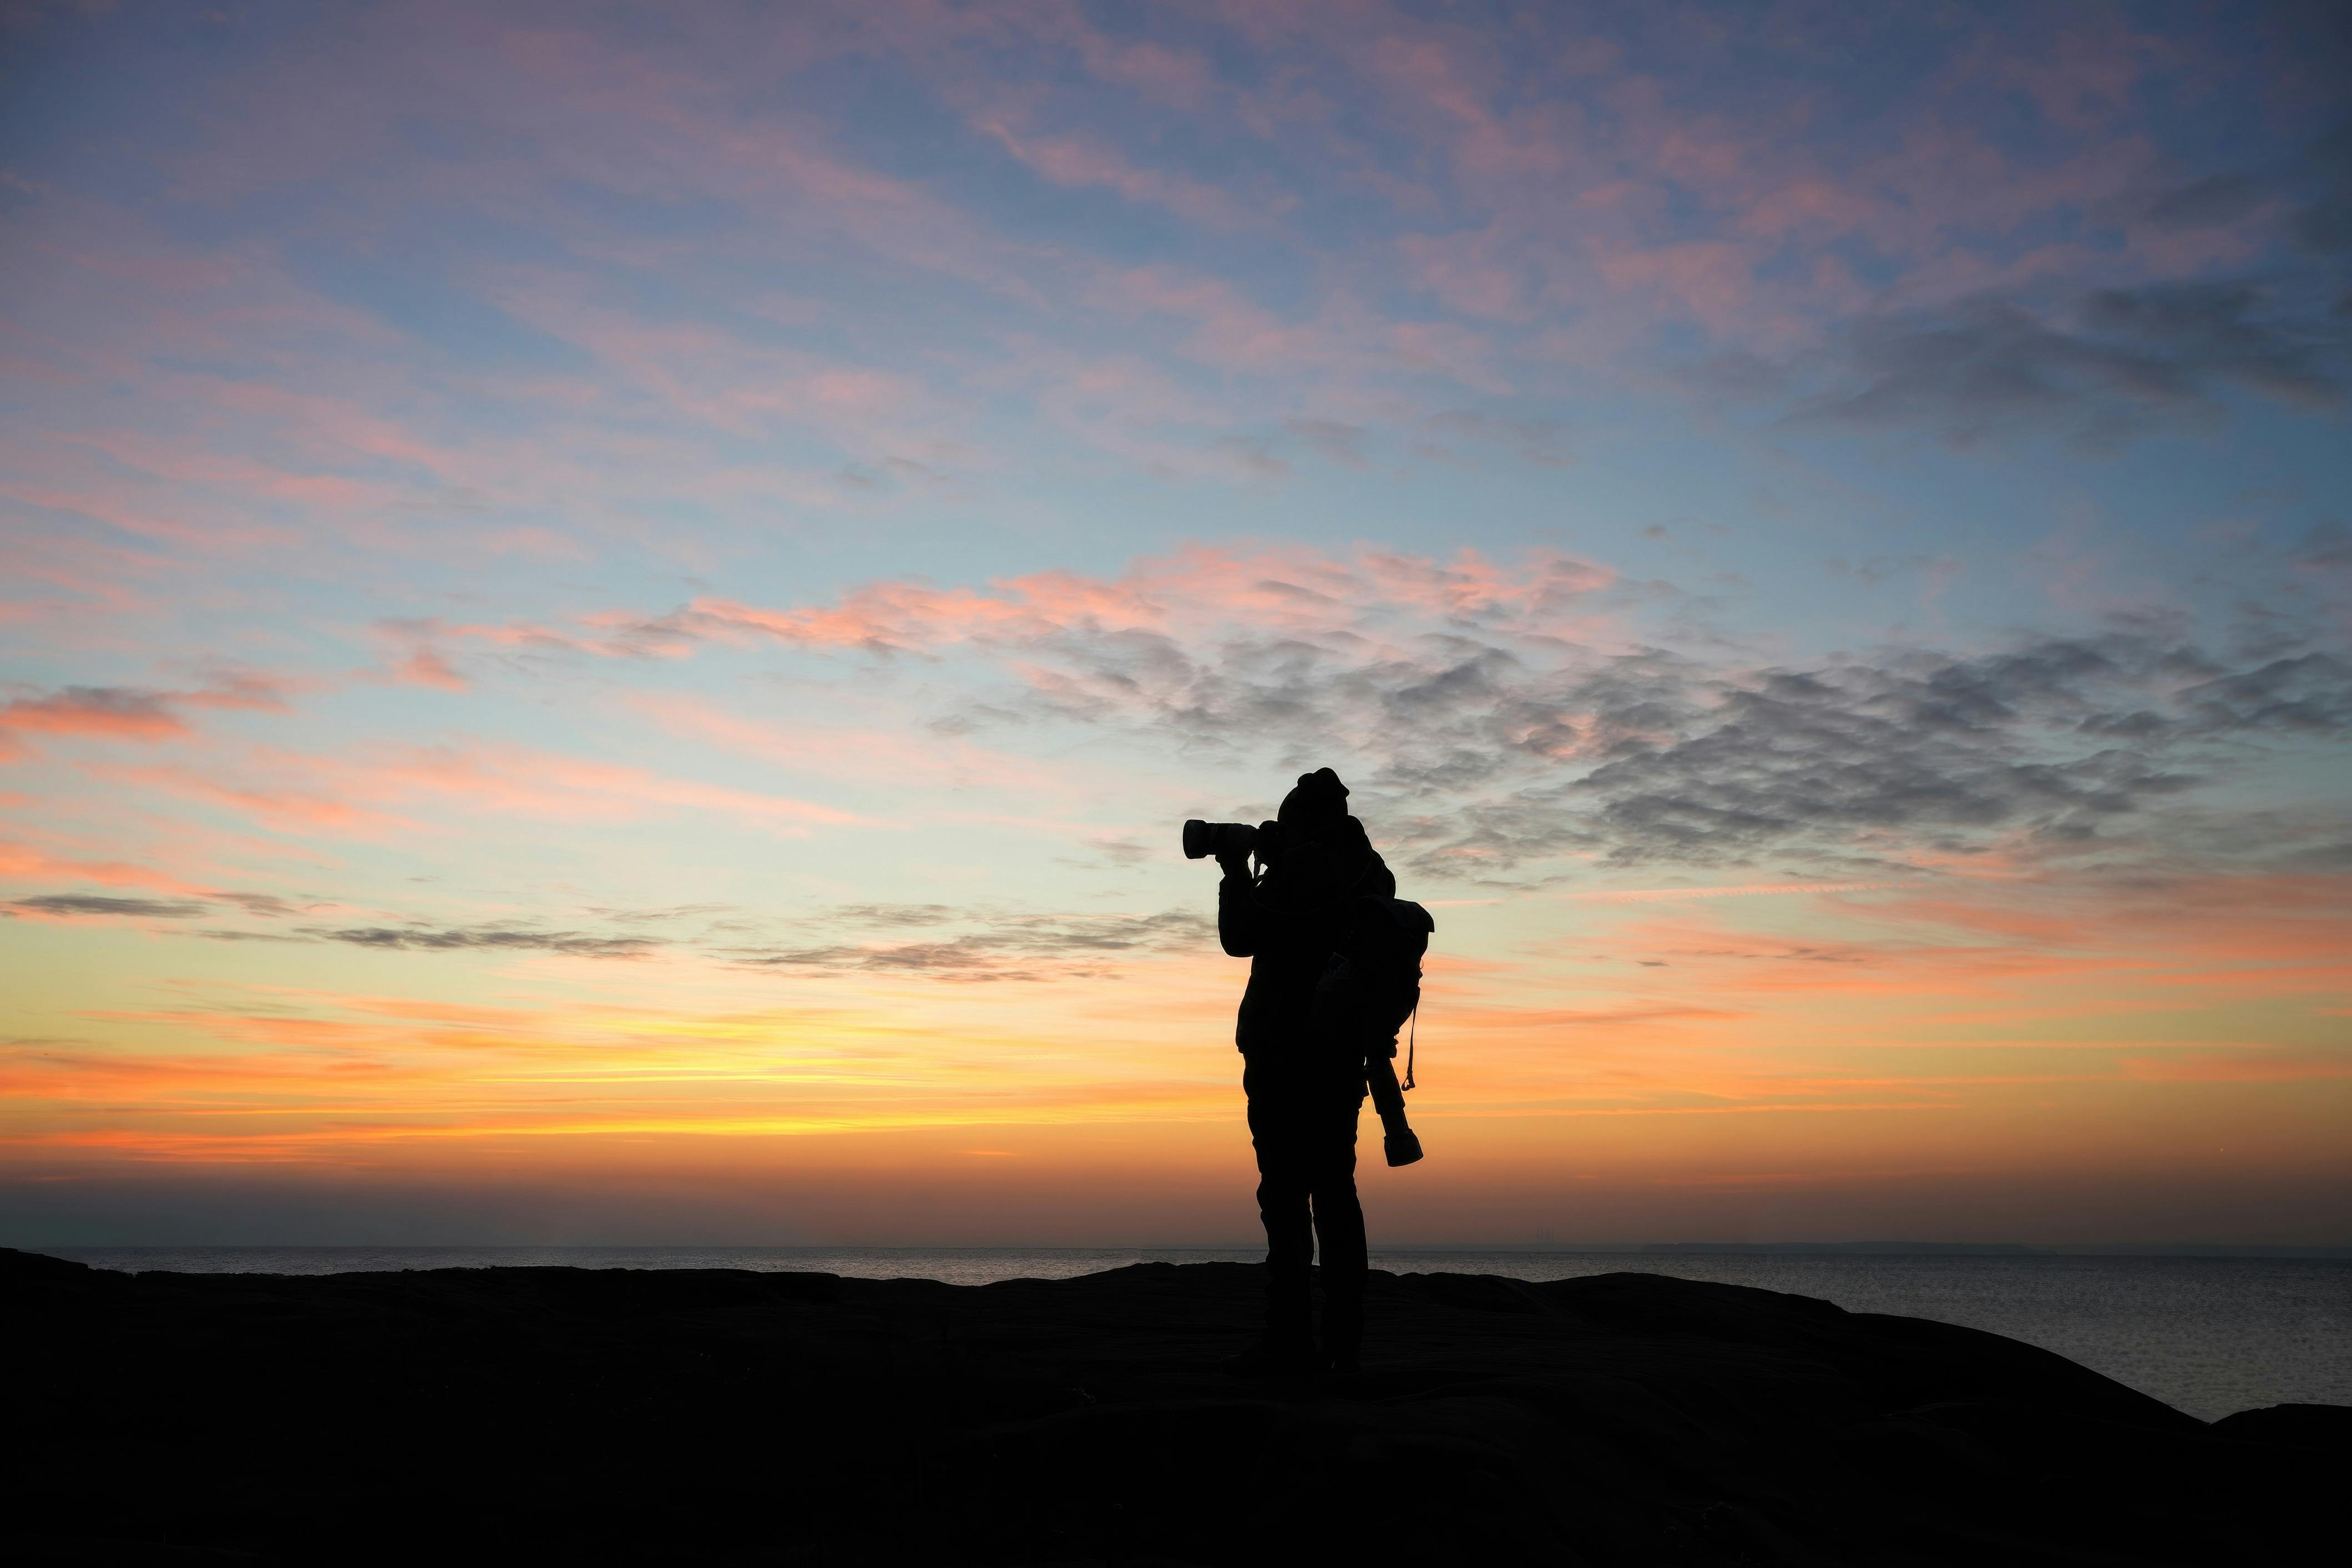
Open spaces are ideal because the sun can sweep across them cleanly. Beaches, rooftops, harbors, and fields often shine in this window.
Urban scenes can work well too. Side light on stone, glass, and metal builds strong lines without the hard feel of noon.
When does summer golden hour happen?
In summer, golden hour starts earlier in the morning and lingers later in the evening than it does in winter. The exact timing depends on latitude, date, and local haze. In many places, the useful window still runs for about 60 minutes after sunrise and about 60 minutes before sunset. Higher latitudes can stretch that window and keep the evening light softer for longer.
How to time it simply
Check sunrise and sunset before you leave the hotel, then arrive 20 to 30 minutes early to find your spot and test exposure.
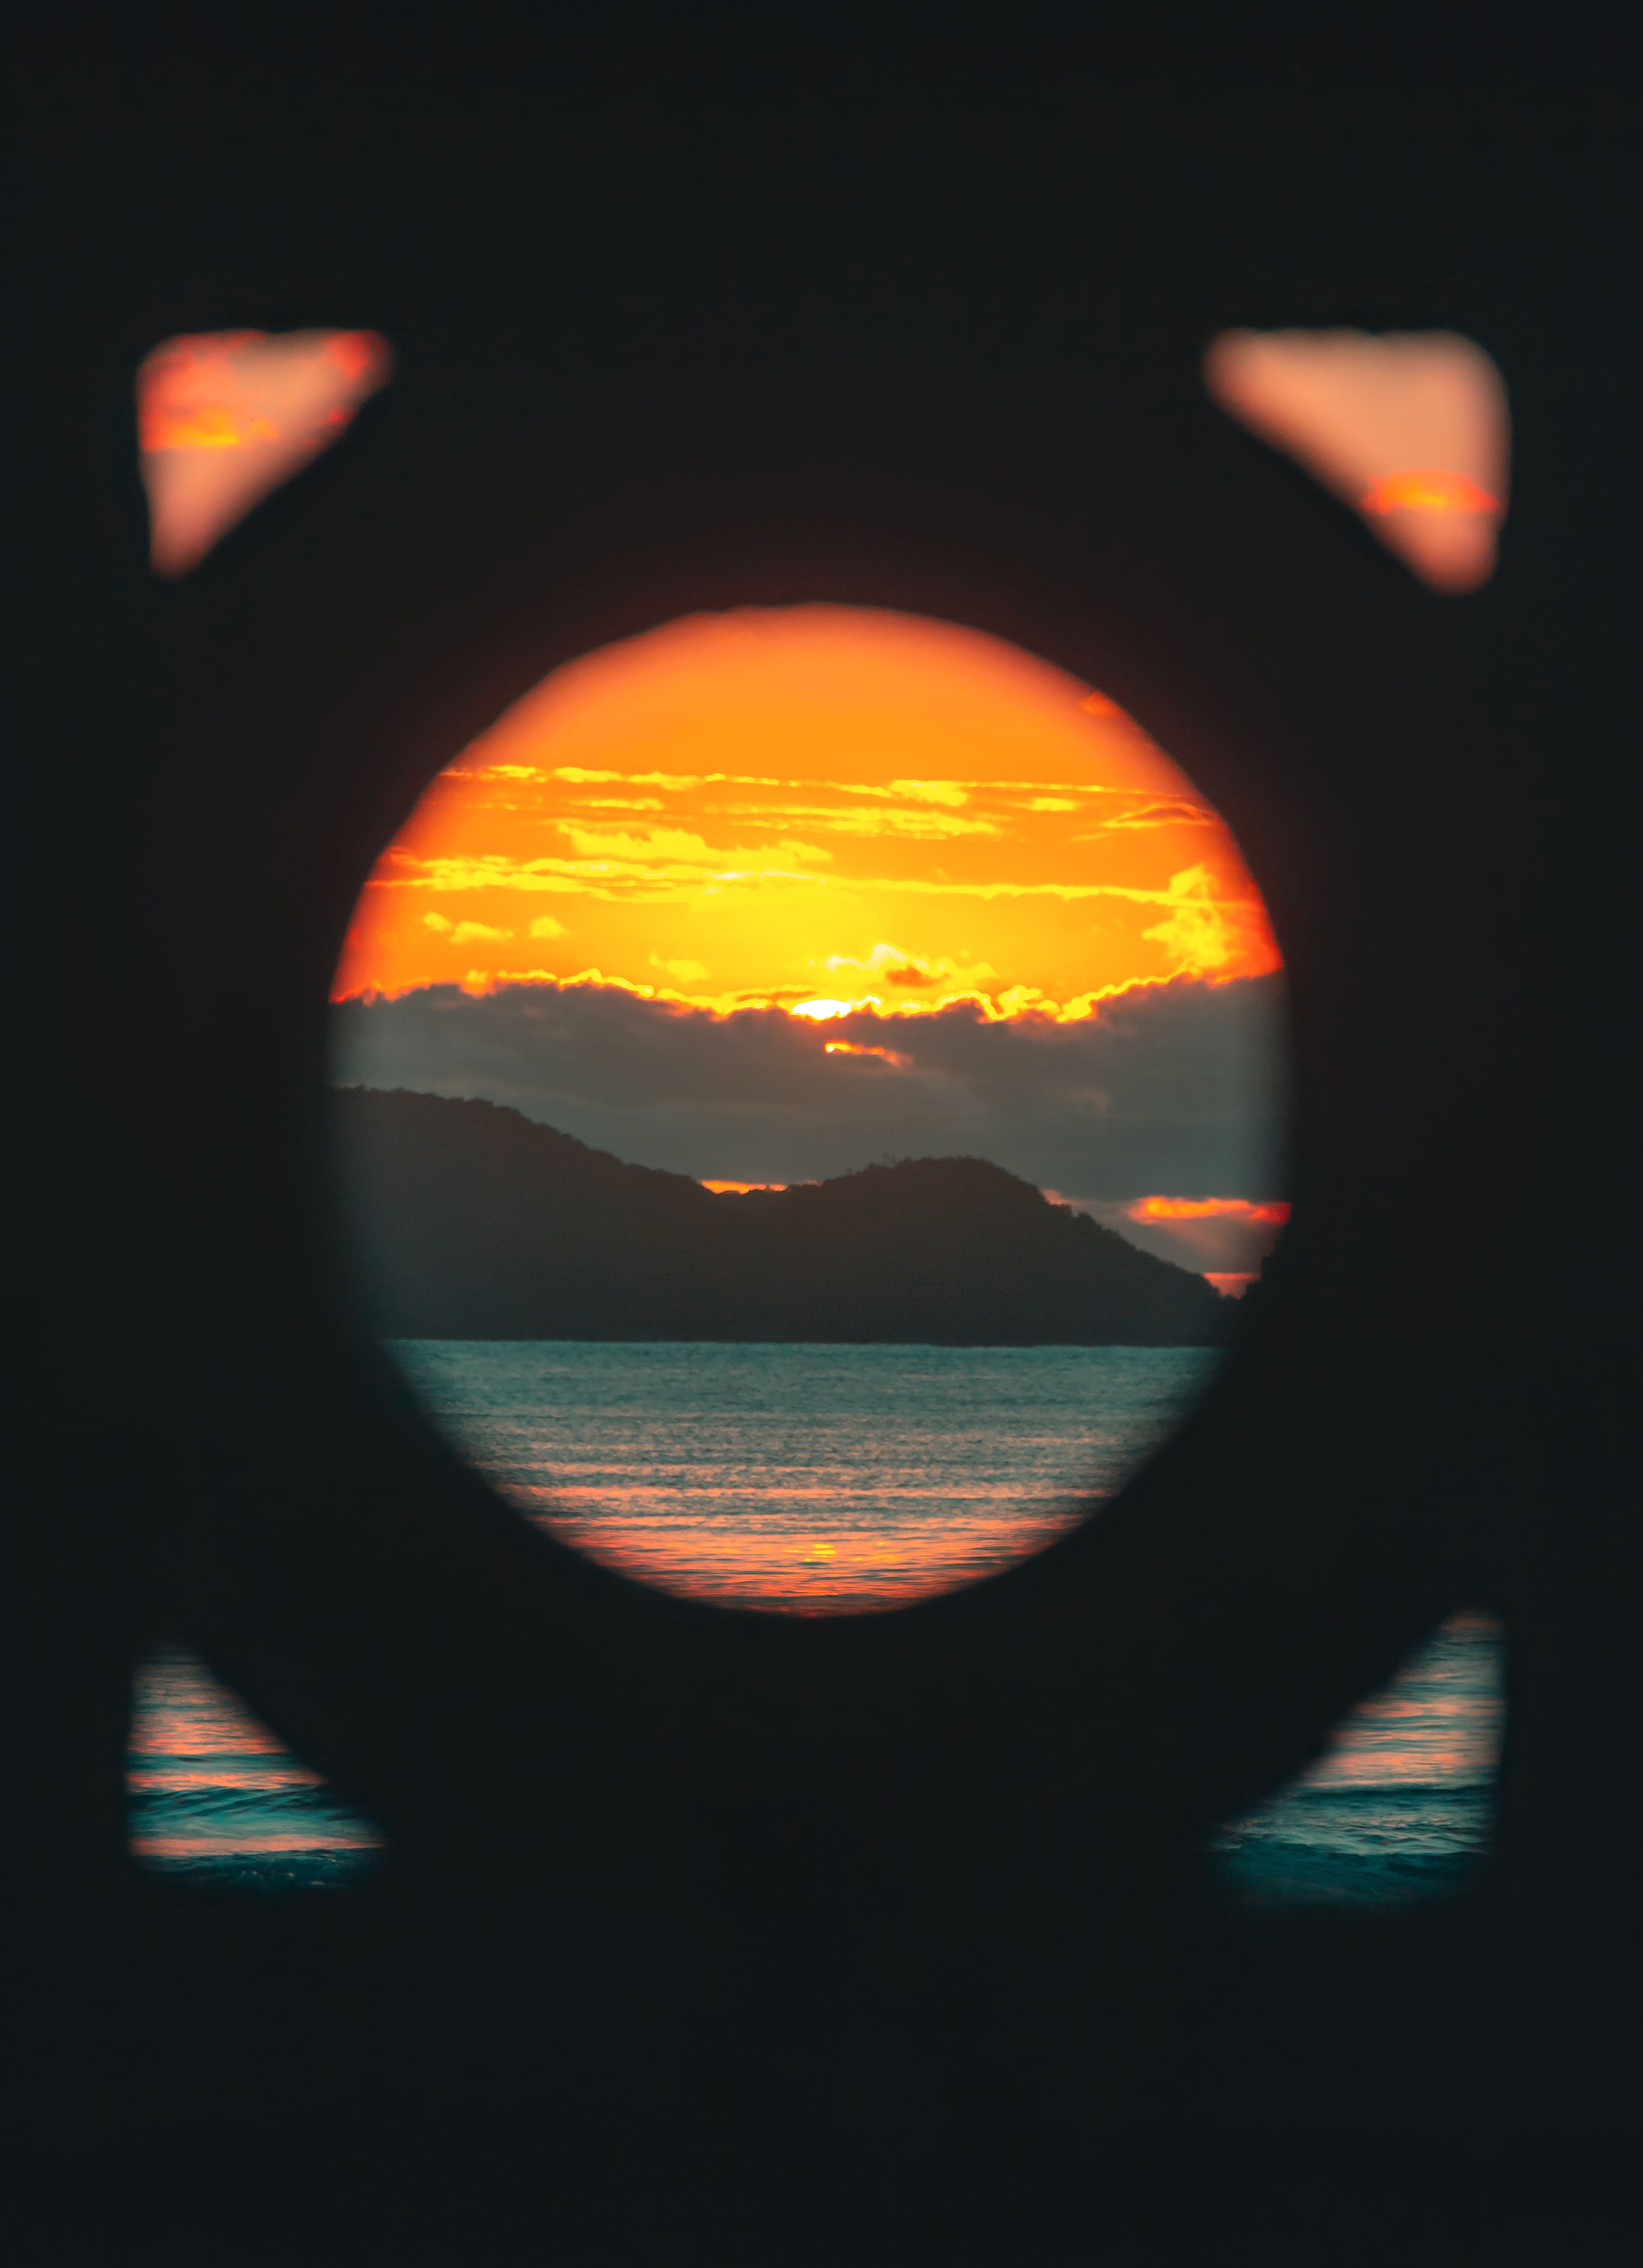
For summer trips, the best color often begins just before the official window and hangs on for a few minutes after it ends. Those extra minutes matter when clouds catch the last orange light.
- Get there early and frame your main view before the light peaks.
- Track the sky, not just the clock.
- Stay ready for the last 10 minutes, when color can change fast.
How can I shoot better sunset vacation photos?
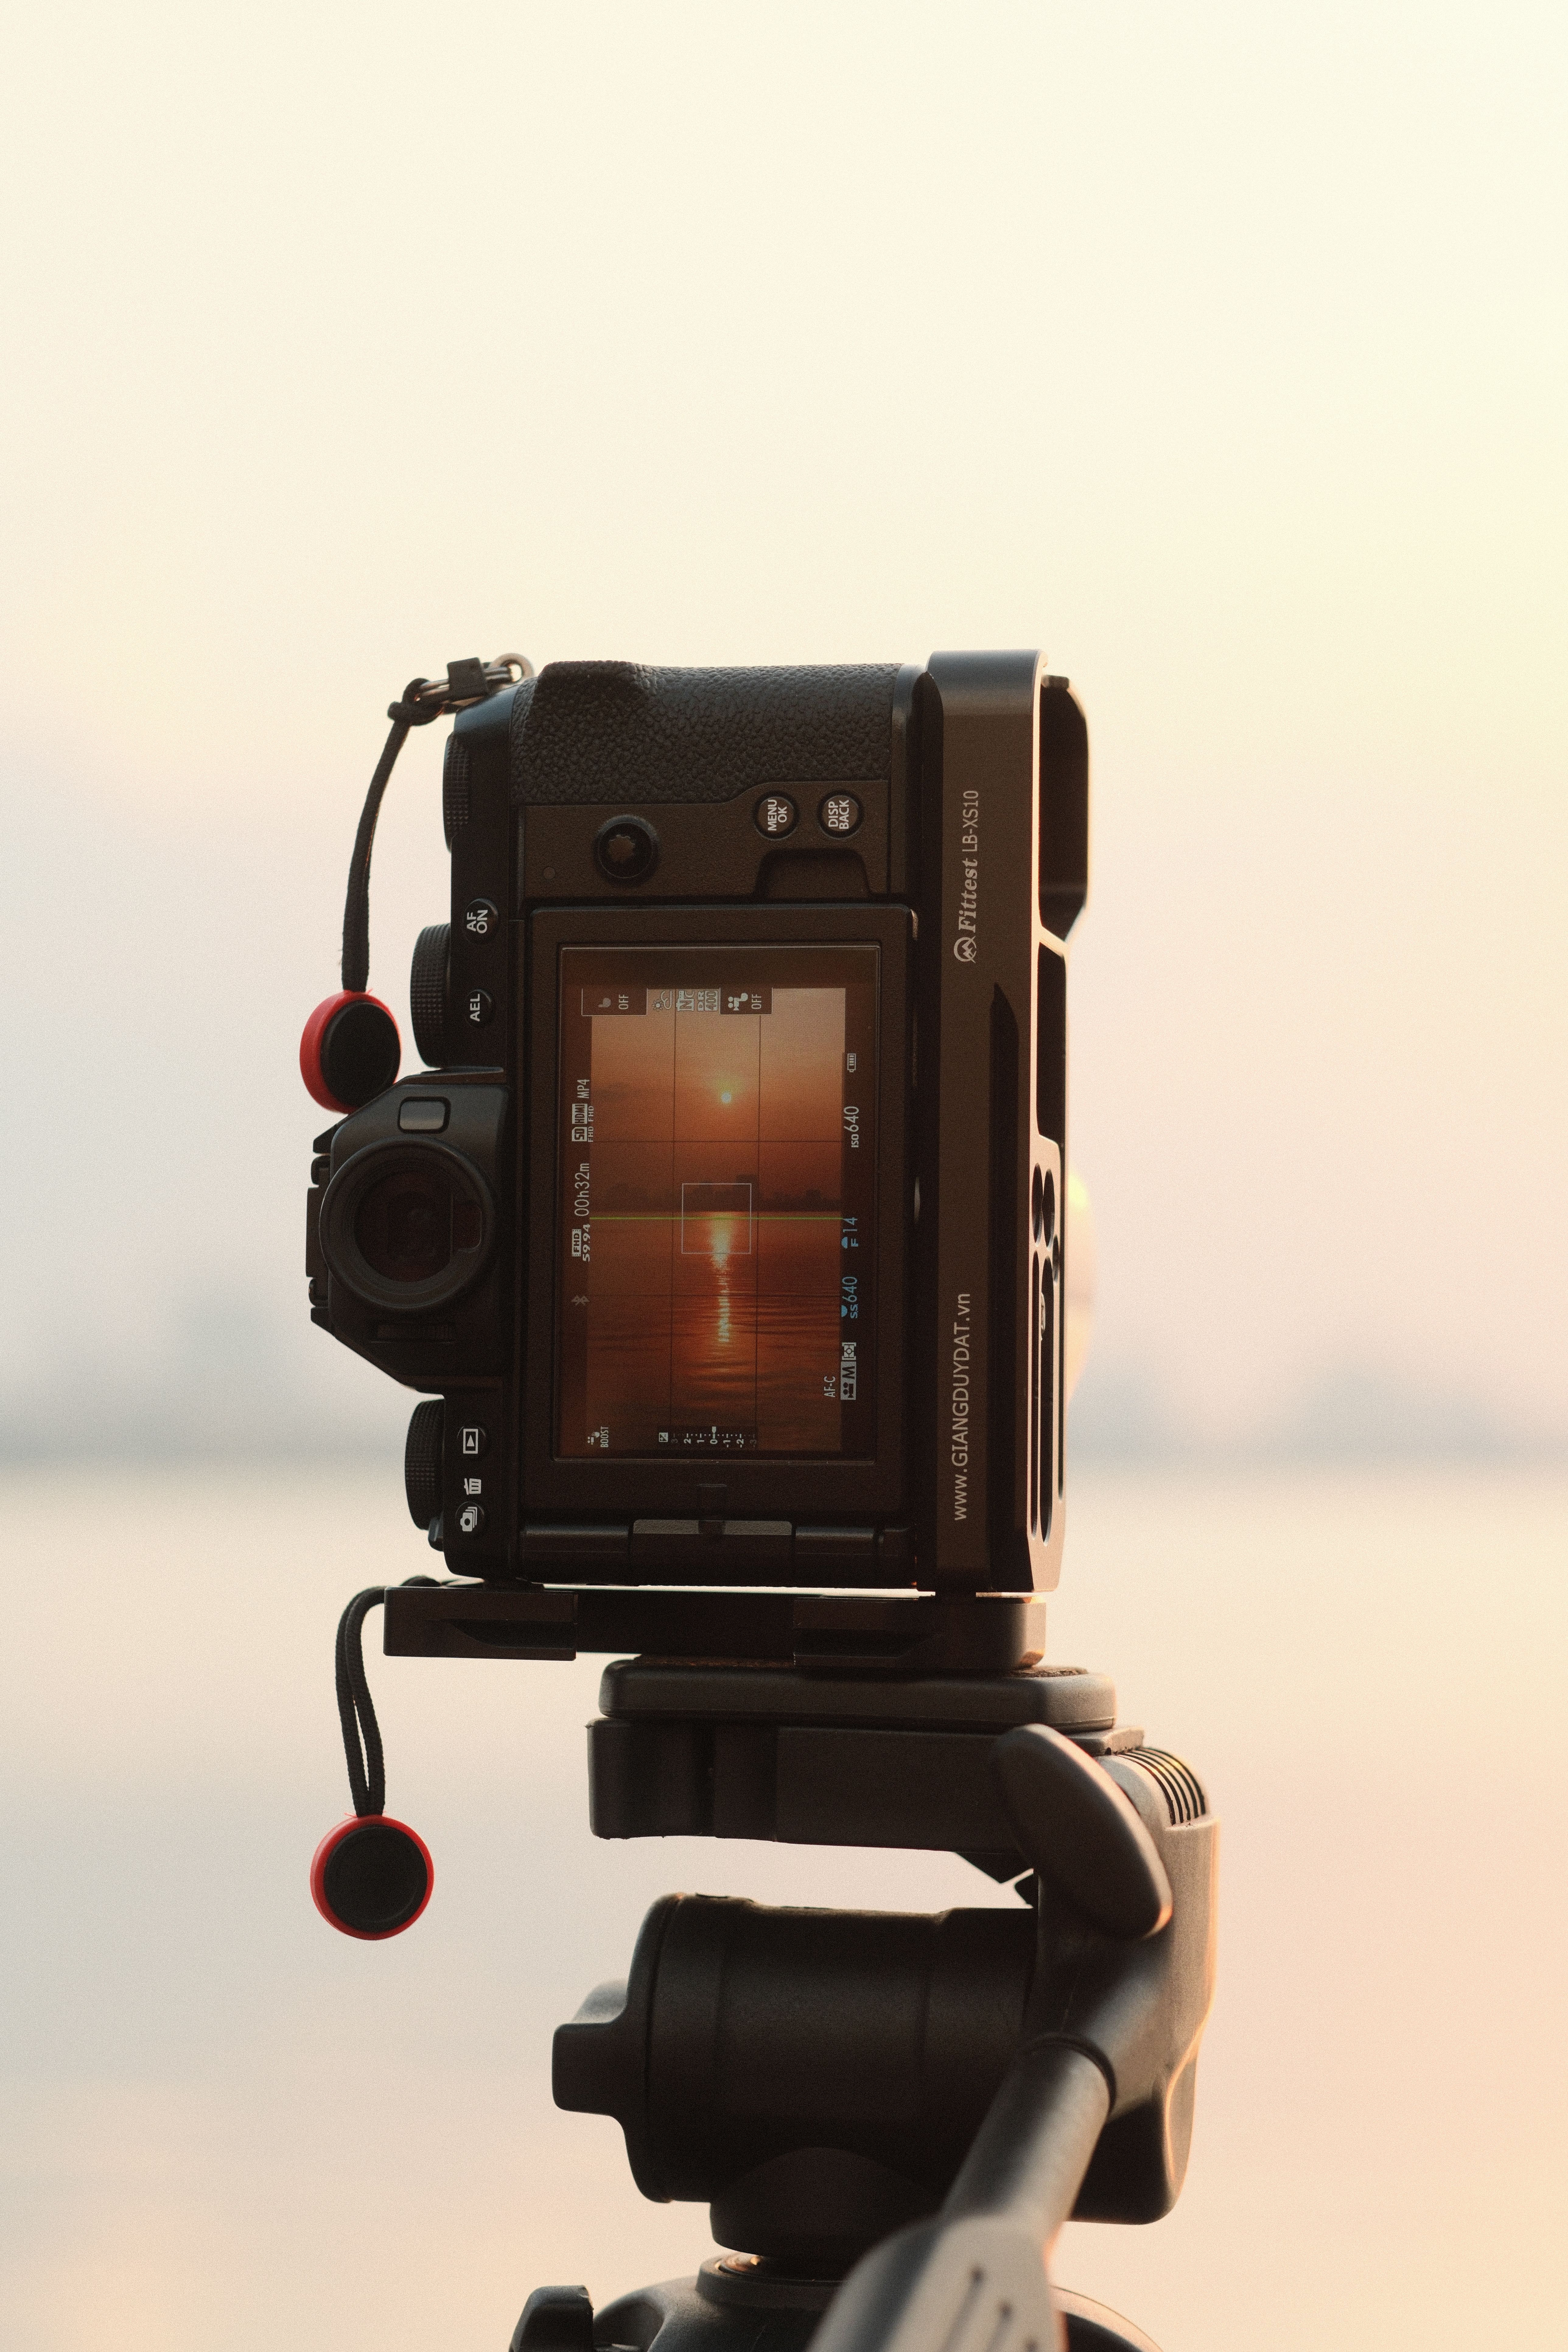
Strong sunset photos come from simple control of light, angle, and focus. Aperture Priority mode works well because it lets you set depth of field while the camera handles shutter speed. For landscapes, start around f/8 to f/16 and keep ISO at 100 or 200 if the light allows it. Canon gives f/16 or f/22 as small-aperture examples for deep focus, but f/22 can soften detail a bit, so I use it only when extra depth is worth it.
Quick camera settings
RAW files give you more room to adjust white balance, exposure, highlights, and shadows later. Sunset light shifts by the minute, so that flexibility helps.

For people or travel portraits, try 50mm to 85mm at f/2 to f/2.8. Canon gives f/1.4 as a wide-aperture example, but it demands careful focus on the eye.
- Set Aperture Priority and choose f/8 for general travel scenes.
- Drop to f/2 to f/2.8 for portraits with more background blur.
- Keep ISO low first, then raise it only if shutter speed falls too far.
- Check the histogram, not just the rear screen.
- Shoot RAW and protect bright sky detail.
Moves that strengthen the frame
Shift a few feet left or right before you shoot. A small change can move a pole, tree, or person out of the edge of the frame. Lower the camera when the foreground has texture. Sand, stones, and pavement can add leading lines and make the light feel deeper.
Why do sunset photos look dull or too dark?
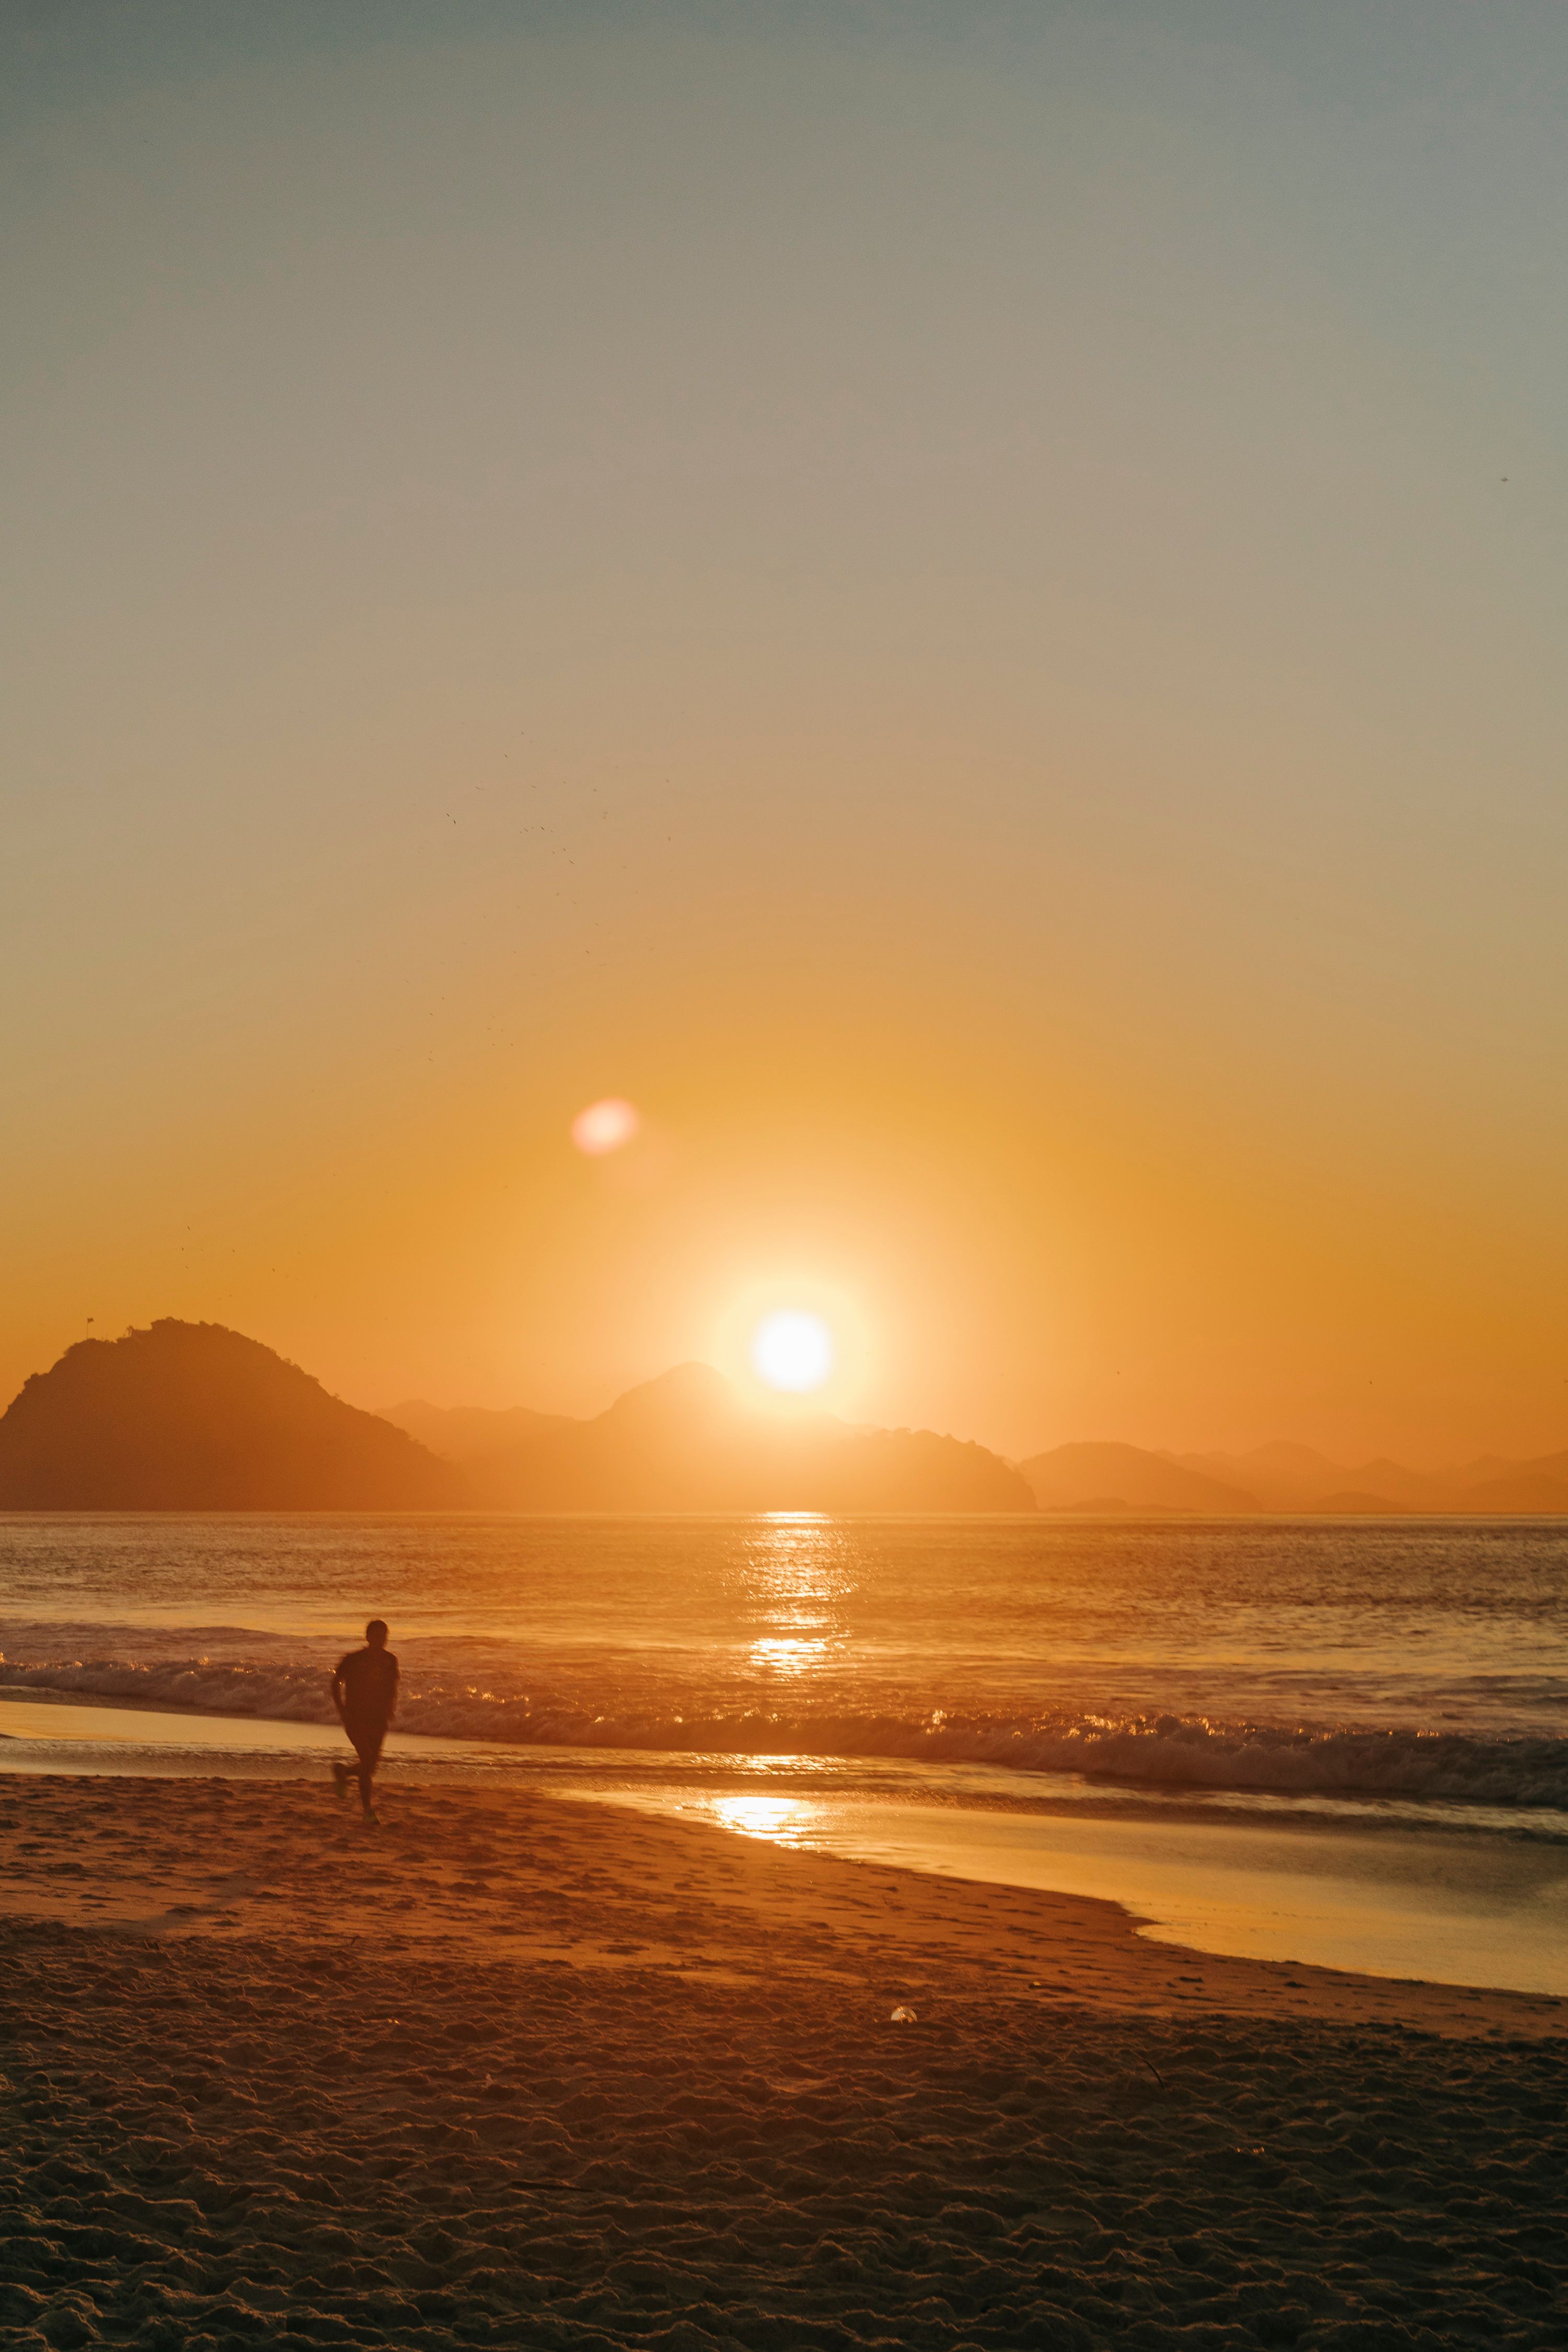
Sunset photos often look dull or too dark because the camera reads a bright sky and a darker foreground at the same time. The meter tries to balance both, and the land can end up underexposed.
Backlighting can wash color out of a scene if you expose only for the sky. In that case, the foreground loses detail and the sunset can look flat on screen.
How to correct it in the field

Use exposure compensation of +1/3 to +1 EV when the subject is darker than the sky. If the sky starts to clip, ease it back and keep the subject in range. Spot metering helps when the main subject is small in the frame. For a face against the sun, meter on the skin and then check that the highlights still hold.
- Expose for the brightest part you want to keep.
- Bracket three frames when the contrast is extreme.
- Watch for haze, which can mute orange color fast.
- Use a lens hood to cut flare when the sun sits near the edge.
Small camera moves that transform the shot
Golden hour rewards small moves more than gear changes. A few inches of camera height or angle can change the way light hits the subject.
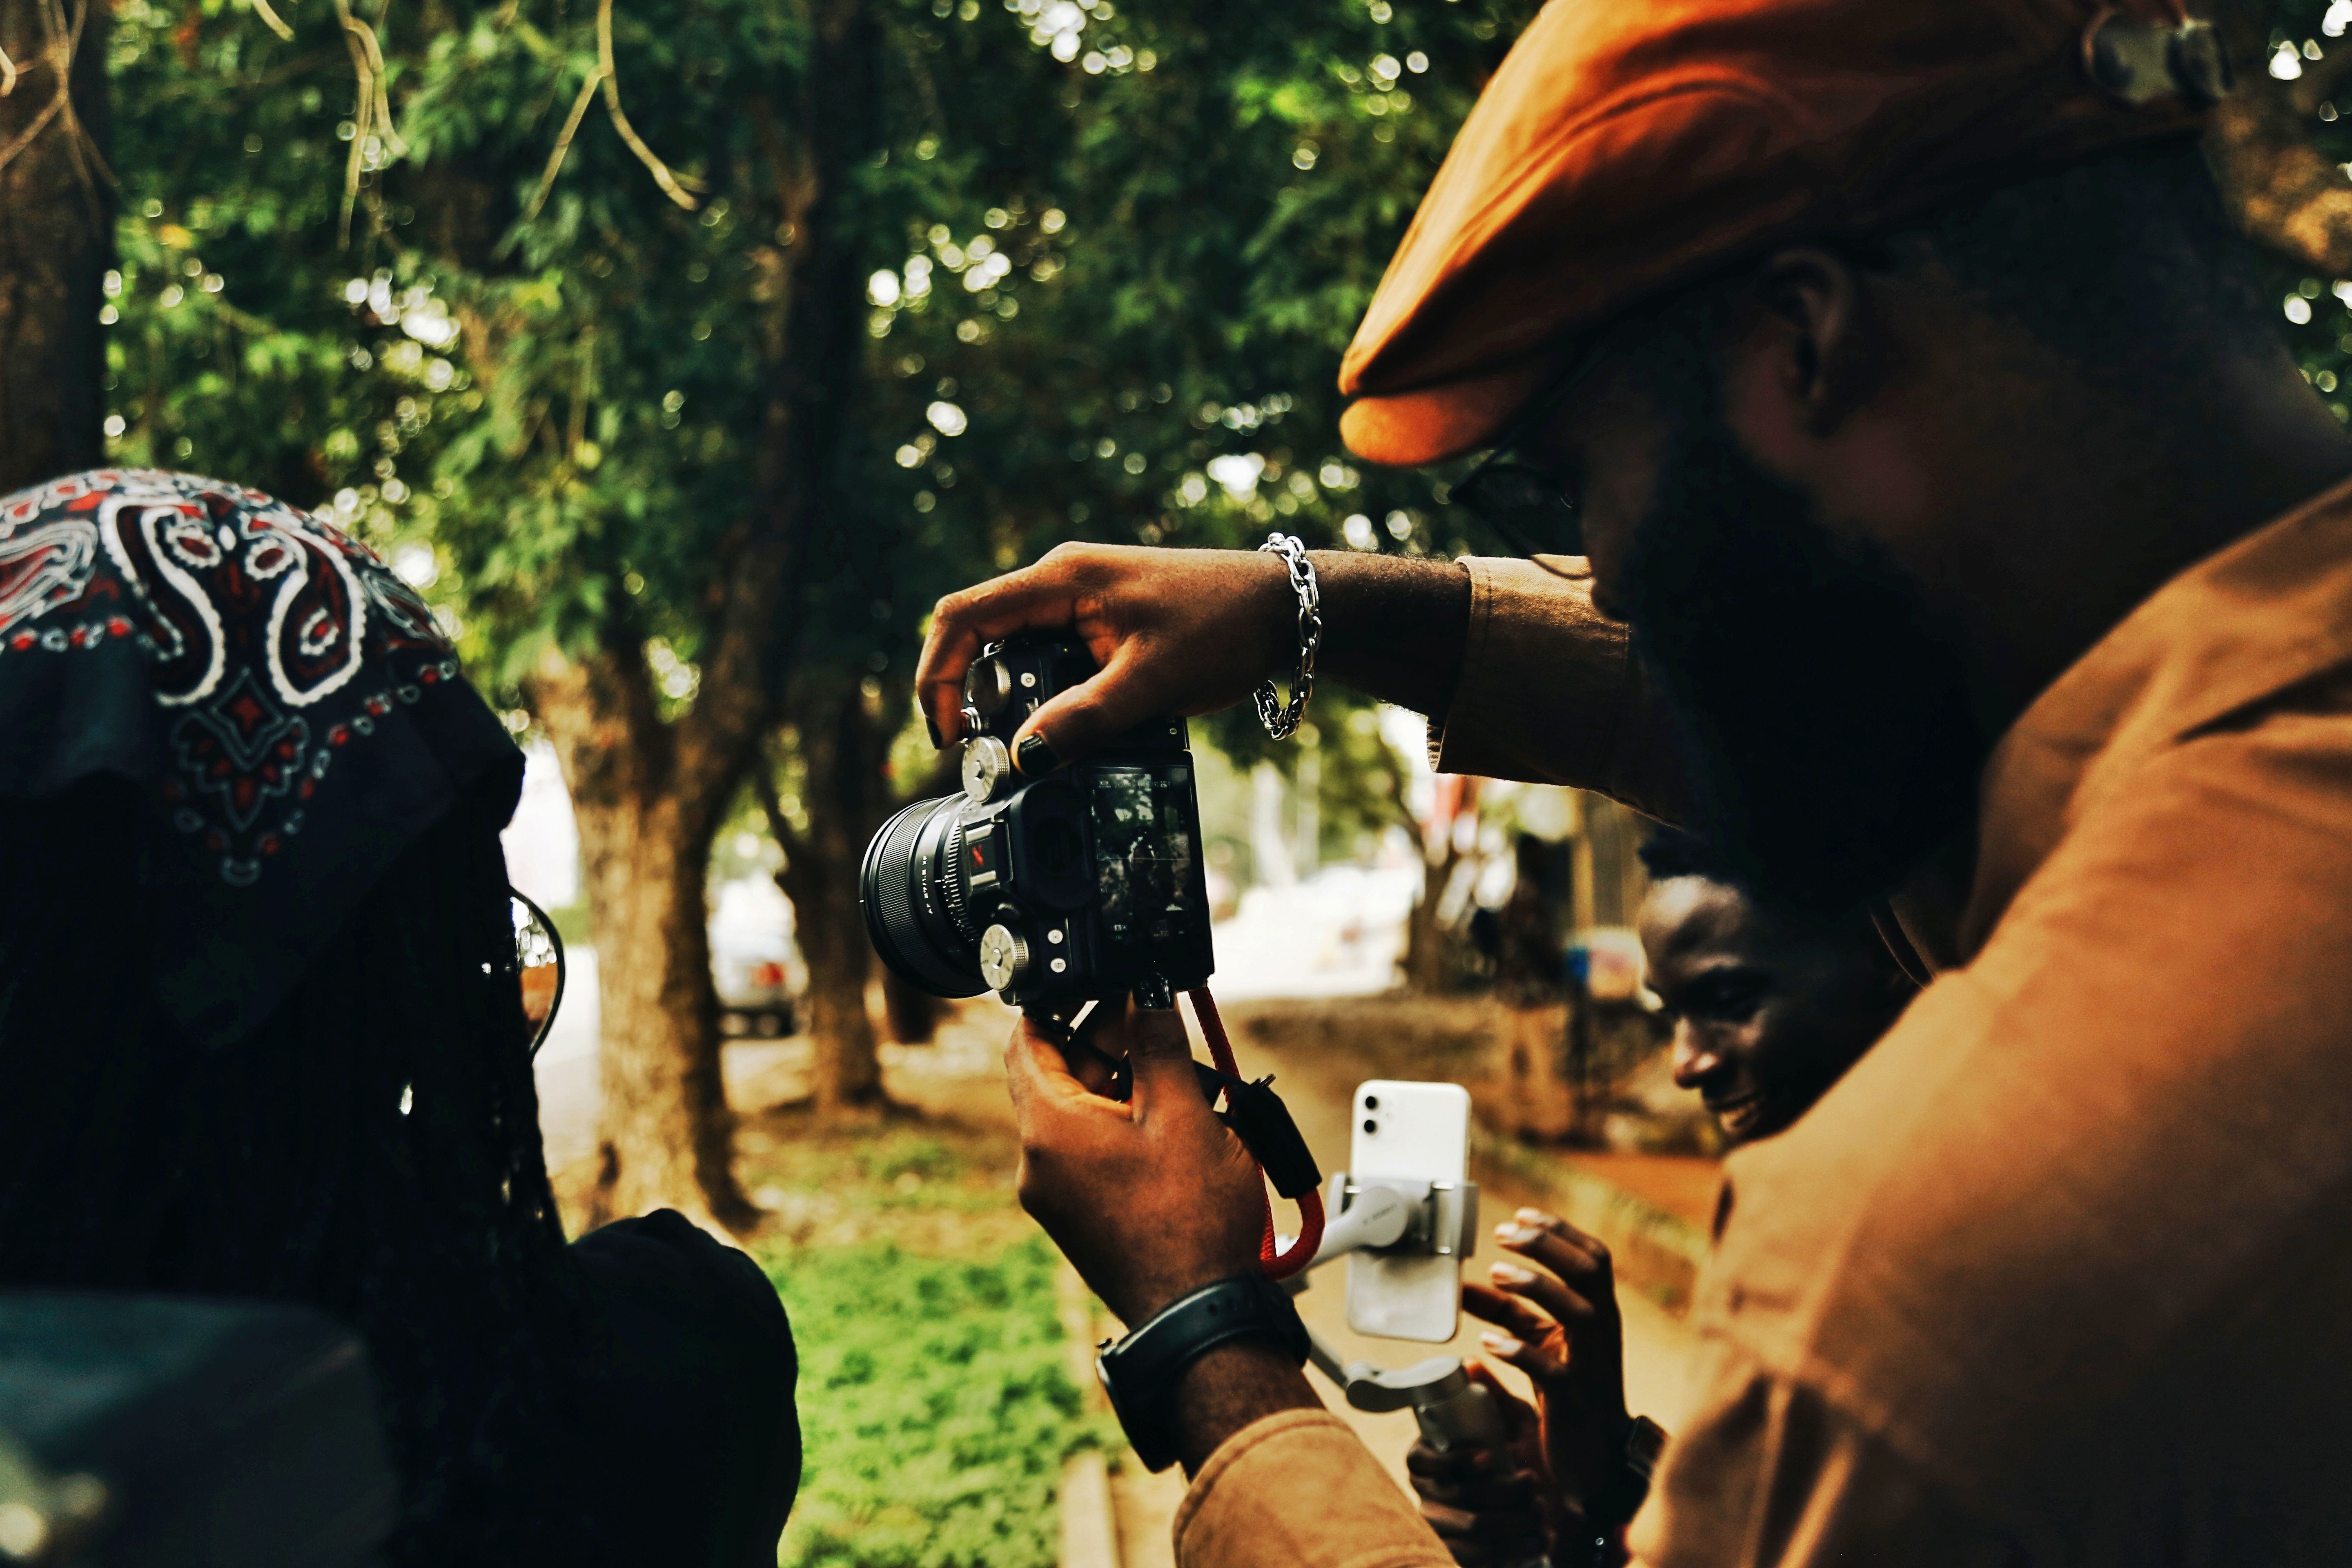
Try a side-lit angle first, then a backlit angle, then one shot with the sun hidden just behind an edge. Each version gives the scene a different mood.
Focus, motion, and a useful strap
For people or moving scenes, use continuous AF with eye or subject detection and back-button focus if your camera offers it. That setup helps you hold focus while you reframe quickly. A hands-free strap helps here because you can climb steps, move through crowds, and raise the camera sooner when the light opens up. A Camstrap camstrap voyager fits that use well, since the load sits ready on your body and makes the shift from walking to shooting almost automatic.
Think about burst mode and buffer limits

Continuous shooting helps with waves, turns, and walking subjects, but the tradeoff is buffer depth and card speed. A mid-tier body often slows after roughly 20 to 30 RAW frames, while JPEG can run much longer.
Use a UHS-II V60 or V90 card if your camera supports it, and choose electronic burst only when rolling-shutter skew or LED banding will not hurt the shot. Mechanical bursts near 10 fps are often safer for travel scenes with mixed light.
Pre-capture or pre-burst mode is useful too, if your camera has it. It records frames just before the full press, which helps when a wave breaks or a couple steps into frame.
A compact kit for the last light

You do not need a full bag to make strong sunset images. A small, fast kit is easier to carry, and it keeps you ready when the sky changes in minutes.
- A camera with Aperture Priority and RAW capture
- One wide zoom or one prime in the 24mm to 85mm range
- A spare battery, since the EVF and screen use power fast
- A UHS-II card with V60 or better speed
- A lens hood for flare control
- A clean microfiber cloth for sea spray and dust
Keep the bag light enough that you can leave it on and keep moving. Golden light does not wait, and the best frame is often the one you reach by walking a little farther than everyone else.
Editing choices that keep the glow believable

Start with white balance and exposure before you touch color. A slight warm shift can help, but too much can make the scene look fake fast. Lift shadows carefully, and protect the bright edge around the sun. RAW files give you room to bring back detail without making the image look hard or noisy.
Keep the mood from drifting too far
Lower clarity only a little if the scene feels harsh. A small change can keep the glow soft without washing out the texture that golden hour gives you.
If the water or sky looks dull, check the black point before you push saturation. A clean tonal base often brings the color back better than a heavy slider move.

Golden light rewards planning, but it also rewards speed. If you know the time window, use the right mode, and keep your camera easy to carry, you can move from street to shore without missing the best minute. The next time the sky starts to warm, get set 20 minutes early, switch to RAW, and stay with the last 10 minutes of light, camera ready in hand.
Frequently Asked Questions
What time is golden hour in summer?
In summer, golden hour usually starts earlier after sunrise and lasts later before sunset than it does in winter. The useful window is often about 60 minutes after sunrise and about 60 minutes before sunset, but the exact time depends on latitude, date, and local haze.
How do I shoot better vacation photos at sunset?
Better vacation sunset photos come from controlling light, angle, and focus, with Aperture Priority mode handling shutter speed while you set depth of field. For landscapes, start around f/8 to f/16 with ISO 100 or 200 if the light allows, and shoot RAW so white balance, exposure, highlights, and shadows can be adjusted later.
Why do my sunset photos look dull or too dark?
Sunset photos look dull or too dark when the camera misses the rapidly changing light or exposure drops too low as the sun gets lower. Arriving 20 to 30 minutes early, tracking the sky instead of only the clock, and staying ready for the last 10 minutes helps capture the strongest color before it fades.


