


- Start with one peak, one edge, and one clean test frame.
- Use a 14–24mm lens for depth; switch longer when the scene feels empty.
- Anchor the foreground with a rock, trail, or ridge line for scale.
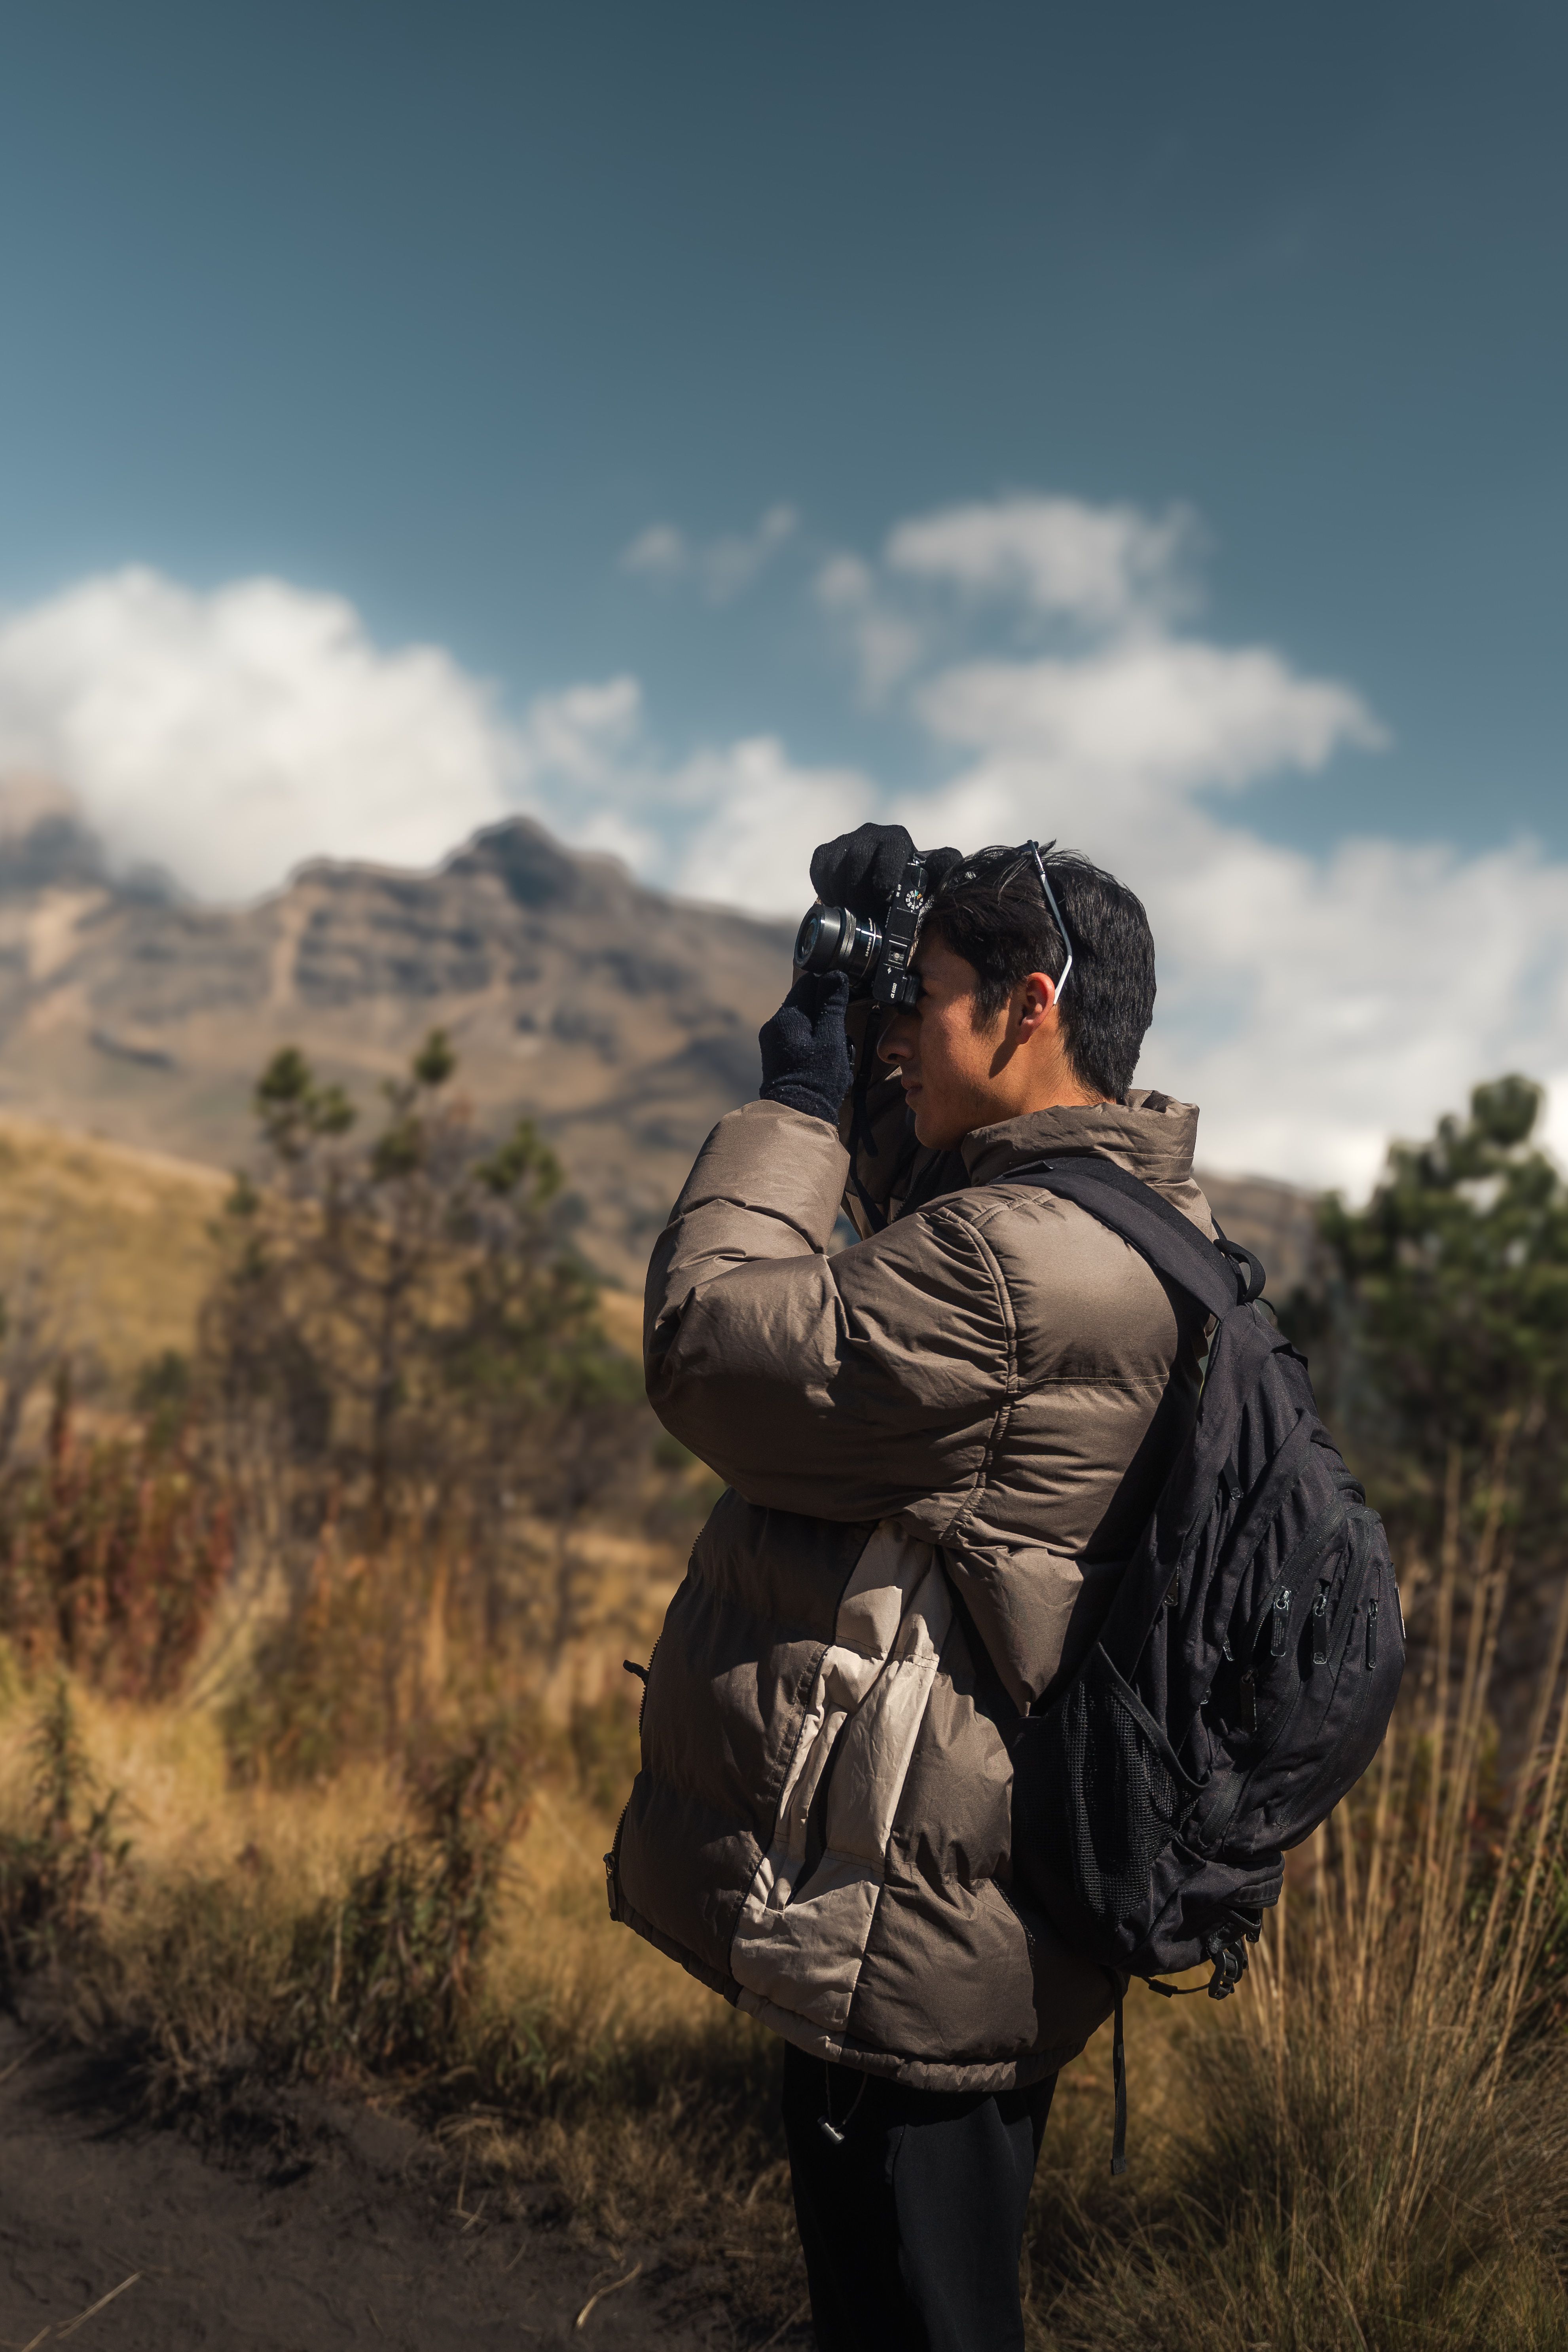
Long exposure photography uses a longer shutter speed to record motion in a single frame. On a trail stop, a quick pause can turn a mountain scene into something with stronger shape, deeper space, and a better sense of mood.
Translation missing: en.blog_cta.bundle_heading

- Regular price
-
€42 - Regular price
-
€44 - Sale price
-
€42
By choosing the Camstrap strap, you are opting for a high-quality product designed to meet the needs of the most demanding photographers.
- Developed by a physiotherapist to relieve neck and back pain.
- Fast delivery with tracking by the Post Office 🚚
- Can be used as a shoulder strap or hands-free harness

- Regular price
-
€36 - Regular price
-
€42 - Sale price
-
€36
Translation missing: en.blog_cta.free_shipping_included
Why a brief pause can still make a strong frame
Treat the stop like a real setup, not a casual snap. Mountain light can change in a minute, so deliberate choices matter most.
Hands-free carry keeps the camera ready while you walk. I prefer a setup that lets me stop, lift the camera, and frame in one smooth move, and a Camstrap Voyager does that well because it holds the body secure without digging into my neck.
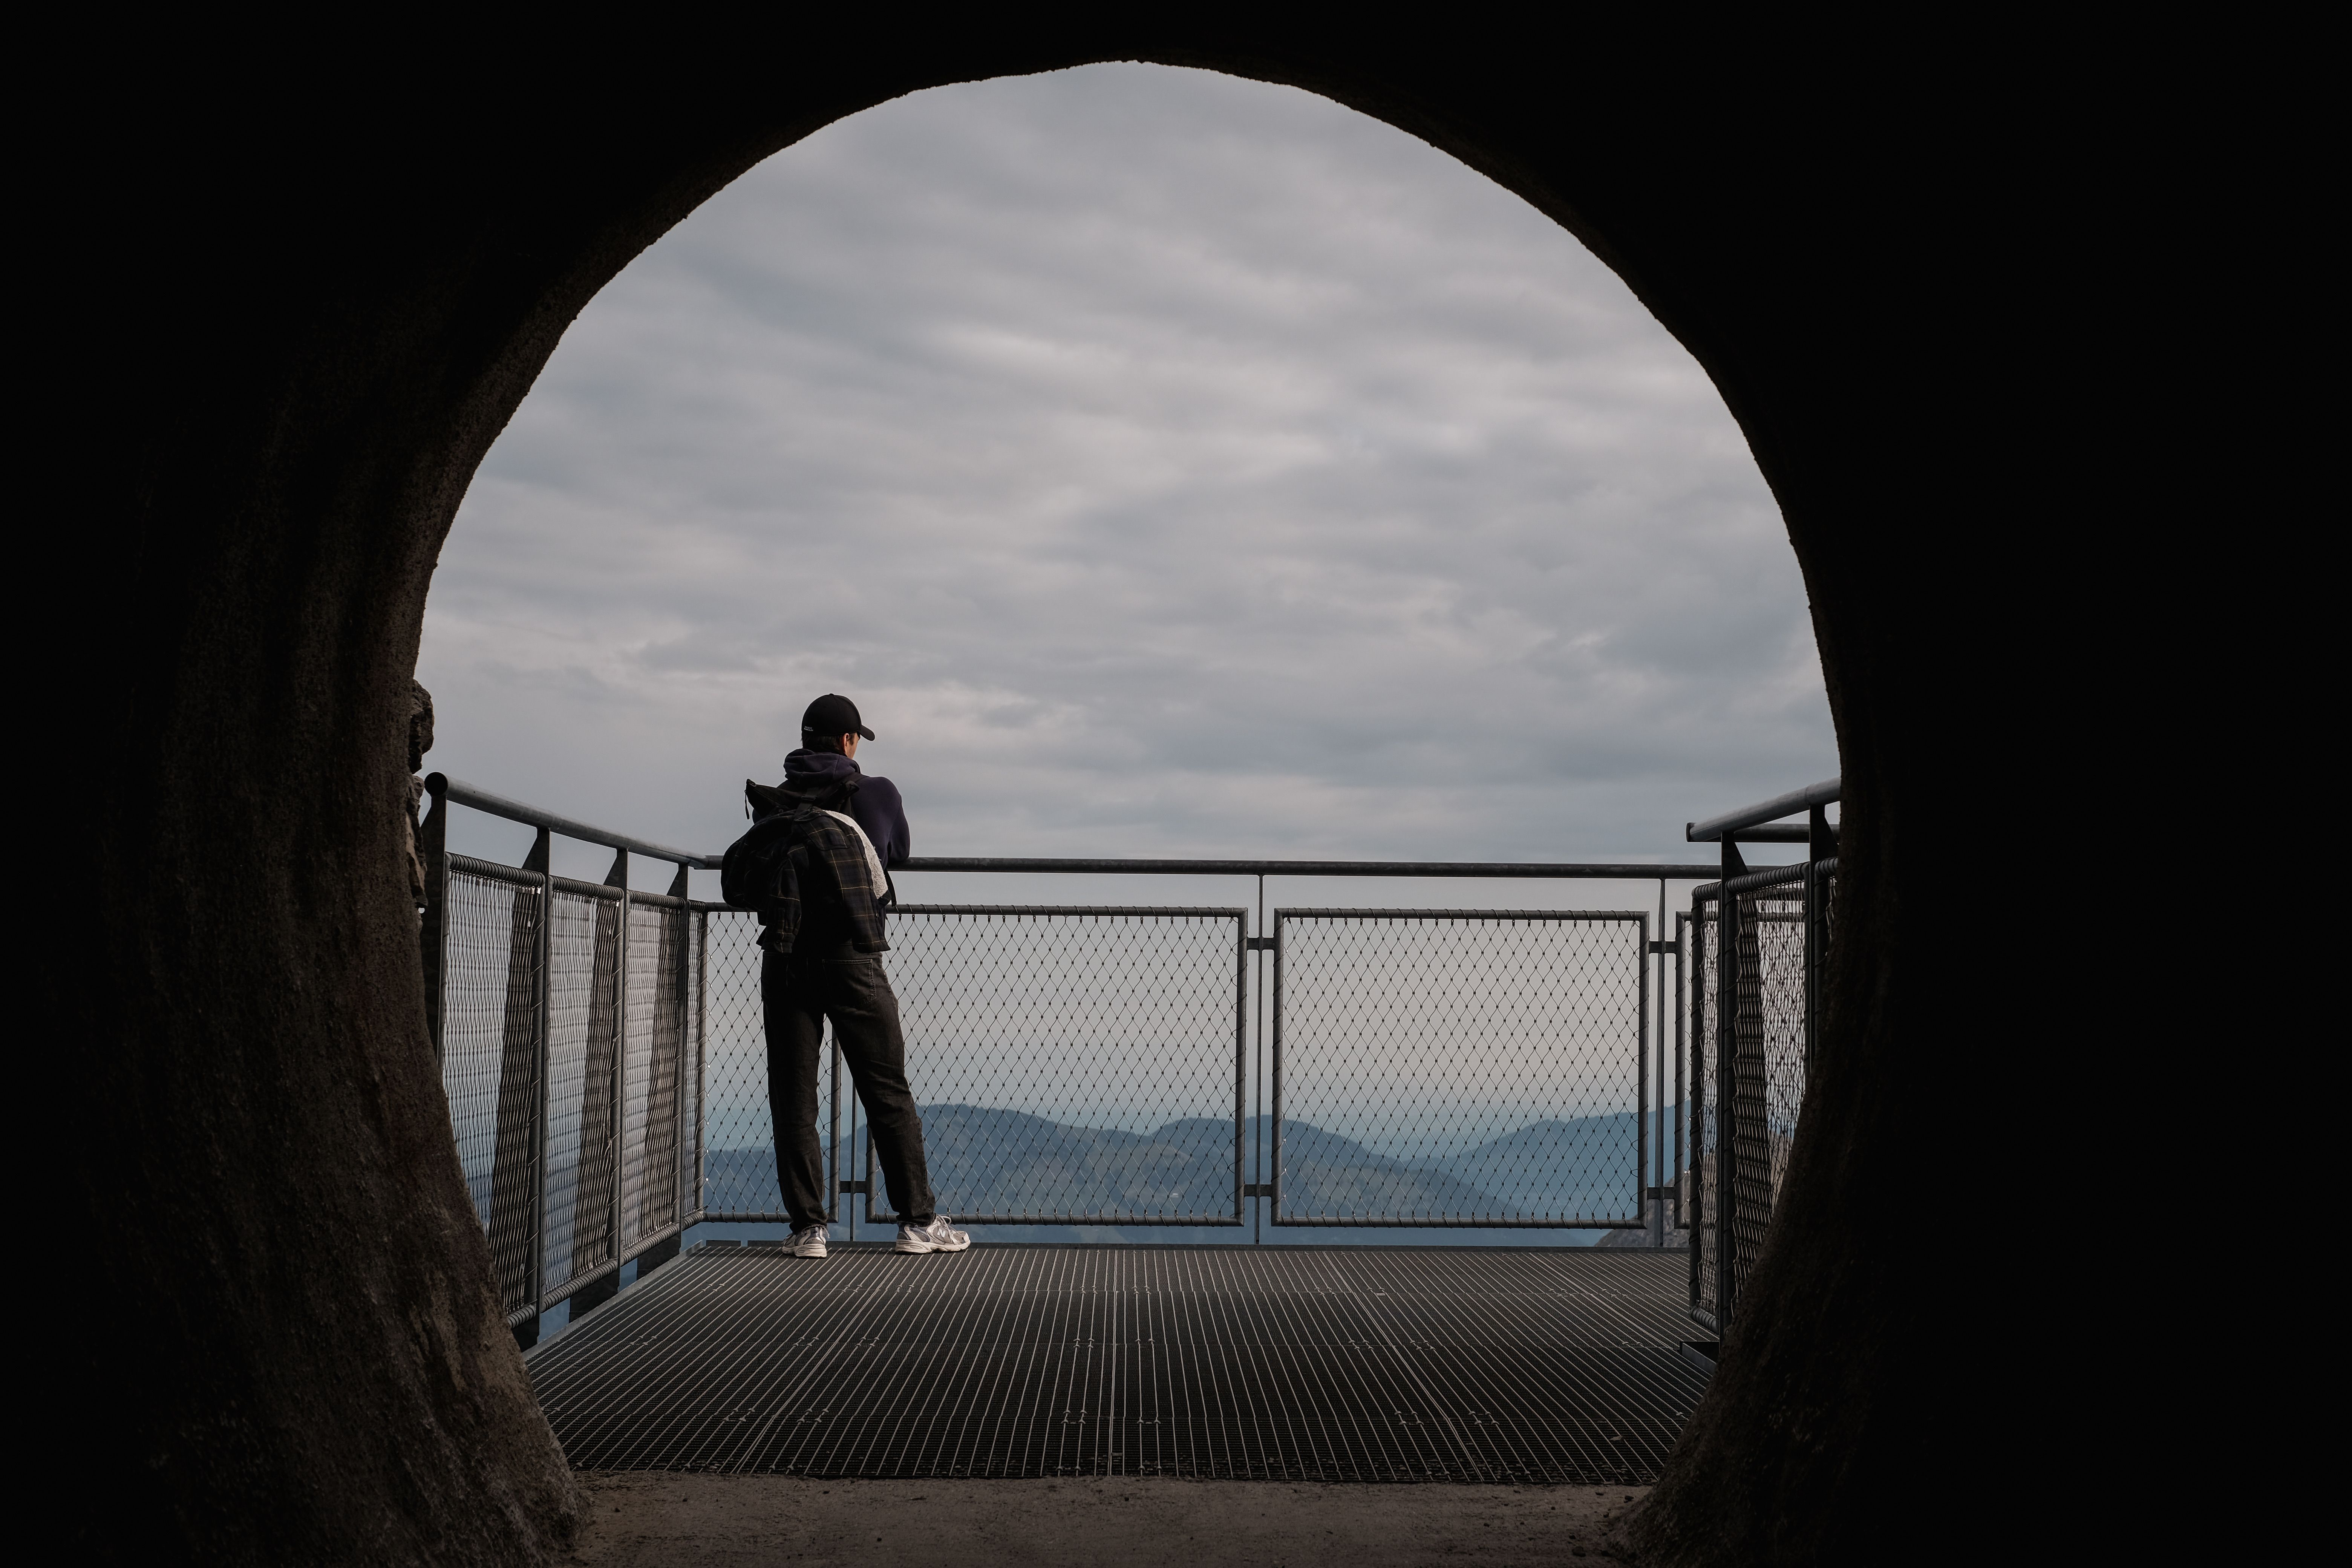
Research on long exposure work shows that a steady base matters as much as the filter or shutter time. Clean files usually start at base ISO, and low ISO gives the least noise when the light drops. On a trail stop, timing is tight because the best light may last only a few minutes. If you spend that window digging through a pack, the scene can lose cloud color, sun angle, or shadow shape.
How do I frame a mountain scene fast on a hike?
Fast mountain framing starts with one clear subject and one clear edge. Pick the peak, ridge, or cloud line first, then build around it.
I use manual exposure when the light is shifting, and my first test frame stays simple. A solid starting point is ISO 100, f/11, and a shutter speed near 1/4 second in low light.
A quick trail-stop sequence
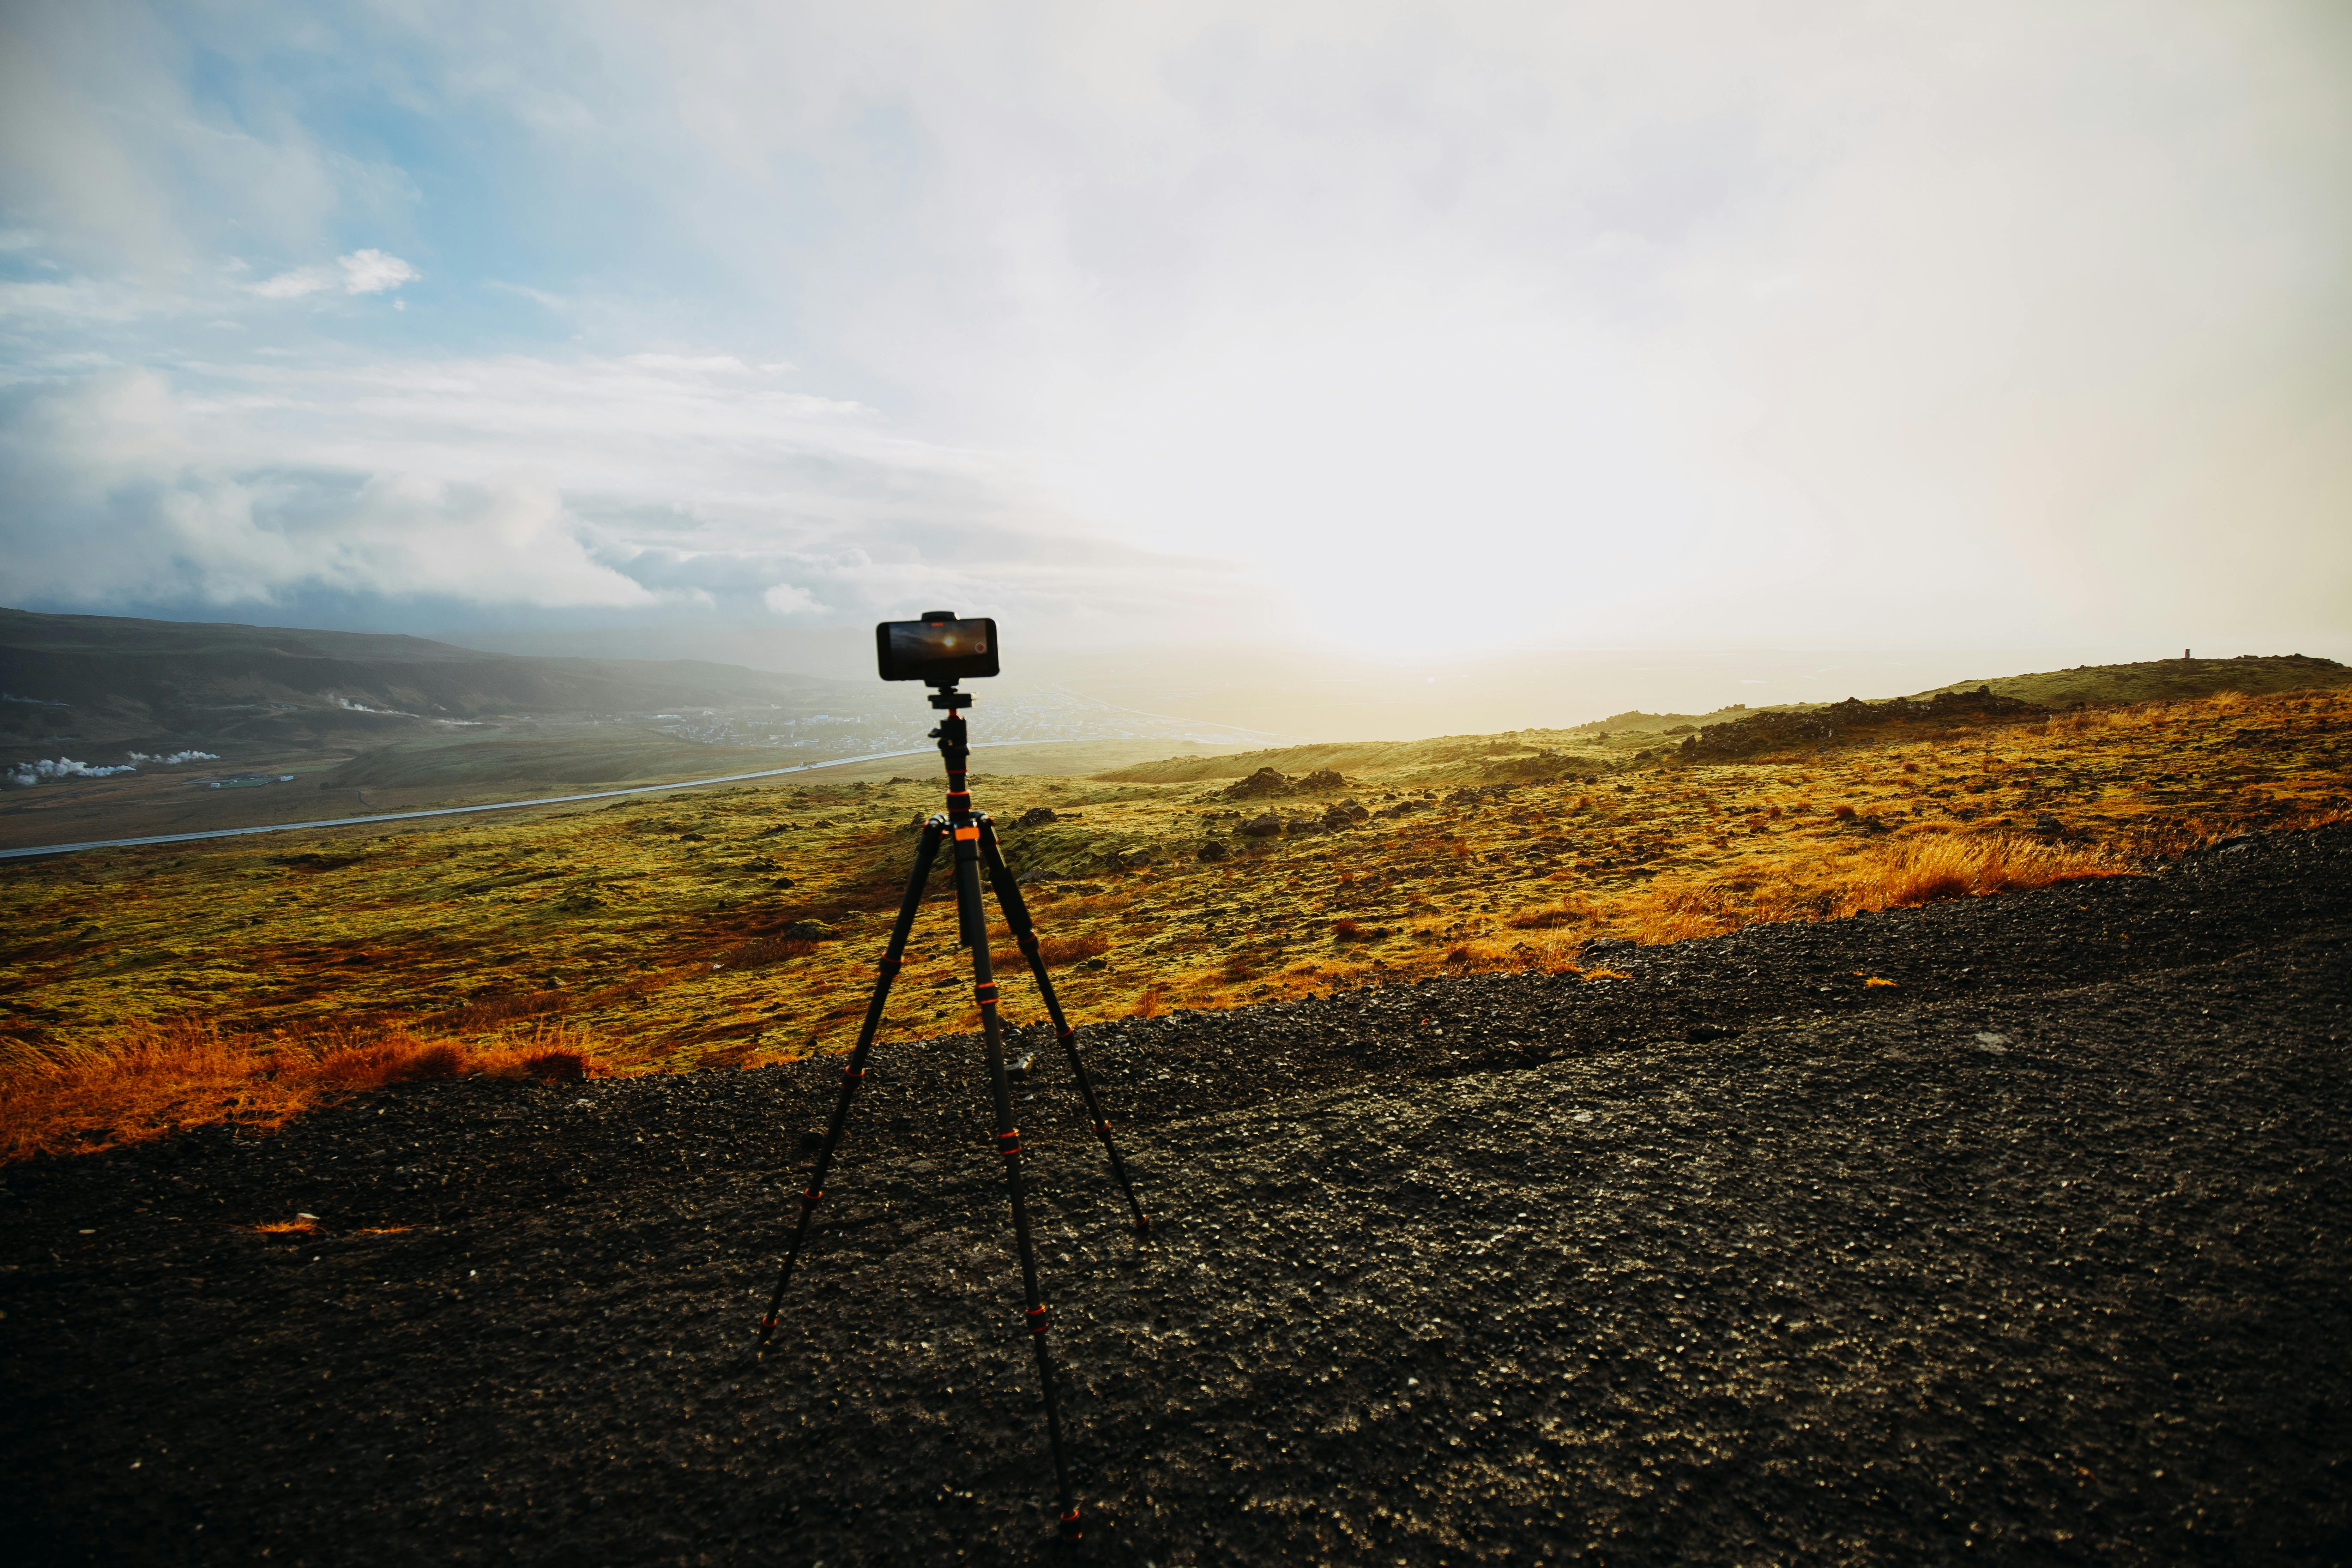
- Stop with your feet set wide and stable.
- Raise the camera and lock your horizon line.
- Place the mountain peak off center.
- Check the edges for poles, bags, and empty sky.
- Take one test shot, then adjust only one thing.
This keeps your mind clear and your settings under control. Too many changes at once only slow you down. Use continuous AF with subject detection if clouds or hikers move through the frame. If the scene is still, single-point focus can be enough, but I switch quickly because the light can fade before I finish.
Which lens works best for big landscapes from a trail overlook?
A wide lens in the 14mm to 24mm range works best for most overlook scenes. It lets you show the near ridge, the valley, and the far peaks in one frame.
A 24mm to 35mm lens can work even better when the scene feels too spread out. It trims empty sky and keeps the mountain shape stronger.
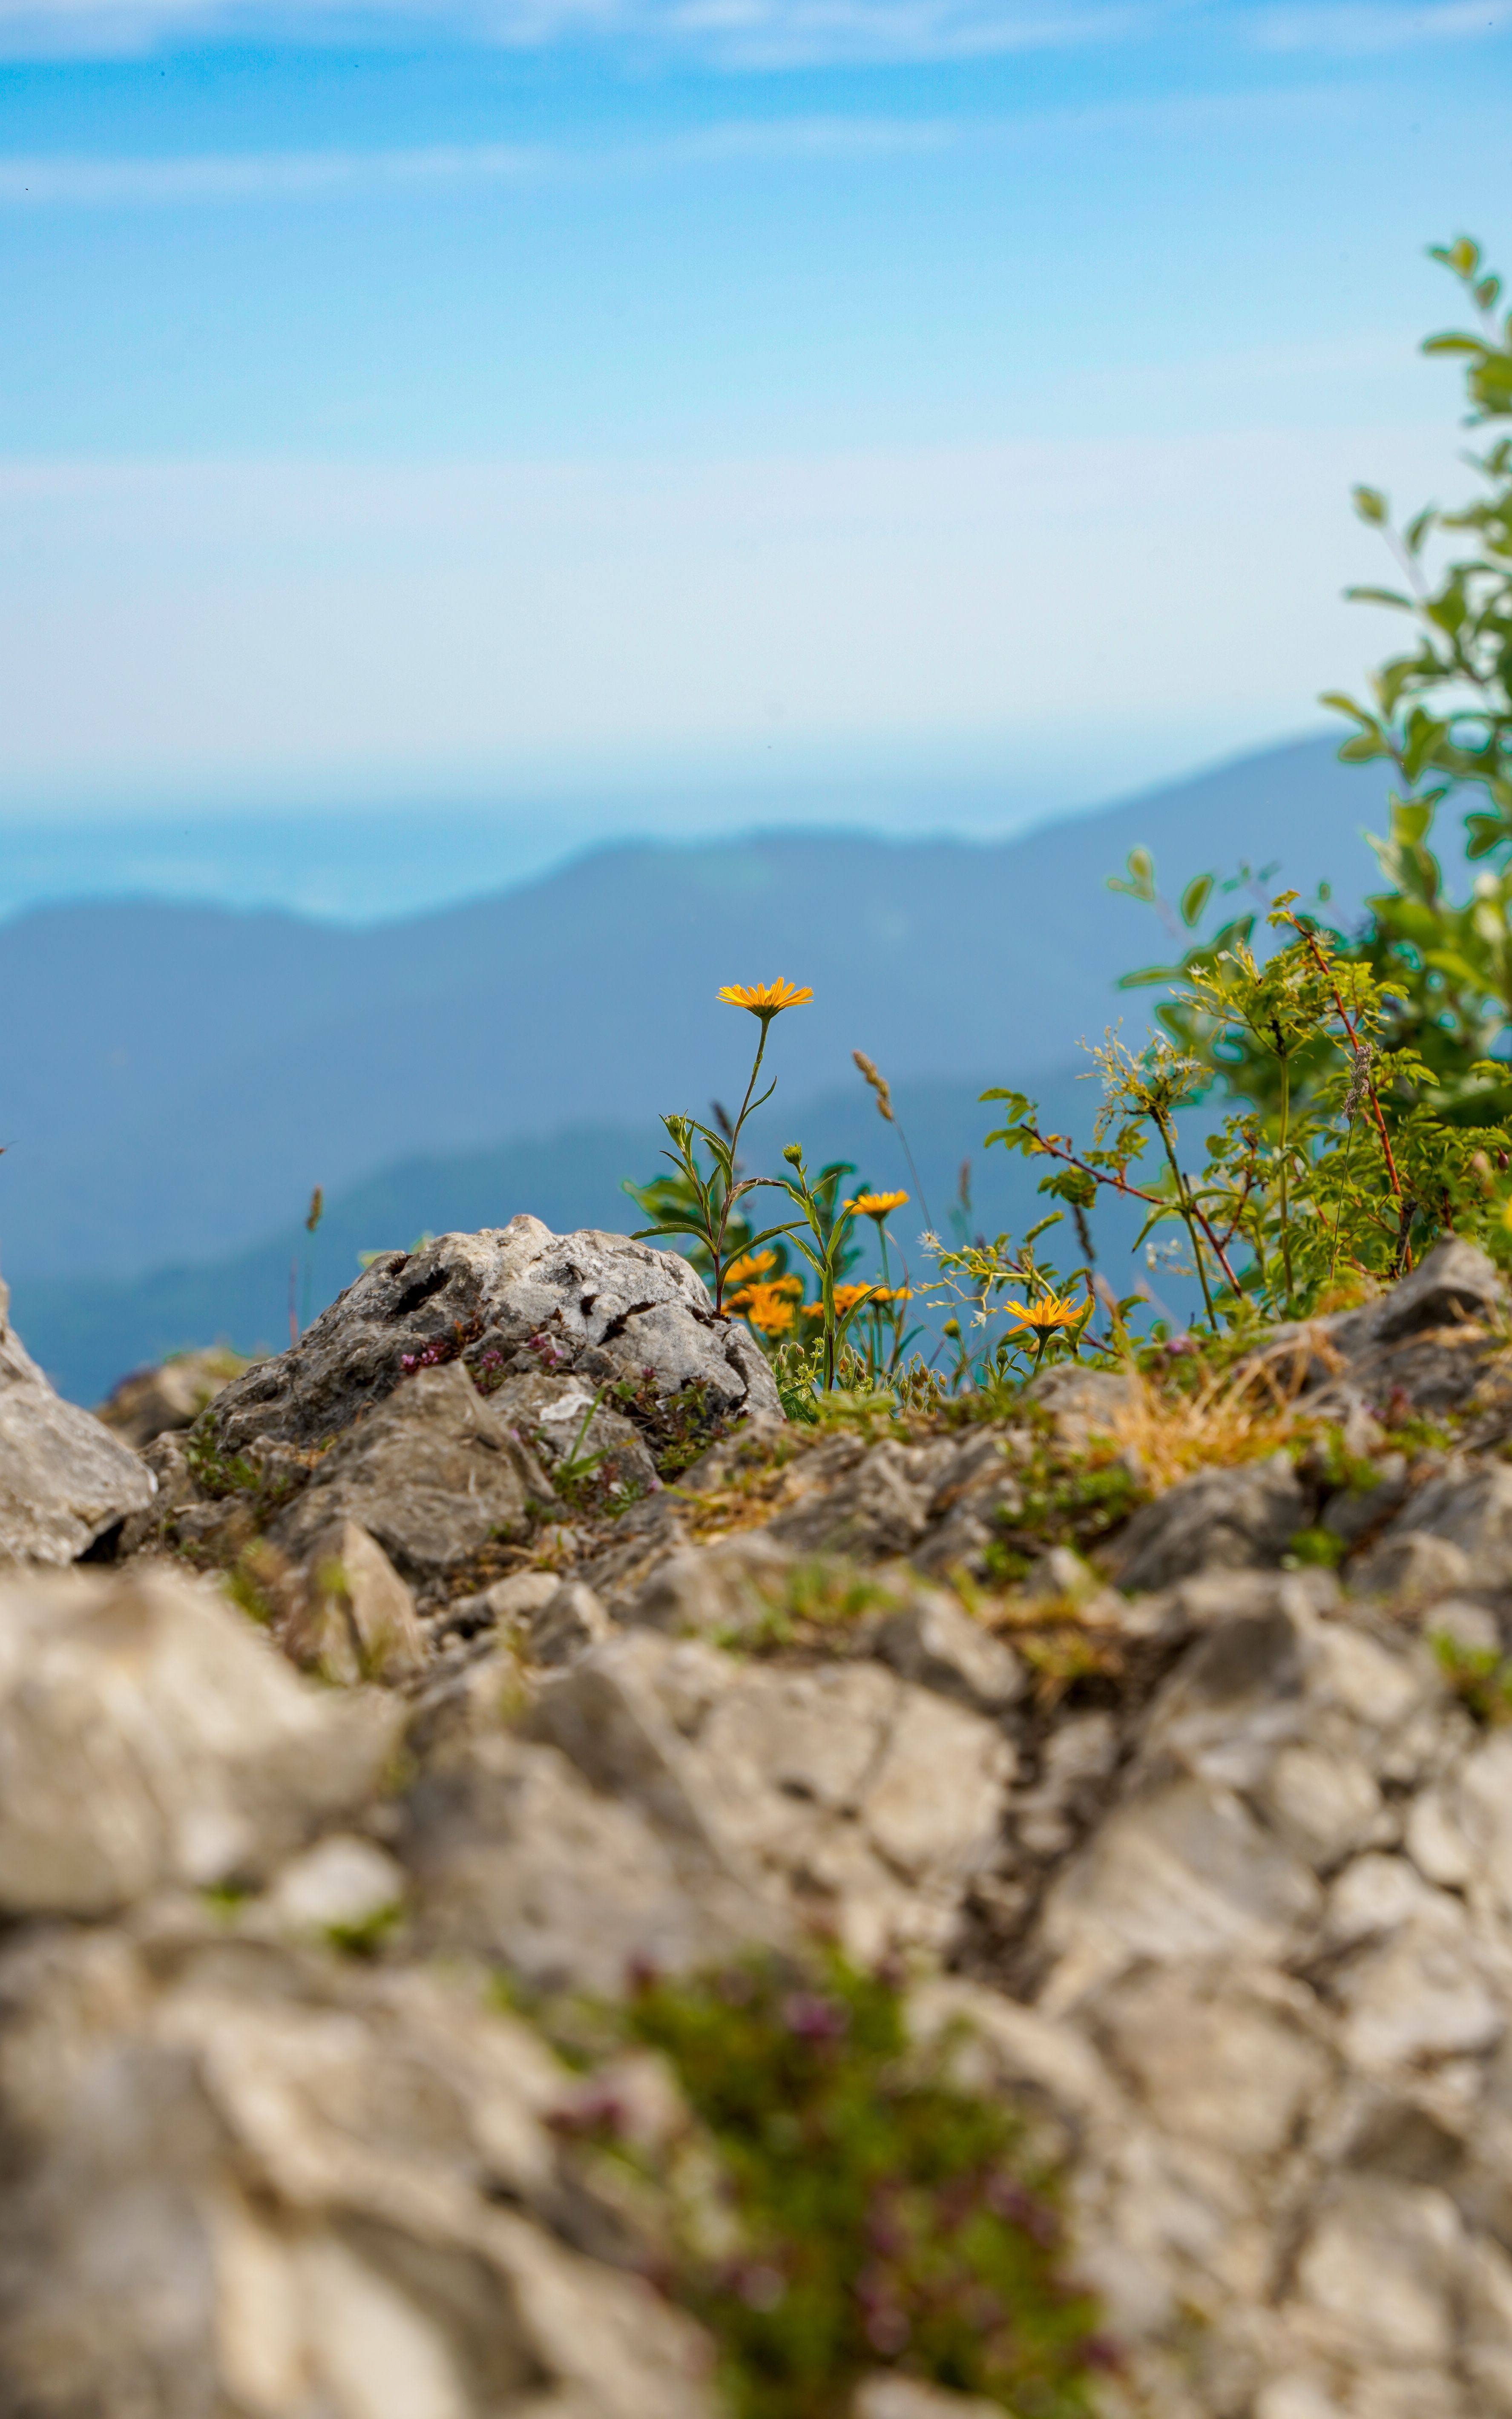
Lens choice changes how the eye moves across the frame. Wide glass can make a near rock feel large, while a longer view can pull peaks closer together. If the overlook has a strong foreground, I often stay around 16mm to 20mm. When the scene looks flat, I step back and use a tighter view to simplify it.
How do I keep foreground interest in a wide outdoor scene?
Foreground interest gives the frame a place to start. Without it, the eye jumps straight to the mountain and the image feels thin.
Look for trail rocks, alpine grass, snow patches, or a small bend in the path. These details add scale and help the viewer feel the distance.
Simple ways to build depth
- Put one strong object near the bottom edge.
- Use a leading line from trail, river, or fence.
- Keep a small gap between foreground and mountain.
- Lower your camera a little to make the near ground matter.
A small aperture such as f/16 or f/22 helps keep the near rocks and far peaks sharp in one frame. That deep focus is useful when you want both the trail edge and the ridge line to hold detail. Very small apertures can soften detail a little from diffraction, though. I use them when depth matters more than perfect edge sharpness.
When should I stop walking to make the strongest frame?
Stop when the light, shape, and footing all line up. If one of those parts is weak, keep moving until you find a better point.
The strongest frame often comes at a bend, a rise, or a place where the trail opens toward the valley. Those spots give you room to place the mountain and still include a useful foreground.
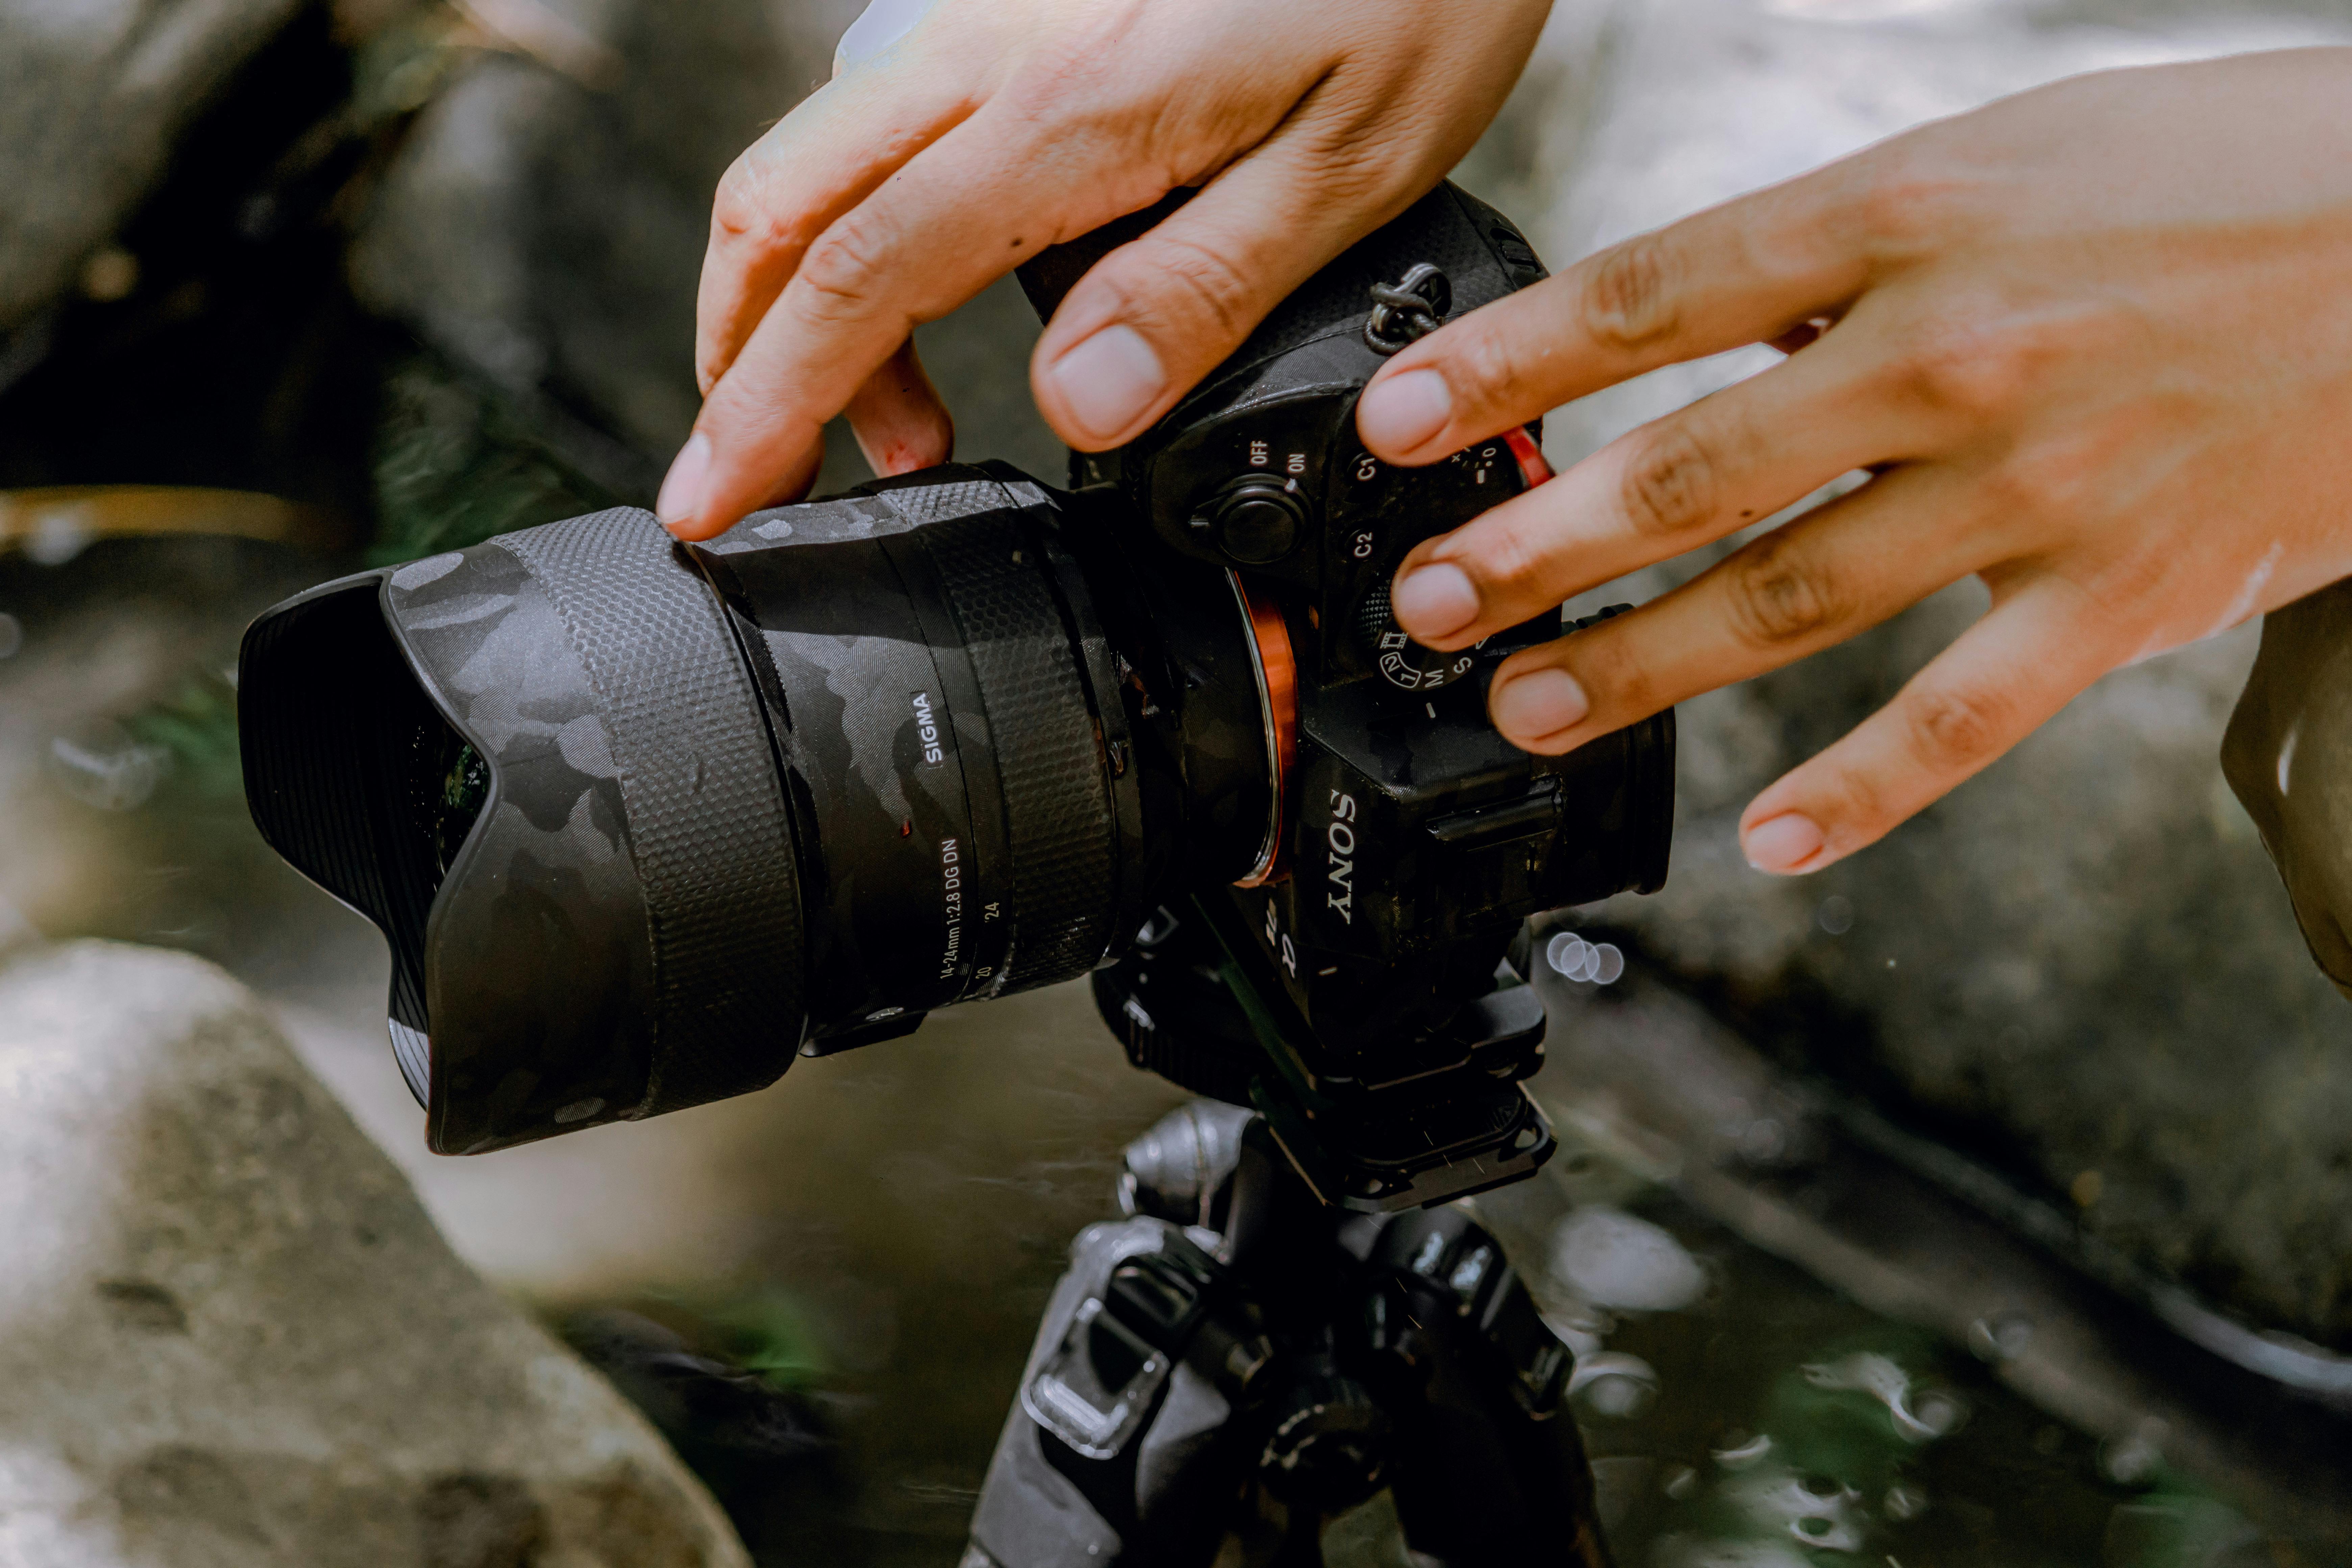
Before I unpack my gear, I look for three signs. The peak has clear light. The sky has a shape worth showing. The ground gives me a stable stance.
If clouds are racing by, I stop sooner. If the light is flat, I may walk another two or three minutes to find a better angle.
How do I avoid boring landscape compositions on the go?
Boring frames usually happen when the camera sits too high, too level, and too far from the ground. A small change in height or angle can fix that fast. Move your feet before you change settings. A step left, a lower stance, or a slight turn often helps more than a new mode.
Try these habits when the view feels weak:
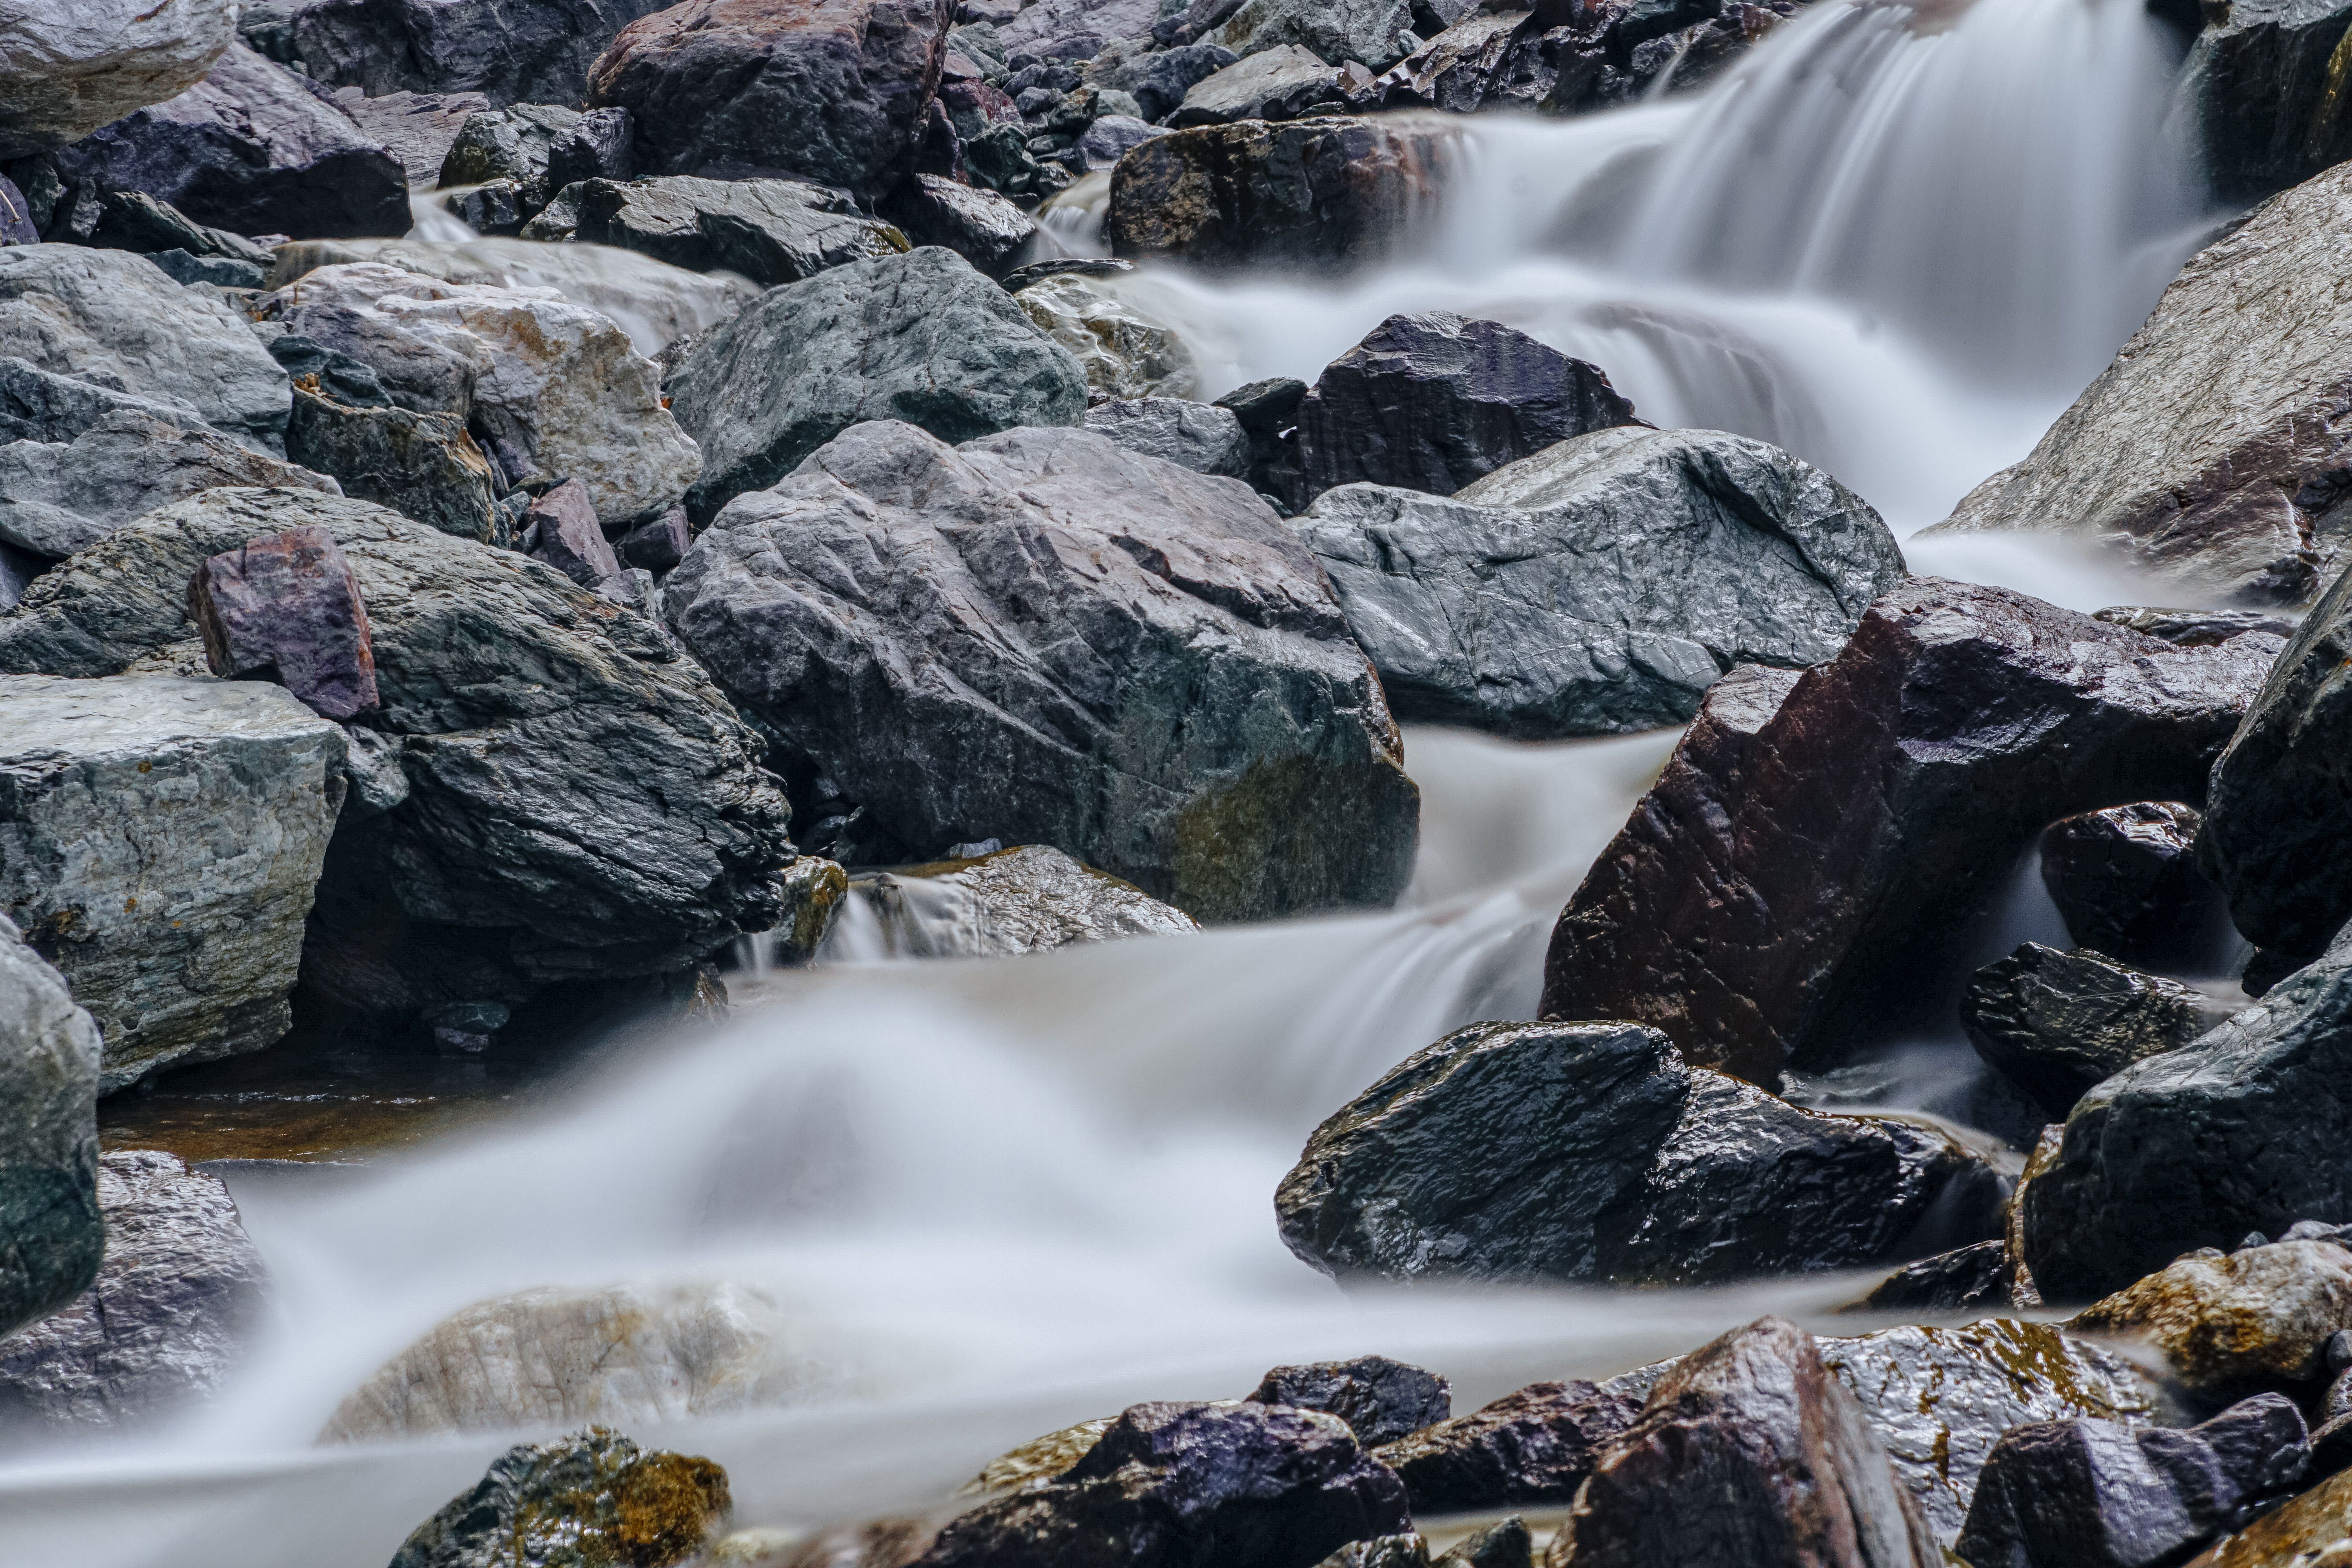
- Crop out blank sky if it adds no mood.
- Use one strong line, not three weak ones.
- Place the peak near a third of the frame.
- Wait for a cloud shadow to cross the slope.
A neutral density filter gives you another way to shape the scene. It cuts the light entering the camera, which lets you use longer shutter speeds without changing color.
In bright mountain light, a 6-stop or 10-stop ND filter can stretch a brief exposure into a few seconds. A 6-stop filter can turn 1/30s into about 2 seconds, and a 10-stop filter can push it to about 30 seconds.
How can I use slow shutter time without losing the moment?
Slow shutter work can add motion to clouds, mist, or stream water while the mountain stays still. Keep the camera steady and the exposure plan simple. Base ISO gives the cleanest long exposures, so I start at the lowest ISO the camera allows. Then I switch to full manual mode and hold aperture and ISO fixed while I set the shutter speed.
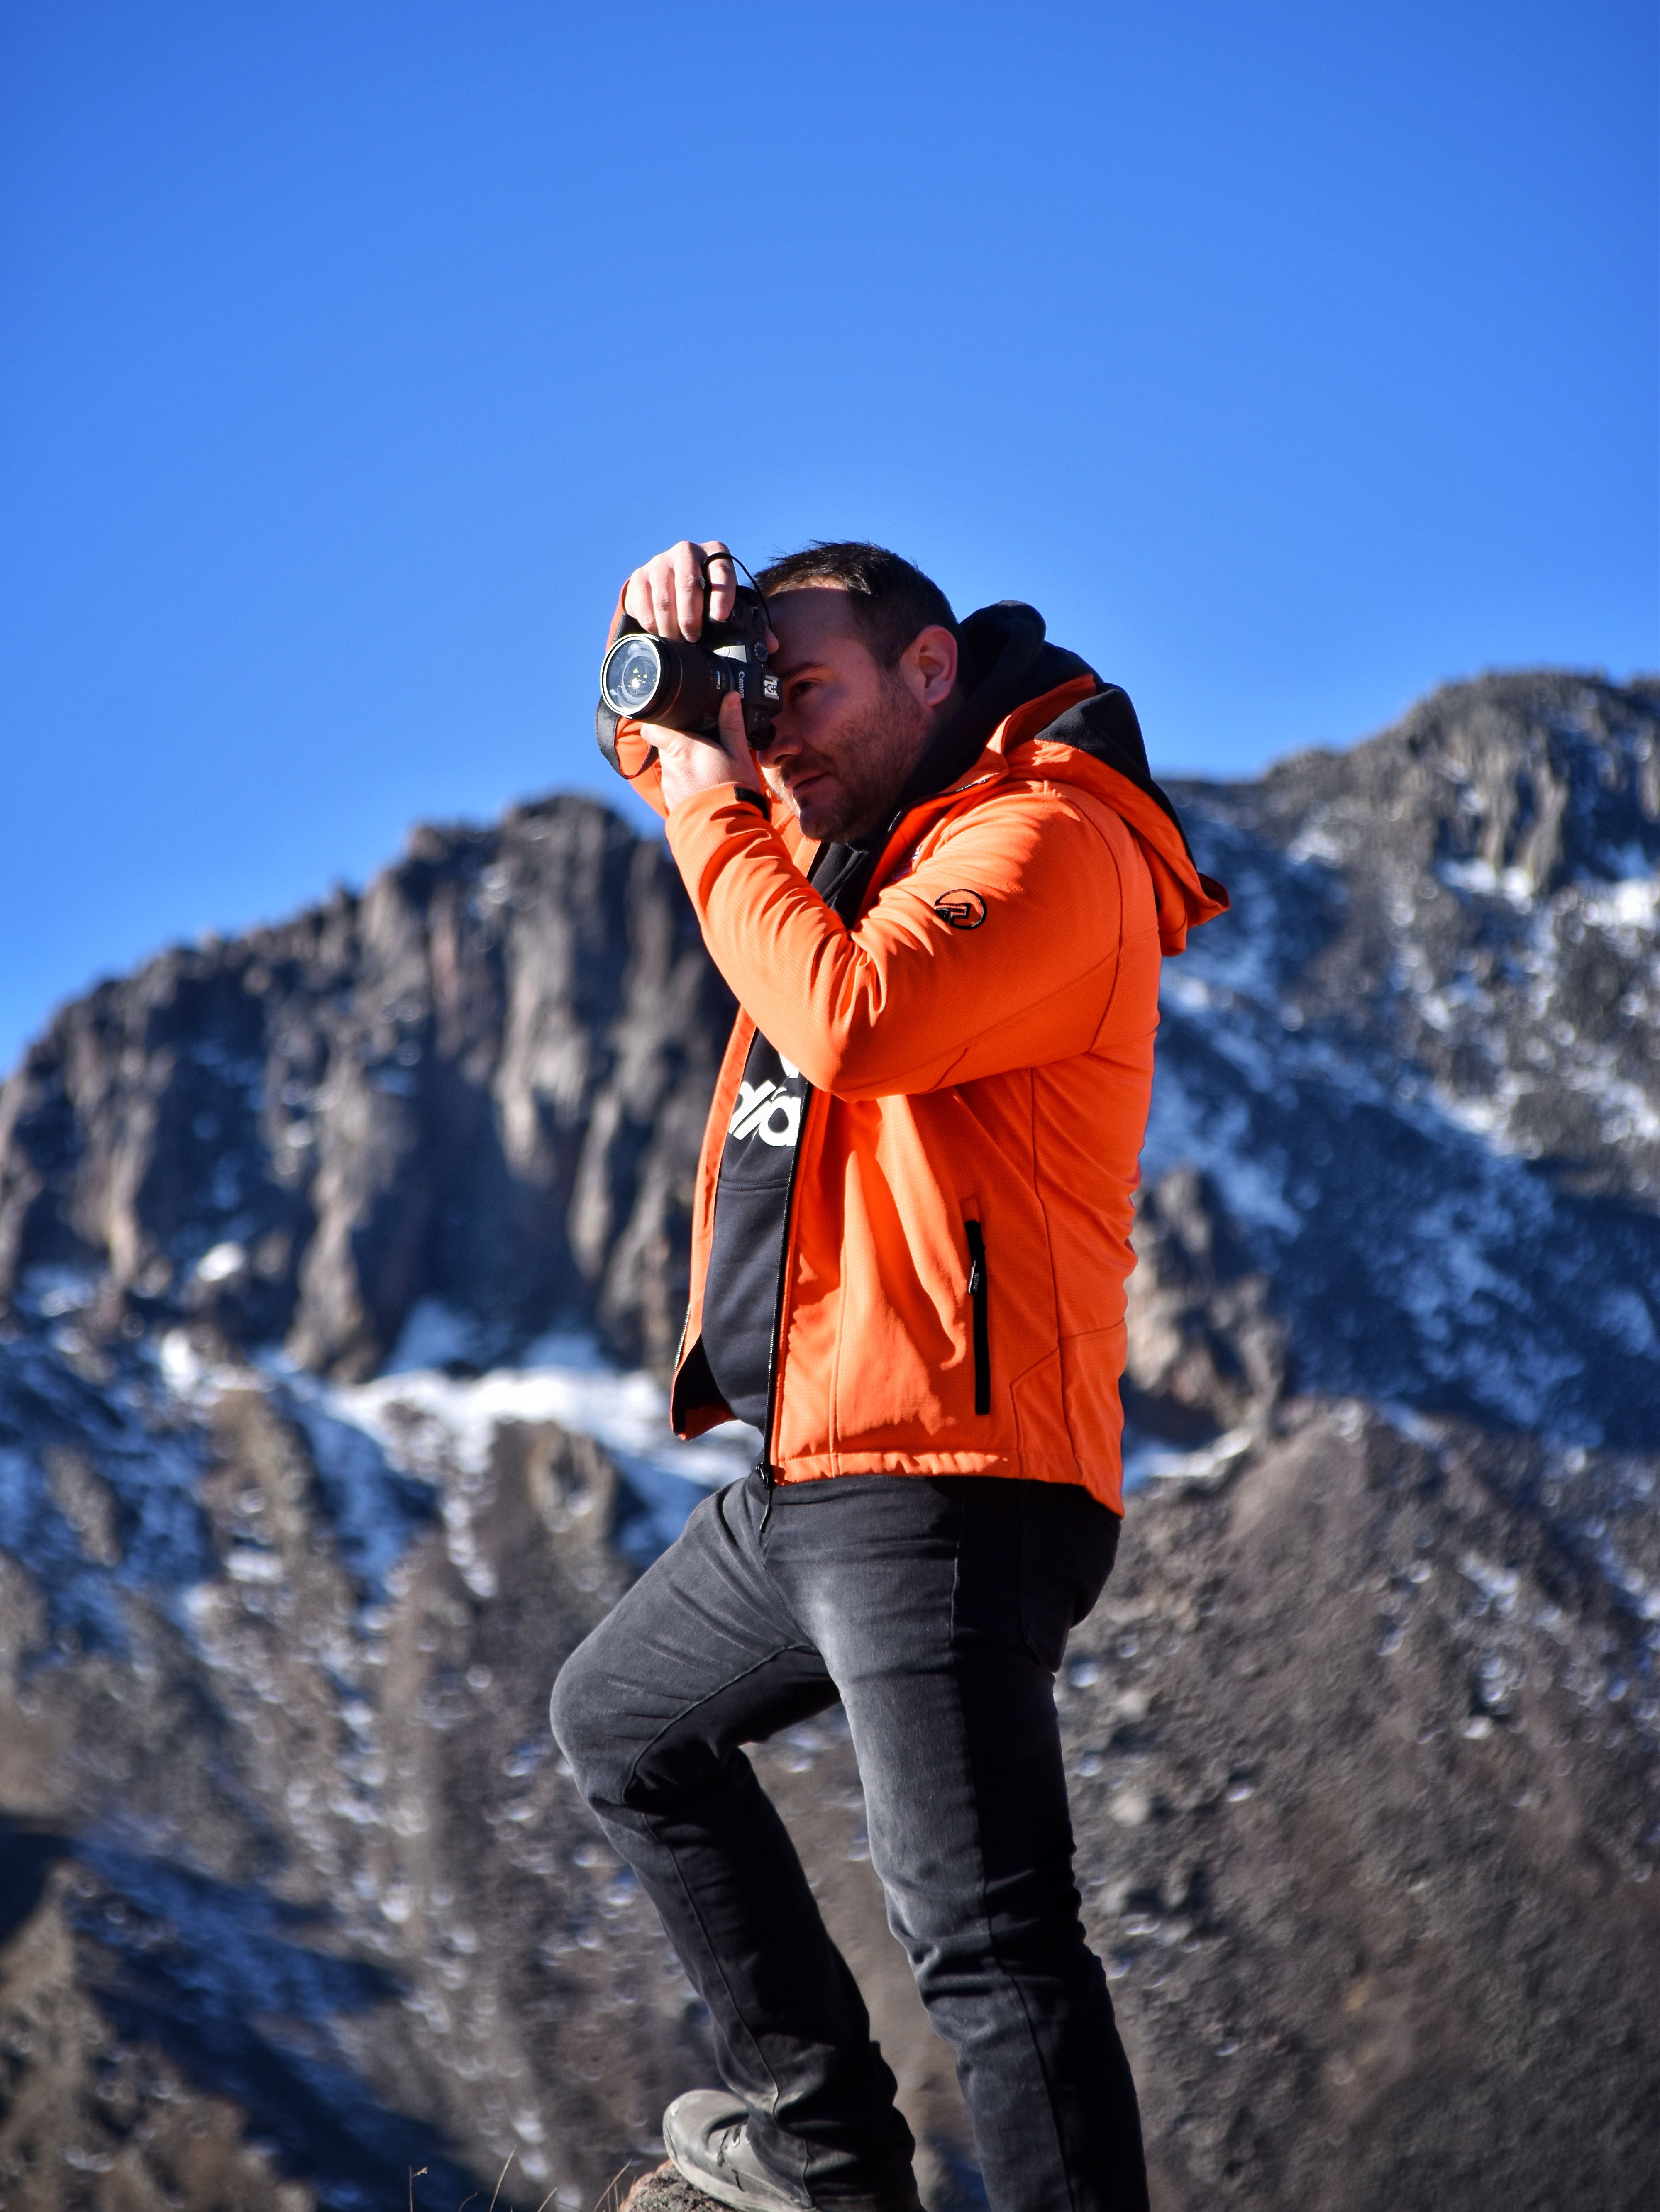
This approach works well because it removes guesswork. If the scene is bright, I can add a 6-stop or 10-stop ND filter and keep the same look while extending the exposure.
A long shutter can blur a moving cloud the wrong way if the wind is weak. In that case, I shorten the exposure and wait for a better cloud pace.
Good field settings for a quick mountain stop
- Mode: Manual
- ISO: 100 or the lowest native setting
- Aperture: f/11 for balance, f/16 for more depth
- Shutter: start around 1/4 second, then adjust
- Filter: 6-stop or 10-stop ND in harsh light
For a handheld version, I keep the shutter much faster, often around 1/250s or more if I am moving. For the slow, calm look, the tripod does the real work. Image review drains power on mirrorless bodies, along with the EVF or LCD. I check the frame, then lower the camera again instead of staring at the screen.
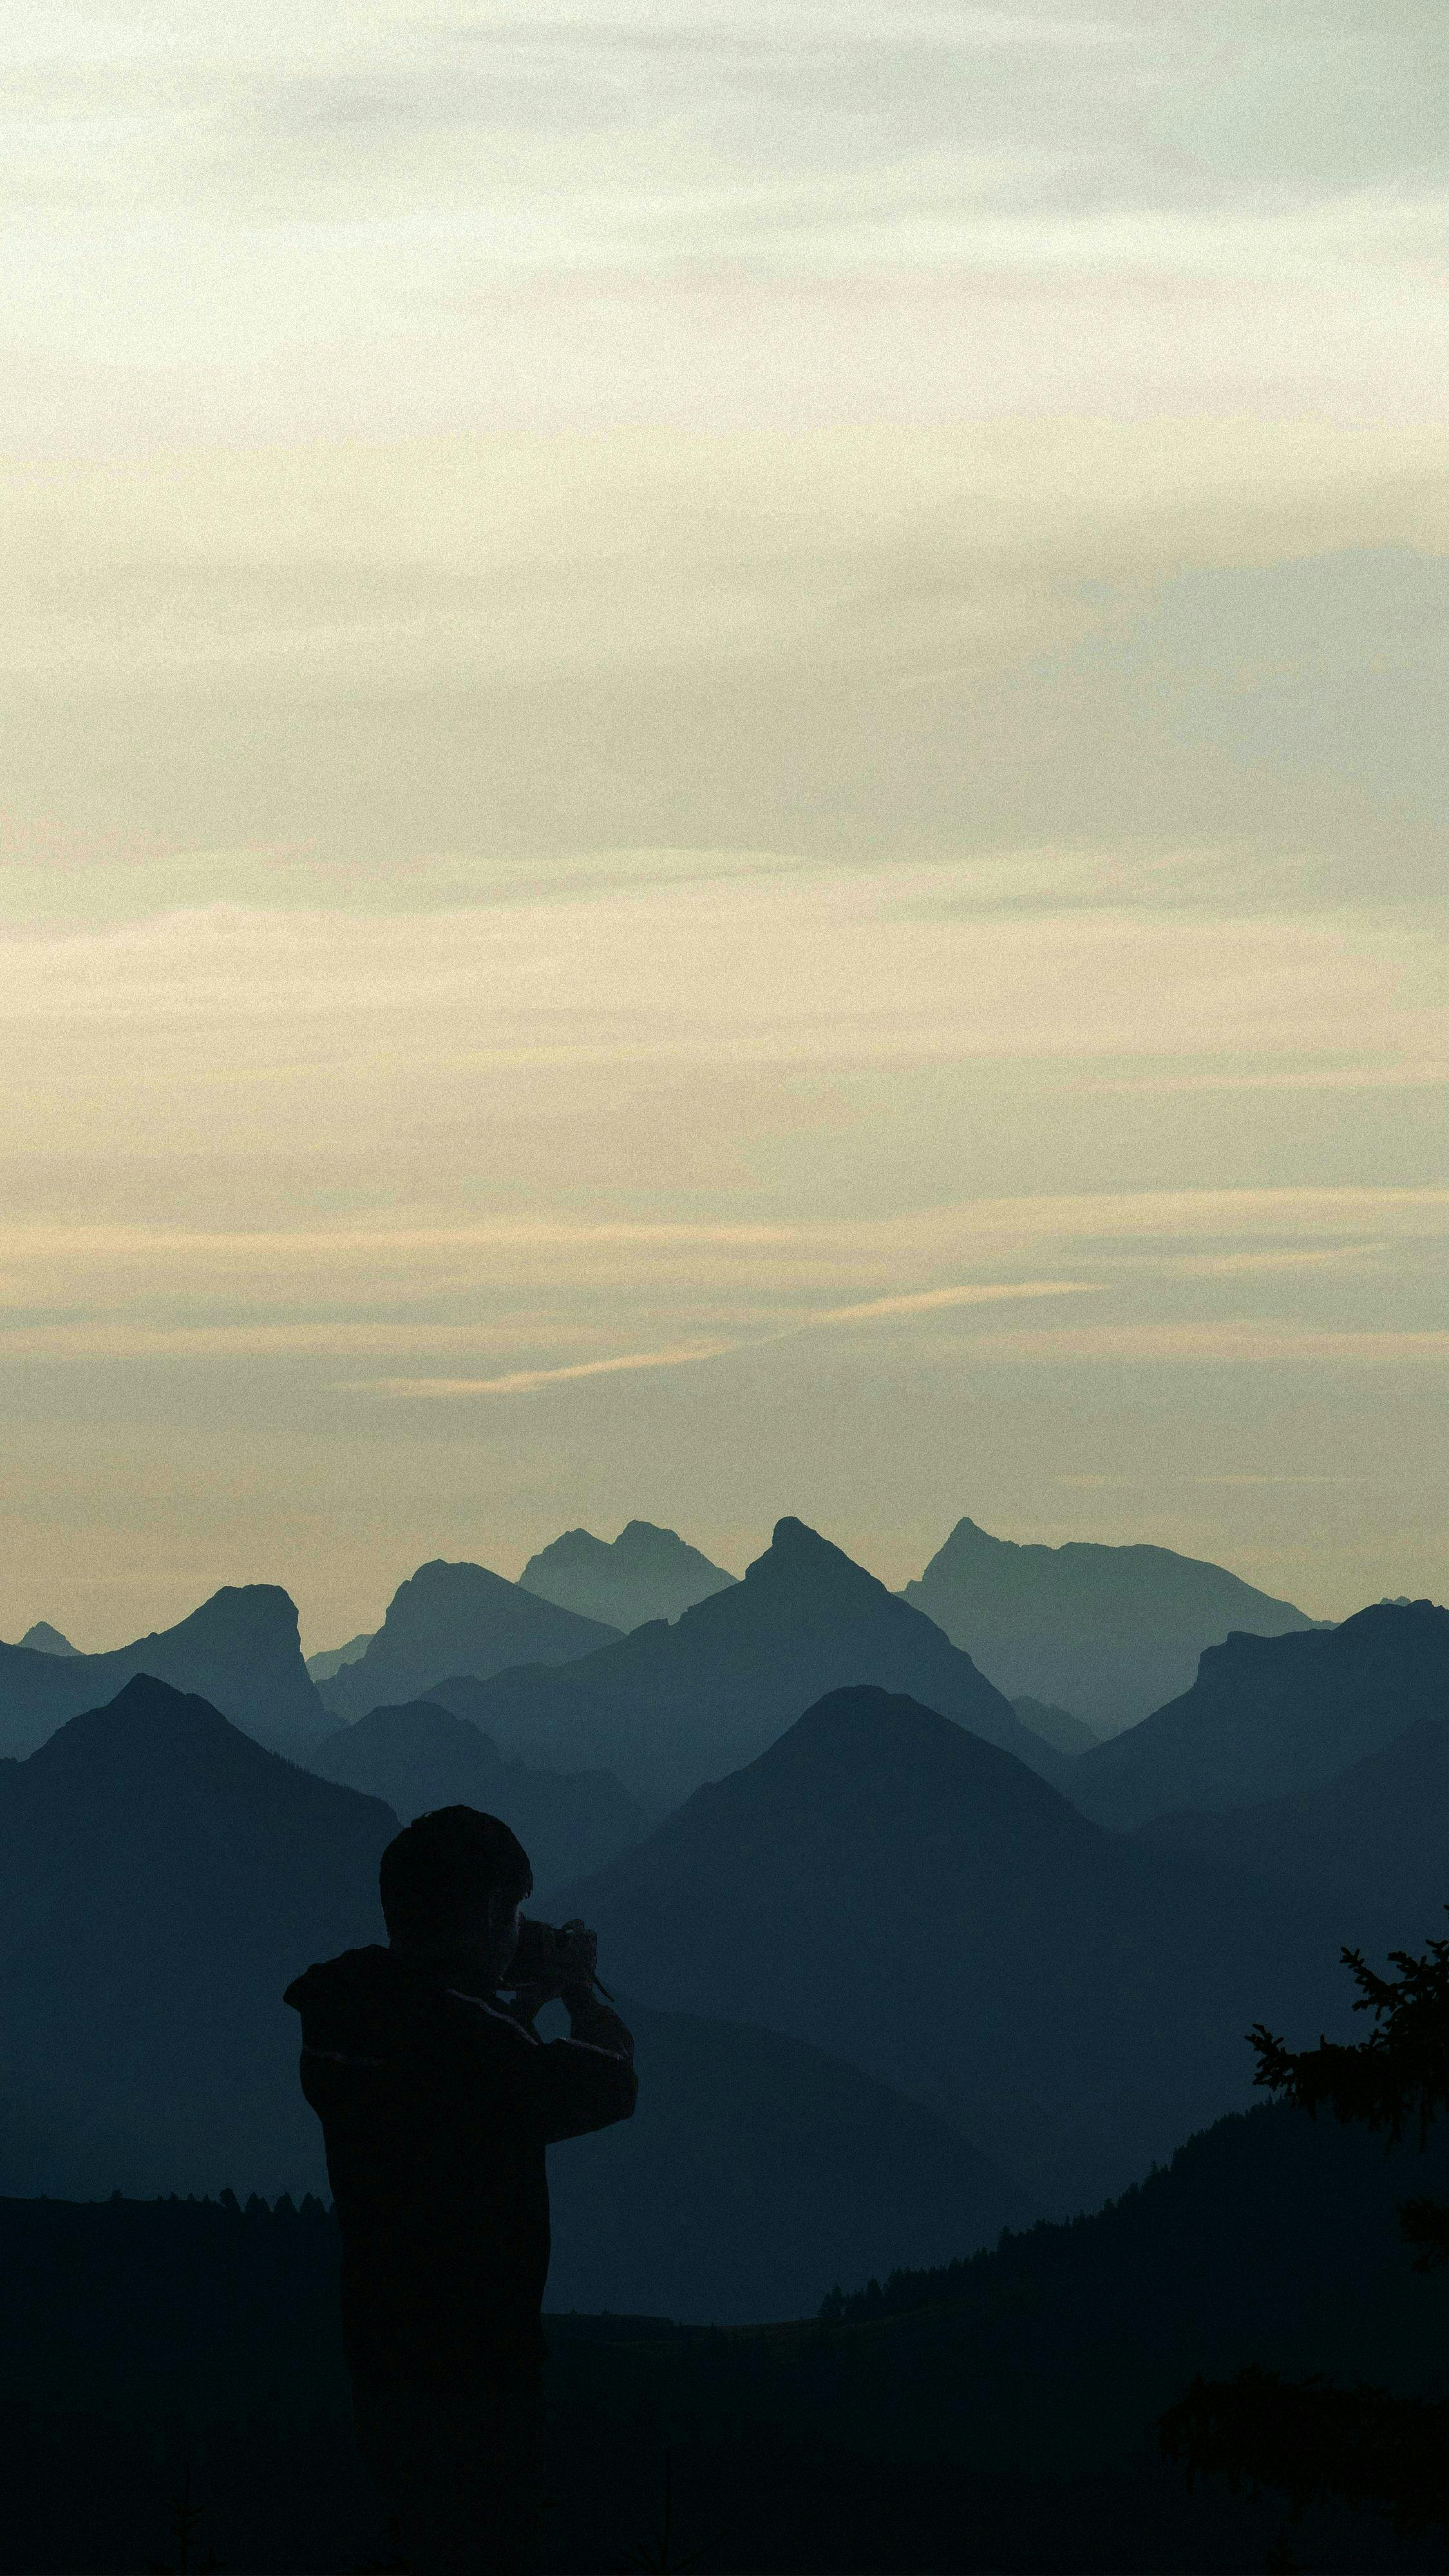
Which small habits keep the shot sharp and calm?
Sharp trail images come from a steady body and a clean setup. I plant my feet, tuck my elbows in, and breathe out before I press the shutter.
Back-button focus helps because it separates focus from the shutter press. It makes it easier to lock focus on the ridge, then reframe quickly if a cloud opens the scene.
Memory card speed matters when you shoot several tries in quick order. UHS-II cards, especially V60 or V90 types, clear files faster than UHS-I cards, which helps when you bracket or shoot short bursts. Even then, a short 3 to 6 frame burst does not fill a modern buffer right away on many mid-tier bodies. RAW files slow the buffer much faster than JPEG, so I save bursts for moments with moving light.
One more useful habit is to think about the frame before you stop. If you already know where the peak belongs, you waste less time and keep the walk feeling smooth.
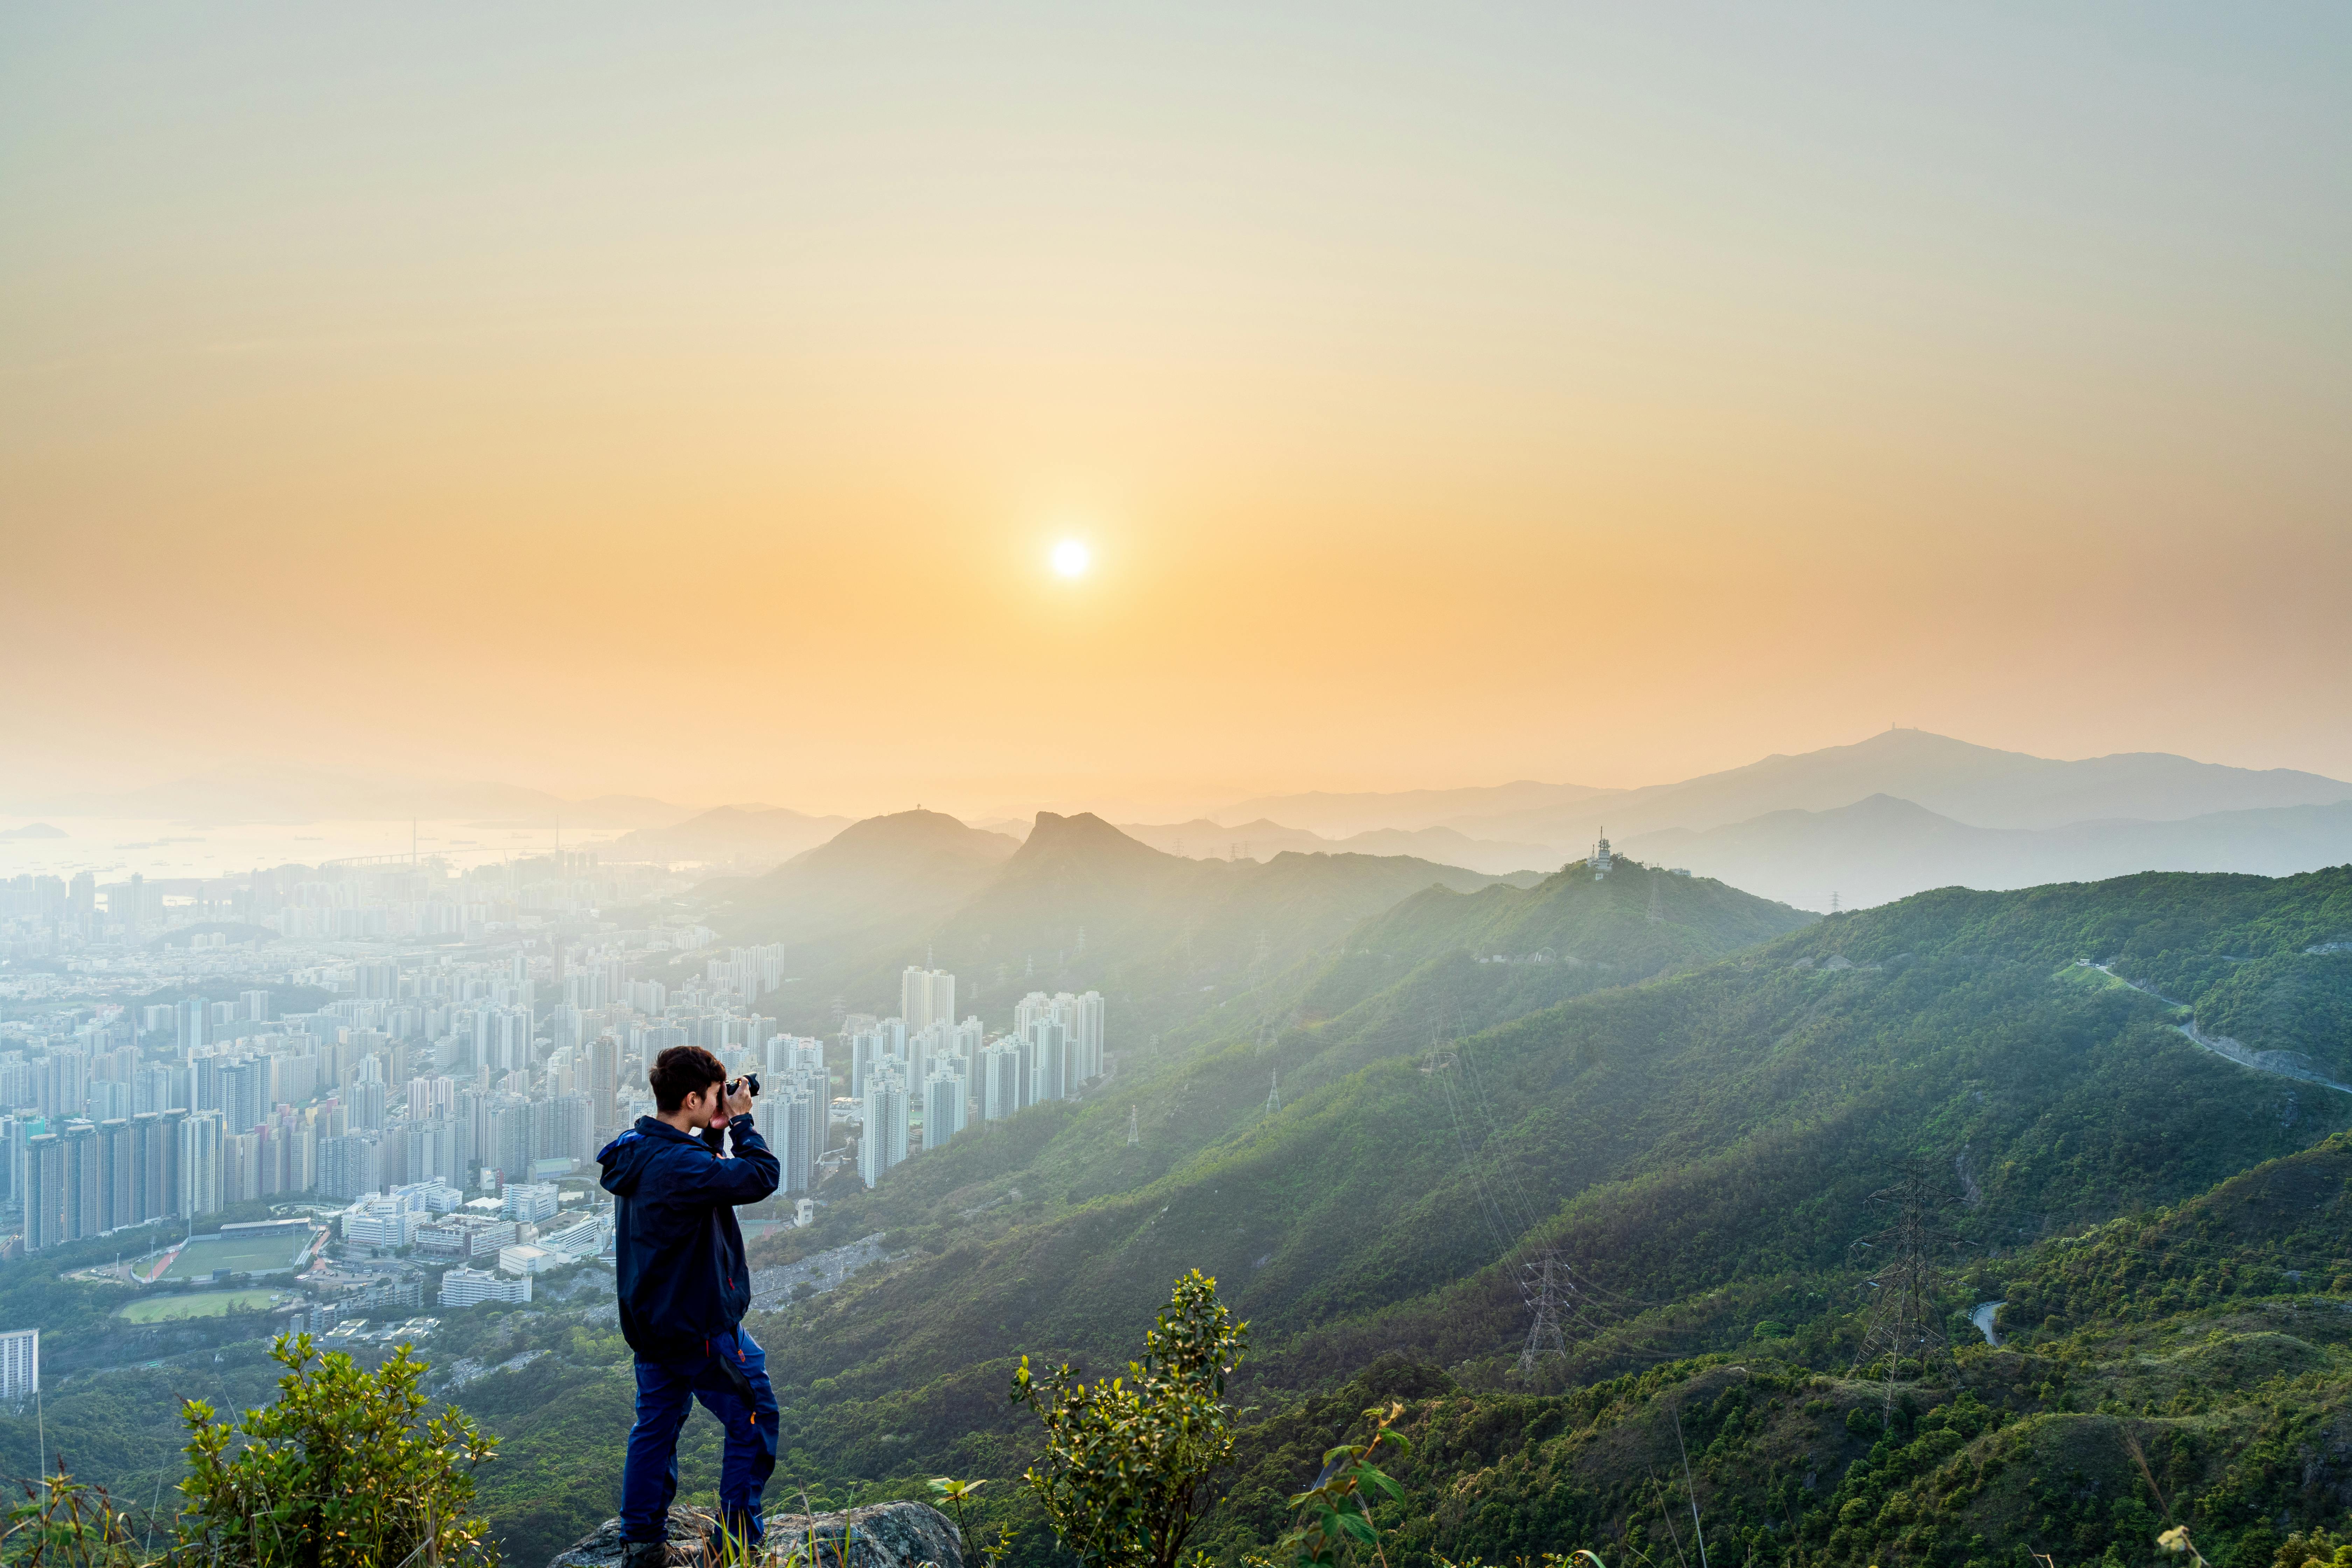
By the end of a good trail stop, the goal is simple: make one frame that feels like the place. Keep the camera ready, choose one clear subject, and let the mountain lead the picture.
The best scenes often come from a pause of less than a minute, a low ISO, and a calm look at the edges. If the light is right near sunset, I stay for one extra frame and watch the ridge turn gold.
Frequently Asked Questions
How do I compose a mountain scene fast on a hike?
Fast mountain composition on a hike starts with one clear subject and one clear edge: choose the peak, ridge, or cloud line first, then build the frame around it. A quick trail-stop workflow is to set your feet wide, level the horizon, place the peak off center, check the edges for distractions, take one test shot, and adjust only one thing.

What lens works best for big landscapes from a trail overlook?
A wide lens in the 14mm to 24mm range works best for most trail overlook landscapes because it can include the near ridge, valley, and distant peaks in one frame. A 24mm to 35mm lens is better when the scene feels too spread out, since it trims empty sky and strengthens the mountain shape.
How do I keep foreground interest in a wide outdoor scene?
Foreground interest in a wide outdoor scene comes from placing a visible element near the camera, such as trail rocks, alpine grass, snow patches, or a bend in the path. These details give the frame a starting point, add scale, and keep the eye from jumping straight to the mountain.
When should I stop walking to make the strongest frame?

Stop walking as soon as the light, cloud color, or shadow shape looks promising, because mountain light can change in a minute. The strongest frame usually comes from treating the stop like a real setup, with deliberate framing before the best light fades.
How do I avoid boring landscape compositions on the go?
Avoid boring landscape compositions on the go by choosing a clear subject, keeping the horizon level, and checking the frame edges for empty sky or distracting objects. A tighter or wider lens choice can also help: wide glass can emphasize foreground shape, while a more compressed view can simplify a flat scene.
Sources



