


- Use two-point perspective for corner views to add depth without flattening towers.
- Choose one-point for centered symmetry; switch to two-point when edges and motion matter.
- Keep the camera level and verticals straight; tilt only when you want dramatic distortion.

Two-point perspective photography shows a scene through two vanishing points, which is why it fits buildings and streets so well. It keeps a skyline strong while preserving the depth the eye expects. Near traffic, stairs, or a curb is where this approach earns its keep. Clear framing and a steady stance have to come together fast.
Translation missing: en.blog_cta.bundle_heading

- Regular price
-
€42 - Regular price
-
€44 - Sale price
-
€42
By choosing the Camstrap strap, you are opting for a high-quality product designed to meet the needs of the most demanding photographers.
- Developed by a physiotherapist to relieve neck and back pain.
- Fast delivery with tracking by the Post Office 🚚
- Can be used as a shoulder strap or hands-free harness

- Regular price
-
€36 - Regular price
-
€42 - Sale price
-
€36
Translation missing: en.blog_cta.free_shipping_included
How this view shapes a skyline
Two-point perspective gives a skyline angle and scale. Rather than flattening a building, it lets the sides drift toward separate vanishing points.
City edges, bridge spans, and clusters of towers all benefit from that shift. Wide-angle lenses widen the space between near and far objects, pushing the depth further.
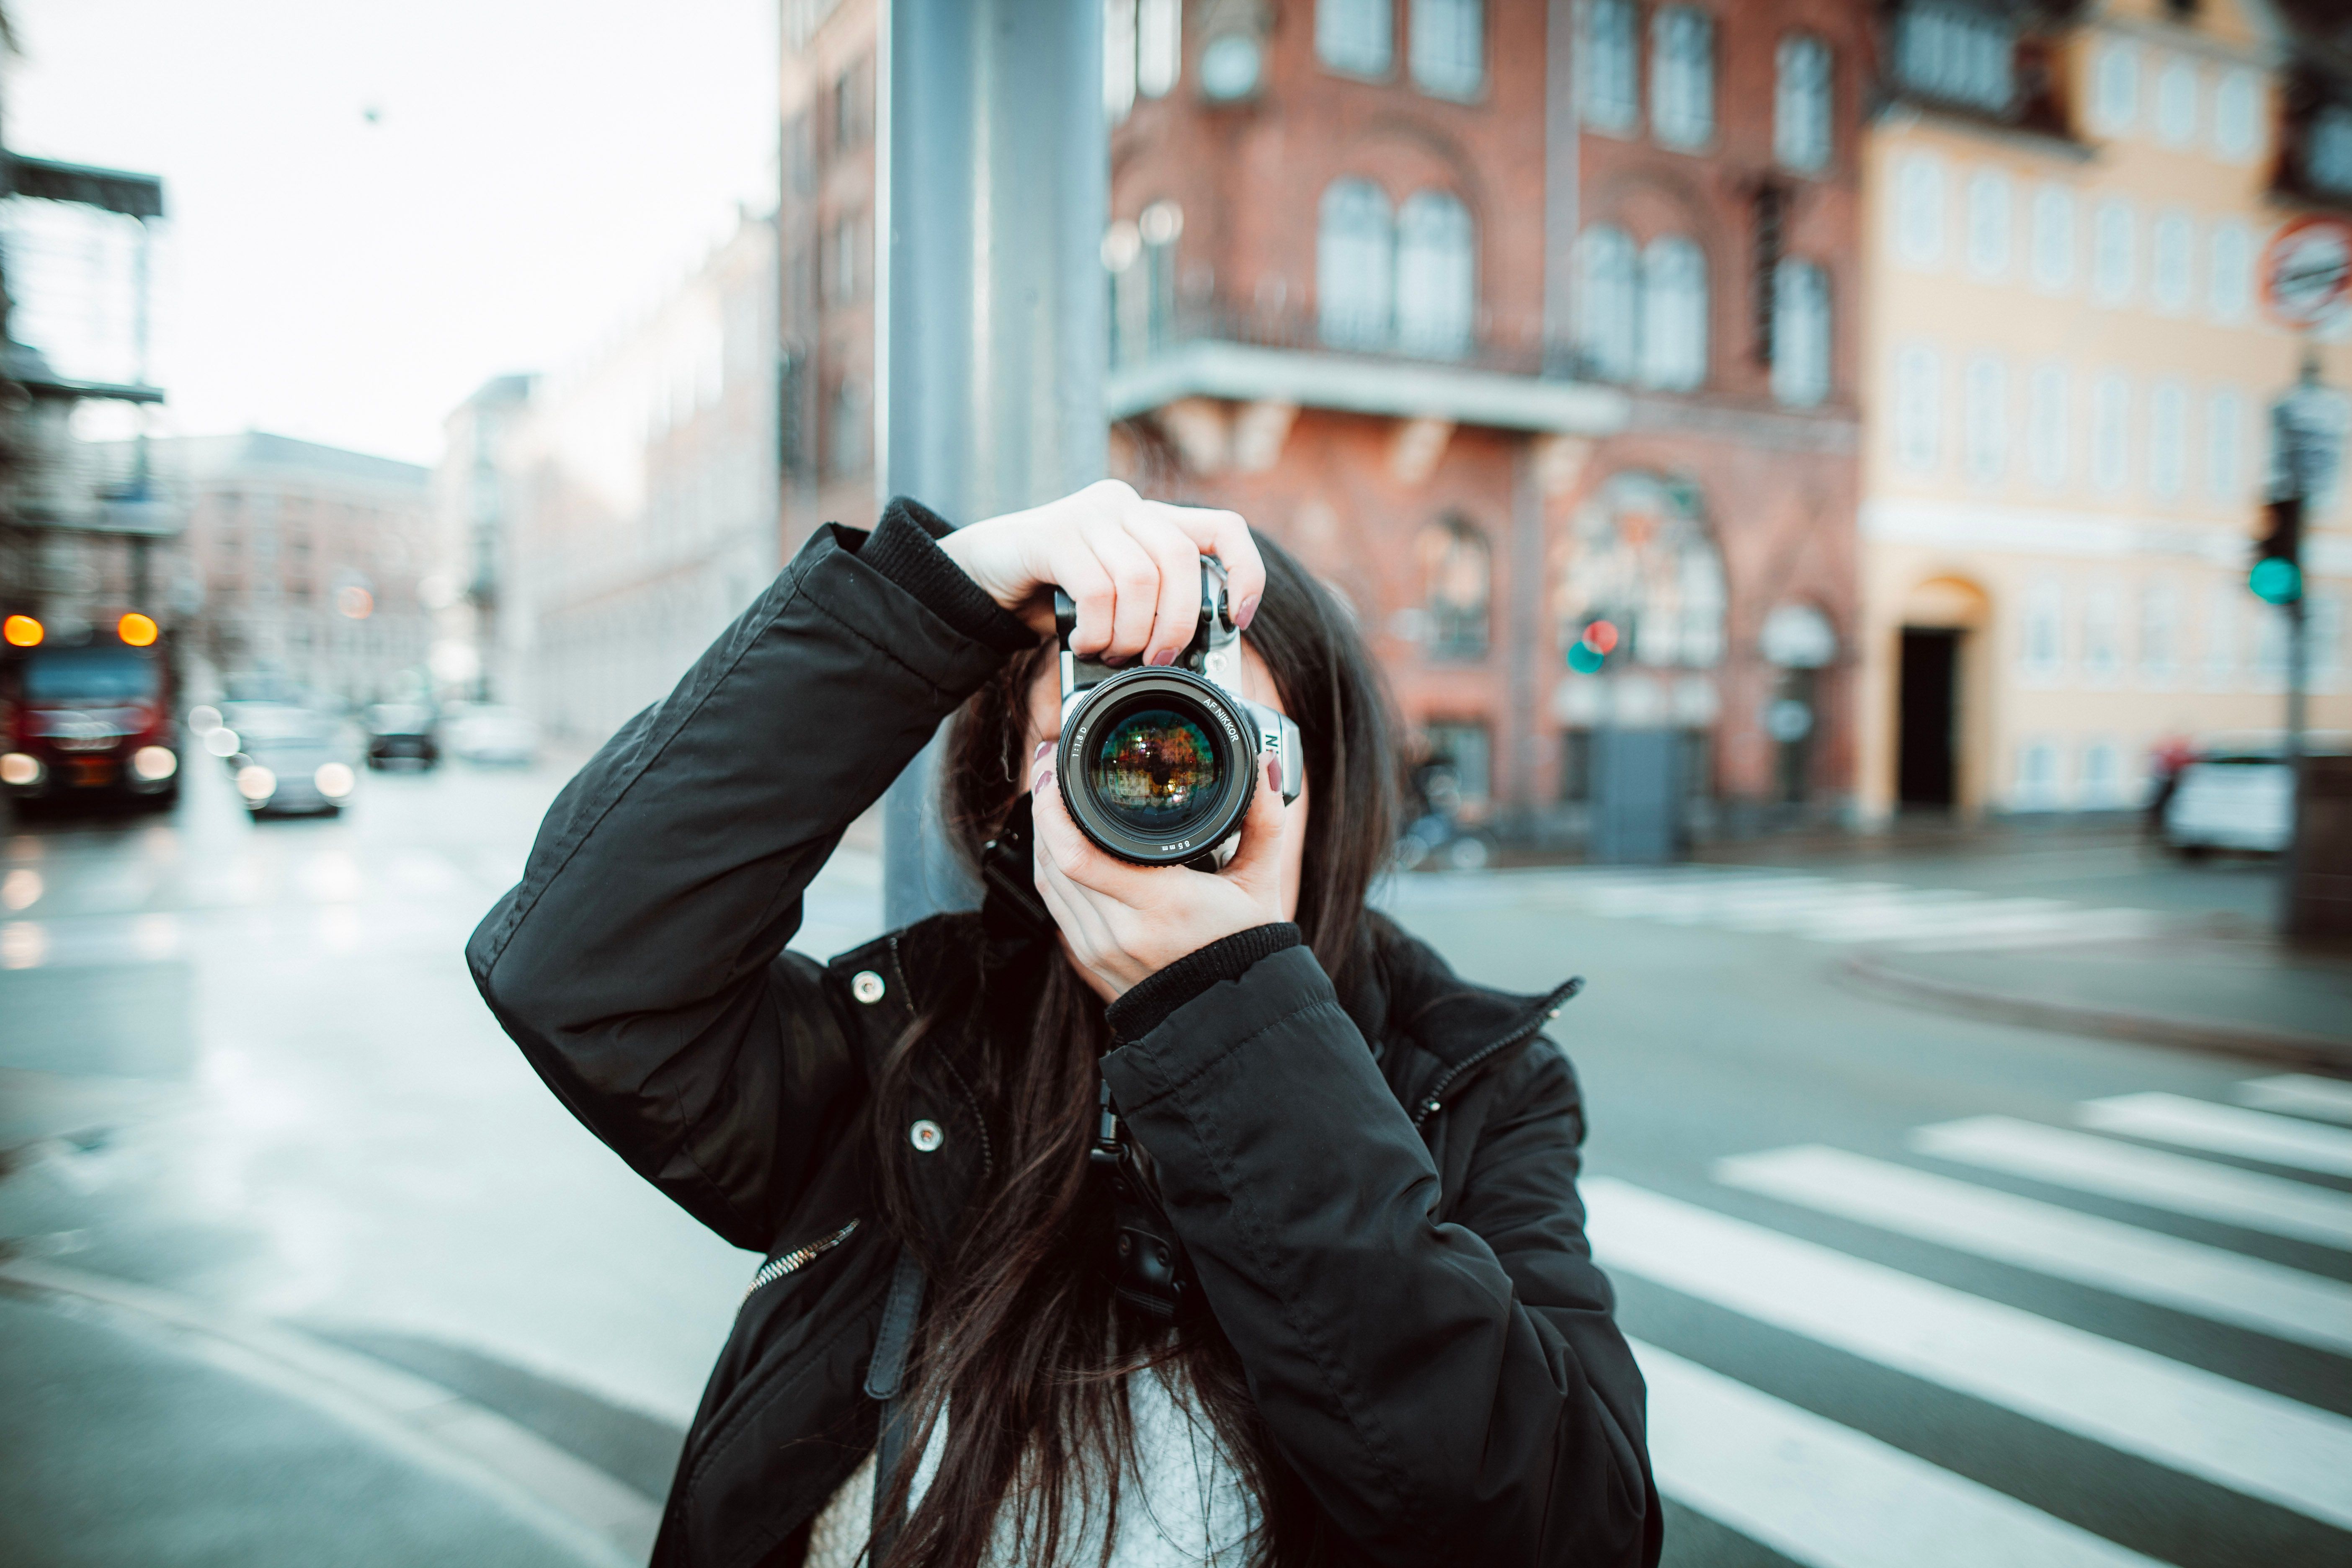
Why lens choice changes the scene
A shorter focal length takes in more of the frame, so the city feels larger and more open. Canon places lenses below 35mm in the wide-angle range, and 24mm is a classic choice for architecture and wide city views. A 24mm lens brings in more sky, more road, and more of the buildings close to you. Canon’s RF 24mm F1.4L VCM pairs that focal length with an f/1.4 aperture, which helps when the light drops.
How the angle can help or hurt
Extreme wide views make nearby objects feel huge. Canon’s RF 10-20mm F4L IS STM reaches a 130° angle of view at 10mm, so edges can stretch quickly if the camera tilts too far.
Used well, that stretch gives a skyline a bold edge; used carelessly, it makes poles and towers lean in awkward ways. Aim for the effect you want, and keep the camera level whenever cleaner lines matter.
Choosing the right perspective for the scene
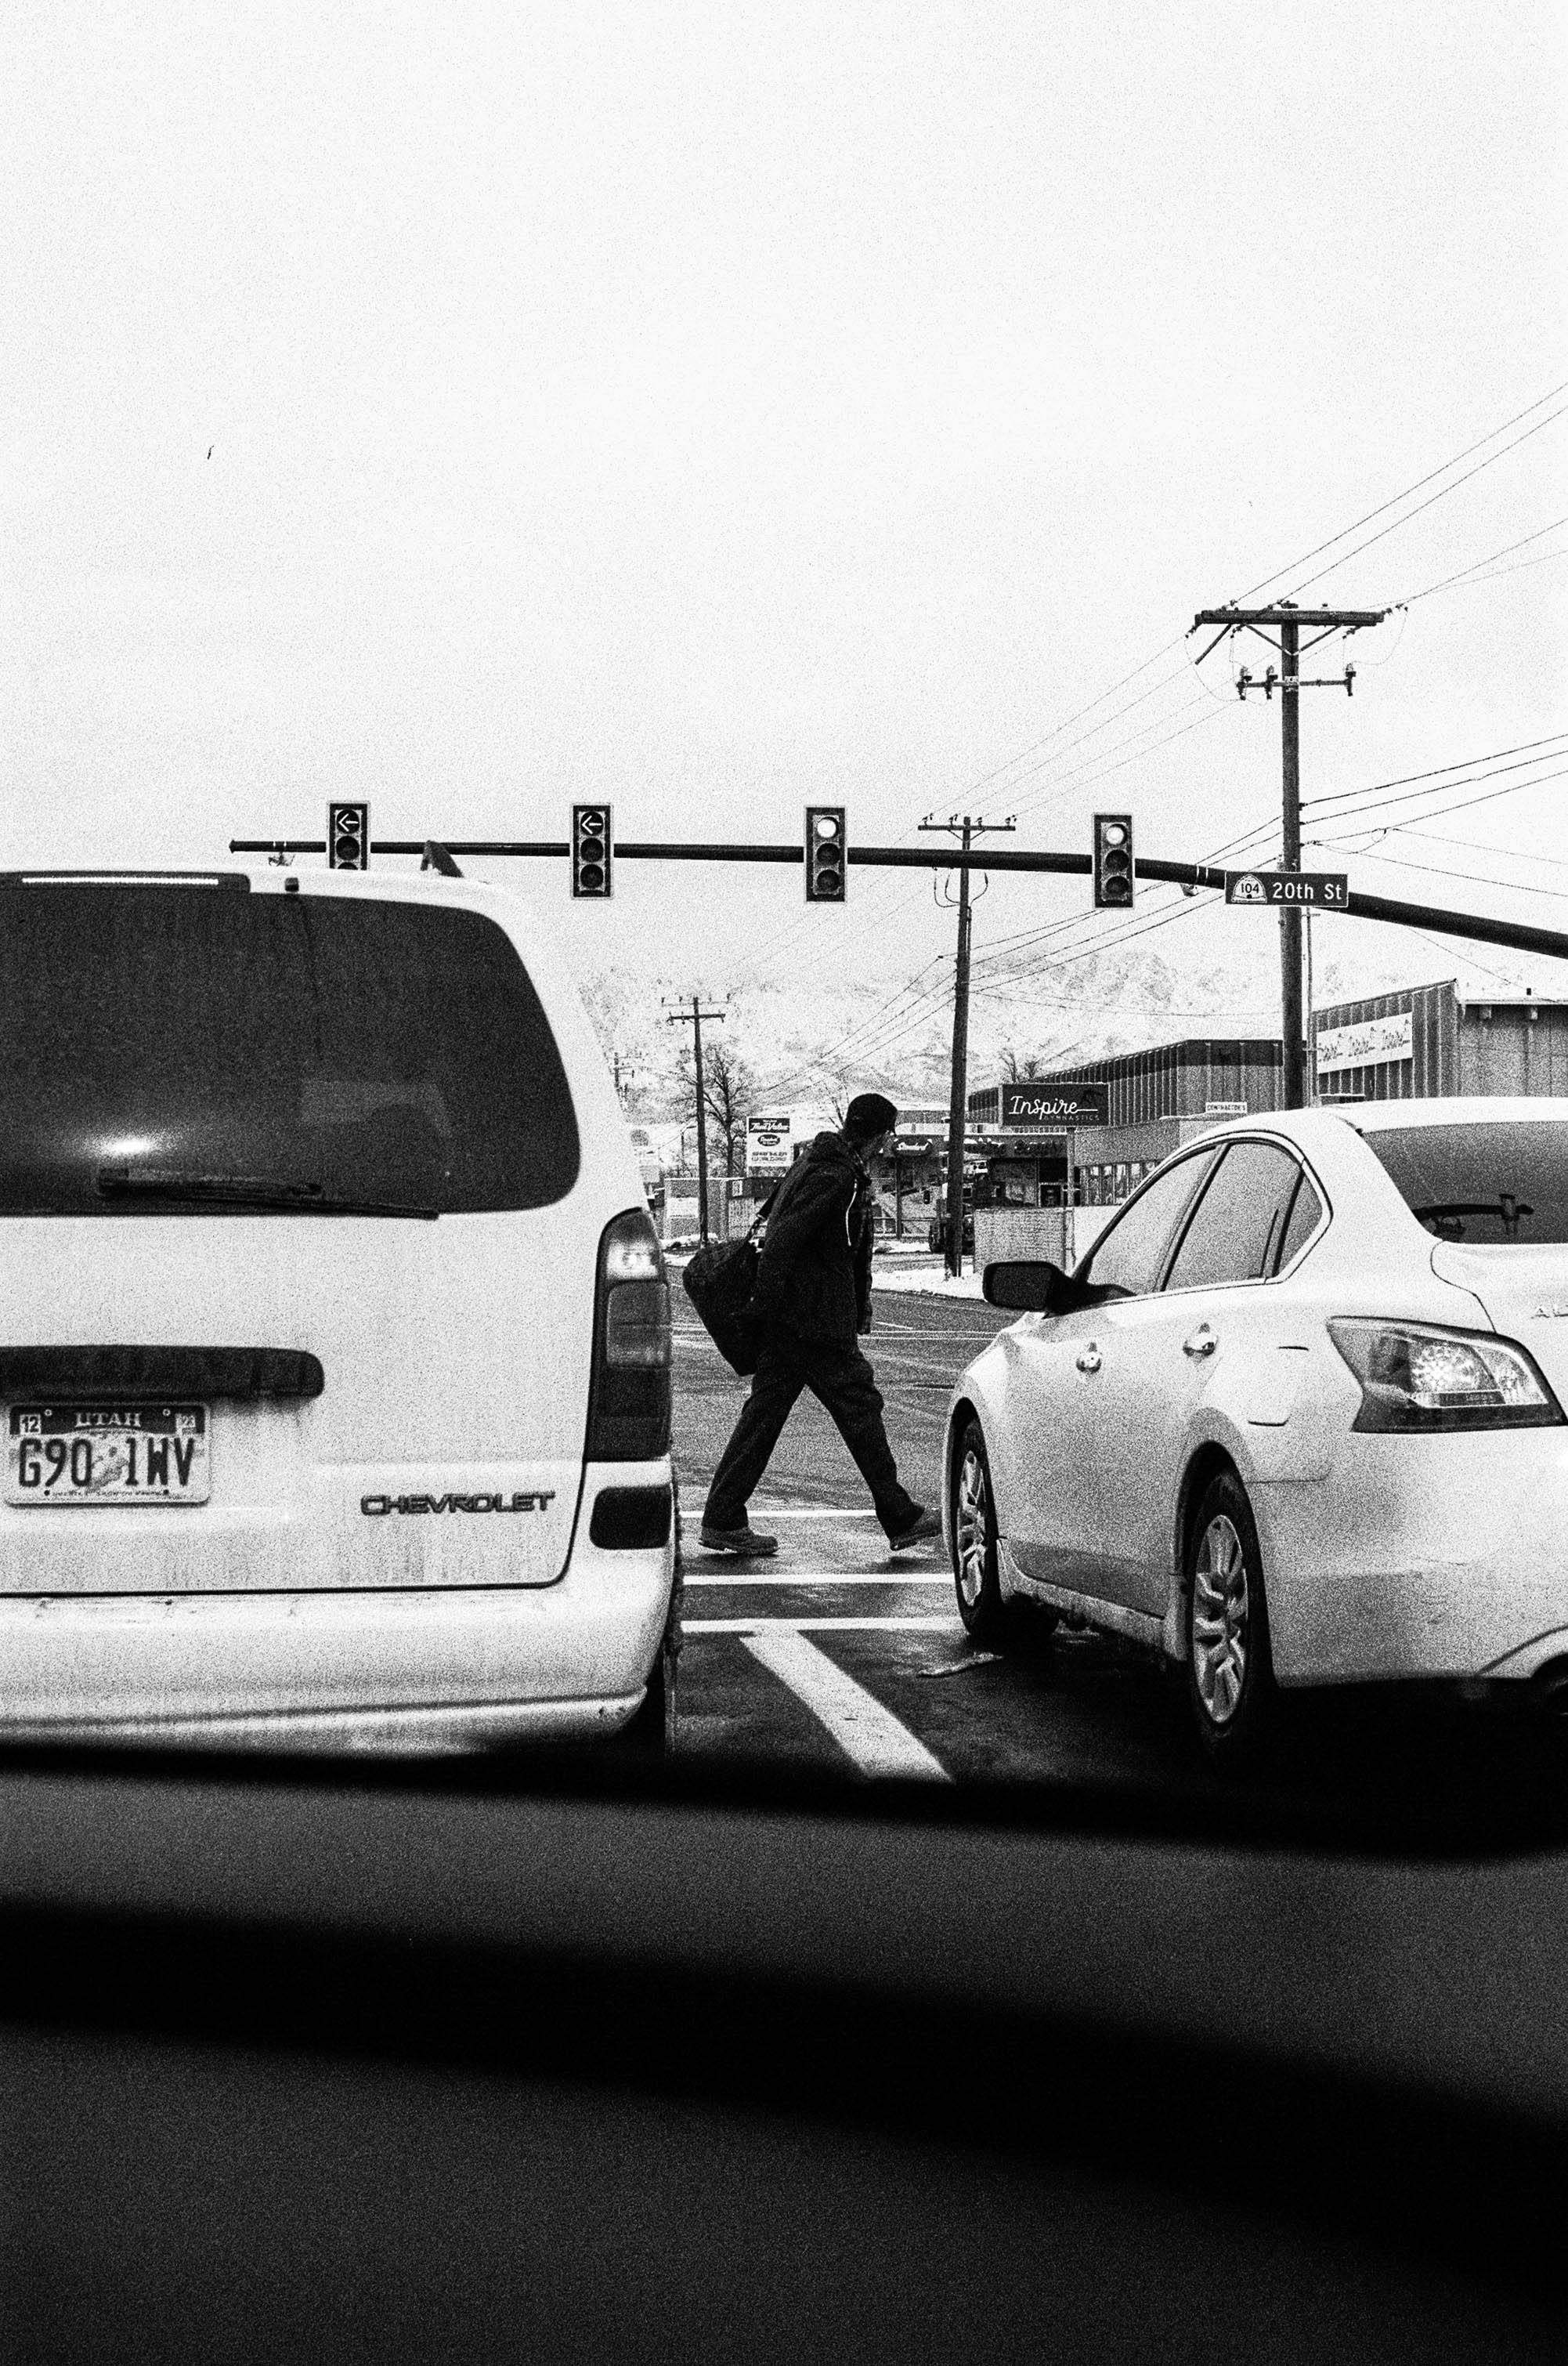
One-point and two-point views solve different problems. One-point perspective suits front faces; two-point perspective suits corner lines and side depth. Where you stand and what the skyline needs to show determine the choice. A straight-on tower front often reads best in one-point framing, while a corner view usually feels stronger in two-point framing.
When each one fits best
- Use one-point framing for a centered road, bridge, or hallway-like street.
- Use two-point framing for corner views of towers, blocks, and skyline edges.
- Use one-point framing when you want calm symmetry.
- Use two-point framing when you want more depth and motion.
- Use a level camera when verticals must stay straight.
The best choice is the one that matches the shape of the scene. Strong corners usually feel more natural in two-point framing.

Staying steady while moving through traffic
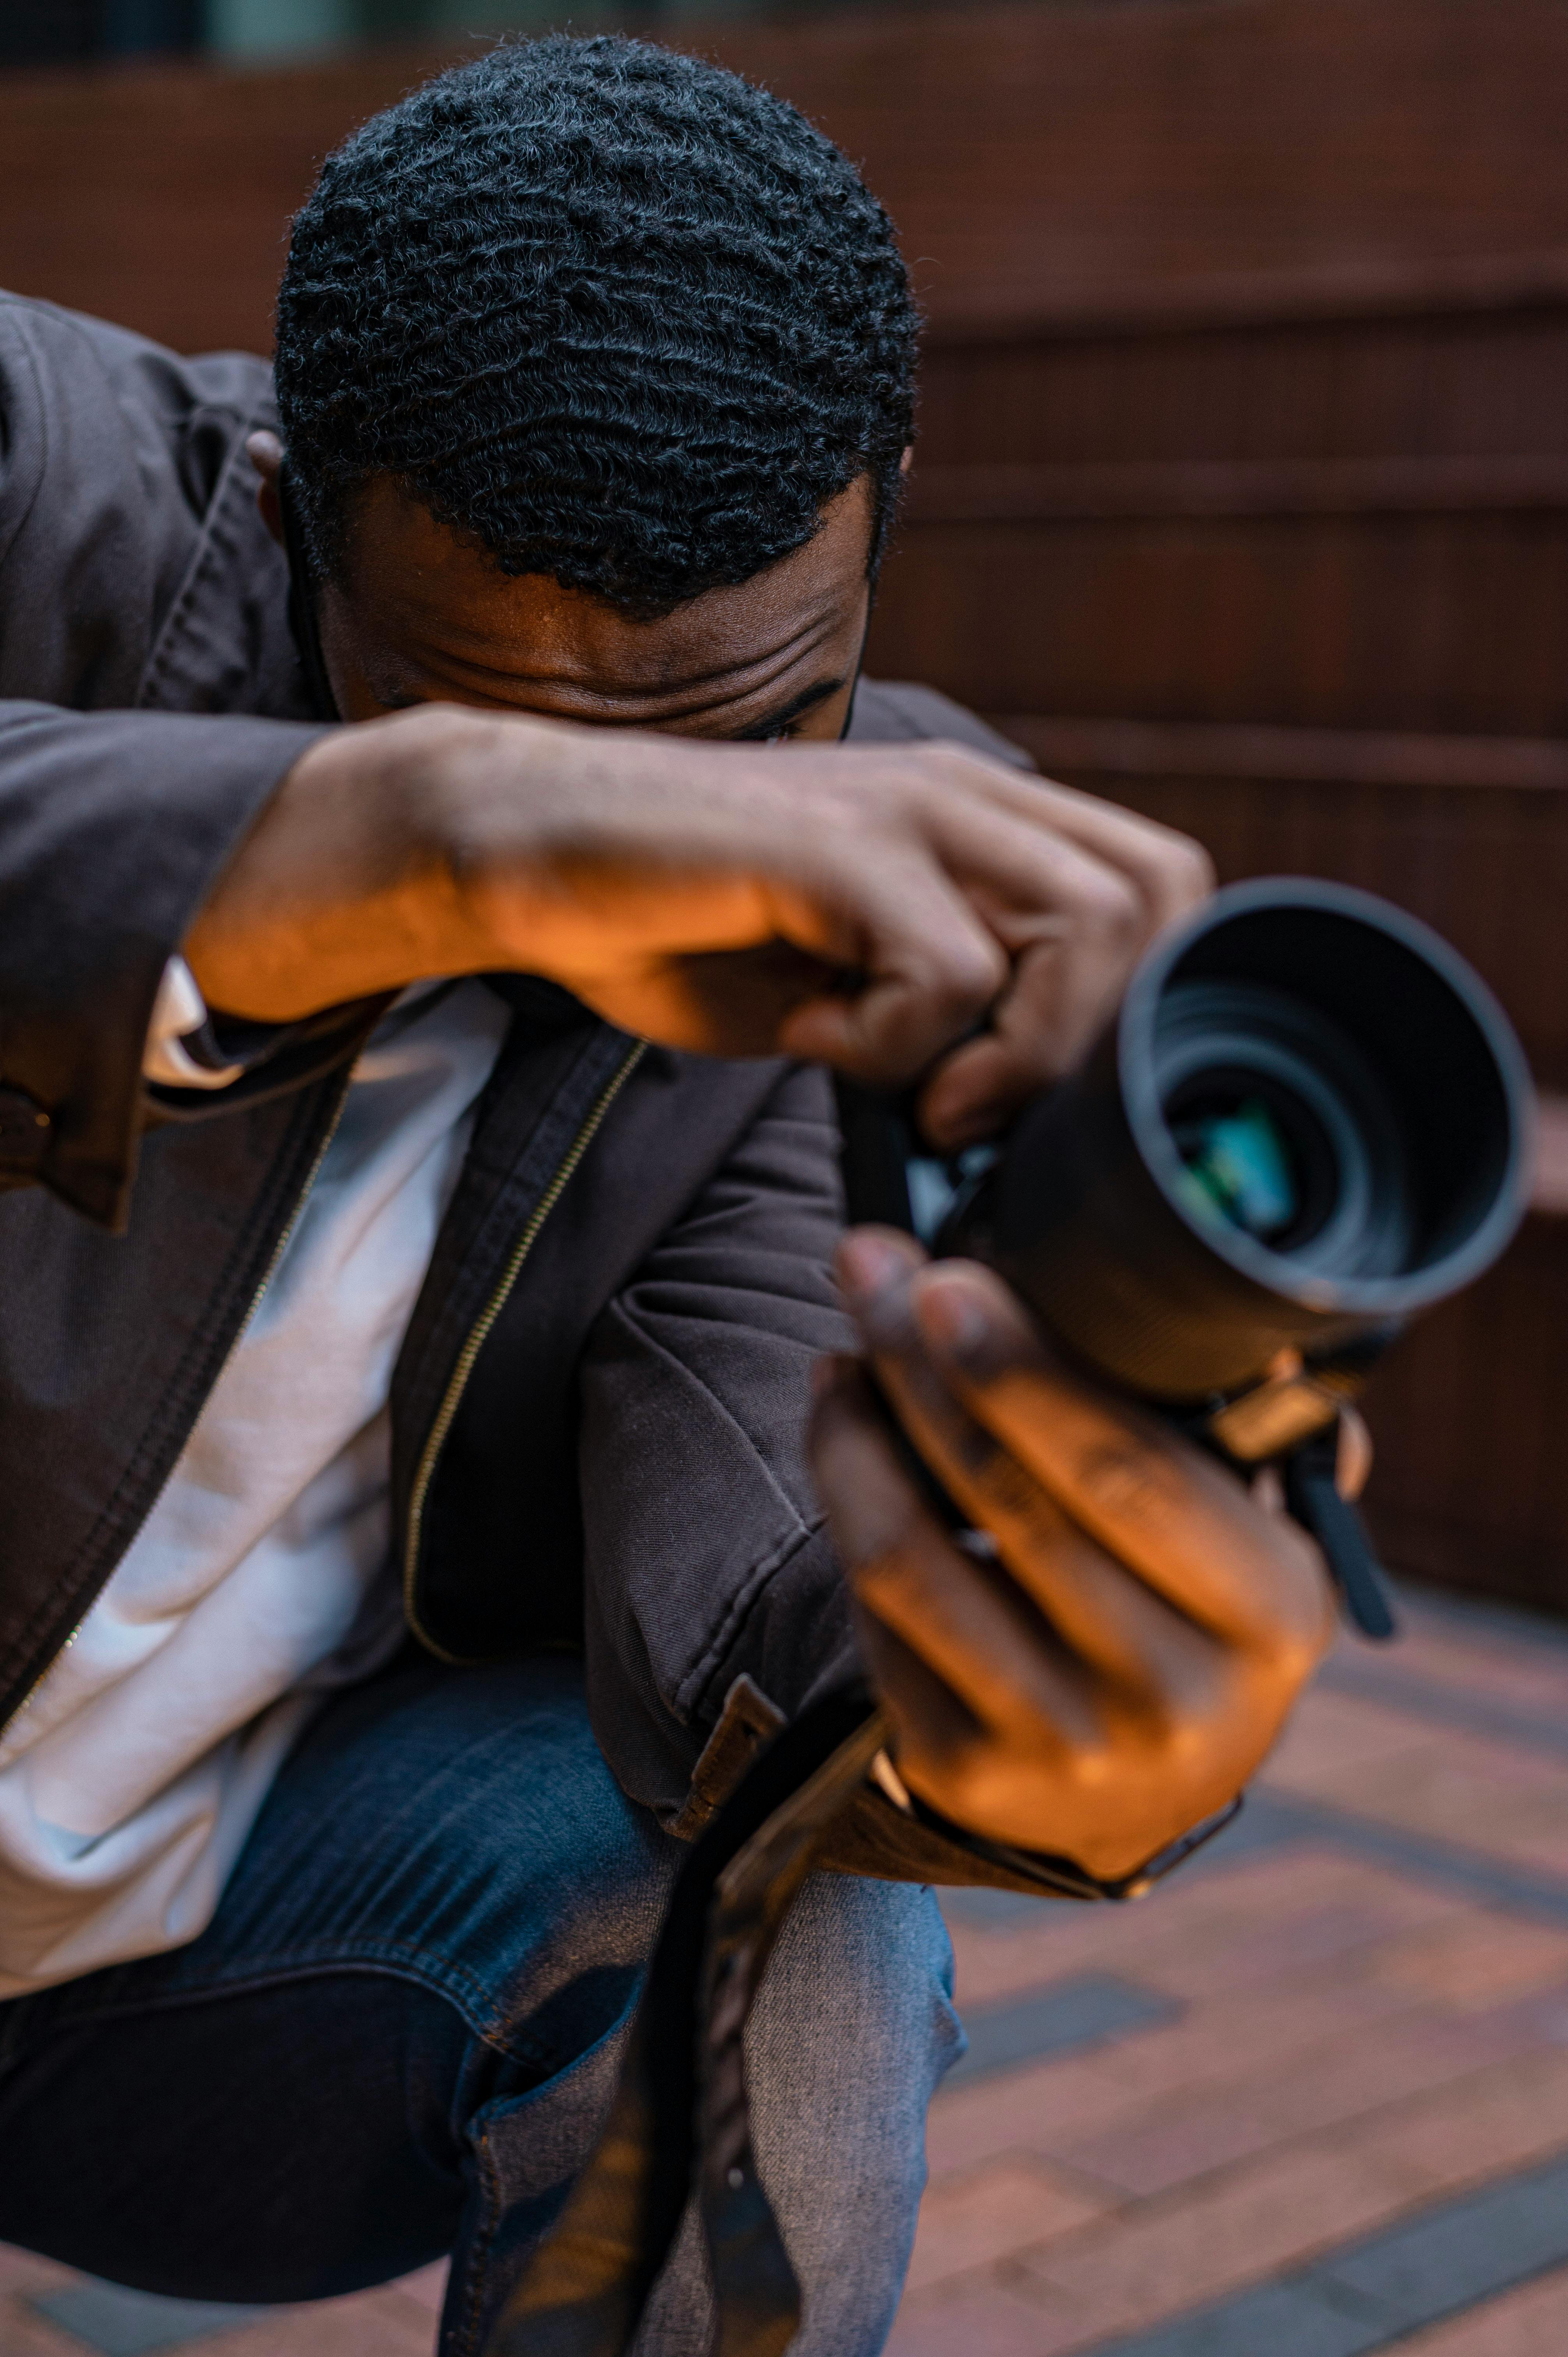
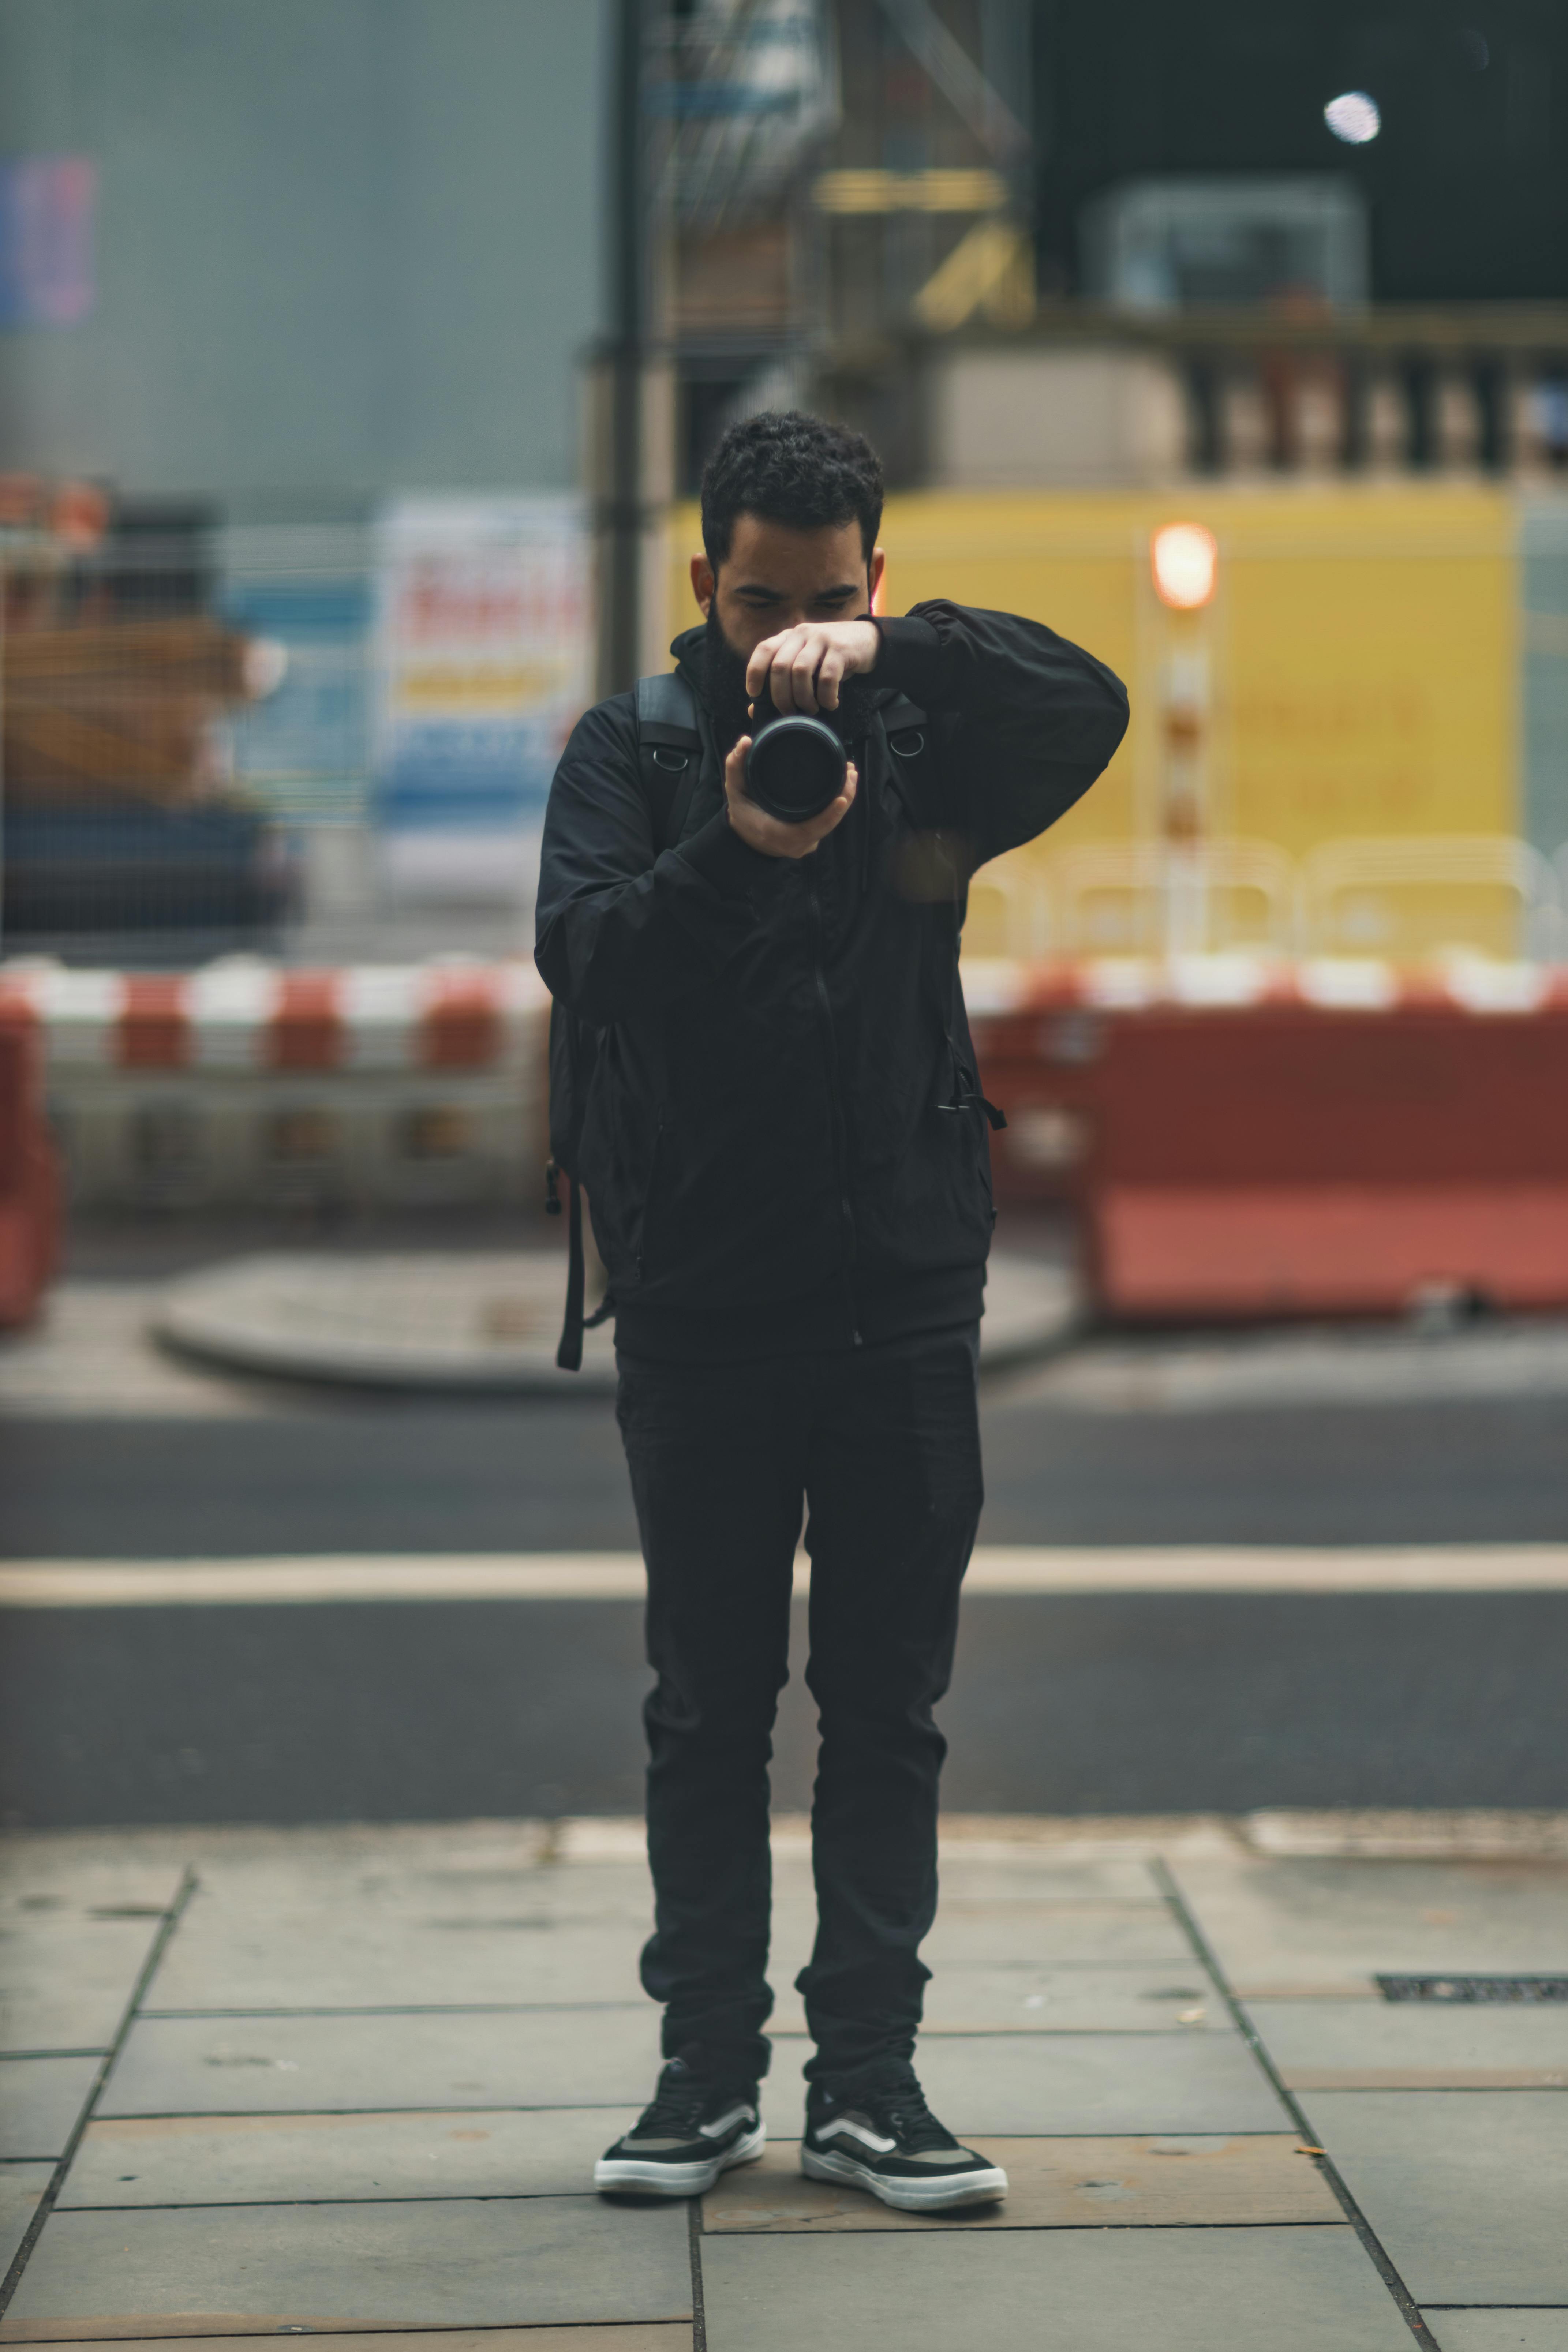
A safe skyline shot begins before the camera comes up. Stop fully, plant both feet, and keep your elbows close to your body.
Crossing streets or stepping off a curb leaves little room for guesswork. A hands-free carry system helps, and a strap like the Camstrap Voyager keeps the camera ready at your side while you move.
Fast setup that keeps you balanced
- Walk with the camera secured against your body.
- Stop at the edge of the frame you want.
- Raise the camera only after you check the lane, curb, or stair.
- Set your stance with one foot slightly forward.
- Press the camera to your face and frame fast.
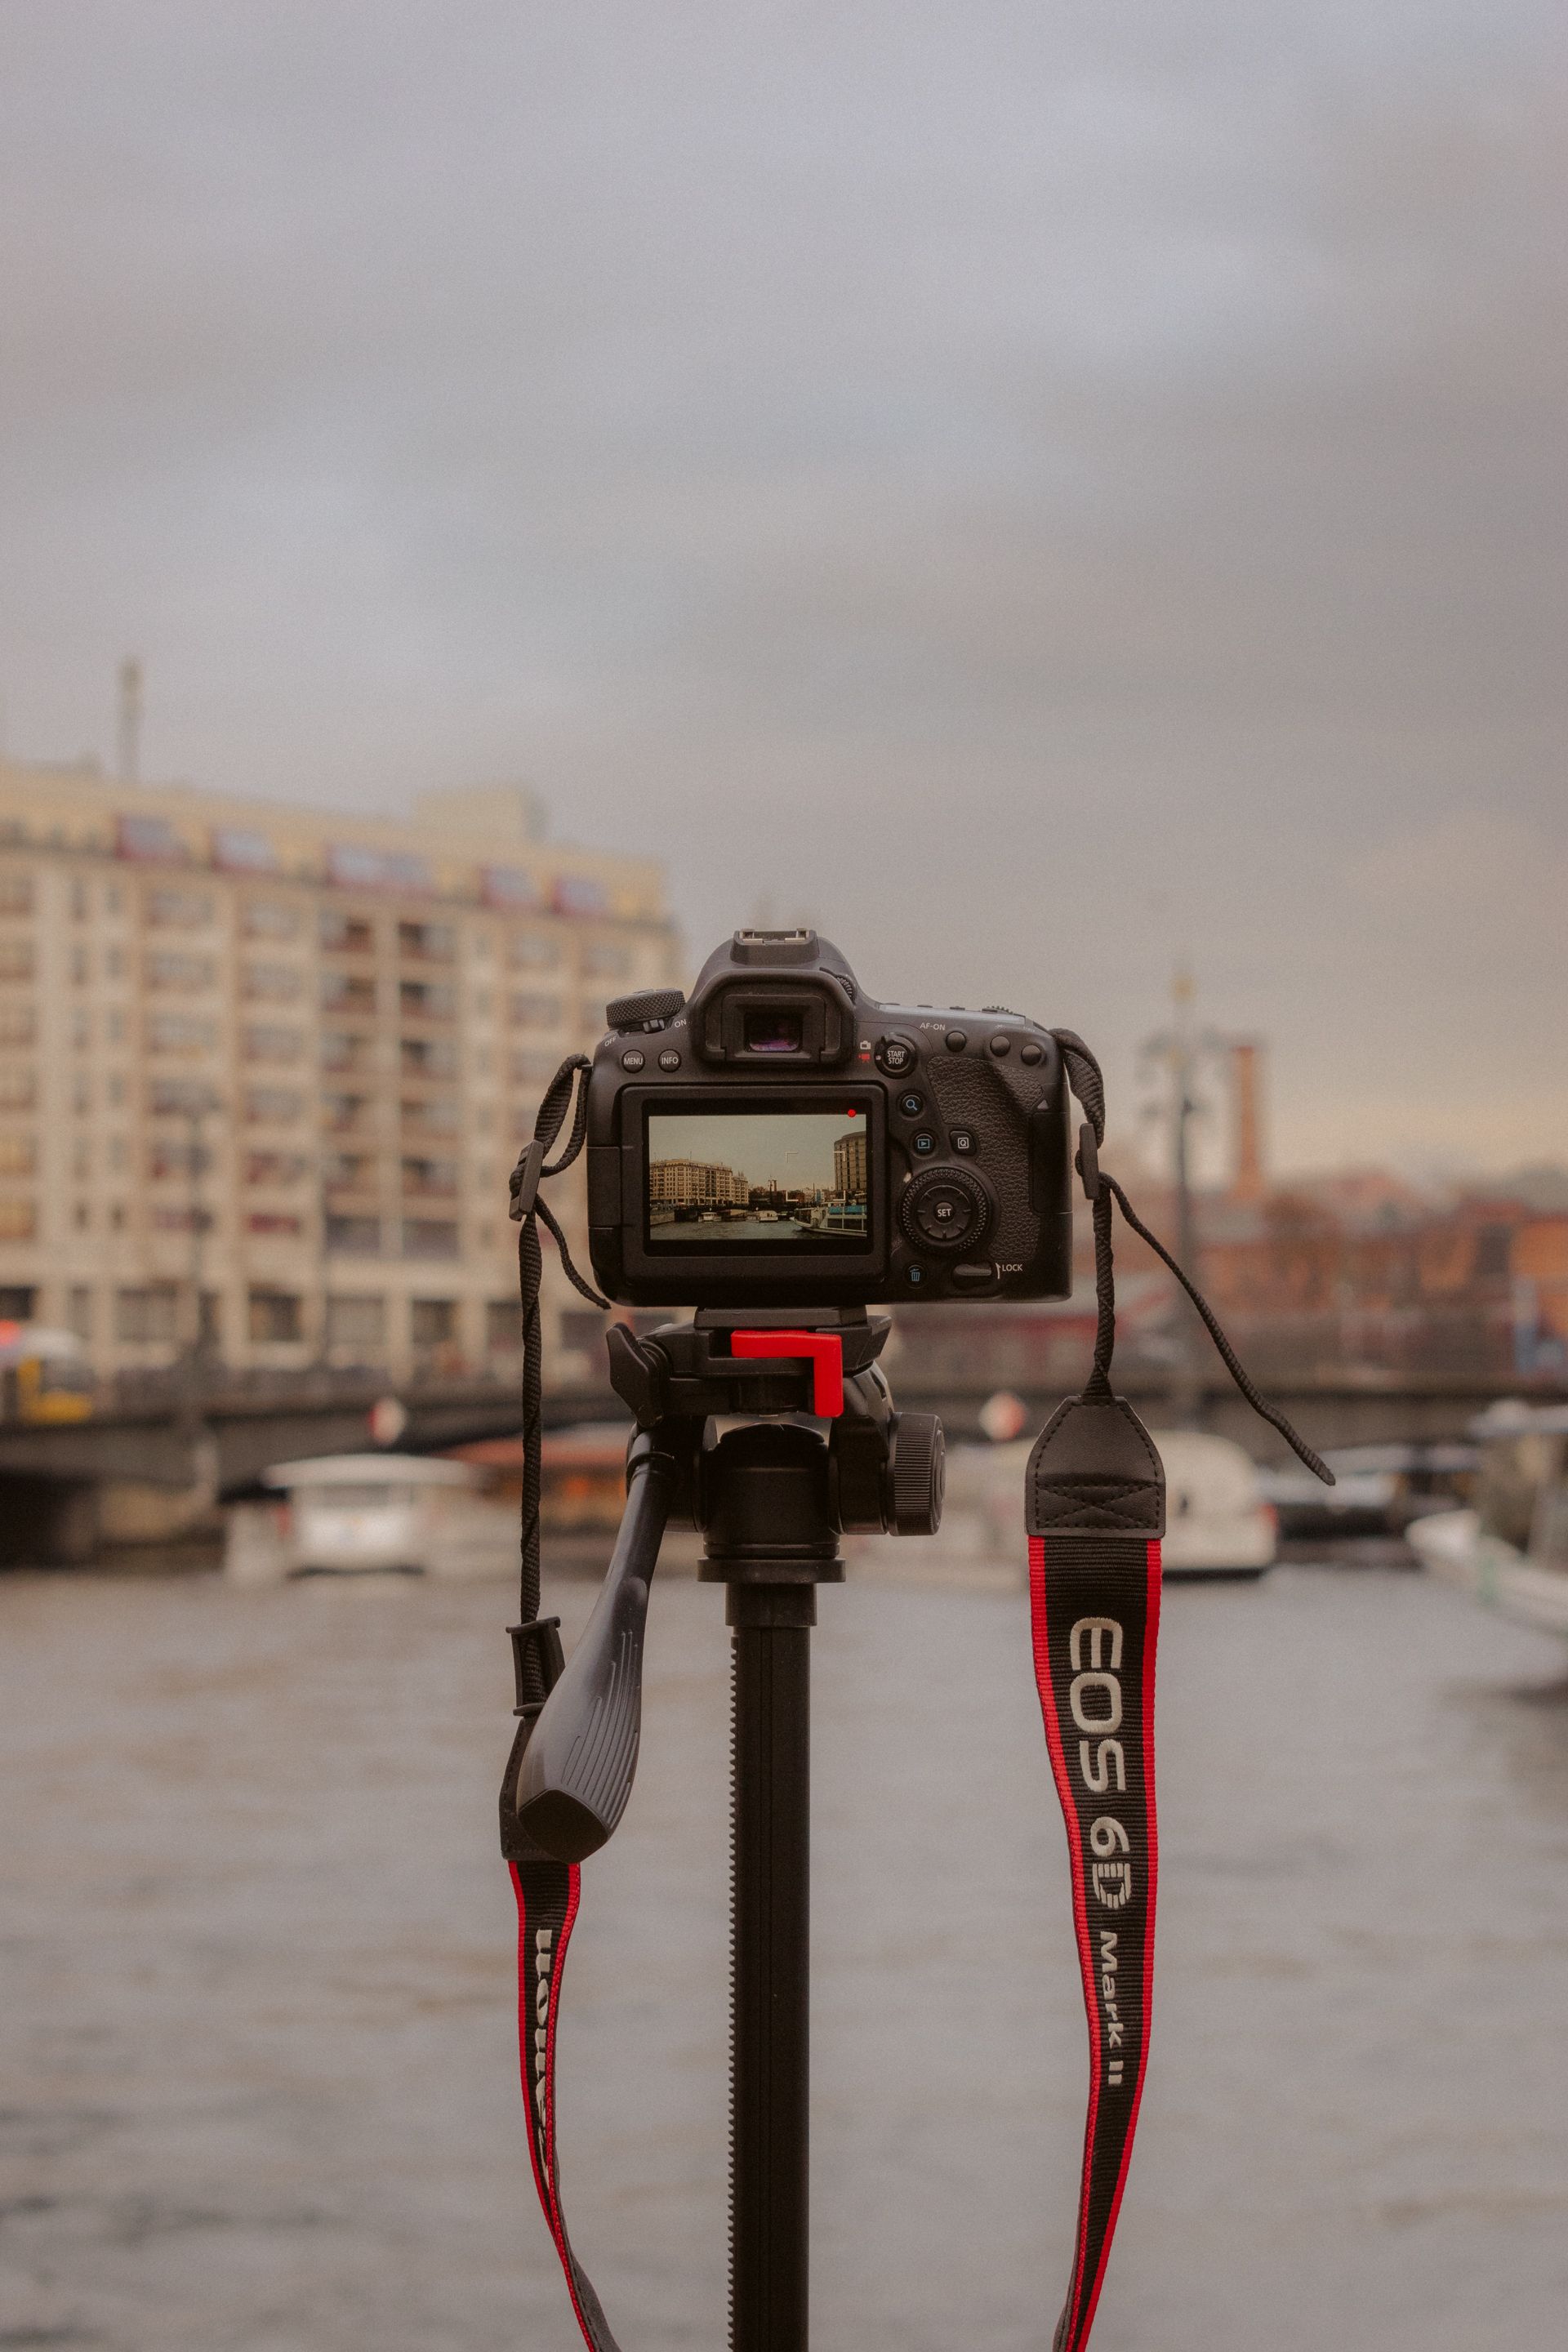
That short pause steadies your body and tightens the shot. It also lowers the chance of bumping the lens while cars, bikes, or crowds pass by.
One detail that often gets missed
Traffic scenes drain attention fast, and camera handling gets sloppy just as quickly. A secure carry point keeps both hands free until the moment you shoot. It helps on stairs and uneven sidewalks too, where balance counts more than speed. The goal is simple: keep the camera ready without making your steps awkward.
Settings that keep buildings clean
Good skyline framing starts with settings that protect lines and detail. Aperture priority or manual mode works well, and shutter speed should stay protected if people or traffic are moving.
For static buildings, f/5.6 to f/8 is a safe zone for sharp detail across the frame. In lower light, raise ISO instead of opening too wide and softening the edges.
Shutter, ISO, and focus choices
A shutter speed near 1/250s works well if you are handholding near a street. For moving people, 1/500s leaves more room for a clean frame. Use continuous AF, such as AF-C or AI Servo, with subject detection when you are changing angles fast. Back-button focus helps by separating focus from the shutter, so you can reframe without refocusing each time.
Mirrorless users should watch battery drain too. The EVF, LCD, and image review use more power than most people expect, so keep review time short when you are moving all day.
What burst tools can do here
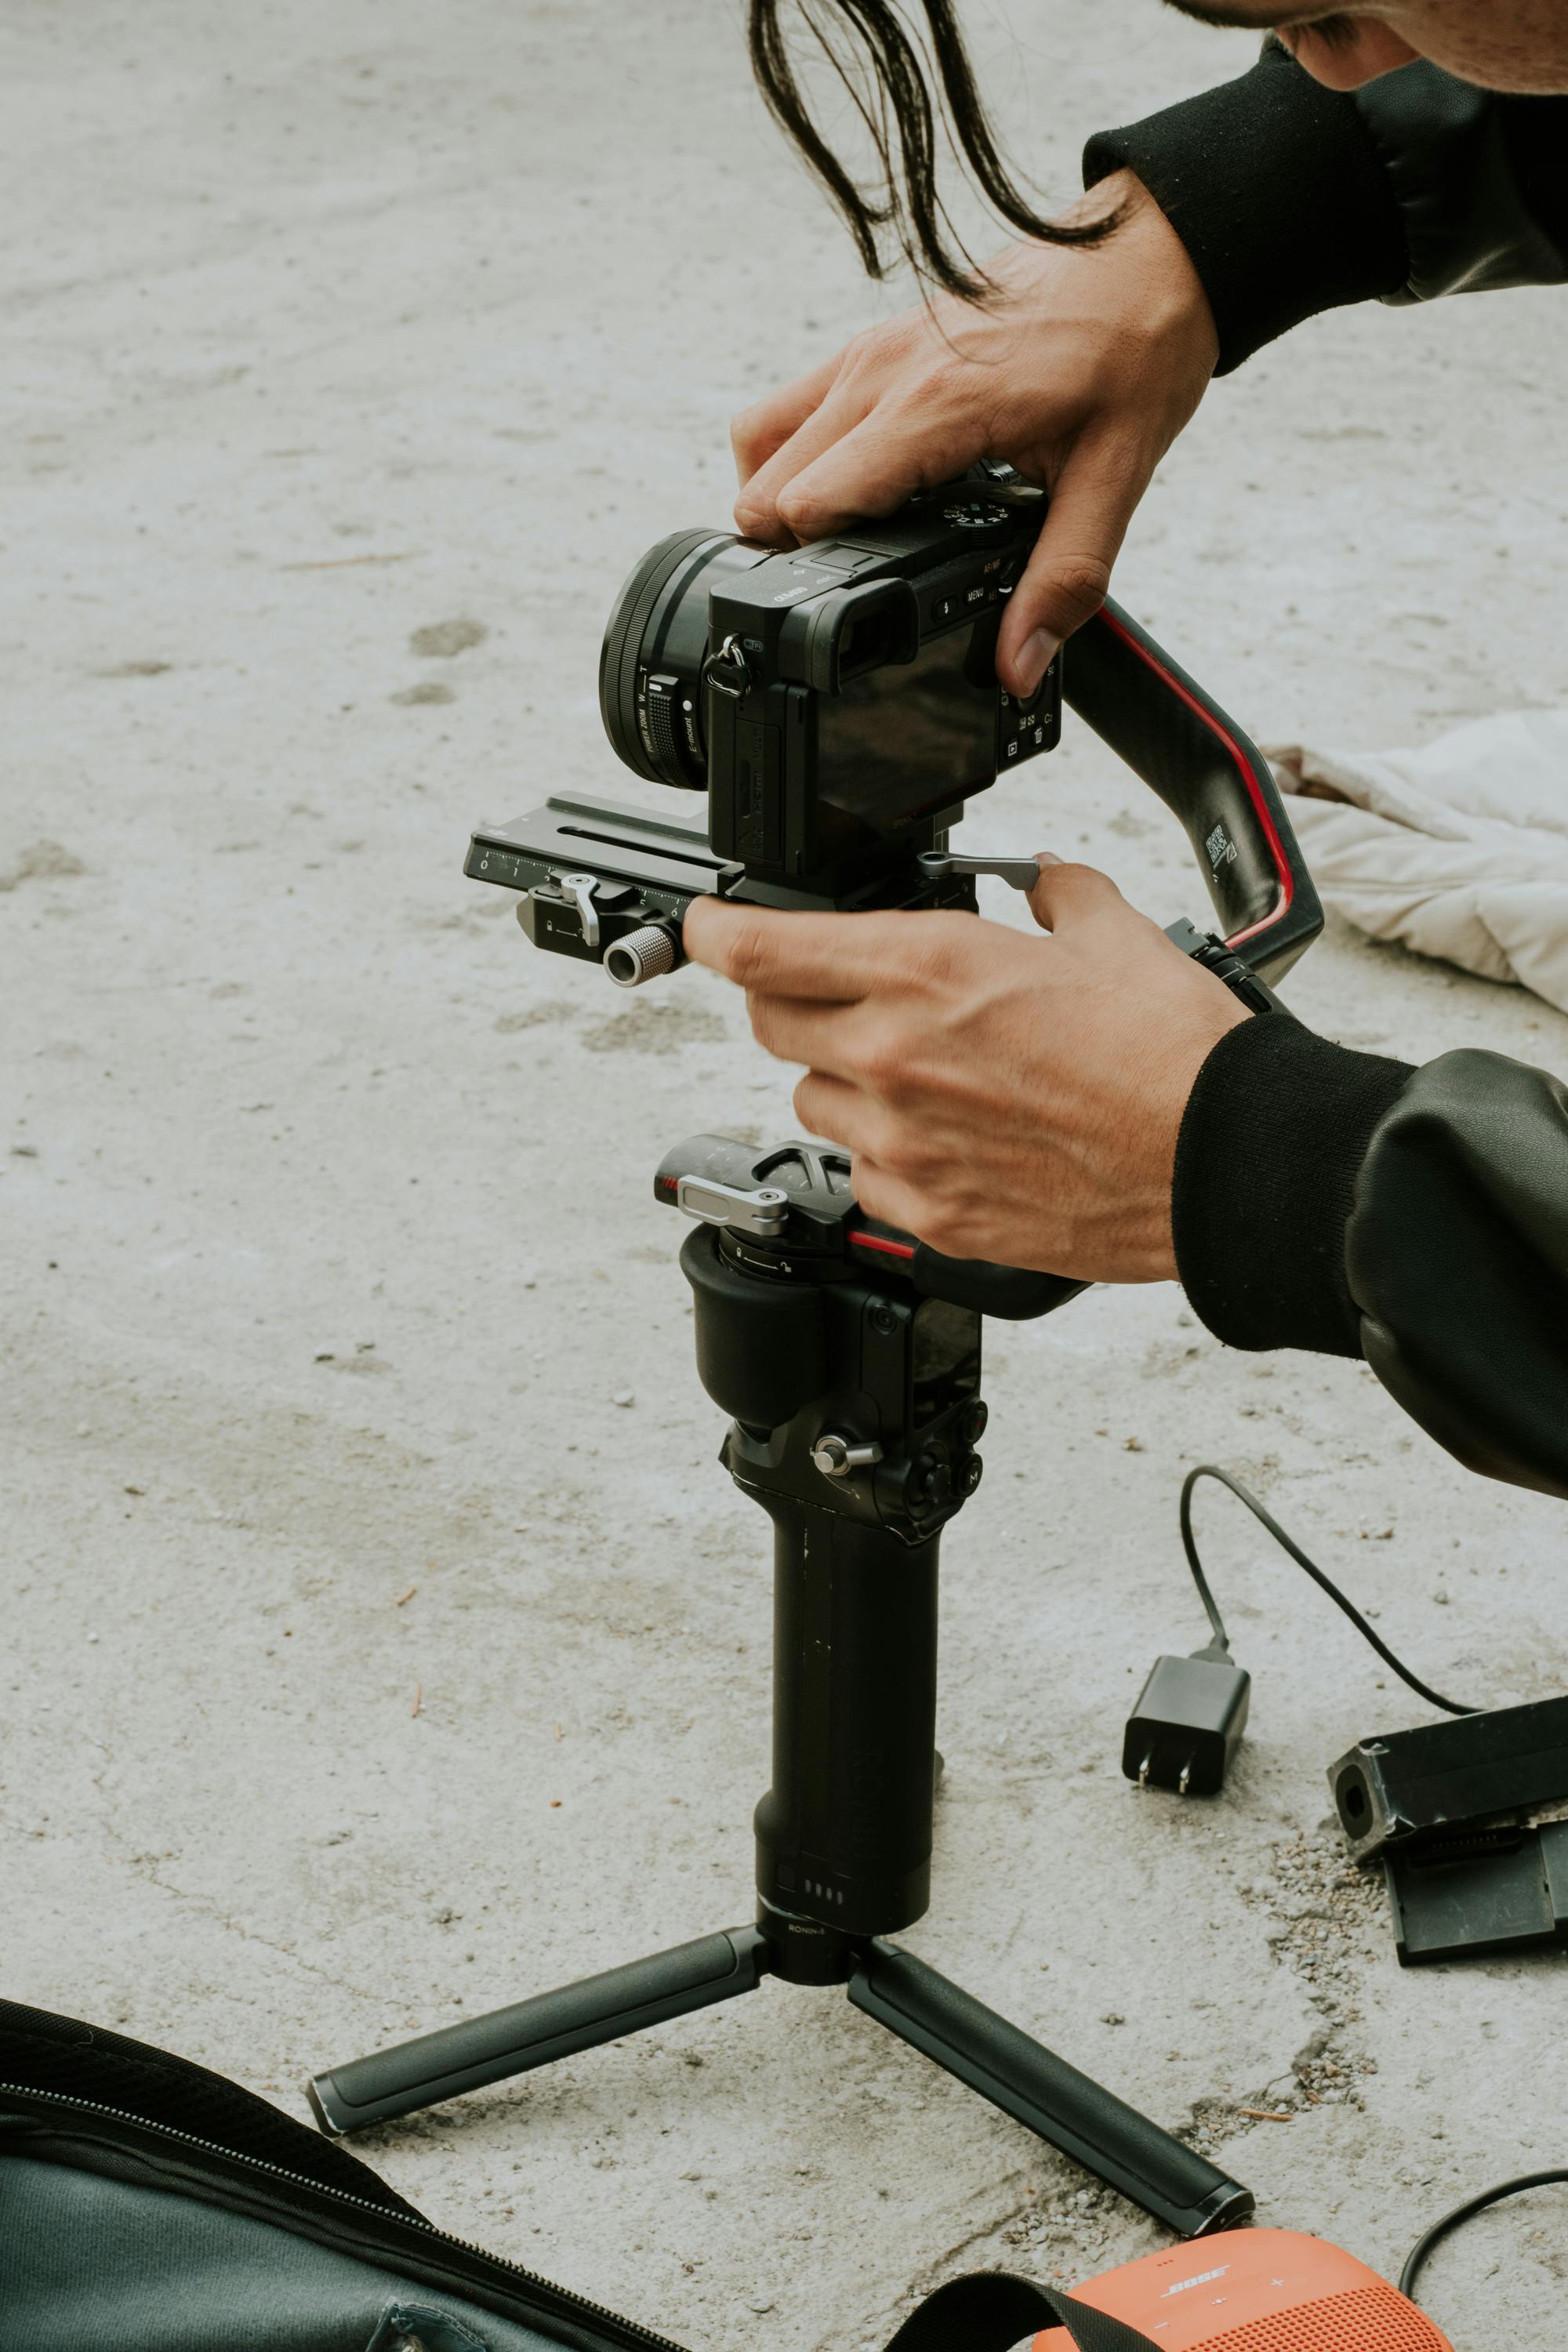
Short bursts help when a gap in traffic opens for one second. A mid-tier body often holds about 20 to 40 RAW frames before it slows, which suits a short burst rather than a long spray.
Pre-capture or pre-burst mode helps when the best moment starts just before you press fully. It can save a frame when a taxi blocks the view, then clears it again.
How to keep verticals from falling over
Building lines tilt when the camera points up or down. The more you tilt, the more the top of the tower seems to fall back. A level horizon helps, but camera position matters too. Step back when you can, and keep the sensor plane more level to reduce distortion.
Tools and lens moves that make a difference

Tilt-shift lenses are made for this job. They let you control perspective and keep building verticals straight without forcing a heavy crop later.
A 50mm lens also helps when you want a more natural view with less stretch. Canon’s TS-E 50mm lens uses a 50mm focal length and an f/2.8 maximum aperture, which gives you a clean base for controlled framing.
If you have to shoot wide, choose the least extreme angle that still fits the scene. Canon notes that 16mm is an ultra-wide focal length, and its RF 16mm F2.8 STM can fit very large subjects like a whole bridge into the frame.
Why angle counts more than location
Skyline photos often fail because the angle is wrong, not because the view is weak. A small step left or right can change the vanishing lines in a big way. Look for a corner, a curb edge, or a gap between parked cars. Those shapes give the frame structure and help the skyline sit inside the scene instead of floating above it.
Simple rules that keep the frame honest
The three rules of perspective drawing are simple: lines converge, size changes with distance, and parallel edges seem to meet. Those rules apply in photography too, especially with a wide lens.
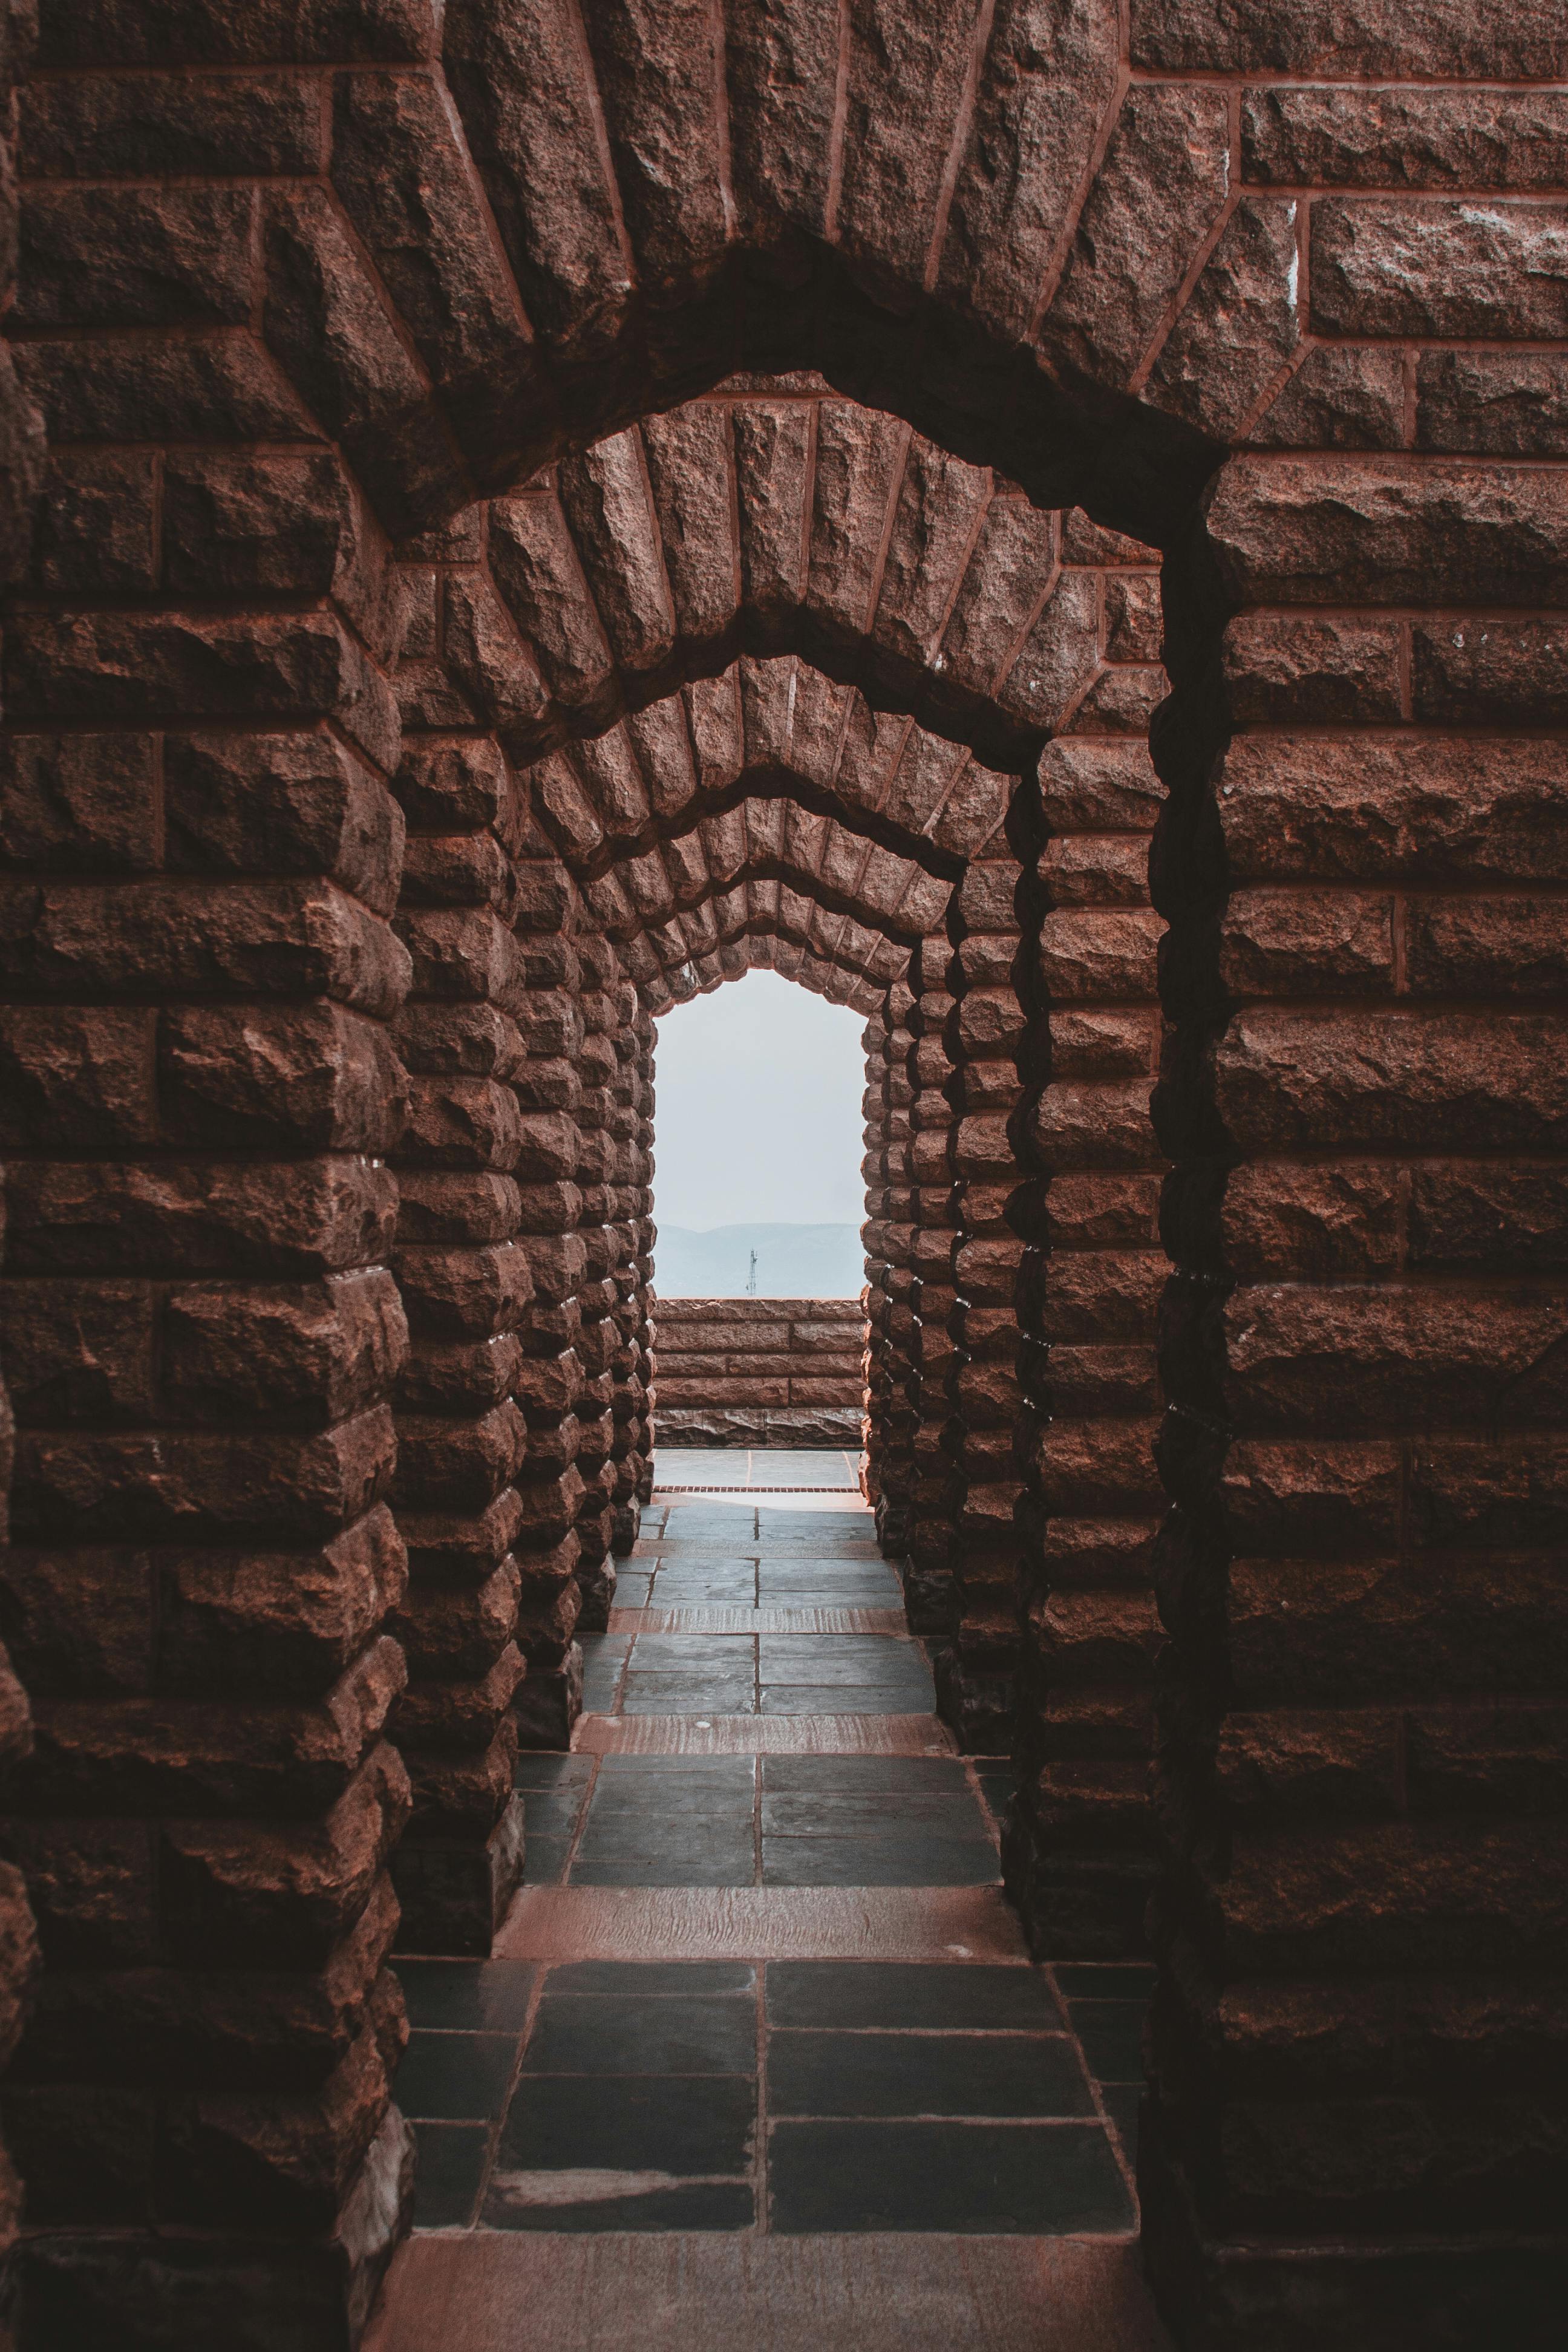
One-point perspective in art uses a single vanishing point, which suits centered paths and direct views. Two-point framing uses two vanishing points, which better fits corners and angled buildings.
Use the straightest lines in the scene as your guide. If the street edge bends, move a few feet and try again.
Field checks before you press the shutter
A quick check saves more skyline shots than a new lens. Before you shoot, make sure your feet are stable, your focus point is where you want it, and your frame edges are clean. Then watch for motion that could spoil the shot. Cars, buses, and pedestrians can block the lower frame, but they can also add scale when timed well.
- Check the horizon line first.
- Watch the nearest edge of the frame for poles and signs.
- Keep the camera level unless the tilt is part of the design.
- Use a wider lens only when the scene truly needs it.
- Take one test frame, then adjust your stance.
These checks take only a few seconds. They also keep you from getting stuck in the street while trying to fix a bad angle.
Editing the frame without losing the look
Small edits can rescue a skyline, but they should support the scene rather than replace it. Start with lens correction, then straighten verticals with care.

A little crop is fine if it keeps the composition strong. Too much crop can remove the depth that made the wide view work in the first place.
What to fix first in post
Begin by correcting tilt and barrel distortion. Next, fine-tune contrast so the sky and buildings do not merge into one flat shape. If the frame feels crowded, trim the edges a little. Keep the main tower, road line, or roof shape as the anchor.
Let some skyline frames lean a little when the street energy calls for it. Perfect symmetry can feel stiff in a city scene.
Bringing the shot together on the move

Strong skyline photos come from three things working together: a stable stance, a smart angle, and a lens that fits the scene. Two-point perspective photography gives the city depth, but your body position decides whether the frame feels calm or rushed.
Use a wide lens when you need space, a 50mm lens when you want cleaner lines, and a tilt-shift lens when you need tight control. Keep your camera ready, keep your steps safe, and wait for a gap that lets the skyline breathe.
The next time you reach a busy corner, stop at the curb, square your shoulders, and make one clean frame at 24mm before the light changes.
Frequently Asked Questions
What is two-point perspective in photography?

Two-point perspective in photography is a way of framing a scene with two vanishing points, so the sides of buildings or streets recede in different directions. It is especially useful for city edges, towers, bridge spans, and corner views because it preserves depth while keeping the skyline strong.
When to use 1 point and 2 point perspective?
Use one-point perspective for centered, front-facing scenes such as a straight road, bridge, hallway-like street, or a tower viewed head-on. Use two-point perspective for corner views of towers, blocks, and skyline edges when you want more depth, motion, and naturally receding side lines.
What are the three rules of perspective drawing?
The three core perspective-drawing rules are that parallel lines appear to converge at vanishing point(s), objects get smaller as they move farther away, and vertical lines should stay straight when a level camera is used for architecture. These rules help create believable depth and keep buildings from leaning unnaturally.
What is one point perspective in art?
One-point perspective in art is a drawing or photographic perspective that uses a single vanishing point, so lines recede toward one center point. It works best for front-facing scenes that need calm symmetry, such as a centered road or a straight-on building facade.


