


- Shoot during the first and last hour of sunlight for the warmest roadside light.
- Photograph roads, pull-offs, and small scene details that show motion and place.
- Carry a light camera in an easy-reach setup so you can shoot fast at stops.
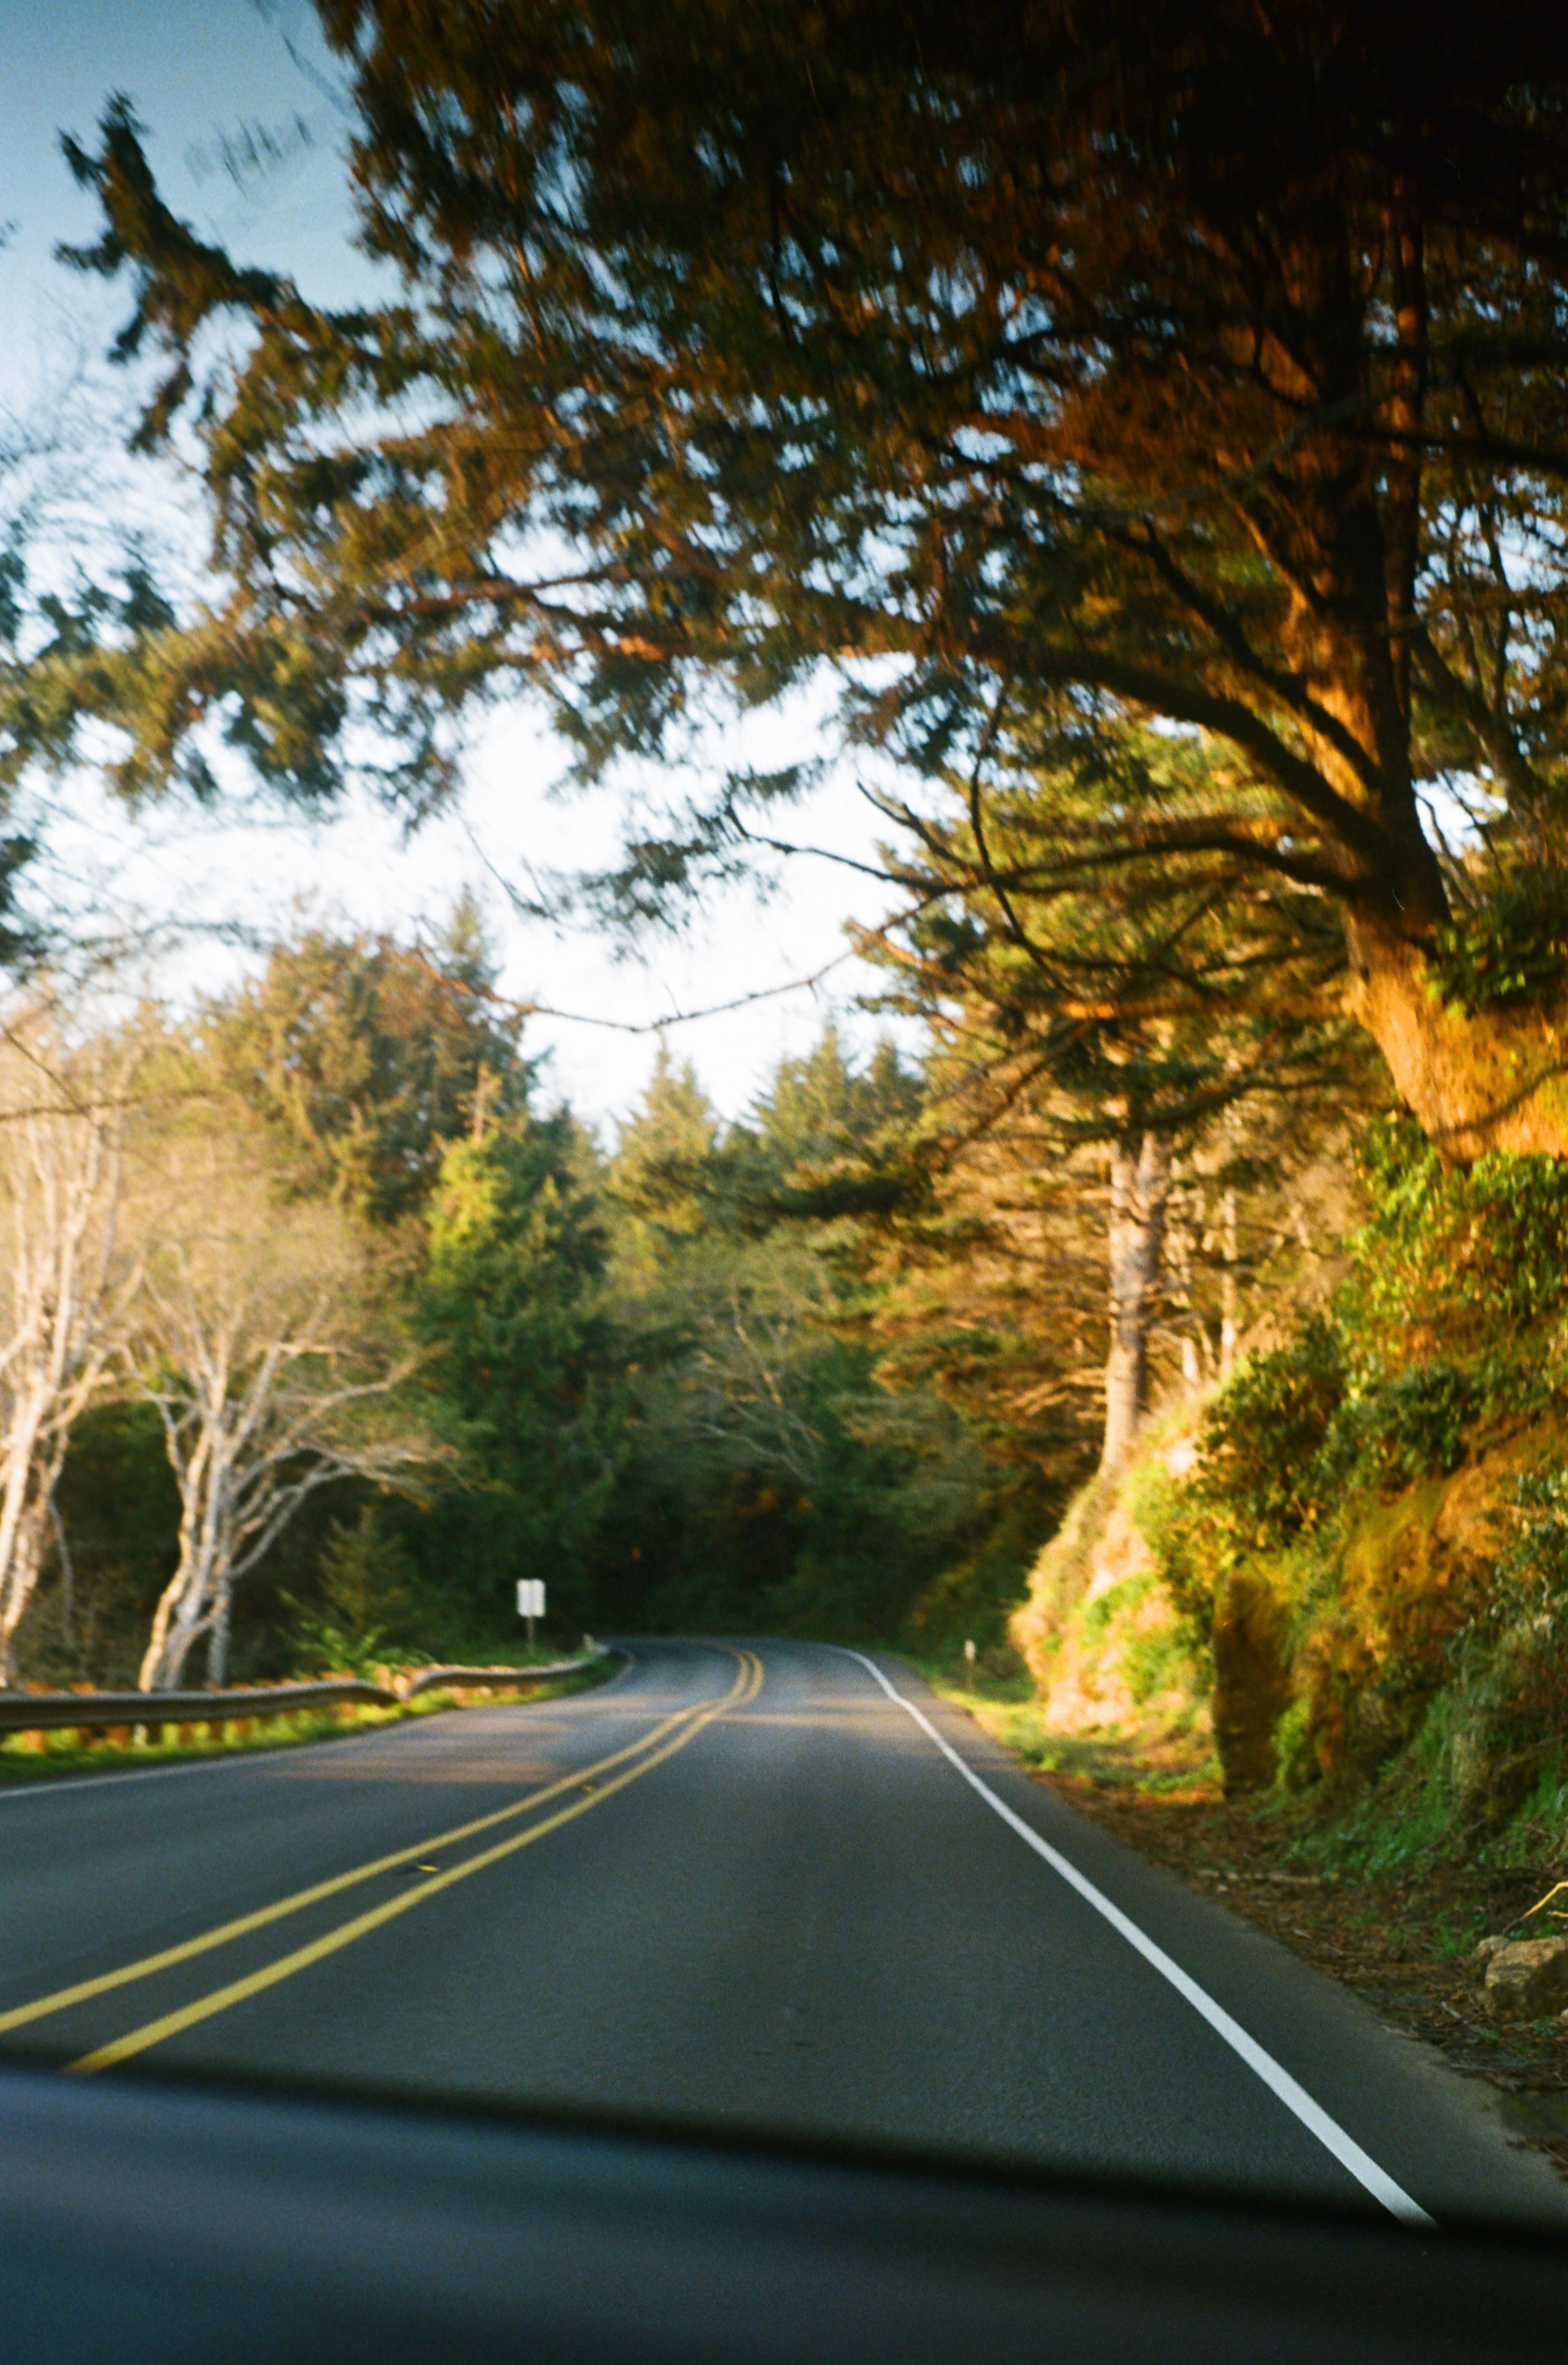
Golden hour road trip photography means making travel pictures in the first hour after sunrise and the last hour before sunset, when low sun turns the light warm and soft. A camera that stays within reach helps most, because roadside scenes shift quickly and the good light disappears even faster. On a long drive, the best gear is the kit you will actually wear or grab in seconds. A light camera and a secure carry setup can turn a quick pull-off into a strong frame.
Translation missing: en.blog_cta.bundle_heading

- Regular price
-
€42 - Regular price
-
€44 - Sale price
-
€42
By choosing the Camstrap strap, you are opting for a high-quality product designed to meet the needs of the most demanding photographers.
- Developed by a physiotherapist to relieve neck and back pain.
- Fast delivery with tracking by the Post Office 🚚
- Can be used as a shoulder strap or hands-free harness

- Regular price
-
€36 - Regular price
-
€42 - Sale price
-
€36
Translation missing: en.blog_cta.free_shipping_included
Why this light transforms roadside scenes
Golden hour gives roads, hills, cars, and faces a gentle glow that midday light cannot match. Low sun also stretches shadows, adding depth and shape to simple scenes.

Low sun skims across rocks, fields, and guardrails, revealing lines, curves, and texture with far more detail.
How to spot the best roadside light
Start with the sun’s angle, not just the clock. The strongest color usually arrives in the first hour after sunrise and the last hour before sunset. Look at what the light hits. A plain gas stop can look dull in noon sun, yet it can glow when warm light falls across the front wall and the road edge.
Thin clouds help too. They soften the light and keep bright skies from blowing out so quickly.
When does golden hour work best for travel photos?
Golden hour is strongest about 60 minutes after sunrise and 60 minutes before sunset. In practice, the most useful light often lasts only 20 to 30 minutes, because the color and angle change fast.
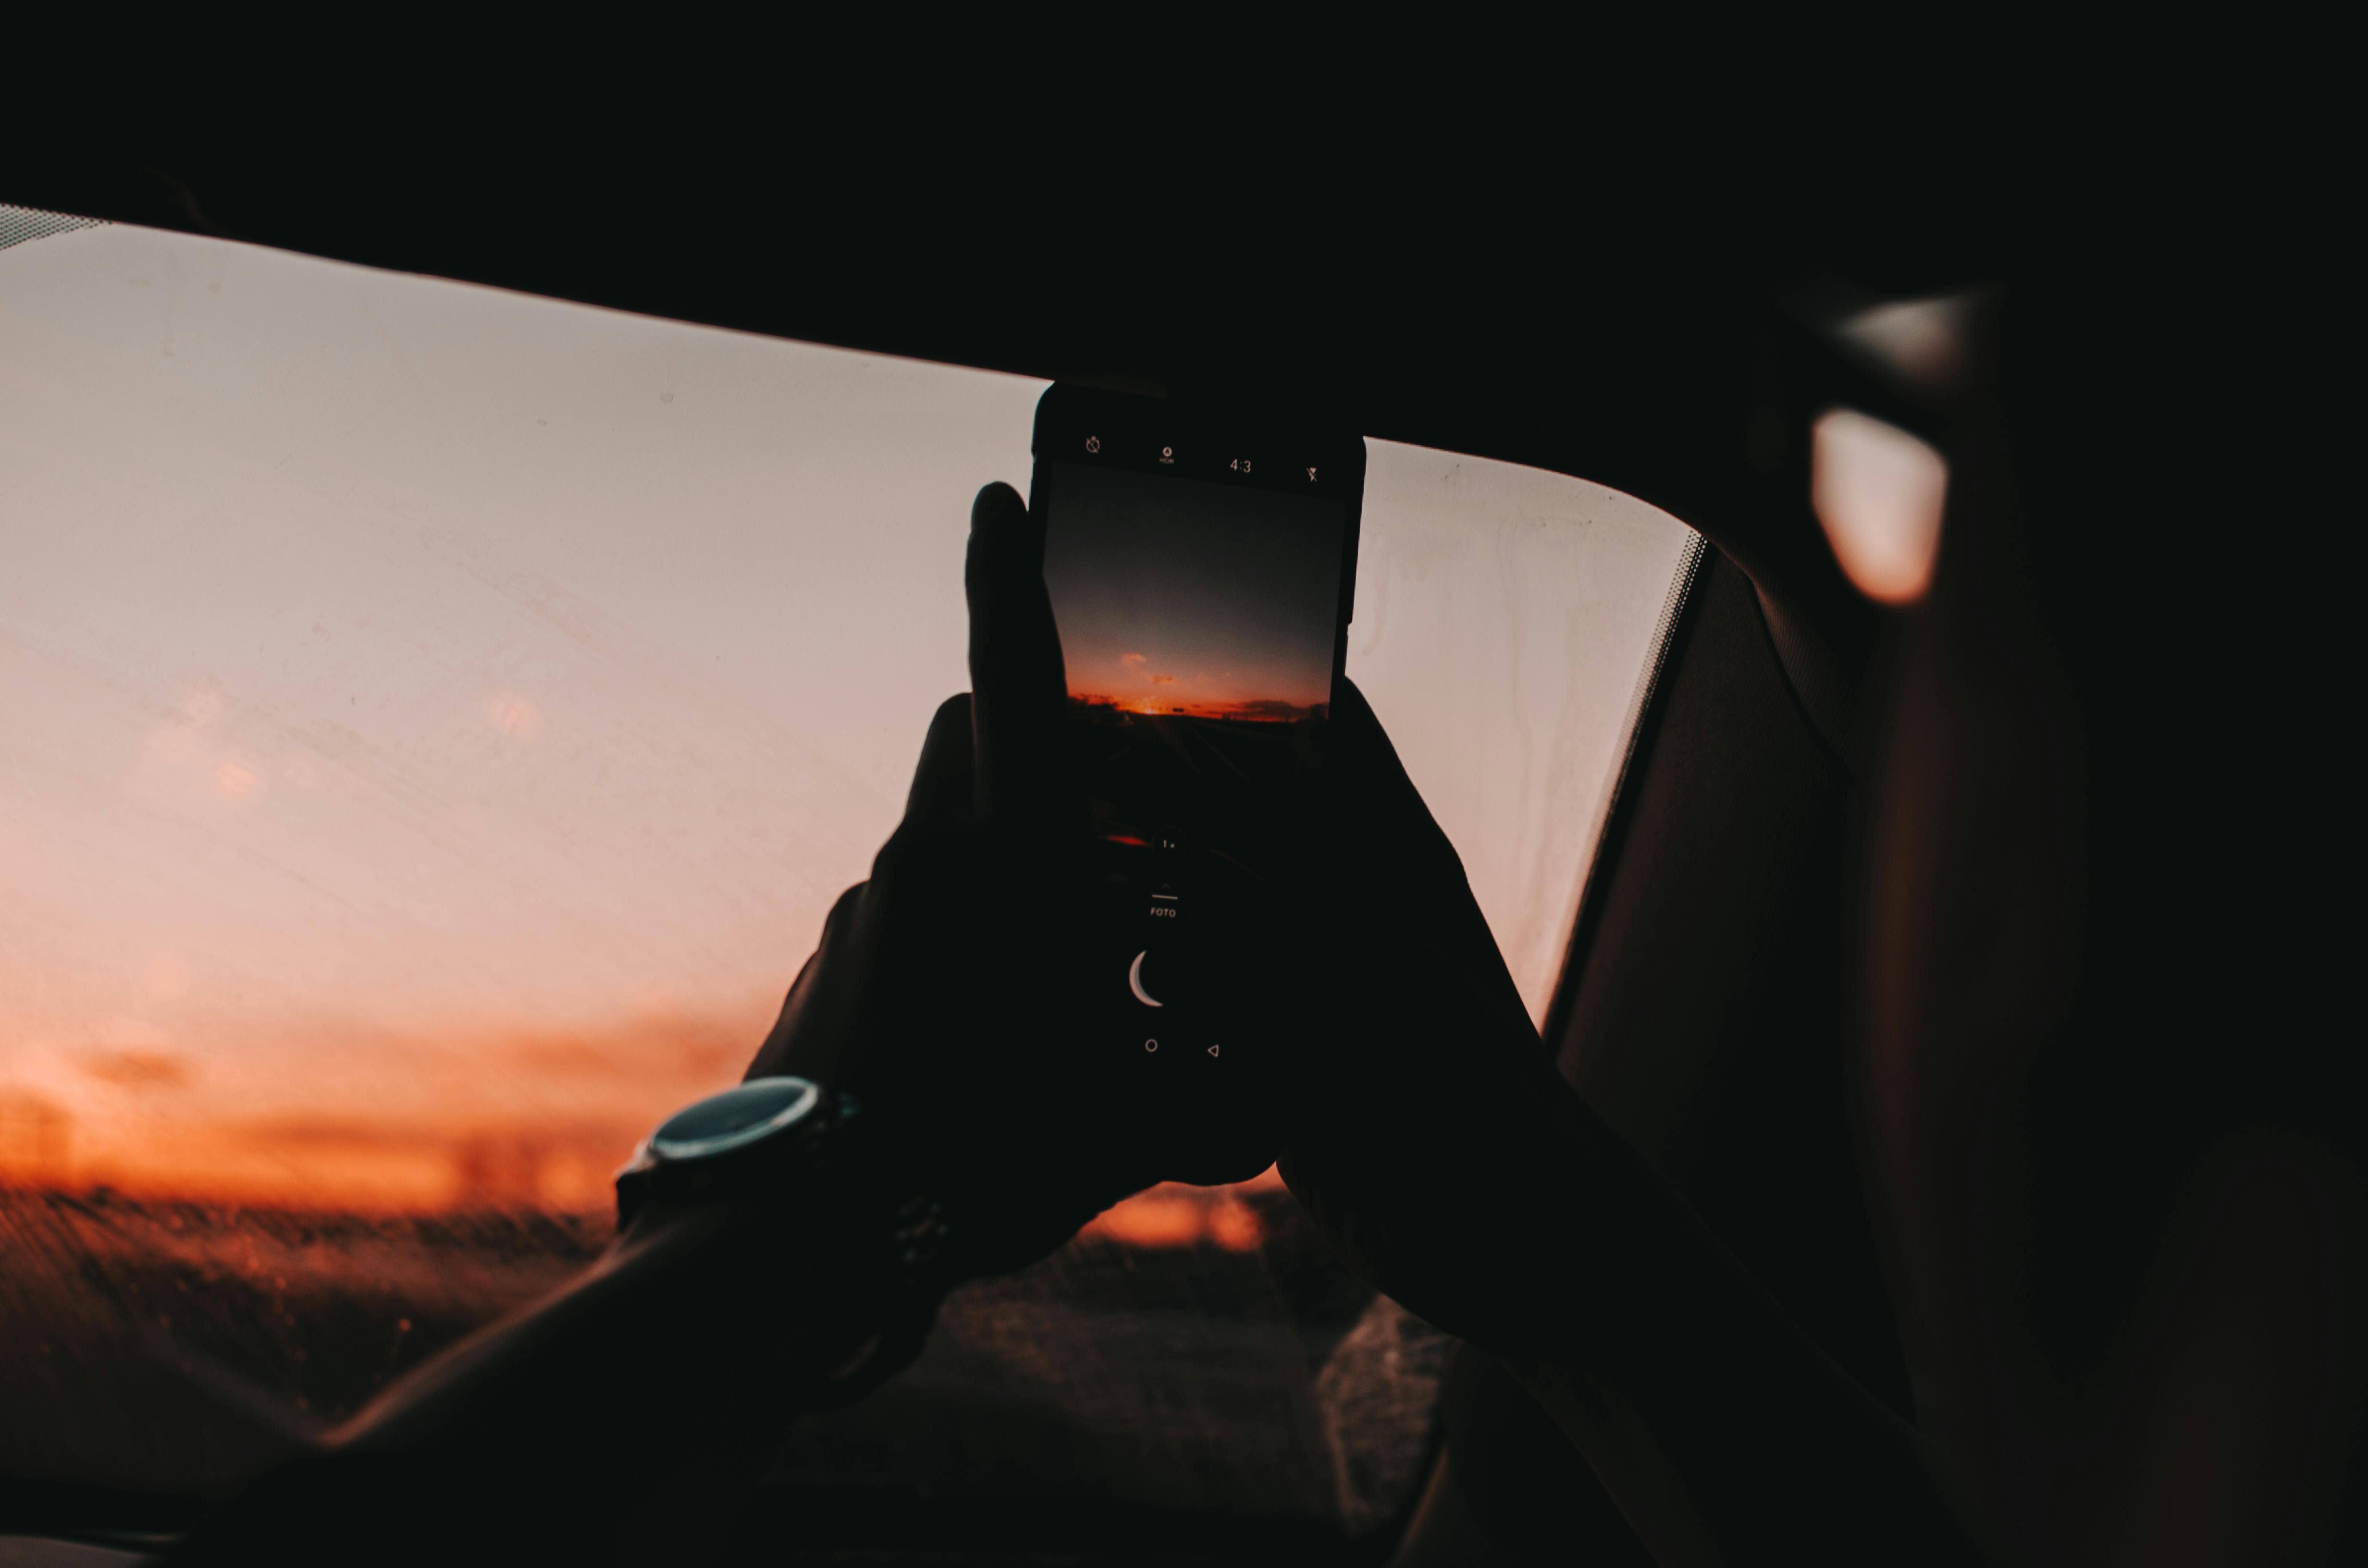
Sunset usually gives road trippers more chances. You can stop, frame the scene, and wait for the light to drop behind a ridge or tree line.
Sunrise has its own edge. Roads are quieter, air is often clearer, and the light can hit empty stretches before traffic builds.
Plan around the road, not just the sun
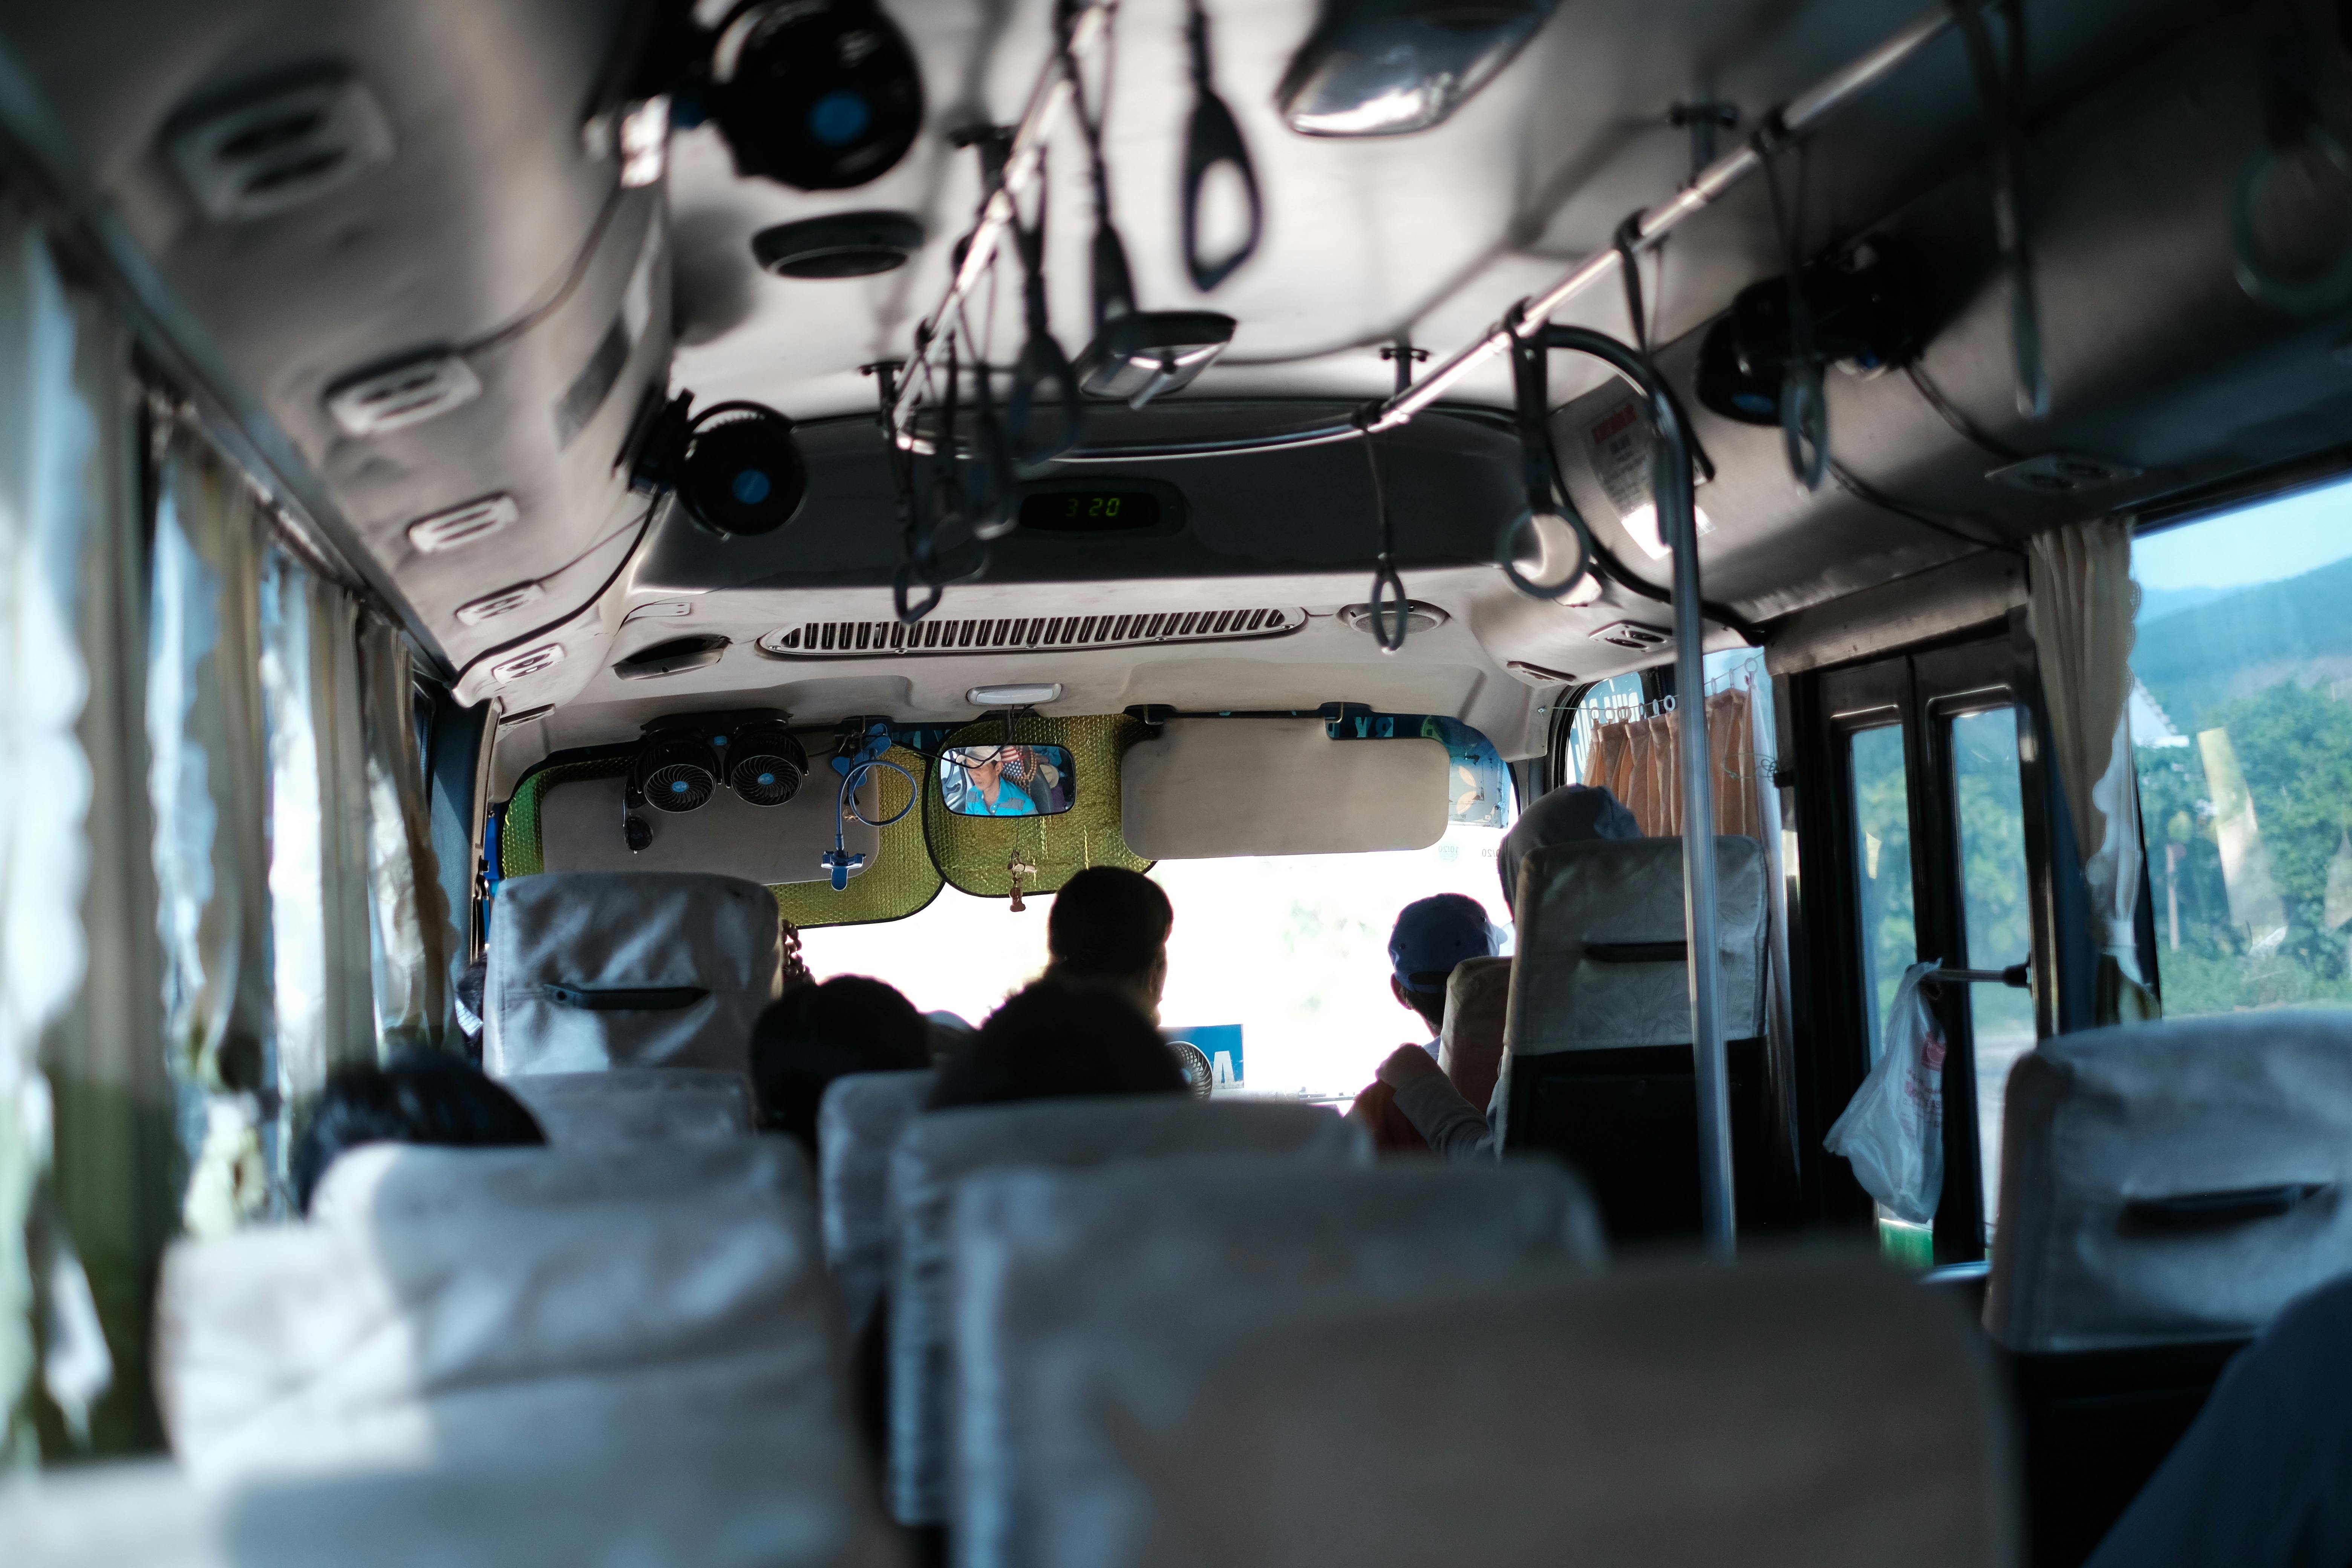
Check the sun’s path before you leave. A simple map or sun app helps you know where the light will land at a pull-off, overlook, or curve. Build in a small buffer. A 10-minute delay can shift the shot from warm side light to flat overhead light.
- Arrive early enough to walk the scene.
- Pick a safe shoulder or legal pull-off.
- Face the sun, then turn away and compare both looks.
- Keep shooting until the warm light fades from the main subject.
What should I photograph on a road trip?
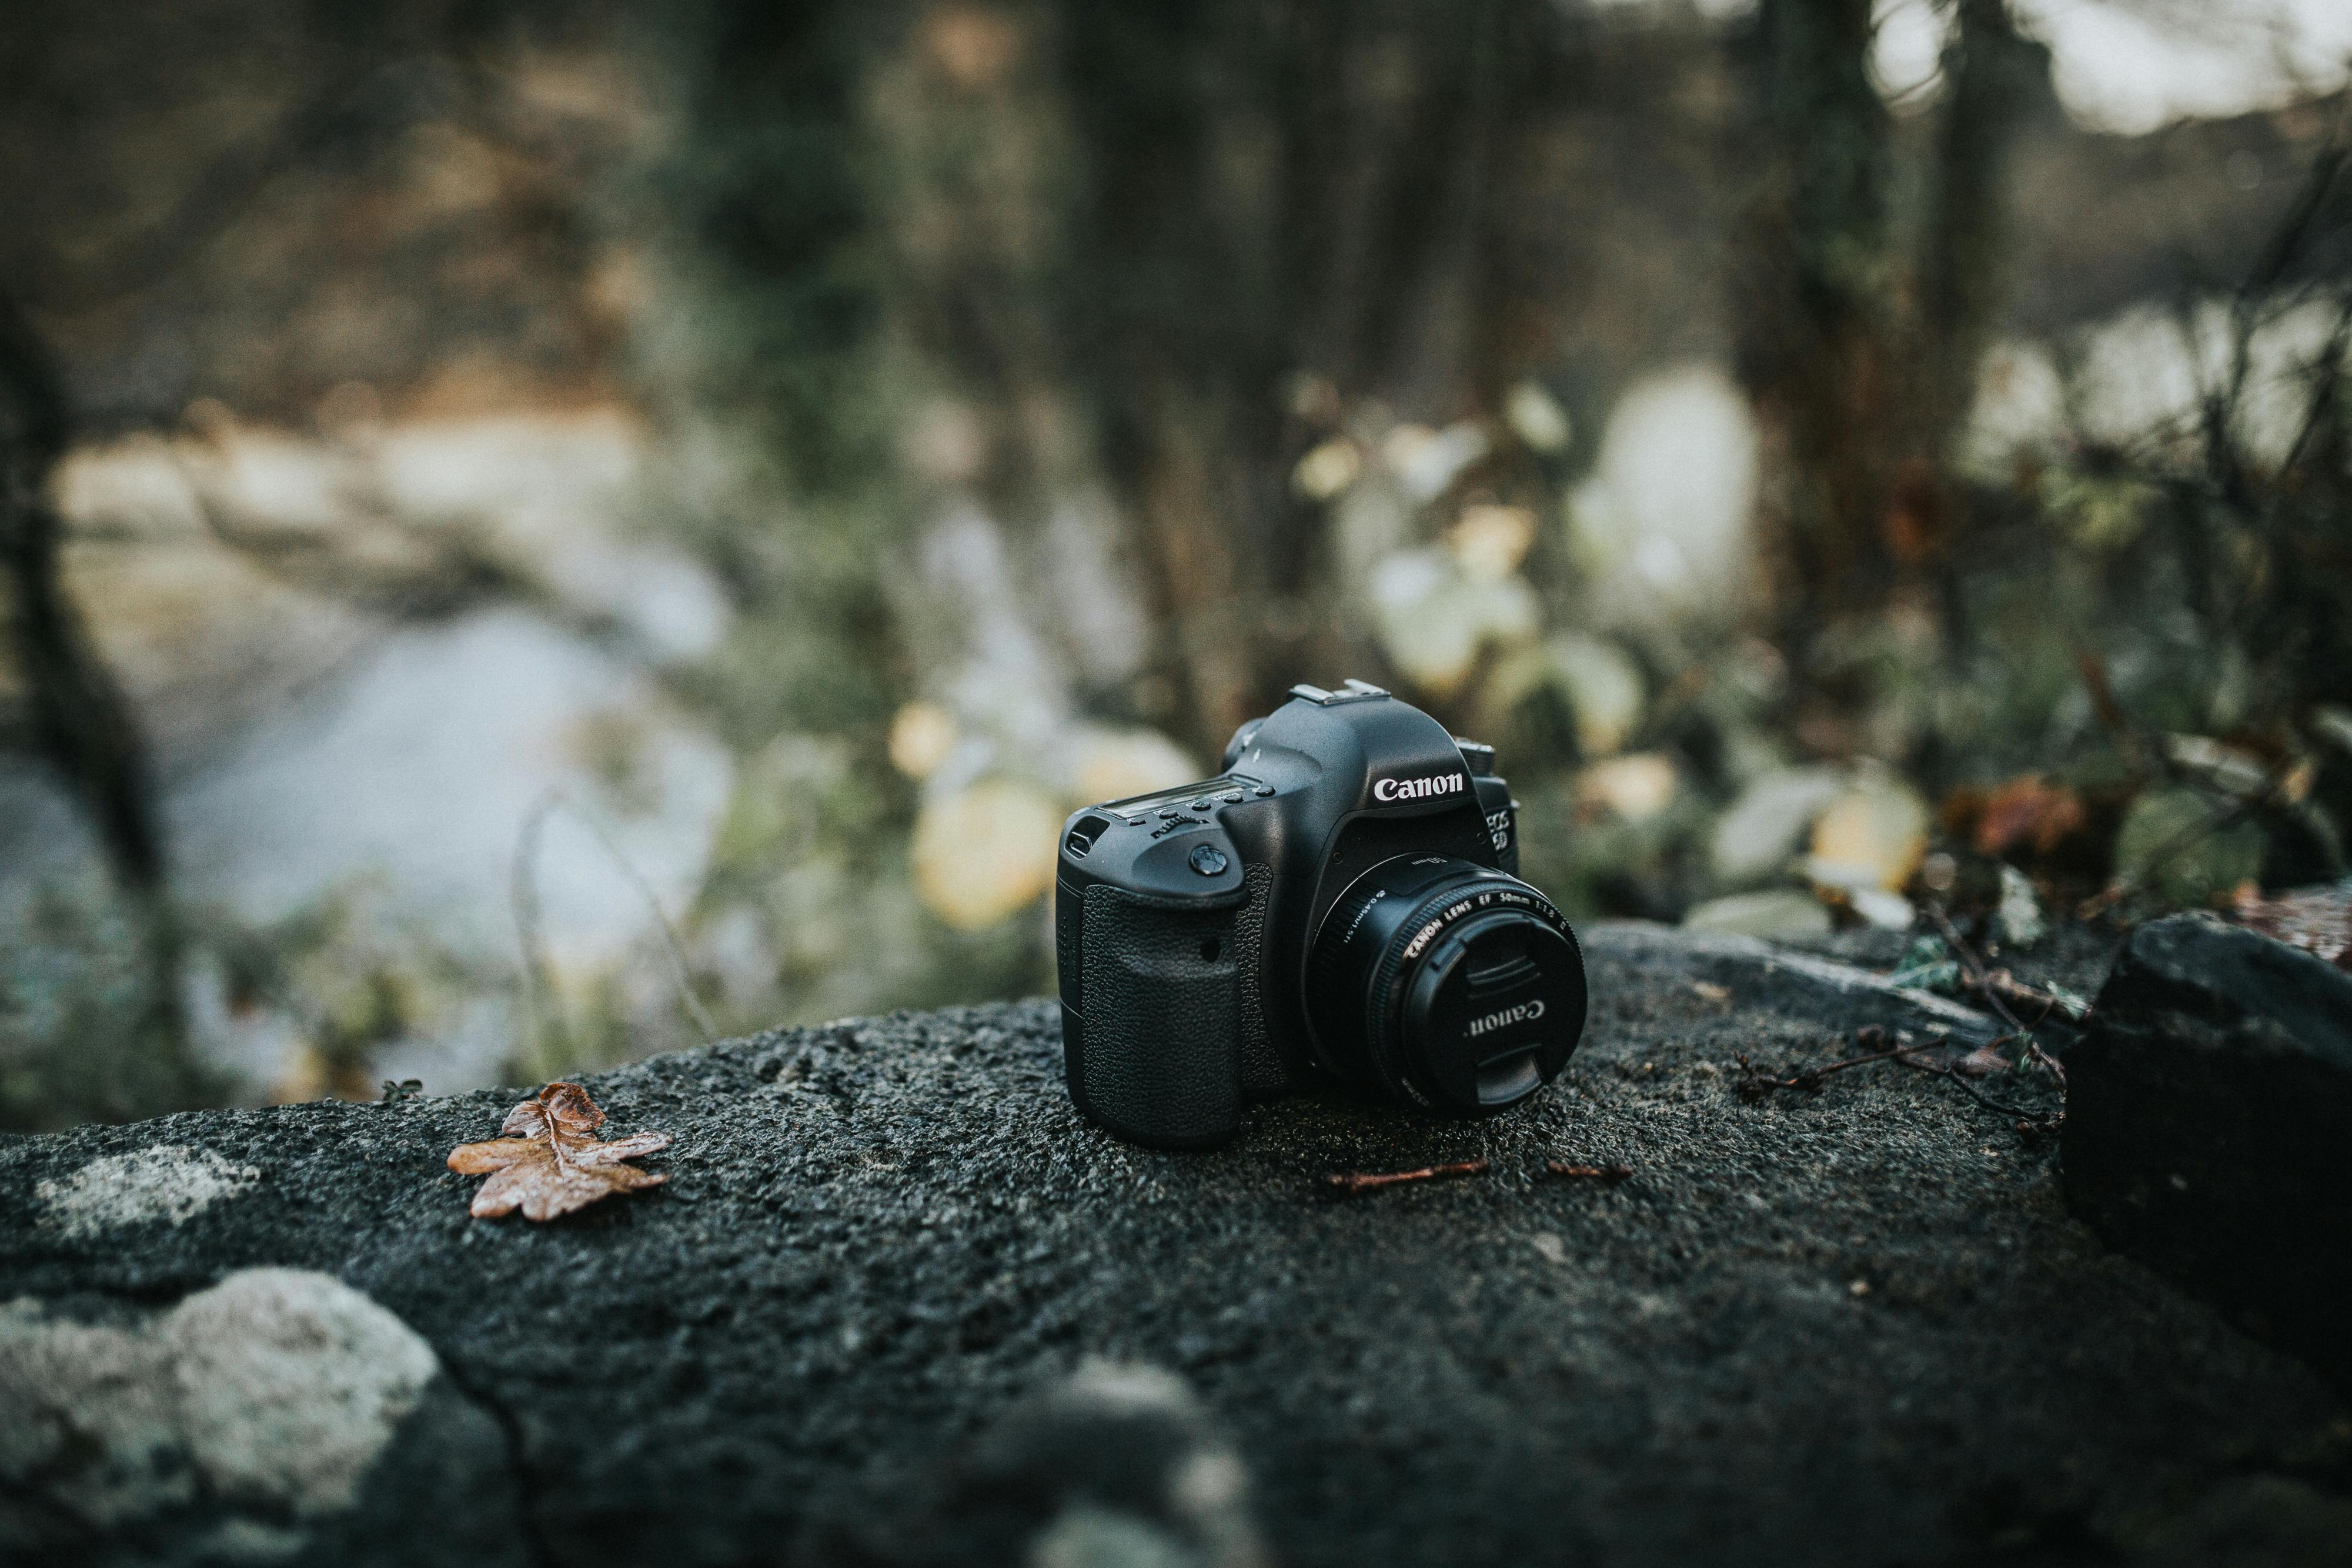
Road trips offer more than big vistas. The strongest subjects often show motion, place, and scale in one frame.
A wide view can set the scene, but smaller details often tell the story better. Dust on a hood, a fence line, or a lone diner sign can say more than another mountain shot.
Strong subjects worth a stop
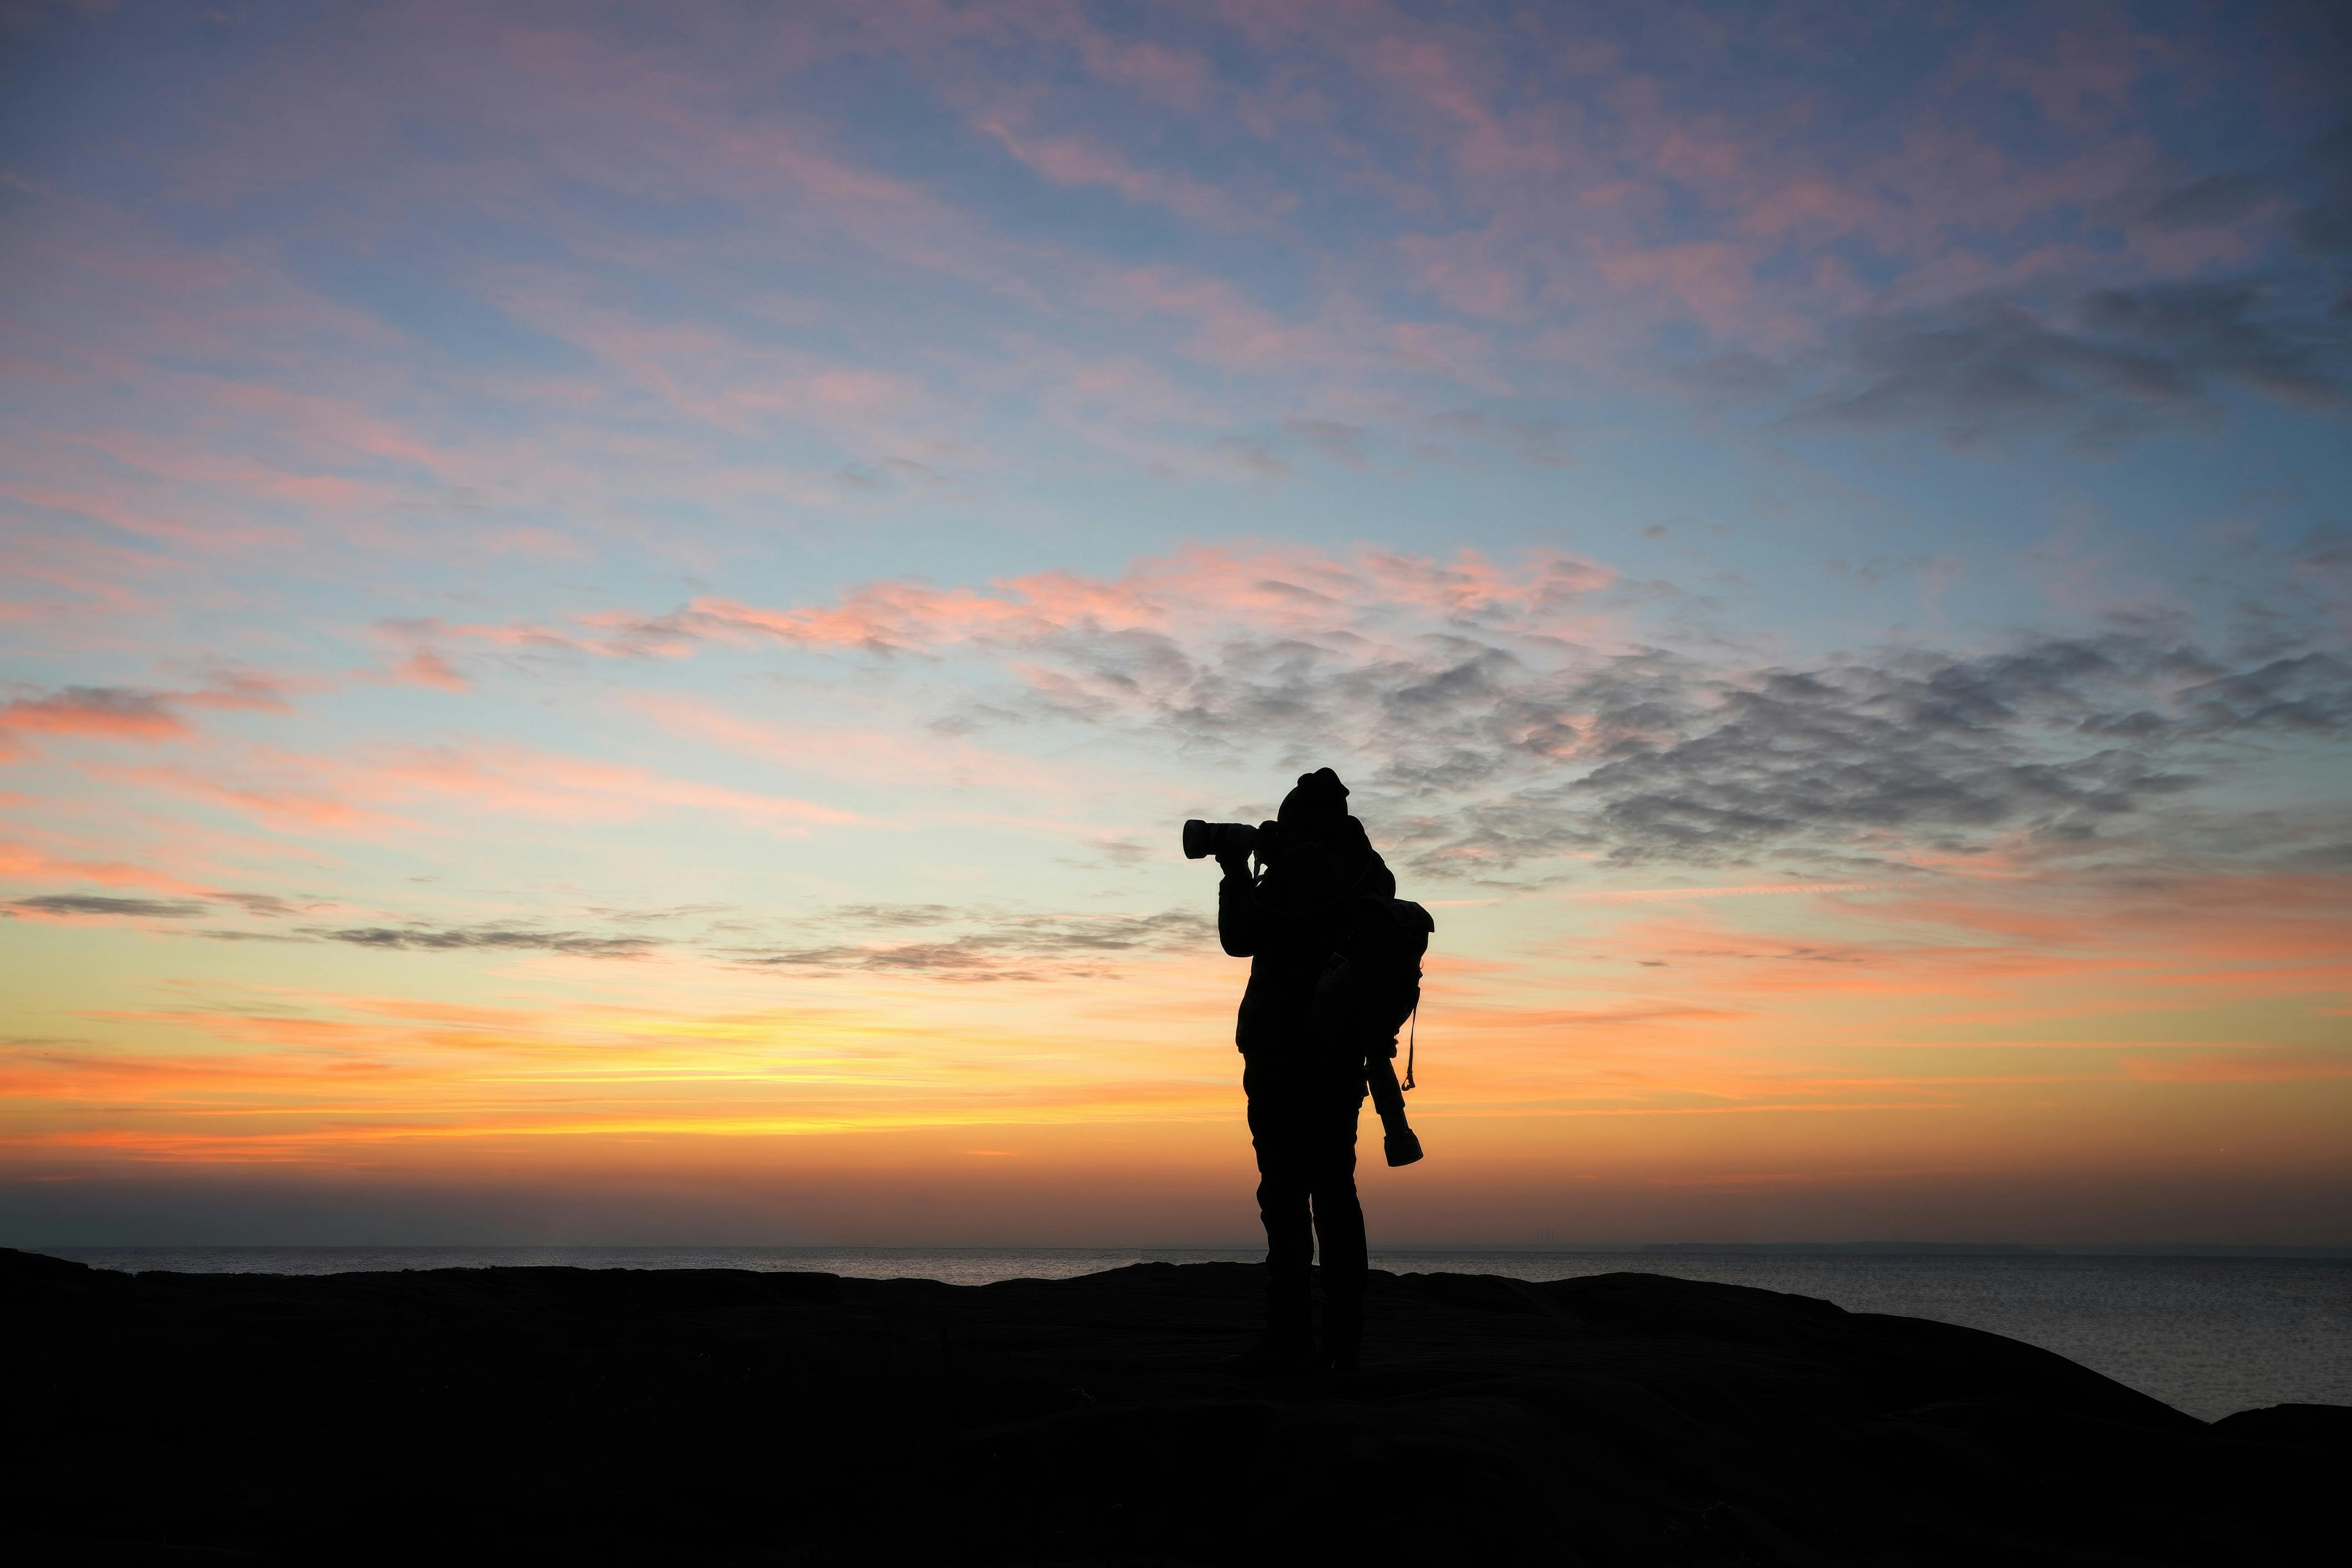
Look for places where light and shape work together. A winding road, a long shadow across the pavement, or a parked car in warm light can carry the frame. Keep a mix of wide and tight views. A 24mm to 35mm lens works well for landscapes and roadside scenes, while a 50mm to 85mm lens helps isolate signs, people, and details.
- Wide landforms that show depth and scale.
- Road curves, lane lines, and guardrails that lead the eye.
- Small-town signs, pumps, and storefronts with strong shape.
- People at rest stops, viewpoints, and fuel stops.
- Car details like mirrors, dust, and light on glass.
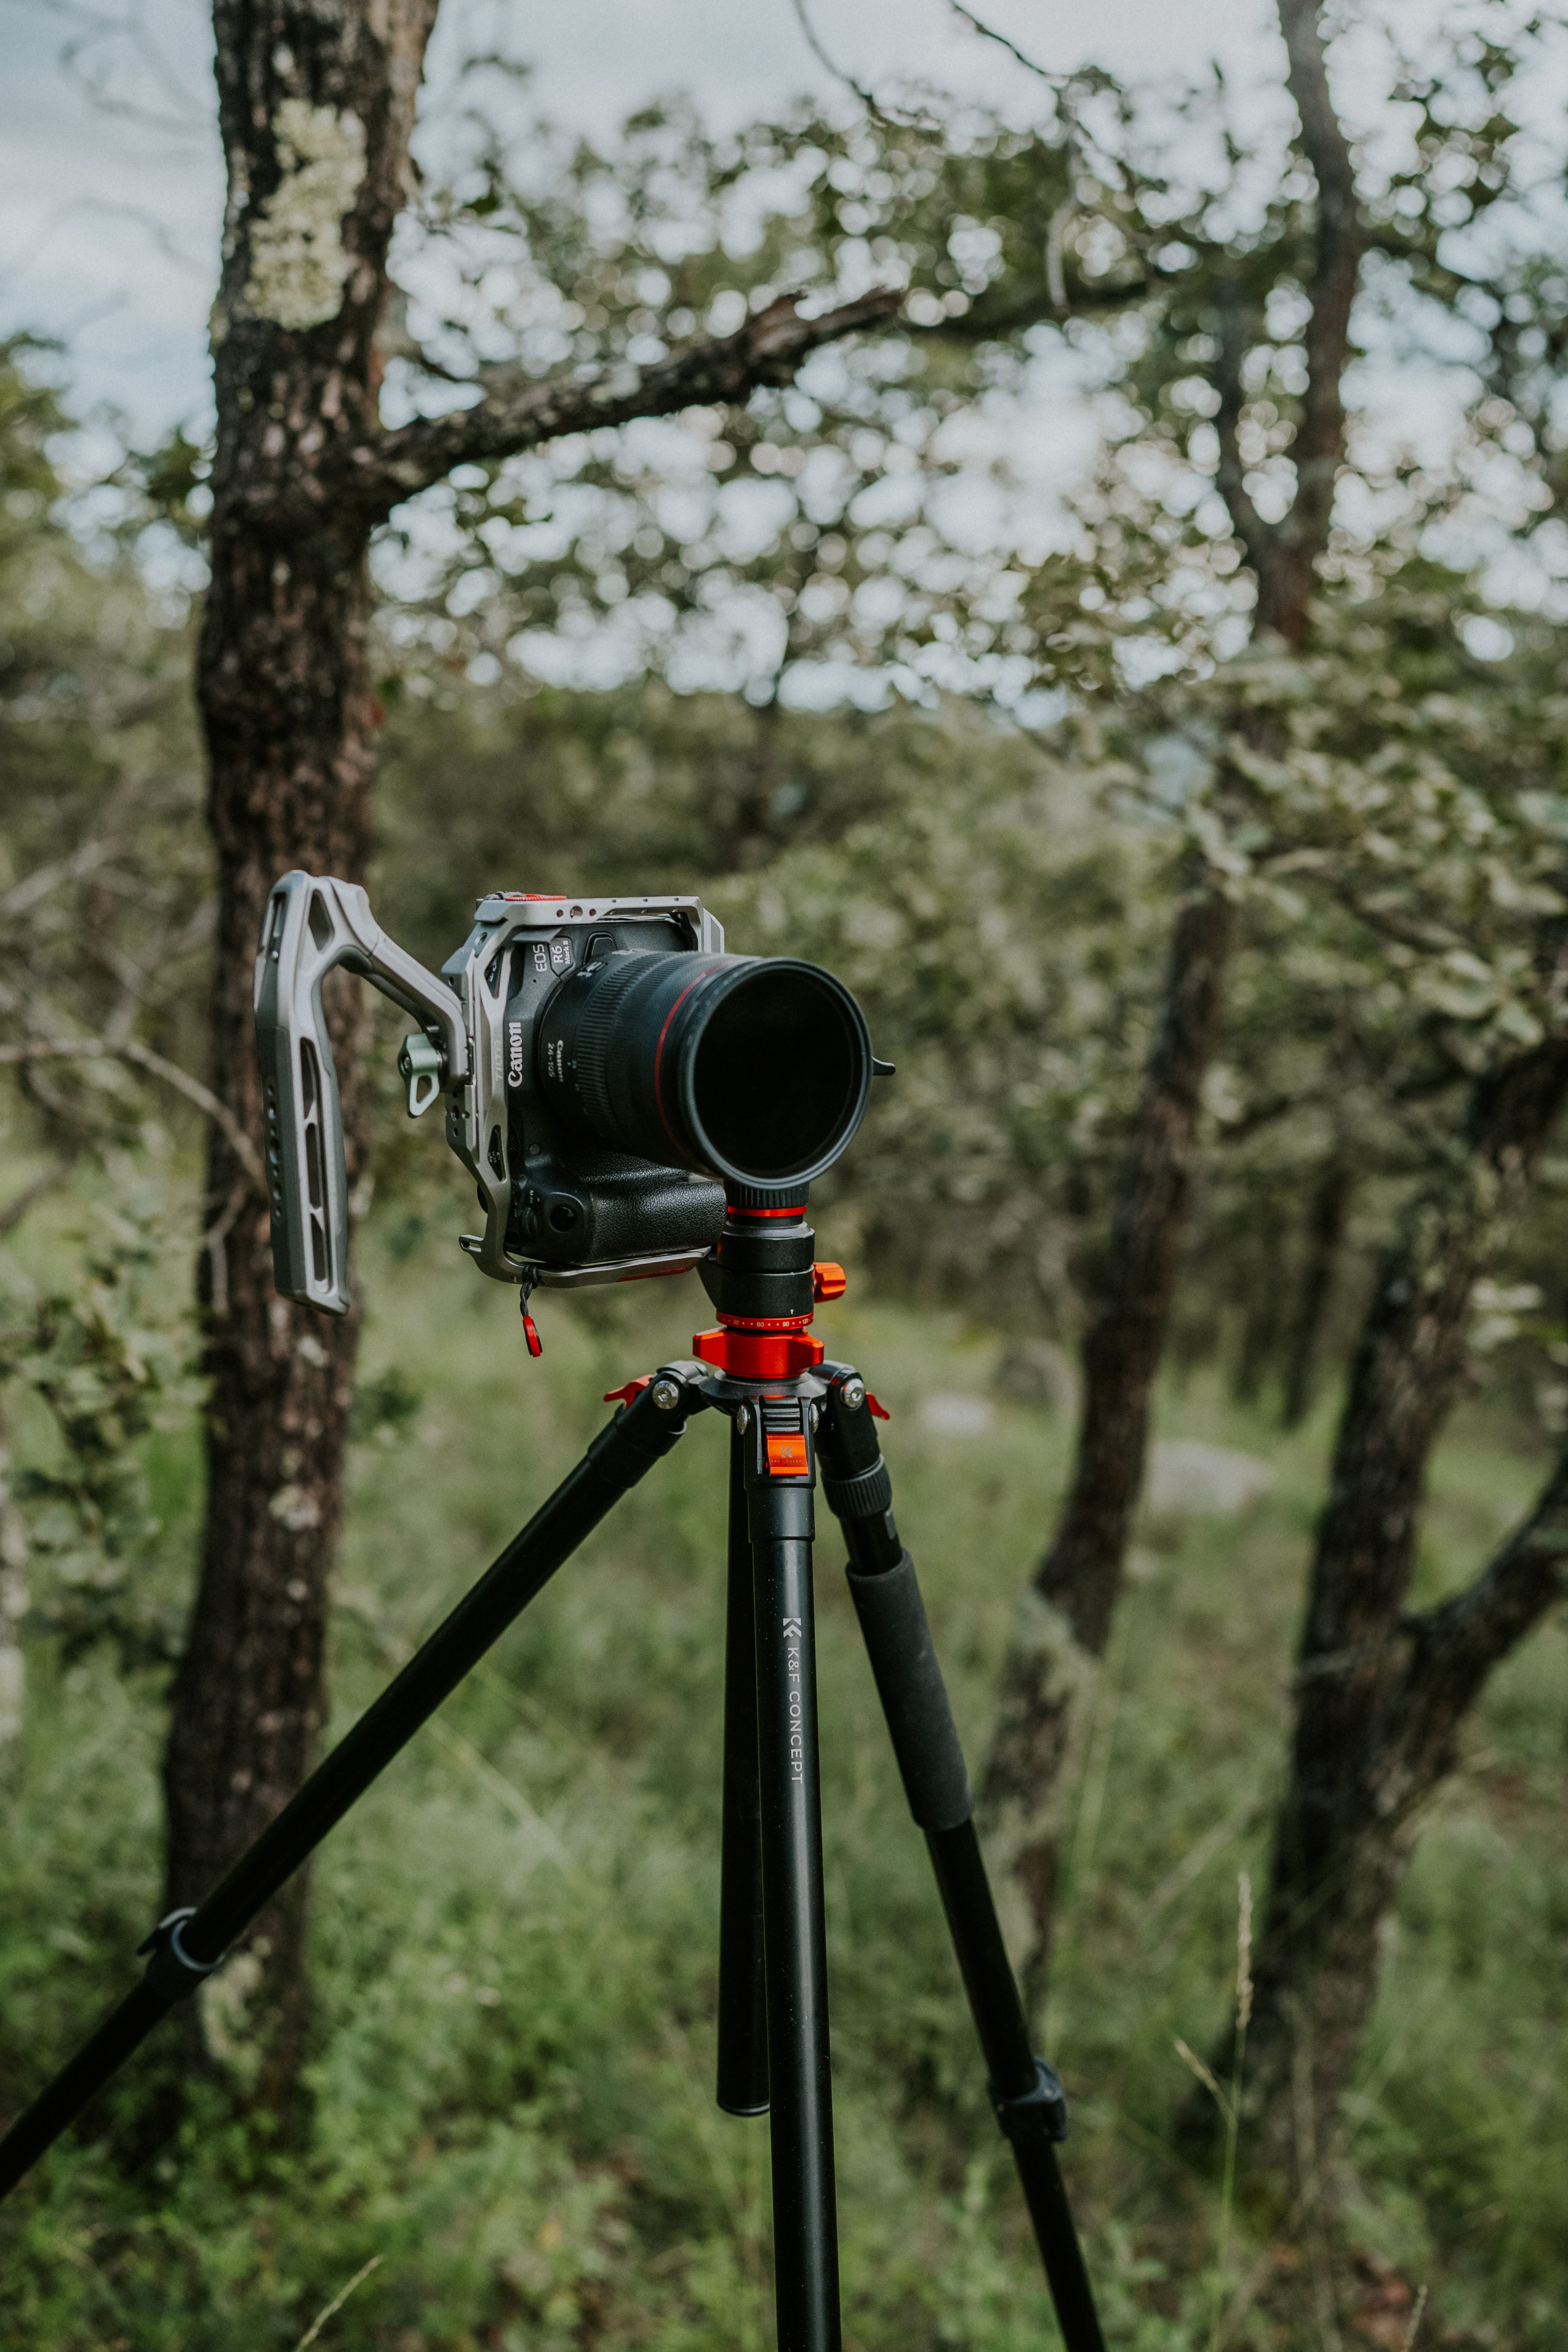
For landscape shots, Aperture Priority mode gives you a good balance of control and speed. It lets you set the depth of field while the camera picks the shutter speed.
For wider scenes, I start near f/16 or f/22 when I want strong front-to-back detail. Canon also recommends low ISO values such as ISO 100 or ISO 200 for landscape quality.
A smaller aperture can push the shutter speed down. If the scene gets dim, image-stabilized lenses help hold detail as light falls.
How do I keep my camera handy in the car?
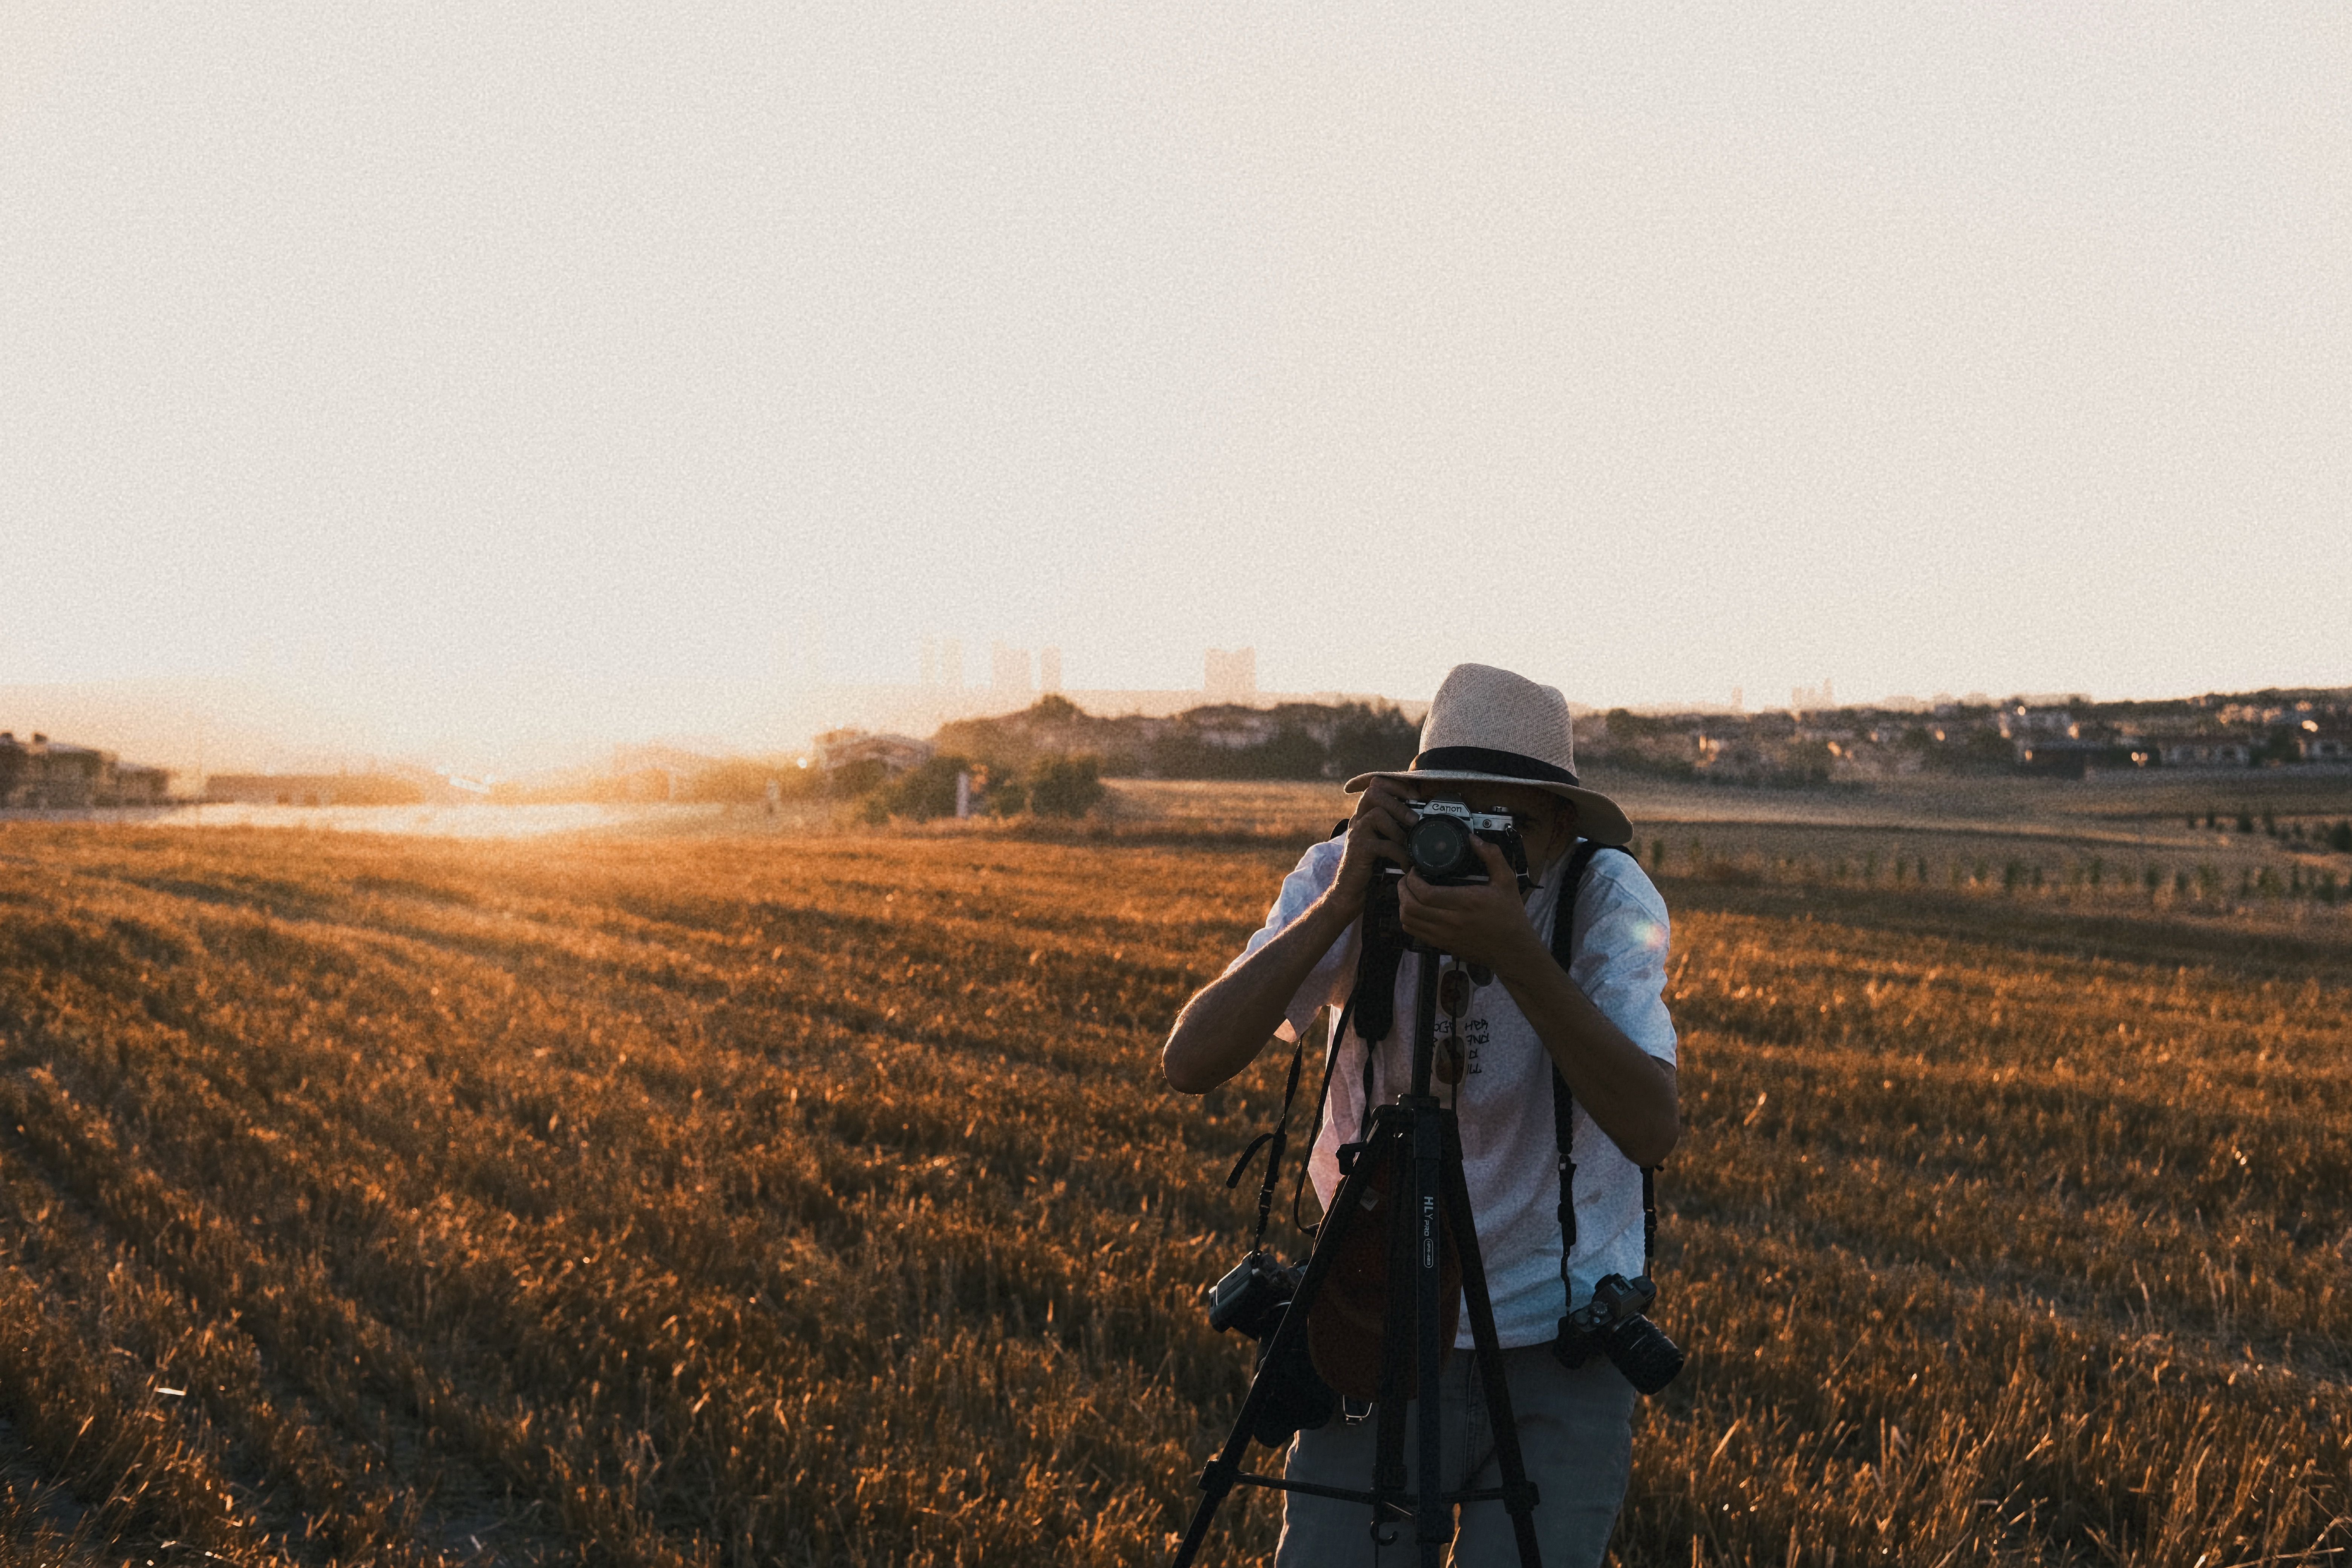
A light, secure carry setup keeps the camera ready without getting in the way. A strap that sits flat and spreads weight well makes it easier to wear the camera through stops, viewpoints, and short walks. One useful example is the Camstrap Voyager, because its quick access and stable fit make it easier to keep the camera on your body instead of buried in a bag. On road trips, a 30-second stop can be the whole chance to get the frame.
What a fast grab setup needs
Keep the camera on your body when you expect roadside stops. A cross-body carry keeps it ready for quick lifts, and it avoids the delay of opening a bag in wind, dust, or rain.
Inside the car, place extra items where they do not slide. A padded seat, a door pocket, or a small bag at your feet is better than a loose back seat.
- Use a strap that stays secure during walking and quick turns.
- Keep one lens on the camera and one backup lens in a closed case.
- Leave the lens cap off only when you are already near the stop.
- Set the camera to wake fast, with image review turned down if battery life matters.
Battery drain changes a lot on mirrorless bodies. The big drains are the always-on EVF or LCD and heavy image review, not the act of “waiting” for a photo. Screen use matters. A dimmer display, shorter review time, and a spare battery in an easy pocket can keep you shooting through the last light.
Which camera settings hold up as the light drops?
Aperture Priority is the cleanest starting point for landscapes, because it keeps your depth of field steady while exposure shifts. For a sharp road edge and a crisp horizon, f/8 to f/11 is a useful middle range before you move smaller.
Canon lists EV 10 as a typical outdoor golden-hour brightness example, with combinations such as ISO 100, 1/500s, and f/1.4. At ISO 400, the same EV 10 level can also land around 1/60s at f/16.
Exposure choices that make sense fast
Low ISO gives cleaner files, so start at ISO 100 or ISO 200 when you can. If the shutter drops too low, raise ISO before motion blur ruins the frame. For moving cars or people, a faster shutter helps. Around 1/500s freezes a walking subject well, while slower speeds can blur hands, wheels, or roadside motion on purpose.
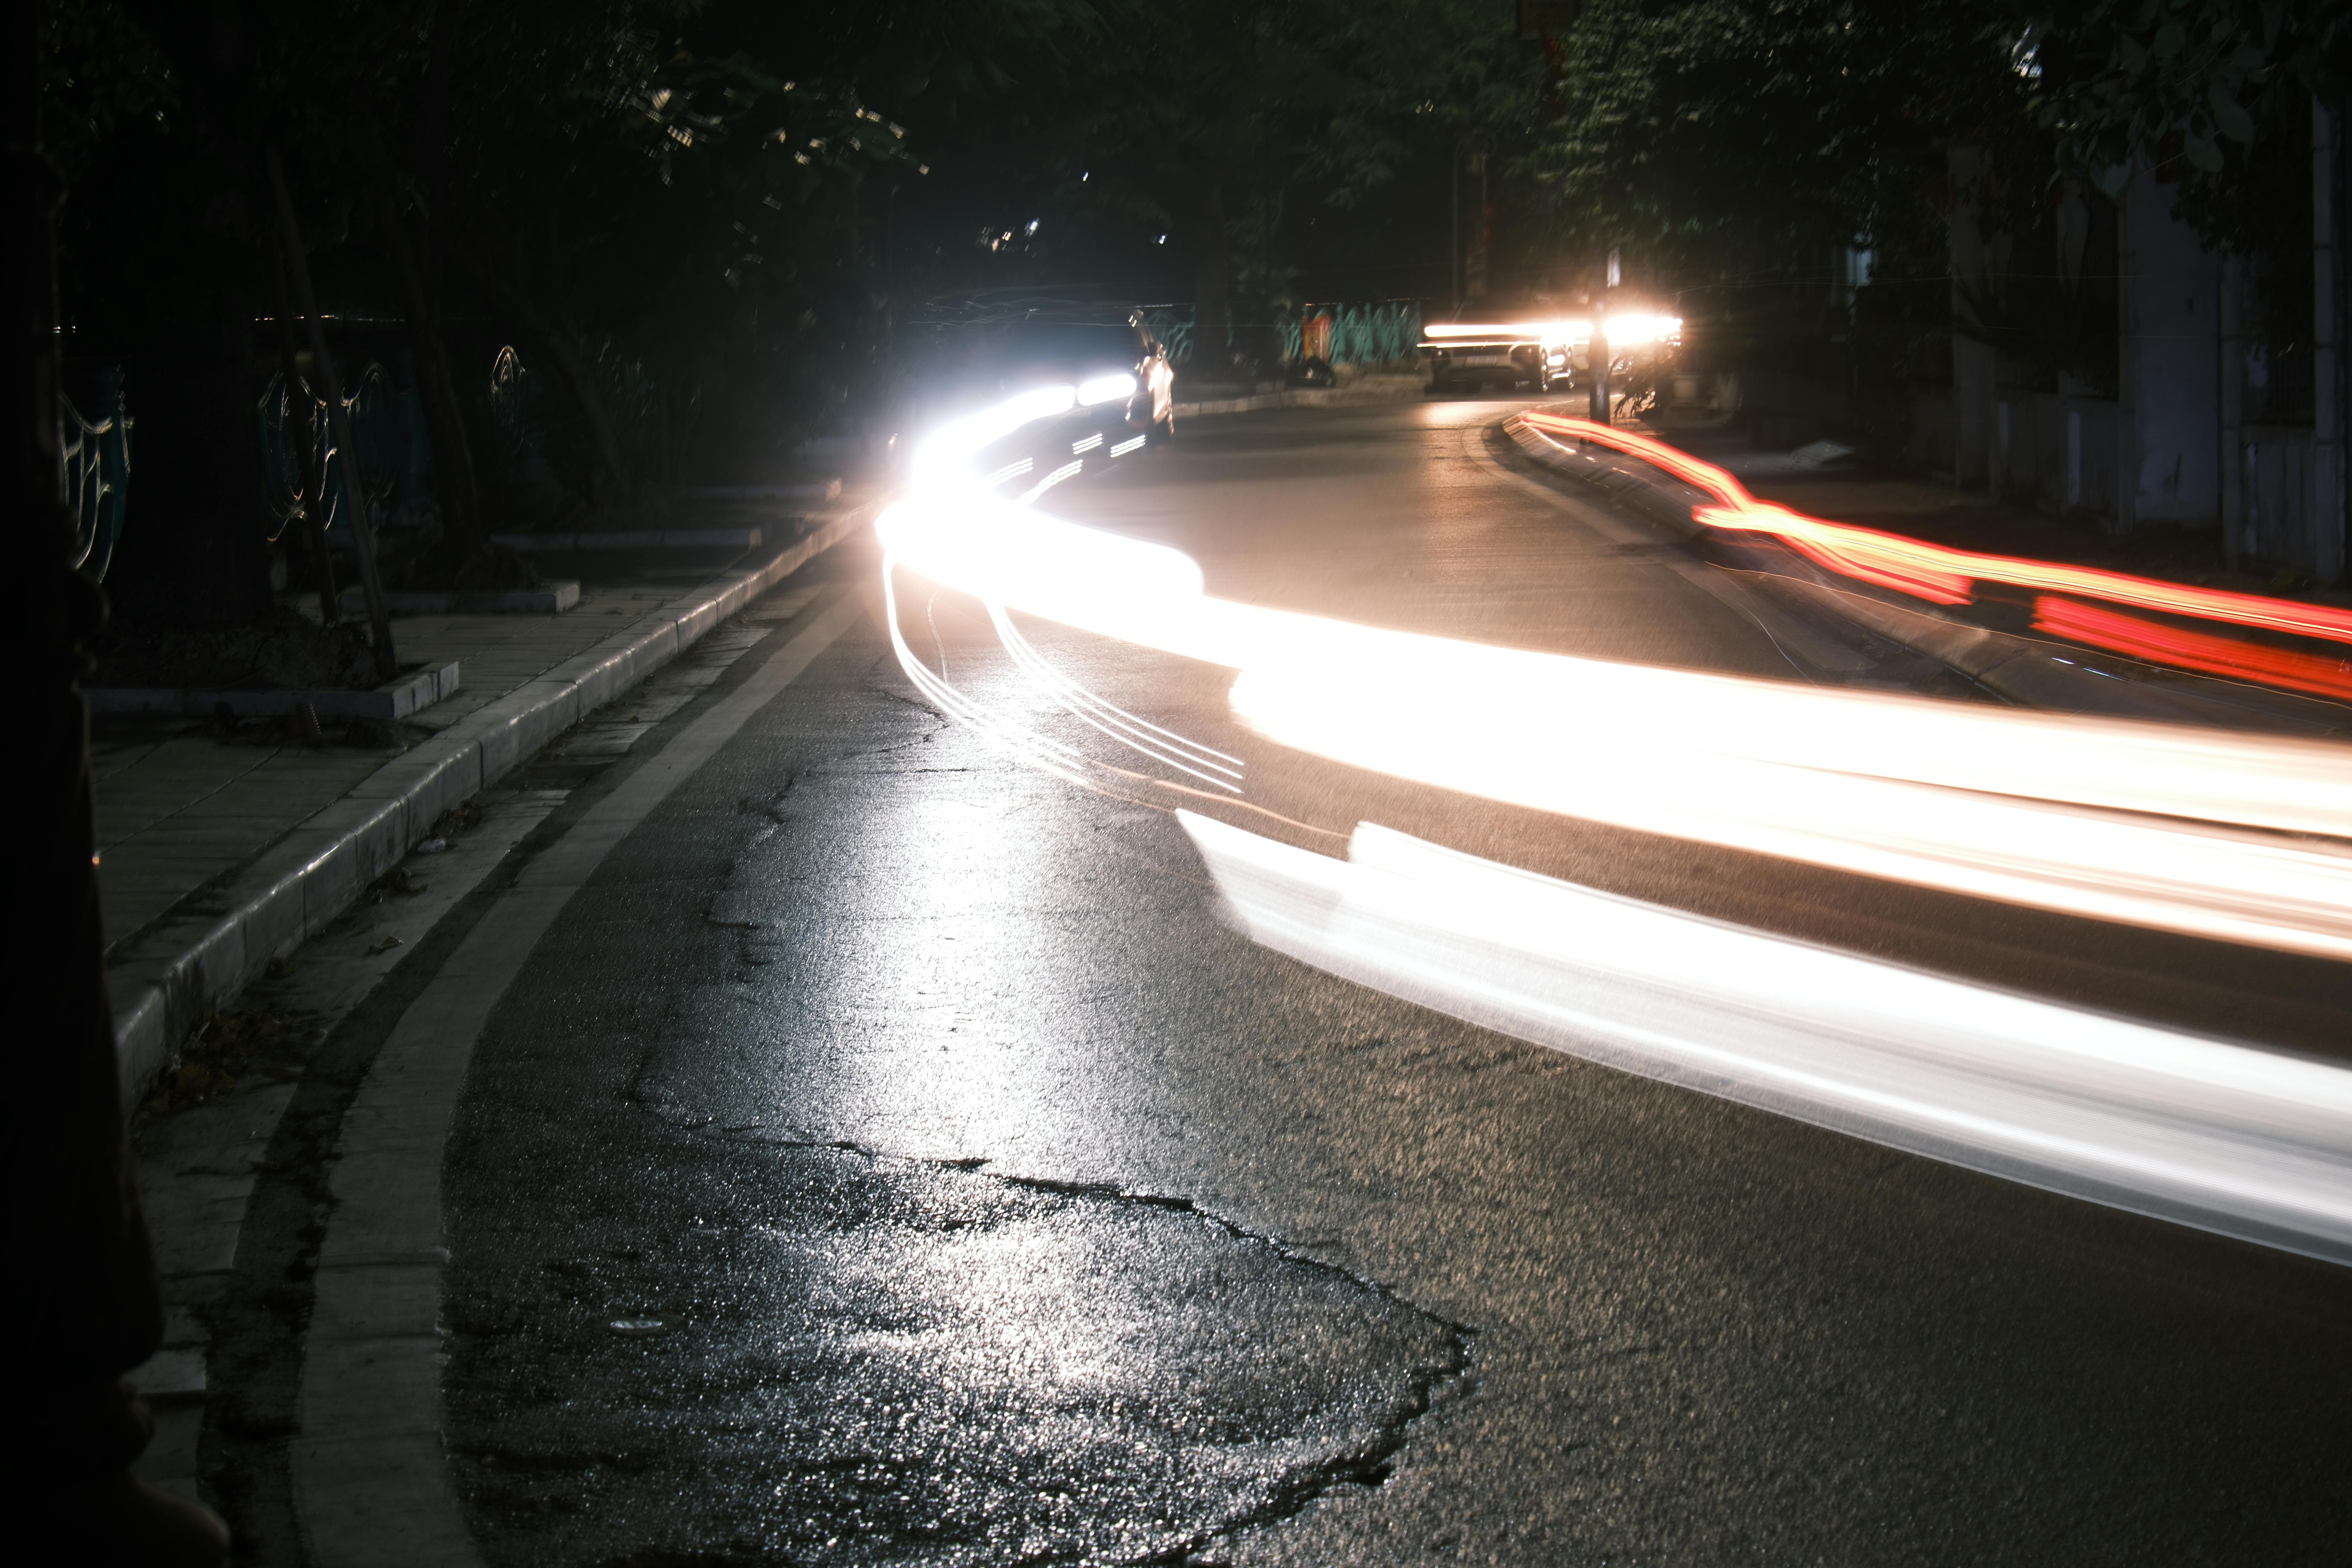
Image-stabilized lenses help most when the subject is still and your own hands are the weak point. They cannot stop a moving car, but they can improve your odds as light gets soft.
Focus and burst choices that save the frame
Continuous AF, also called AF-C or AI Servo, works well for changing scenes and moving vehicles. Pair it with eye or subject detection when you have a person in the frame.
Back-button focus helps too, because it separates focus from the shutter press. That makes it easier to lock focus once, then reframe while you wait for the light or a car to pass.

Modern mid-tier mirrorless bodies often manage about 200 to 300 RAW files before they slow, depending on card speed and file size. A short 3 to 6 frame burst will not fill that buffer, but long sequences can still bog down if the card is slow. UHS-II V60 or V90 cards clear the buffer faster than UHS-I, while CFexpress is even faster on supported bodies. Pre-capture or pre-burst modes can also save the few frames before a full press, which helps when a truck enters the scene one second early.
A simple field workflow that keeps you moving
Fast travel shooting works best when the steps stay simple. Stop, frame, fire a few frames, and get back on the road before the moment is gone.
The trick is to let your defaults do most of the work. Then you only change the few things that matter for the scene in front of you.

- Pull over in a safe legal spot.
- Check the light on the main subject first.
- Set Aperture Priority and start at f/8 or f/11.
- Set ISO 100 or ISO 200, then raise it only if needed.
- Use AF-C with subject detection for people or cars.
- Take a short burst, review once, then move on.
That routine keeps you ready without slowing the trip. It also cuts the chance that you miss the better light while you dig through menus. After the stop, cull fast. Pick and reject flags in Lightroom or Photo Mechanic help you sort the keeper frames before they blur together.
Road trip images work best when the camera is easy to reach, the settings stay simple, and the light is doing the heavy lifting. Keep the body light, keep the carry secure, and keep one eye on the sun as the last warm edge fades from the road.
Frequently Asked Questions

When is golden hour best for travel photos?
Golden hour is best about 60 minutes after sunrise and 60 minutes before sunset, when low sun produces warm, soft light. The most useful light often lasts only 20 to 30 minutes, so timing matters more than the clock alone.
What should I photograph on a road trip?
Road trips are strongest when the frame shows motion, place, and scale at once. Photograph winding roads, long shadows, parked cars in warm light, and smaller details like fence lines, dust on a hood, or a lone diner sign.
How do I keep my camera handy in the car?
Keep the camera within reach by using a light body and a secure carry setup that you can grab in seconds. A camera you will actually wear or carry is more likely to be ready when a roadside scene appears and the light changes fast.


