


- Keep the camera level, hold verticals straight, and aim lines at one vanishing point.
- Use a corner viewpoint and a moderate wide lens to add depth without distortion.
- Avoid tilted framing, crooked walls, and multiple focal points that make rooms feel smaller.
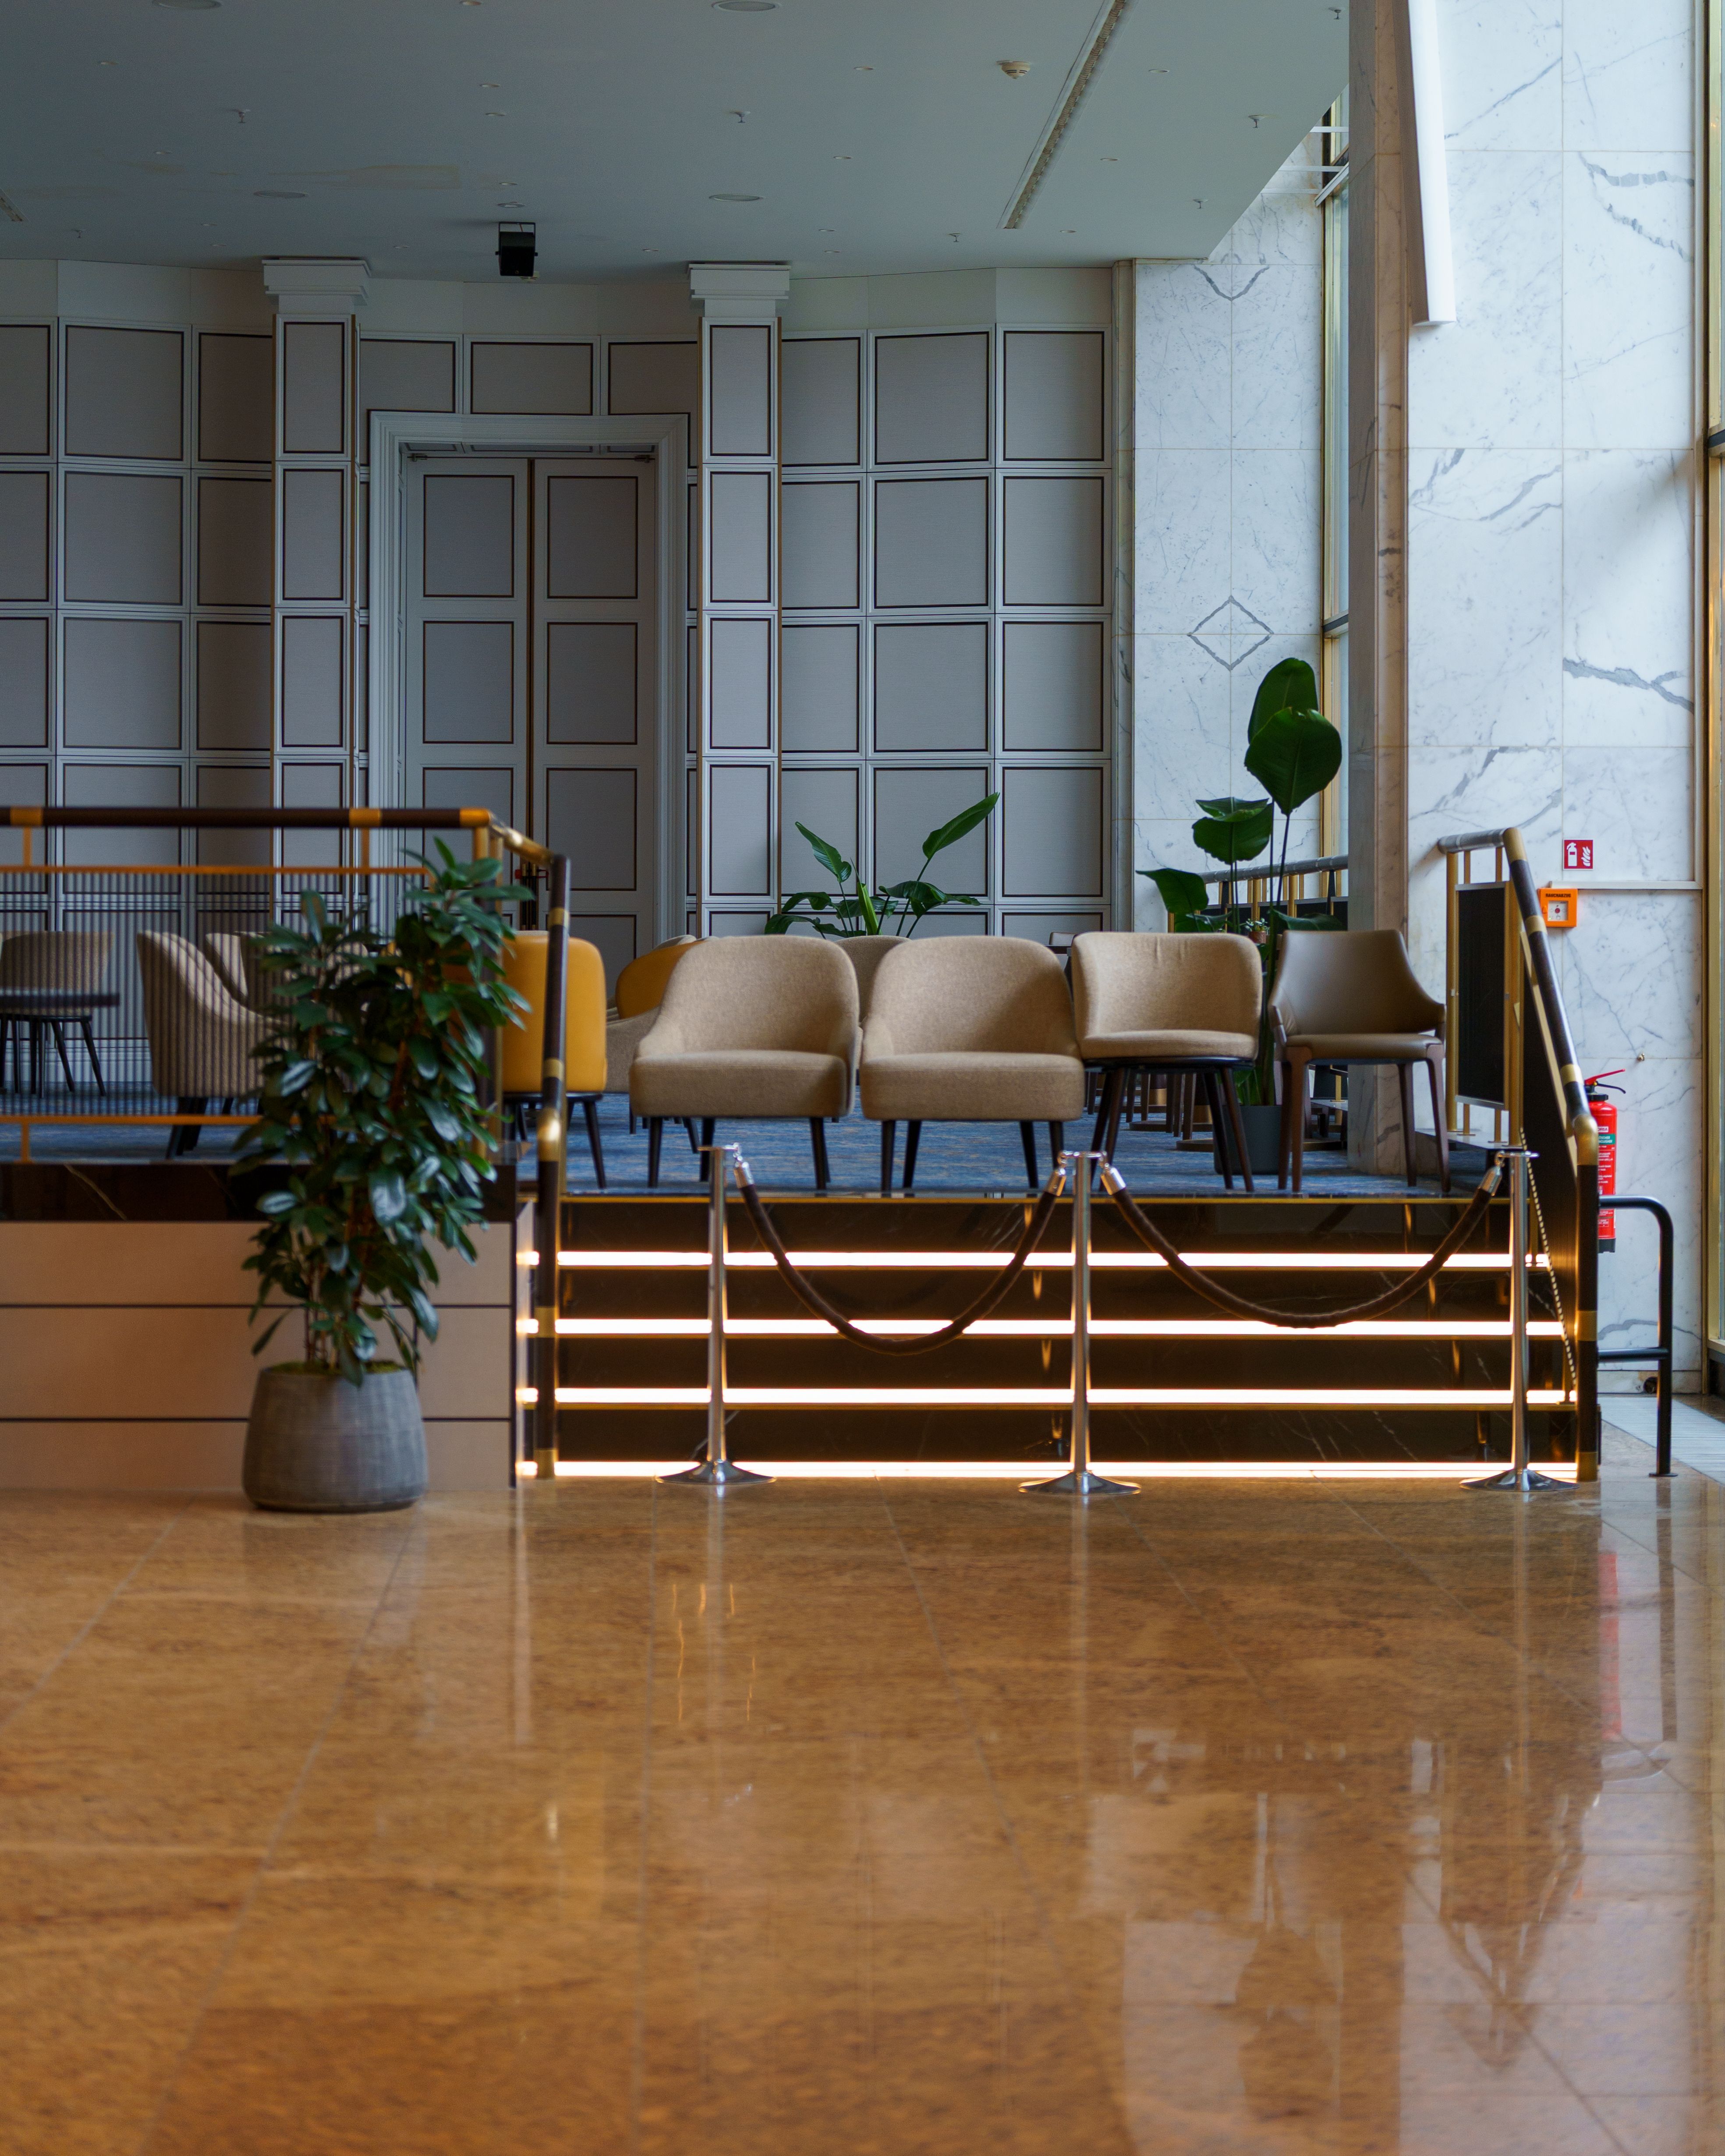
One-point perspective photography frames a scene so every straight line leads to a single vanishing point. In rooms, that setup can make a small space feel deeper, cleaner, and more open. Interior photos depend less on fancy gear than on control. Place the camera, align the lines, and shape the light so the room reads wider than it does in person.
Translation missing: en.blog_cta.bundle_heading

- Regular price
-
€42 - Regular price
-
€44 - Sale price
-
€42
By choosing the Camstrap strap, you are opting for a high-quality product designed to meet the needs of the most demanding photographers.
- Developed by a physiotherapist to relieve neck and back pain.
- Fast delivery with tracking by the Post Office 🚚
- Can be used as a shoulder strap or hands-free harness

- Regular price
-
€36 - Regular price
-
€42 - Sale price
-
€36
Translation missing: en.blog_cta.free_shipping_included
Why one vanishing point changes the whole room
Rooms often look cramped in photos because the eye has nowhere to travel. One-point framing gives it a path and strengthens the sense of depth.
Strong leading lines from walls, floors, door frames, and furniture edges do the heavy lifting. They steer the viewer toward the far wall, a window, or another focal point.

Choose the viewpoint before you press the shutter
Stand where the room has the cleanest shape. Corner positions usually work well because they show two walls, part of the floor, and a clear center line. A level camera keeps the room calm and stable. Even a slight tilt can make walls lean and the space feel smaller.
Use a lens that keeps the scene natural
A 24mm to 35mm lens on full frame usually gives enough room without warping the edges too much. On APS-C, a 16mm to 24mm range gives a similar view.
A wider lens can make the room feel larger, but too much width stretches corners and bends furniture. The tradeoff shows up fast in tight rooms with close walls.
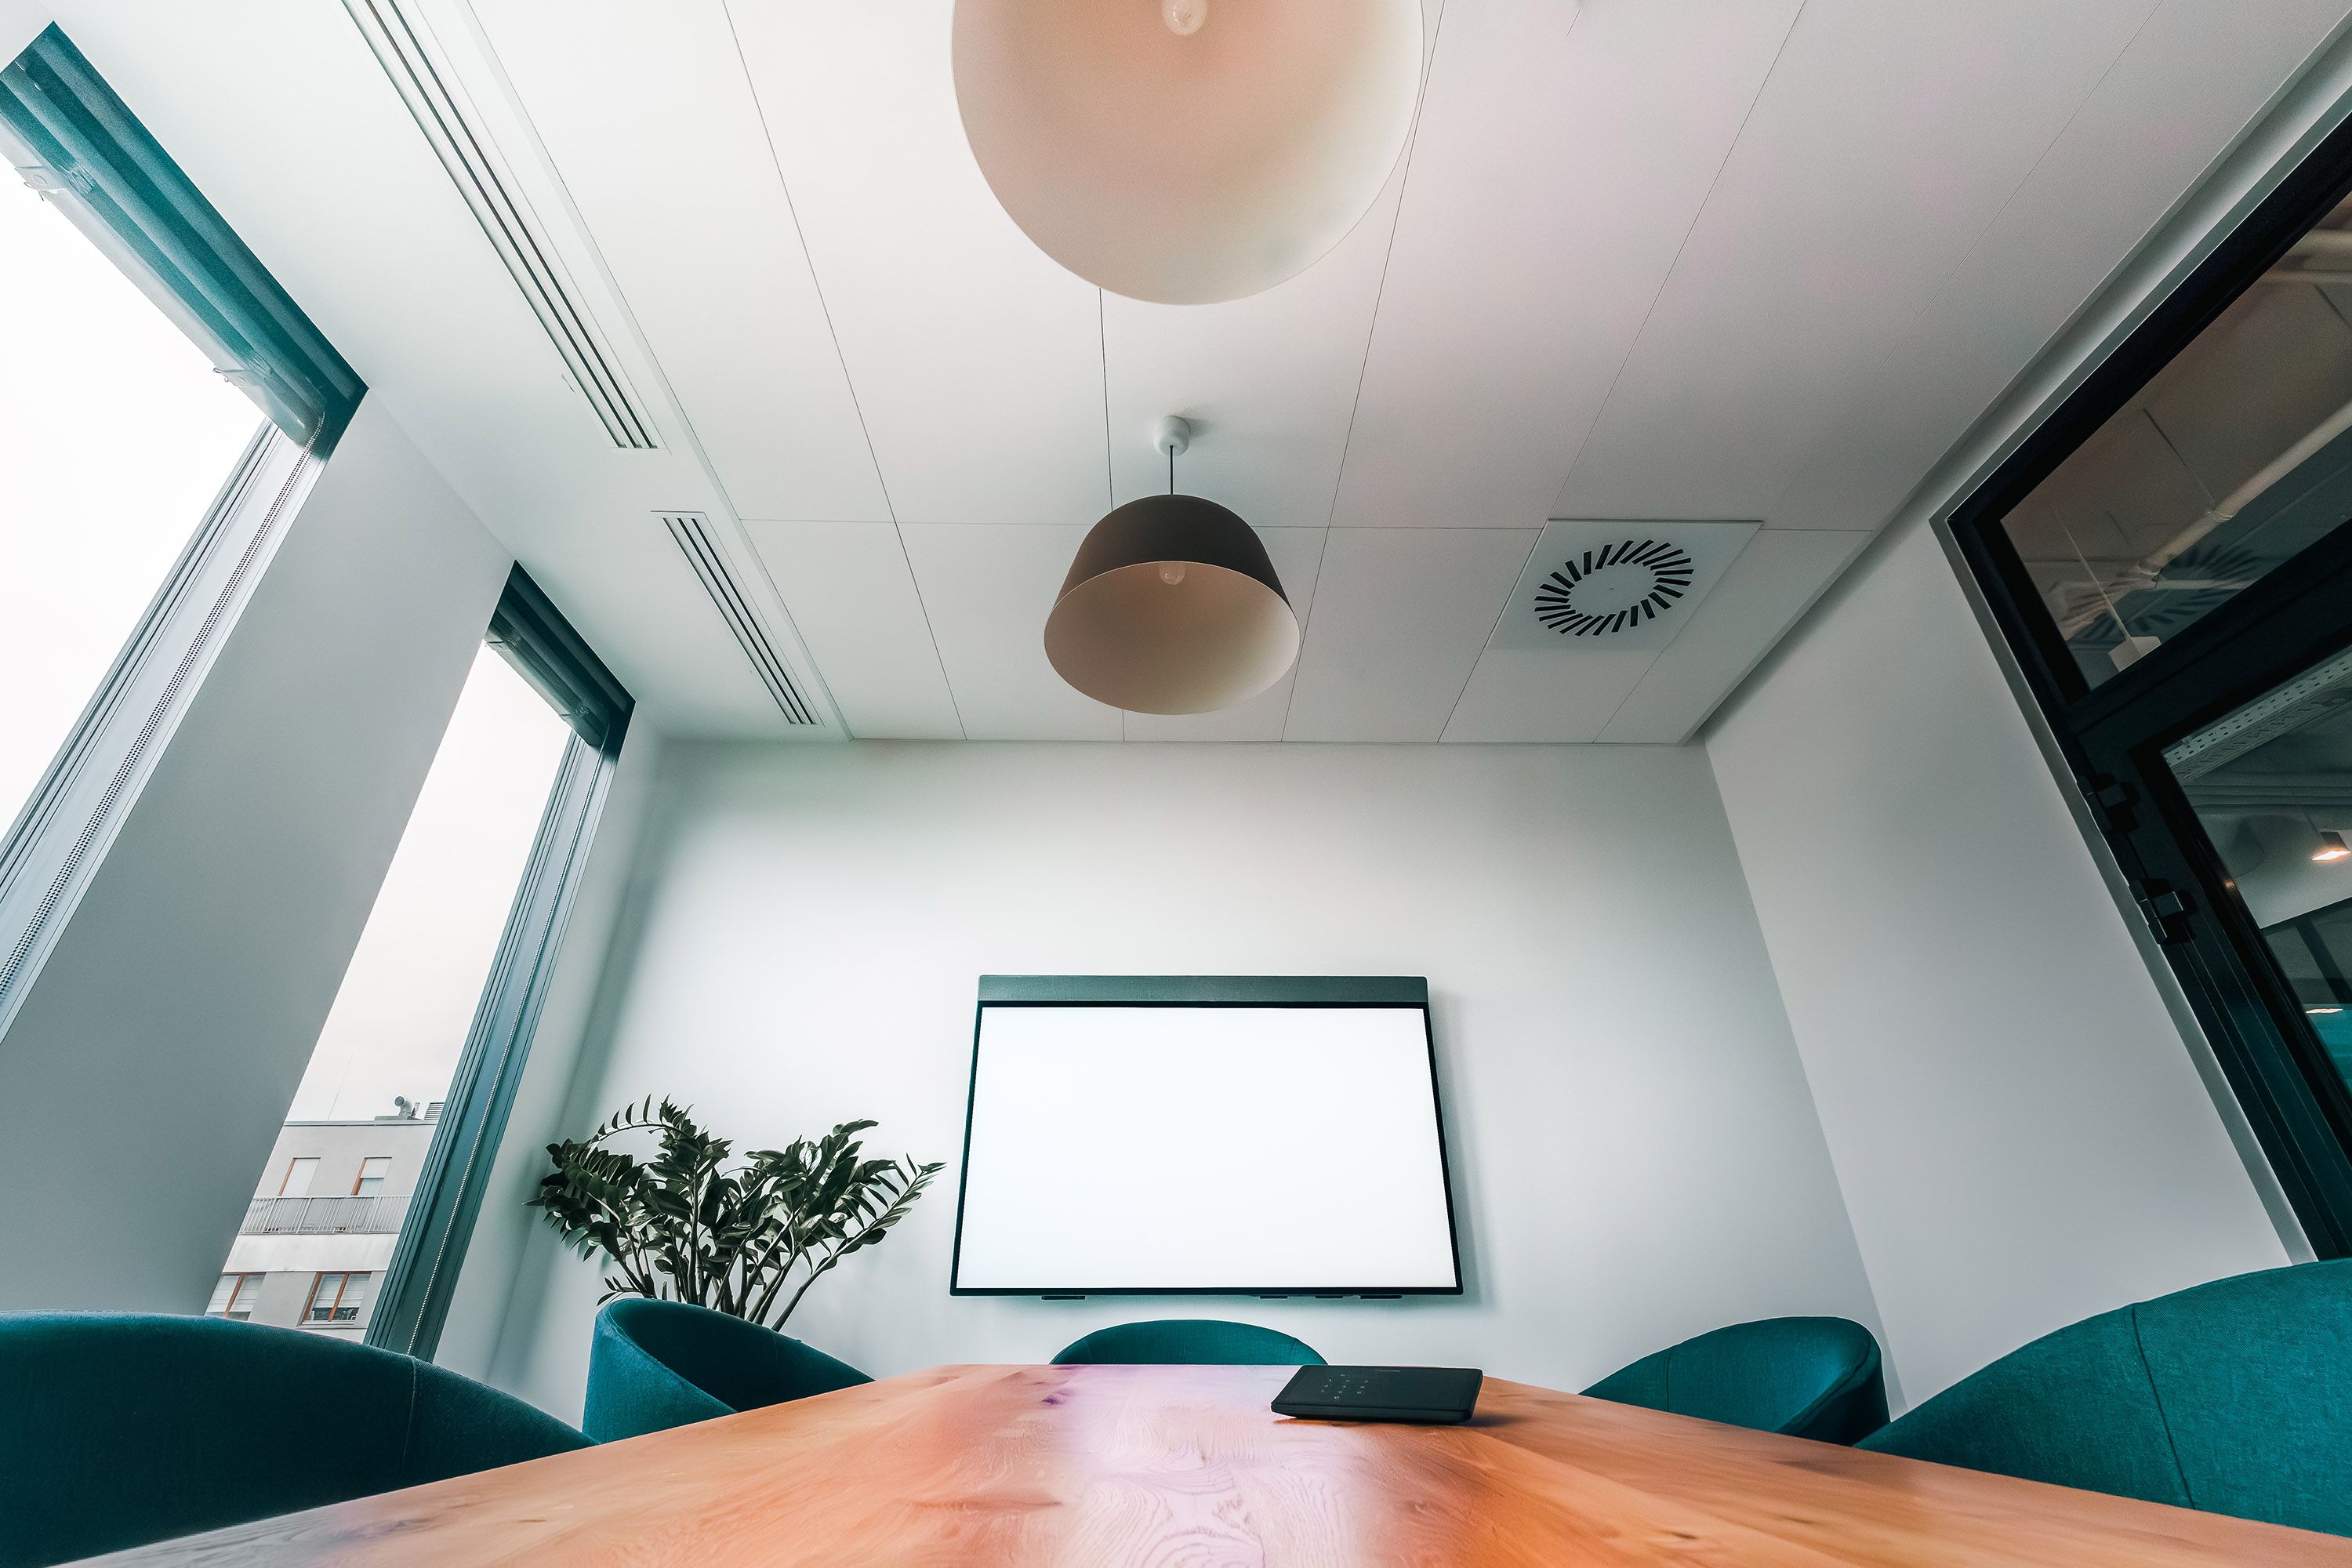
For very small spaces, I back up a little and let the room breathe. That move usually beats forcing the lens too wide.
Three rules that keep the space believable
Keep vertical lines straight, keep the camera level, and place the vanishing point with intent. Those rules give the room depth without turning it into a distorted snap. First, keep vertical lines vertical. Use the camera grid or electronic level, and avoid tilting up unless you want the walls to fall back.
Second, let horizontal lines aim toward one point. A hallway, bed frame, or tile edge can pull the eye forward.
Third, choose one clear subject for the eye to land on. A window, chair, lamp, or artwork can serve as that anchor.
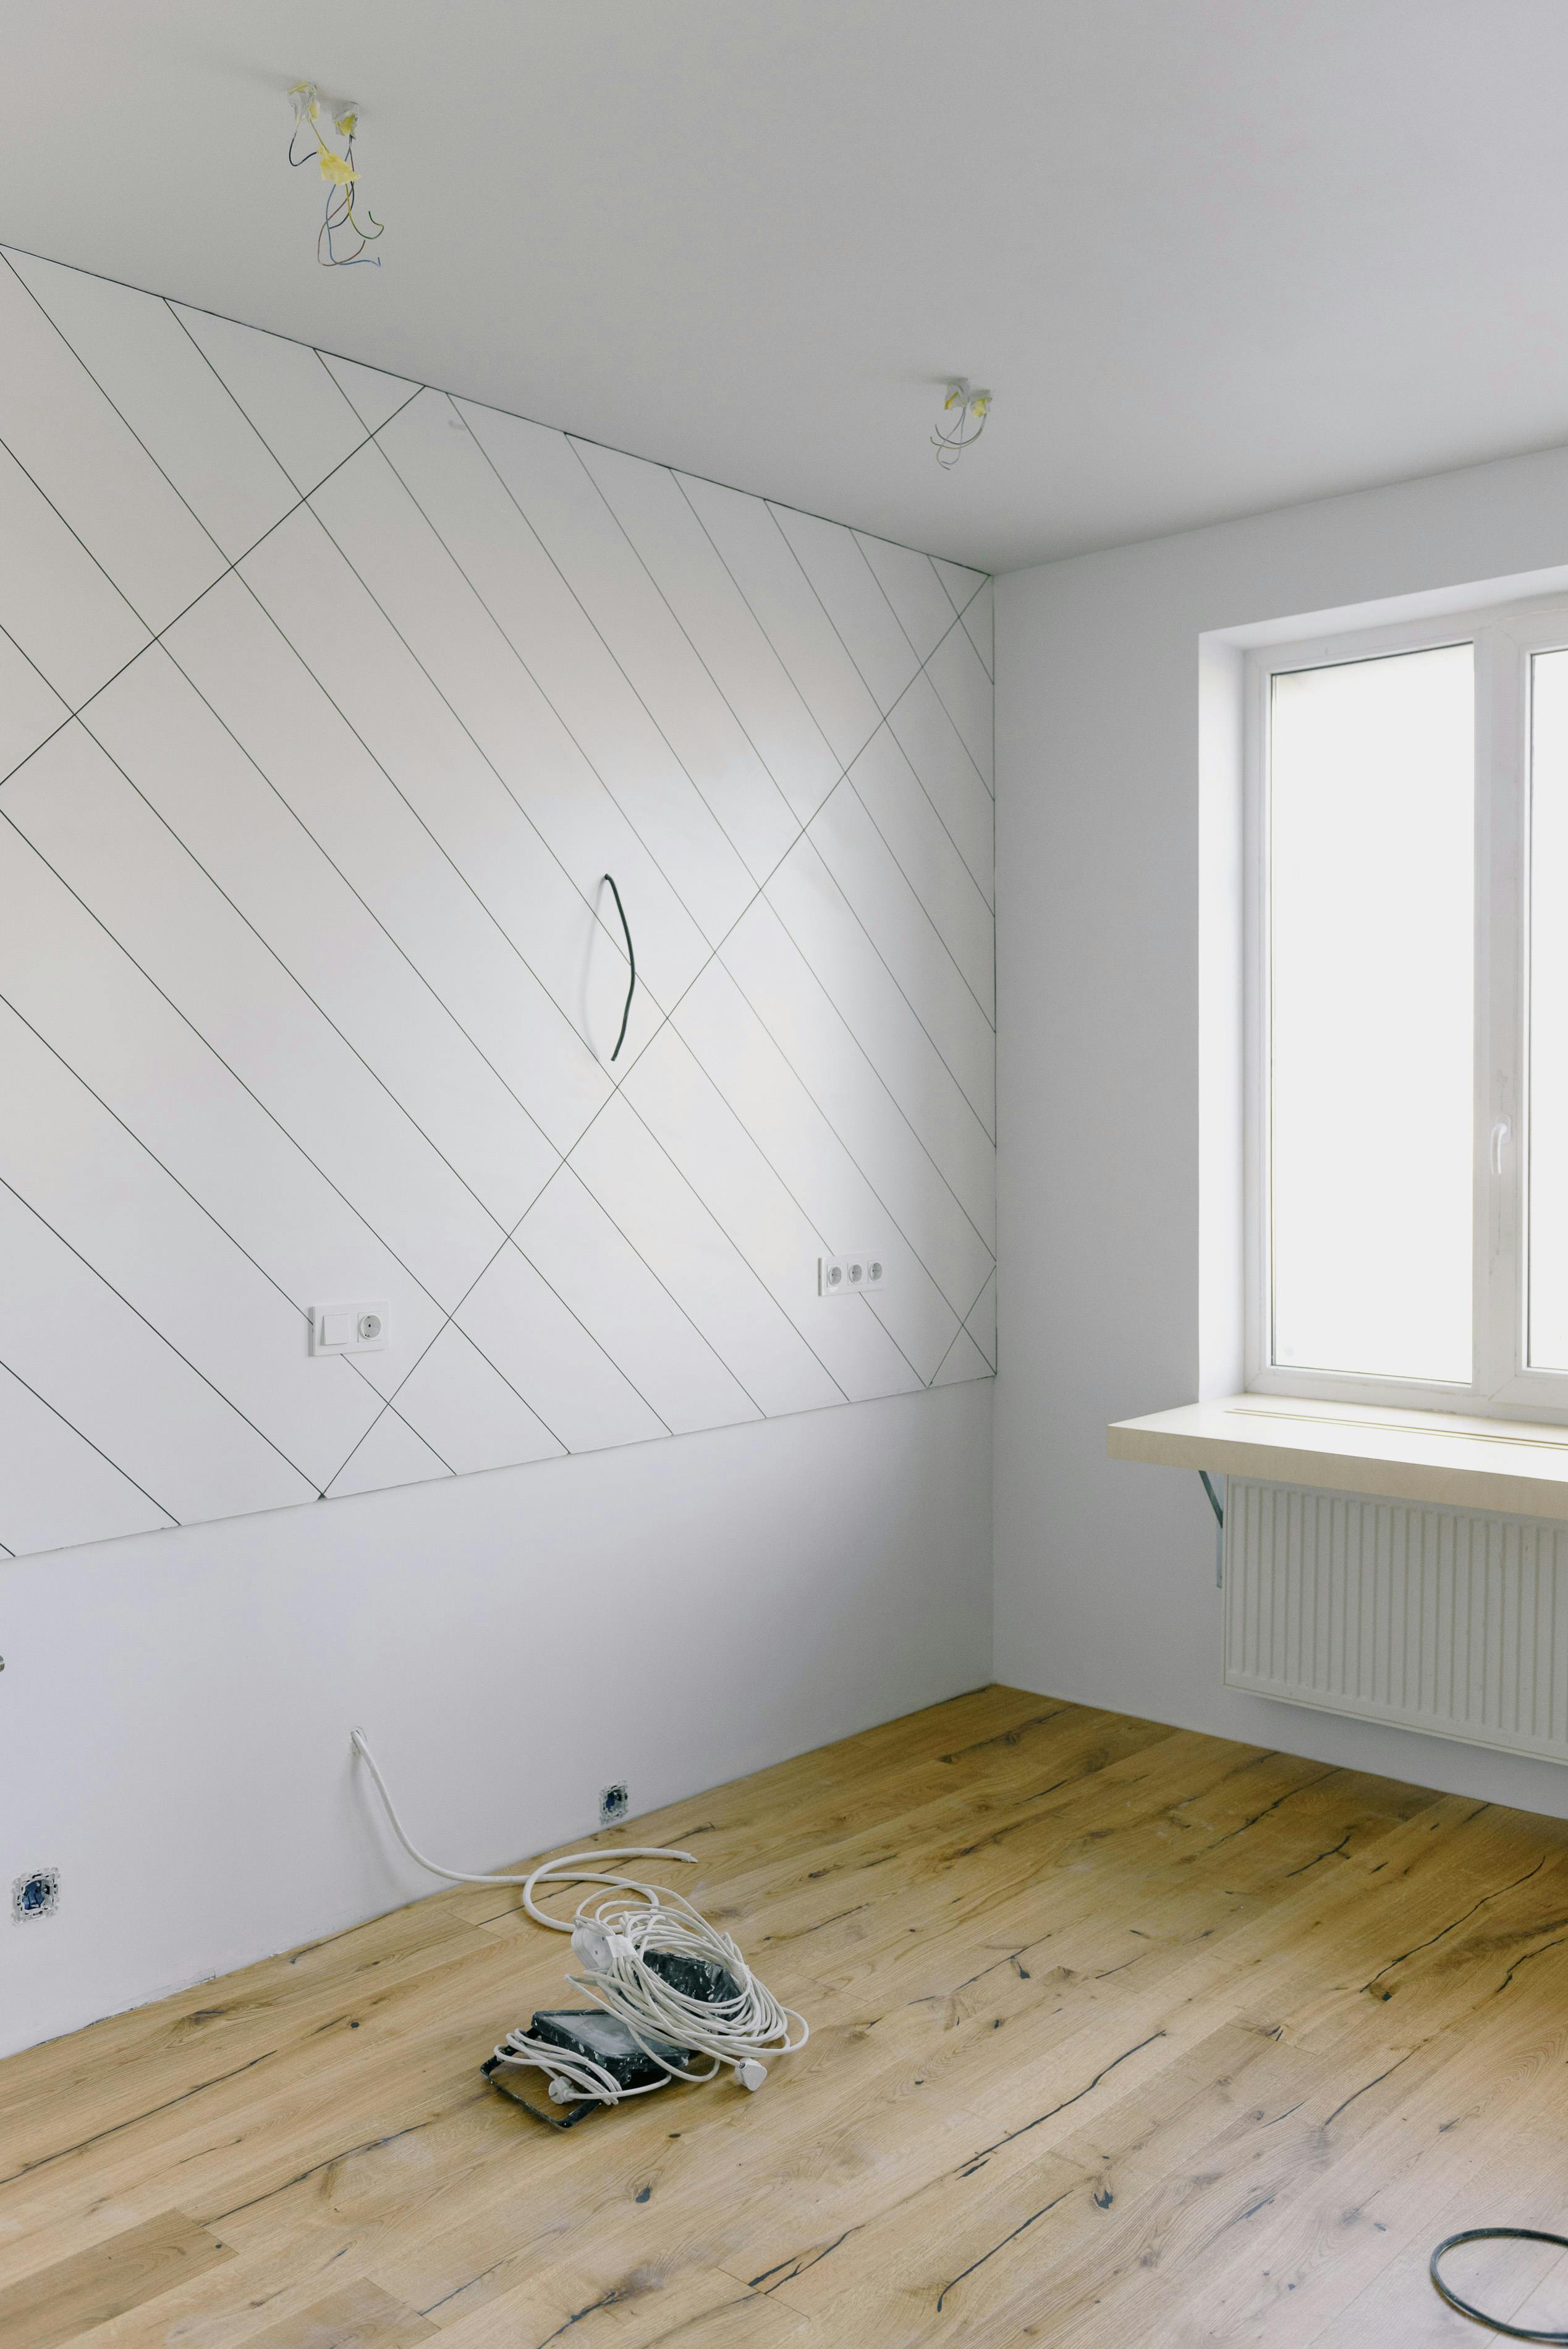
One-point perspective photography works especially well in homes, hotels, and rentals. The scene feels tidy because the frame has a single direction.
Simple setup that keeps the room wide and calm
Good room framing starts before the shot. A shift of a few inches can change how much wall, floor, and ceiling you show. Use a tripod if you can. It keeps the camera level and makes small changes easier to judge.
If you move through rooms fast, a hands-free strap helps a lot. A Camstrap Voyager keeps the camera ready while you step into corners, check door frames, and recompose without setting gear on a chair or bed.
- Lens: 24mm–35mm full frame, or 16mm–24mm APS-C
- Aperture: f/5.6 to f/8 for most indoor room scenes
- Shutter: 1/60s or slower on a tripod; faster if hand-held
- ISO: Start at ISO 100 to 400, then raise only as needed
- Focus: Single-point AF or manual focus for precise placement

The f/5.6 to f/8 range keeps most of the room sharp. It also avoids the soft look that can show up at wide-open settings.
If the room is dark, shutter speed and ISO work as a pair. A slower shutter lets in more light, but hand shake grows fast, so a tripod or steady support matters.
Light the room with the windows in mind
Window light can make small rooms feel open. It gives the scene depth and shape without harsh flash shadows. If the windows are bright, expose for the room first. Then lift the shadows a little in post, or use a simple bracket of three frames if needed.
Mixing light carefully matters too. Warm lamps and cool daylight can fight each other, so turn off extra lamps if they muddy the color.

What are common mistakes in one-point perspective?
The most common mistakes are crooked lines, a weak center, and too much distortion. Those problems make the room feel smaller instead of larger.
Another common mistake is standing too close to a wall. That choice crushes depth and pushes the foreground too hard into the frame.
Overediting is also a problem. Heavy perspective correction can straighten the room, but it can also stretch edges and make furniture look odd. Avoid placing the vanishing point too high or too low unless you want a clear style change. In most rooms, a centered or near-centered vanishing point feels calmer and larger.
Watch the corners, not just the center
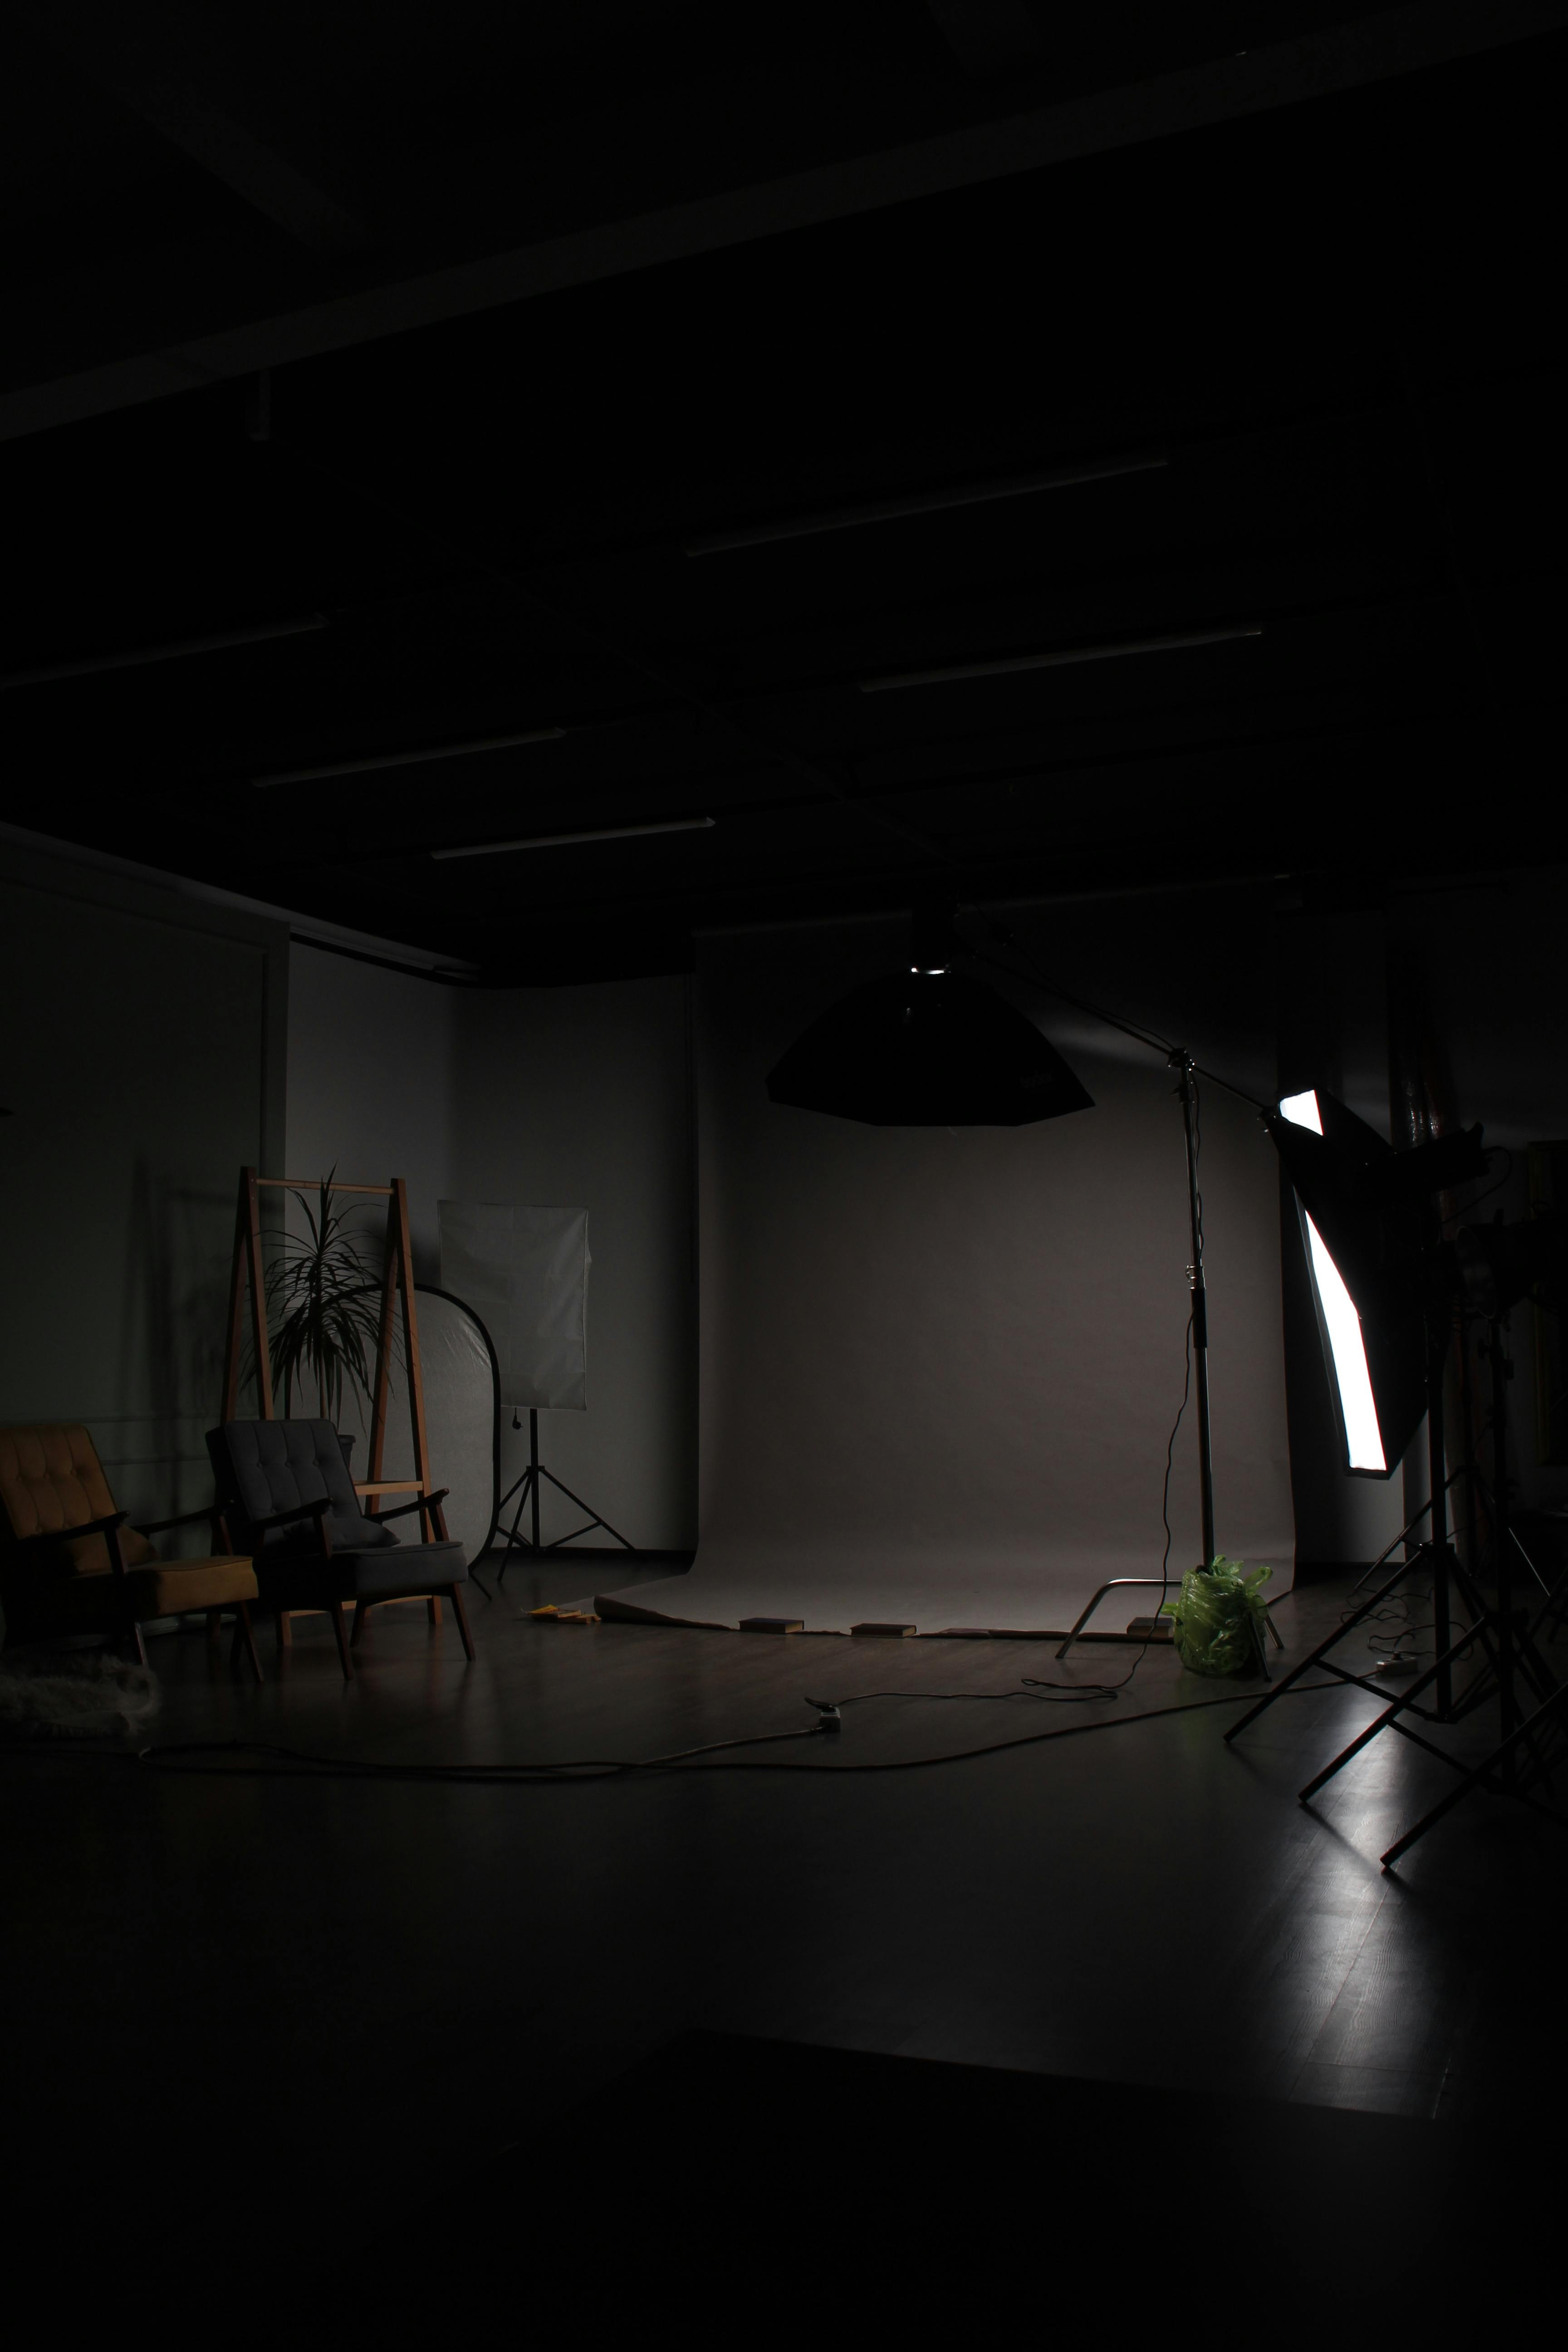
Small rooms fall apart when the corners get messy. Loose cables, chair legs, and clutter pull the eye away from the main line.
Check the edges of the frame before you shoot. A clean border makes the room feel wider right away.
Good framing often means subtraction. Remove one chair, one bag, or one bright object, and the room can feel bigger at once.
Can you explain one-point perspective to a beginner?
One-point perspective shows depth with a single vanishing point. Straight lines appear to move inward until they meet in one spot. Think of a hallway or train track view. The left and right sides move toward the same center point, and that creates the feeling of distance.
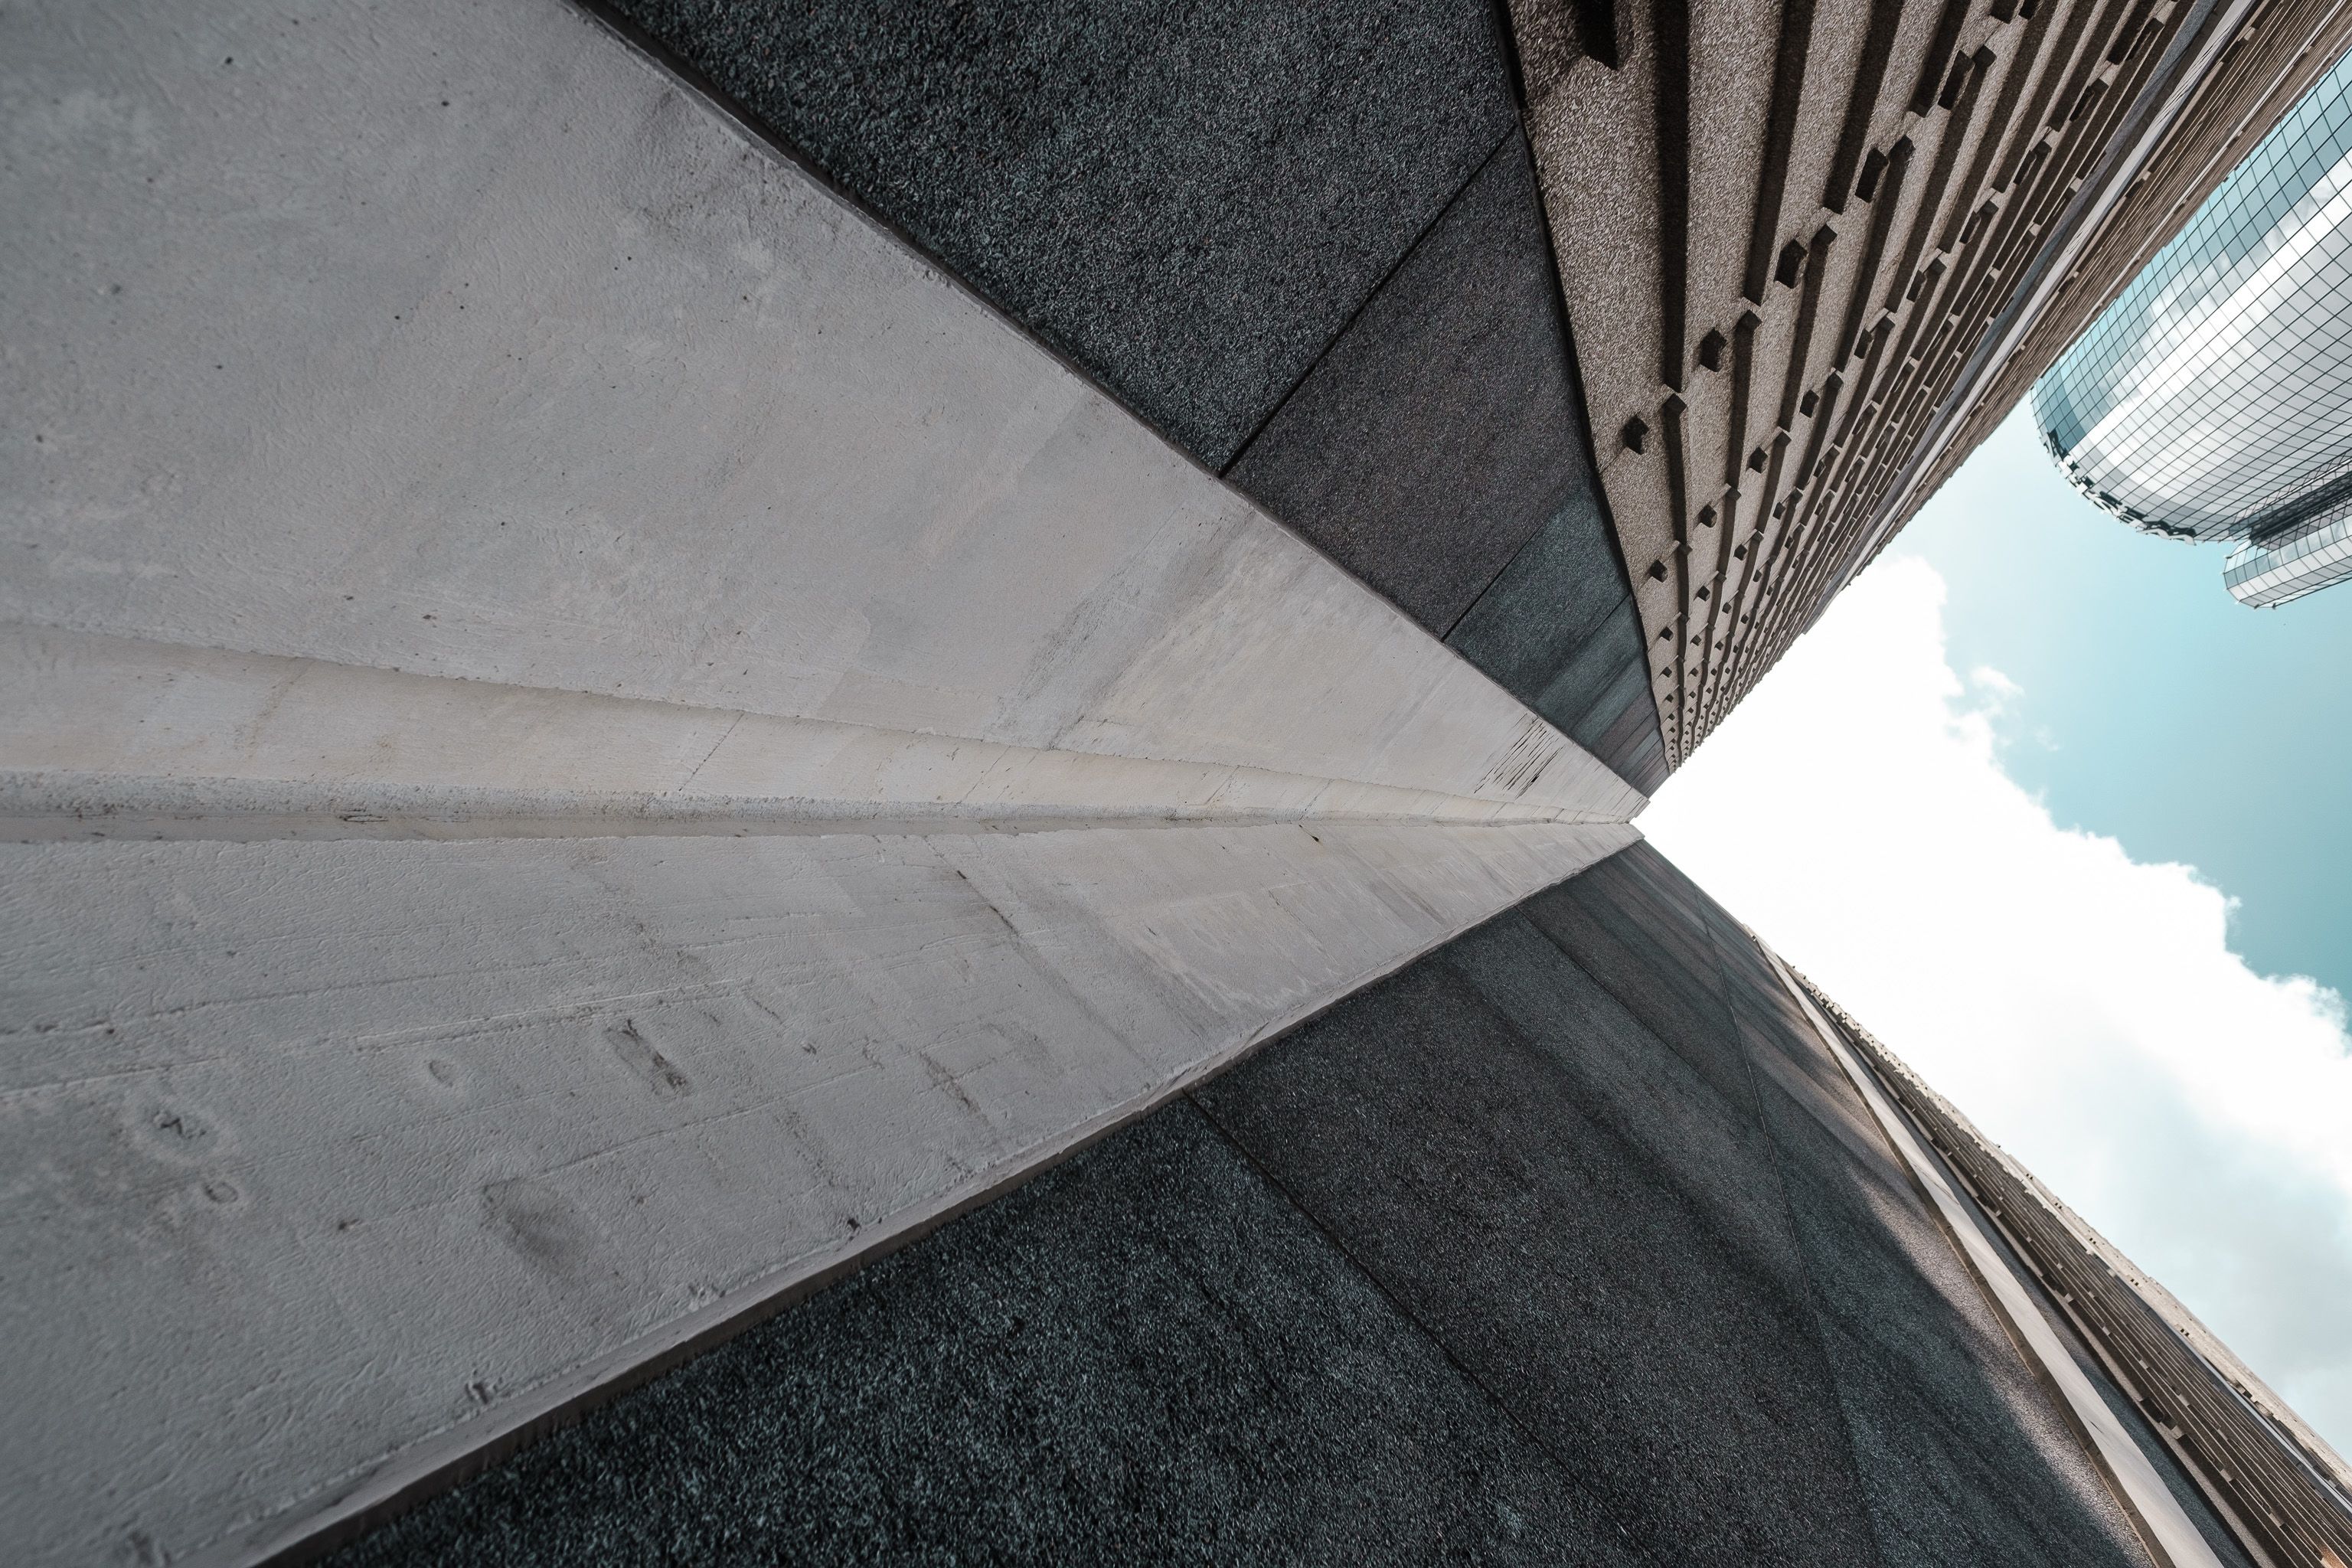
In a room photo, the same idea makes the space feel longer. The camera turns flat walls into a path the eye can follow.
The easiest way to try it is with a hallway, doorway, or room corner. Frame the scene so one main line leads toward the center, then keep the camera level and square to the space.
If you want the look to feel stronger, use a mid-range wide lens and keep furniture lined up with the room. Clean geometry makes the room feel bigger.
What are the 7 types of perspective?
The seven types are one-point, two-point, three-point, aerial, forced, overlapping, and linear perspective. Each one changes how depth looks in a photo or drawing. For room photography, one-point perspective gives the cleanest, most open feel. Two-point perspective works well for corner views, while aerial perspective matters more in scenes with haze or distance.
Forced perspective changes scale on purpose. Overlapping perspective uses objects in front of each other to show depth, and linear perspective uses strong lines to pull the eye inward.
Three-point perspective adds drama, but it often makes interiors feel less calm. It suits tall spaces, stairwells, or bold architectural shots better than everyday rooms.
How to shoot the room step by step
A short process helps more than guesswork. Use the same order each time, and the room becomes easier to read.
- Choose the cleanest corner or doorway view.
- Set the camera level with the grid or horizon line.
- Pick a 24mm to 35mm view, or the APS-C match.
- Set aperture to f/5.6 or f/8.
- Start at ISO 100 to 400.
- Focus on the main subject or the far third of the room.
- Check the frame edges for clutter and crooked lines.
- Take one test shot, then adjust the vanishing point.
If you shoot hand-held, keep your shutter speed high enough to avoid blur. Around 1/125s is a safe start for still interiors, and faster helps if you are moving fast. Mirrorless bodies also reward smart power use. The biggest drains are usually the always-on EVF, the rear LCD, and image review, so dimming the screen can help.
A few editing moves that keep the space honest
Light perspective correction can fix small tilts, but use it with care. Strong warps can make the room look wider while also bending furniture and door frames.
Crop only after you fix the geometry. That order keeps the room shape intact and avoids a squeezed look.
If you bracketed exposures, blend them with a soft hand. The goal is a room that feels open, not a scene that looks artificial. For culling and edits, use pick and reject flags first, then review the strongest frames at full size. That fast pass helps you find the shot where the room feels deepest.

Rooms reward patience. A small shift in camera height, a cleaner line, or a better center point can turn a plain space into one that feels much larger.
Keep the geometry simple, keep the light soft, and keep one clear path for the eye. Then the room will look open in the photo, even when the square footage stays the same.
Frequently Asked Questions
What are the three rules for one-point perspective?
The three rules for one-point perspective photography are to keep vertical lines straight, keep the camera level, and place the vanishing point with intent. These rules preserve depth without making the room look distorted.

What are common mistakes in one-point perspective?
Common mistakes in one-point perspective photography are tilting the camera, letting vertical lines lean, and placing the vanishing point without a clear focal anchor. Using a lens that is too wide can also stretch corners and bend furniture, making the room look smaller or distorted.
Can you explain one-point perspective to a beginner?
One-point perspective photography uses a single vanishing point so straight lines in a room lead the eye inward and create a stronger sense of depth. In a room, walls, floor edges, and furniture lines guide the viewer toward one clear point, which can make the space feel bigger and more organized.
What are the 7 types of perspective?

The seven common types of perspective are one-point, two-point, three-point, atmospheric, linear, isometric, and forced perspective. Each type changes how depth, scale, and distance are shown in an image.


