


- Use a tripod, manual mode, and a wide lens to capture stars through city glow.
- Most phones can shoot long exposure with a night mode, app, or manual shutter control.
- Avoid shake, overexposure, and the wrong shutter speed; review zoomed-in stars after each shot.

Long exposure photos rely on a slow shutter to hold motion and light on the sensor over time. In a city, the challenge is pulling faint stars out of a bright sky while keeping the scene around them intact. Urban glow makes night work harder, yet it does not shut it down. Find a workable spot, set the camera well, keep the setup steady, and clean star shots are still within reach.
Translation missing: en.blog_cta.bundle_heading

- Regular price
-
€42 - Regular price
-
€44 - Sale price
-
€42
By choosing the Camstrap strap, you are opting for a high-quality product designed to meet the needs of the most demanding photographers.
- Developed by a physiotherapist to relieve neck and back pain.
- Fast delivery with tracking by the Post Office 🚚
- Can be used as a shoulder strap or hands-free harness

- Regular price
-
€36 - Regular price
-
€42 - Sale price
-
€36
Translation missing: en.blog_cta.free_shipping_included
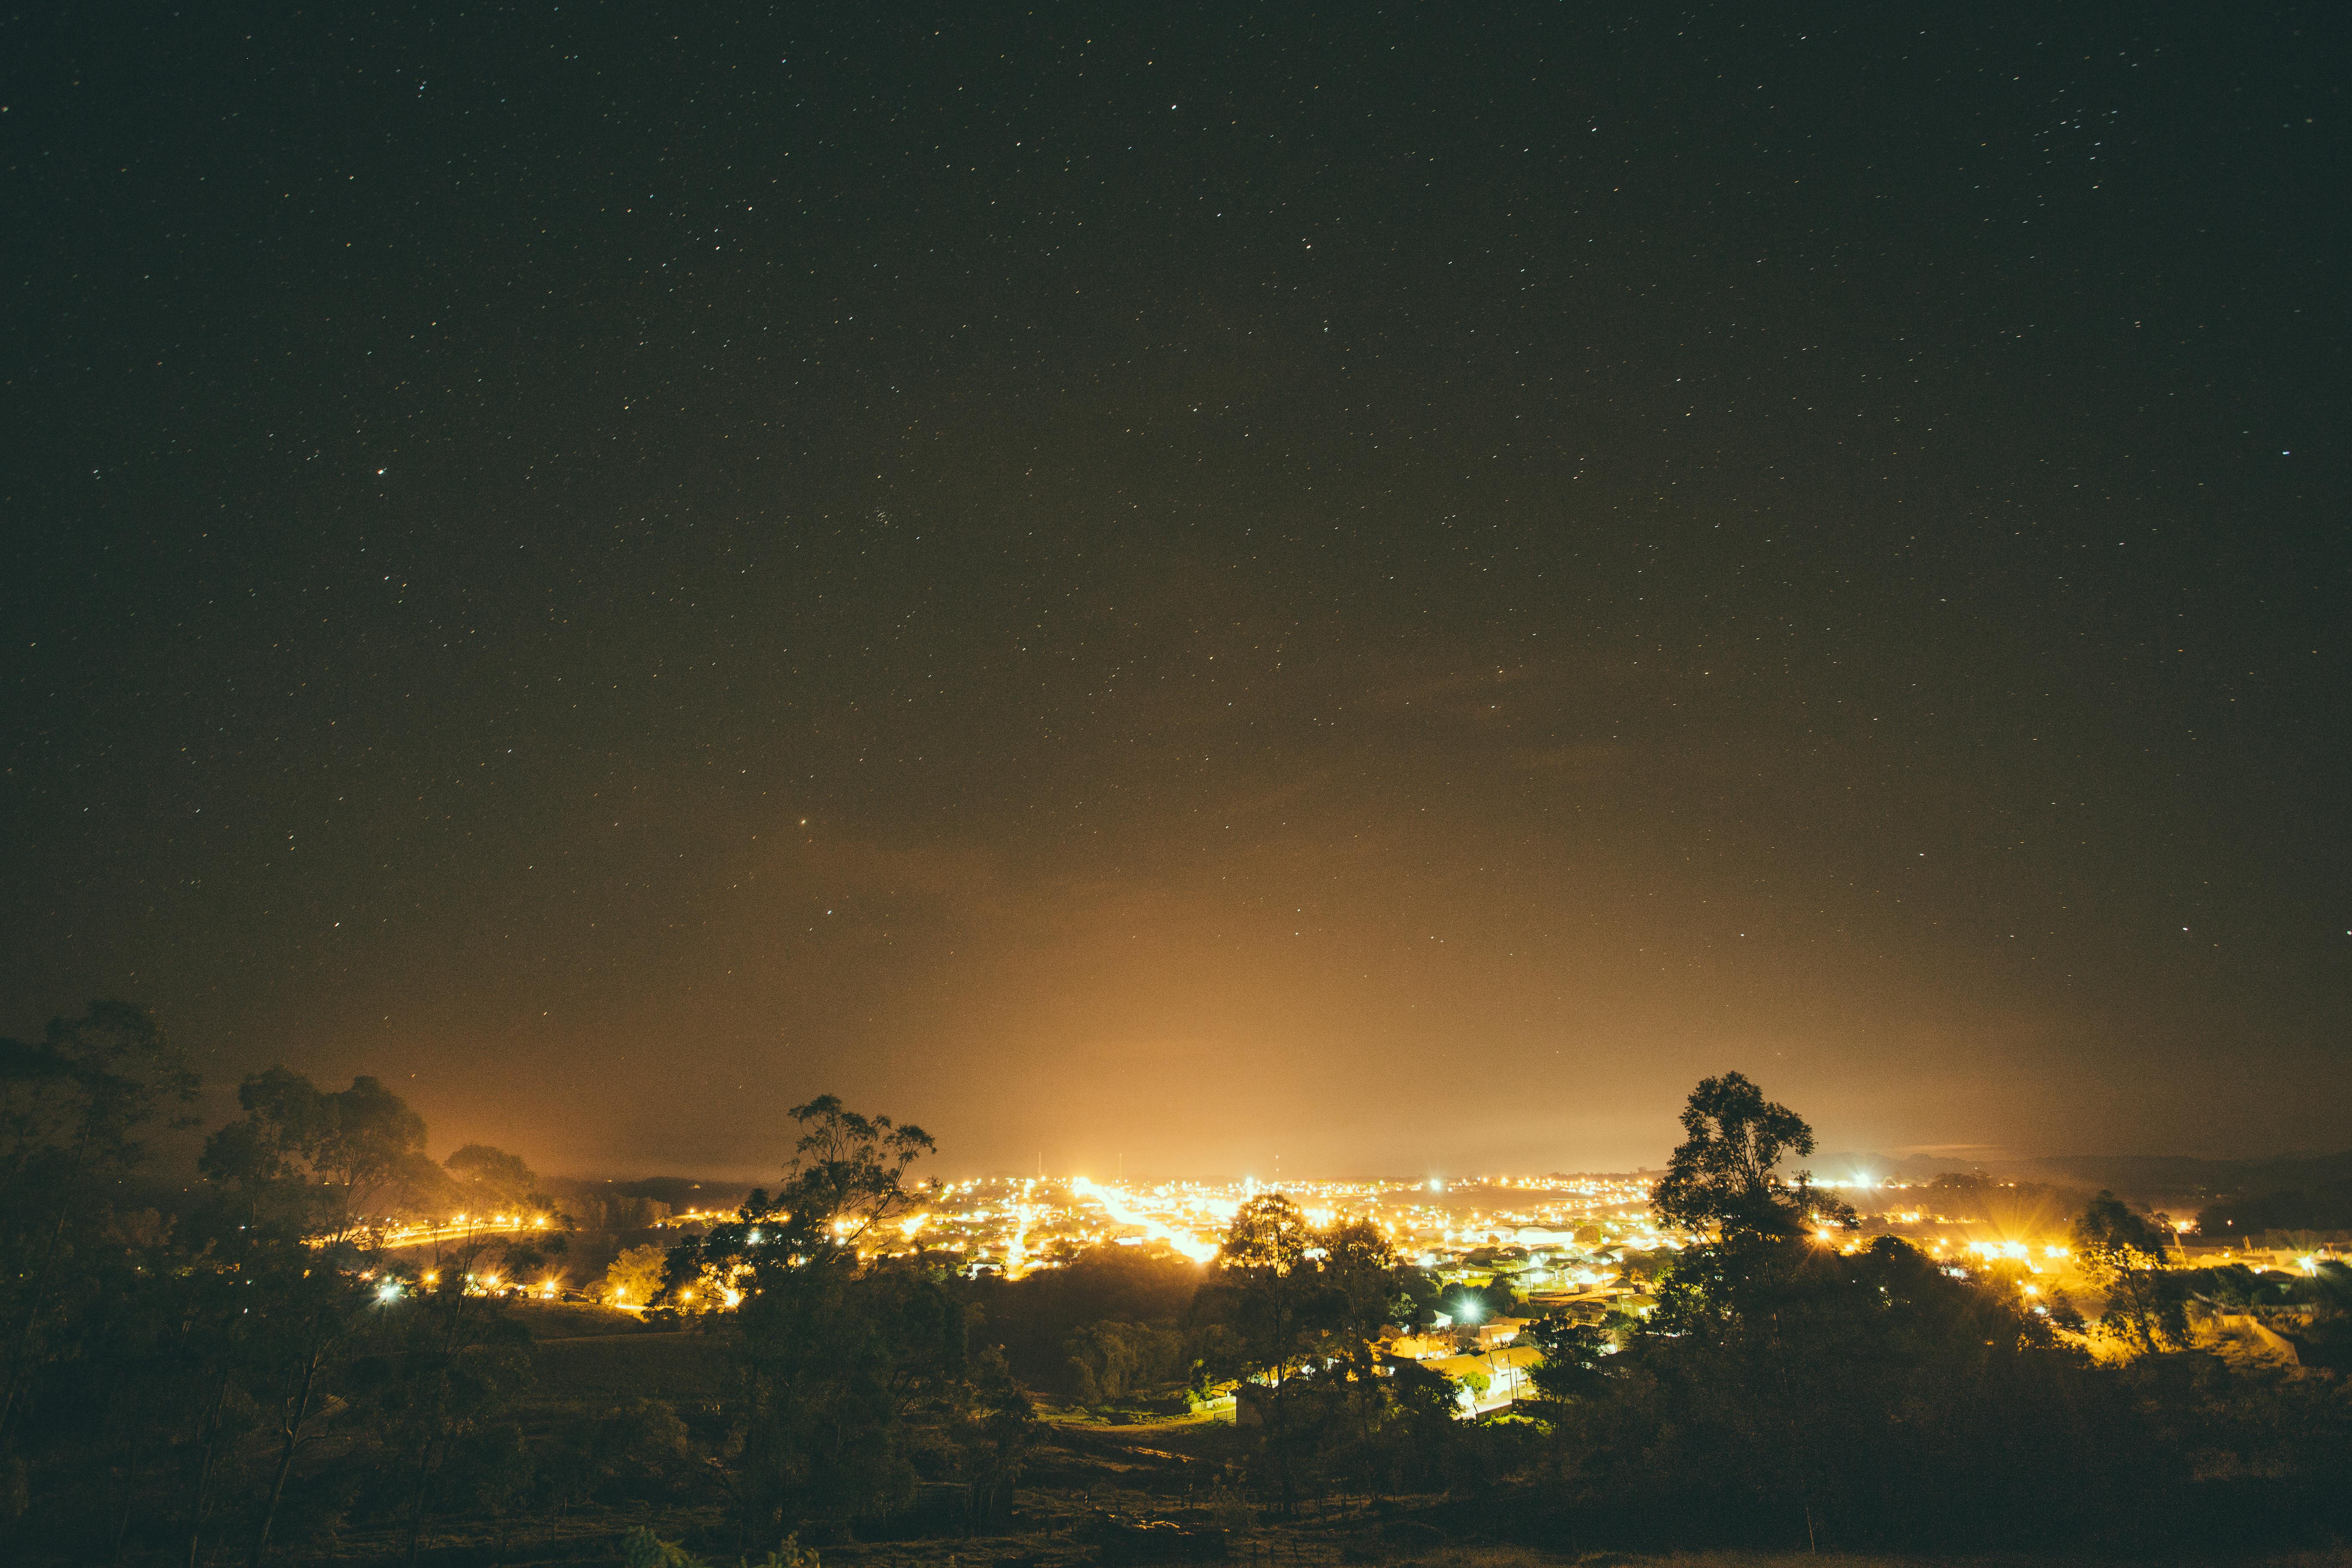
Why city glow erases faint stars
City light spreads through the air and washes weak stars away. This is light pollution: it raises the sky’s brightness until the dimmest points disappear.
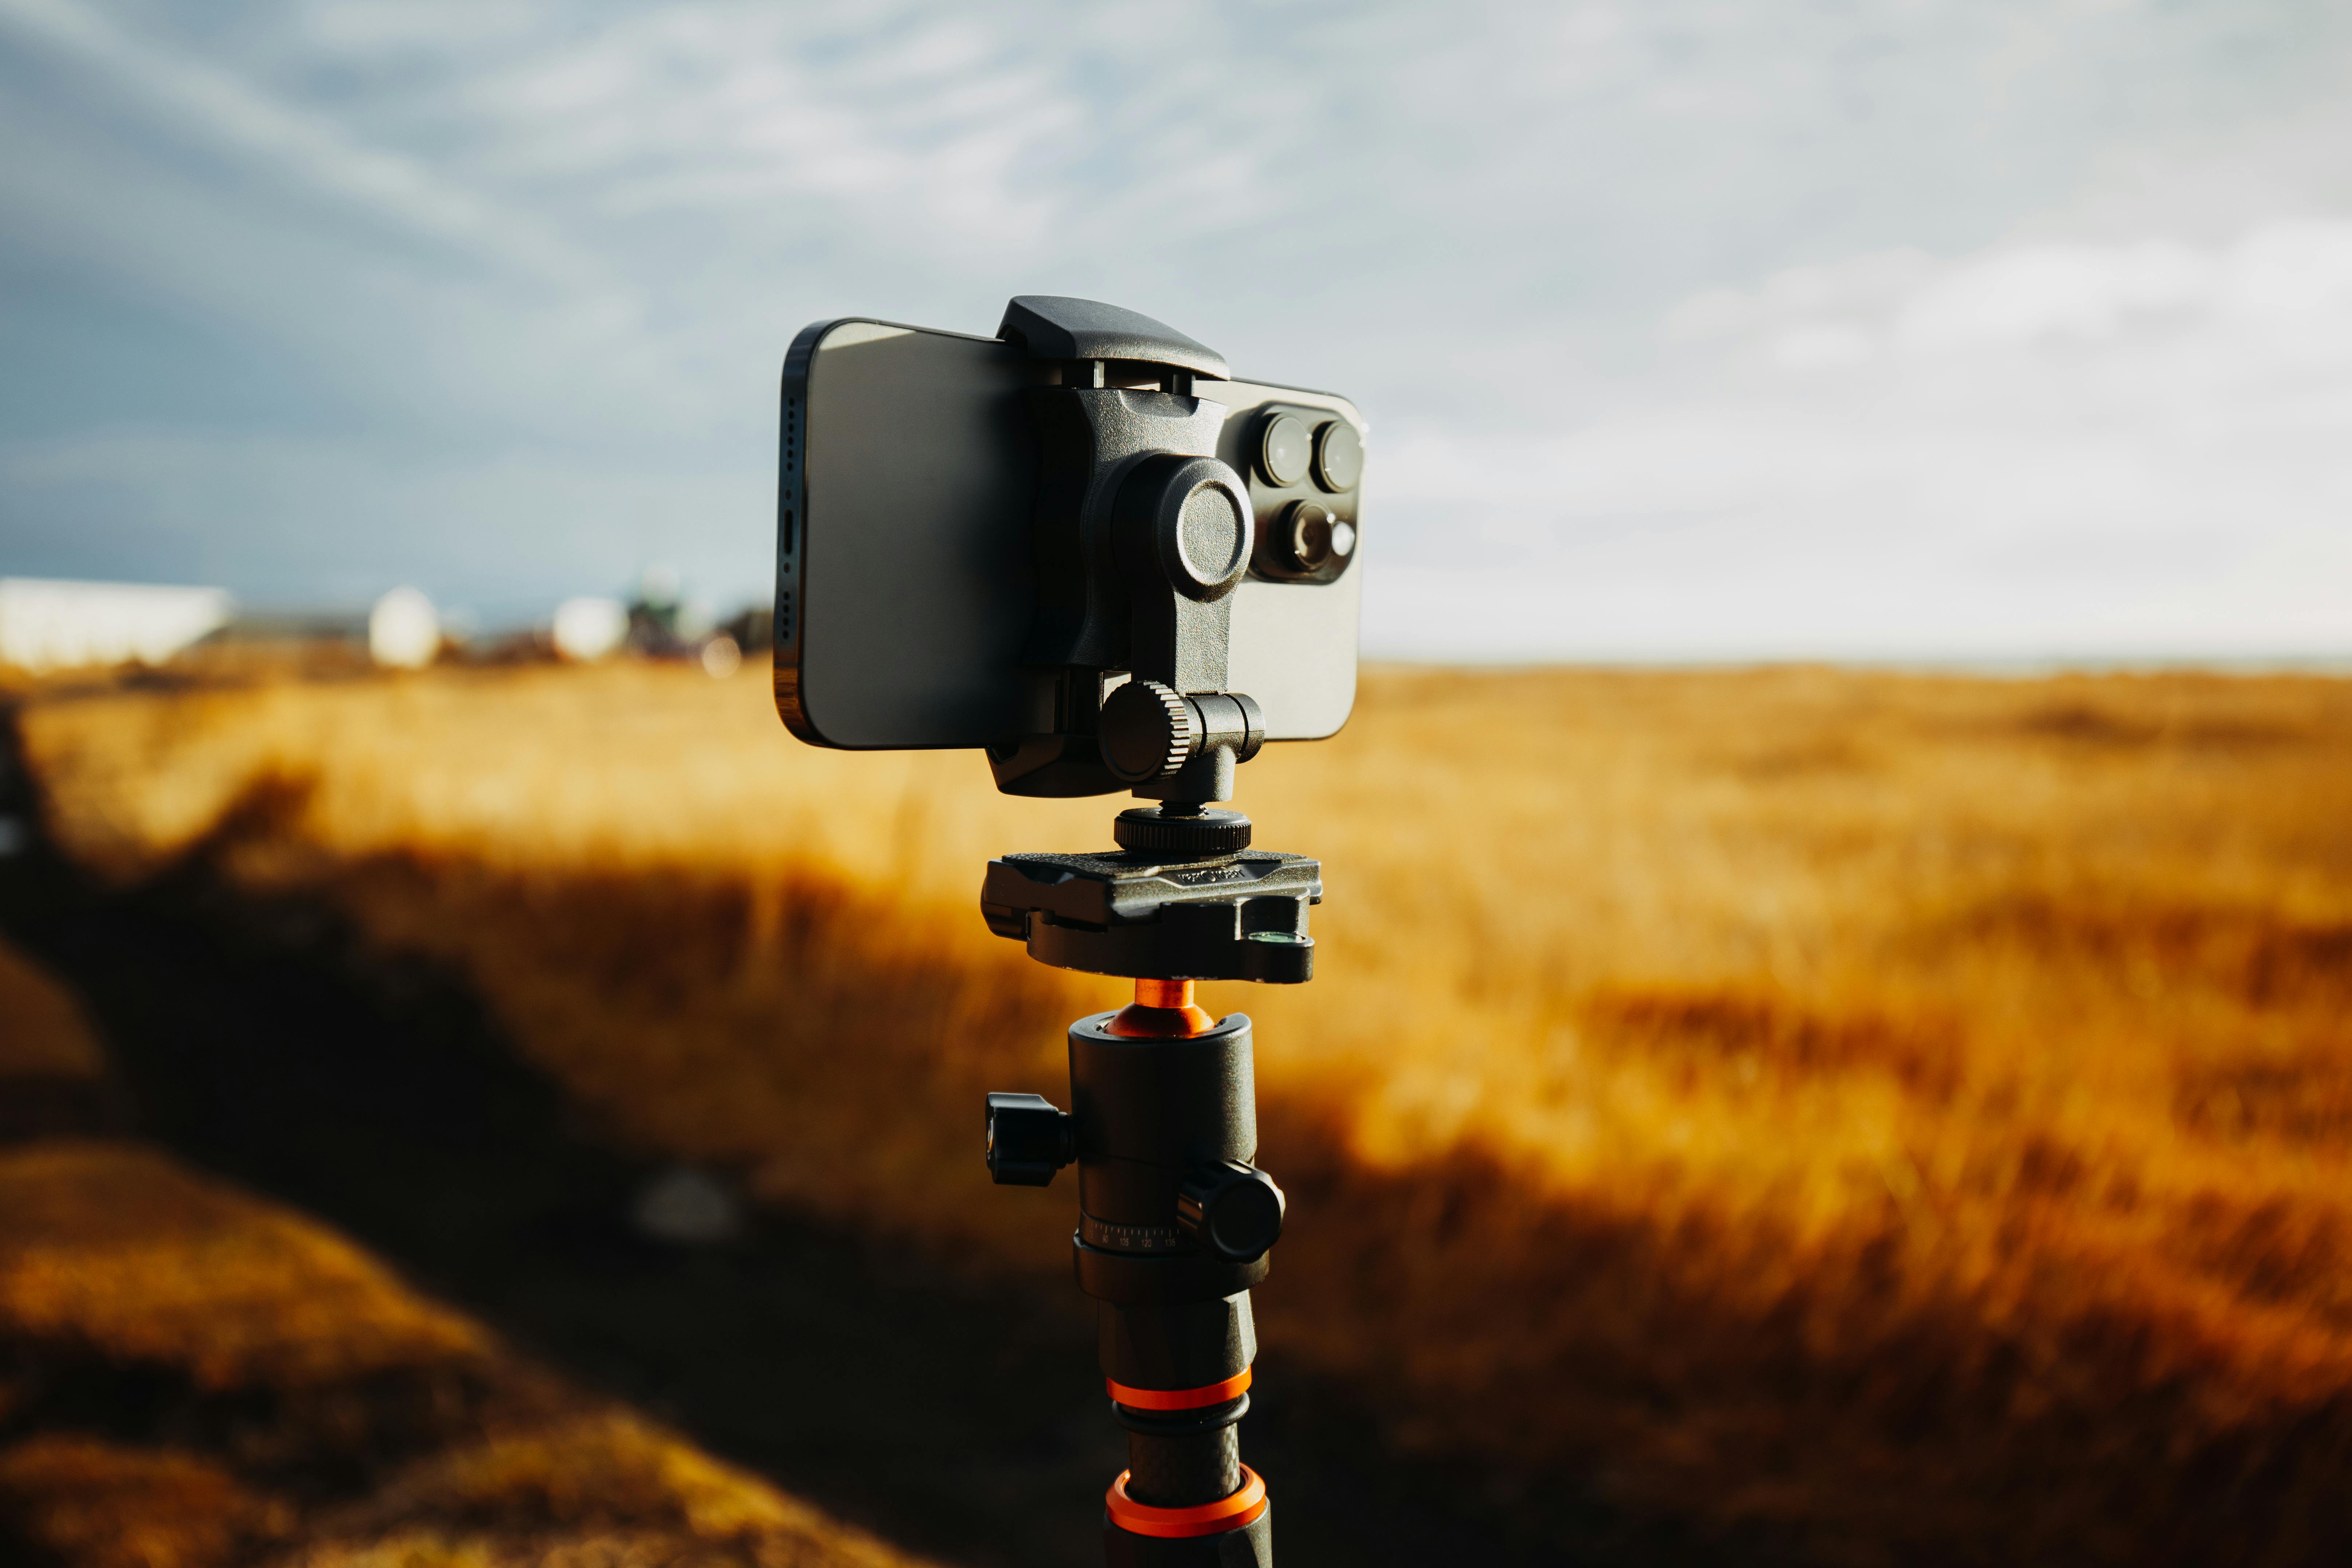
Color shifts come with it. Orange lamps, green signs, and white glare flatten contrast and leave the sky looking dull.
Choose a darker corner of the city
You do not always need to leave town. A park edge, rooftop, river path, or hill can work if it blocks direct light and faces away from the brightest streets. Thin haze can bounce city glow back into the frame, while a clear night gives the stars a far better chance to show.
Choose gear that keeps the camera steady

A tripod does the heavy lifting here, because a slow shutter shows even the smallest shake. A stable head and a firm plate lock matter more than weight or brand.
A hands-free strap helps on the walk to your dark spot and between test shots. A Camstrap camstrap voyager keeps the camera close to the body, which leaves both hands free on stairs, rocks, or crowded sidewalks.
Pack for low-light control
- Tripod with a solid head
- Camera with manual mode
- Wide lens, often 14mm to 24mm or 24mm to 35mm
- Remote release or self-timer
- Fully charged battery
- Clean lens cloth
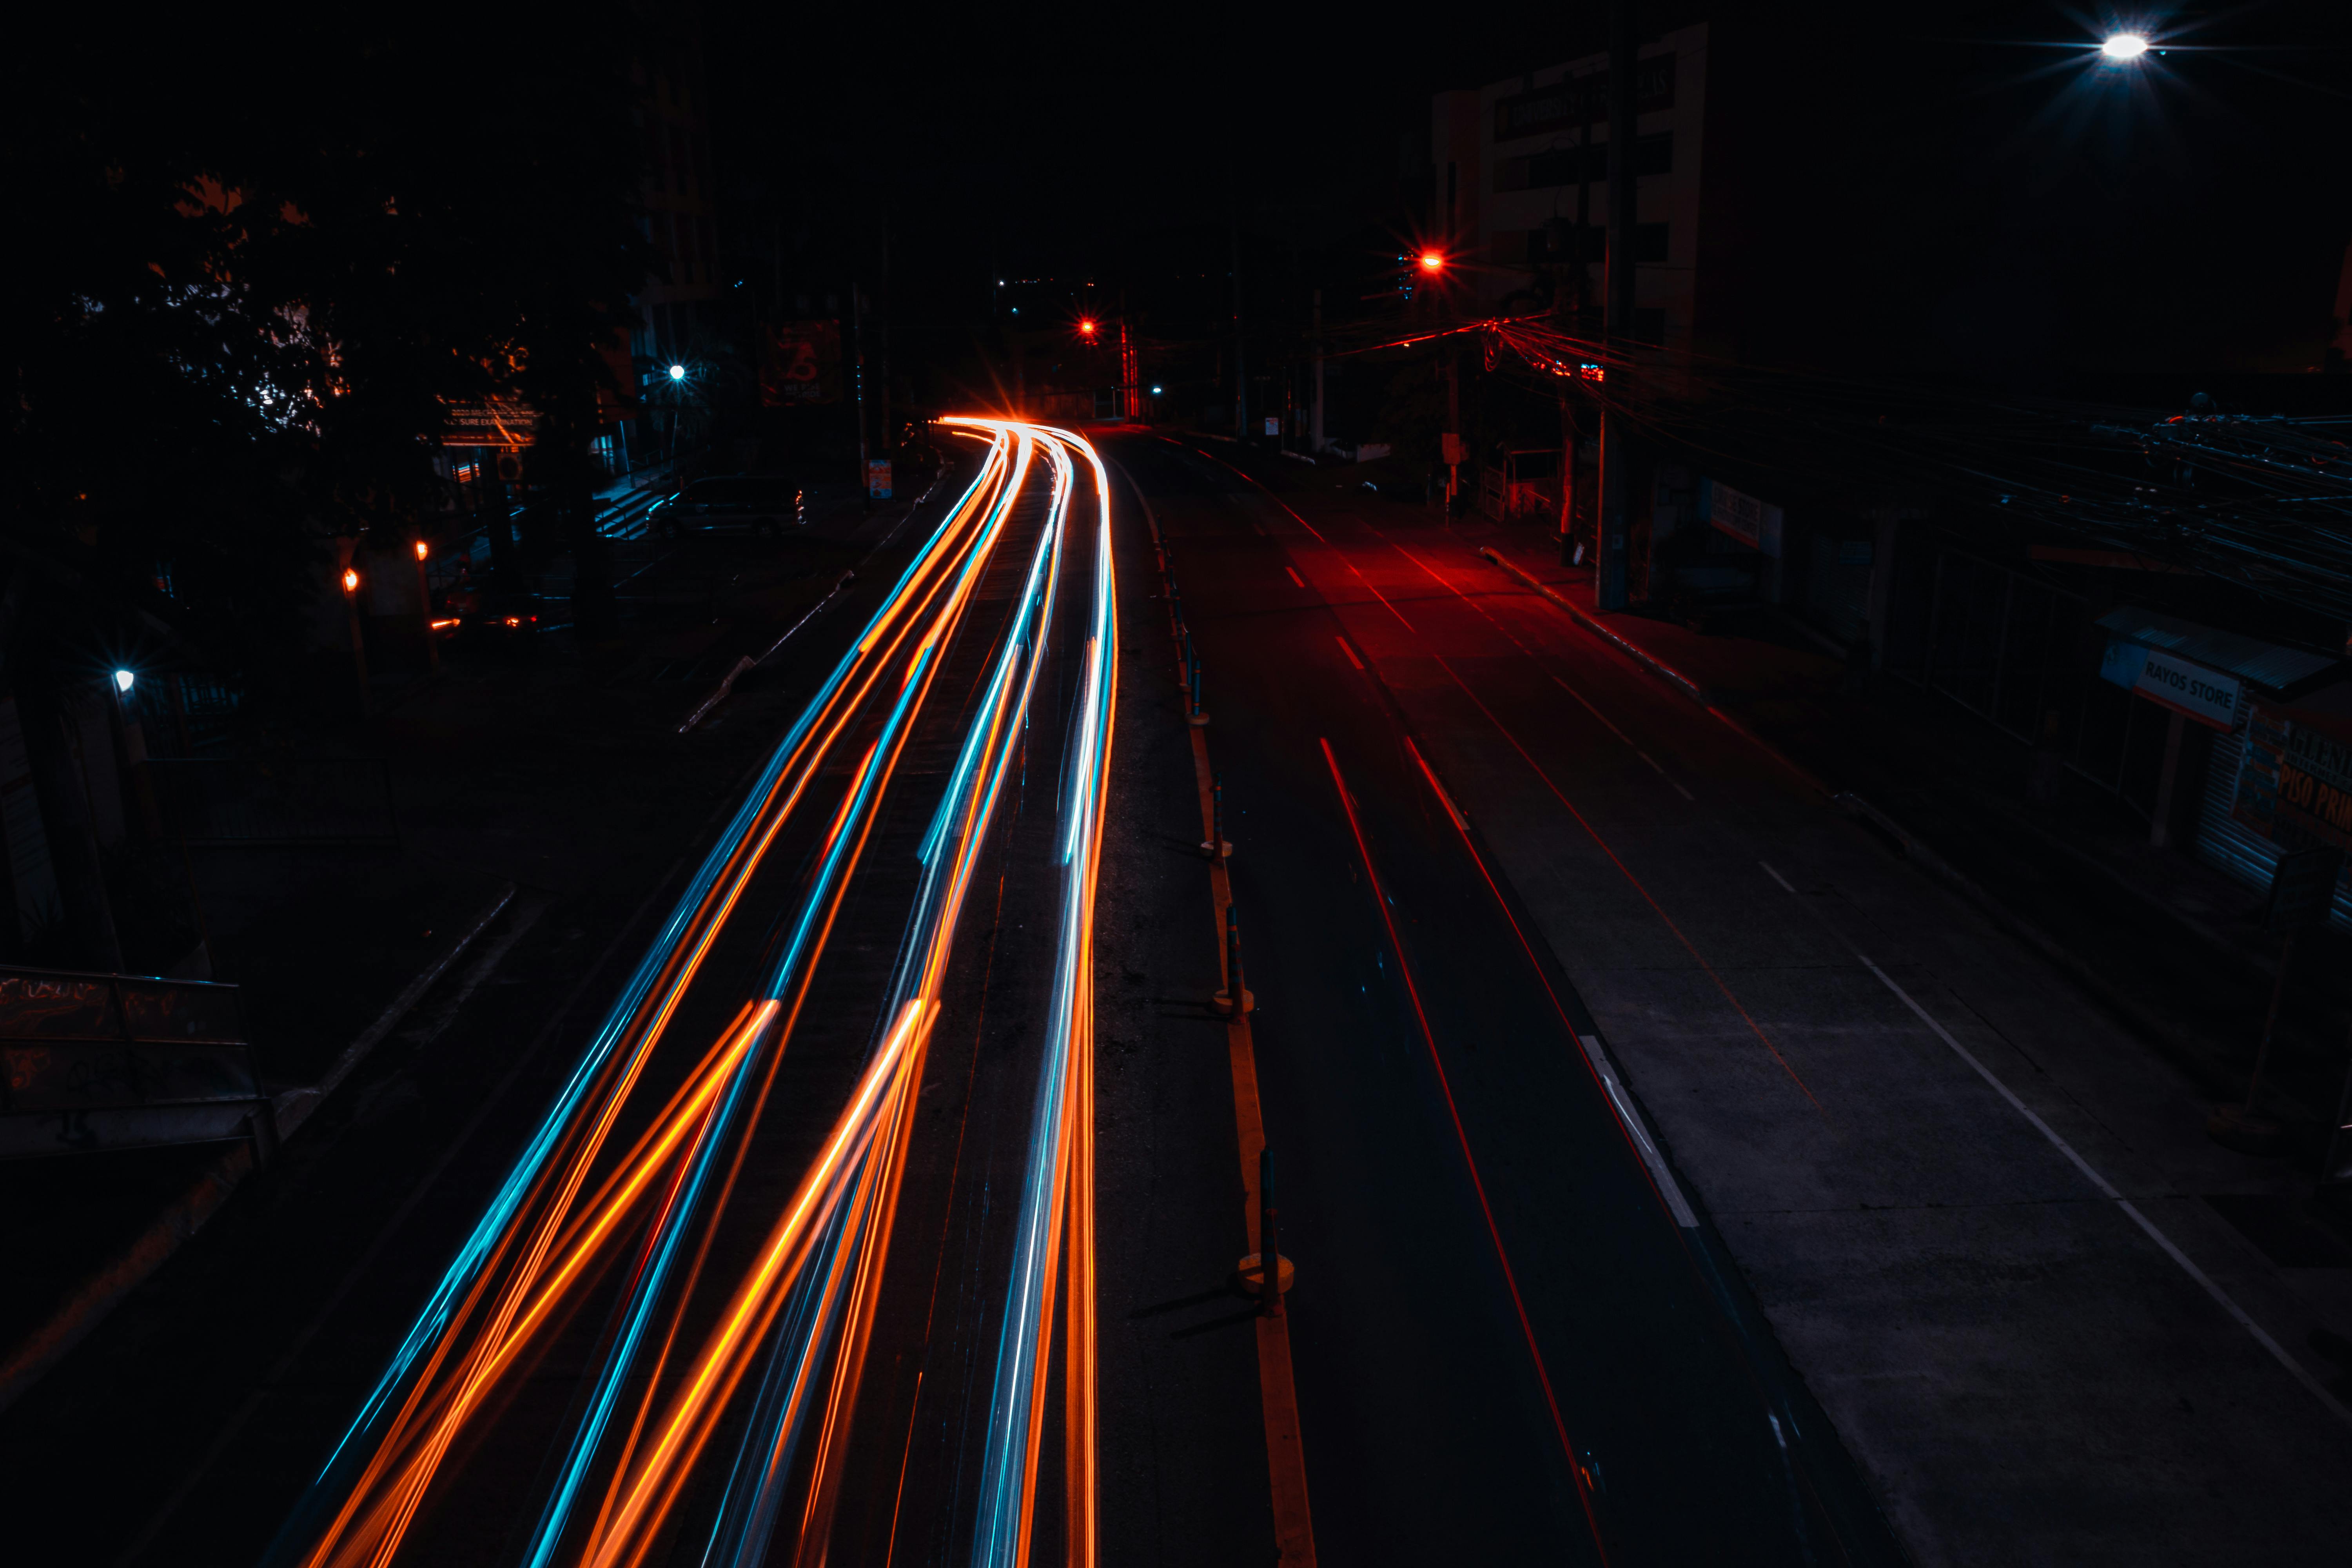
A wide lens fits more sky and lets you use shorter shutter times. The 14mm to 24mm range is common for stars, though a 24mm or 35mm lens can still work if the sky is dark enough.
Dial in settings that favor stars over street glare
Start in manual mode with a wide aperture, a high but controlled ISO, and a shutter matched to your lens. For many APS-C and full-frame bodies, f/2 to f/2.8, ISO 1600 to 3200, and 5 to 20 seconds make a strong first try. The shutter limit changes with focal length. A 14mm lens holds stars longer than a 35mm lens before they begin to streak.
Use the exposure as a test, not a guess
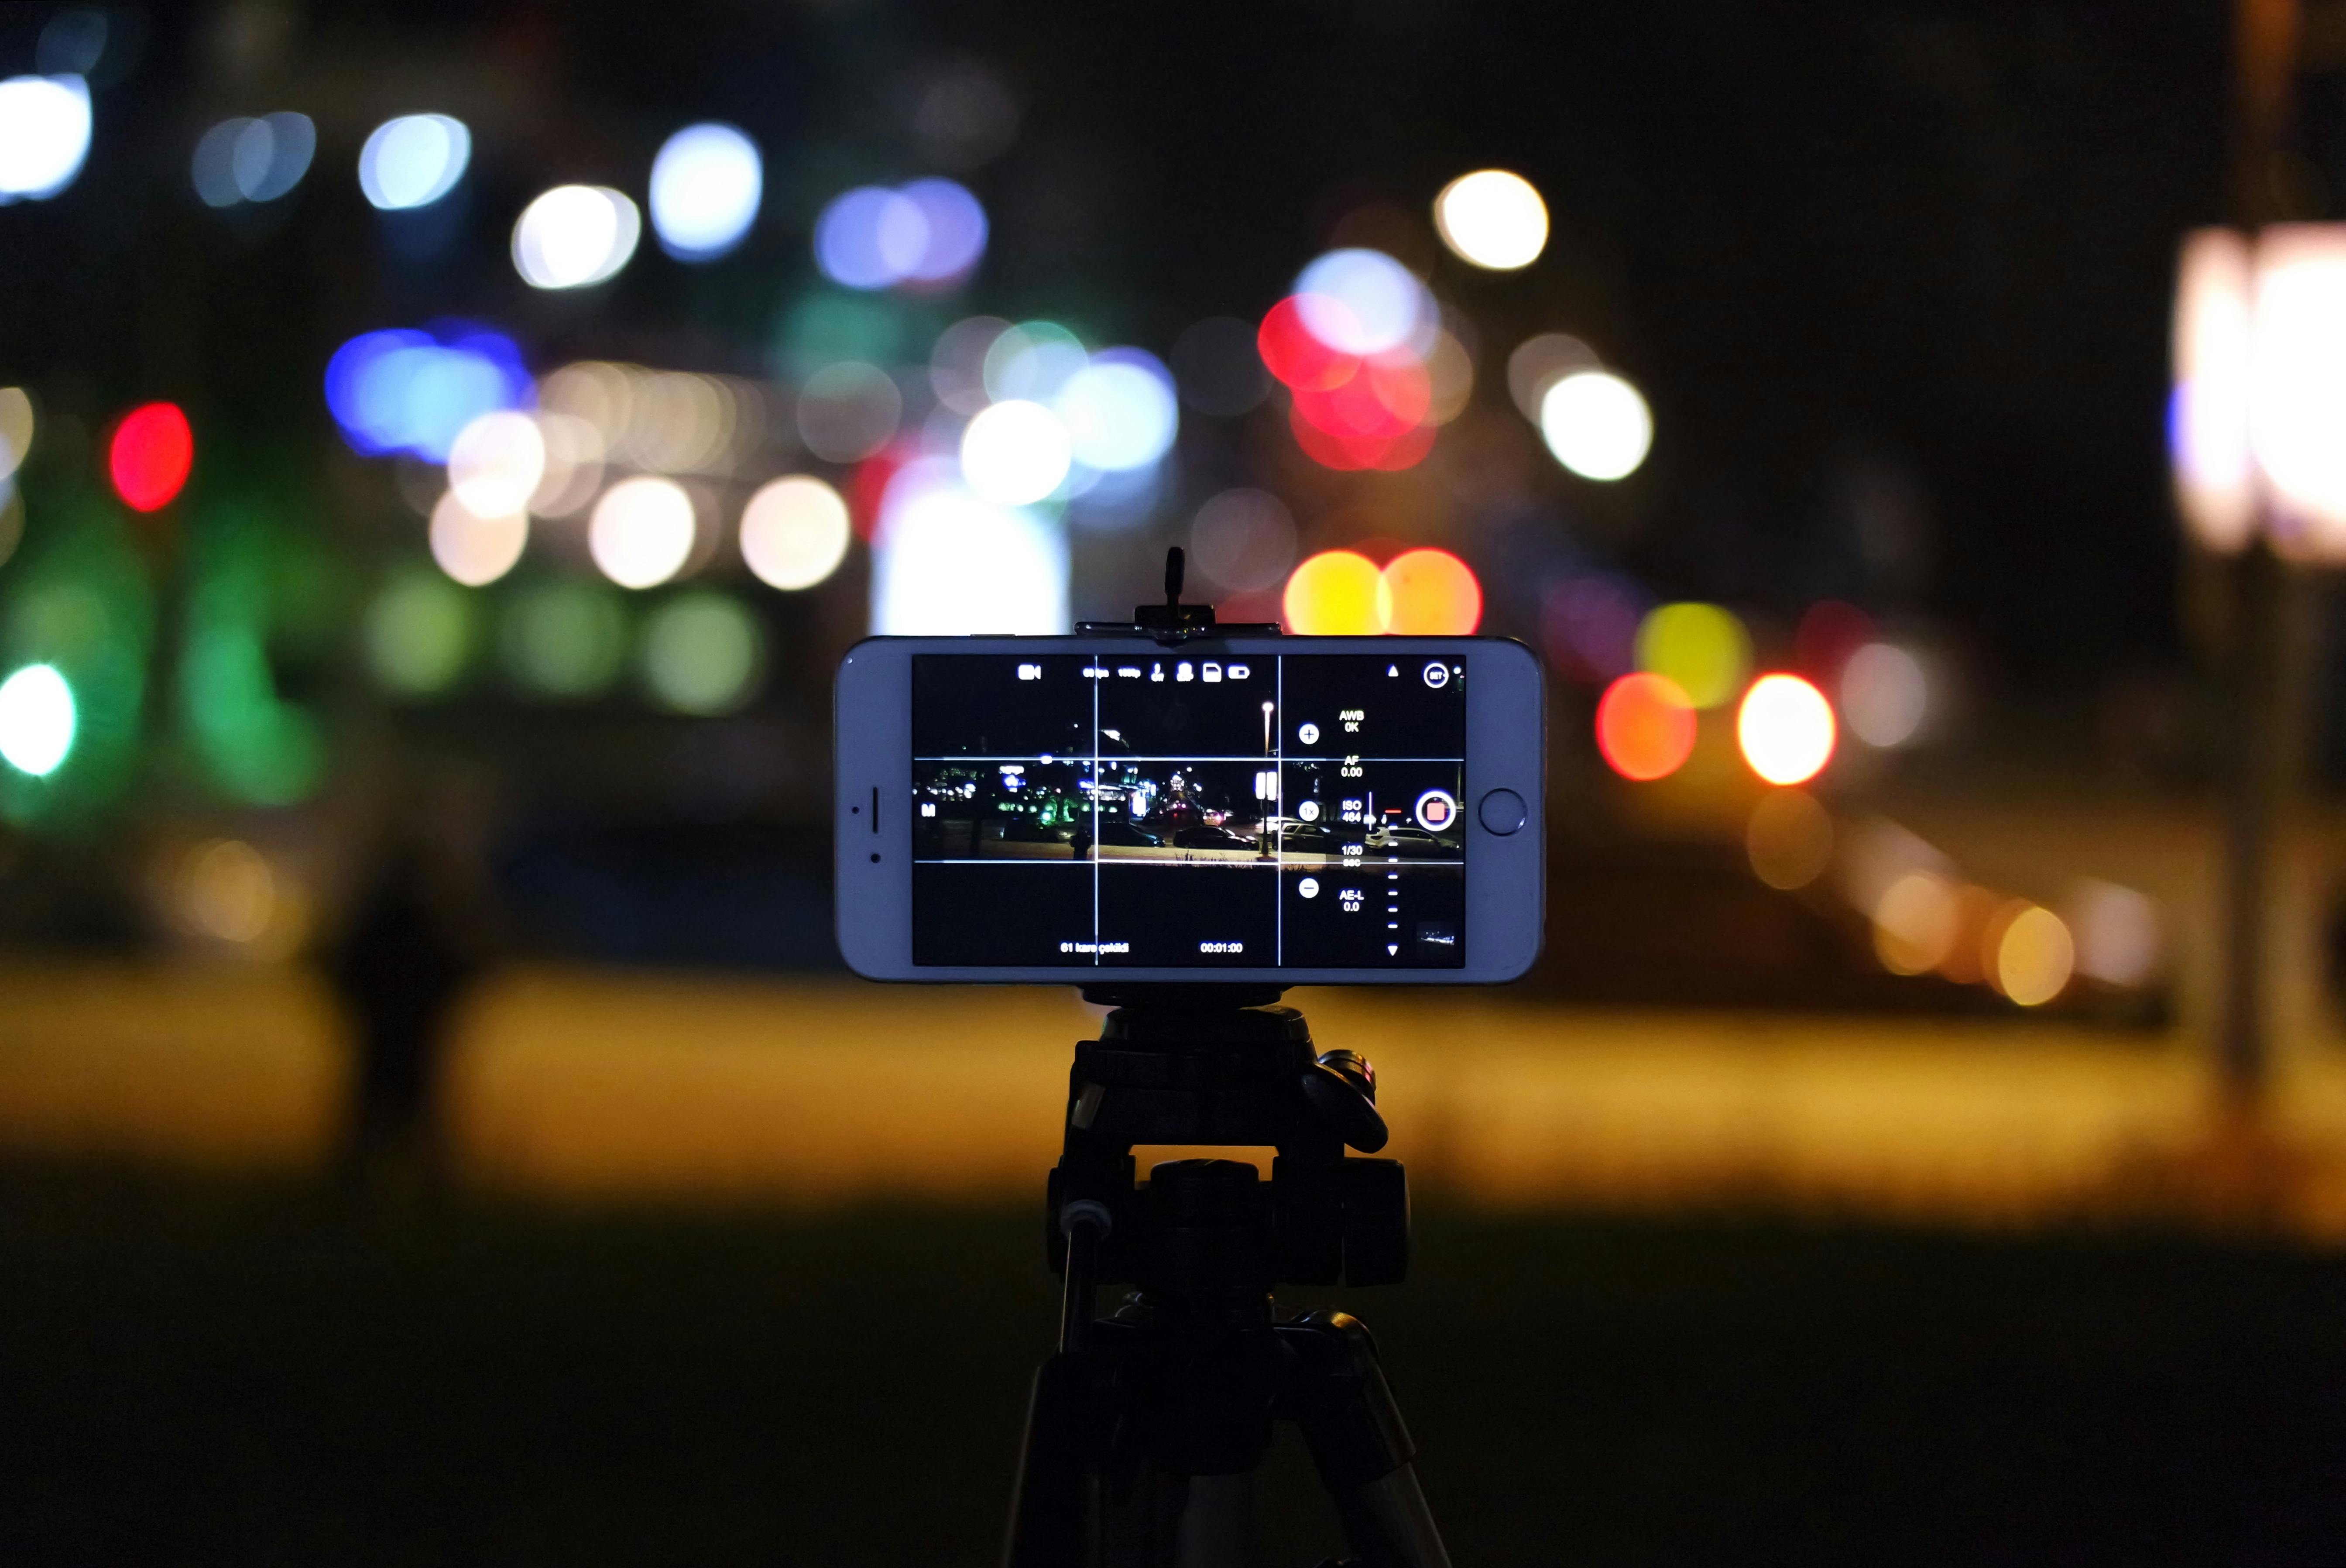
Take one frame and zoom in on the rear screen. Check the stars, not the whole scene, because the sky often looks darker than it really is at first glance.
If the stars are too dim, raise ISO one step or open the aperture if the lens allows it. If they trail, shorten the shutter first.
Keep focus simple and exact
Switch to manual focus after you lock onto a bright star, distant light, or far skyline. Magnified live view at 5x or 10x makes the job much easier than guessing by eye. Turn off image stabilization on the tripod. Some lenses and bodies keep hunting for motion when they should stay still, and that can blur a slow frame.

How does a photo become long exposure?
A photo becomes a long exposure when the shutter stays open long enough to record visible movement or light trails. In practice, that means using several seconds instead of a fast shutter like 1/500s.
For stars, keep the camera fixed and let the night sky stay open for a controlled time. A remote release, 2-second timer, or bulb mode helps avoid shake at the start of the shot.
If you want the same effect after the fact, use software that stacks multiple frames into one smooth trail image. A simple stack of 10 to 30 frames can build a strong result without a single very long exposure.
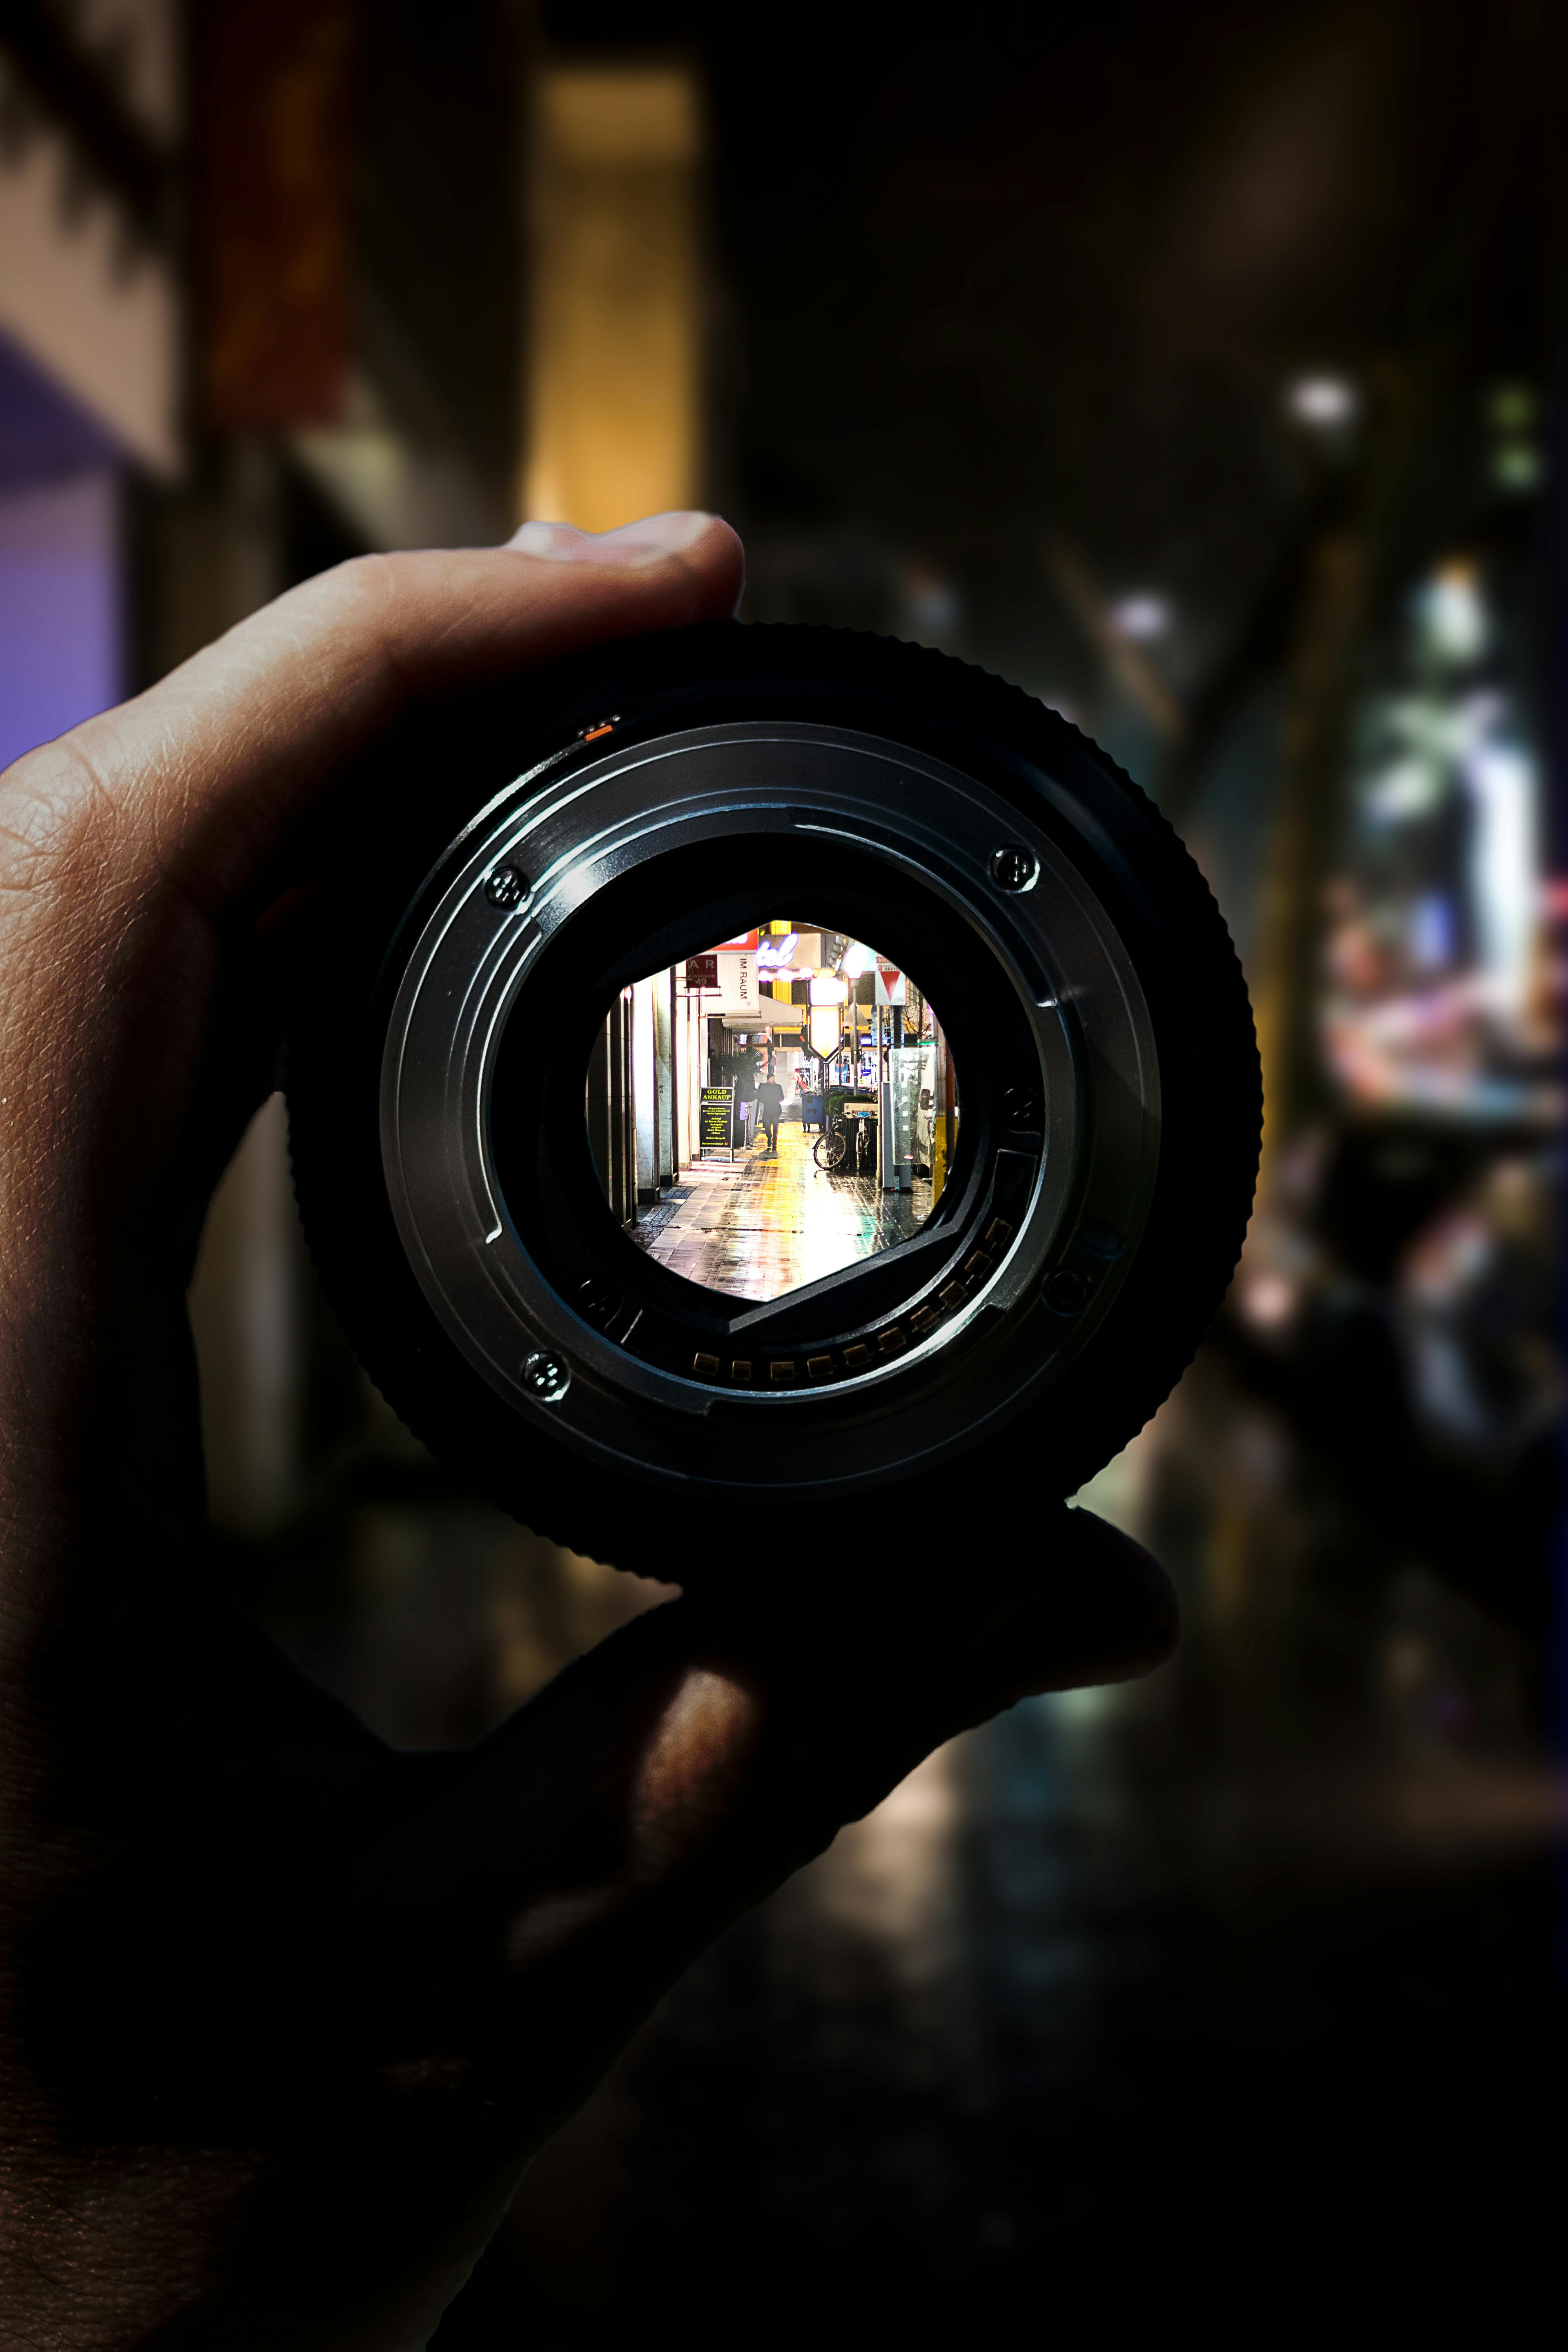
Can a phone handle long exposure photos?
A modern phone can make long exposure photos, especially with a night or manual mode. Results improve when the phone sits still on a tripod and the app lets you control shutter time. Many phones rely on computational tricks that blend several frames. In city light, that helps, though it can also soften stars if the phone tries to help too much.
Use the phone’s long exposure or night mode only after you test one frame. If the app offers a 3-second, 10-second, or 30-second option, start with the shortest one that still shows stars clearly.
What are common long exposure mistakes?
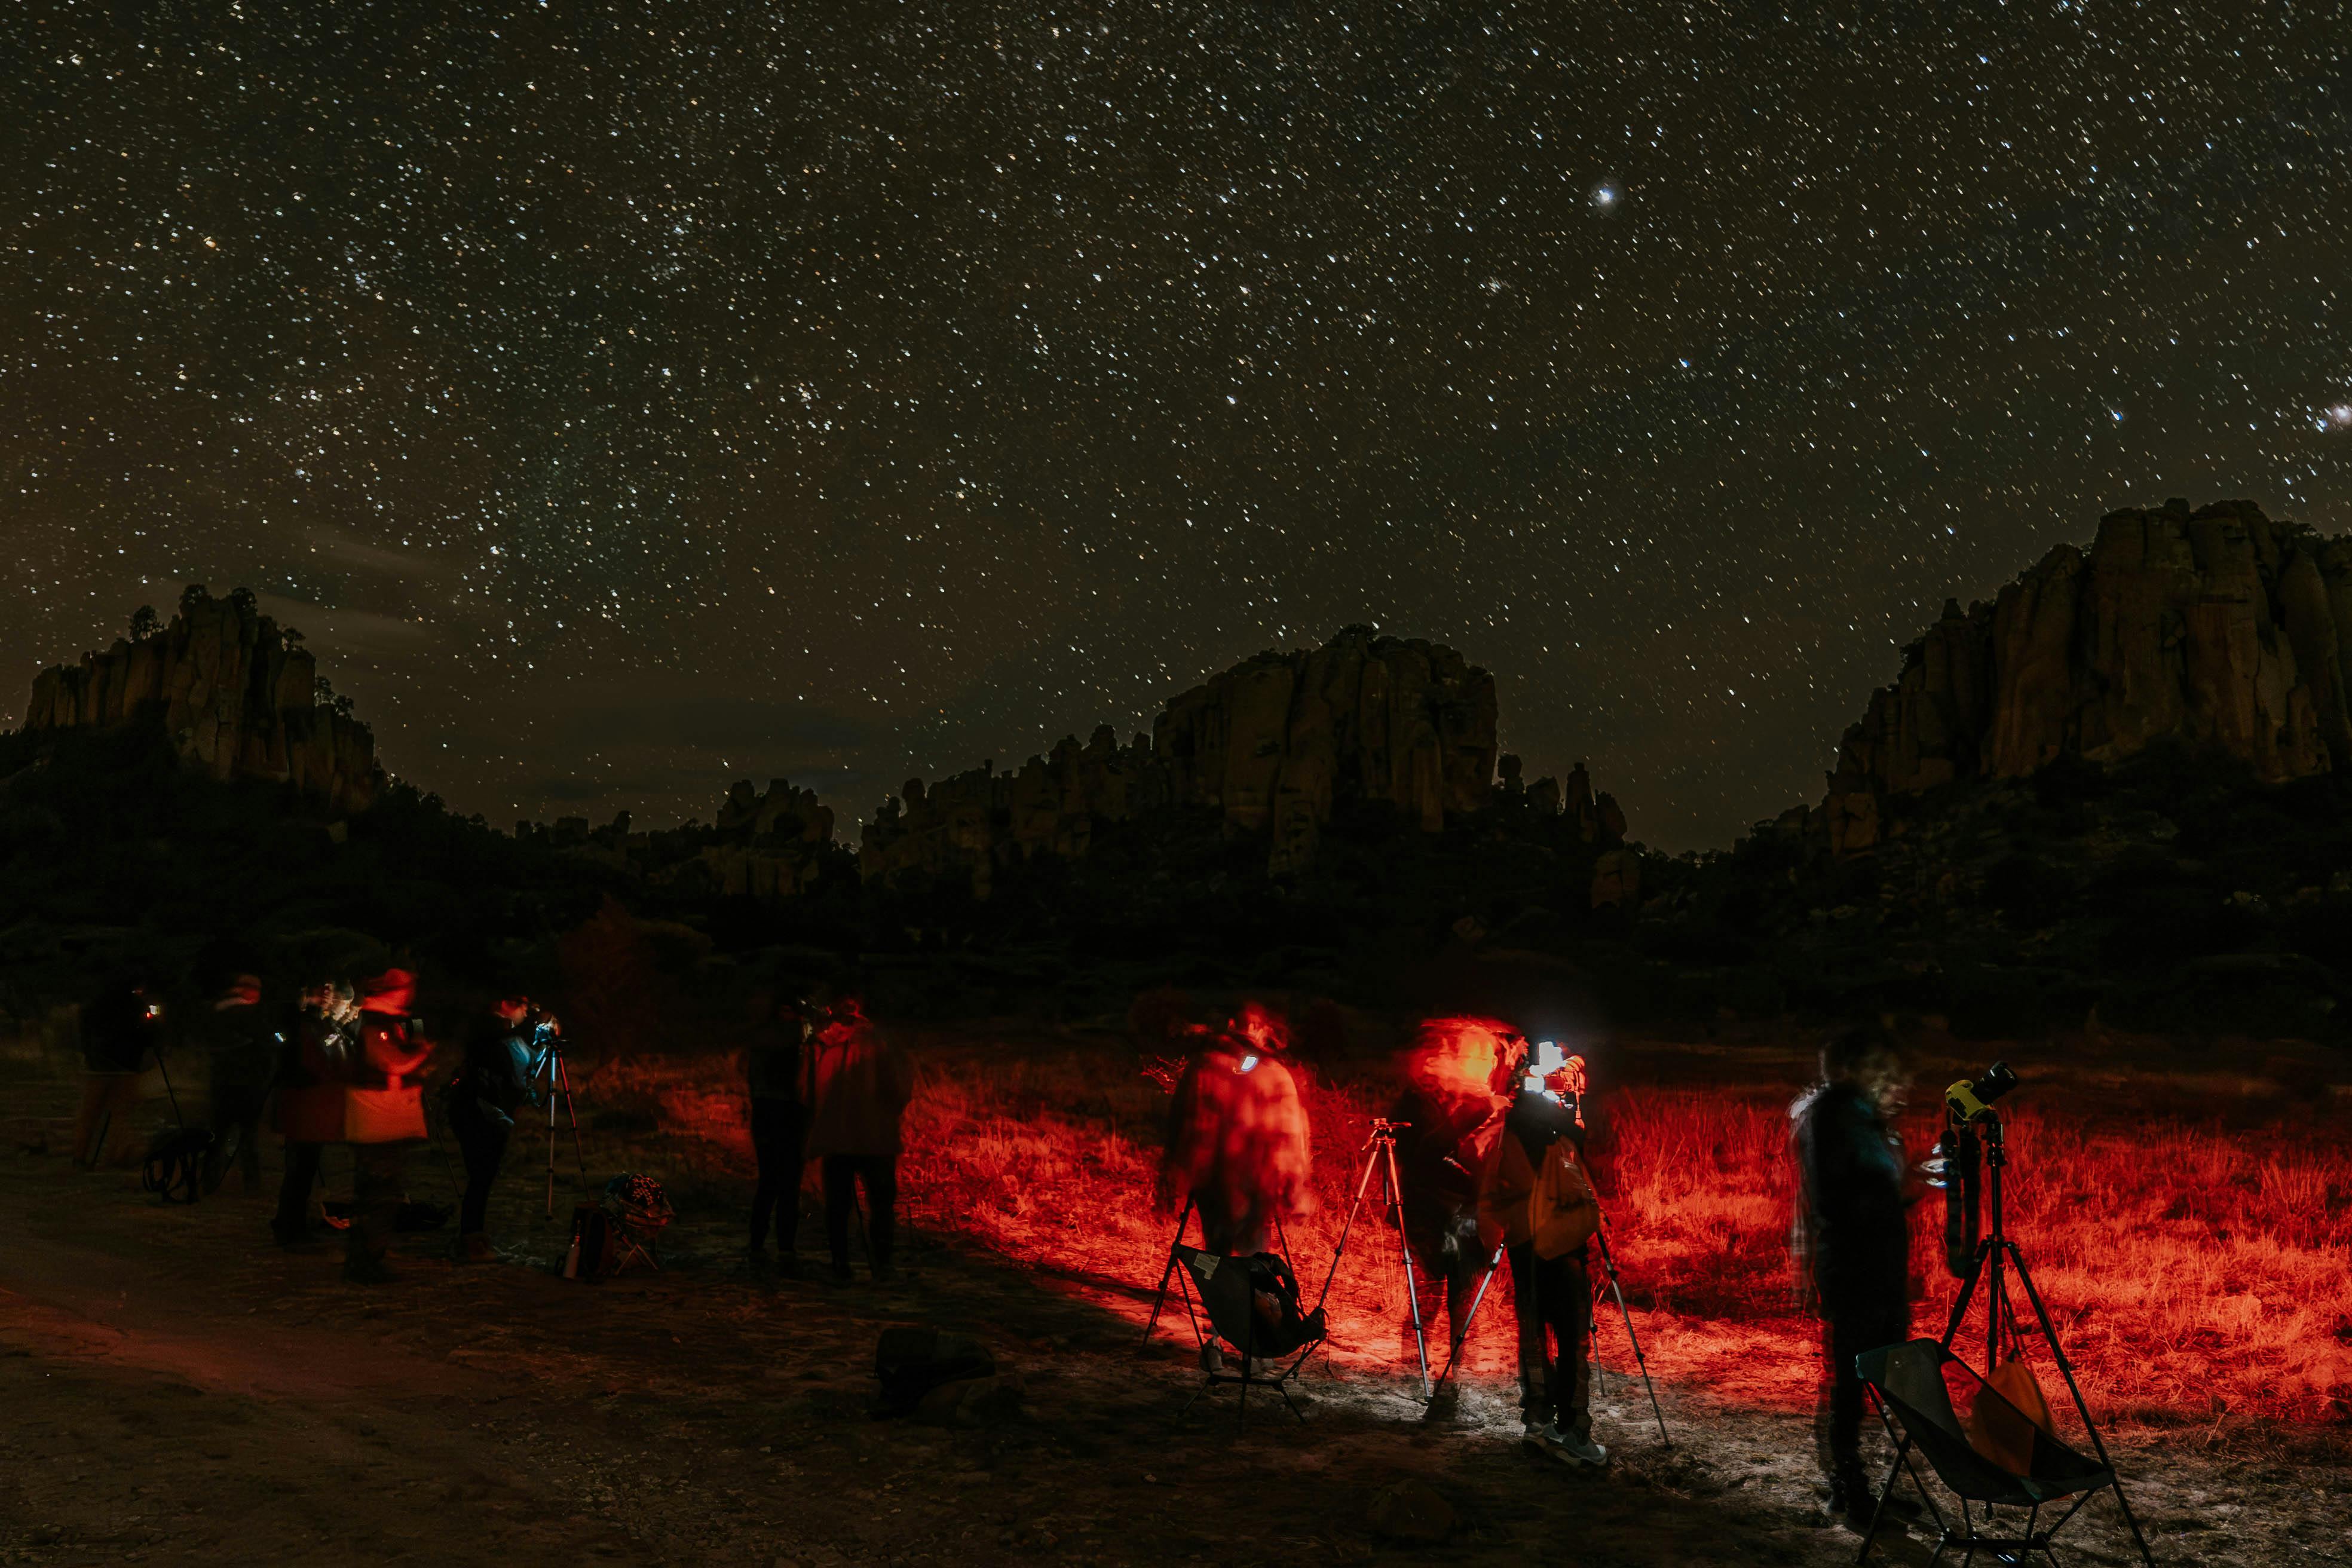
Most mistakes come from poor balance between light, motion, and focus. City glow makes each one show up faster.
- Using a shutter that is too long for the lens
- Leaving autofocus on after focus is set
- Pointing toward the brightest street lamps
- Skipping the test frame review
- Raising ISO too far and adding noise
- Touching the tripod during the exposure
Bright LED signs in the frame create another problem. They can throw color bands or hard glare that pulls the eye away from the stars.
Battery drain on mirrorless bodies is another issue. The EVF and rear screen use a lot of power, so dimming the display or reviewing less often can save the last shots of the night.
Which f-stop works for long exposure?
Wide apertures usually work best for stars, and f/2 to f/2.8 is the usual sweet spot. Those settings let in more light and keep shutter times short enough to limit star trail blur. If your lens looks soft wide open, stop down a little to f/3.2 or f/4. That can sharpen the corners, but it also asks for more ISO or a longer shutter.
Some scenes need a tradeoff. A brighter city edge may push you to close the aperture a touch, while a dark sky often rewards the faster setting.
Build a simple field routine for cleaner frames
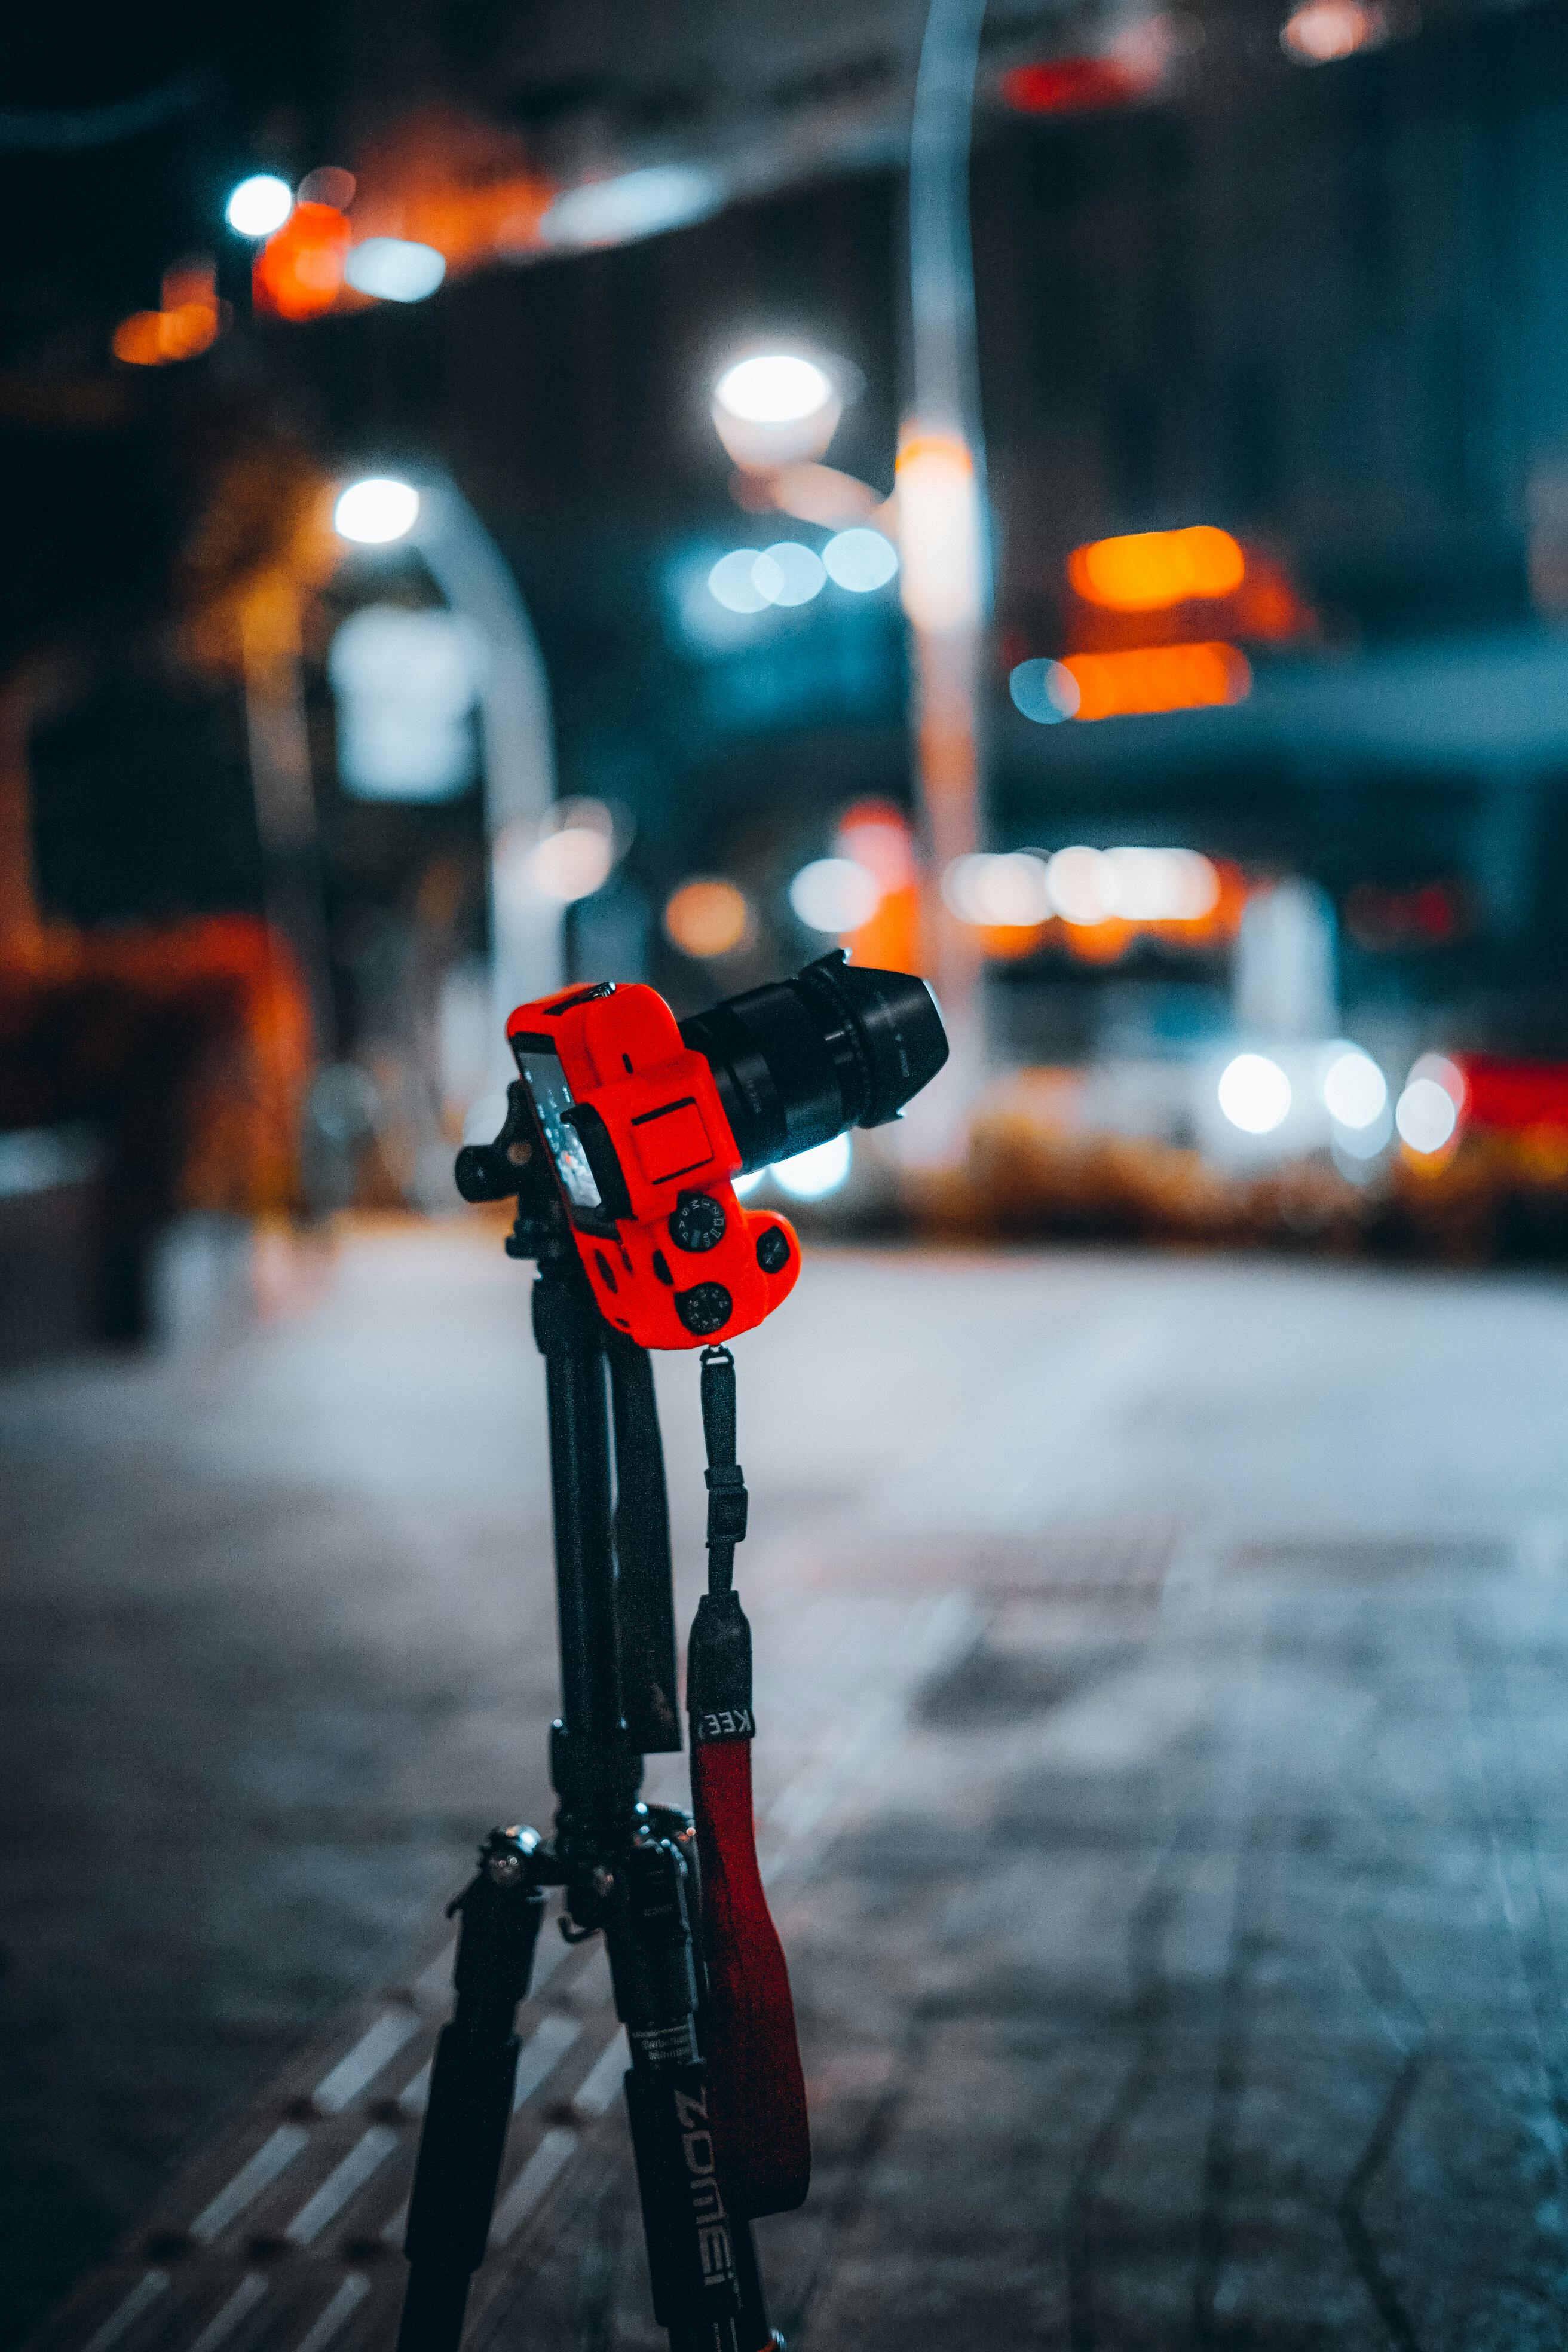
A short routine keeps the night calmer and the frame cleaner. Start by finding a dark angle, then set focus, then make one test shot before you shoot a small series.
- Arrive before full dark and frame the sky.
- Lock the camera on the tripod.
- Set manual mode, wide aperture, and a starting ISO.
- Focus with live view magnification on a bright star or far light.
- Take one test frame with a remote or 2-second timer.
- Check stars at 100% zoom and adjust shutter first.
- Keep your hands off the setup during each exposure.
This routine saves time because every change has a clear purpose. You are tuning one frame at a time instead of chasing random settings.
For deeper control, shoot RAW if your camera supports it. RAW files leave more room for color and shadow work, which helps when city glow makes the sky uneven.

Let the sky outshine the street
The best star photos in a city often use the city as a frame, not a problem. A bit of skyline can add scale, while a darker patch of sky gives the stars room to stand out. Point the lens away from direct lamps when you can. Even a small shift in angle can cut flare and lift contrast in the final image.
Plan on one or two good tests before the real shot. A clean 10-second frame at f/2.8 and ISO 3200 usually teaches more than ten rushed guesses, and that is often the difference between haze and a sky full of points.
Frequently Asked Questions

How to turn a photo into long exposure?
To make a photo long exposure, use a slow shutter speed so the sensor records light and motion over time. Put the camera on a tripod, use manual mode, and start with a shutter around 5 to 20 seconds for stars, adjusting after checking the result.
Can my phone take long exposure photos?
Yes, a phone can take long exposure photos if it has a manual or night mode that allows a longer shutter speed. A steady support is still necessary, because even small hand movement will blur a slow exposure.

What are common mistakes in long exposure?
Common long-exposure mistakes are camera shake, using too long a shutter for the lens, and misfocus on the stars. Another frequent error is leaving image stabilization on while the camera is on a tripod, which can introduce blur.
What F stops for long exposure?
For long-exposure star photos, f/2 to f/2.8 is a strong starting range because it lets in more light. A wider aperture helps keep shutter times shorter, but the exact setting depends on how bright the sky is and how much depth of field is needed.


