


- Build tiny city scenes from texture, then crop tight until every edge matters.
- Use a normal to short telephoto lens; macro is great close-up, but shallow depth and tight working distance are tradeoffs.
- Apply the 20/60/20 rule by making 20% subject, 60% supporting texture, and 20% breathing room.
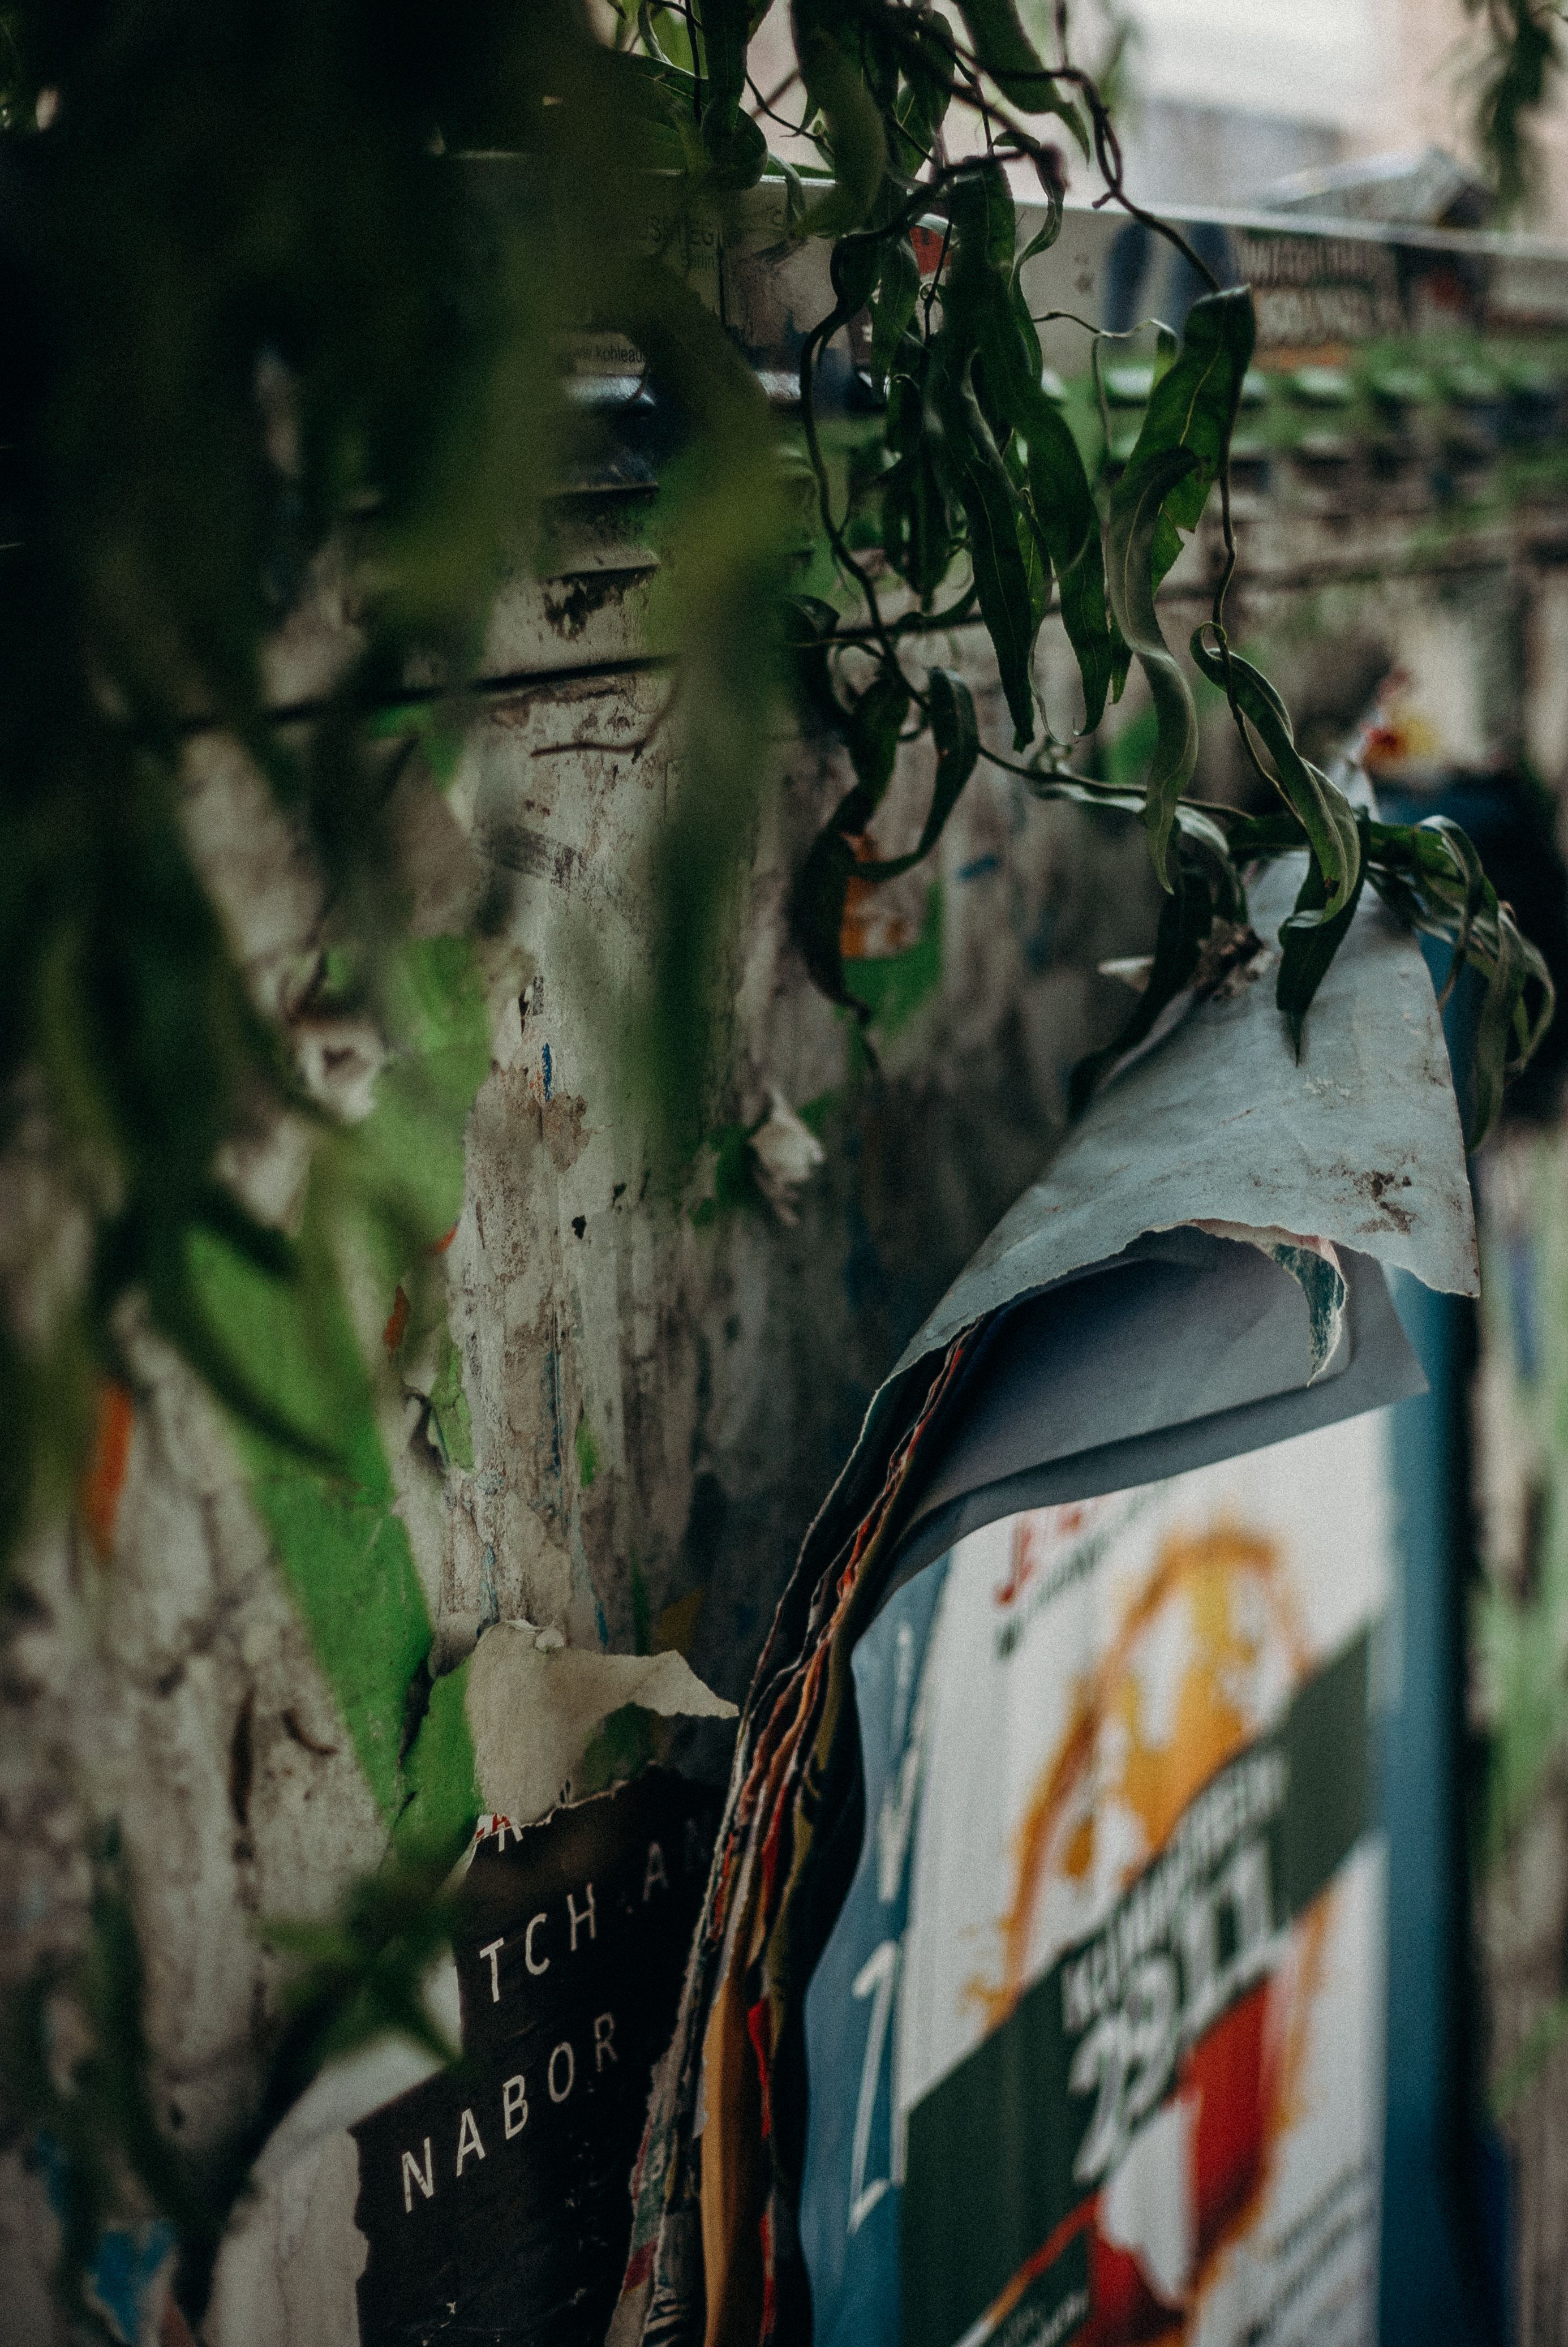
Macro and micro photography both come down to the close study of small subjects, and that comes alive on a city walk. The best frames usually come from cracked paint, rust, stickers, tile edges, and worn signs. Cities hand you texture by the mile, along with noise, movement, and ugly light. Success depends on slowing your eyes, keeping the camera within reach, and making one small subject feel complete inside the frame.
Shop the setup

- Regular price
-
€42 - Regular price
-
€44 - Sale price
-
€42
By choosing the Camstrap strap, you are opting for a high-quality product designed to meet the needs of the most demanding photographers.
- Developed by a physiotherapist to relieve neck and back pain.
- Fast delivery with tracking by the Post Office 🚚
- Can be used as a shoulder strap or hands-free harness

- Regular price
-
€36 - Regular price
-
€42 - Sale price
-
€36
Free shipping included
Read the city as a chain of small scenes
Strong detail shots start before the camera rises. I scan for repeating lines, rough surfaces, and sharp edges, because those shapes hold attention inside a tight frame.
Think in pockets, not panoramas. A doorway, a drain cover, a café window, or a single patch of graffiti can carry a whole photo if the frame lands cleanly.
Start with texture
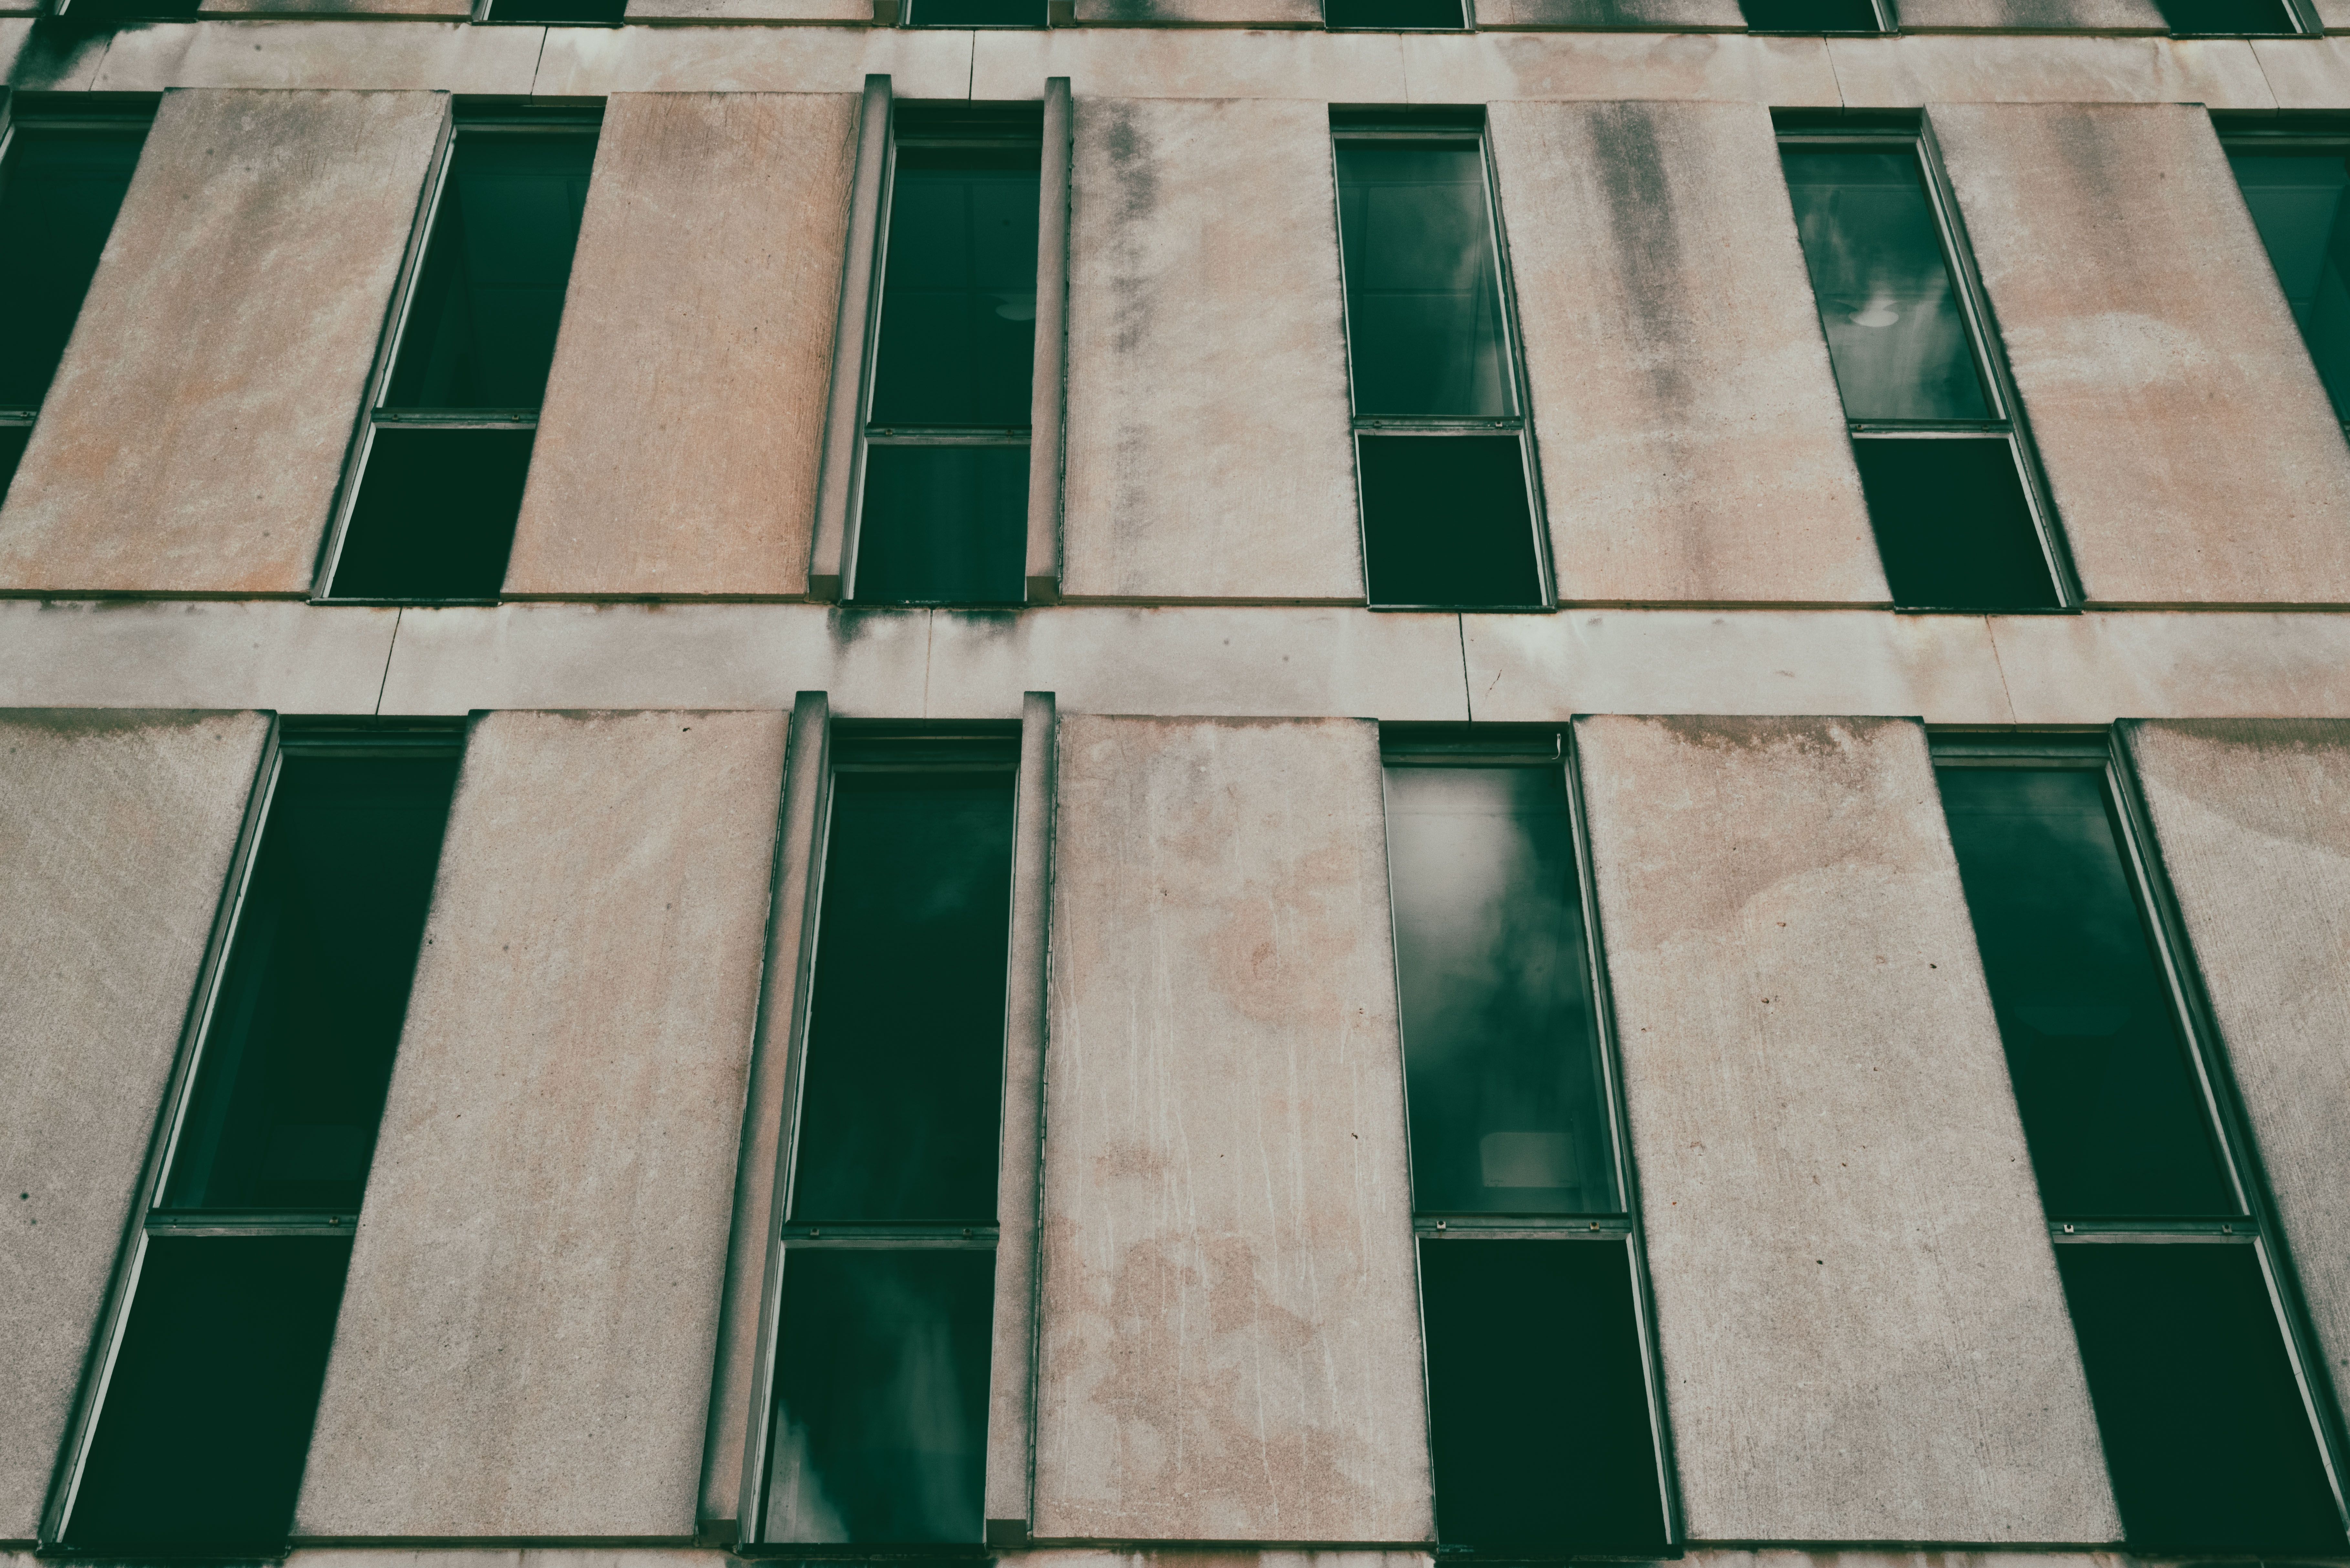
Texture gives tiny subjects weight. Brick, chipped metal, wet pavement, and old paper all gain presence when I move close and crop away the noise. Side light helps. Early morning and late afternoon push light across the surface, bringing out bumps and fine lines.
Keep the background plain
A clean background keeps the eye on the subject. Dark gaps, soft blur, and flat walls work well because they calm the frame.
If the scene feels crowded, I move my feet before I touch the settings. A small shift left or right can clear out a sign, pole, or bright patch that weakens the shot.

Filling the frame with tiny details on a city walk
Move in, crop hard, and clear away every extra edge. The subject should press against the borders in a way that feels full, not cramped. Long lenses help, and a 50mm to 85mm lens isolates details well; a true macro lens reaches even closer for texture and small objects.
Set the distance carefully
Distance changes the image quickly. Step in until the subject fills most of the view, then check the corners for trash, glare, and cut-off shapes.
In tight streets, I often use a lens in the 60mm to 90mm range. It leaves enough room to avoid shadows from my own body while still letting me pull the frame tight.
Dial in the camera for steady detail work
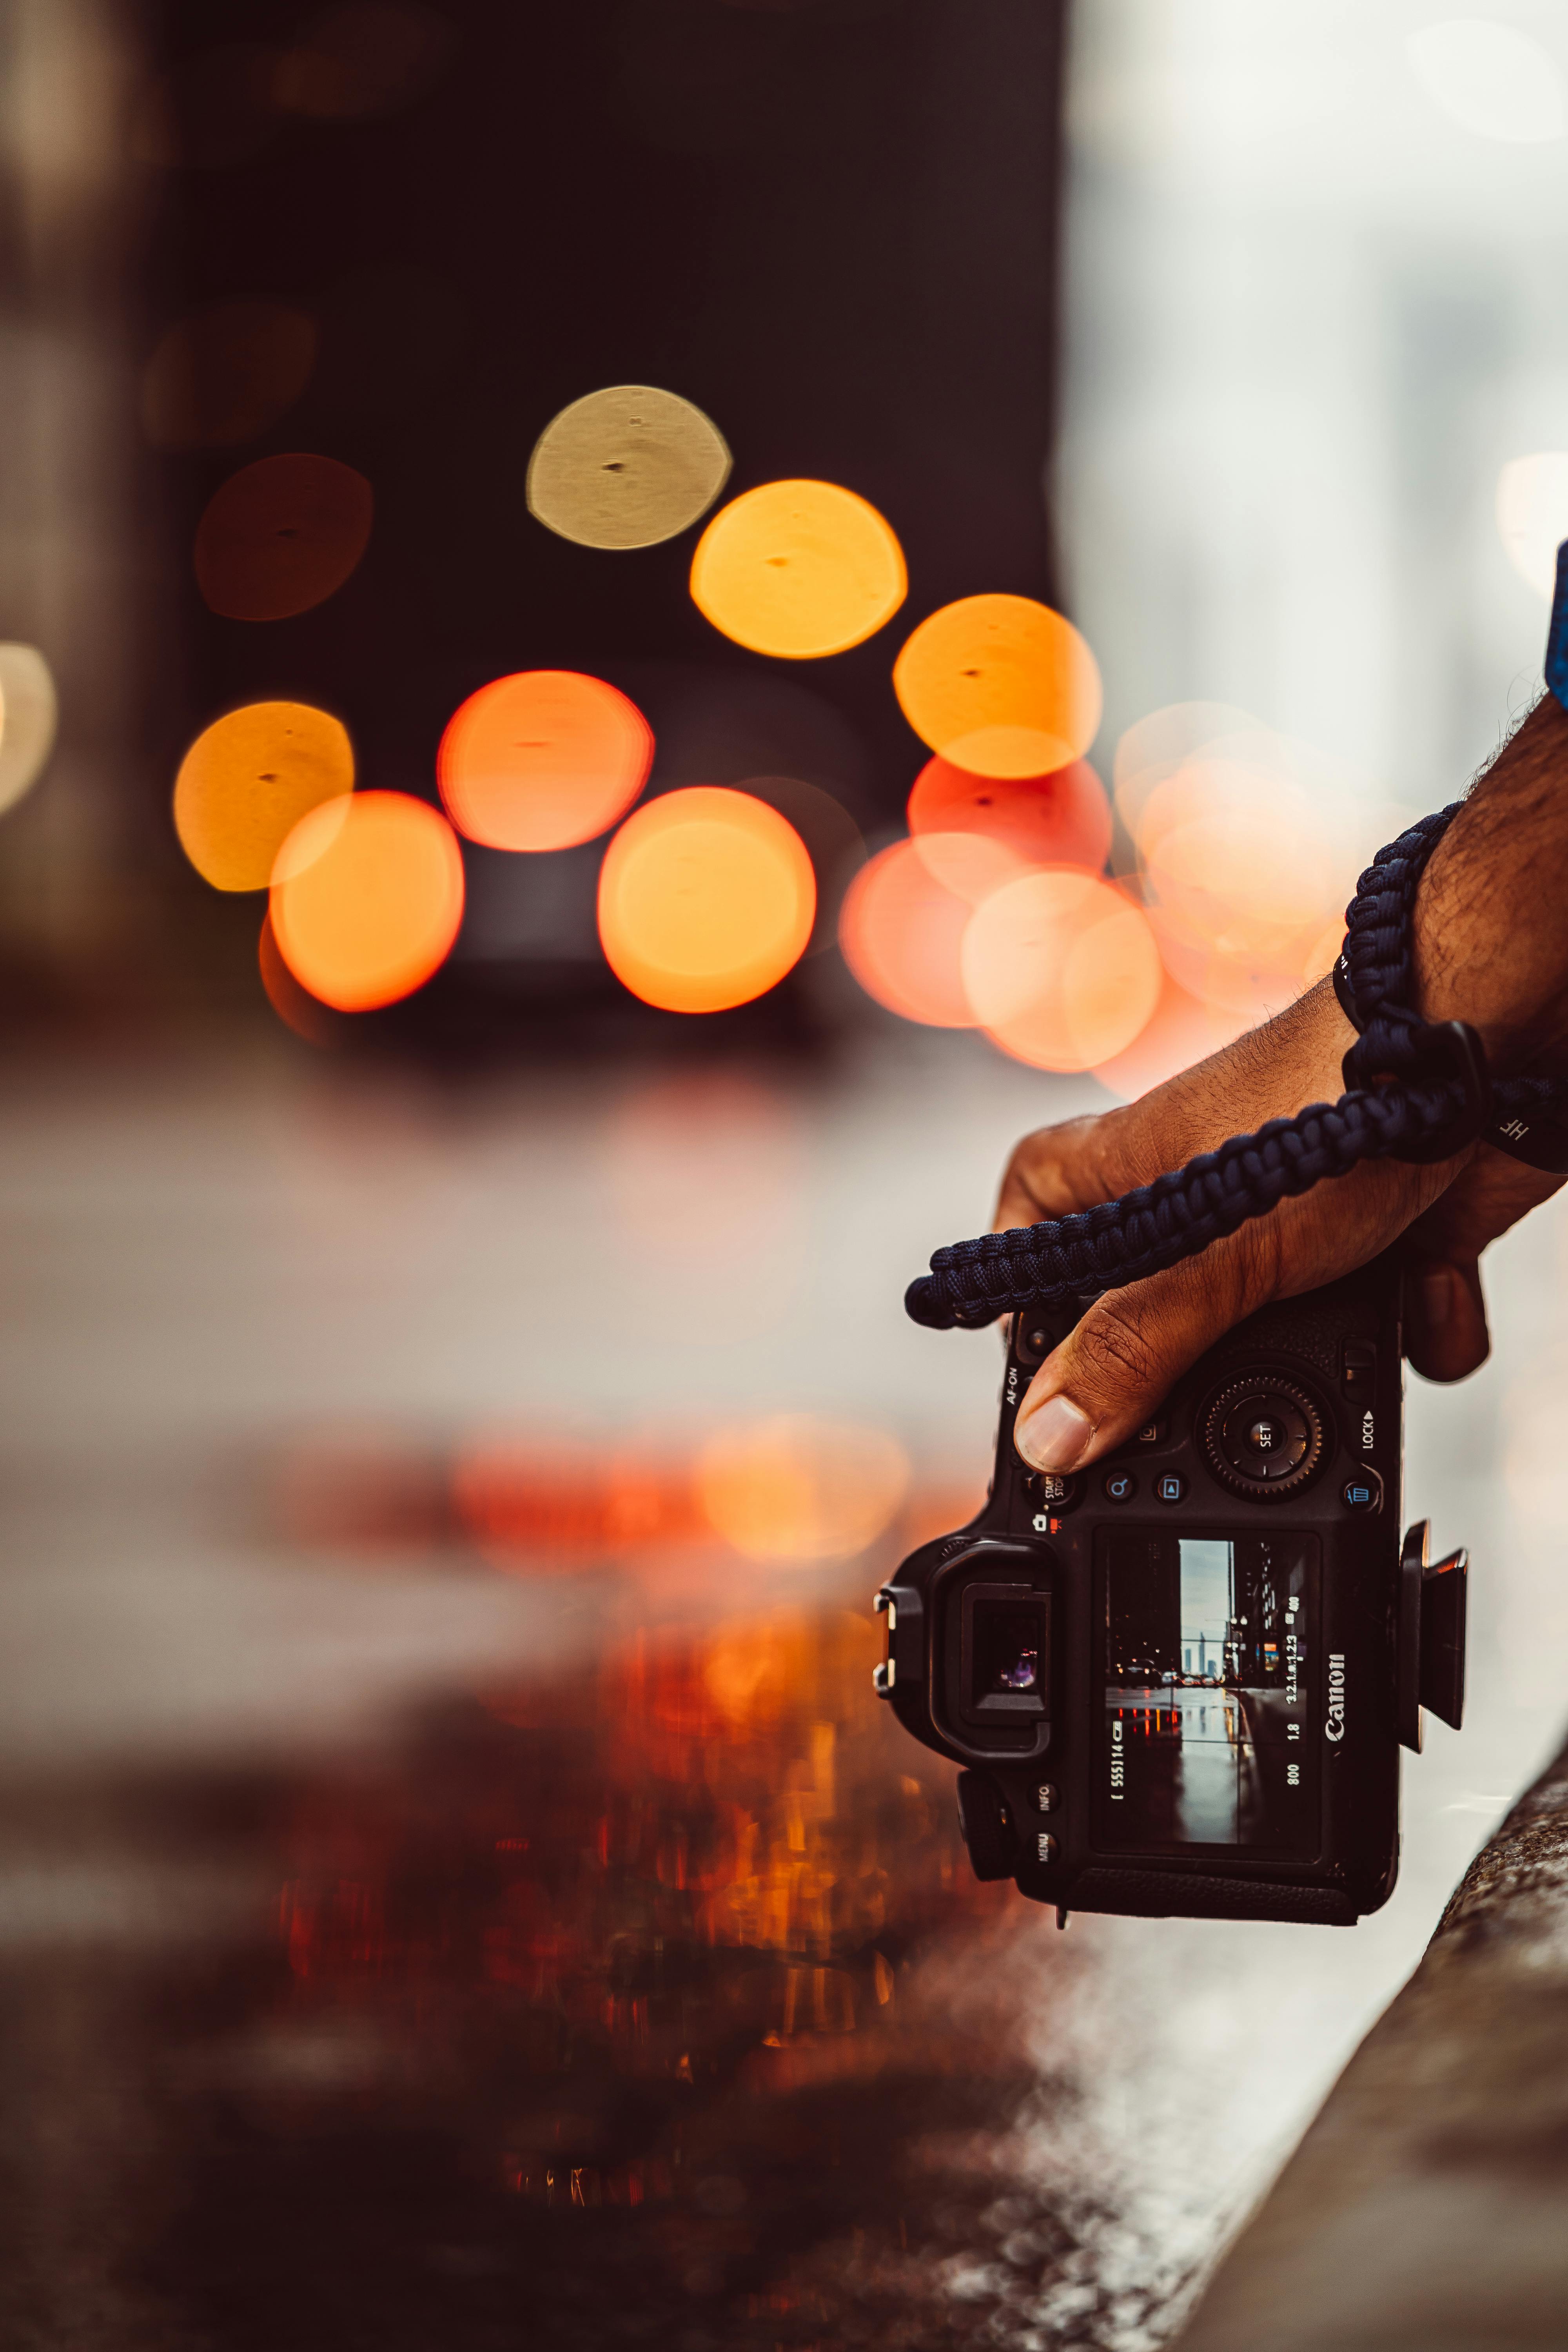
Aperture controls depth and sharpness. f/2 to f/2.8 gives soft separation, while f/5.6 to f/8 keeps more of a textured surface sharp. Shutter speed needs to keep up with your feet. Around 1/500s is a solid starting point for hand-held detail work, especially if people or traffic move through the scene.
ISO should stay as low as the light allows. On modern cameras, ISO 400 to 1600 is a practical range in shade or evening streets, though noise handling still varies from body to body.
Lock focus on one clear point
Continuous AF with subject detection helps when I move quickly between spots. Back-button focus adds control because it separates focusing from the shutter press.
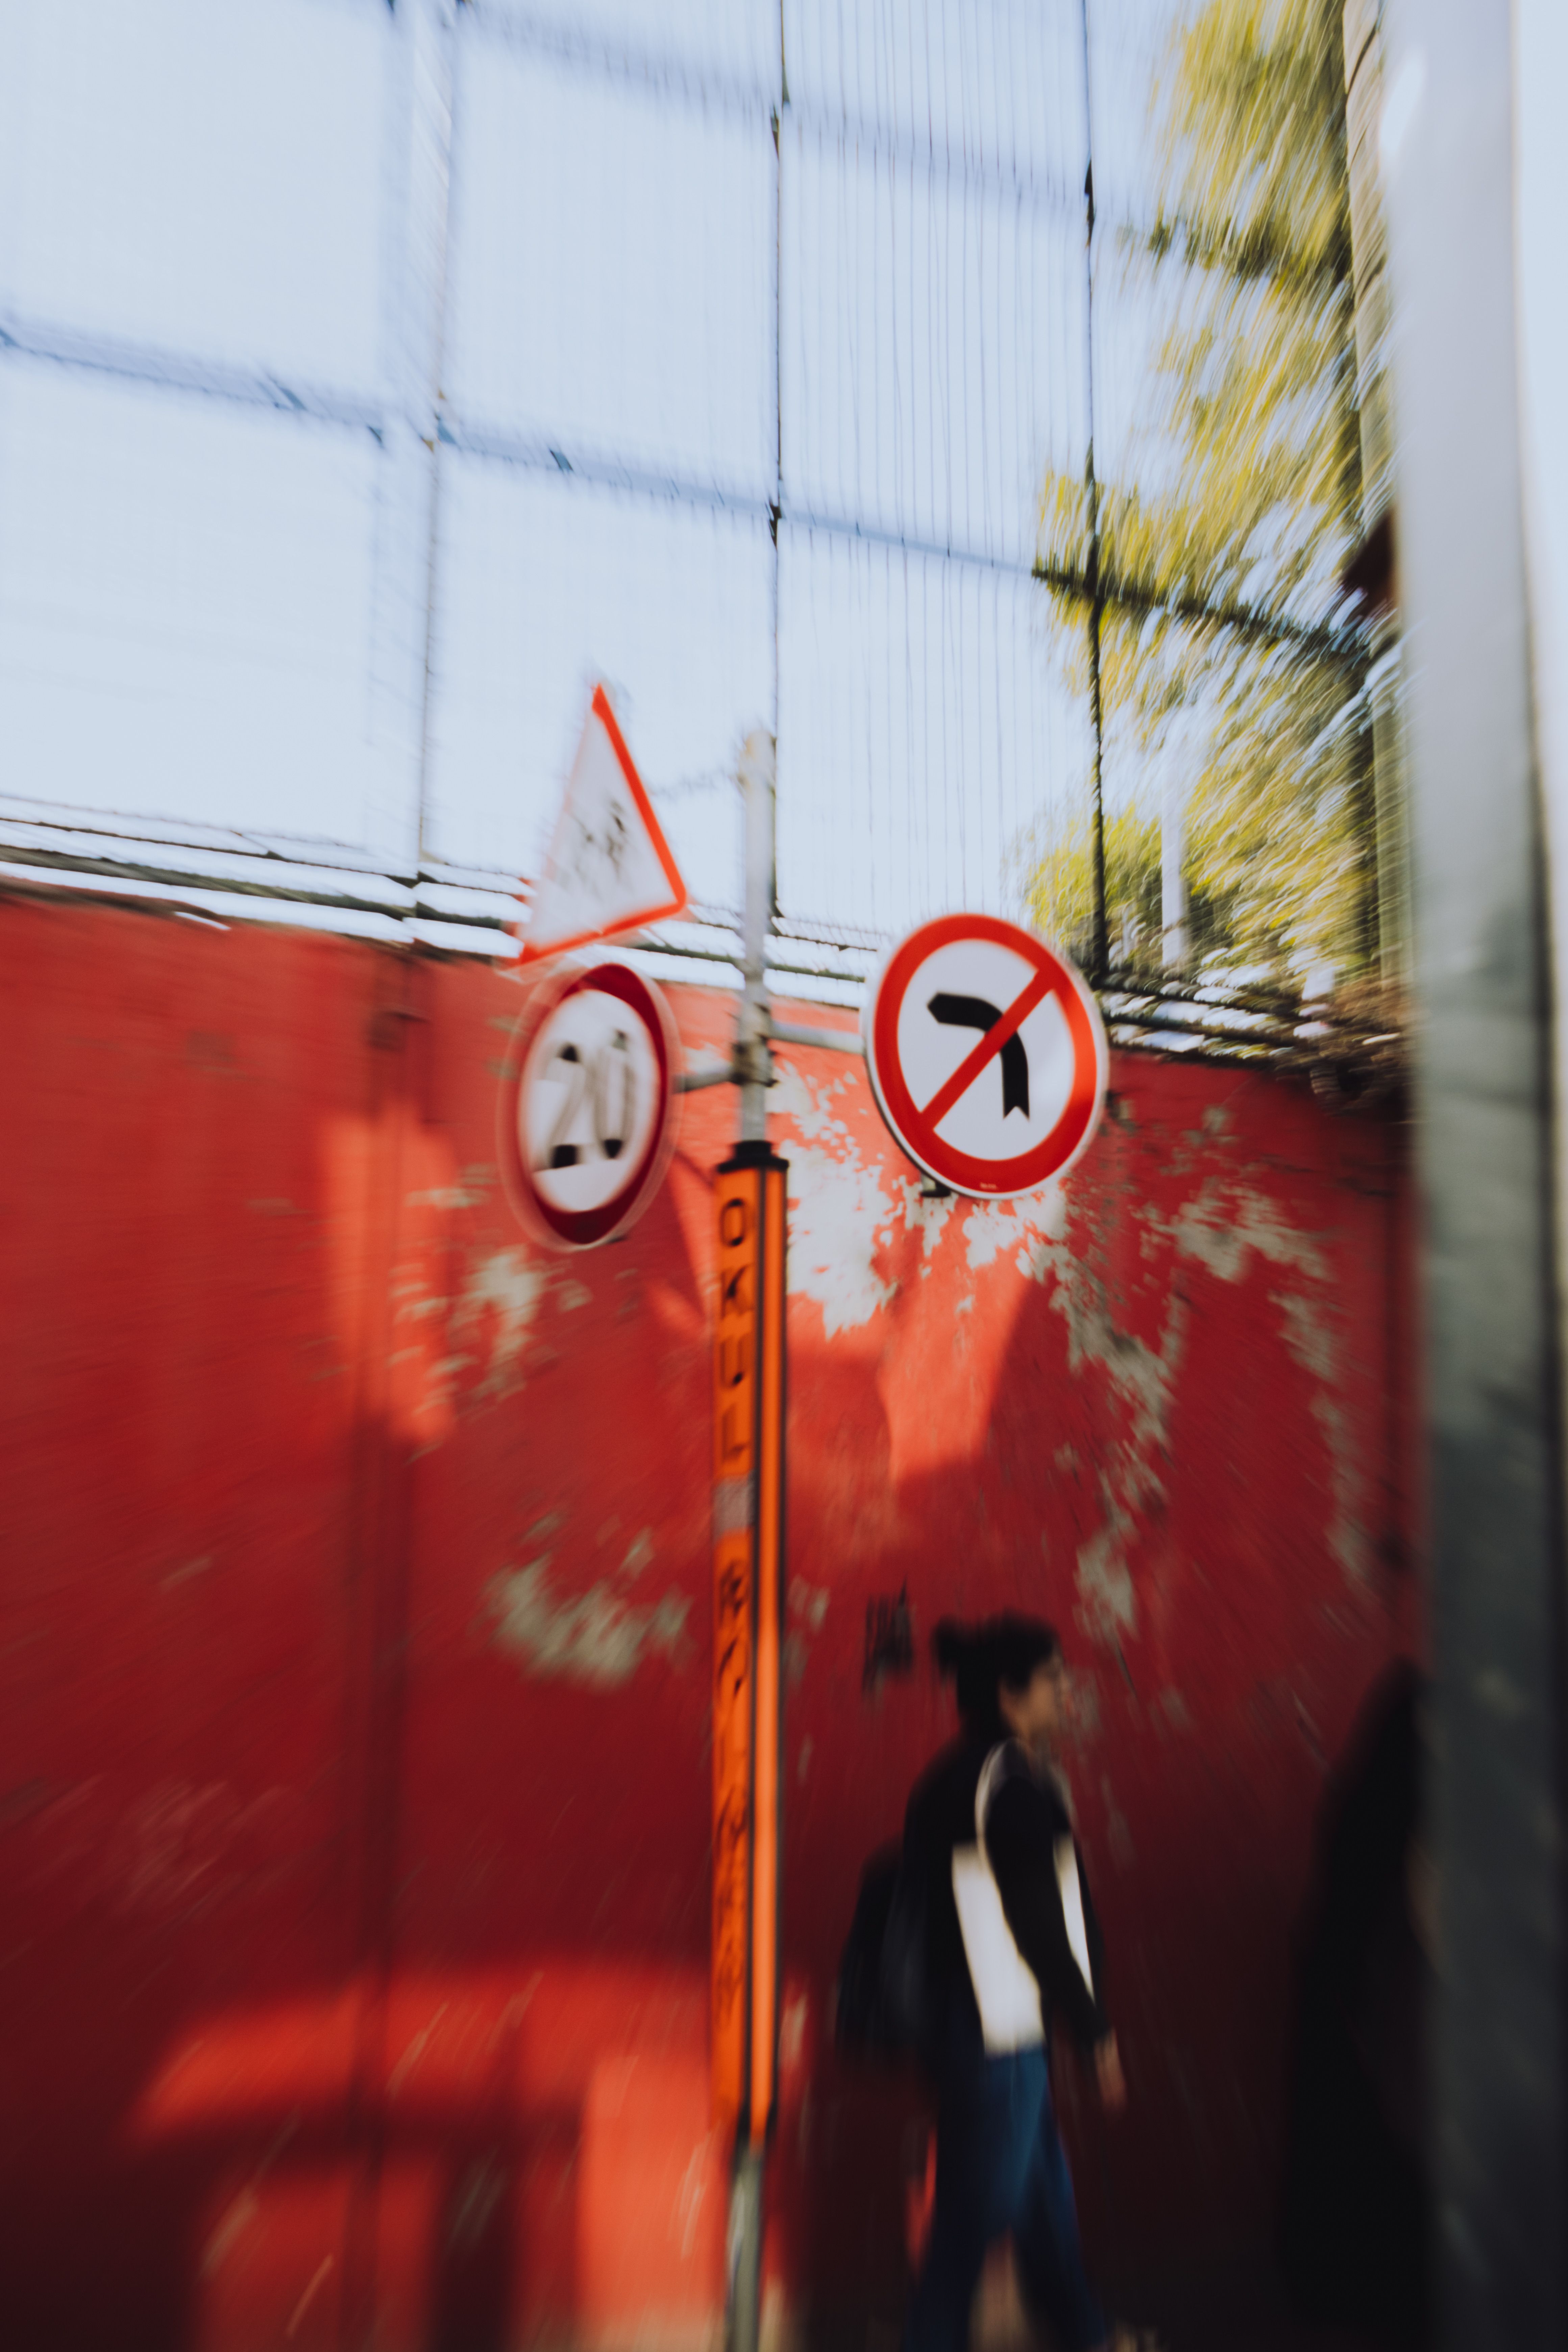
Use a single focus point or a small area when the subject has a strong edge. A shiny bolt, a torn sticker, or the eye of a statue can anchor the frame.
Which four photo styles feed this kind of work?
Four broad styles fit city detail work well: street, portrait, landscape, and macro. Each one trains a different way of seeing, and each one can sharpen how you frame small scenes.
Street work builds quick reactions. Portrait work sharpens your sense of placement and expression. Landscape work teaches balance. Macro work hones your eye for tiny forms and surface detail.
- Street sharpens timing and quick framing.
- Portrait builds skill with subject placement and clean edges.
- Landscape teaches balance and use of space.
- Macro trains you to notice small texture and close focus.
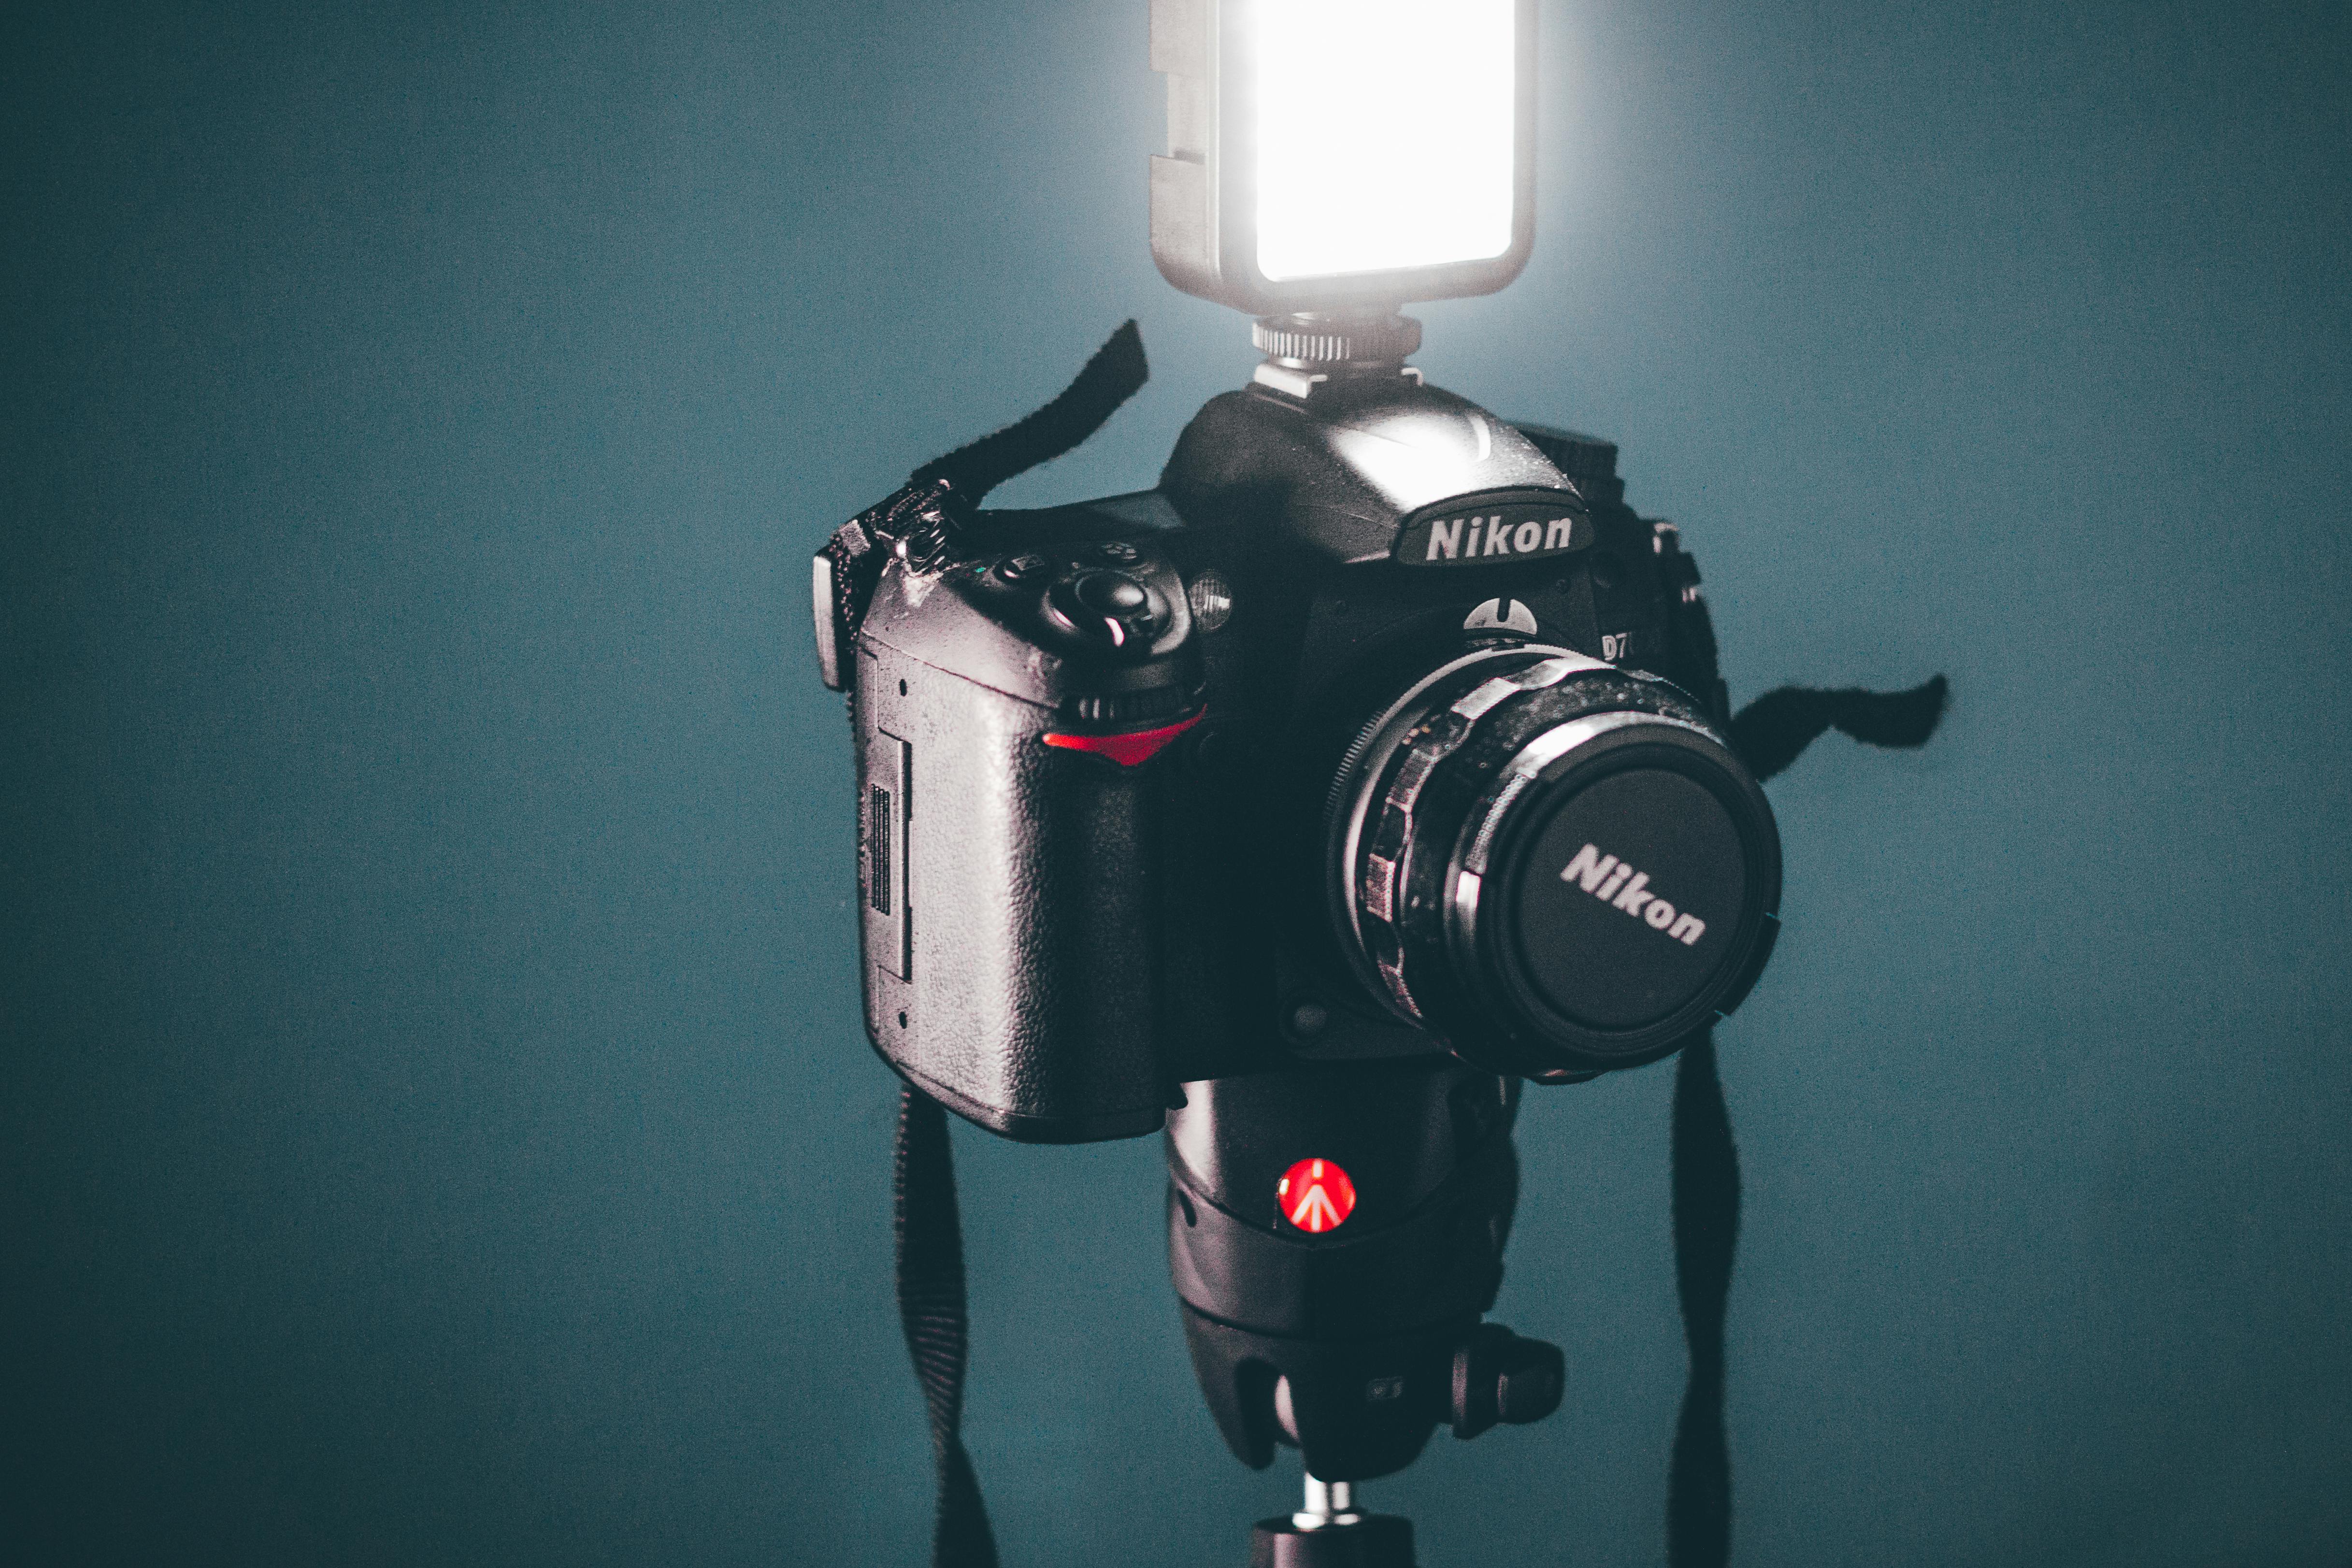
That mix pays off on a city walk because the best detail shots borrow from all four. A cracked wall may call for street timing, portrait-style placement, landscape balance, and macro-level attention to texture.
What do macro lenses give up?
Macro lenses deliver close focus and very fine detail, and they also bring tradeoffs. Many feel less useful for fast, wide city scenes because they can be longer, heavier, and slower to handle. Some macro lenses focus more slowly than general-use primes. They often show very little depth of field at close range, too, so even a tiny shift in distance can soften part of the subject.
Watch these limits
Close focus makes hand shake more obvious. Even a small sway can push the focus plane off the spot you wanted.
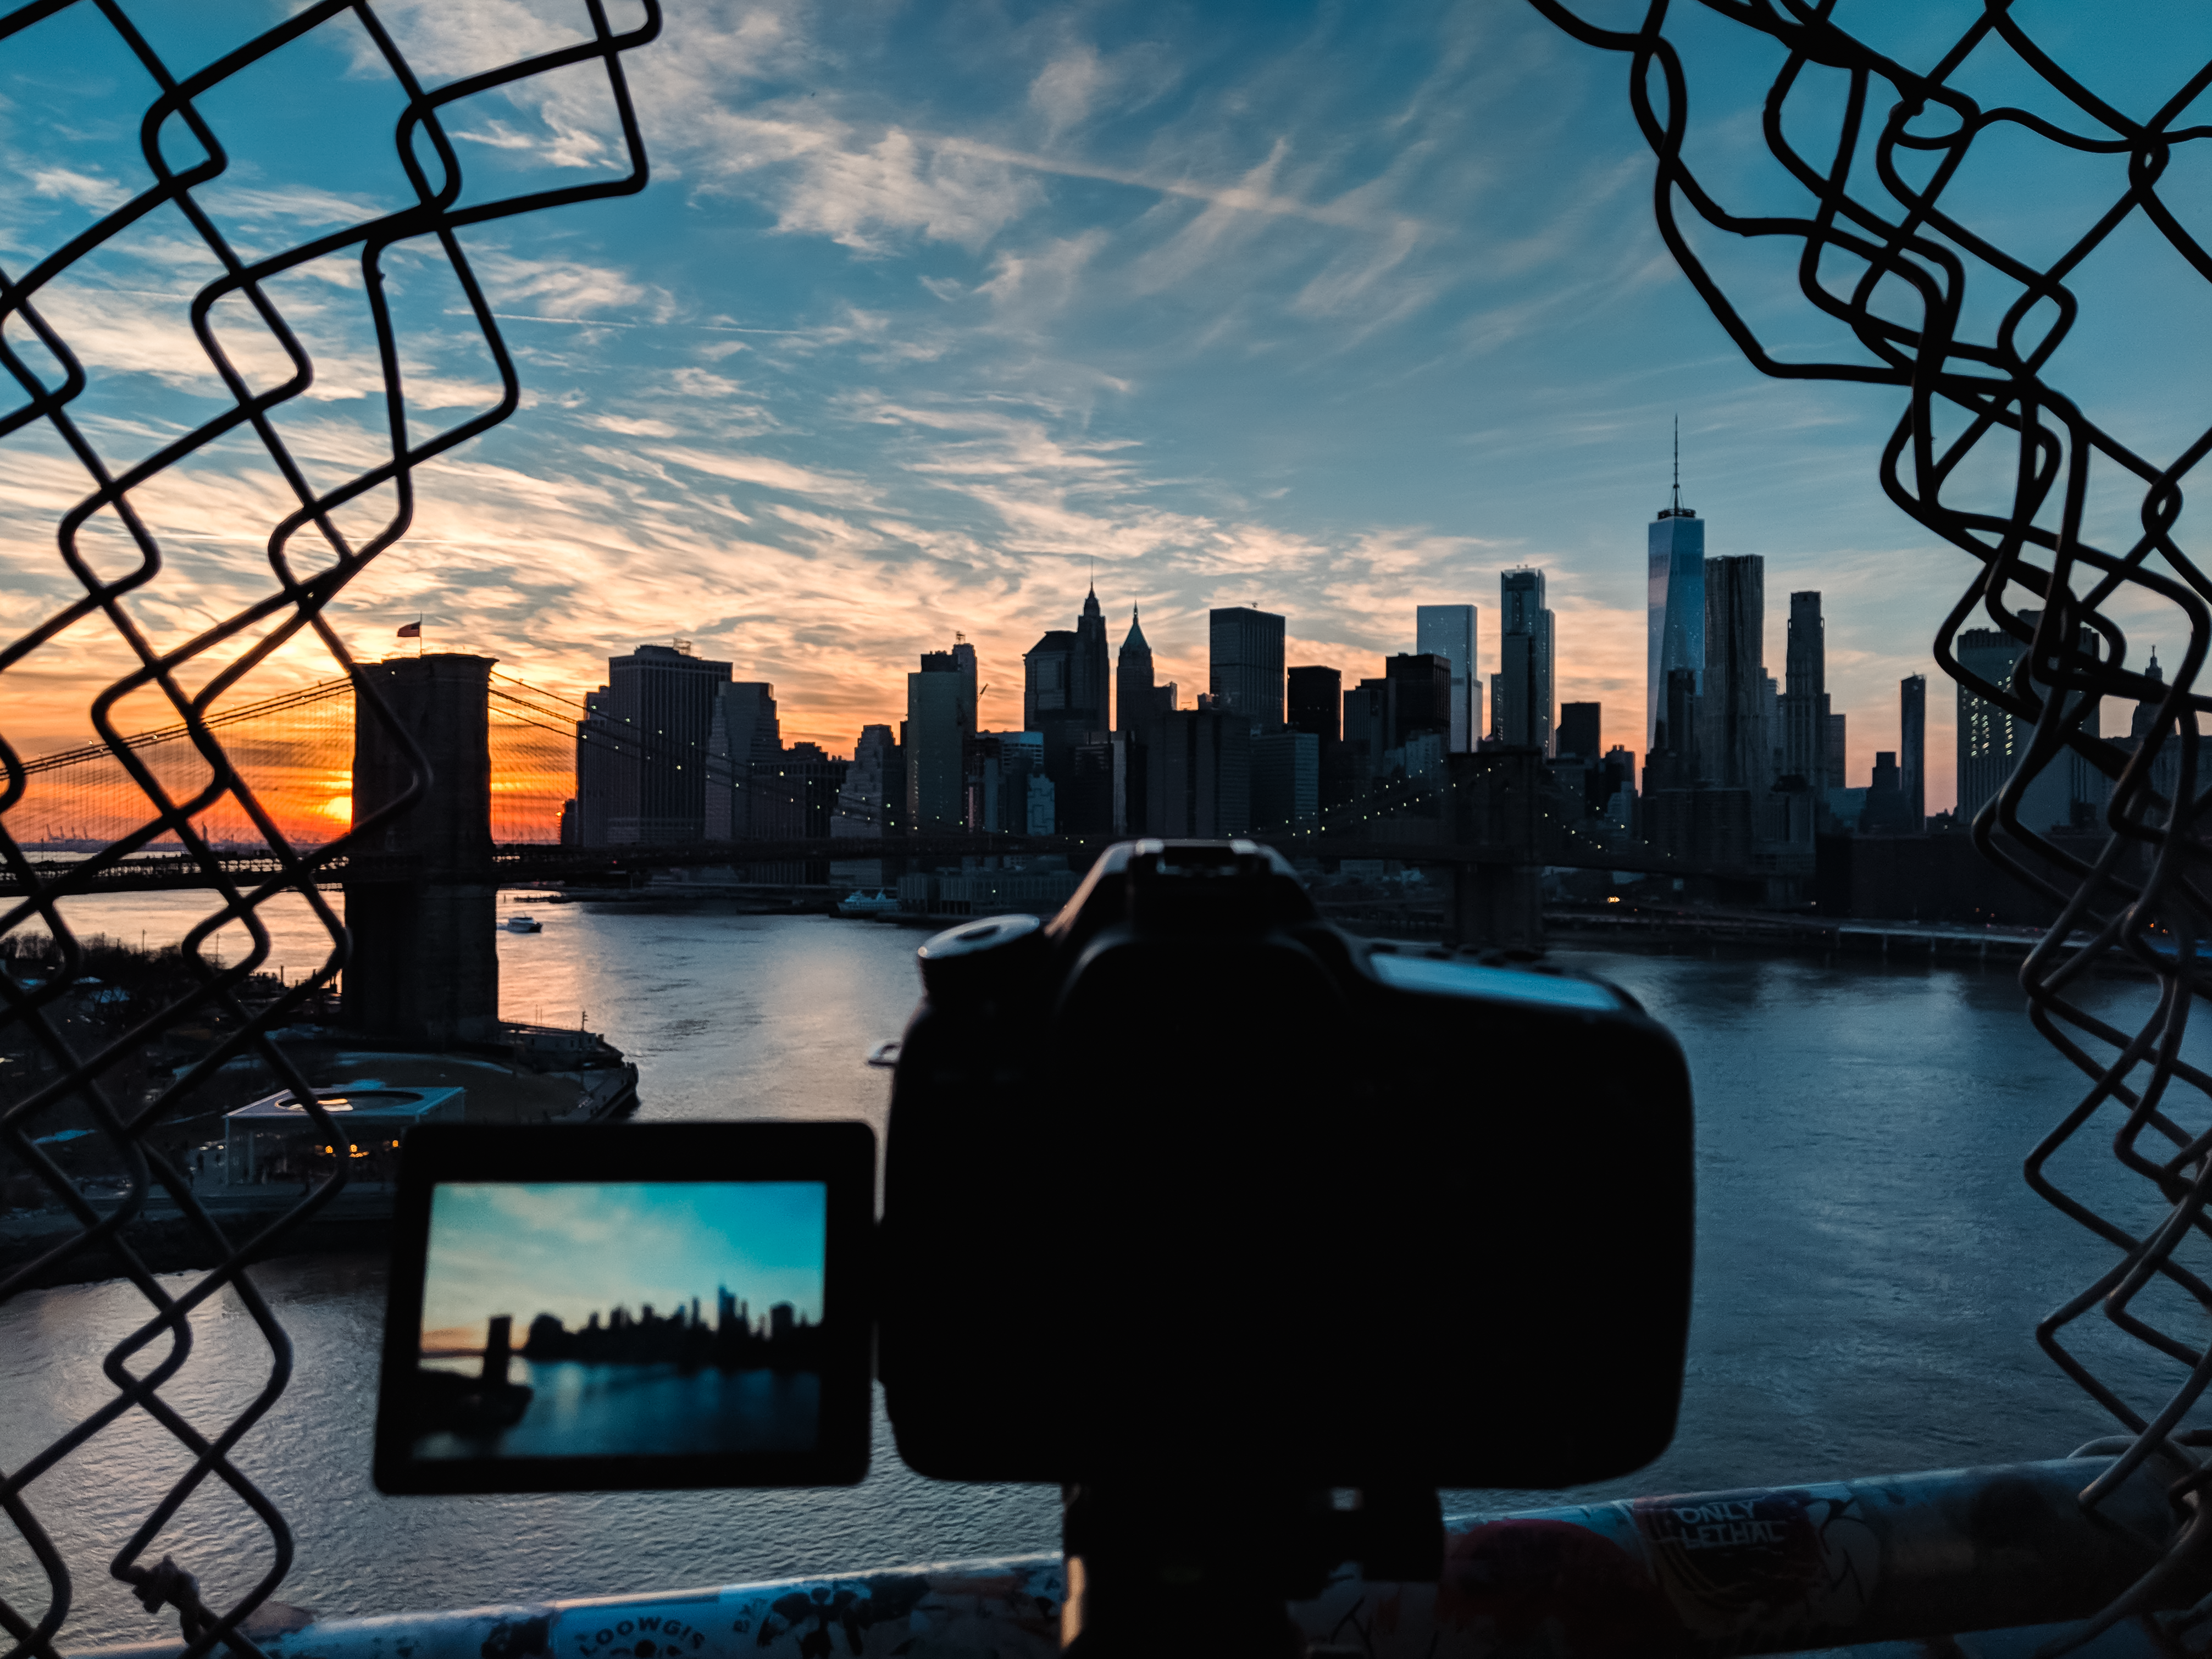
Working distance counts as well. Get too close, and you may block light or push people away from a scene that benefits from a human touch, such as a shop window or market stall.
For city walking, that calls for a steady grip and a setup that is ready fast. A hands-free holster, such as the Camstrap voyager, keeps the camera hanging in a stable spot and ready for a quick lift when a small subject appears.
How should you use the 20 60 20 rule?
The 20 60 20 rule says a frame works best when about 20 percent is one strong area, 60 percent is the main middle, and 20 percent is supporting space. It offers a simple way to balance a tight crop without losing shape. In city detail shots, that often means one bold texture, one larger middle area, and one clean edge. The rule keeps tiny subjects from floating in a frame that feels empty or random.
Apply it while you walk

- Find one small subject with a clear edge.
- Place the strongest texture in about one-fifth of the frame.
- Let the middle area carry the main pattern or line.
- Keep the last section plain or softly blurred.
Treat it as a guide, not a law. If the city gives you a bold repeating wall or a layered sign, break the ratio and follow the shape instead.
Why do people say macro, not micro?
Macro photography uses the word macro because it refers to large-scale reproduction on the sensor or film. Micro sounds like the subject itself is tiny, but the term has long belonged to the size of the image on the medium.
That history still shapes camera talk today. A 1:1 macro lens renders a subject at life size on the sensor, which is why the name stuck even though the subject is small.
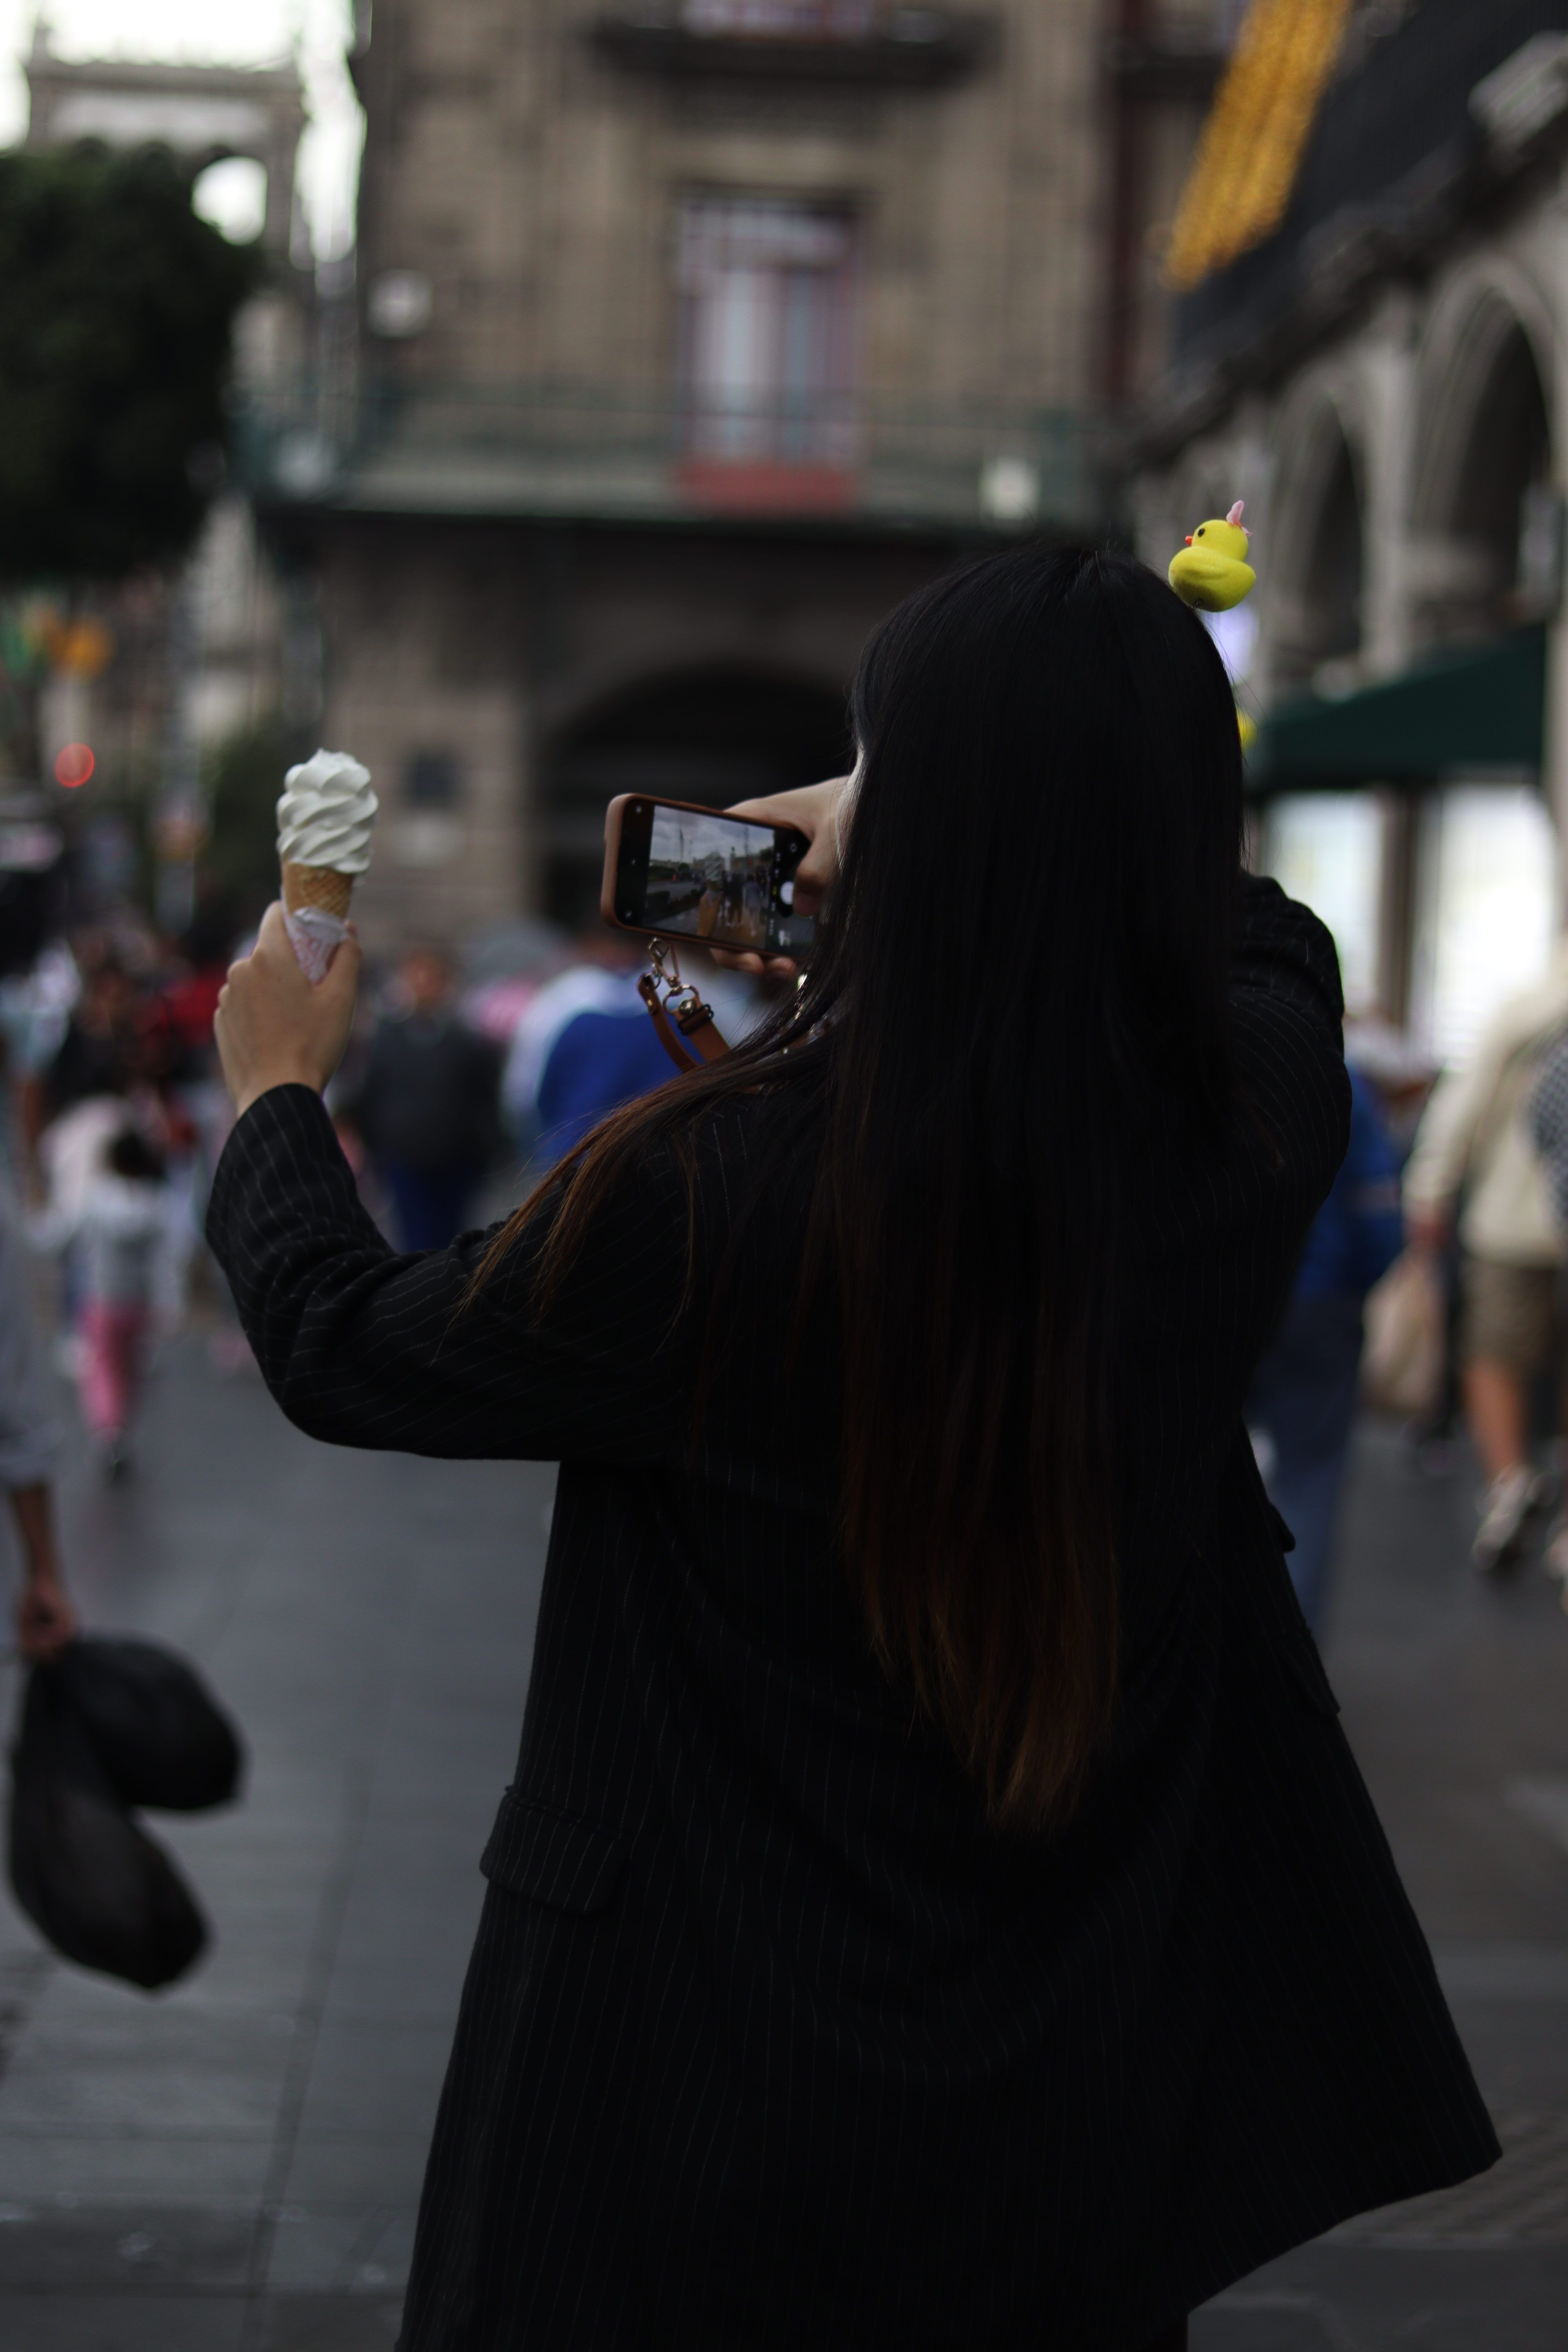
A better shooting flow for city detail work
Fast city detail work runs on a simple rhythm: watch, lift, frame, focus, shoot before the moment changes. Continuous shooting can help, though use it with care. On many mid-tier mirrorless bodies, a RAW burst may slow after about 20 to 40 frames, while JPEG can last longer.
Match the camera mode to the scene
Use a mechanical shutter near 10 fps when you want less risk of LED banding or rolling-shutter skew. Electronic shutter can reach 20 to 40 fps on some bodies, though bright signs and fluorescent lights may create strange bands.
Pre-capture or pre-burst buffering helps when a subject changes fast, like a cyclist passing a mural or a hand opening a door. It records frames from just before the full press, which gives you a small safety net.

File cards matter too. UHS-II V60 or V90 cards move data much faster than UHS-I, so your buffer clears sooner after a burst.
Keep the camera ready between shots
A camera hanging at your side helps only if it comes up fast. A simple carry setup should let you raise the camera in one motion, then lower it again without fuss. A good strap or holster can matter more than extra gear in the bag. It saves the shot you notice in the next second.
What small habits raise your hit rate?
Small habits change the numbers in detail work. A clean lens front, a quick check for glare, and one more look at the corners can save a frame.

Review less and look more. On mirrorless bodies, the EVF and LCD can drain the battery fast, so skip long playback sessions unless you need a sharpness check.
- Keep one lens on the camera for the whole walk.
- Use a shade from your hand if bright light hits the front element.
- Watch the frame edges for signs, poles, and reflections.
- Turn your feet before you reach for a new setting.
- Check focus after bursts, then move on.
One more useful habit is to shoot a few frames with slight overlap. Later, you can cull with pick and reject flags in Lightroom or Photo Mechanic, and keep the frame where the pattern feels strongest.
One last pass before you head home
Filling the frame with tiny city details has less to do with gear than with how you move. The camera only records what you notice, so the real skill is learning to see small shapes with intent. Use a lens that fits the scene, keep settings steady, and stay ready for quick lifts and quick frames. Then look for one final clean edge, because the strongest detail shot often comes from the last small shift before you press the shutter.

Frequently Asked Questions
What are the four types of photography?
The four types of photography are portrait, landscape, wildlife, and macro photography. Macro photography focuses on very small subjects and close detail, while the other three center on people, scenery, or animals.
What are the downsides of macro lenses?
Macro lenses can be more expensive than standard lenses and often have a narrower field of view. They also demand very precise focusing, because tiny changes in distance can quickly throw the subject out of focus.

What is the 20 60 20 rule in photography?
The 20 60 20 rule in photography is a composition guideline that splits attention into three groups: about 20% for a strong focal subject, 60% for supporting context, and 20% for secondary or negative space. It helps balance the frame so the main subject stands out without losing visual context.
Why is macro photography not called micro?
Macro photography is not called micro photography because the correct photography term for extreme close-up work is macro, not micro. Macro refers to making small subjects appear large in the frame, and micro is not the standard term used for that genre.


