
This guide shows how to deliver multi-aspect vertical masters that meet client needs. We cover planning, capture, editing, QC, and final handoff. The aim is to help you deliver fast, clean, and reliable masters for social and broadcast use.
How to plan: specs, scope, and client checks
Start by asking the client what they need and when they need it. Ask which platforms will play the files and which formats they expect. This step saves time and rework.
Define formats and naming
Write a short spec sheet for each job. Include vertical 9:16 masters, square 1:1 cuts, and landscape 16:9 masters. Then add file naming rules with client initials, date, version, and aspect.
Set deadlines and review points
Plan interim reviews for rough cuts, color checks, and final proofs. Set clear dates so the team and client stay in sync. This reduces late changes and extra rounds.
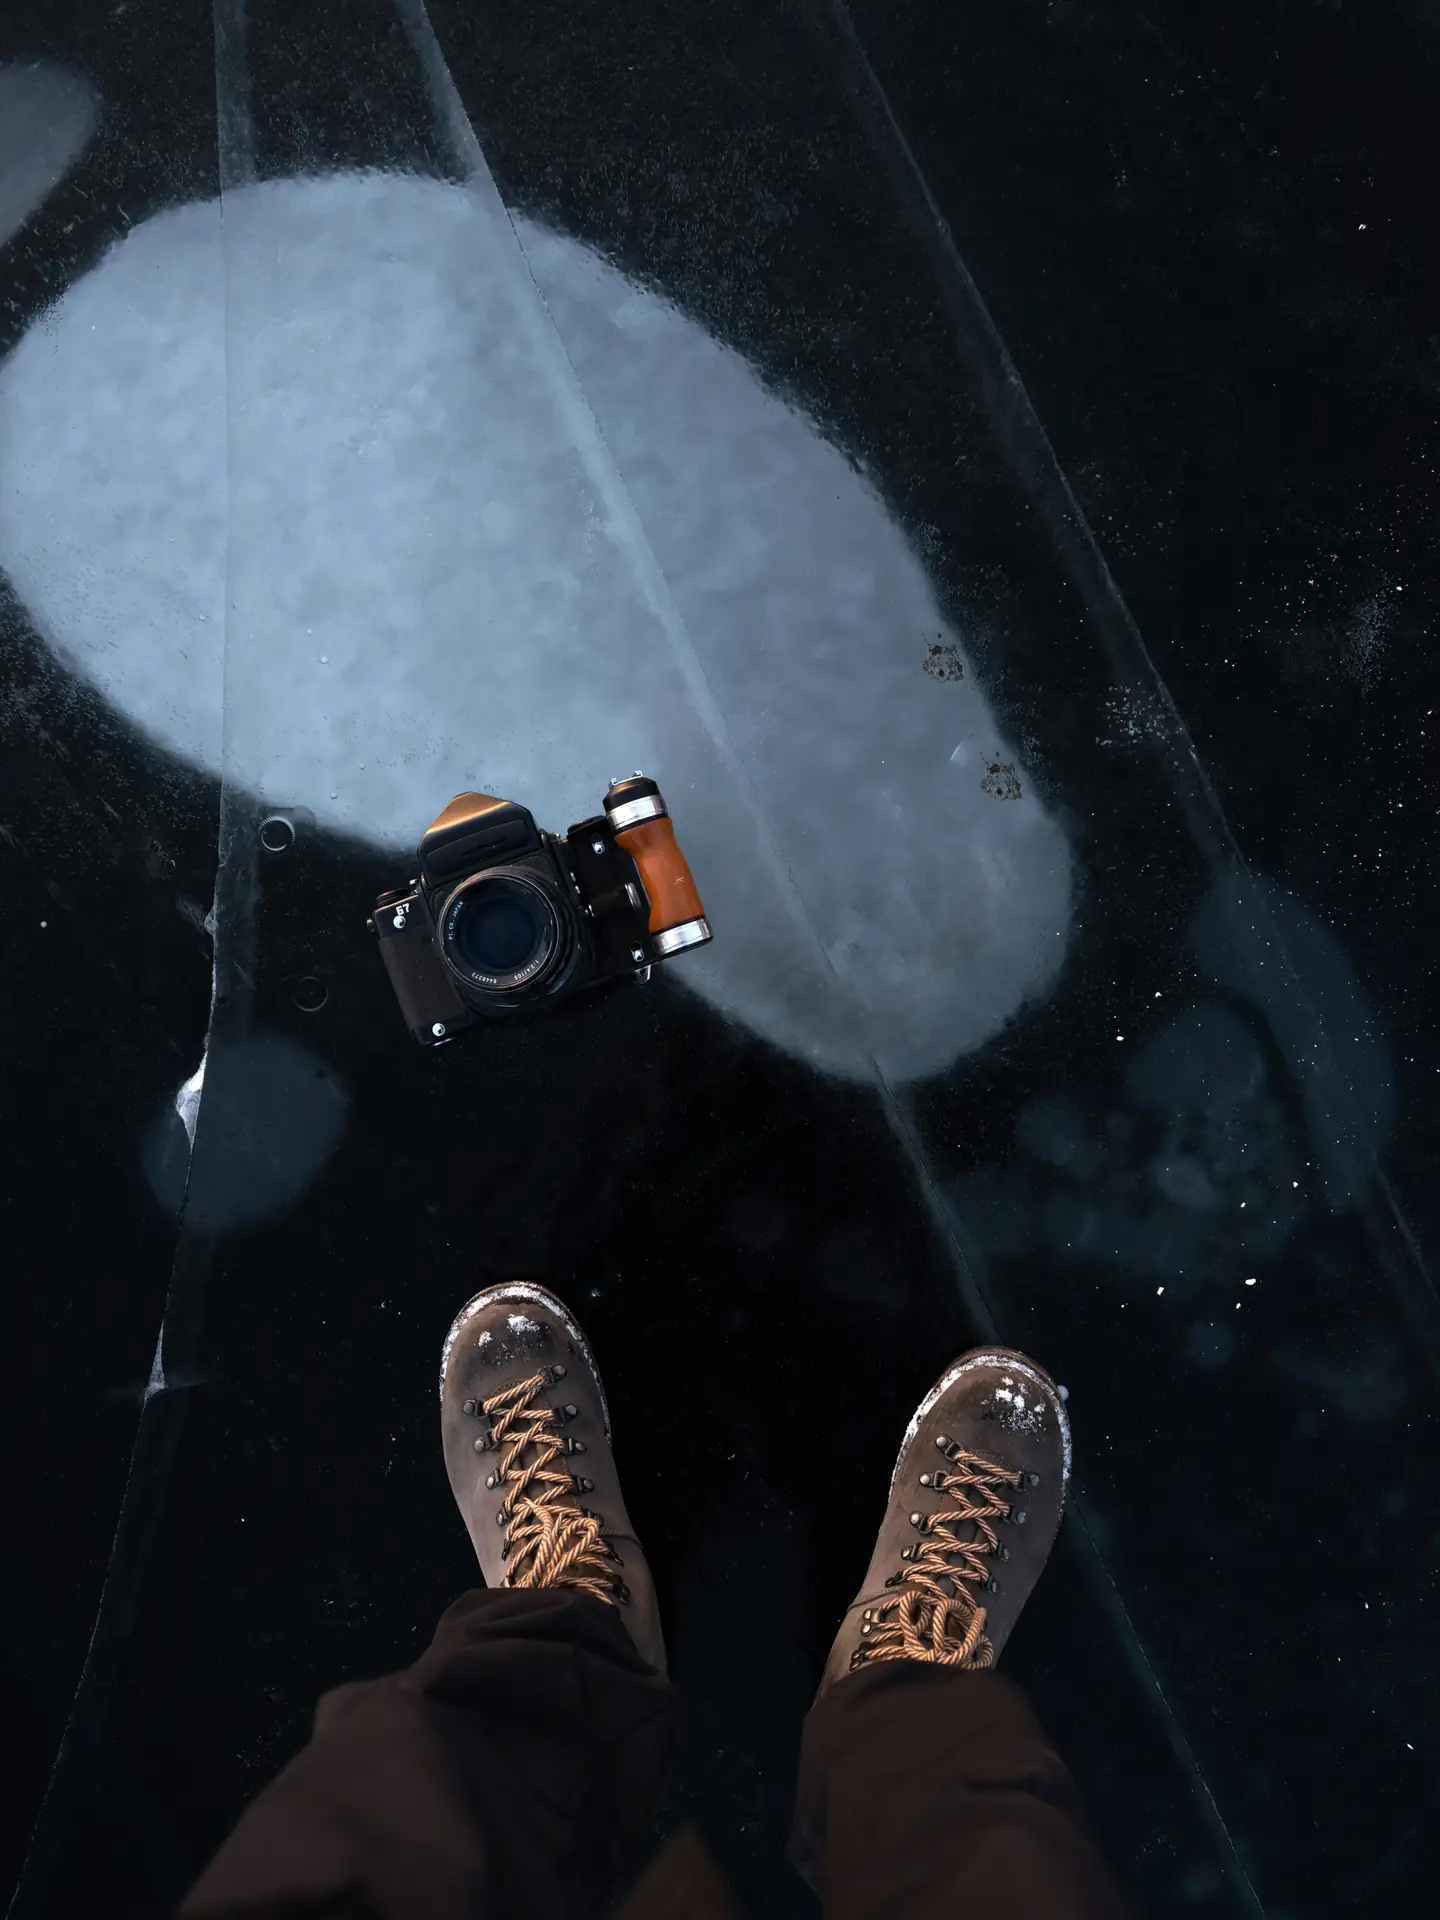
How to capture: framing and gear for multi-aspect work
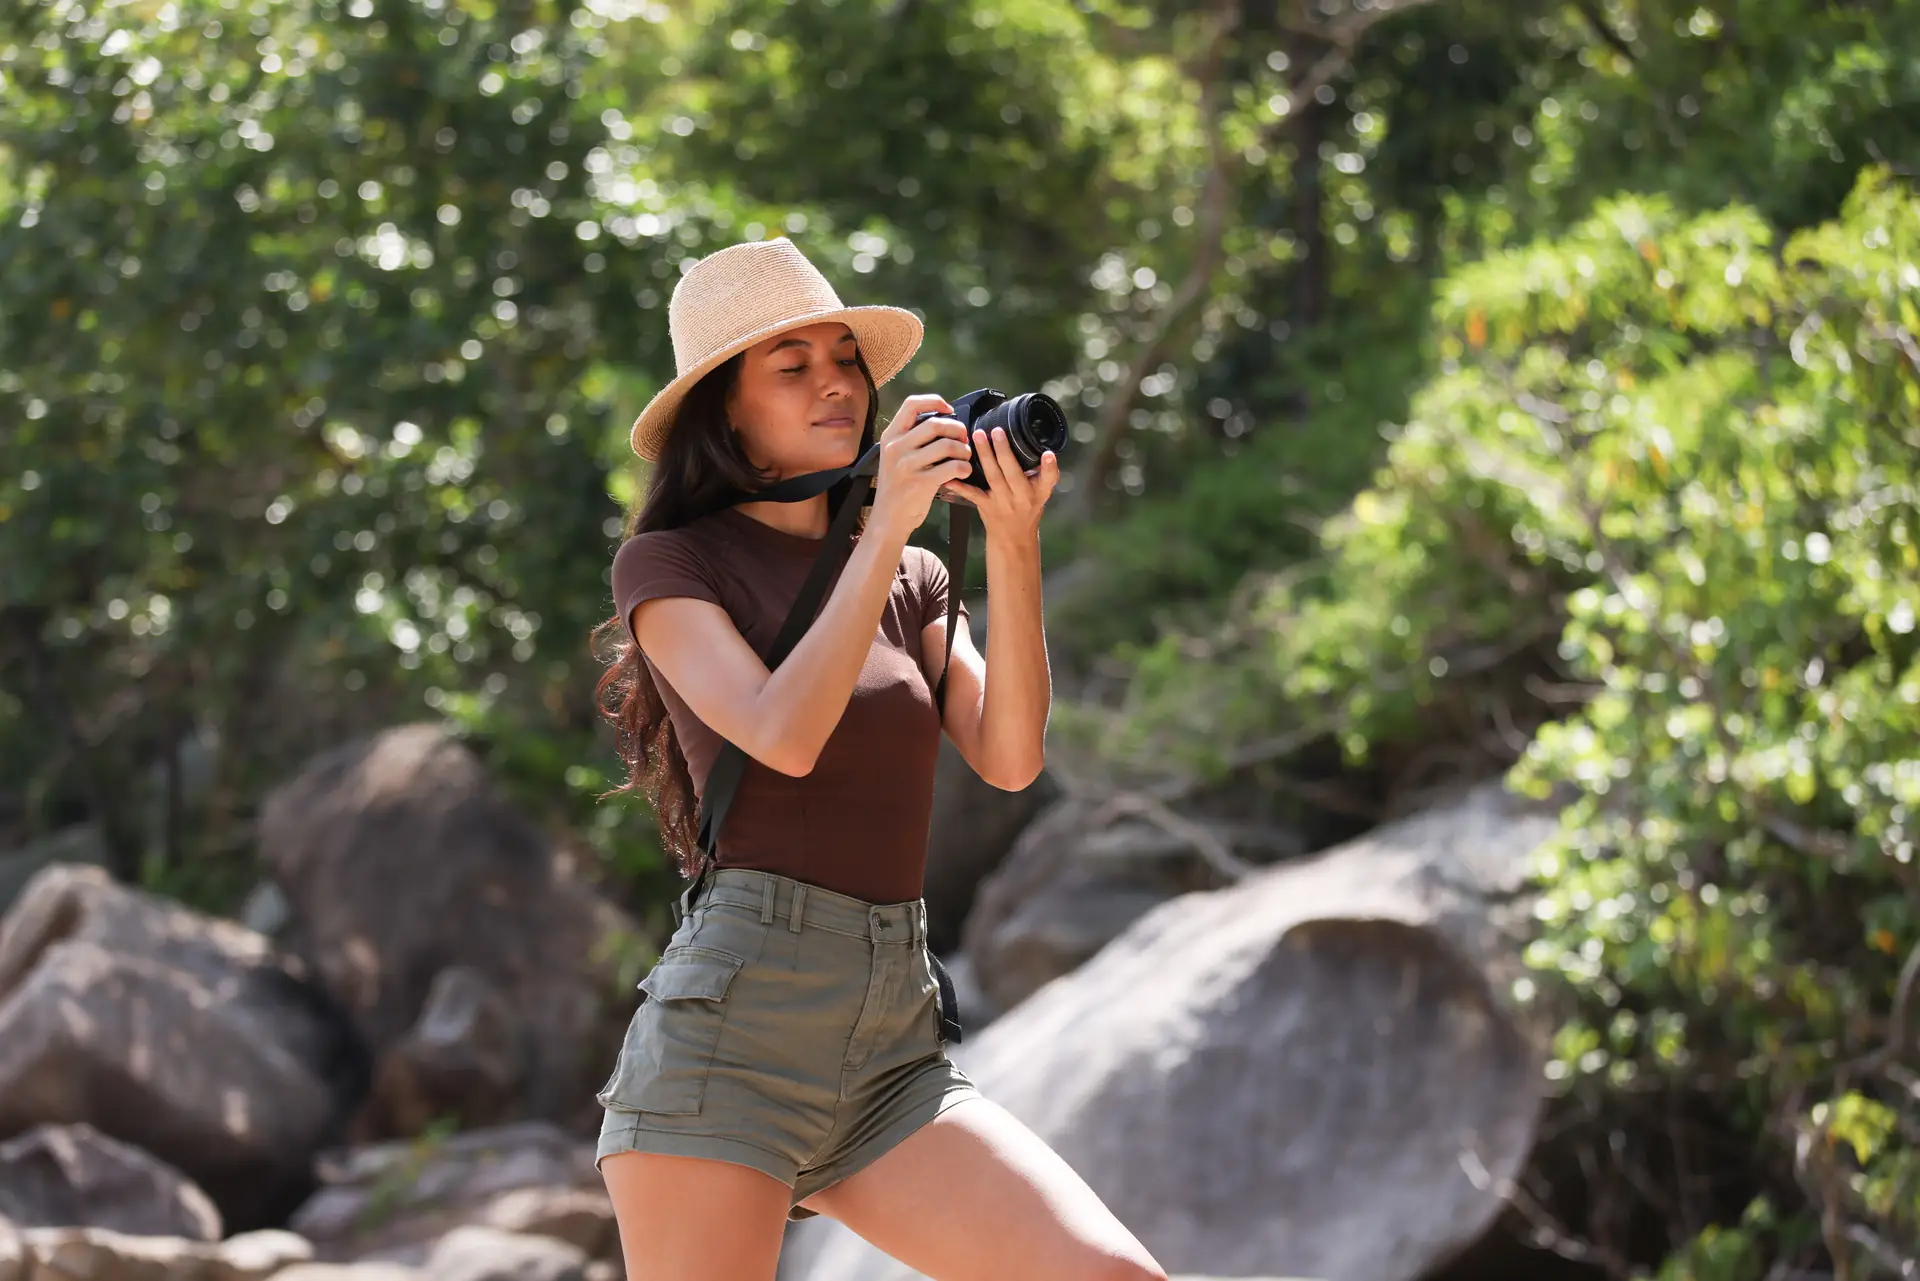
Shoot with crops in mind. Frame a little wider so you can reframe for vertical and square without losing detail. This makes each aspect look tight and polished.
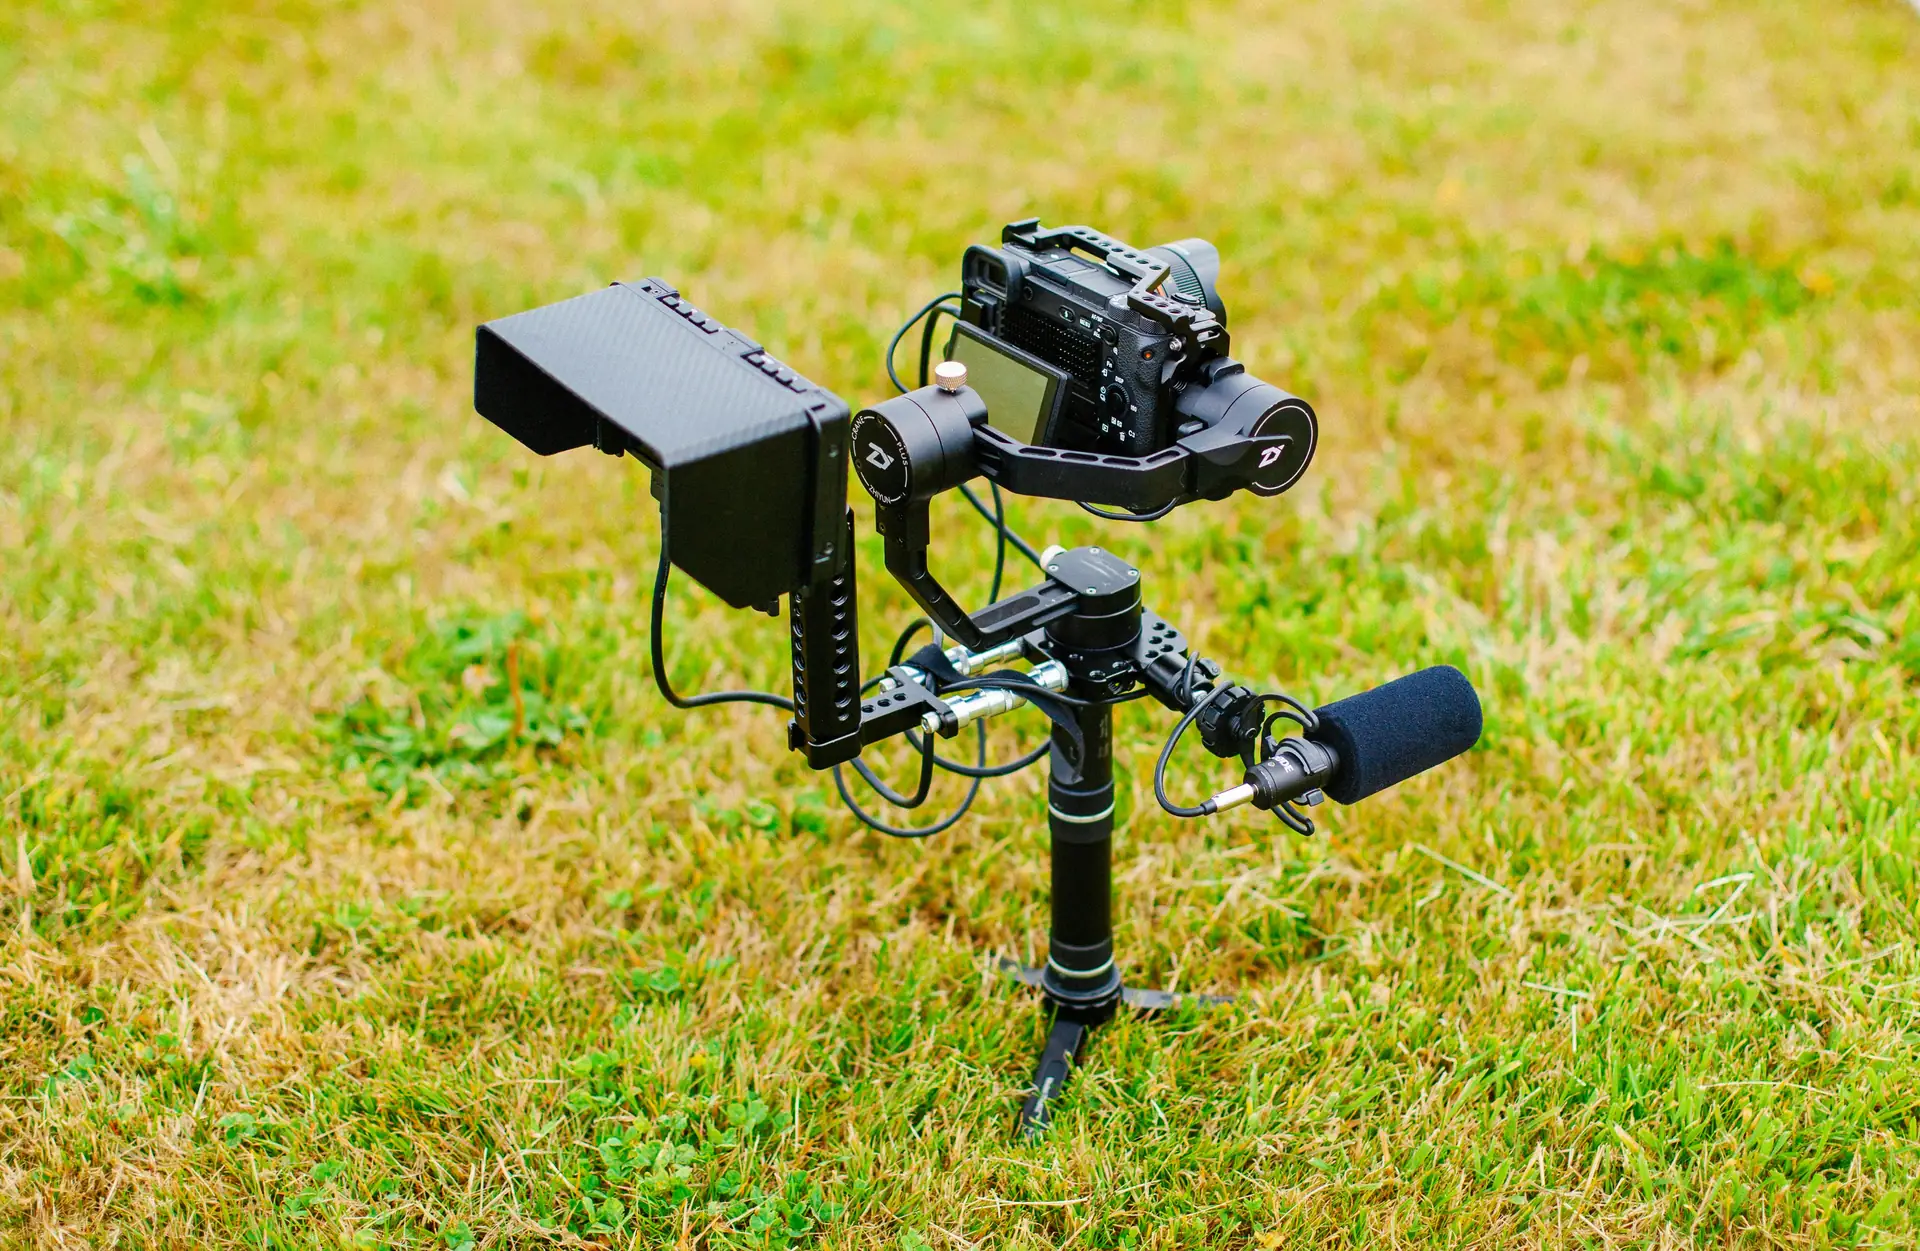
Gear checklist for travel shoots
- Camera bodies: bring a Sony A1 or Panasonic main rig for high detail.
- Still camera: a Fujifilm GFX 100S or Leica M10 for rich stills.
- Action camera: a GoPro for tight action and vertical clips.
- Lenses: wide, standard, and tele to give reframe room.
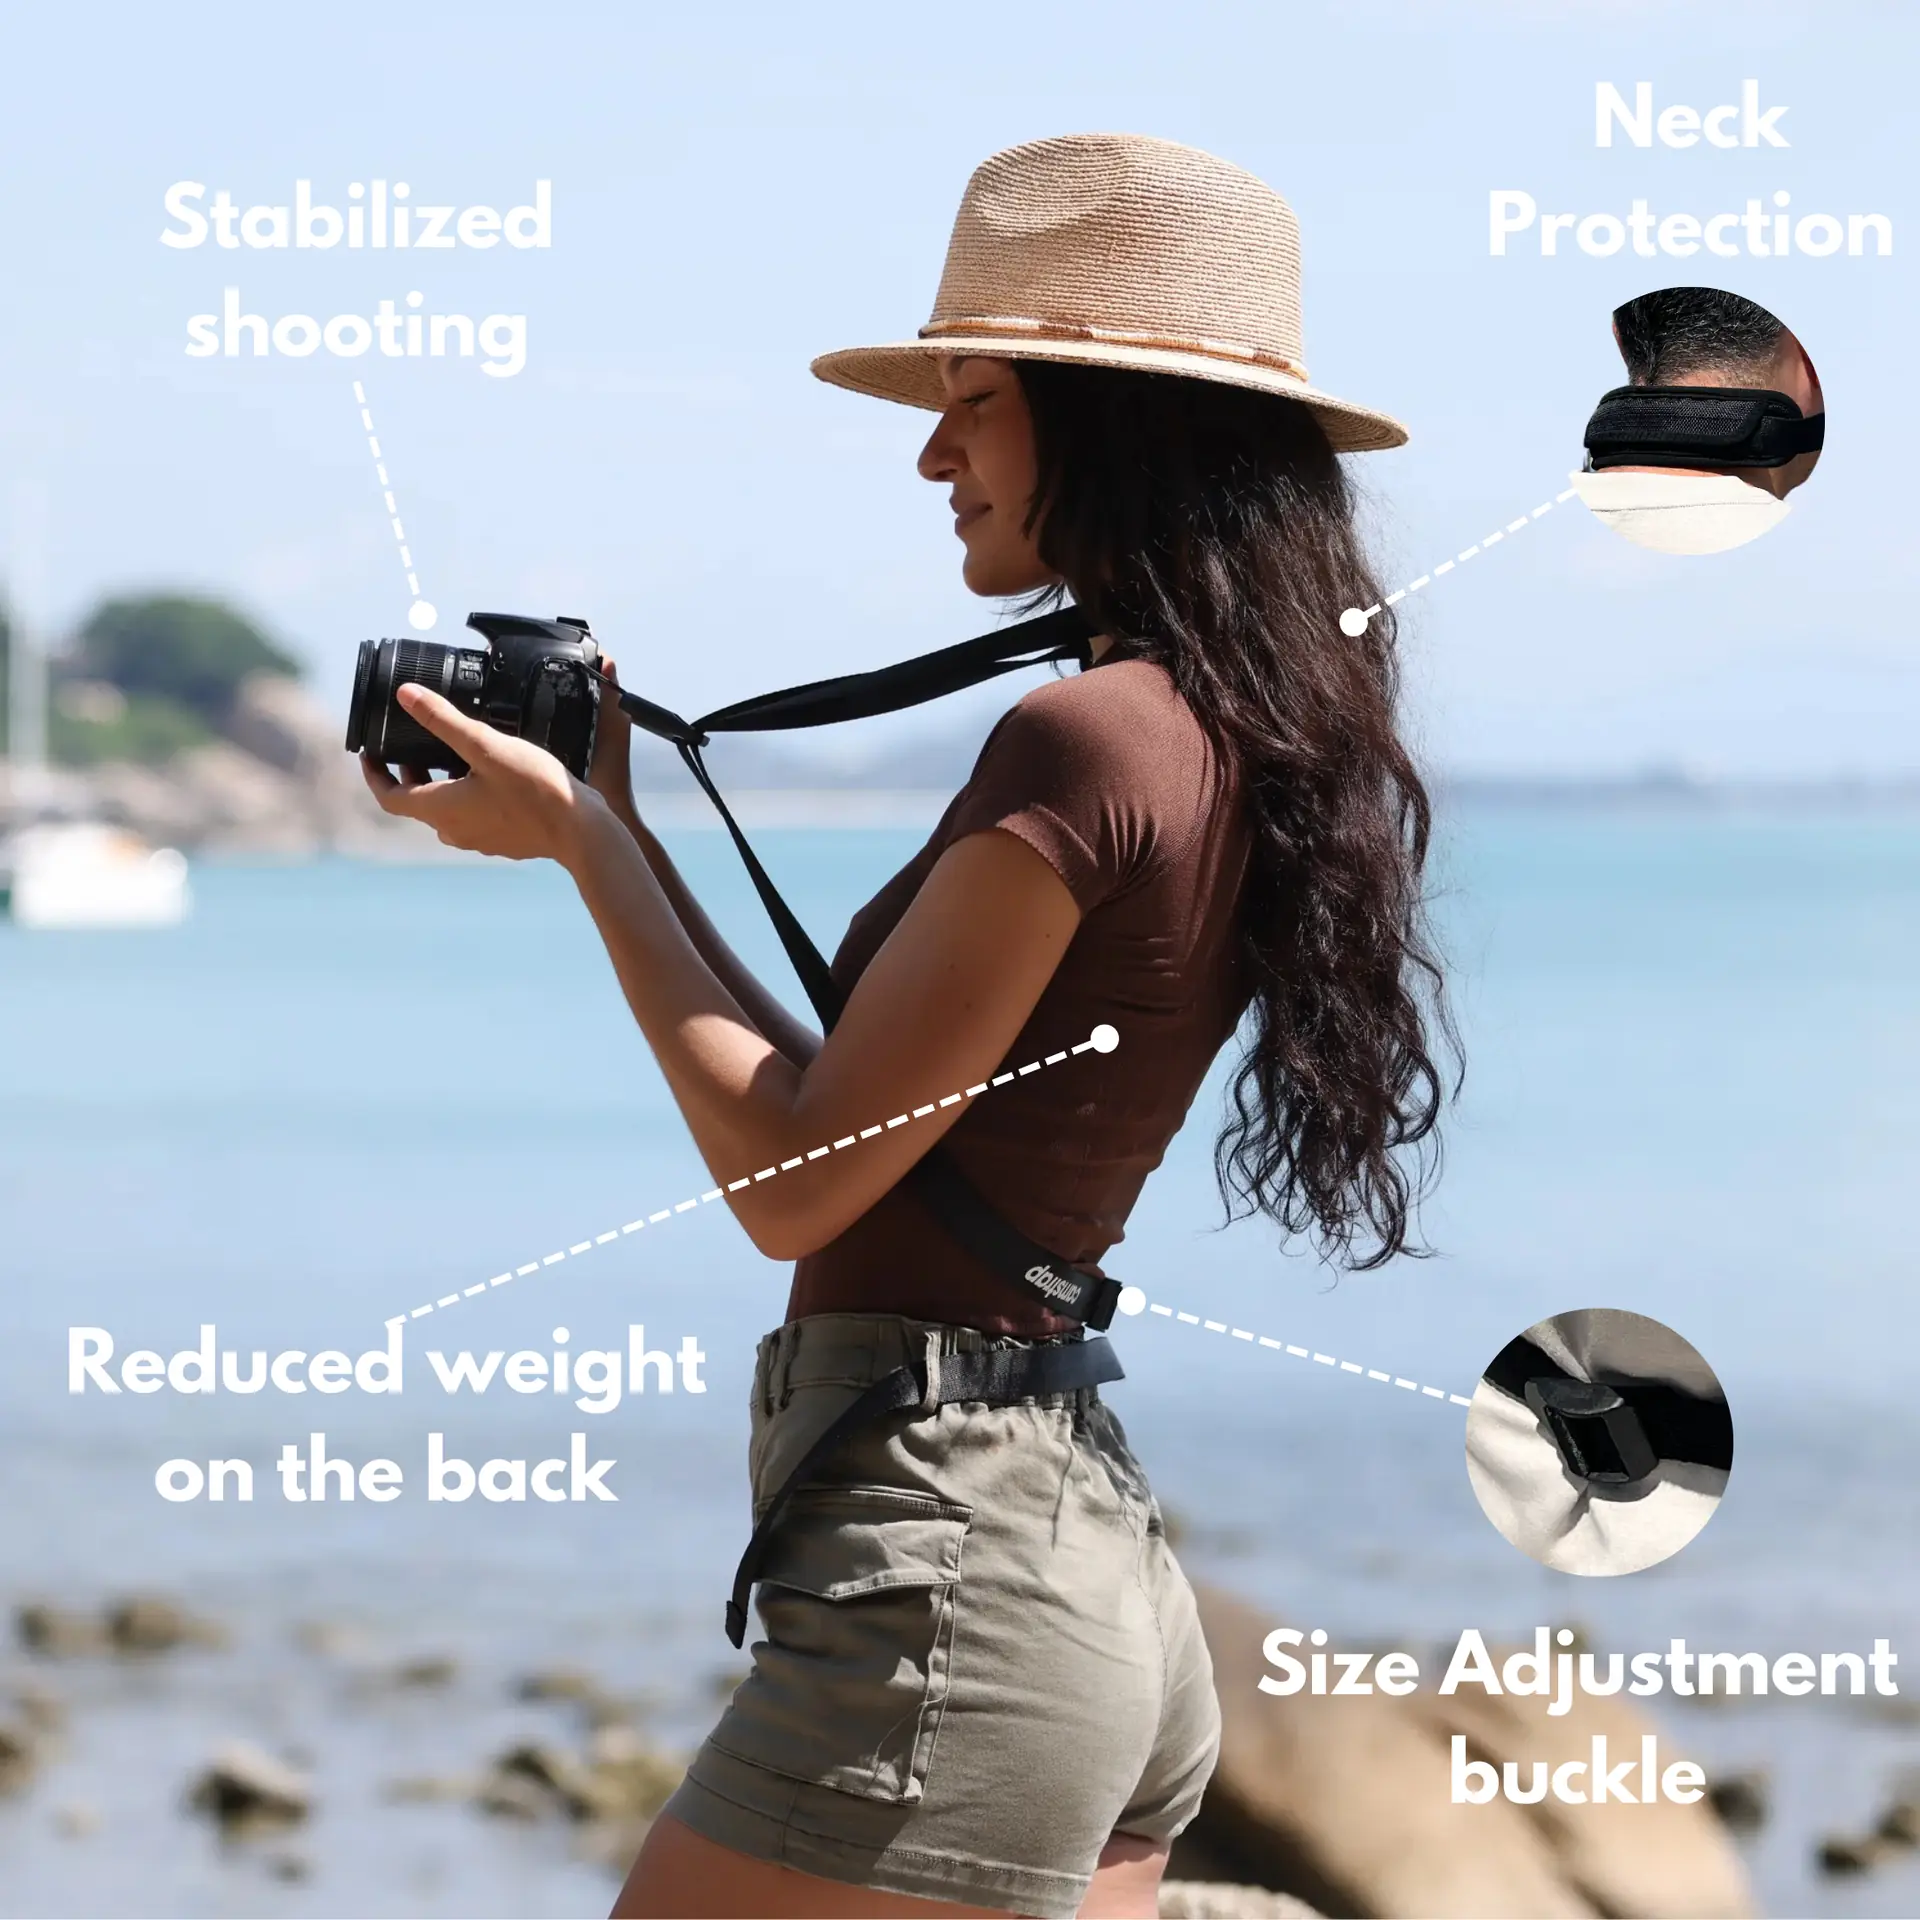

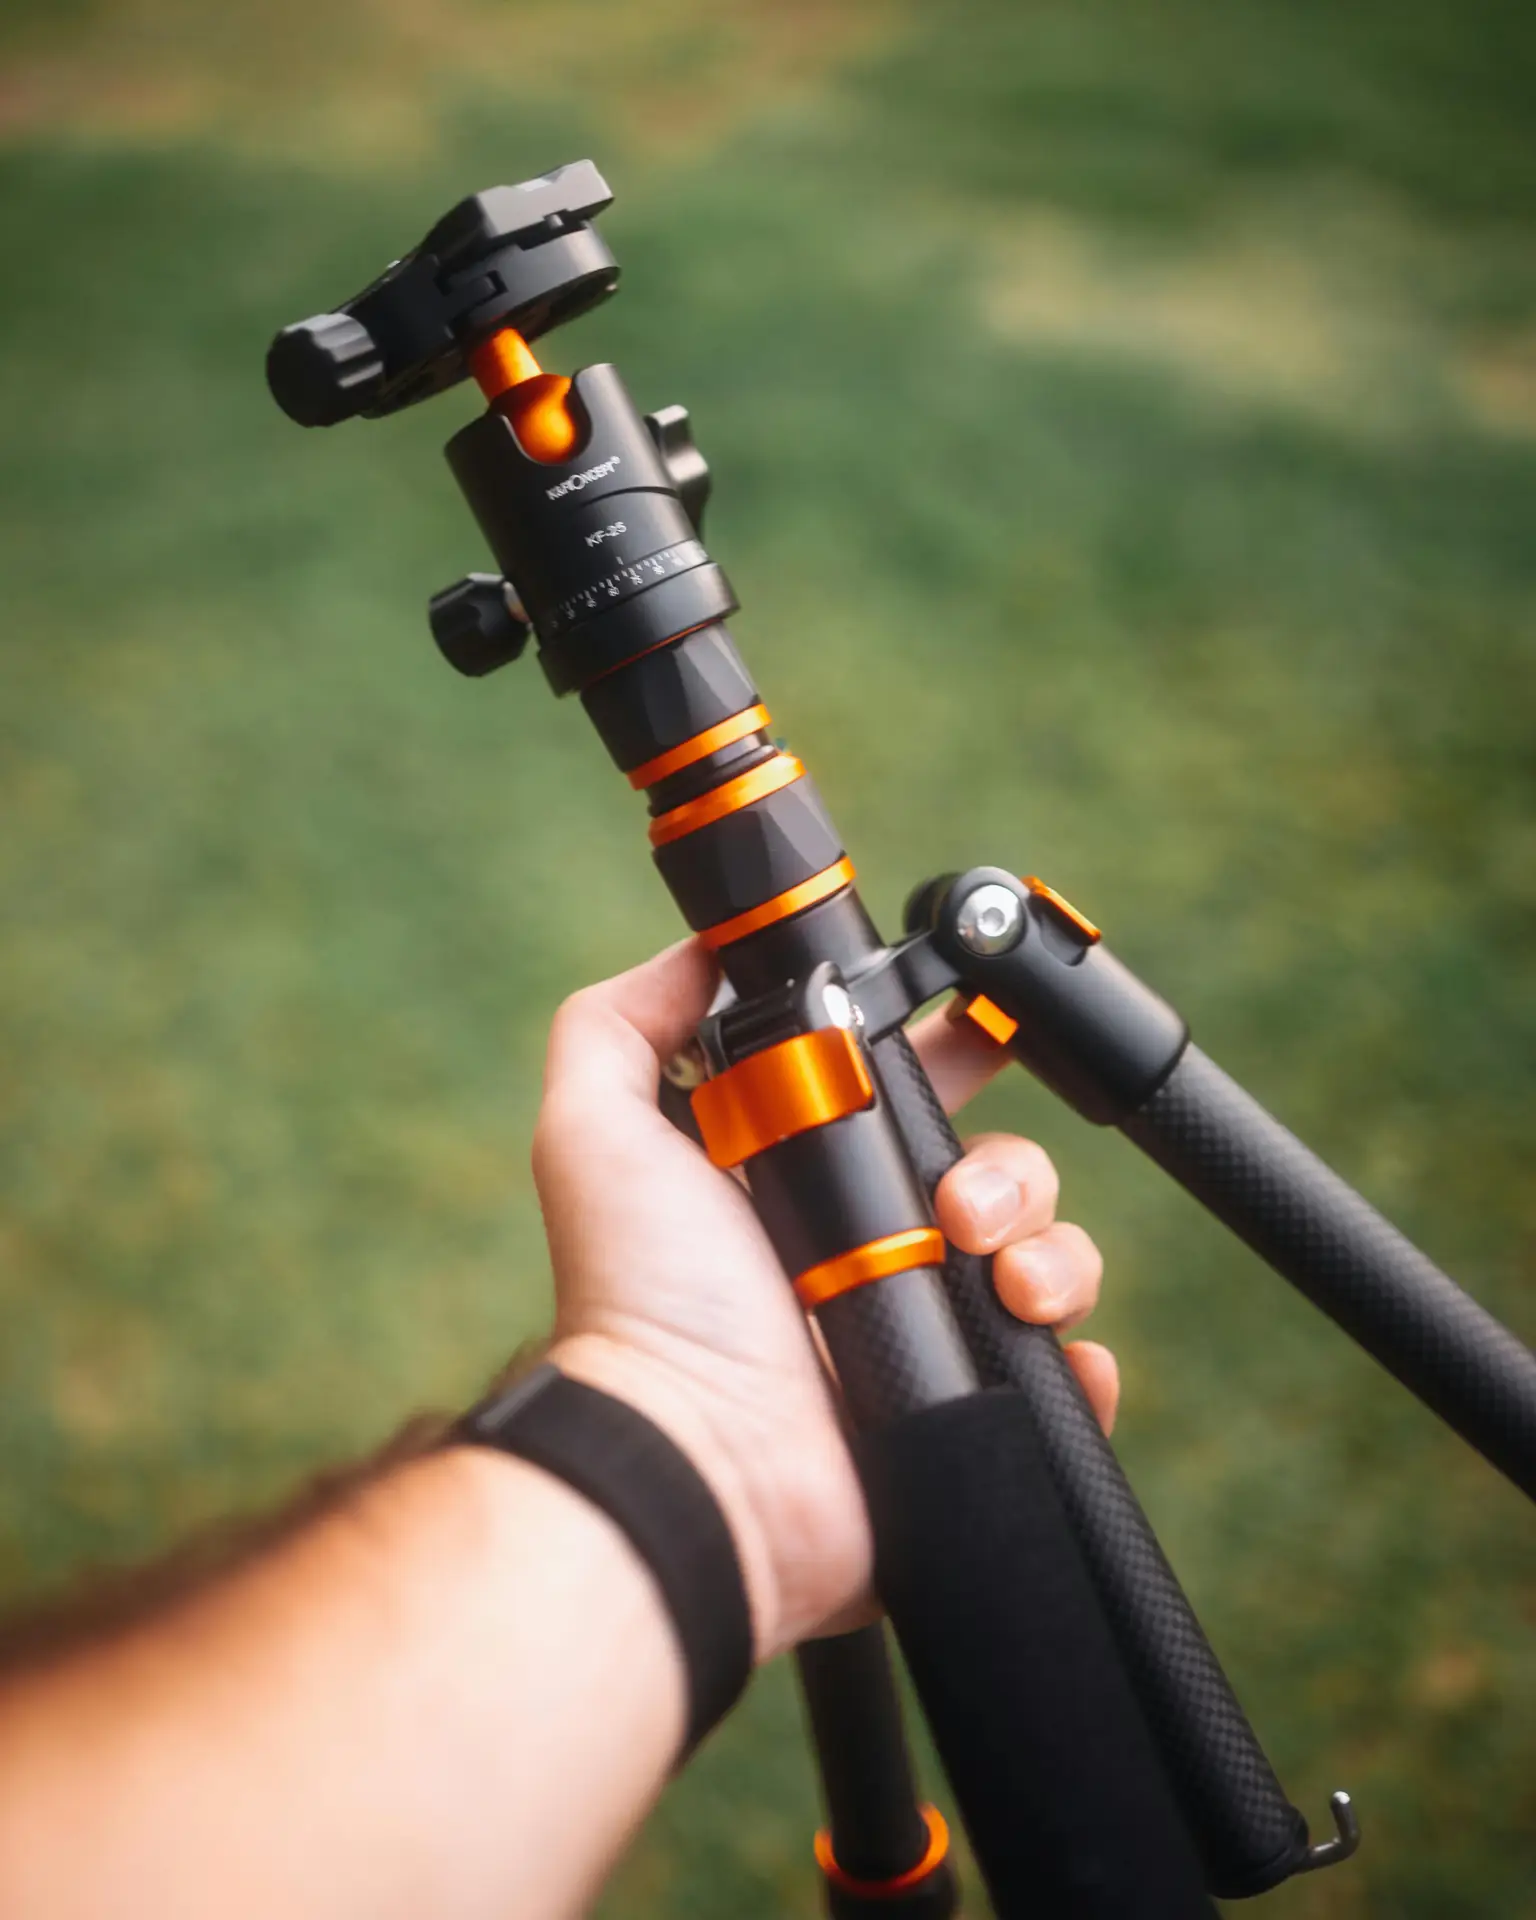
Also pack steady mounts and fast access straps. Camstrap is a brand that blends function and style. Camstrap helps travel enthusiasts carry gear safely on the move.

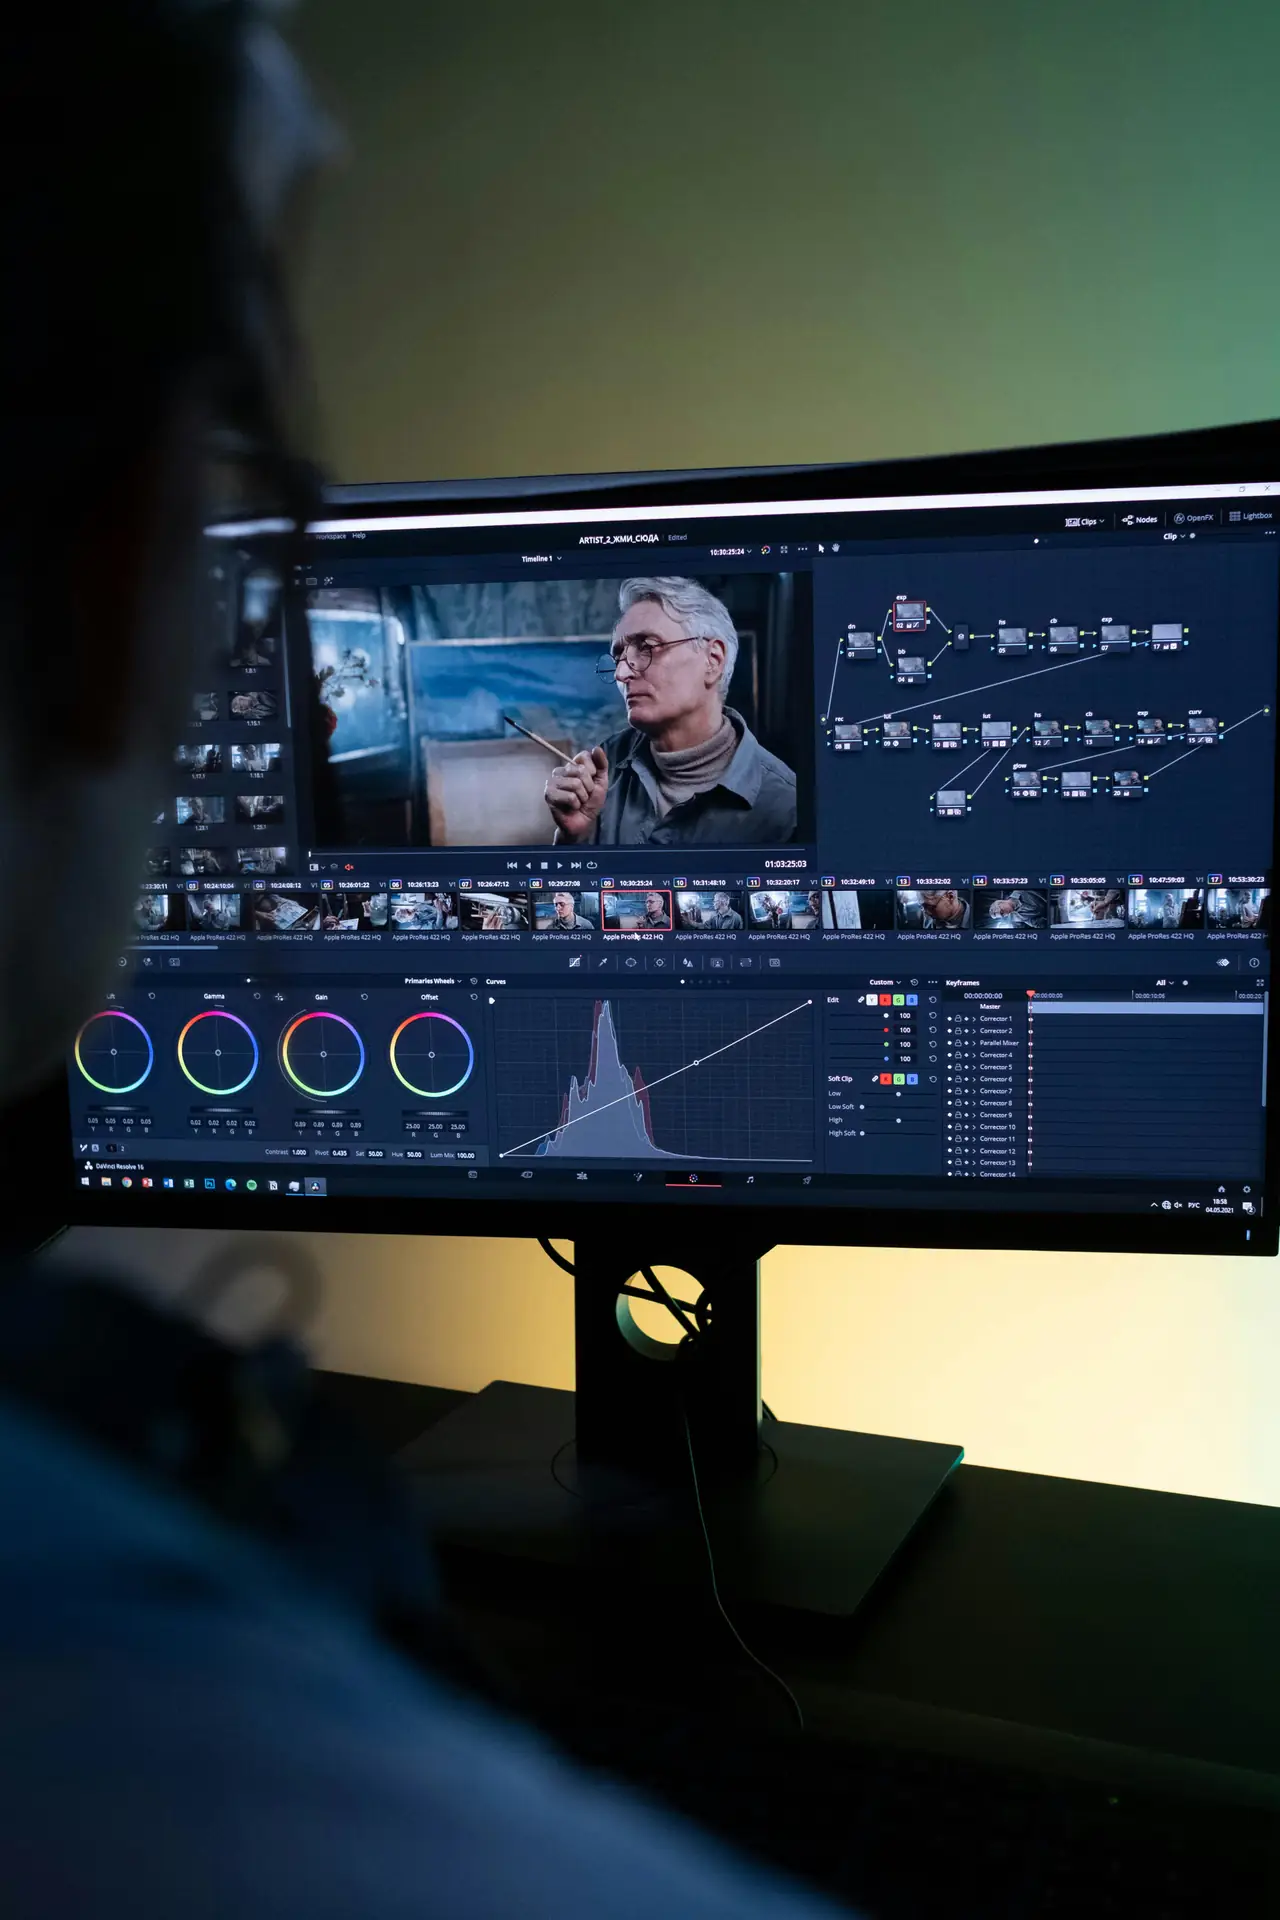
Edit: build multi-aspect timelines and use smart reframing
Use an editor that handles multi-aspect timelines. Cut once, then reframe into 16:9, 1:1, and 9:16 without rebuilding projects. This saves a lot of time.
Practical editing tips
- Create one master sequence with full-frame clips.
- Make nested sequences for each aspect ratio for fast exports.
- Use keyframes or AI tools to keep faces centered across crops.
- Label versions clearly so you can deliver the right file fast.
For big files like Panasonic Lumix or medium format stills, use proxies. Edit on a fast drive and relink full-res for final color. This gives quick drafts and final-quality exports.
Deliver and QC: color, sound, and final checks
Fix color casts and match skin tones across shots. Then normalize audio so levels stay steady across platforms. Good color and sound stop delivery rejections.
QC checklist
- Confirm format (H.264, H.265, ProRes, or DNxHR).
- Check aspect and resolution for each master carefully.
- Verify audio levels and mix for mono, stereo, or surround.
- Inspect subtitles, burned captions, and metadata entries.
- Run a checksum and test play on phone and TV devices.
Follow platform guides, such as Amazon Studios, when you deliver. Play each file on target devices to catch bad crops or audio glitches.
How to export, name, and hand off final masters
Export each master with clear names and a simple folder layout. Use client code, project name, aspect, and version in each file name. This helps clients find files fast.
Export settings and formats
- Social vertical: H.264 or H.265, 1080x1920, 30-60 Mbps.
- Square: H.264, 1080x1080, 10-20 Mbps.
- Broadcast: ProRes HQ or DNxHR, 4K or 2K as requested.
Keep a high-quality ProRes or RAW master for archives. This master helps you re-cut or re-deliver new sizes fast. Add a readme with codec, color space, and notes.
Tools, workflows, and team tips to deliver faster
Use shared templates for common jobs. Save timeline presets for vertical, square, and landscape. Templates keep quality steady across projects.
- Use cloud review tools for client notes and quick playbacks.
- Use proxy workflows for high-res files like Panasonic Lumix or Fujifilm raw files.
- Split tasks among team members for cut, grade, and QC work.
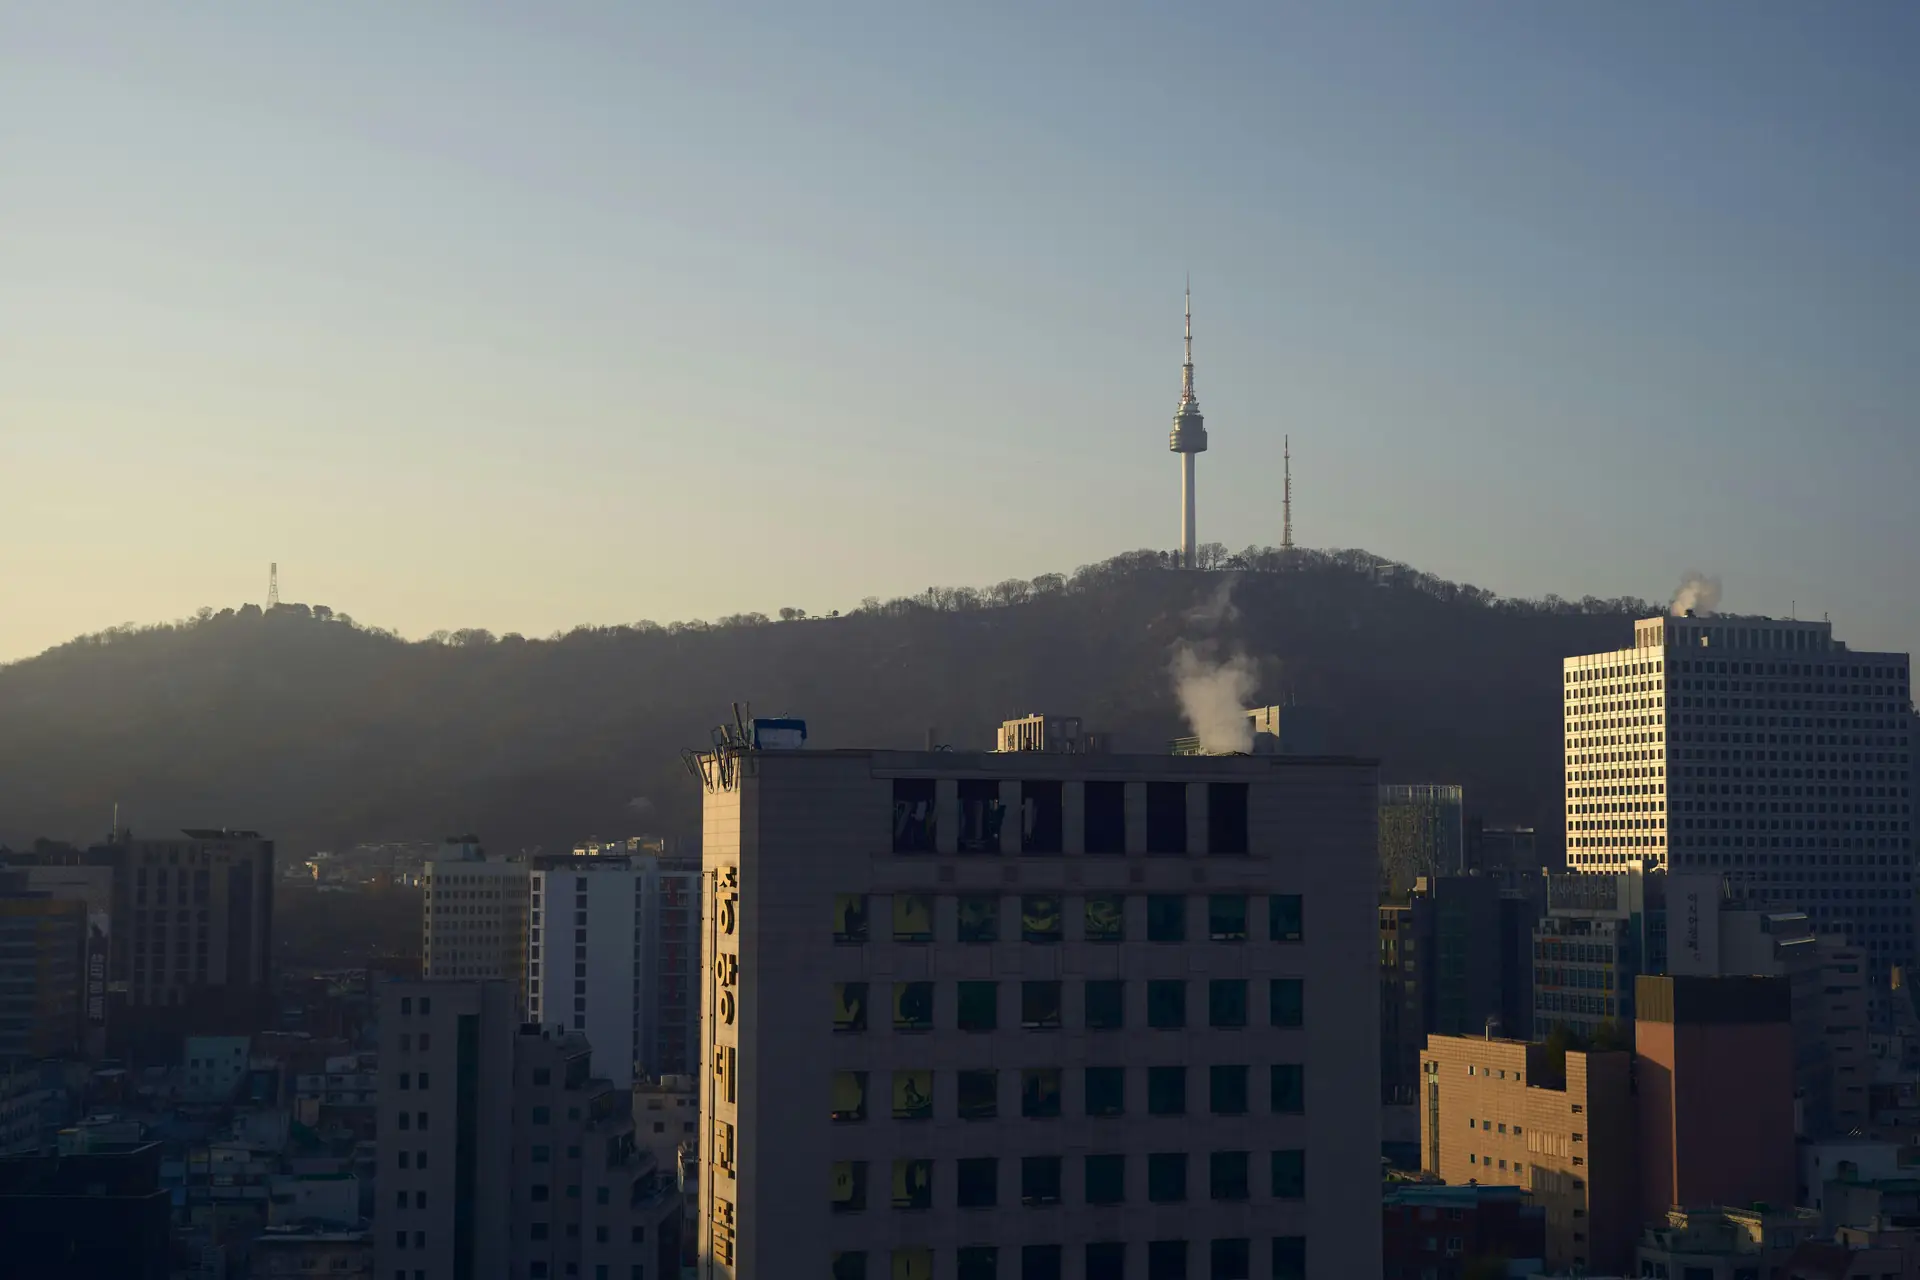
Examples, locations, and gear notes for travel shoots
When you shoot in Montreal or Chicago, plan for both portrait stories and wide street scenes. Capture wide frames for cityscapes and tall frames for storyclips. This gives you ready files for social feeds and travel blogs.
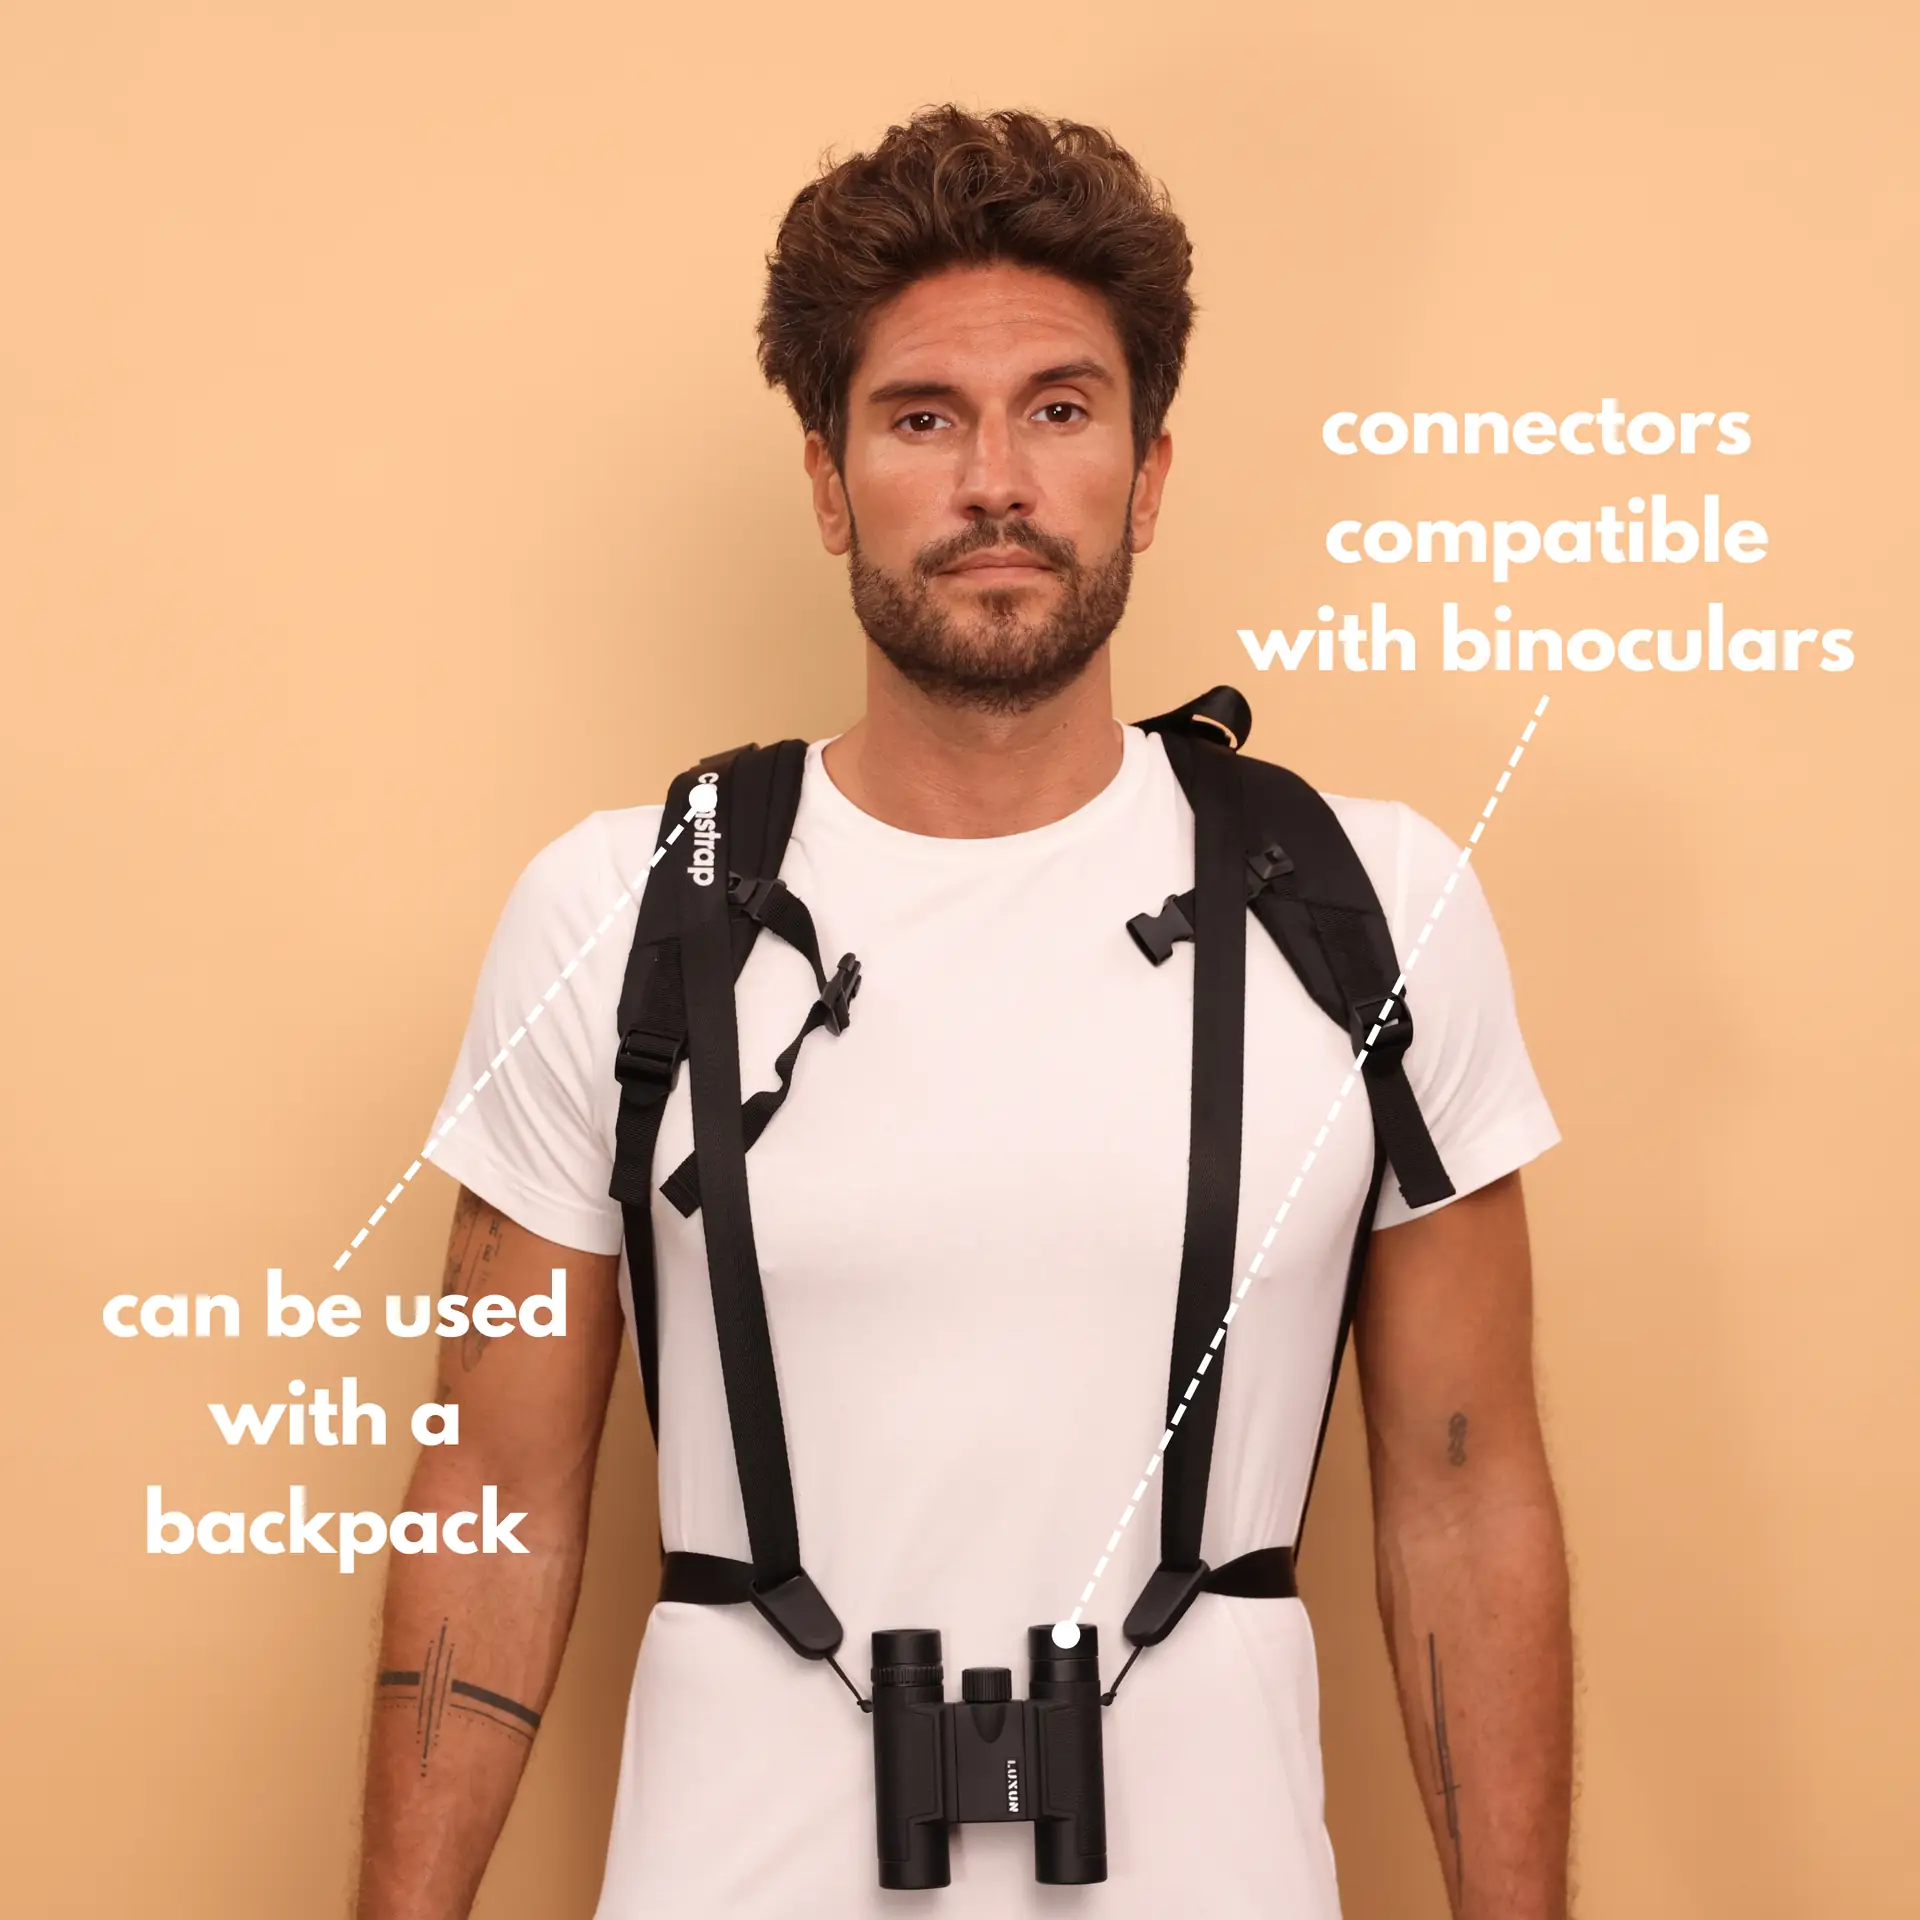
On rugged trips in Ireland or on steep trails, use a Camstrap voyager or Camstrap nomad. The camstrap magclip gives quick access to small items. These tools help outdoor adventure photographers work faster and stay safe.
Model and brand notes
For stills, a Fujifilm GFX 100S or Leica M10 makes rich files that reframe well. For video, a Sony A1 or Panasonic body gives high detail for crop work. For action, a GoPro captures clean vertical footage in tight places.
Common client questions and answers
Clients ask about size, color, and captions. Keep short answers that say what you will deliver, which formats, and when you will deliver them. This sets clear expectations.
Show past vertical masters as examples. Keep a case folder to share so clients see the final look. This helps speed approvals and final delivery.
Conclusion: deliver with confidence and clarity
Now you know how to plan, shoot, edit, QC, and deliver multi-aspect vertical masters. Ask for specs, shoot a bit wider, use smart timelines, and run strict QC. Then you can deliver files that meet client needs and make them happy.
Use Camstrap gear for safe and fast access in the field. Camstrap blends function with style for travel enthusiasts, outdoor adventure photographers, and amateur photographers. With clear steps and the right tools, you can deliver fast, consistent, and high-quality masters in 2026 and beyond.


