


- What time is golden hour for travel photography
- How do I expose photos in strong sunset light
- Should I use auto or manual mode at sunset
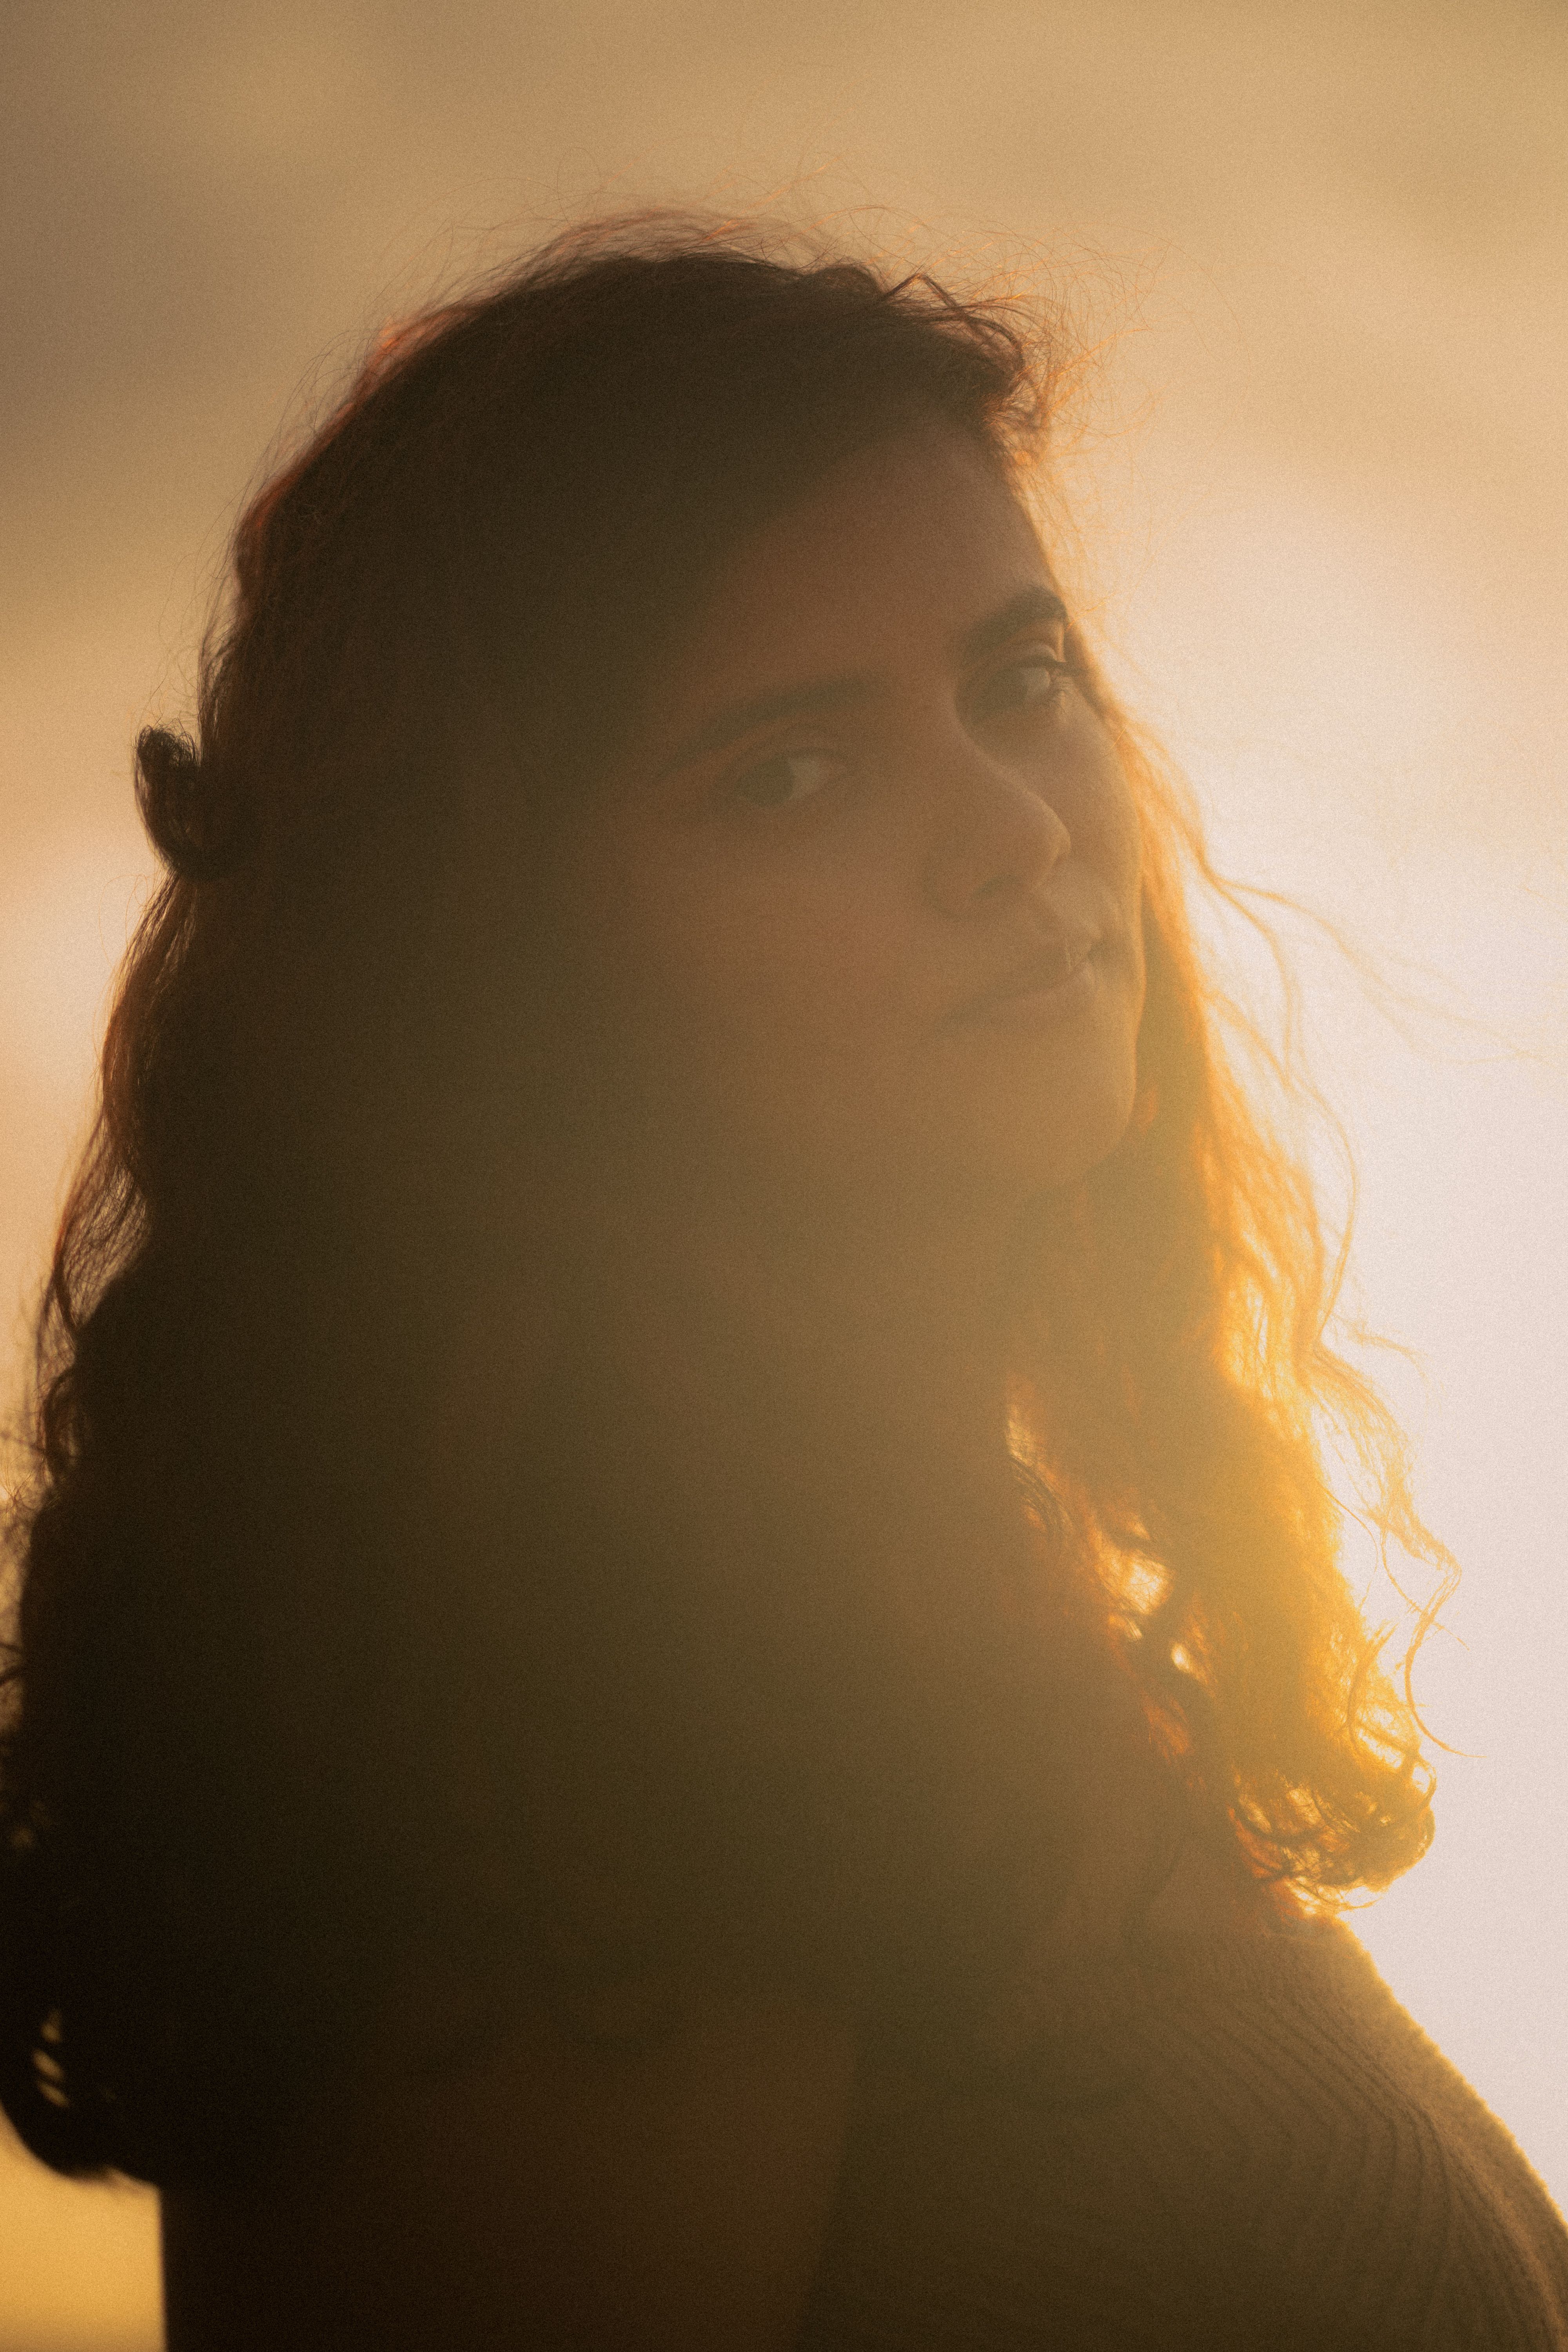
Golden-hour travel photos can feel soft, warm, and authentic. That is why so many travelers seek out this light. Still, the same glow can lead to heavy edits, strange skin tones, and colors that look false if you move too quickly.
Shop the setup

- Regular price
-
€42 - Regular price
-
€44 - Sale price
-
€42
By choosing the Camstrap strap, you are opting for a high-quality product designed to meet the needs of the most demanding photographers.
- Developed by a physiotherapist to relieve neck and back pain.
- Fast delivery with tracking by the Post Office 🚚
- Can be used as a shoulder strap or hands-free harness

- Regular price
-
€36 - Regular price
-
€42 - Sale price
-
€36
Free shipping included
The good news is straightforward. A few thoughtful choices in light, posing, and editing can make golden-hour photos look natural. You also do not need elaborate gear, just steady hands and a camera ready when the light turns gold.
What Makes Golden-Hour Travel Photos So Special?
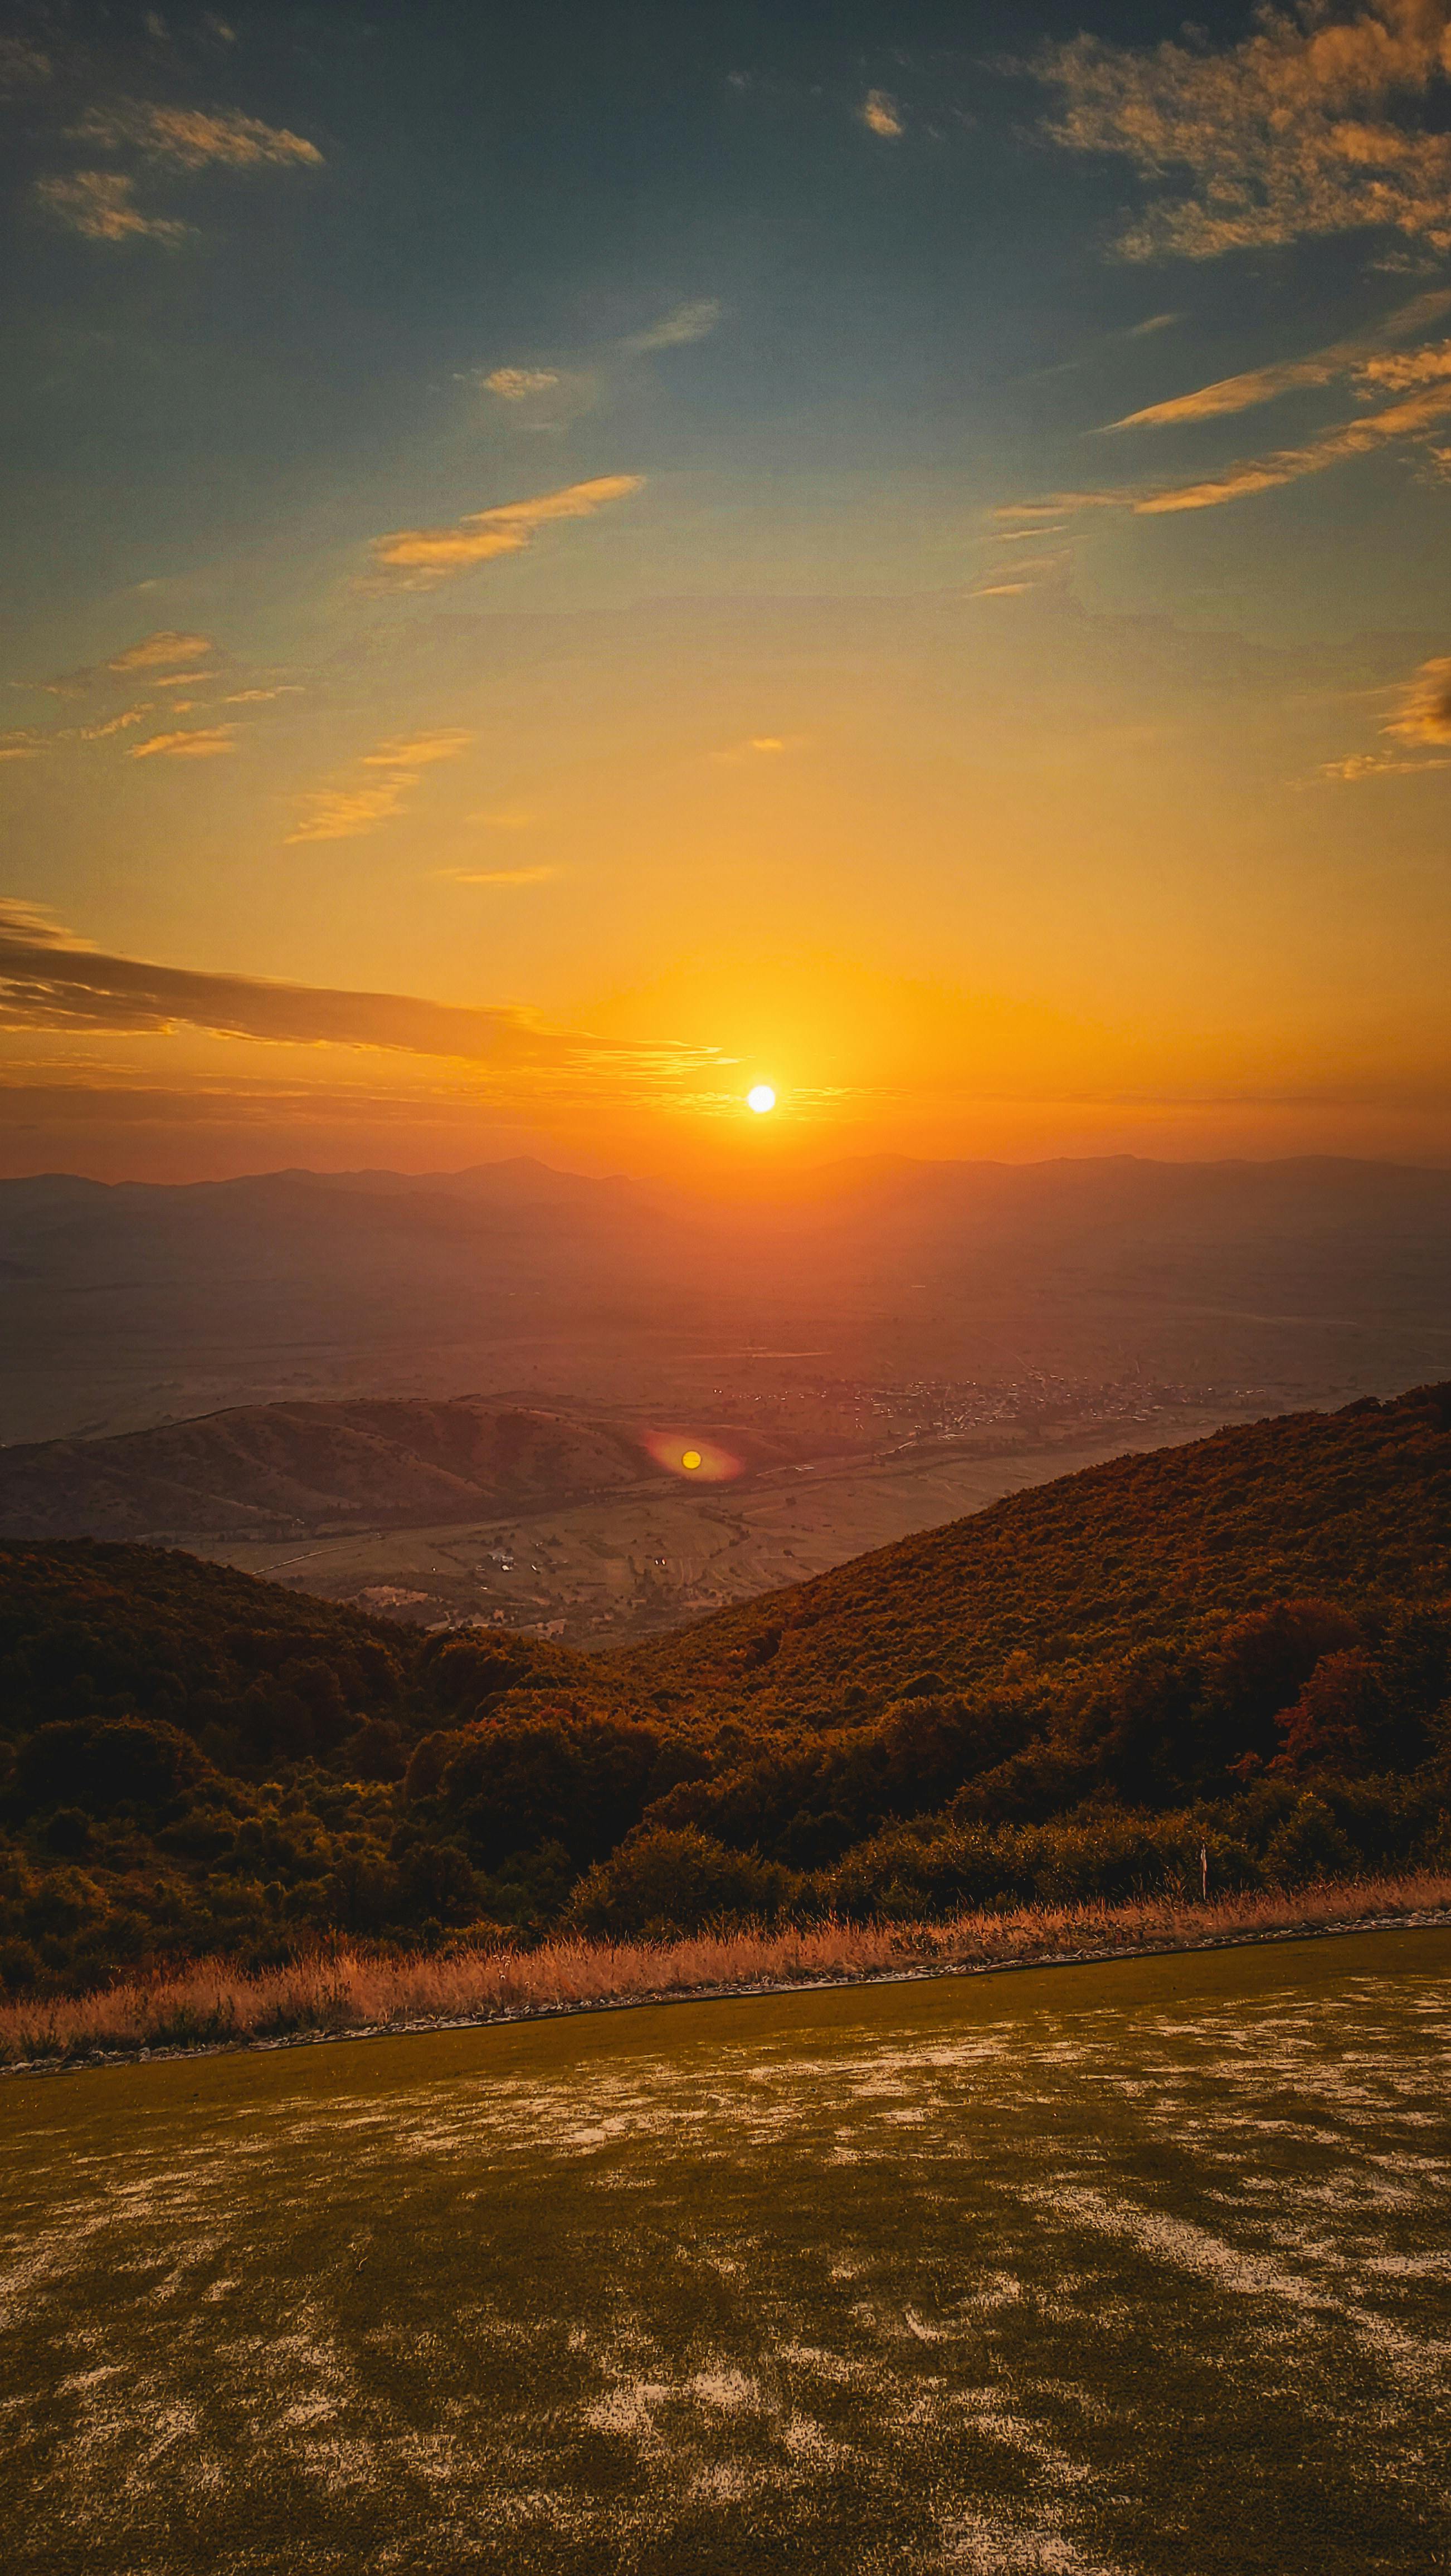
Golden hour is the brief period just after sunrise or just before sunset. Because the sun hangs low, the light feels gentle and warm. It flatters faces, city streets, beaches, and mountain views alike.
Research suggests the strongest light often begins about 60 to 90 minutes before sunset. Warm tones deepen in the final 20 to 60 minutes, and the richest gold usually appears in the last 20 minutes. That short span is what gives golden-hour travel photos their depth and realism.
Why the light looks better
With the sun low in the sky, shadows soften and a subtle glow appears. Directional light also helps your subject separate from the background. As a result, you get depth without harsh contrast.
That is one reason travel photos feel so natural at golden hour. The light wraps around people and places in a flattering way. Much of the visual work is already done for you.
When Is Golden Hour for Travel Photography?
Many readers ask, “What time is golden hour for travel photography?” The answer varies by season and location. In general, it falls in the first hour after sunrise and the last hour before sunset.
However, the exact timing changes from day to day. During summer, it may last longer. In winter, it can be much shorter. Checking a sun app before you go can save time.

Best timing for a natural look
For the softest travel photos, arrive early. Begin shooting about 60 to 90 minutes before sunset. That gives you time to find a location, test your settings, and wait for the best light.
After that, keep photographing as the light shifts. The warmest color often arrives near the end. That is when skin can look smooth, buildings can glow, and water can shimmer.
How to Expose Golden-Hour Photos in Strong Sunset Light
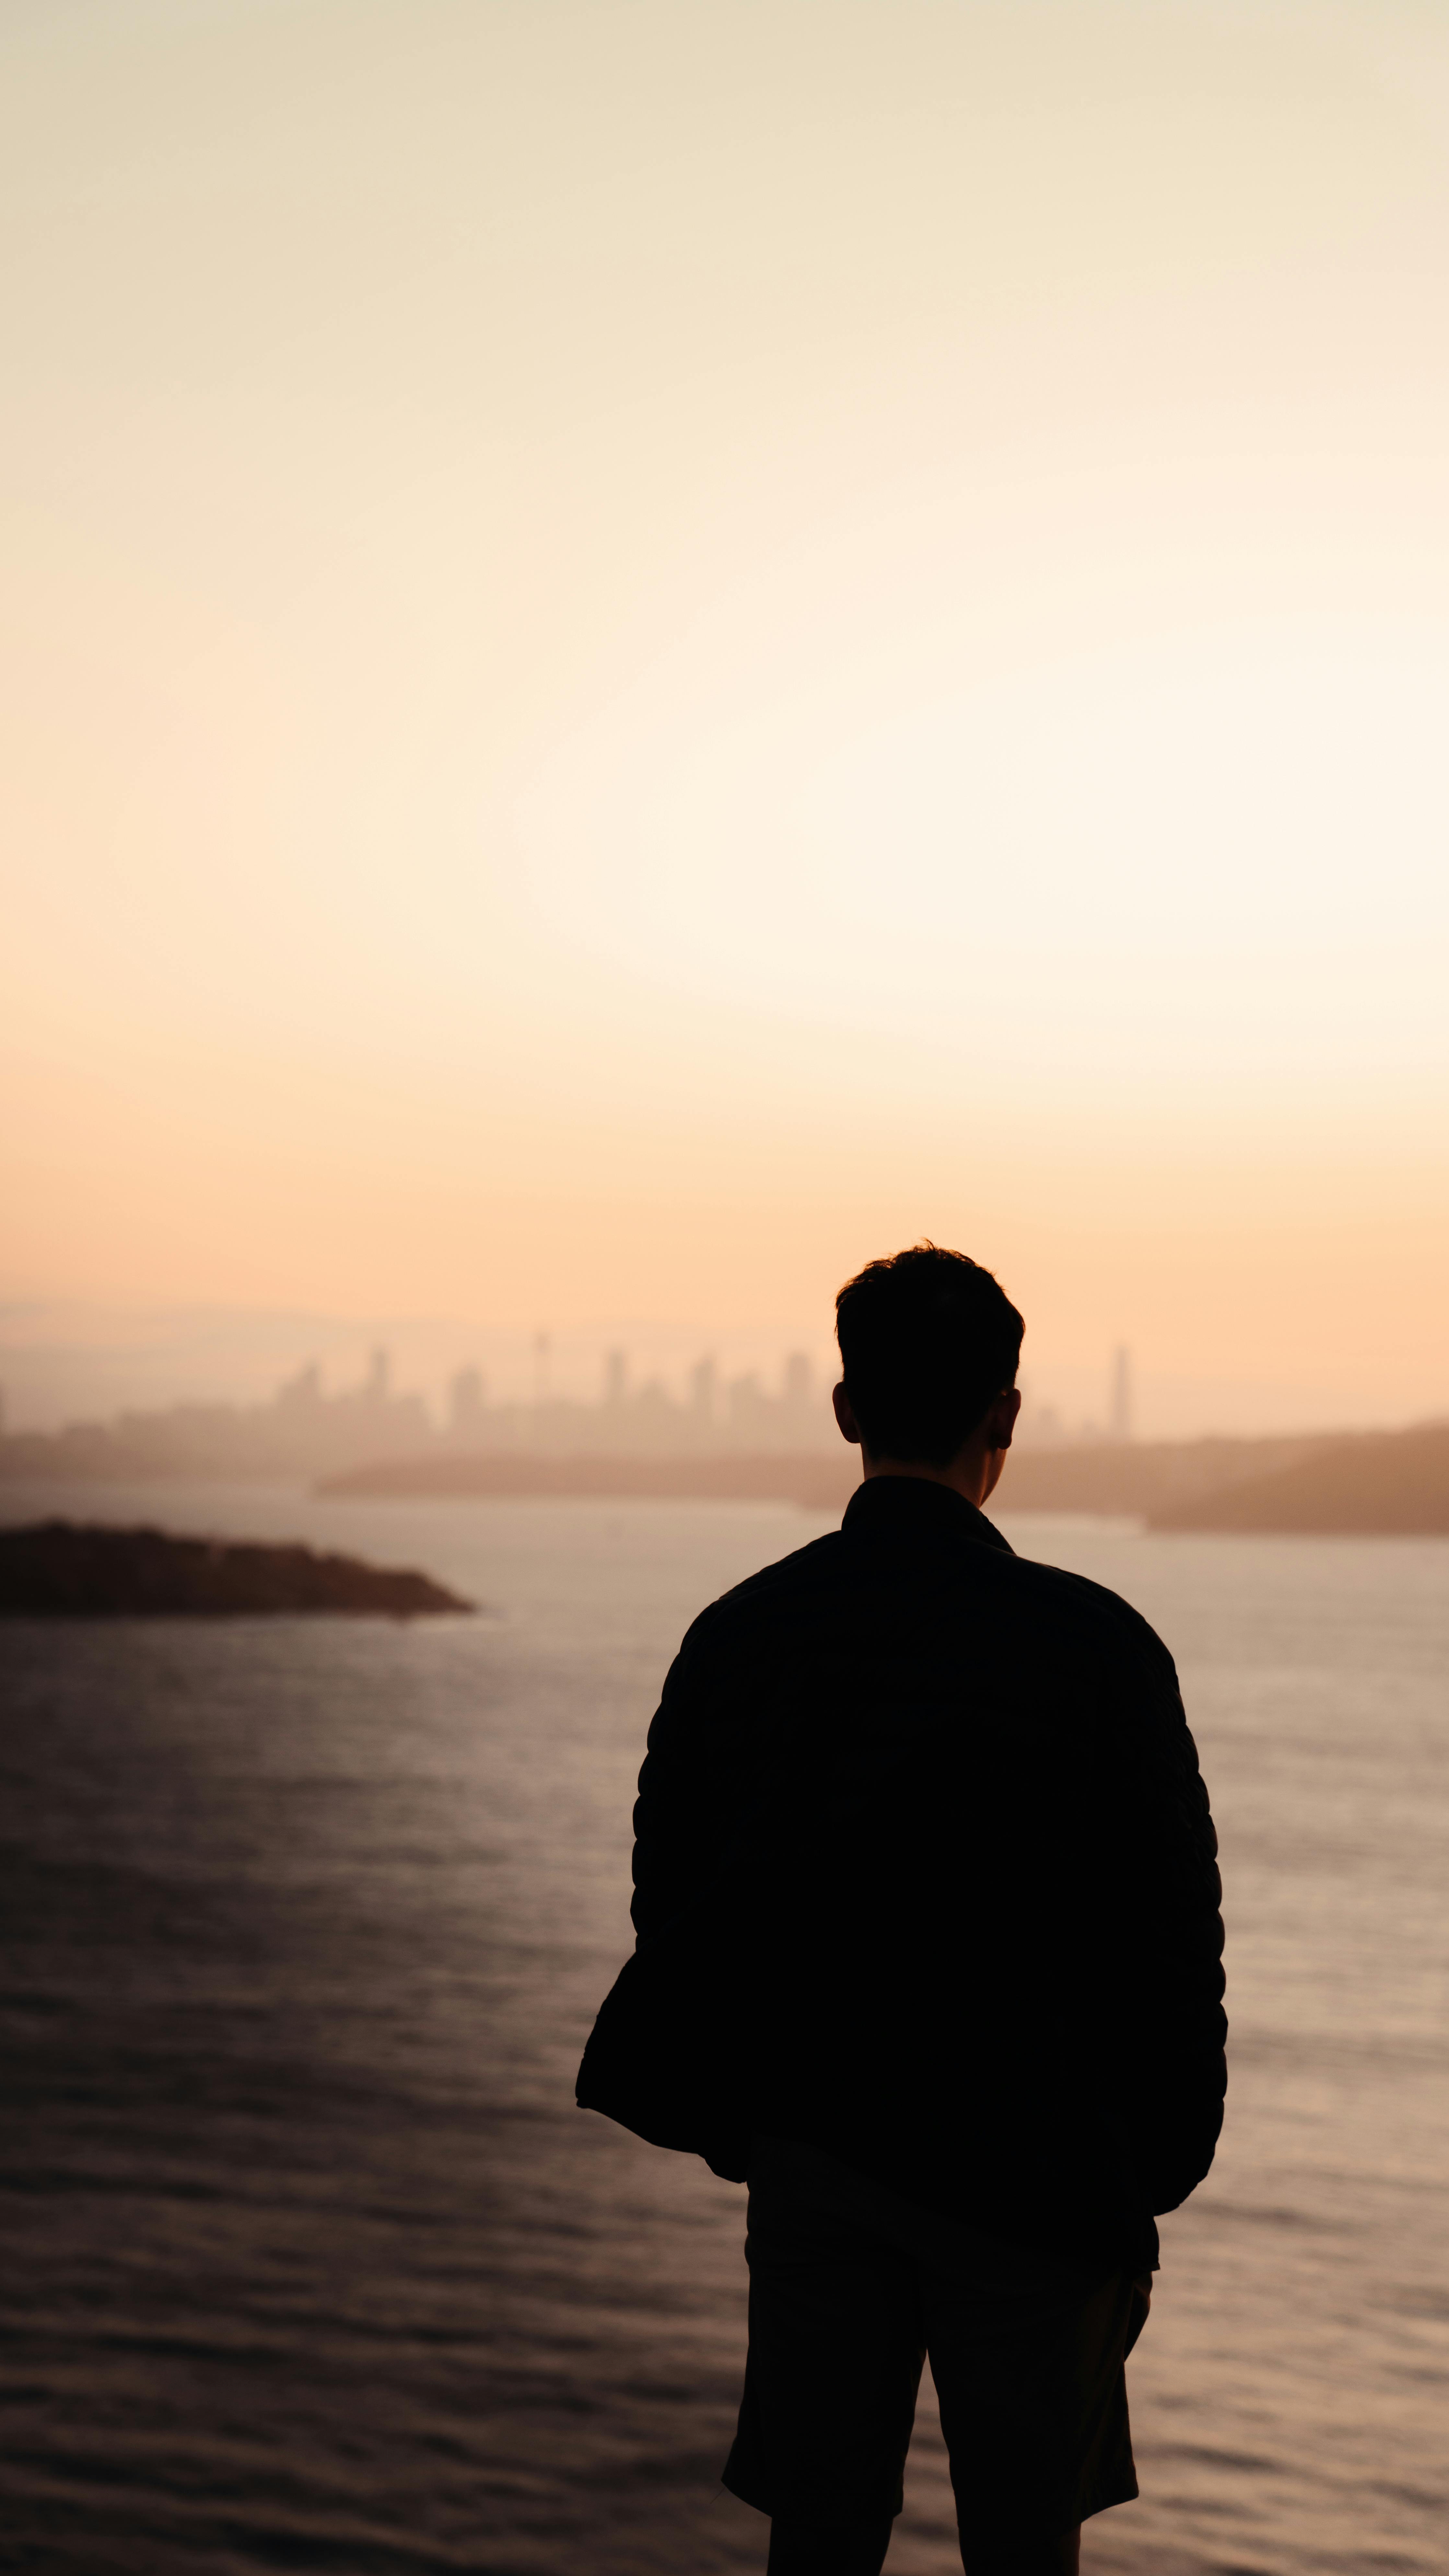
Golden-hour light is beautiful, but it can confuse your camera. The sky may appear bright while your subject turns too dark. So the key is to expose for the face or main subject, not the sky.
This simple decision keeps travel photos from looking flat or overly dramatic. It also helps the image feel more natural. Detail stays where it matters most.
Simple camera settings that work
Begin with ISO 100 to keep noise low. From there, adjust shutter speed to suit the scene. If you want a blurred background, use a wide aperture like f/1.8 to f/2.5.
For sharp travel photos from front to back, use f/14 to f/16. A 50mm lens can create pleasing bokeh behind your subject. If the face still seems dark, try exposure compensation around +0.7.
A quick exposure plan
- Set ISO to 100 if the light is still strong.
- Choose aperture based on the look you want.
- Check the face, not just the sky, on your screen.
- Raise exposure a little if the subject looks too dark.
- Protect bright areas so the sky does not blow out.
These steps help keep the image clean. They also make your golden-hour photos feel true to the moment. As a result, you will spend less time fixing problems later.
How to Pose for Golden-Hour Photos Without Looking Stiff
Many travel photos look overprocessed because the pose feels unnatural. Stiff arms, forced smiles, and rigid angles can break the mood. Instead, let the setting shape the pose.
A relaxed pose works best in golden hour. Ask the subject to walk toward or away from the light. Then have them turn slowly so the light moves across the face and clothing.
Small movements make a big difference
Avoid asking for too many sharp poses. Keep the motion simple. A slow step, a hand in the hair, or a glance over the shoulder often feels more genuine.
You can also place the sun just behind or slightly to the side of the subject. That keeps the light soft and alive. It also preserves facial detail without harsh glare.
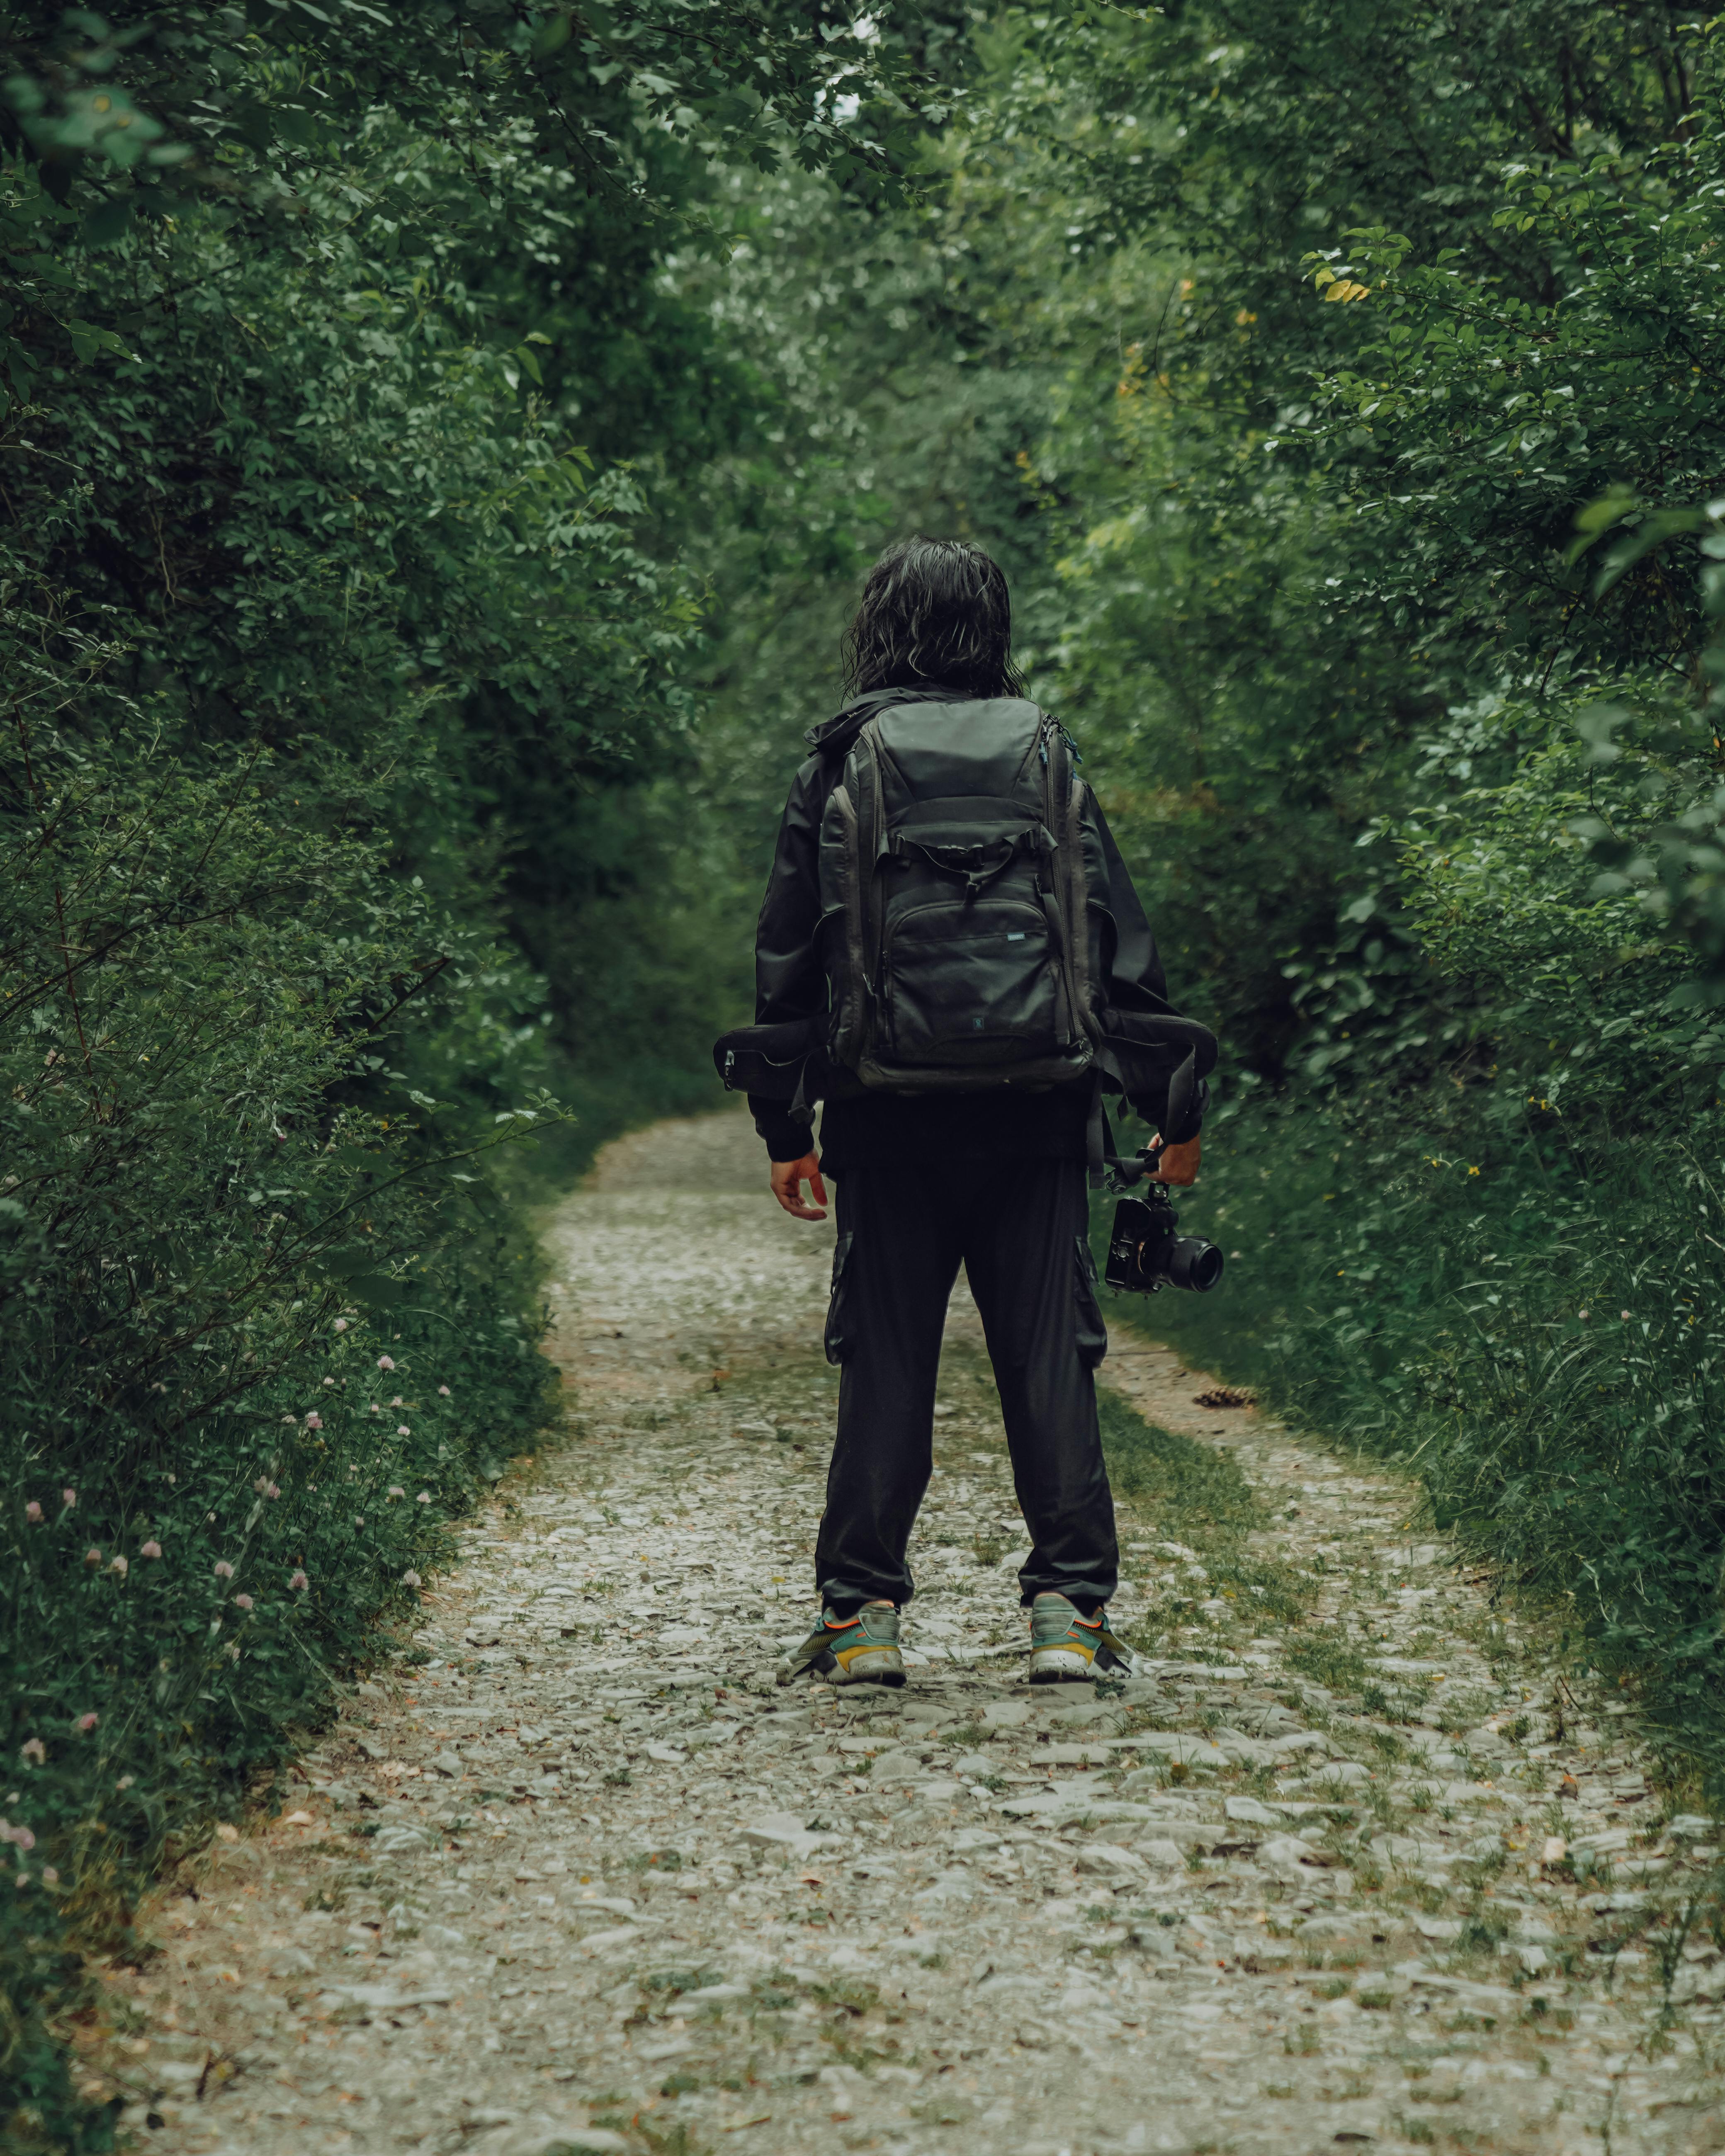
Ways to keep travel photos relaxed
- Ask the person to walk at a normal pace.
- Let them look at the view, not just the camera.
- Use simple hand moves, like holding a bag or jacket.
- Take a few frames during each step or turn.
- Keep your directions short and calm.
This approach works well in markets, on rooftops, near lakes, and along streets. It also suits the mood of golden hour far better than a stiff pose ever could.
Editing Golden-Hour Travel Photos So They Still Feel Real
Editing is often where good golden-hour photos lose their charm. Too much warmth can turn skin orange. Too much contrast can make the scene feel harsh. The goal, then, is to refine the image, not rebuild it.
Start small and adjust gradually. Add warmth in small amounts. Keep contrast gentle, but not flat. Watch skin tones carefully so they stay clean and believable.
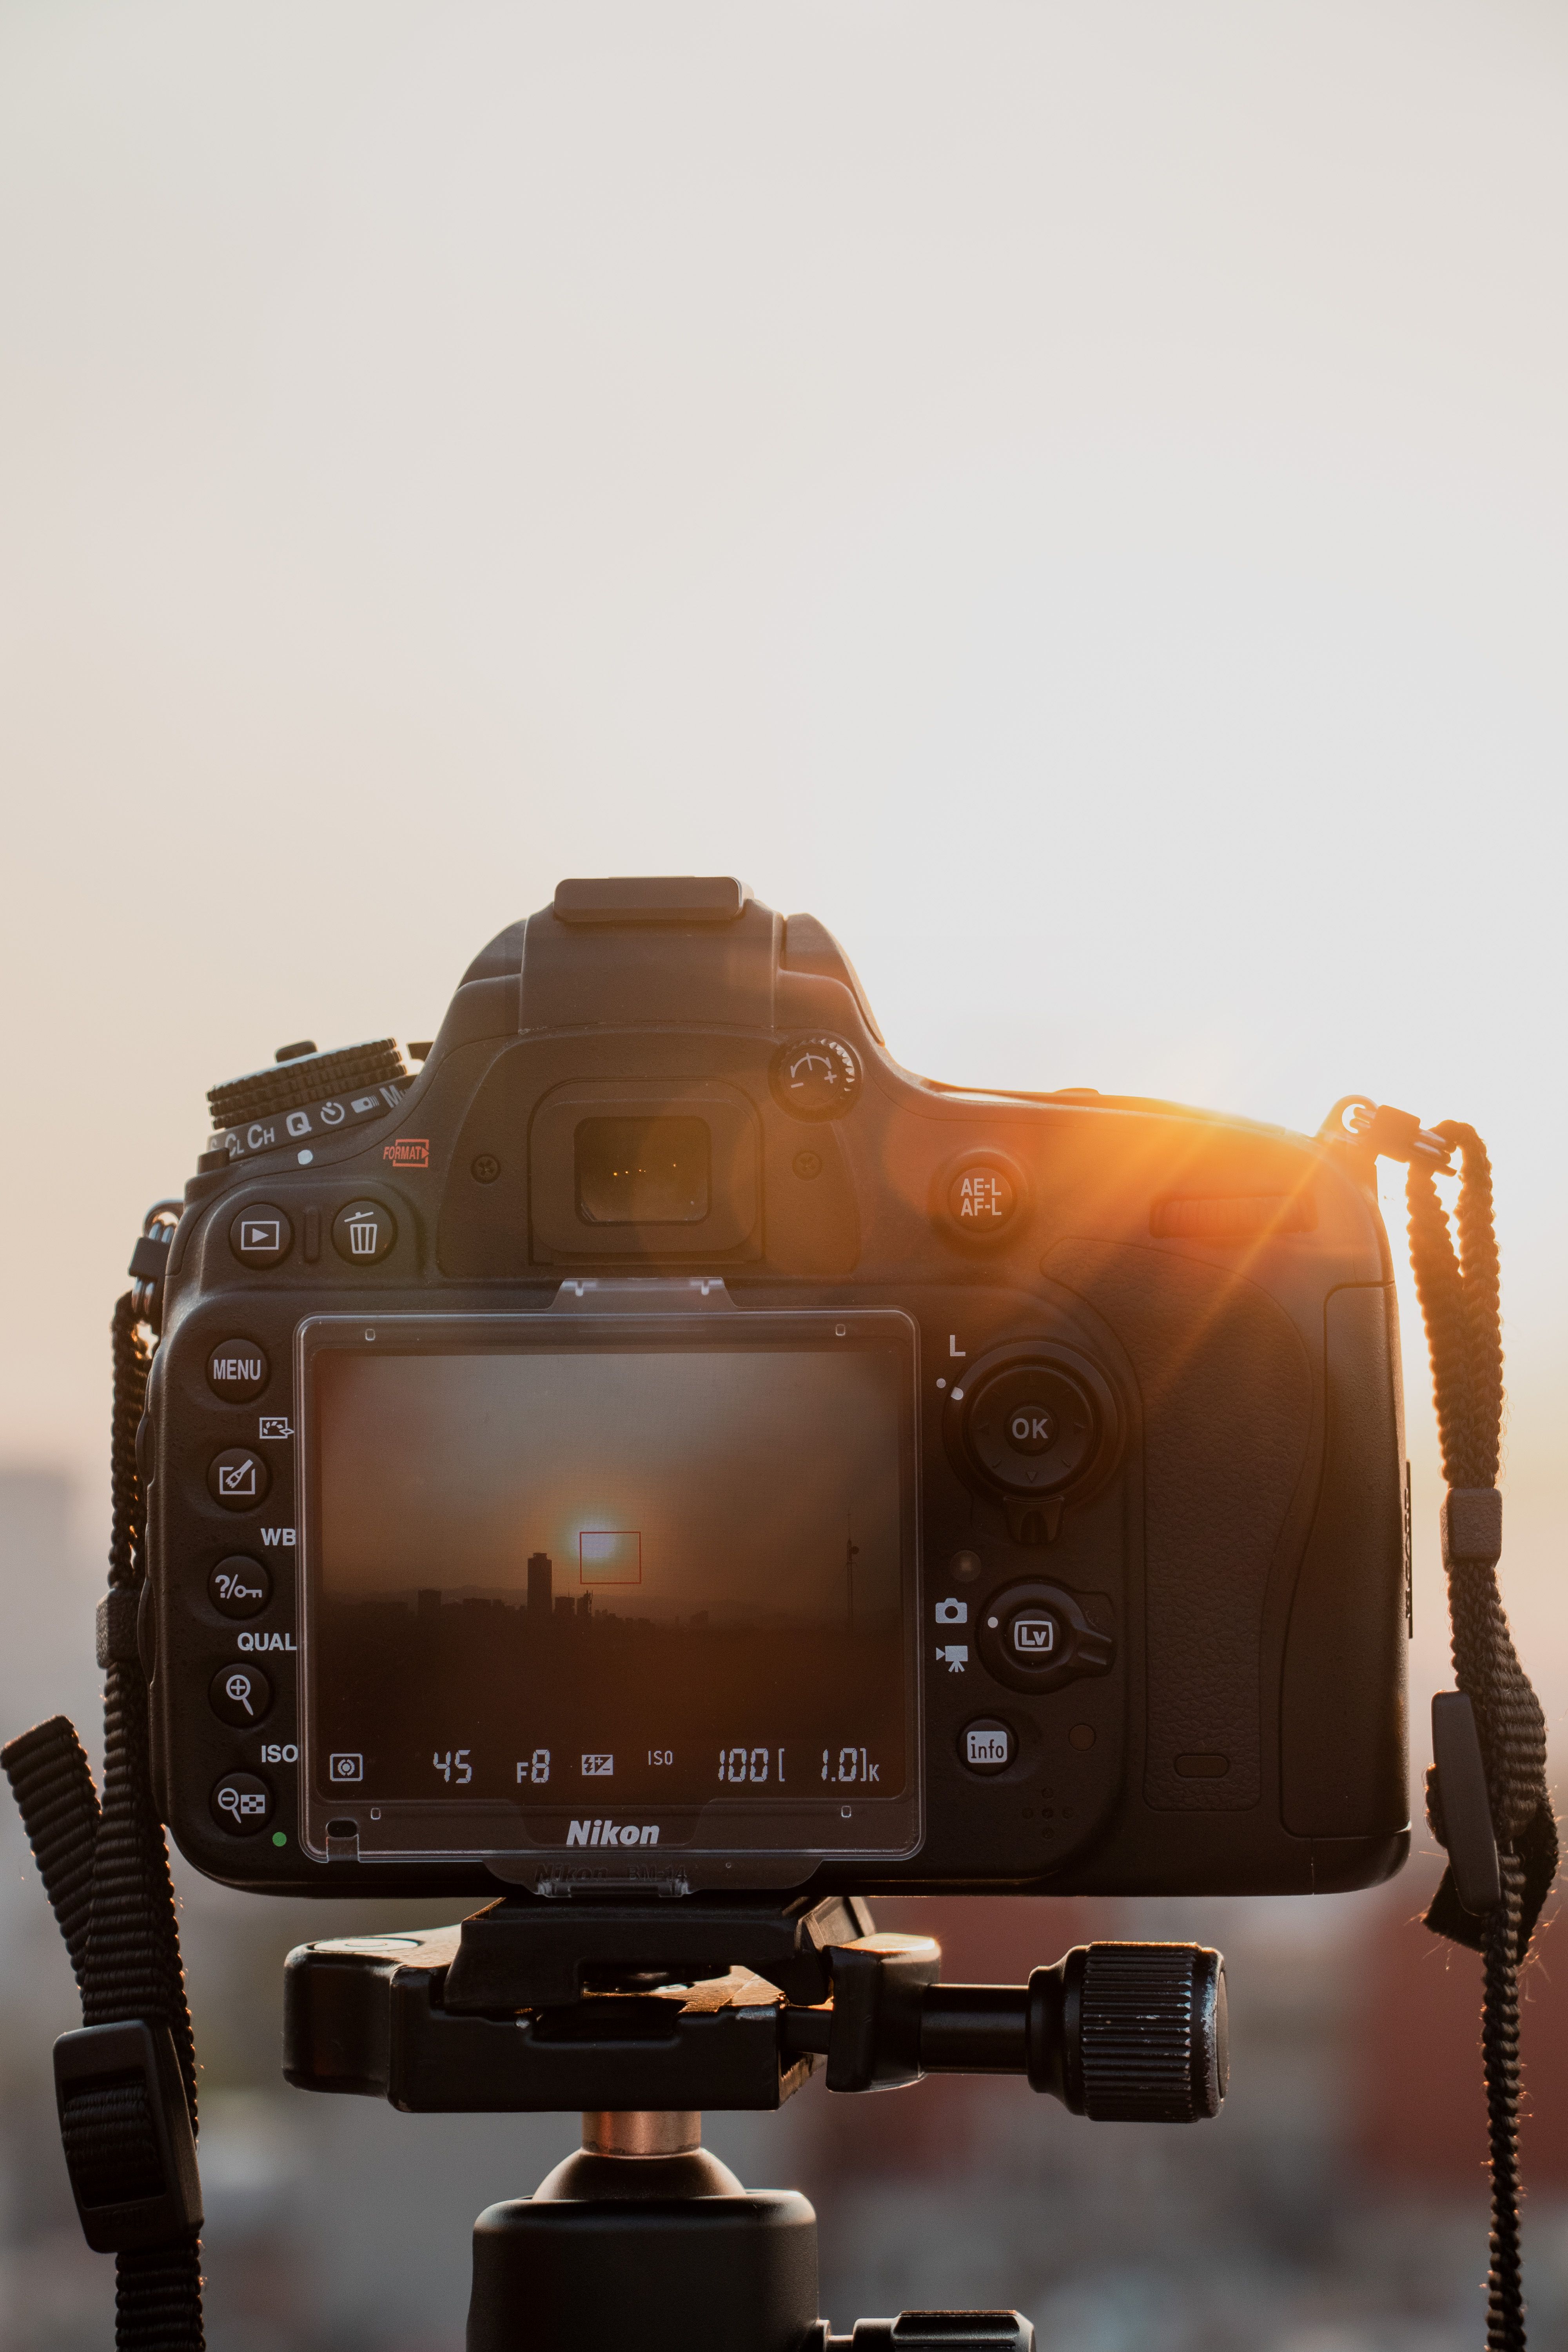
Easy edits that keep the look honest
Reduce highlights if the sky is too bright. Lift shadows just enough to recover detail. Then fine-tune white balance until the warm light still looks natural.
Skip heavy filters that push orange and yellow too far. Also avoid overly strong clarity or texture. Those tools can make skin and skies look rough very quickly.
Editing habits that help
- Warm the image slowly, not all at once.
- Keep skin tones soft and balanced.
- Use light contrast instead of deep contrast.
- Check the sky and face on a larger screen.
- Stop when the scene still looks like the real place.
In short, good editing should support the light, not overpower it. That is how golden-hour travel photos stay fresh and believable.
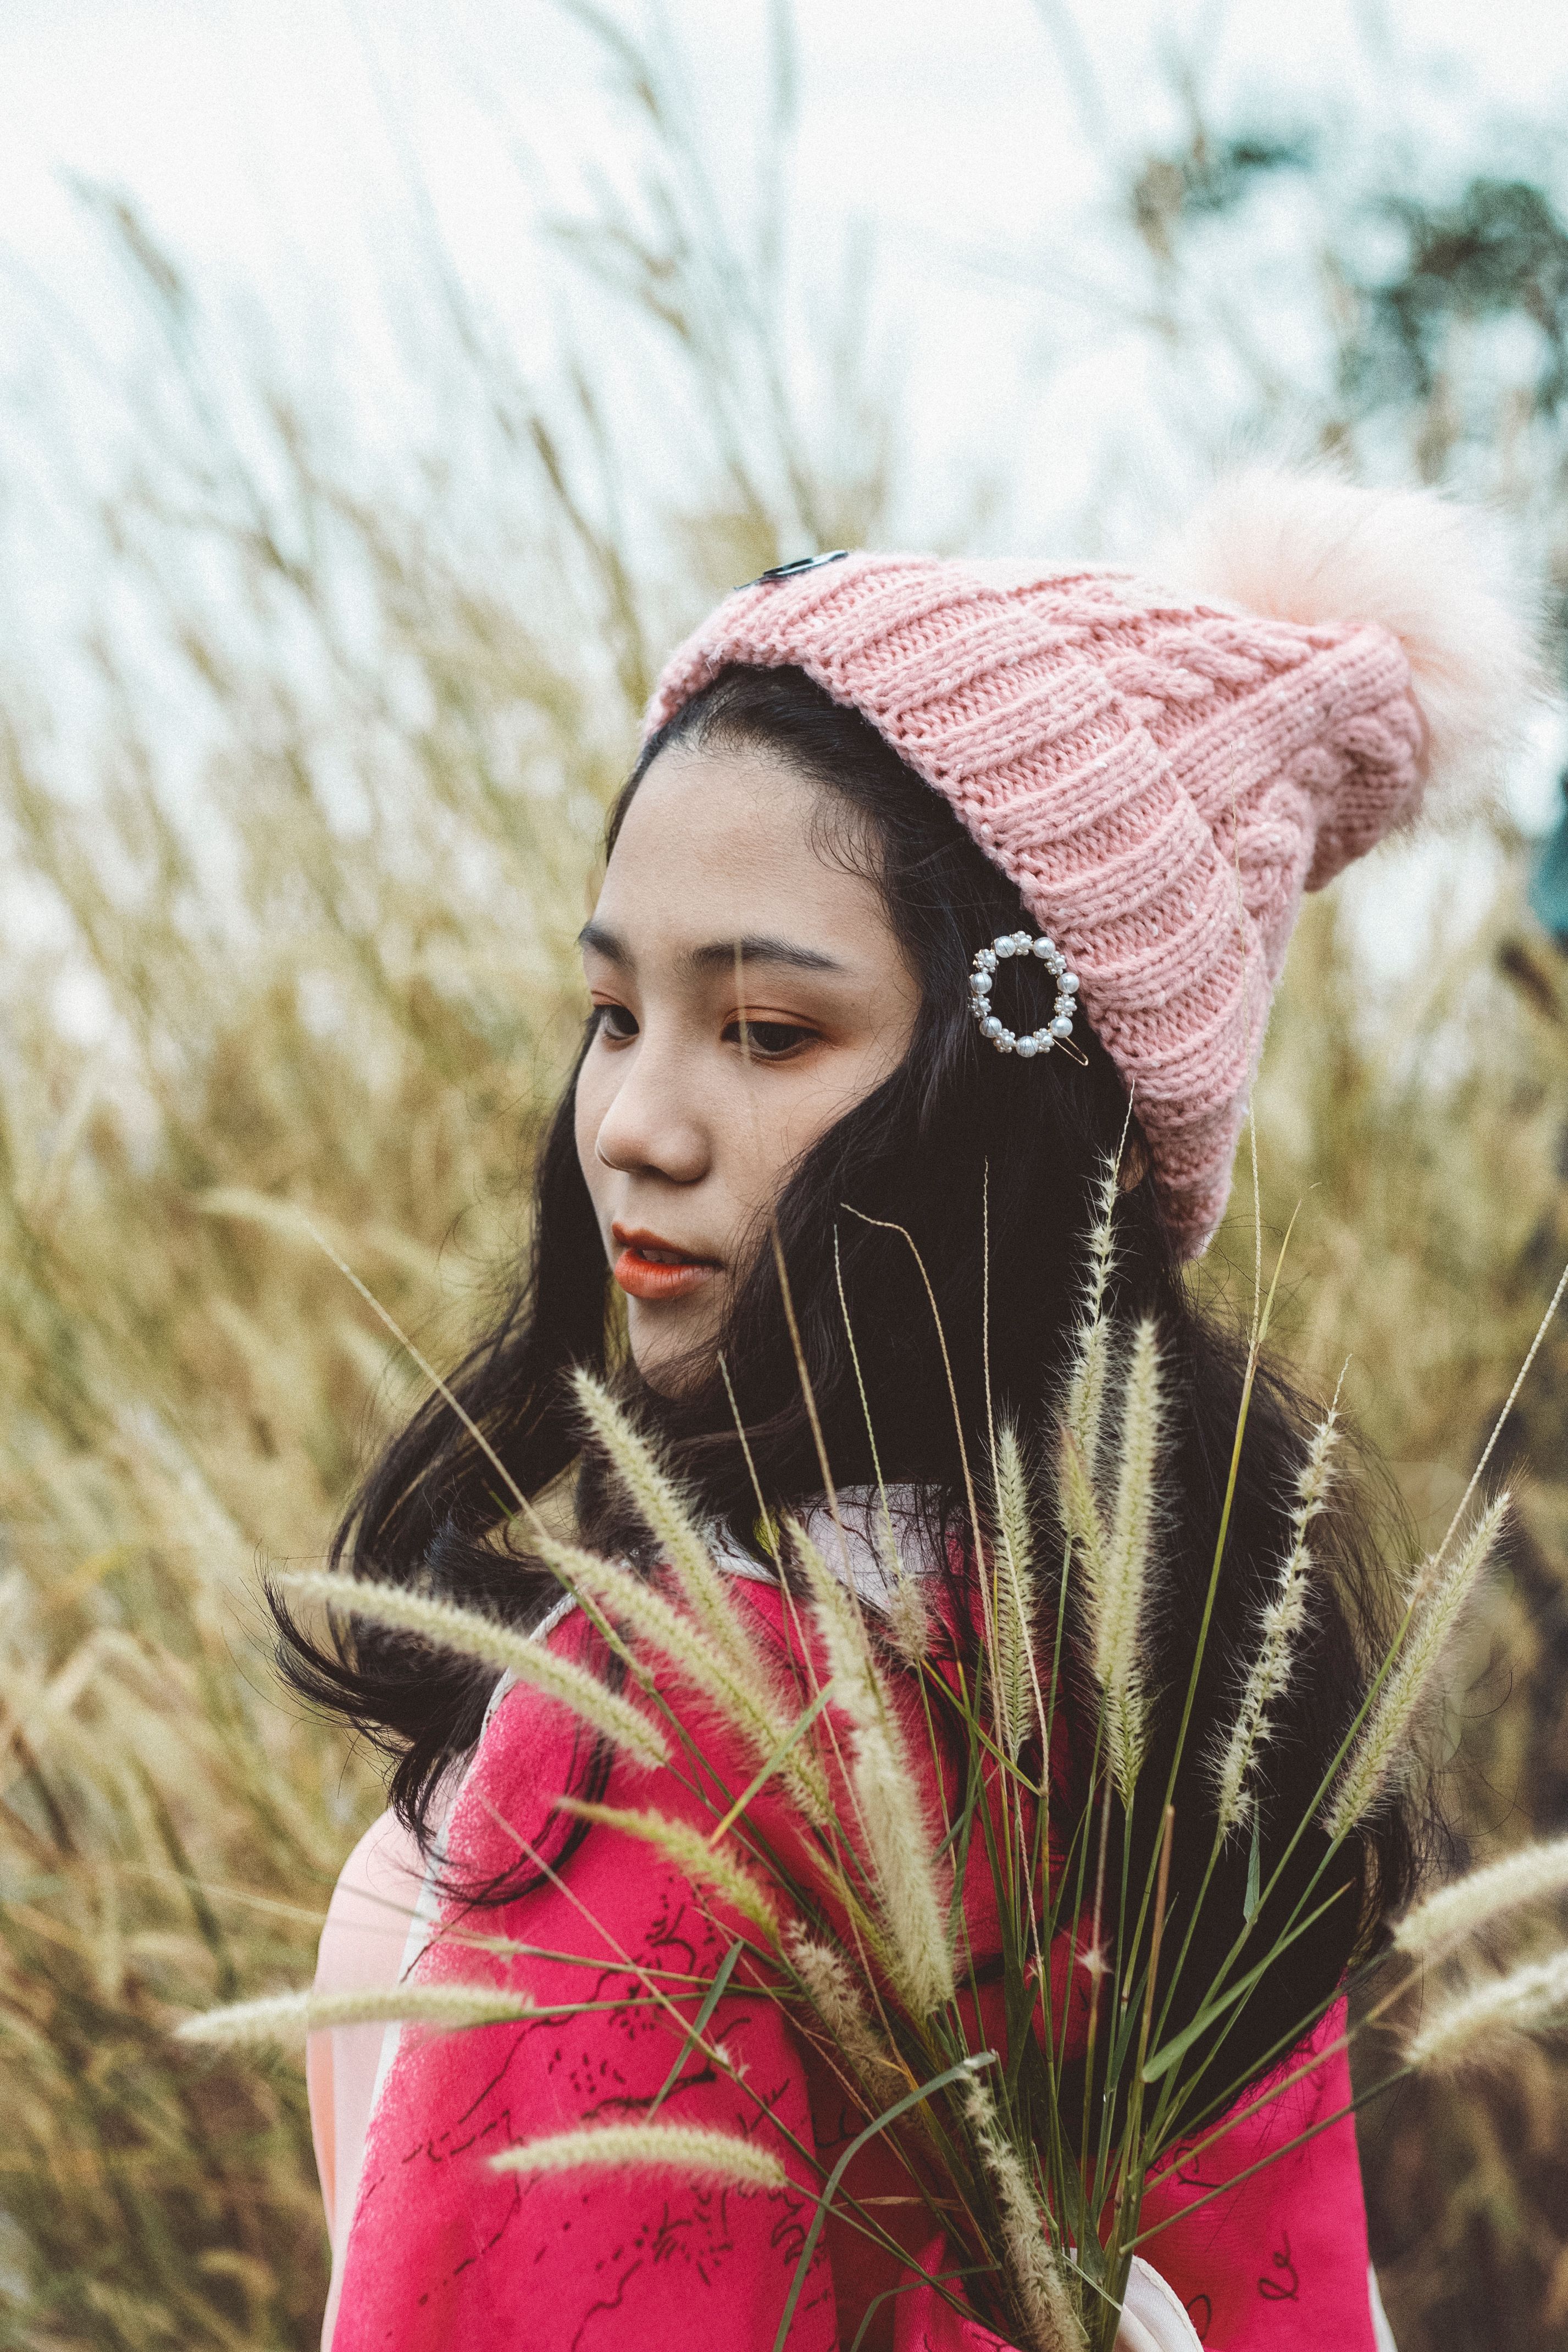
Gear and Carry Tips for Better Golden-Hour Travel Photos
Strong timing helps, but easy access to your camera matters even more. Golden hour moves quickly, and the best light can disappear within minutes. Therefore, keep your camera ready as you move through the day.
A comfortable strap can make a noticeable difference. It keeps your camera close while you explore sunset viewpoints, markets, and waterfronts. For many travelers, that means fewer missed moments and less neck strain.
Picking gear that fits the trip
If you want a lighter setup, a 50mm or 85mm lens works well for portraits and street scenes. A wide lens is useful when you want to include more of the city or coast. The best option depends on the story you want to tell.
Camstrap offers several carry options that suit different travel styles. The camstrap voyager can work well for long city walks, while the camstrap explorer may suit tougher outdoor days. The camstrap nomad and camstrap magclip are also practical options for photographers who want quick access.
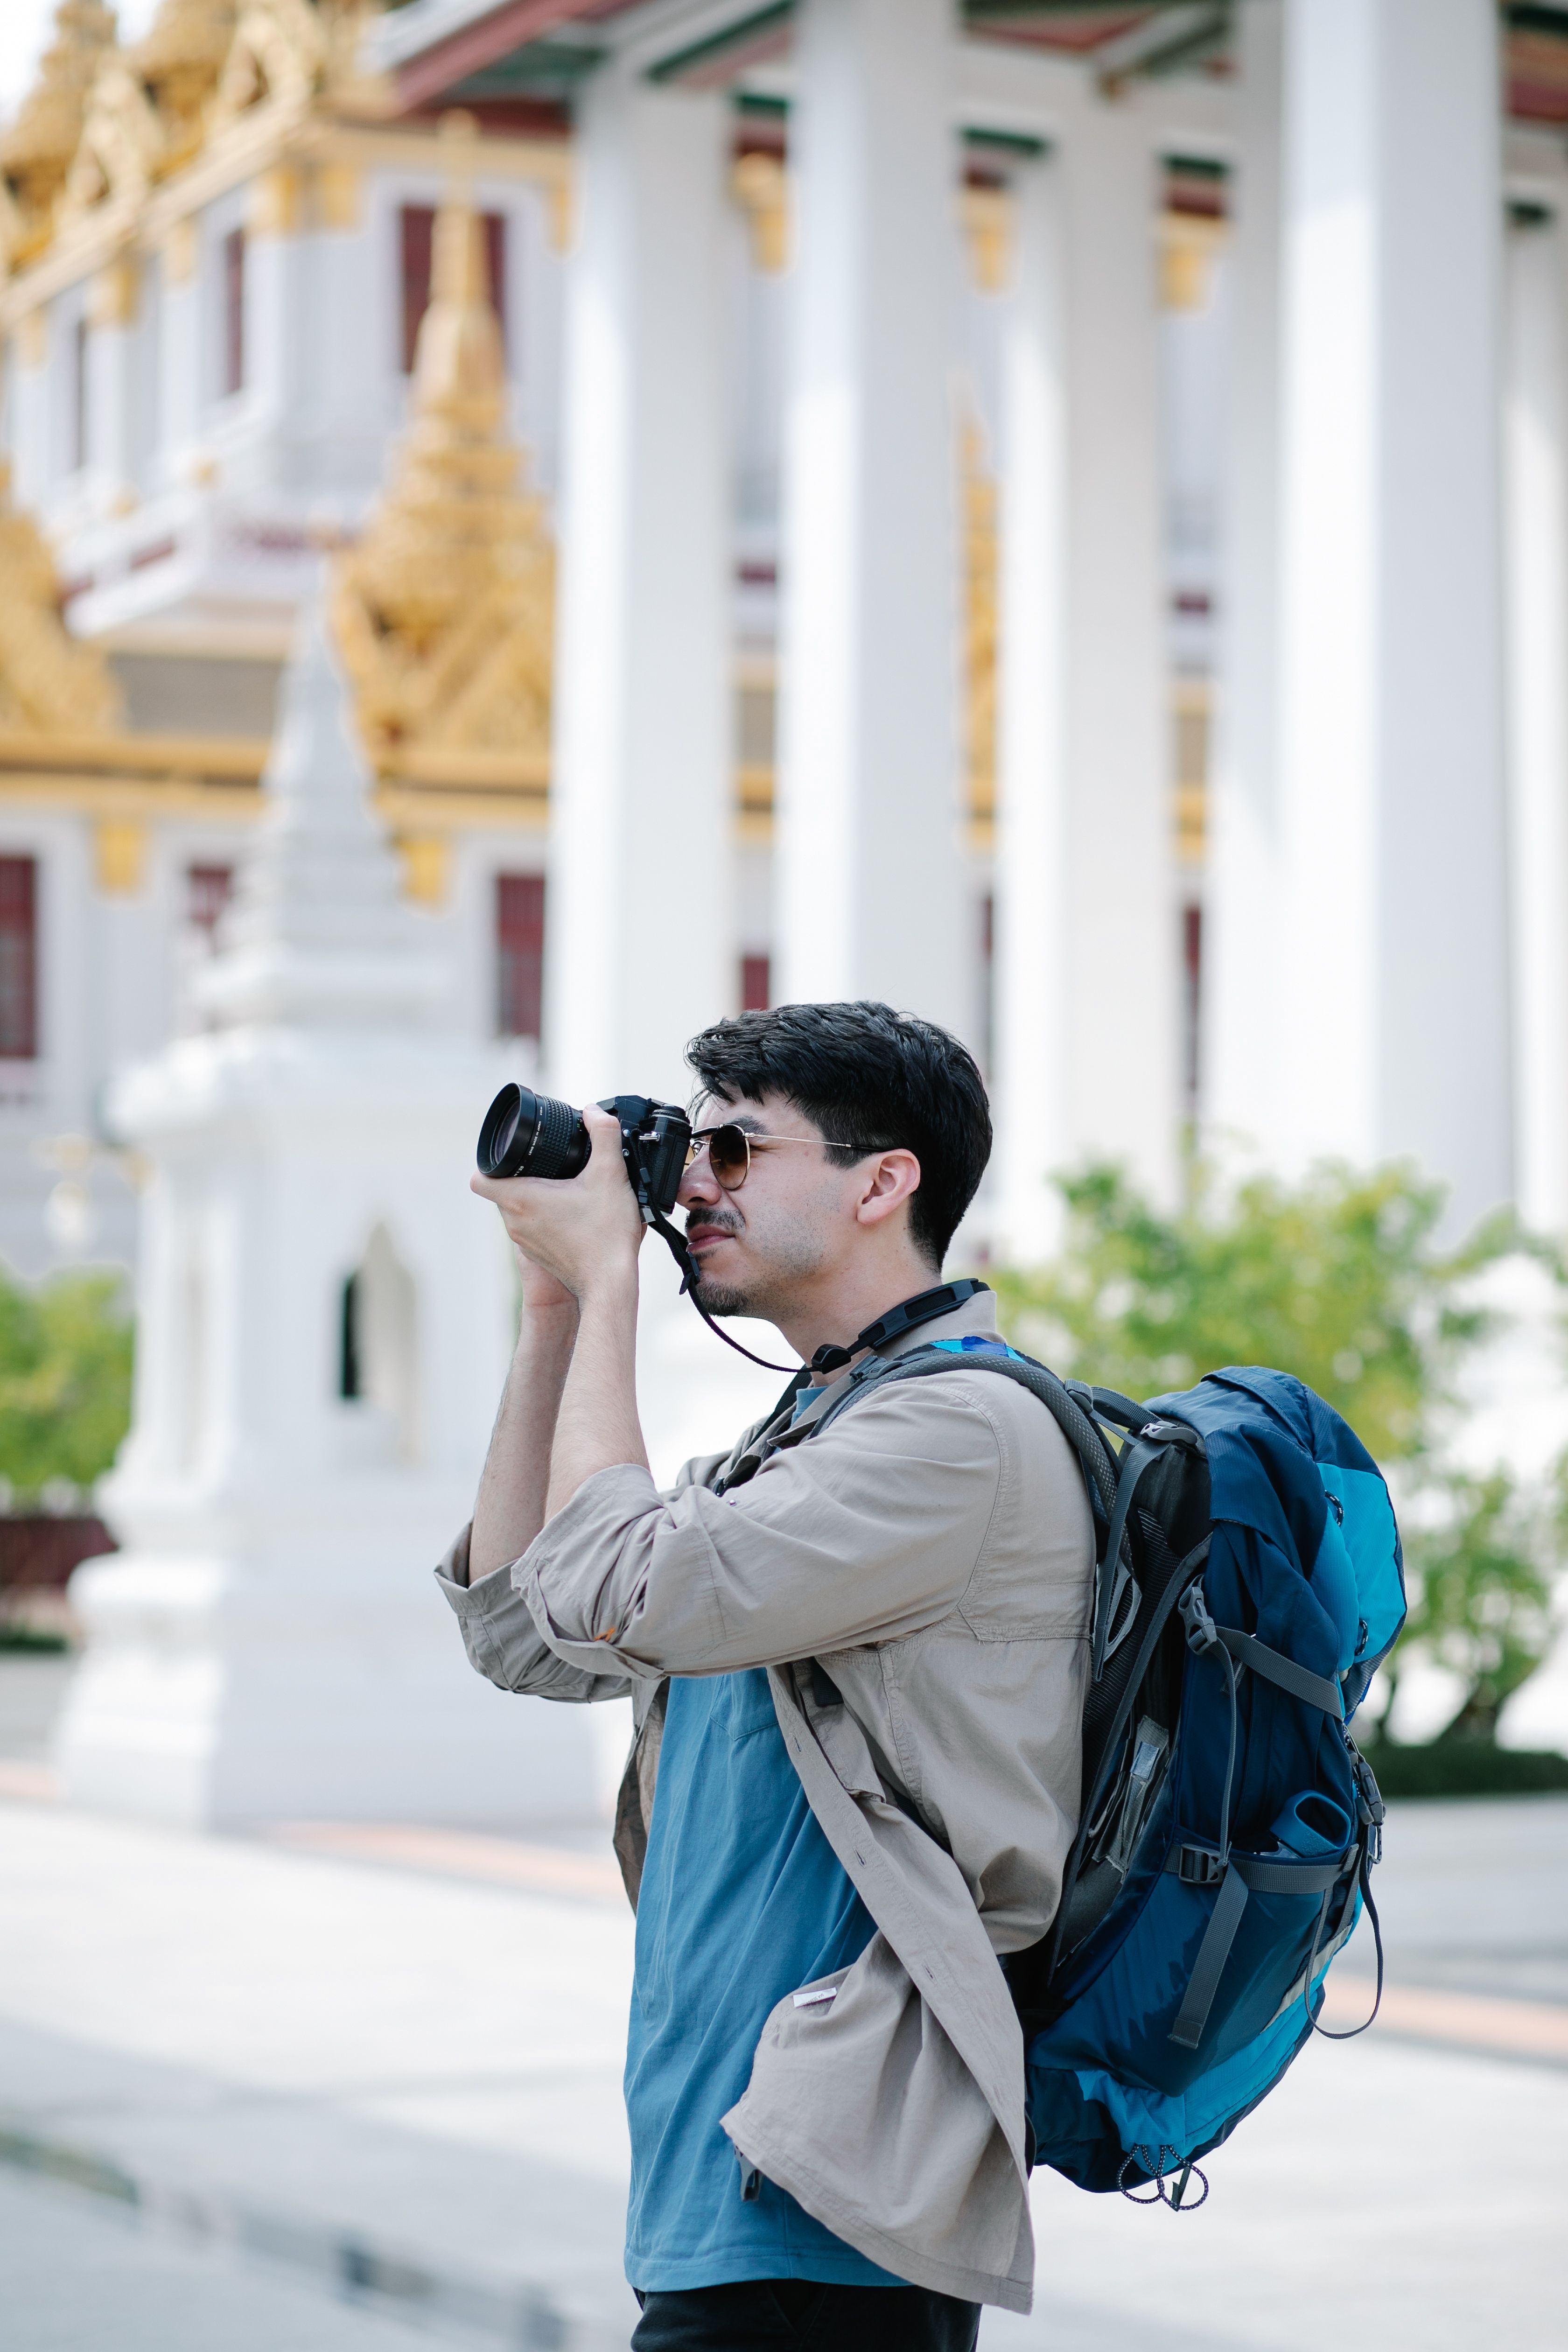
Why carry comfort matters at sunset
Golden hour often requires quick movement. You may shift from a hilltop to a dock, then to a street corner. A stable strap helps you stay free and ready.
That matters because natural photos often come from small, unplanned moments. You need to lift the camera quickly, frame the scene, and shoot before the light changes.
Auto or Manual Mode at Sunset: Which Should You Use?
Another common question is simple: should you use auto or manual mode at sunset? The honest answer is that both can work. It depends on how quickly the light changes and how much control you want.
Auto mode is useful when you are moving fast. It helps if you are chasing changing light in busy travel scenes. Manual mode gives you more control when you want the same look across many photos.
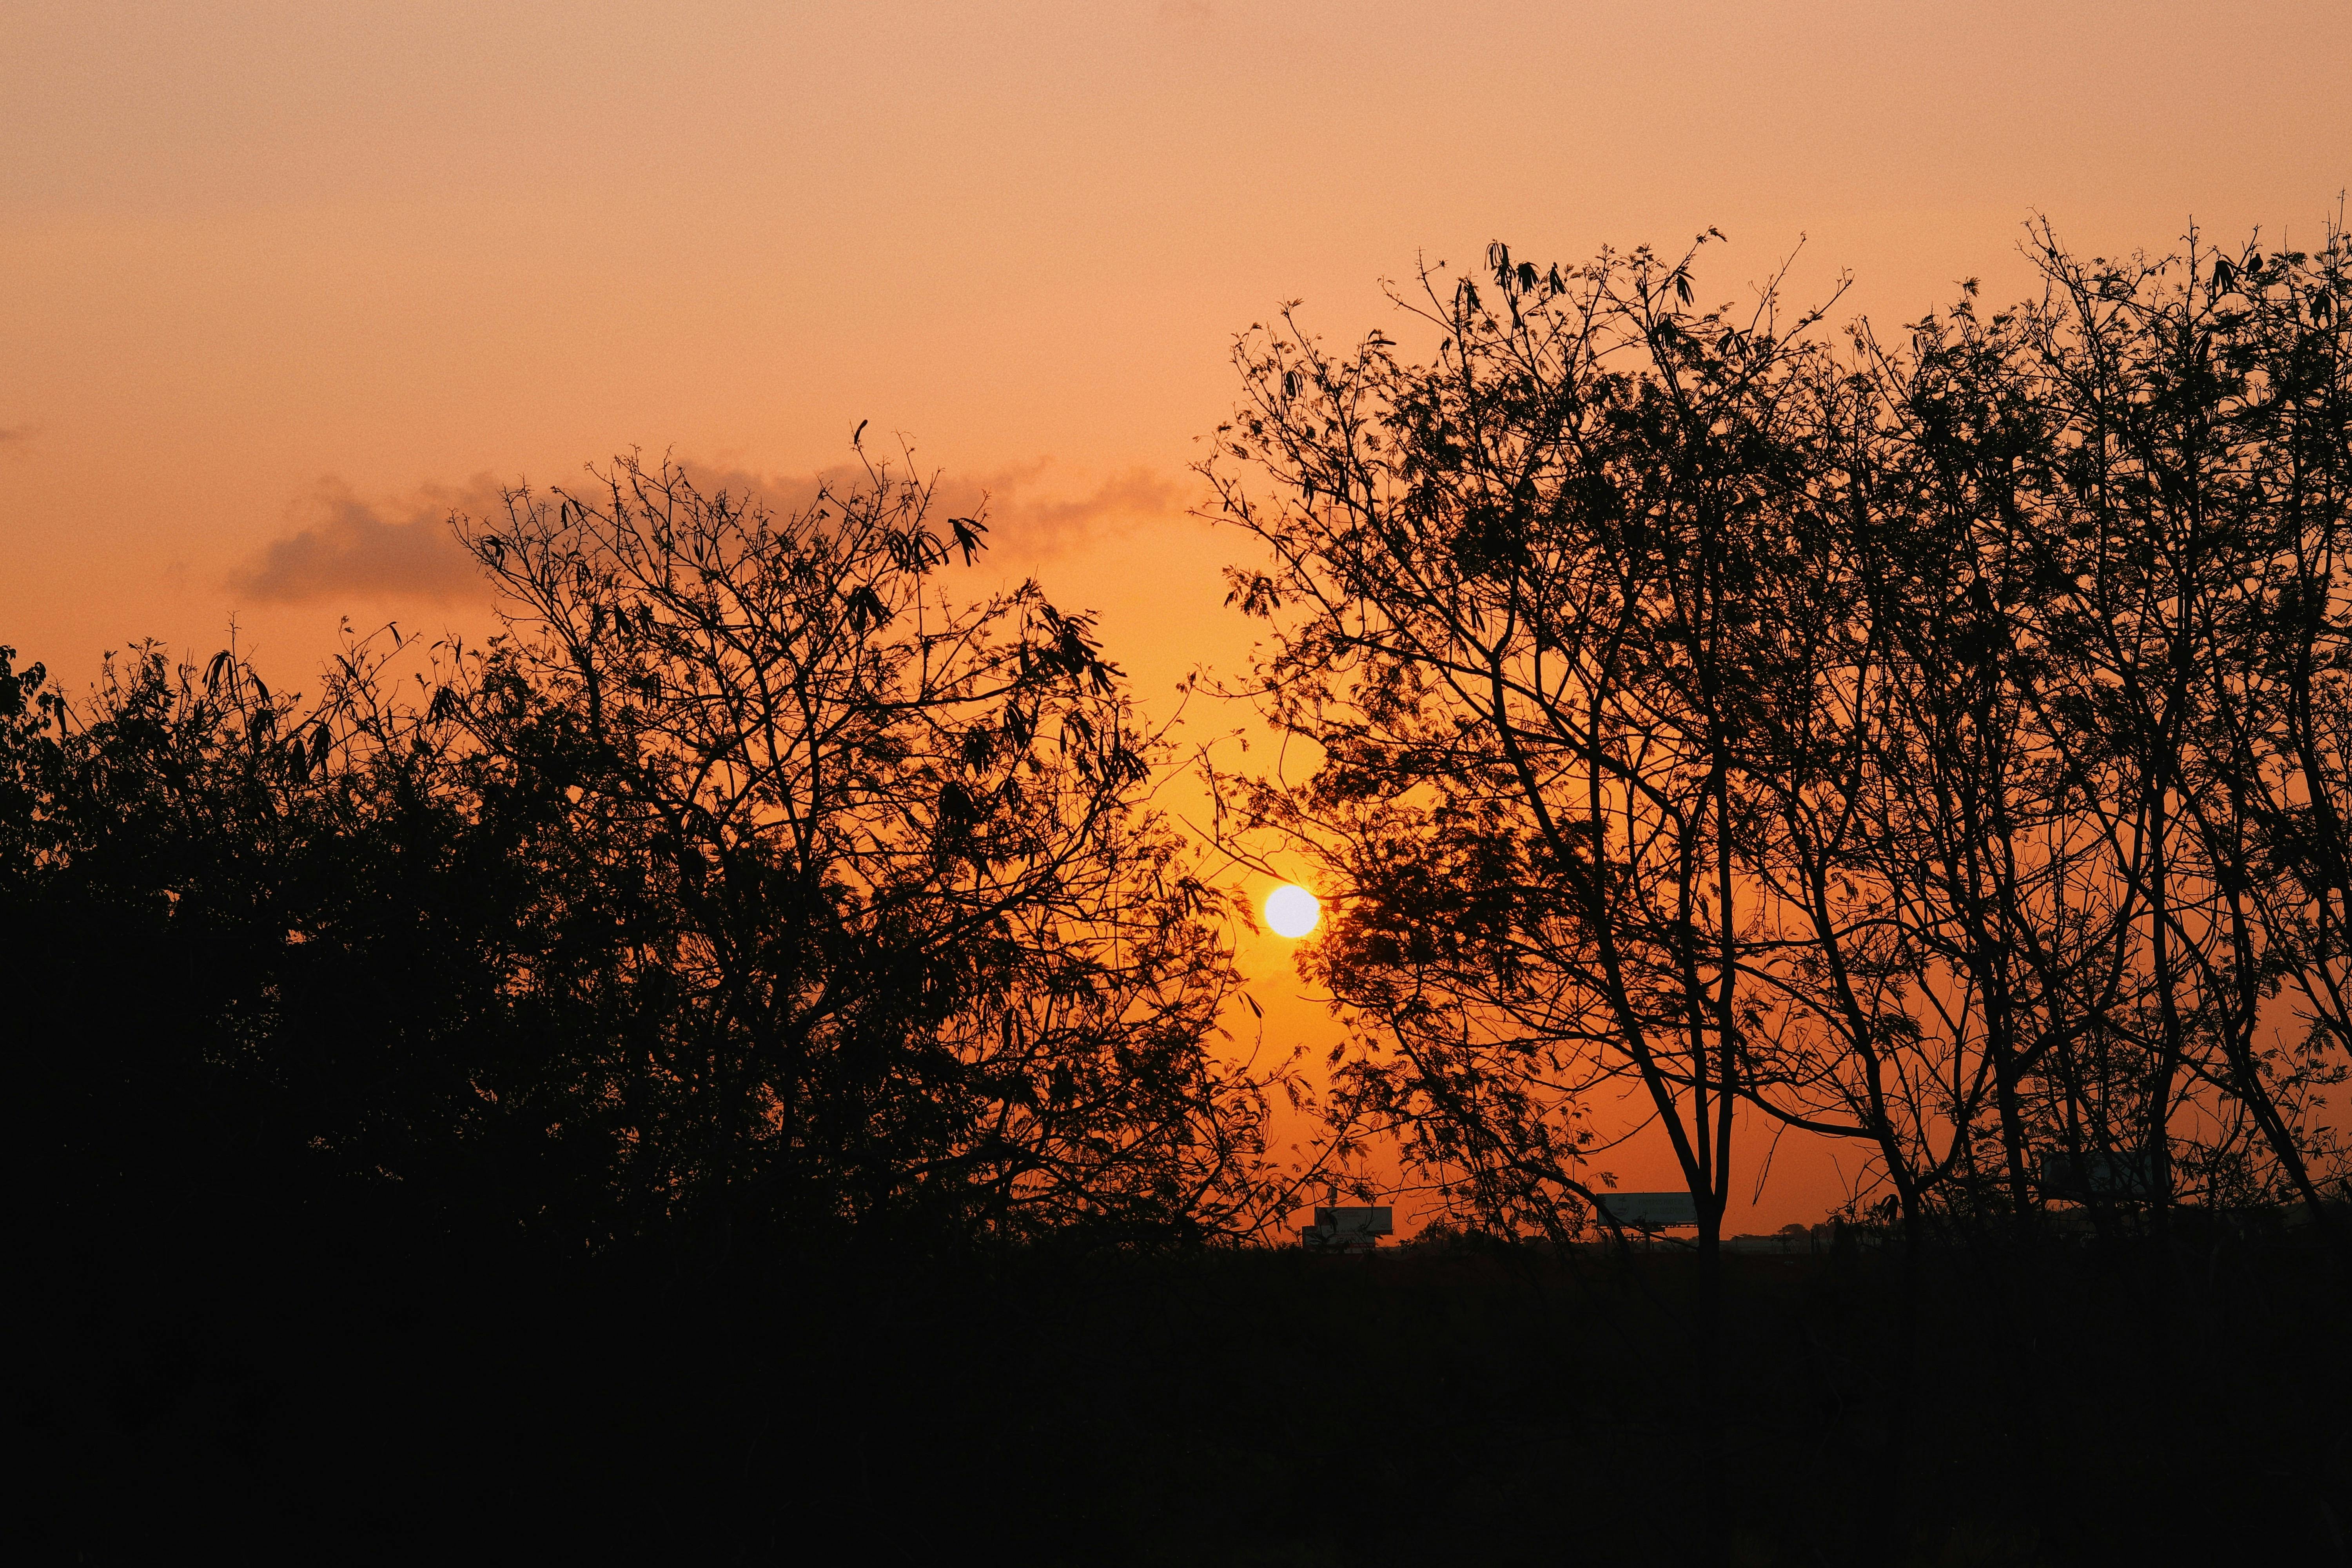
When auto mode makes sense
Use auto if you are new to sunset photography or if the scene changes quickly. It can save time when clouds move in and out. It also helps when you are walking, talking, and shooting at the same time.
However, watch the exposure carefully. Auto mode may brighten the sky too much or darken the face too much. If that happens, use exposure compensation to guide it.
When manual mode is the better choice
Manual mode works well when the light stays steady. It is also helpful if you want one consistent look across a travel set. You can set ISO, aperture, and shutter speed once, then fine-tune as the sun drops.
If you are unsure, try aperture priority first. It gives you control over depth of field while the camera handles part of the exposure. That can be a strong middle ground for golden-hour photos.

Small Details That Keep Golden-Hour Travel Photos Natural
Natural-looking photos often come from small choices, not dramatic effects. For outdoor scenes, use minimal makeup or skip it if you want a softer result. Avoid shiny or glittery products, since they can catch the light in a distracting way.
Clothing matters as well. Soft colors often work nicely in golden hour because they blend with the light. Very bright or glossy items can pull attention away from the face and the scene.
Think about the whole frame
Consider the background, the light, and the body position together. If the sun sits behind the subject, you may get a gentle rim of light. If it sits off to one side, you may get soft shape and depth.
This balance helps travel photos feel like a moment, not a setup. That feeling is often what people love most about golden-hour images.

Conclusion: Keep the Glow, Lose the Fake Look
Golden-hour travel photos do not need heavy edits or stiff posing to stand out. In fact, the strongest images often feel simple and honest. They rely on soft light, clear skin tones, and calm movement to show a place as it truly felt.
So start early, expose for the subject, and keep your edits light. Use a camera setup that is easy to carry, and stay ready as the sun drops. With good timing and a relaxed approach, your golden-hour photos can feel warm, real, and unforgettable.
Frequently Asked Questions
What time is golden hour for travel photography?
Golden hour is the first hour after sunrise and the last hour before sunset, but the exact timing changes by season and location. For the warmest light, start shooting about 60 to 90 minutes before sunset, with the richest gold often in the last 20 minutes.

How do I expose photos in strong sunset light?
Expose for the face or main subject, not the sky, so the subject does not go too dark. This helps preserve detail where it matters and keeps the photo looking natural.
Should I use auto or manual mode at sunset?
The article does not specifically recommend auto or manual mode. It does suggest adjusting ISO, shutter speed, and aperture yourself, which is more consistent with using manual or semi-manual control.


