


- Use your iPhone in macro mode and move in until texture snaps sharp.
- Apply the 20-60-20 rule: place your subject off-center and leave breathing room.
- Keep photos crisp with seven basics: steady camera, focused light, simple background, precise focus, proper aperture, fast shutter, and patience.
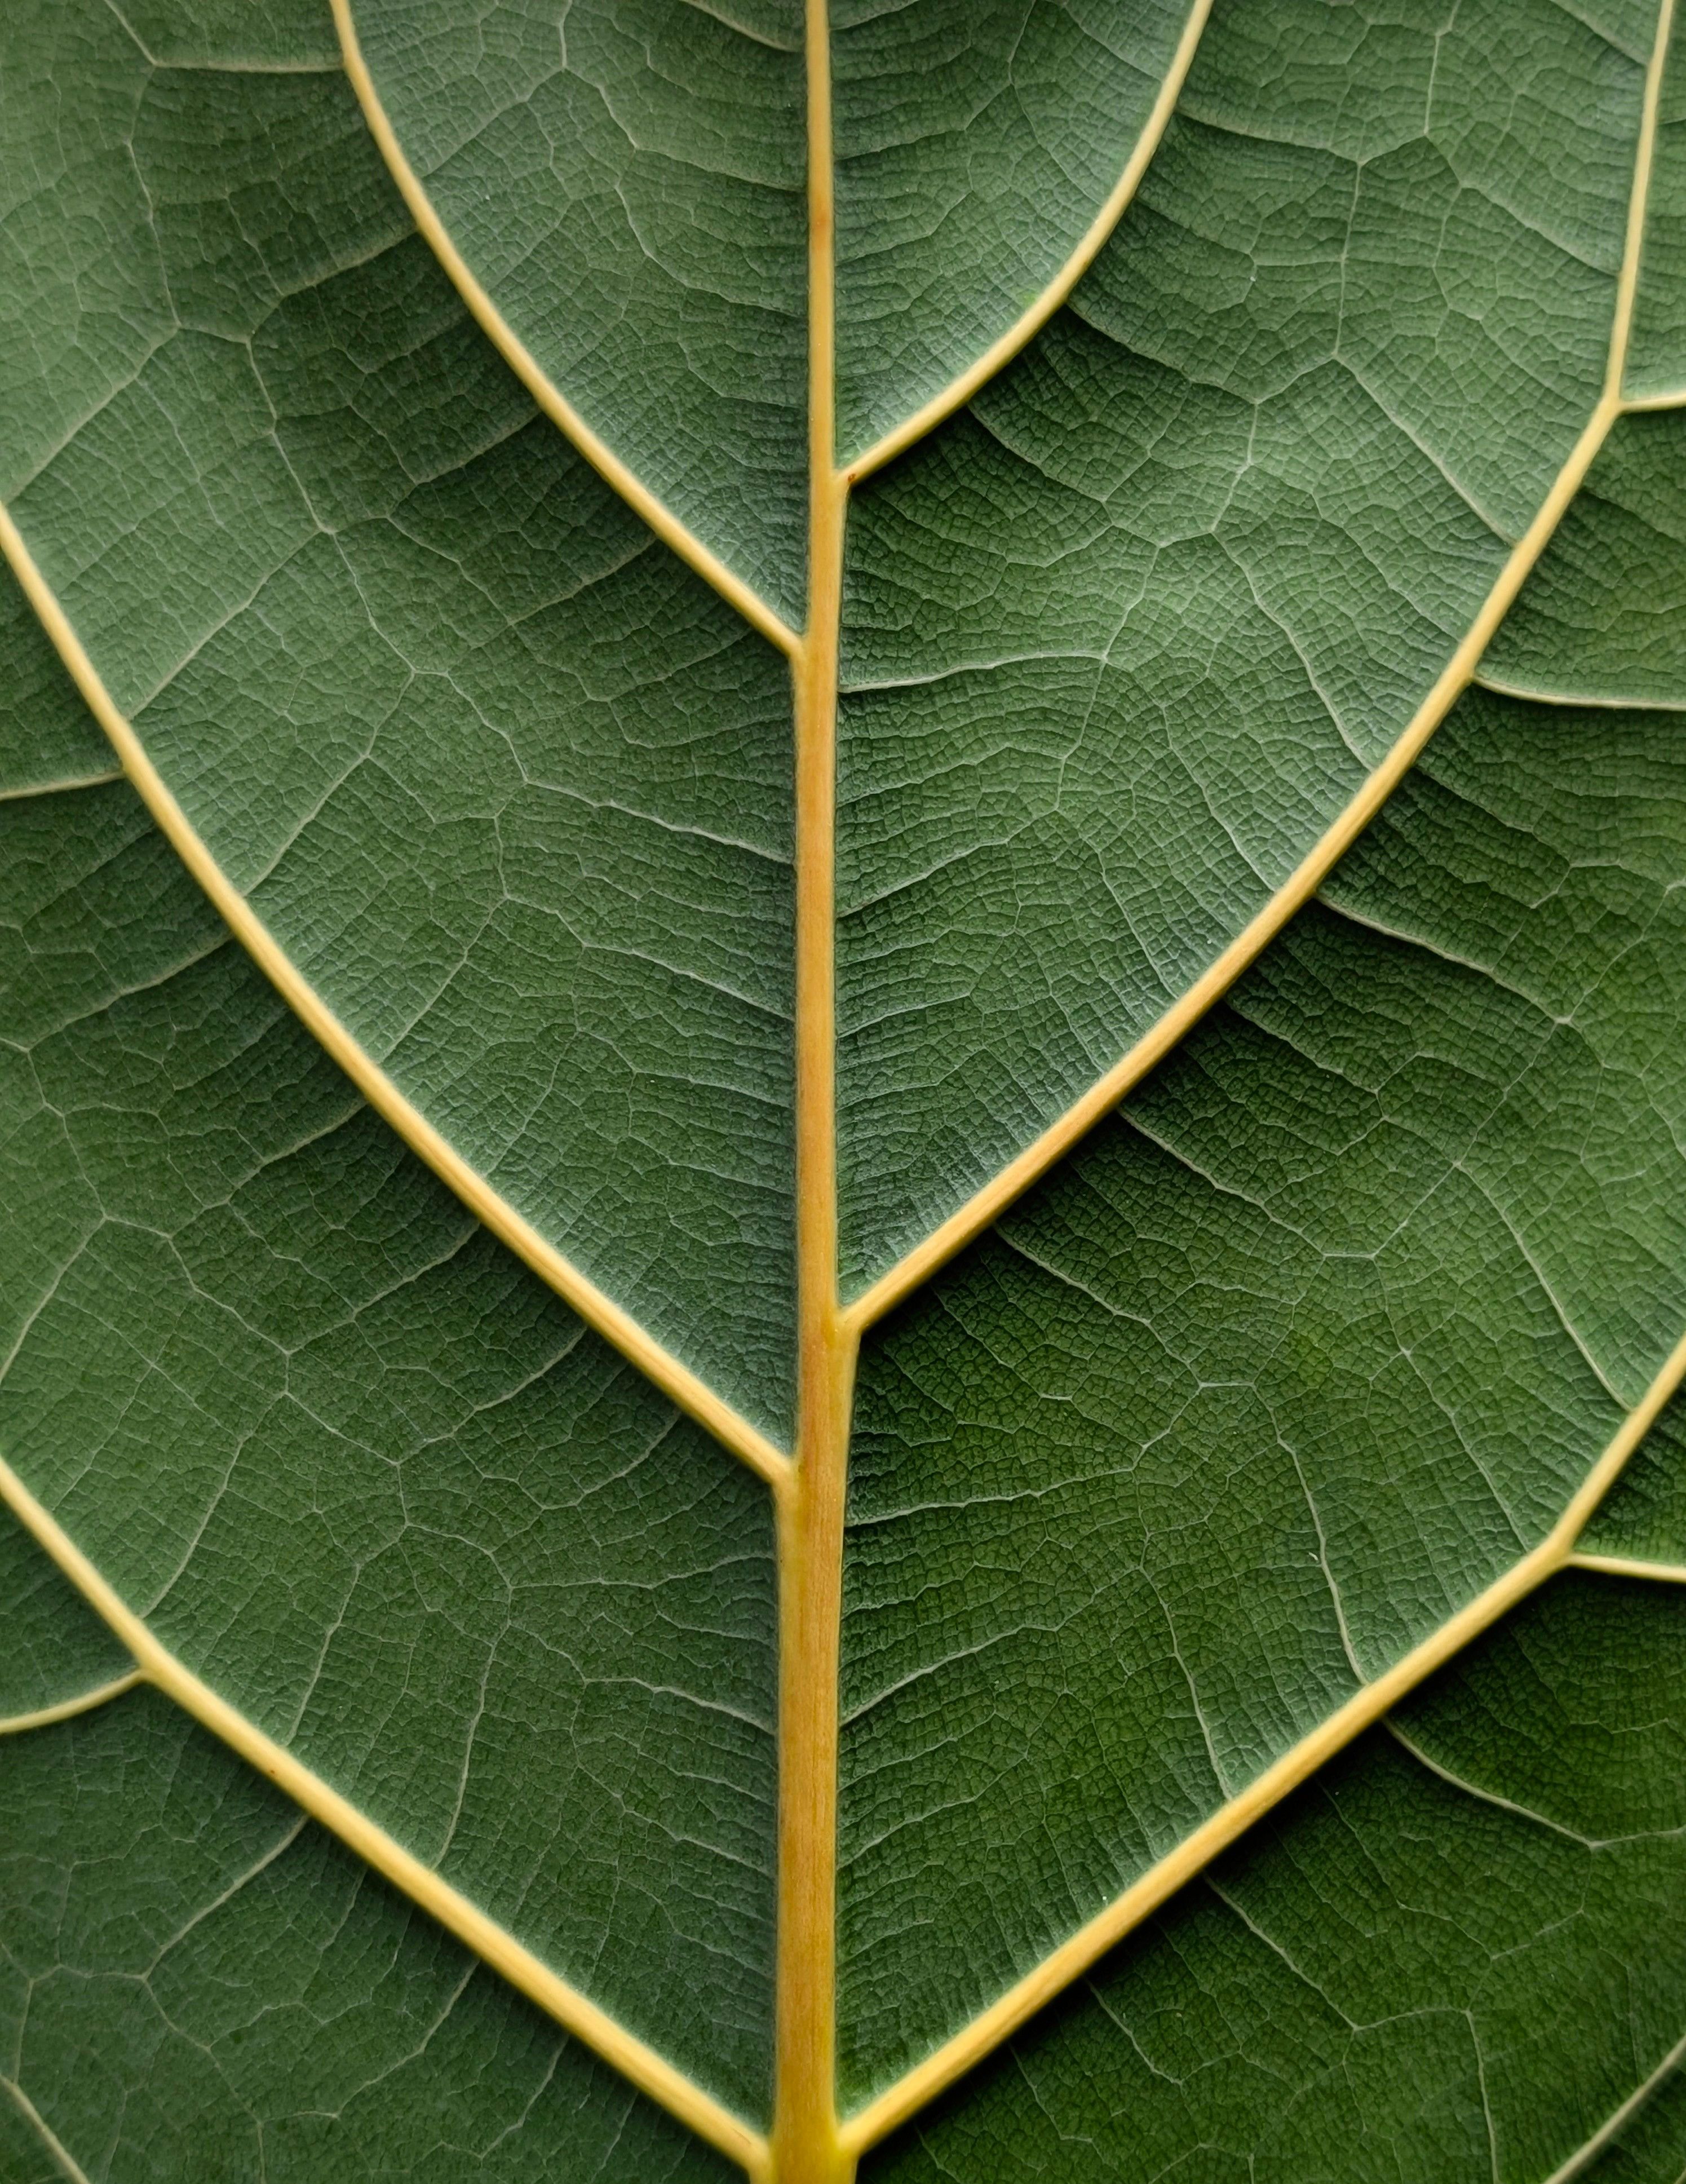
Macro photography tips help you bring out the small details hiding in leaves, petals, and fine surfaces. Clean focus, workable light, and a frame that feels calm rather than crowded make all the difference. Small natural subjects can look plain at first, yet wind, shade, and angle change them quickly. A slight shift in camera position can turn a soft blur into a crisp frame.
Translation missing: en.blog_cta.bundle_heading

- Regular price
-
€42 - Regular price
-
€44 - Sale price
-
€42
By choosing the Camstrap strap, you are opting for a high-quality product designed to meet the needs of the most demanding photographers.
- Developed by a physiotherapist to relieve neck and back pain.
- Fast delivery with tracking by the Post Office 🚚
- Can be used as a shoulder strap or hands-free harness

- Regular price
-
€36 - Regular price
-
€42 - Sale price
-
€36
Translation missing: en.blog_cta.free_shipping_included
Why small subjects reward careful setup
From a distance, leaves and petals can seem flat; close up, they reveal clear lines, veins, and delicate edges. The challenge is keeping enough of the subject sharp while staying close enough to show detail.
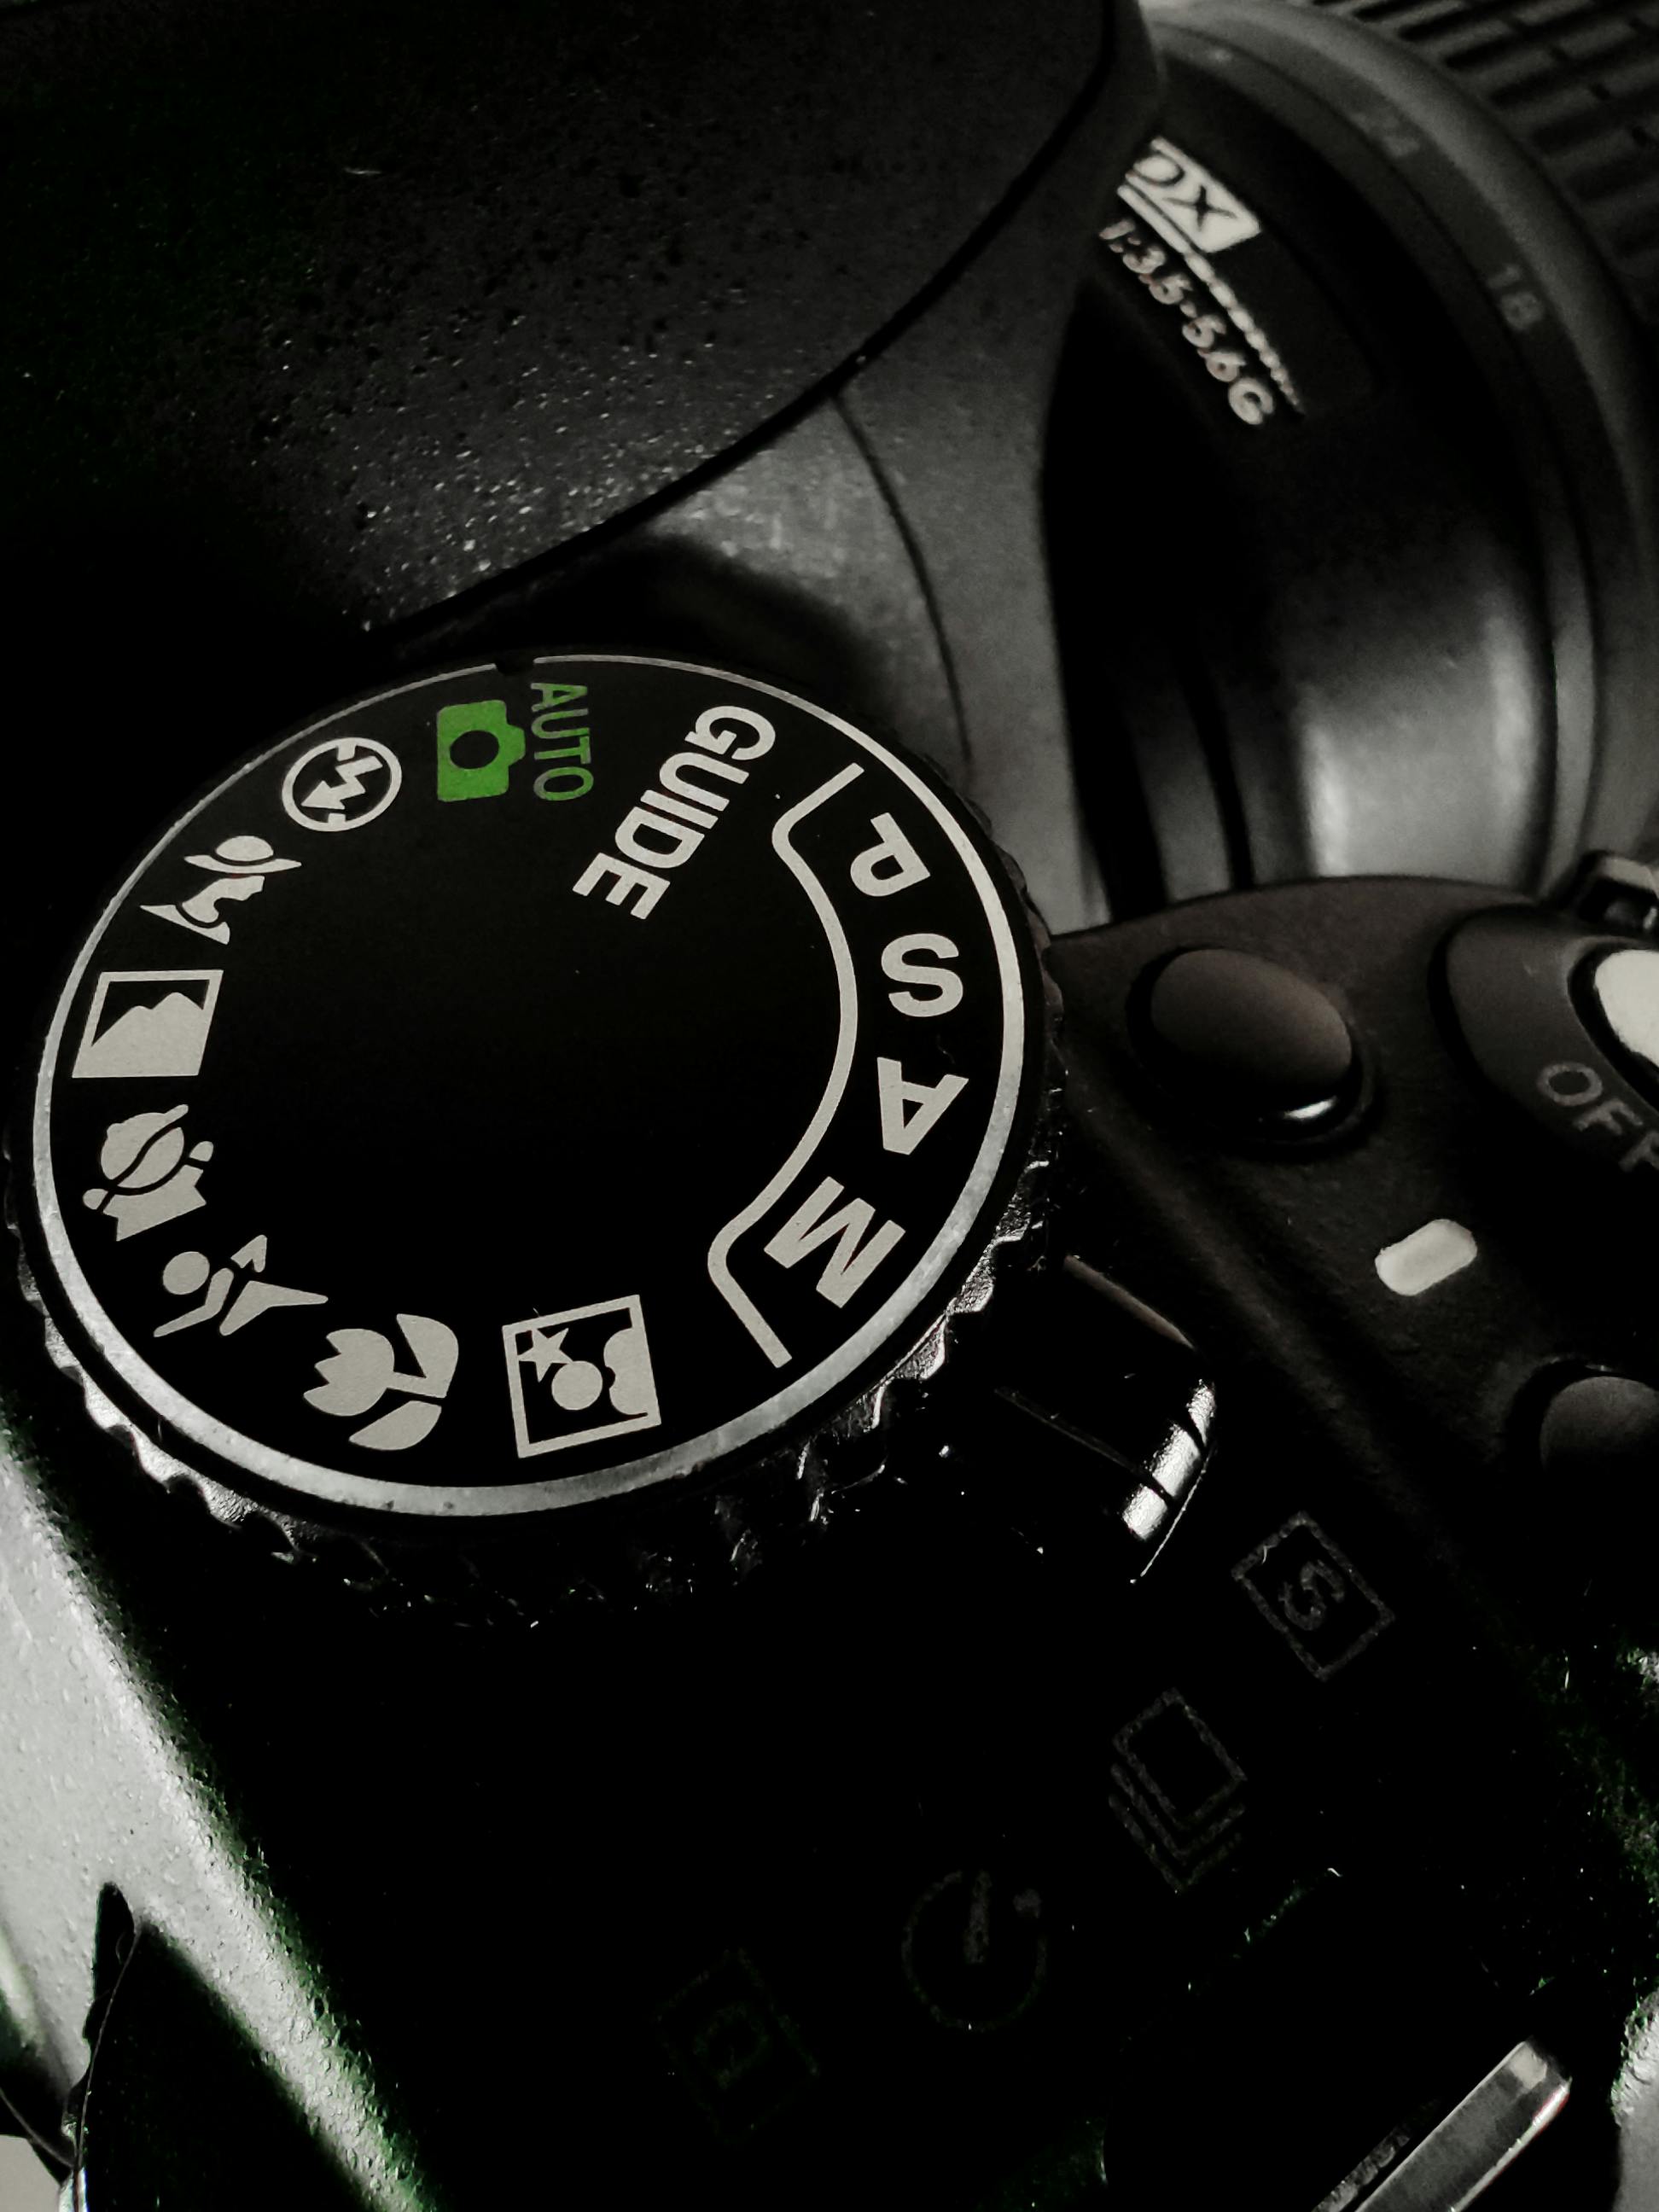
Depth of field turns thin at close range, so the focus plane becomes critical. Wider apertures like f/1.8 leave only a sliver sharp, while narrower settings like f/16 keep more of the subject in focus.
Focus starts with subject shape
Flat or gently curved subjects are easier to photograph than deep ones. A leaf facing the lens gives you sharper detail across its surface. Keeping the front of the lens parallel to the subject helps too. This simple adjustment can stretch depth of field across a flower petal or leaf blade.
Move with the subject, not just toward it. Get too close to a lens’s minimum focusing distance and focus falls apart fast. Back up a little, then try again.

The settings that keep detail crisp
Aperture sets how much of the scene looks sharp, and that choice shapes the whole image. Nikon recommends f/2.8 or f/4 for a shallower look, while Canon suggests about f/16 to f/22 for maximum depth of field.
For most leaf and petal work, I start around f/8 and adjust from there. That gives a good balance between sharp detail and usable light, especially when the subject has a bit of curl or depth.
Shutter speed and motion

Close-up subjects move more than they seem to. A light breeze can blur a petal edge, and camera shake gets worse as you move closer. Without flash, a shutter speed of 1/320s or faster helps reduce blur from both camera shake and subject motion. With flash, common sync speeds sit around 1/200s or 1/250s, and Nikon also notes 1/500s for a fast-shutter exercise.
- Use single-point AF when you want one vein or petal edge to stay exact.
- Try back-button focus if the subject stays still after you frame it.
- Raise ISO only as needed when you stop down for more depth.
- Keep the camera steady and wait for the breath of wind to pass.
Focus stacking for deeper sharpness
Sometimes one frame cannot hold enough detail from front to back. Focus stacking solves that by blending several shots taken at different focus points.
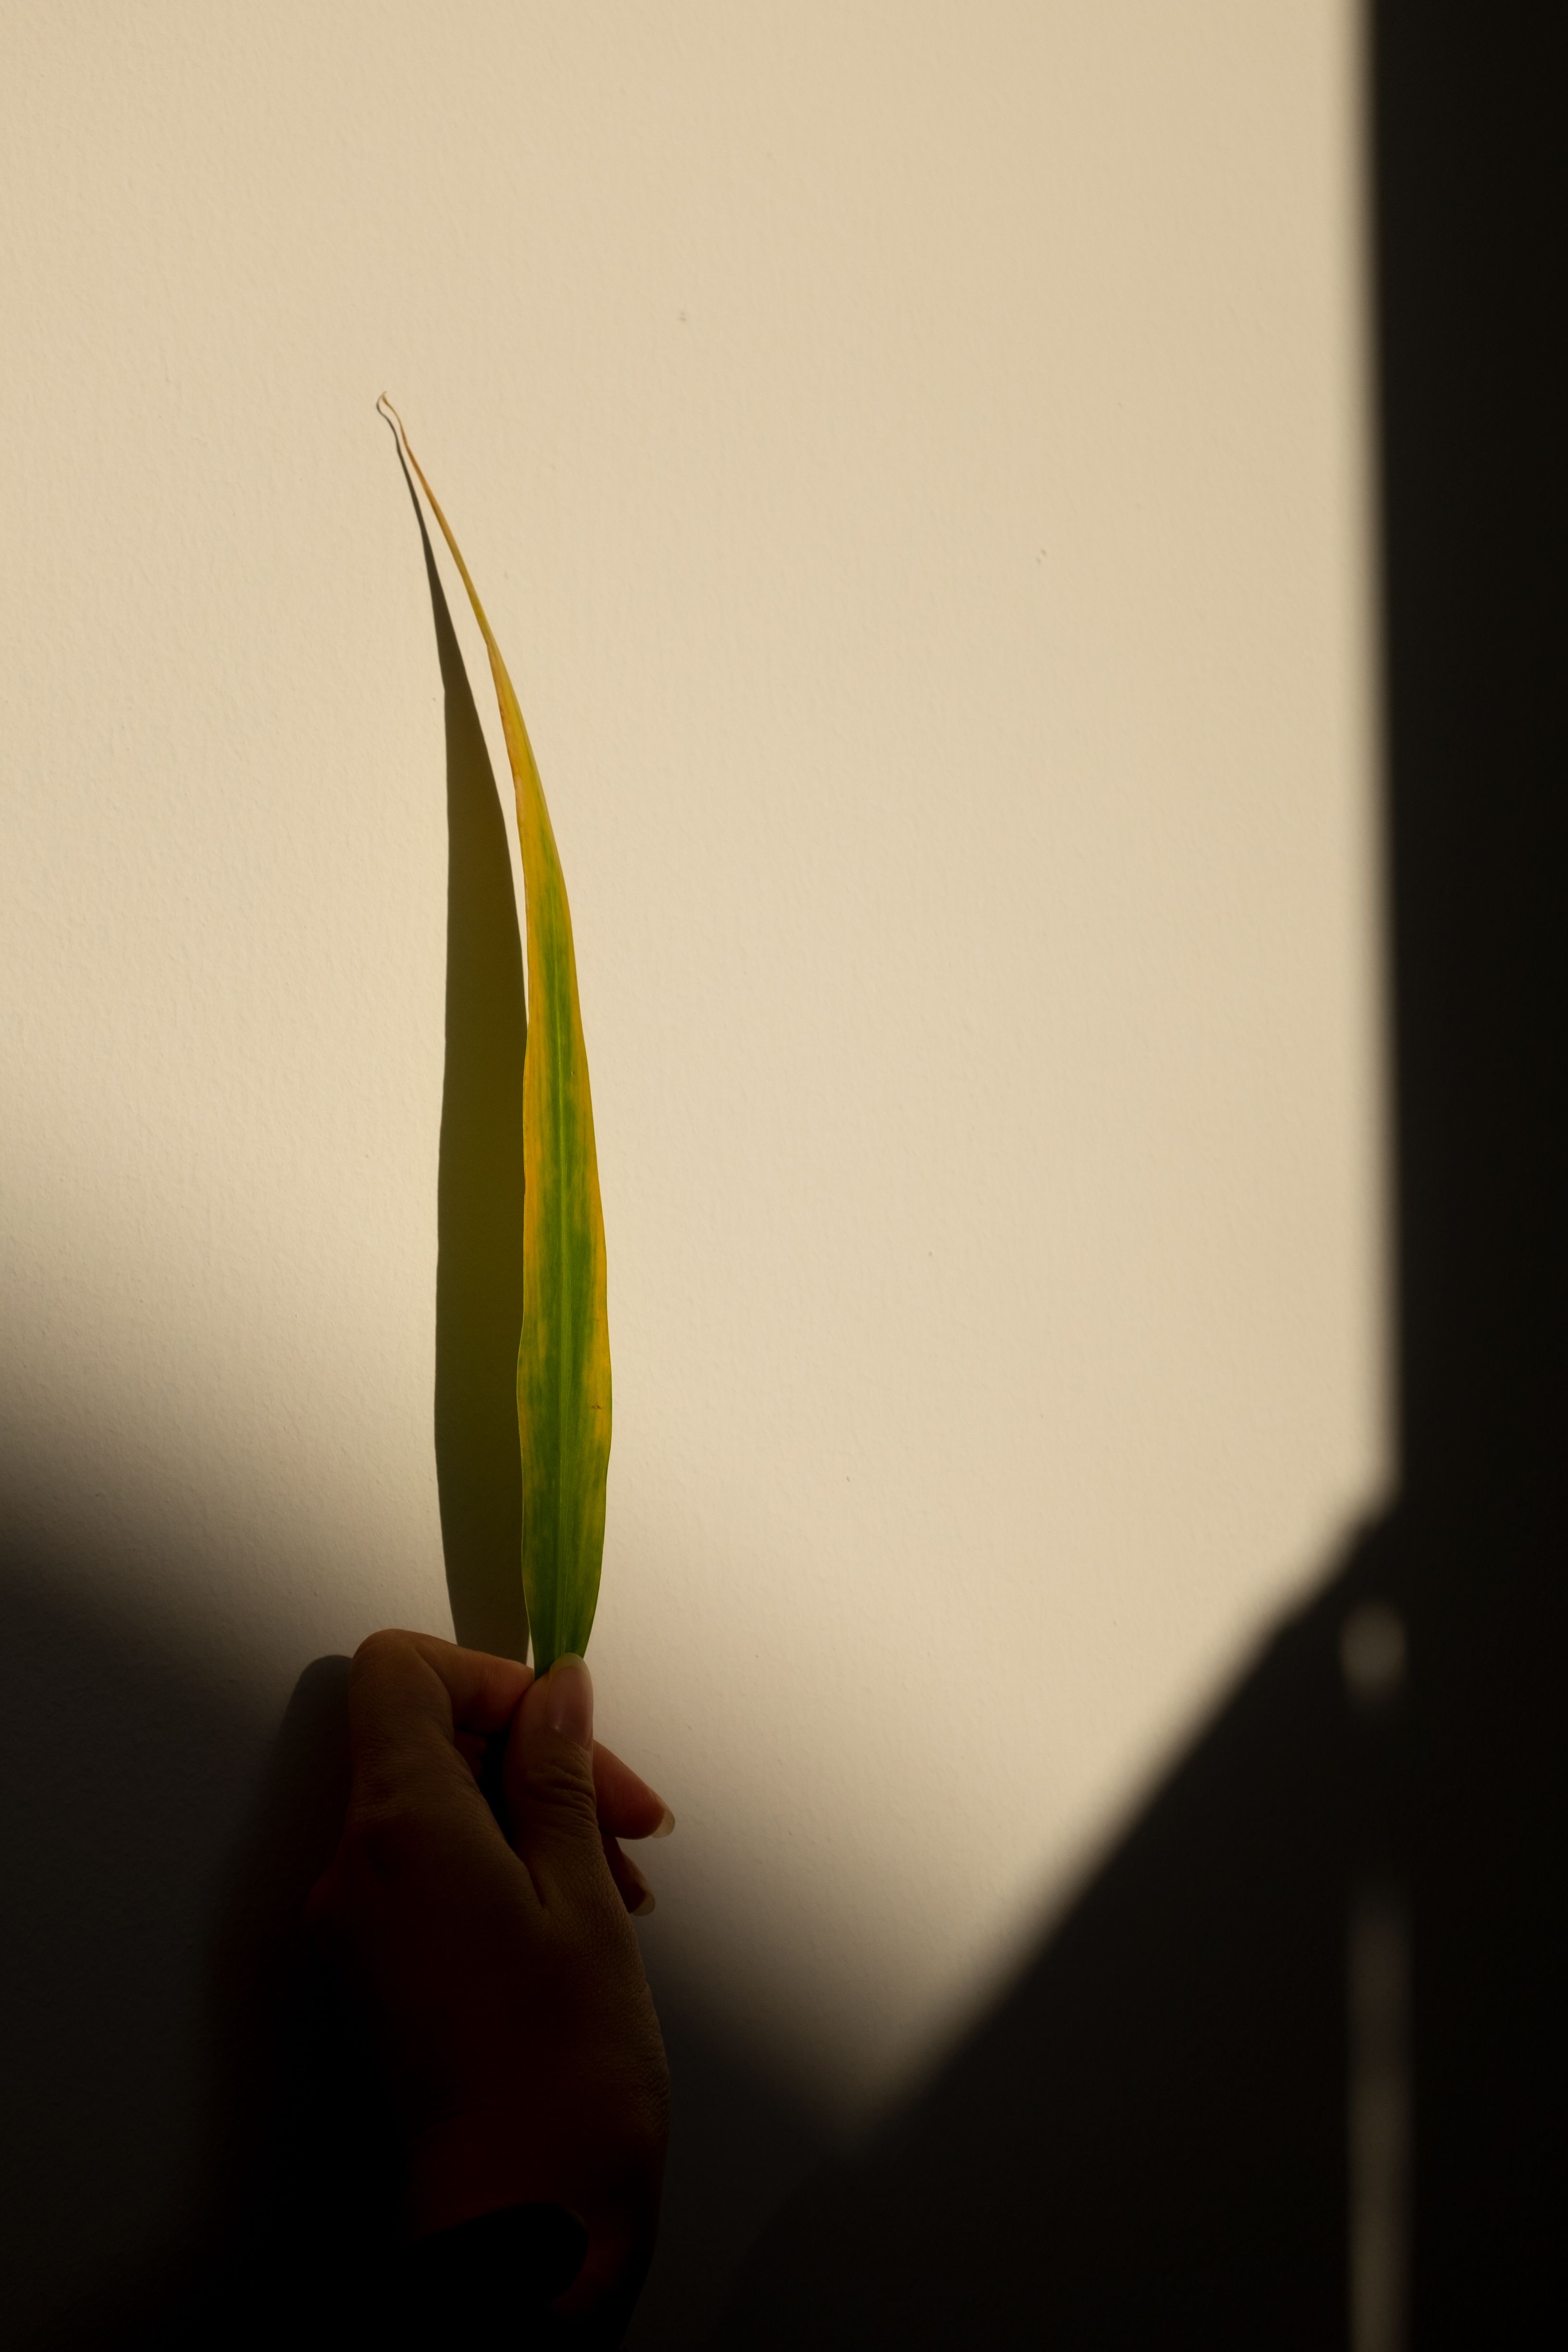
This works well on leaves with sharp edges or flowers with layered petals. It takes more time, but it can turn a soft close-up into a clean study of texture.
Light, angle, and surface texture
Soft side light often shows the most detail in natural subjects. It lifts veins in leaves and gives petals gentle shape without harsh glare. Direct noon sun can wash out color and make shiny surfaces hard to read. Early morning or late afternoon light usually gives better tone and softer shadows.
Use the right angle, not just the right lens

Angle changes the whole feel of a close shot. A shallow side view can reveal ridges, fuzz, and tiny dents that disappear from straight on.
If the subject has a bright sheen, shift your position a few inches. Small changes in angle can cut glare and make the texture clear.
Water drops on petals after rain deserve the same attention. They can add shape, but they can also create hot spots when the light hits them head-on.
Is there a way to take macro photos on iPhone?

Yes, an iPhone can make close detail shots with its built-in macro mode or a close-focus lens add-on. Supported models use the ultra-wide camera, and the 1x to 0.5x switch is often the key control. For the cleanest result, tap to focus on the edge or vein you want sharp, then lock exposure if the light shifts. A phone also benefits from a small tripod or a steady rest, because the shortest focus distance can make hand shake more obvious.
If you want a more stable way to work outdoors, a hands-free carry system helps. A strap like the Camstrap voyager lets you stop, kneel, and raise the camera fast when you spot a tiny subject on a trail.
What is the 20 60 20 rule in photography?
The 20 60 20 rule is a simple way to think about visual weight in a frame. About 20% of the image draws the eye first, 60% supports the main subject, and the last 20% gives space or balance.

In leaf and petal work, that often means one bright edge, one main texture zone, and one calmer area around it. The rule helps you keep the frame from feeling busy.
This works as a guide, not a fixed law. It helps you decide what should stand out and what should stay quiet.
What are the 7 tips for taking good photographs?
Good small-subject photos come from a few simple habits, not one magic setting. These seven steps keep the frame clean and the detail clear.

- Pick one clear subject and remove distractions.
- Use soft light when you can.
- Set the camera parallel to the surface when the subject is flat.
- Place focus on the most important detail first.
- Choose an aperture that matches the depth you need.
- Hold the camera still or use support.
- Check the edges of the frame before you shoot.
These steps sound basic, but they solve most close-up problems fast. A clean frame with one sharp point usually beats a busy frame with many weak ones.
What aperture should I use for macro photography?
The best aperture depends on how much of the subject you want sharp. f/2.8 or f/4 gives a shallow look, while f/16 to f/22 gives more depth across the subject. For leaves, petals, and tiny textures, f/8 is a strong starting point in daylight. It often gives enough depth without forcing the shutter too slow or the ISO too high.
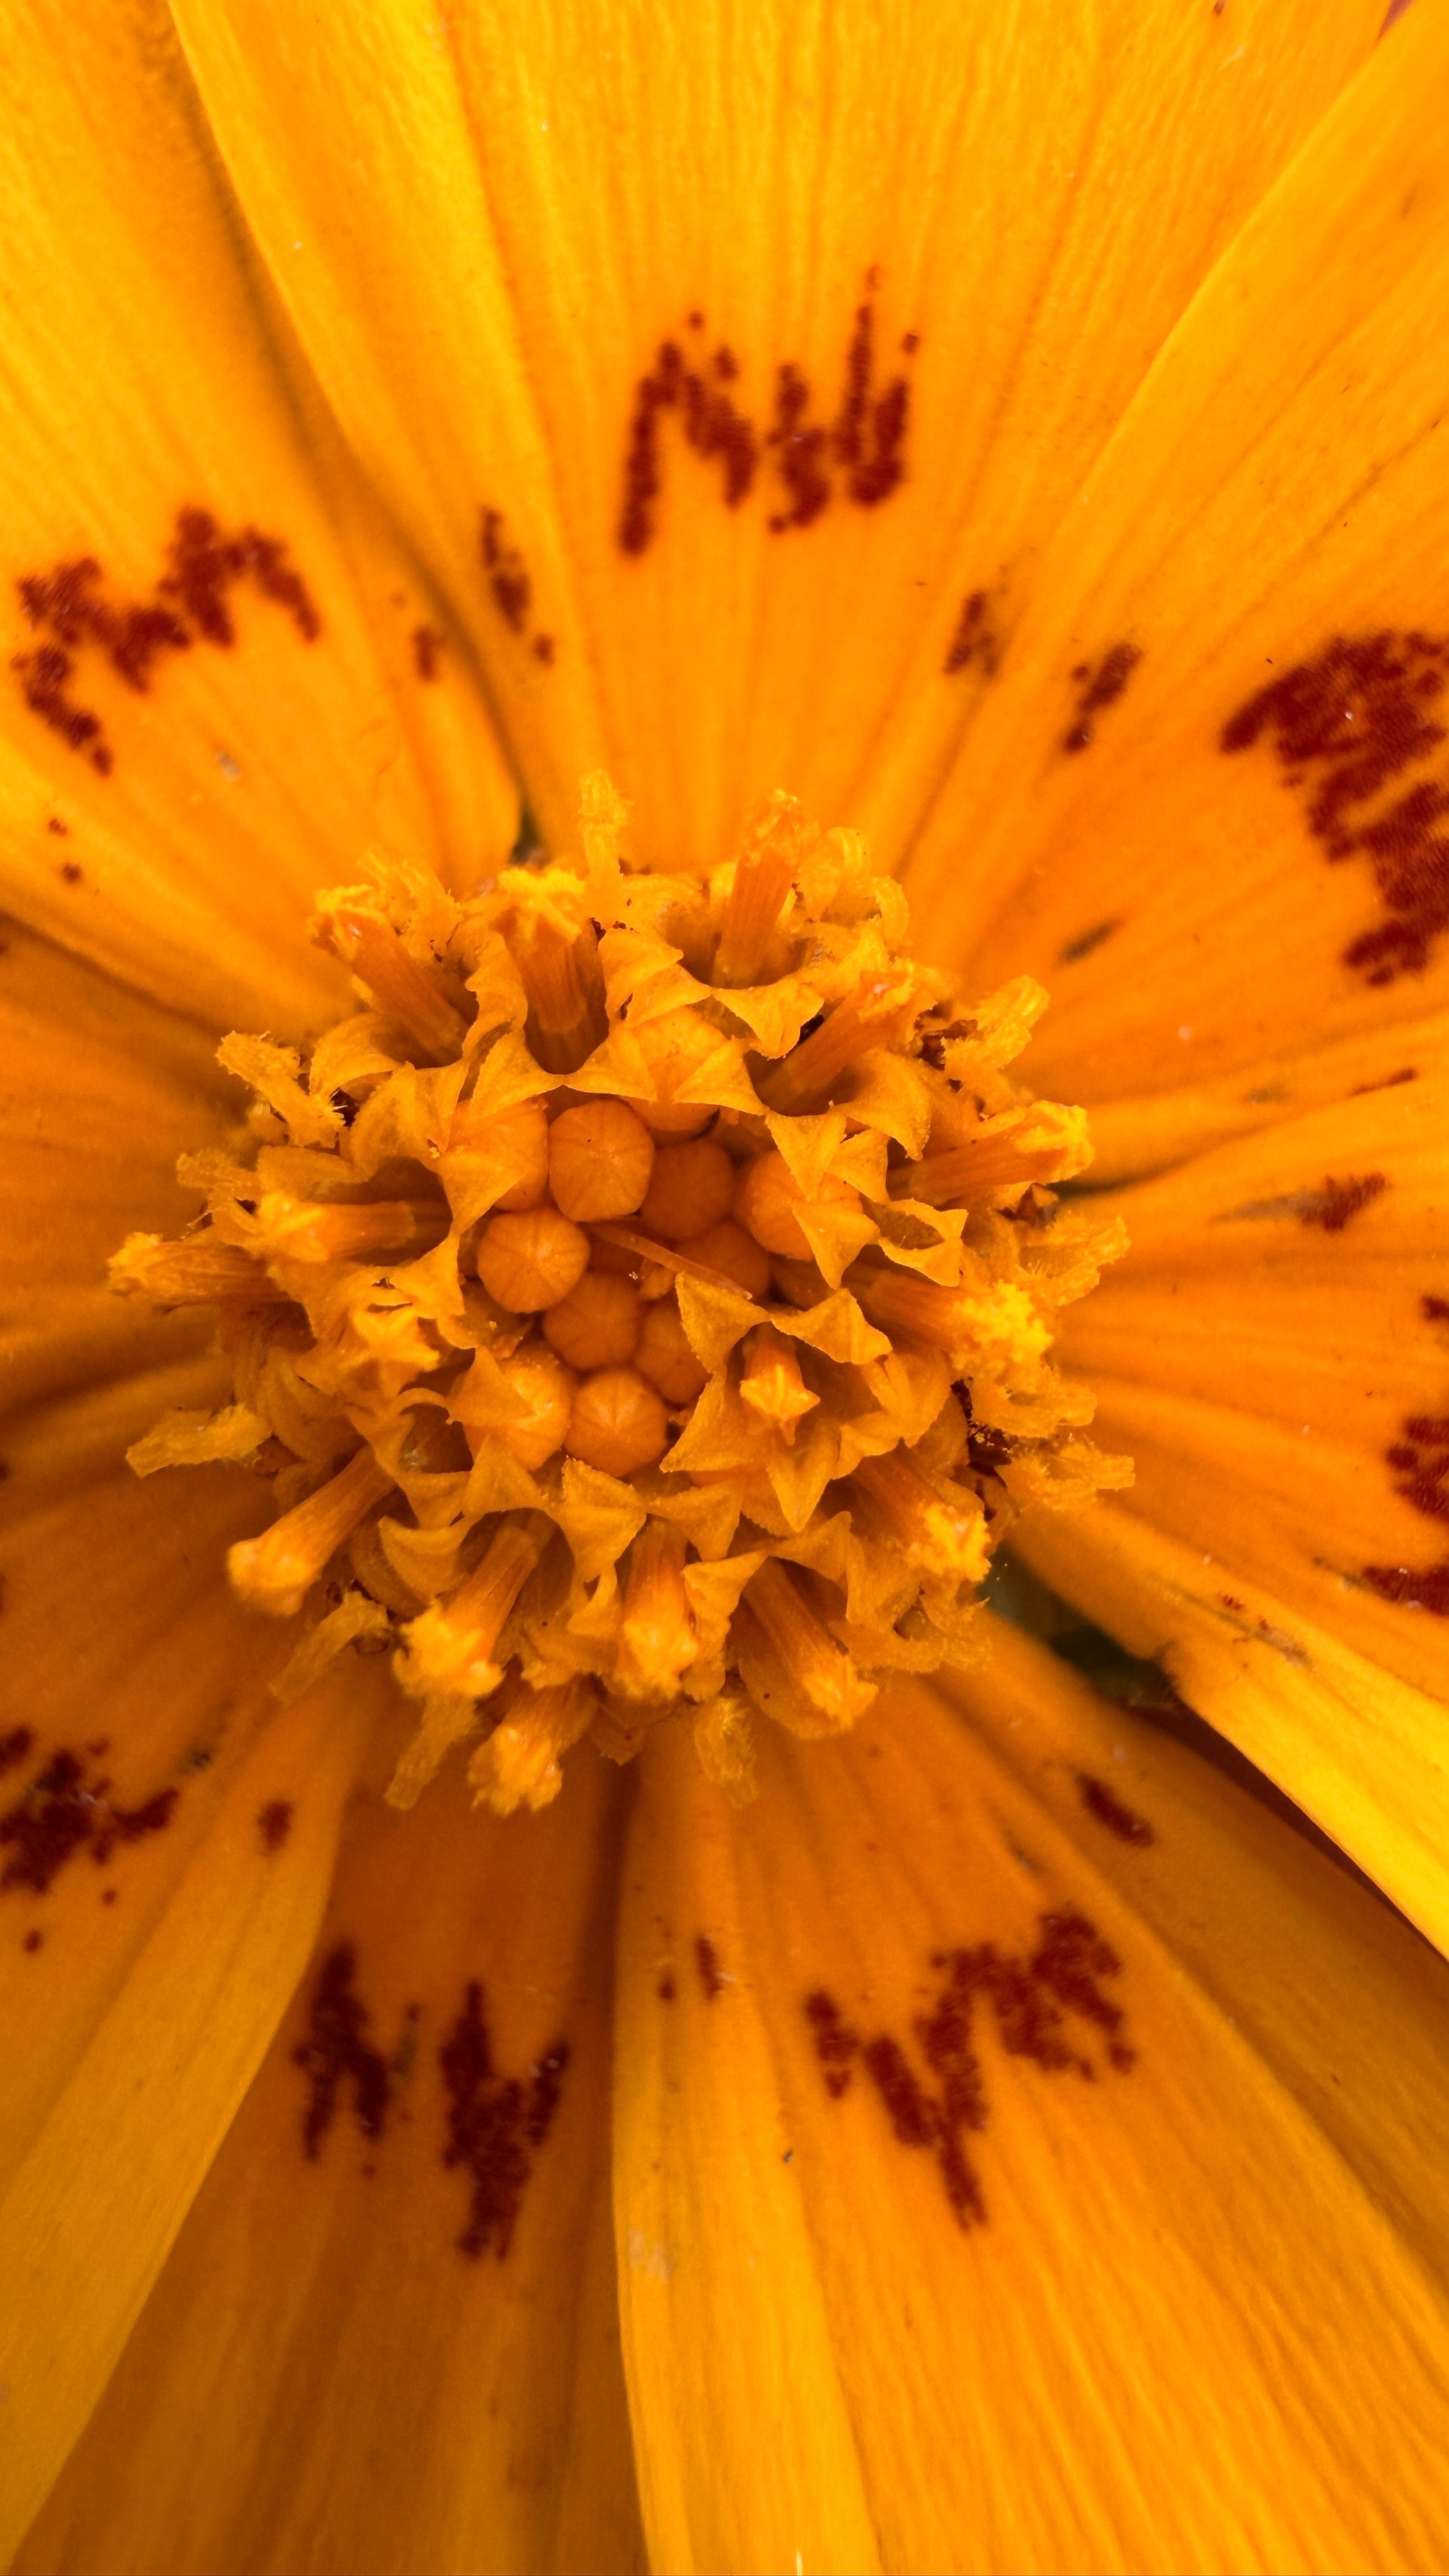
Keep one tradeoff in mind. A narrower aperture makes more of the subject sharp, but it also asks for more light or a slower shutter. If the scene is moving, that tradeoff can matter more than the aperture number itself.
Small workflow choices that make a big difference
Precise focus gets easier when the camera stays ready. Single-point autofocus works well when you want one stamen, vein, or edge in exact focus, and focus stacking helps when one frame is not enough.
For fast camera work, I like modes and tools that keep the process simple. On many mirrorless bodies, a short burst does not fill the buffer right away, but large RAW bursts slow sooner than JPEG bursts, so card speed still matters.

A useful field routine
A short routine keeps you from chasing the subject and missing the shot. It also helps when the light changes every minute.
- Frame the subject from the side first.
- Check that the front of the lens sits square to the detail plane.
- Use continuous AF-C or AI Servo only if the subject shifts in wind.
- Review one frame for sharpness, then make a small correction.
Memory cards matter. A UHS-II V60 or V90 card handles writes better than UHS-I, which helps when you shoot RAW bursts or focus stacks in quick sequence. Light, focus, and body position work together in close photography. If one part slips, the tiny details vanish fast.

What clean detail really looks like
The best close images feel calm, even when the subject is full of tiny parts. You can see the vein in the leaf, the soft edge of a petal, or the rough skin of a bark texture without fighting the frame.
That result comes from small, careful choices. You pick the right angle, choose a usable aperture, and keep the camera steady long enough for detail to settle.
On a garden path or a trail, stay ready for small subjects that vanish in a moment. A focused frame at f/8, 1/320s, and single-point AF can catch the cleanest leaf edge in the scene.

Frequently Asked Questions
Is there a way to take macro photos on iPhone?
Yes — an iPhone can take macro-style photos by moving close enough to capture fine detail, then using careful focus and steady framing to keep the subject sharp. For the best result, keep the lens parallel to the subject, use single-point focus if available, and back up slightly if focus starts to fall apart.
What is the 20 60 20 rule in photography?
The 20/60/20 rule in photography is not stated in the provided material, so no definition can be given from this source. The article instead focuses on macro-specific choices such as aperture, focus position, and steady camera handling.
What are the 7 tips for taking good photographs?
Seven useful photography tips from the macro advice are: choose a flat or gently curved subject, keep the camera parallel to the subject, avoid getting too close to the minimum focusing distance, use a balanced aperture around f/8, use a fast shutter speed to reduce blur, use single-point or back-button focus for precision, and wait for wind to pass or use focus stacking for extra depth. These steps help produce cleaner detail and more of the subject in focus.
What aperture should I use for macro photography?
For macro photography, an aperture around f/8 is a strong starting point because it balances sharp detail and usable light. Wider settings like f/2.8 or f/4 give a shallower look, while narrower settings like f/16 to f/22 increase depth of field and keep more of the subject sharp.


