
- When is golden hour in June
- How do I expose landscapes during golden hour
- What lenses work best for roadside golden-hour shots

Golden hour is one of the best windows for capturing landscapes on summer road trips. The light feels soft, warm, and full of color. Even an ordinary roadside view can become a striking photo with very little effort.
This guide explains how to photograph golden-hour scenes with less stress and stronger results. You will learn when golden hour arrives in June, how to set exposure, and which lenses are most useful. You will also see why a comfortable crossbody strap can help you keep shooting longer.
Why Golden-Hour Light Helps You Capture Better Landscapes
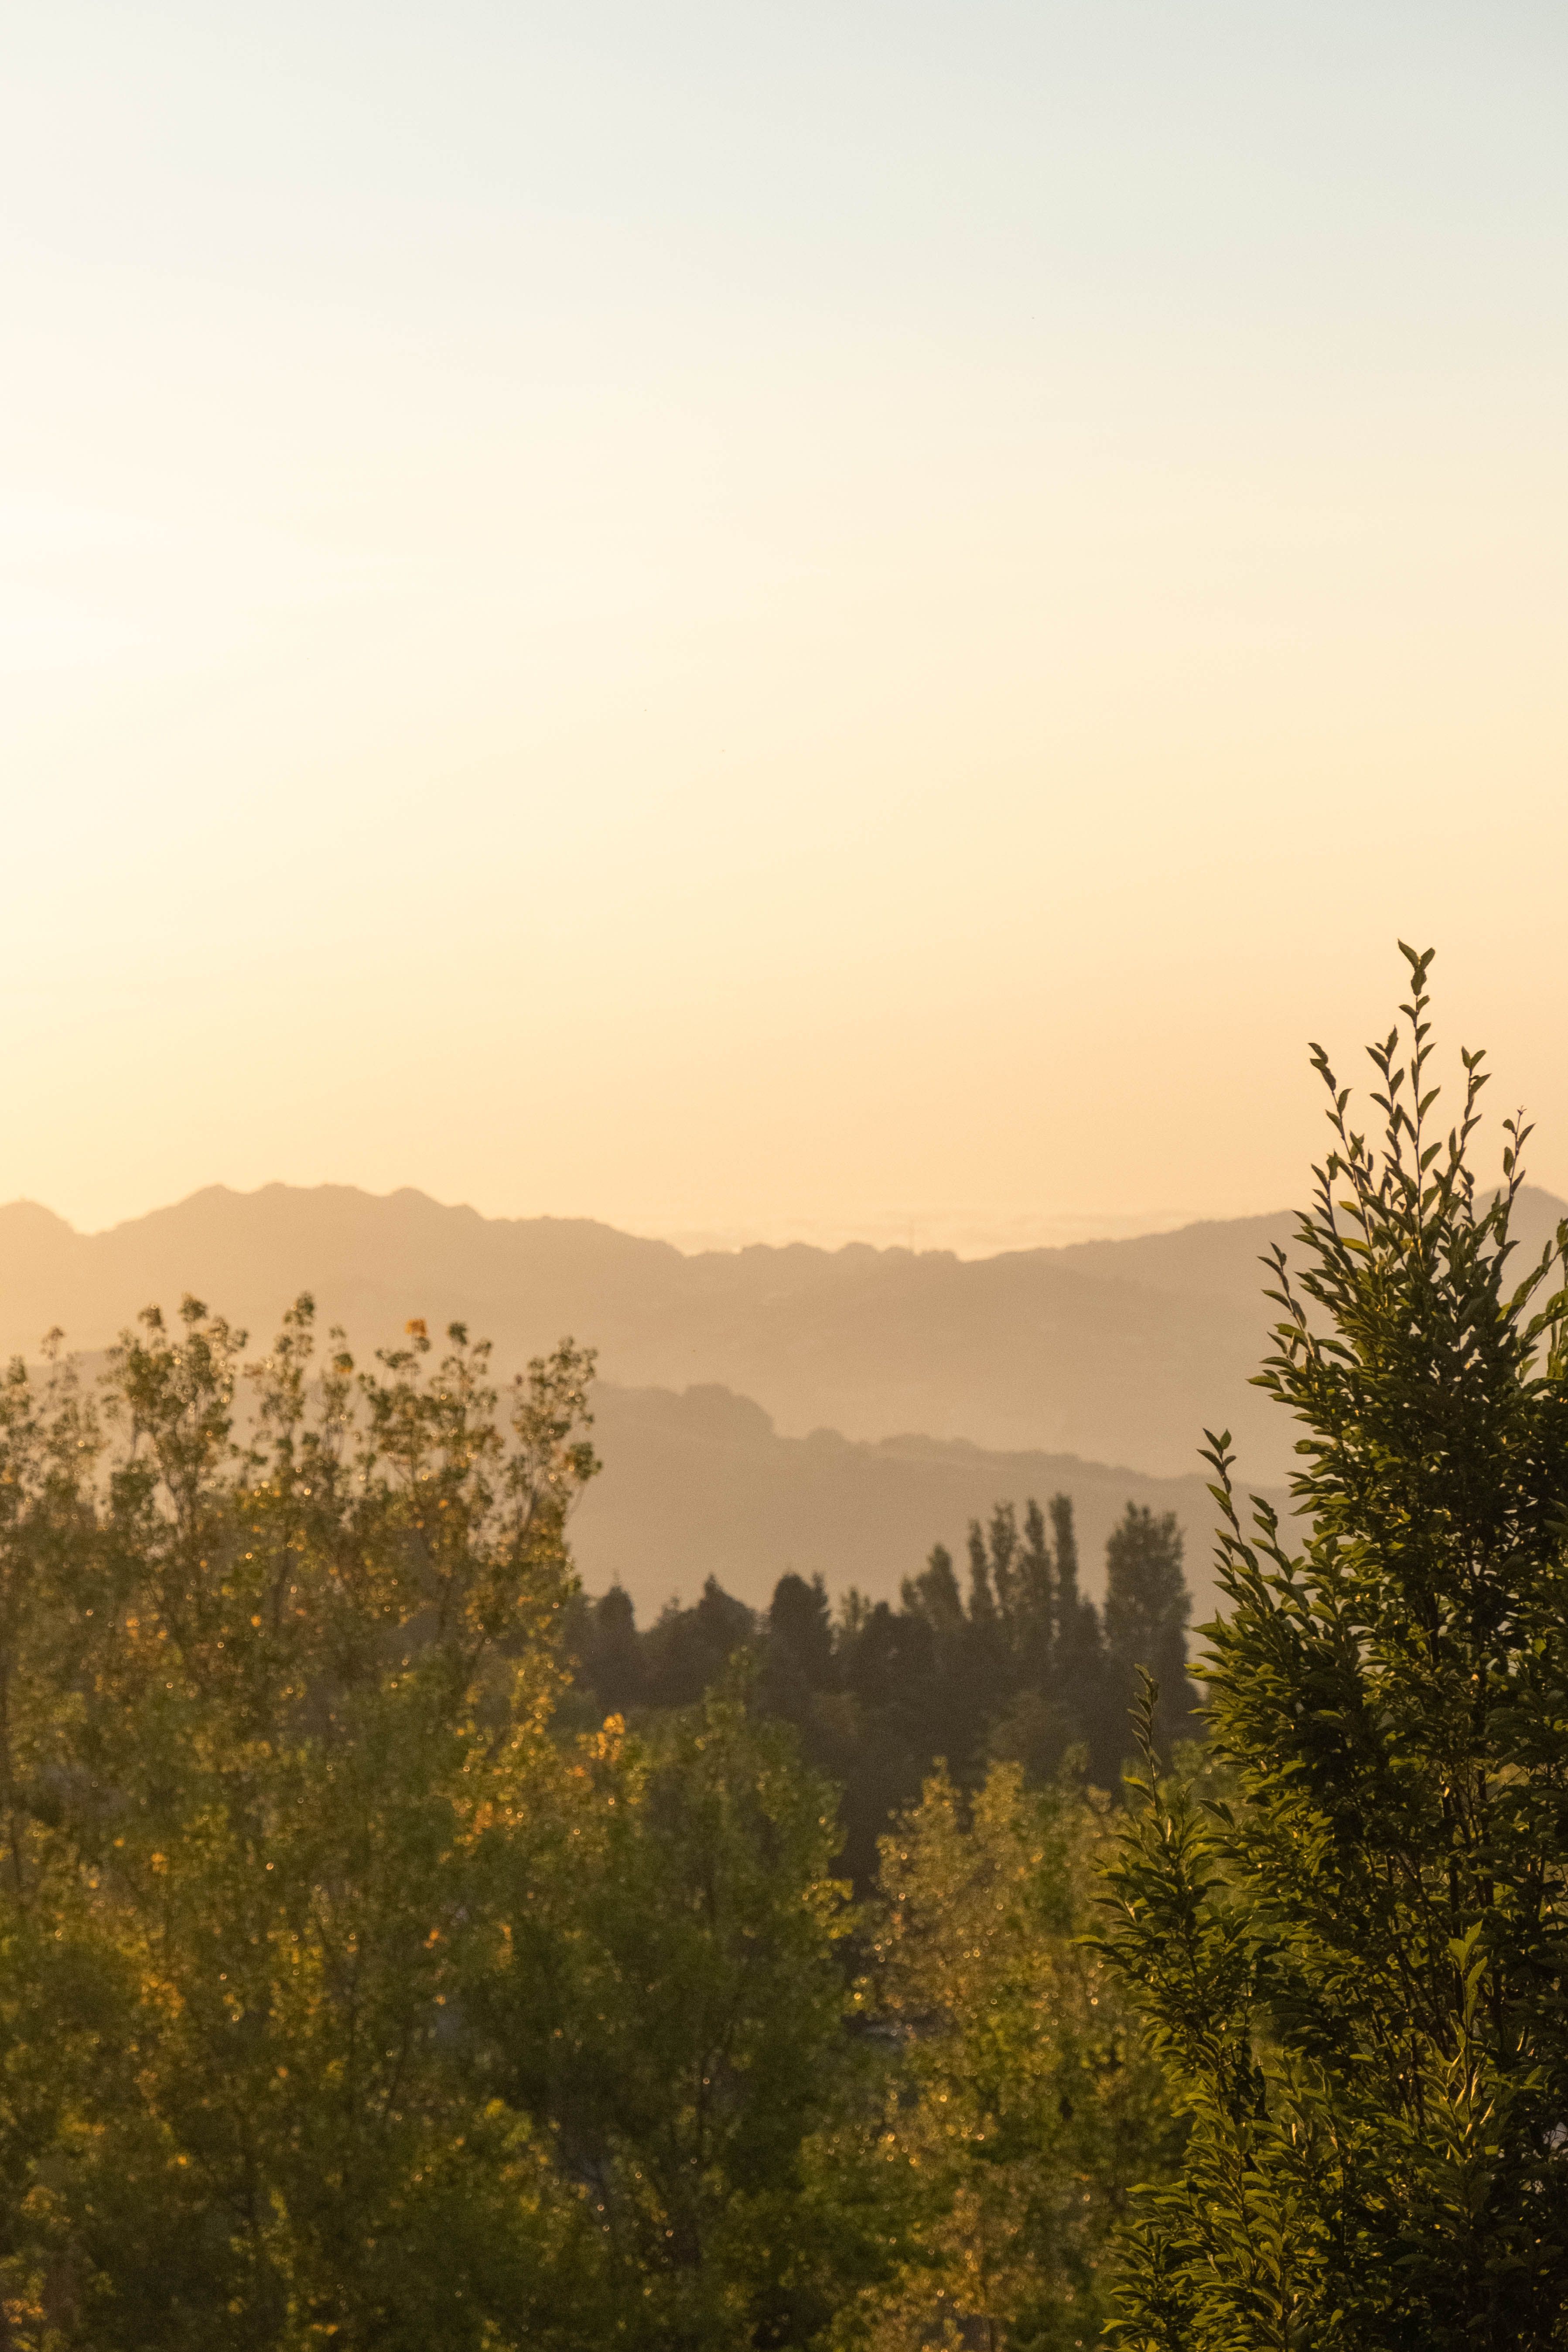
Golden hour bathes the land in a warm glow that many photographers enjoy. Because the sun sits low in the sky, the light is softer than it is at midday. As a result, you can capture more detail in hills, roads, trees, and clouds.
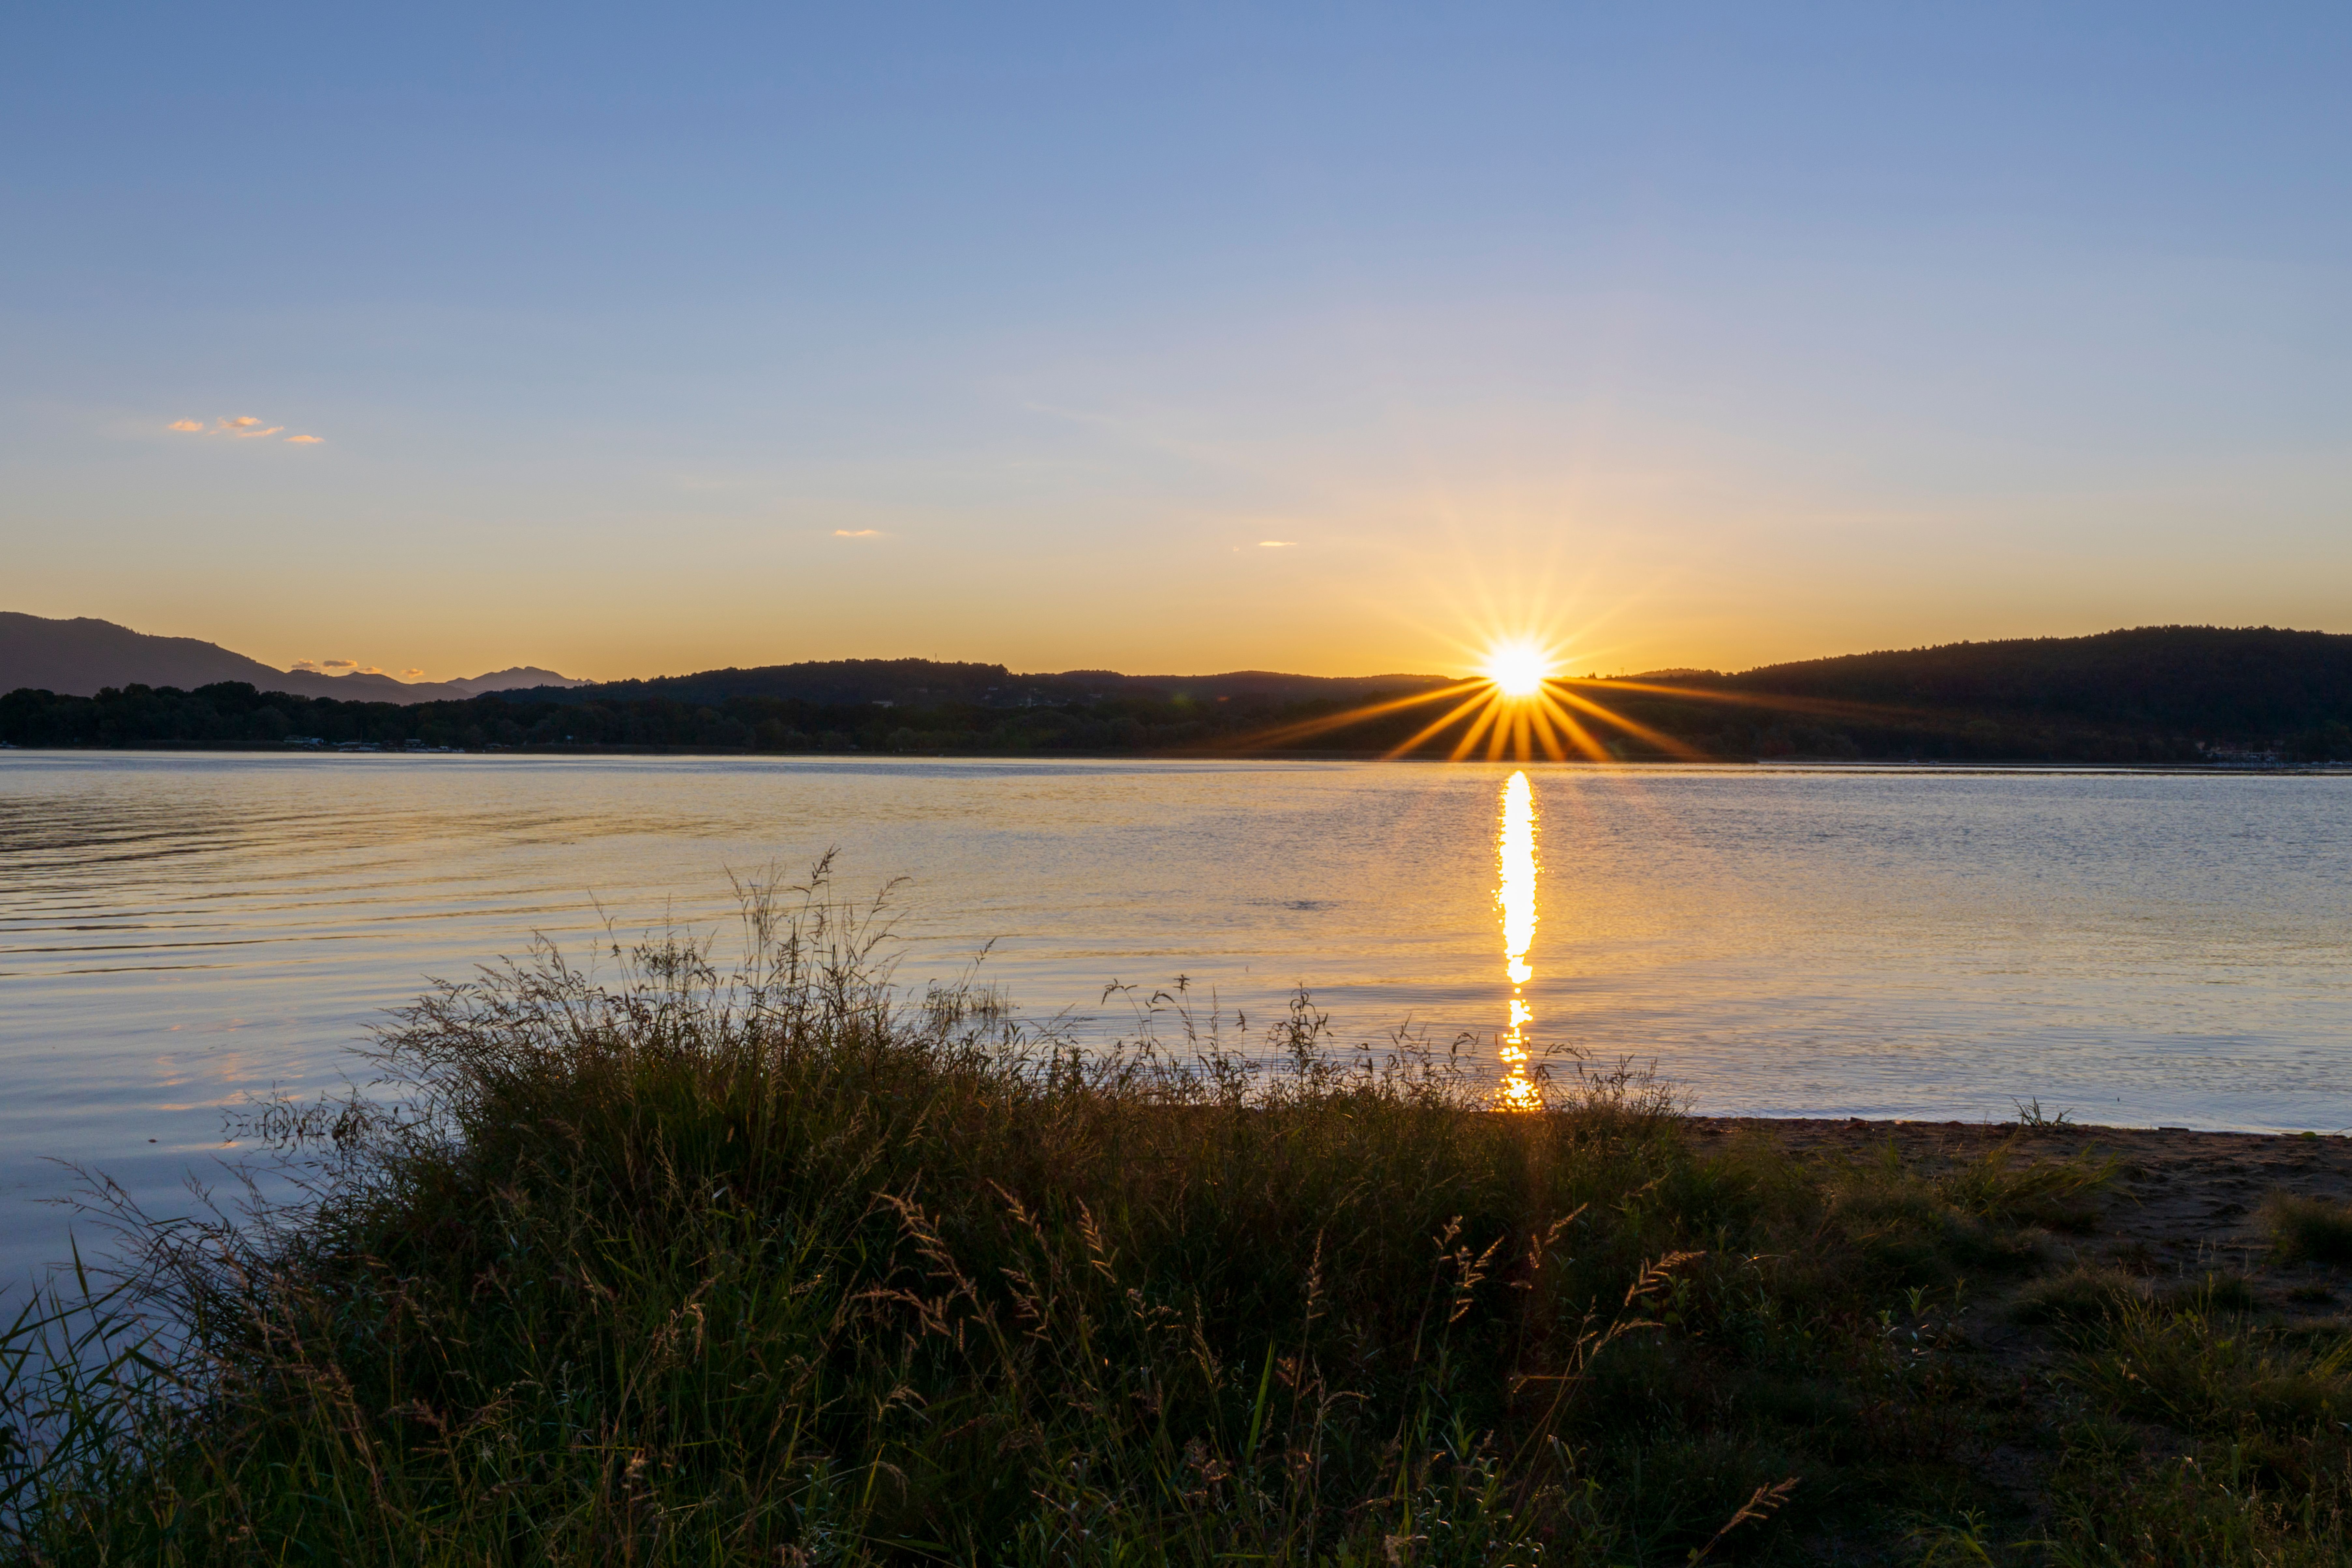
Photography groups and field guides agree on one important point: the sun’s low angle reduces harsh contrast. That means fewer blown highlights and fewer deep shadows. Consequently, summer landscape photos often look more natural right out of the camera.
What makes the light feel so good?
That warm tone comes from sunlight traveling through more atmosphere. Blue light scatters more, so the scene shifts toward gold, orange, and red. For that reason, a plain field or desert road can look far more dramatic near sunset.
Golden hour also gives shapes more definition. Side lighting can reveal texture in rocks, grass, and dirt roads. So you can capture depth without extra gear or heavy editing.
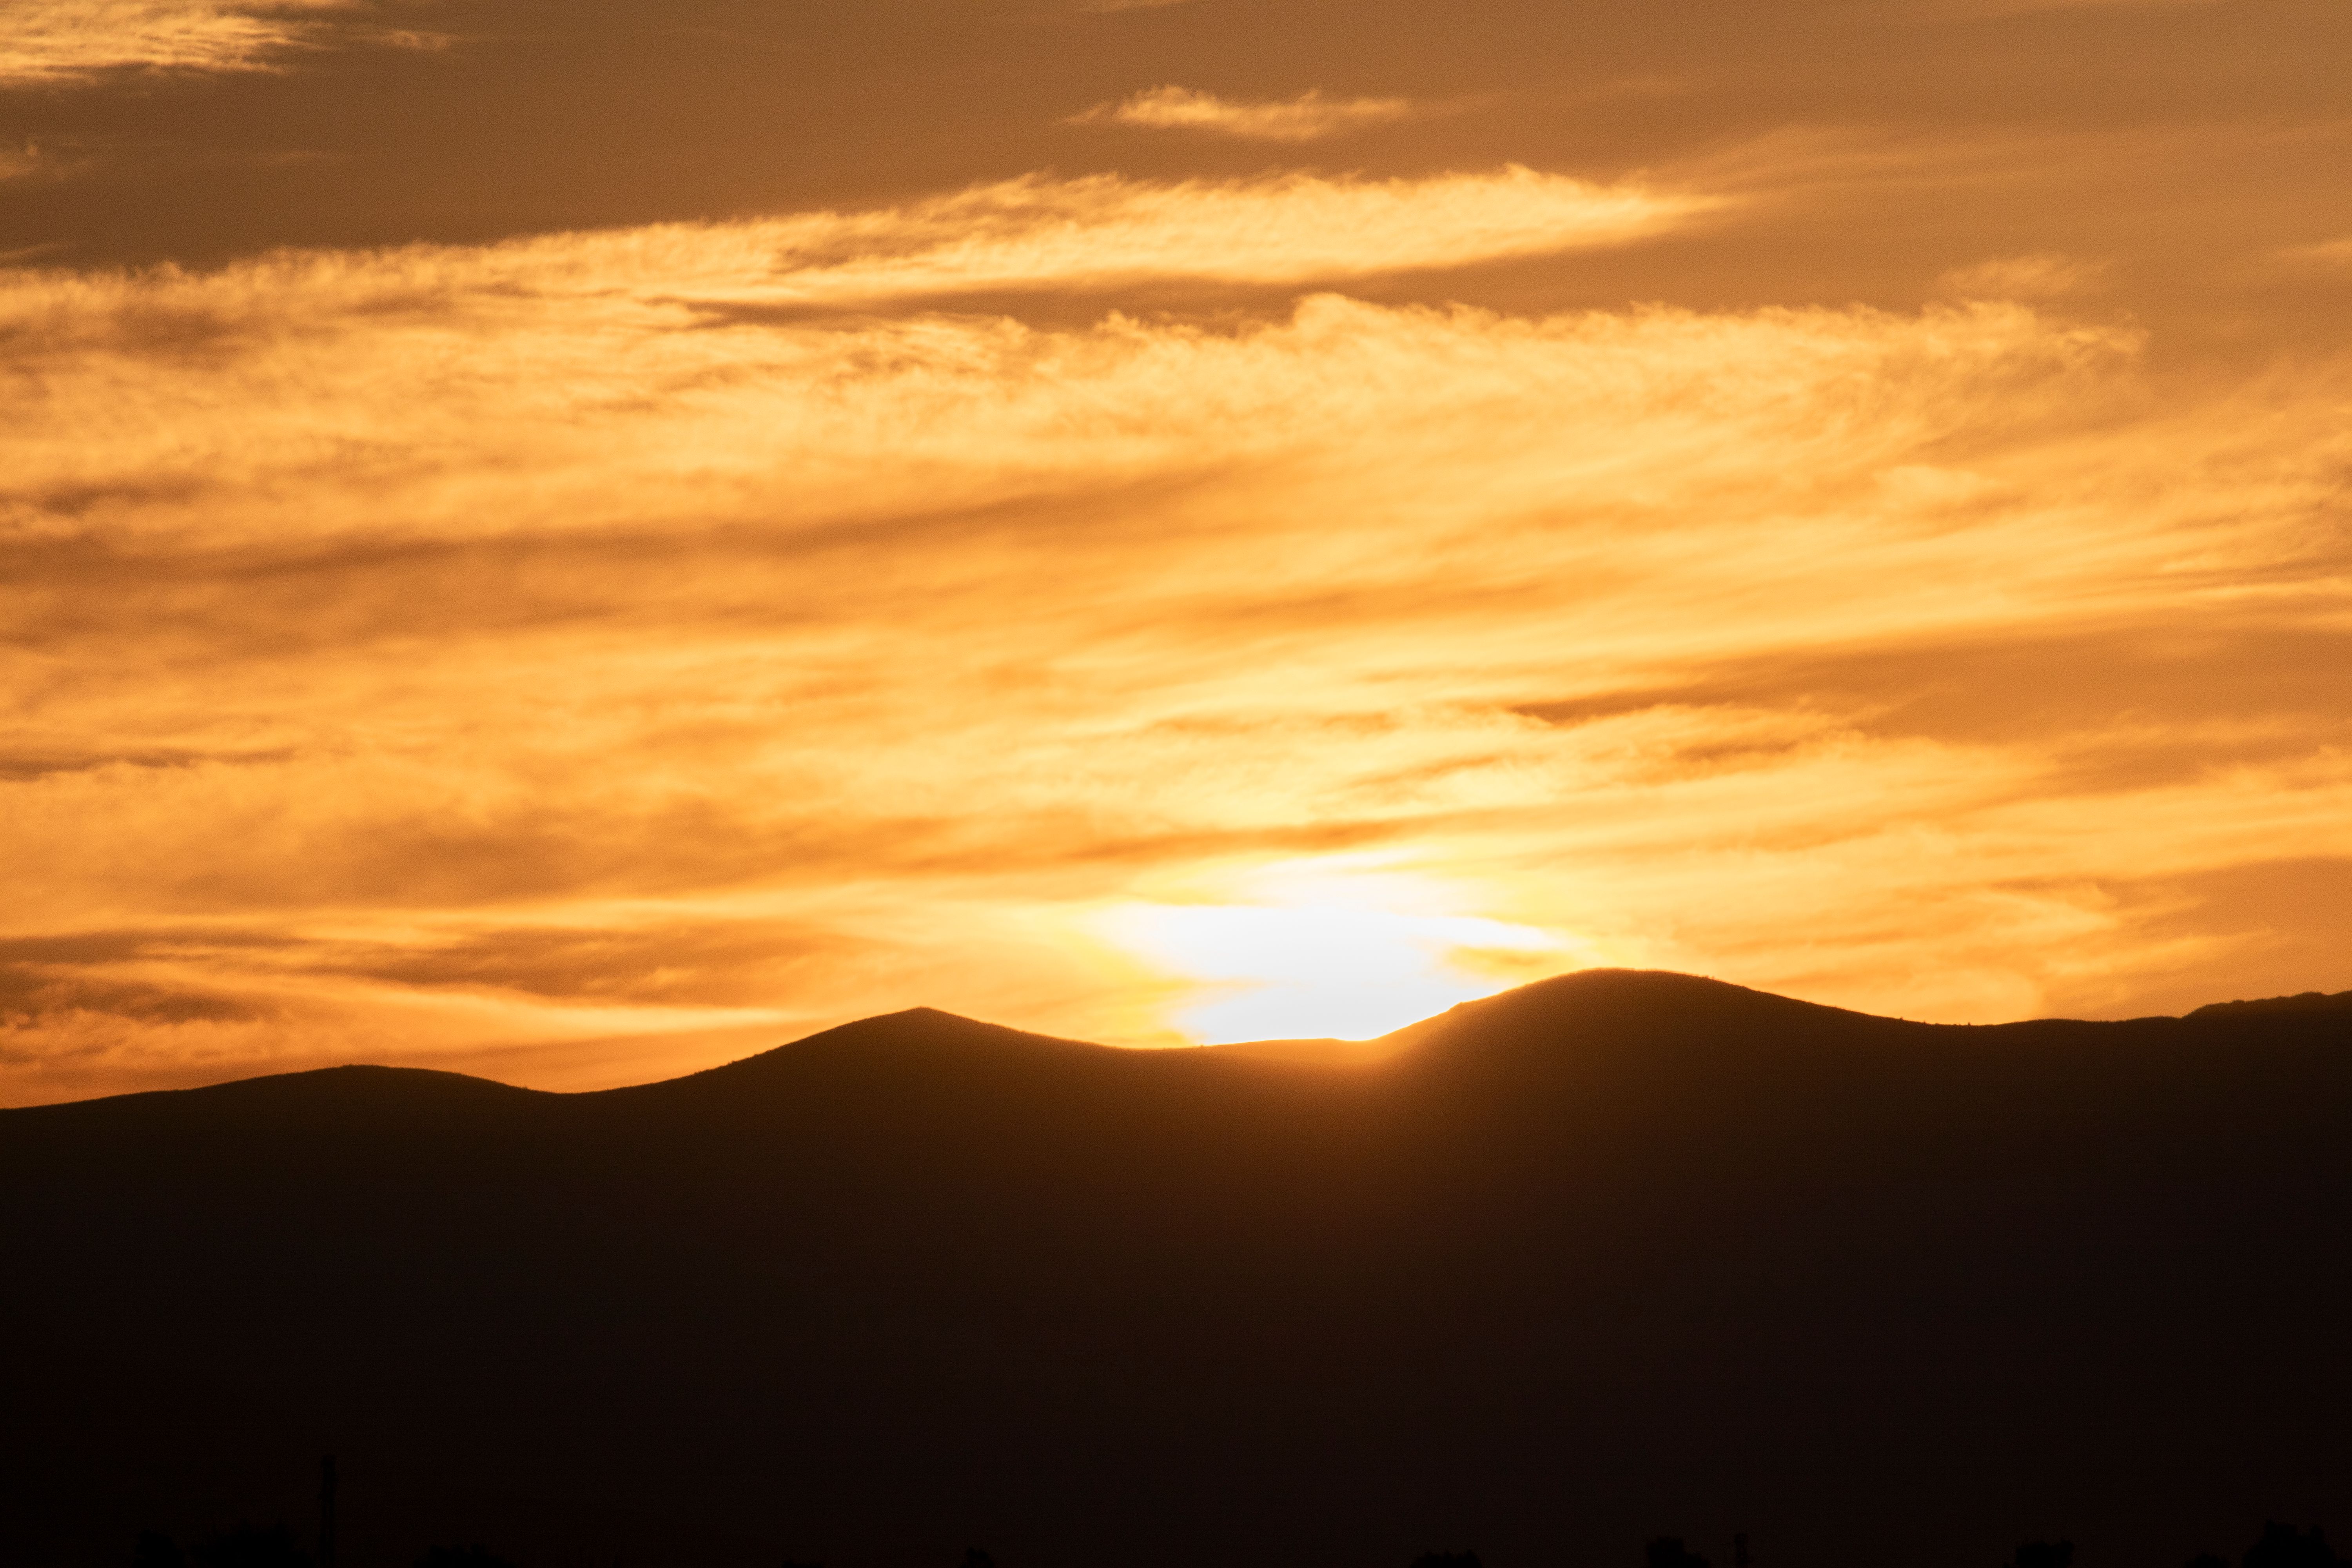
When Is Golden Hour in June?
The exact timing depends on location and date. In June, golden hour often begins about 45 to 60 minutes before sunset. In higher latitudes, it may start even earlier because the sun stays low for longer.
If you are on a summer road trip, check a sunrise and sunset app before you drive. You can plan to stop about an hour before sunset and still have time to find a safe pull-off. That simple habit helps you capture the best light instead of chasing it.
Use the clock, but watch the sky too
Do not depend on the time alone. Hills, trees, and cloud cover can block the sun early. At the same time, those elements may also improve the scene by adding color and layers.
Watch for signs that the light is changing quickly. When shadows lengthen and the sky warms, golden hour is close. That is the ideal moment to set up and capture wide landscape frames.
How to Expose Landscapes During Golden Hour
Golden-hour scenes often include bright skies and darker ground. To preserve detail in both, use a thoughtful exposure plan. Start by checking the histogram if your camera offers one.
Many landscape photographers protect highlights first. In other words, avoid blowing out the sky. So, if necessary, underexpose slightly and recover shadows later during editing.
Simple exposure settings to try
A solid starting point is aperture priority or manual mode. Try an aperture around f/8 for wide landscape shots. That setting usually delivers good sharpness from foreground to background.

Use ISO 100 or ISO 200 whenever possible. Keep shutter speed fast enough to prevent blur if wind moves plants. When the light starts to fade, a tripod helps preserve detail without pushing ISO too high.
- Aperture: f/8 for most landscapes
- Wide lens: 16mm to 35mm for broad scenes
- Shutter speed: Start near 1/125s for hand-held shots
- ISO: 100 to 400 for clean files
If the sky is much brighter than the land, try exposure bracketing. Shoot three frames: one normal, one darker, and one brighter. That gives you more flexibility to hold detail across the entire scene.
Should you meter for the sky or the ground?
In most situations, meter the bright area first. Then evaluate the darker sections. If the sky looks right and the land is too dark, you can often correct that later.
This approach works especially well for summer sunsets near water, mountains, or open plains. The goal is not perfect brightness in the camera. Instead, aim to capture the full scene with enough detail for a strong edit.
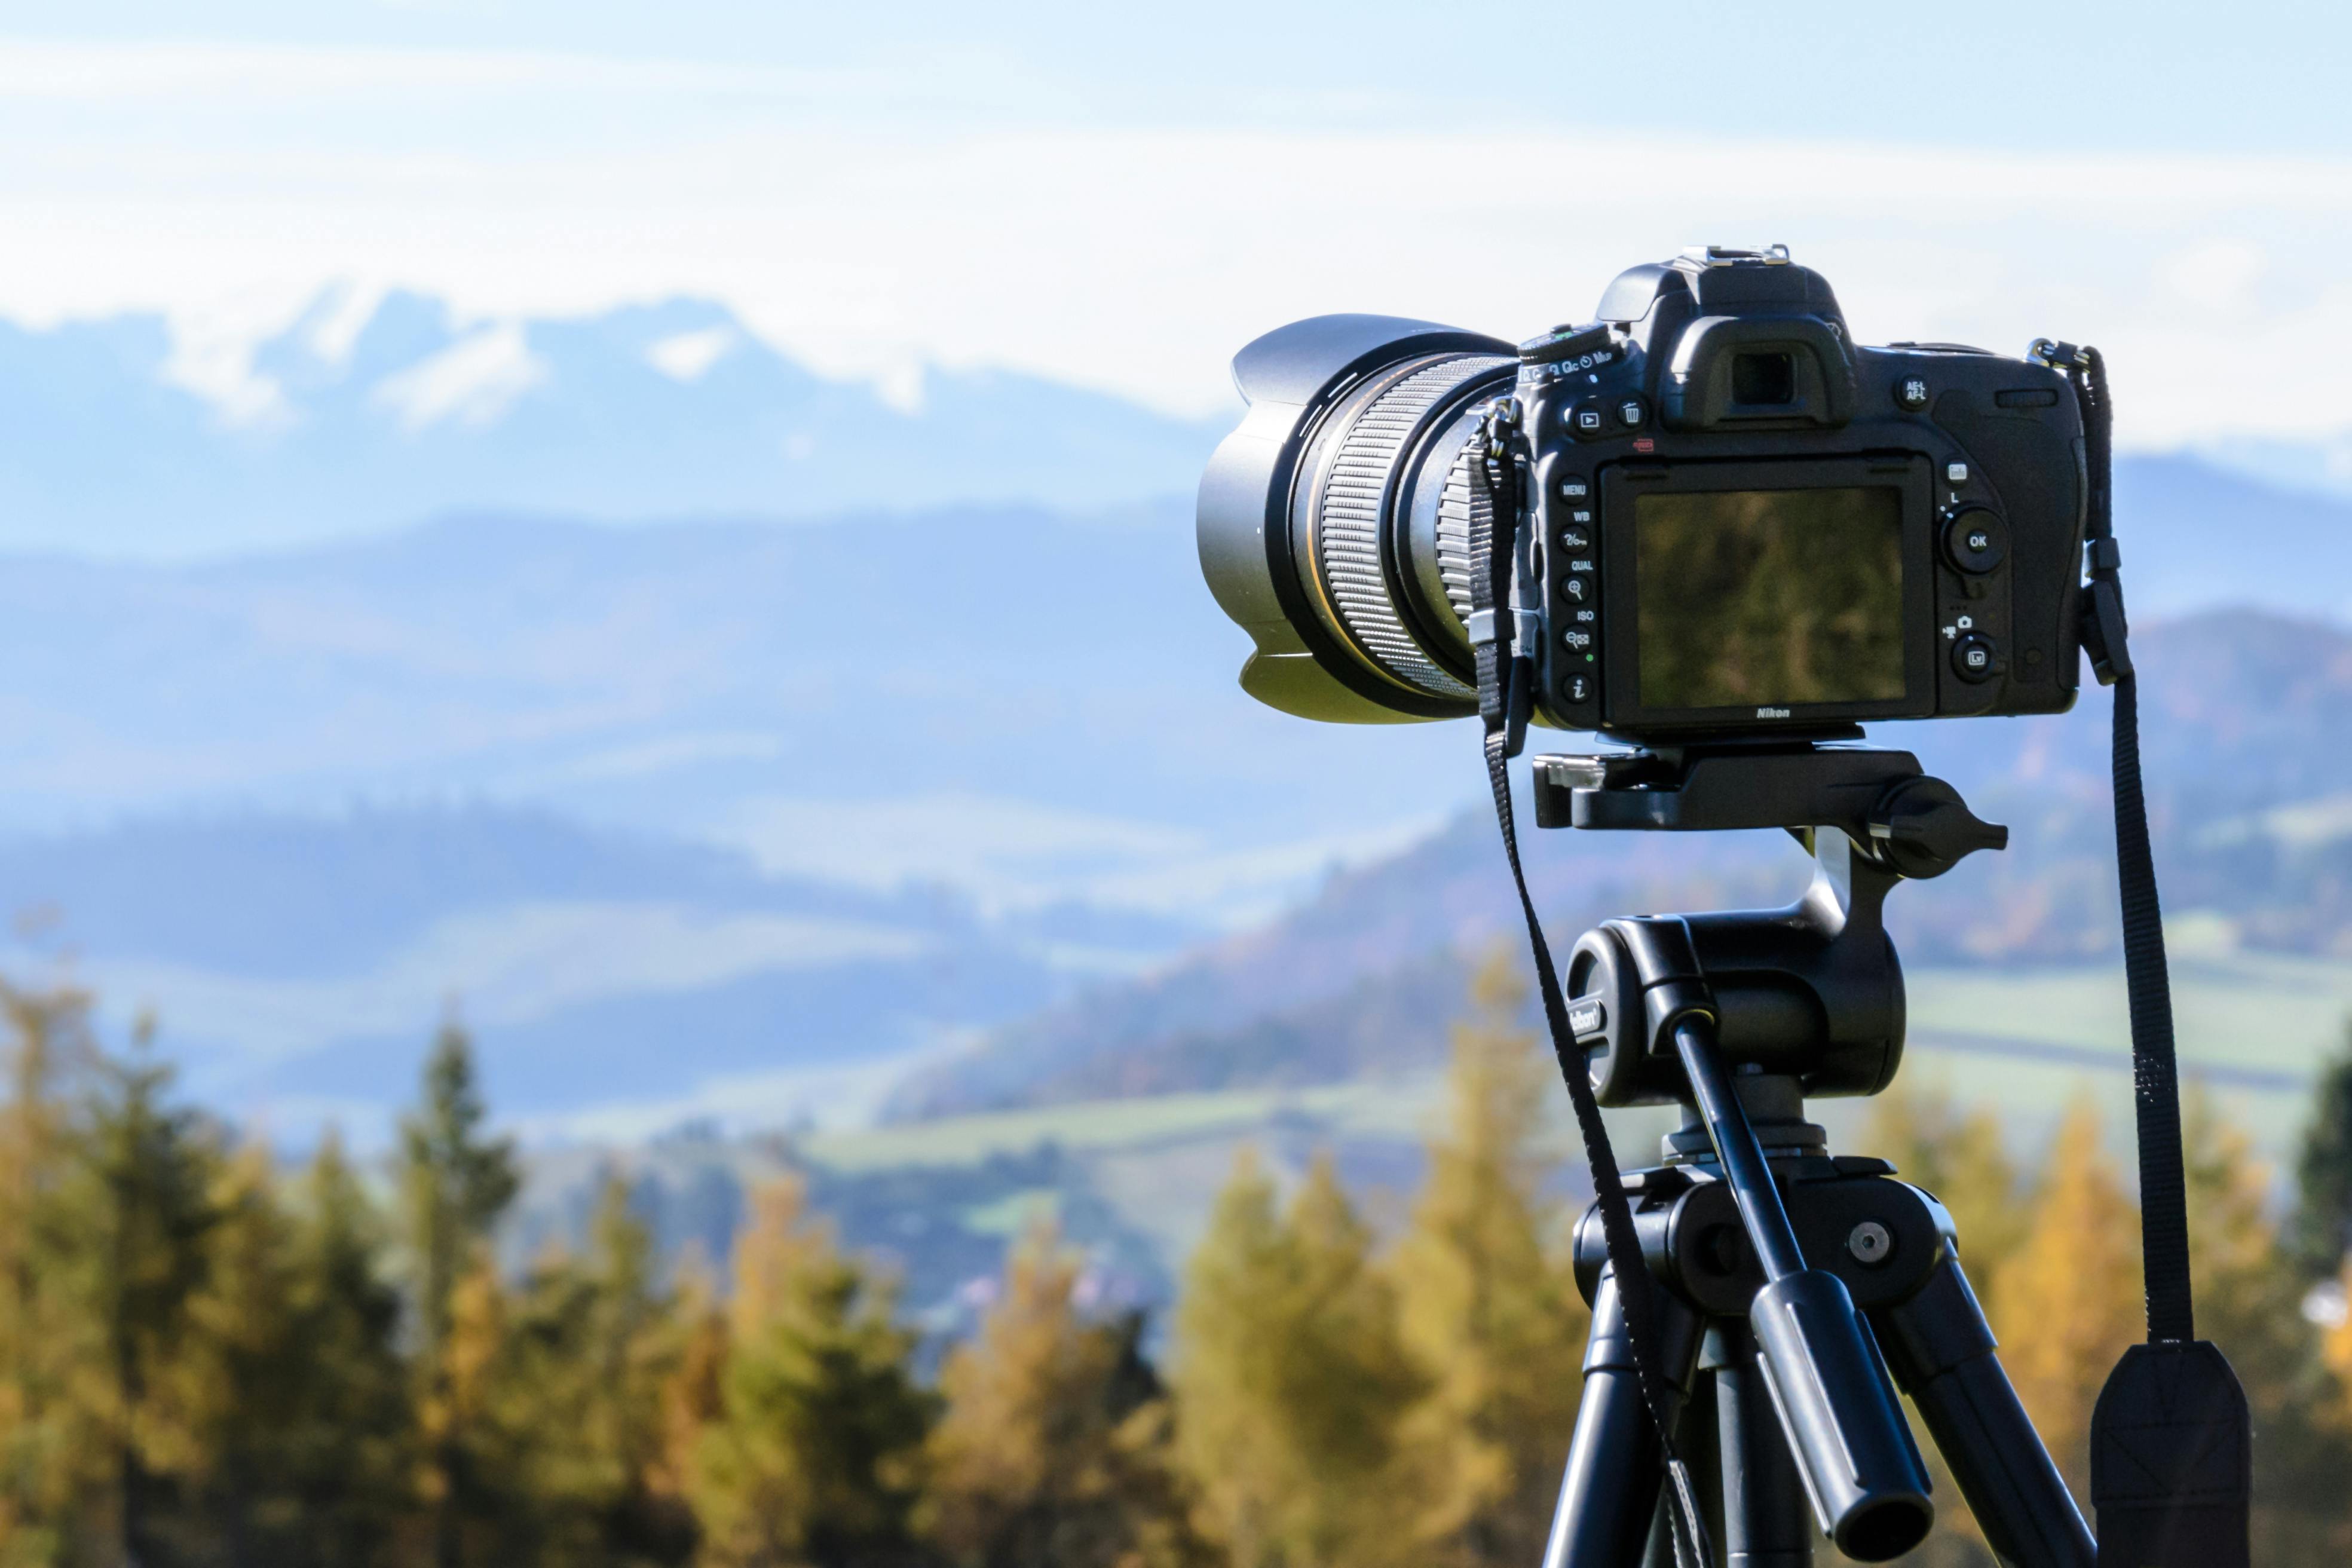
Best Lenses to Capture Roadside Golden-Hour Shots
The right lens affects how you capture a scene. For wide open views, a 16mm to 35mm lens is a smart option. It helps you include the road, sky, and distant land in a single frame.
A 24mm or 35mm lens is a strong all-around choice for road trips. It creates a natural look and works well at scenic overlooks. If you want a tighter view of hills, trees, or a lone car on the road, a 50mm to 85mm lens can help.
Pick the lens that fits the story
Wide lenses show the scene. Short telephoto lenses show the feeling within the scene. Either can help you capture compelling golden-hour landscapes.
For roadside stops, many photographers carry two straightforward options: a 24mm or 35mm prime, plus a zoom in the 24mm to 70mm range. That combination covers most summer road-trip scenes without much fuss.
- 16mm–24mm: Best for wide desert, coast, or mountain scenes
- 24mm–35mm: Best for general travel and road views
- 50mm–85mm: Best for compressing layers and isolating details
If you want only one lens, go with a versatile zoom. However, if you prefer simple gear, a 35mm prime can be quick and easy. It often encourages you to move less and pay more attention to the light.
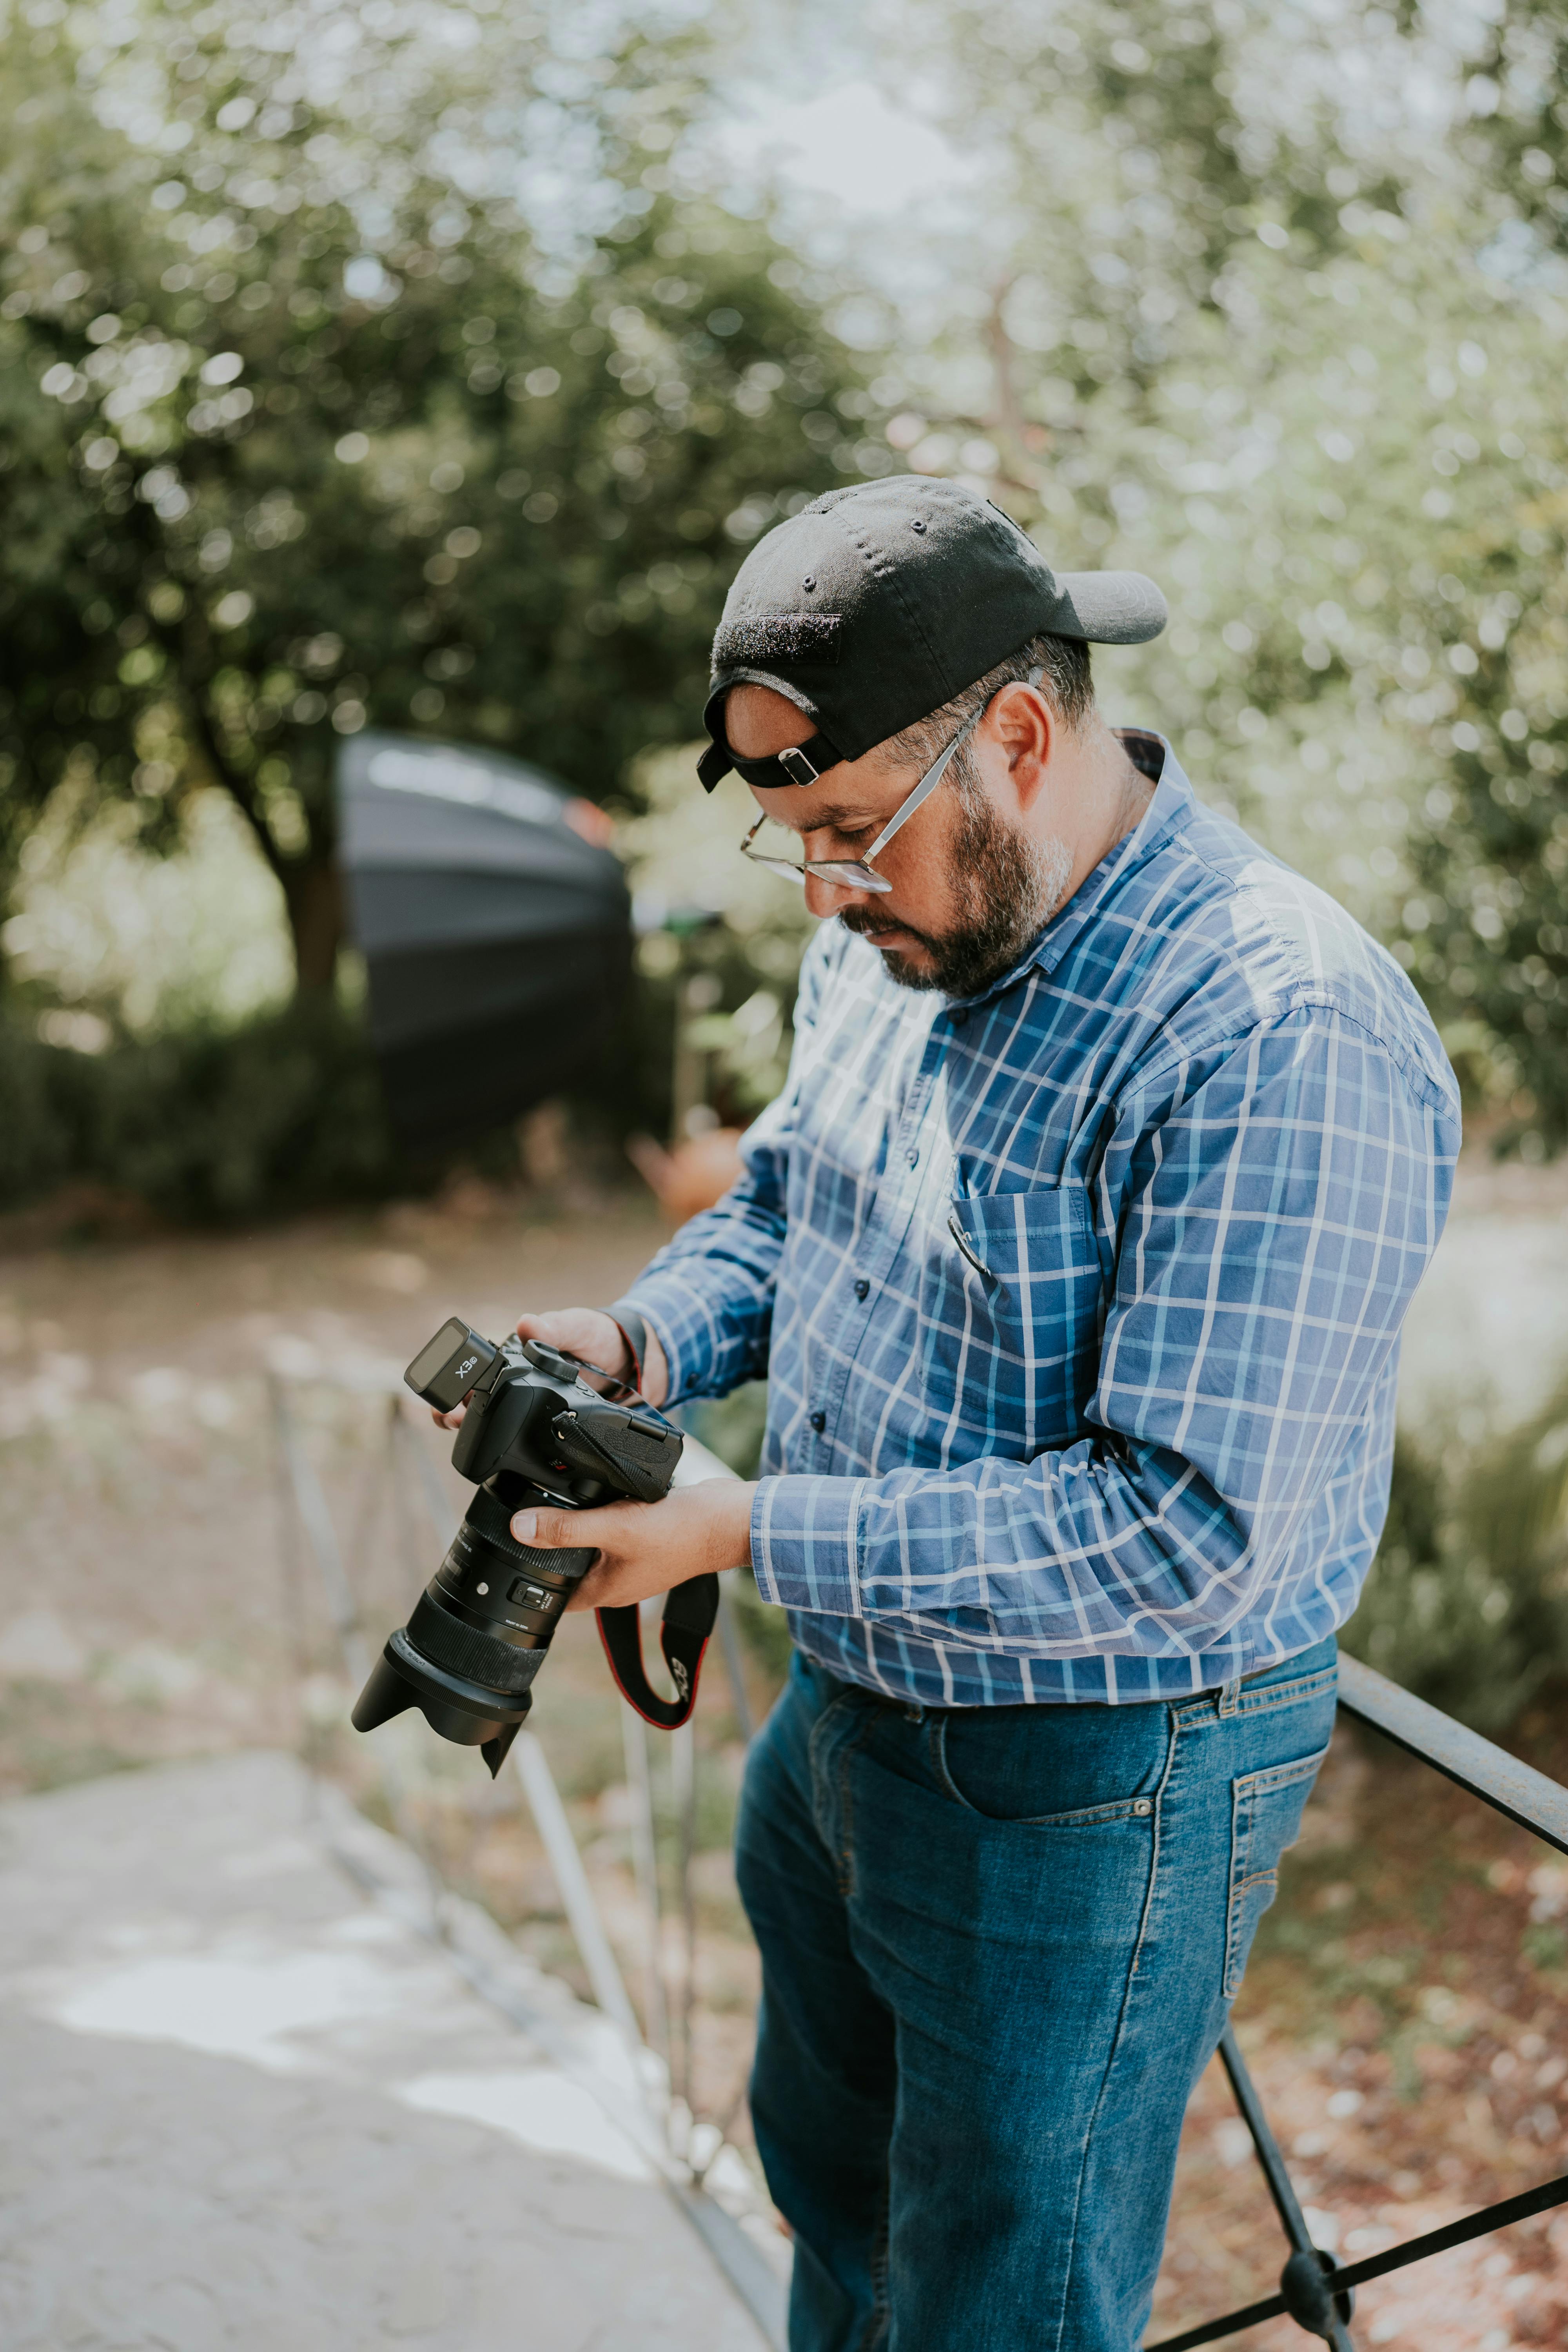
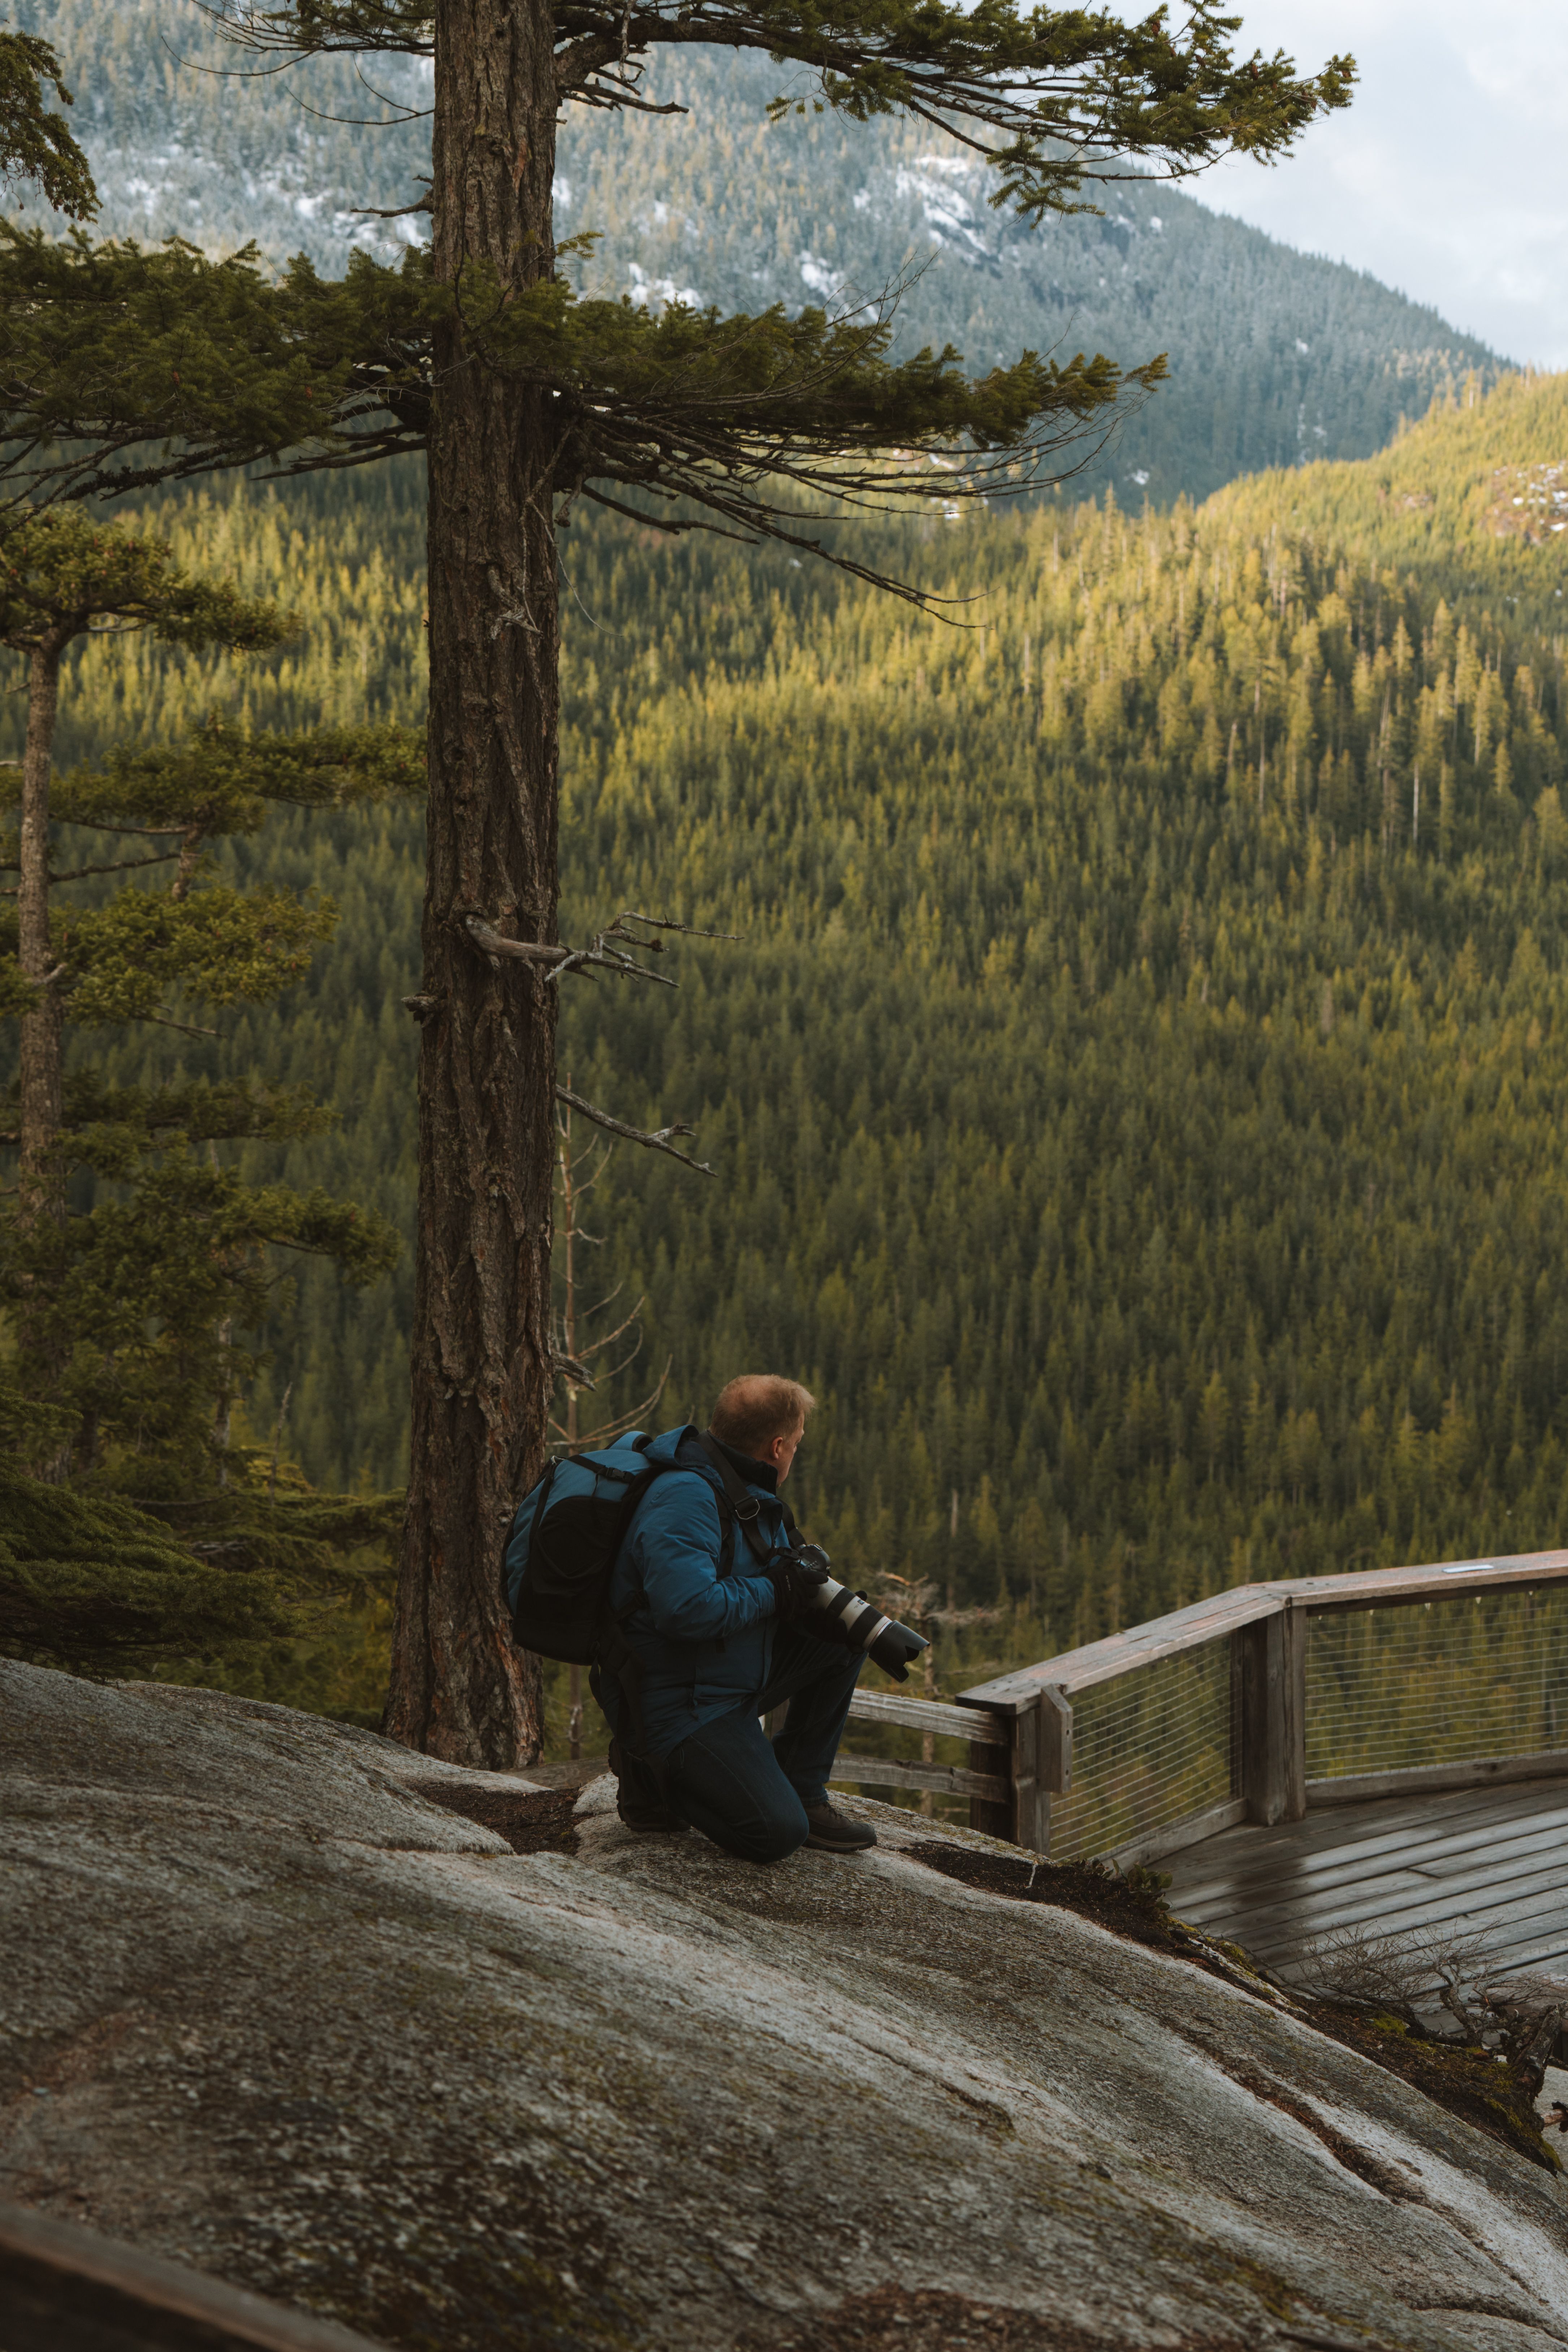
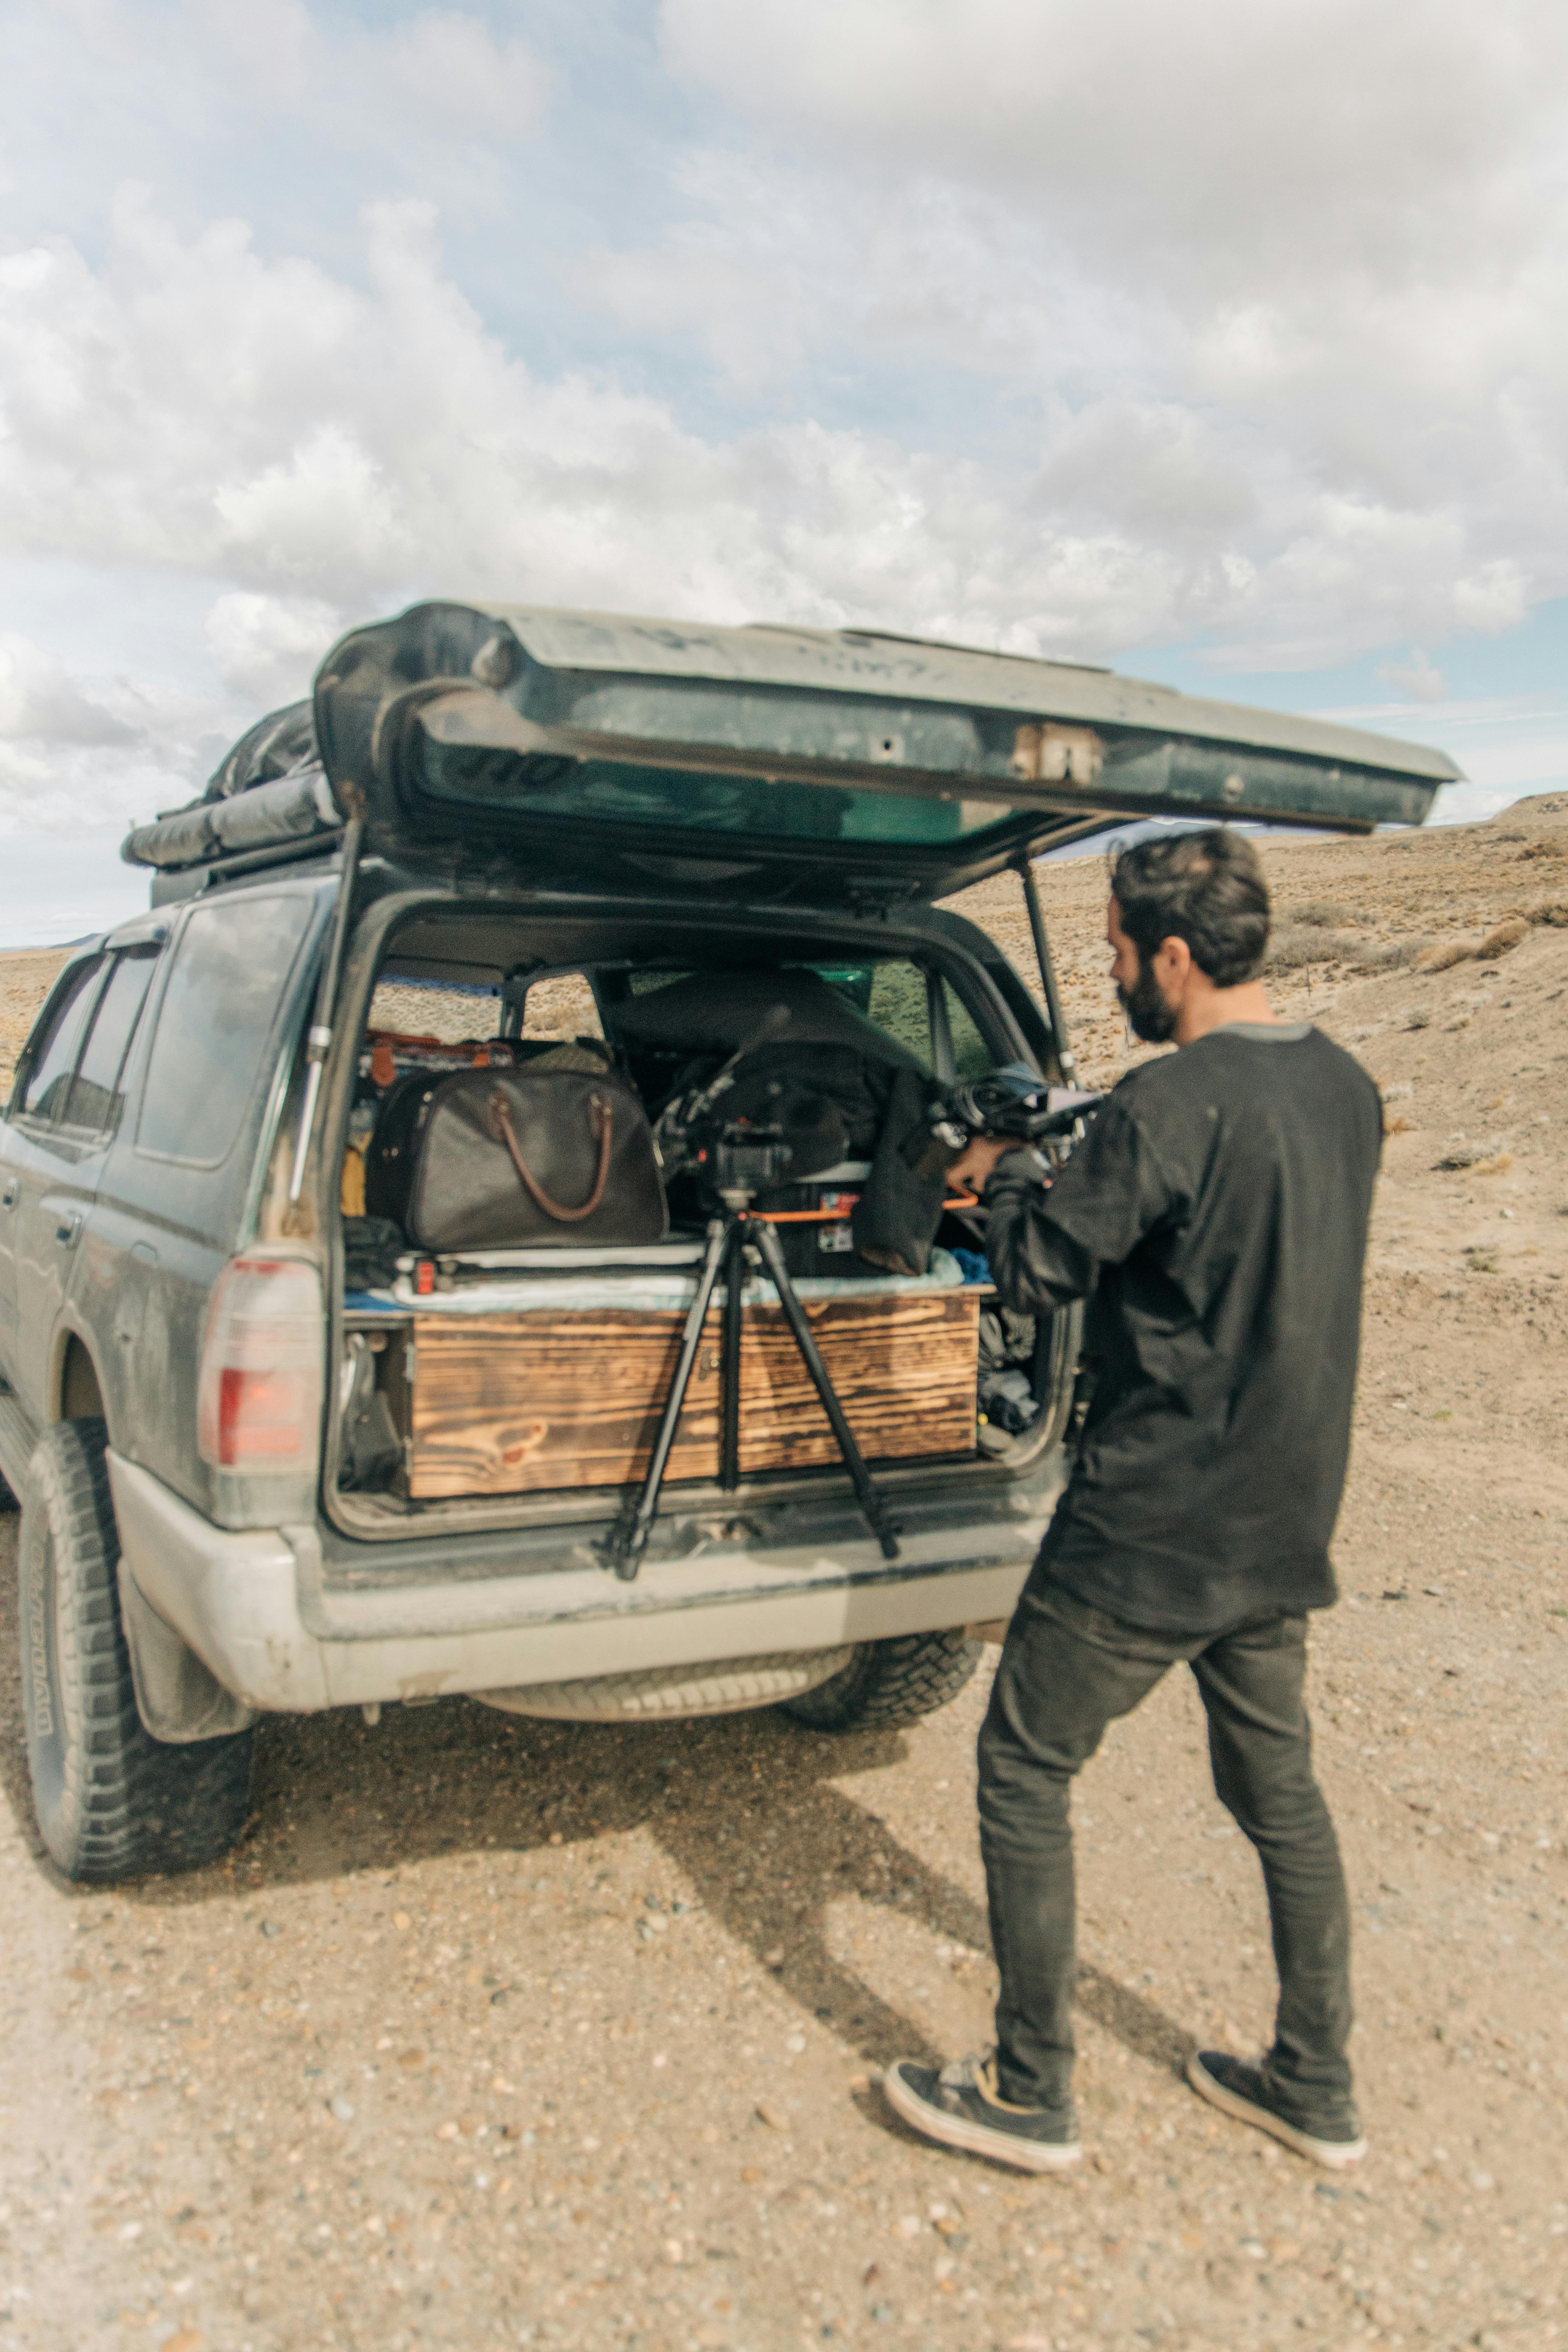
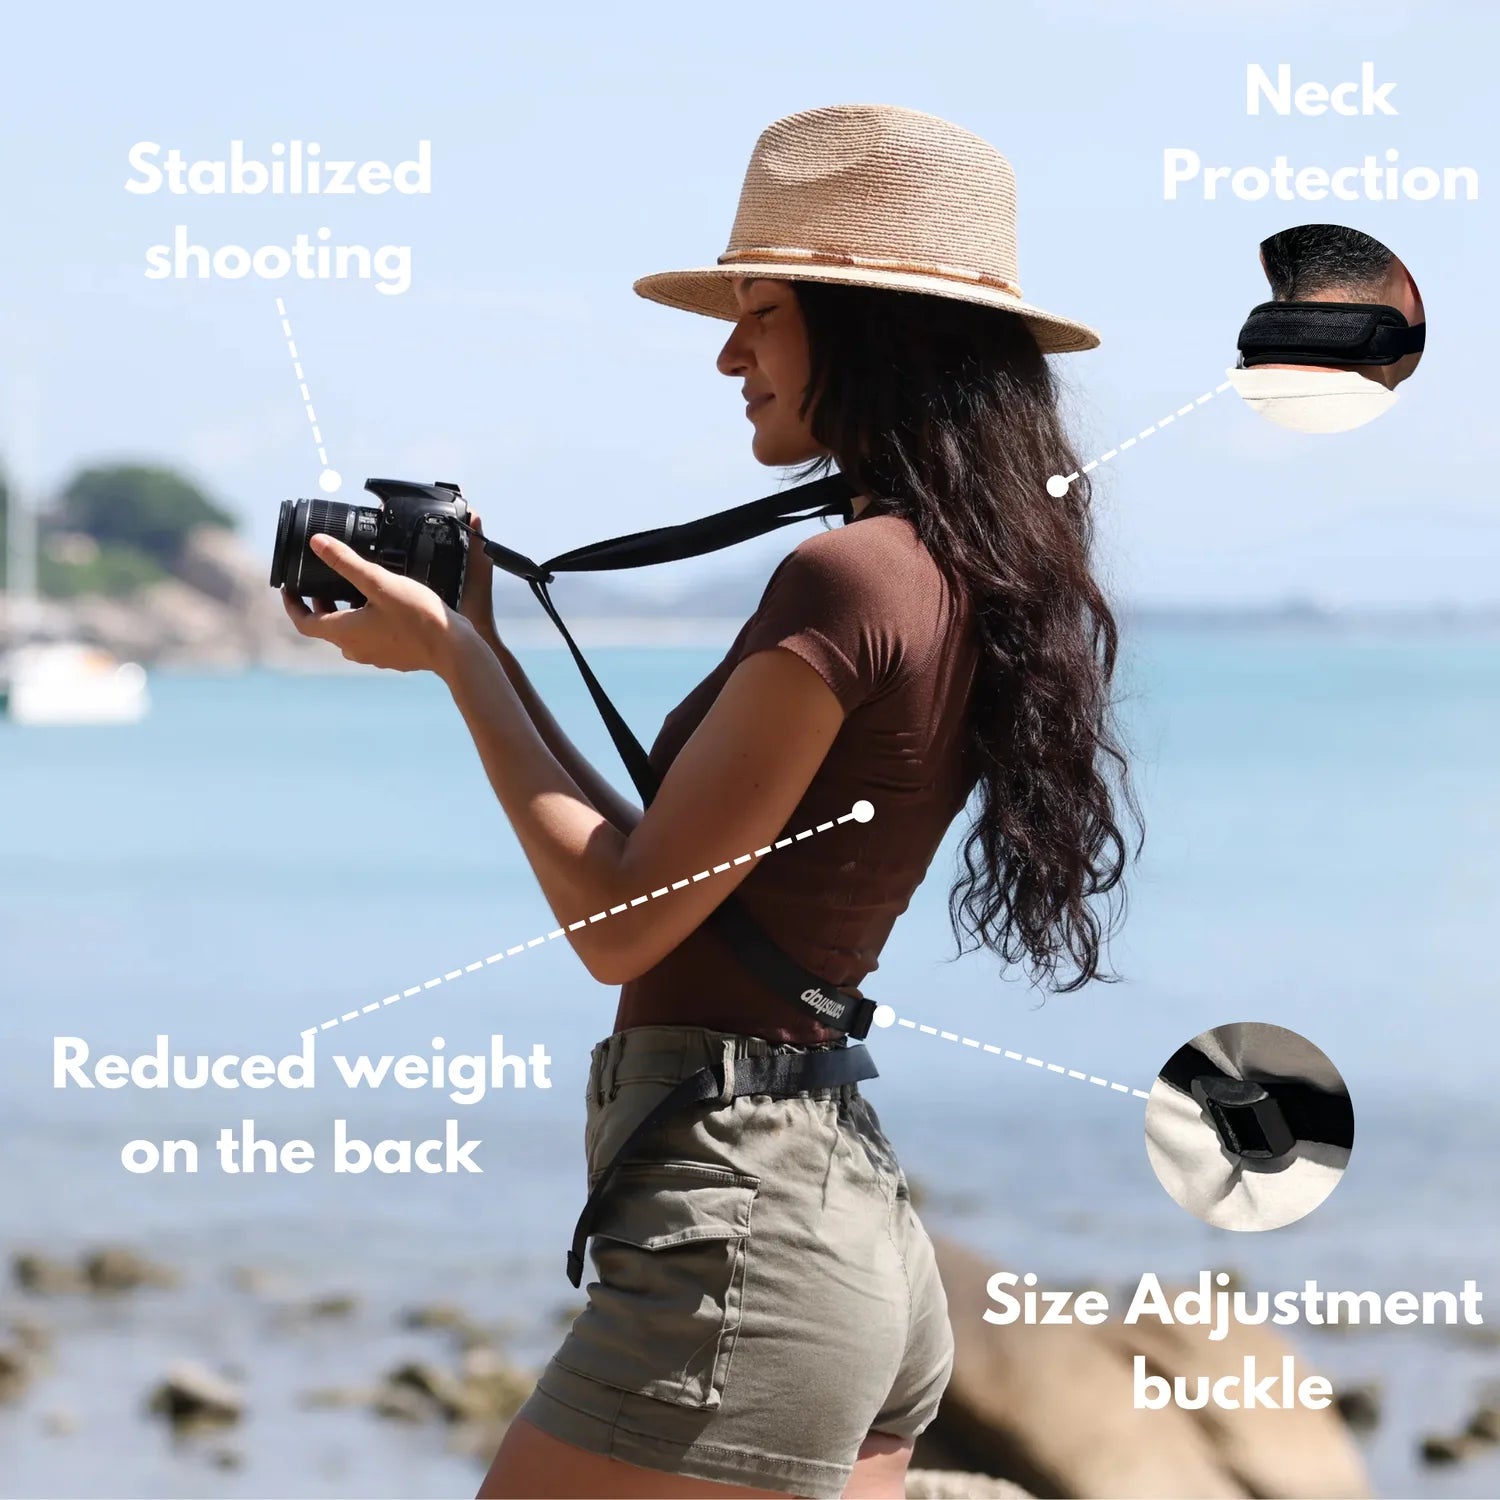
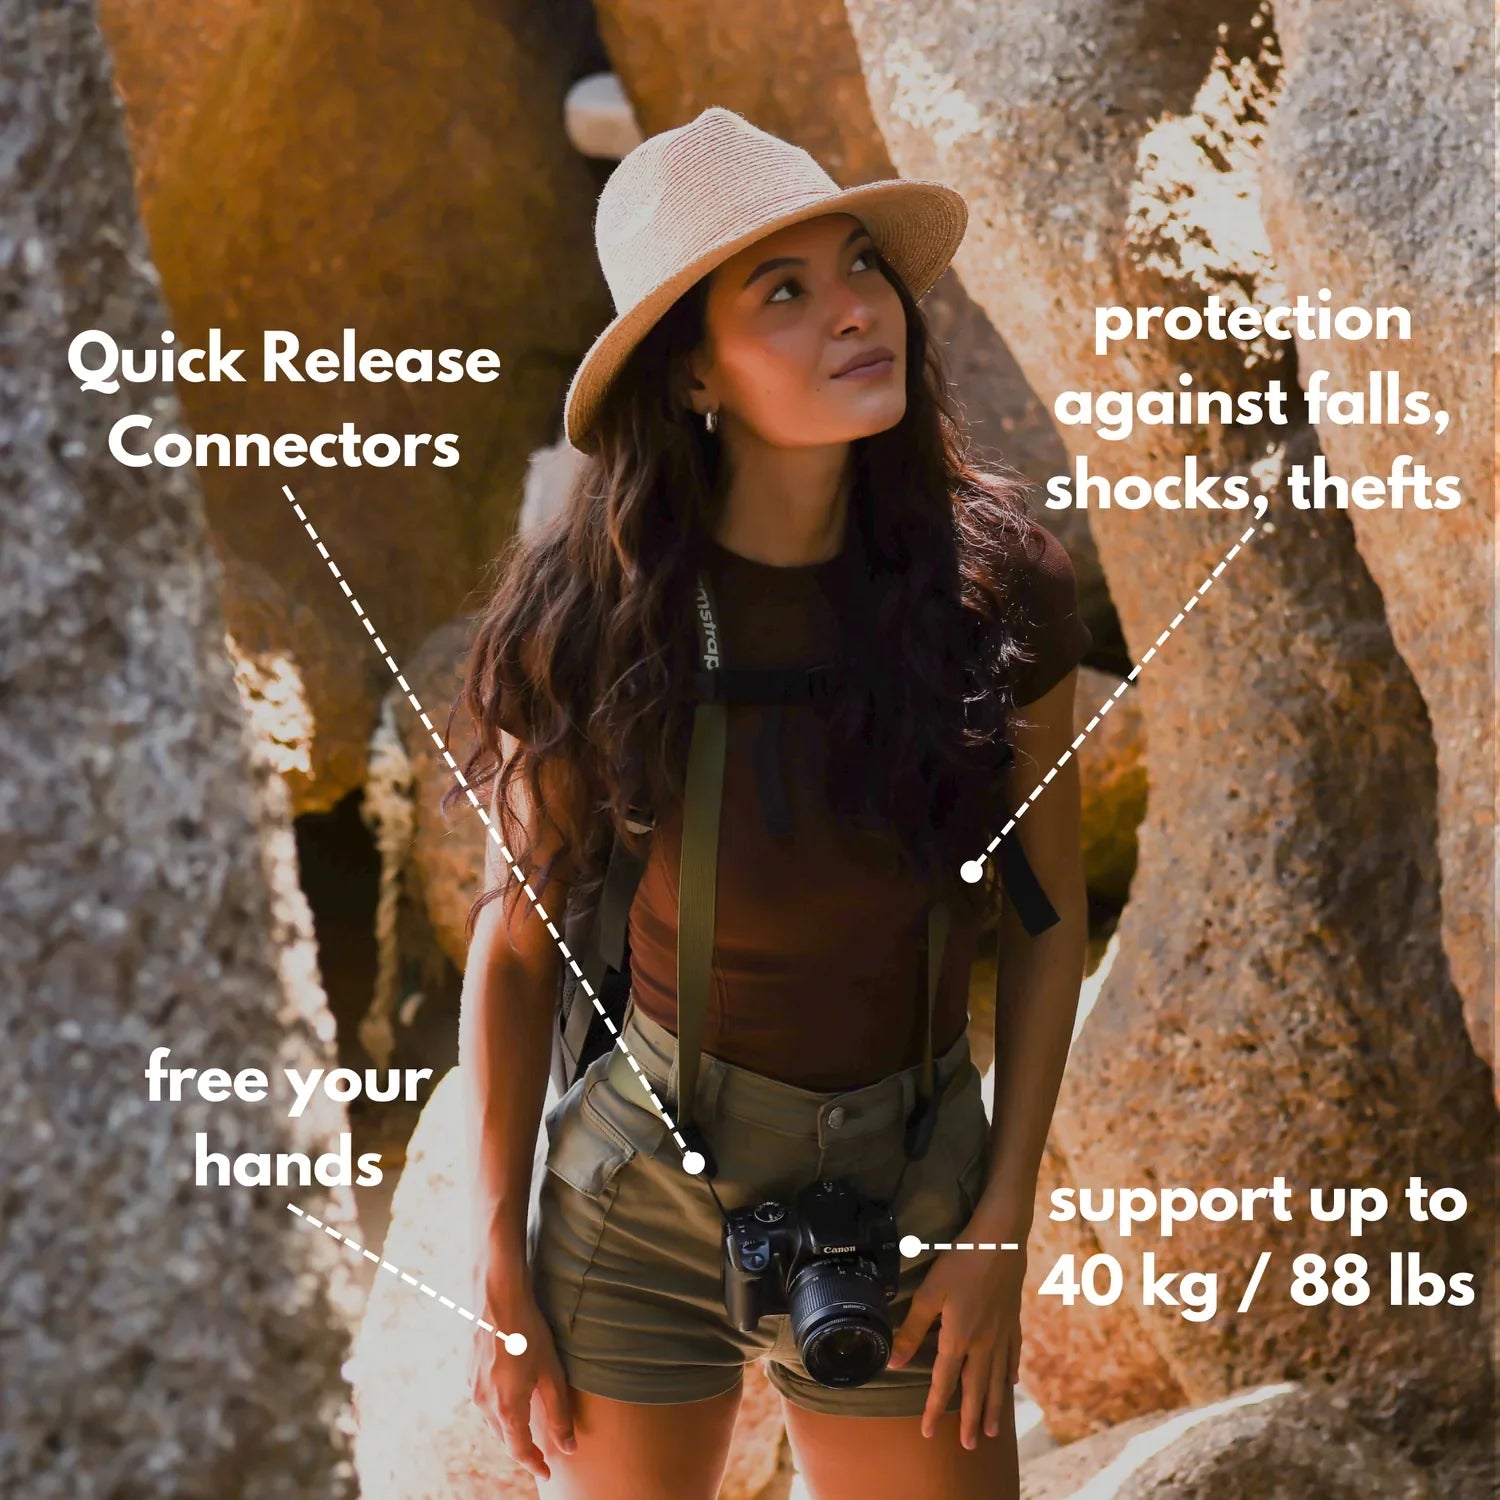
Stay Mobile With a Comfortable Strap on Long Summer Walks
Golden-hour locations are not always right beside the car. You may need to walk a trail, climb a hill, or move between viewpoints. A supportive crossbody strap can make that easier by keeping your camera secure and close at hand.
Hands-free comfort matters during long evening walks. It helps you move more quickly, rest your arms, and respond when the light shifts. For many travel photographers, that freedom makes it easier to capture more usable frames before sunset ends.
What to look for in a strap
Look for a strap that distributes weight well and stays steady as you walk. A wide, well-made strap can ease neck strain and reduce camera swing. That matters when you are moving over uneven ground.
Camstrap offers examples such as the camstrap voyager, camstrap explorer, camstrap nomad, and camstrap magclip. These are useful to note as options when you want a balanced, crossbody setup for travel and outdoor shooting. The main idea is simple: pick a strap that helps you carry well so you can capture more and worry less.
- Look for a crossbody fit for steady support.
- Check that the strap feels good after 30 minutes.
- Make sure your camera stays easy to reach.
- Choose quick access for fast sunset changes.
Simple Roadside Techniques That Help You Capture Stronger Scenes
A few small habits can improve your results quickly. First, arrive early so you can scout the area before the best light begins. That gives you time to find safe parking and clean angles.
Next, look for foreground shapes. A fence, flower, road curve, or rock can add depth. Without a strong foreground, wide golden-hour scenes can feel flat.
Use these easy composition moves
Try placing the horizon low when the sky is dramatic. Place it high when the land is more interesting. Simple framing decisions like these help you capture a clearer story.
- Use leading lines like roads, rivers, or guardrails.
- Put the sun just outside the frame for a warm edge light.
- Include one main subject, such as a tree, sign, or car.
- Change your angle by kneeling or stepping a few feet aside.
Also, shoot in short bursts as the light shifts. Golden hour moves quickly. A scene that looks ordinary one minute can glow ten minutes later.
Quick Summer Road-Trip Workflow for Better Golden-Hour Photos
A simple workflow helps you stay calm and prepared. Before you leave, check sunset time, weather, and road conditions. Then pack your camera, one or two lenses, a spare battery, and a strap that feels comfortable.

During the drive, keep an eye out for pull-offs, ridges, lakes, and open fields. When you find a good stop, park safely and move quickly. That way, you will spend more time shooting and less time scrambling.
A fast field checklist
Use this simple order when you arrive. It saves time and helps you capture more frames before the light fades.
- Check the sky and light direction.
- Pick one wide view and one tighter view.
- Set exposure and take a test shot.
- Adjust for sky detail and shadow detail.
- Keep shooting as the color changes.
If you edit later, keep the look natural. A slight lift in shadows and a gentle boost in warmth is often enough. The strongest golden-hour images usually look great before heavy editing begins.
Wrap-Up: Capture Golden-Hour Landscapes With Less Effort
Golden hour makes summer road-trip photography easier and more rewarding. The light is soft, warm, and full of shape. With a little planning, you can capture better landscapes without carrying too much gear or working too hard.
Remember the essentials: check June sunset times, expose for the highlights, and use the right lens for the scene. A wide lens around 16mm to 35mm works well for broad views, while 50mm to 85mm can isolate details. A comfortable crossbody strap, such as one of Camstrap’s options, can also help you keep shooting with less strain.
Above all, stay flexible. The best roadside light can change fast, and that is part of the fun. If you arrive prepared, move efficiently, and keep your setup light, you can capture golden-hour landscapes on summer road trips with ease.
Frequently Asked Questions
When is golden hour in June?
In June, golden hour often begins about 45 to 60 minutes before sunset. The exact timing depends on your location and date, and it may start earlier in higher latitudes.
How do I expose landscapes during golden hour?
Use the histogram if available and protect highlights first, especially the sky. A slight underexposure is often better than blown highlights, since you can recover shadows later in editing.
What lenses work best for roadside golden-hour shots?
The article excerpt does not specify exact lens models, but it emphasizes wide landscape frames. In practice, a wide-angle lens is usually best for capturing roadside scenes and expansive golden-hour views.


