
- How do I photograph sunrise at the beach
- Why do my beach photos look washed out
- What camera settings work for sunrise photography

Beach sunrise photography can be stunning, but it can also be challenging. The sun climbs quickly, the water throws off intense reflections, and the sky can fade in color in just moments. If you want clean, vibrant sunrise images without harsh glare or washed-out skies, careful planning and thoughtful camera settings make all the difference.
This guide shows you how to photograph sunrise at the beach with greater control. You will also learn why beach images turn washed out, which camera settings work best, and how small accessories, such as a light camera strap, can make a shoreline walk much easier.
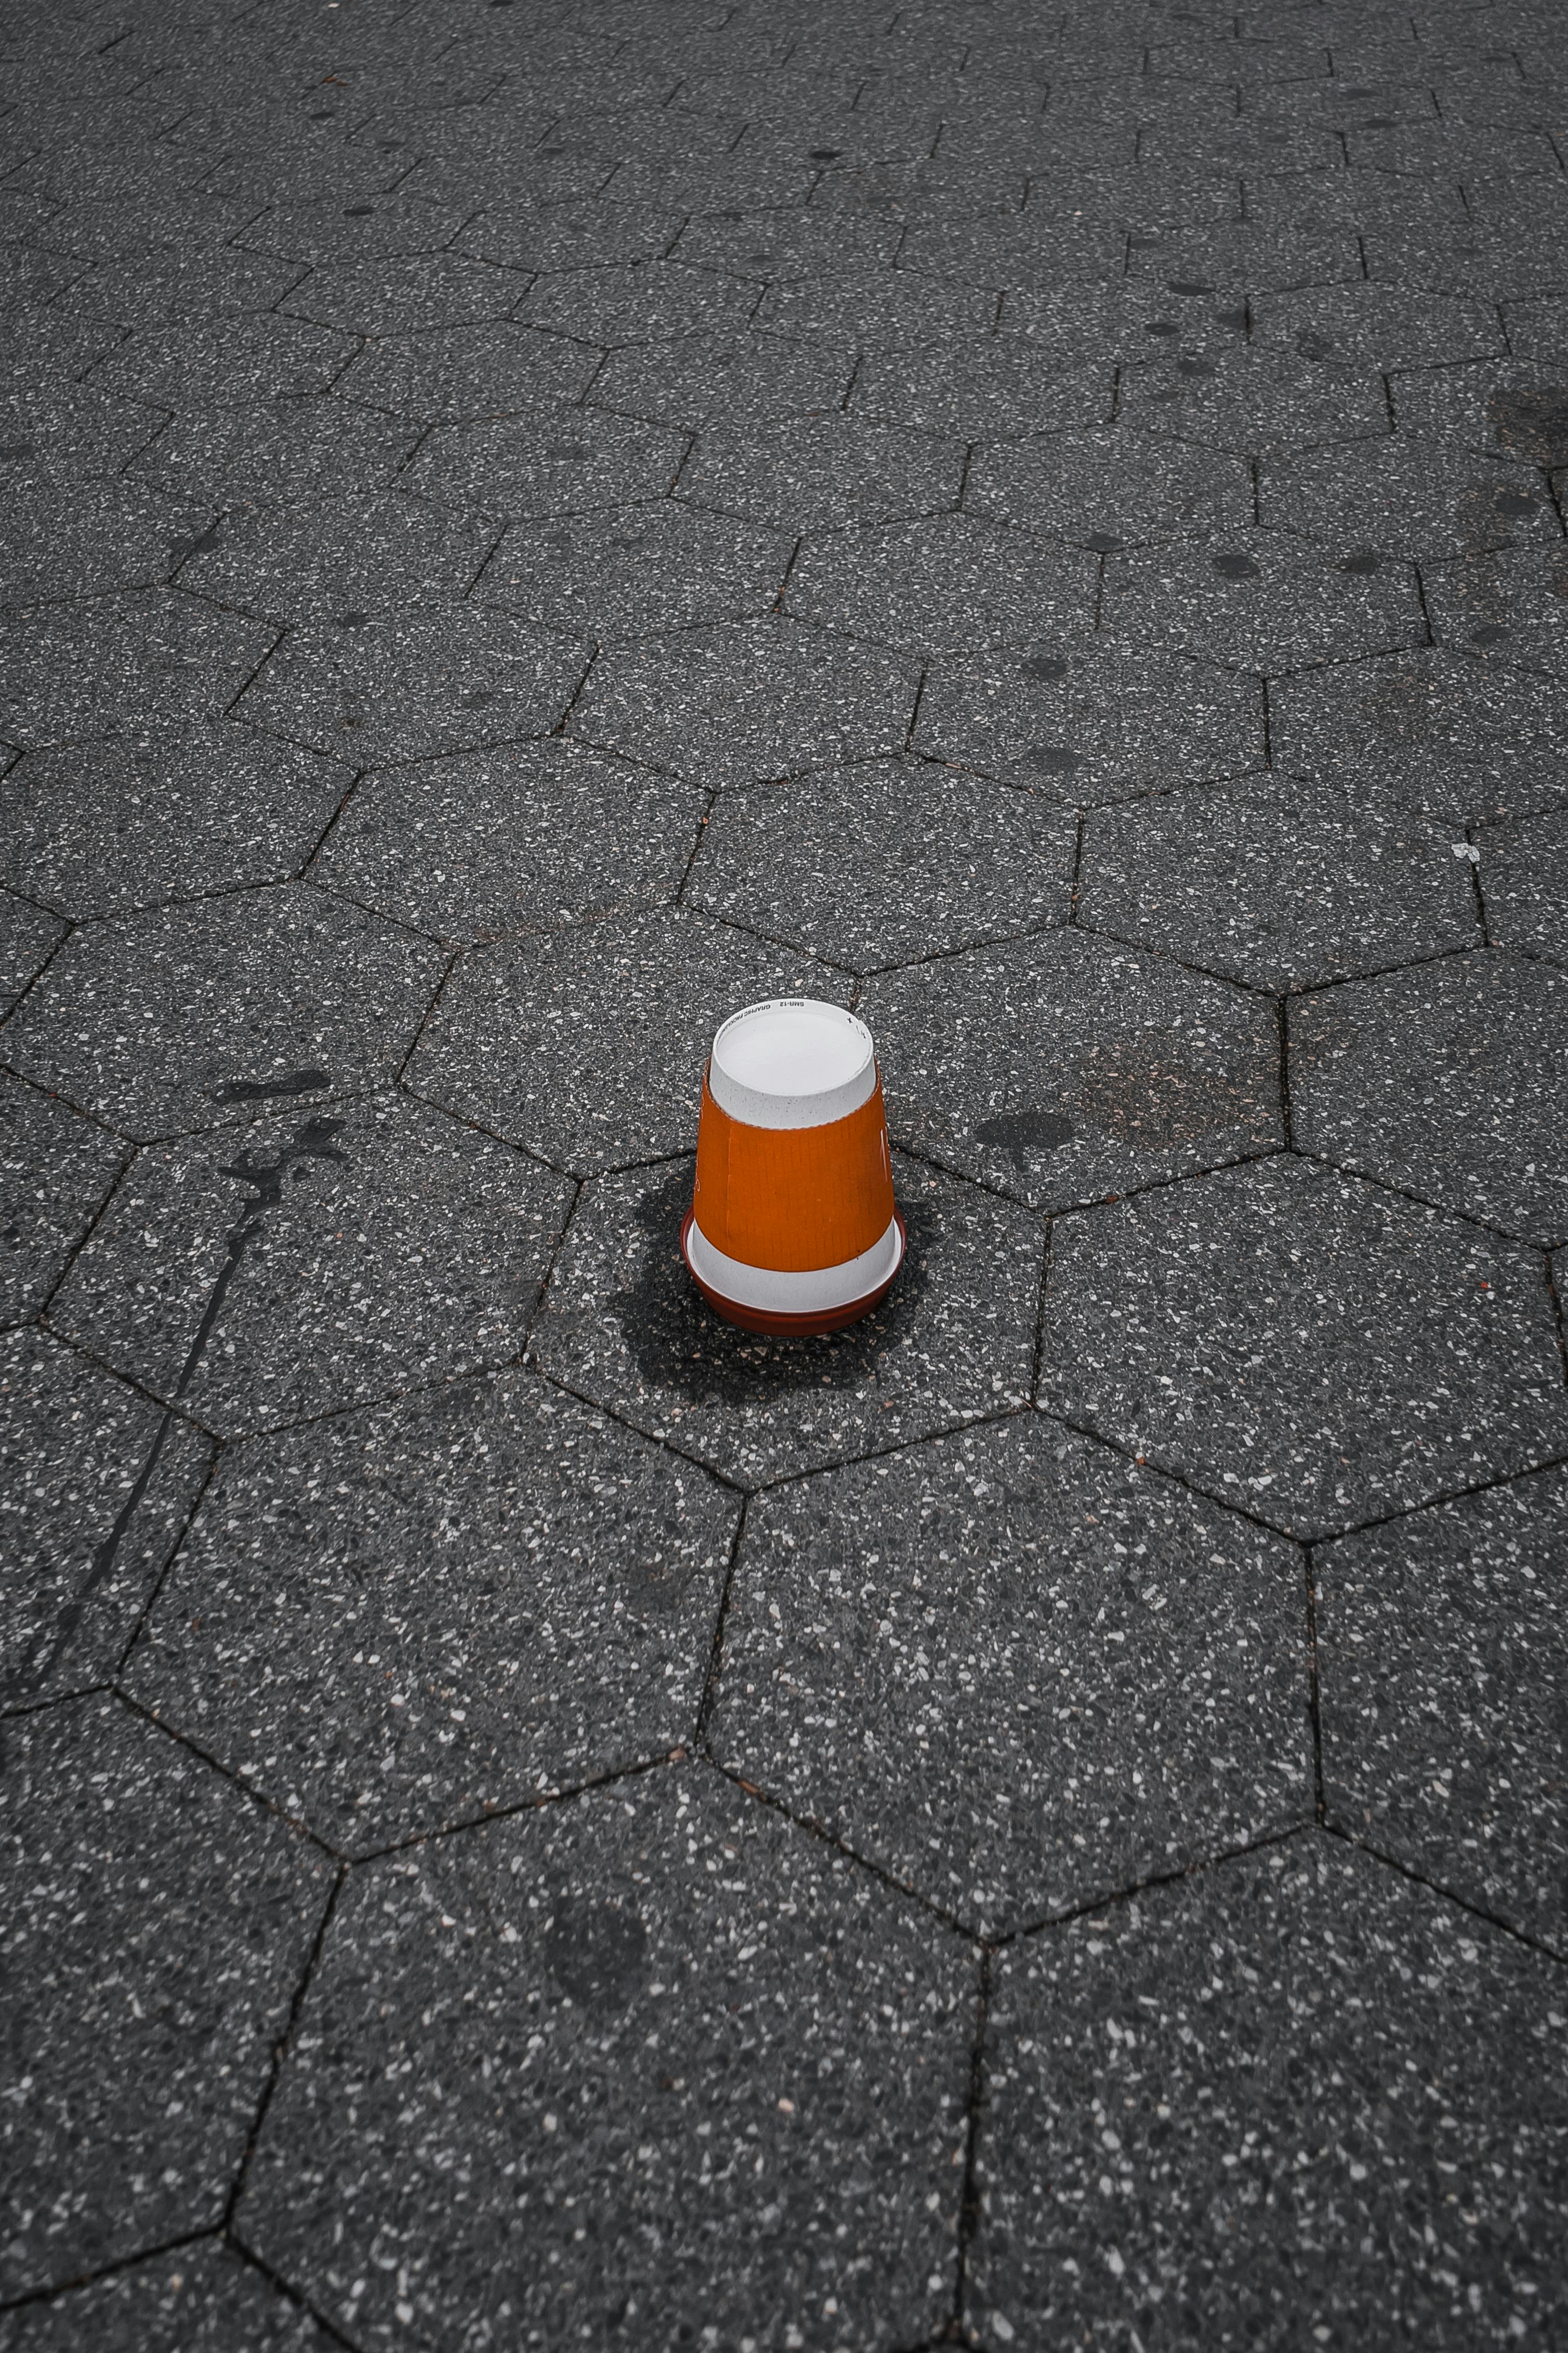
Why beach sunrise photos look washed out
Dawn light changes quickly at the beach. The sky can be far brighter than the sand and water, so the camera may expose for the highlights and lose detail elsewhere. That is why many beach sunrise photos end up looking pale, flat, or empty in the sky.
Glare is another major issue. Sunlight bounces off wet sand and water, and those reflections can drain the color from the scene. As a result, even an impressive view can appear dull if the camera does not manage the light well.
The sky is brighter than the foreground
At sunrise, the sky often carries rich color, while the land remains dark. Your camera has to decide what to preserve. If it exposes for the sand, the sky may blow out. If it protects the sky, the sand may become too dark.
This contrast is one of the main reasons beach sunrise photography feels difficult. Still, the right settings and a few simple habits solve most of the problem.
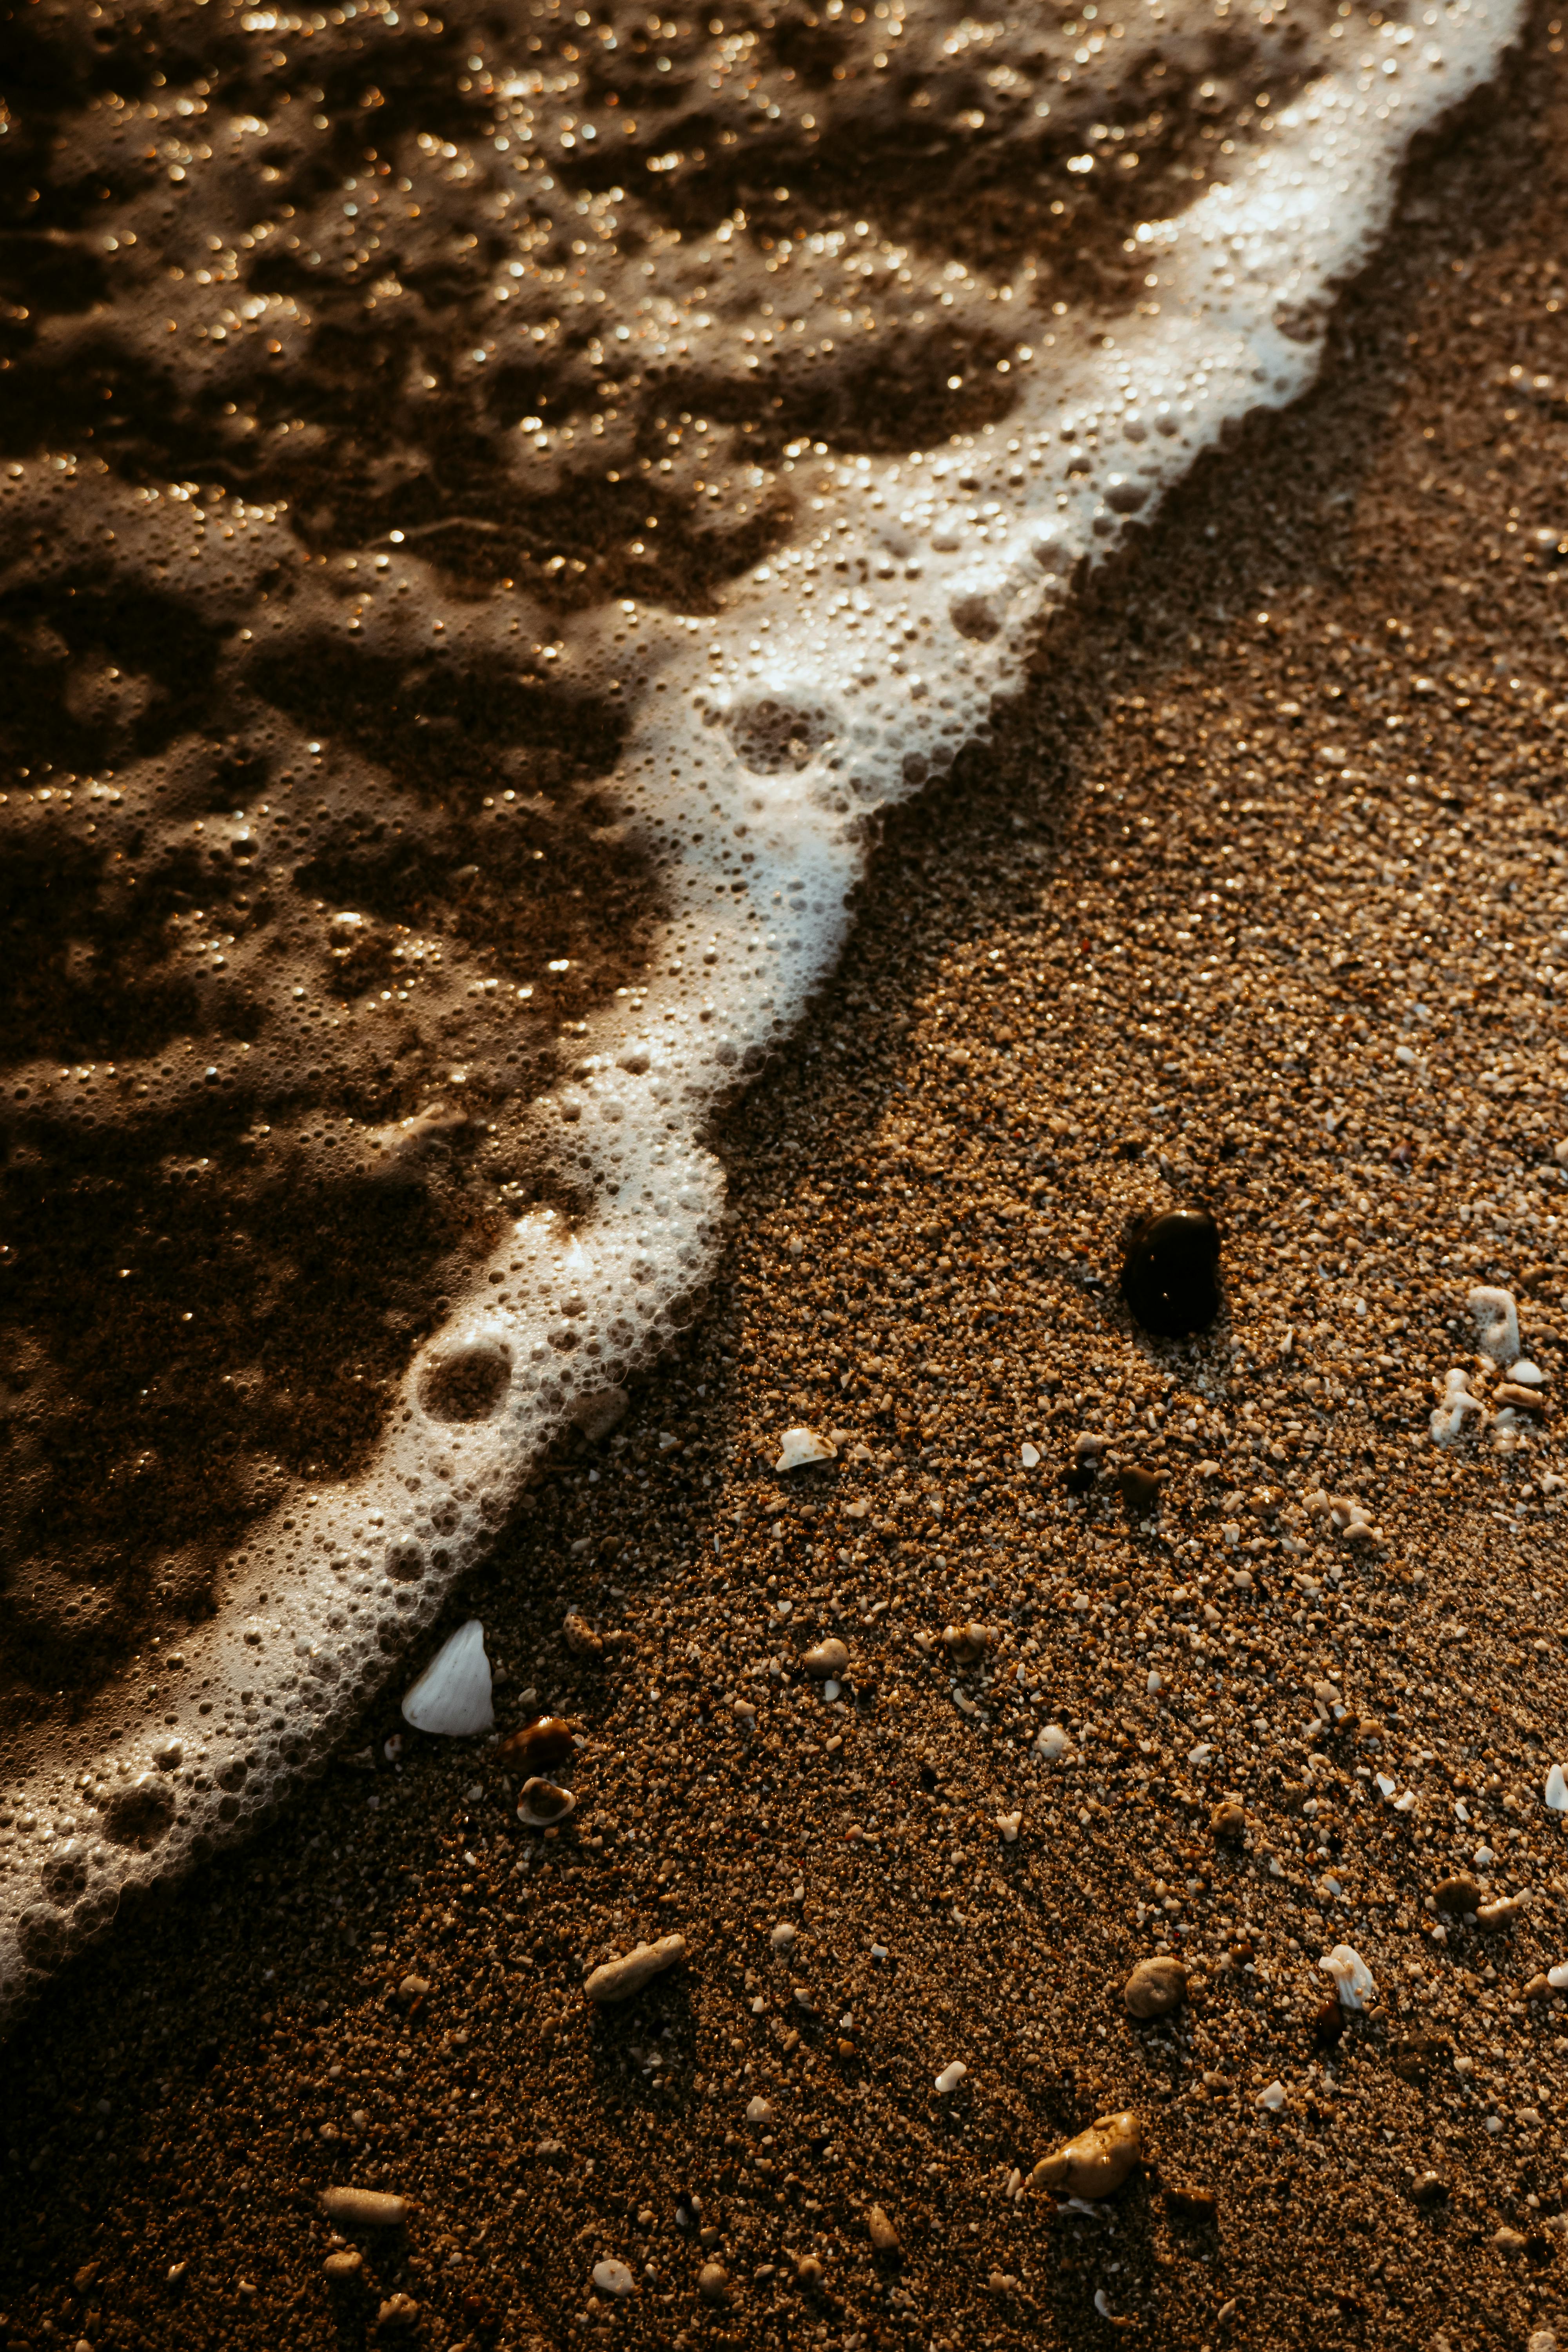
Glare from water and wet sand
At the beach, water behaves like a mirror. Wet sand does too. When the sun sits low, that mirror effect becomes stronger, and the image can look harsh. A polarizer can reduce this and restore detail.
Glare often becomes more noticeable if you aim too close to the sun. For that reason, it helps to change your angle and work with the scene around you, not just the sun itself.
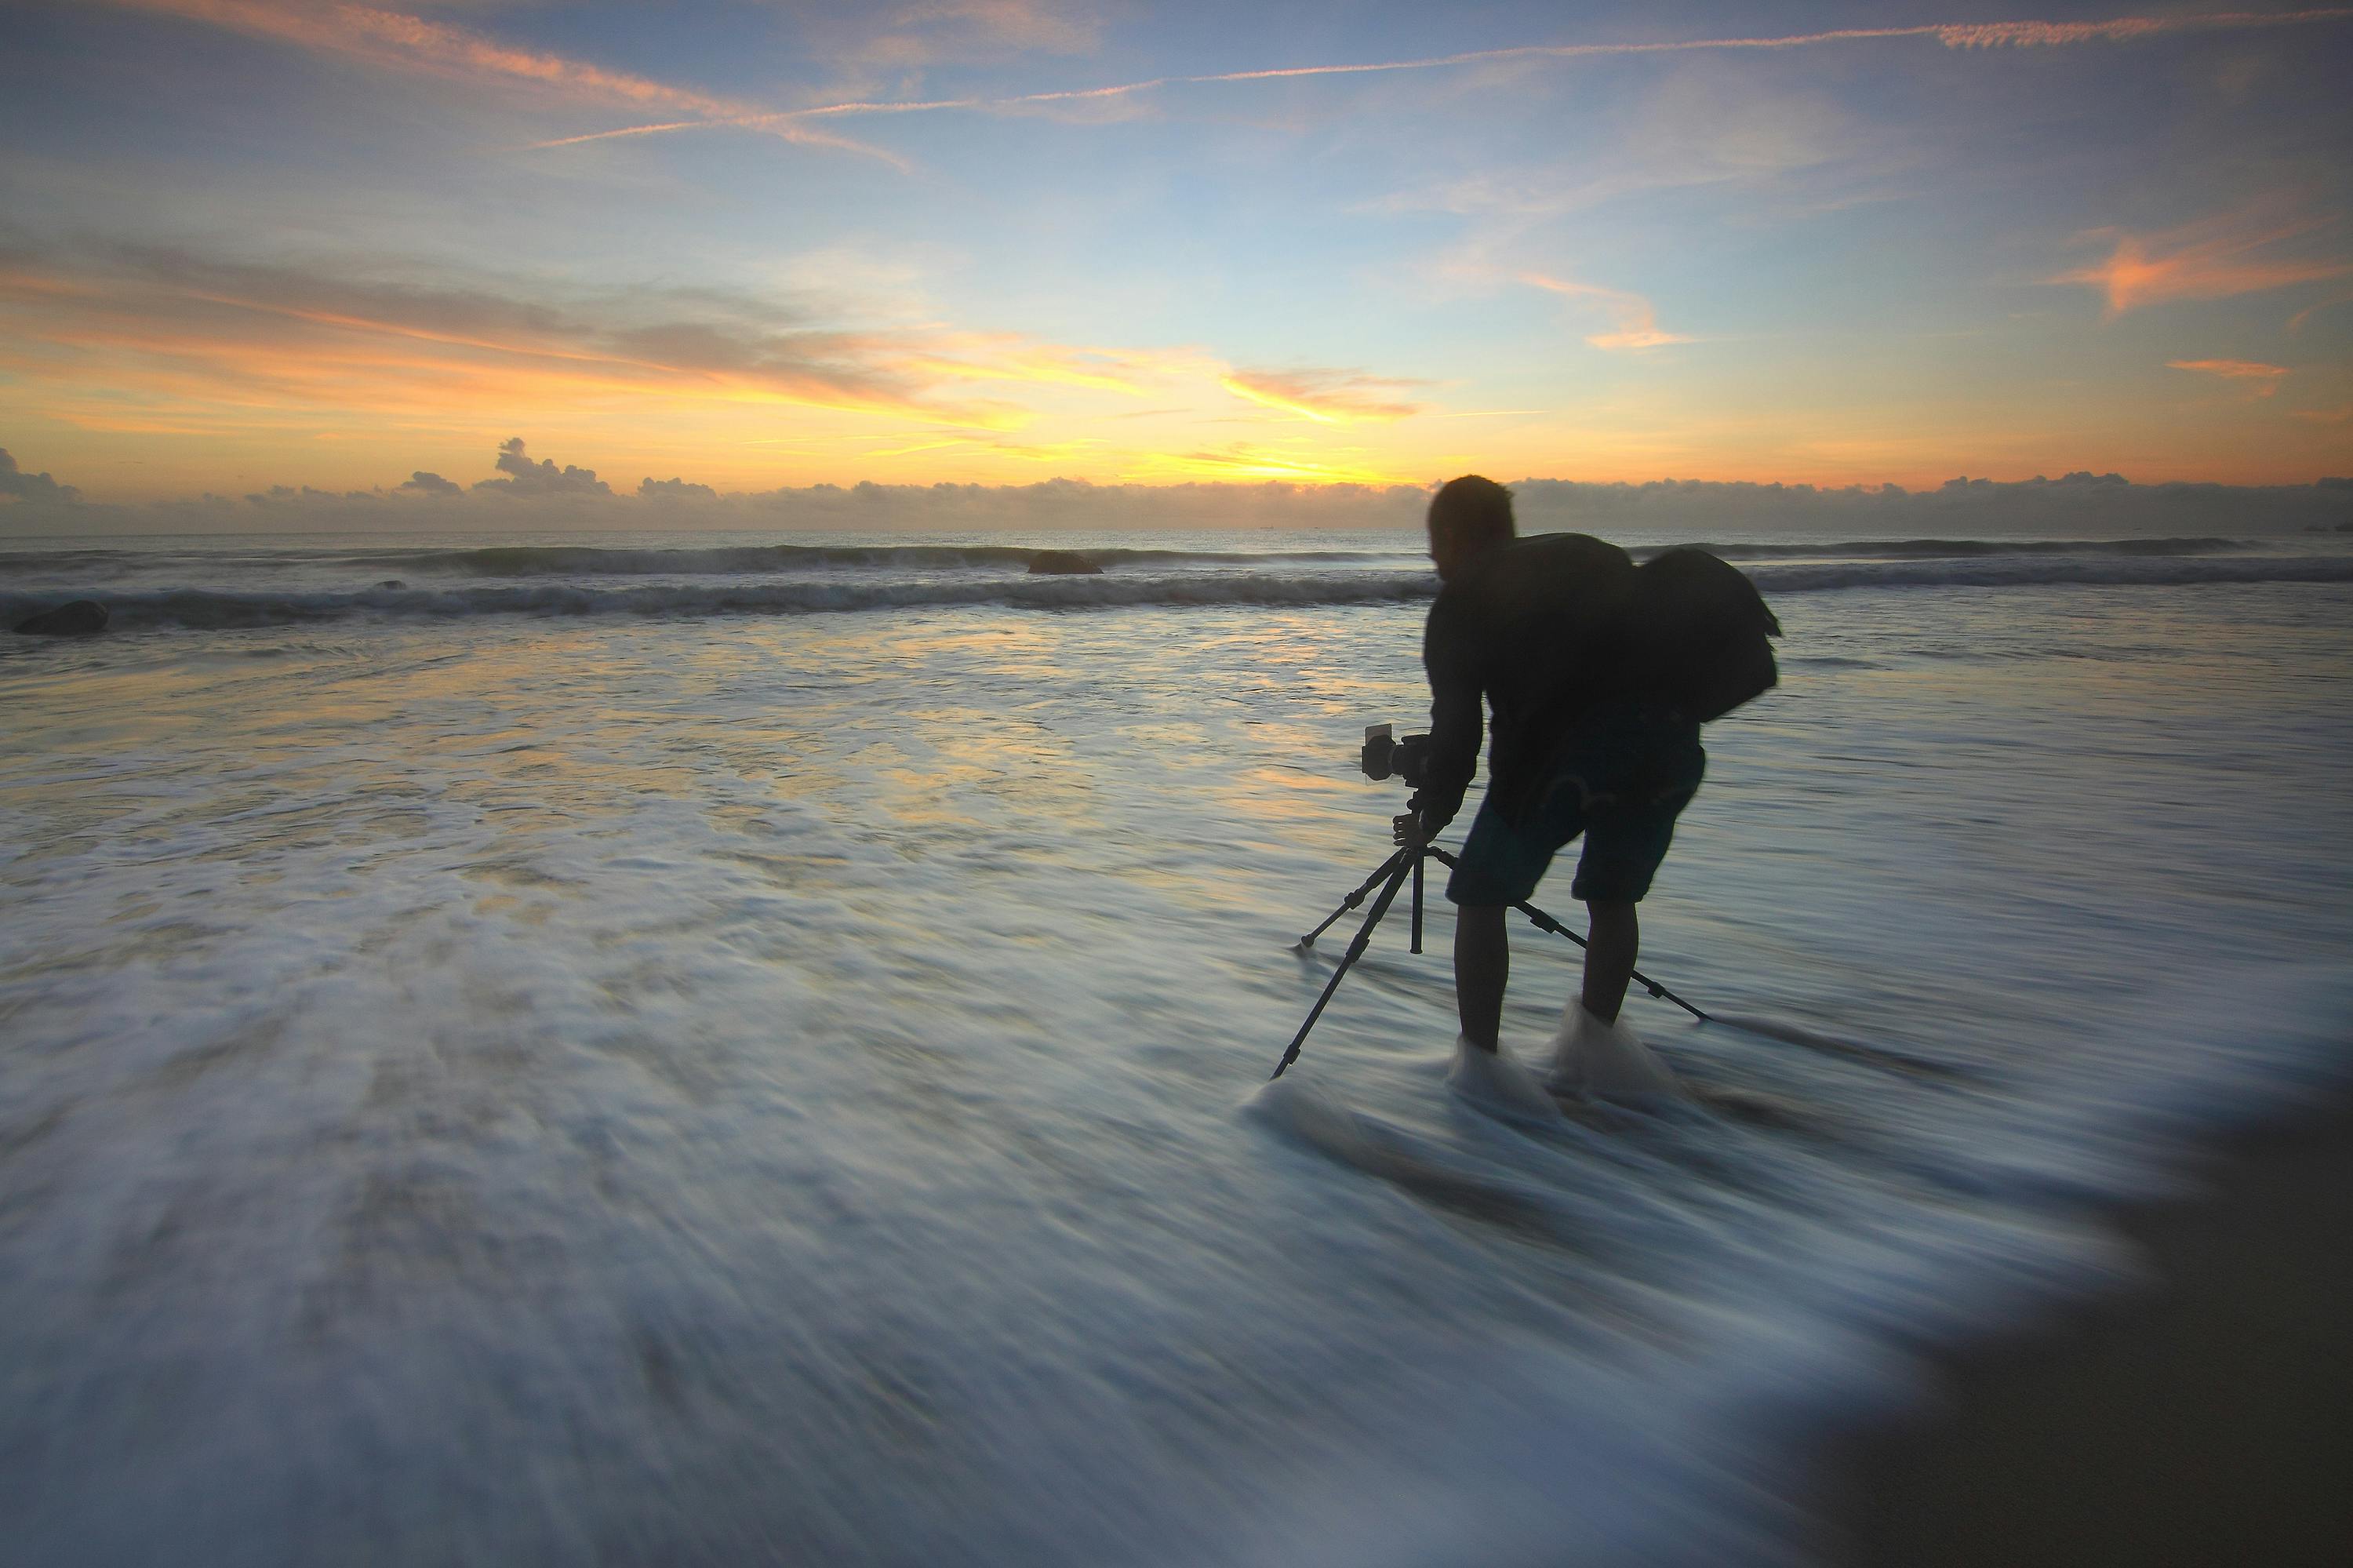
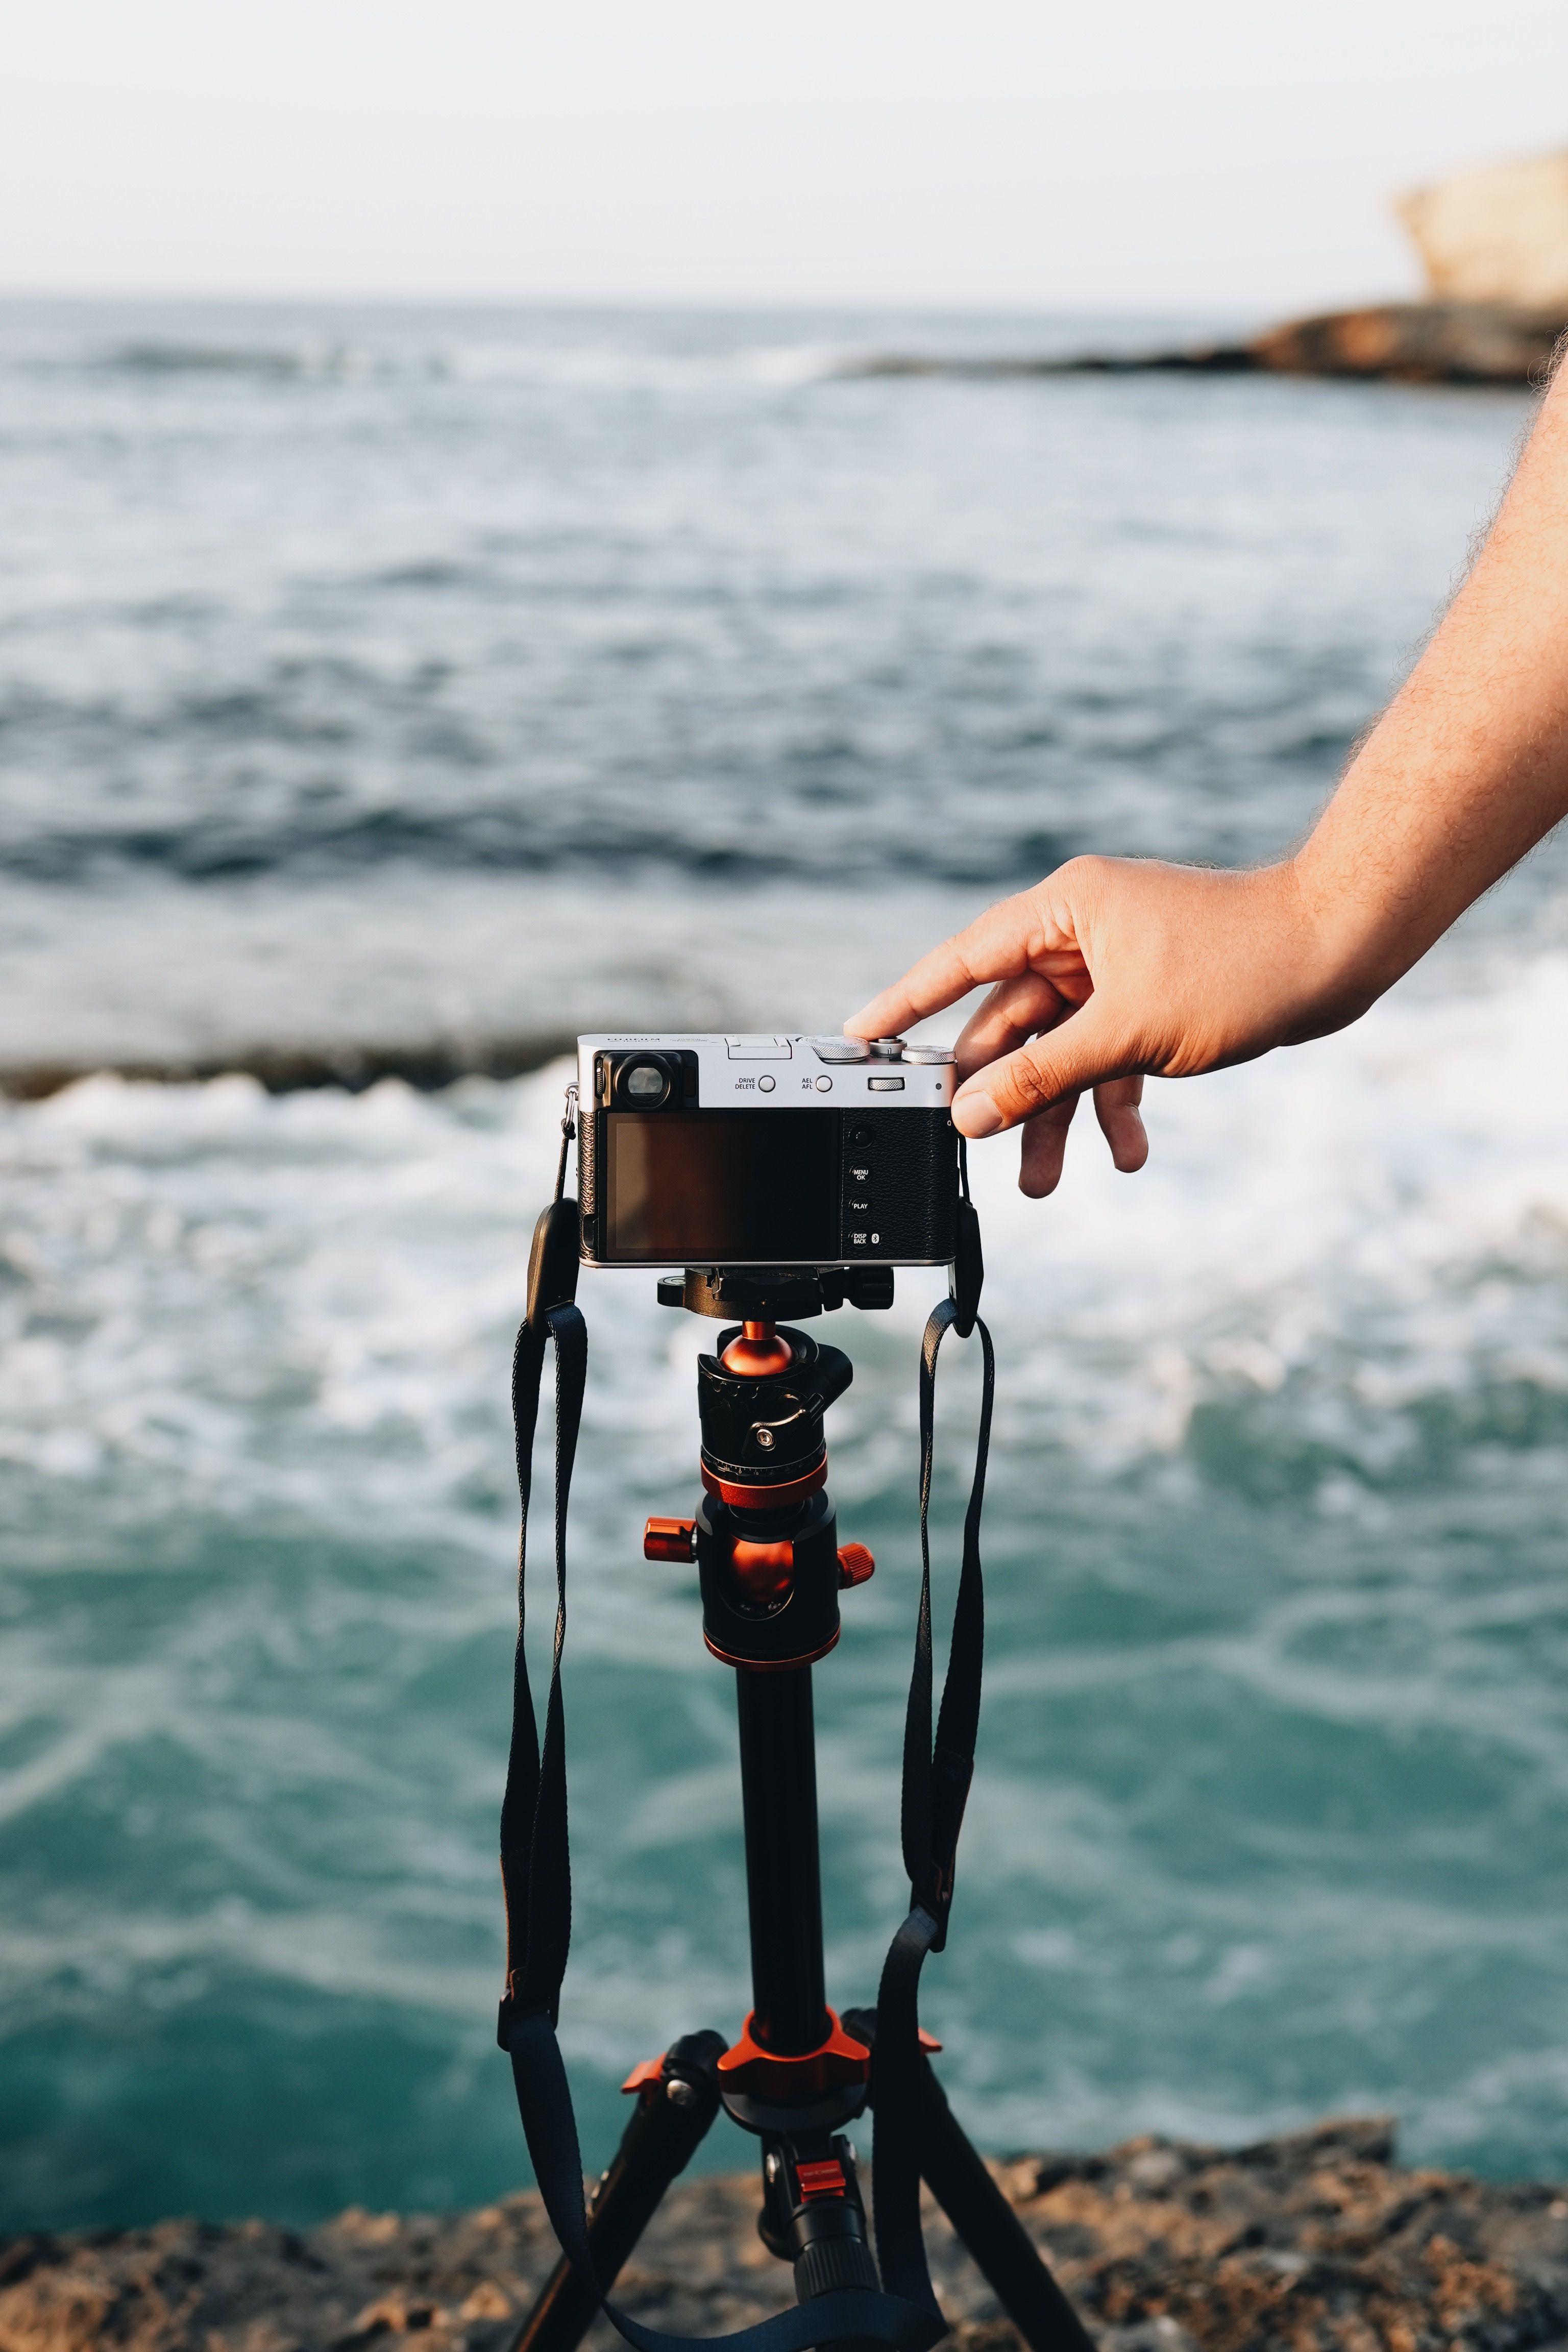
Beach sunrise photography without harsh glare: the right gear choices
Useful gear does not have to be heavy or complicated. In fact, beach sunrise photography often gets easier when your setup stays simple and light. You need equipment that helps you move quickly, protect your camera, and stay ready as the sky shifts.
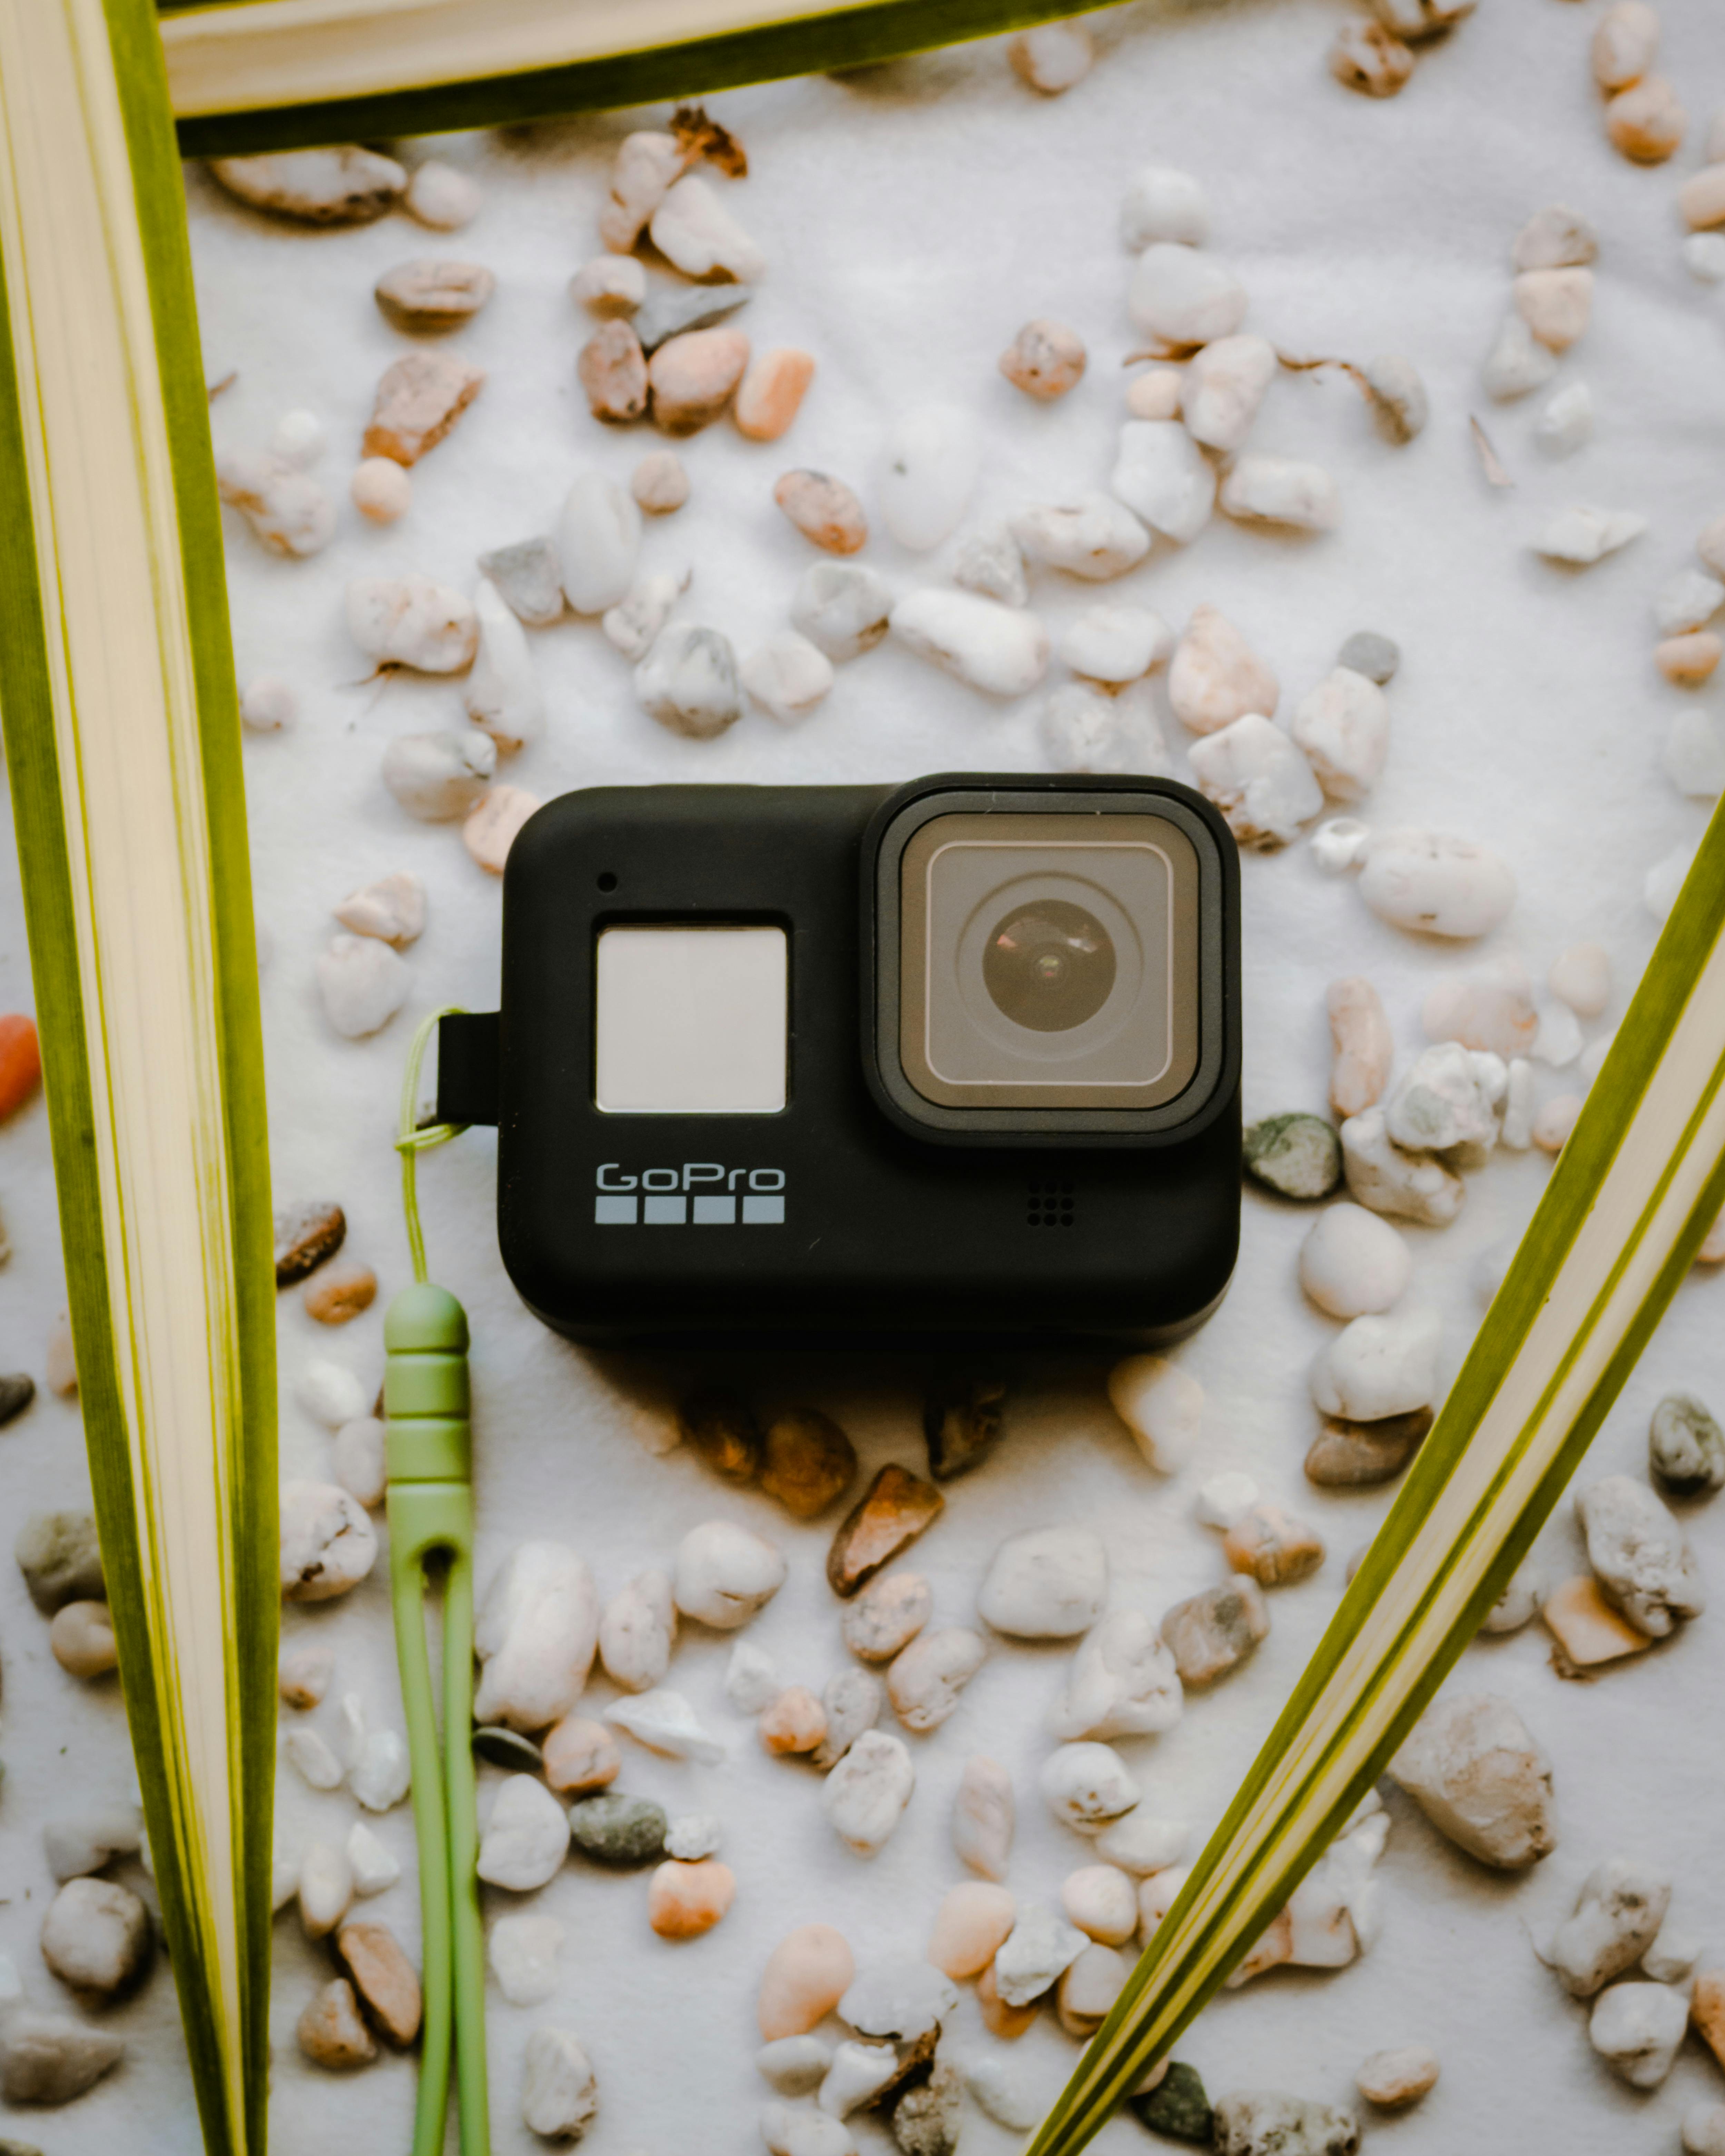
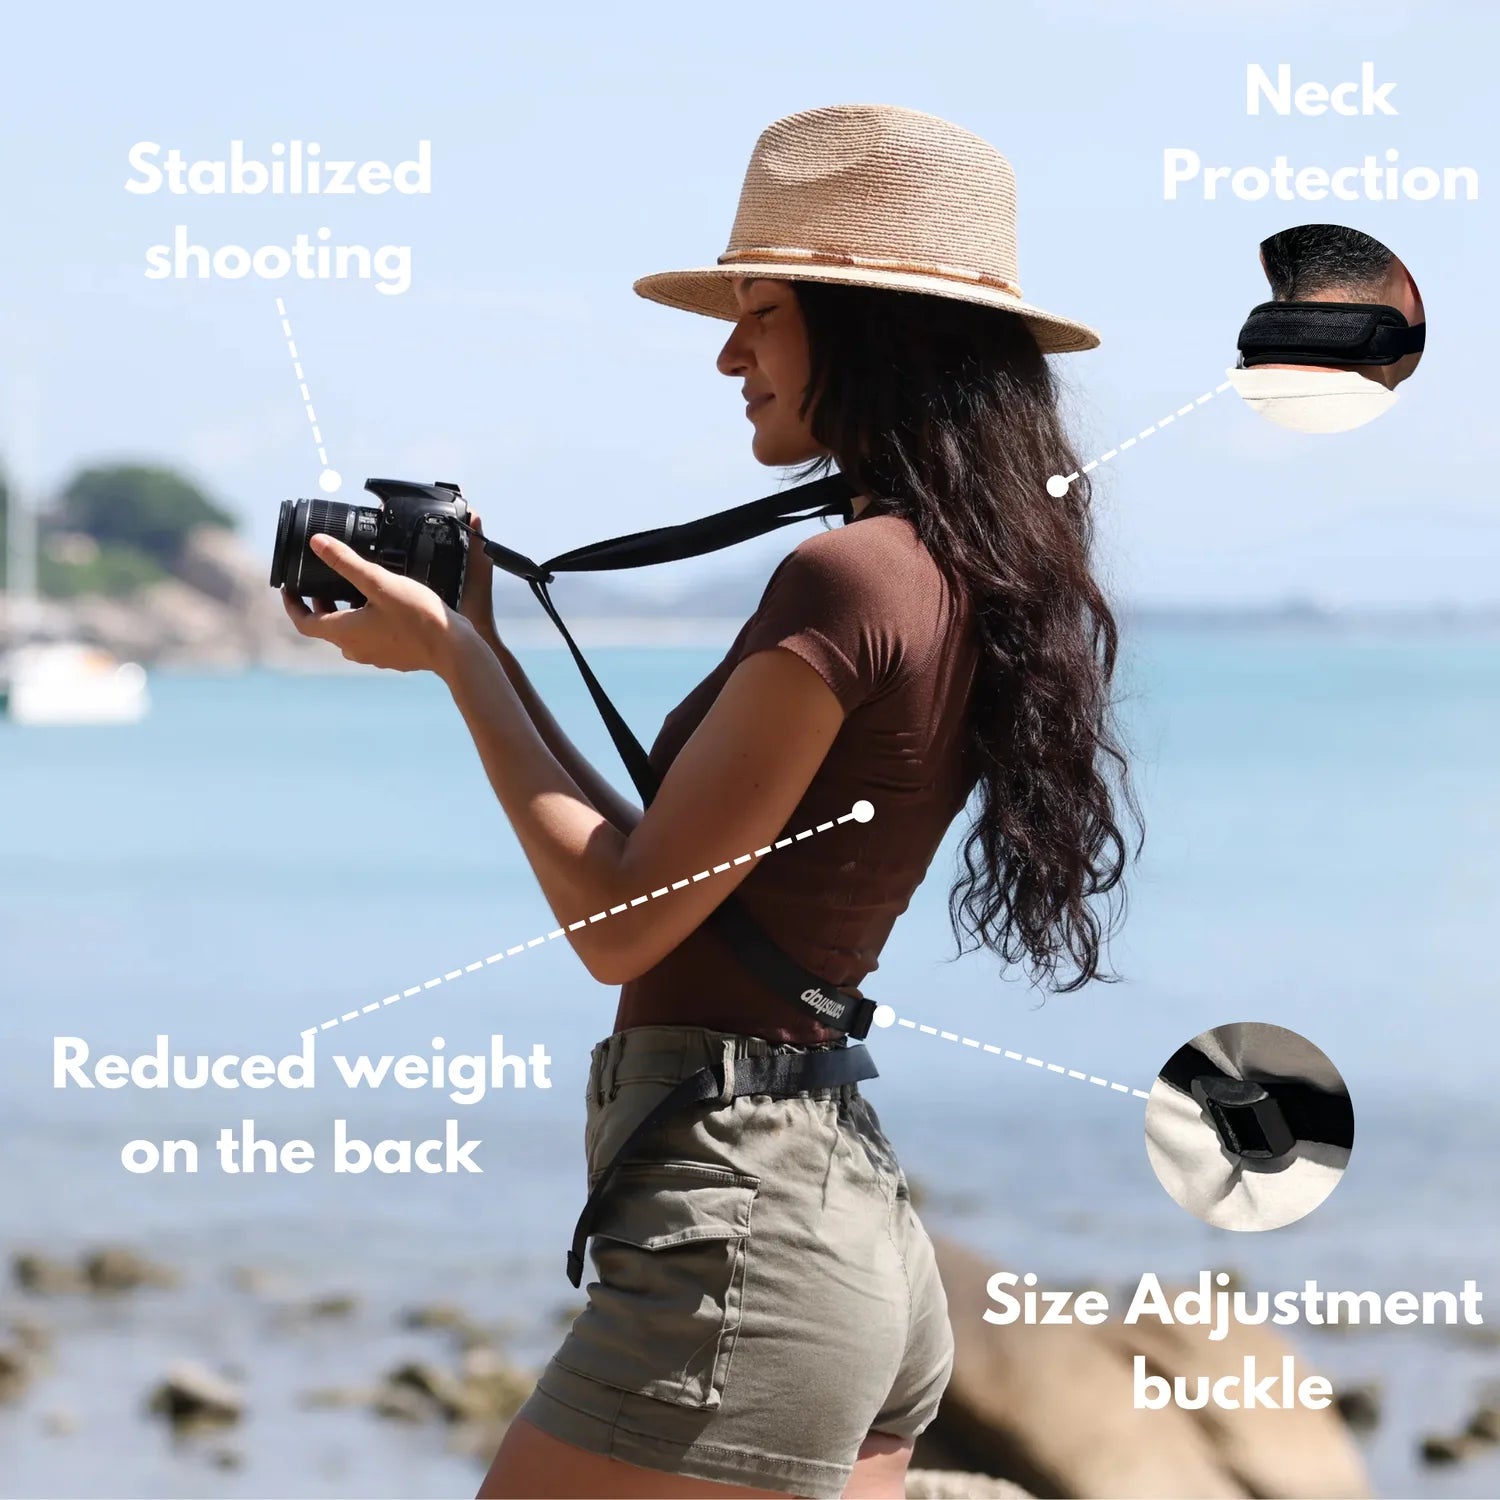
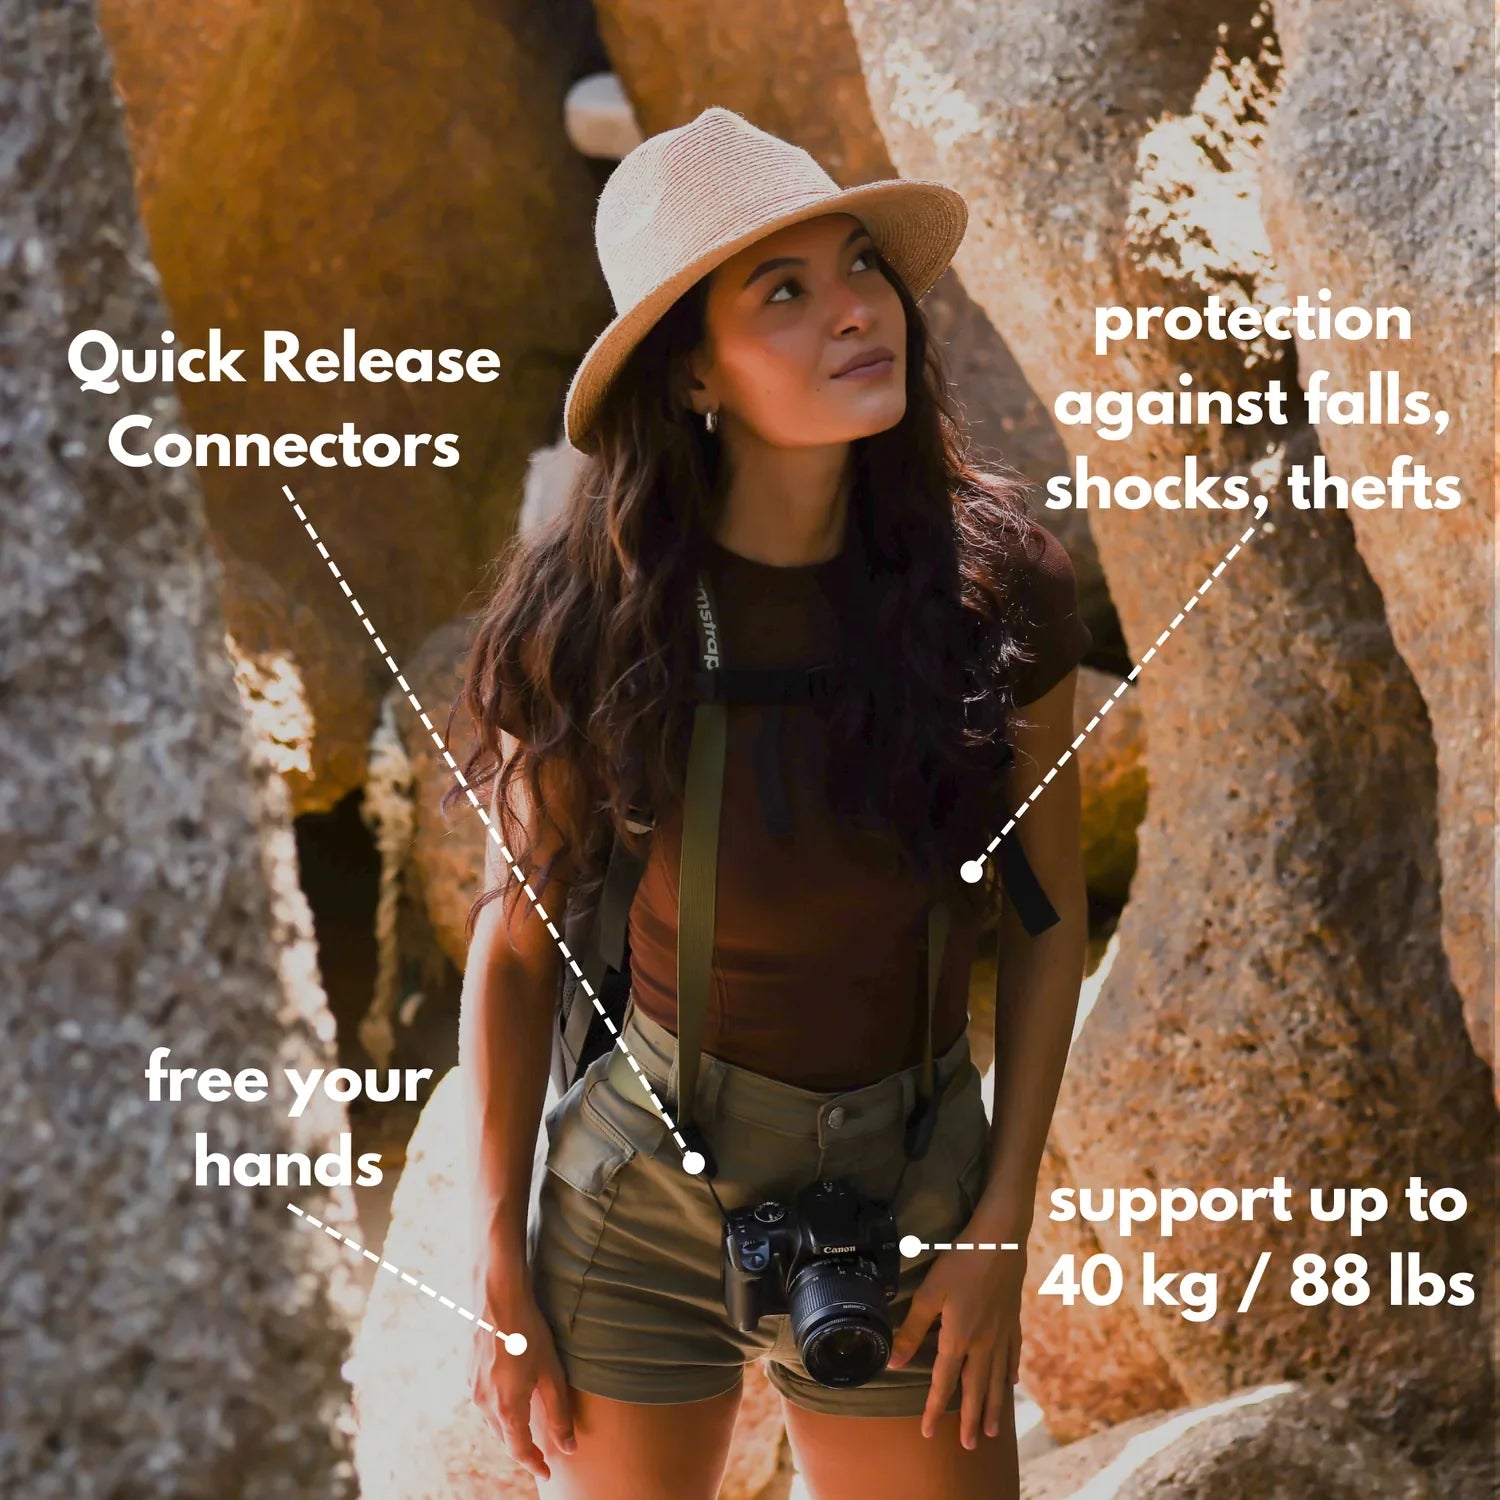
A light camera strap is especially helpful here. When you walk the shoreline and keep adjusting your angle, a strap like the camstrap voyager, camstrap explorer, or camstrap nomad can keep the camera close and easy to reach. If you want faster access, the camstrap magclip offers another simple way to keep your camera ready.
Use a polarizer for water glare
A circular polarizer helps reduce glare on the water’s surface. It can also reveal more color beneath the reflections. This is one of the best tools for beach sunrise photography without harsh glare.
Rotate the filter slowly while looking through the viewfinder or screen. Stop when the glare softens but the scene still looks natural. Too much filtering can make the image appear dark or uneven.
Try a graduated ND filter for bright skies
A graduated neutral density filter darkens the sky while leaving the foreground clearer. That helps keep sunrise skies from looking washed out. It is especially useful once the sun has moved above the horizon.
Reach for it when the sky is much brighter than the sand or water. It helps balance the frame in a single shot, which saves time when the light keeps changing.
Camera settings for sunrise photography at the beach
The ideal camera settings depend on the light, but a few starting points work well. These settings help preserve color, detail, and texture in the scene. They also make it easier to avoid blown highlights in the sky.
If you are new to this, use these values as a starting point and adjust from there. Small changes can make a big difference at sunrise.
Start with a low ISO
Use ISO 100 whenever possible. This keeps image noise low and helps preserve detail in the sky and water. At the beach, low ISO often produces the cleanest sunrise file.
If the light is still dim before the sun appears, raise the ISO only as much as necessary. Keep it as low as you can for the clearest result.
Choose shutter speed based on motion

Shutter speed shapes the mood of your beach photo. For smooth, painterly shoreline lines, use ISO 100 with a shutter speed between 1 and 2 seconds. That works well for receding tides and soft wave motion.
If you want to freeze splashing waves, use a faster speed like 1/250 second. That setting captures water texture without motion blur. It is a strong choice when the surf is active and you want crisp detail.
Set aperture for the look you want
A wide aperture like f/1.8 to f/2.8 works well when you want shallow depth of field. That is useful for abstract beach sunrise photos, where one subject or one line of light stands out.
For sharpness across the frame, use a smaller aperture such as f/11. This is a solid choice for post-sunrise clarity when you want the entire beach scene in focus.
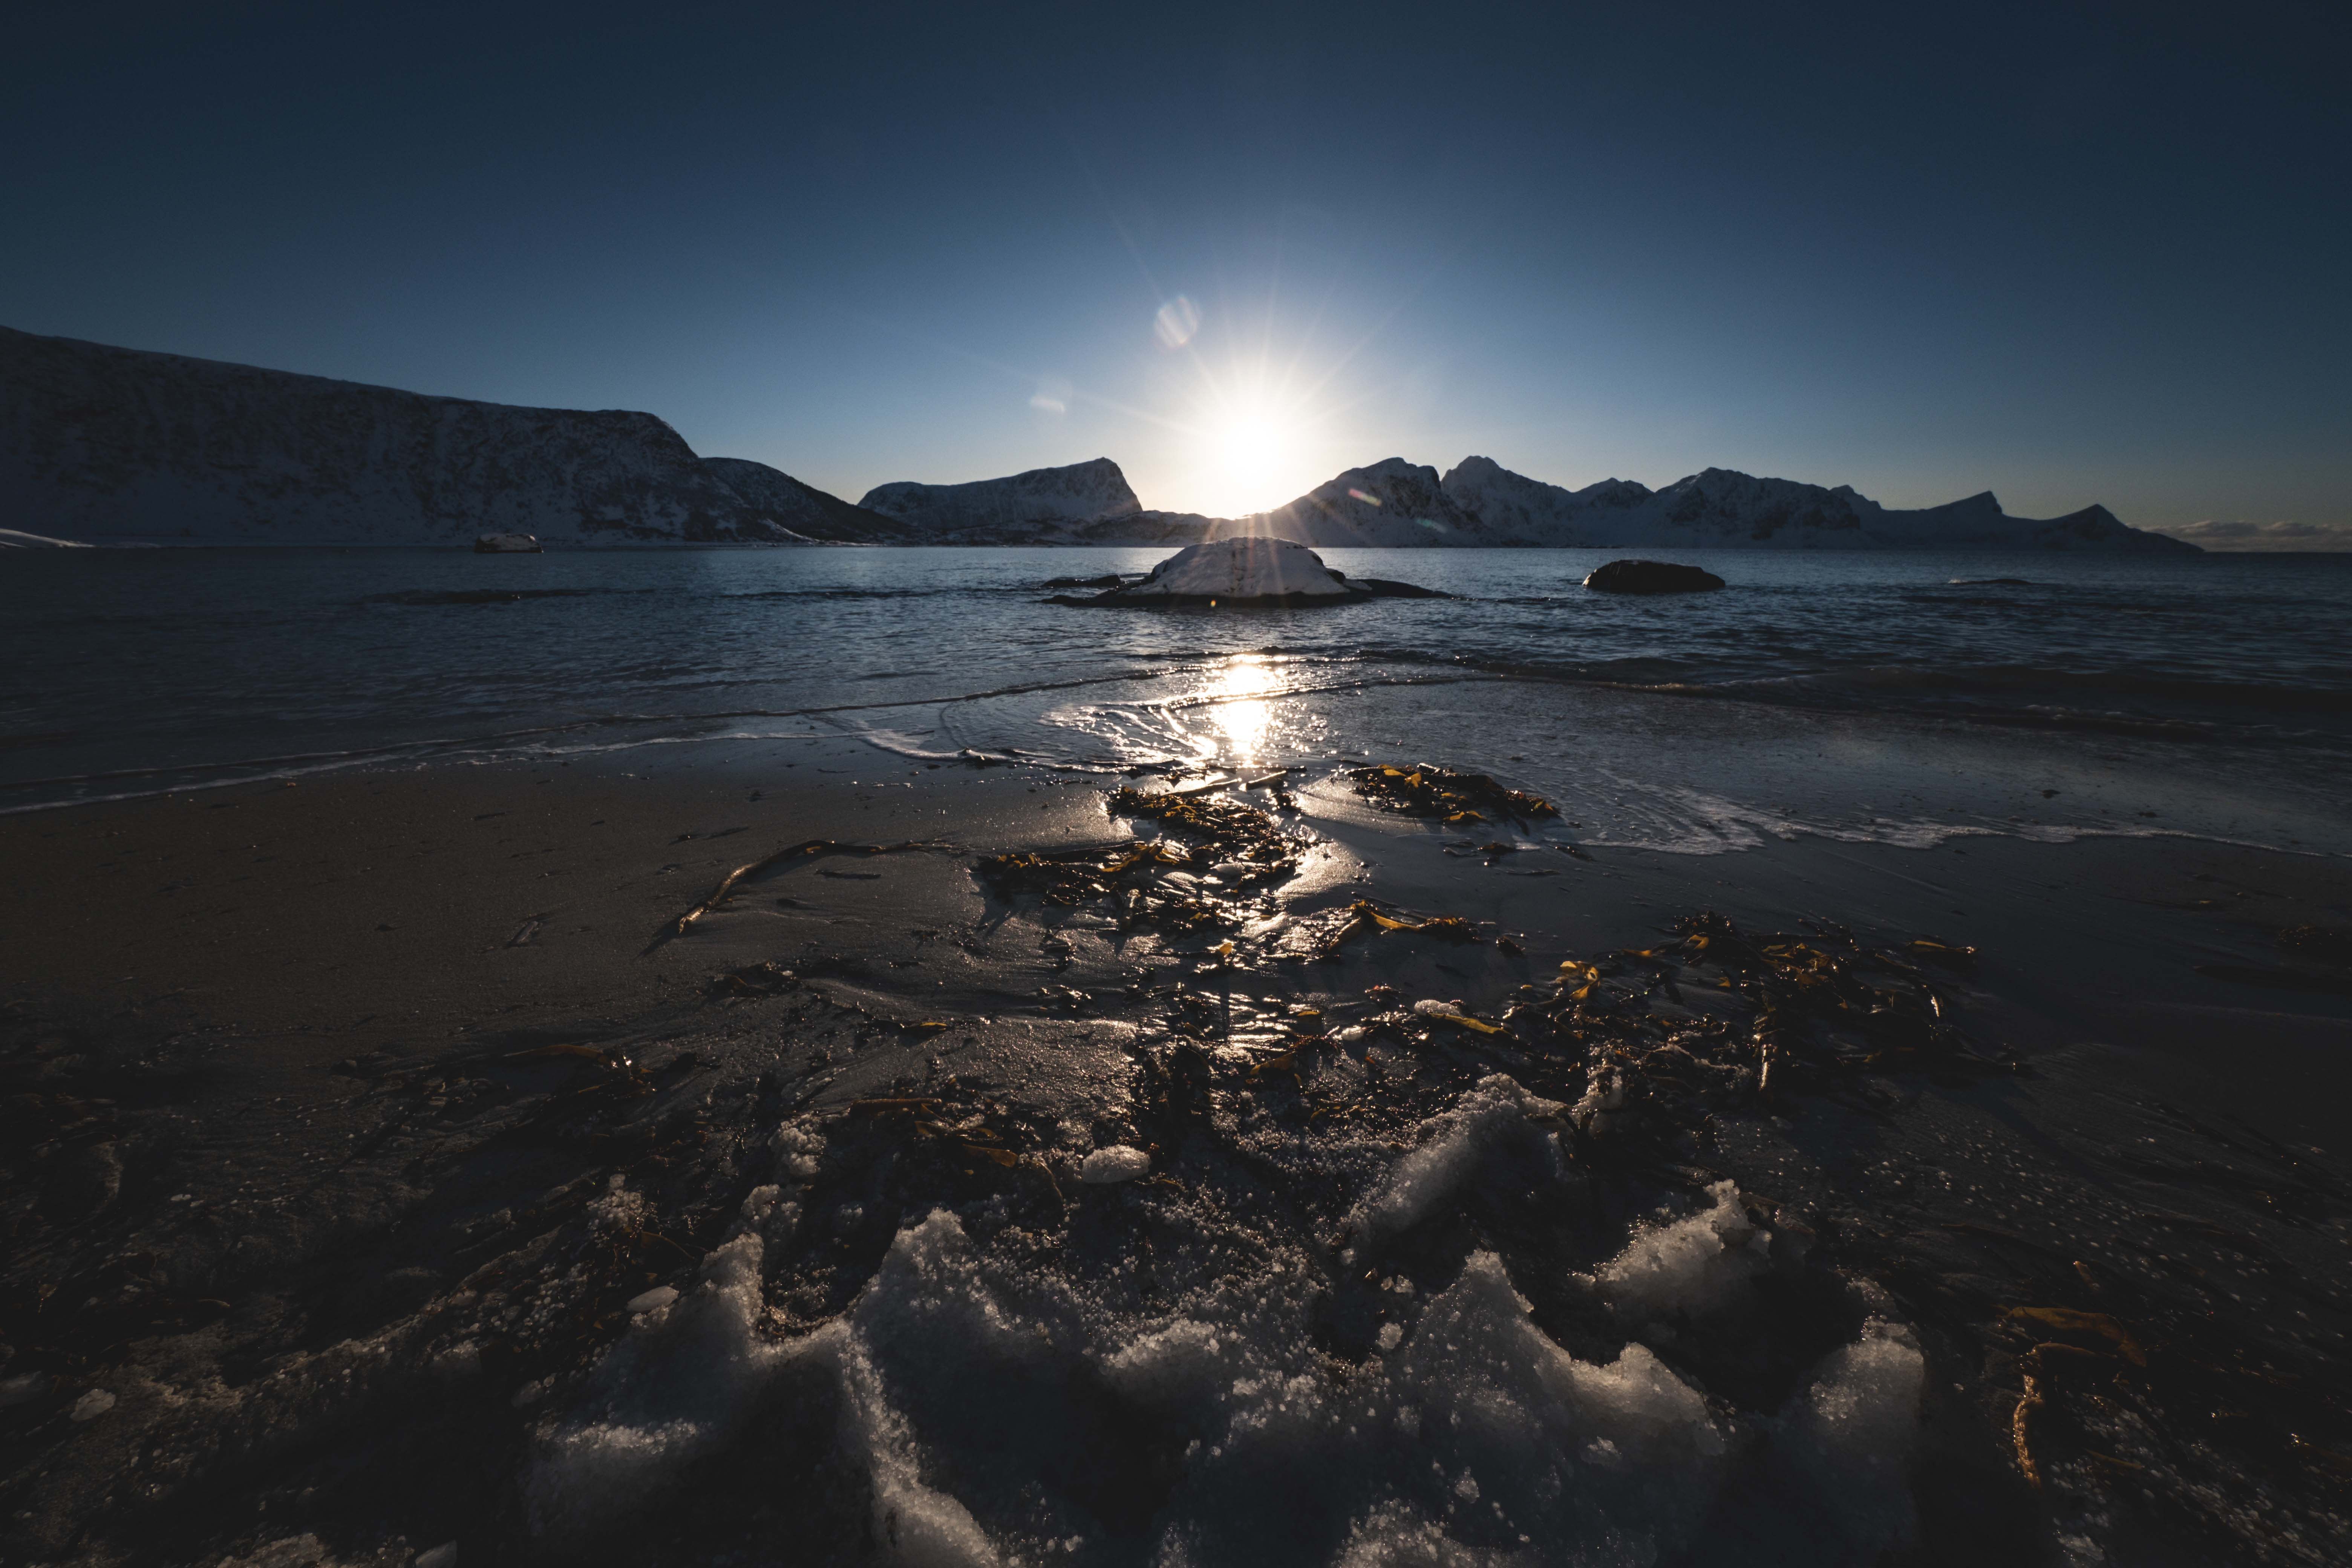
How to photograph sunrise at the beach step by step
Strong beach sunrise photos begin before the sun rises. Arrive early and observe the changing light. The best color often appears before the sun touches the horizon, and the most useful light may last only a few minutes.
Set up somewhere that lets you move a little. Sand, rocks, shells, and tide lines can all create strong foreground shapes. So, do not stay in one place too long if the light is shifting fast.
- Arrive 20 to 30 minutes before sunrise.
- Set ISO to 100.
- Use a polarizer if glare is strong.
- Check your horizon line.
- Take test shots and review the sky.
- Adjust exposure if highlights look too bright.
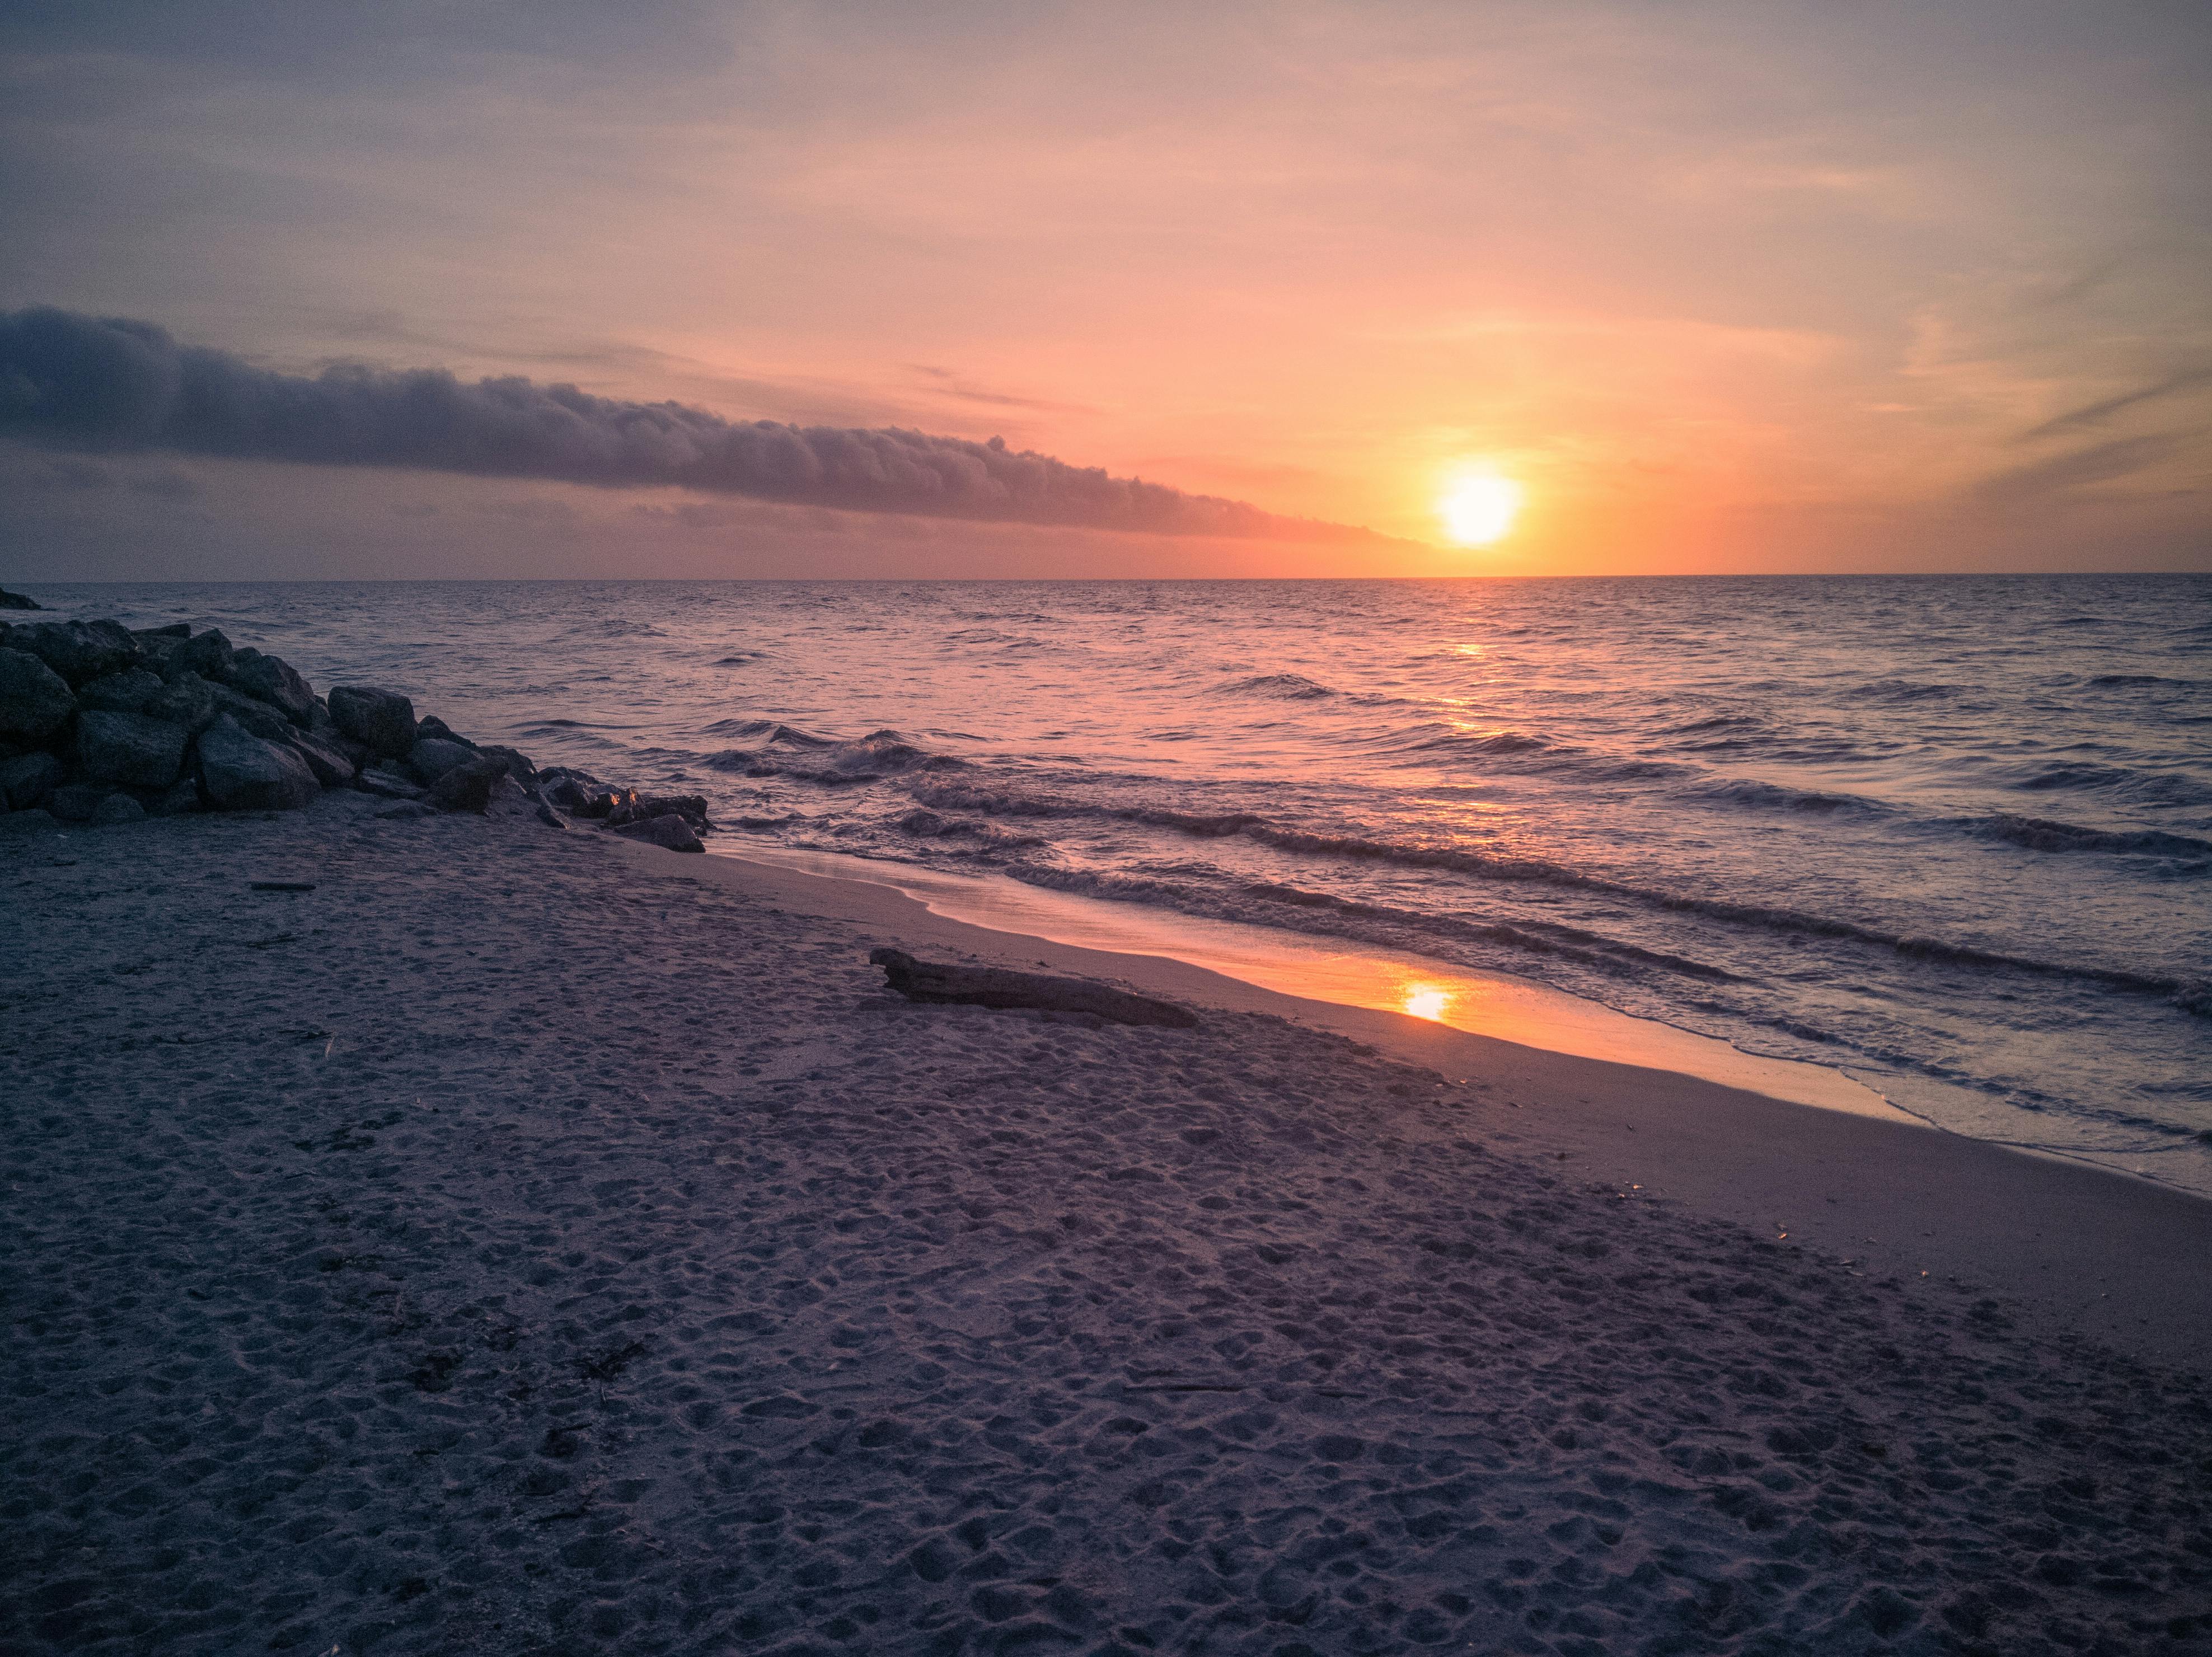
Place the horizon low in the frame
For beach sunrise scenes, place the horizon in the bottom third of the frame. That gives the sky more room to show color and shape. It also helps prevent a flat, washed-out look.
When the sky is the main subject, let it lead. If the beach itself has a strong pattern or focal point, you can shift the balance slightly. Even so, the bottom third rule is a reliable place to start.
Underexpose a little to save the color
Slightly underexpose your image to protect the sky from blowing out. This is one of the most useful habits in sunrise photography. It preserves the rich, magical colors of dawn in the file.
Check your preview and histogram if your camera displays one. If the sky looks too bright, reduce the exposure a bit. A small adjustment now can save the image later.
Use exposure bracketing when the light is too hard
Sometimes the contrast between the sun and the landscape is simply too strong for a single shot. That is when exposure bracketing helps. Take three frames in a row: one underexposed, one neutral, and one overexposed.
This gives you more options later in editing. You can blend the frames for a balanced result, or select the one with the best sky detail. Bracketing is especially useful on bright beach mornings.
When bracketing helps most
Use bracketing when the sun is just above the horizon and the scene has high contrast. It also helps when waves, clouds, and bright sand all compete for attention. In those situations, one exposure often cannot hold every detail.
Bracketing is also a smart habit if you are still learning. It gives you backup files, which reduces the risk of missing the best light.
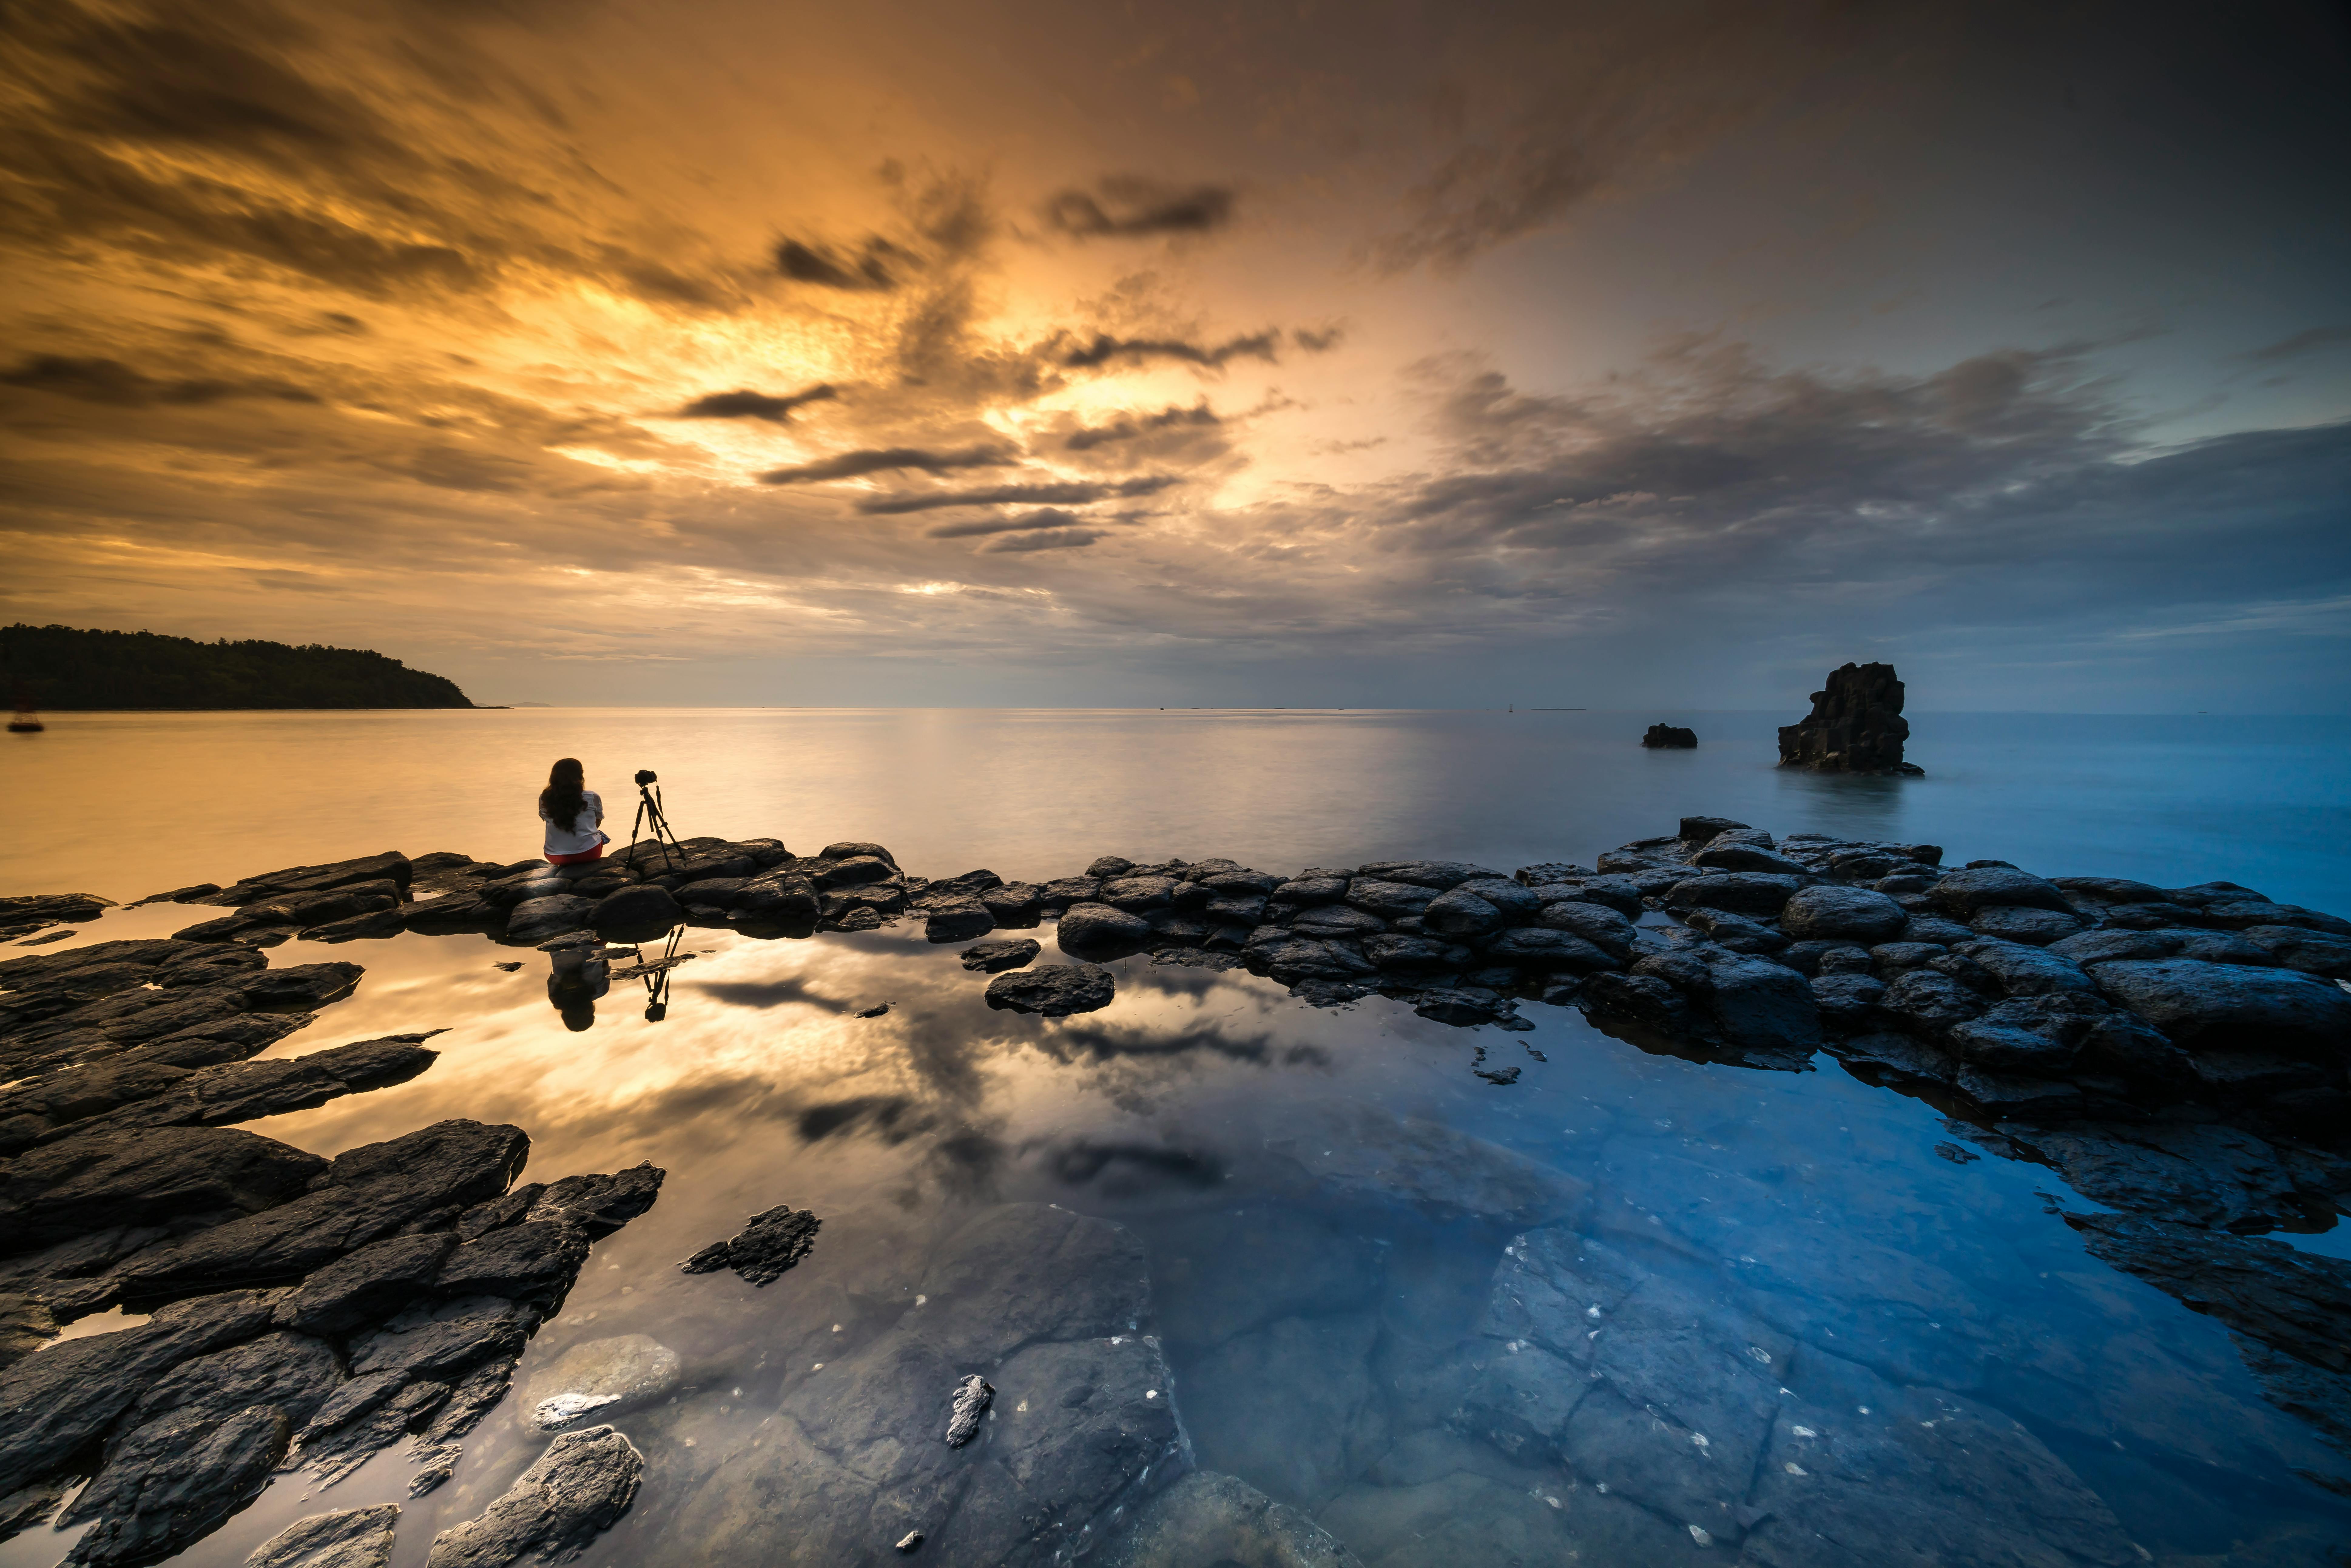
Compose a stronger beach scene
Good composition can make a simple beach sunrise feel memorable. Look for lines, reflections, and shapes. The shoreline often provides natural leading lines that draw the eye toward the sun or the clouds.
Try to keep the frame uncluttered. Too many people, bags, or random objects can pull attention away from the light. A simple scene often looks stronger at dawn.
Use the shoreline as a leading line
The curve of the water can guide the eye through the photo. A tide line, footpath, or wave edge can do the same. These lines help the viewer move into the frame.
If the scene feels empty, move lower and closer to the sand. A low viewpoint can make the beach feel larger and more dramatic.
Mix wide and tighter views
A wide view shows the full beach sunrise scene. A tighter view can focus on one wave, one rock, or one patch of light. Both can work well, so capture more than one version.
If you want abstract ocean sunrise photos, try a lens of 50mm or longer. Pair it with a wide aperture like f/1.8 to f/2.8. That helps isolate detail and keeps the look soft and artistic.
Common mistakes to avoid on the beach
Many washed-out beach photos come from a few easy mistakes. The good news is that each one has a simple fix. Once you know what to watch for, your results can improve quickly.
- Do not point the camera straight into bright glare without checking exposure.
- Do not center the horizon unless the scene truly needs it.
- Do not raise ISO too much unless the light is very low.
- Do not forget to clean salt spray from your lens.
- Do not stand in one spot if another angle gives better color.
Salt spray can ruin a sharp image if it lands on the front glass. Wipe the lens often with a soft cloth. Also, keep your gear ready so you do not miss fast changes in the sky.
Keep your camera easy to carry
Walking the beach with a camera in hand can become tiring quickly. A light strap helps you keep moving and stay ready. That matters when the best color lasts only a short time.
For many travel enthusiasts and outdoor shooters, a simple carry setup makes the whole process smoother. Camstrap options like the camstrap voyager, camstrap explorer, camstrap nomad, and camstrap magclip can each suit different needs, from casual walks to rough shoreline work.
Post-sunrise settings for sharper beach detail
After sunrise, the scene often becomes brighter and more even. That is a good time to capture clear beach detail, wave shapes, and wider views. It is also easier to produce a balanced image without strong glare.
For post-sunrise clarity, try ISO 100, a shutter speed between 1/15 and 1/200 second, and aperture f/11. This combination can give you a sharp, clean frame across most of the scene.
Use slower shutter speeds for movement
Slower shutter speeds can show motion in the surf. That works well when you want soft water and smooth wave lines. It can also give the image a calmer feel.

If the scene becomes too blurry, speed it up a little. The best setting depends on how much motion you want to show.
Check the light after the sun is up
Once the sun clears the horizon, the sky often brightens quickly. That can reduce color, but it can also open up new photo opportunities. You may find better light on rocks, people, boats, or wet sand.
Keep shooting for a while after sunrise. Some of the best beach photos happen after the first bright burst has passed.
Final thoughts on beach sunrise photography
Beach sunrise photography without harsh glare or washed-out skies comes down to control. Use a polarizer to reduce glare, a graduated ND filter to hold the sky, and slight underexposure to protect color. Then place the horizon low and pick settings that suit the scene.
Most important, stay flexible. The beach changes minute by minute, and that is part of the appeal. With practice, you will learn to read the light, move quickly, and make the sunrise look rich and natural.
So the next time you head to the beach at dawn, keep things simple. Use smart settings, watch the horizon, and carry your camera in a way that feels light and easy. That way, you can focus on the light and bring home better sunrise photos.
Frequently Asked Questions
How do I photograph sunrise at the beach?
Plan ahead and arrive early so you can adjust as the light changes quickly. Use a simple, light setup, change your angle to avoid shooting too directly into the sun, and use a polarizer to reduce glare from water and wet sand.
Why do my beach photos look washed out?
Beach sunrise photos often look washed out because the sky is much brighter than the sand and water, so the camera may overexpose the highlights and lose detail. Reflections from wet sand and water can also create glare that drains color and makes the image look flat.
What camera settings work for sunrise photography?
Use settings that protect the bright sky by preserving highlights rather than exposing only for the darker foreground. A circular polarizer can help reduce glare, and you may need to adjust exposure based on the scene so the sky stays colorful while the sand and water retain detail.


