


- Scout the route first, then move slowly with your exit always visible.
- Carry boots, a quick-light, and a compact camera setup for both hands.
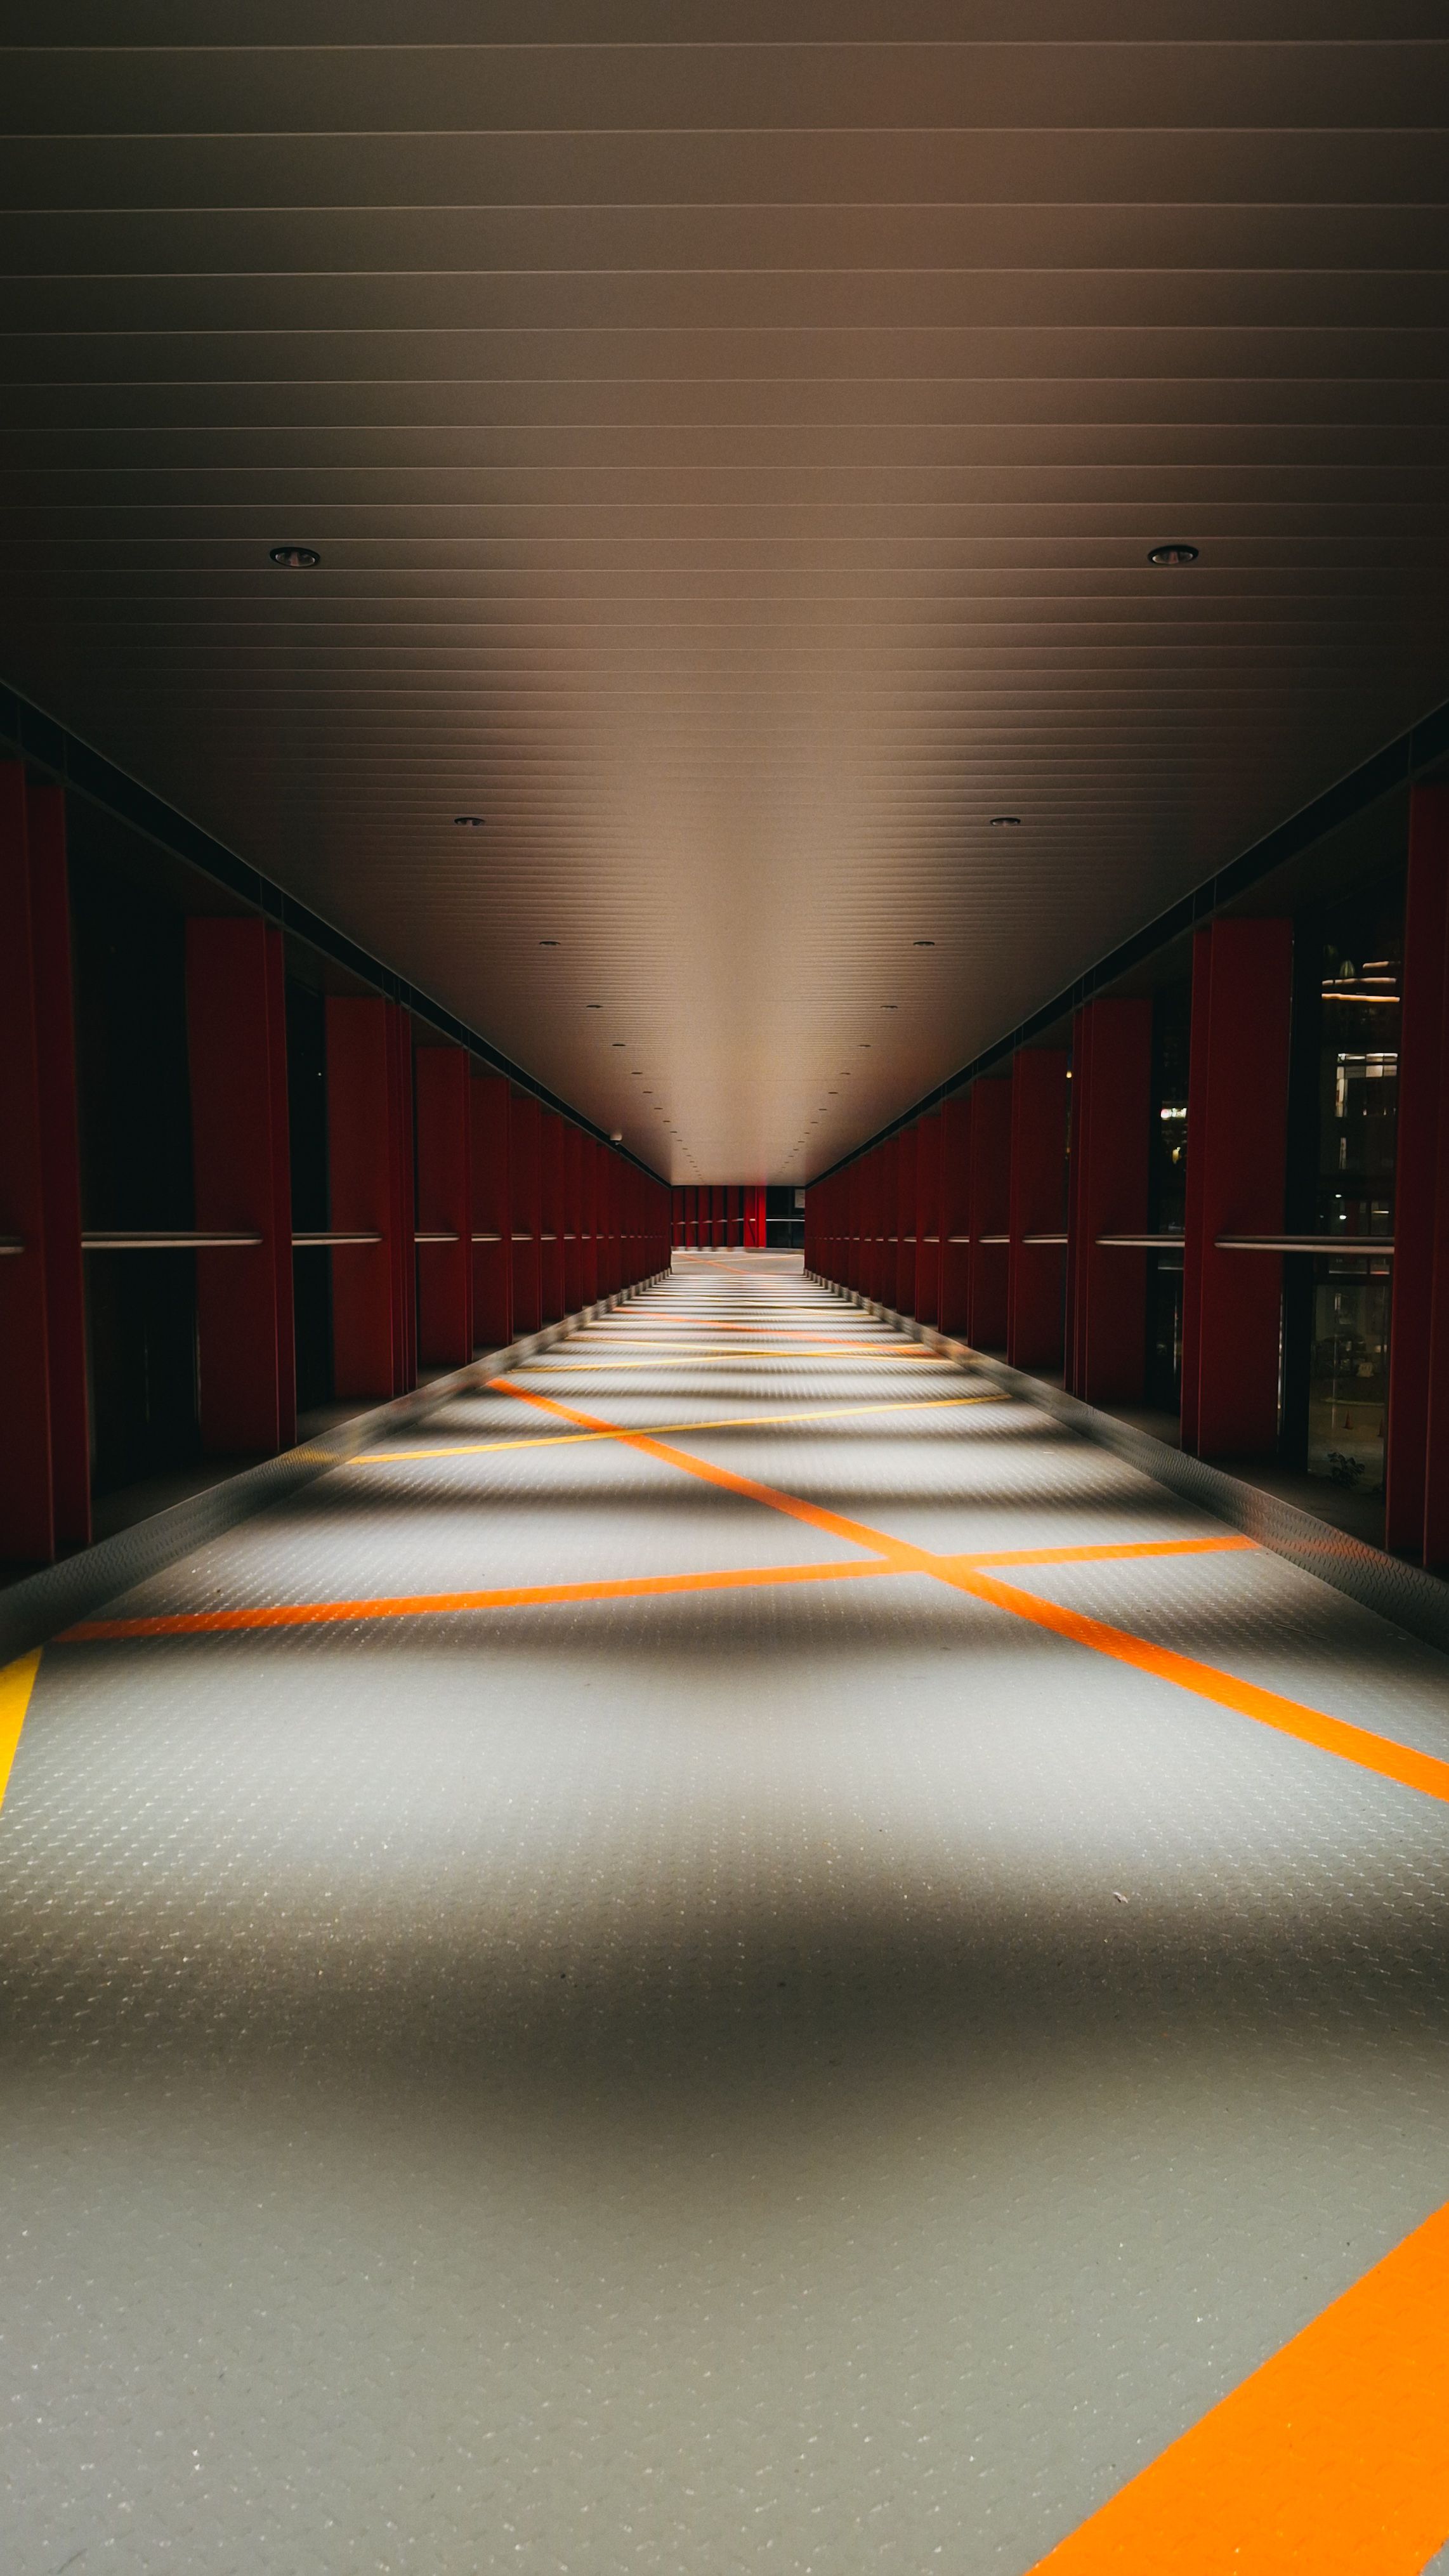
- Use halls and doorways to build clean leading lines toward one vanishing point.

One-point perspective photography uses straight lines to draw the eye toward a single vanishing point. In abandoned places, that point often lands at the end of a hallway, on a stair landing, or inside a broken doorway. These spaces reward patience, yet the route through them can feel clumsy. Loose floors, dark rooms, and tight turns can push you into rushing, so the real skill is building a path that keeps you steady and ready to frame.
Translation missing: en.blog_cta.bundle_heading

- Regular price
-
€42 - Regular price
-
€44 - Sale price
-
€42
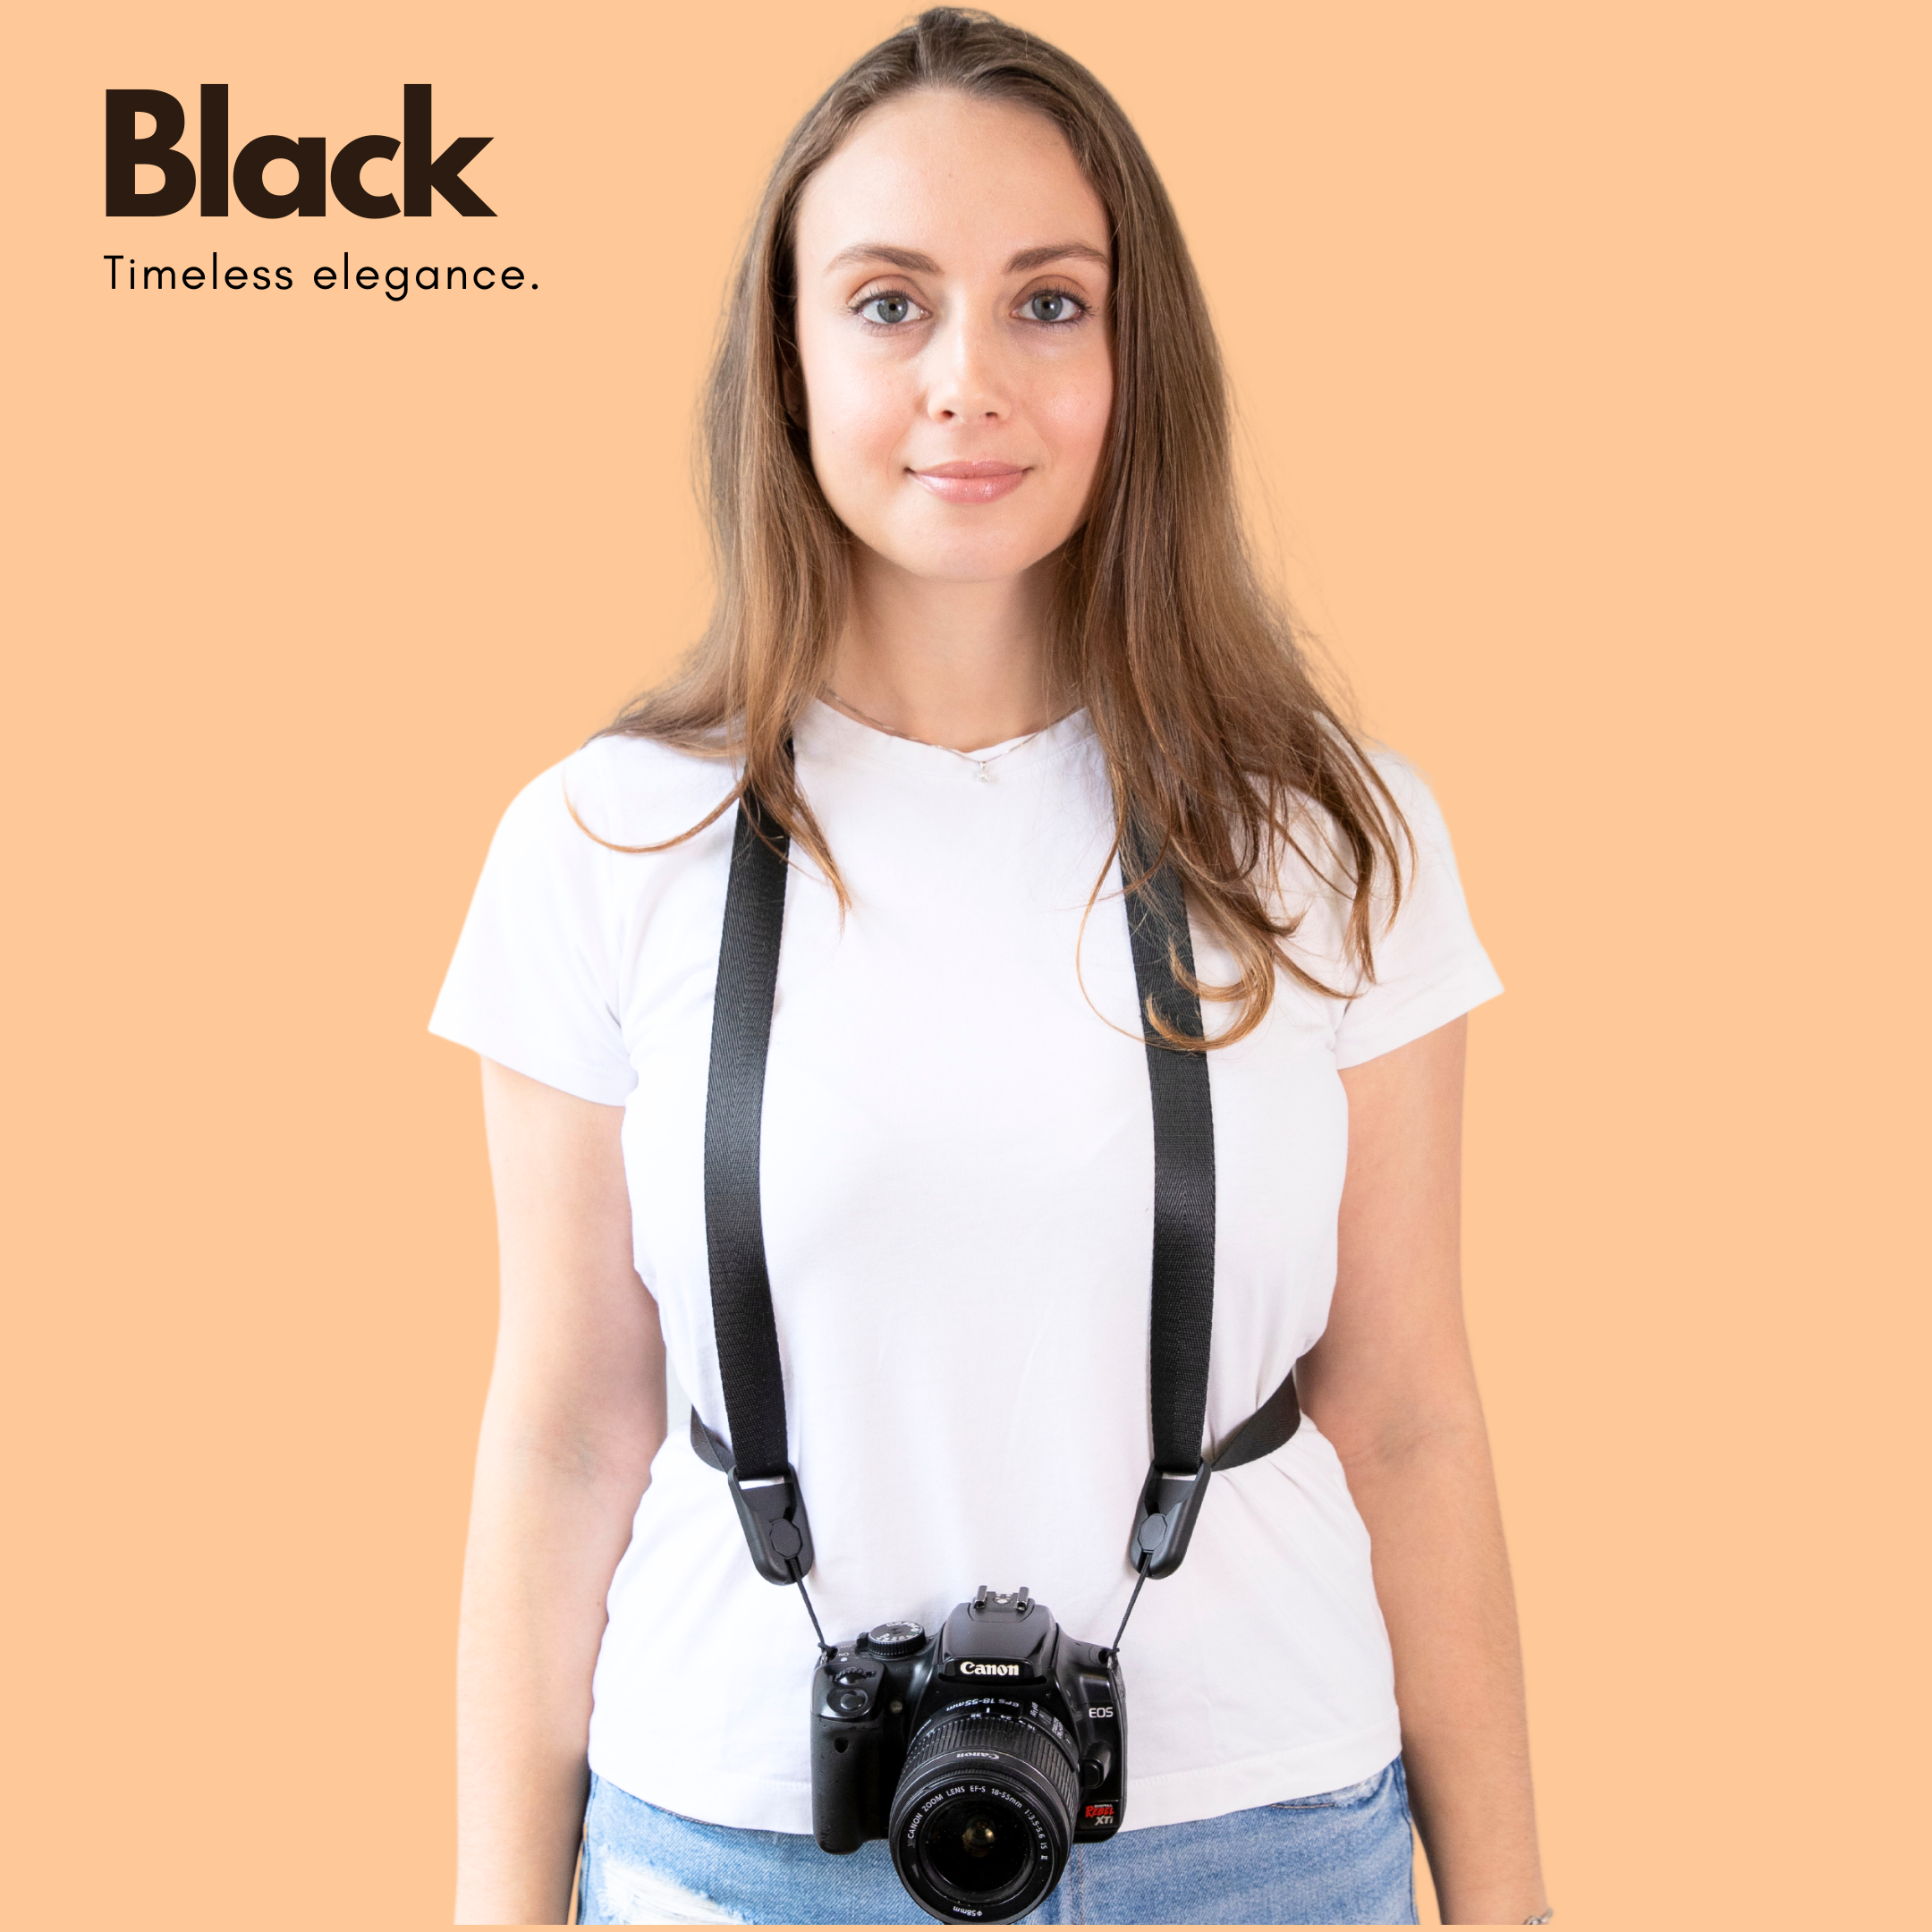
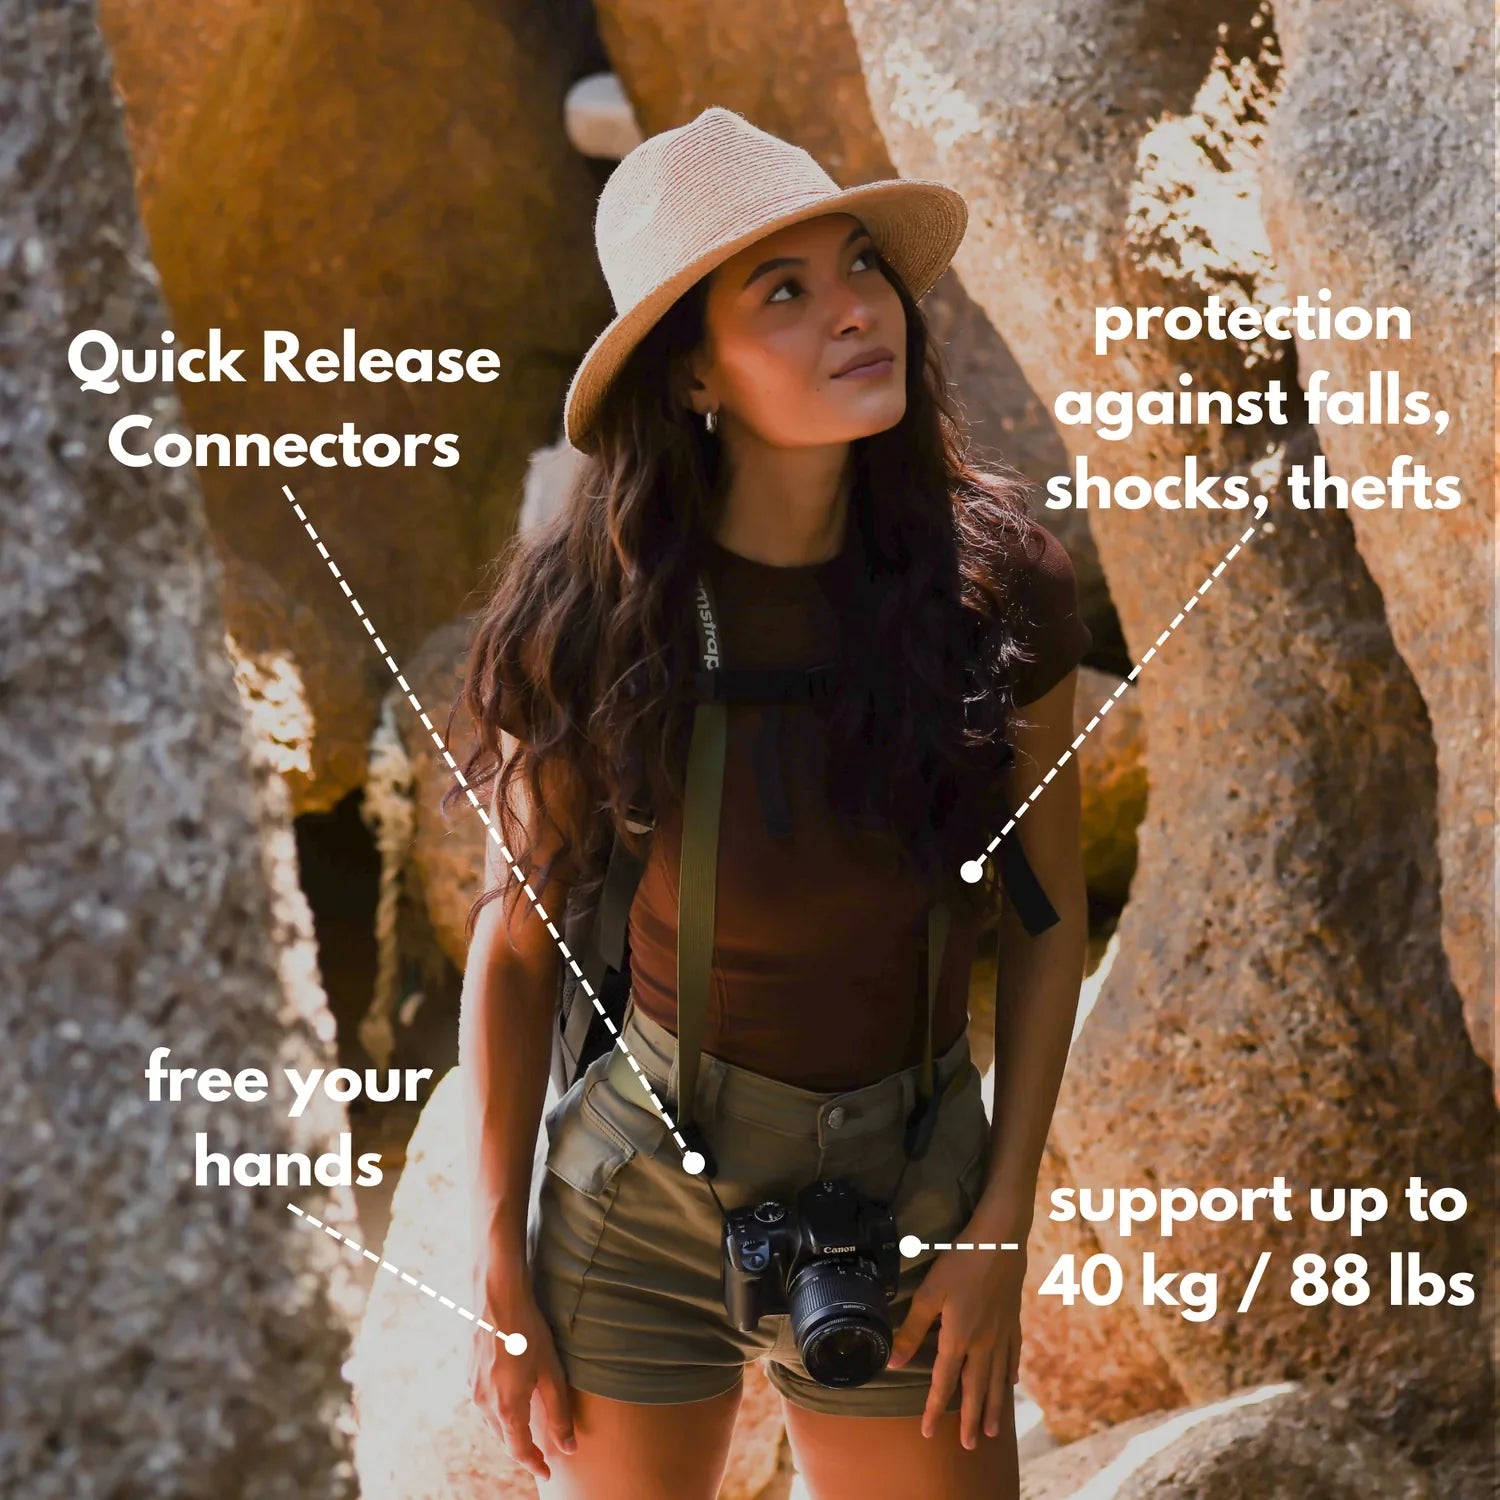
By choosing the Camstrap strap, you are opting for a high-quality product designed to meet the needs of the most demanding photographers.
- Developed by a physiotherapist to relieve neck and back pain.
- Fast delivery with tracking by the Post Office 🚚
- Can be used as a shoulder strap or hands-free harness

- Regular price
-
€36 - Regular price
-
€42 - Sale price
-
€36
Translation missing: en.blog_cta.free_shipping_included
Plan the route before you frame
Map your path before the camera comes up. A clear route cuts wasted steps, lowers stress, and leaves more room to spot clean lines.
I walk the space once with my eyes first. Weak floors, blocked exits, and the spots where the best view opens up stand out fast.

Turn the building into a sequence
Think in stops instead of one long chase for photos. A stairwell, a hall, a doorway, and a window can each become a strong frame. Perspective shifts with camera distance. Move a little closer or farther away, and the lines and scale change right away.
- Pick one safe entry path and one exit path.
- Mark three shooting stops before you start.
- Save the most fragile or dark room for last.
- Keep your bag compact so you can turn fast.
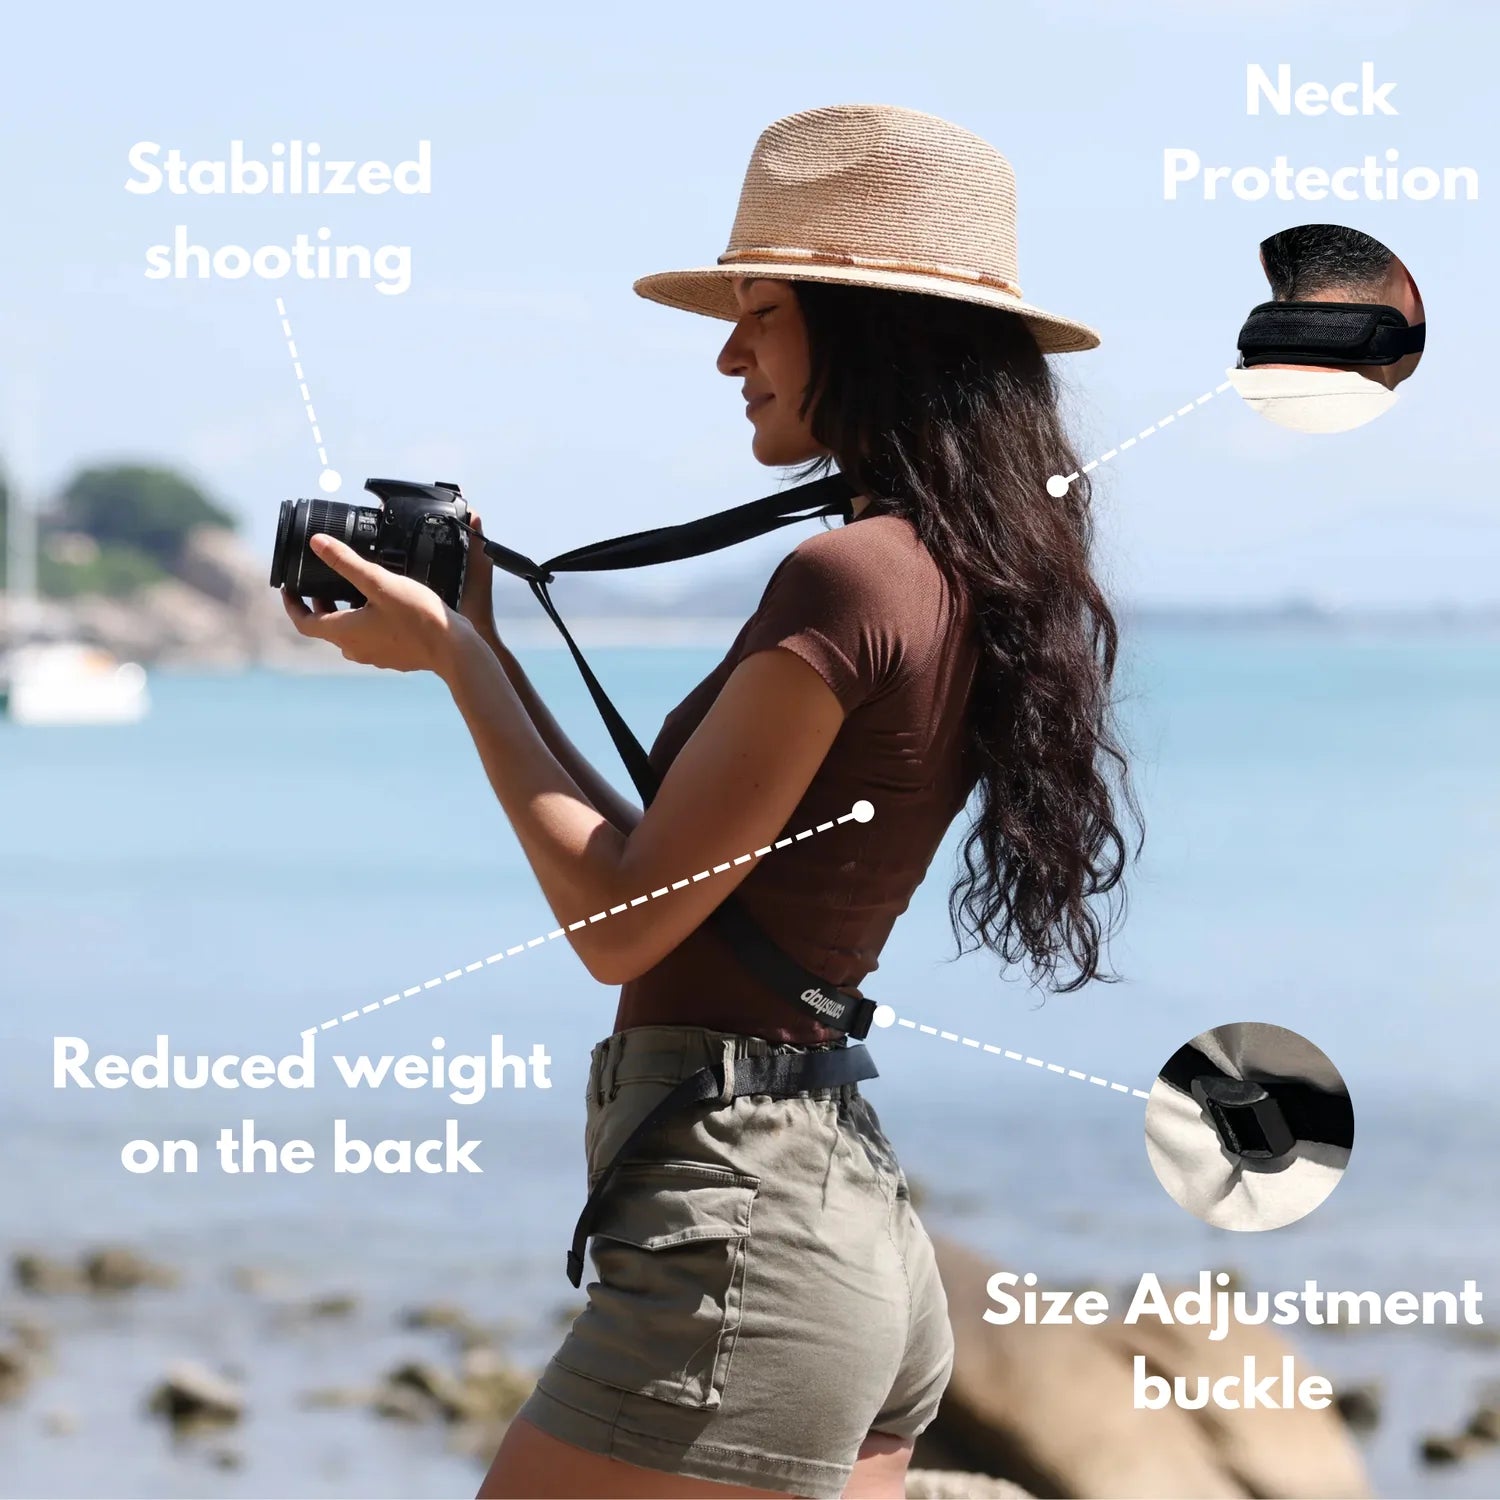
A holster-style carry keeps the camera on your body while leaving both hands free. It helps on stairs, under broken beams, and whenever you need a railing on the way in.
How do I photograph abandoned buildings safely on foot?

Safe work on foot means moving slowly, watching the floor, and keeping one hand free. I use a simple three-part habit: test the surface, watch the ceiling, and keep my exit in sight.
Stairs, loose plaster, glass, and open shafts are the main hazards. A small headlamp or torch helps, because your eyes need help before the camera does.
Keep your body on the safest line
Stay close to solid walls, but do not lean on them. Old brick can crumble, and damp paint can slip under a palm. Avoid stepping backward while looking through the viewfinder. I plant my feet first, then frame the shot, then take one frame before I move again.
- Wear boots with firm soles and good grip.
- Carry one light source you can switch on fast.
- Keep a phone charged for map checks and calls.
- Tell someone your route and your return time.
Safety shapes the image here. If you feel rushed, you will miss the line you came for.
What should I carry when exploring dark interiors with a camera?
Dark interiors call for a light, simple kit that supports quick framing and safe movement. I carry the camera, a compact lens, a small light, one spare battery, and one fast card.
For the camera setup, control is the priority. A body with aperture-priority mode, manual exposure, and clear focus aids gives you more speed in changing light.
Build a kit that keeps you moving

A good carry system beats a bulky bag in these places. Camstrap Voyager fits that role well because the holster keeps the camera secure while staying easy to draw with one hand. Quick access saves time when a doorway opens into a strong scene. It also keeps the camera close while climbing or squeezing through narrow spaces.
- Camera body with clean manual controls
- Ultra-wide lens, or a normal prime for tighter detail shots
- LED light or small torch
- One spare battery and one high-write card
- Microfiber cloth for dust and damp marks
For cards, UHS-II makes a real difference if you shoot bursts or RAW. A V60 or V90 card helps the buffer clear faster, which matters when light is low and the camera keeps writing files.
How do I use leading lines in derelict hallways?
Leading lines guide the eye toward a focal point. In derelict halls, cracked floors, pipes, beams, and ceiling edges can all point the viewer toward the end of the scene.

I look for lines that meet near the frame center. Converging lines add depth and make the space feel longer than it is.
Choose the vanishing point with care
Place the camera so the hallway feels direct, not messy. A slight shift left or right can make a crooked line pull away from the main point. Canon suggests aperture-priority mode with f/8 or f/11 for converging architectural lines. That range keeps more of the structure sharp and helps the scene hold its shape.
Shorter focal lengths help in tight interiors too. A 16mm ultra-wide lens can fit a large room into the frame, while 35mm gives a more natural look in smaller halls.
- Set the camera at chest or waist height first.
- Check that the strongest lines point toward one end.
- Keep verticals as straight as possible.
- Take one frame, then move a few inches and shoot again.

Keep the body level when you can. Tilting up or down bends verticals, and that can weaken the sense of order in the shot.
What lens works best for tight urban spaces and stairwells?
The best lens for tight urban spaces and stairwells is usually a wide lens in the 16mm to 35mm range. Shorter focal lengths give you a wider field of view, which helps when walls, railings, and landings crowd the frame.
A 16mm lens works well when the room feels too small to back up in. A 35mm or 50mm lens suits a tighter view with less edge stretch.
Match the lens to the room

For grand stairwells, I reach for ultra-wide glass first. For narrow side stairs, I often switch to 35mm because it keeps shapes calmer. Perspective depends on camera-to-subject distance, not only on focal length. Move closer, and the nearest rail or banister grows fast while the far wall falls back.
- 16mm: best for very tight spaces and big rooms
- 24mm: good balance of width and shape
- 35mm: natural feel for stairs and halls
- 50mm: useful for details and cleaner compression
If you need straight verticals, avoid strong upward tilt. A tilt-shift lens can correct perspective, but careful camera position often works just as well.
How do I avoid blurry shots in dim abandoned locations?
Blurry shots in dim places usually come from slow shutter speed, camera shake, or focus error. I solve that by locking my stance, using a useful shutter speed, and choosing a focus method that stays steady.
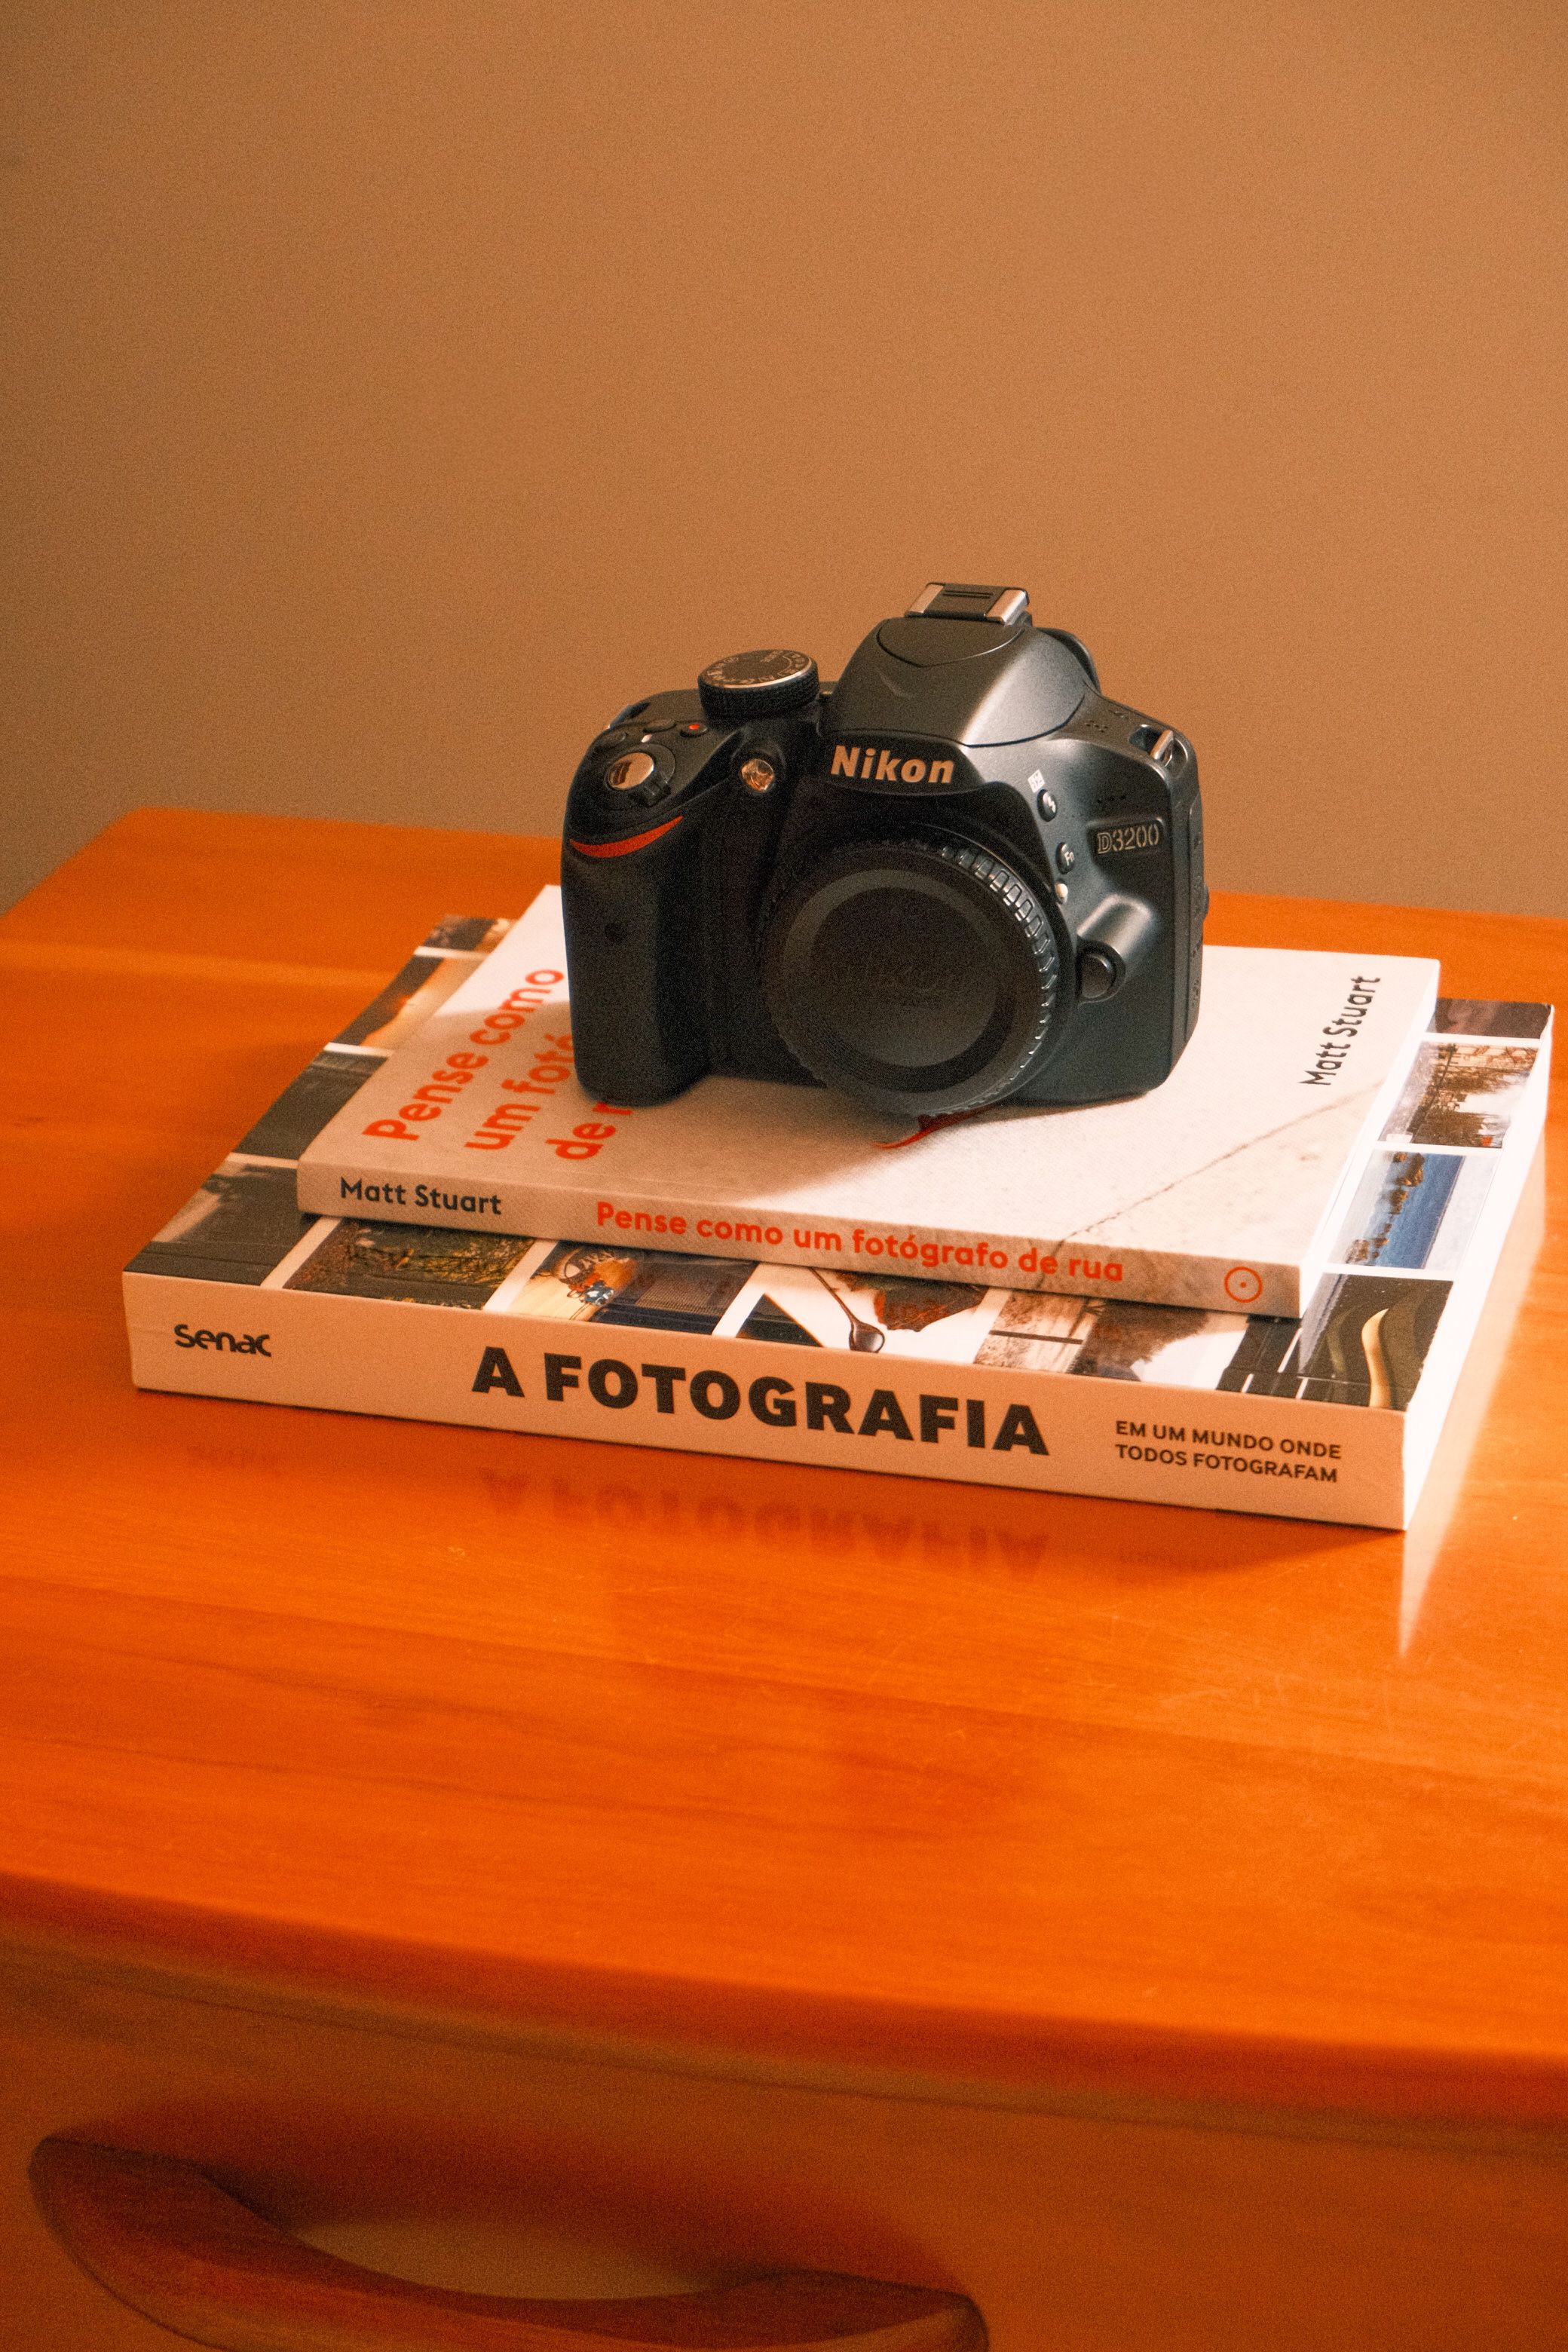
A Canon architectural example used an ultra-wide lens at f/4.5 with a shutter speed of 1/125s. It is a good reminder that a wide aperture alone is not enough; shutter speed still matters when you handhold.
Set the camera for low light
Continuous AF with subject detection helps when you move through changing rooms. Back-button focus also keeps focus from shifting every time you press the shutter. For handholding, I start near 1/125s on a wide lens and raise ISO as needed. If the scene is very dark, I may use a tripod or brace the camera on a wall, because ISO alone cannot save motion blur.
- Use aperture priority or manual mode.
- Try f/2 to f/2.8 for detail shots in dark rooms.
- Move to f/8 when you need more depth in halls.
- Set ISO only as high as the scene demands.
- Use image review sparingly so the battery lasts longer.
Mirrorless bodies drain power faster when the EVF or LCD stays on all the time. In cold, dark spaces, I turn down screen time and keep review brief so the battery lasts for the route.

A steady rhythm for the whole shoot
The best pace is slow without stalling. I work in a repeatable rhythm: find a line, set the stance, frame once, then move on before the scene gets stale.
This keeps the route fluid and the images sharp. It also stops you from overworking one room while the next waits behind you.
Use this quick field order
First, pick the safest route through the space. Next, identify one hallway or stairwell that can carry your main perspective shot. Then, make one wide frame, one mid frame, and one detail frame from the same stop. That mix gives you a better set without adding extra walking.
- Check the floor and ceiling.
- Set your lens and exposure before the frame.
- Shoot the main line shot first.
- Make one close detail shot for texture.
- Move on before fatigue sets in.
Abandoned places reward patience, but they punish rushed feet. A calm route gives cleaner lines and keeps you from missing much in the dark.
On my next shoot, I would start with a 16mm lens, aperture-priority at f/8, and a clear exit plan before the first frame.
Frequently Asked Questions
How do I photograph abandoned buildings safely on foot?
Photograph abandoned buildings safely on foot by moving slowly, watching the floor and ceiling, and keeping your exit in sight. Test the surface before each step, avoid stepping backward while looking through the viewfinder, and wear boots with firm grip.
What should I carry when exploring dark interiors with a camera?
Carry a light, simple kit: the camera, a compact lens, a small light, one spare battery, and one fast memory card. A holster-style carry system keeps the camera secure while leaving both hands free for stairs, railings, and broken beams.
How do I use leading lines in derelict hallways?
Use leading lines in derelict hallways by finding straight edges such as walls, floors, door frames, and railings that point toward a single vanishing point. Stand on the safest line, then shift slightly closer or farther to change how the lines converge and where the frame leads the eye.
What lens is best for tight urban spaces and stairwells?
A compact lens is best for tight urban spaces and stairwells because it keeps the kit small and easy to maneuver. Wide-angle lenses also help in cramped interiors by capturing more of the space and emphasizing strong perspective lines.
How do I avoid blurry shots in dim abandoned locations?
Avoid blurry shots in dim abandoned locations by keeping your body steady, planting your feet before framing, and using a stable hold rather than stepping backward while shooting. A small light helps you see sooner, and aperture-priority or manual exposure can make it easier to maintain a usable shutter speed.


