


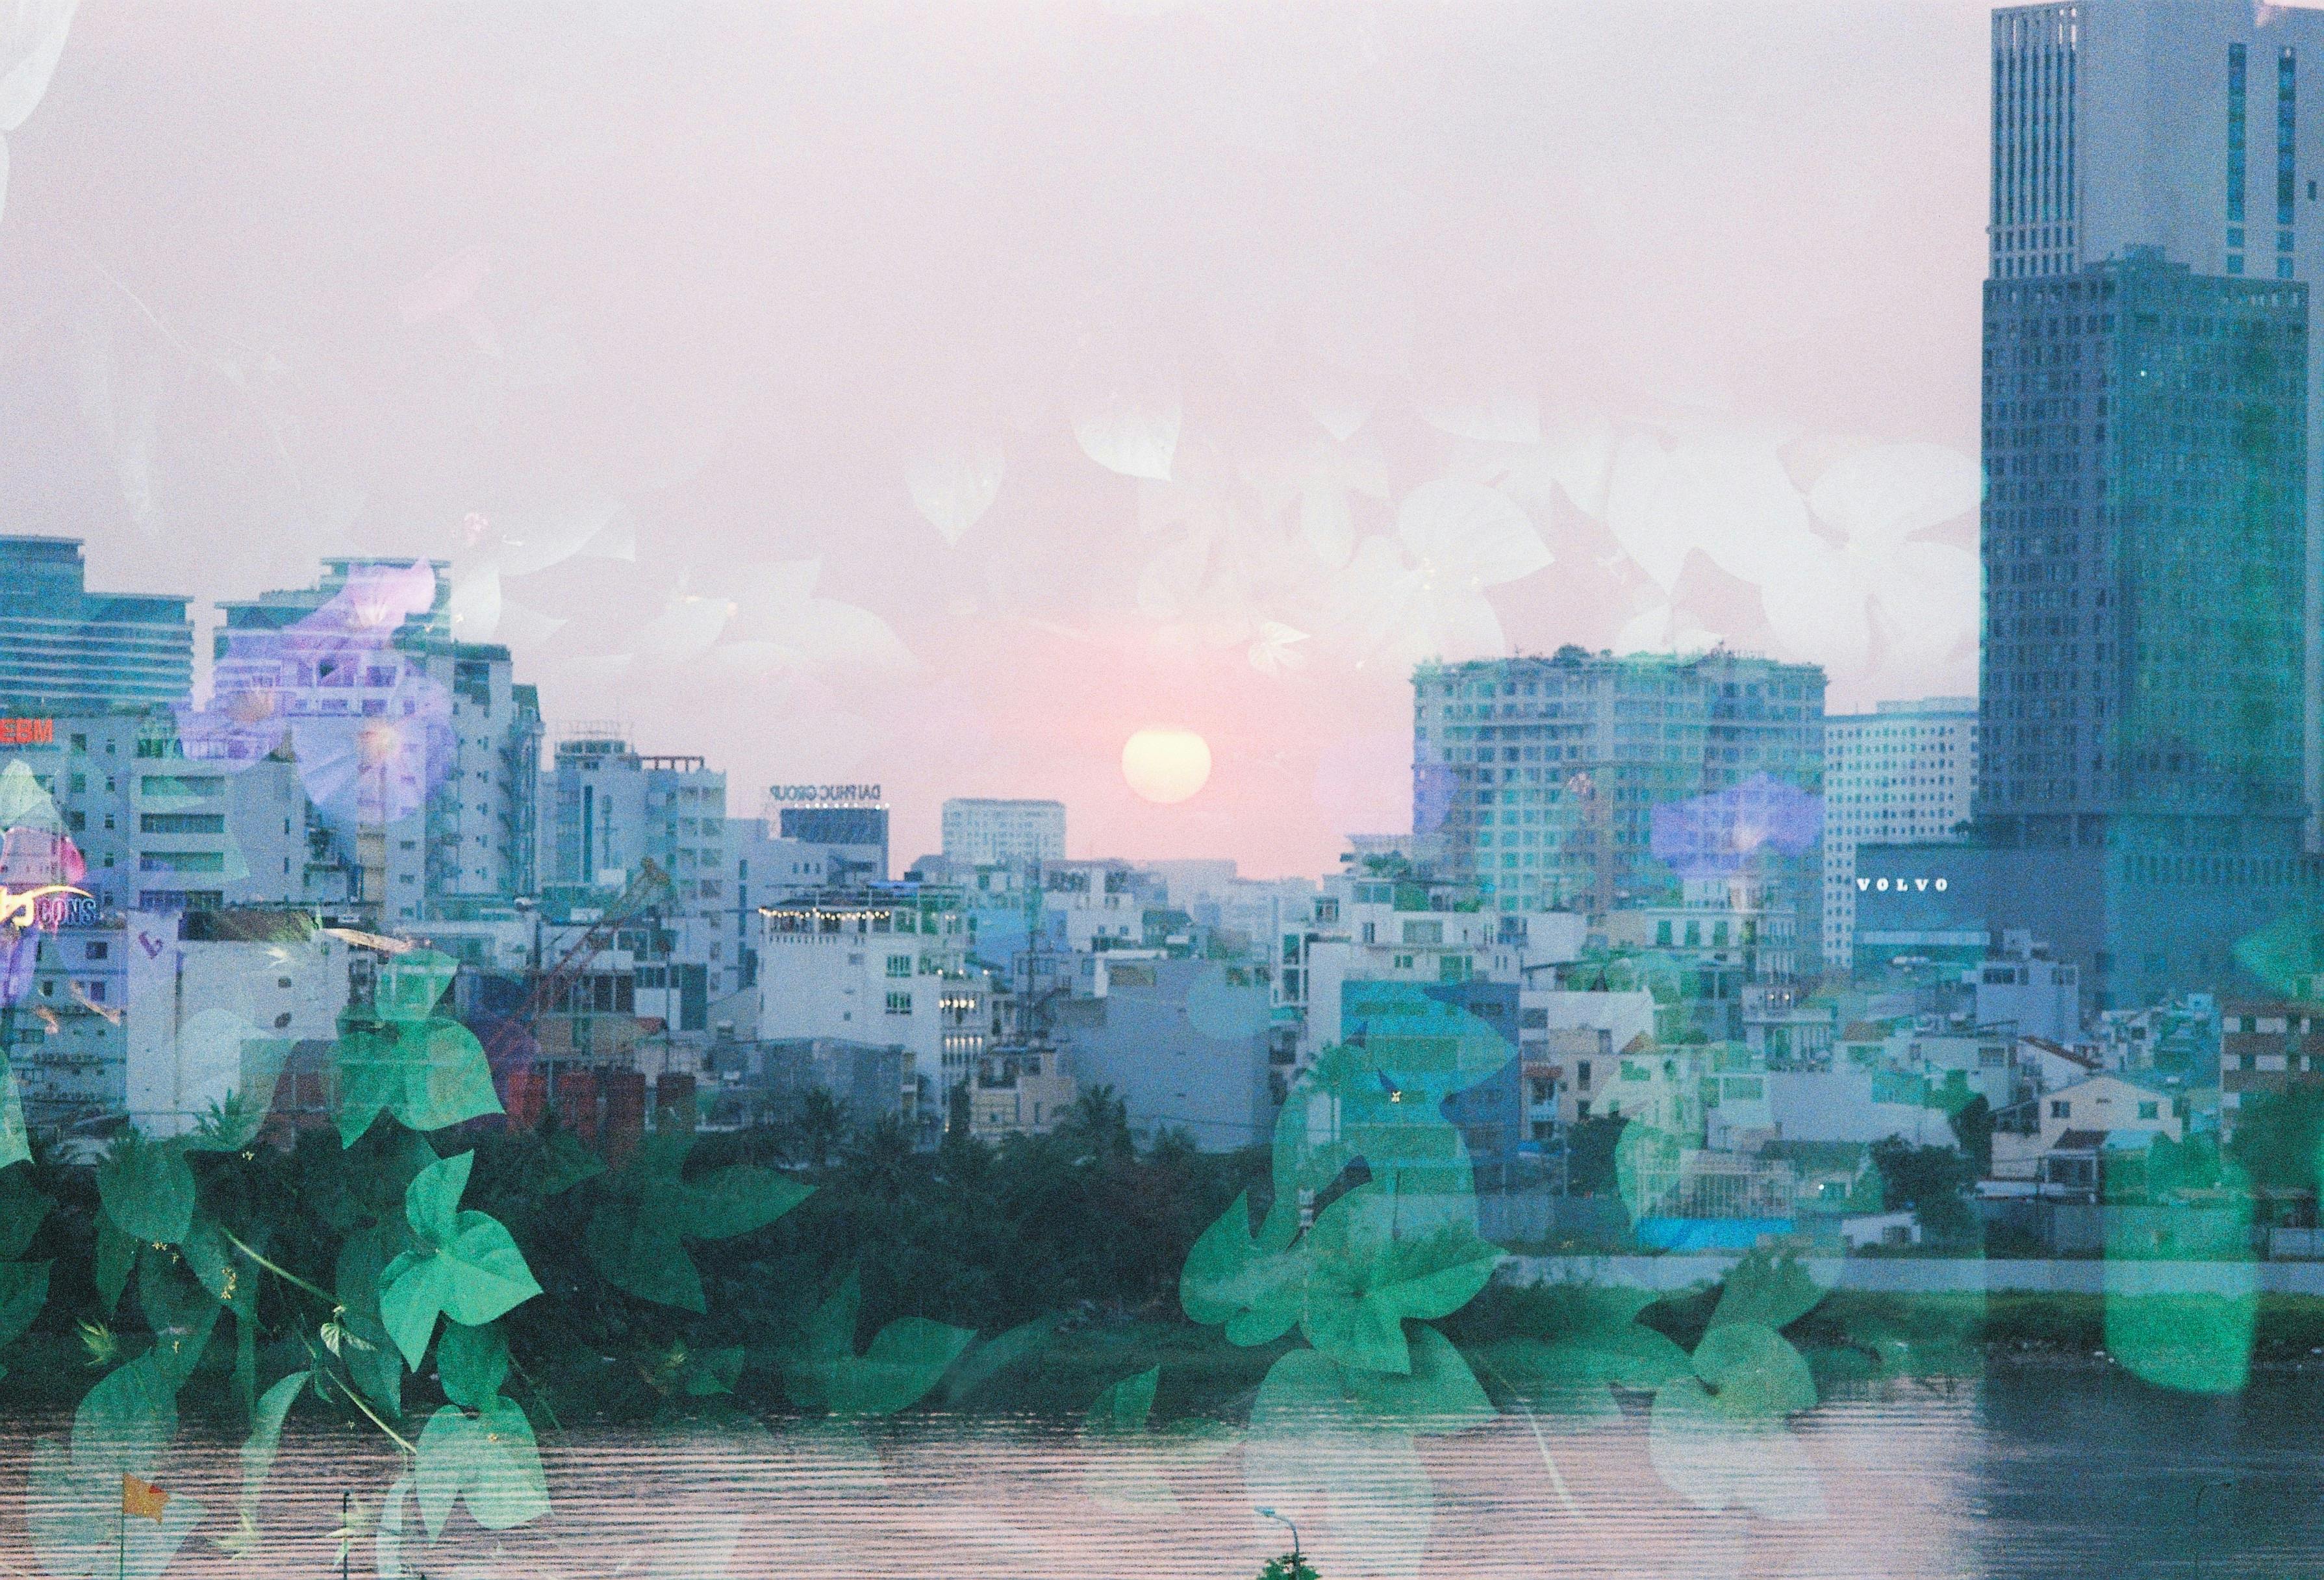
- Shoot a clean silhouette first, then overlay a textured second scene.
- Use your camera’s multiple-exposure mode or layers, and blend with Lighten or Screen.
- Keep ISO low—around 100 to 400—for the cleanest double-exposure tones.
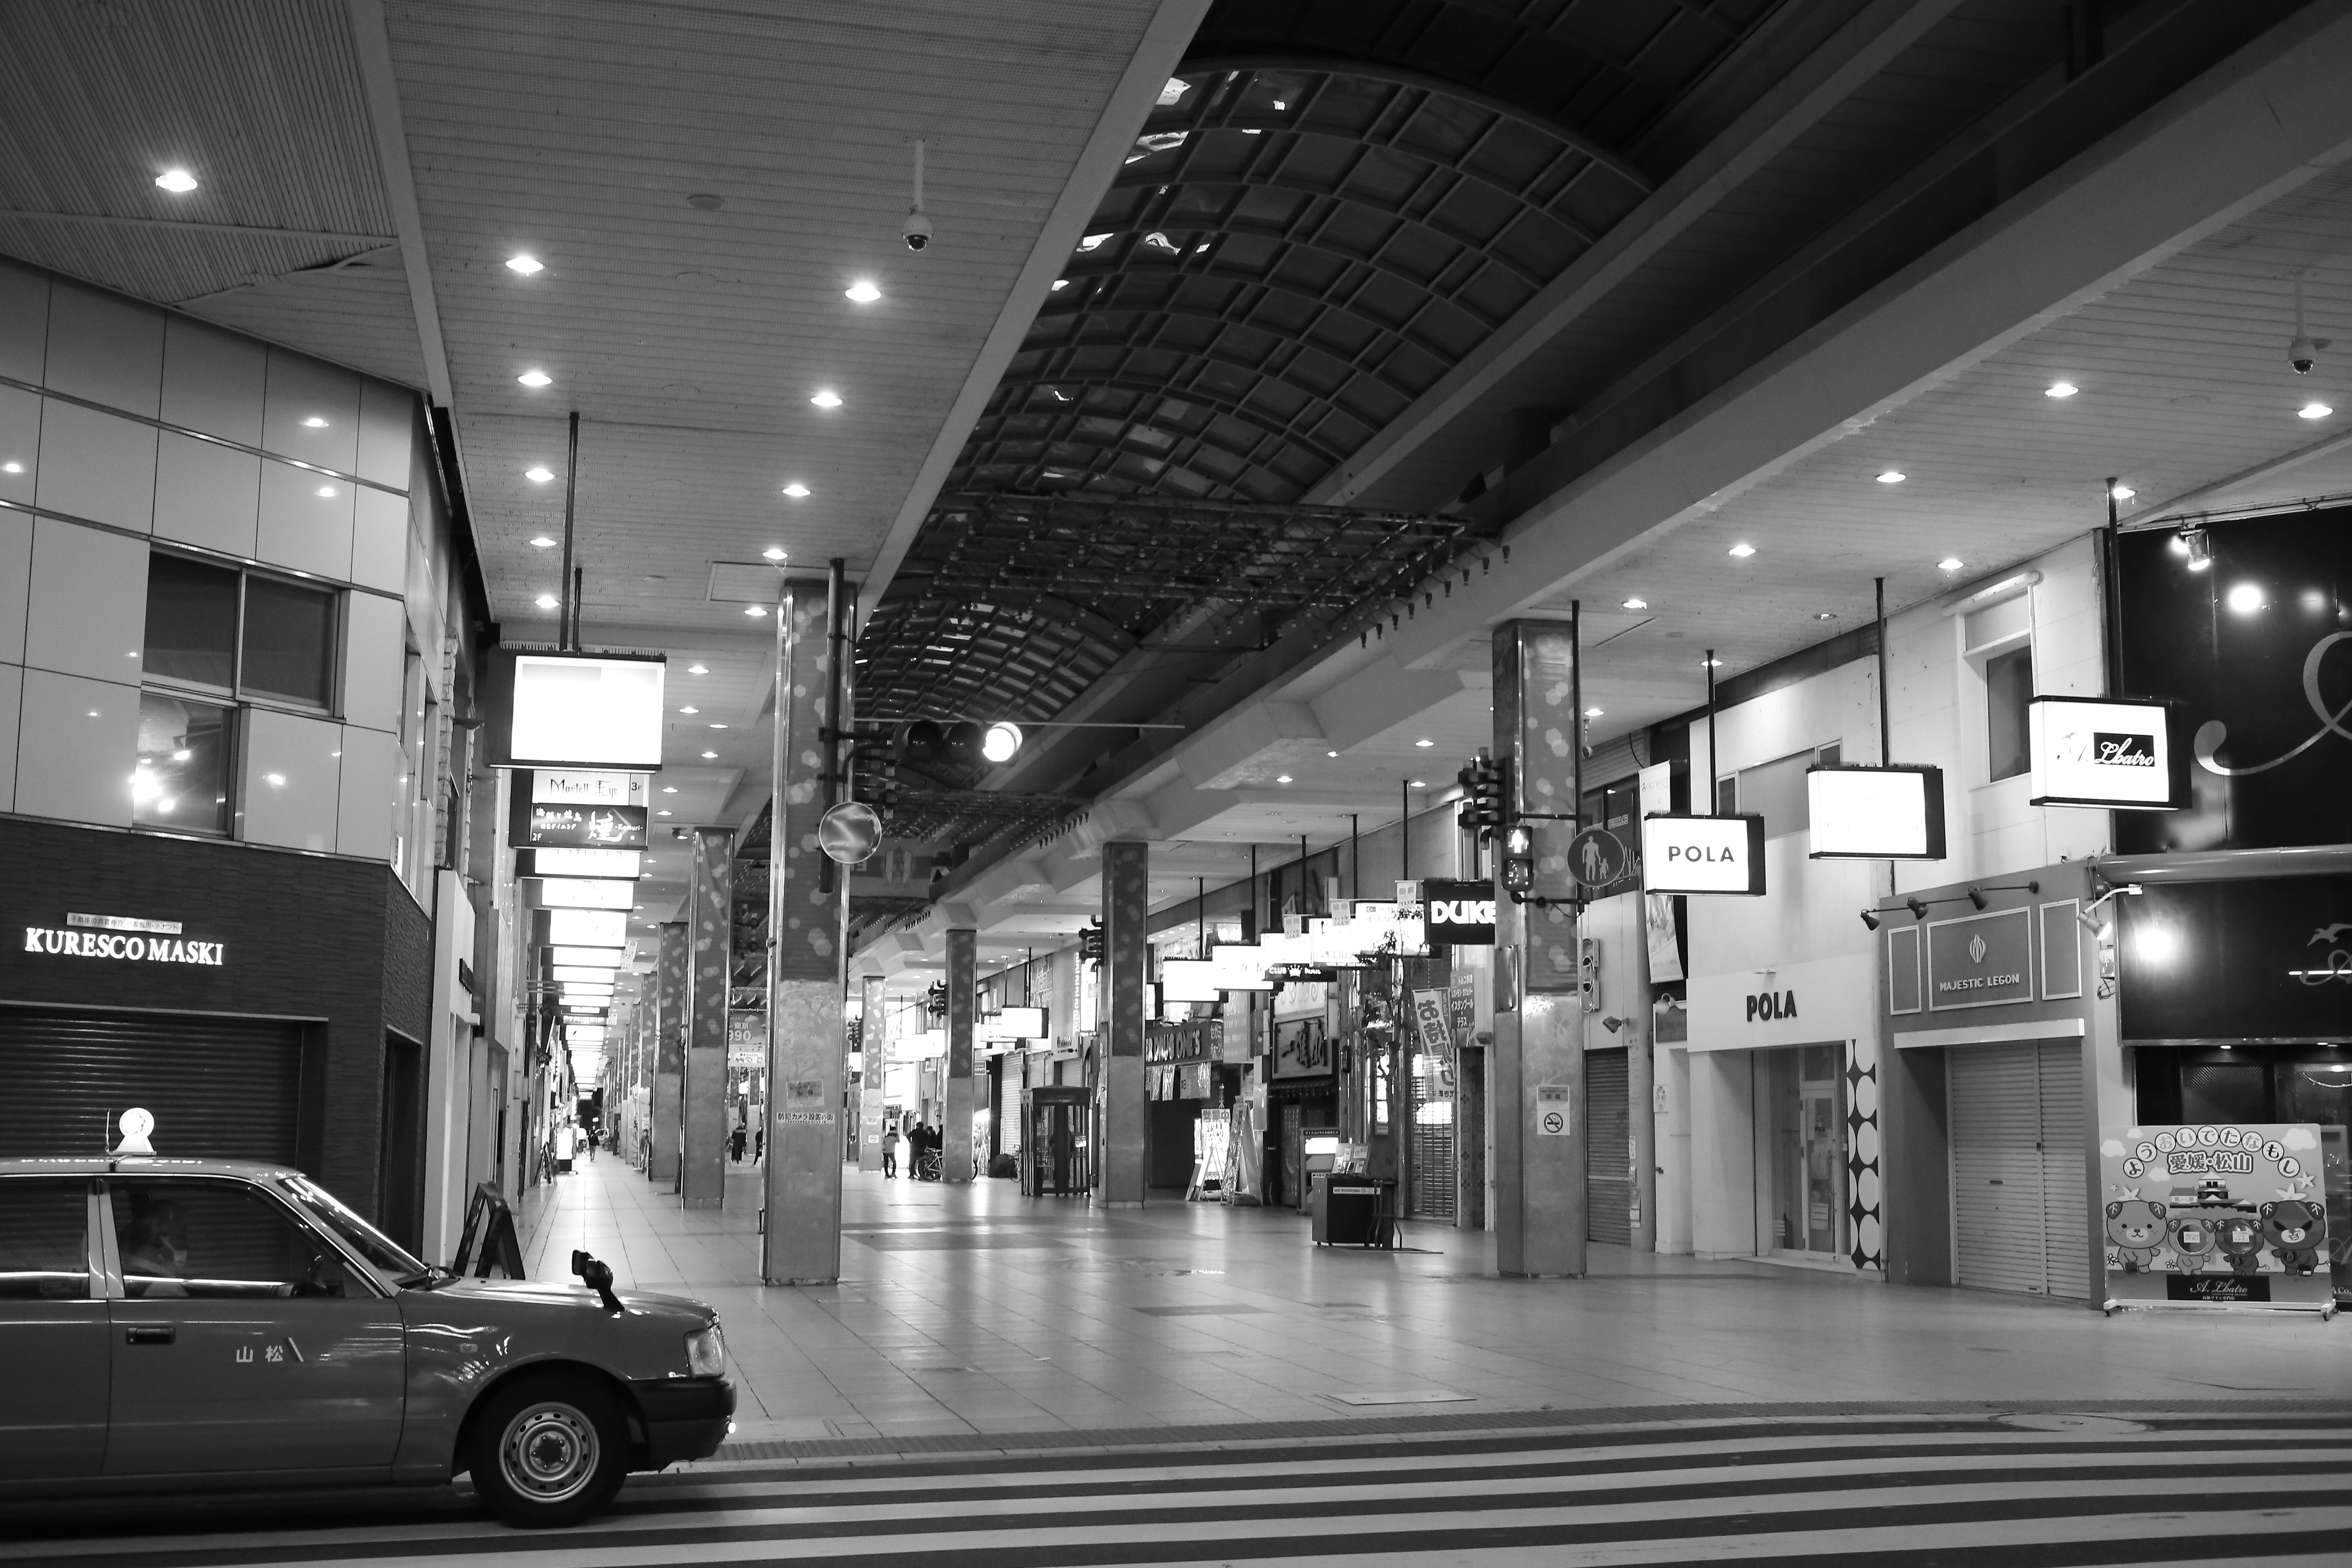
Double exposure photography blends two frames into one image and gives the result a layered, often surreal feel. On a busy city walk, it still holds up because black-and-white brings order to the chaos with simple tones and strong shapes. City streets are packed with signs, glass, buses, and moving people. In monochrome, those pieces turn into lines, shadows, and contrast that read as a clear visual story.
Translation missing: en.blog_cta.bundle_heading

- Regular price
-
€42 - Regular price
-
€44 - Sale price
-
€42
By choosing the Camstrap strap, you are opting for a high-quality product designed to meet the needs of the most demanding photographers.
- Developed by a physiotherapist to relieve neck and back pain.
- Fast delivery with tracking by the Post Office 🚚
- Can be used as a shoulder strap or hands-free harness

- Regular price
-
€36 - Regular price
-
€42 - Sale price
-
€36
Translation missing: en.blog_cta.free_shipping_included
Why monochrome suits the street
Black-and-white cuts through the clutter of busy streets. Color steps aside, and light, dark, shape, and texture do the work.
On a walk, your eyes keep bouncing from one detail to the next. A monochrome frame can hold that motion without feeling overloaded.
Shape, contrast, and pace
City scenes usually give you hard edges, sharp shadows, and fast movement. In black-and-white, those elements stand out because the eye catches contrast before it hunts for color. Visual-attention research backs that up. High-contrast edges pull the eye faster than soft color shifts, so street scenes often look cleaner in monochrome.
Long window rows, crosswalk stripes, and wet pavement add structure too. Even with people and cars moving through the frame, the scene still has a backbone.
Less color, more mood
Color can tug the eye in several directions at once. Black-and-white eases that pull and leaves room for mood.
A rainy sidewalk can feel calm. A crowded station can feel tense. A narrow alley can turn quiet even at midday.
Freshness comes from that restraint. The look does not lean on trending colors or seasonal palettes.
How do you make a double exposure?
Start with one strong base image and a second frame that adds tone or texture. A clear subject gives the blend something to hold onto, then the overlay can do the rest.
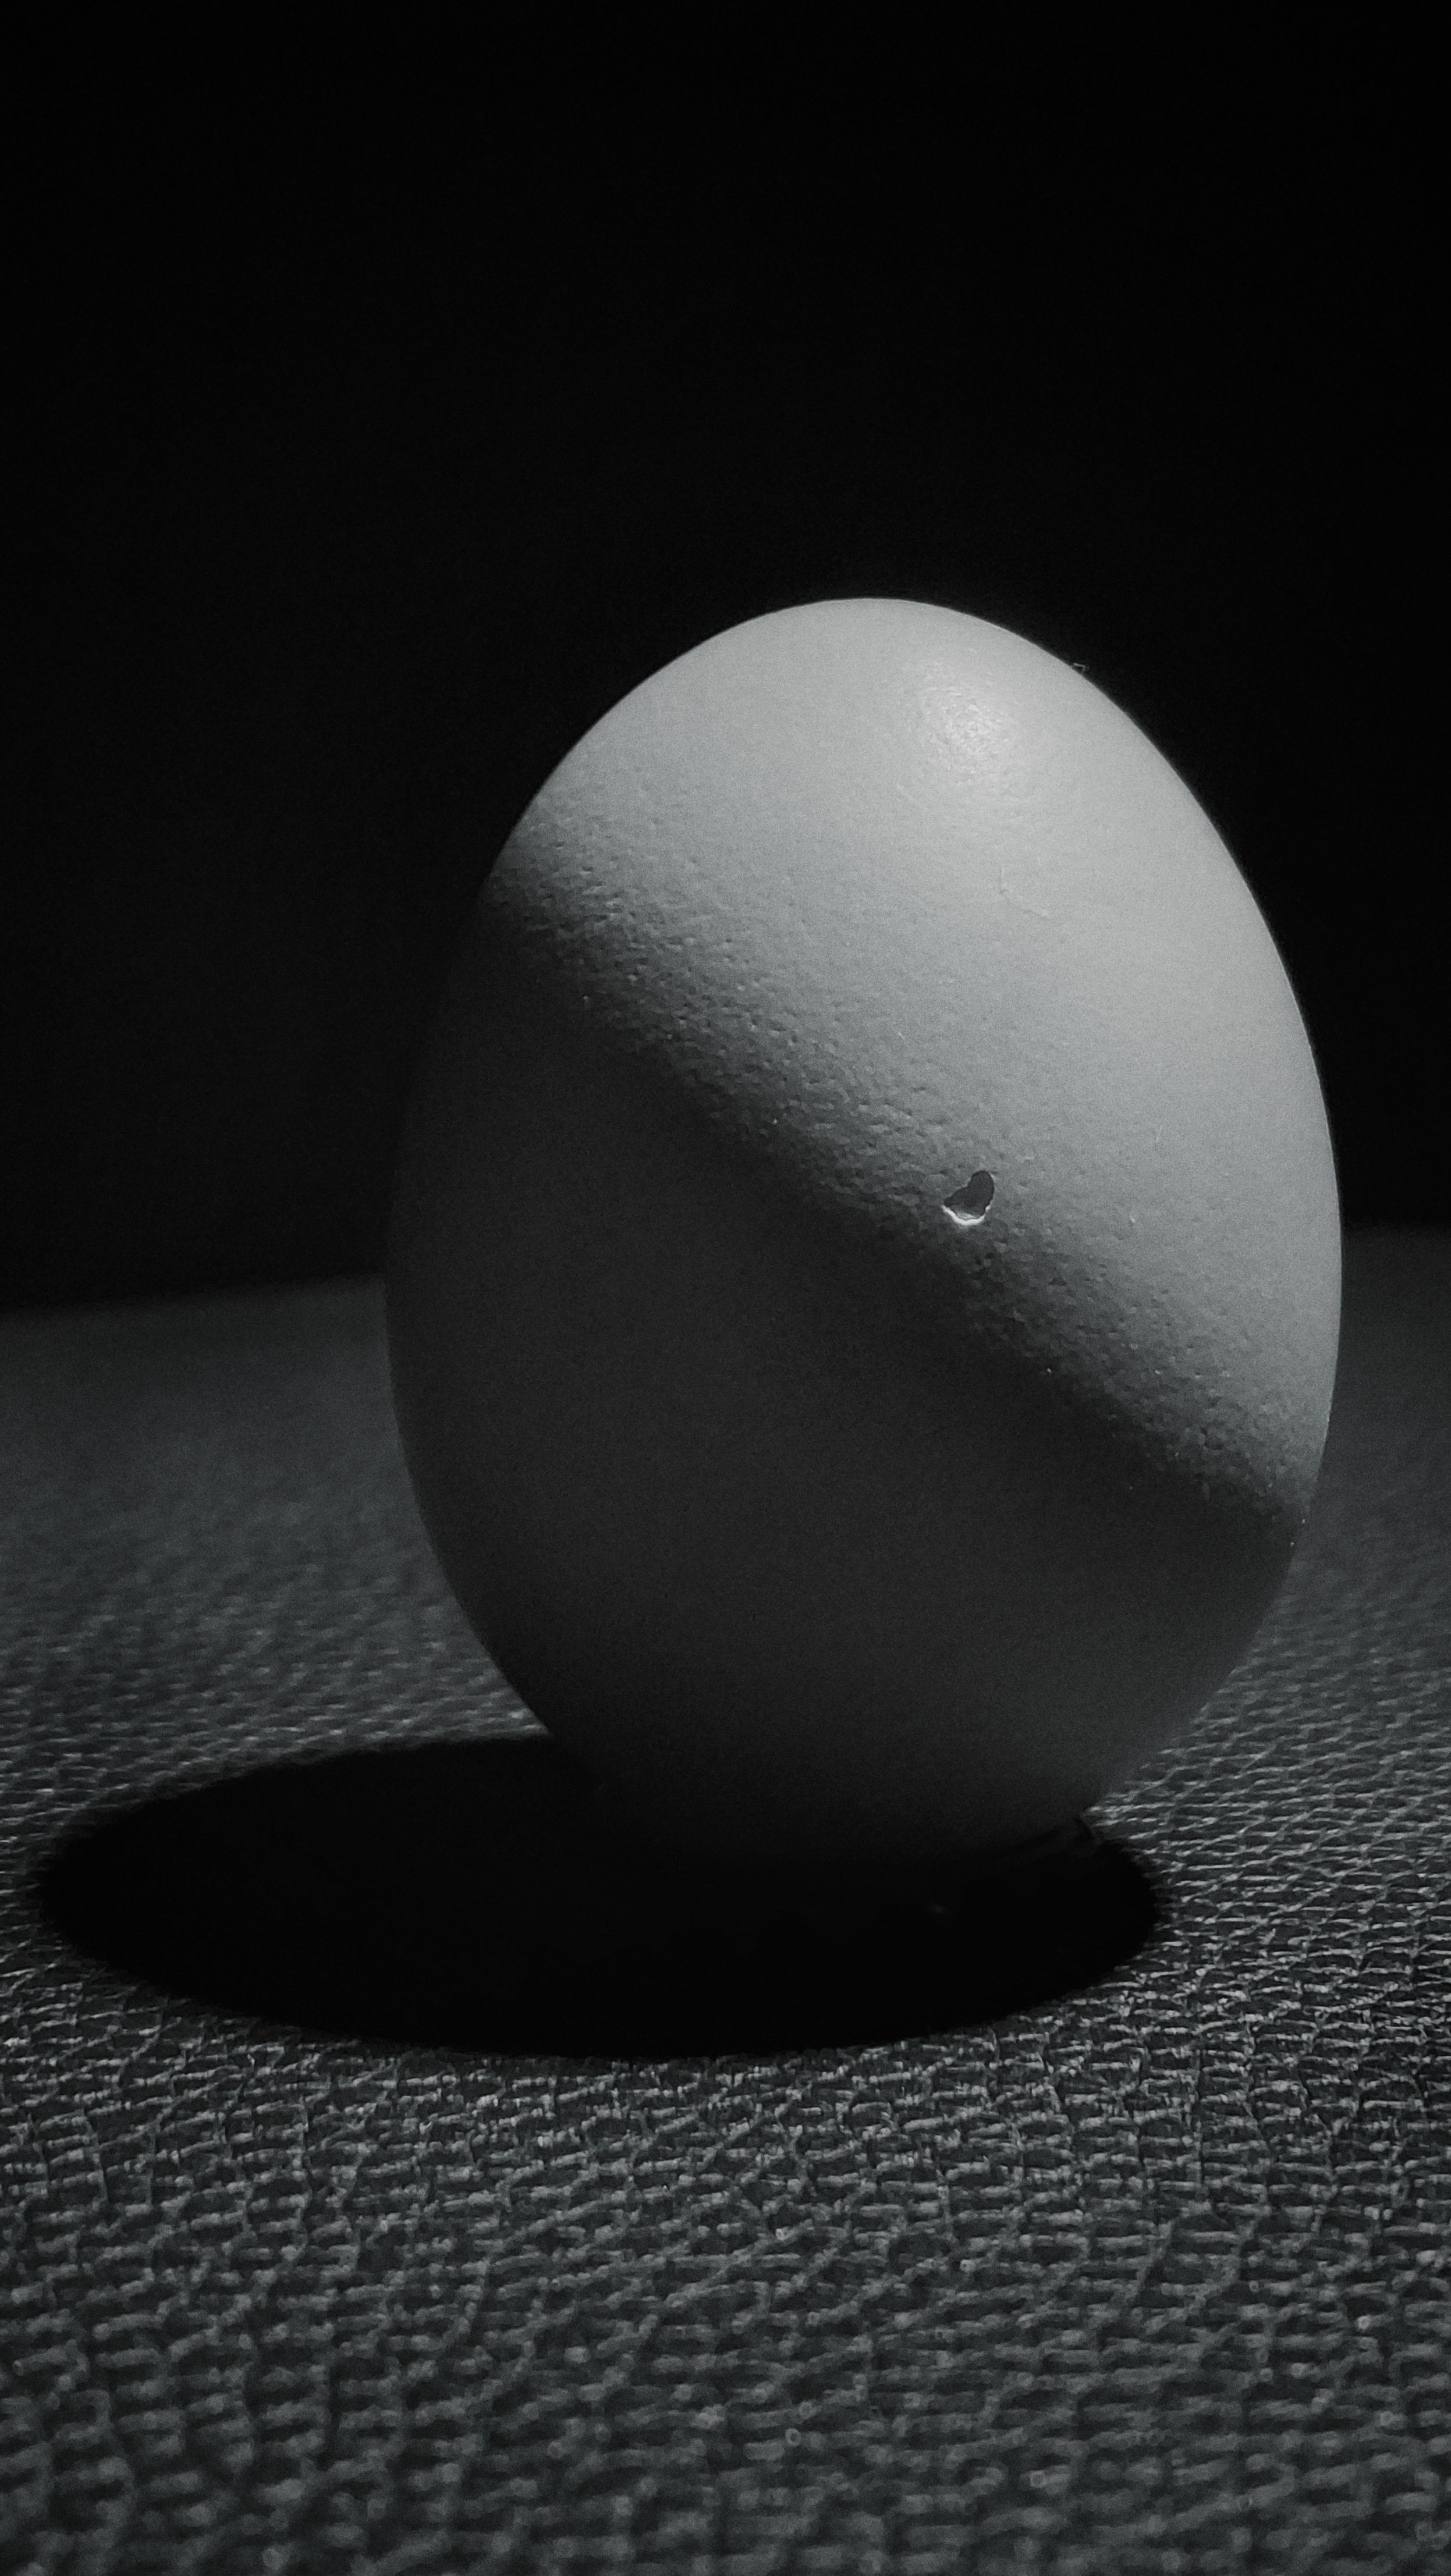
The best results usually begin with a subject that has a clean outline. A face, a profile, a tree, or a building edge gives the composite a firm shape.
A simple field method
- Set the camera to Manual or Aperture Priority.
- Use a focal length around 50mm to 85mm for the first frame.
- Keep the first subject well lit and easy to read.
- Choose a second scene with sky, shadows, brick, glass, or leaves.
- Blend the frames in camera or later in software.
Many mirrorless bodies include a multiple-exposure mode for stacking two or more frames. In editing, layers work well with Lighten, Screen, or a soft mask blend. An aperture near f/2 to f/2.8 can help if you want a shallow, clean first frame. A wide opening does make focus more delicate, so eye or subject detection becomes a real advantage.
Street conditions change the recipe
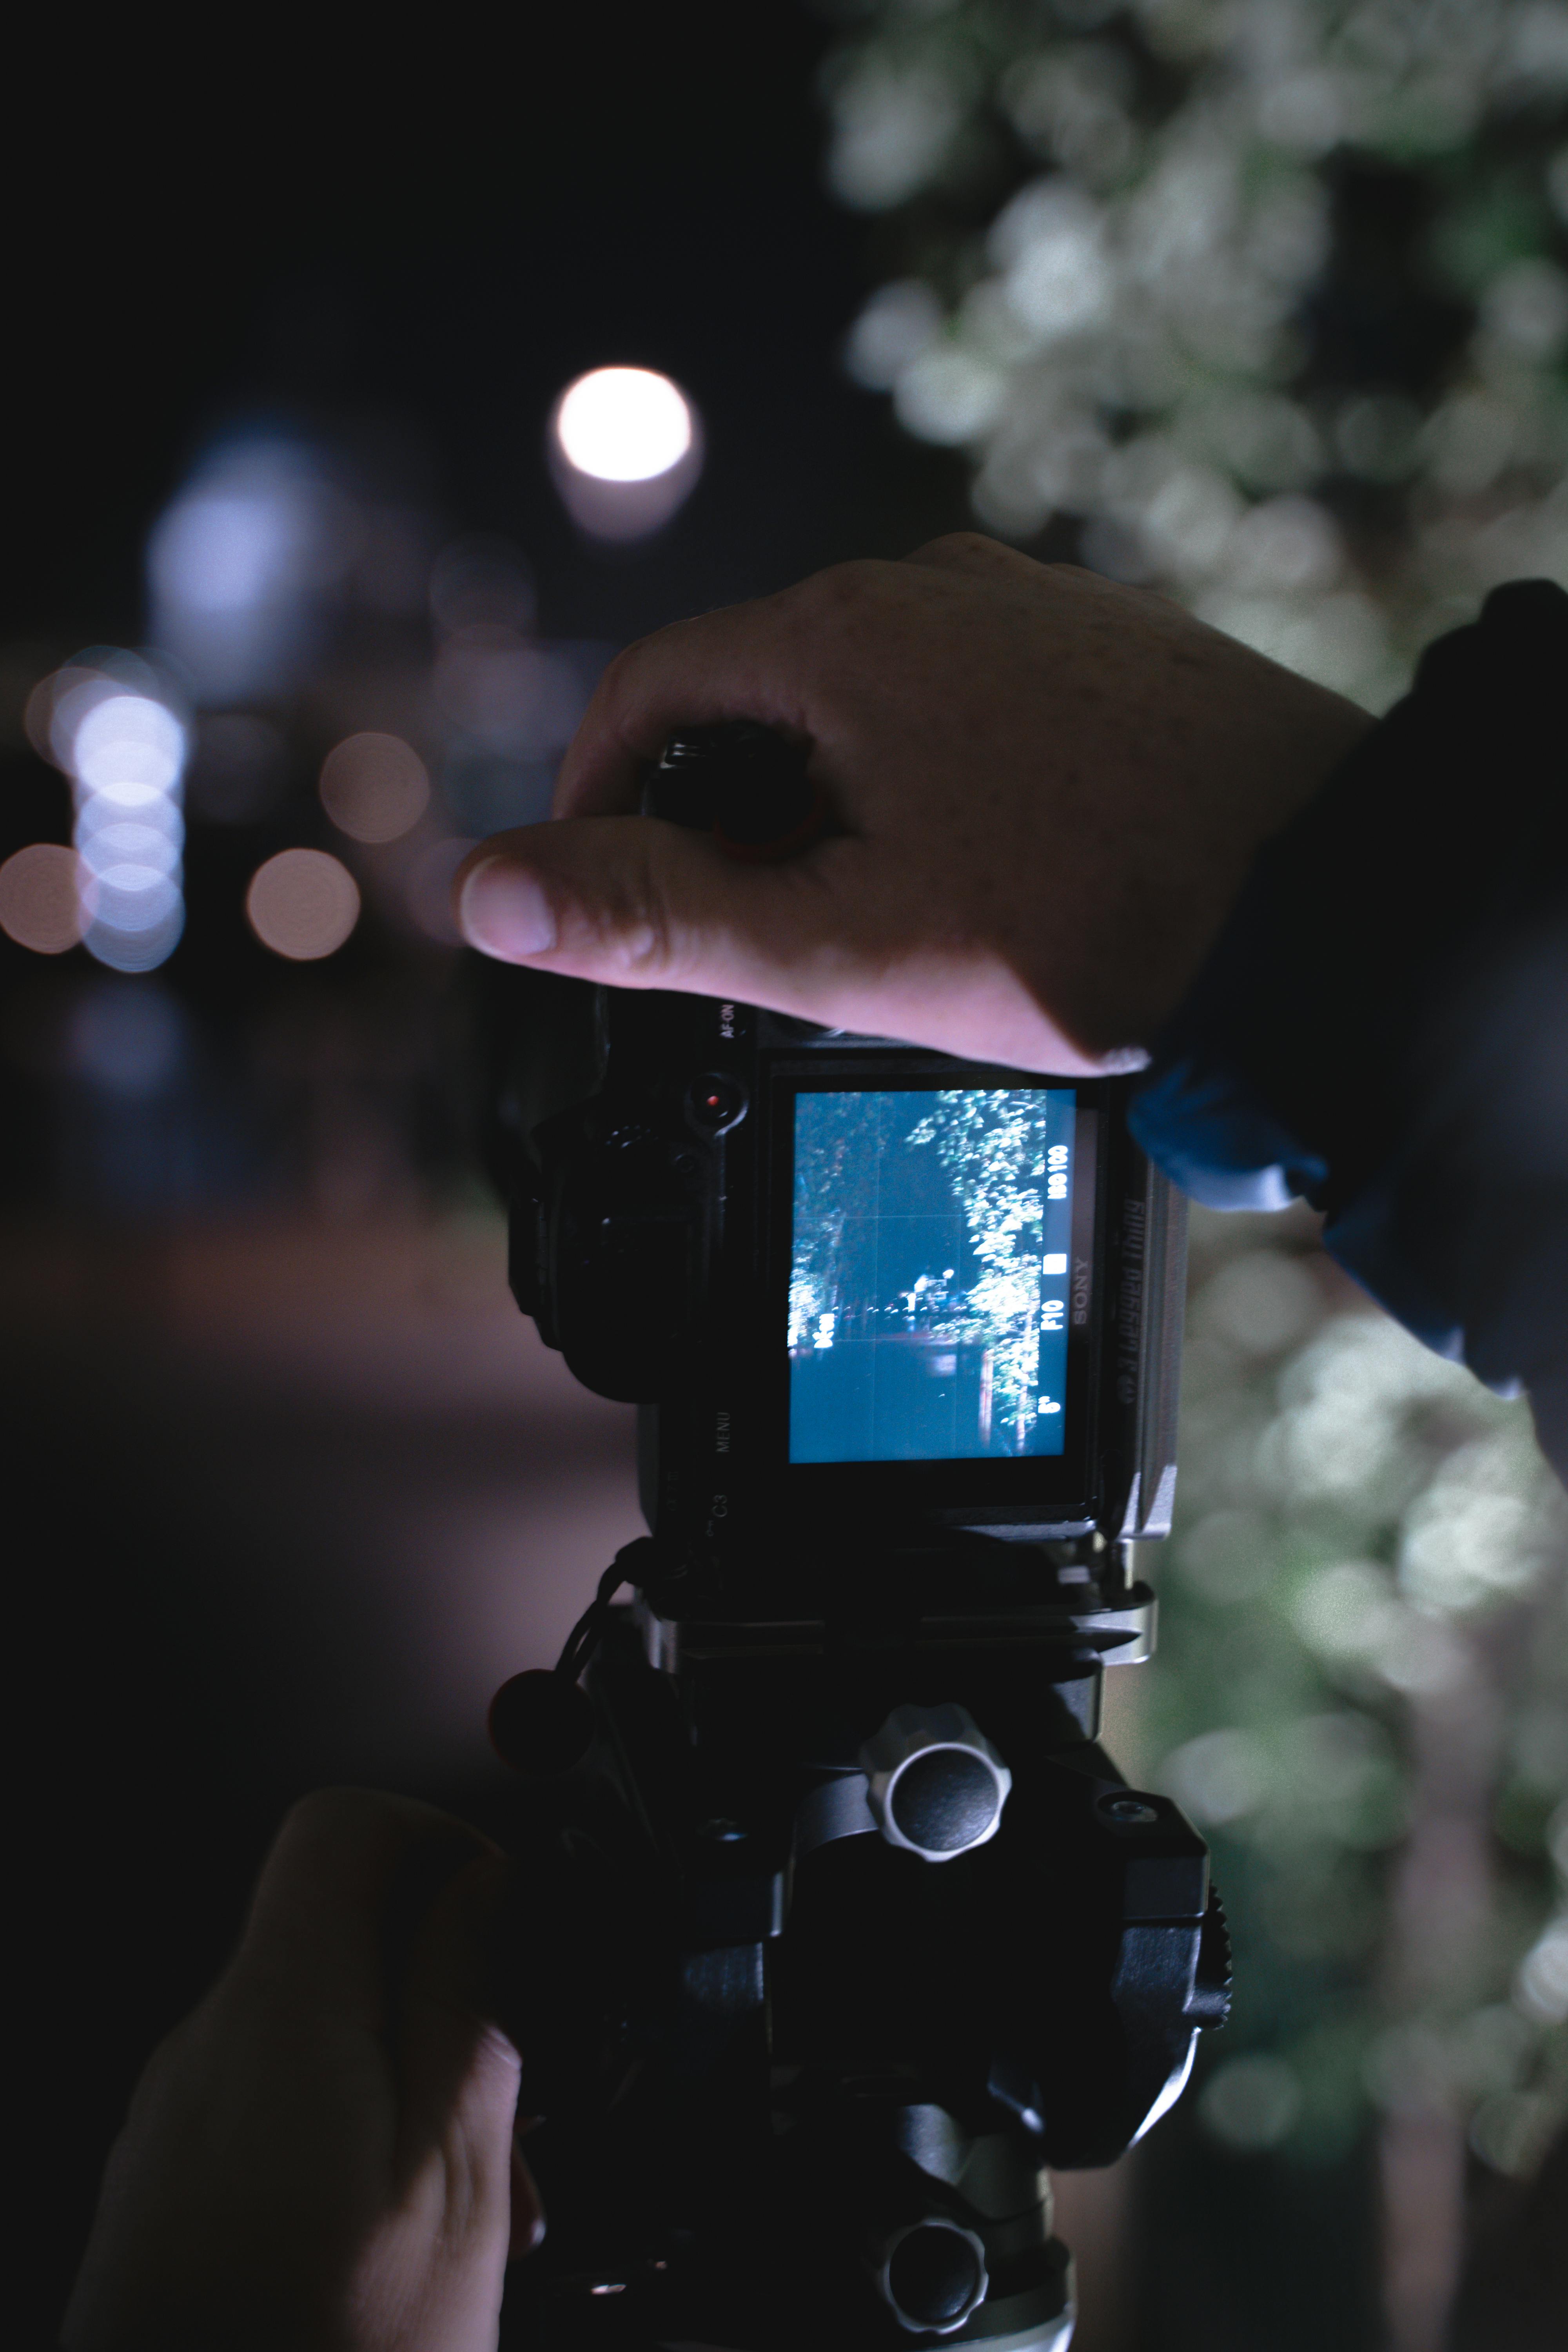
City walks bring quick shifts in light. A shaded lane may need ISO 400, while open sun can stay near ISO 100 or 200.
Keep shutter speed at 1/250s or faster if people are moving. For a steadier feel, 1/125s can work, though motion blur shows sooner.
My approach stays simple: make the first frame strong, then treat the second frame like texture. The blend stays readable instead of dissolving into visual noise.
What makes a double exposure work?
One frame needs to read clearly before the second arrives. Pairing dark areas in one image with lighter areas in the other also helps. Two busy frames can cancel each other out. A clear subject plus a cleaner texture usually beats two crowded scenes.
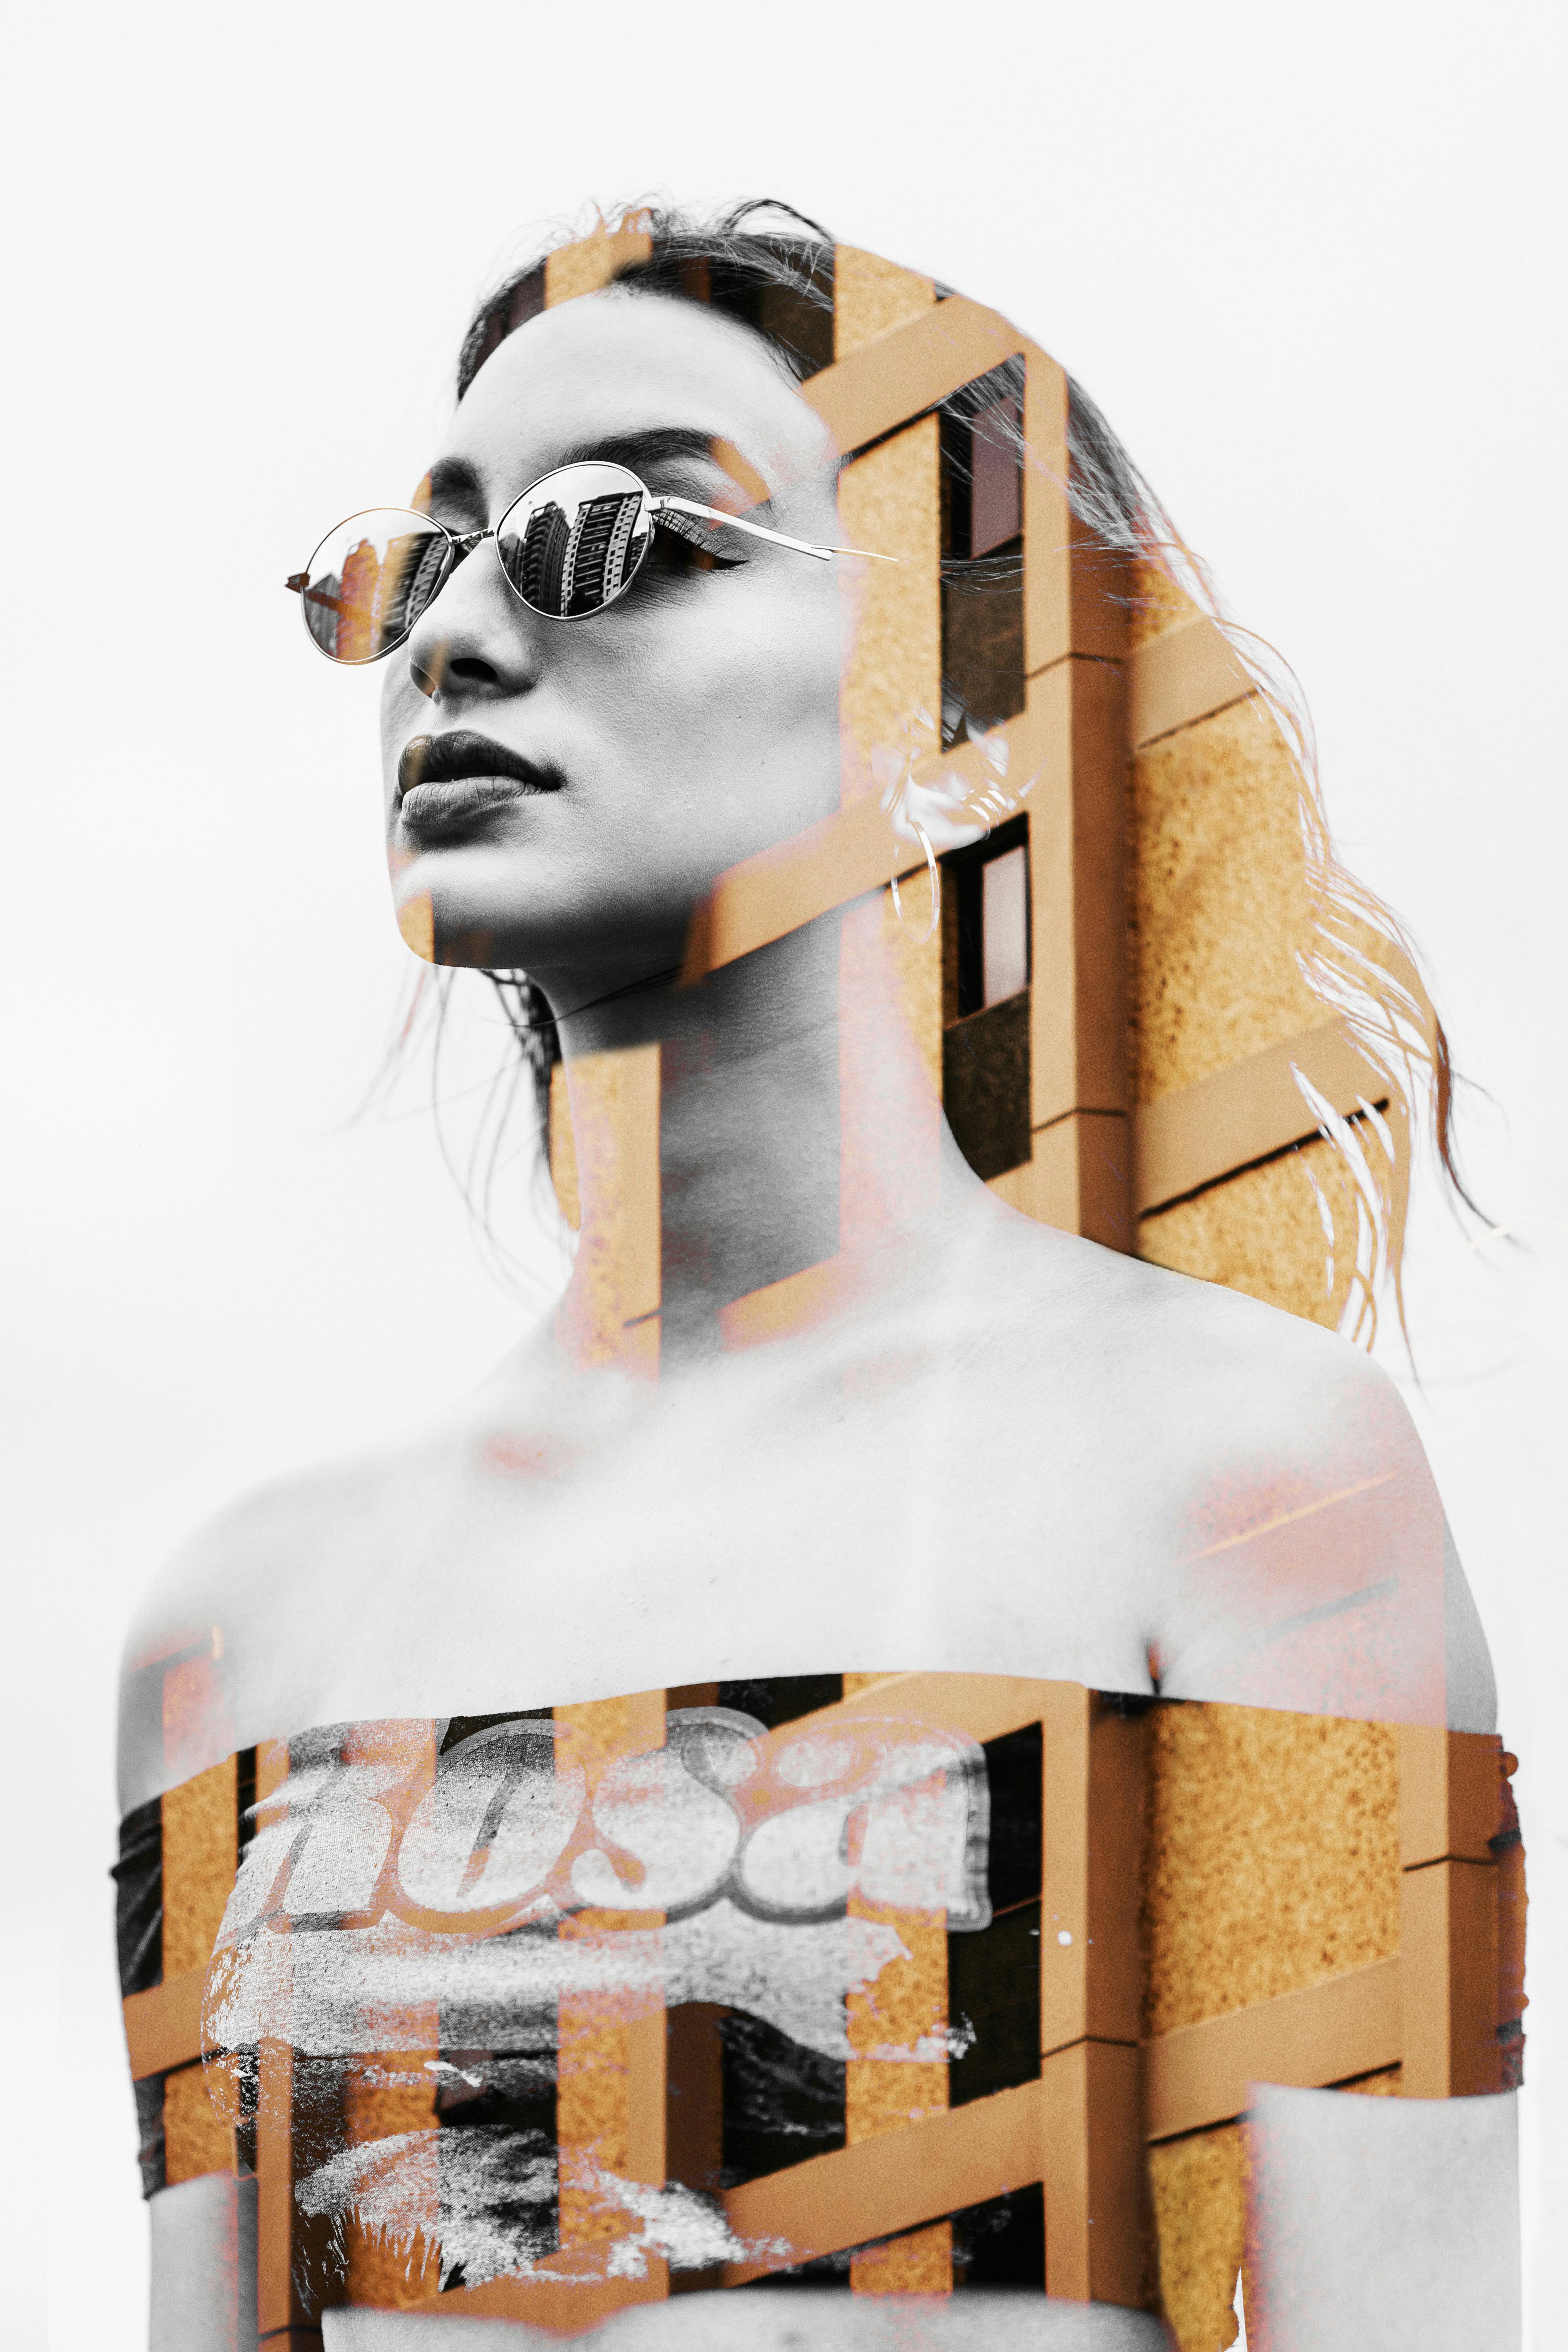
Three parts that keep the blend readable
- Give the main subject a clear outline.
- Use a second frame with simple shape or pattern.
- Let one frame carry the darkest tones.
That mix gives the eye a place to rest and keeps the final image from flattening out.
On a city walk, think in pairs: a person under a hard sign line, a face over window grids, a skyline against tree branches.
Where black-and-white helps most
Monochrome makes the rule easier to follow because tone takes priority over color. Overlap is faster to judge when both images share the same palette. Composition studies in visual art often point to contrast and balance as central to image clarity. In practice, that means fewer competing colors and more attention on shape.
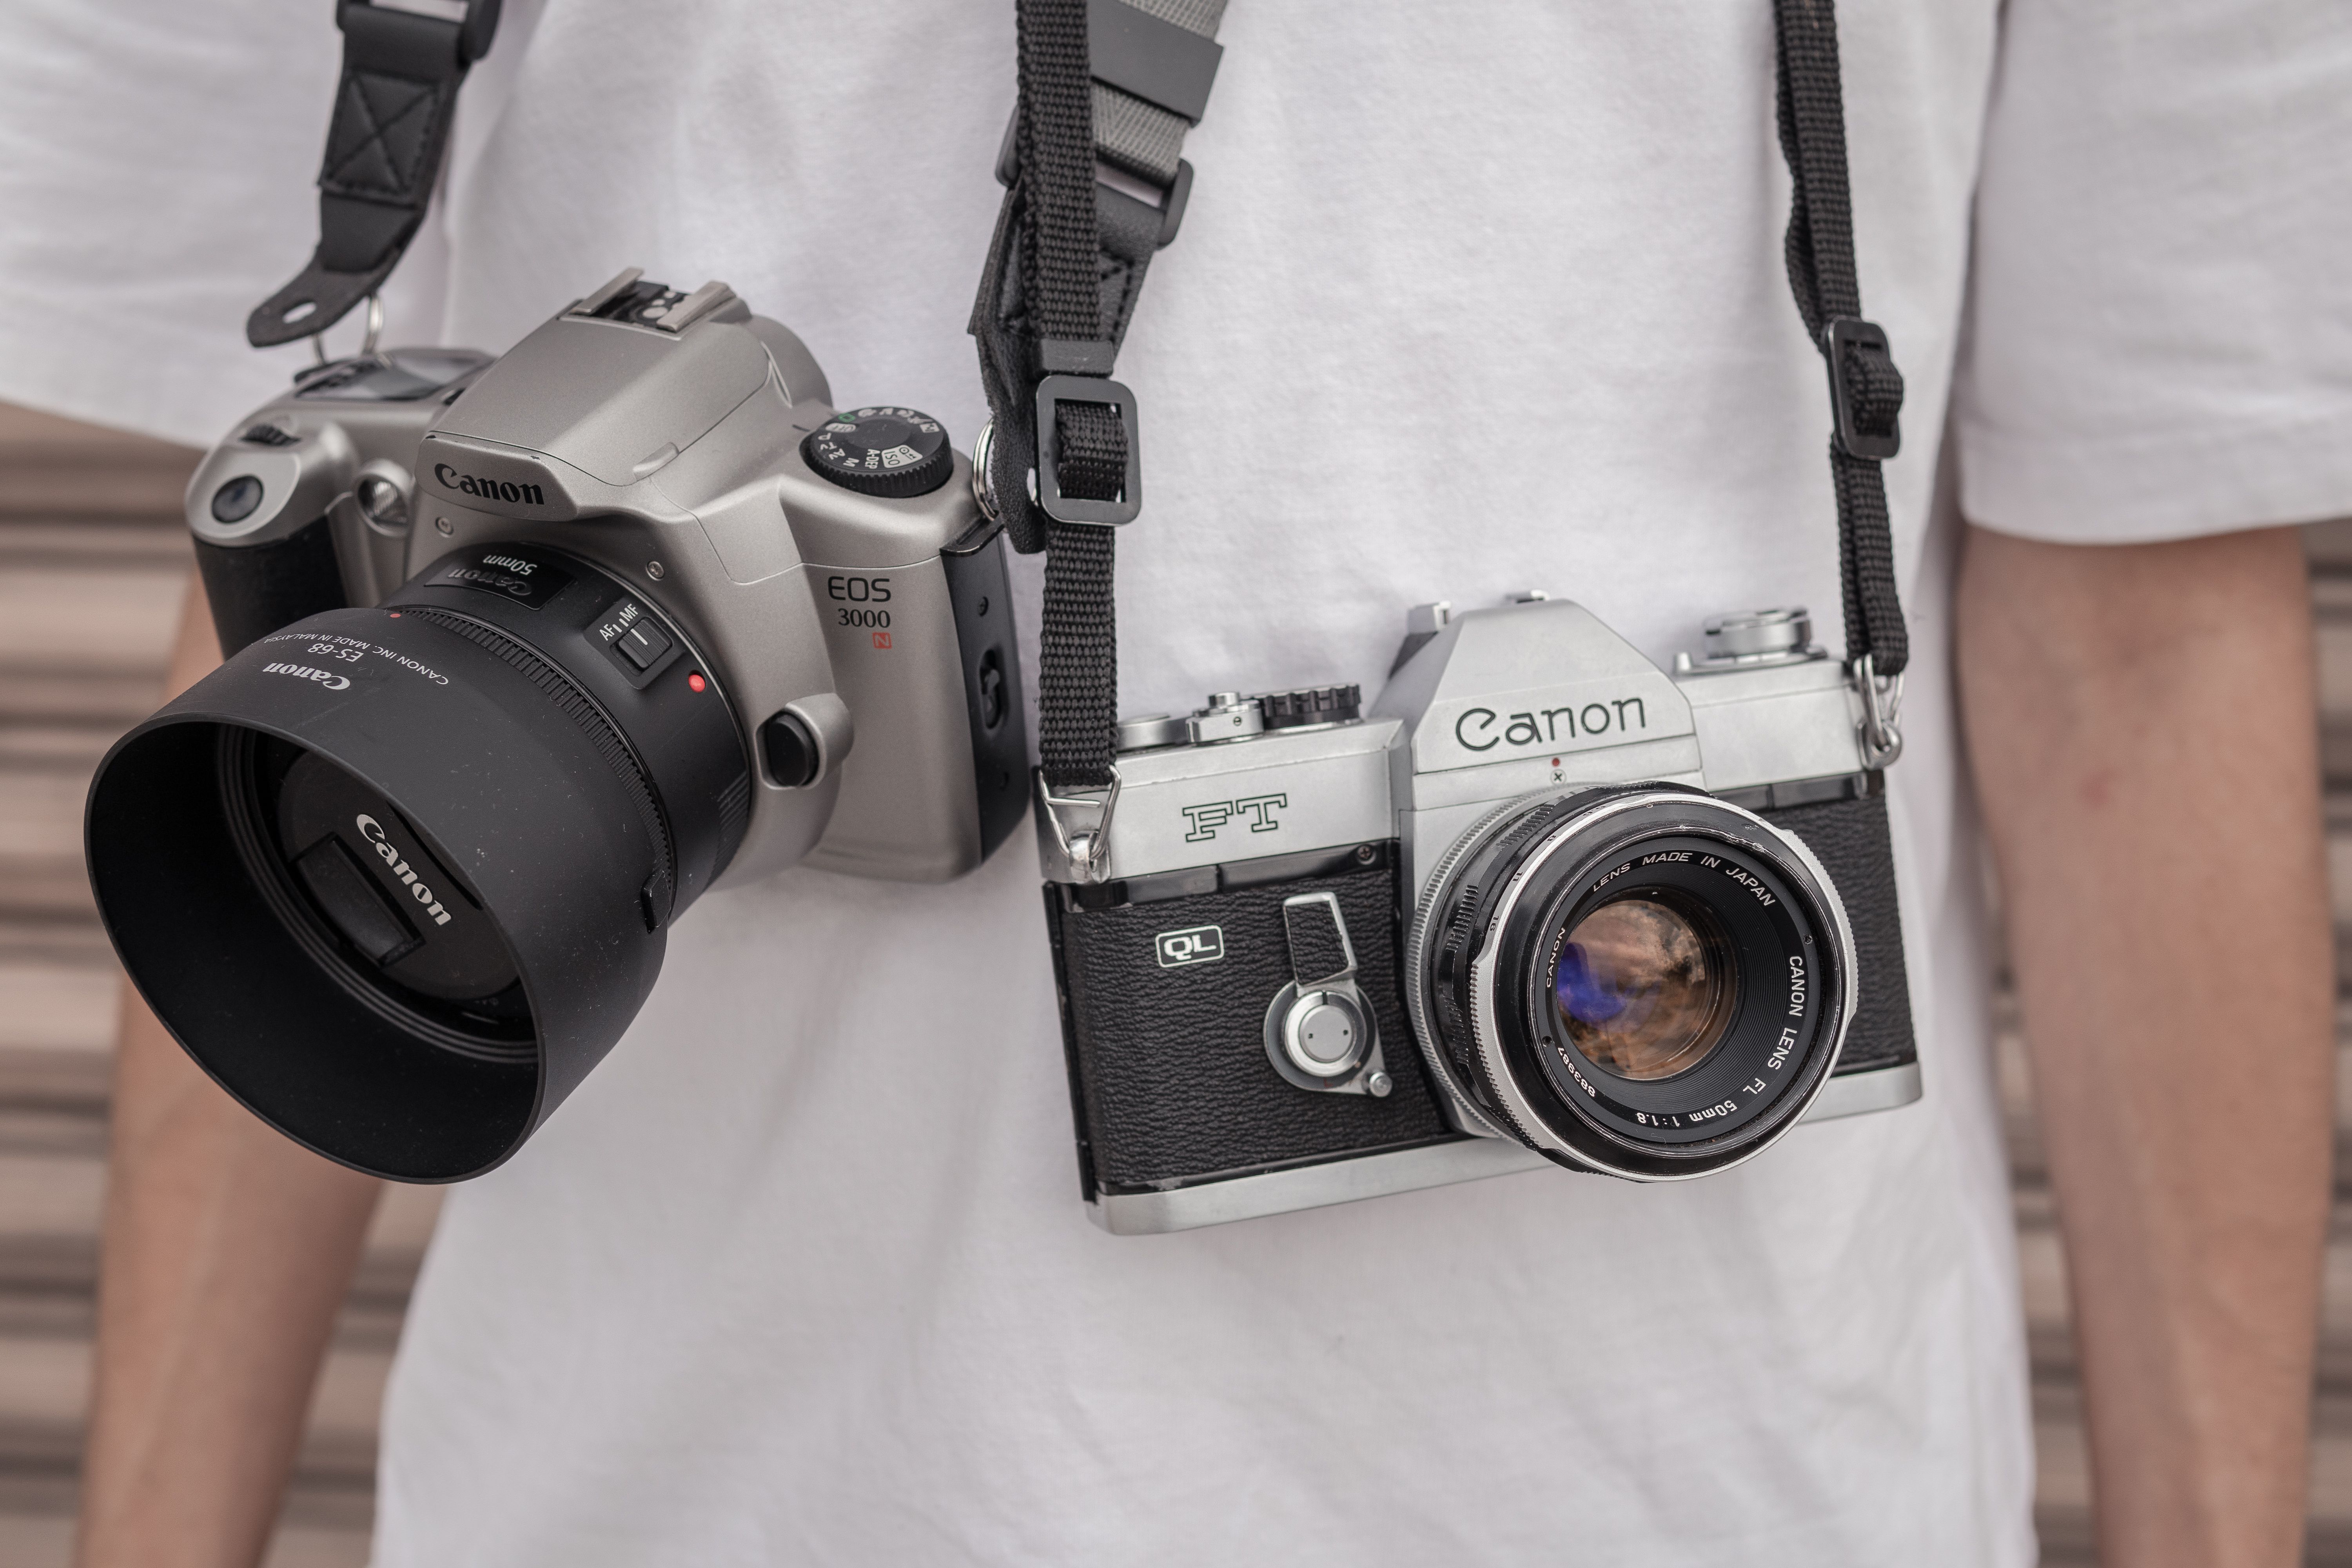
Keeping the second frame a little simpler than the first helps a lot. The final blend feels deliberate instead of crowded.
What ISO works best for double exposure?
Usually, the best ISO is the lowest setting that still gives you the shutter speed you need. In daylight, that often lands between ISO 100 and 400.
Low ISO keeps detail cleaner, and the blend can make noise stand out more quickly. Two stacked frames often show grain faster than one ordinary shot.
Use ISO as a control, not a default
On a bright street, I usually stay at ISO 100 or 200. In shade or under awnings, ISO 400 is a sensible step before the file starts to soften. As the scene darkens, raise ISO only as far as the moment demands. Many cameras still look fine at ISO 800 for web use, though the extra noise can weaken thin lines and text.

A clean file leaves more room for editing too. Lifting shadows or adding a mild contrast curve becomes easier later.
Noise can ruin the blend
City night work can tempt you to push ISO high. The second frame can stack noise on top of noise, and the final image takes the hit.
If you need to shoot higher, keep the subject simple. Strong silhouettes hide noise better than soft midtones.
Recent camera tests from major review labs show the same pattern: files stay cleaner at base ISO, and shadow recovery gets rougher as ISO climbs. The low end still gives the best starting point.
Can you do double exposure on an iPhone?
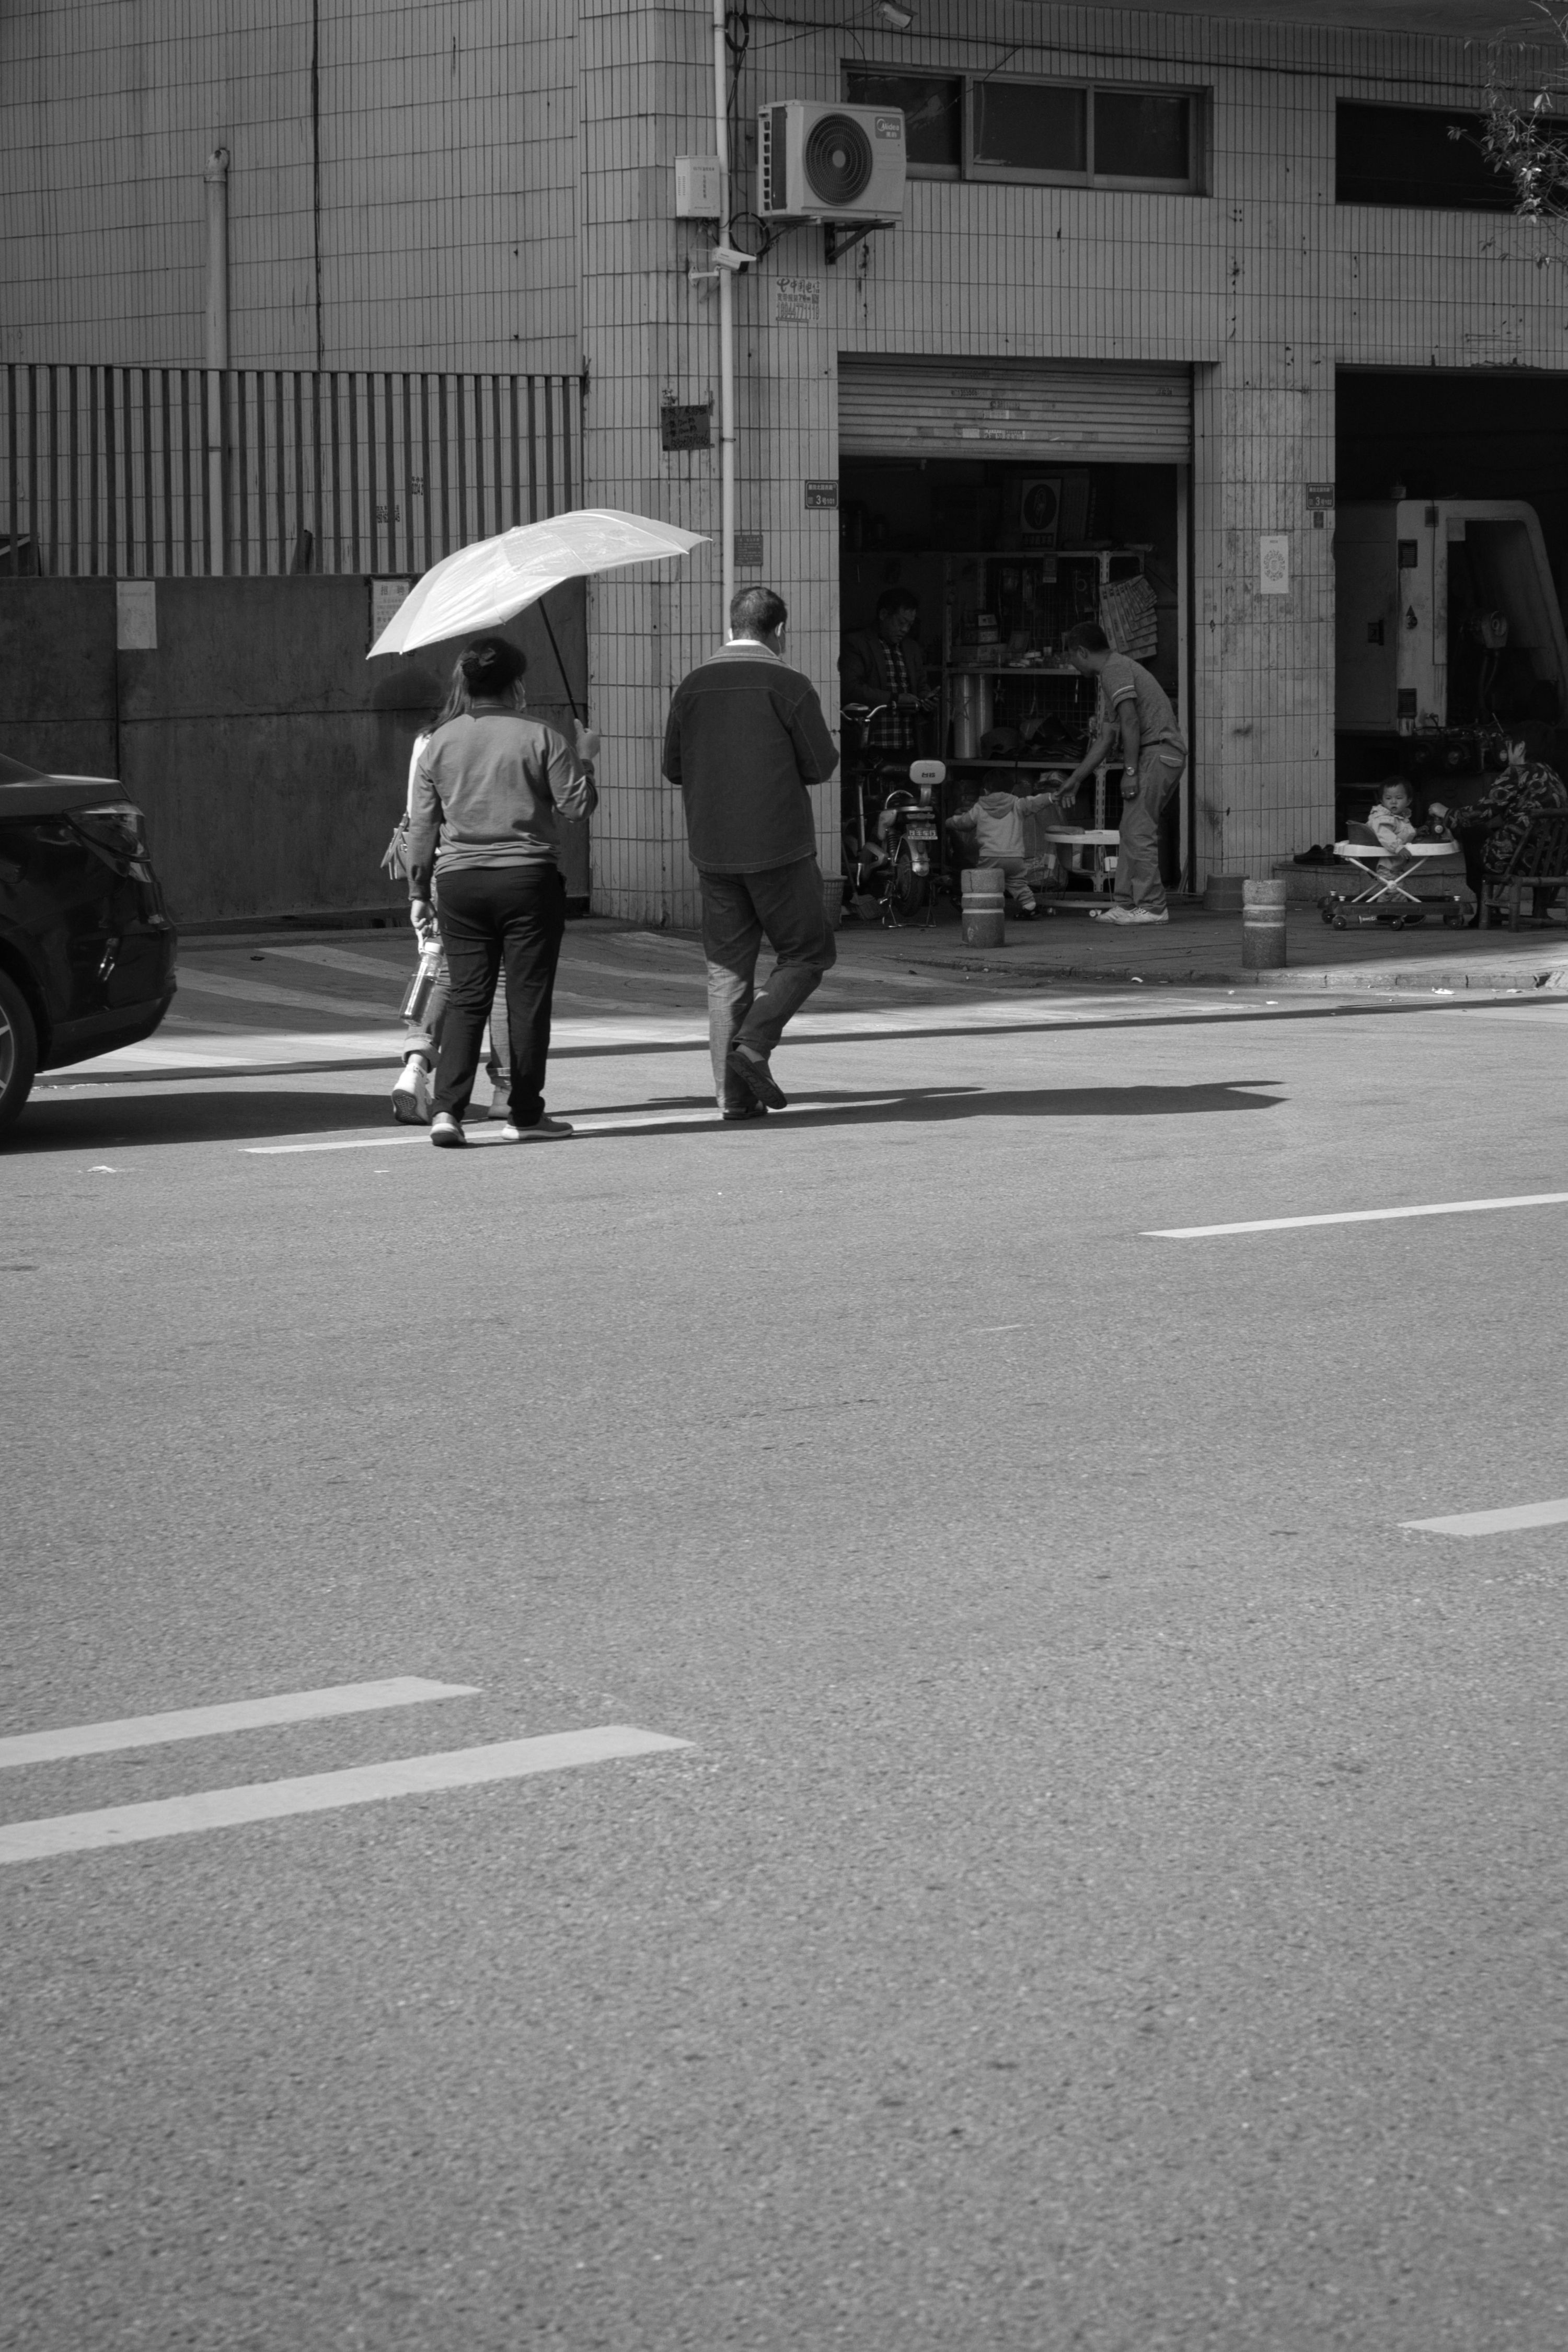
An iPhone can handle double exposure photography through editing apps and a few built-in creative tools. The easiest route is to shoot one clean frame and blend a second image in an editor. The phone makes the process easier than many people expect. Its screen is bright, the preview is quick, and the editing tools are simple to use on the move.
What works well on phone
Use a simple portrait or skyline as the base layer. Then add a texture shot such as branches, brick, or reflections.
Many mobile editors let you lower opacity, mask parts of the top layer, or use blend modes. Those tools are enough for most street-style mixes.
- Use a clean base frame with a strong edge.
- Keep the second frame flat and simple.
- Turn down opacity until both layers still read well.
- Crop for shape after the blend looks balanced.
Limits to watch on mobile
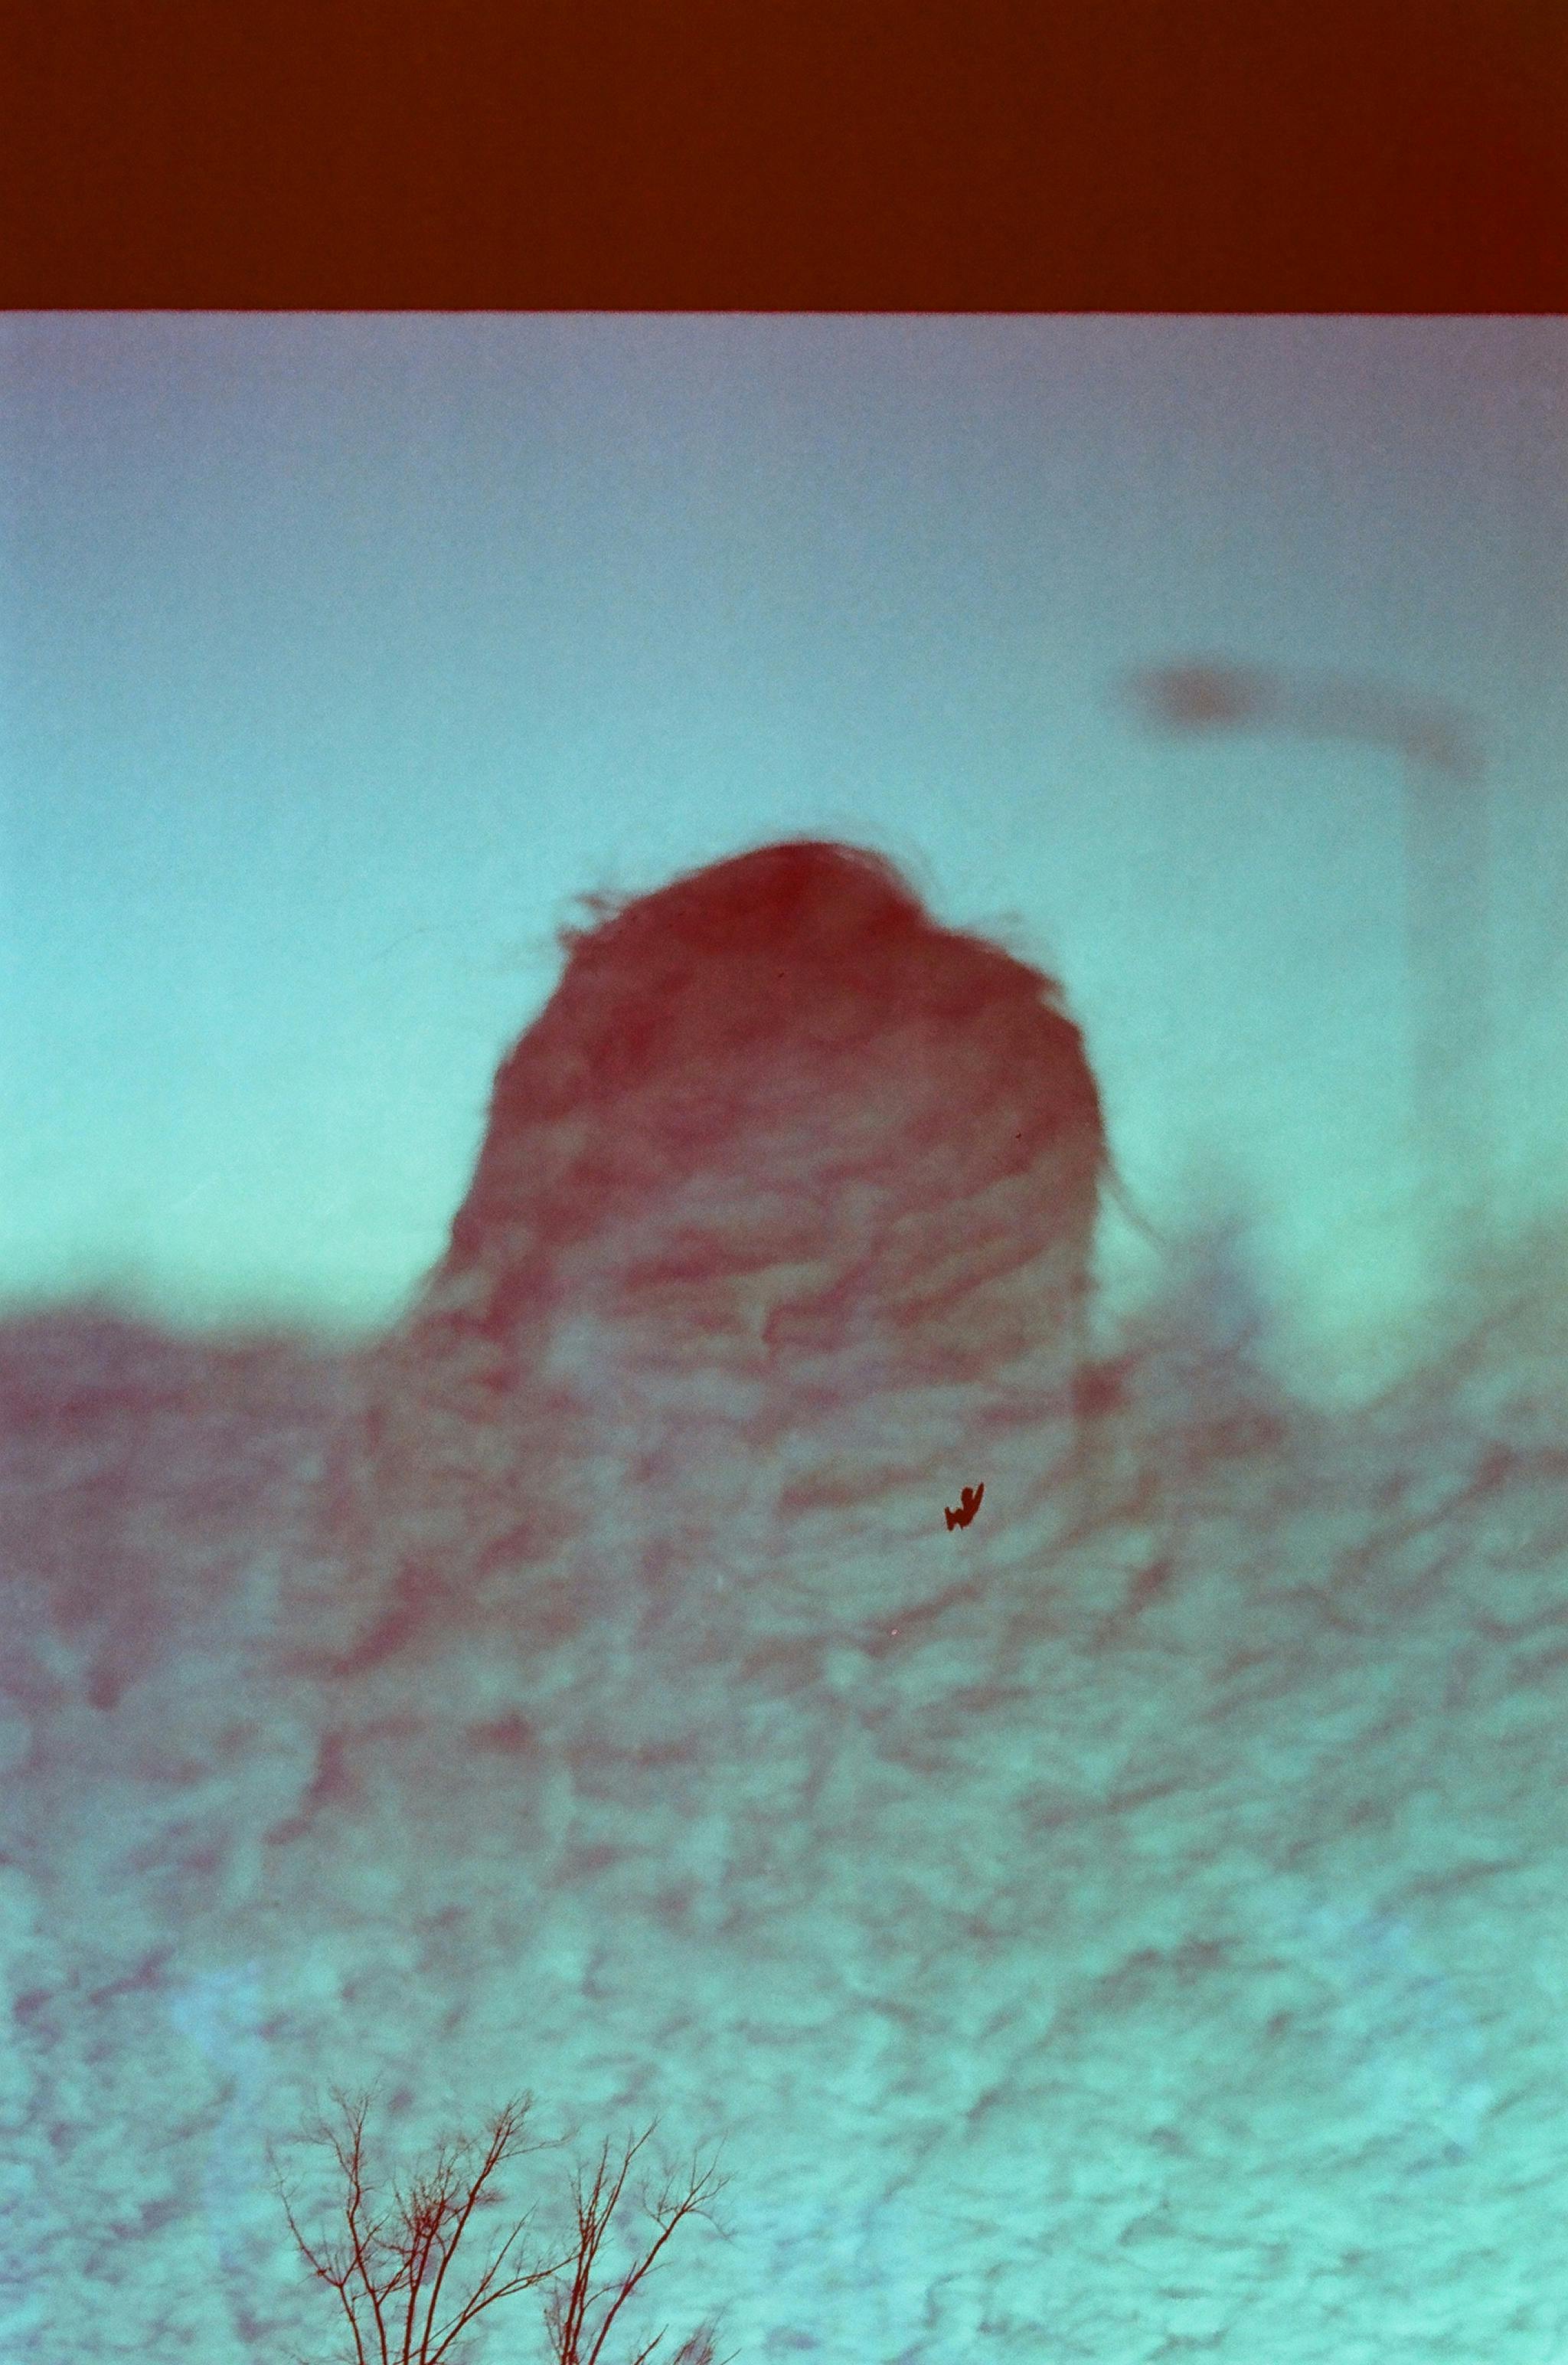
The main limit is control. A phone can make the effect, but it offers less reach for exact focus, precise blur, and fine tone work. Still, the iPhone works well for testing ideas during the walk itself. You can judge the blend before you leave the block.
If a polished file comes later, the phone still helps as a scouting tool. It shows which walls, windows, and shadows deserve a full camera shot.
Why a hands-free setup changes the walk
A hands-free strap keeps the camera ready for fast black-and-white moments between crossings, cafés, and side streets. City frames often last only a few seconds, and a ready camera makes those seconds count.
It lowers the friction between seeing and shooting. When the camera hangs well, you raise it sooner and miss less.
Small gear choices, real field value
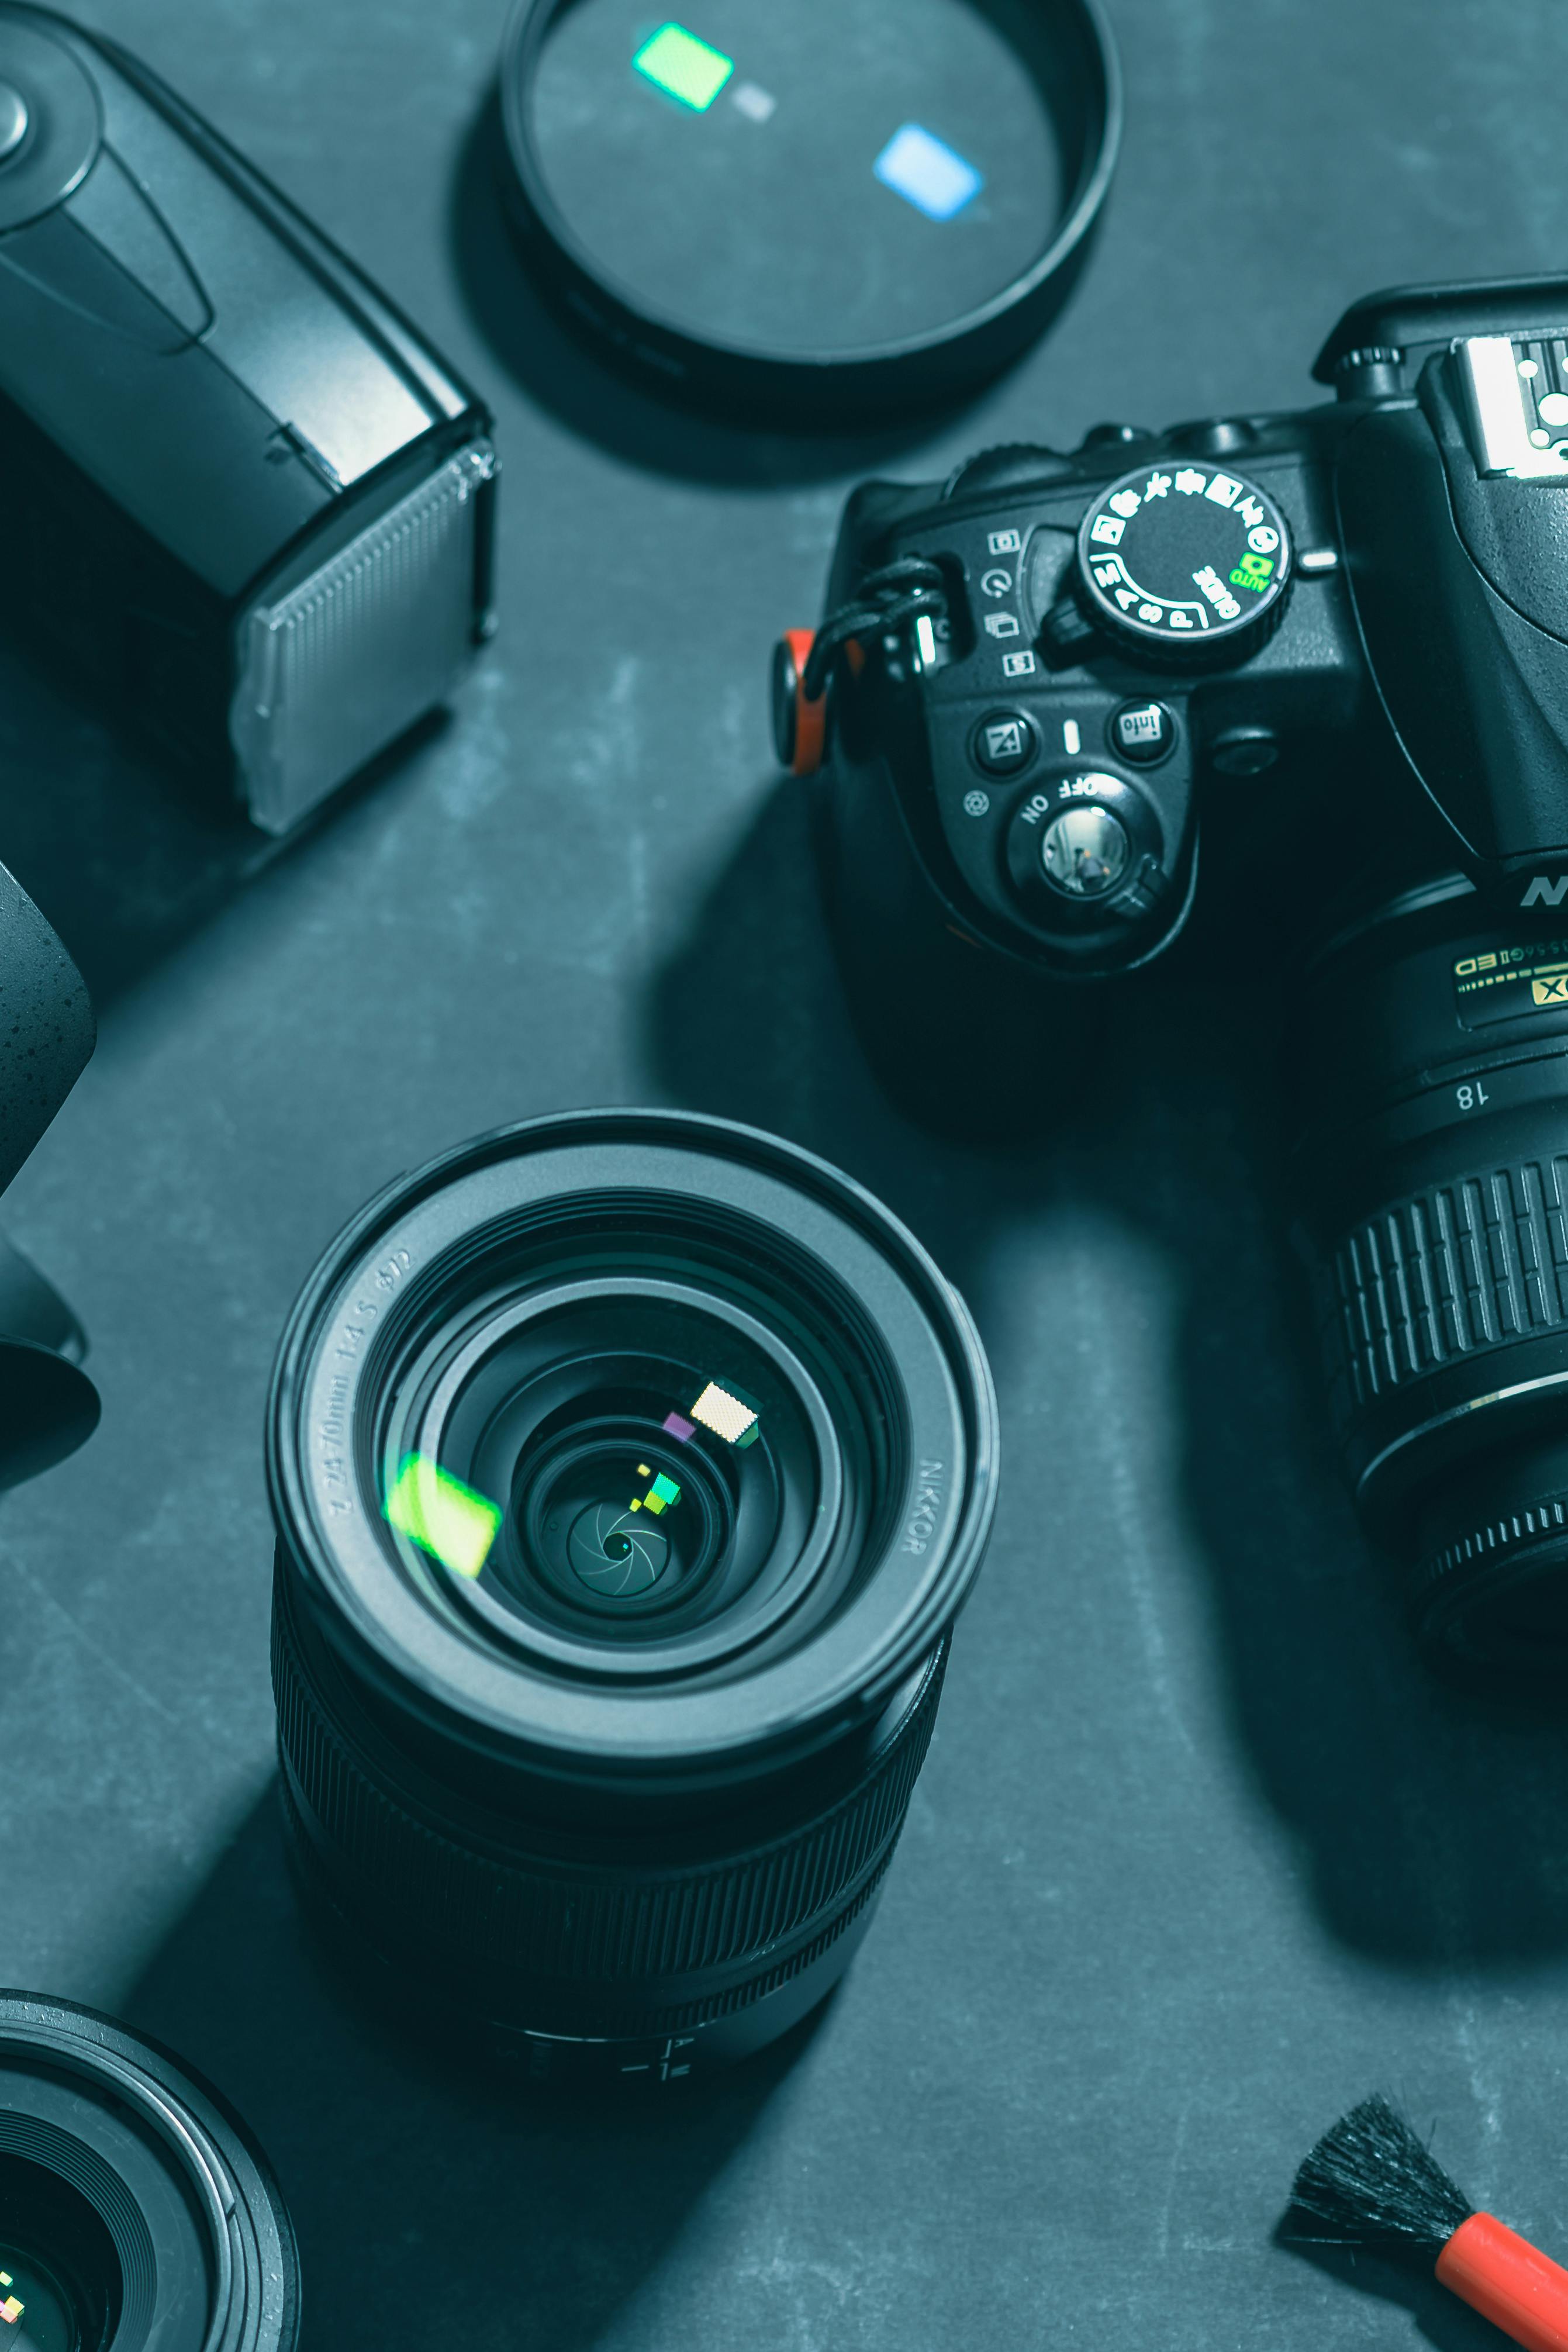
A strap with a load-spreading fit helps on long walks by keeping the camera steady and out of the way. A design like the Camstrap voyager suits street work well, since it lets the camera hang ready without digging into the bag. This kind of setup pays off most when light changes quickly. You can move from a bright corner to a shaded passage and still have the camera close at hand.
The real gain is timing. A good carry setup gives you a better chance to catch the exact moment a shadow falls across a face or wall.
What helps the edit look clean later
Clean edits begin with simple files. Keep the first frame clear and the second frame useful, not crowded.
Back at the computer, I sort fast with pick and reject flags in Lightroom or Photo Mechanic. The best blends stay easy to find instead of getting buried in similar shots.
Tools that save time

For city walks, I prefer files that read well in small previews. A frame with a clean outline and one bold texture is faster to choose than a busy collage. Mid-tier mirrorless bodies now often deliver around 15 to 30 RAW frames before slowing in a short burst, depending on file size and card speed. A UHS-II V60 or V90 card clears that buffer faster than UHS-I, which helps if you make several quick attempts at the same scene.
Electronic shutters can reach 20 to 40 fps on some bodies, but they can also bring rolling-shutter skew and LED banding. For street blends, a quieter mechanical or first-curtain mode usually gives more reliable results.
Pre-capture or pre-burst features help when someone steps into the frame before you react. They save frames from just before the full press, which is useful in fast, unscripted scenes.
Why black-and-white still feels fresh
Black-and-white still works on a busy city walk because it turns clutter into structure. Light, shadow, and shape take priority over background noise. Double exposure photography fits street scenes for the same reason. The blend can hold motion, mood, and pattern in one frame without feeling forced.
Keep the subject simple, hold ISO low when you can, and let the city supply texture. Then watch for one clean shadow line at the next corner, because that may be the frame that makes the whole blend click.

Frequently Asked Questions
How to do double exposure in photography?
Double exposure photography is done by blending two frames into one image, either in camera or later in editing software. A strong first frame should have a clear outline, and the second frame should add tone or texture such as sky, shadows, brick, glass, or leaves.
What is the double exposure rule?
The double exposure rule is to start with a strong base image and a second frame that adds tone or texture without overwhelming the subject. A clean outline such as a face, profile, tree, or building edge helps the composite hold its shape.
What is the best ISO for double exposure?

The best ISO for double exposure depends on the light, not a single fixed value. City scenes may stay near ISO 100 or 200 in open sun and rise to about ISO 400 in shaded areas.
Can you do double exposure on an iPhone?
Double exposure can be done on an iPhone by combining two images in a photo-editing app that supports layers or blend modes. Lighten, Screen, or a soft mask blend can create the effect.


