
When you shoot on the road in 2025, you want images that pop. This guide shows how to make high-contrast travel photos with bold color grading.

We cover gear, settings, shooting tips, and grading steps. You will learn how to shoot under hard light and how to grade for strong color.
Camstrap is a brand committed to revolutionizing the way photographers and adventurers carry their cameras. They blend function and style to make straps that feel secure and look good.
Whether you shoot with a Fujifilm X-S10 or a Sony A1, this guide helps you. It suits travel enthusiasts, outdoor adventure photographers, and amateur photographers.
Plan Your Shoot: How to pick gear, locations, and presets
Good shoots start with a clear plan. Scout places where light and color meet to make strong photos.
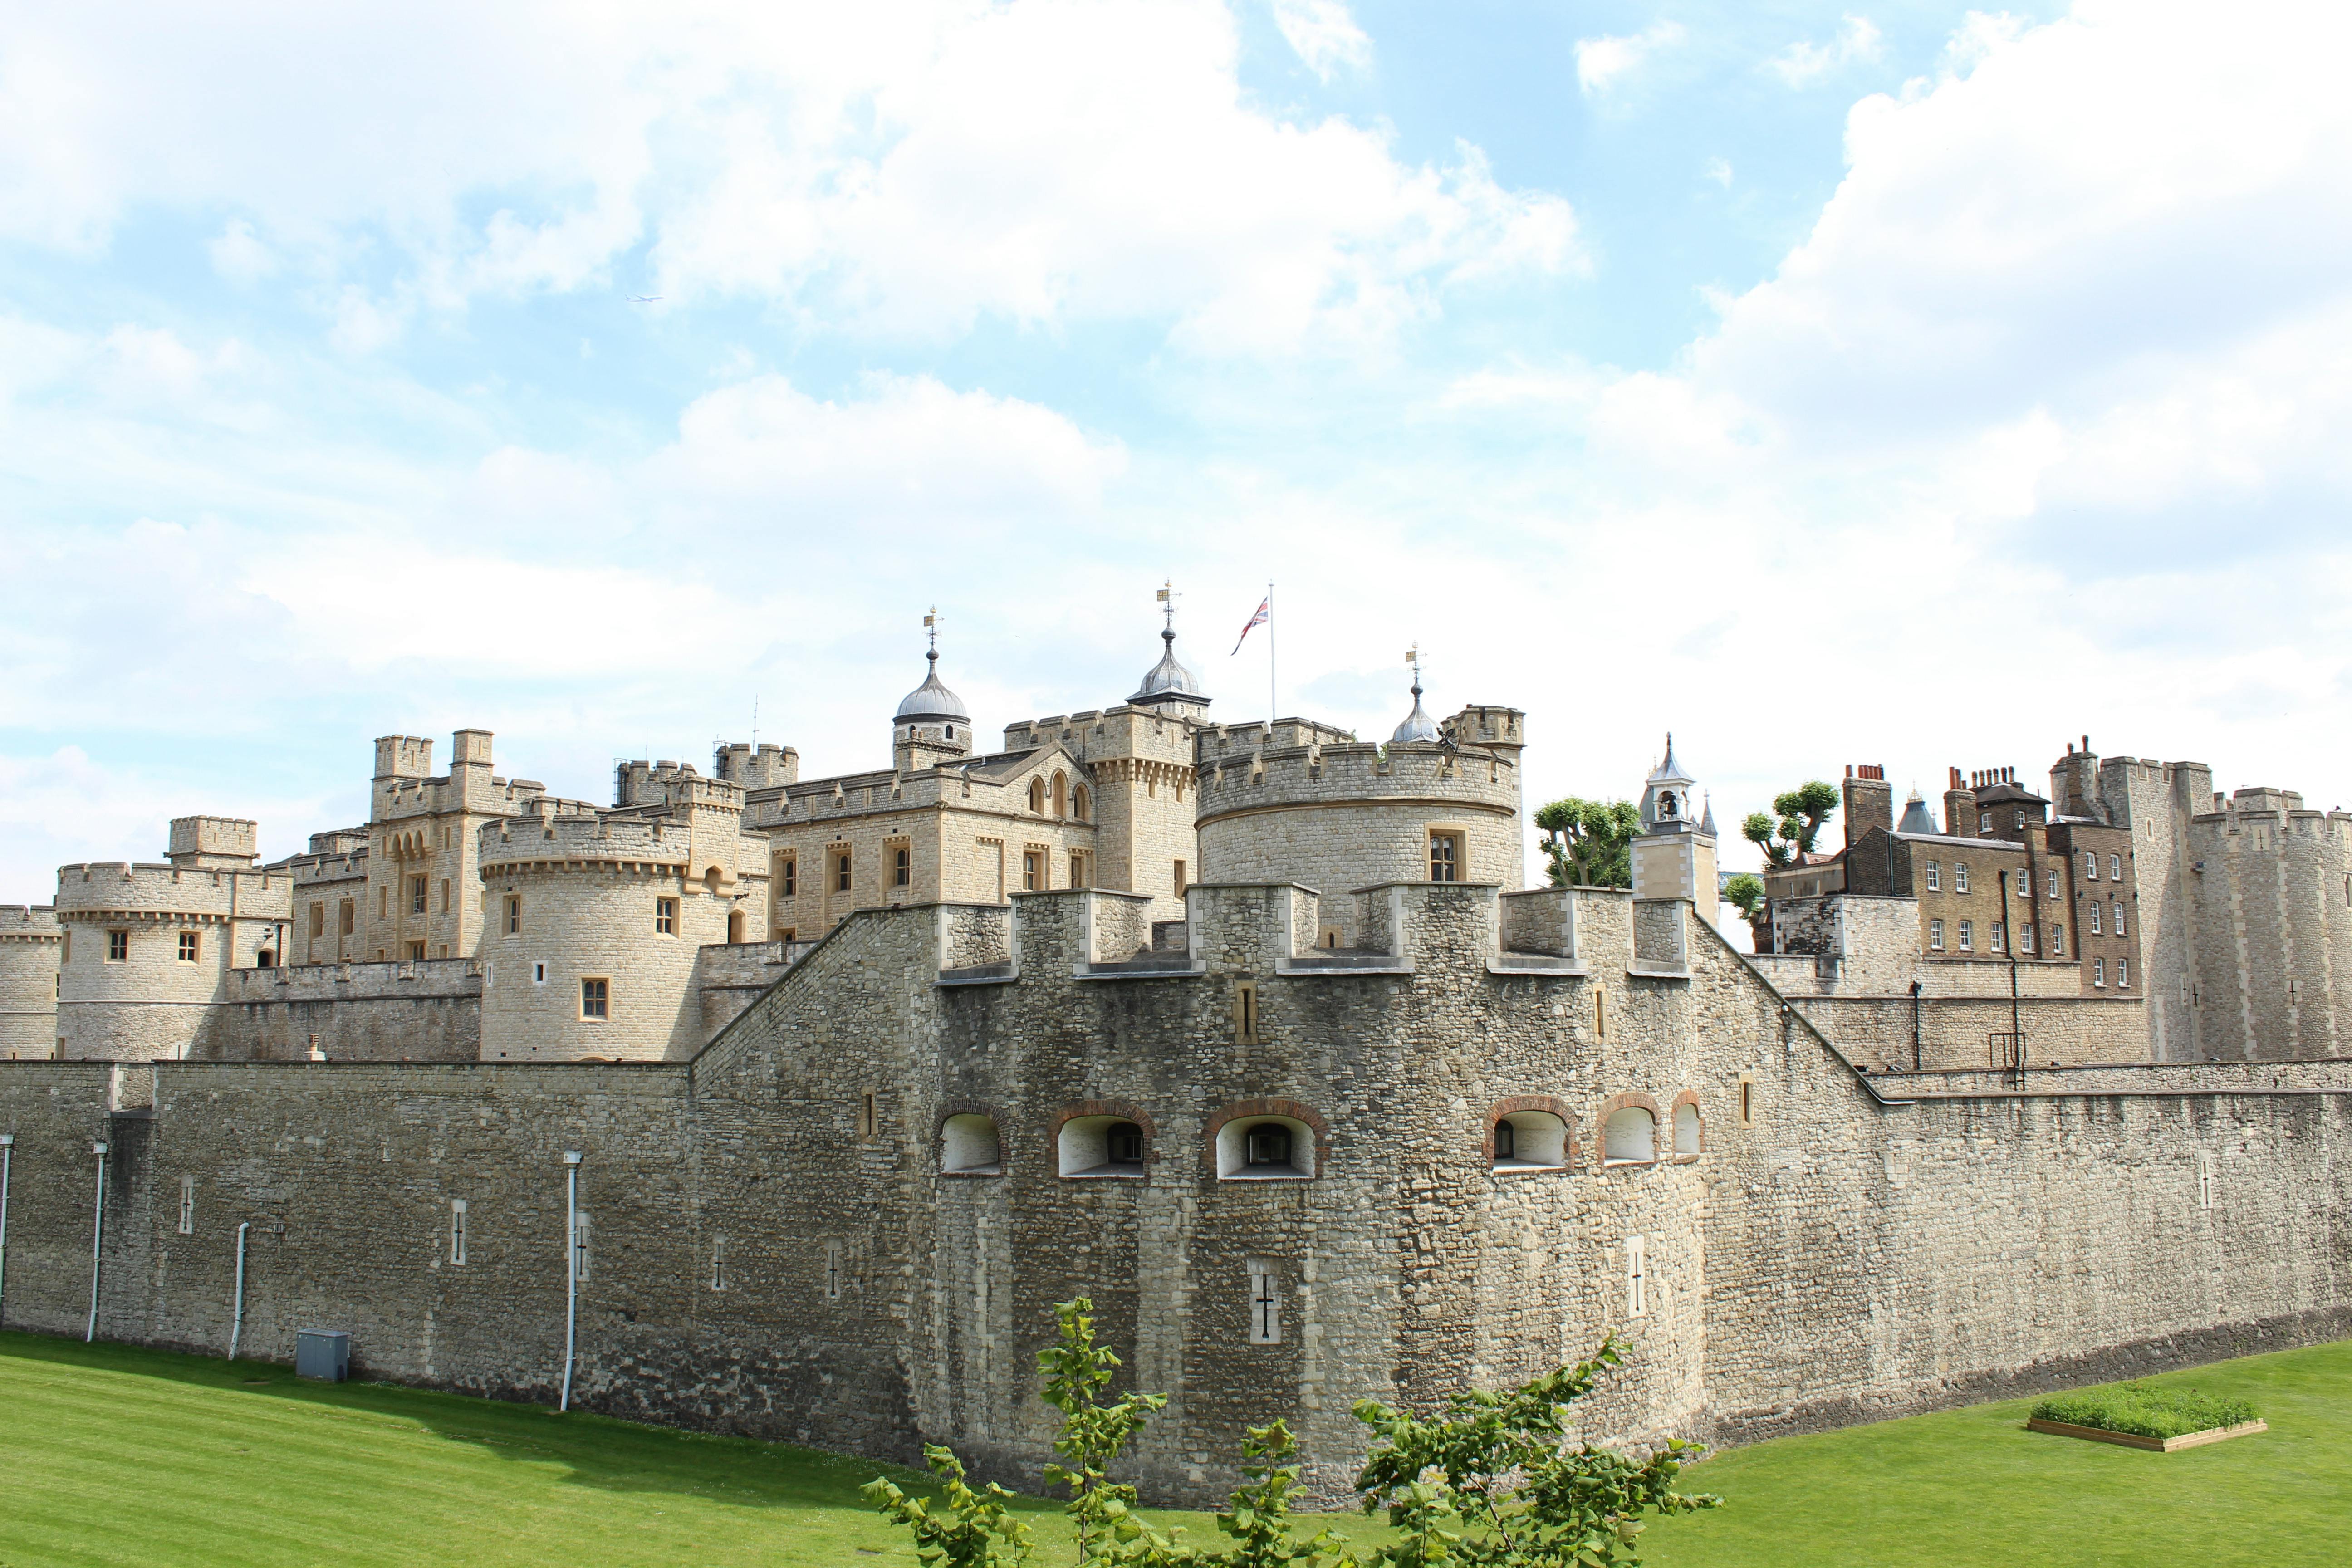
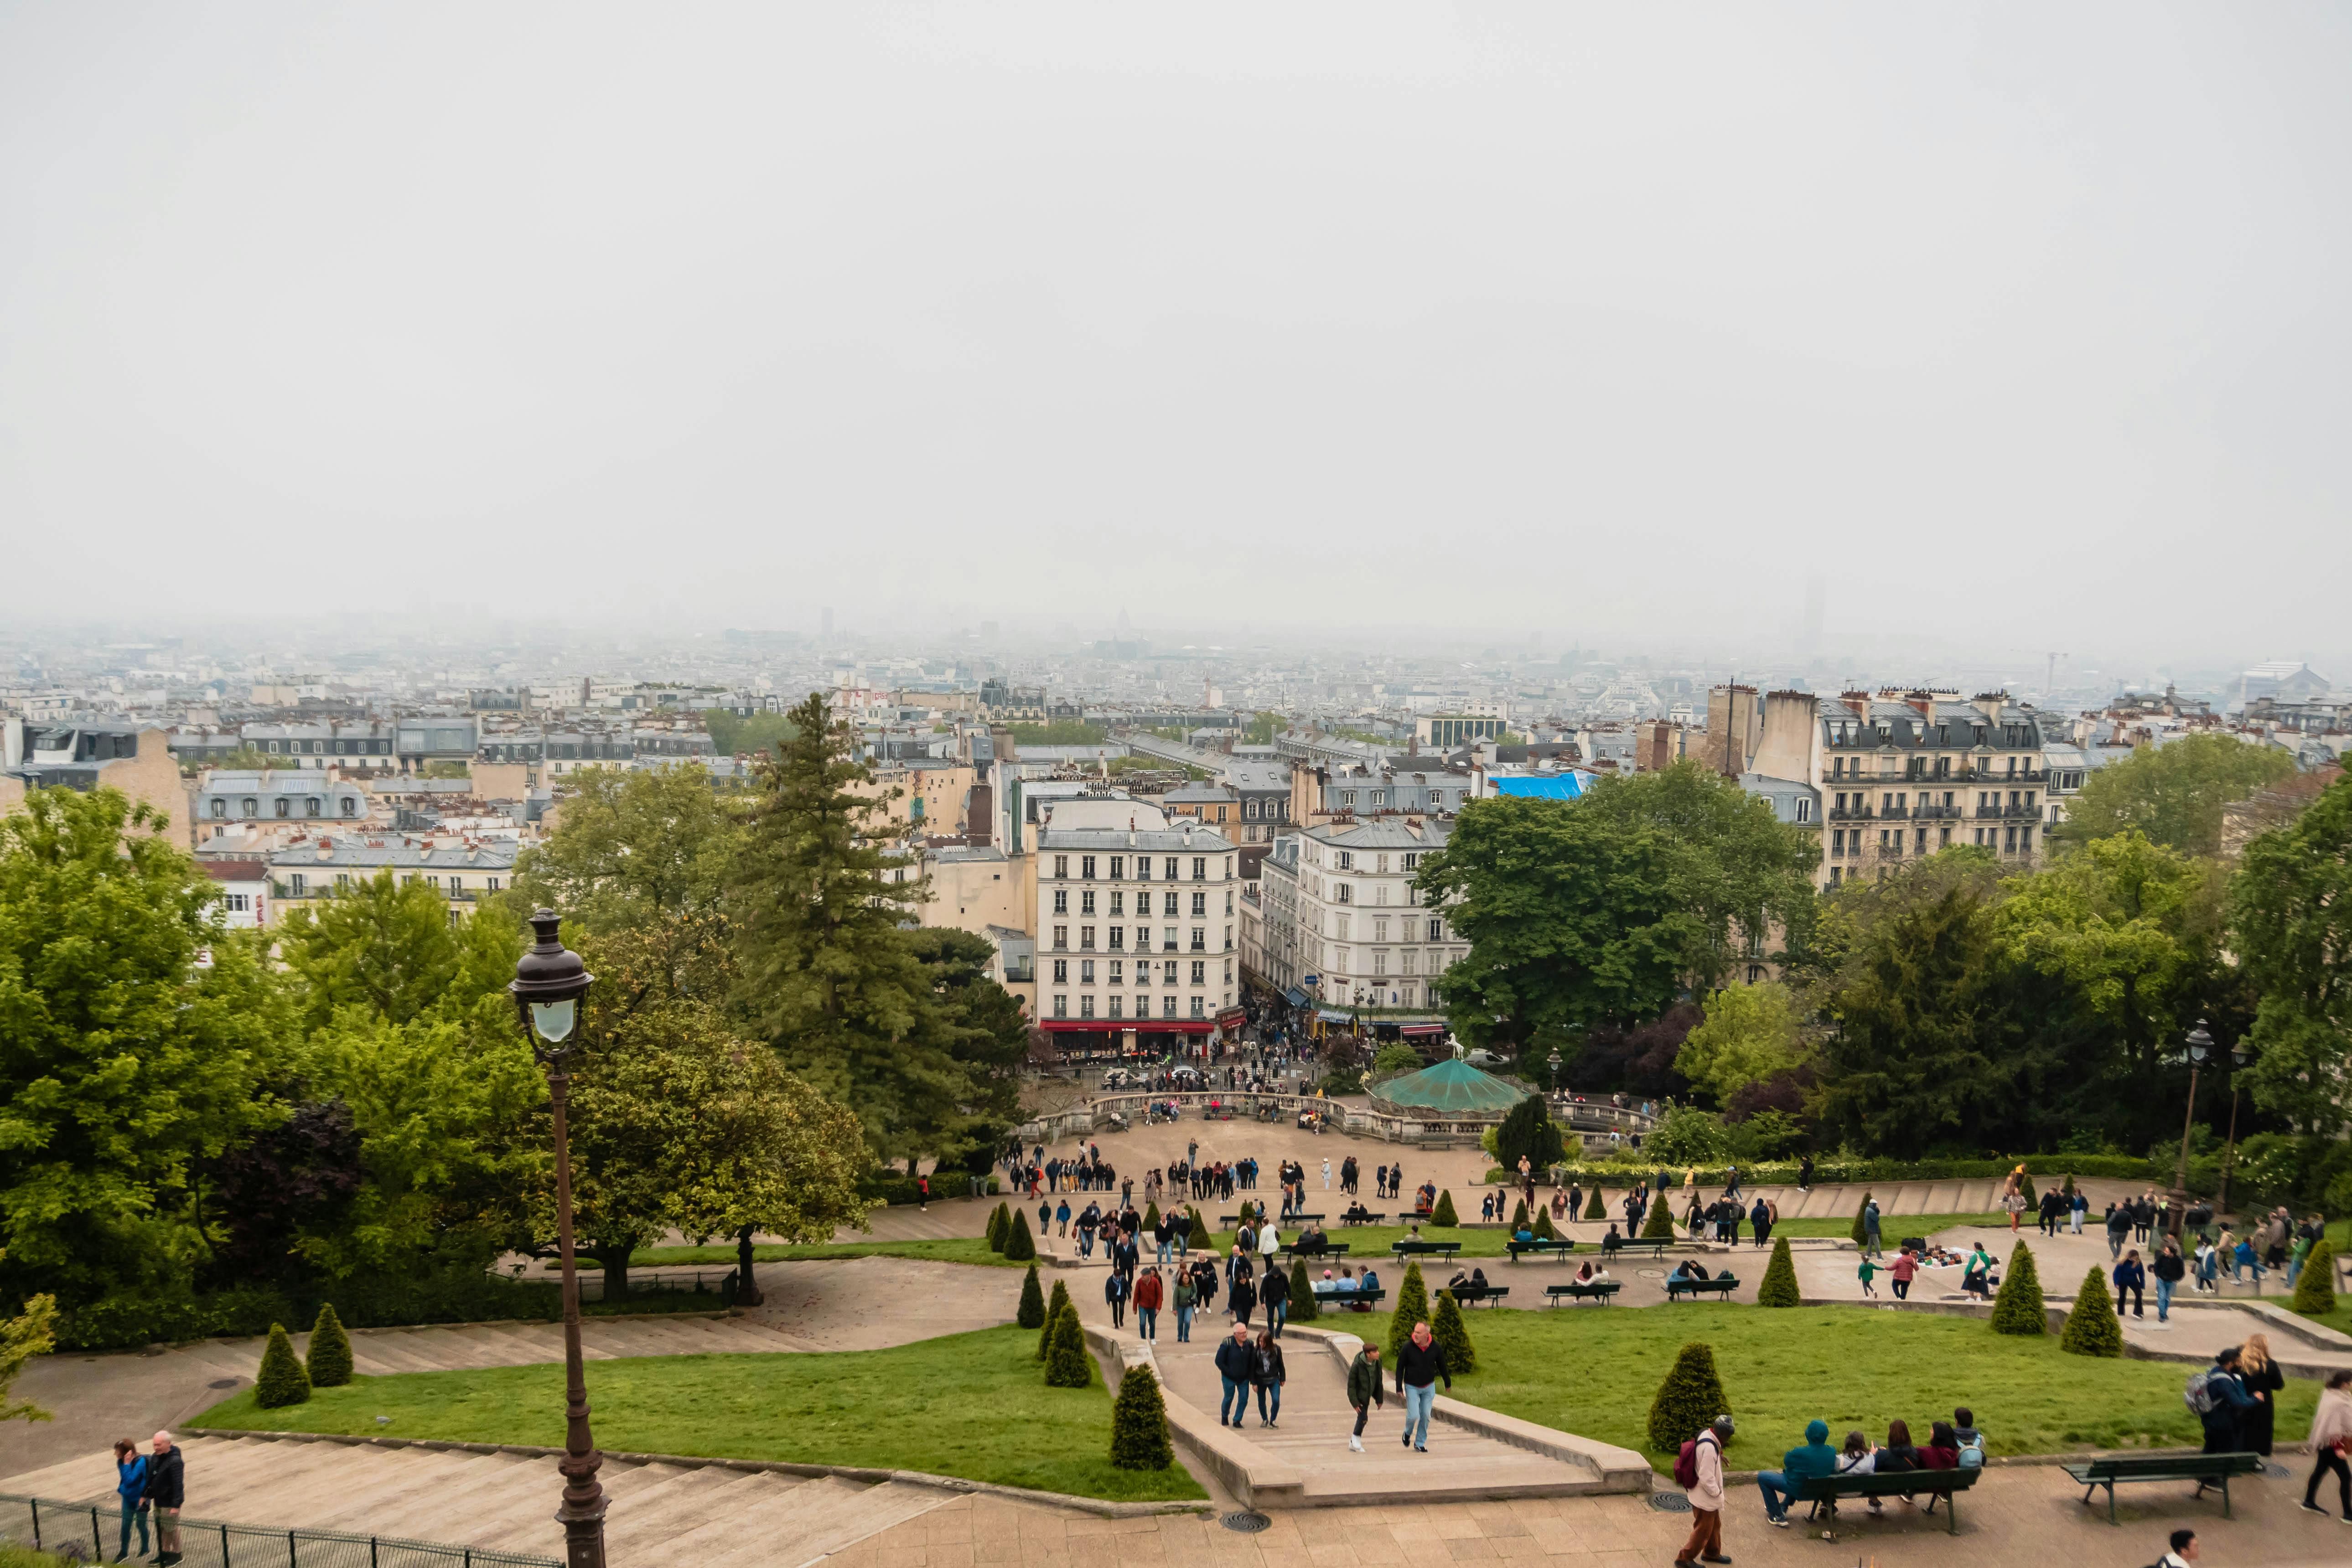
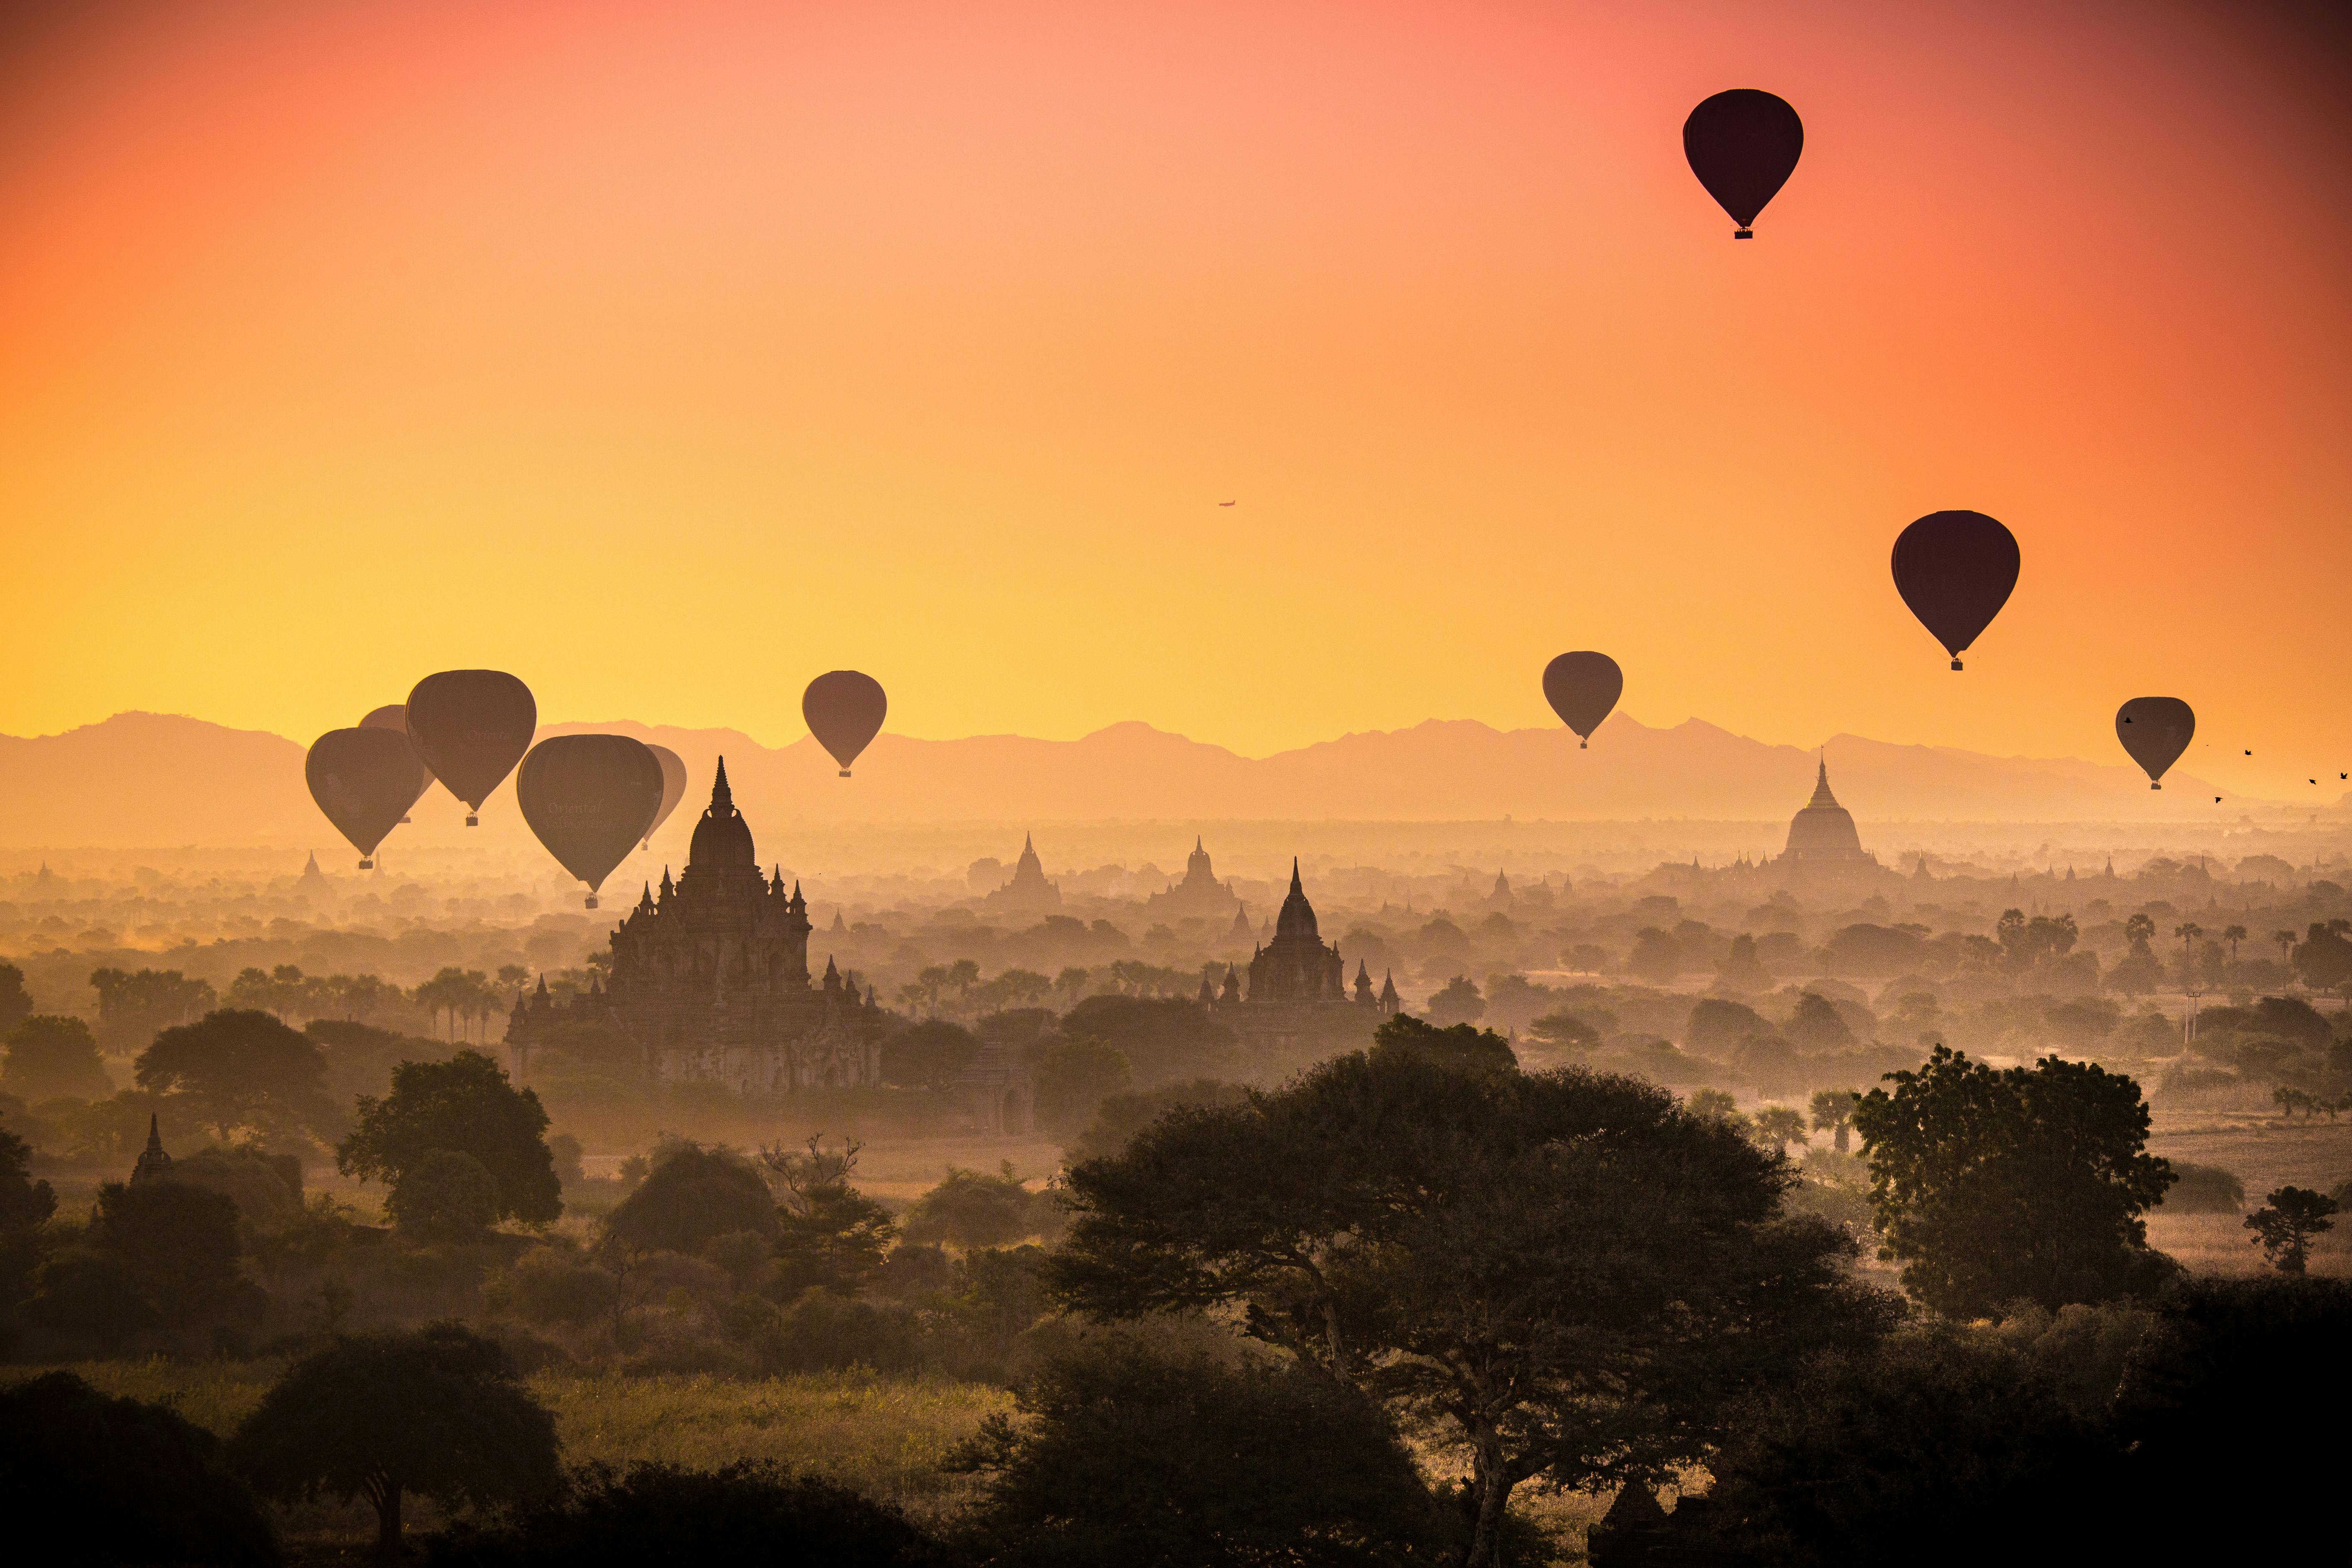
Look for spots in Budapest, Scotland, Osaka, or Paris. Also scout markets and temples in Myanmar for bold color and contrast.

Gear Picks for Travel Shoots
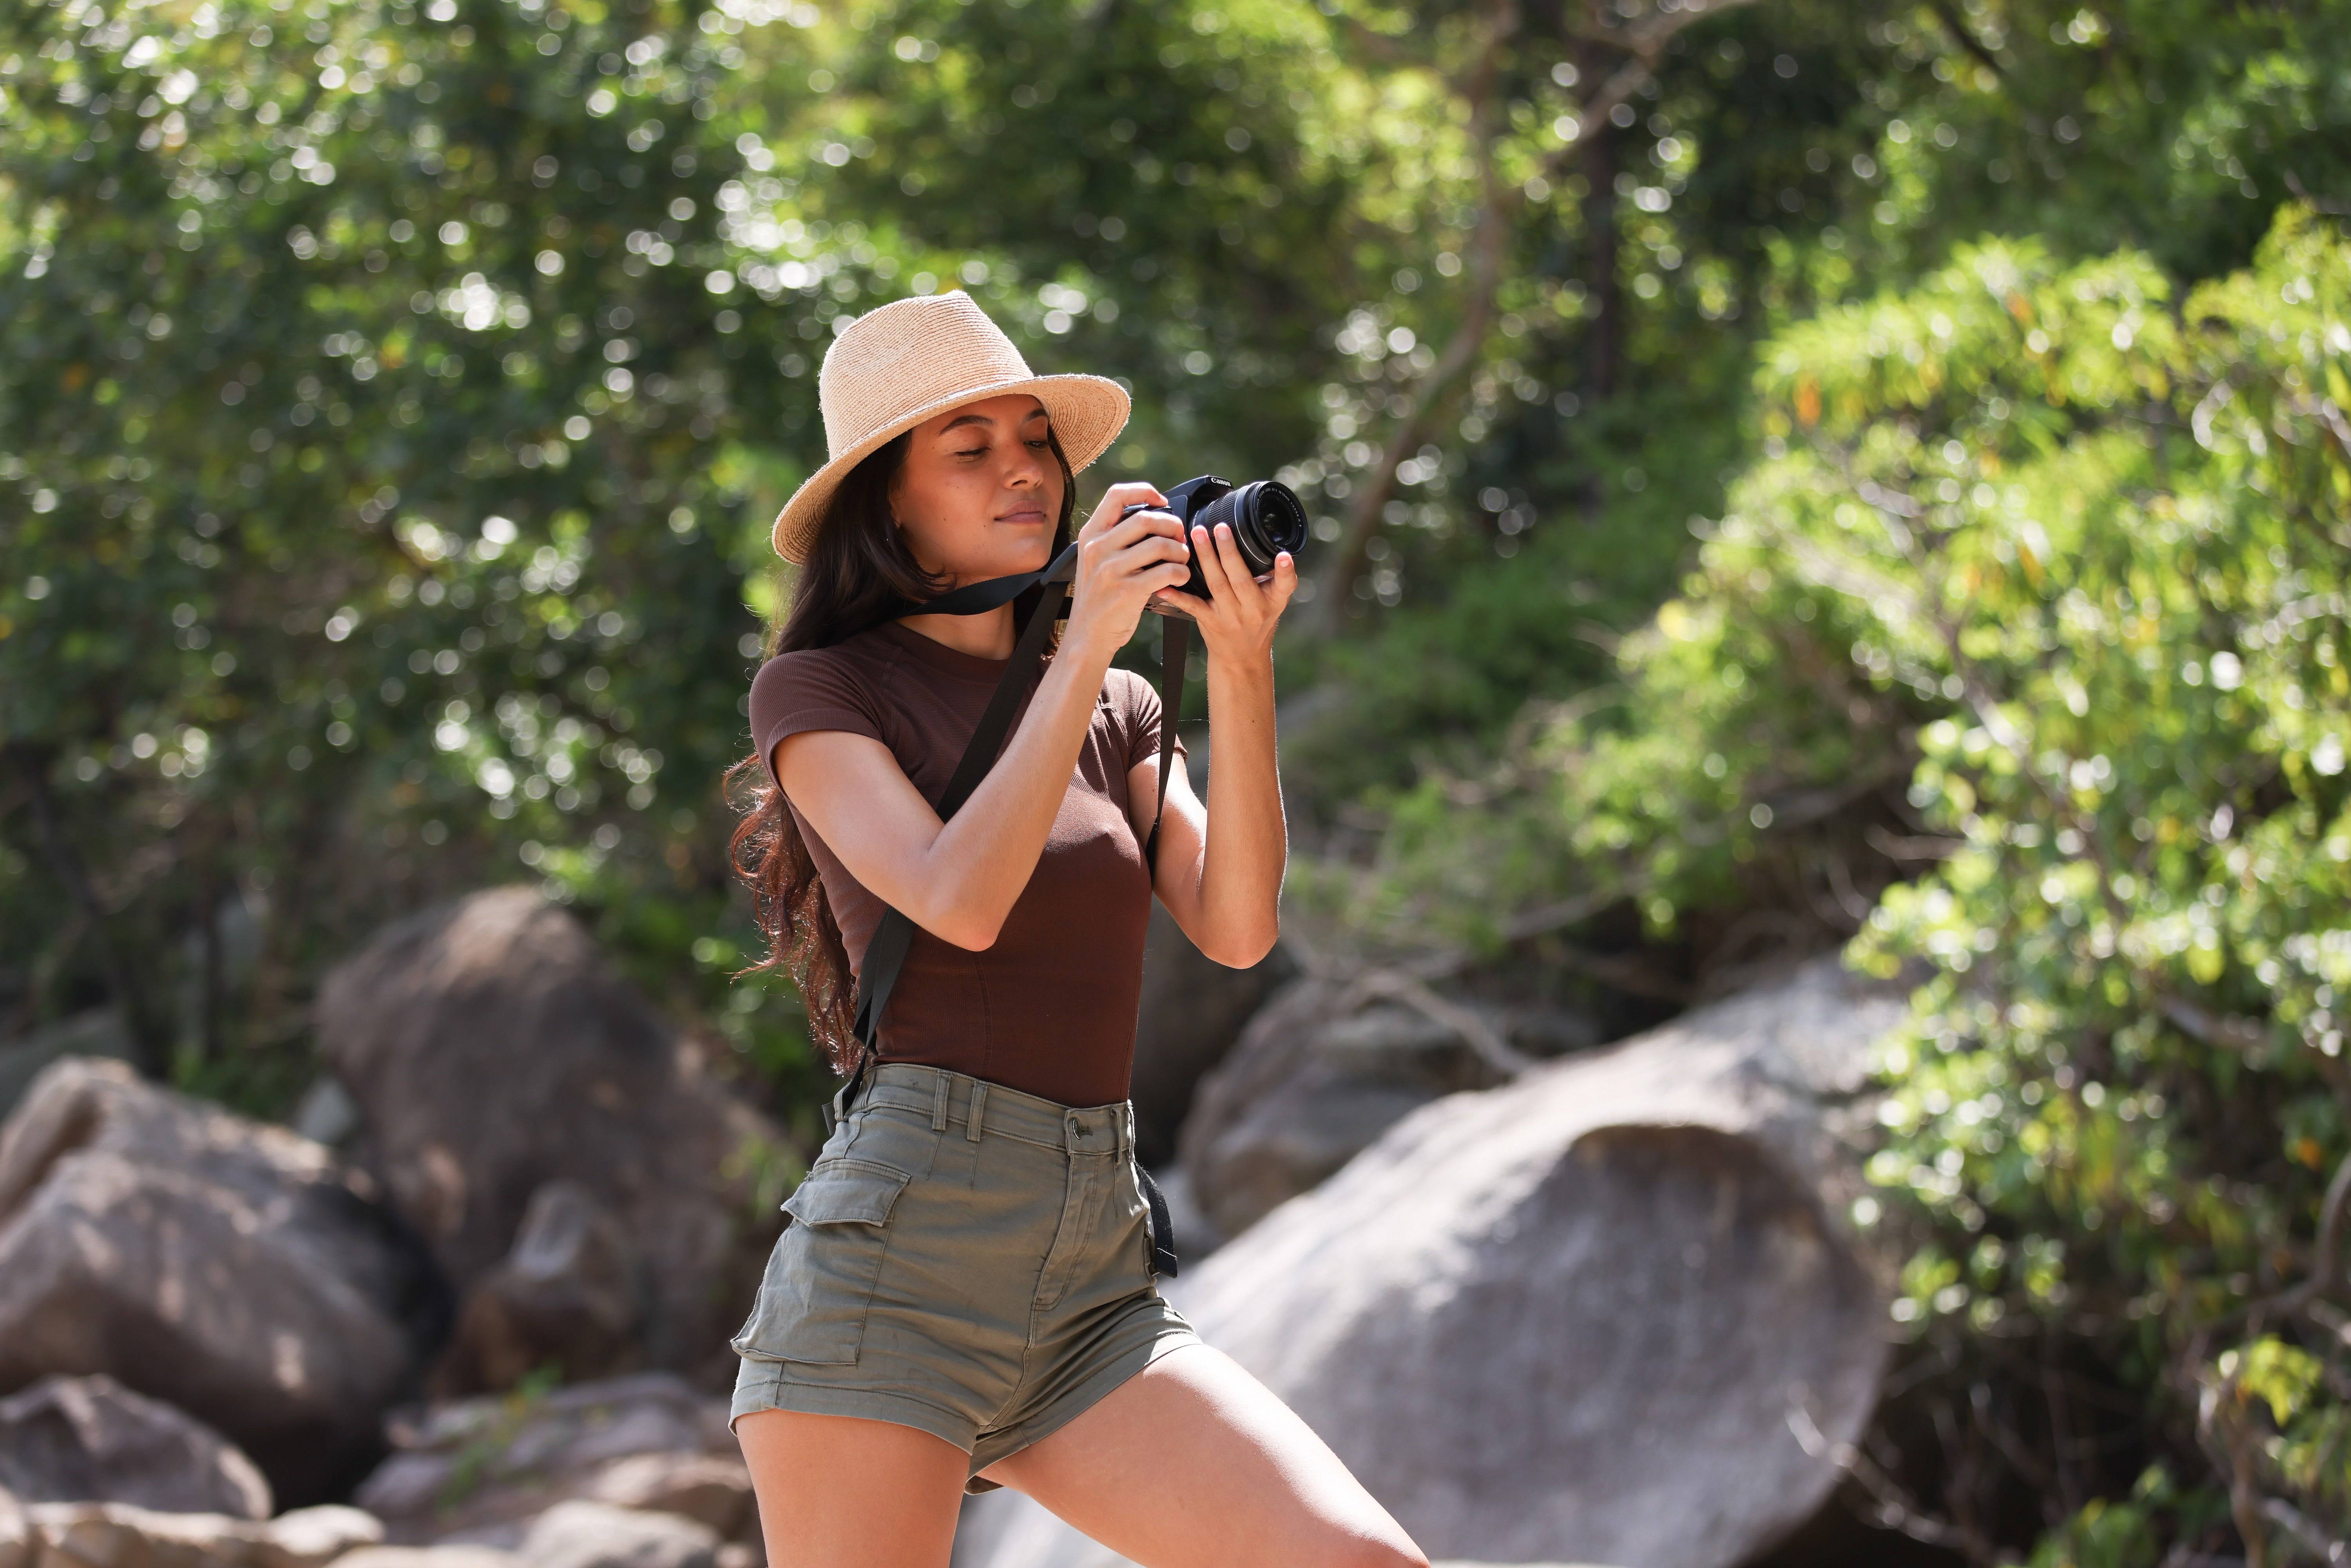
Bring a compact kit so you can move fast and shoot all day. Carry one zoom and one prime for flexibility and sharp detail.
Use bodies like the Fujifilm X-S10 or the Sony A1 for fast performance and clean files. Consider Phase One or Pentax medium format options for fine detail when you need high resolution.
Choose lenses such as a Tokina wide for landscapes and a Leica prime for warm color and crisp portraits.
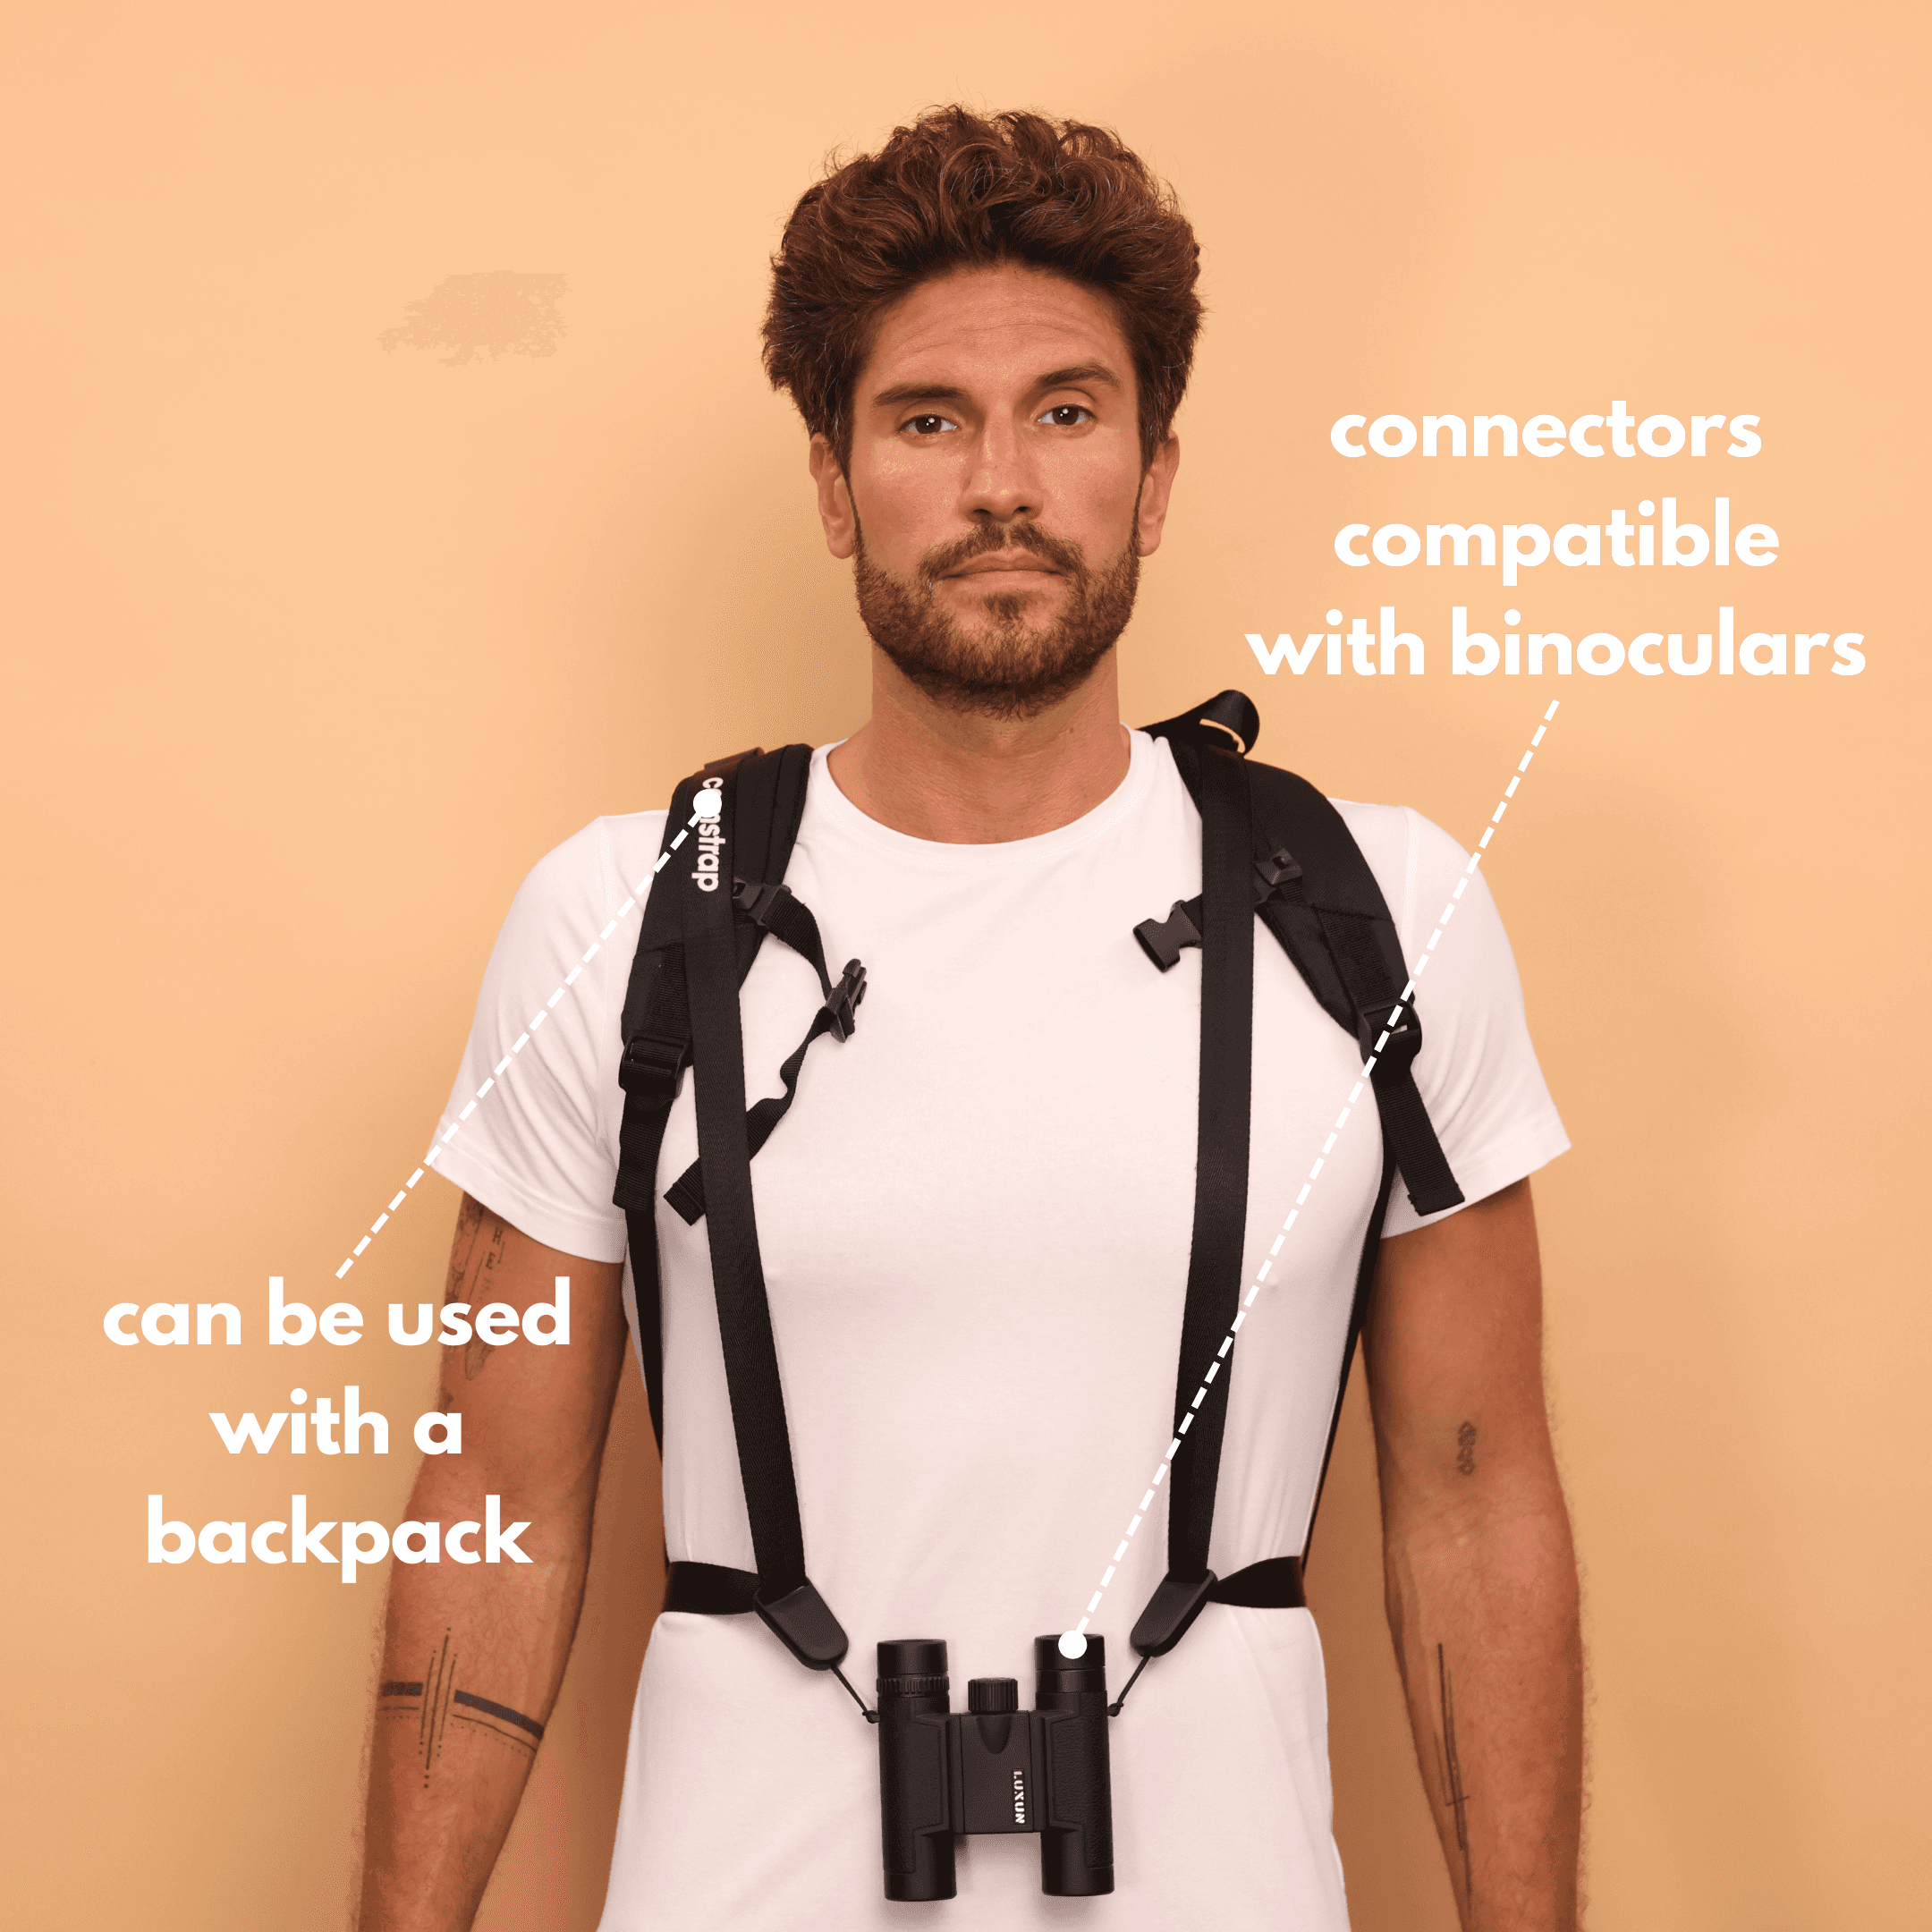
Choose Straps That Work All Day
Pick a strap that gives comfort and quick access to your camera. Camstrap Voyager fits long days well and feels balanced on the shoulder.
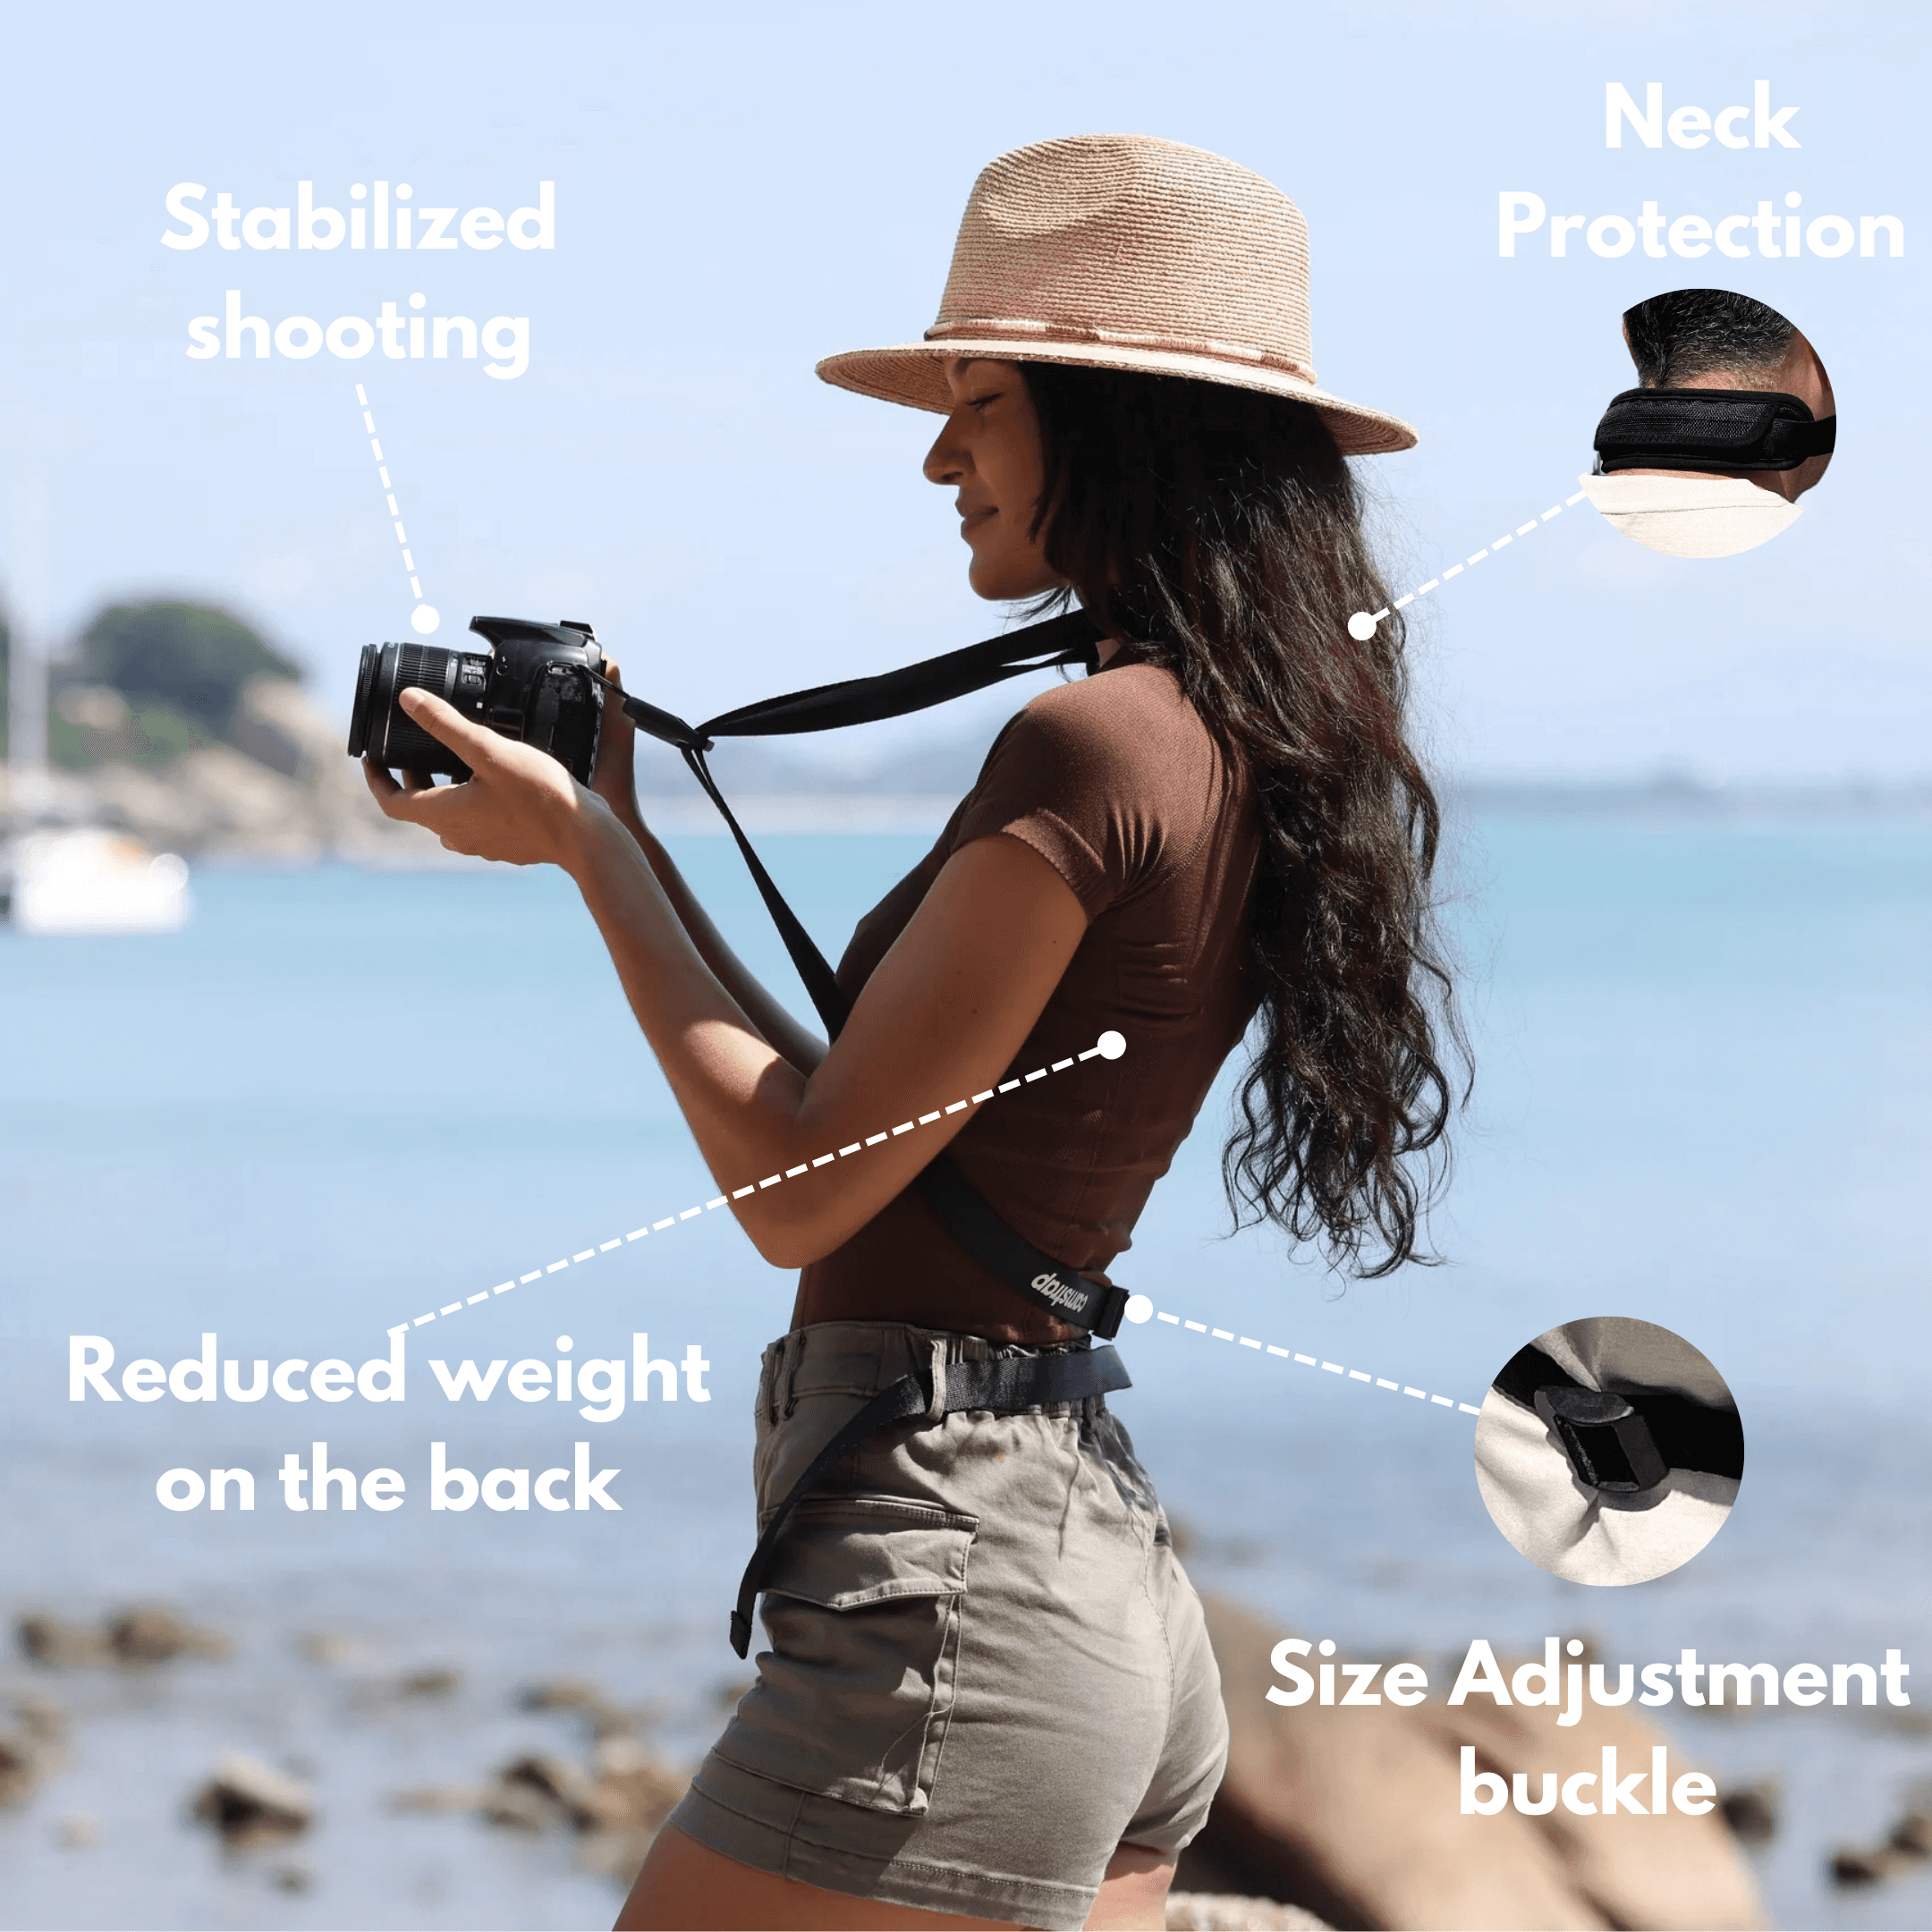
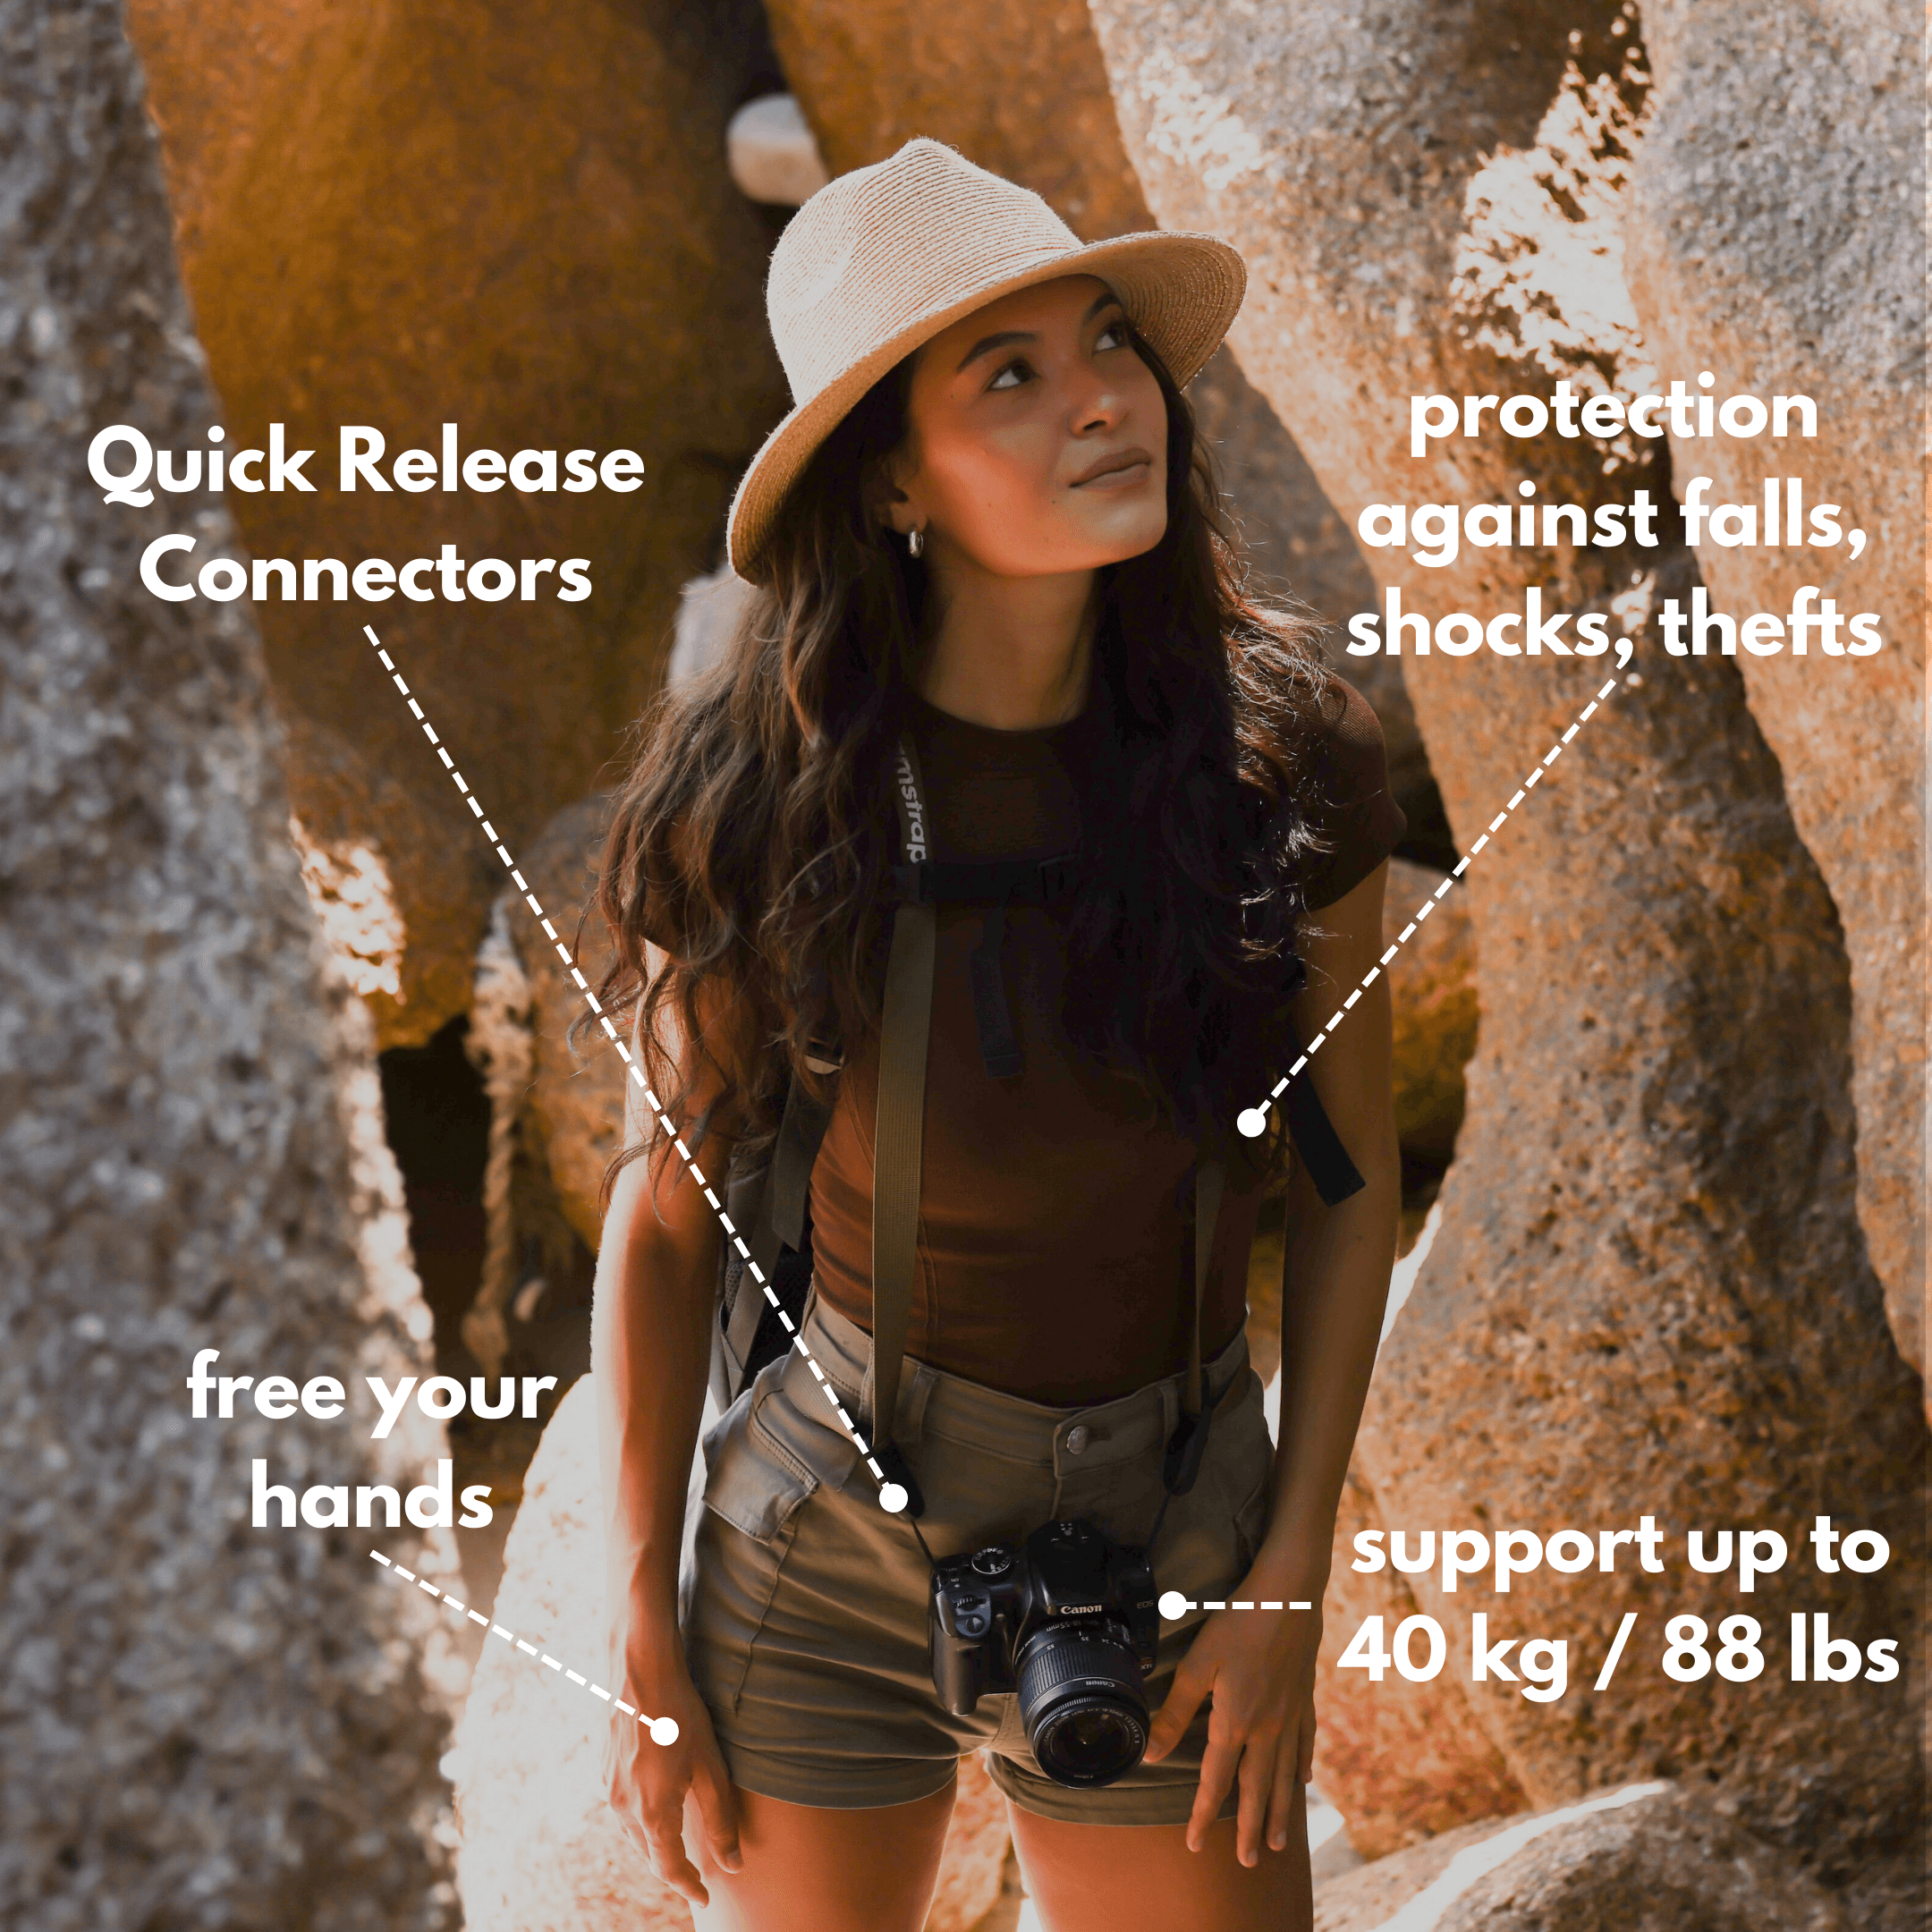
Camstrap Explorer adds fast adjust features that help you swap hands in a crowd. Camstrap Nomad is light for hikes, and Camstrap MagClip locks your camera to a bag quickly.
Shoot for High-Contrast Light and Shadow: How to set exposure and protect highlights
High-contrast photos need strong light and deep shadows. Shoot at golden hour for long shadows or at midday for sharp contrast if you know how to expose.
Expose for highlights to keep bright zones. Then lift blacks later while grading. If a scene is tricky, bracket exposures and merge them later.
Camera Settings to Shoot High-Contrast
Shoot in RAW so you keep full image data for grading. Use low ISO to avoid noise in bright parts of the frame.
Use spot or center-weighted metering for faces or small highlights. If you shoot handheld, keep shutter speed high to avoid blur. Use a tripod for slow shutter scenes.
Use Light to Make Color Pop
Point light across textures to enhance color and form. Side light brings out texture, and backlight can add a glow to edges.
In cities like Osaka or Budapest, use neon or street light to push color. In Paris, shoot golden hour for warm tones. In Myanmar, hunt for bright markets and temple colors.
Compose and Shoot for Bold Color
Good color grading starts in the frame. Compose with color blocks and simple backgrounds so you can grade cleanly later.
Use negative space to let color stand out. Place your subject against neutral tones so the accent color pops in the edit.
Color Blocking and Pairing
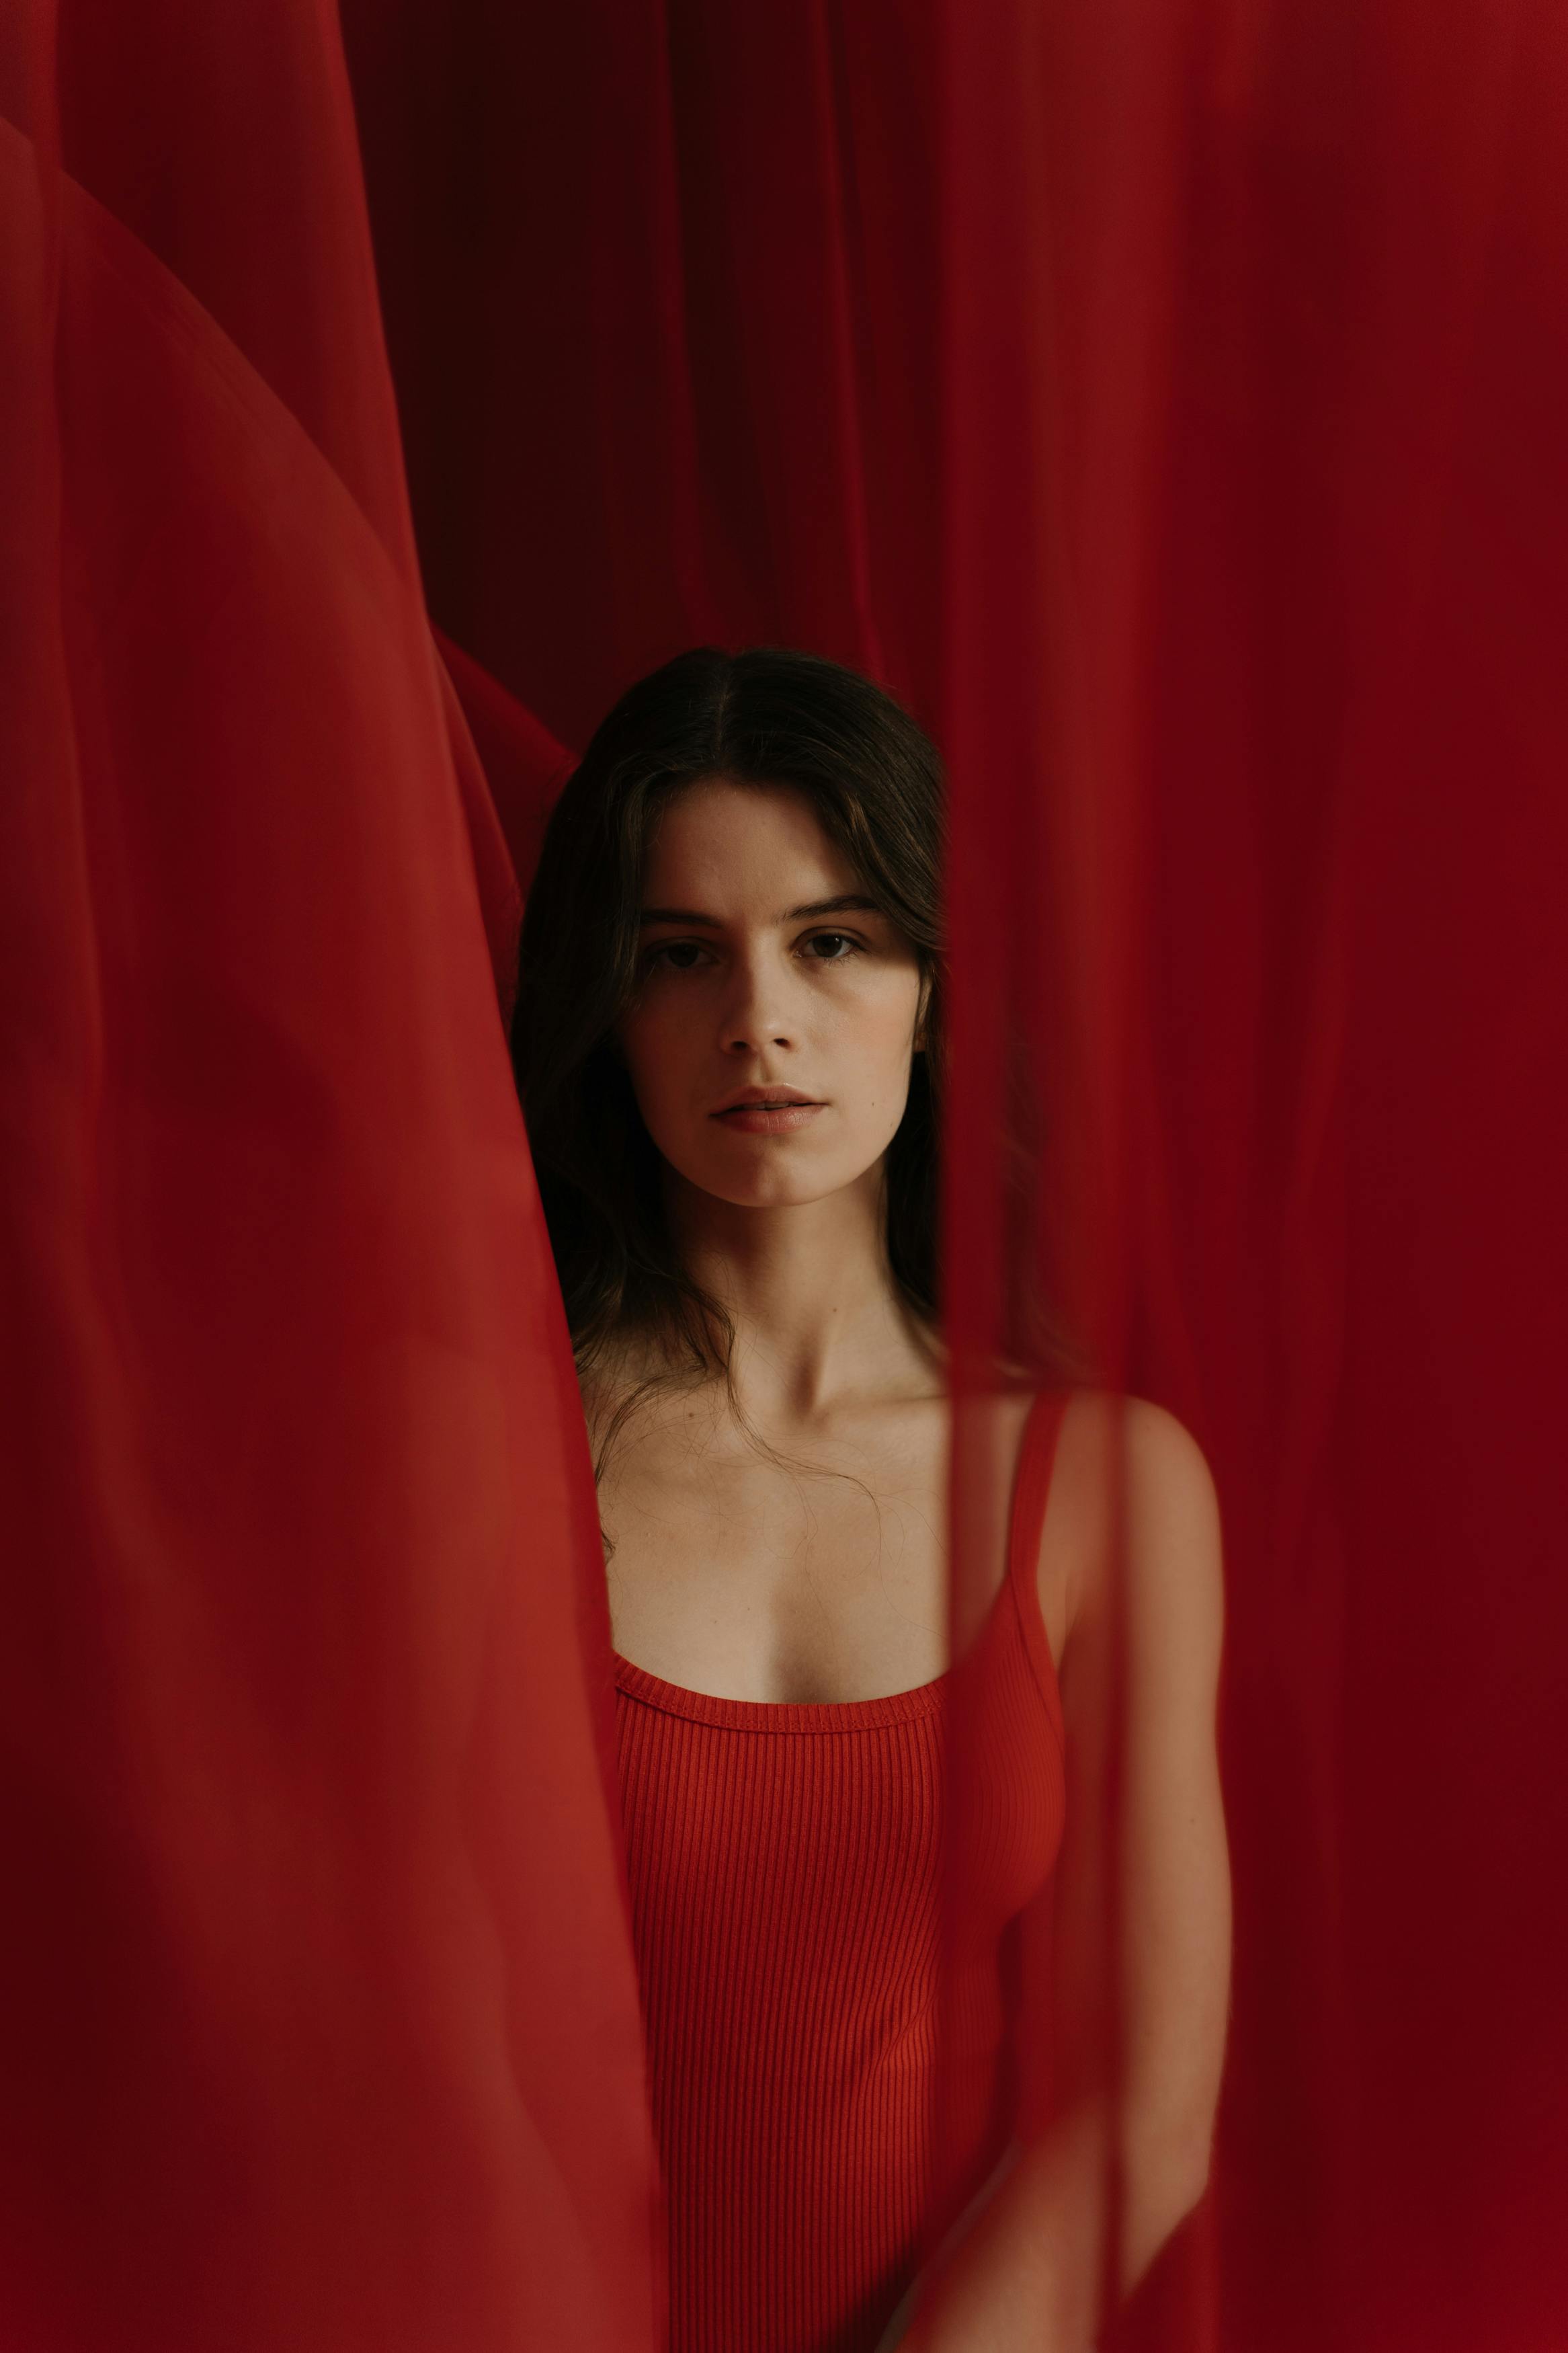
Pair warm reds with cool blues to create a strong contrast. Or use bright yellow against deep shadows to make scenes sing.
Shoot a dominant color with one accent color for a bold yet clean look. Try a few angles to find the best color shapes for the scene.
Shoot People and Places for Mood
Place subjects against bold color for a strong portrait look. Use shallow depth of field to separate people from busy backgrounds.
In Osaka markets, shoot sellers against bright fabrics. In Paris cafes, catch warm light on faces. In Scotland, use moody skies and green hills to set tone.
Edit and Grade Boldly in 2025
Editing is where you shape the final mood. Open RAW files and set a clean base exposure before you grade.
Use Lightroom, Capture One, or a fast mobile app to edit on the go. Presets speed work, but tweak each shot after you apply a preset.
A Simple 6-Step Bold Color Grade
- Set white balance to match the mood, then tweak for style.
- Raise contrast and pull shadows to deepen blacks.
- Use a tone curve to add a gentle S-curve for punch.
- Boost vibrance and lower saturation if colors clash.
- Shift greens or blues to sculpt the mood.
- Sharpen and add grain to match the feel you want.
Use selective color tools to lift a single hue while keeping skin tones natural. This keeps portraits true while you push other colors.
Trends and Local Adjustments
Try split toning to warm highlights and cool shadows for a cinematic feel. Use local masks to keep faces looking natural while boosting background color.
Test looks on a few images before applying them to a set. That way you keep a consistent style for a whole travel story.
Shooting on the Road: Workflow, Safety, and Straps
Keep a compact workflow and back up every day. Use two cards and offload to a portable drive each night to avoid data loss.
Protect your gear from weather and from drops. Keep straps on to prevent accidents in crowds or on trails.
Carry Comfort and Speed
Choose a strap that helps you shoot fast and feel safe. Camstrap Voyager and Camstrap Explorer give quick access and comfort for long days.
Use Camstrap Nomad on hikes and the MagClip to lock your camera to a bag between shots. These straps fit travel enthusiasts and outdoor adventure photographers well.
Simple Workflow Tips
- Format a spare card each day after you back up your shoot.
- Tag images quickly to find your best frames for grading.
- Keep a short edit list so you can finish photos fast on the road.
Sync presets to your phone so you can edit and post while you travel. That keeps your story fresh and shareable.
Practical Tips to Shoot Better Travel Photos
Shoot with a plan but stay open for surprises. Walk a block and try different angles to find better light and color.
Carry spare batteries, a compact tripod, and a battery pack for remote spots. These small items keep your shoot going when power is scarce.
Use Your Camera and Lenses Well
If you shoot with a Canon EOS R50, use its fast autofocus to catch street moments. If you shoot with a Canon EOS 6D Mark II, use its full-frame feel for shallow depth.
Test a few settings and lock the ones that work. Practice at home so you shoot calmly and quickly on the road.
Mindset for Strong Travel Shoots
Be curious and patient while you shoot. Wait for people to move into warm light and for the scene to align for the best frame.
Share your edits and ask for feedback from other shooters. Join a local group or online forum to learn new ideas for your next trip.
Conclusion: Keep shooting and learn how light and color change
Start with strong light, smart framing, and RAW files. Protect your gear and plan how you will grade each image.
Practice in places like Budapest, Scotland, Osaka, and Paris to learn how light and color change. Try cameras like the Fujifilm X-S10, the Sony A1, or Phase One gear to see what you prefer.
Choose straps that help you shoot longer days. Camstrap Voyager, Explorer, Nomad, and MagClip keep you safe and fast on the move. Now grab your camera and strap, and go shoot bold travel photos with confidence.


