


- Set shutter speed to about double your frame rate for natural-looking motion.
- Use faster shutter speeds on rough sidewalks, stairs, and busy crossings.
- Keep the camera close and supported to reduce walking bounce before adjusting settings.
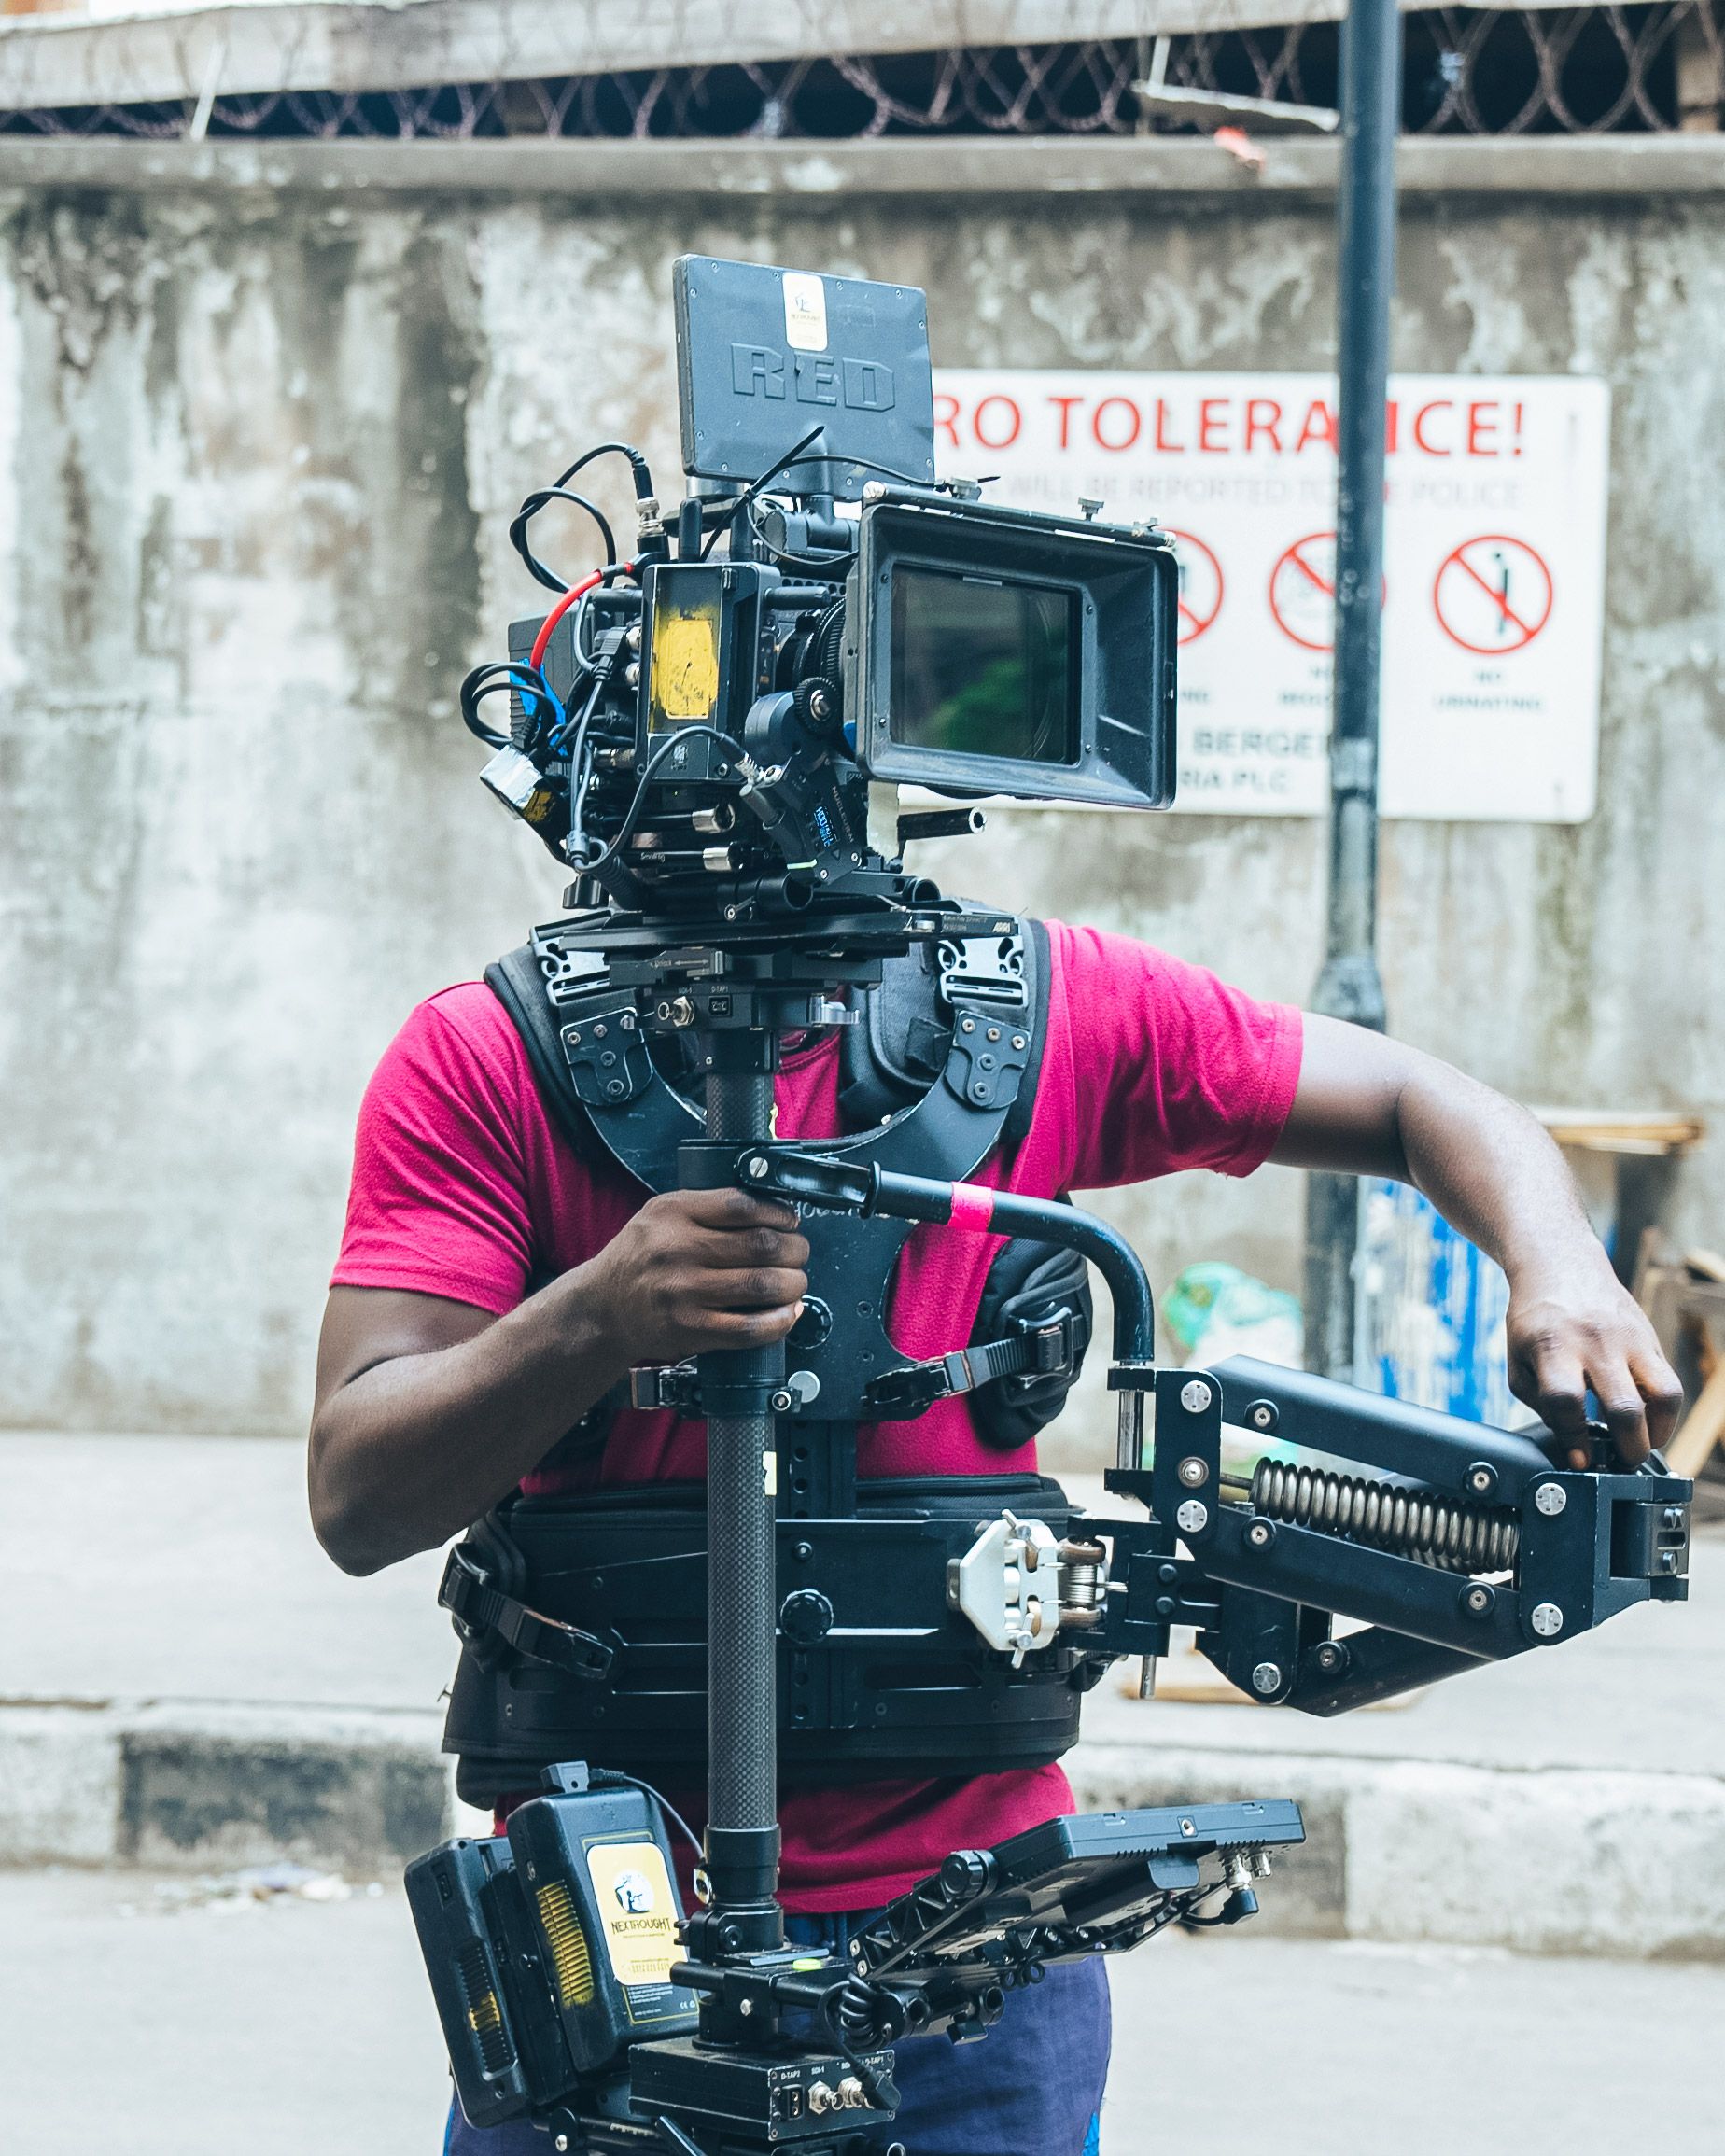
Shutter speed is how long the sensor stays open for each frame. On a city walk, it shapes blur from your steps, your hands, and the people moving through the frame. The switch from stills to video makes that choice more obvious. A steady clip starts with the right shutter speed, then depends on a relaxed grip, sensible settings, and a carry setup that keeps the camera close at hand.
Translation missing: en.blog_cta.bundle_heading

- Regular price
-
€42 - Regular price
-
€44 - Sale price
-
€42
By choosing the Camstrap strap, you are opting for a high-quality product designed to meet the needs of the most demanding photographers.
- Developed by a physiotherapist to relieve neck and back pain.
- Fast delivery with tracking by the Post Office 🚚
- Can be used as a shoulder strap or hands-free harness

- Regular price
-
€36 - Regular price
-
€42 - Sale price
-
€36
Translation missing: en.blog_cta.free_shipping_included
Street footage needs a firmer base than still photos
City streets throw a lot at the camera. Cracked pavement, curb drops, and fast turns all shake the frame, while your own stride pushes the lens forward and back.
Video asks for smooth motion rather than frozen motion. The shutter has to work with your walking pace to keep the movement looking natural.
Why blur shows up so fast on the move
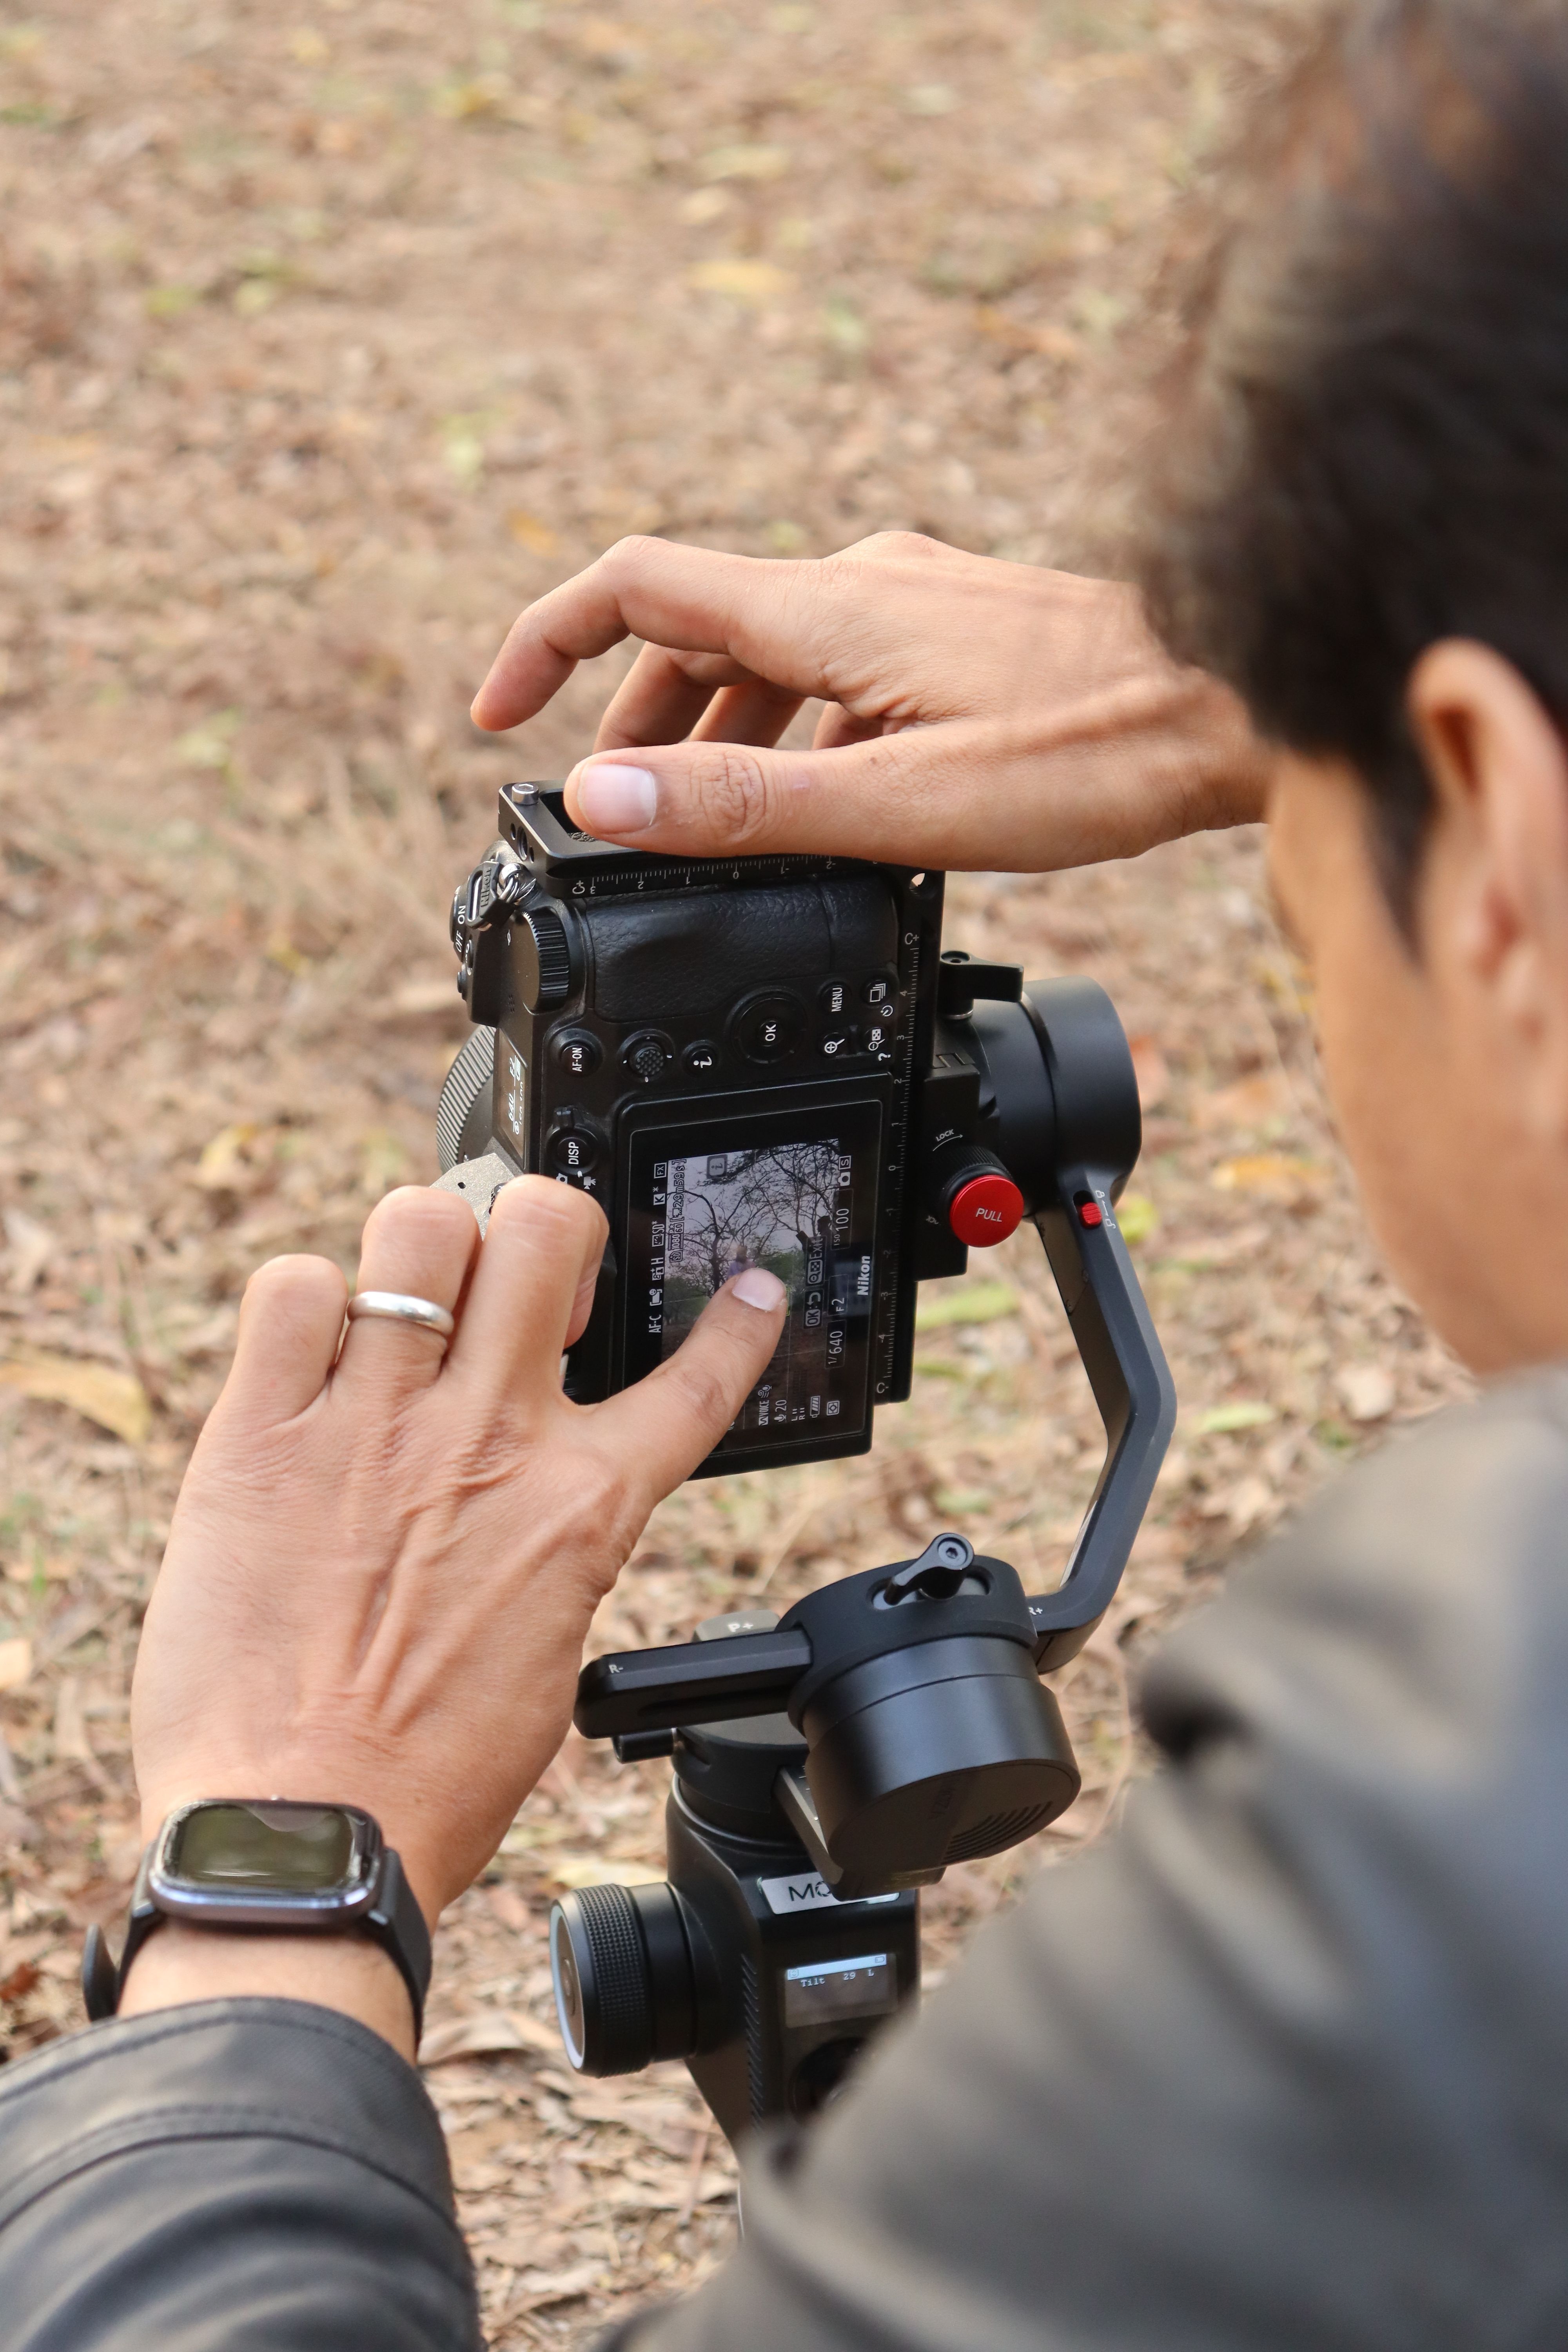
Each step sends tiny vibrations into the camera. Even when your hands feel steady, the lens sees that motion clearly. A slow shutter records more of it, which makes the clip look soft or jumpy.
Fast-moving subjects make things harder. Bikes, buses, and crossing pedestrians can streak across the frame when the shutter stays open too long. Clean street footage needs a workable balance between motion blur and sharp detail.
A hands-free carry setup helps more than expected
With the camera hanging close and secure, there is less time spent digging through a bag. Quick photo-to-video switches become much easier on the move. A strap that spreads the weight well can also cut bounce as you walk. Camstrap voyager fits that job well because it keeps the camera at chest level and frees both hands between shots.

Start with the 180-degree rule
The 180-degree shutter rule says video looks natural when shutter speed lands at about double the frame rate. At 24 fps, that means 1/48 s, though many cameras round to 1/50 s.
At 30 fps, use 1/60 s. At 60 fps, use 1/120 s. Since many cameras skip 1/48 s, the nearest standard speed is the one to set.
Match frame rate before chasing anything else
For 24 fps, begin near 1/50 s. For 30 fps, start at 1/60 s. For 60 fps, start at 1/120 s.
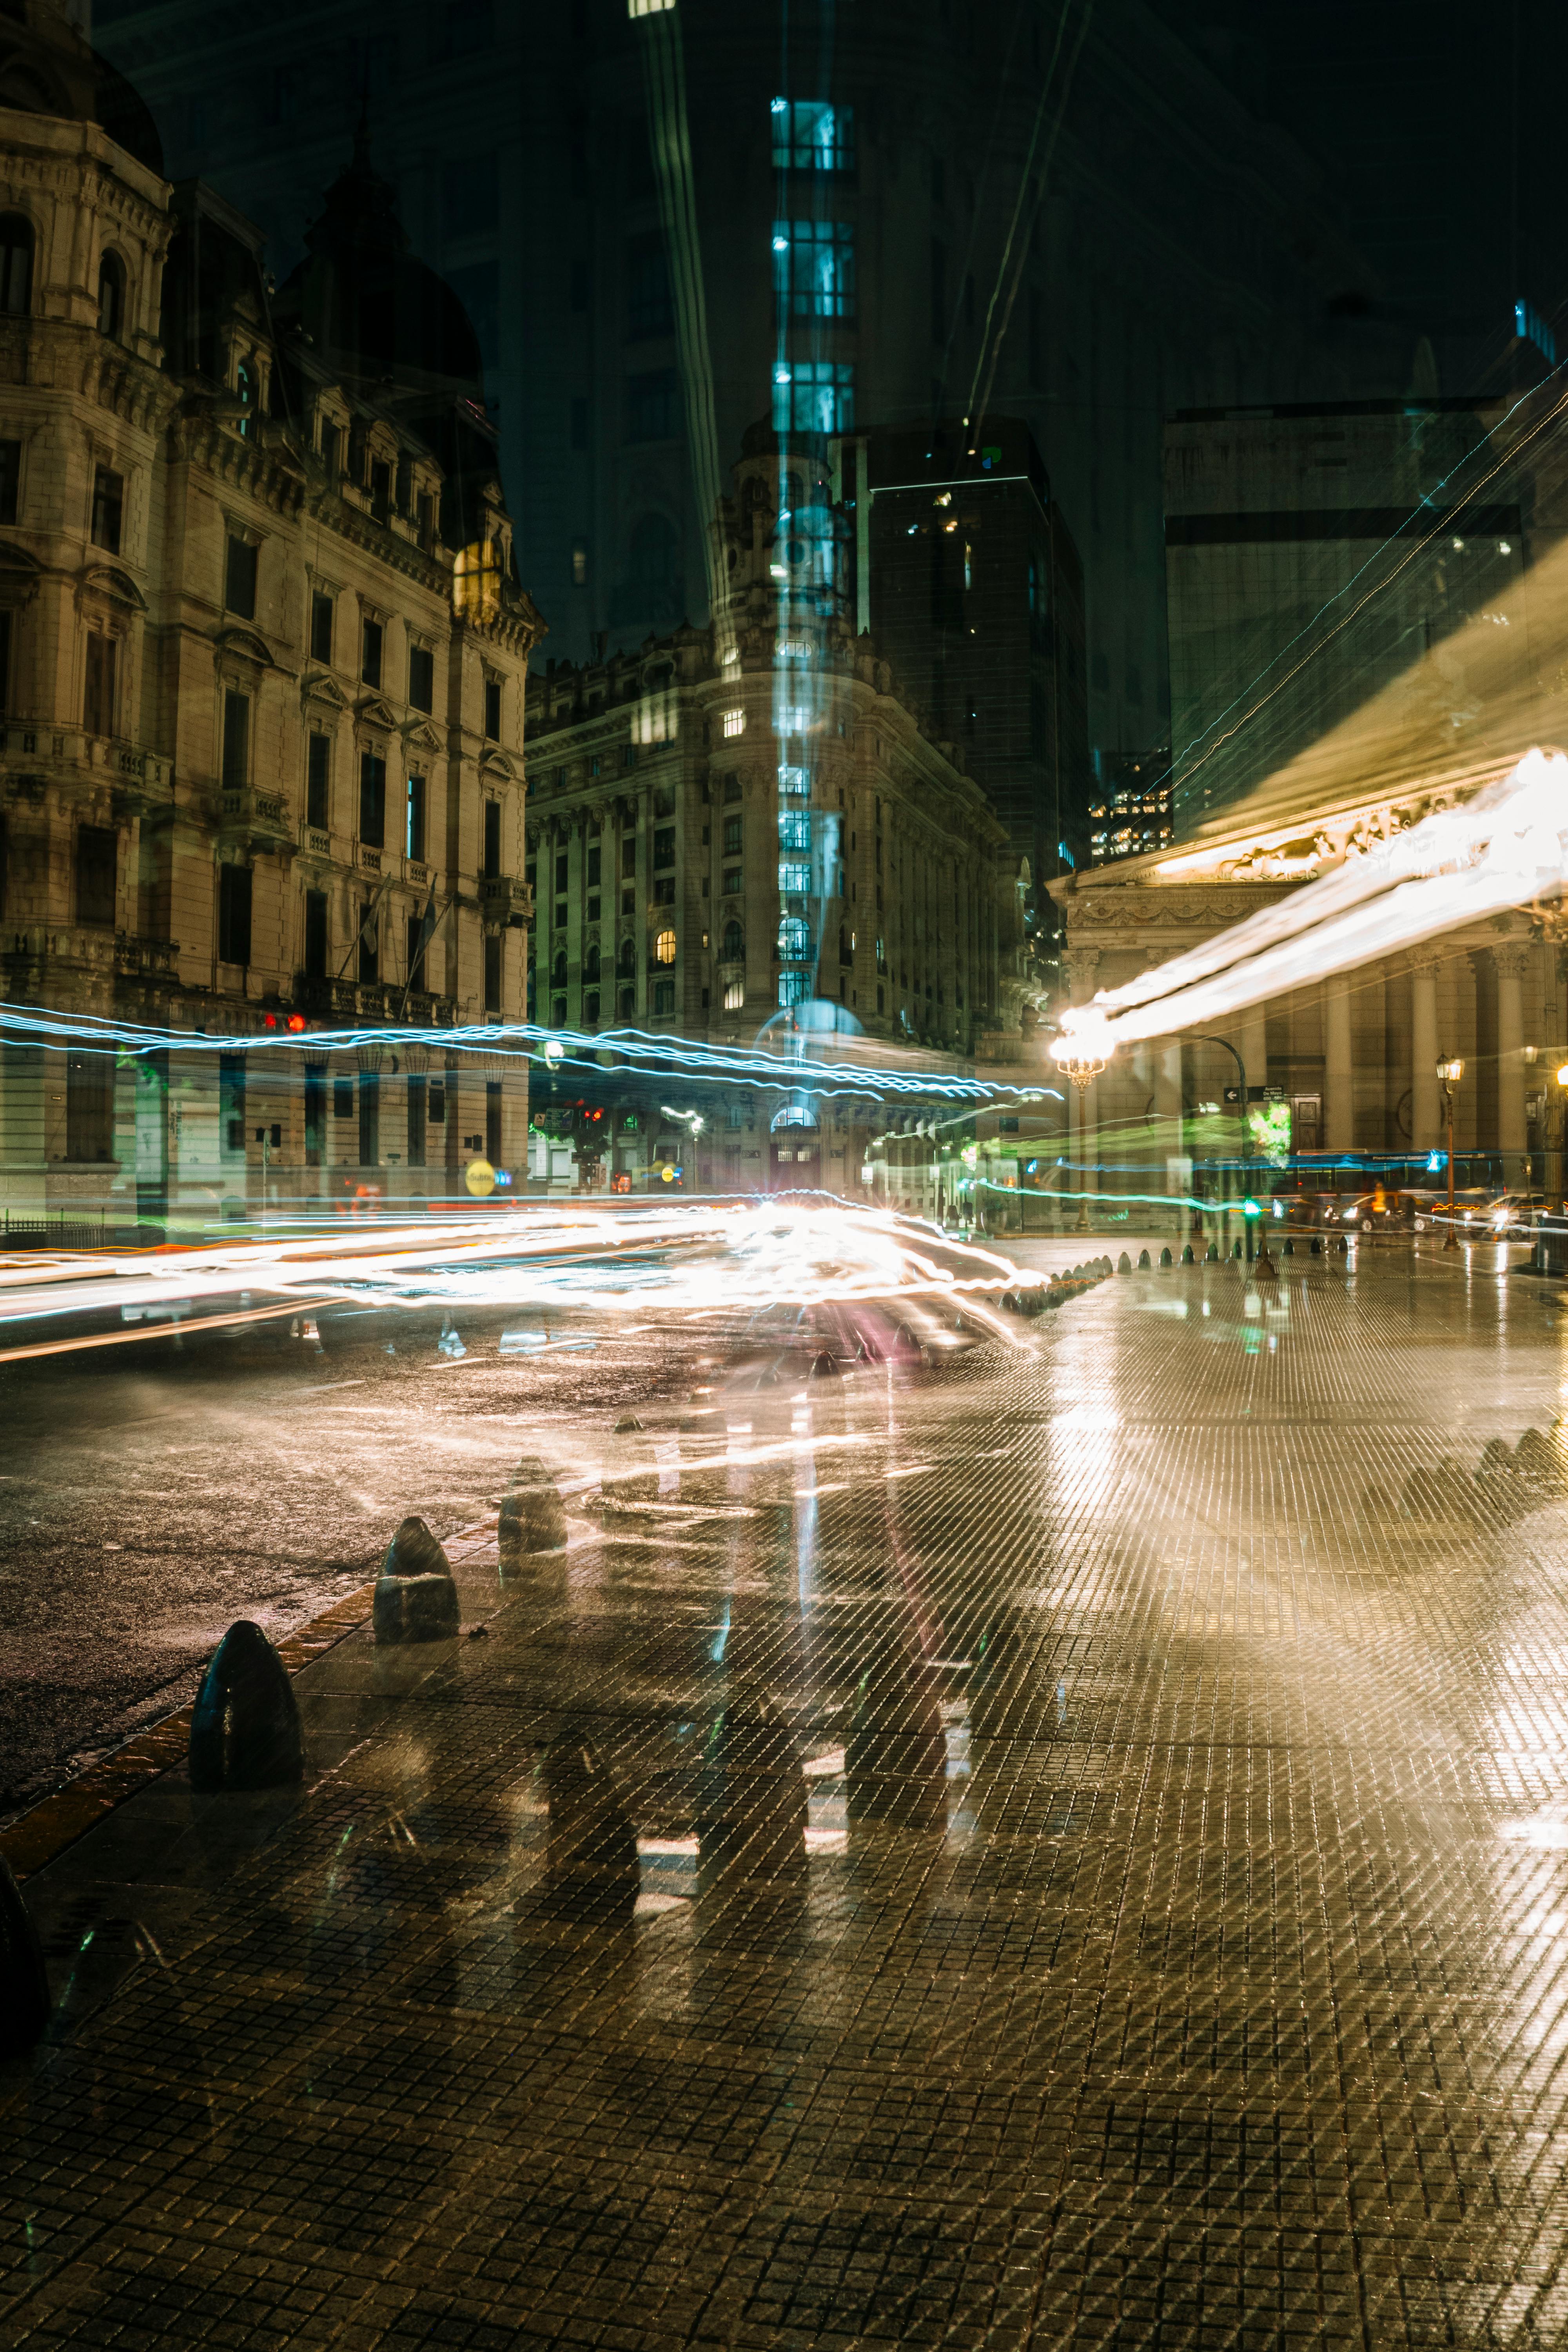
Motion gets a natural blur at those settings. Moving legs, passing cars, and street signs stay from looking too choppy. Even so, this is only the starting point.
Choose faster speeds when the walk turns rough
On a city walk, 1/125 s to 1/250 s can cut blur from both hand motion and moving subjects. Crosswalks, stairs, and quick turns all benefit from the extra speed.
Action-heavy moments usually need that step up. A bus entering frame, a dog running past, or a quick pan can all look cleaner with a faster shutter. The tradeoff is straightforward: less blur, but a sharper, more staccato look.
What shutter speed works best for photos?
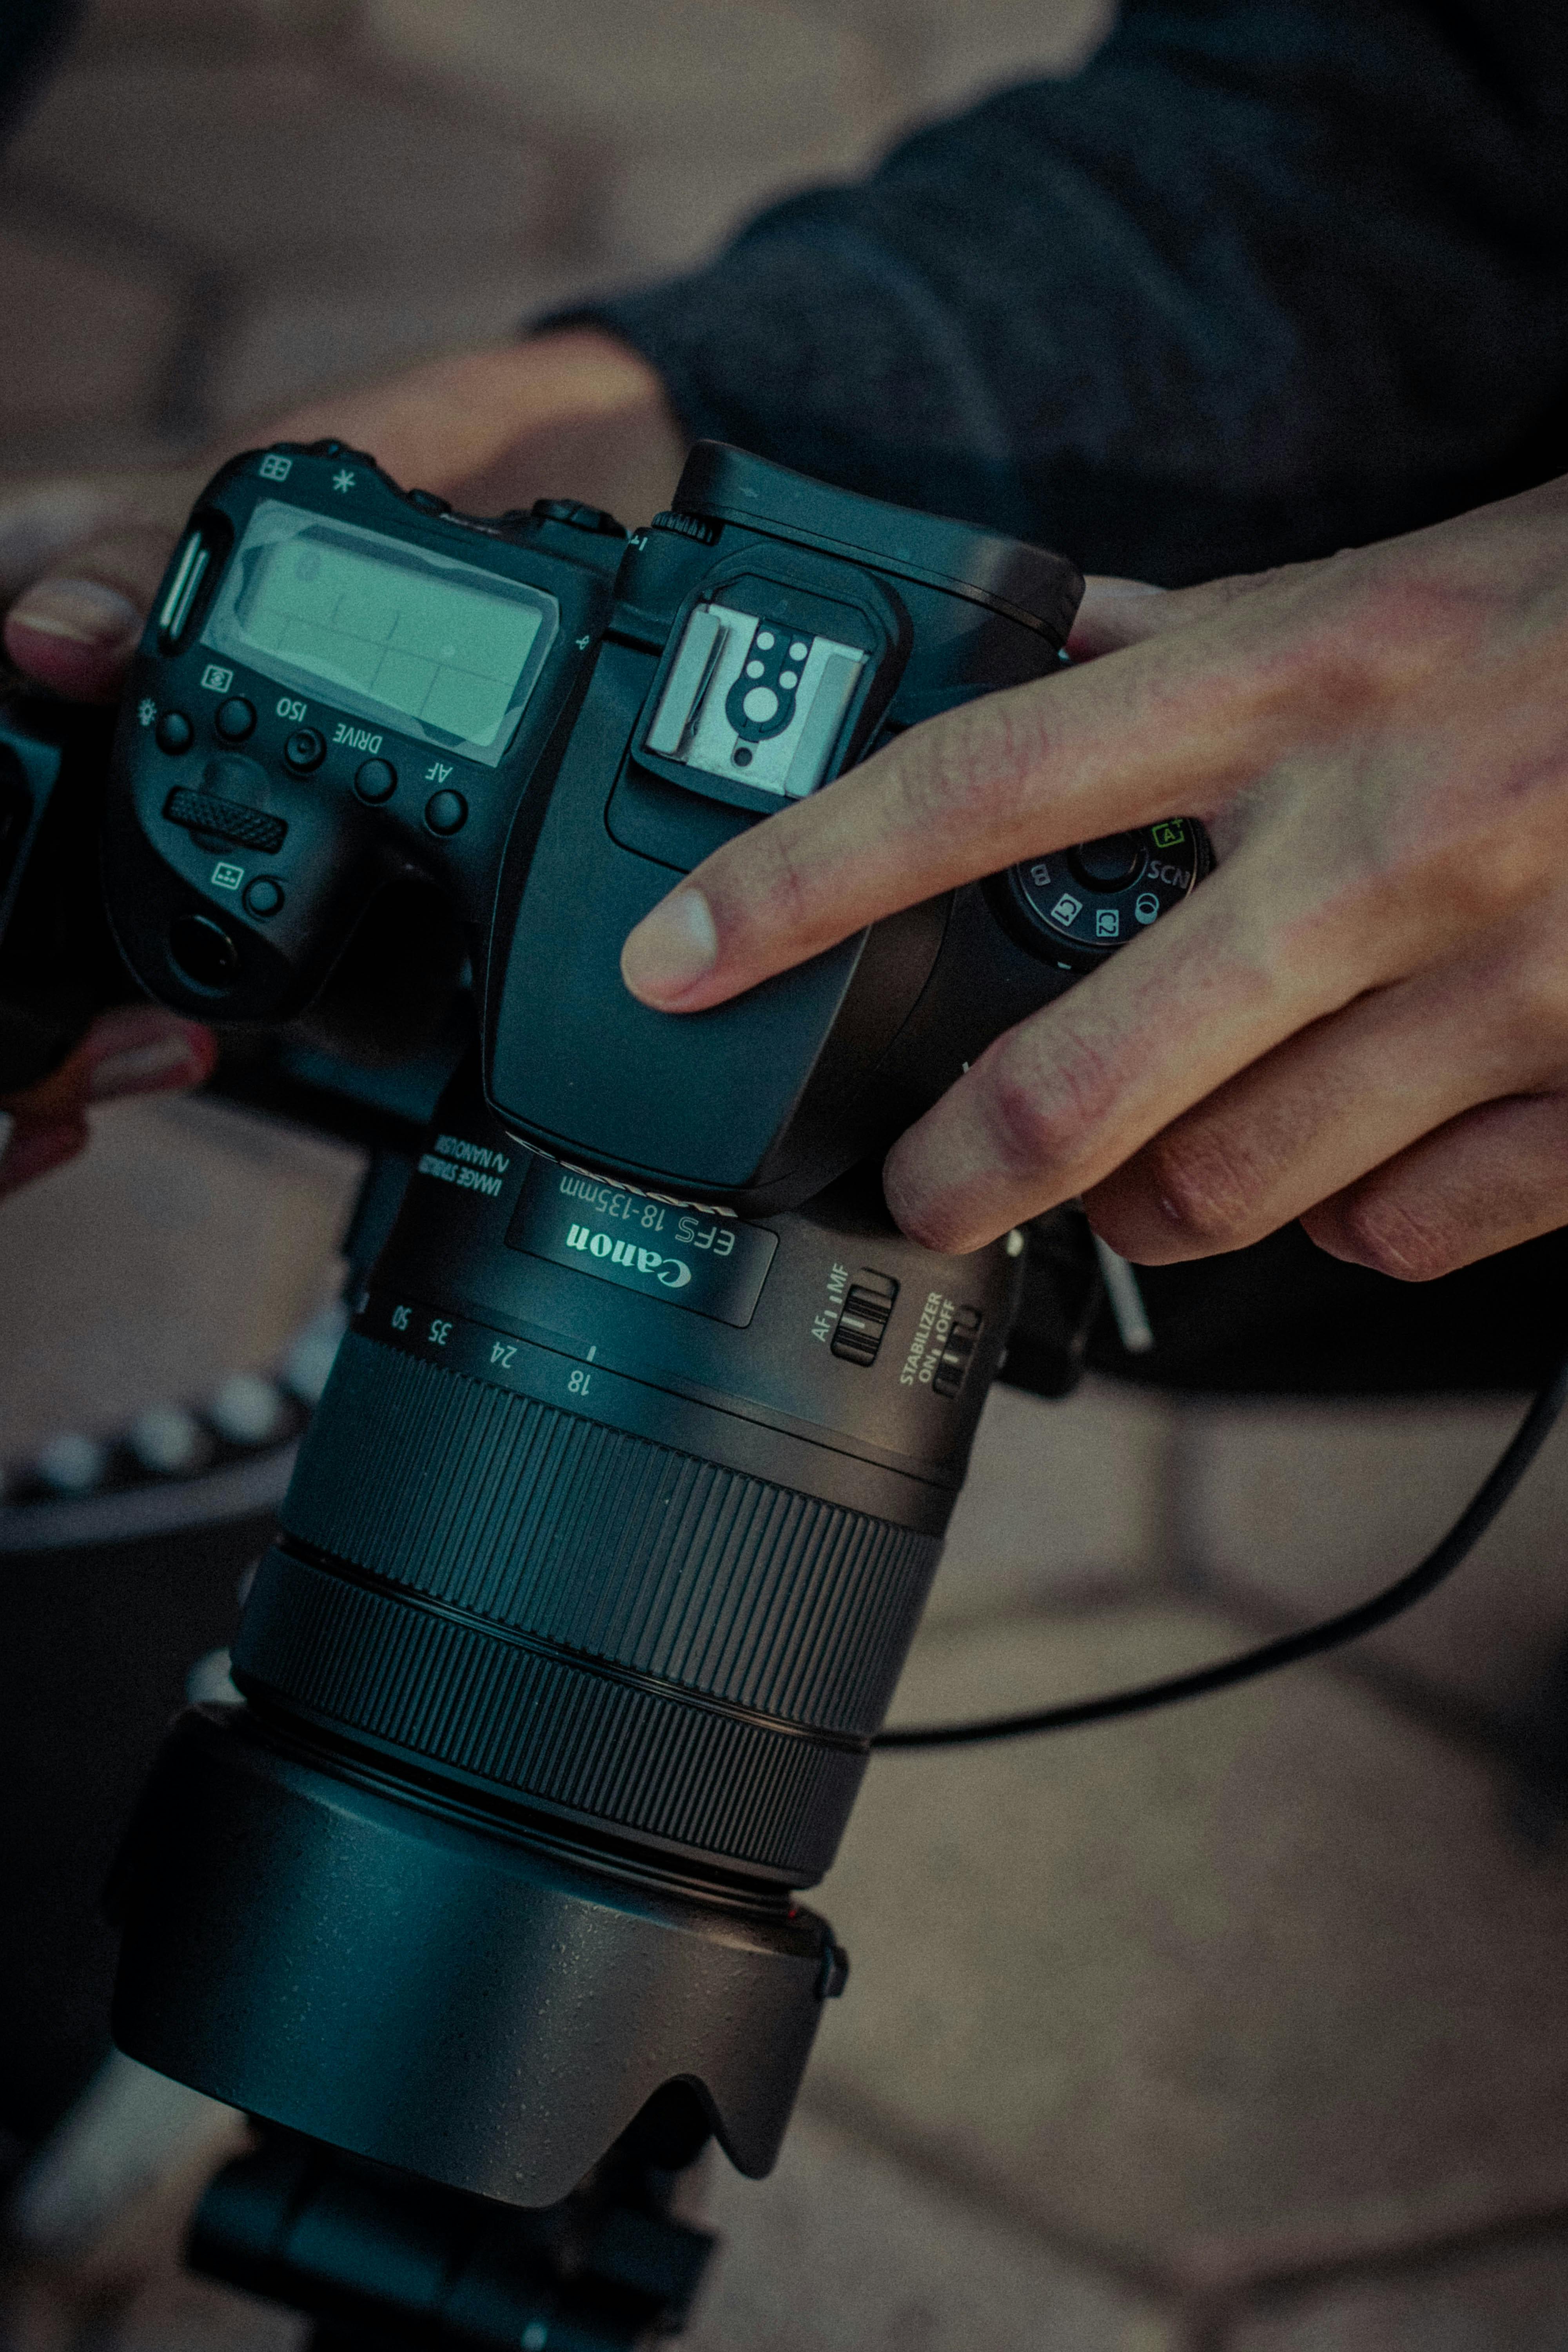
For photos, the right shutter speed depends on motion, focal length, and light. On a city walk, 1/125 s is a strong starting point for people and street scenes.
Want to freeze a gesture? Go faster. A hand wave, a step, or a bike wheel may call for 1/250 s or even 1/500 s. In a calm scene, you can slow down and keep more light.
Lens choice changes the floor
A 50 mm lens points to a handheld minimum near 1/50 s, based on the common rule that shutter speed should roughly match focal length. An 85 mm lens often needs around 1/100 s or faster.
That rule helps with stills and also guides video grabs on the walk. Longer lenses magnify shake, so they ask for a firmer hold and a faster speed.
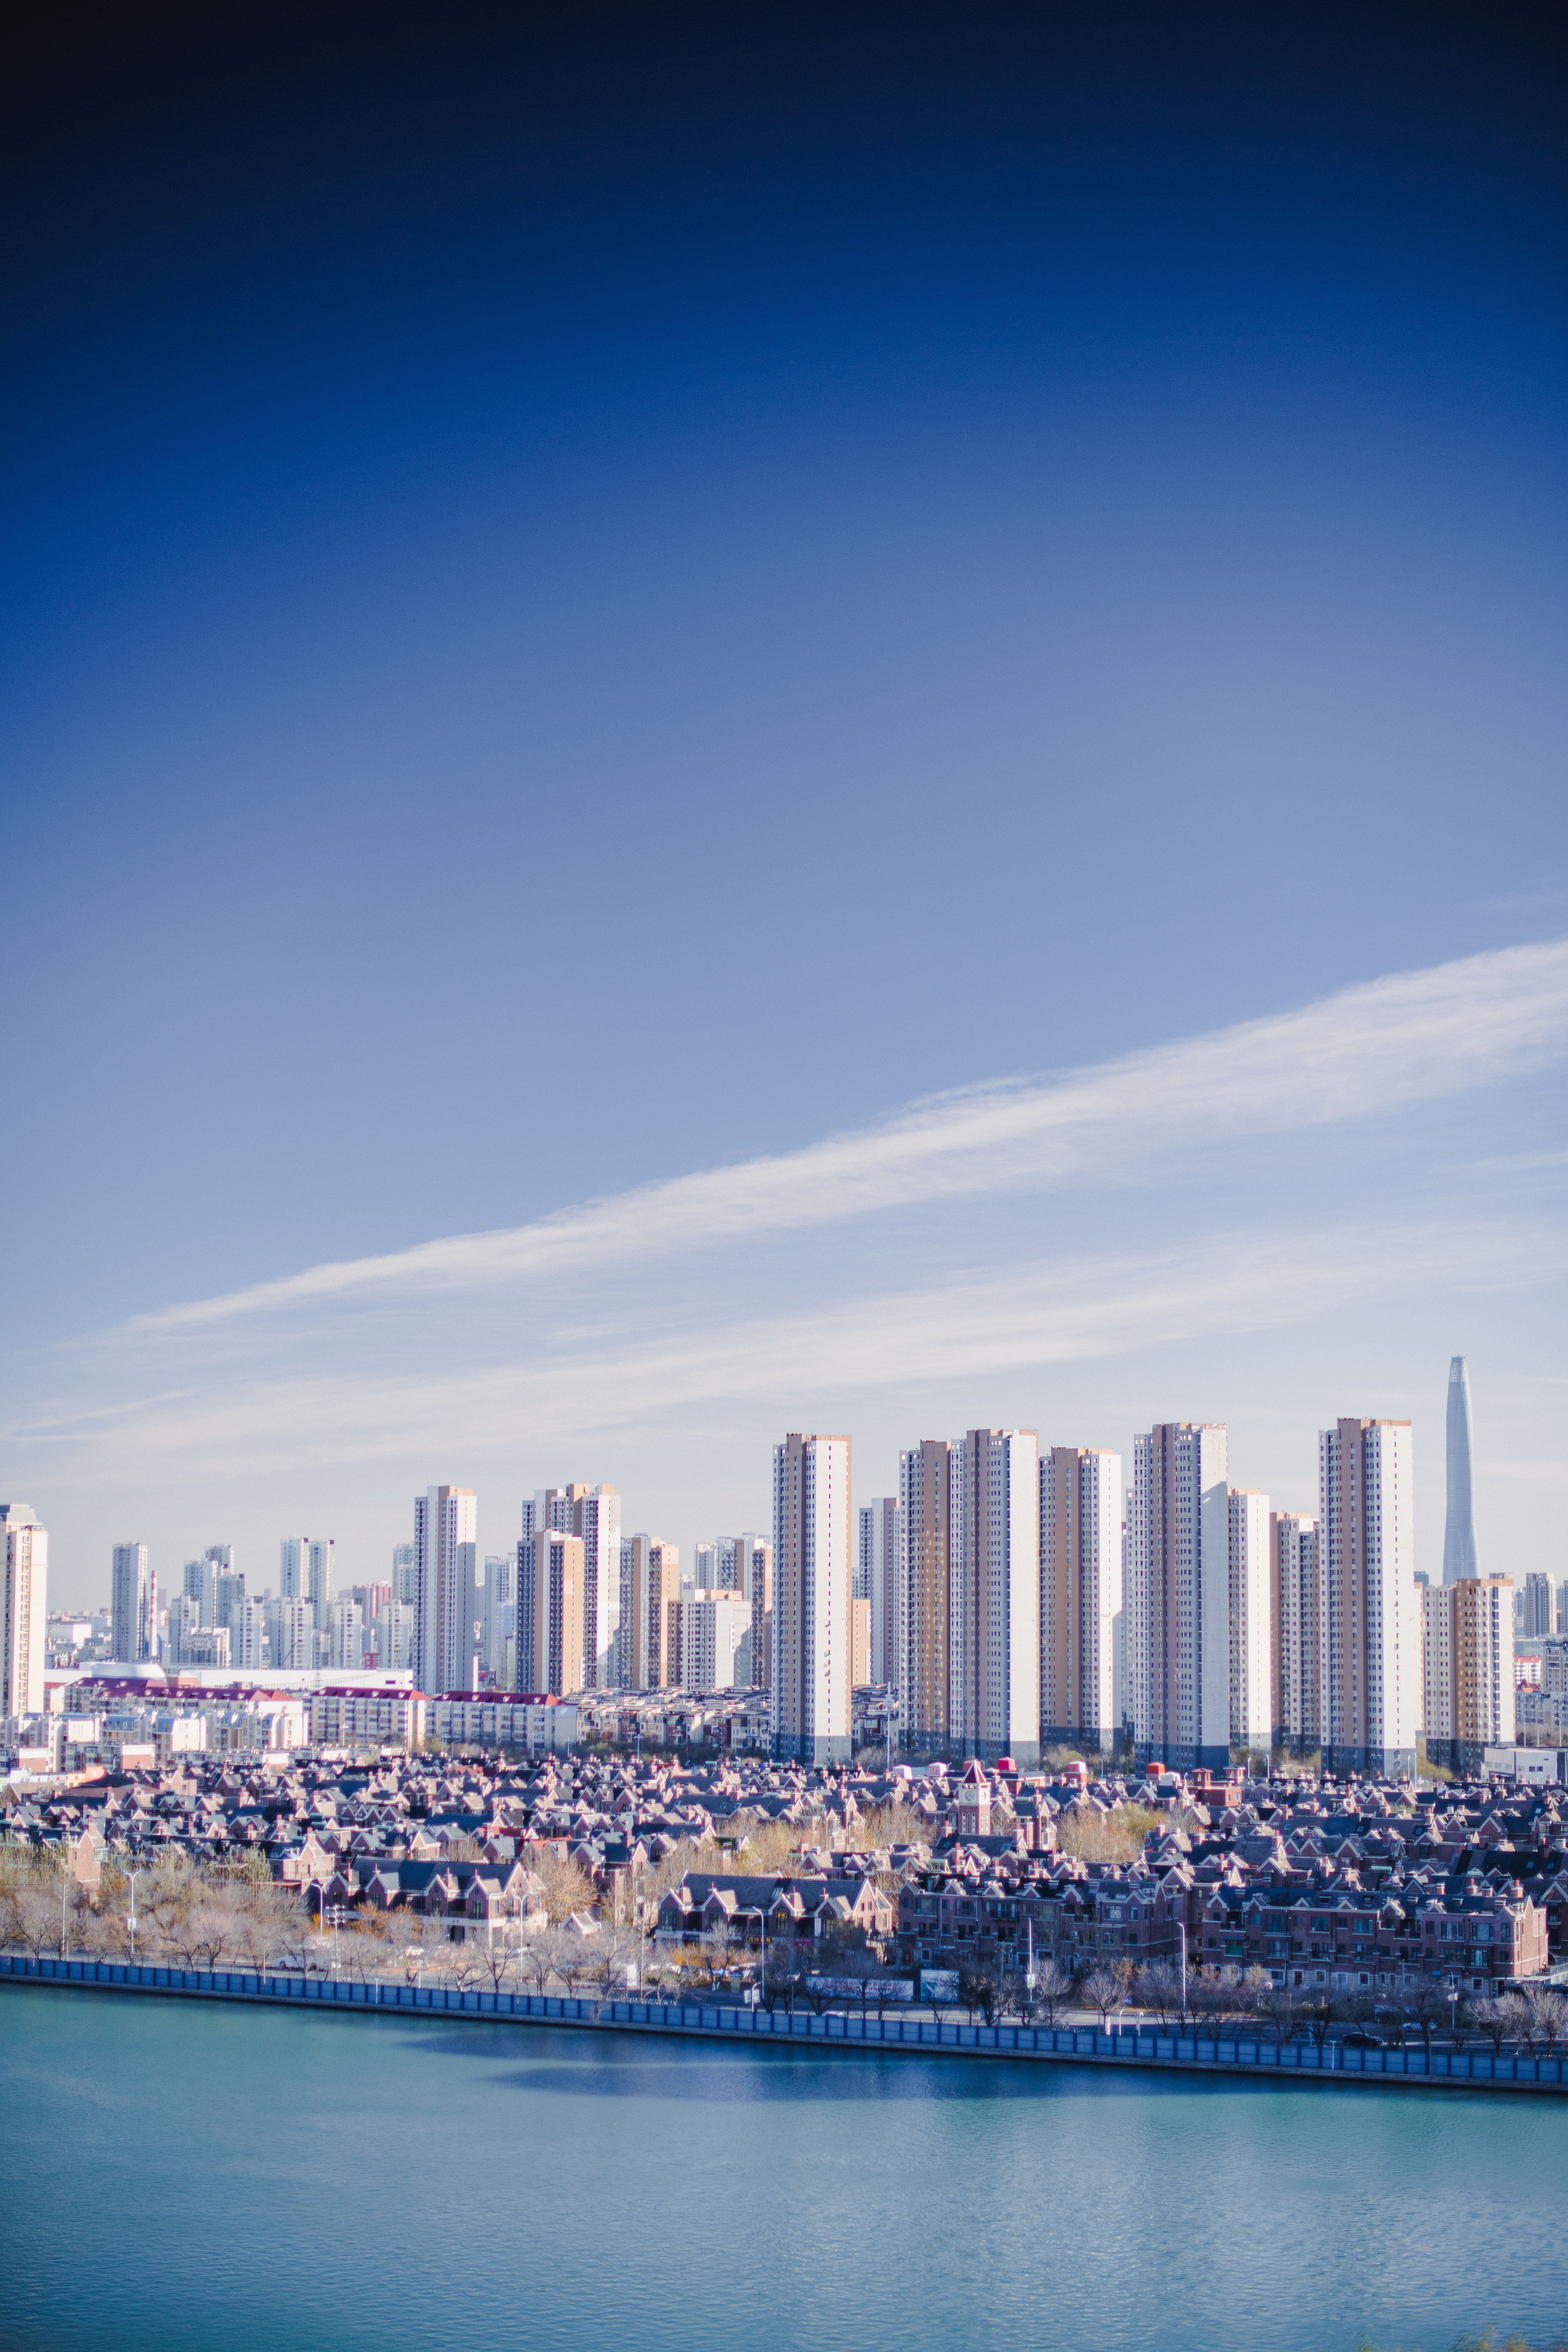
Shutter speed controls motion and light
Shutter speed decides whether movement looks frozen, blurred, or smooth. It also sets how much light reaches the sensor.
On a walk, that control shapes the feel of the scene. A fast speed gives a crisp street moment. A slower speed lets traffic lights, crowd flow, and motion trails feel more alive.
Three ways it changes a city clip
- Stops motion: Useful for people crossing, cyclists, and quick hand moves.
- Adds blur: Helps motion look natural in video and can soften small shakes.
- Controls light: Faster speeds let in less light, so ISO may need to rise.
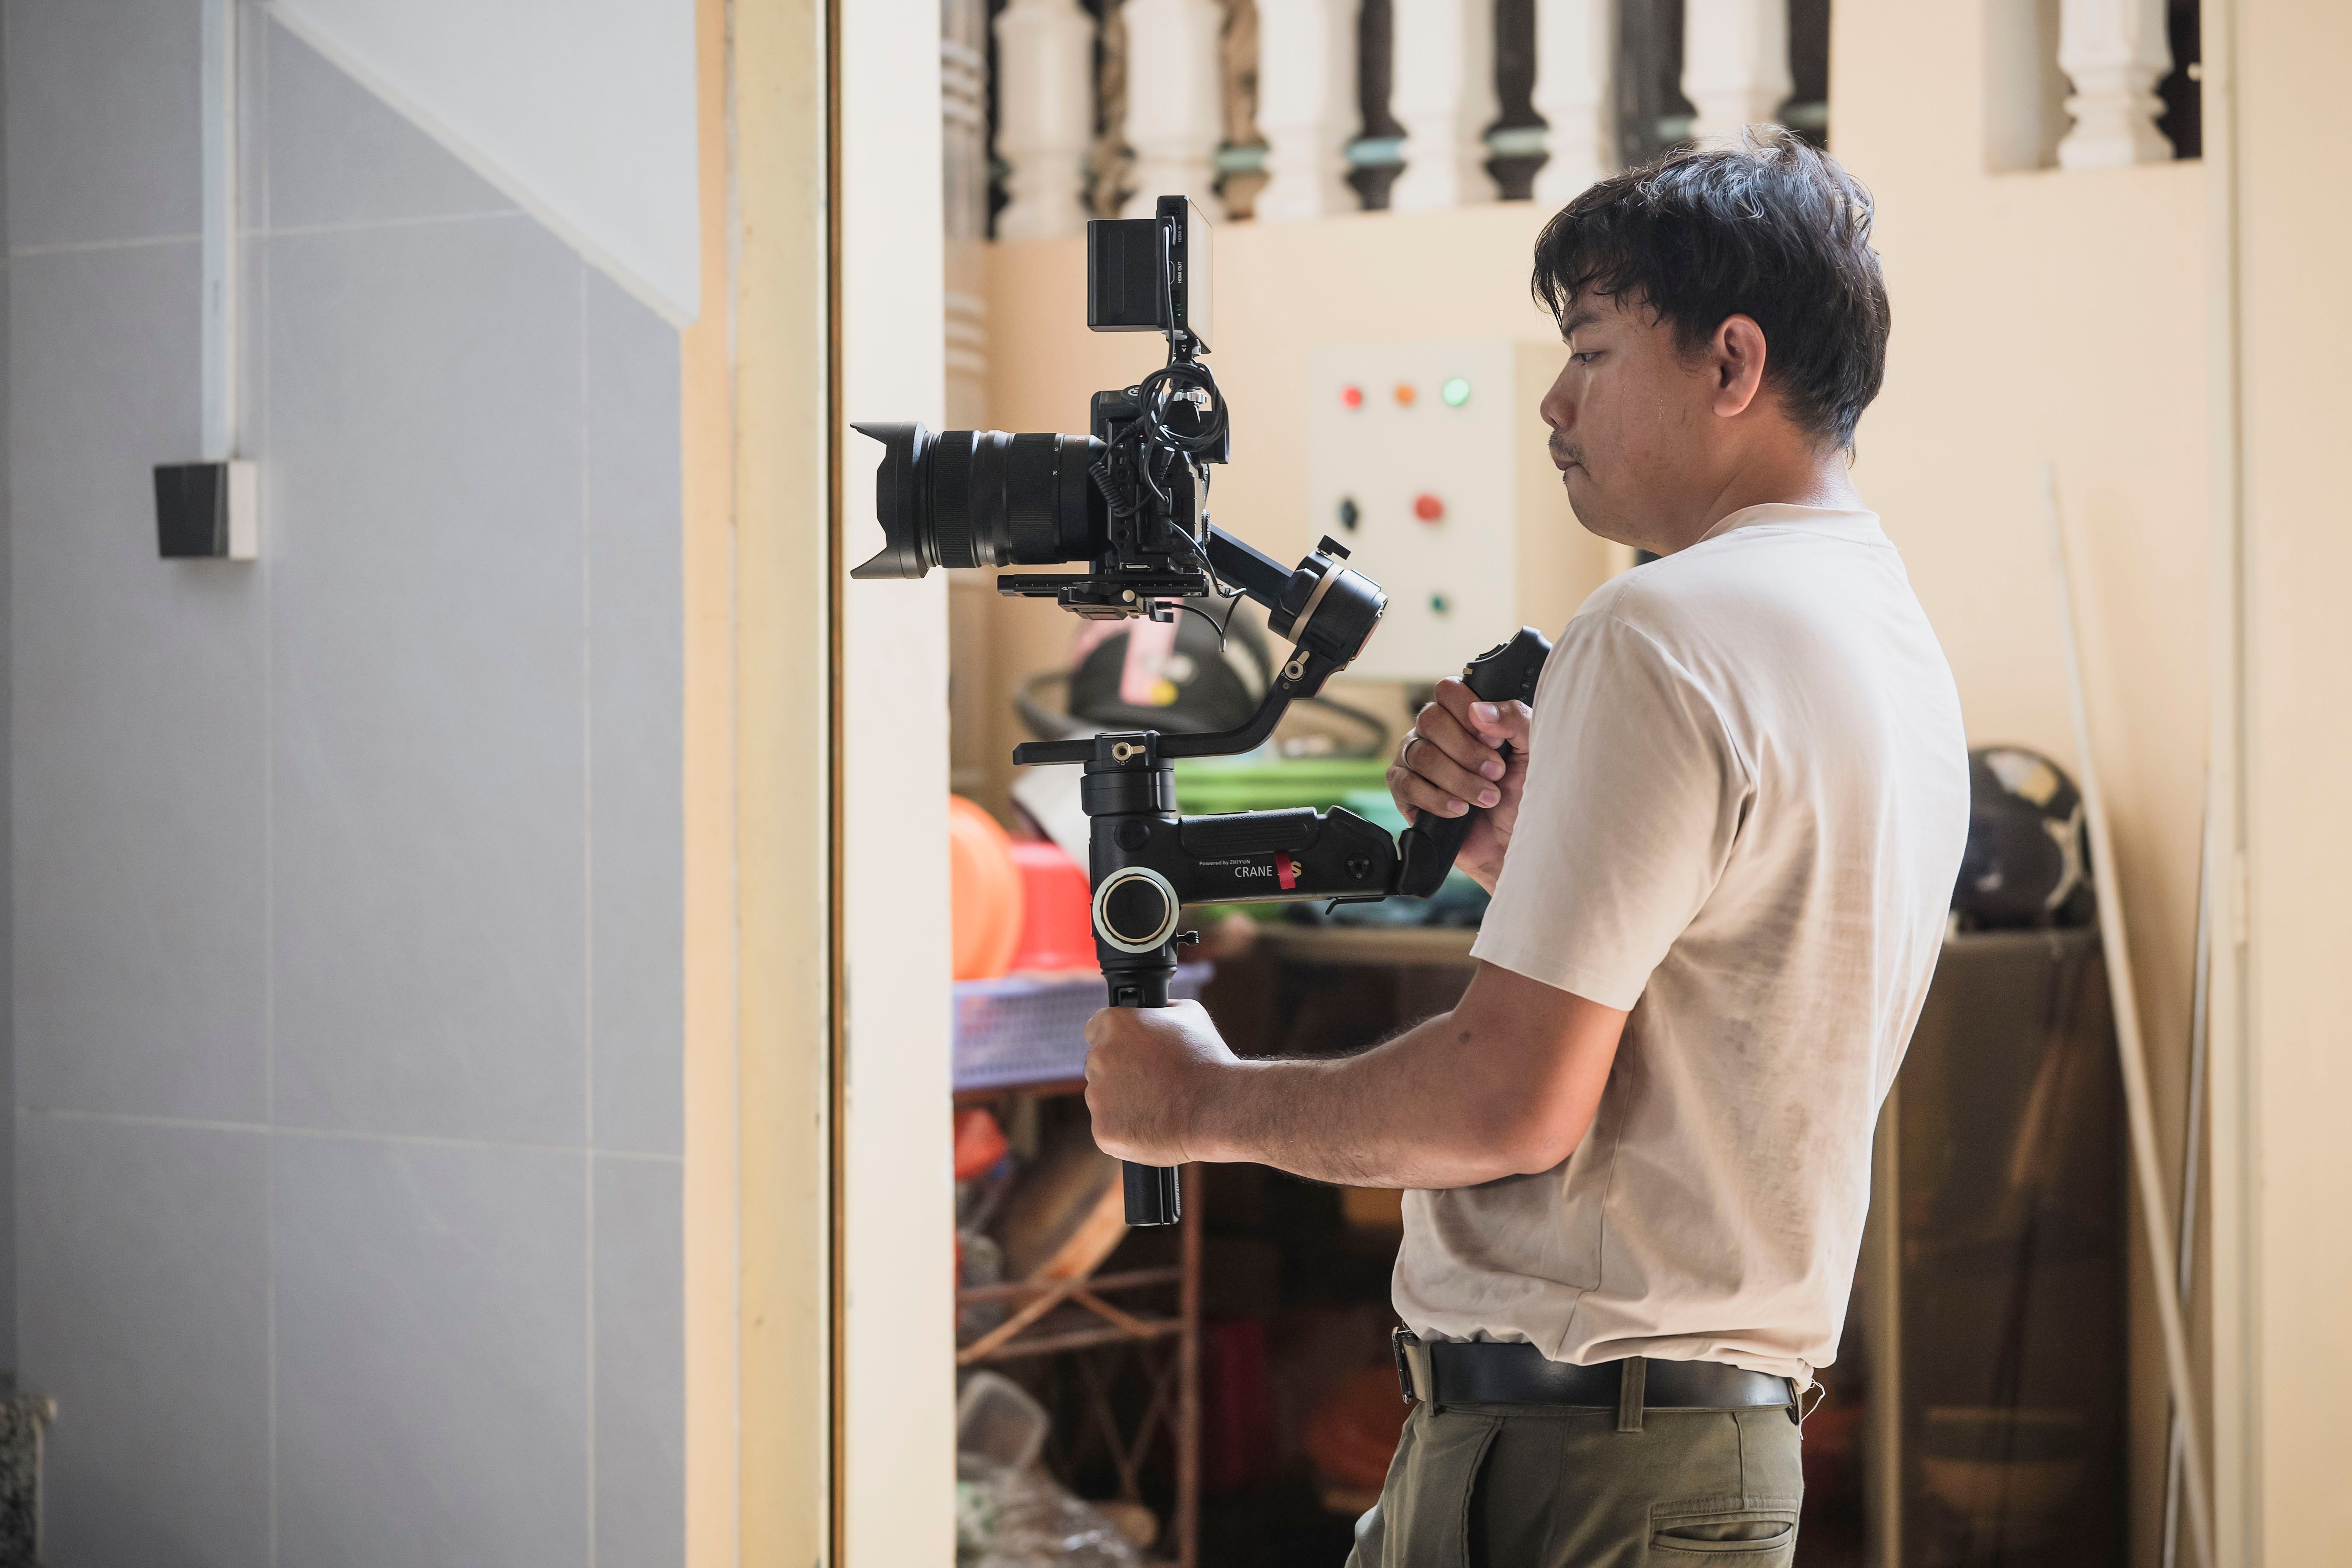
Shutter speed sits inside the exposure triangle. Pick a faster speed, and you may need a wider aperture like f/2 to f/2.8 or a higher ISO. Shade, tree cover, and tall buildings make that tradeoff show up fast.
How should I set shutter speed?
Match the frame rate first, then adjust for motion. For a walking city clip, start at 1/50 s for 24 fps, 1/60 s for 30 fps, or 1/120 s for 60 fps.
After that, shoot short test clips. If your steps still create too much shake, move up to 1/125 s. If the scene feels too sharp and harsh, move back toward the 180-degree target.
A simple field setup works best
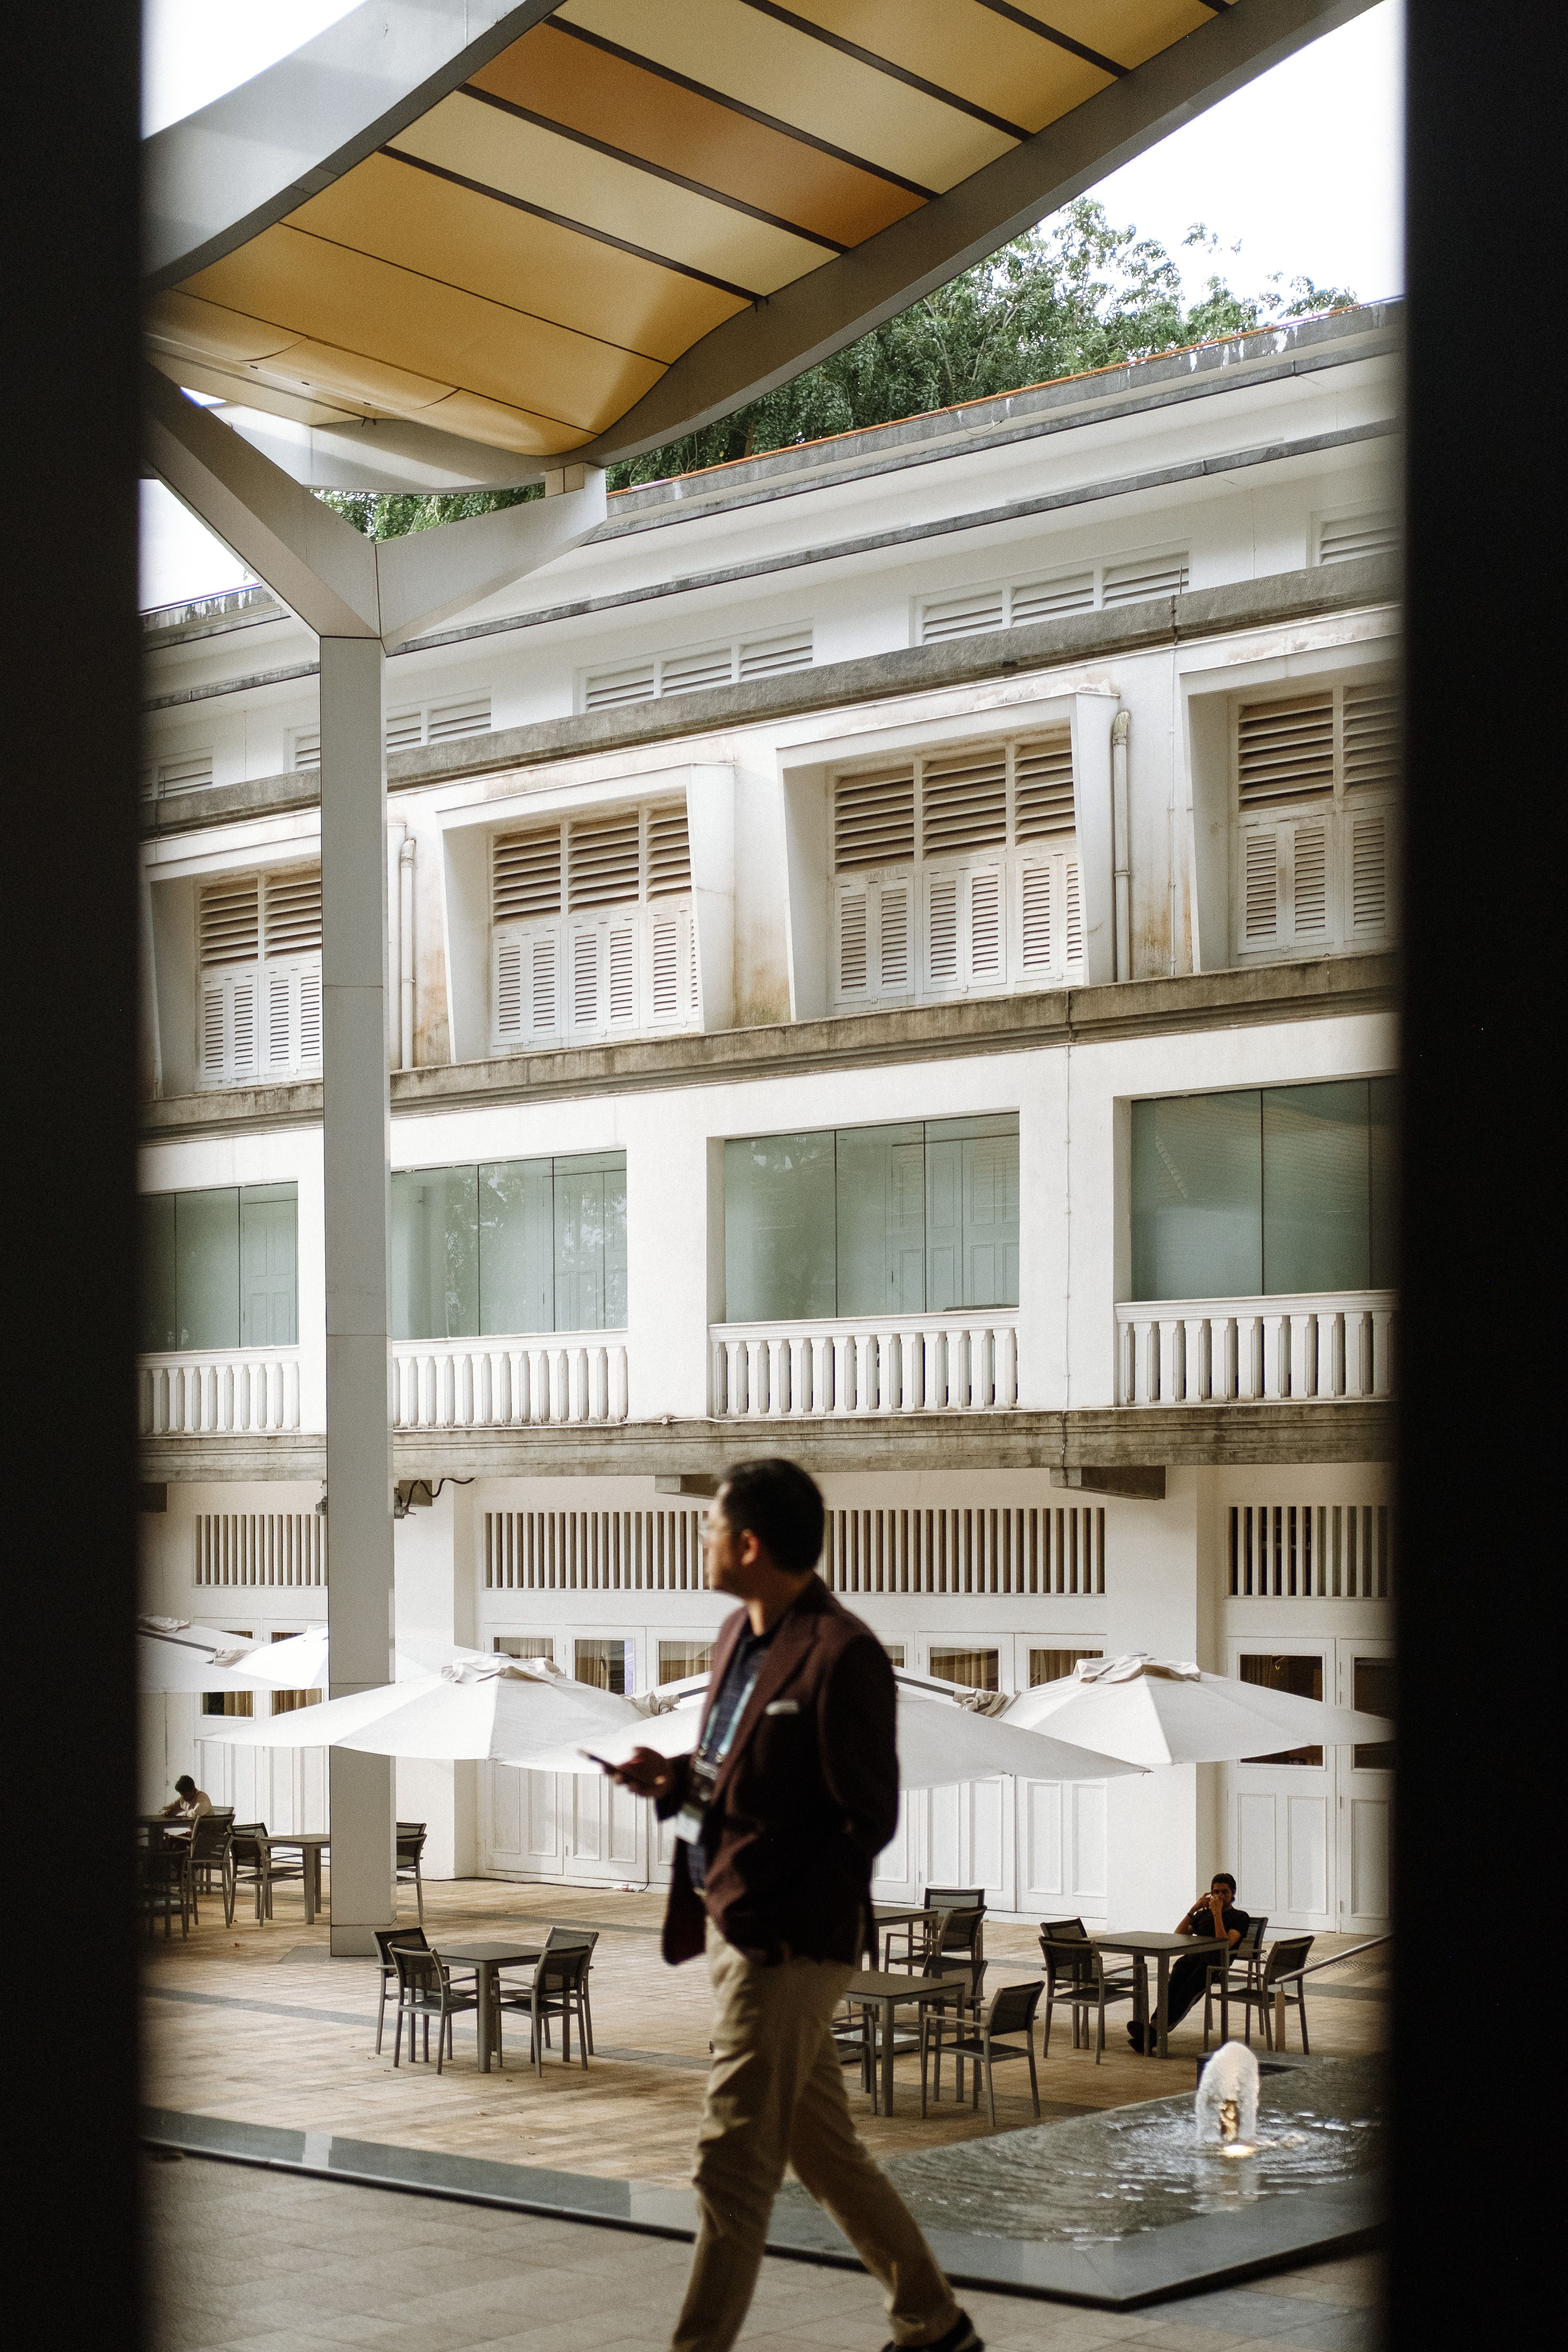
- Pick the frame rate first.
- Set shutter speed to the nearest standard value.
- Choose aperture for depth and light, often f/2 to f/2.8 on the street.
- Set ISO as low as the scene allows.
- Film a 5 to 10 second test clip and review it.
That quick test saves time because city light changes block by block. A shaded street may need ISO 800 or more, while open sun may hold at ISO 100 or 200. Start with a short clip, then adjust from what you see.
Use focus and drive tools that keep up
Continuous AF, also called AF-C or AI Servo, works well for walking scenes. Add eye or subject detection when people move through the frame, and use back-button focus if your camera allows it.
If your body offers pre-capture or pre-burst, switch it on for fast street moments. A mid-tier mirrorless camera often holds about 20 to 40 RAW frames before slowing down, while JPEG bursts run deeper. That buffer handles short bursts well, though it is no invitation to spray the shutter endlessly.
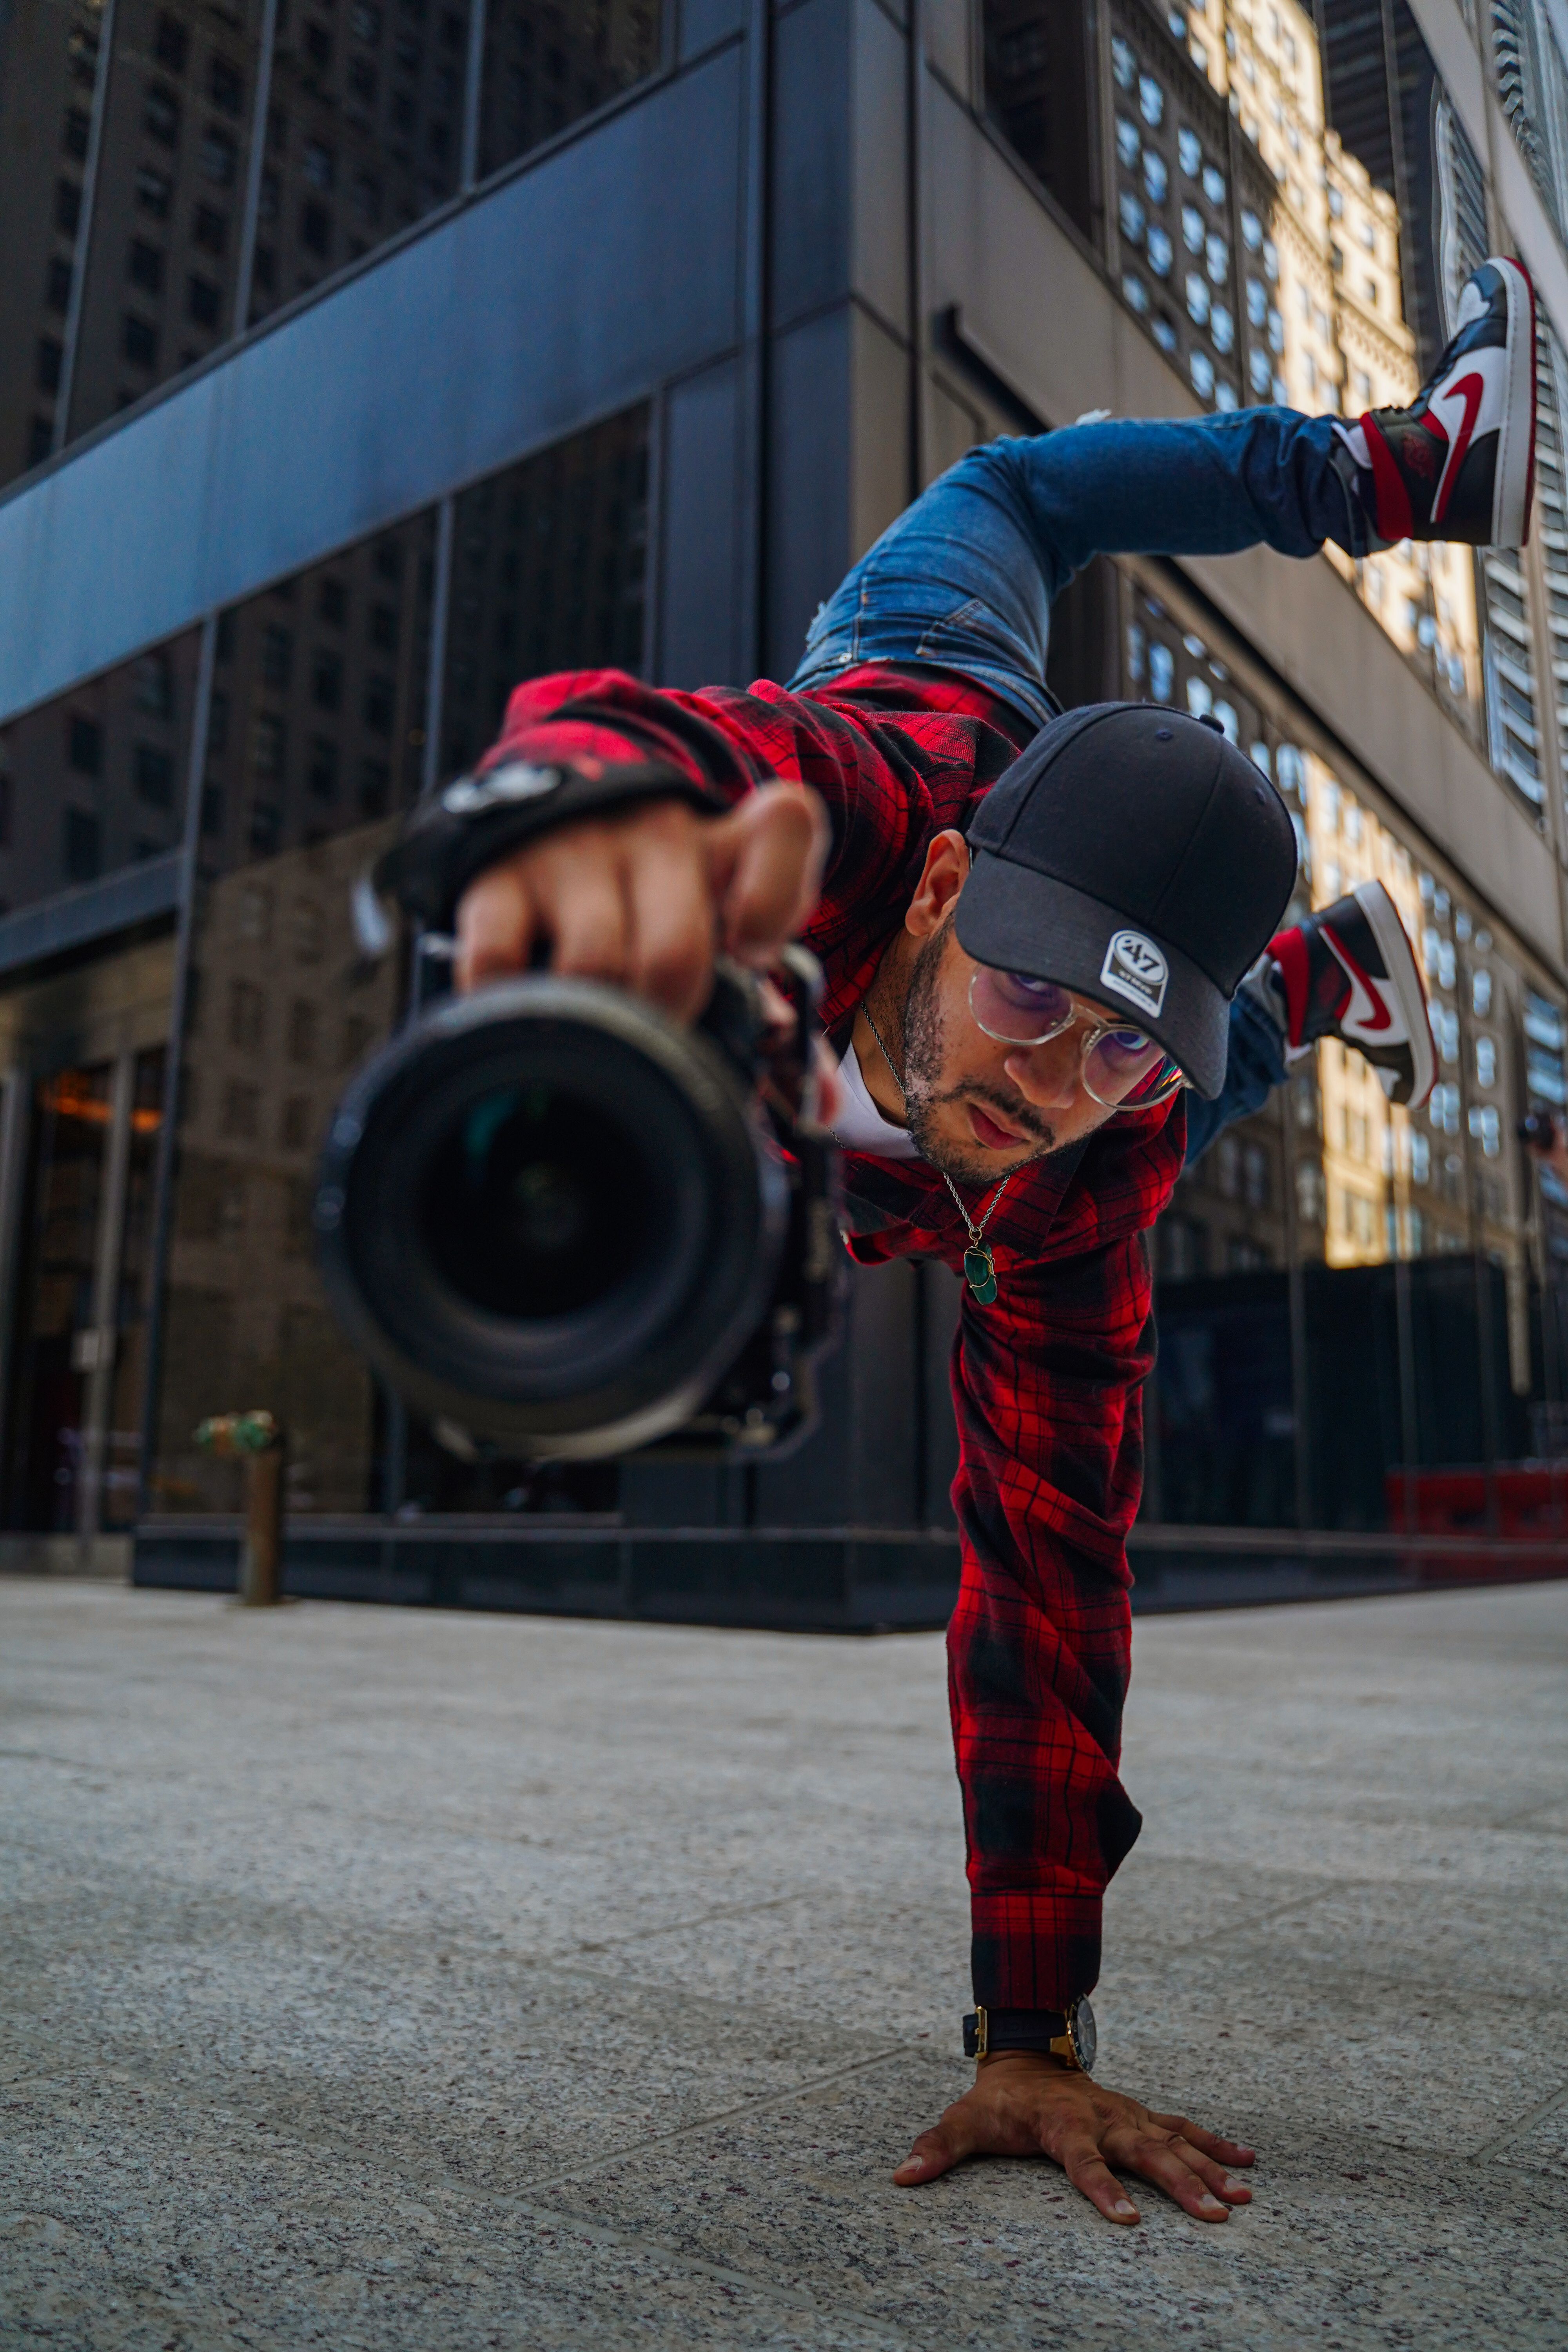
How much shutter speed is enough?
The safest rule is to keep shutter speed high enough to avoid unwanted blur while still fitting the frame rate or the scene. For handheld stills, a common guide is to stay at least as fast as the focal length. A 50 mm lens points to about 1/50 s minimum. A 35 mm lens can often work near 1/35 s, while an 85 mm lens usually asks for more speed.
Use the rule as a floor, not a ceiling
The rule keeps you from setting the shutter too slow when you are tired or moving fast. On a city walk, it gives a useful floor for still shots between video clips.
It does not override the look you want. If the scene includes motion, a faster shutter like 1/125 s or 1/250 s may suit the shot better. The best setting matches both movement and mood.
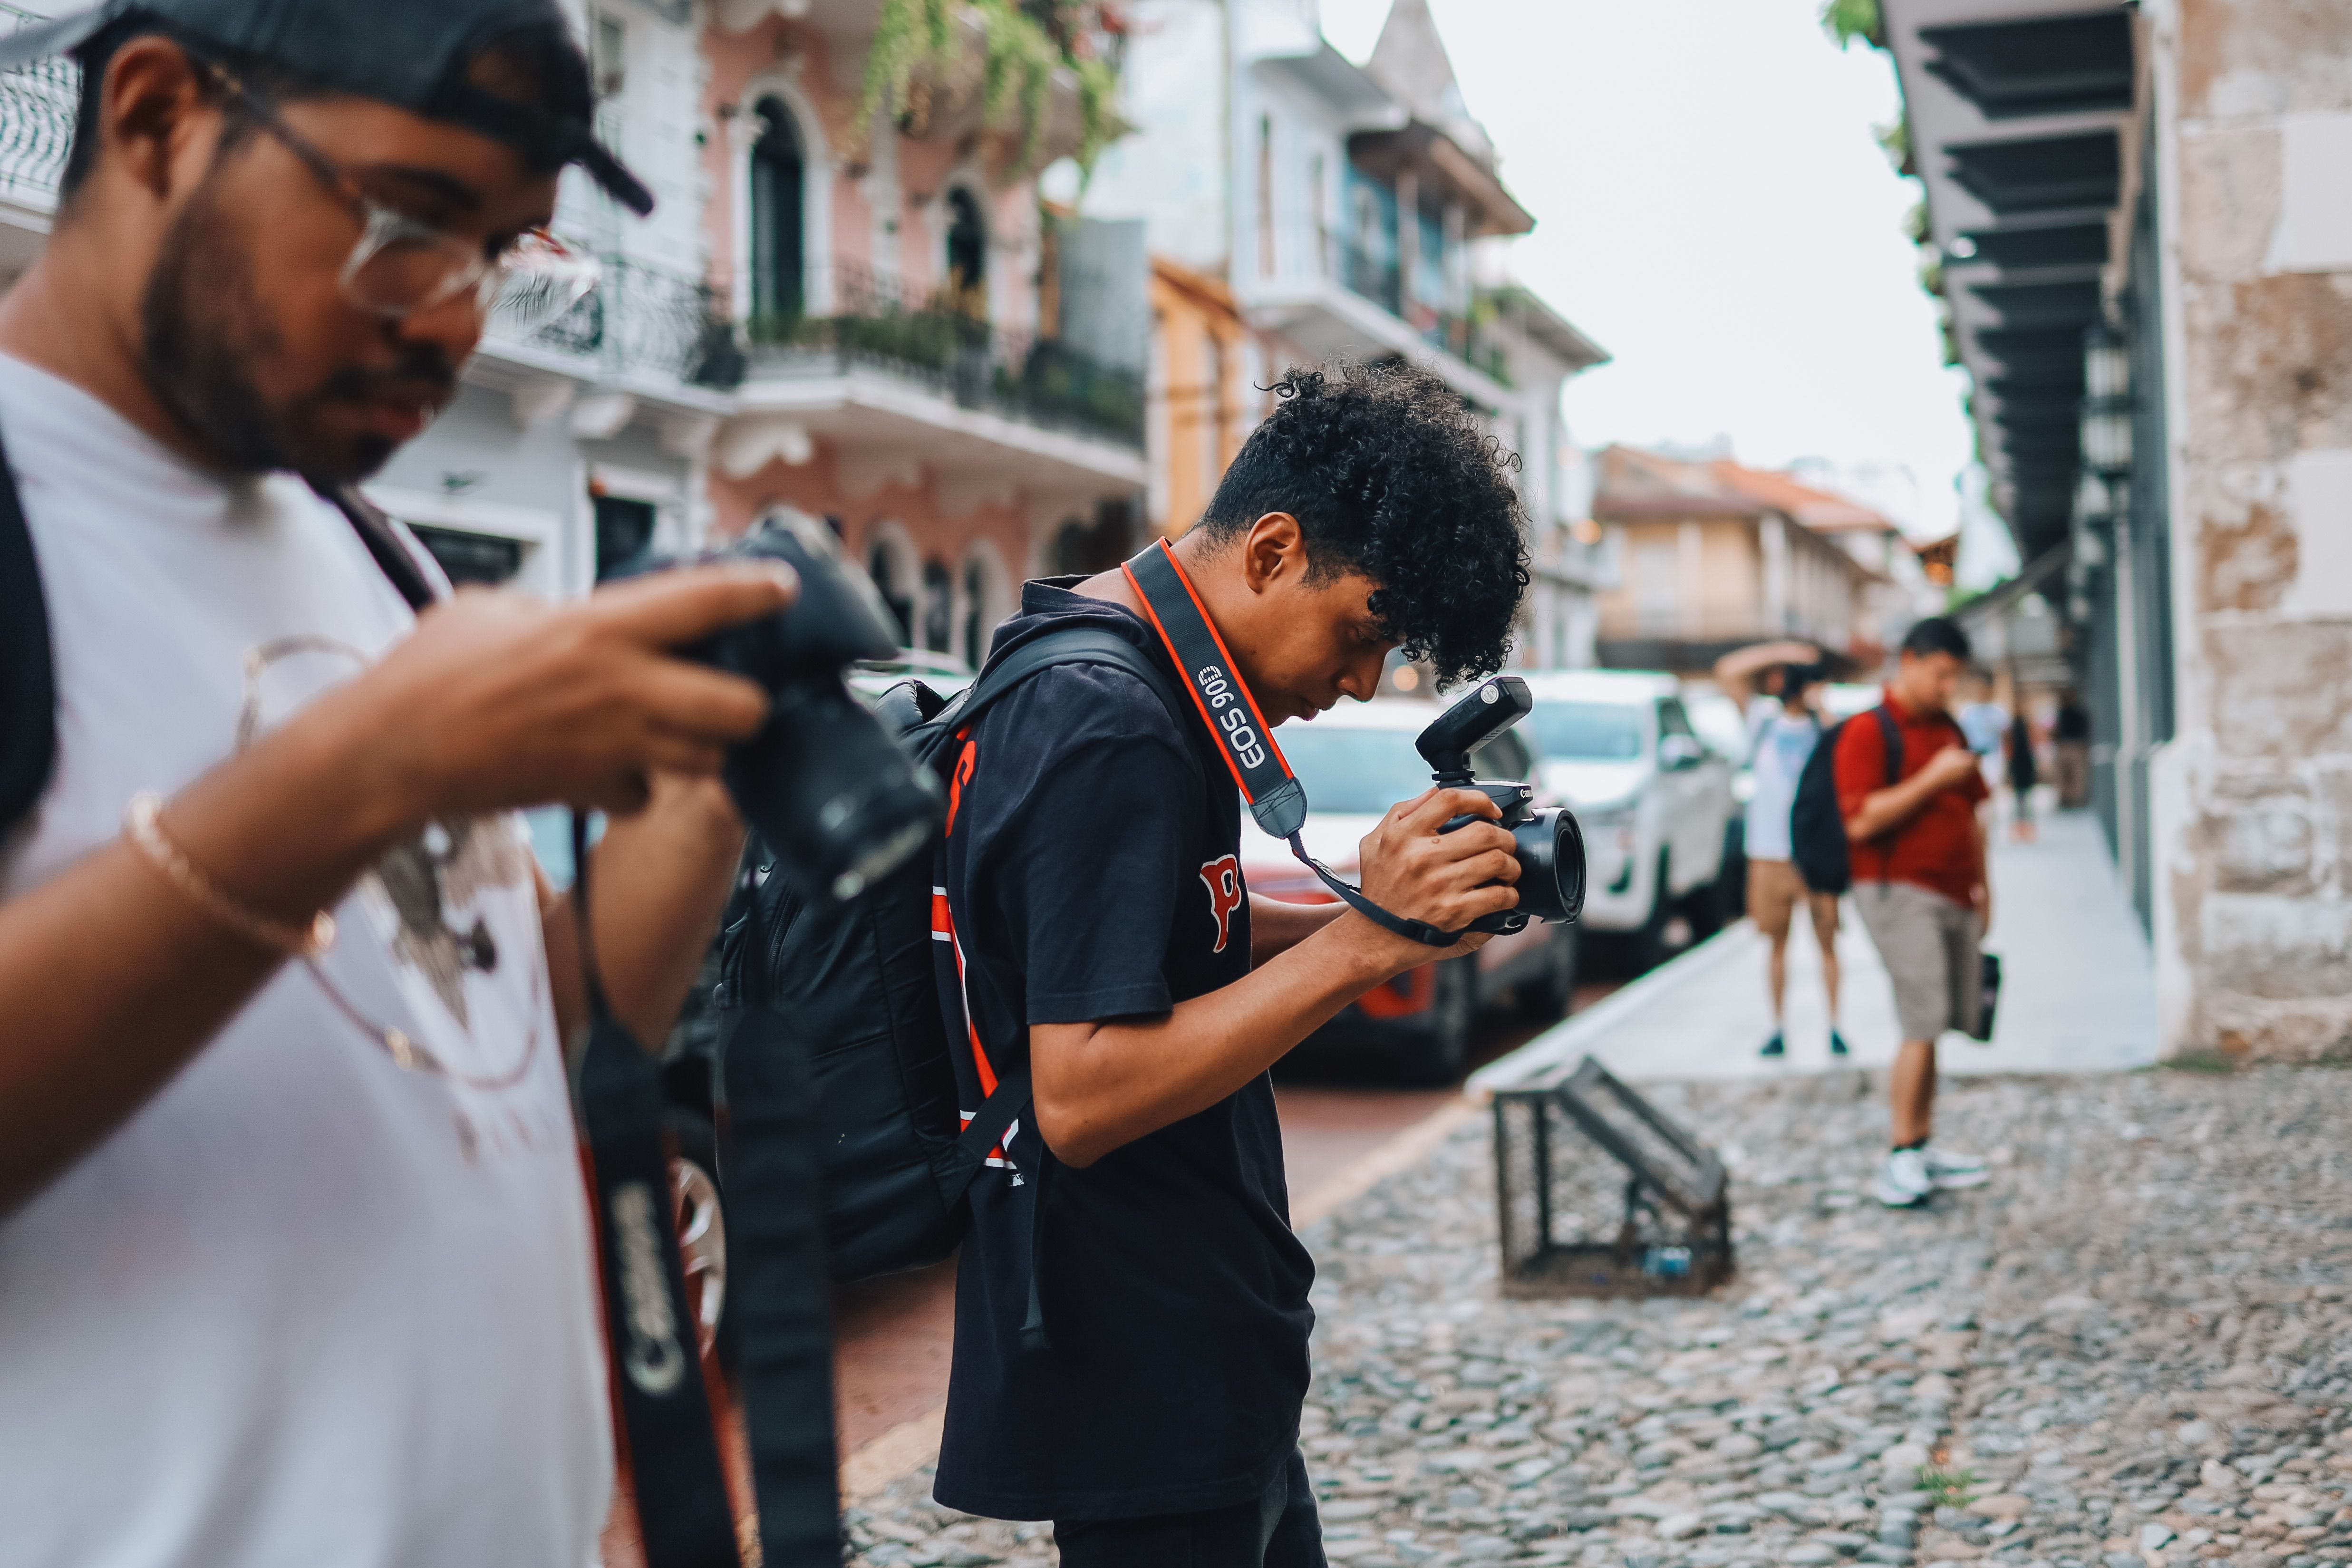
Small gear choices that improve steadiness on the street
Good settings help, but the way you carry the camera changes the result too. A camera that swings freely bounces more, especially on stairs, sidewalks, and crowded corners.
Keep the body close, and use a strap that lets you raise the camera fast. The delay between spotting a scene and hitting record gets shorter, and the wobble from lifting gear out of a bag drops away.
What to keep in your walk kit
- A camera body with stabilization, if your model has it.
- A lens in the 24 mm to 50 mm range for easier handholding.
- One fast card, such as UHS-II V60 or V90, for burst and video writes.
- A spare battery, since EVF and LCD use drains power fast.
- A strap or carry system that keeps the camera near your chest.

Card speed matters when you shoot bursts or longer clips. UHS-I can work for simple jobs, but UHS-II V60 or V90 gives more room for deep buffers and higher bit rates. That helps when you move from a few stills to a short video take without waiting on the card.
Habits that keep the frame calm
Walking technique matters just as much as camera settings. Bend your knees slightly, keep your elbows close, use shorter steps when you film, and avoid sudden stops.
Pan with your whole body instead of your wrists. The motion stays smoother, and the small shakes that show up in the clip drop off. A few calm steps often do more than a fancy setting change.
A quick street routine

- Hold the camera with two hands.
- Brace your elbows against your body.
- Exhale before you press record.
- Walk heel to toe when the surface is smooth.
- Pause for one beat before each take.
That last pause helps a lot. It gives your body time to settle and makes the first second of the clip look cleaner. The result feels steadier, even without a gimbal.
Keep the look natural without losing control
On a city walk, the best result comes from balance. Match shutter speed to frame rate, then move faster only when shake or motion demands it.
Use 1/50 s at 24 fps, 1/60 s at 30 fps, and 1/120 s at 60 fps as your base. Then adjust for the scene, your lens, and how much you are moving. A steady clip usually comes from one good choice repeated well, not one perfect trick.

Before you move on, check the clip for hand bounce, subject blur, and exposure shifts in changing light. Keep the camera ready on your strap, and set up the next shot before the next block starts.
Frequently Asked Questions
What is the best shutter speed for taking photos?
For photos on a city walk, 1/125 s is a strong starting shutter speed for people and street scenes. Faster speeds freeze gestures and motion more effectively, while slower speeds allow more blur.
What is shutter speed used for in photography?
Shutter speed controls how long the sensor stays open, which affects motion blur and sharpness in a photo or video frame. In street photography, it is used to balance freezing movement against showing natural motion.
How should I set my shutter speed?
To set shutter speed for video, start with the 180-degree rule: use a shutter speed about double the frame rate. That means about 1/50 s at 24 fps, 1/60 s at 30 fps, and 1/120 s at 60 fps, then raise it to 1/125 s to 1/250 s when the walk gets rough or action-heavy.
What is the golden rule of shutter speed?
The golden rule of shutter speed for natural-looking video is the 180-degree shutter rule. It says shutter speed should be about twice the frame rate, such as 1/50 s for 24 fps, 1/60 s for 30 fps, and 1/120 s for 60 fps.


