


- Use a low viewpoint and strong foreground to give the river real depth.
- Shoot 1/4s–2s on a tripod to turn choppy water into silky motion.
- On iPhone, lock exposure and add a long-exposure effect with live photo apps.

River shots go flat when the scene loses depth, contrast, or a clear route for the eye. Long exposure photography can help by turning moving water into smooth layers, but the look only lands when the composition is built well. Start before the shutter clicks. Get the light right, anchor the frame with a strong foreground, and carry your camera in a way that lets you scout the bank without fighting your gear.
Translation missing: en.blog_cta.bundle_heading

- Regular price
-
€42 - Regular price
-
€44 - Sale price
-
€42
By choosing the Camstrap strap, you are opting for a high-quality product designed to meet the needs of the most demanding photographers.
- Developed by a physiotherapist to relieve neck and back pain.
- Fast delivery with tracking by the Post Office 🚚
- Can be used as a shoulder strap or hands-free harness

- Regular price
-
€36 - Regular price
-
€42 - Sale price
-
€36
Translation missing: en.blog_cta.free_shipping_included
Why river scenes lose depth so fast
Flat river photos usually come down to a few familiar problems: weak light, no clear subject, or water and land that sit too close in tone.
Broad daylight often makes the problem worse. Bright water blows out the highlights while the banks sink into dull shadow, and the scene turns into a wide band of nearly identical texture.
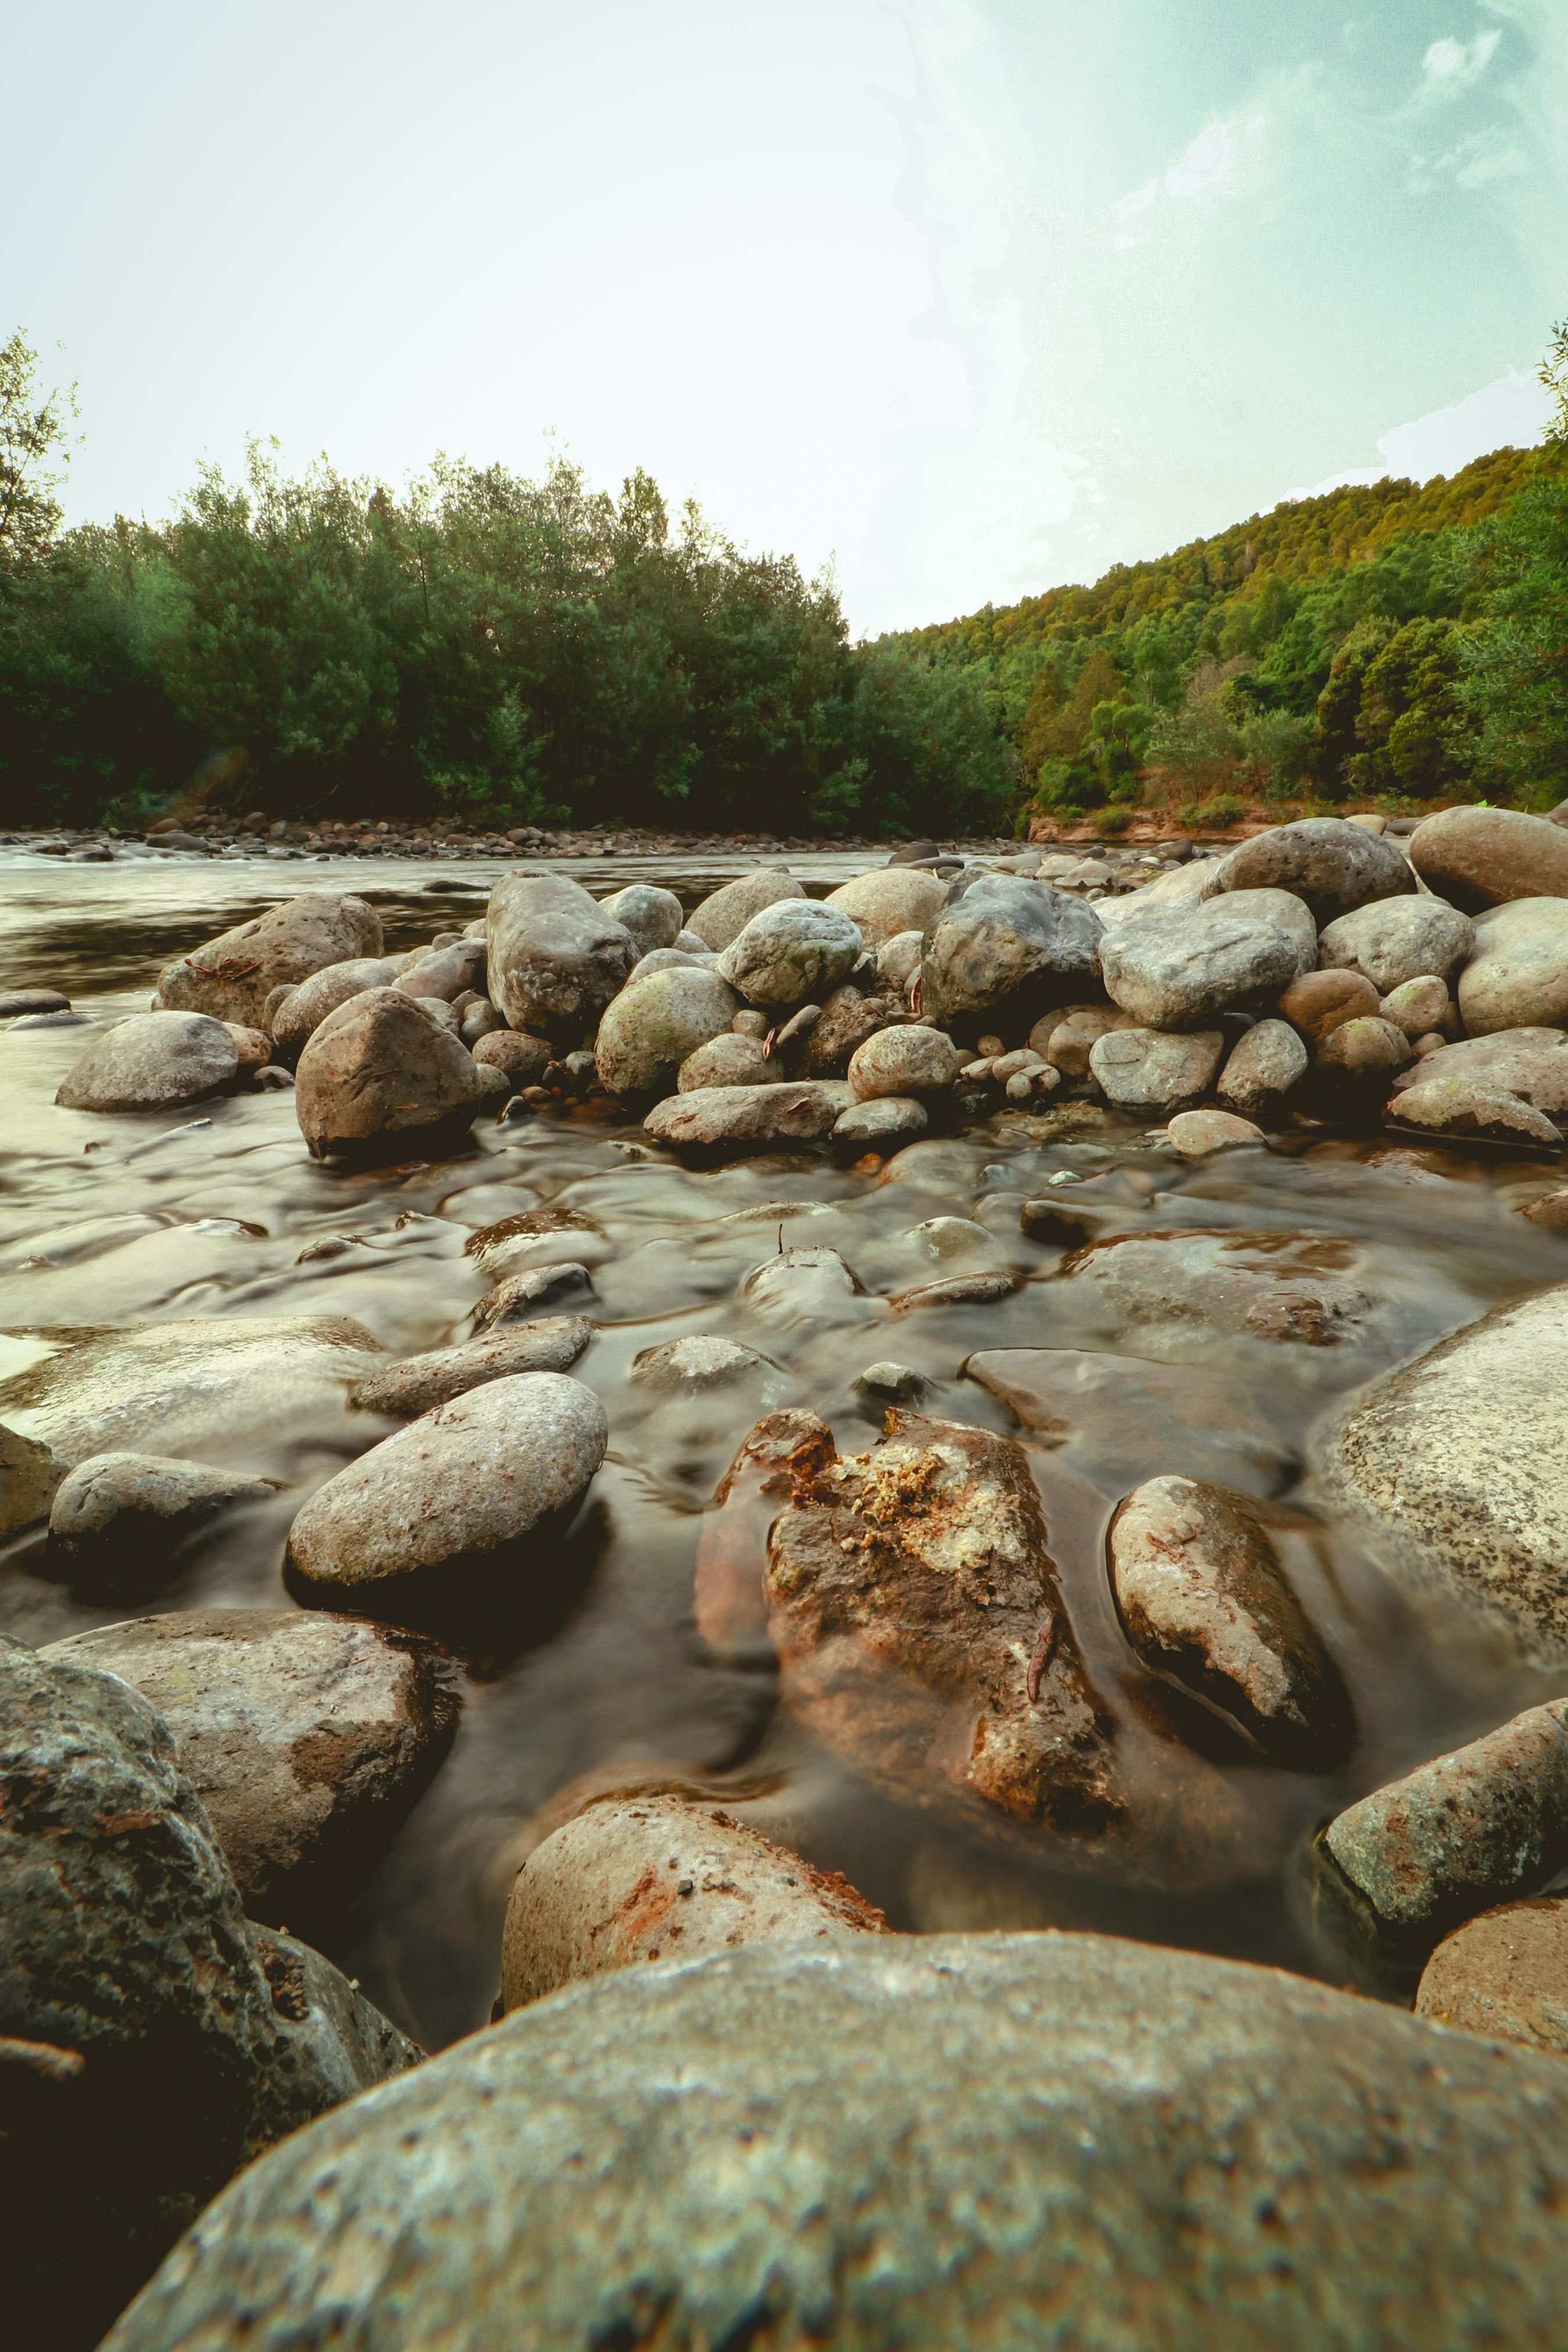
Light, shape, and color all matter
Rivers work best when one part of the frame leads into another. A rock, bend, log, or plant near the bank gives the viewer somewhere to start. Color helps with separation too. Warm rocks, dark trees, and cool water create distinct layers; without that contrast, everything merges into one soft band.
Camera height changes the read of the scene. Stand too high and the water flattens into a sheet; lower the camera and put something close in the foreground, and the river picks up scale and depth.
What makes a river photo feel alive
A strong river image gives the eye a clear route. Often, that route begins in the foreground and bends through the frame toward the main flow.
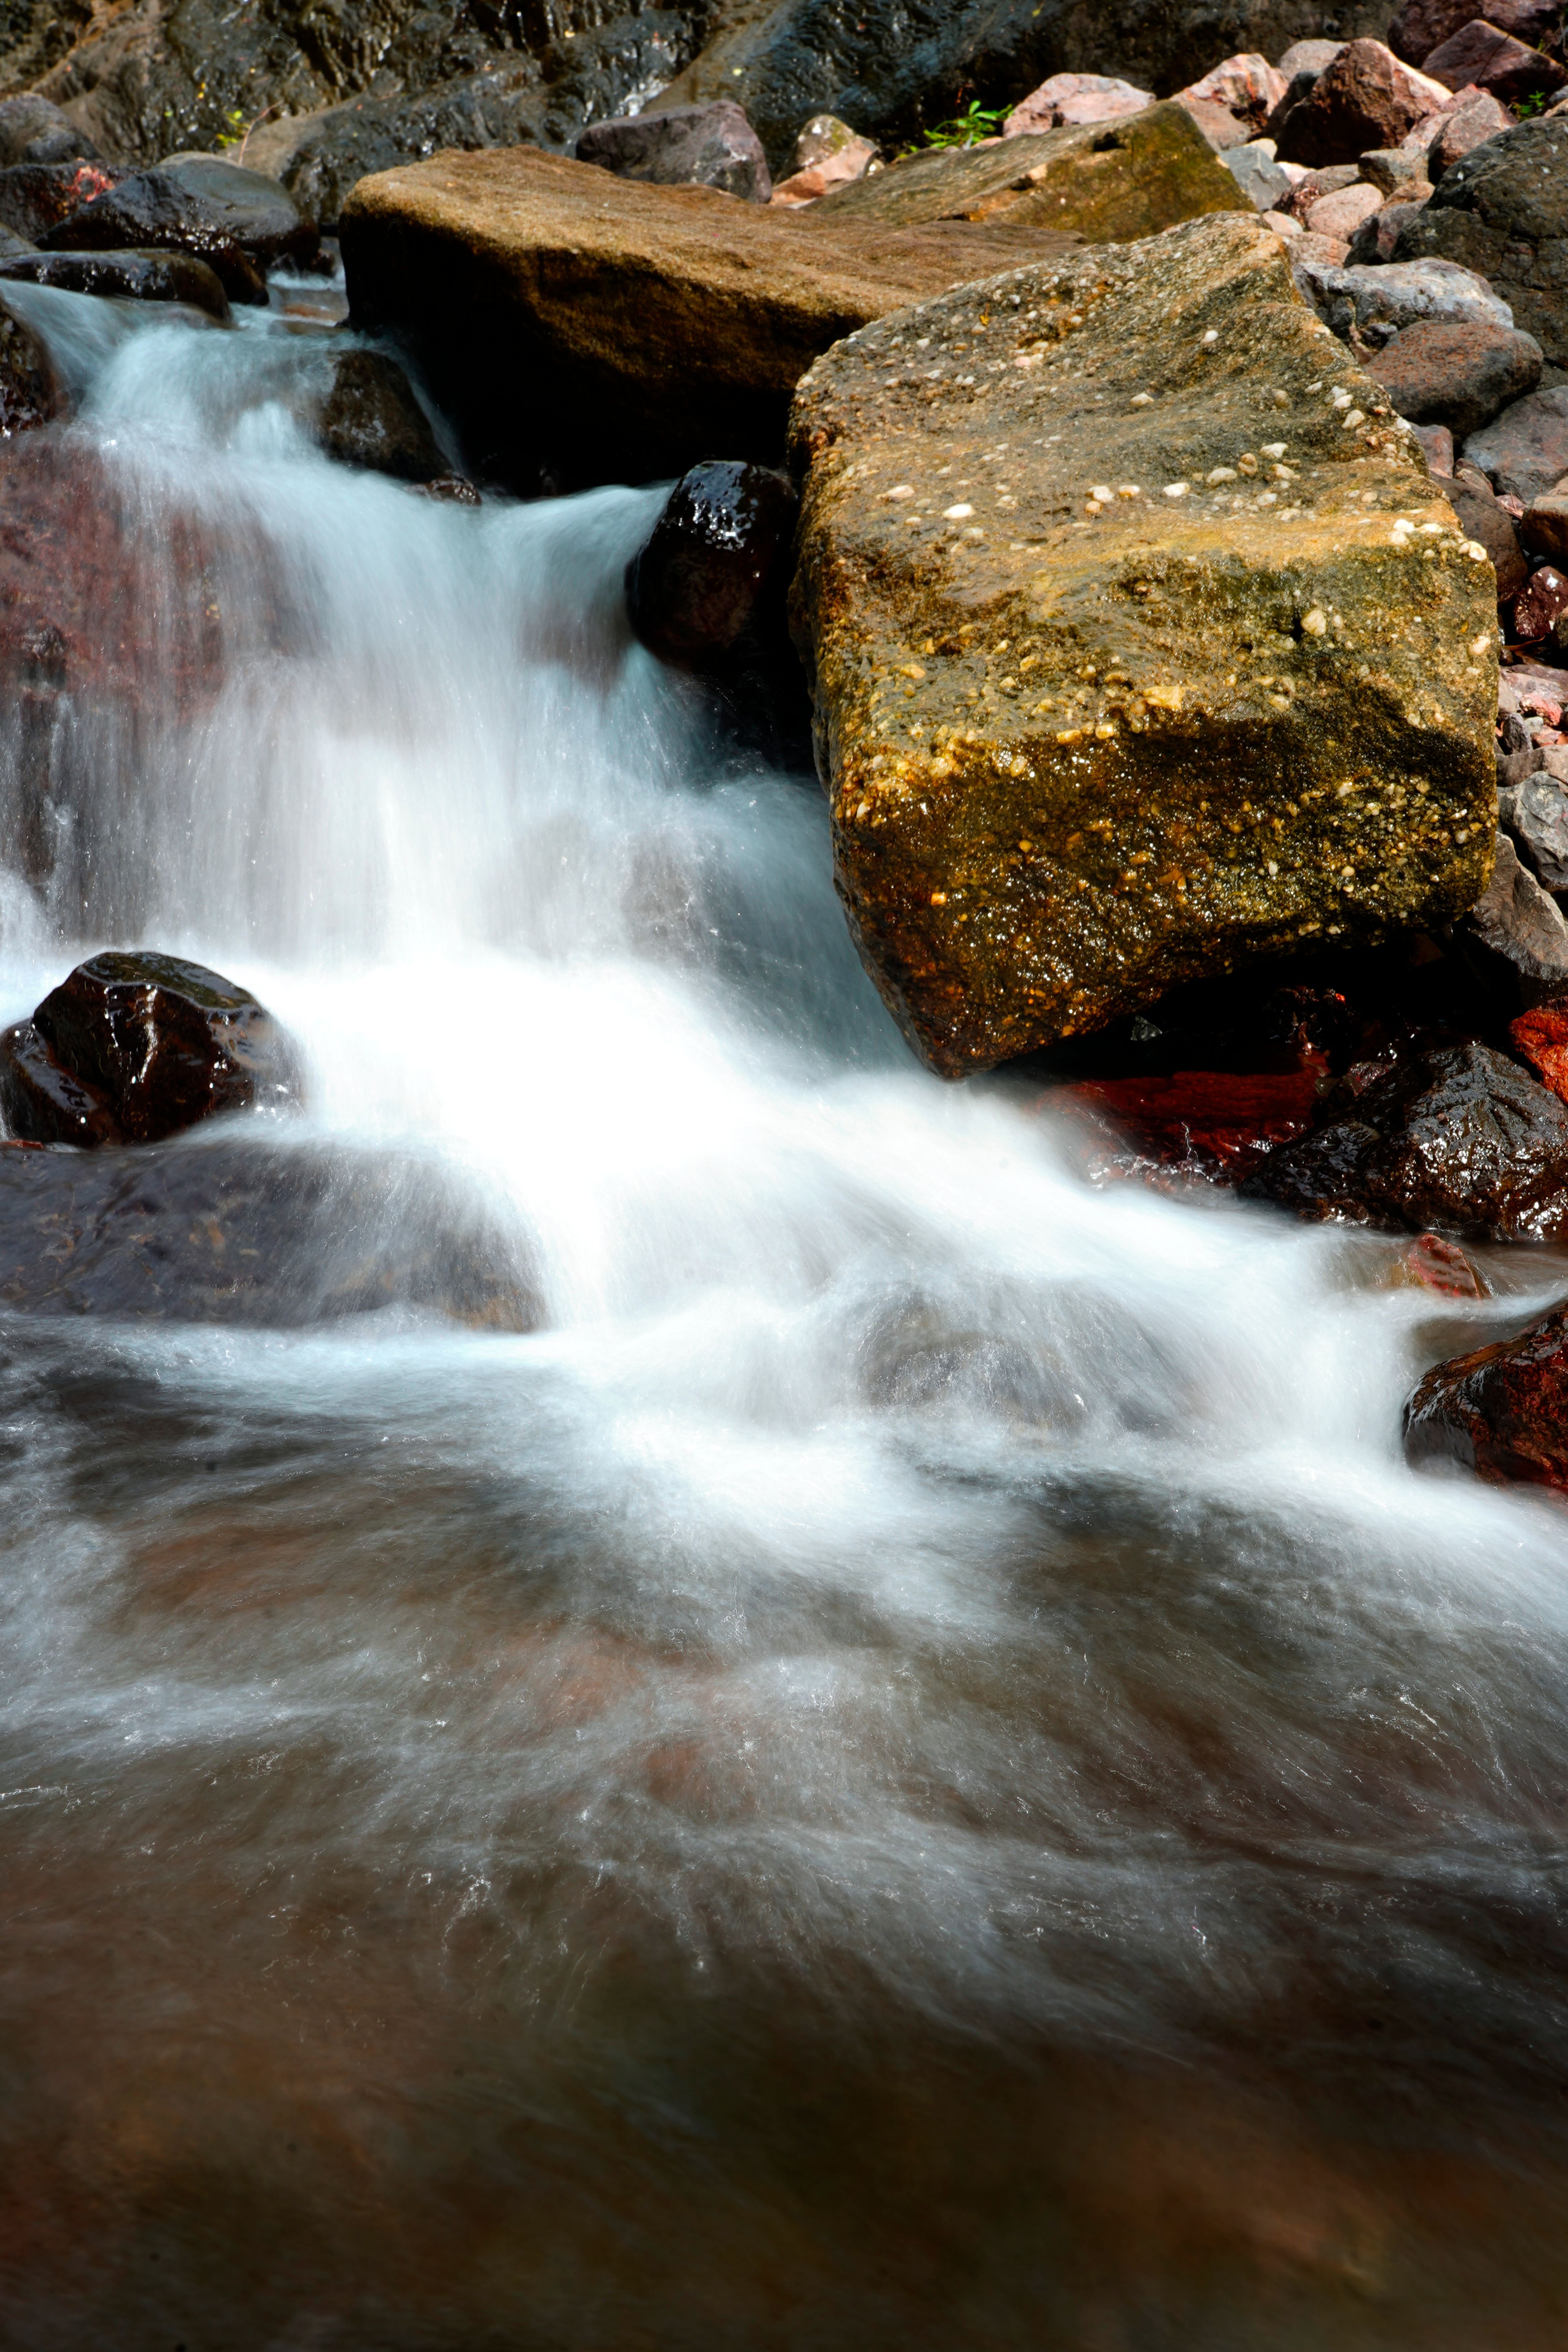
A low viewpoint helps, and a 24mm to 35mm lens often works well because it keeps foreground rocks large and makes the river feel broader.
Build depth with three simple layers
- Foreground: place rocks, reeds, or a wet bank near the frame edge.
- Middle ground: use the main stream, foam line, or a bend in the current.
- Background: keep trees, cliffs, or hills simple so they do not compete.
This layered approach works because the eye reads distance in steps. A photo with three clear zones feels deeper than one wide strip of water. Leading lines help as well. River curves, log lines, and stone edges can pull the viewer inward without much effort.
How exposure settings change the mood

Exposure shapes the feel of the water more than most people expect. Fast shutter speeds freeze splashes and hold detail; slow speeds blur motion and give the water a softer presence.
For moving water, start with 1/4s to 2s for a gentle silk look. Use a tripod, set ISO 100, and stop down to about f/8 to f/11 if the light allows.
Pick the shutter speed for the story
A 1/500s frame keeps ripples crisp and works well for rough whitewater. A 1/15s frame gives a little blur, which helps when you still want texture. Longer times, like 1s to 4s, can make a calm river feel dreamlike. Push too far, though, and the current loses shape and the image goes weak.
The tradeoff is real. The best time is not always the longest one.
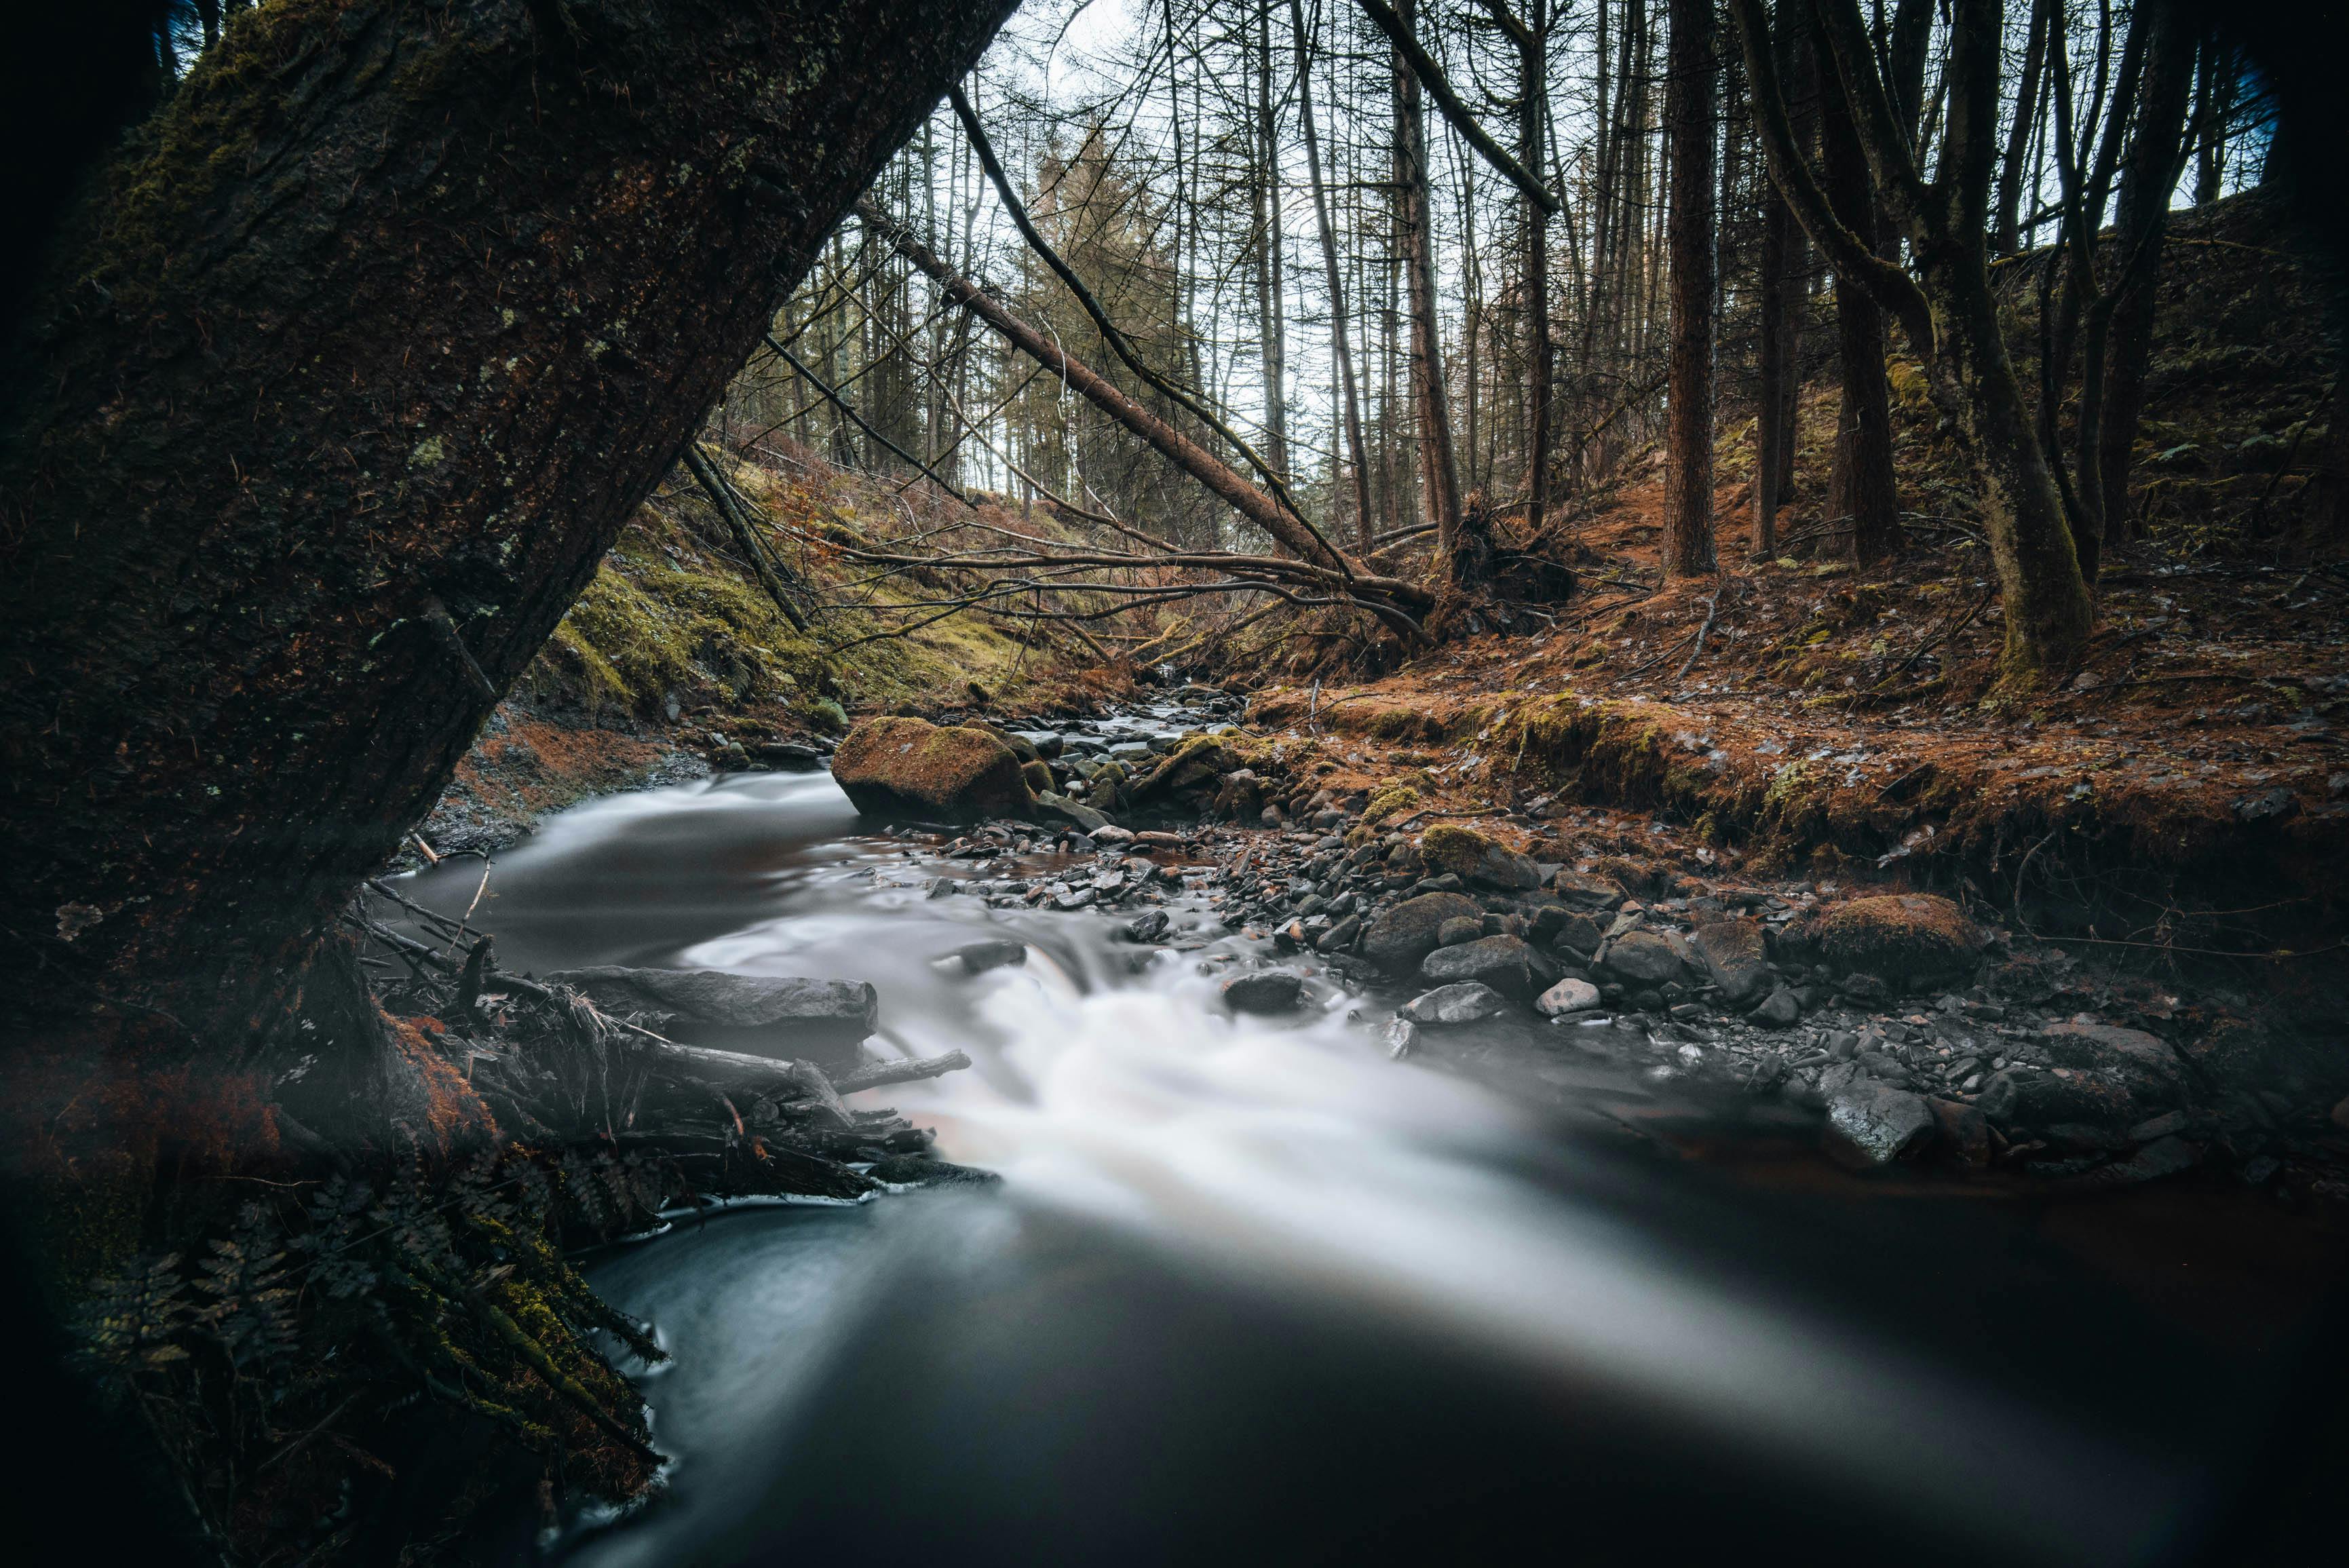
How do you take long exposure photos?
Lock the camera down, lower ISO, and use a slow shutter speed that matches the water movement. A tripod, a 2-second timer, and manual mode make the result far more stable.
- Set the camera to Manual mode or Shutter Priority.
- Use ISO 100 or the base ISO on your body.
- Start near f/8 and adjust from there.
- Test a shutter speed between 1/2s and 4s.
- Check the histogram, then protect the bright water highlights.
Neutral density filters help on bright days because they cut light without changing color much. A 6-stop ND often gets you into the 1/2s to 8s range when the sun is still up.
Focus first, then stop touching the camera
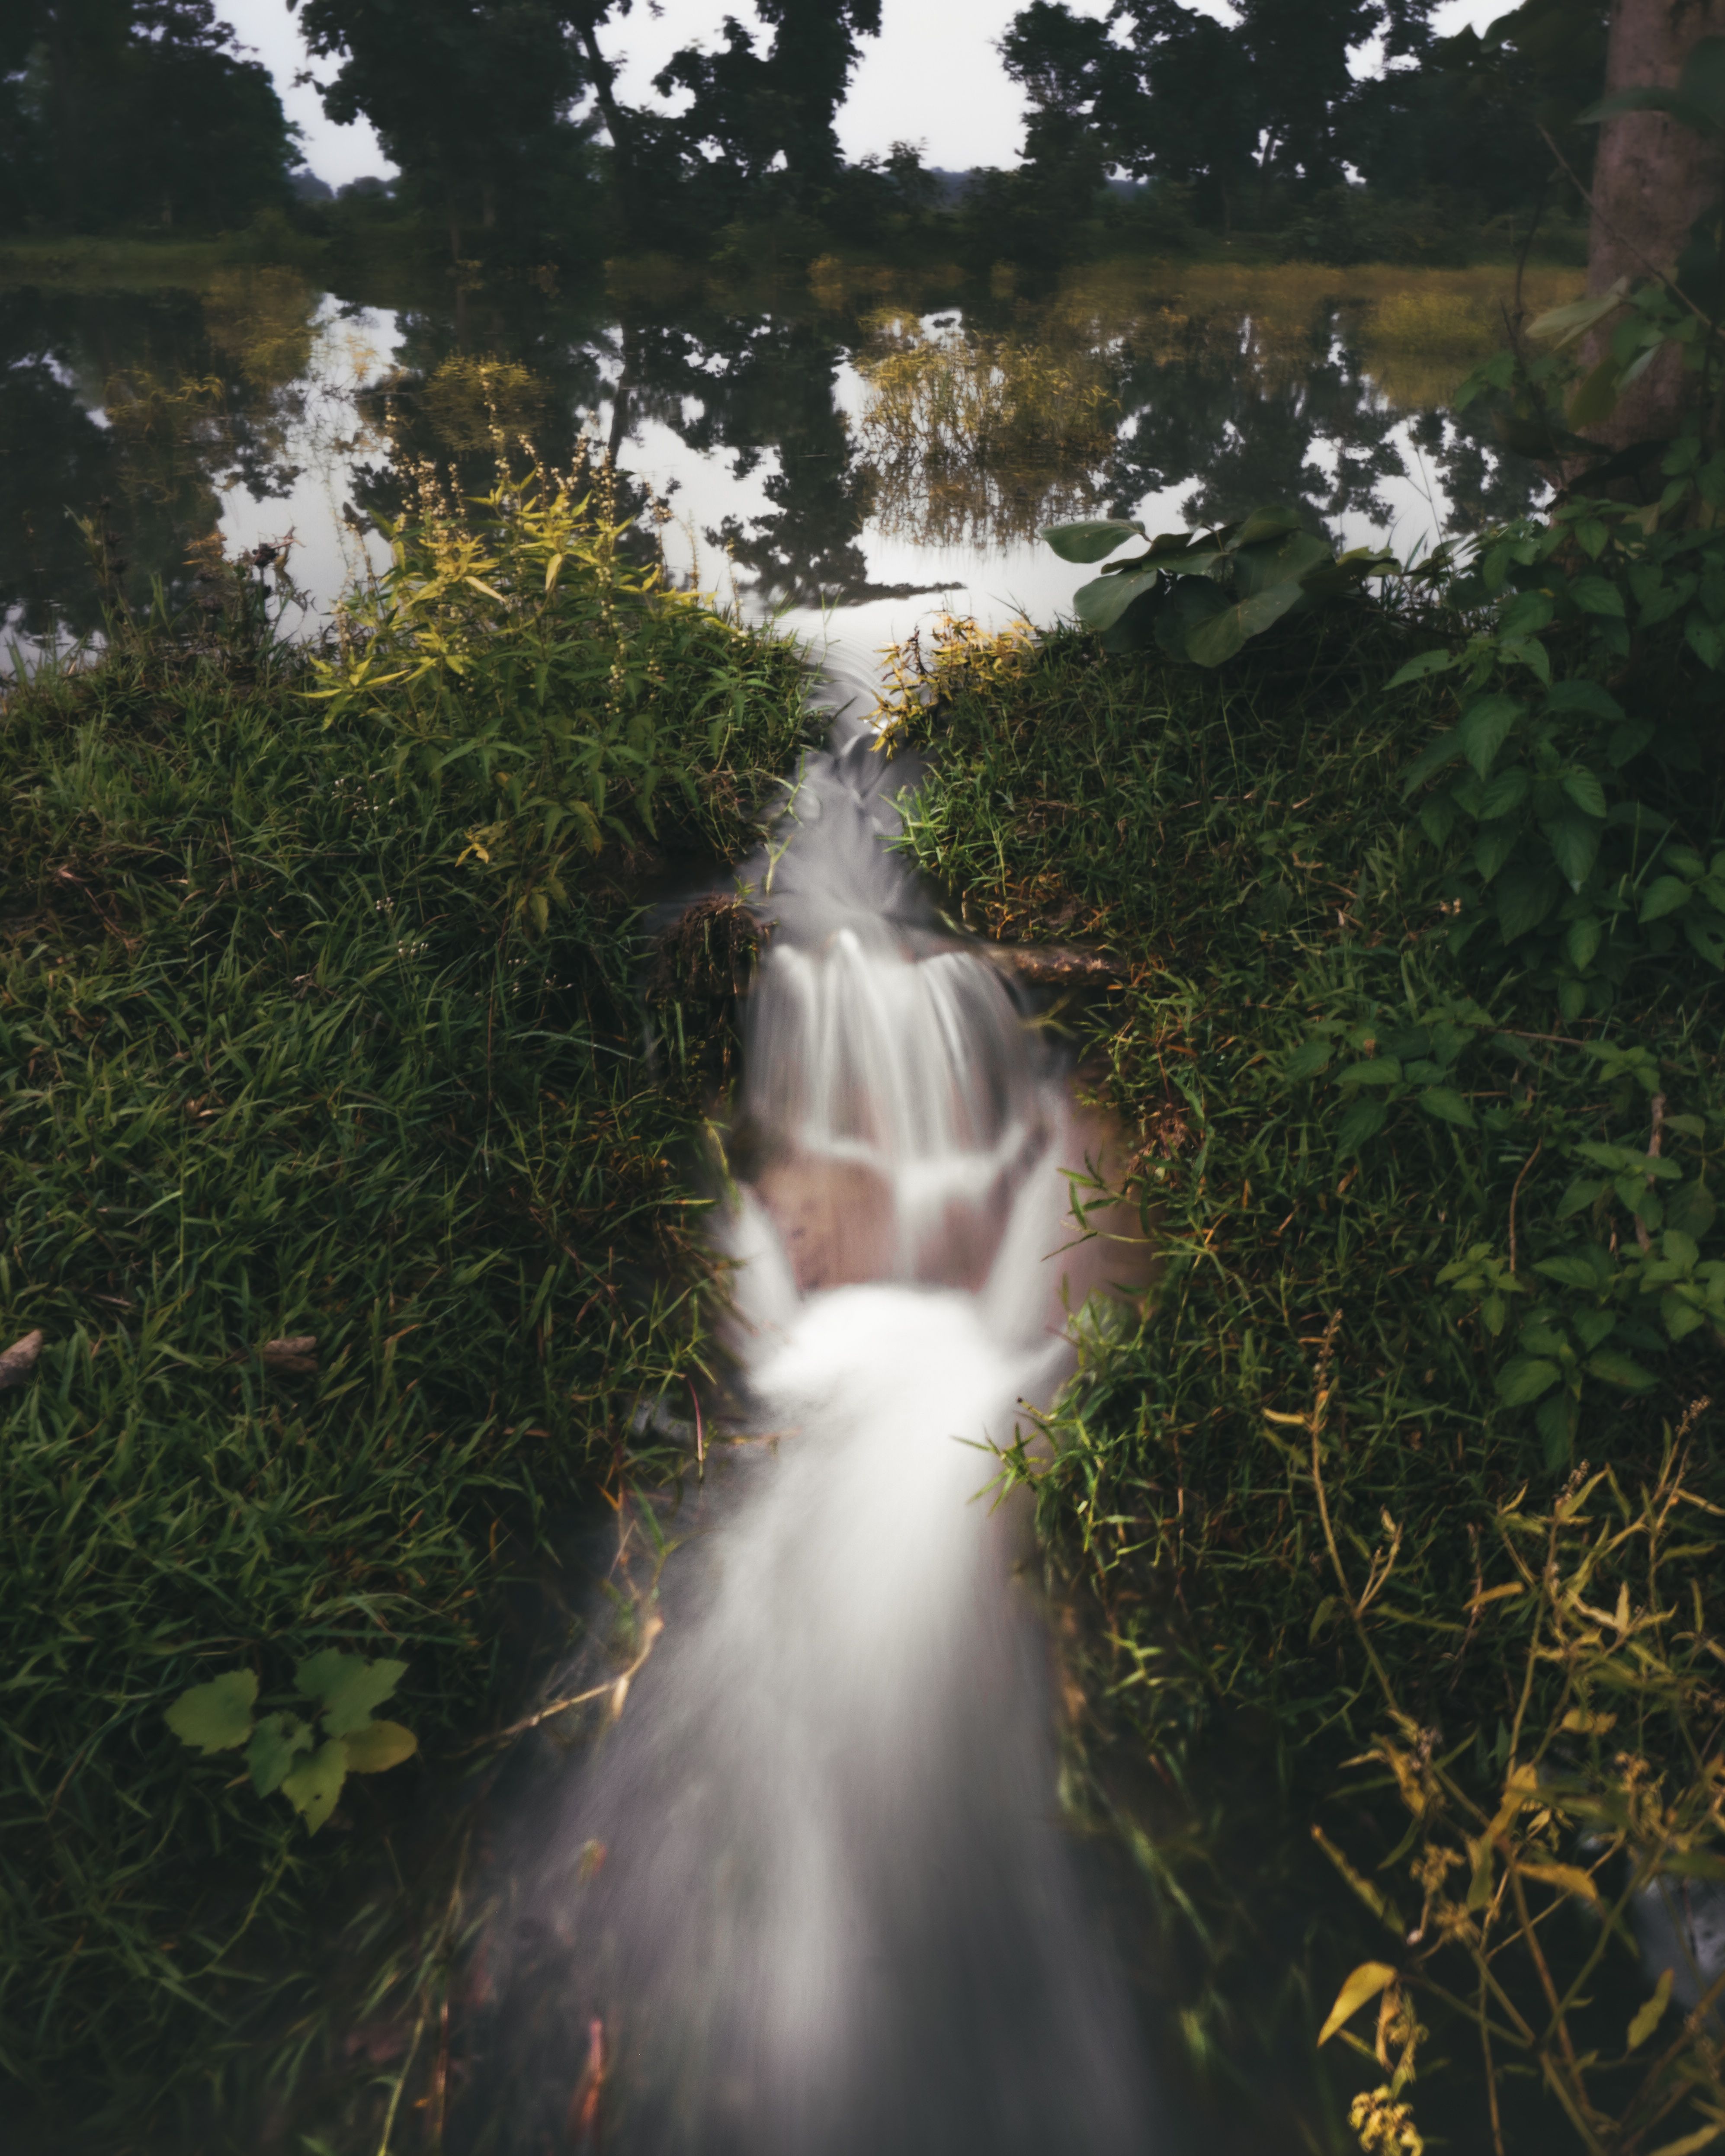
Use AF-C or AI Servo only to lock focus, then switch to manual focus if the scene stays still. Back-button focus also helps because it keeps the shutter press from changing focus by accident.
A mid-tier mirrorless body may slow after roughly 20 to 40 RAW frames, depending on the card and file size. For river work, that is usually enough, since you need one clean frame rather than a huge burst.
If you move a lot while scouting, a sling-style carry setup keeps the camera ready without bouncing hard against your body. A Camstrap voyager style strap fits this use well because it spreads weight and lets the camera swing into shooting position fast.
Can I take a long exposure photo on my iPhone?
You can take a long exposure photo on your iPhone by using Live Photos and the Long Exposure effect, or by using a manual camera app. The built-in method works best for small streams, waterfalls, and handrails where the phone can stay still. Place the iPhone on a rock, mini tripod, or solid ledge. Then enable Live Photo and choose the Long Exposure option in the Photos app after the shot.
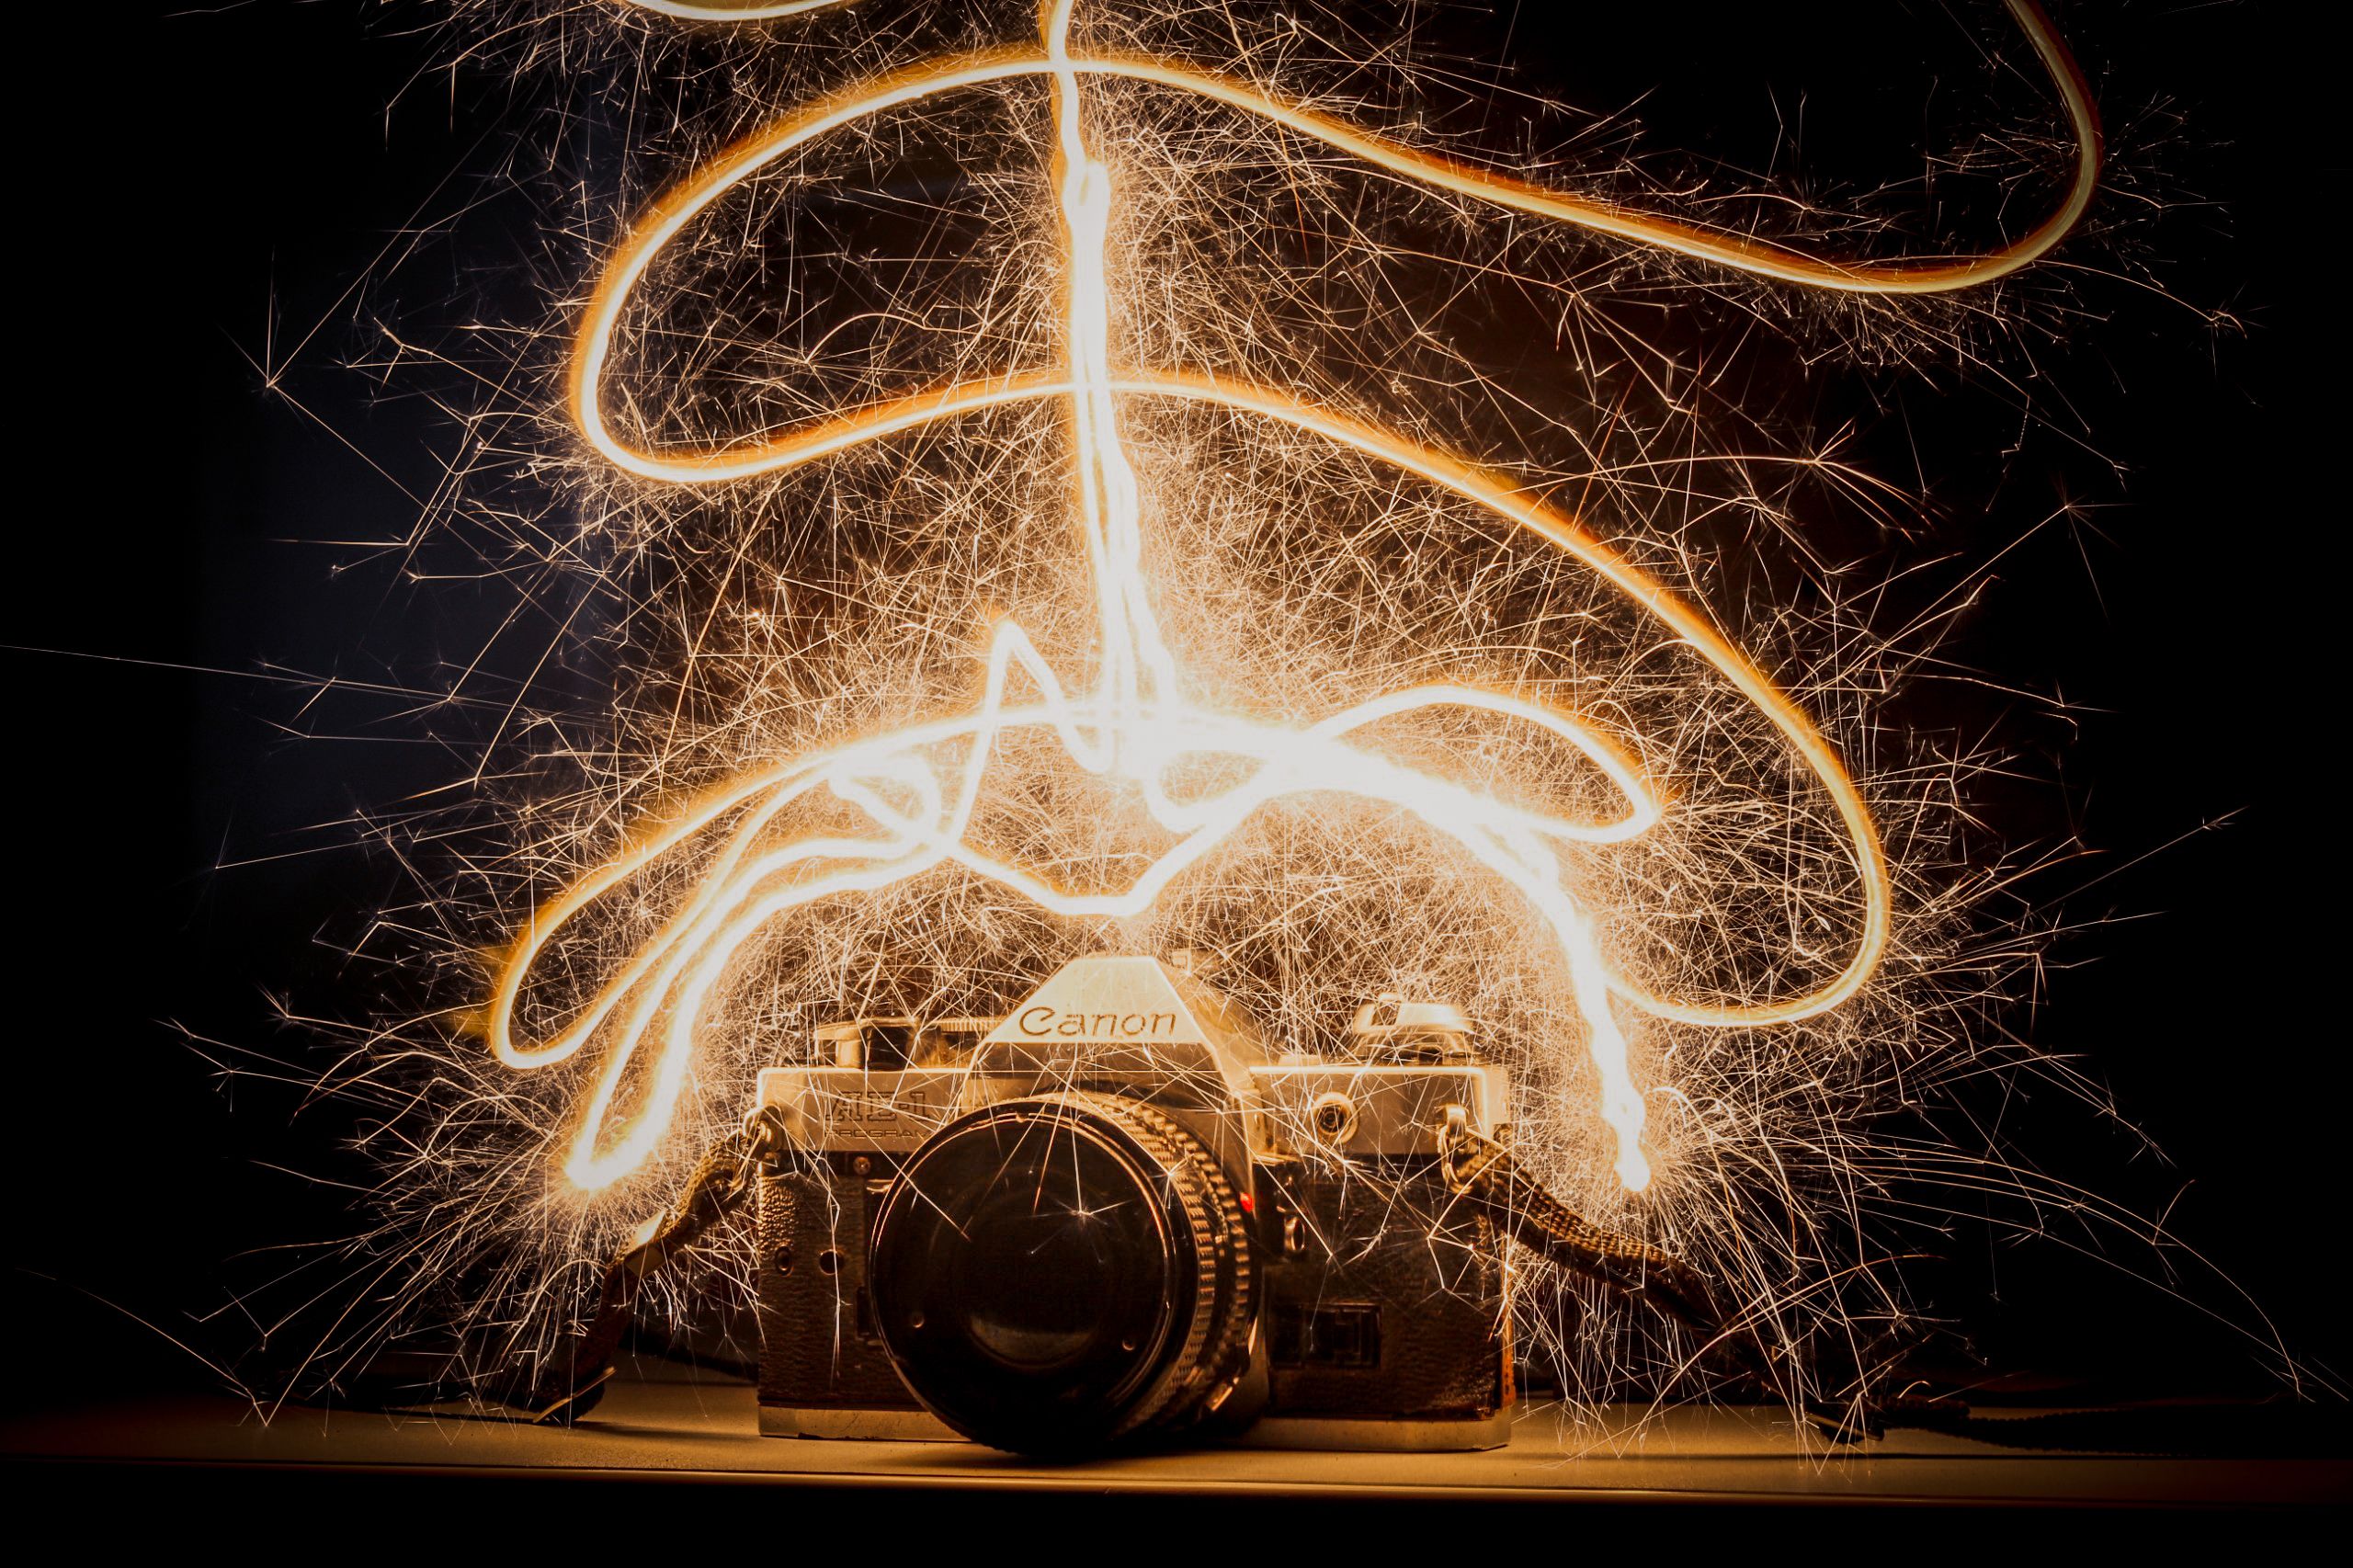
What works well on a phone
- Bright rivers with simple motion.
- Waterfalls with clear shape and spray.
- Night scenes with city lights near water.
The phone has limits, though. It cannot control shutter time like a full camera, so the blur depends on the scene and the app.
If the bank is windy or uneven, wait for a safer spot before you set the phone down. A steady support matters more than the brand of camera in this case.
Examples that show the technique in real use
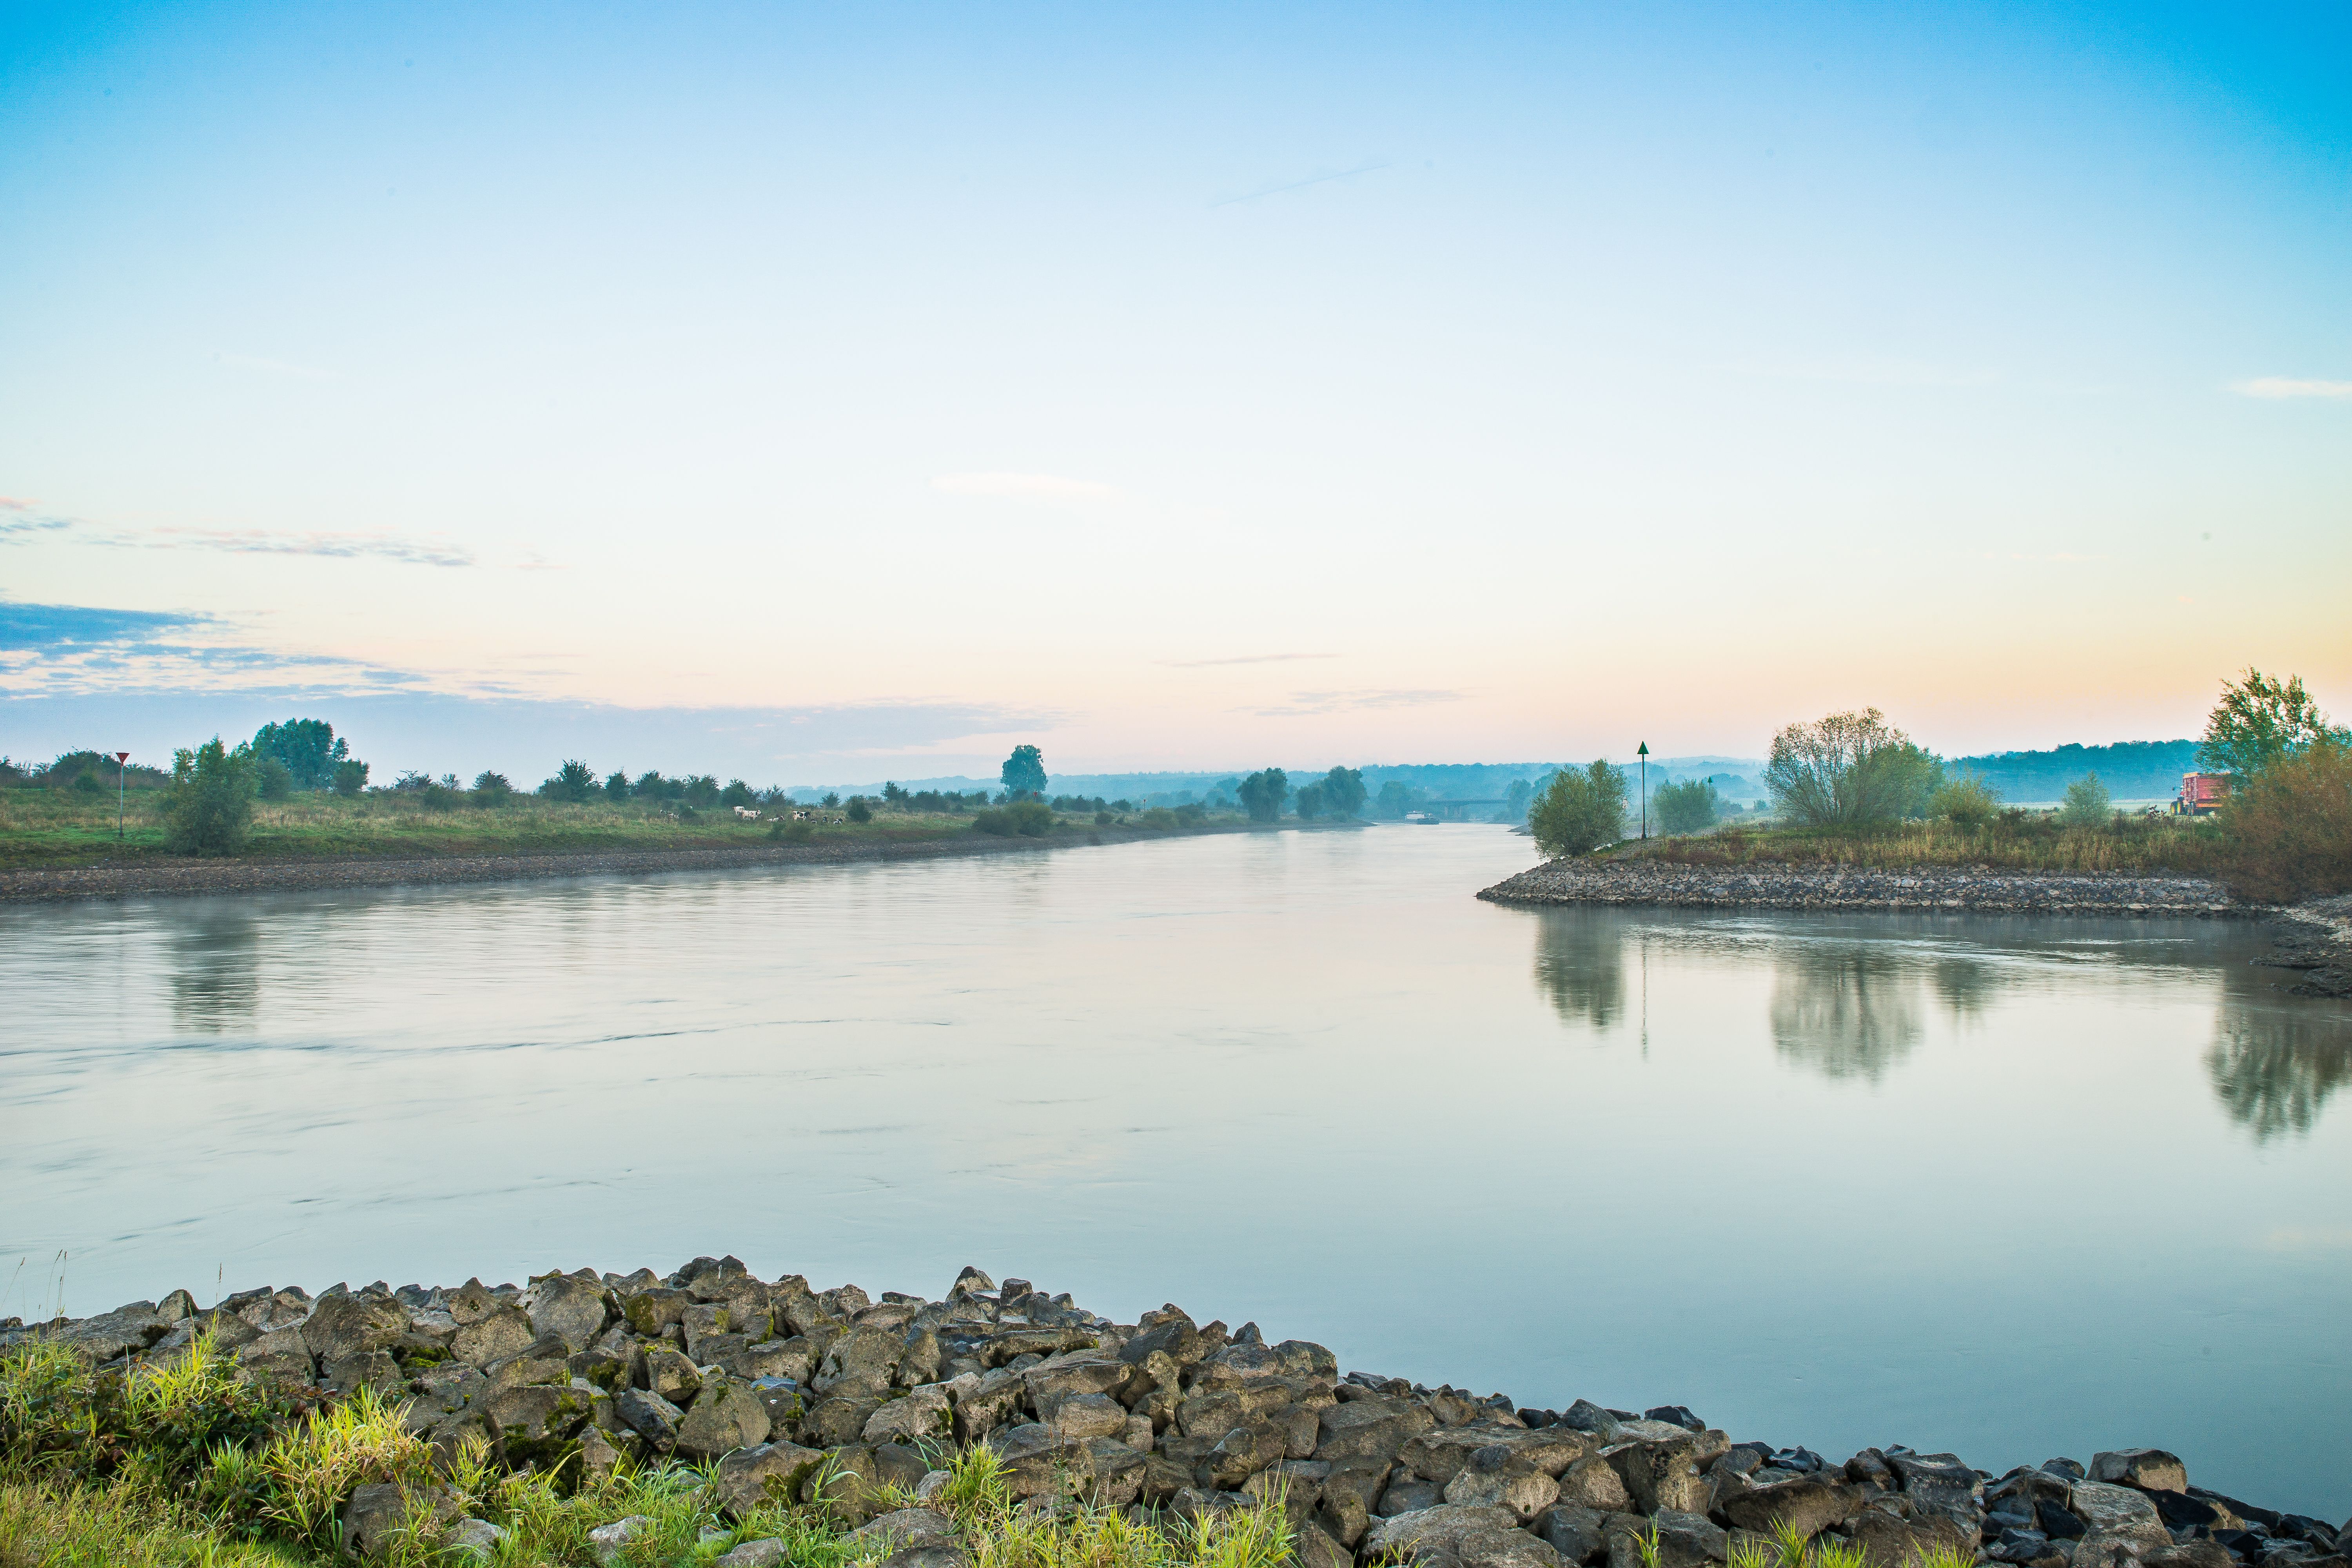
Long exposure photography fits river scenes, and it also works anywhere motion meets stillness. The strongest examples show a clean contrast between moving water and stable land.
Scenes worth trying
- Fast stream over dark rocks, using 1/2s for soft flow.
- Small waterfall in shade, using 1s to 2s for silky texture.
- River bend at dusk, using a tripod and ISO 100 for clean tones.
- Foam lines around boulders, using 1/15s to keep shape and motion.
- Wide estuary at sunrise, where calm water reflects the sky and banks.
These scenes work because each one gives the eye contrast. The water moves, but the rocks, trees, or bridge stay still and hold the frame together. For a practical field test, shoot one frame at 1/15s, one at 1s, and one at 4s. Compare them on the back screen and see which one keeps the river shape without losing detail.
Is long exposure bad for the camera?
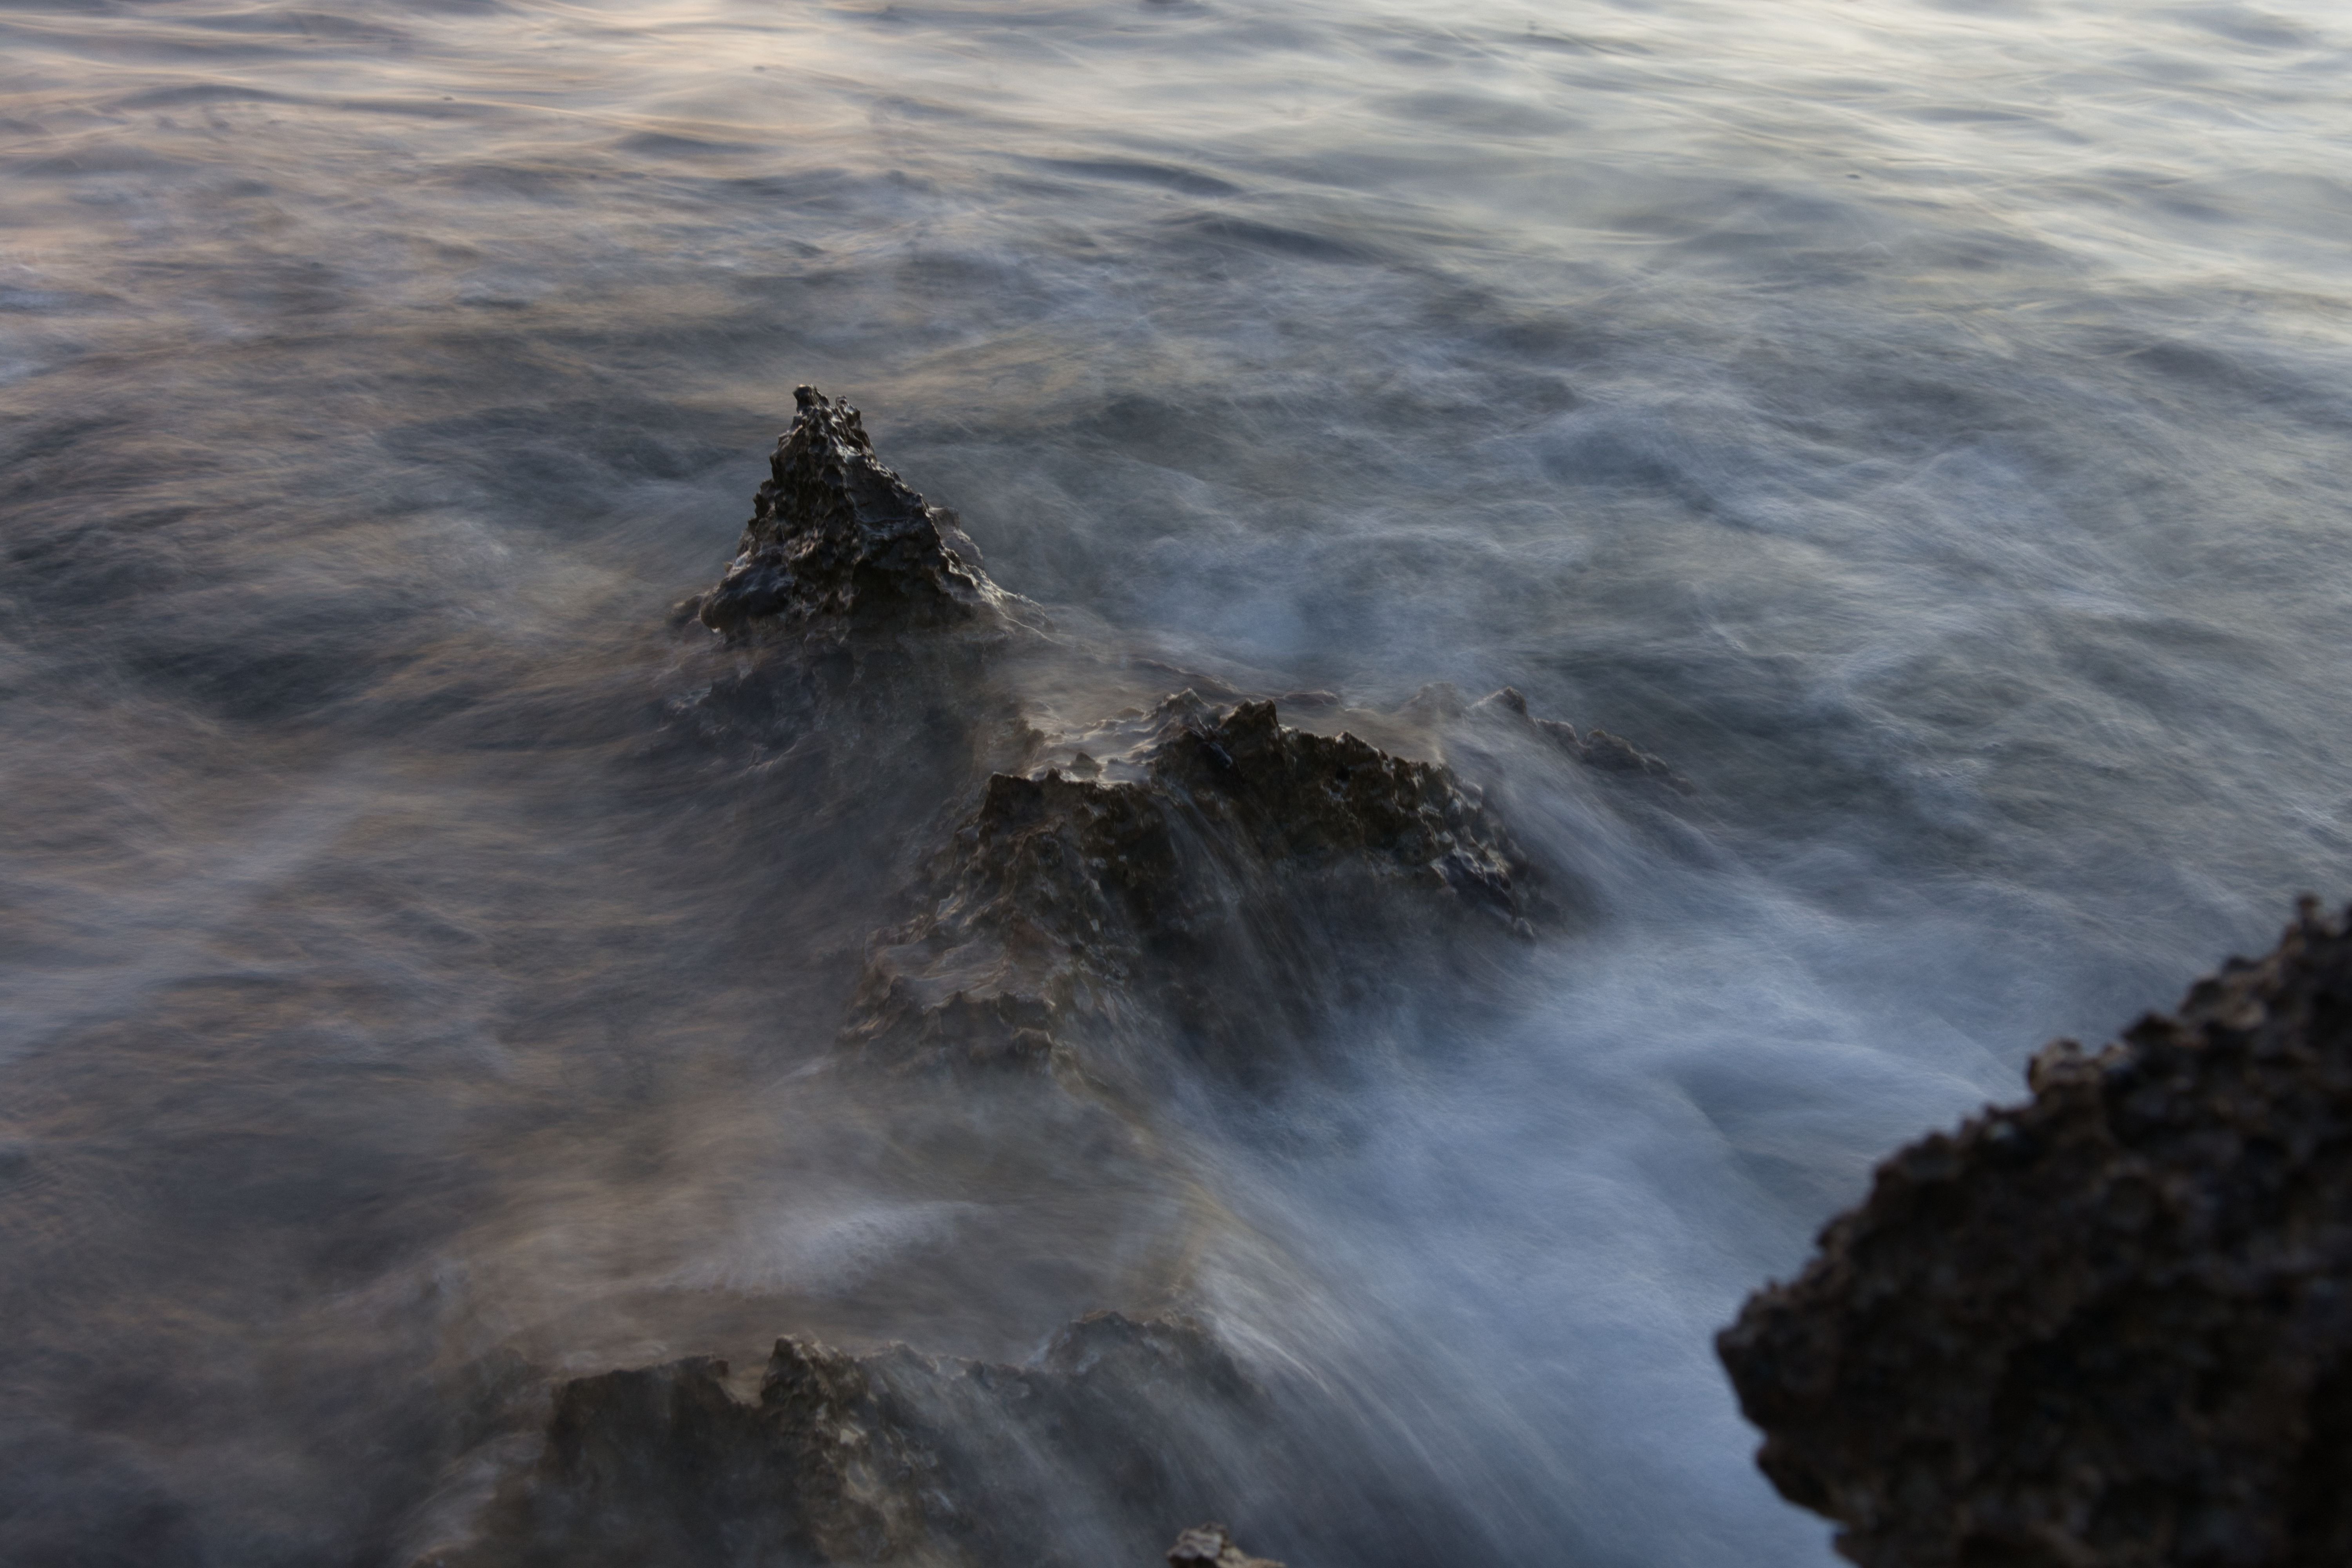
Long exposure is not bad for the camera when you use it in normal photo work. Heat, battery drain, and noise can rise during very long shots, but a few-second river frame is well within safe use.
The real strain comes from staying powered on too long. On mirrorless bodies, the EVF or LCD, image review, and constant live view drain more battery than the exposure itself.
What to watch during longer shots
Hot pixels can show up in very long exposures, especially above 15 to 30 seconds. Dark frame noise reduction can help, but it also doubles the wait after each shot. Battery life drops faster in cold air. Keep a spare battery warm in a pocket, and review less often if you need to save power.
Card speed matters too. UHS-II V60 or V90 cards clear files faster than UHS-I, and CFexpress is even quicker on supported bodies. That helps when you bracket exposures or shoot several test frames in a row.
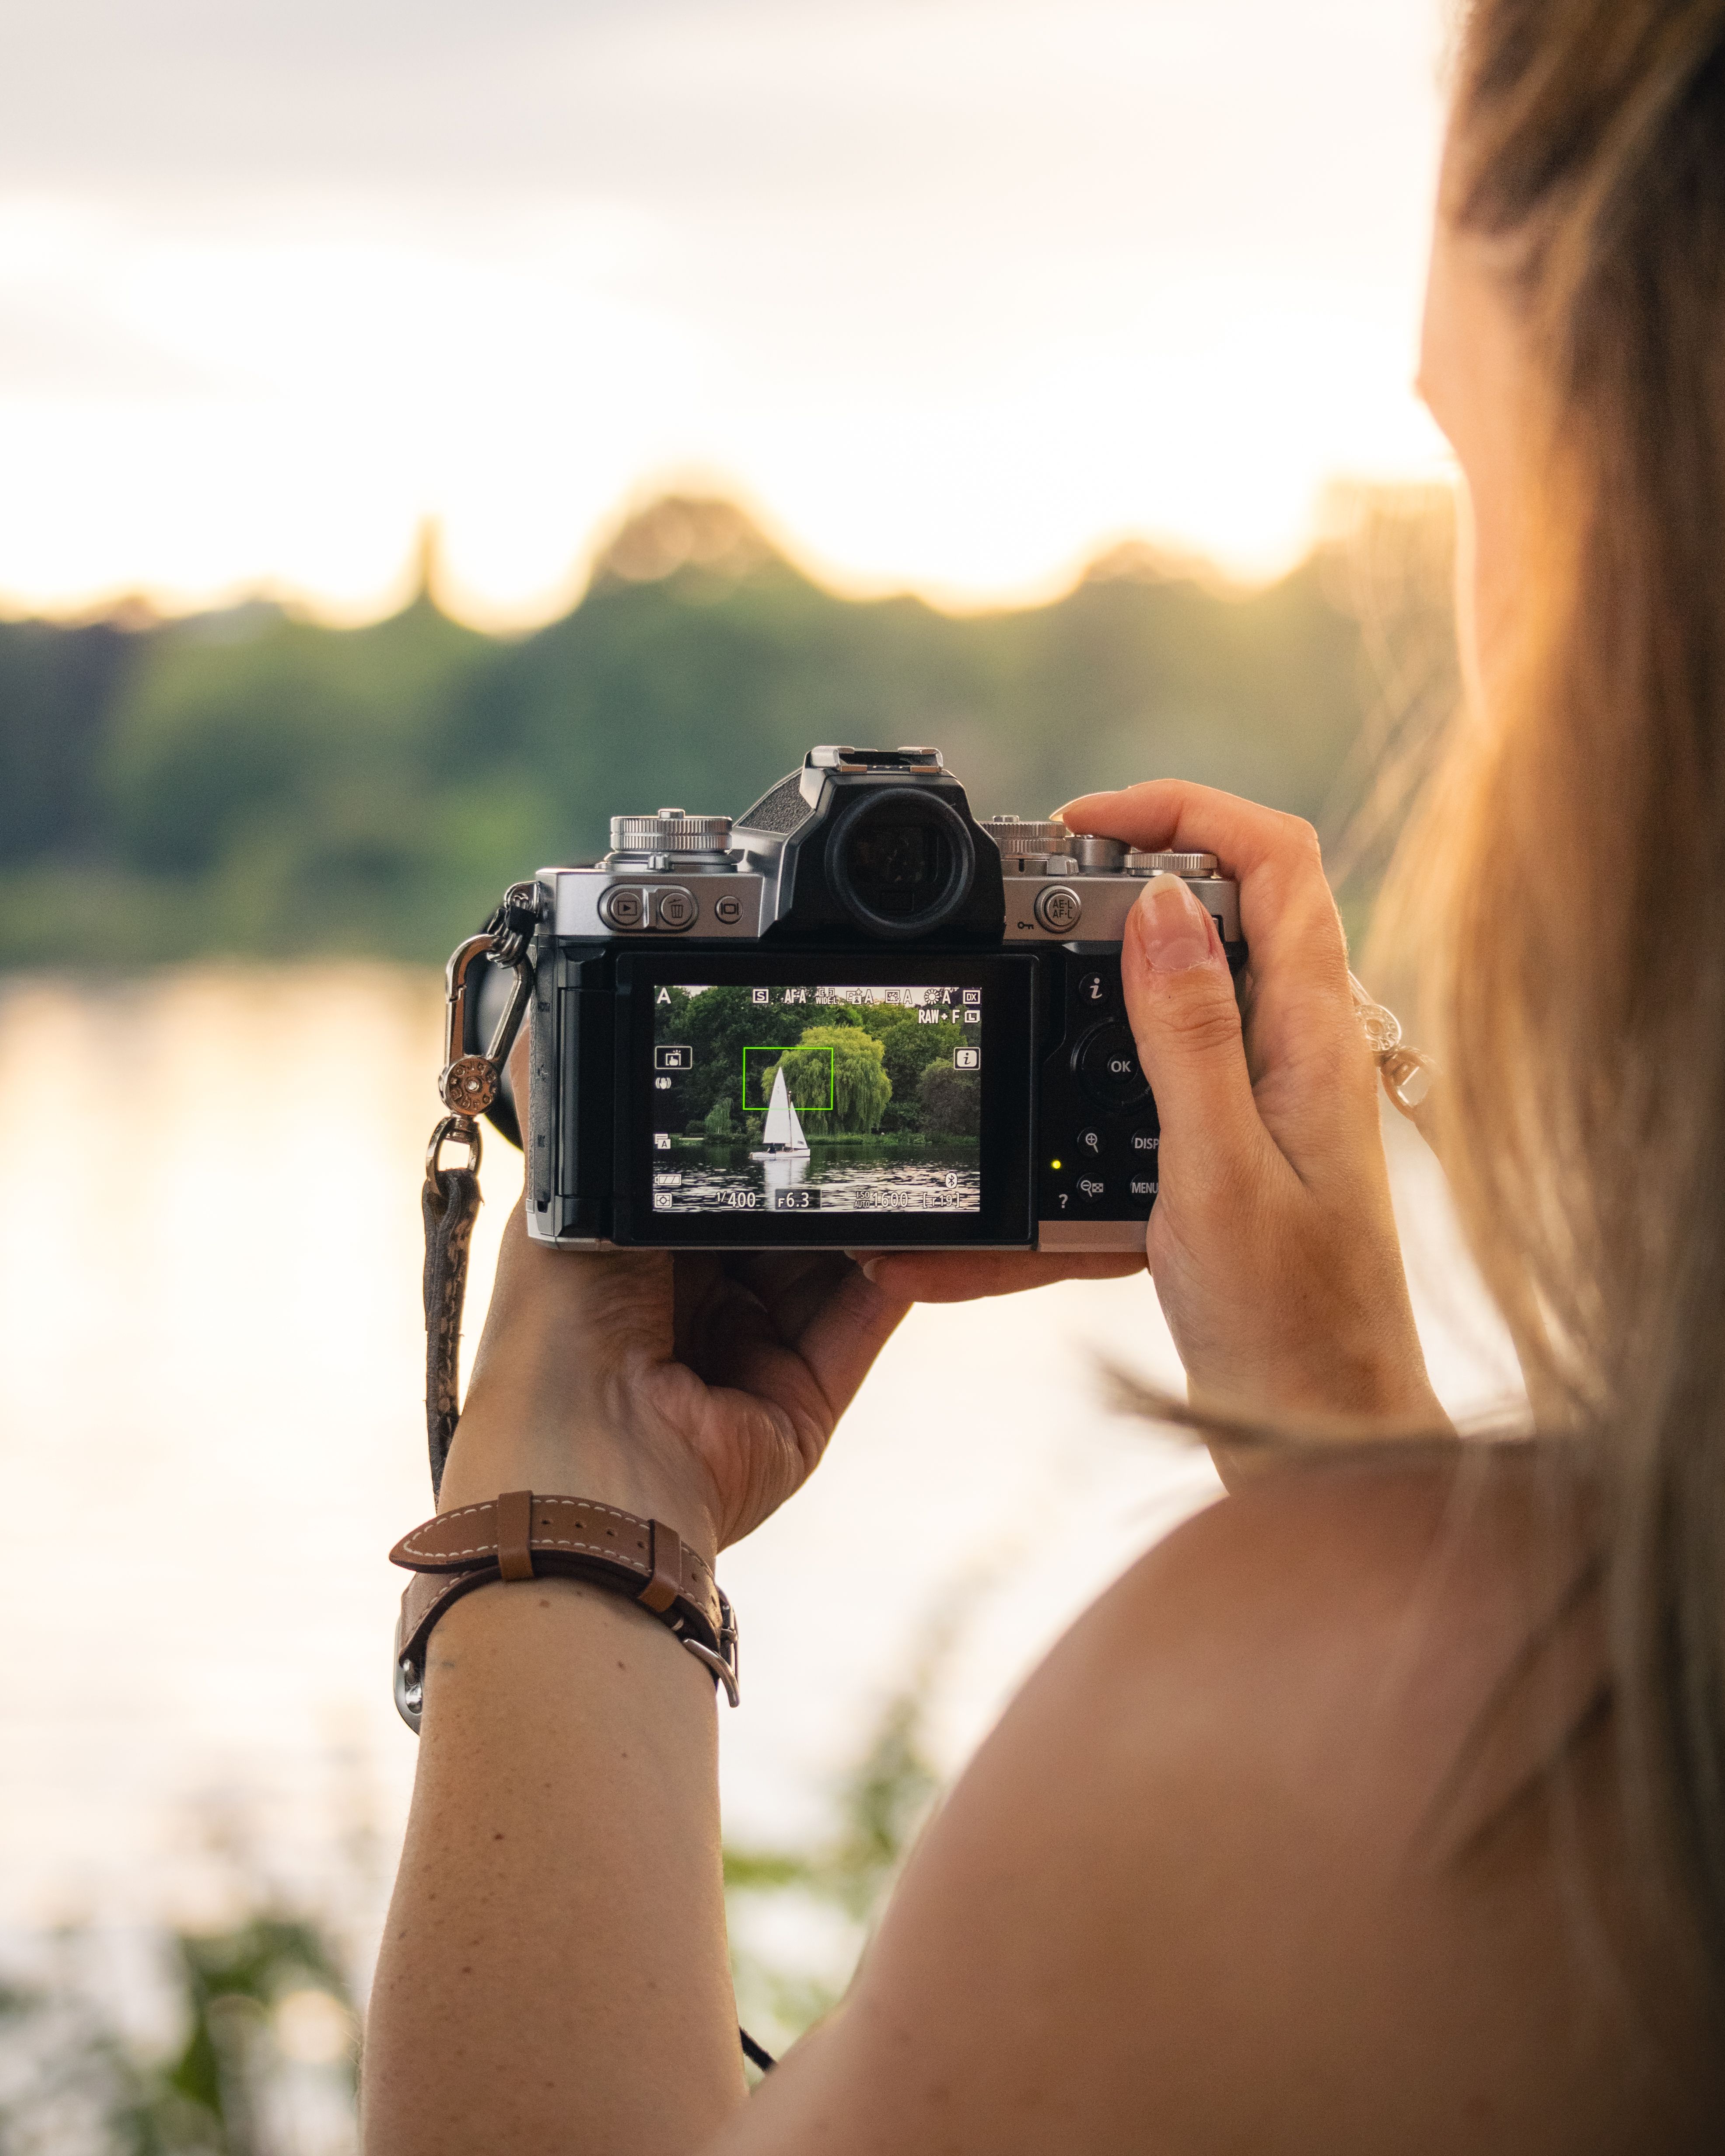
Simple fixes that make river photos stronger
If your river shots still feel flat, start with the frame, not the filter. Move lower, look for one strong foreground object, and place the river bend where the eye can travel through it.
Next, choose a shutter speed that matches the water instead of a random one. Soft flow often looks best around 1/2s to 2s, while rough water may need faster settings to keep shape.
Finally, keep the scene clean. Remove bright distractions at the edge, skip empty sky when it adds nothing, and wait for better light if the contrast feels weak. Early or late light usually changes the image more than any setting tweak. A river at dawn or near sunset can gain more depth in five minutes than a whole hour of midday shooting.
Make those changes together and flat water starts to feel like a real place. The frame opens up, the motion reads clearly, and the river stops looking like a gray strip.

Frequently Asked Questions
How do you take long exposure photos?
To take long exposure photos, use a tripod, set a low ISO such as 100, and choose a slow shutter speed based on the movement you want to show. For moving water, start around 1/4s to 2s for a silky look, or use 1s to 4s for a dreamier result.
Can I take a long exposure photo on my iPhone?
Yes, an iPhone can take long exposure photos using Live Photos and the Long Exposure effect in the Photos app. Stability is important, so hold the phone steady or use a tripod to avoid camera shake.

Can you give me some examples of long exposure photography?
Long exposure photography includes silky river water, blurred waves, light trails from cars, and smooth cloud movement in the sky. It can also be used for night scenes, fireworks, and star trails.
Is long exposure bad for the camera?
No, long exposure is not bad for the camera when the camera is used normally and kept stable on a tripod. The main risks are battery drain, heat during very long exposures, and blurred images from vibration or movement.


