


- Underexpose each frame so the two exposures add up cleanly.
- Keep film flat and the shutter fast to preserve contrast.
- Plan double exposures in advance; iPhone apps can fake them.
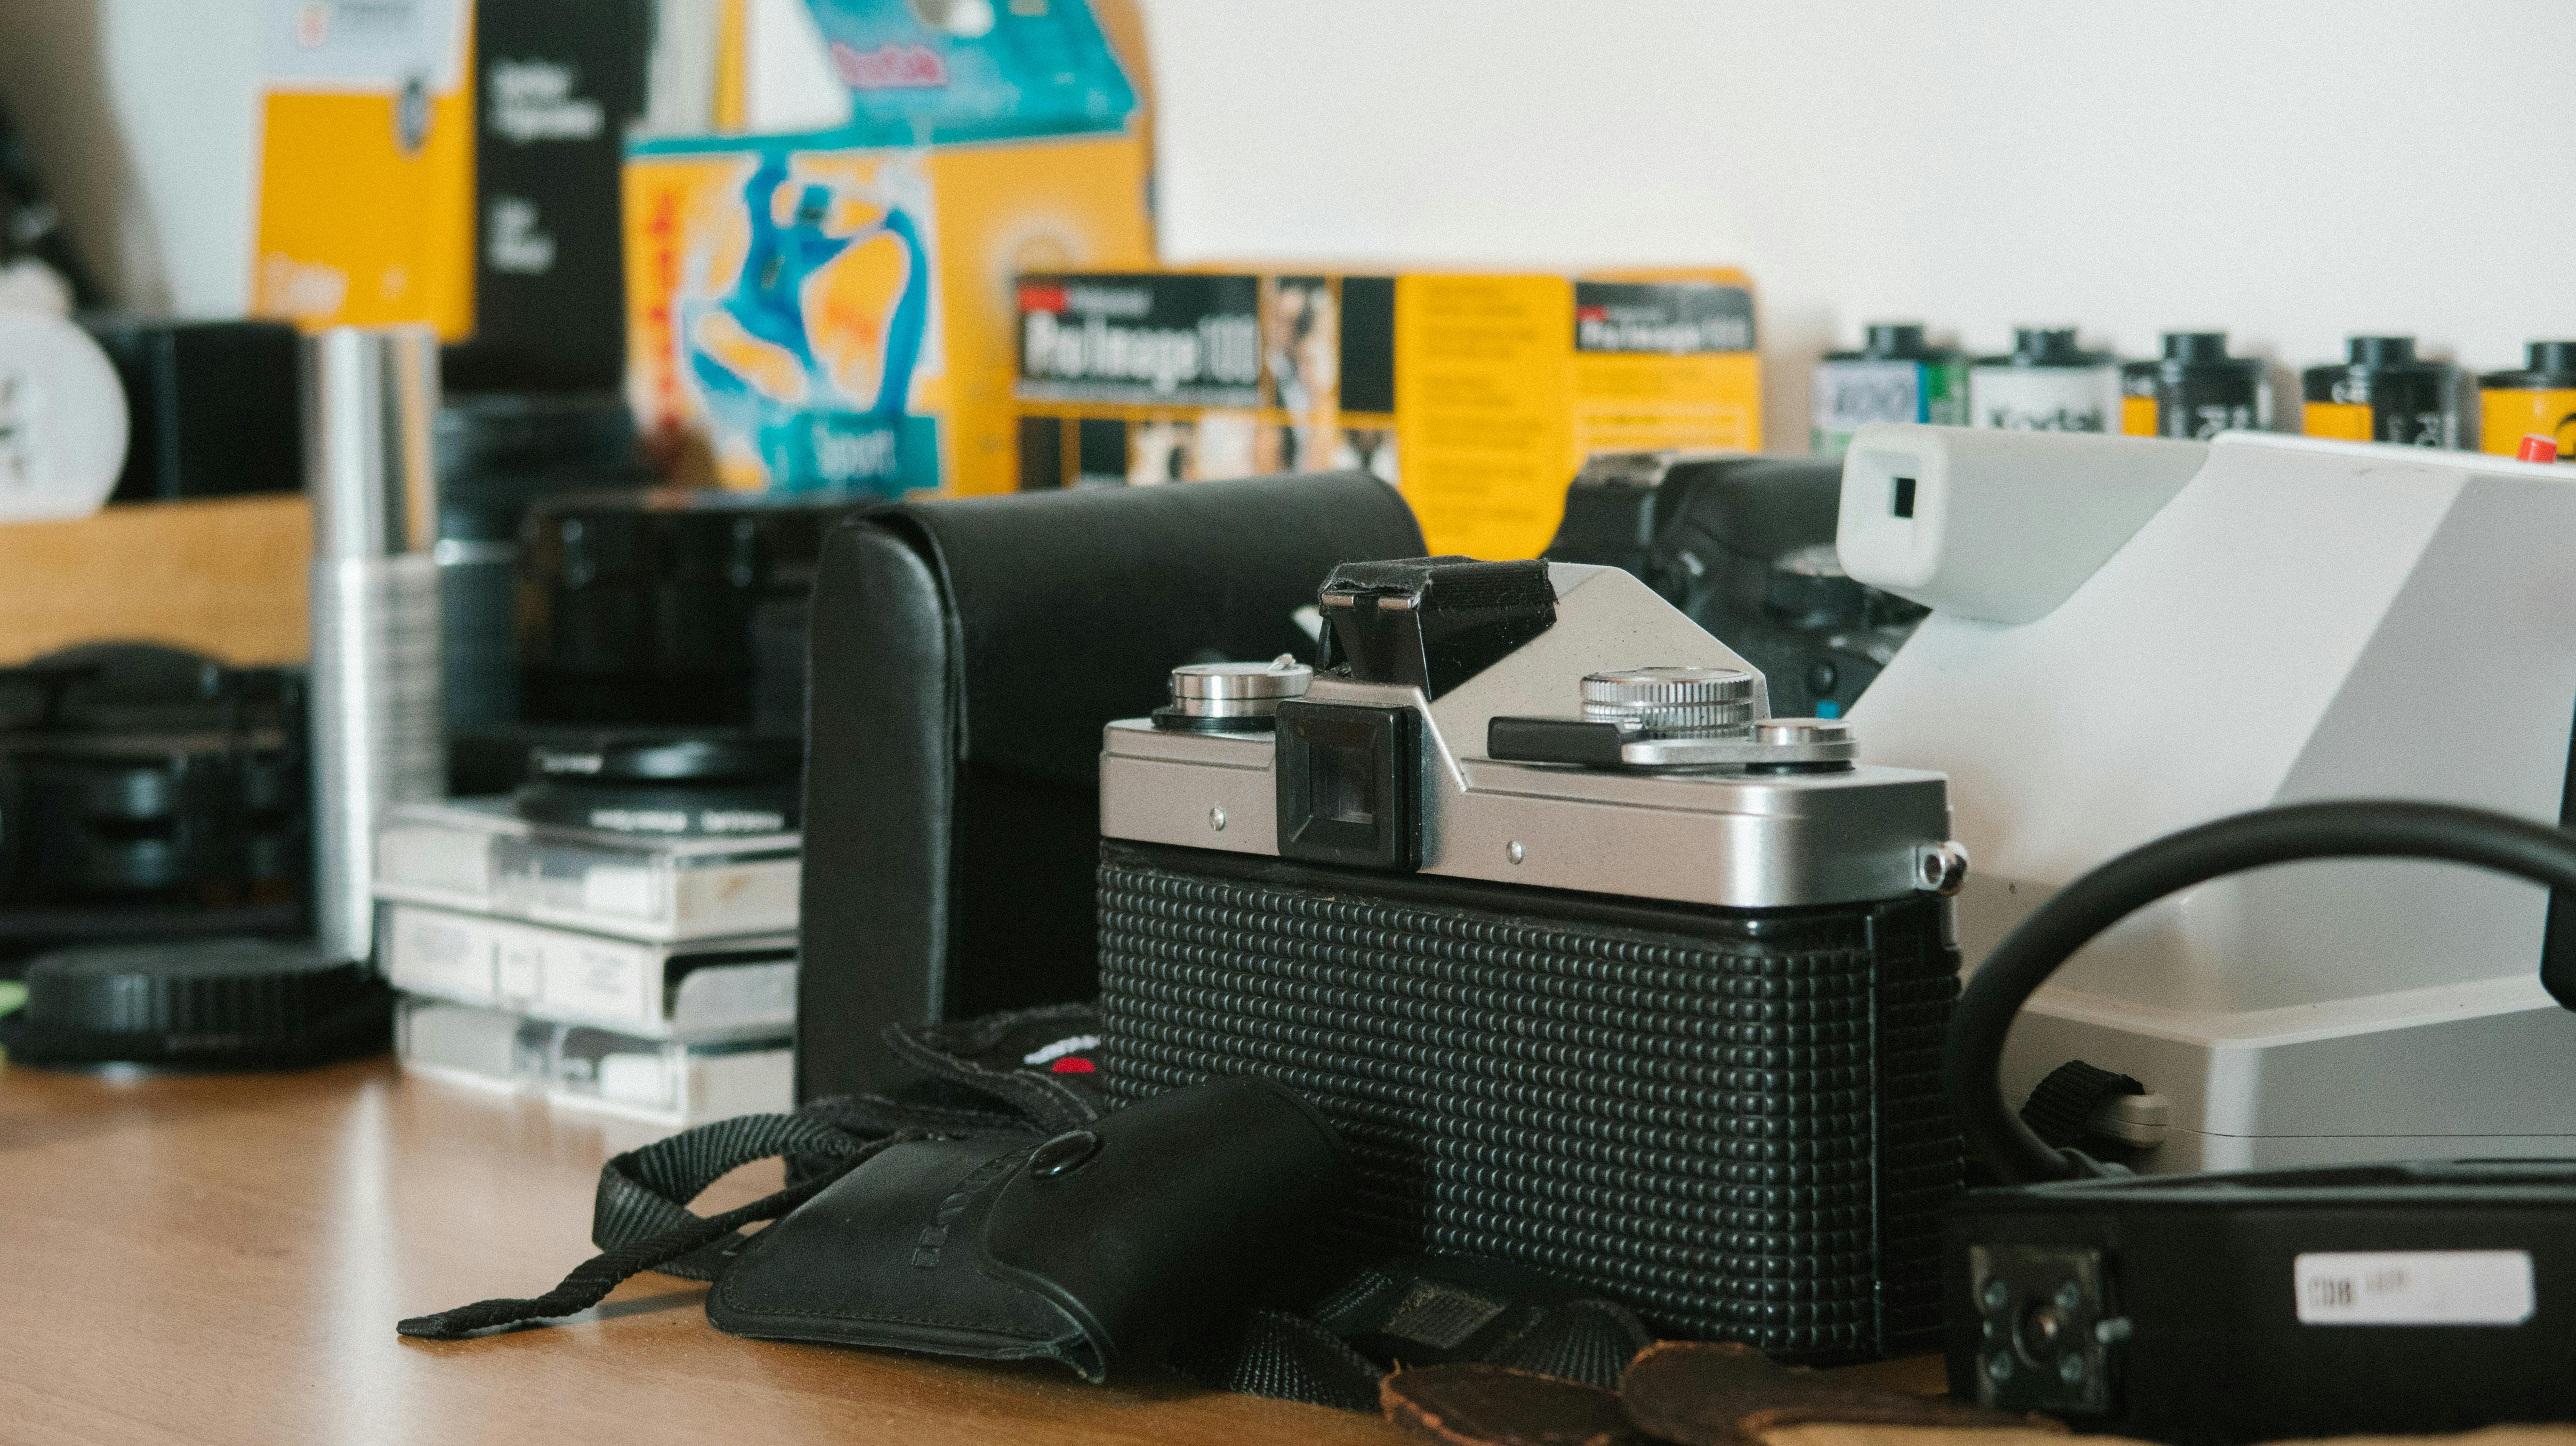
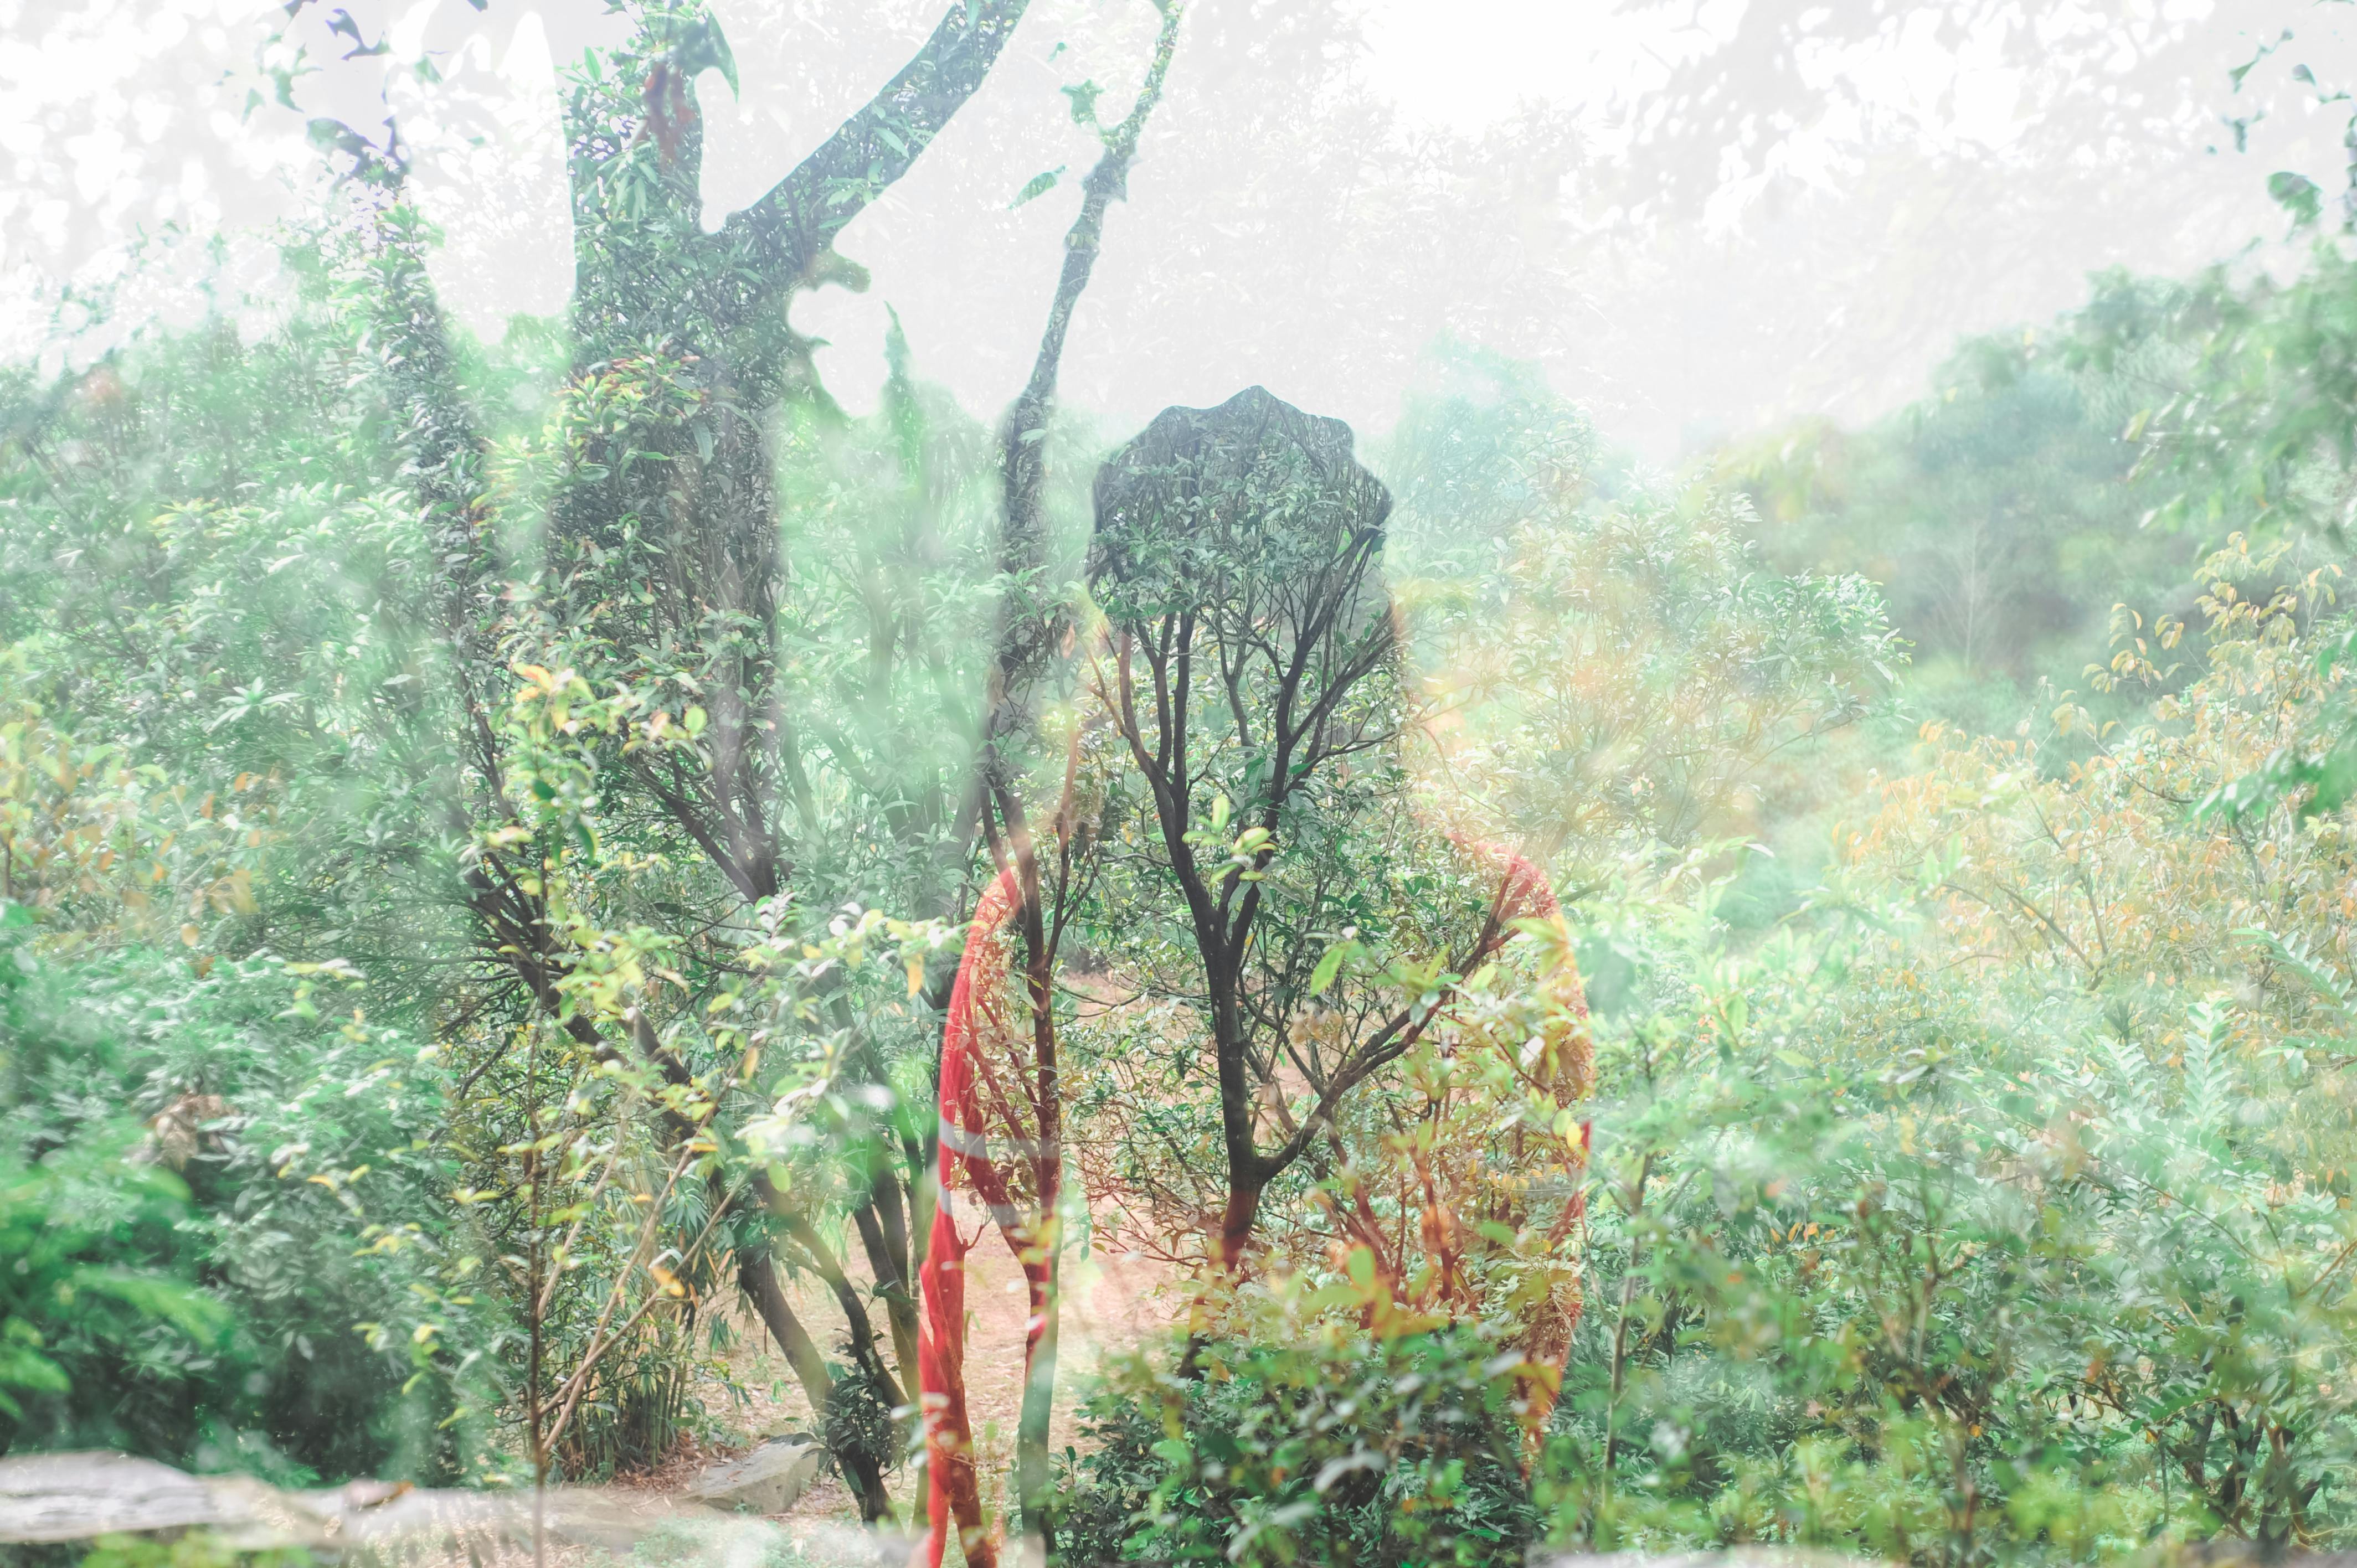
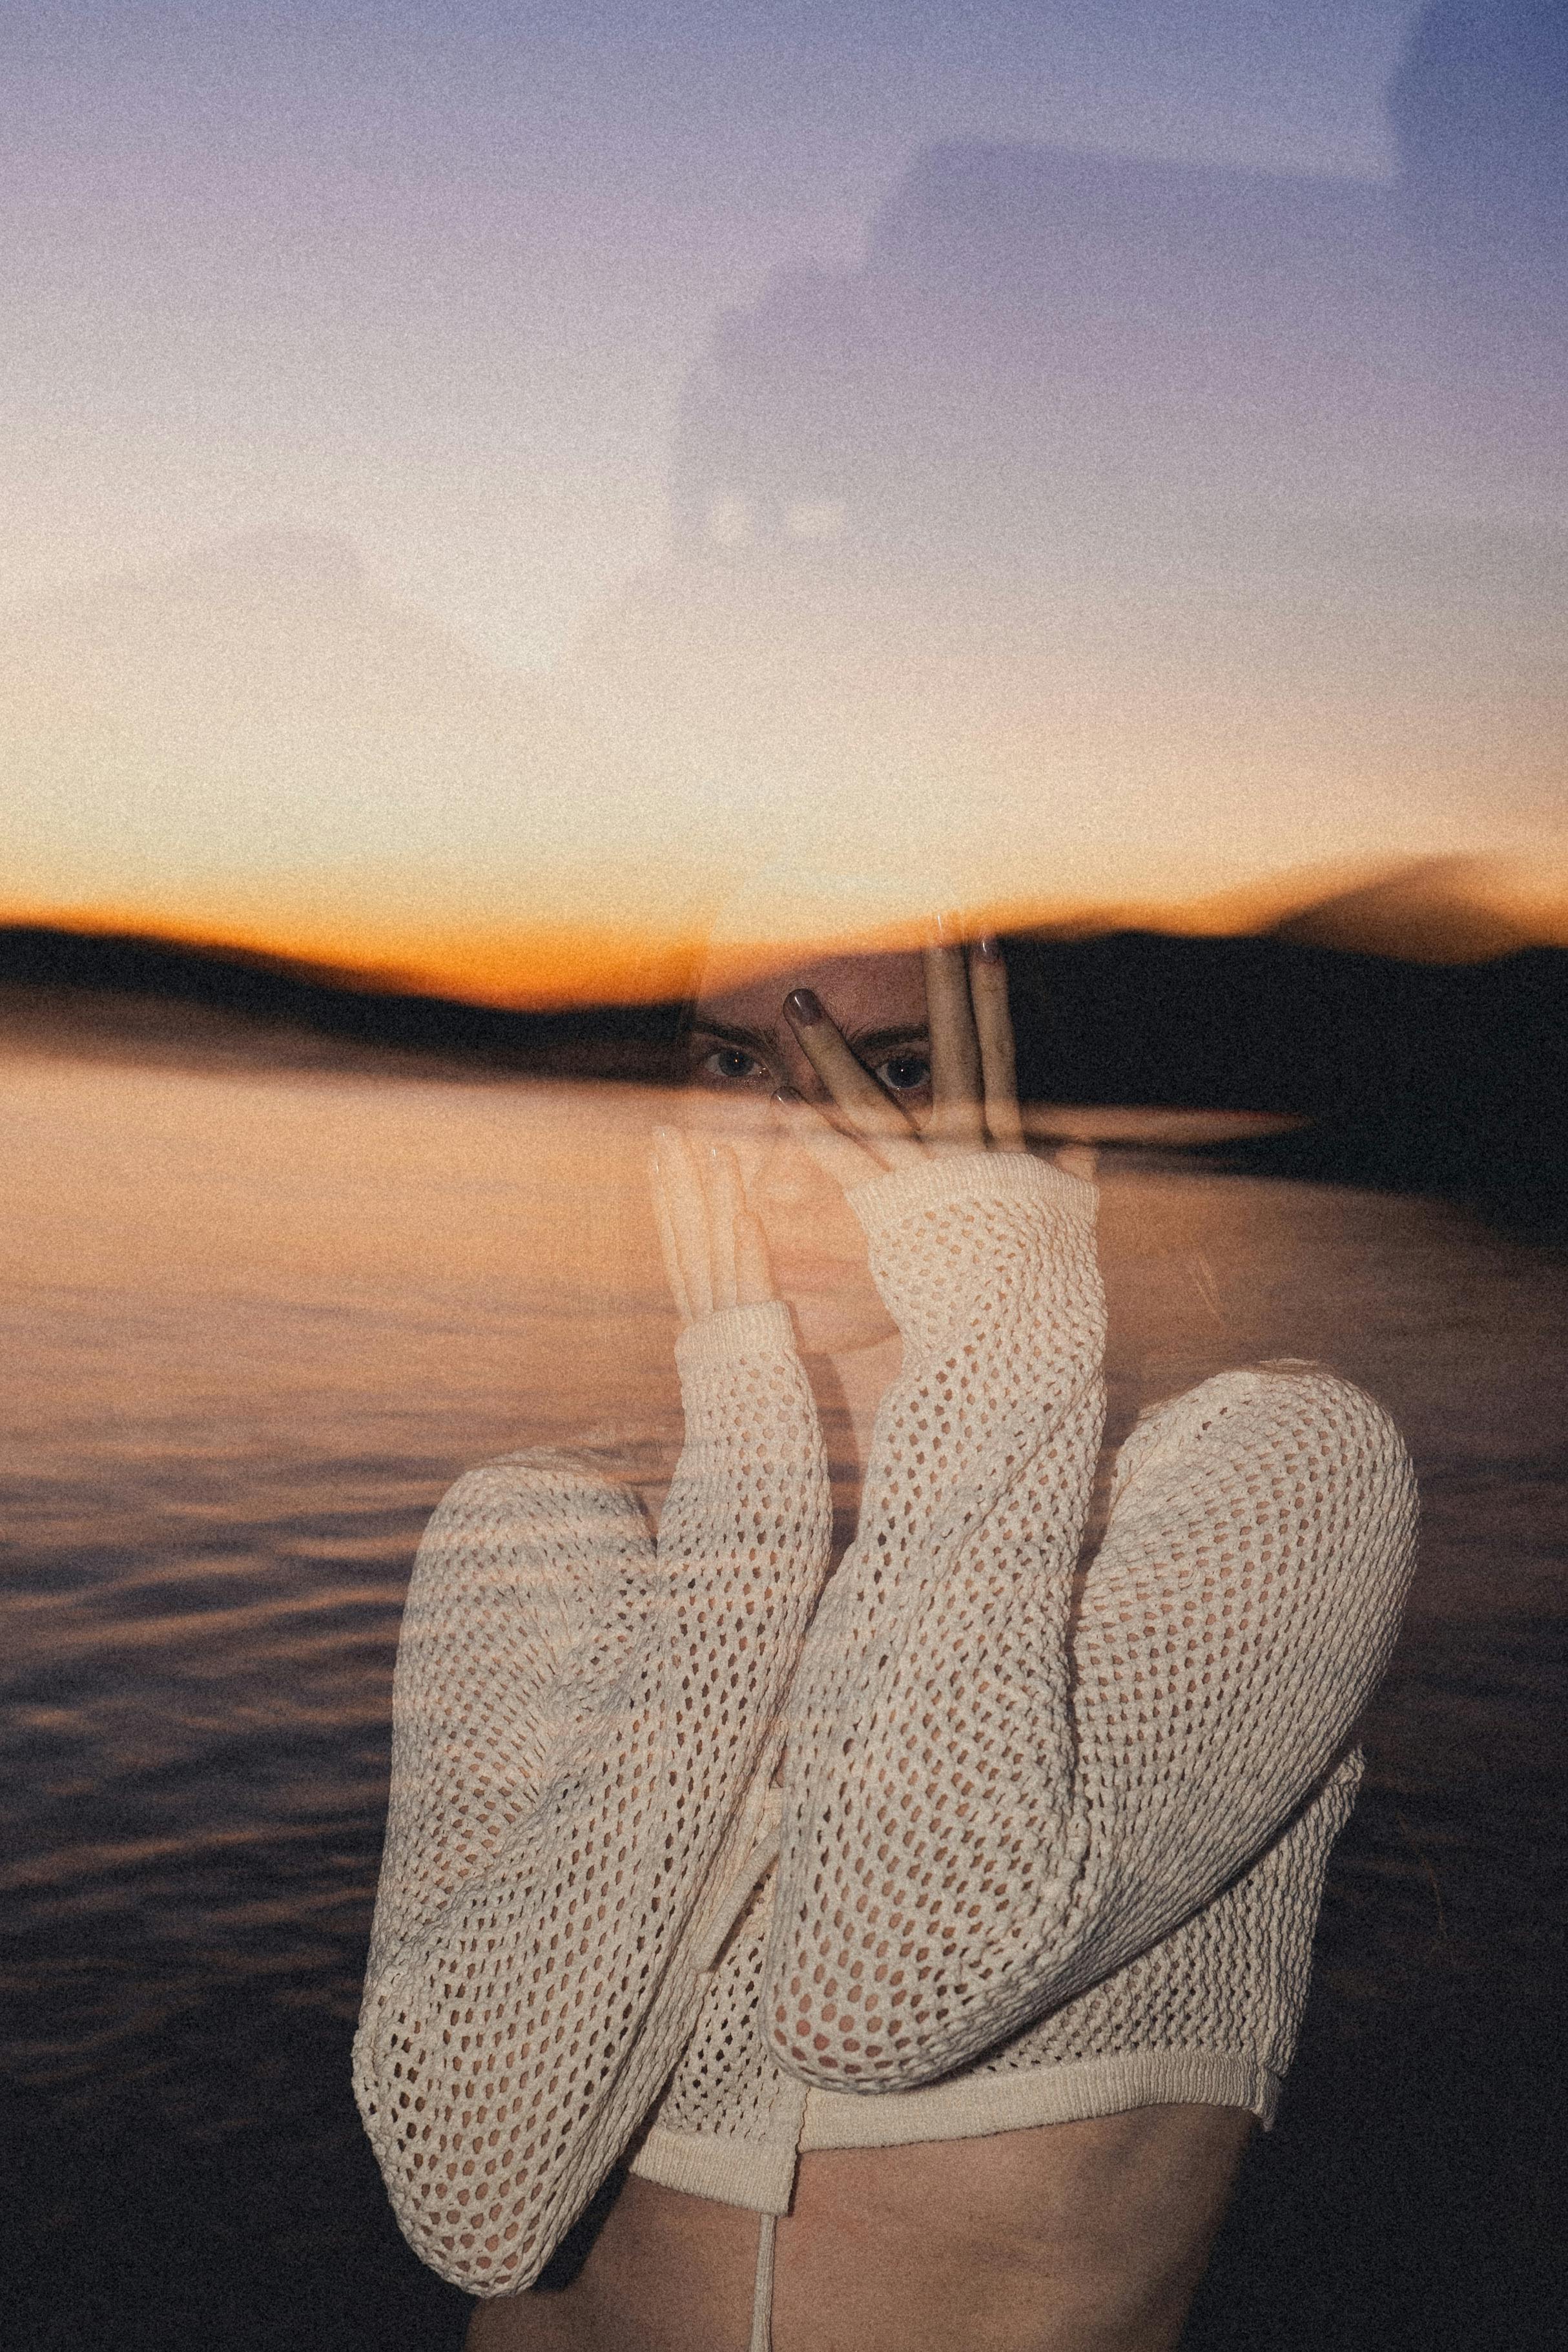
Double exposure photography blends two frames into a single image, whether you shoot film or digital. In transit, handheld film scans can come out flat when the film shifts, slips out of focus, or gets a weak first scan. The dull look usually starts earlier, because the negative never stayed perfectly flat.
Shop the setup

- Regular price
-
€42 - Regular price
-
€44 - Sale price
-
€42
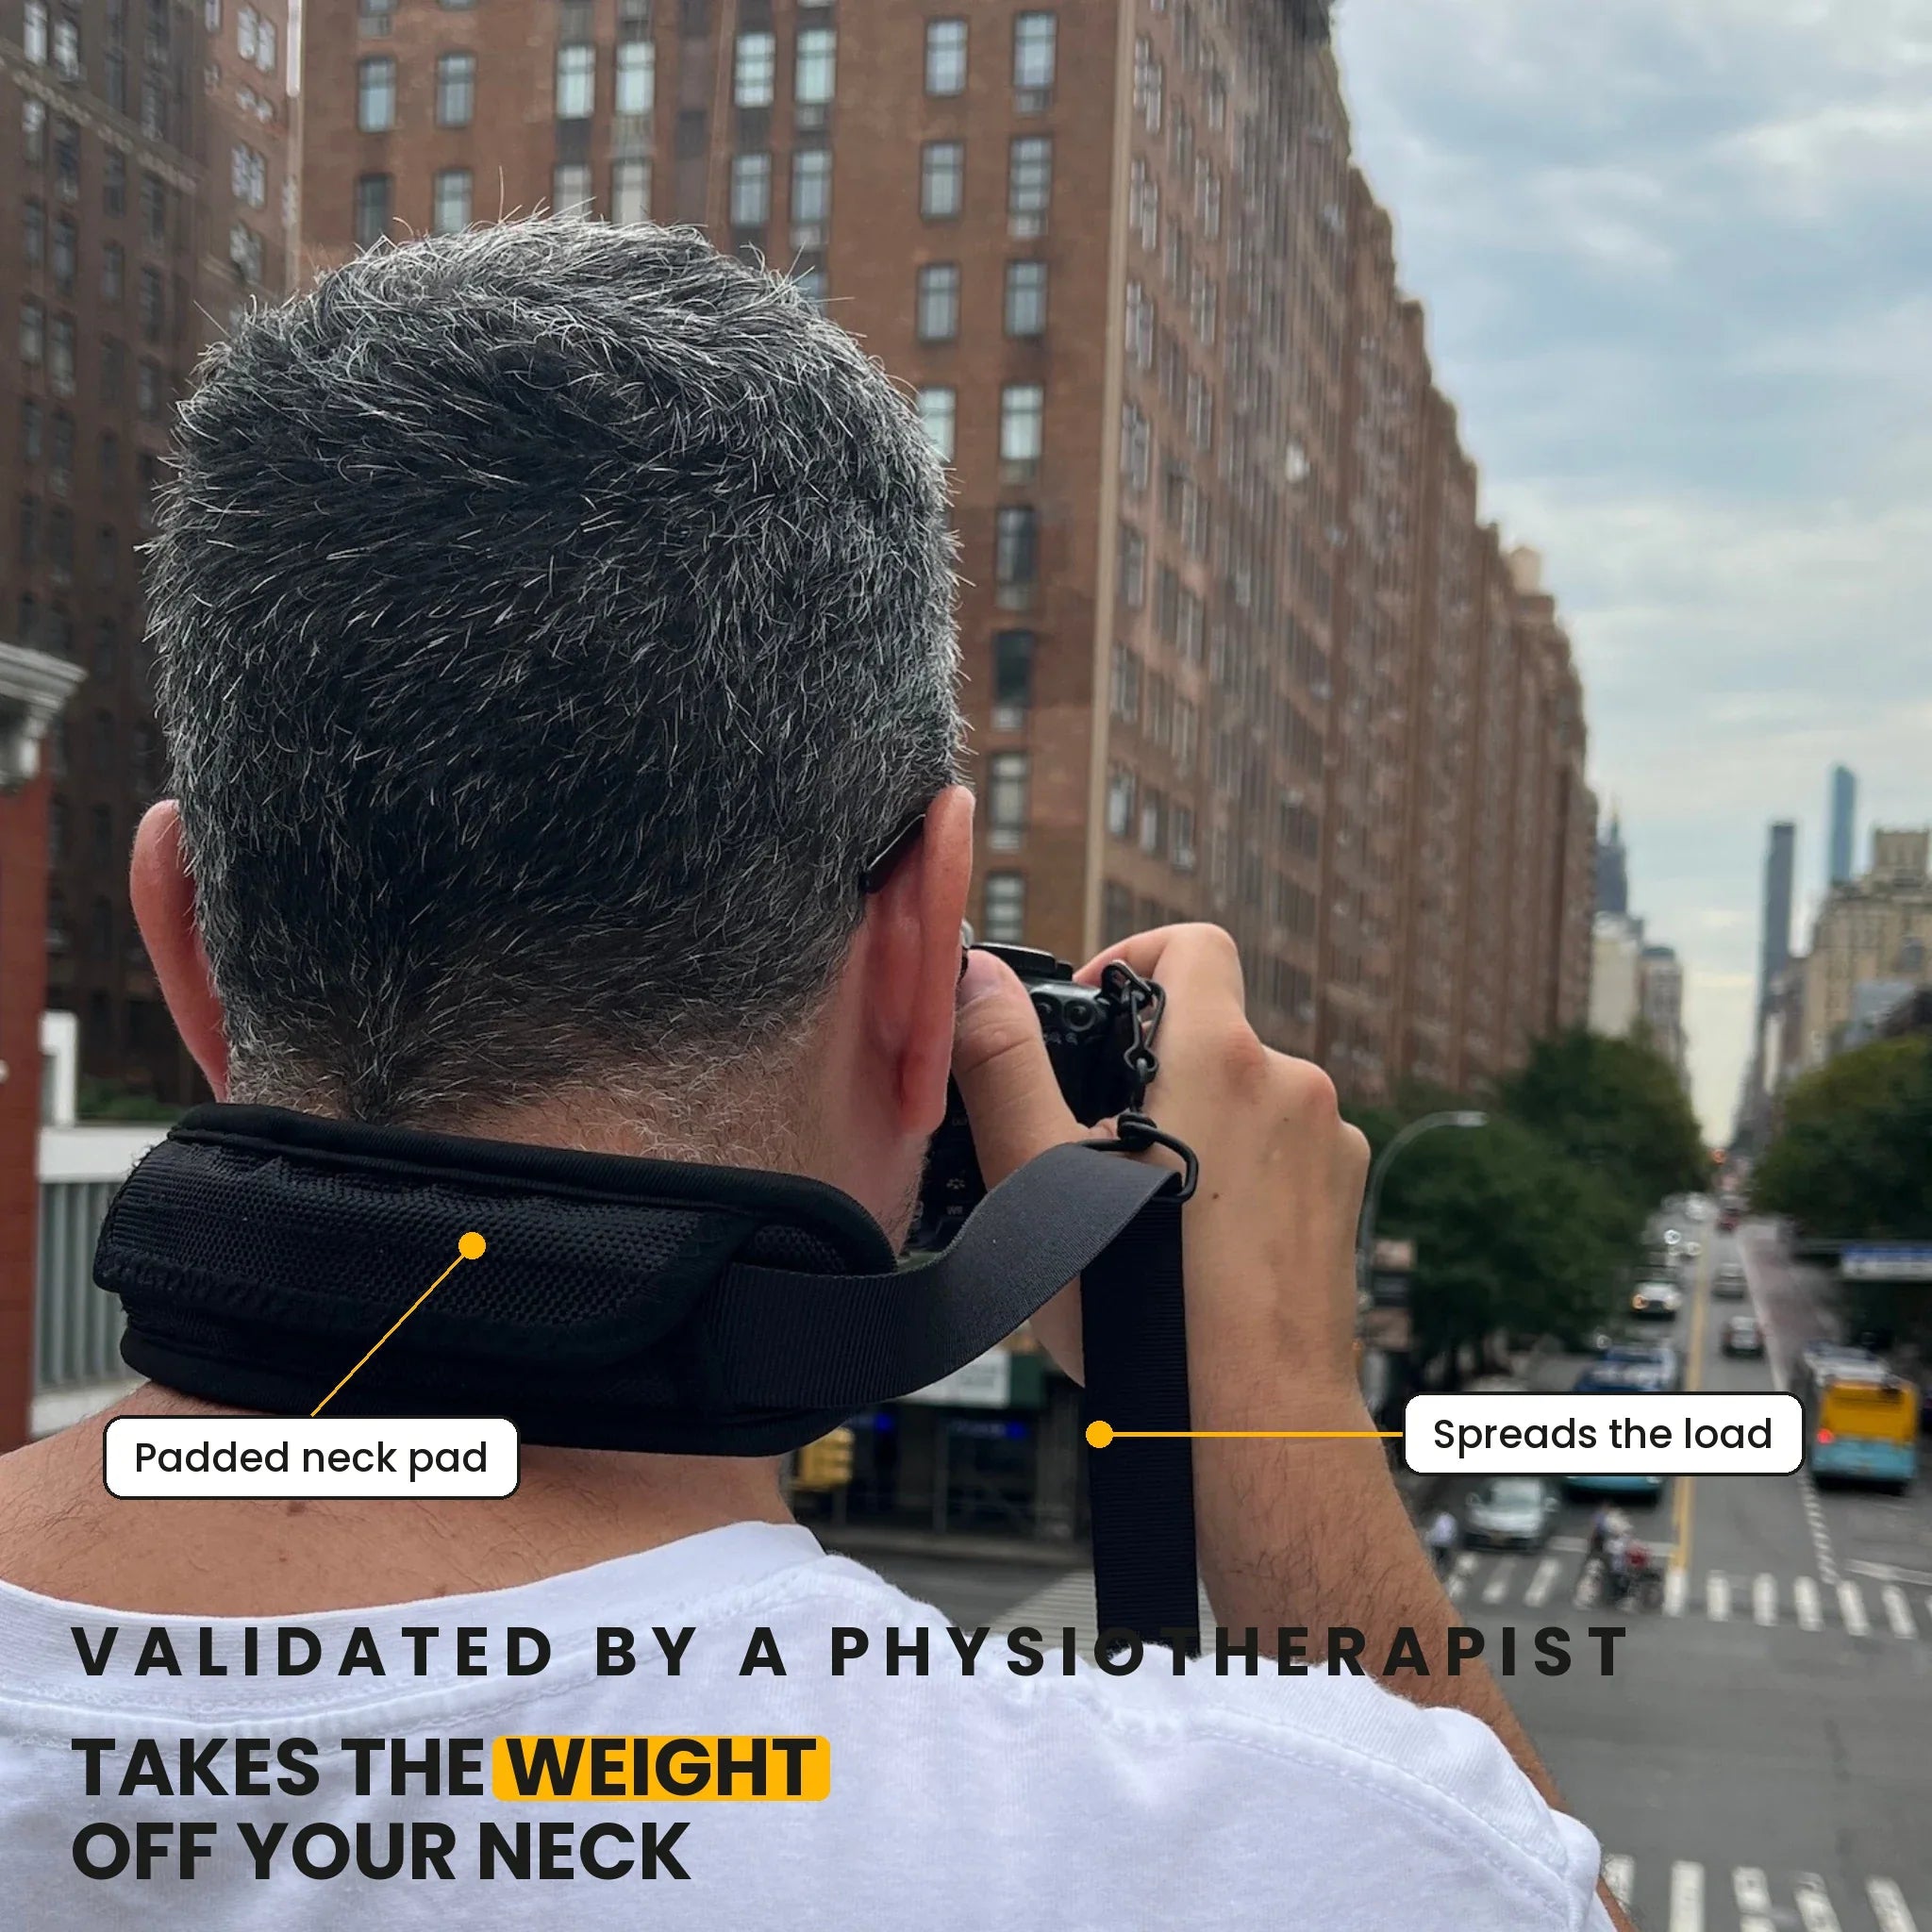
By choosing the Camstrap strap, you are opting for a high-quality product designed to meet the needs of the most demanding photographers.
- Developed by a physiotherapist to relieve neck and back pain.
- Fast delivery with tracking by the Post Office 🚚
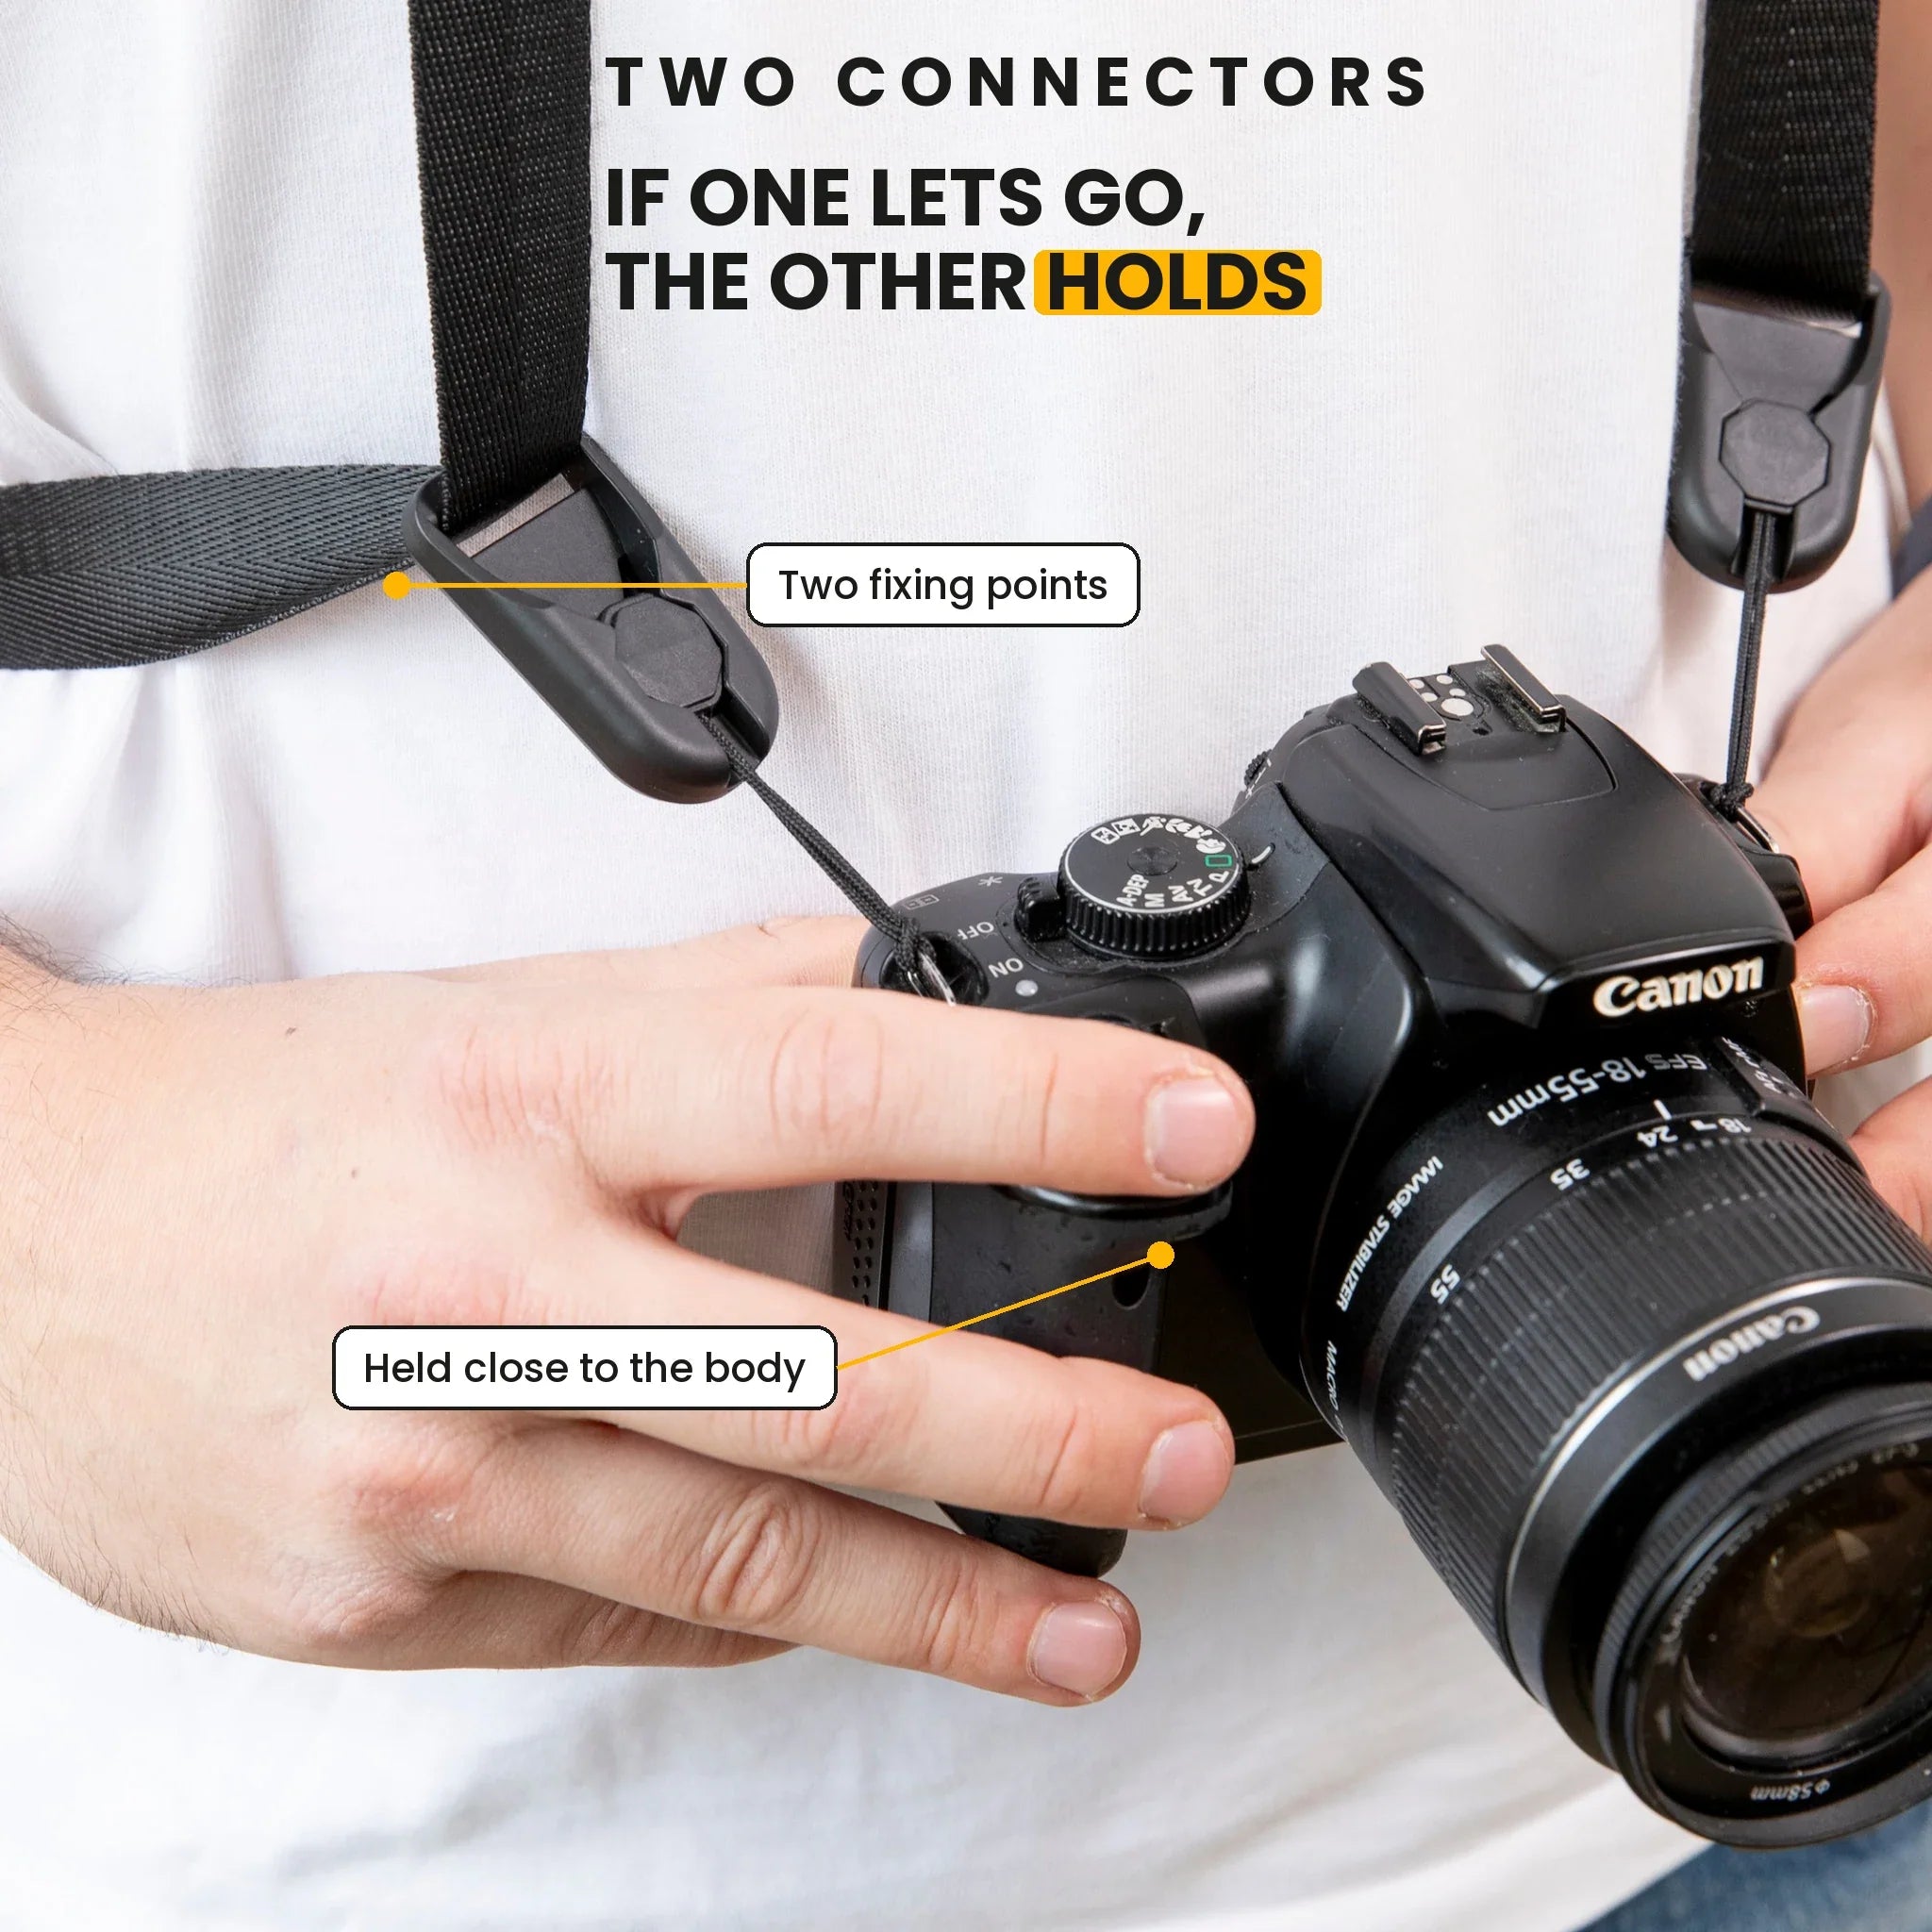
- Can be used as a shoulder strap or hands-free harness

- Regular price
-
€36 - Regular price
-
€42 - Sale price
-
€36
Free shipping included
For street and travel work, the difference shows up fast. A film body hanging loosely between stops can miss moments, pick up shake, and leave later scans soft. A simple carry setup that keeps the camera at your side makes the jump from walking to shooting much smoother.
Why the scan looks dull before editing even starts
A flat scan usually starts with a flat negative. If the film does not sit tight in the holder, crisp detail and contrast drop away. A Plustek OpticFilm 120 review notes that adjustable pitch holders are built to keep film flat for sharper scans.
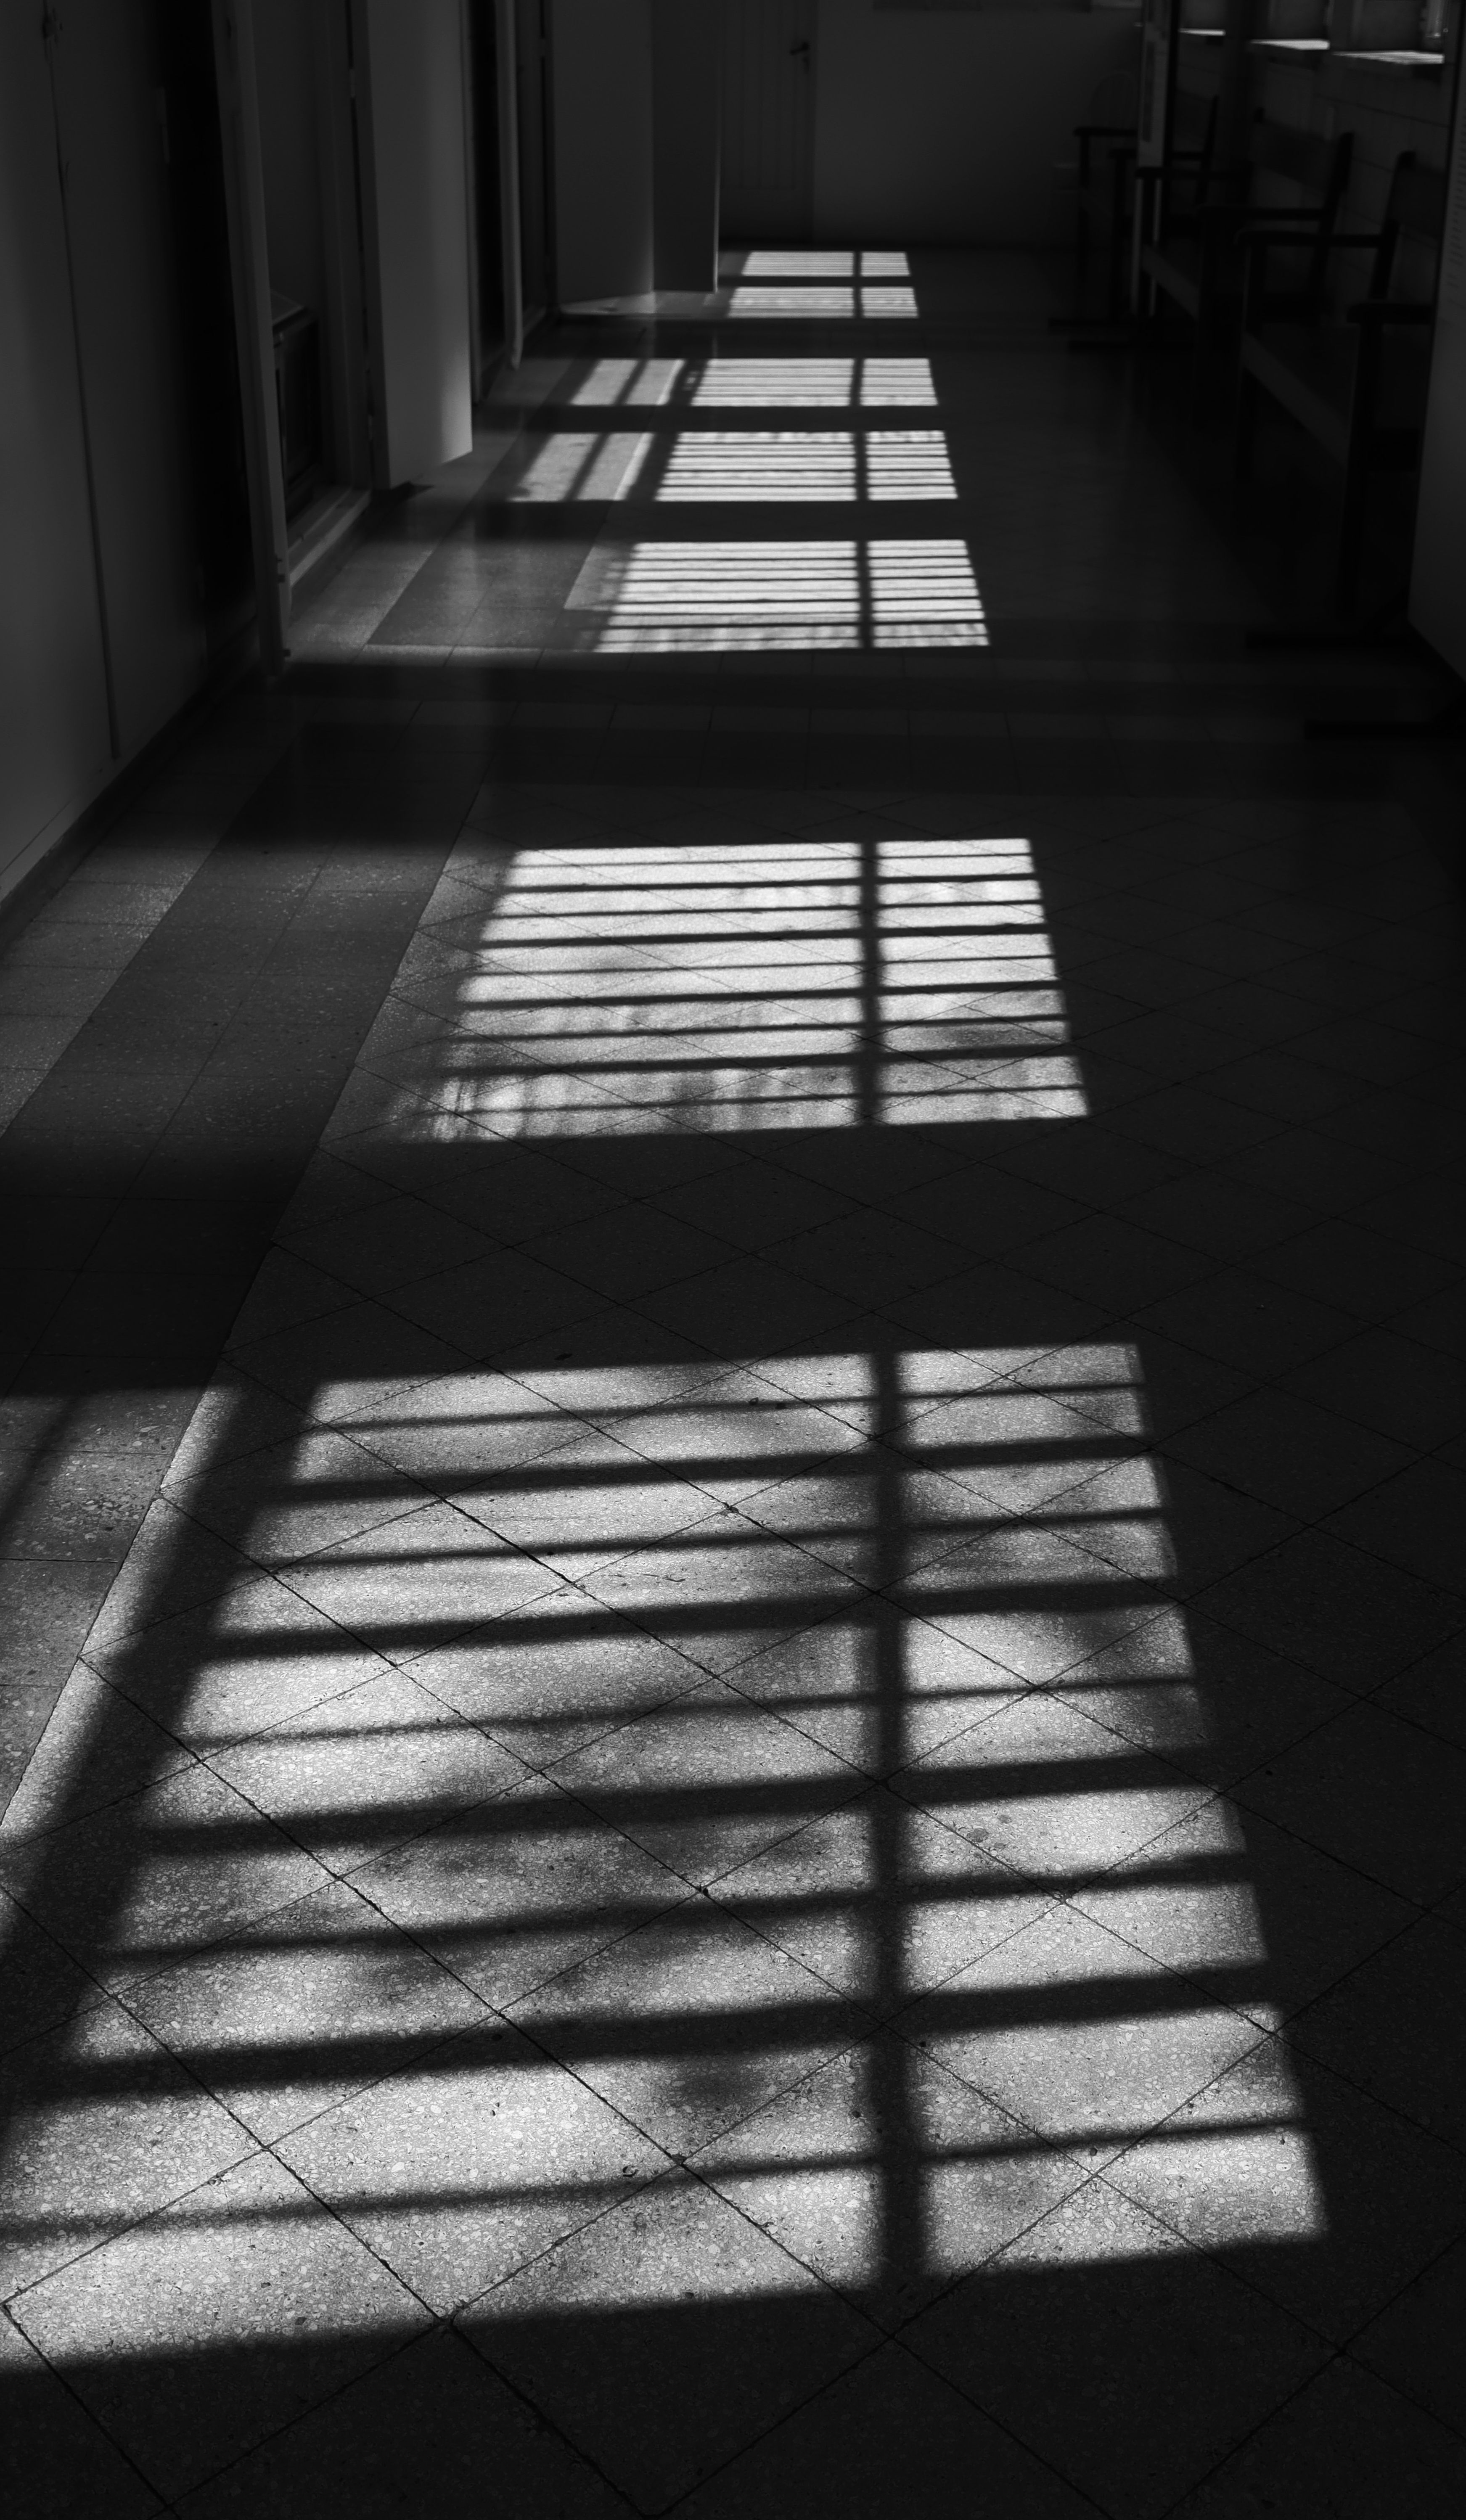
Motion blur also becomes more obvious after digitizing. A small shake that feels harmless on a contact sheet can jump out at print or screen size. Research on handheld shooting shows that a 50mm lens needs about 1/60s or faster, while a 135mm lens needs about 1/250s, which is easy to overlook on the street.
In transit, the camera itself can create problems. A body bouncing on a bag strap or buried too deep in a pack comes out late, and the shot lands after the moment has passed. A ready carry position often does more than people expect.
The hidden gap between capture and scan
Film can look fine in the frame and weak in the scan. Three things usually cause that gap: movement during the shot, poor film flatness, and a scan that clips tone too hard. Each one reduces edge detail and leaves the image feeling washed out.
Double exposure work raises the stakes, because the final frame depends on two separate hits lining up well. If either frame is underexposed or blurred, the blend can turn thin. The result is a scan that reads gray, even when the idea was strong.
How do you do double exposure photography?
Double exposure photography uses the same frame twice, with control over the total light. Each exposure needs to be reduced so the two images add up to one correct exposure. Fujifilm also advises underexposing each frame a little and using aperture, shutter speed, ISO, or exposure compensation to shape the result.
For film, I treat the first frame like a setup shot and the second like the main subject. A clean plan keeps tones from fighting each other. If both frames are full strength, the final scan often looks dense and flat instead of layered.
A simple film workflow
- Pick a strong base image with clear dark and light zones.
- Set each frame about 1 stop darker than normal.
- Keep the camera still and mark the frame if your body allows it.
- Make the second frame with a shape that fits the first one.
- Check the neg after processing before you judge the scan.
This works best when the two images share one clear subject area. A face plus a tree line can work well. A busy market scene plus another busy market scene often turns muddy fast.
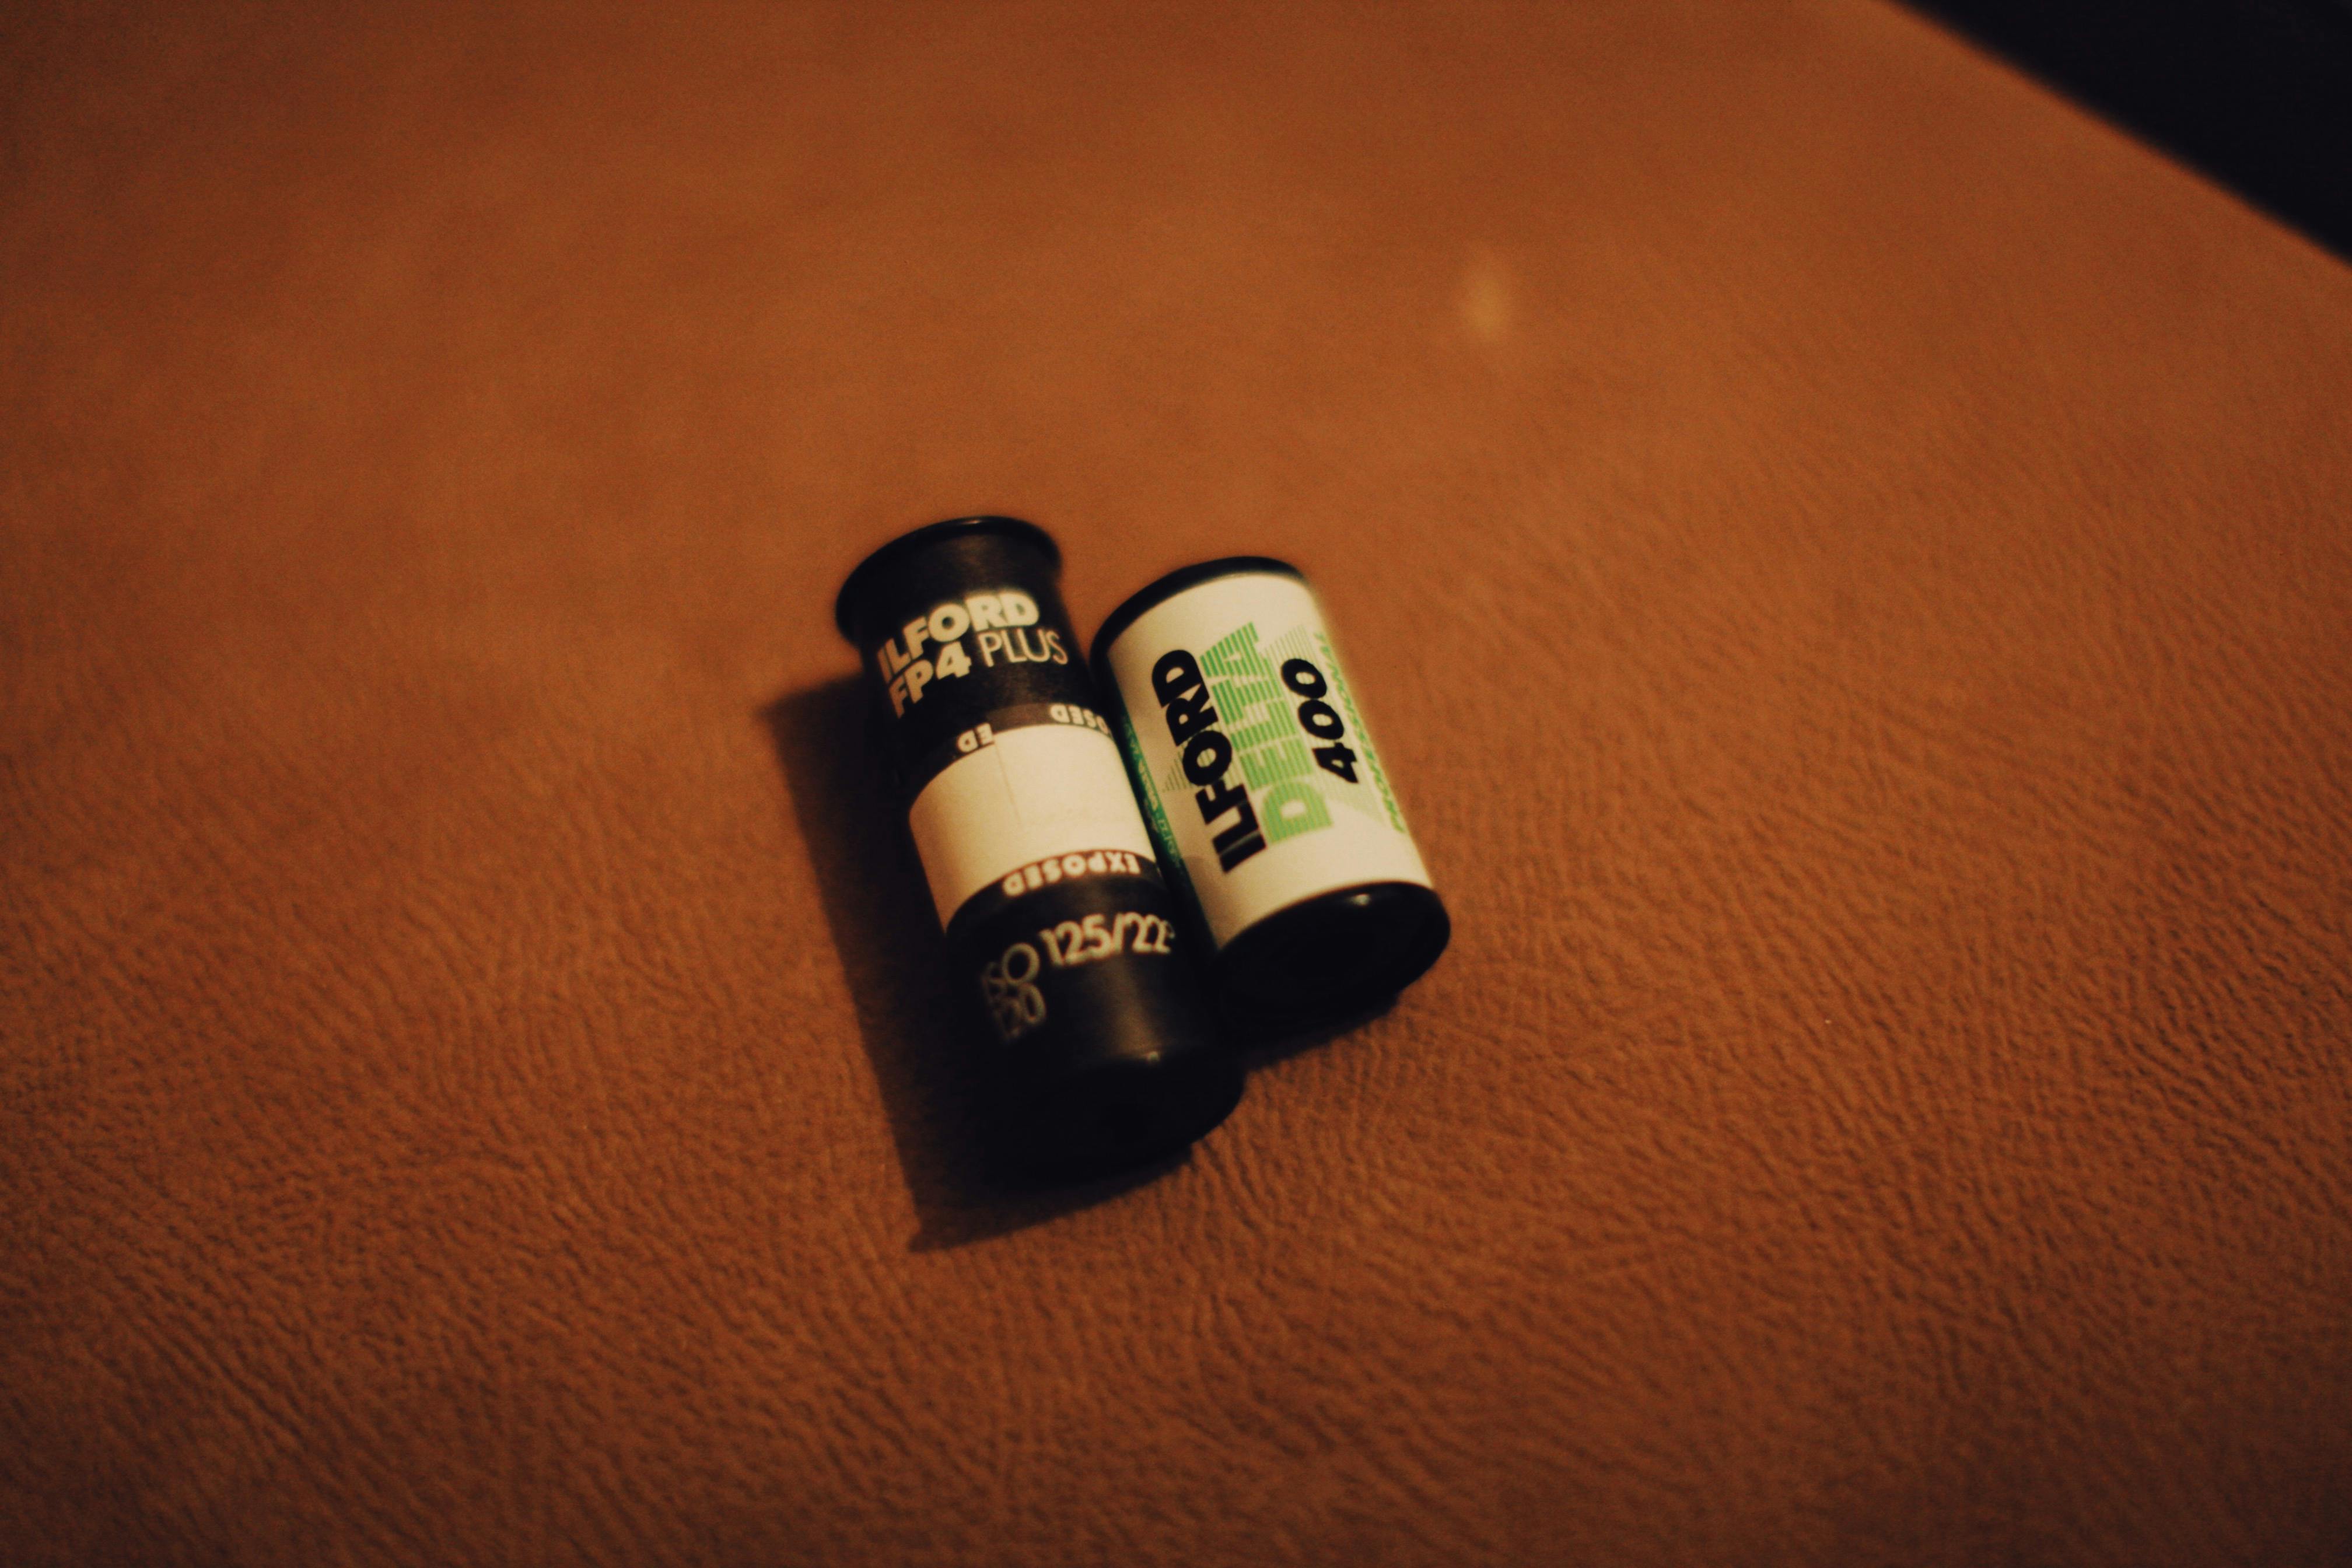
One guide recommends shooting ISO 400 film at ISO 800 for double exposures. That gives each frame about a 1-stop underexposure, which leaves room for the second hit. It is a useful starting point, not a fixed rule.
What is the 20 60 20 rule in photography?
The 20 60 20 rule in photography splits attention into three parts. About 20% of the frame should be the most eye-catching part, 60% should support it, and 20% should stay quiet. It helps a double frame feel balanced instead of random.
This rule works well when you mix a portrait with a texture layer. The main face or subject can live in the 20% zone, while the rest of the frame carries pattern or tone. That balance gives the scan more shape and less visual noise.
Using the rule without making the frame busy
Keep one layer simple. If the first exposure already has a strong point of focus, let the second one stay softer or more open. A tight subject against negative space gives the scan room to breathe.
Focal point photography thinking helps here. You are not just stacking two images. You are deciding which part should lead the eye and which part should support it.
Which ISO gives the cleanest result?
The cleanest result usually comes from rating the film one stop slower than normal. A common starting point is ISO 400 film rated at ISO 800. That shift cuts the light per frame and helps the two exposures land at a full total.
For color negative film, a one-stop pull on each frame often keeps highlights in check. Slide film gives less room to work, so the exposure plan has to be more exact. If the scene is contrasty, I favor a more careful meter reading and a simpler second layer.
Where exposure compensation helps most
Some bodies make this easier with exposure compensation in 1/3EV steps. A Mamiya 7 II, for example, gives +2EV to -2EV control in 1/3EV increments. That range makes it easier to fine-tune a two-frame plan without changing your whole shooting style.
Use a meter reading, then back off a little for each frame. If one scene is already dark, do not force both layers to be equal. A lighter second exposure can preserve detail and keep the scan from sinking into the shadows.
Can you do double exposure on an iPhone?
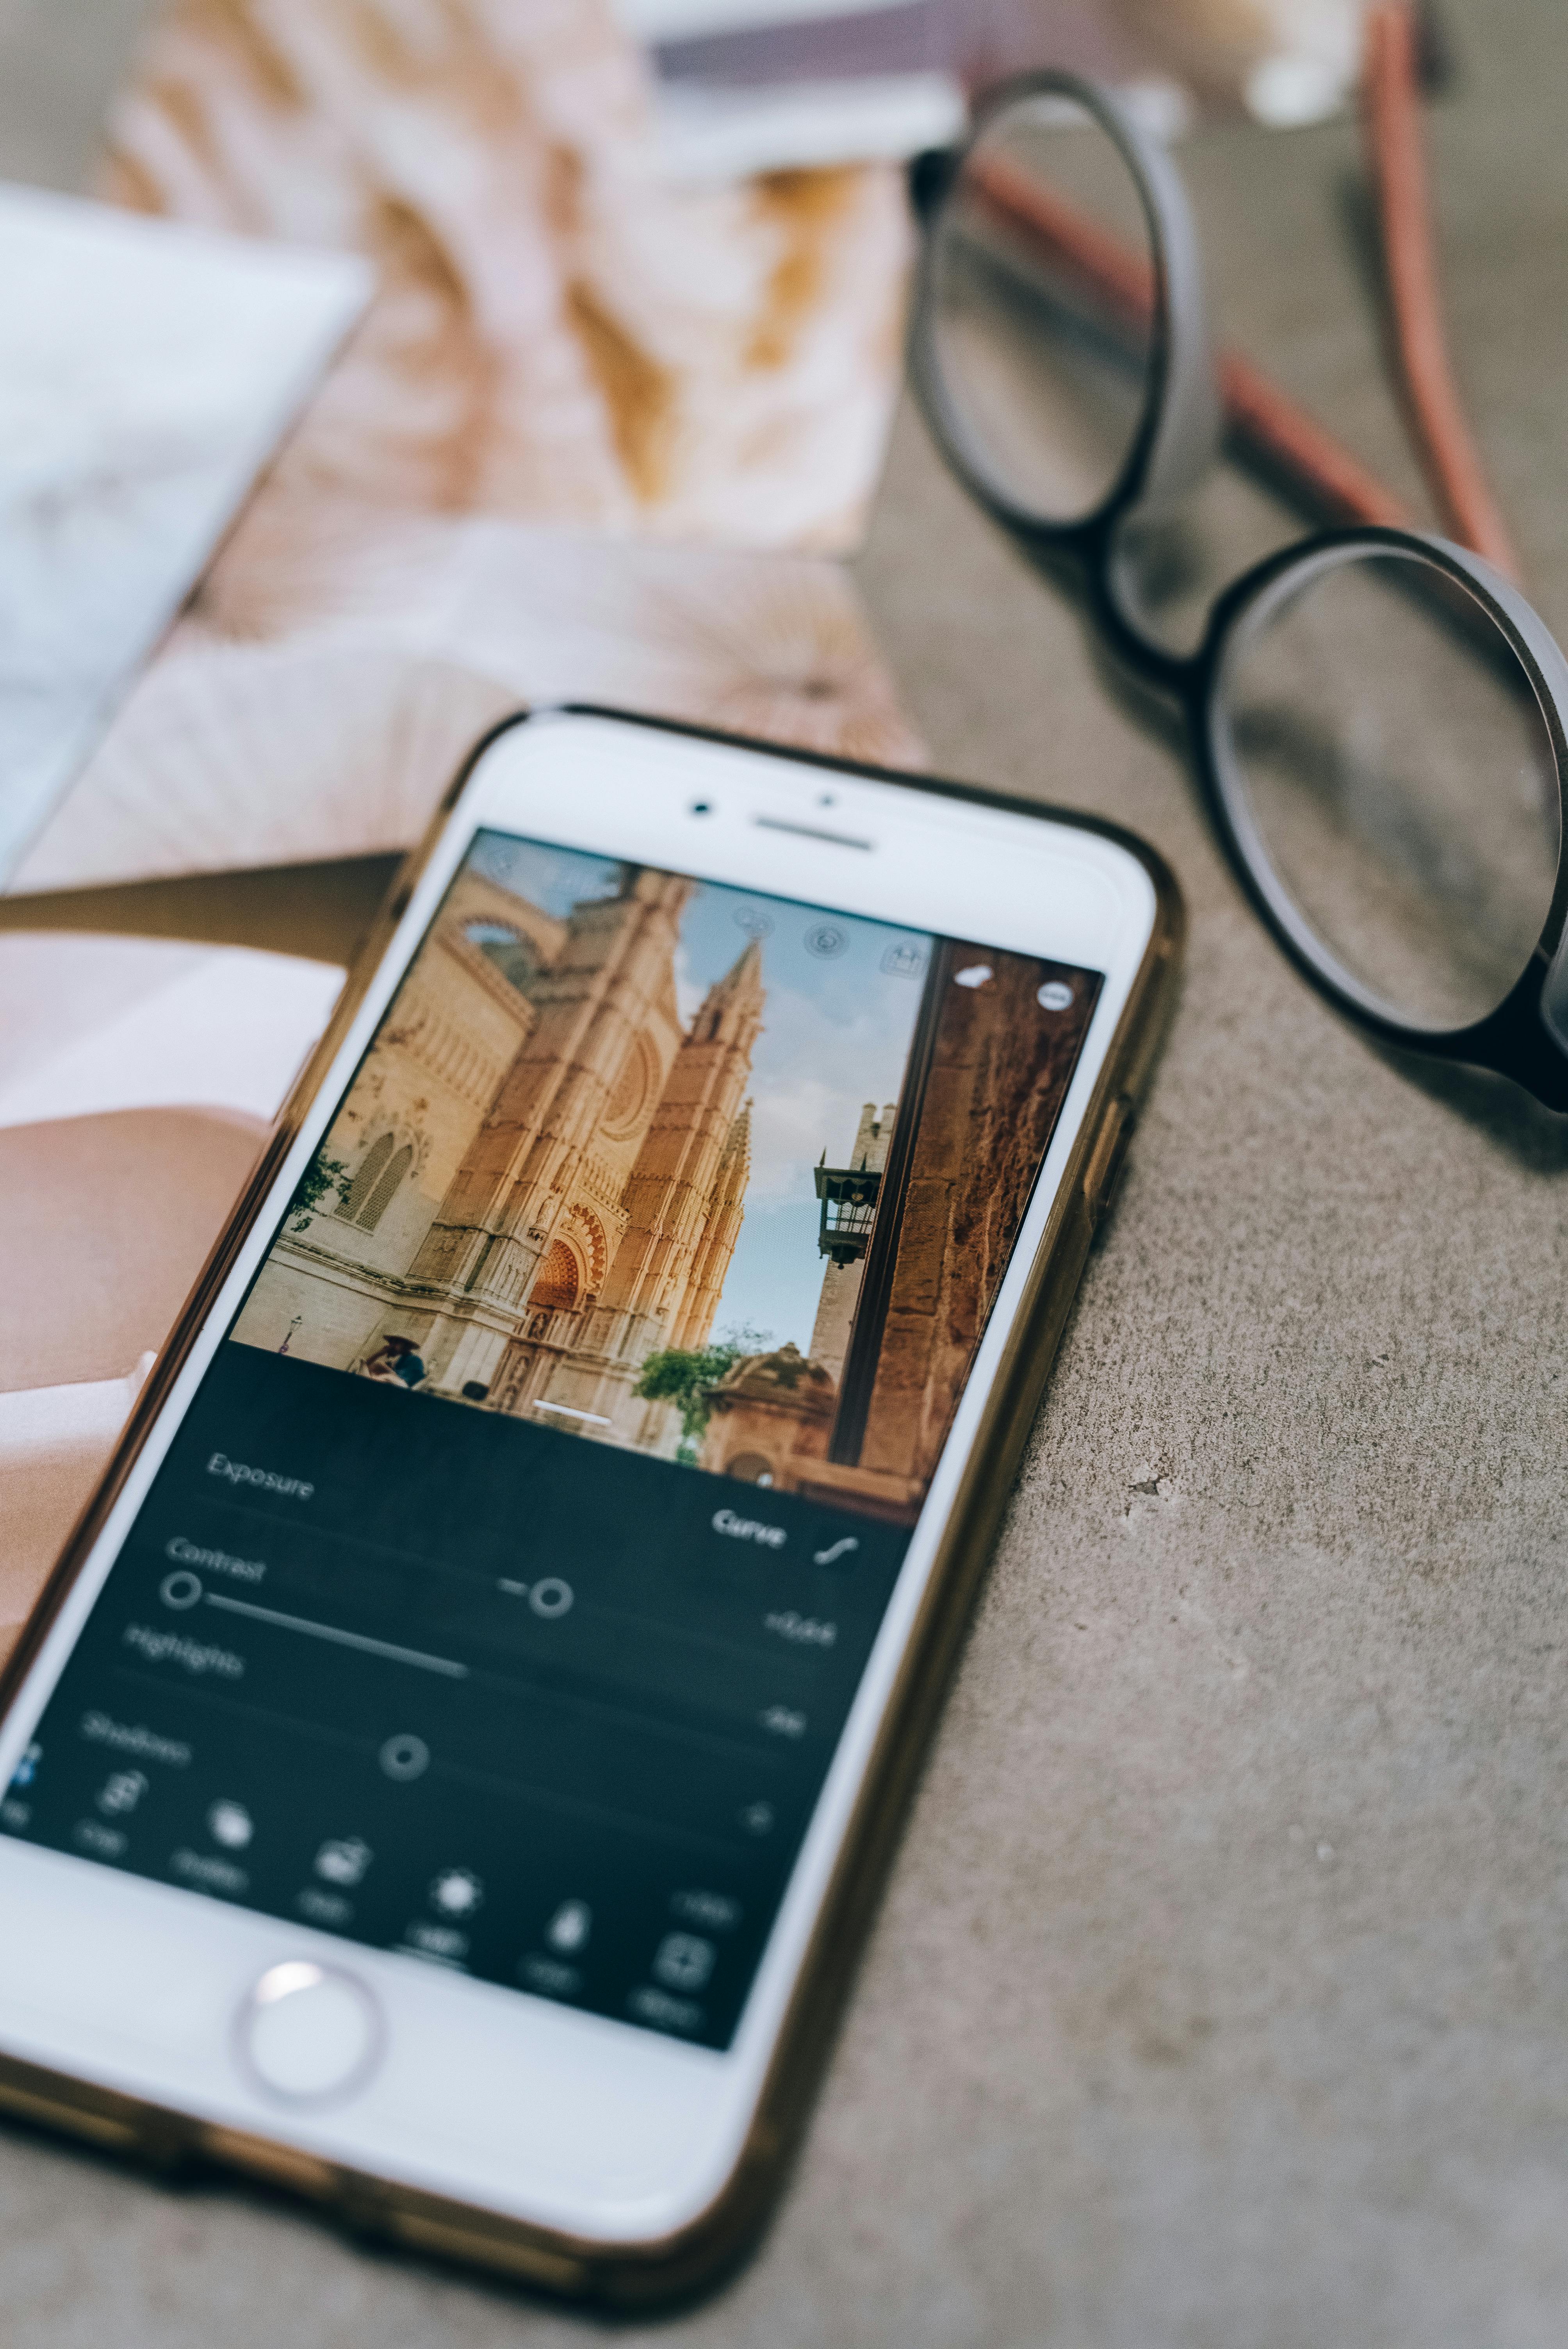
Yes, you can make double exposure-style images on an iPhone with layered apps or editing tools. The phone can blend two photos, but it does not mimic film perfectly. Film adds real grain, uneven tone, and small flaws that make the scan feel more alive.
Still, the iPhone is useful for testing composition before you shoot film. You can build a rough idea of where faces, trees, or signs will sit in the frame. That saves frames when you have only 24 or 36 exposures to work with.
Why phone layers feel different from film
Digital blending can look too clean unless you add grain and contrast by hand. Film responds in a more physical way, especially when the negative is exposed twice in camera. The scan then depends on the shape of the negative, not just the edit.
A phone can help with planning, but the film camera still does the real work. A fast street setup matters here too, because the second frame may only happen once. A secure strap keeps the camera ready while you test ideas on the move.
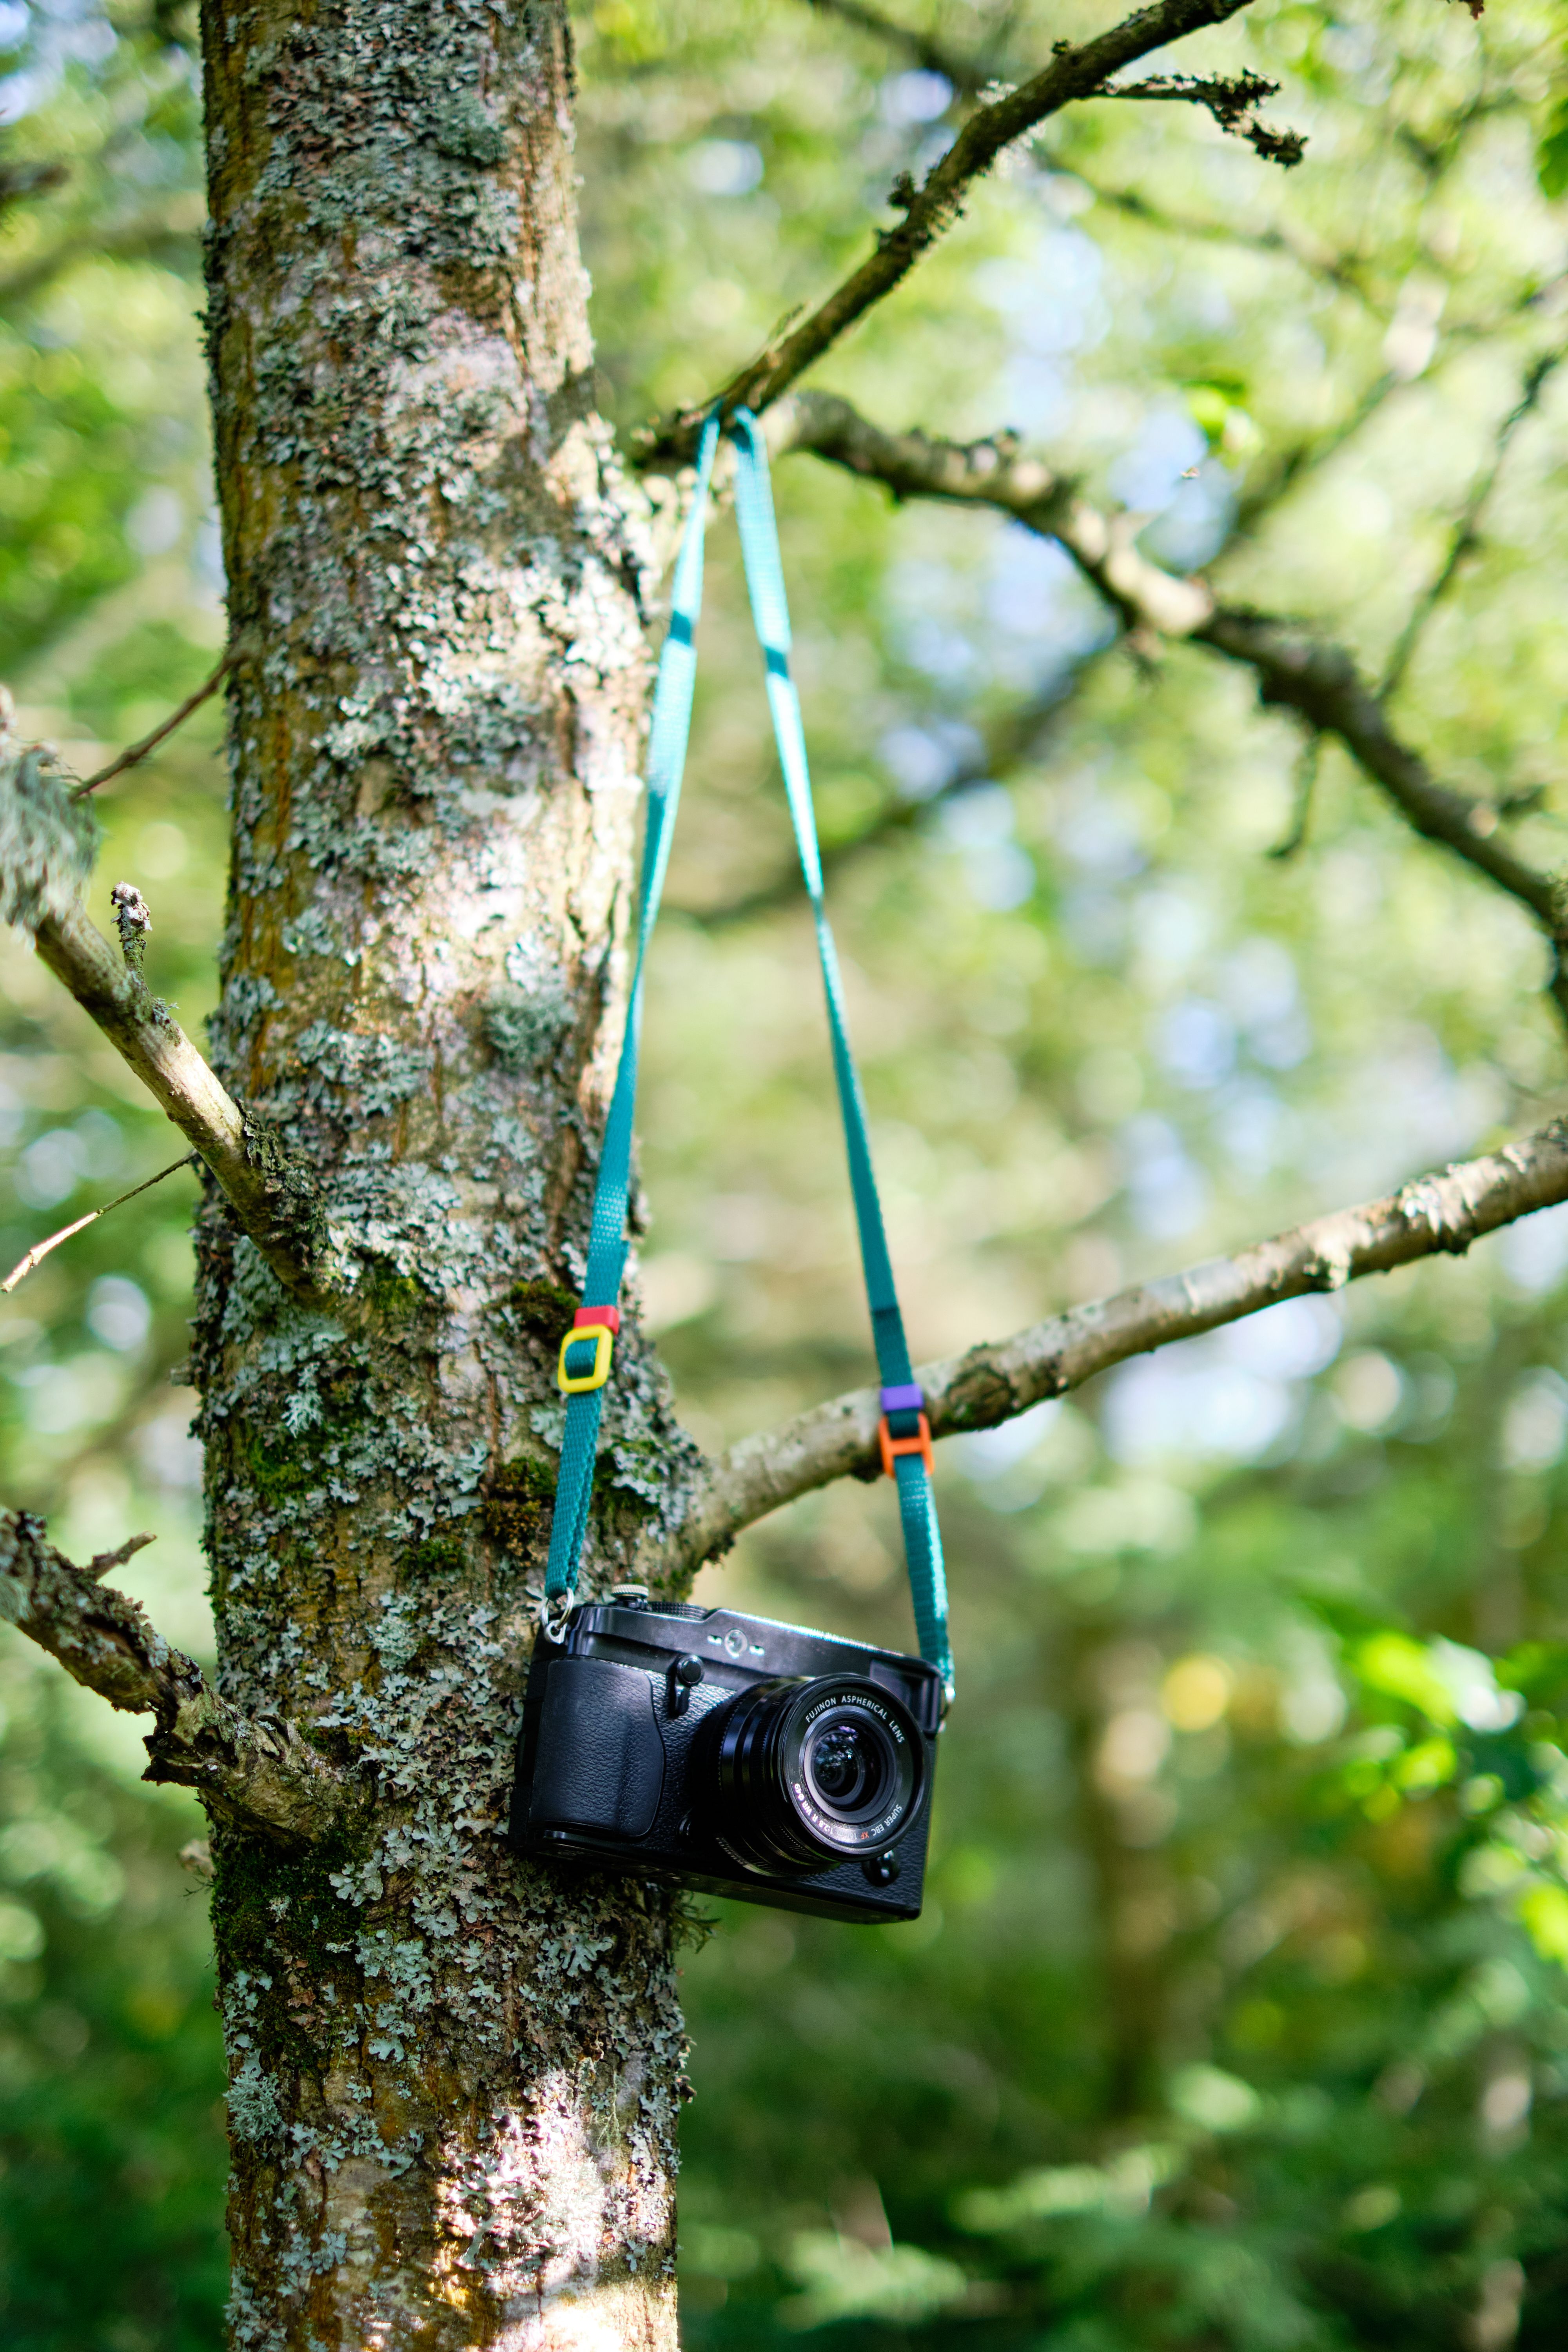
What gear and settings keep the frame ready in transit?
A stable carry setup helps you get the first exposure before the scene changes. I like a strap that spreads weight well and keeps the camera at chest height, because that lets me lift and shoot fast. A Camstrap voyager fits this use case well, since it keeps a film body close and ready without fighting the grab.
The rest of the kit should stay simple. A 35mm or 50mm lens works well for street scenes, and a small point-and-shoot can serve as a second body for quick frames between stops. The goal is less delay, not more gear.
- Film body with manual exposure control
- 35mm, 50mm, or 85mm lens for clean framing
- Metering app or built-in meter for exposure checks
- Notebook or phone note for frame pairing ideas
- Secure strap that keeps the camera easy to reach
One more useful detail is shutter discipline. If you are handholding a 50mm lens, stay near 1/60s or faster. With a 135mm lens, move closer to 1/250s. Those numbers matter because shake becomes easier to see once the film is scanned.

How scan setup can make or break the look
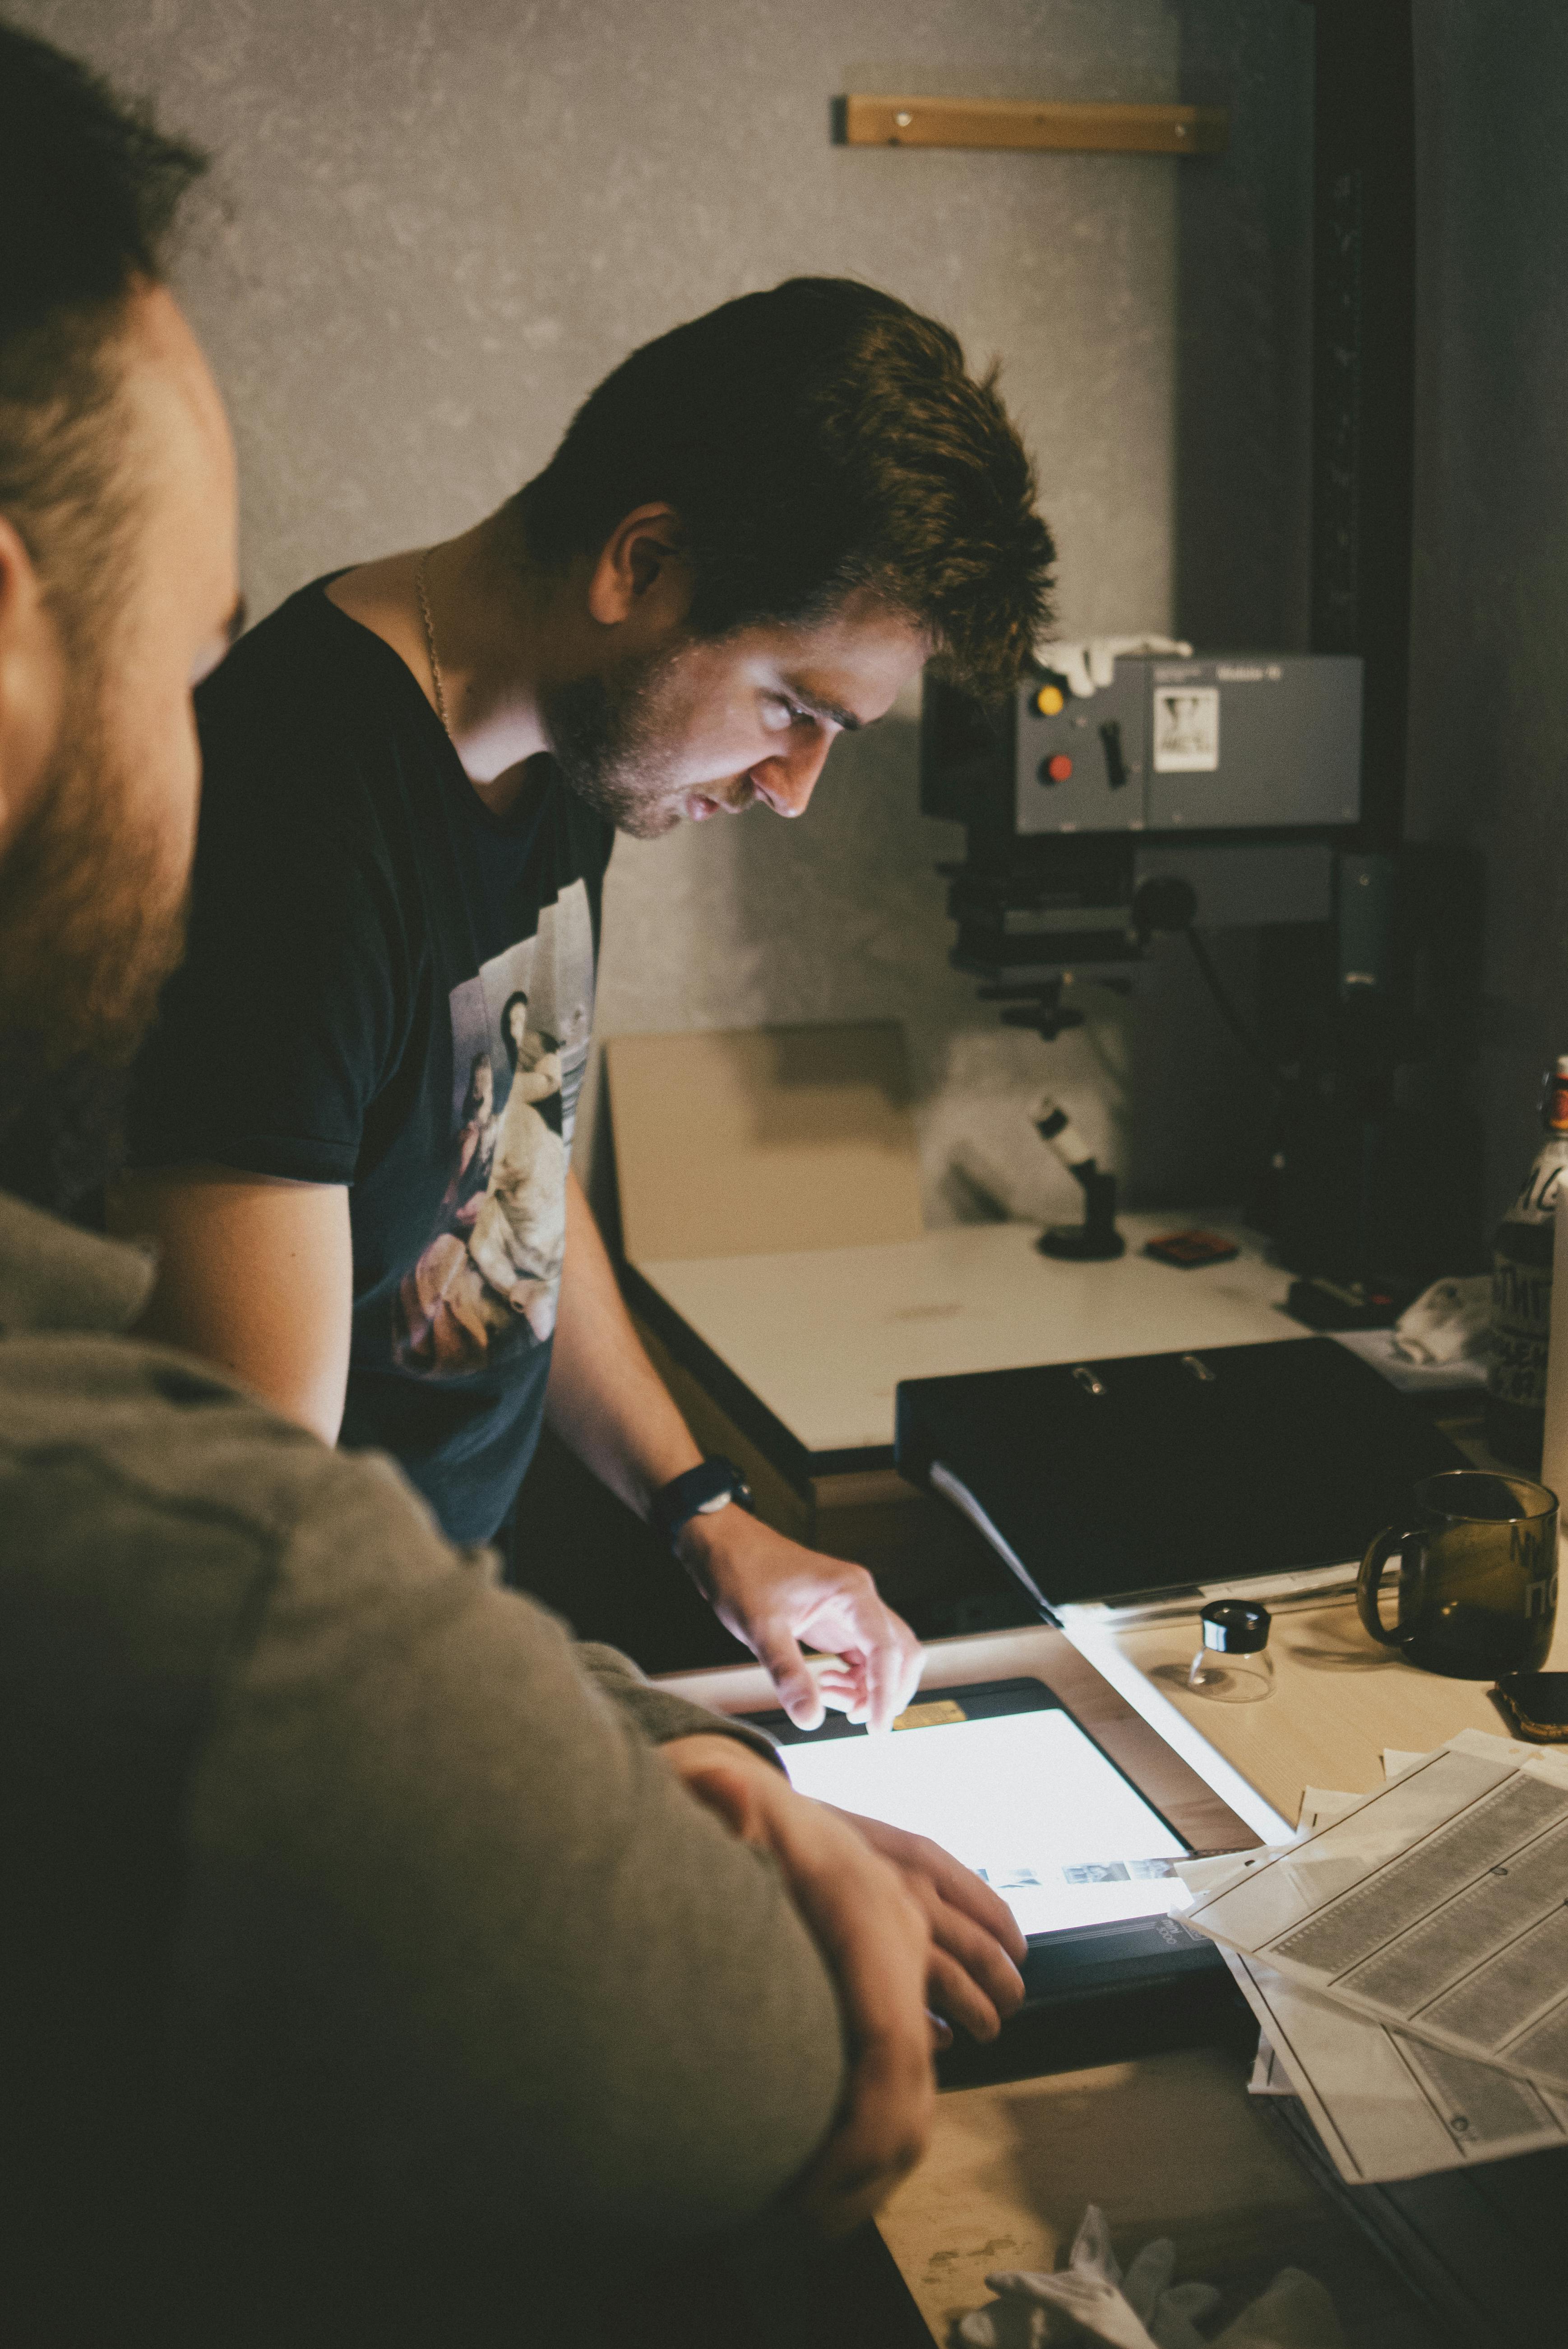
Even a good negative can look weak if the scan setup is off. Film that bows in the holder loses focus at the edges and can look soft across the whole frame. Flat film gives the scanner a better chance to hold detail and tone.
A flatbed workflow for paired negatives also needs matching sizes, such as 35mm or medium format. The holder has to fit the frame cleanly. If the film shifts, the scan can lose alignment and look dull before any editing starts.
What to check before you scan
- Make sure the film lies flat in the holder
- Clean dust before the first scan
- Use the right holder for the film size
- Run a test crop at 100% for sharpness
- Compare the scan before and after mild tone correction
Some scanners also support multiple-exposure scanning to lift range. A Plustek OpticFilm 120 review reports a maximum dynamic range of 4.01 with that mode. In practice, that can help recover more detail in a dense double frame, but only if the negative is already solid.
Where people go wrong with handheld double frames
The biggest mistake is making both exposures too strong. When that happens, the scan turns dark and muddy, and the layers fight each other. Another common miss is chasing a subject that moves too far between frames, which breaks the visual link.
Shutter choice matters as much as exposure choice. If you use a slow speed while walking or turning, the frame can blur in a way that scans exaggerate. A short burst does not solve that; good timing and a steady hand do.
Focus choice matters too. Continuous AF-C or AI Servo can help for moving street scenes, but many film bodies lack it. In that case, zone focus at f/8 or f/11 gives more repeatable results, especially when your camera is already hanging ready at your side.

Signs the next roll will scan better
Look for negs with clear edge detail, even midtones, and a strong subject shape. Those frames often scan with more life because the film plane stayed flat and the exposure stayed under control. If the image still feels weak, check the holder first, then the exposure plan.
Also check whether the camera stayed ready between stops. If it did, you will usually get cleaner frames and fewer missed moments. If it did not, the fix starts with how you carry the camera, not with the scan app.
Handheld film work rewards a simple chain: keep the camera close, expose each frame with care, and scan on a flat holder. Once those pieces line up, the final image feels stronger and less washed out. The next roll will show the difference most clearly at the contact sheet stage.
Frequently Asked Questions
How do you do double exposure photography?
Double exposure photography uses the same frame twice while controlling total light so the two exposures add up correctly. A practical film approach is to choose a strong base image, underexpose each frame by about 1 stop, keep the camera still, and make the second frame with a subject that fits the first.
What is the 20 60 20 rule in photography?
The 20 60 20 rule in photography is not defined in the provided article, so no article-based definition can be given. If you mean a specific composition or lighting rule, the exact meaning depends on the source using that term.
Can you do double exposure on an iPhone?
Yes, double exposure photography can be done on an iPhone by using a camera app or editing app that supports blending two images. The key is still the same: combine two frames so their tones and subjects add up into one balanced image.
What is the best ISO setting for taking double exposures?
The best ISO setting for double exposure photography is the lowest ISO that still gives the needed exposure, because both frames share the same total light. Fujifilm advises underexposing each frame a little and using ISO, aperture, shutter speed, or exposure compensation to control the result.


