


- Use a fast-enough shutter first, then let dusk light and stabilization do the rest.
- Apply the 1/focal-length rule, and go faster on crop sensors or longer lenses.
- Avoid blur traps: brace your body, steady the camera, and don’t trust slow shutters.
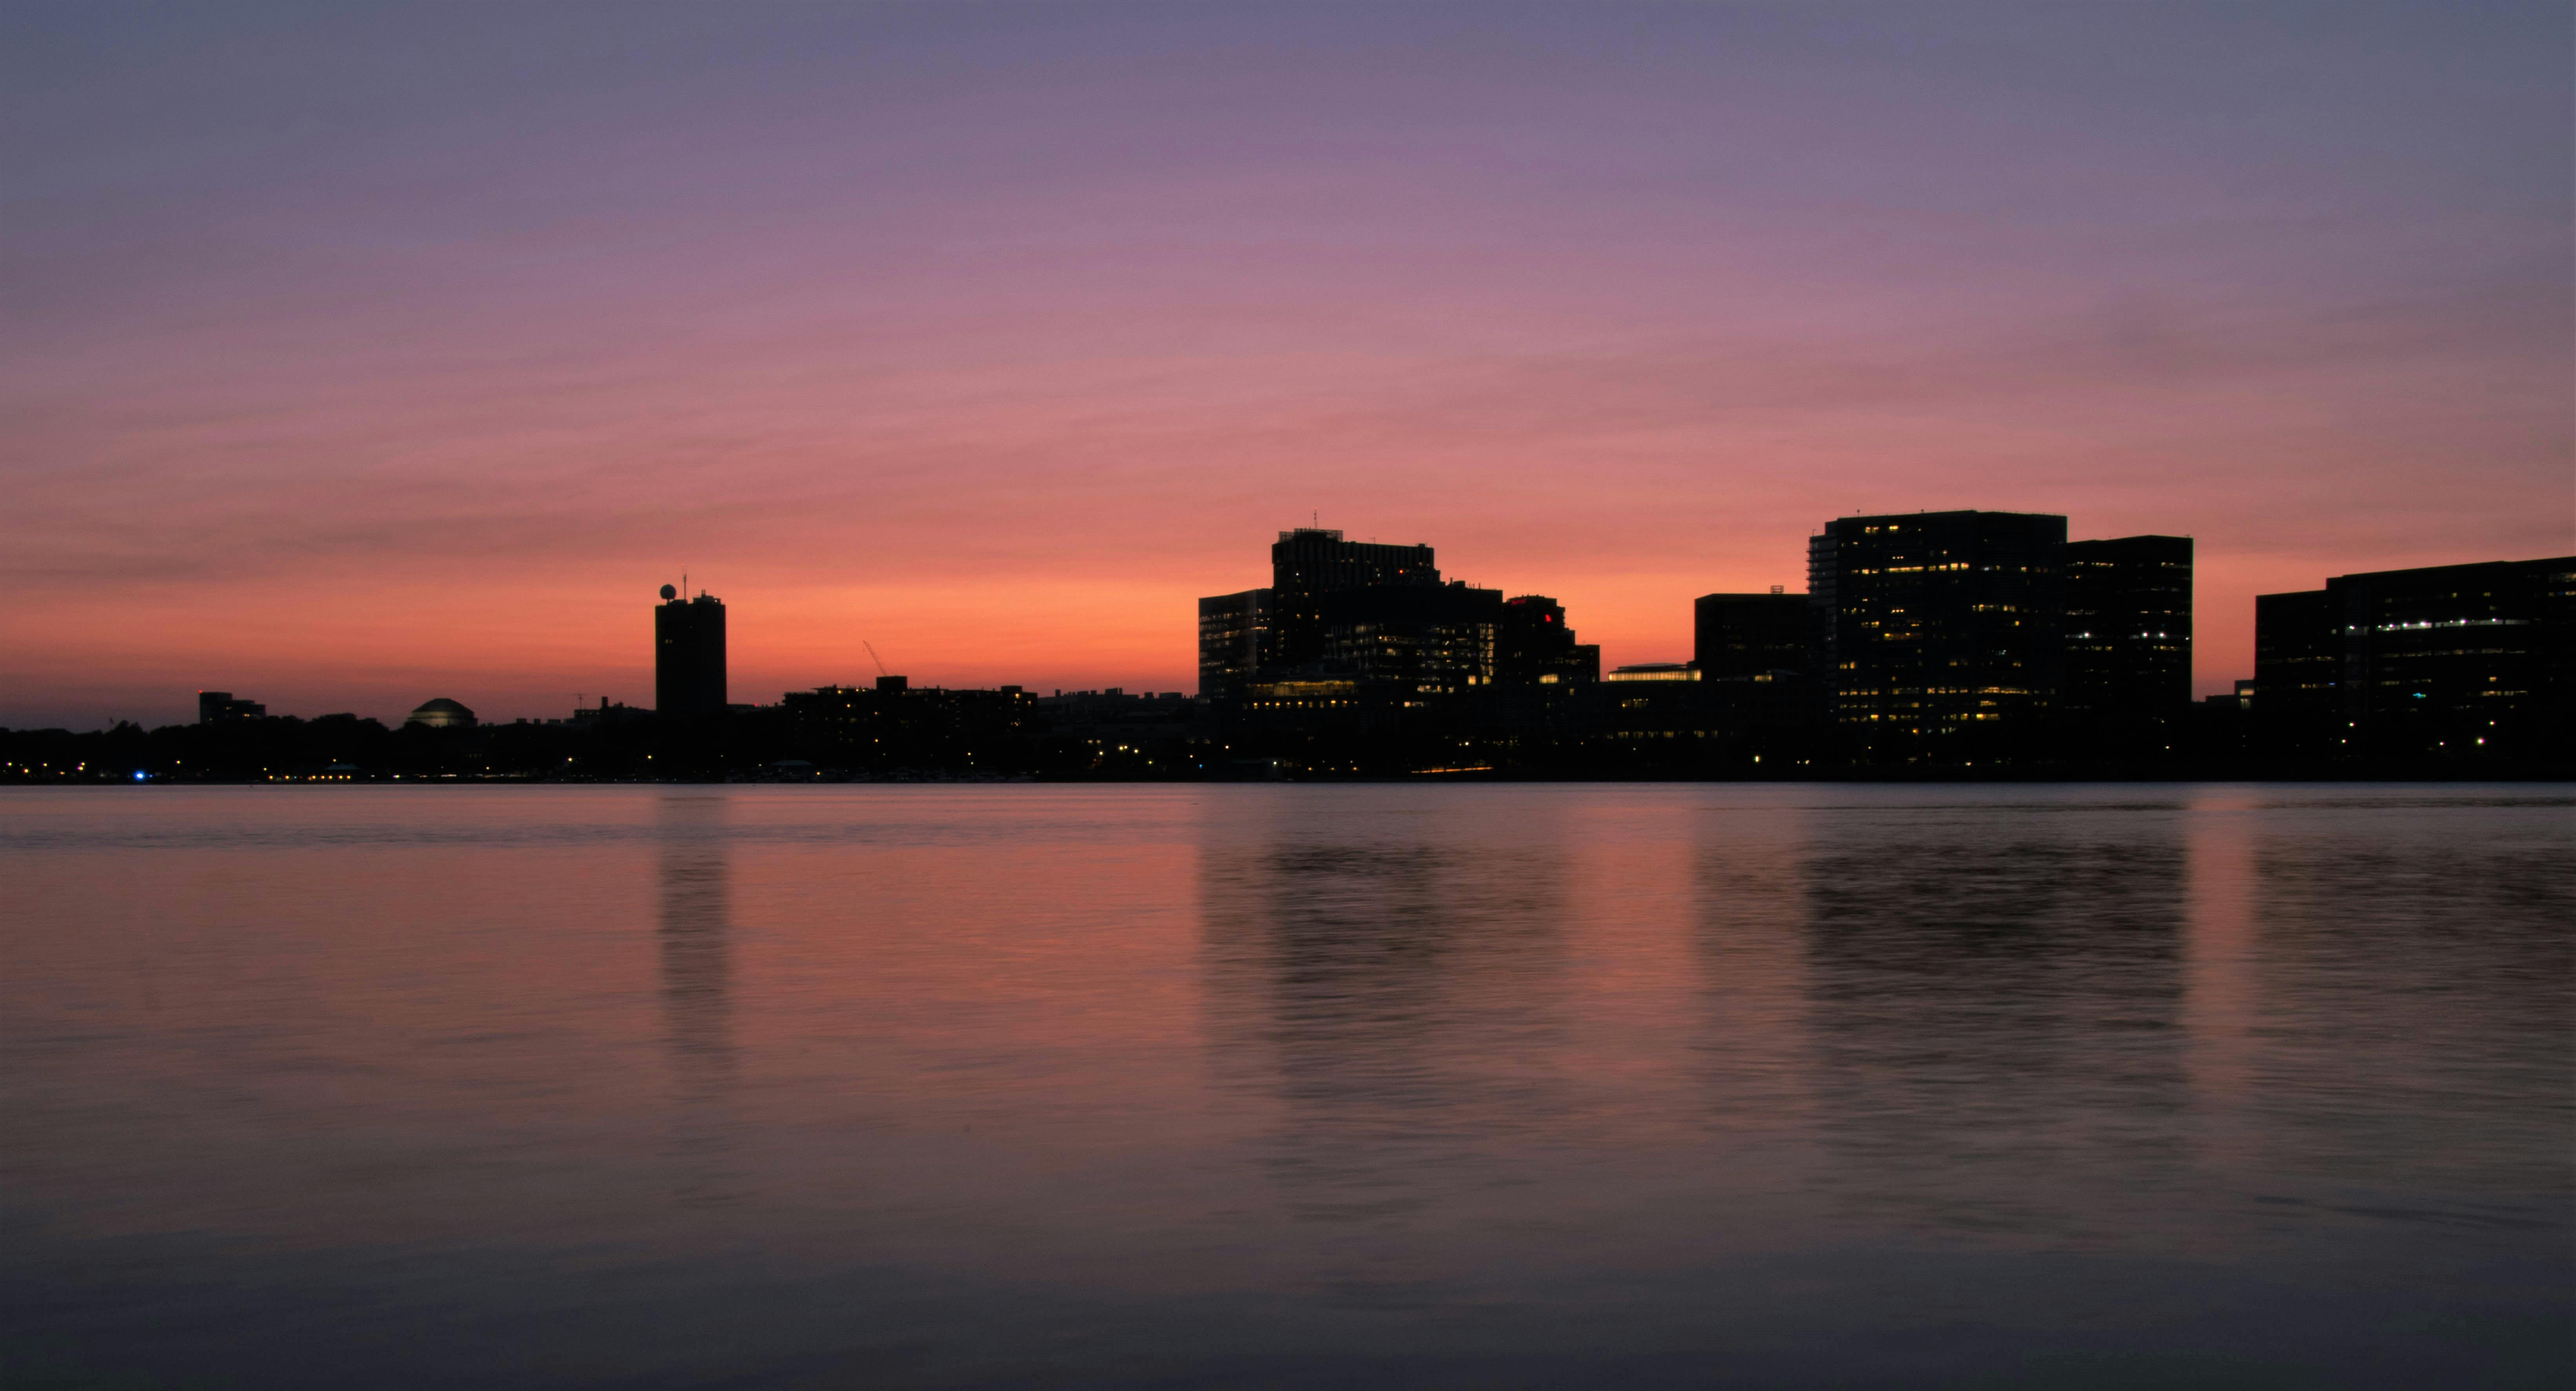
Long exposure photography tips show how shutter speed, motion, and light shape a city frame after sunset. At dusk, handheld city lights can still look sharp because the scene leaves enough light for a faster shutter, and image stabilization can absorb part of your hand shake. In street shooting, that combination pays off fast. You might step from a curb to a railing, cross a road, and still want a clean frame without setting up a tripod.
Translation missing: en.blog_cta.bundle_heading

- Regular price
-
€42 - Regular price
-
€44 - Sale price
-
€42
By choosing the Camstrap strap, you are opting for a high-quality product designed to meet the needs of the most demanding photographers.
- Developed by a physiotherapist to relieve neck and back pain.
- Fast delivery with tracking by the Post Office 🚚
- Can be used as a shoulder strap or hands-free harness

- Regular price
-
€36 - Regular price
-
€42 - Sale price
-
€36
Translation missing: en.blog_cta.free_shipping_included
Why city scenes sharpen at dusk
Dusk sits between daylight and full night. Buildings, signs, and street lamps often stay bright enough for a usable shutter speed, while the sky still holds soft color.
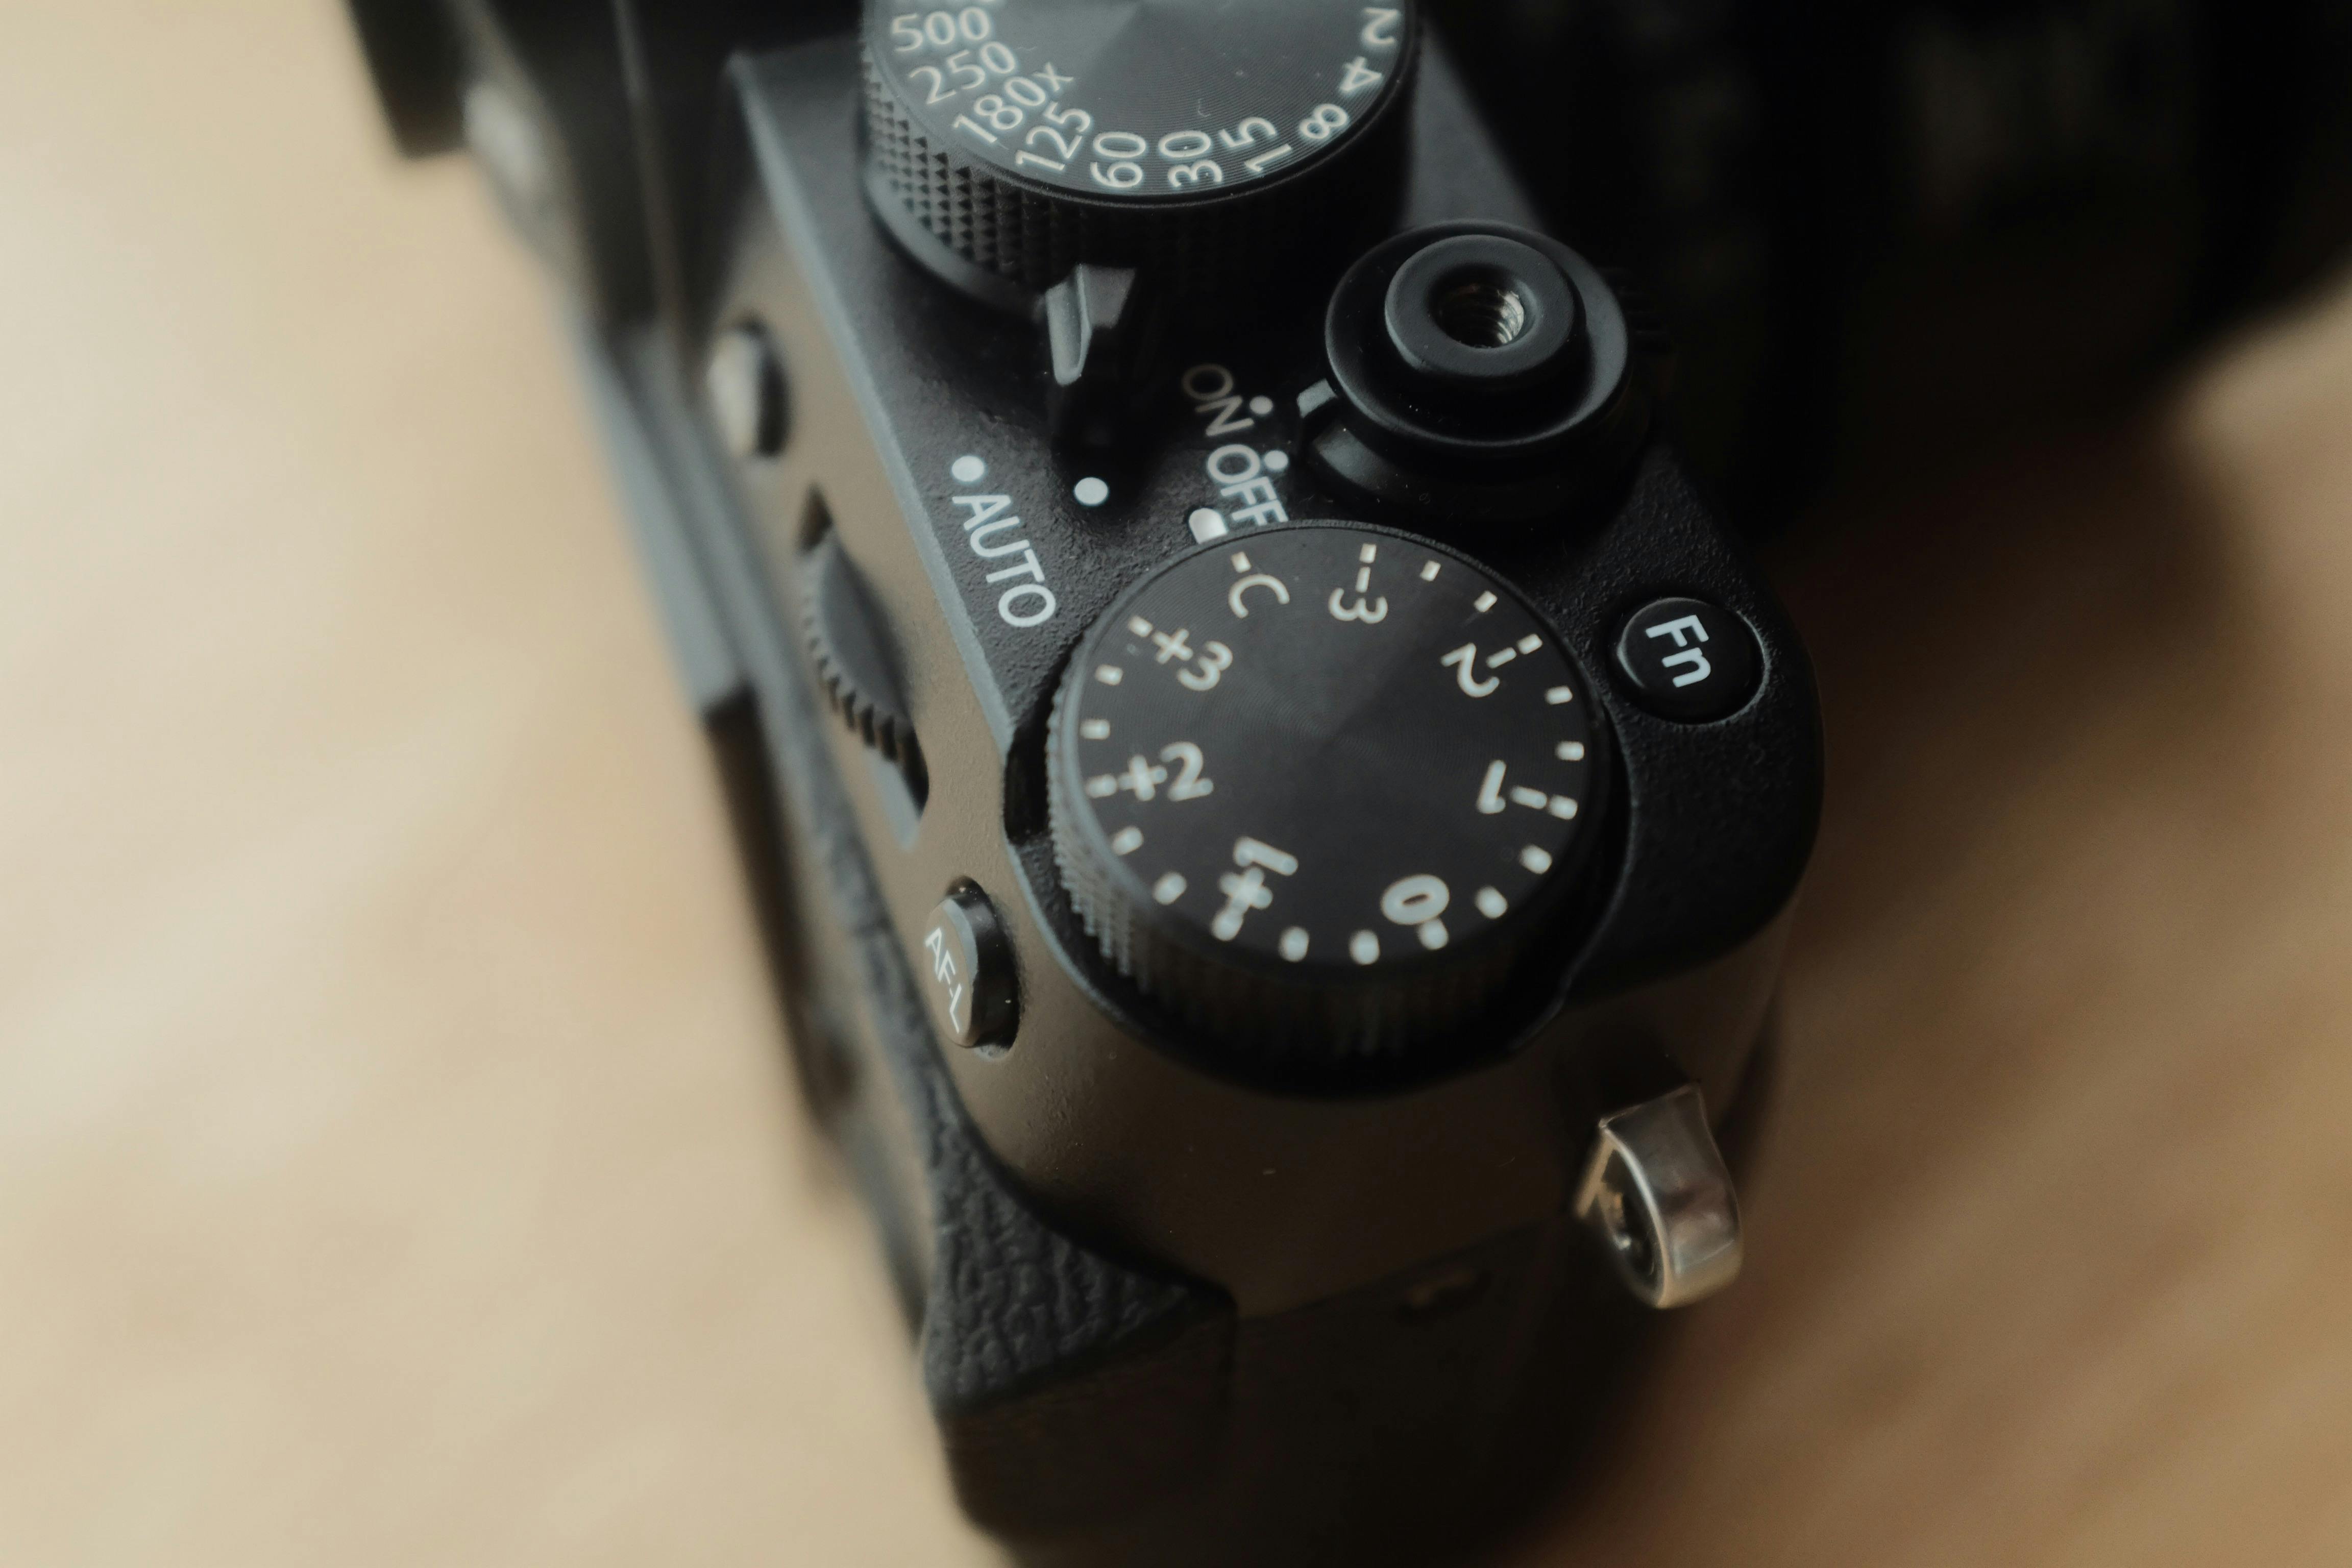
Sharpness holds up because the camera sees more than black shapes. It can lock onto edges, window lines, and bright lamps, which gives the frame clear contrast.
Still things stay still
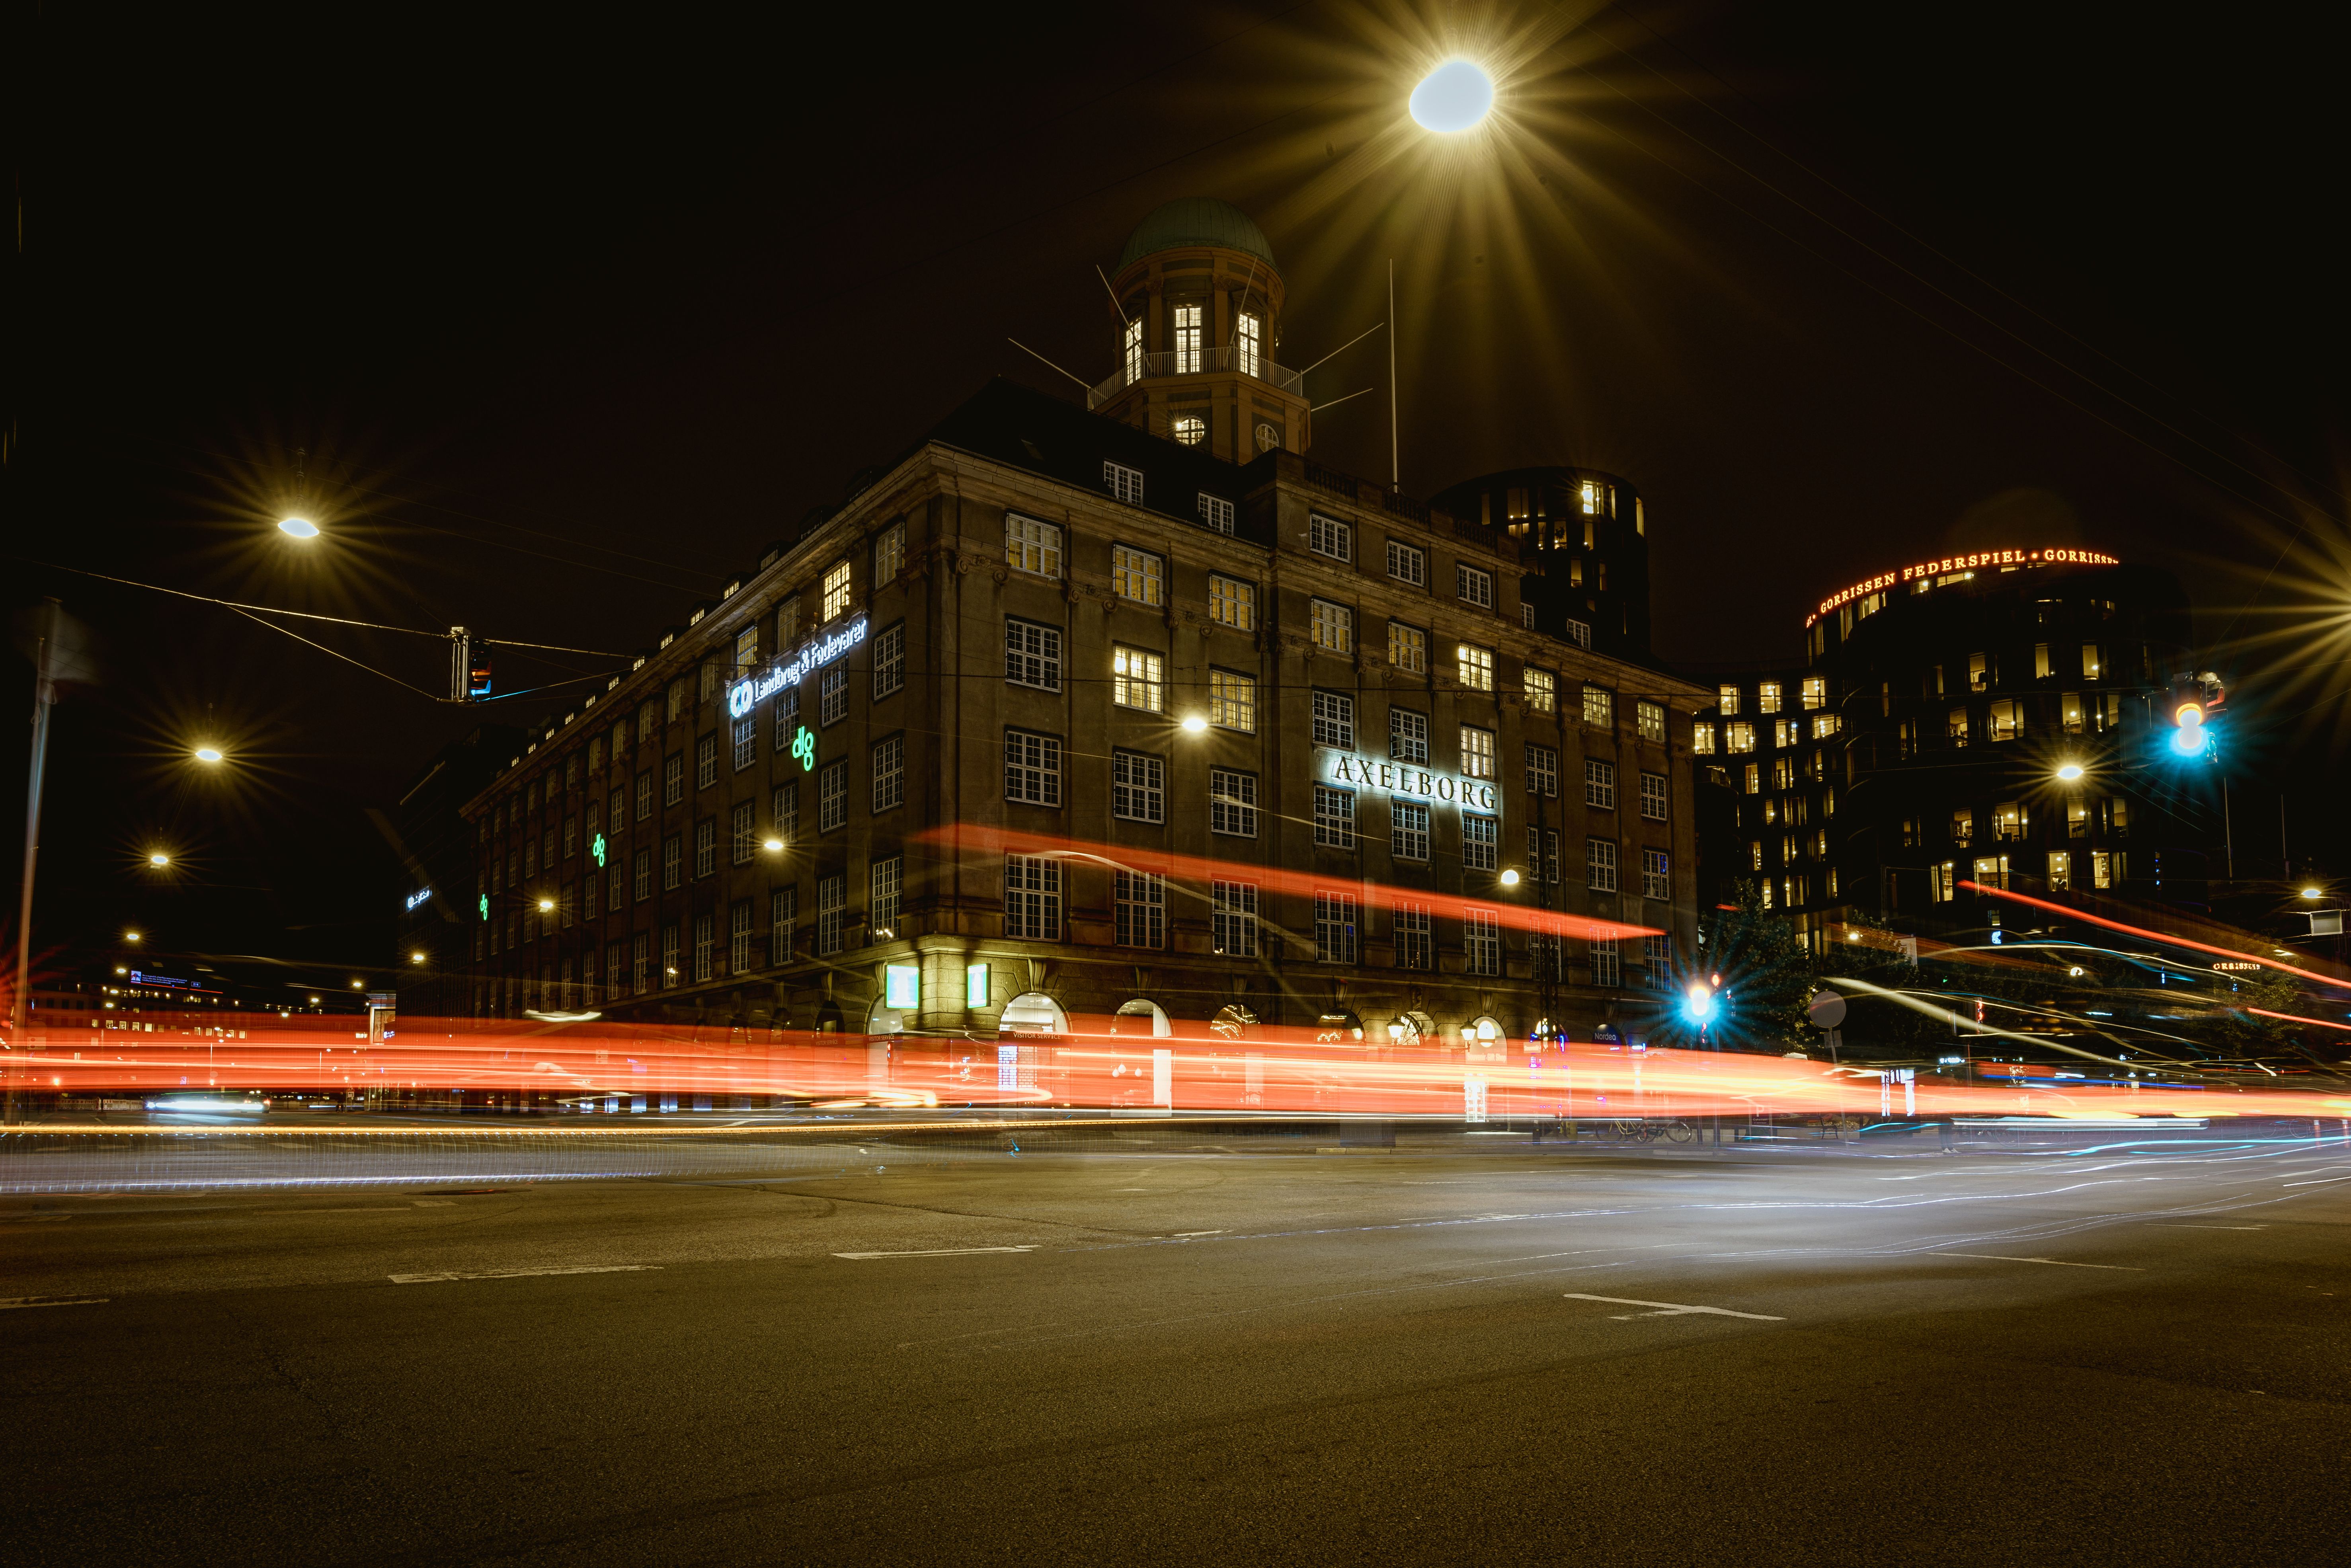
City walls, poles, and facades barely move. Even as the light drops, the camera can render them well. Cars and people may blur, and that often adds life. In many dusk frames, the static parts stay crisp while traffic turns into light trails or soft streaks.
Light changes faster than your eyes think
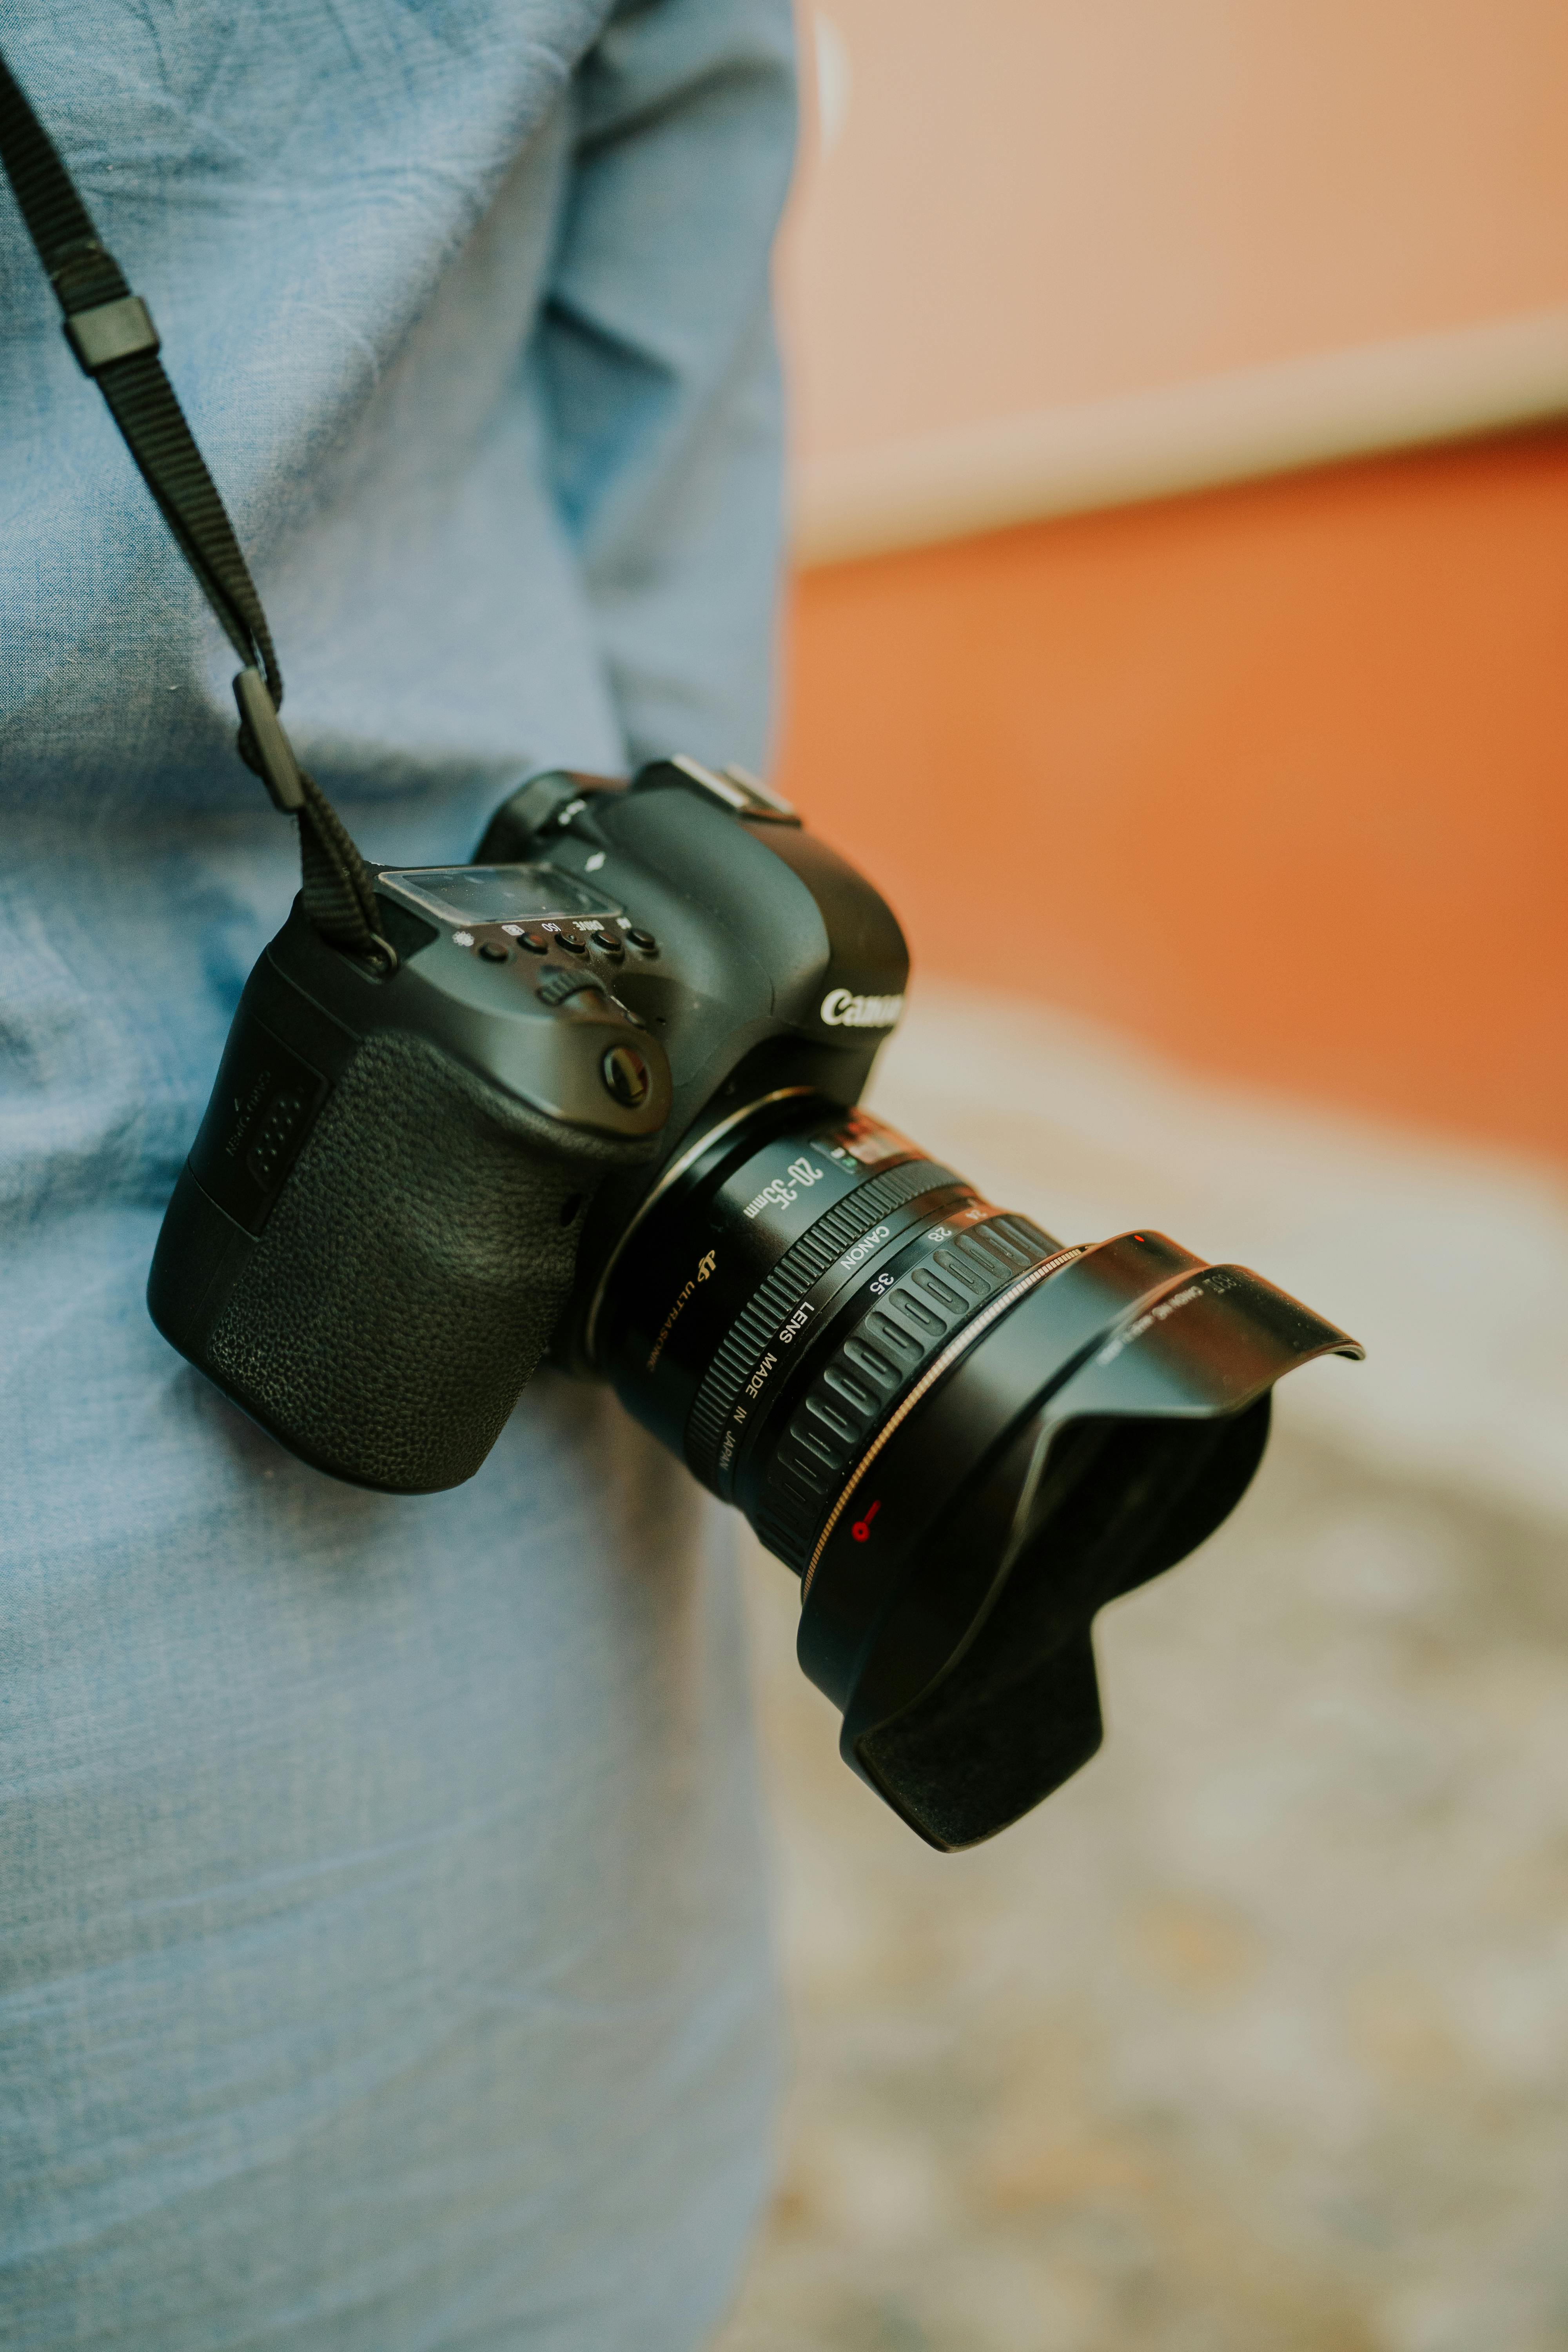
At dusk, the sky can look dim, yet the camera still gets help from bright signs and pools of lamp light. Those sources lift the exposure more than many shooters expect.
So a handheld frame can look cleaner than it seems it should. The camera can keep shutter speed high enough to stop your own motion before the scene turns fully dark.
What the camera does to keep edges crisp
The simplest sharpness rule is the reciprocal rule. On a full-frame camera, use a shutter speed at least as fast as 1 over the focal length, so a 50 mm lens suggests about 1/50 s and a 200 mm lens suggests about 1/200 s. Crop sensors need an adjusted version of that rule. A smaller sensor sees a tighter view, so the effective focal length grows and the safe shutter should get faster.
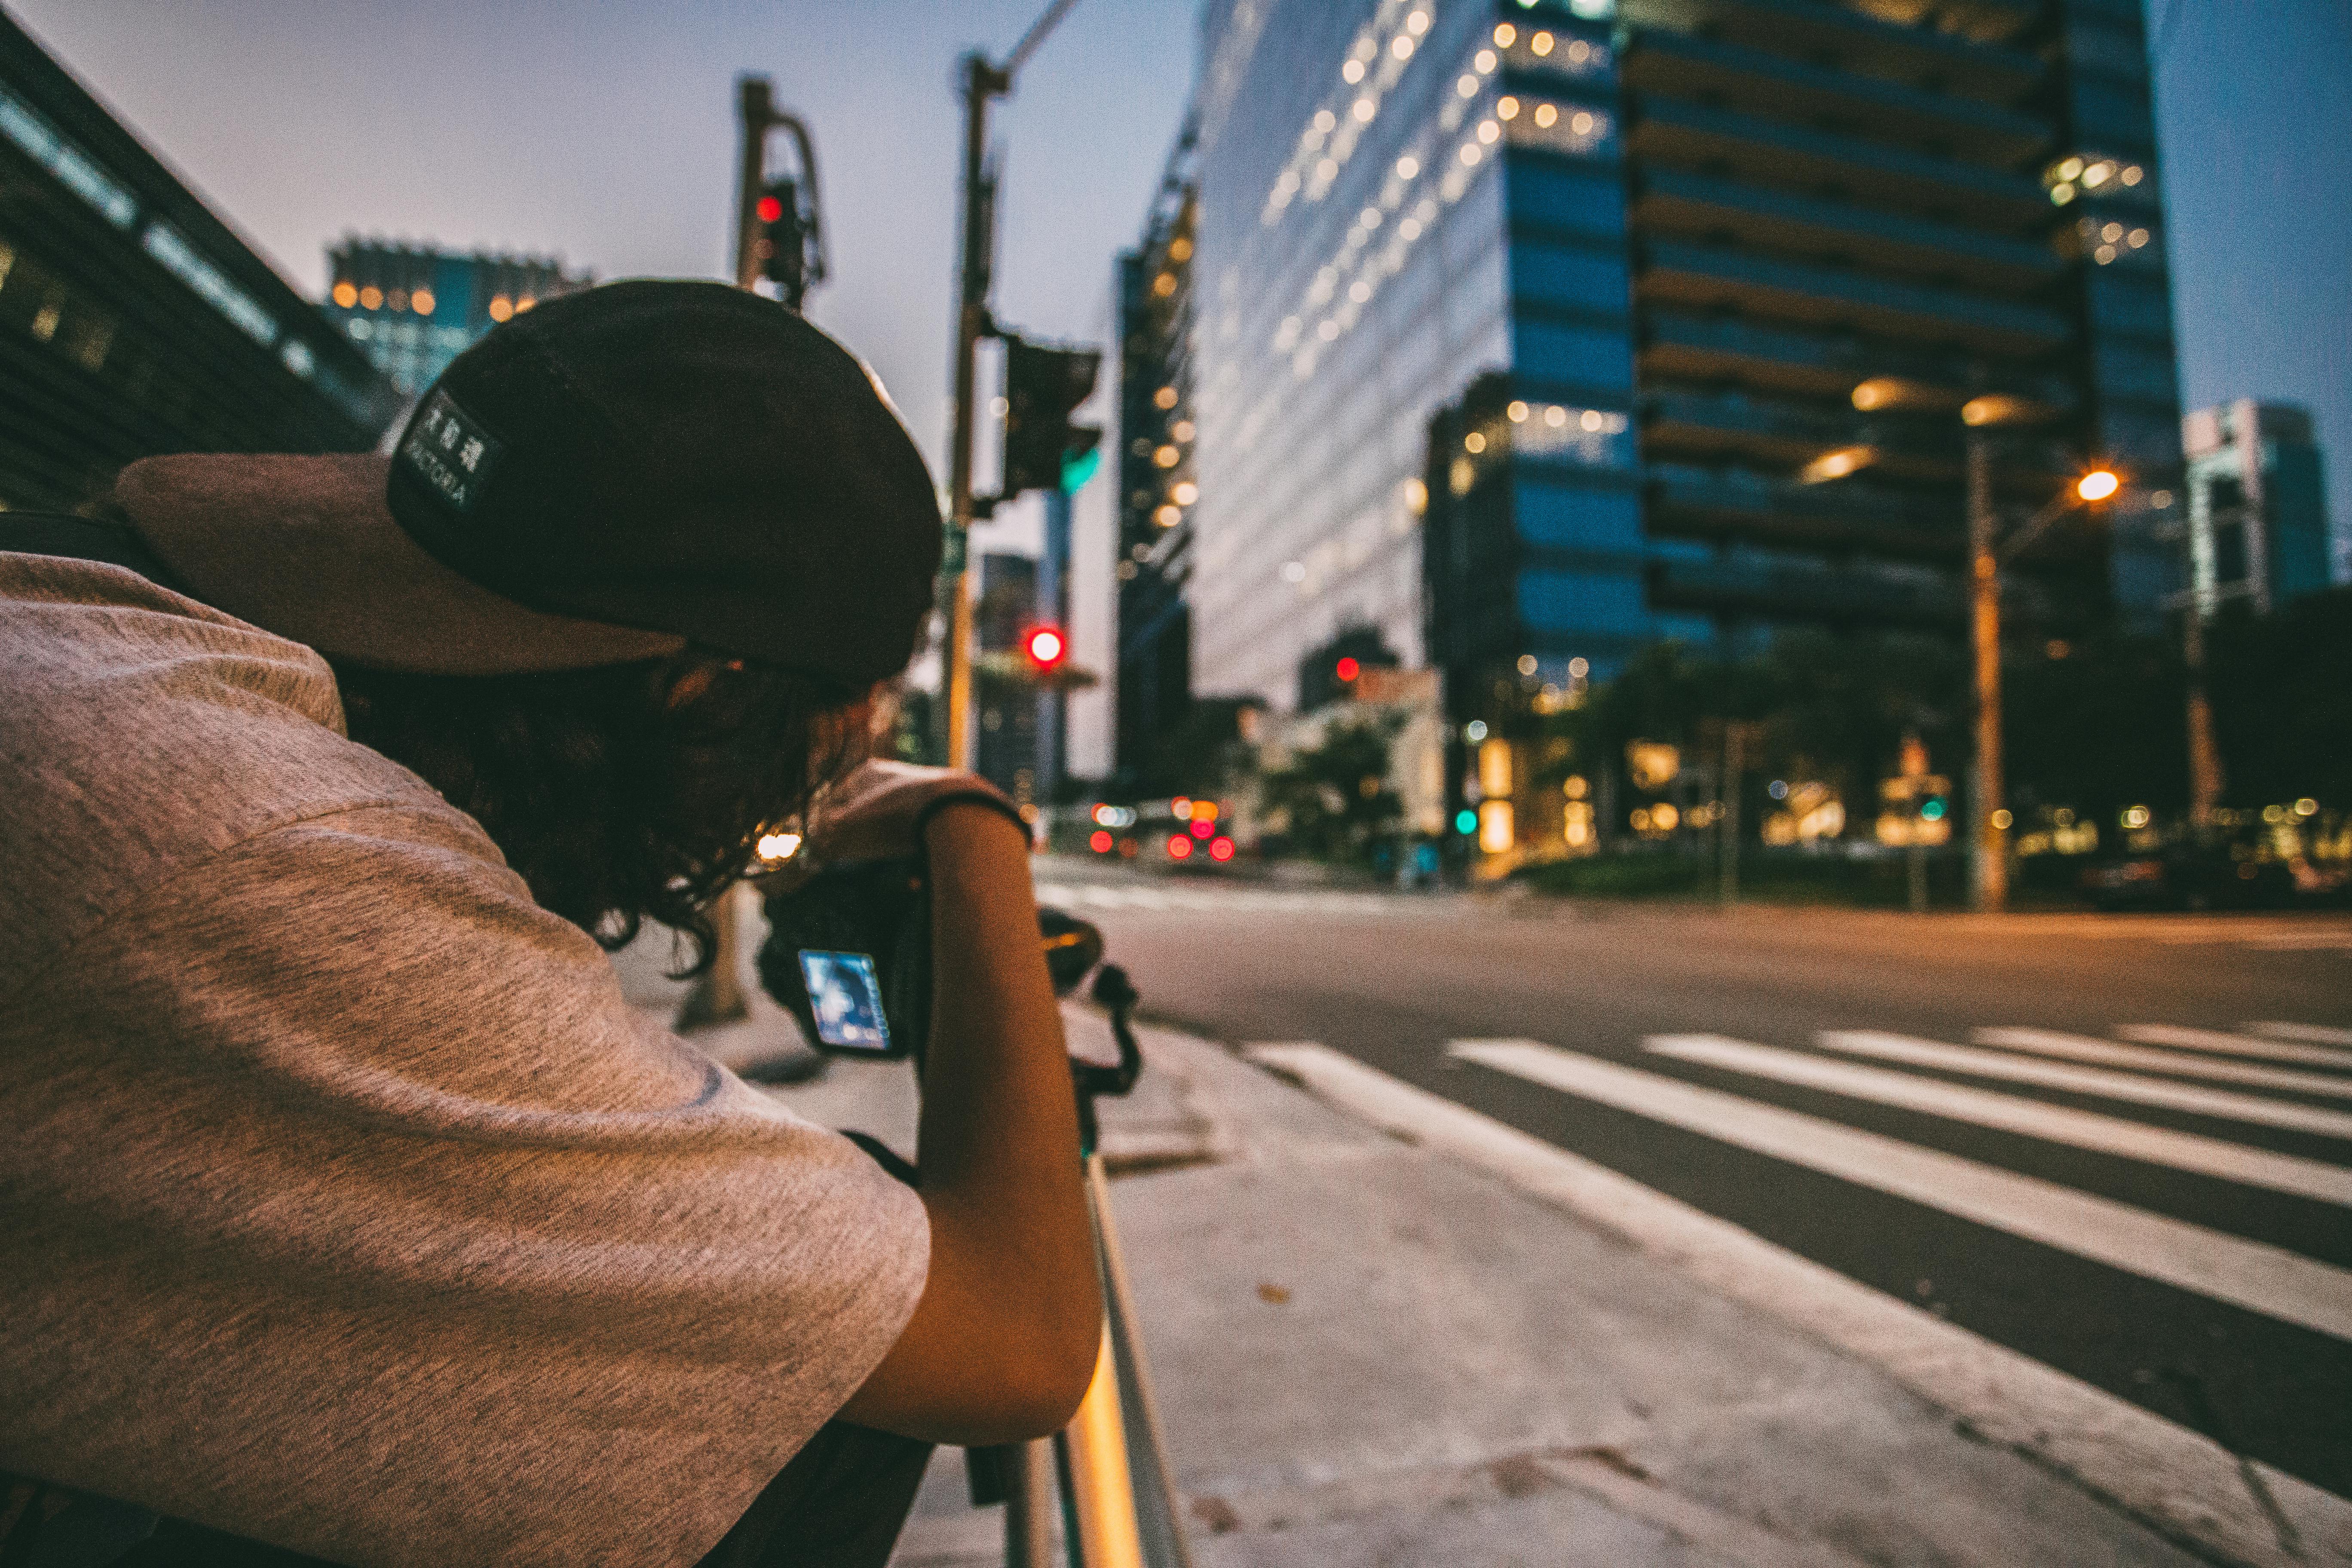
Stabilization buys you time
Image stabilization is measured in stops, and each stop lets you shoot about twice as slow. A 5-stop system can turn a 1/125 s baseline into about 1/4 s in the right conditions.
That is a big gain. Subject motion, wind, and your own body sway still set the limit.
Lens choice changes the margin
A 35 mm lens gives you more room than a 200 mm lens. A wider view hides small hand shake better, while a long lens magnifies it. That is one reason dusk street frames often look sharp with 24 mm to 50 mm glass. Those focal lengths pair well with handheld shooting and moving through a city.
How I keep handheld frames steady at blue hour
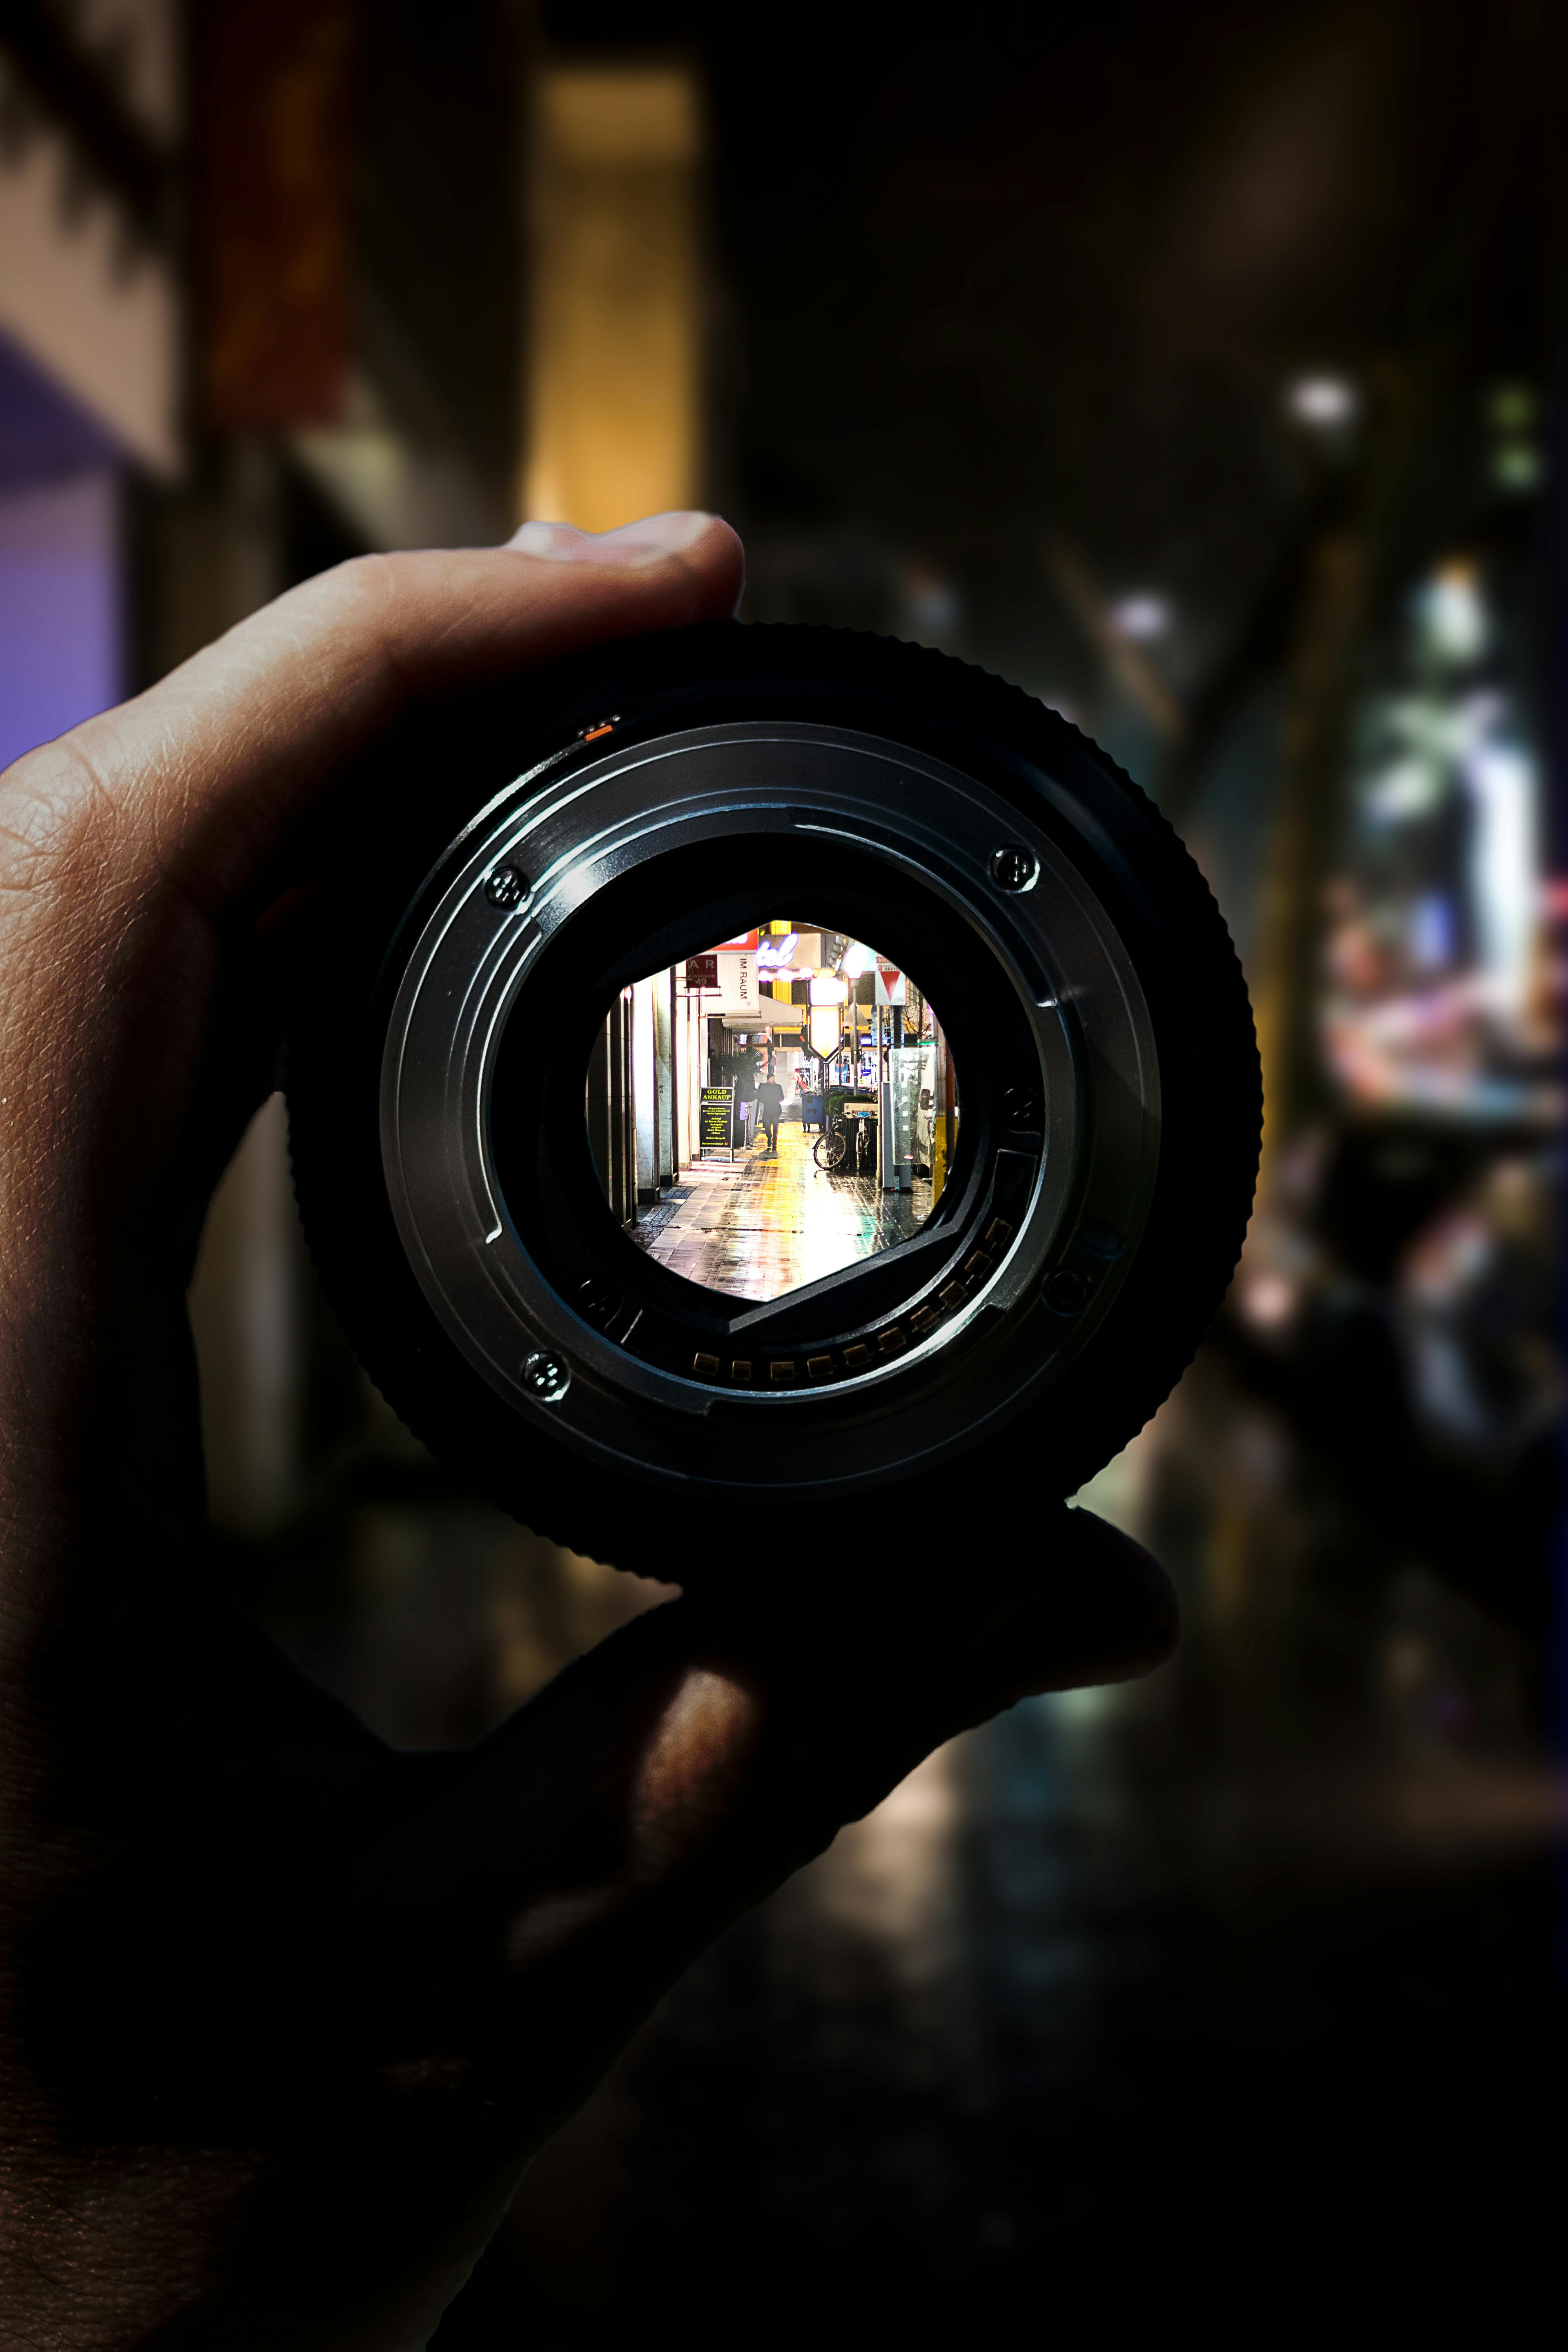
The best way to take long exposure photos in a city at dusk starts with control, not luck. I use aperture-priority or manual mode, watch the shutter, and keep the camera braced against my body.
I treat the shot like a short chain of small choices. From focus mode to the way I stand near a curb or wall, each one affects the result.
- Set the camera to aperture-priority or manual mode.
- Choose a focal length near 24 mm to 50 mm for more shake room.
- Start at f/2 to f/2.8 if you need light, then move slower only if the scene allows it.
- Keep ISO near 100 to 800 when possible, then raise it only if shutter speed drops too far.
- Use continuous AF with subject detection if people or cars may enter the frame.
- Take two or three frames and review sharpness at 100% on the rear screen.
Back-button focus helps because it keeps focus from hunting on each press. A quick burst of two to five frames also gives you a better chance of catching the calm moment between steps or wind gusts.
Body position does more than people think
Stand with your feet apart and tuck your elbows in. If you can, lean on a wall, rail, or light pole for extra support. A camera strap can help more than people expect. A cross-body design like Camstrap voyager keeps the camera ready while spreading the load across your torso, which makes it easier to raise the camera fast without a long swing.
What is the 20 60 20 rule in photography?
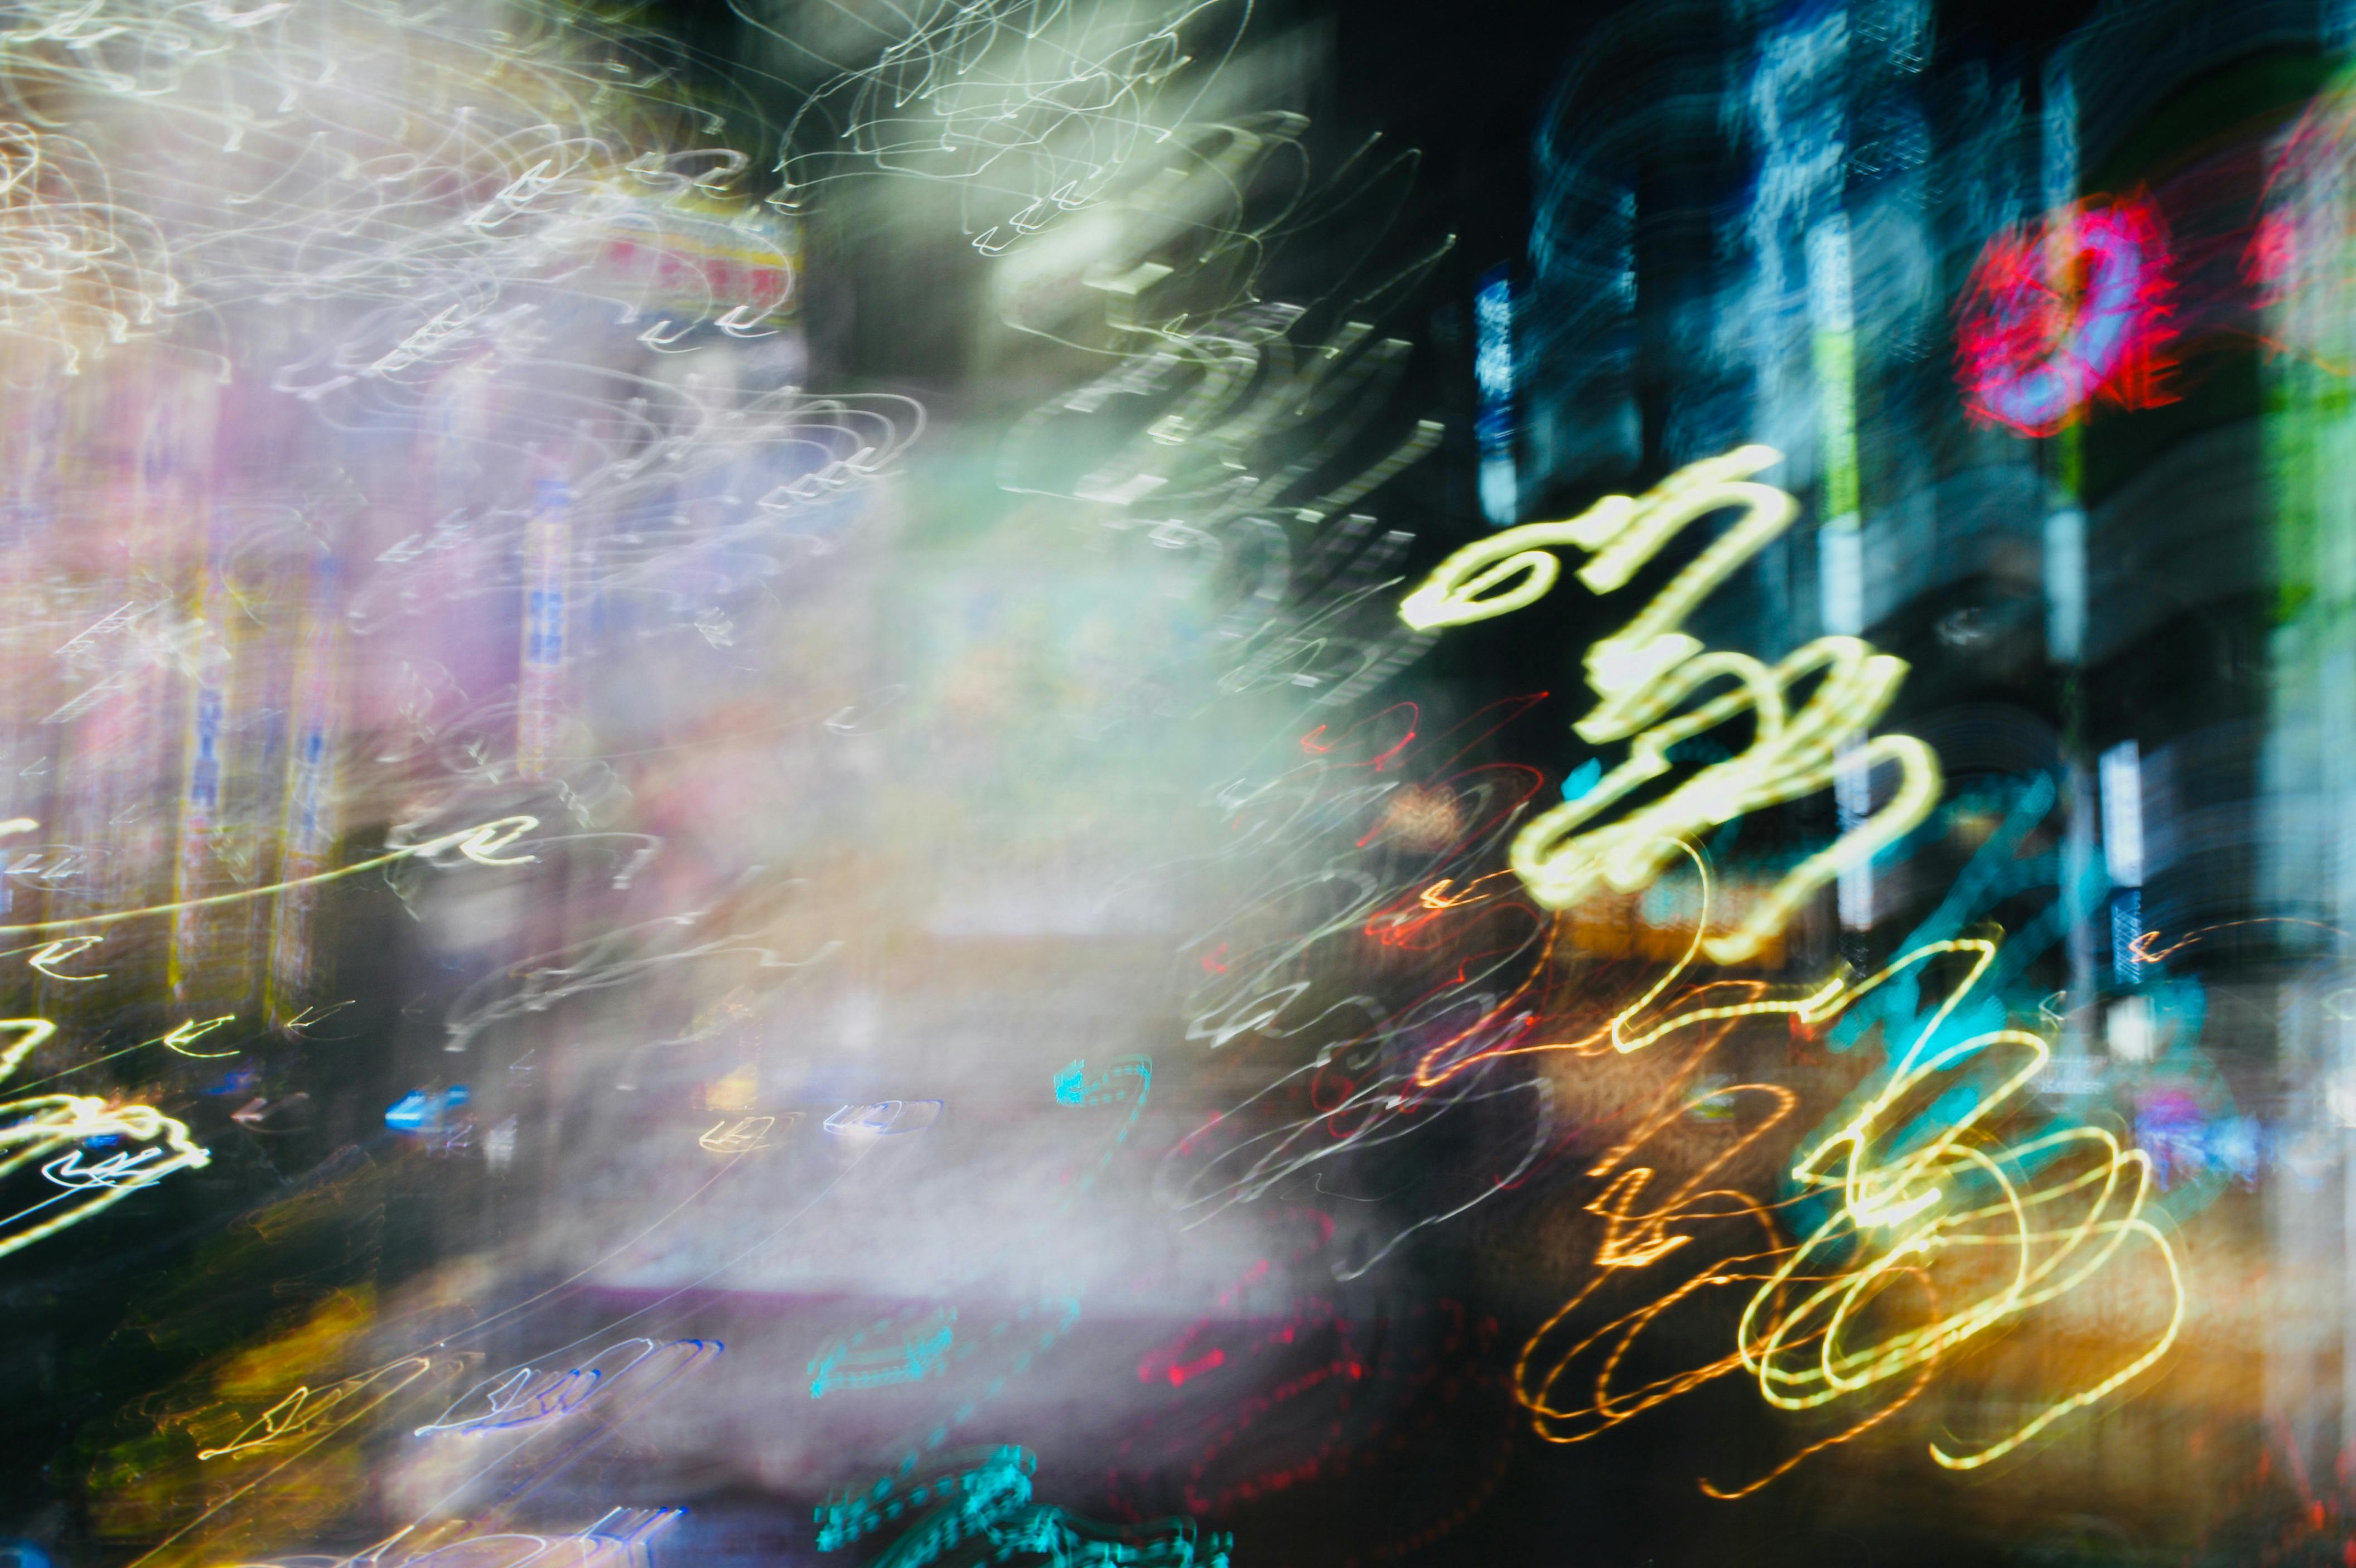
The 20 60 20 rule in photography splits attention across three zones. It suggests that about 20% of the frame should hold the main subject, 60% should support it, and 20% should stay open for balance.
In a dusk city scene, that might mean a lamp or person near one side, buildings across the middle, and sky or street space as the open area. The rule works best as a guide, not a strict law.
Why it helps in a lit city

City light scenes often have many bright spots, so the eye can get lost. The 20 60 20 split gives the viewer a clear path. You can place one lamp cluster or car trail in the smaller focus area, then let the larger middle zone carry the scene. That keeps the image neat, even when the lights are busy.
What are common mistakes in long exposure?
Common mistakes in long exposure usually come from poor control of motion and light. The biggest one is using a shutter that is too slow for the focal length and then blaming focus.
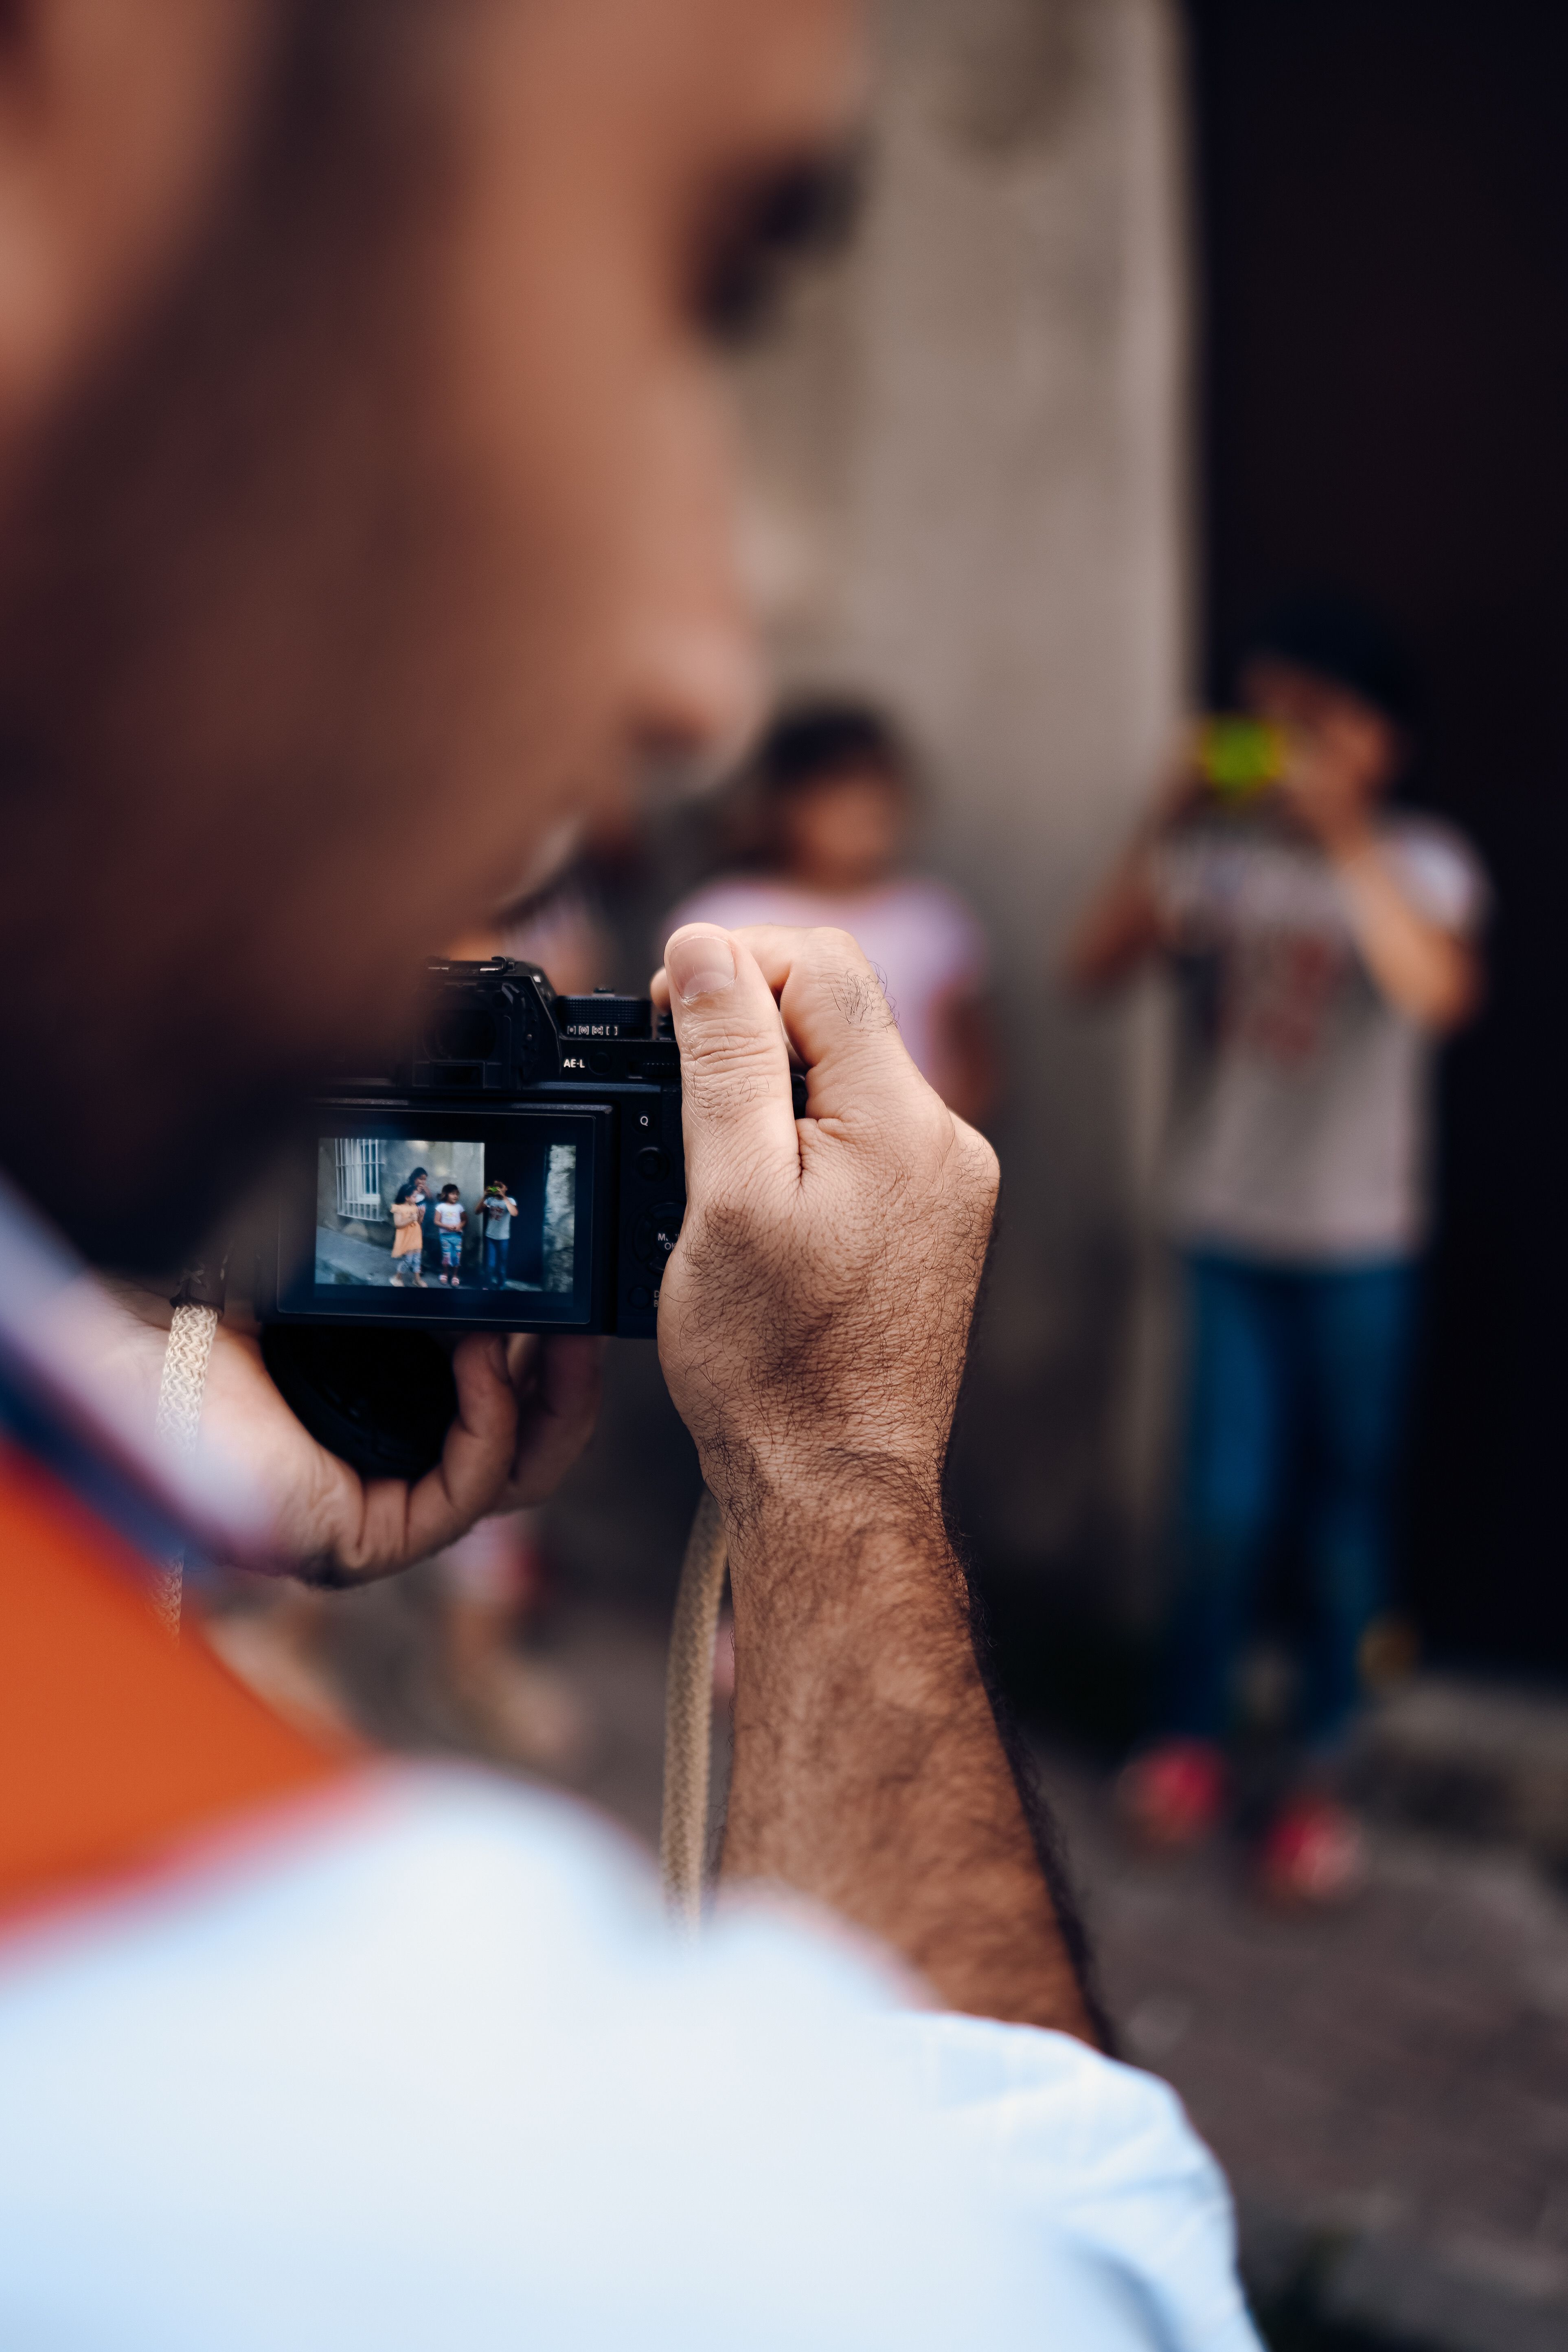
Another mistake is ignoring your own body movement. Even a tiny sway can soften window edges, signs, and railings at dusk.
Watch for these traps
- Using a long lens without enough shutter speed, such as 1/60 s on a 200 mm lens.
- Letting autofocus hunt after the light drops too low.
- Raising ISO too far and mistaking noise for sharp detail.
- Chasing a slow shutter when nearby traffic or walkers are still moving.
- Checking only the small preview instead of zooming in on the file.
One issue gets missed often: rolling motion from your own hands can blur fine text even when the main shape looks fine. A quick test frame matters before you commit to a scene.
What f stops for long exposure?
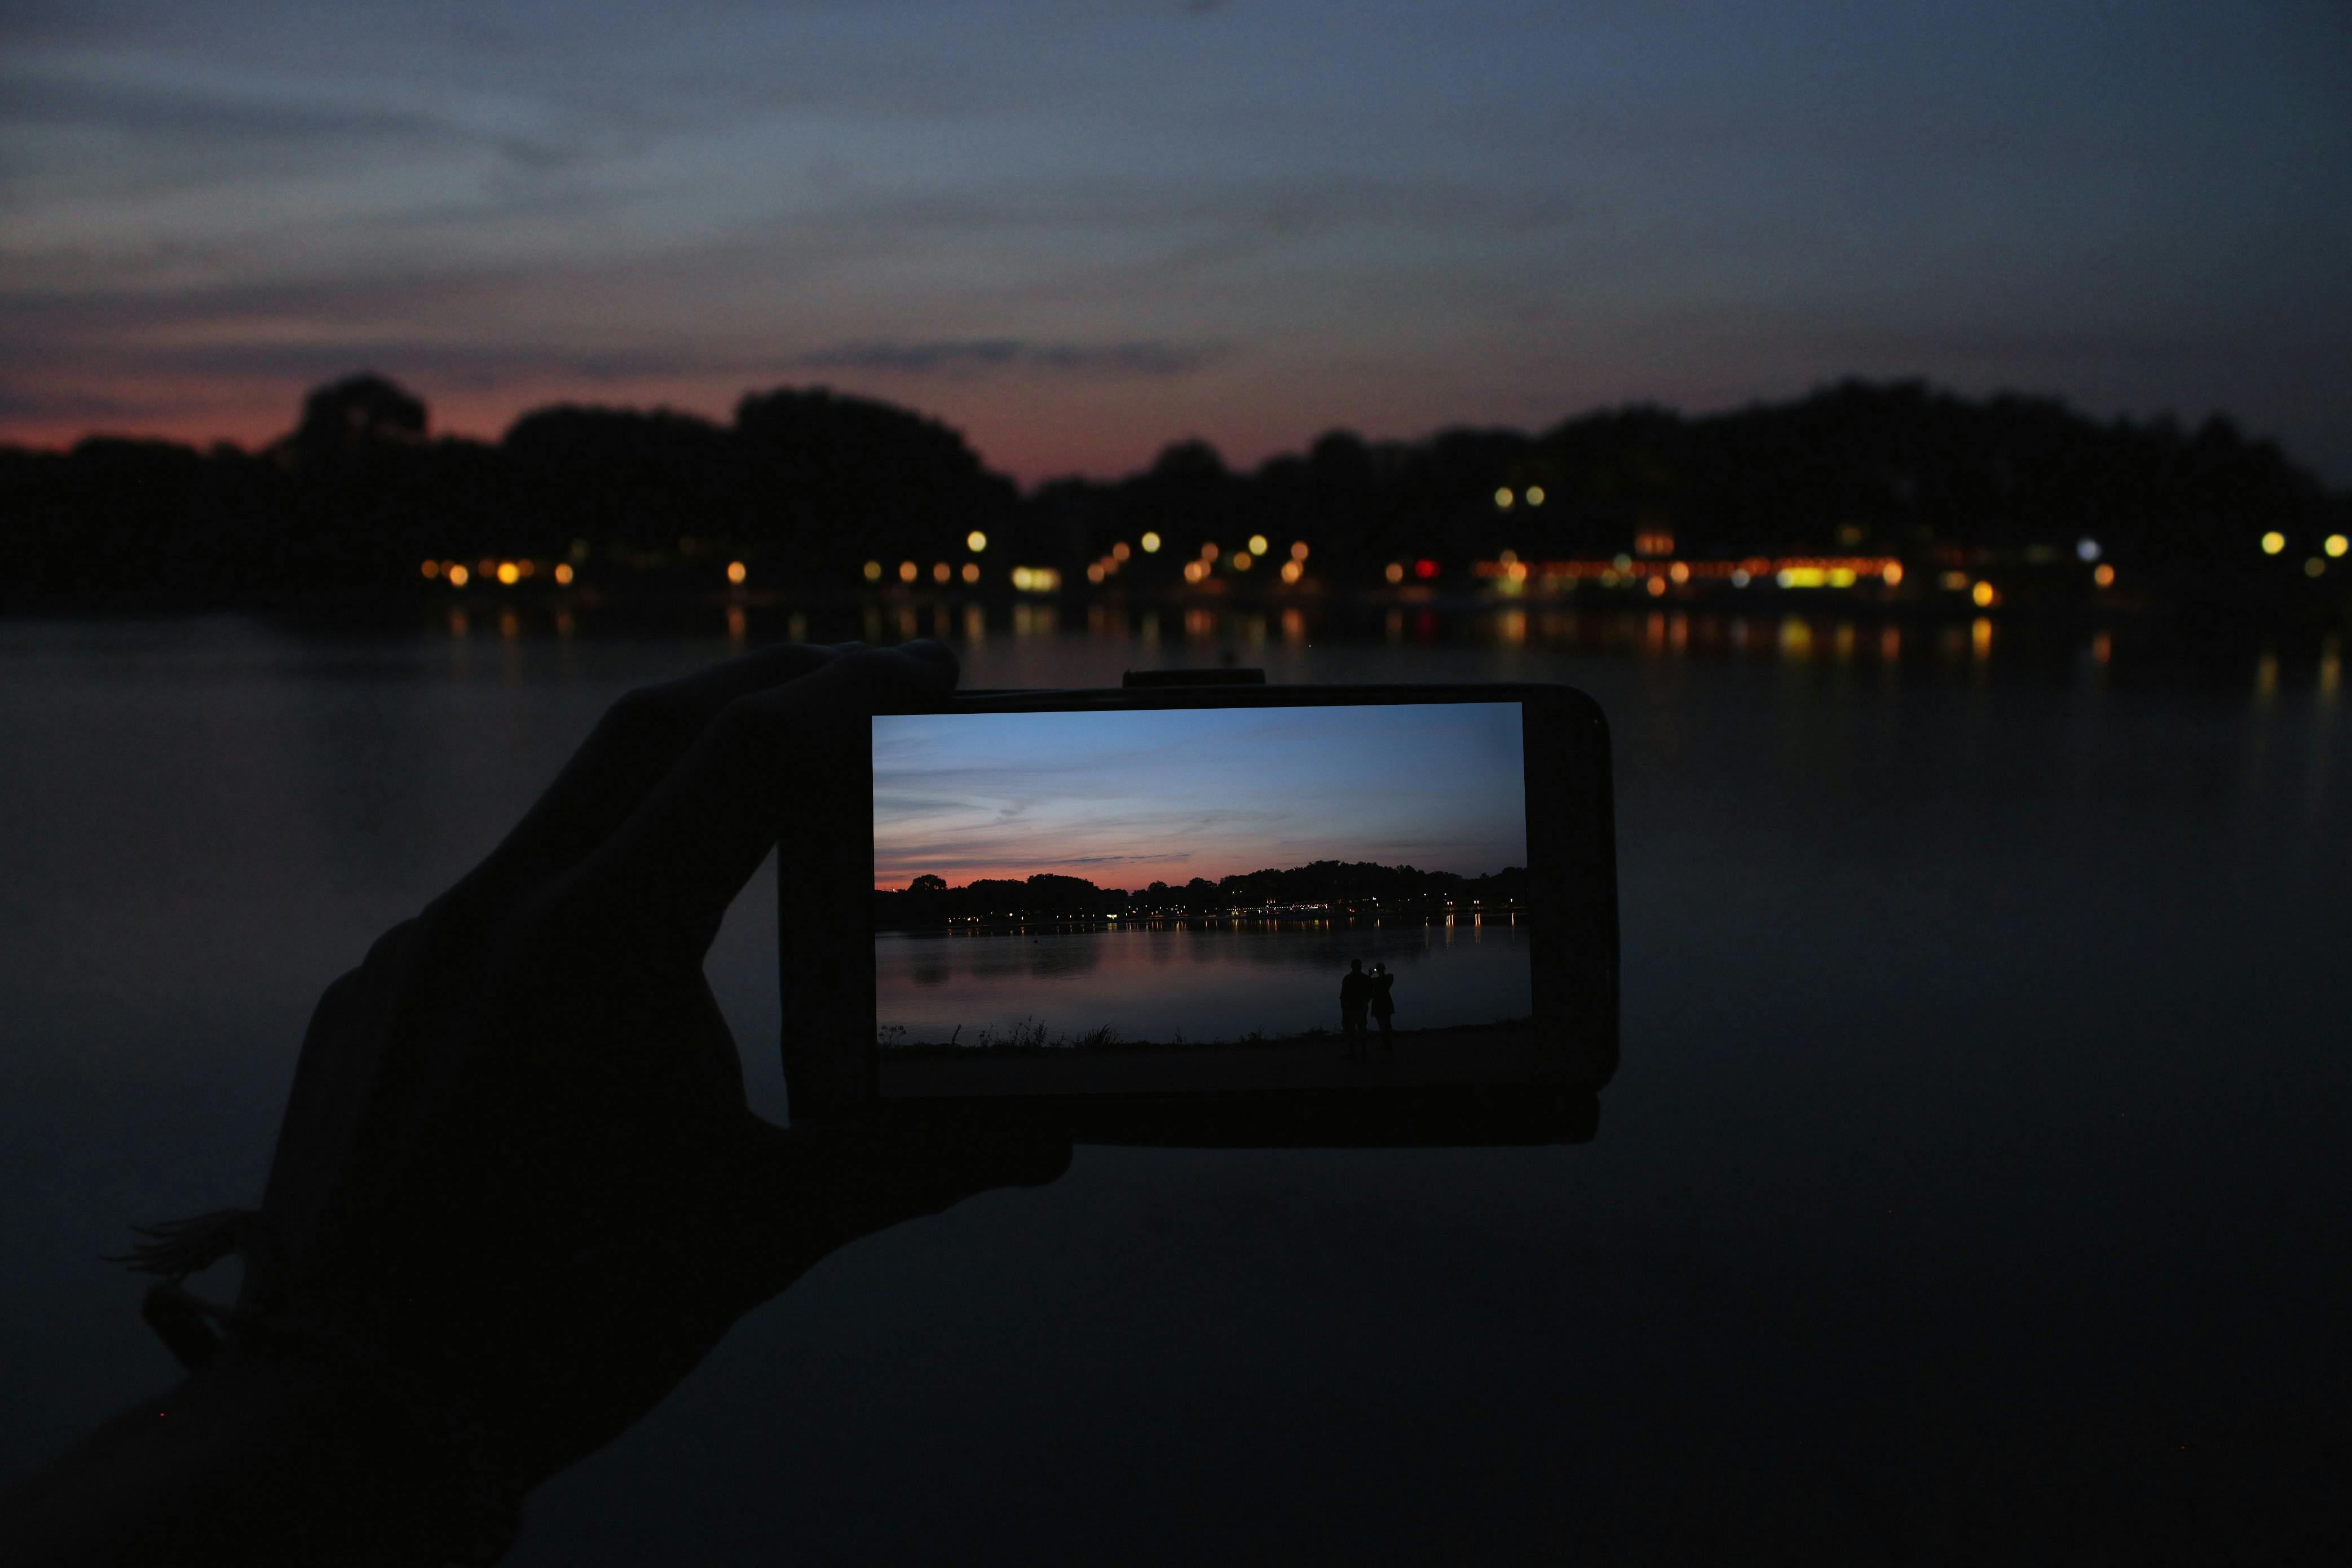
For long exposure work, the best f-stop depends on the look you want and the light level. In bright city dusk, f/8 to f/11 is a strong place to start, while f/2 to f/2.8 helps when you need speed and cleaner handholdable shutter times. A smaller aperture gives more depth of field and lets you slow the shutter. Too small an aperture can soften fine detail from diffraction, so I usually avoid going past f/16 unless I need the extra exposure time.
Match the aperture to the scene
If the frame includes bright windows, signs, and a wide street view, f/5.6 to f/8 often balances detail well. If the scene is darker and you want to keep shutter speed above the reciprocal rule, f/2.8 can save the shot.
That tradeoff matters in practice. A narrow aperture can hold the scene longer, but it may force a higher ISO or push the shutter too far for handheld sharpness.

Where sharpness ends and motion begins
Dusk city images look sharp handheld because the camera can still freeze the fixed parts of the scene. Buildings, lamp posts, and signs remain in place, while the city’s moving parts turn into streaks or soft edges. That split is the real visual trick. A good handheld frame at dusk often shows both calm structure and motion in one shot.
Use the reciprocal rule as your base, then lean on stabilization and a steady stance. A 3-stop system can move a 1/60 s baseline to around 1/8 s, while a 5-stop system can stretch much farther when your hands stay still.
Next time you step into a blue-hour street, start at 35 mm or 50 mm, test around 1/125 s to 1/60 s, and zoom in on the result before you walk on. The sharpest dusk frame is often the one you check right after the first click.

Frequently Asked Questions
What is the best way to take long exposure photos?
The best way to take long exposure photos is to control camera settings, brace the camera, and keep the subject and scene in mind. Use aperture-priority or manual mode, watch the shutter speed, and stabilize the camera against your body, a wall, or a tripod when possible.
What is the 20 60 20 rule in photography?

The 20 60 20 rule in photography means dividing attention across the frame so the main subject, supporting middle area, and edges each receive visual weight. It is a composition guideline rather than a camera-setting rule, and it helps balance the image.
What are common mistakes in long exposure?
Common mistakes in long exposure include using a shutter speed that is too slow for the focal length, failing to stabilize the camera, and ignoring subject motion. Wind, hand shake, and moving people or cars can blur parts of the frame even when the background stays sharp.
What f stops for long exposure?
For long exposure photography, a small aperture such as f/8 to f/16 is commonly used to reduce light and increase depth of field. The exact f-stop depends on the scene brightness, desired motion blur, and how much sharpness is needed across the frame.


