


- Use monochrome to make dusk city scenes read through tone, not color.
- Before converting, frame for bold blocks, clean lines, and unmistakable edges.
- Shoot at blue hour or with hard side light to bring out texture.
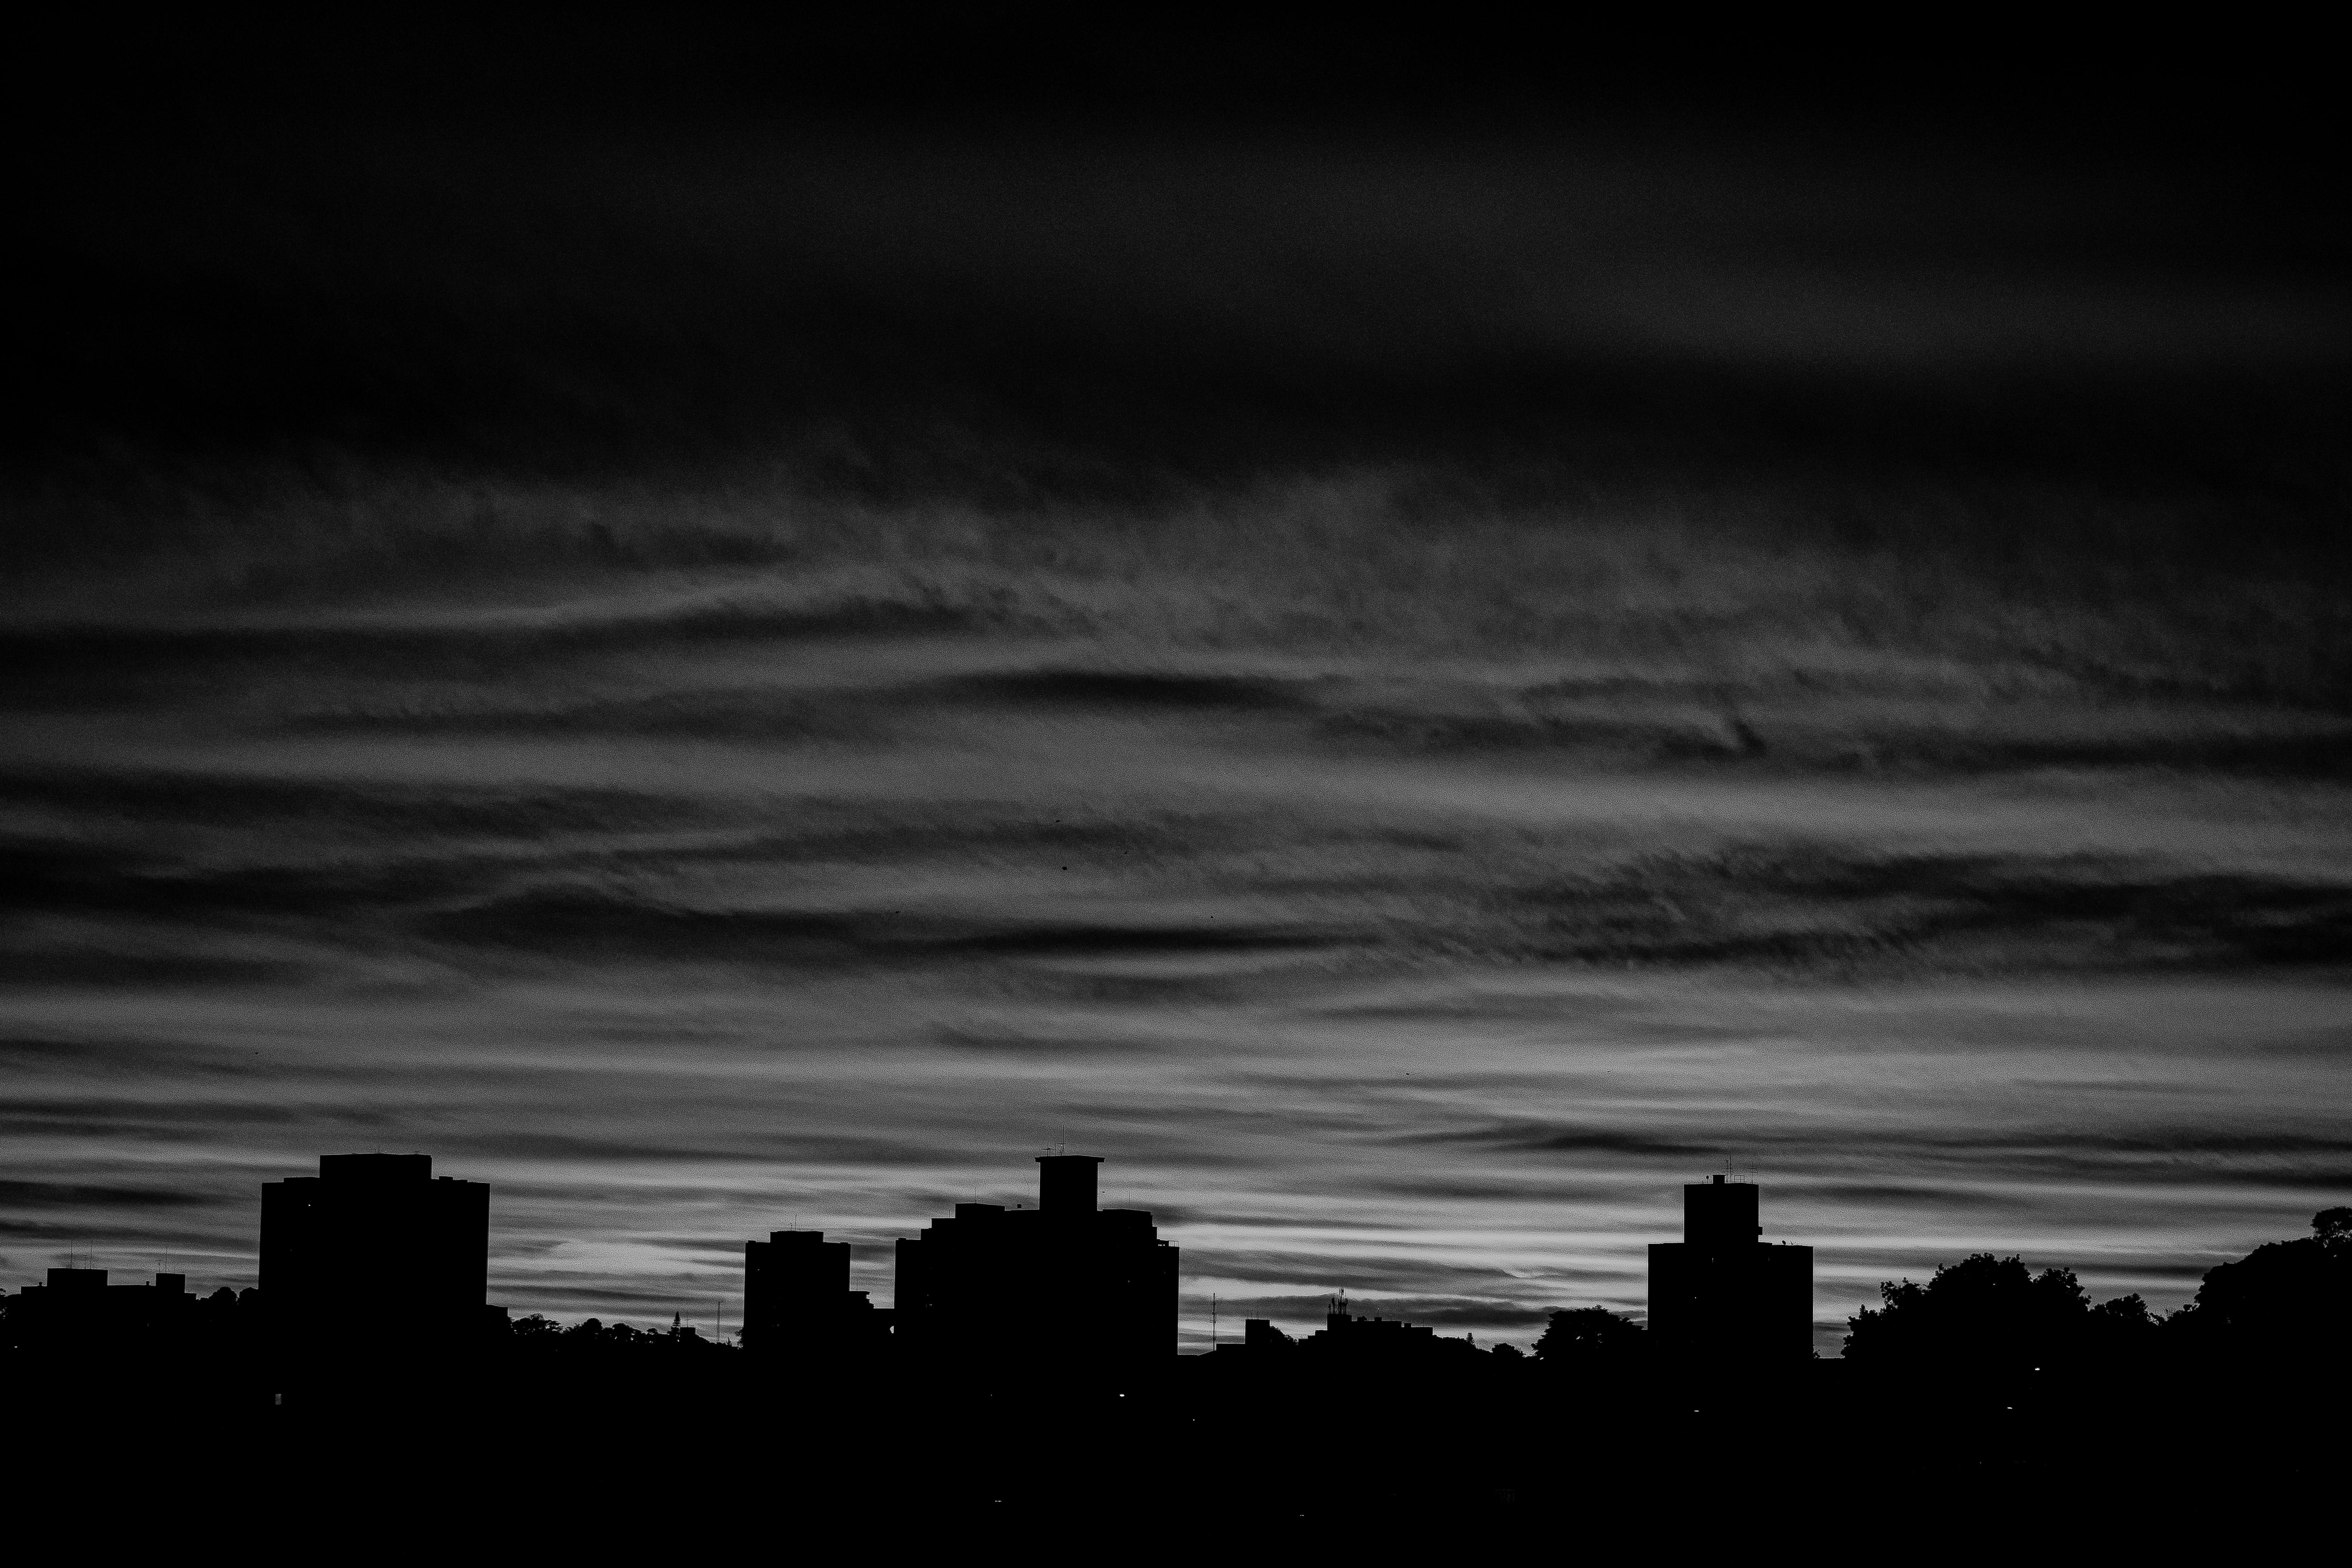
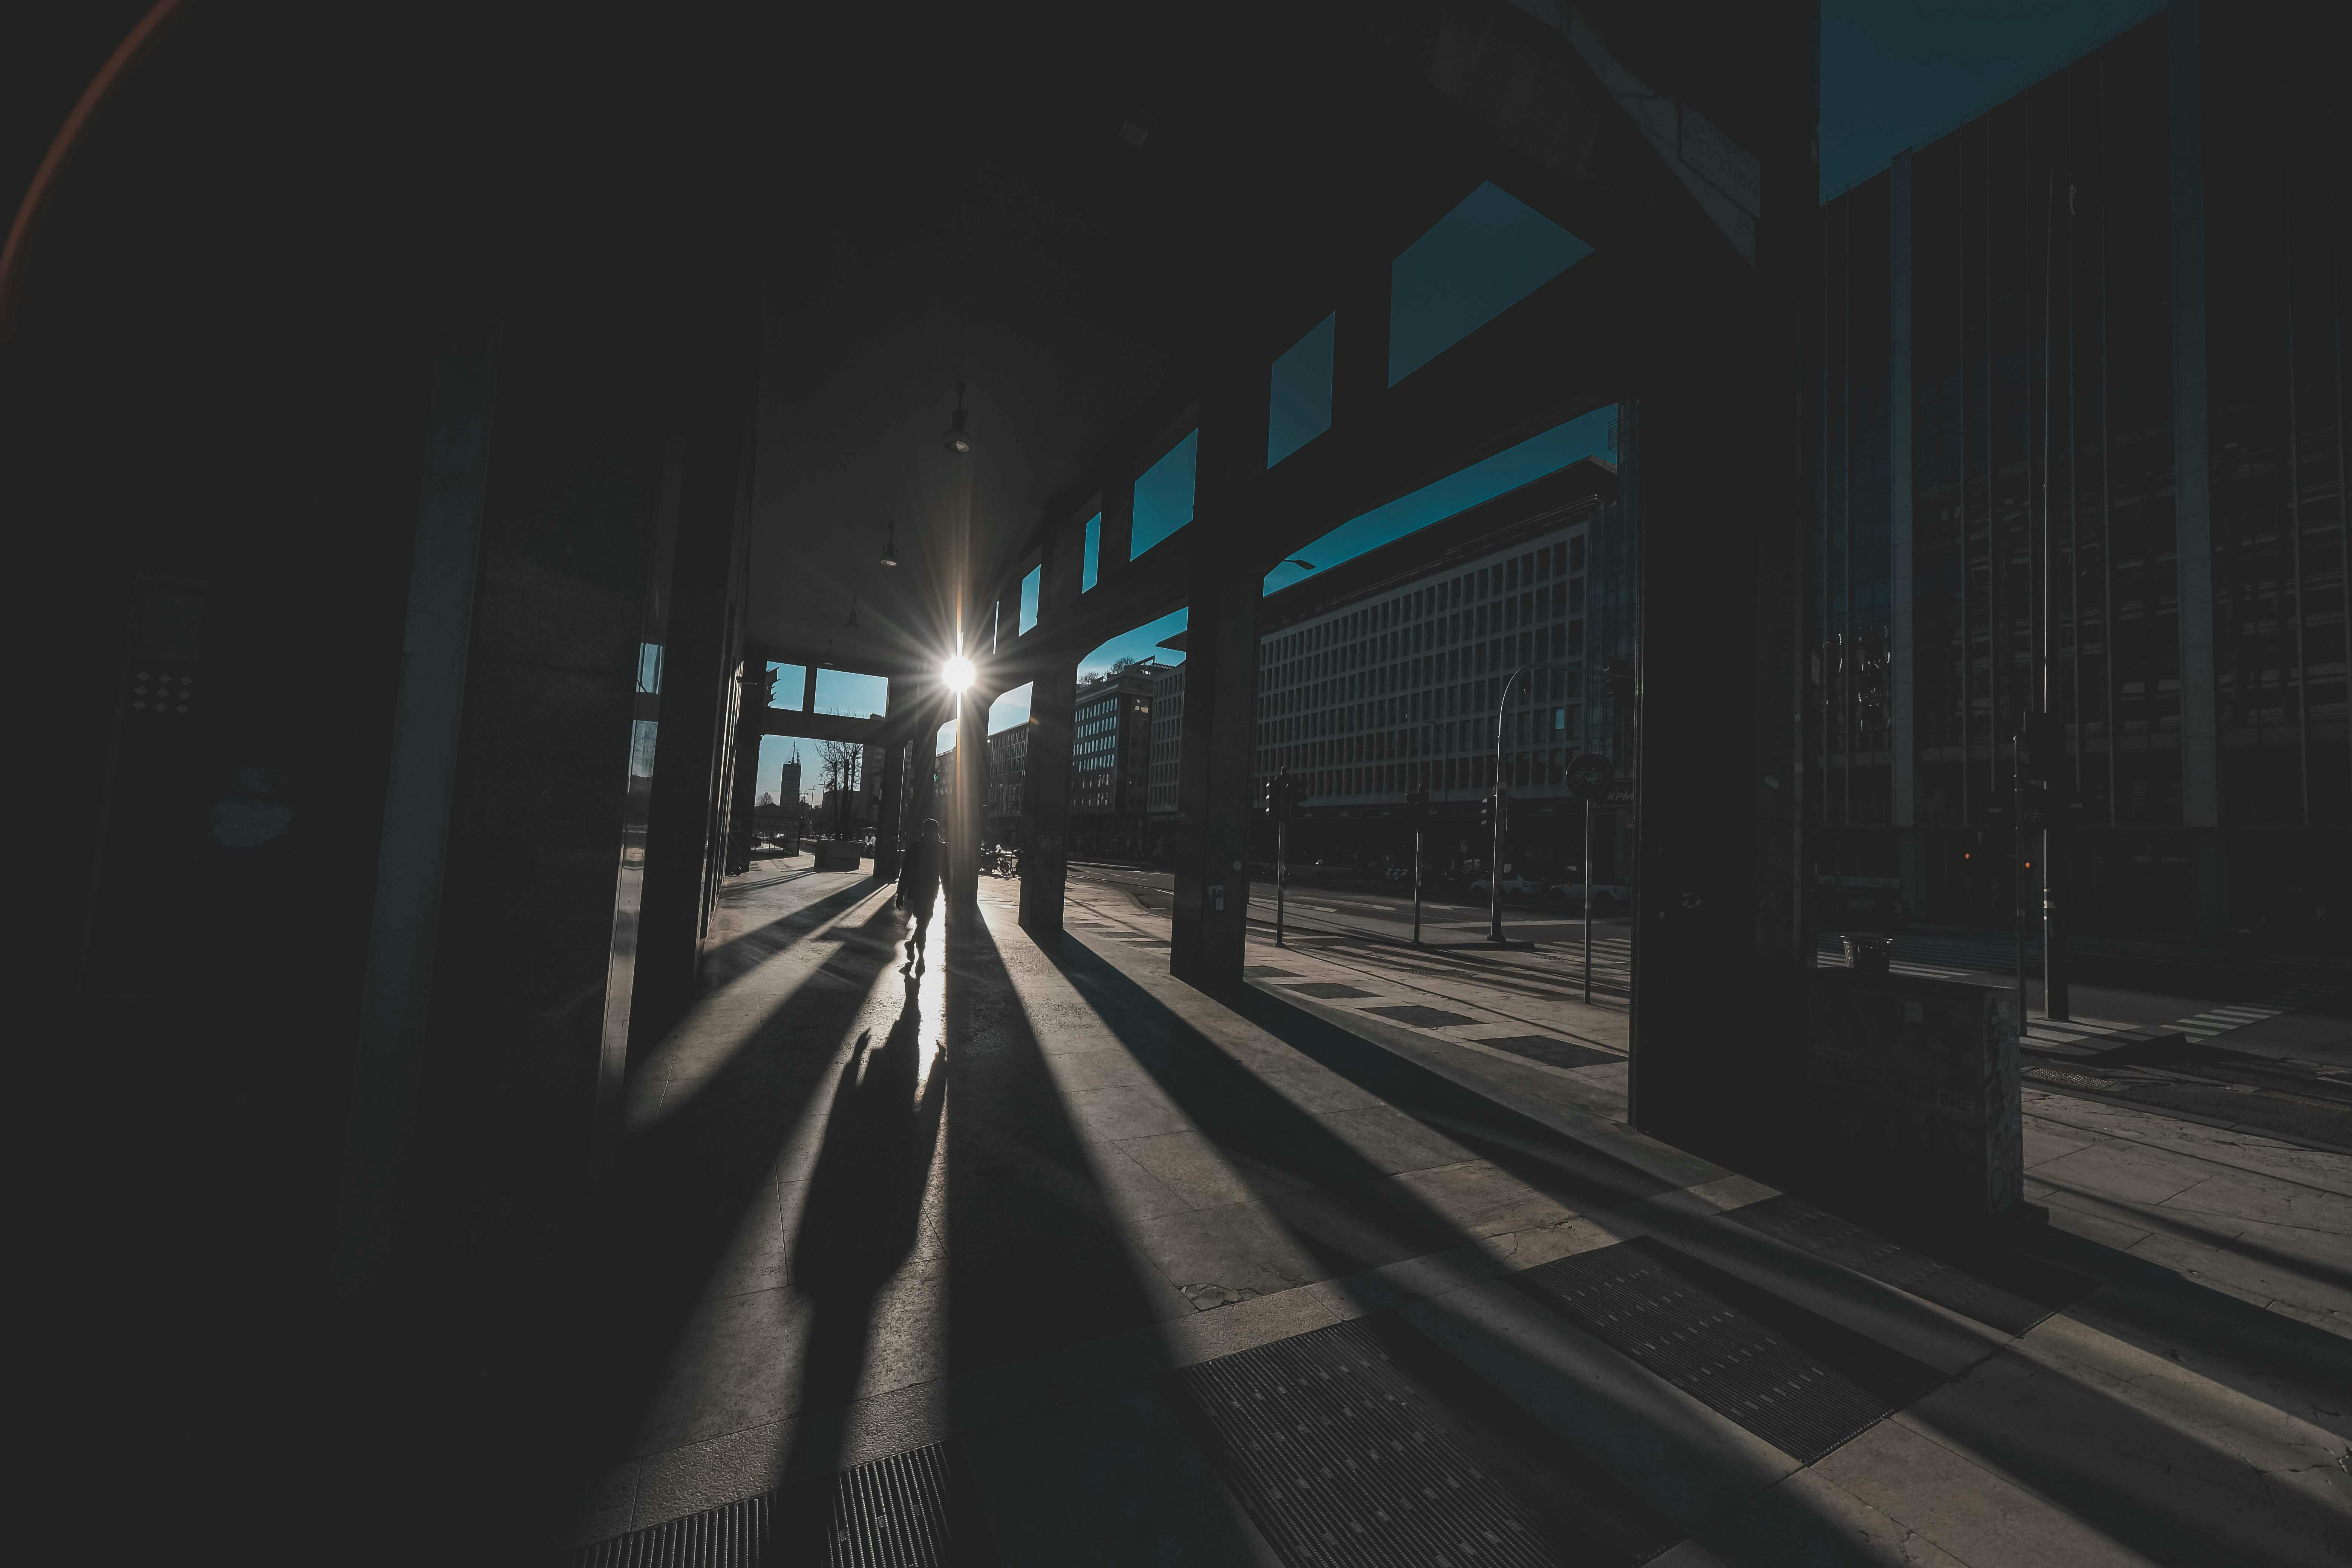
Low-angle shot photography frames city scenes from near the ground, where shapes, lines, and light feel bigger and more immediate. At dusk, that low viewpoint can turn a busy street into something clear, calm, and true. Black-and-white strips away color tricks, so the eye reads contrast, texture, and form first. During blue hour, when the sky still holds light and windows begin to glow, that honesty can make a city feel stronger instead of simpler.
Shop the setup

- Regular price
-
€42 - Regular price
-
€44 - Sale price
-
€42
By choosing the Camstrap strap, you are opting for a high-quality product designed to meet the needs of the most demanding photographers.
- Developed by a physiotherapist to relieve neck and back pain.
- Fast delivery with tracking by the Post Office 🚚
- Can be used as a shoulder strap or hands-free harness

- Regular price
-
€36 - Regular price
-
€42 - Sale price
-
€36
Free shipping included
Why black-and-white works so well in city scenes?
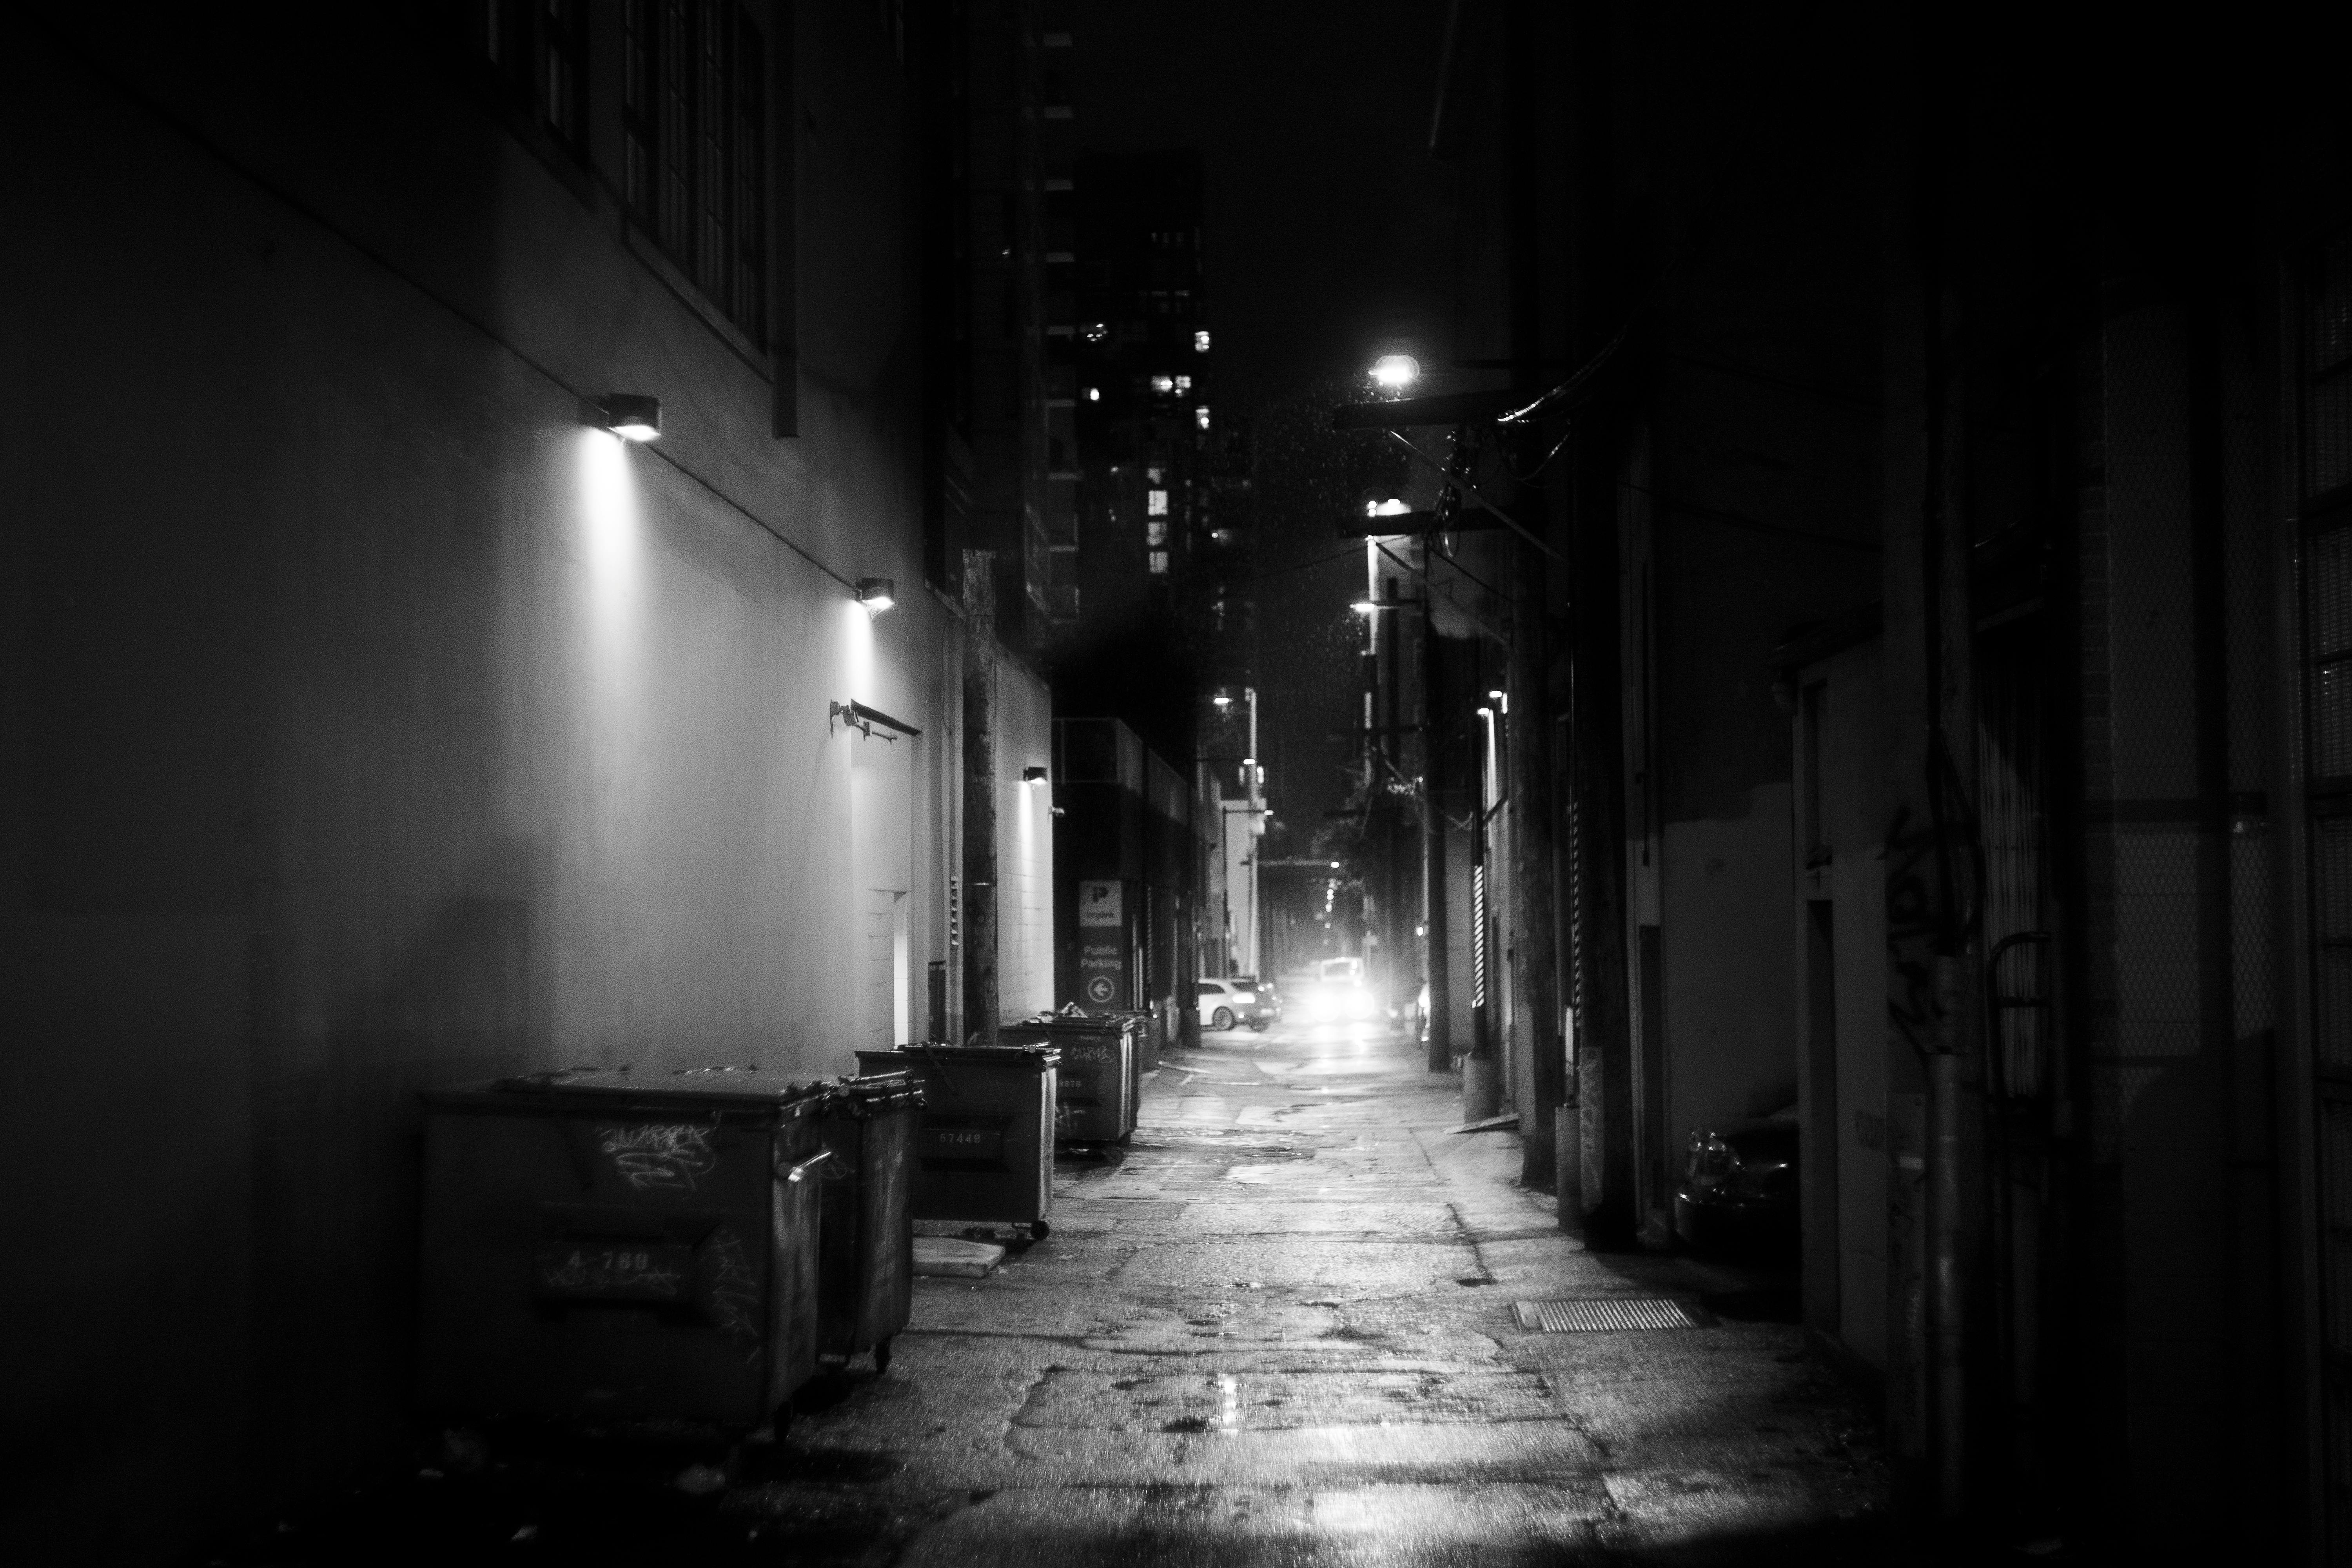
In city scenes, tone takes priority over color. The eye stops chasing signs, shop lights, and mixed hues and starts reading shape, shadow, and edge.
Dusk is where that shift pays off most. Blue hour gives you soft sky light and sharp man-made light at the same time, so buildings, rails, signs, and wet streets separate cleanly.
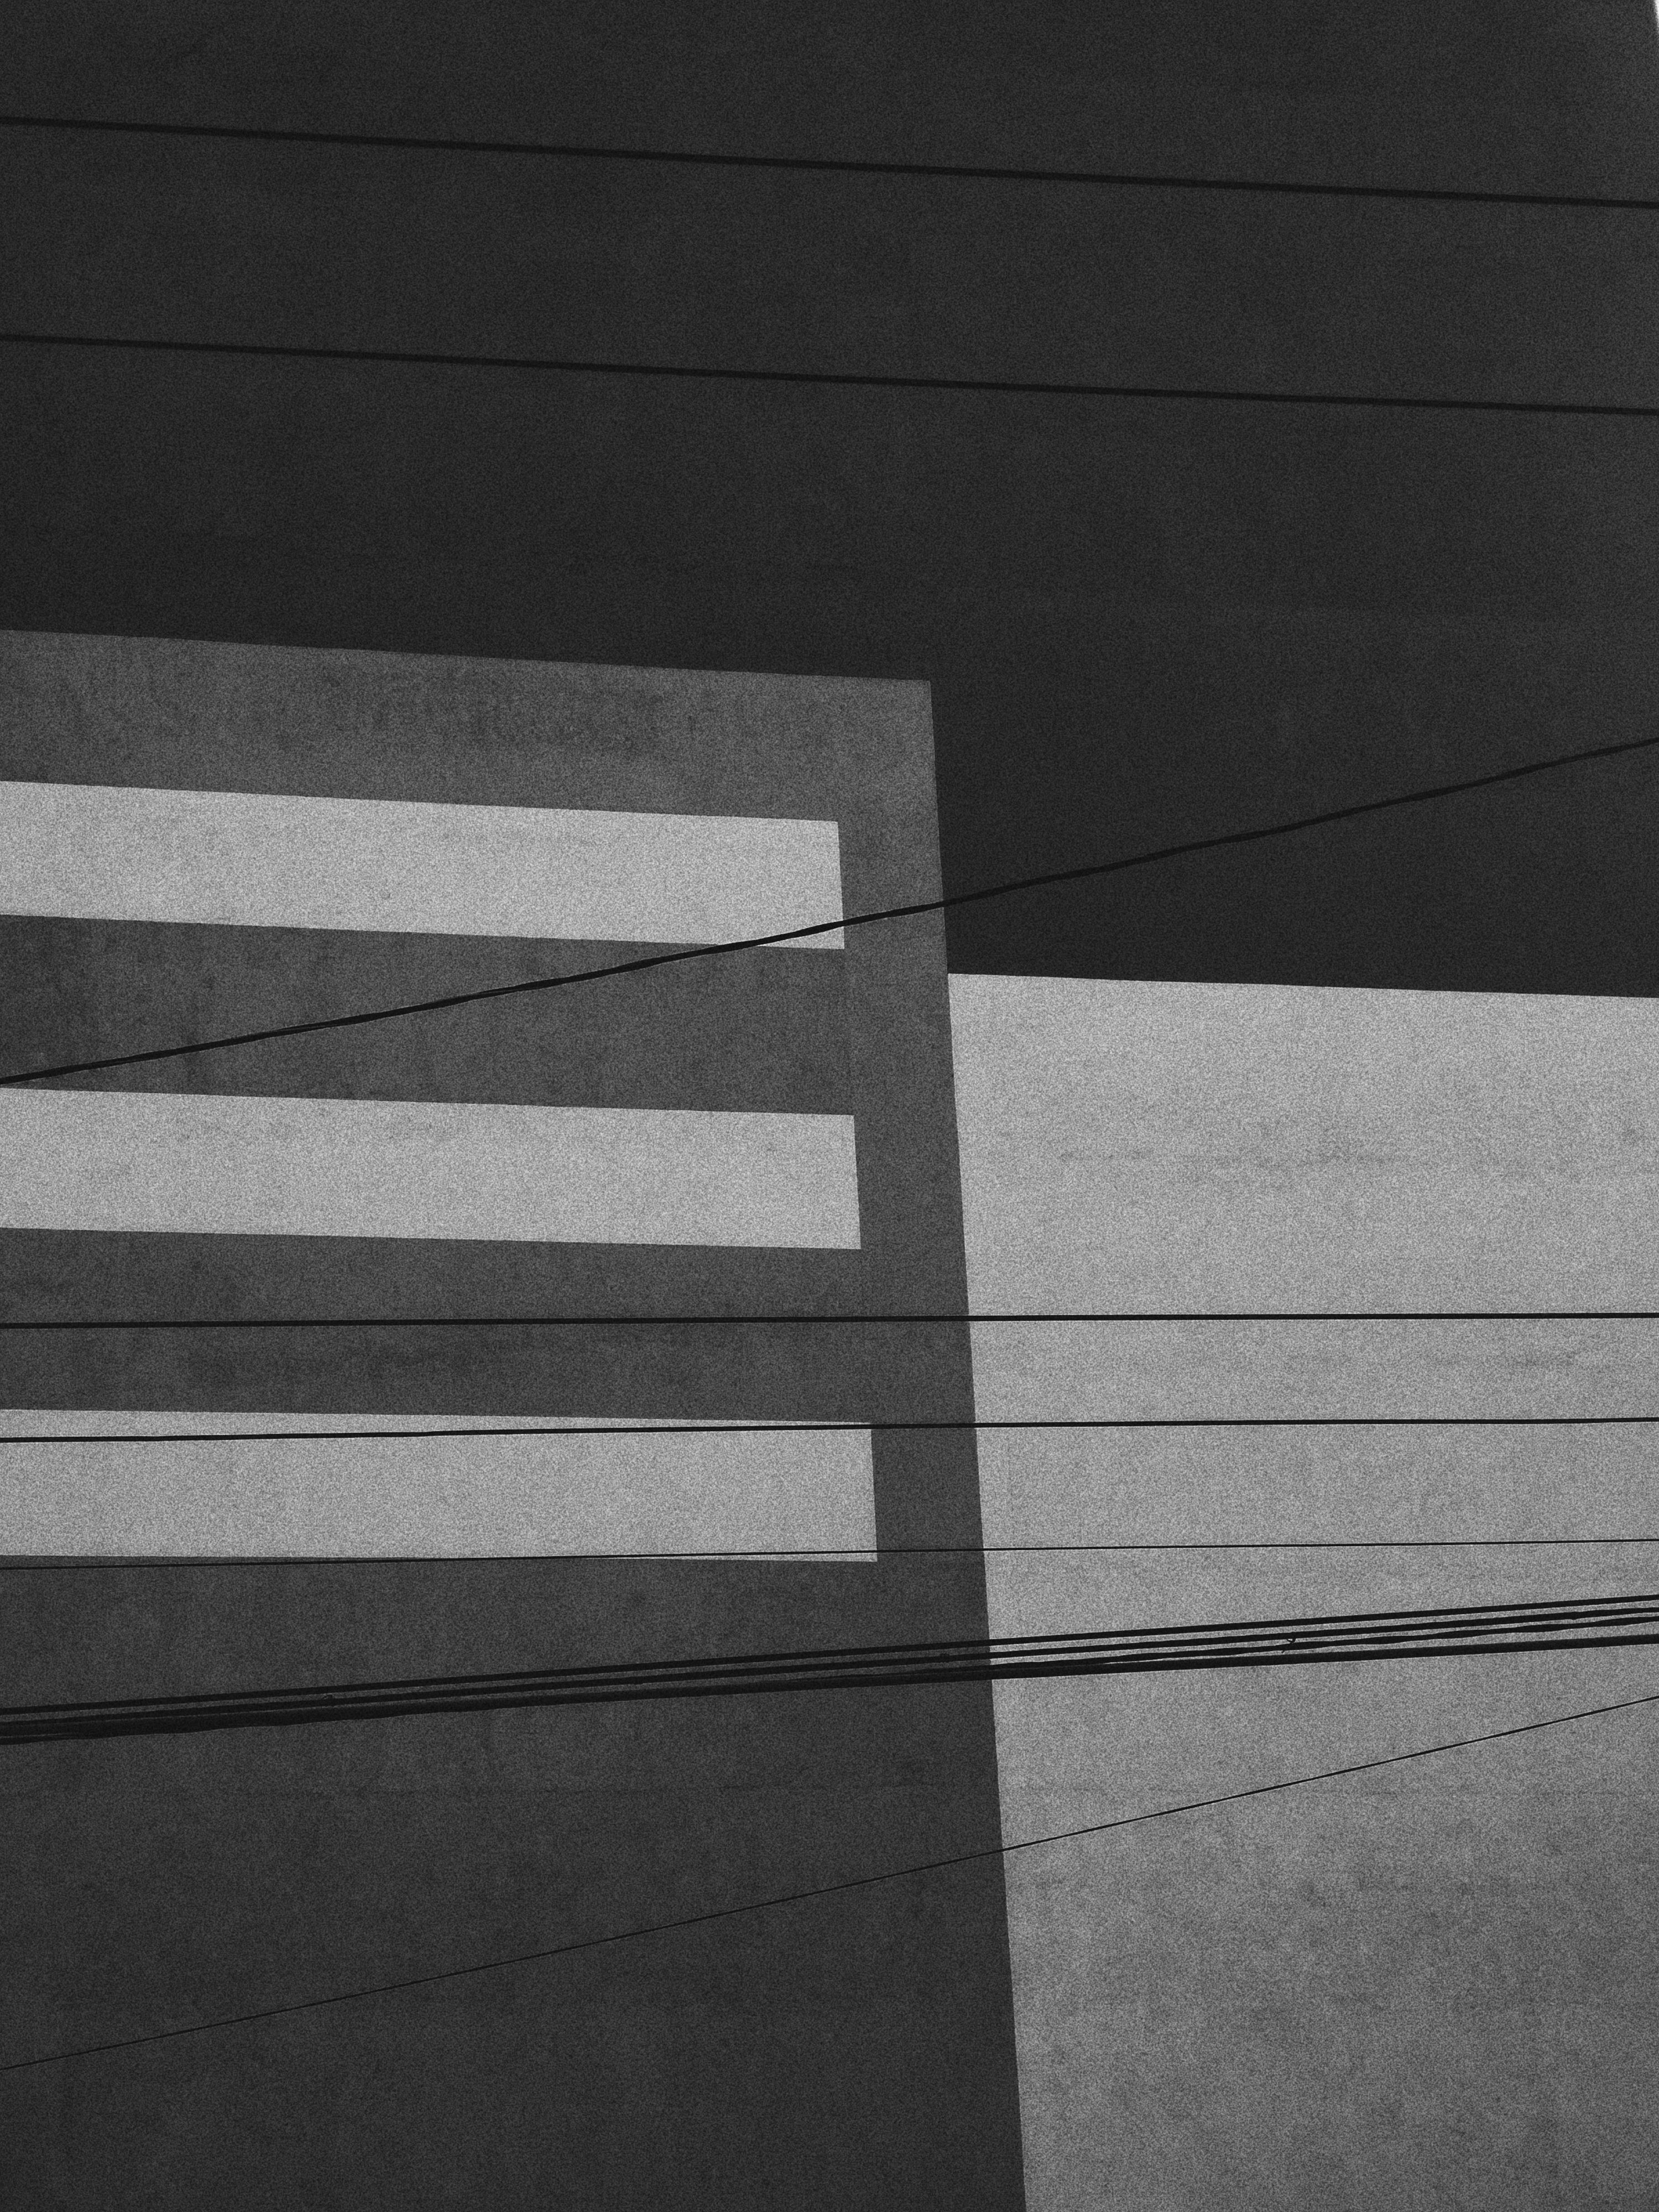
Canon notes that monochrome mode helps show shadow, light, and texture with less color noise. Adobe also points out that shadows can feel especially strong in black-and-white because tone gives the image its structure. In practice, a rough wall, a lit window, or a lone pedestrian can carry the whole frame. The scene feels honest because the image no longer leans on color to create drama.
The city tells on itself in tones
Urban scenes pull in all kinds of light. A sodium lamp may sit beside a blue sky and a red sign, which can feel chaotic in color.
In monochrome, that mix becomes a clean range of grays. You can see what stays bright, what drops deep, and what fades into the background.
That change reveals weak framing fast. If the shot still works in gray, the composition is usually strong.
How do I spot strong shapes before converting to monochrome?
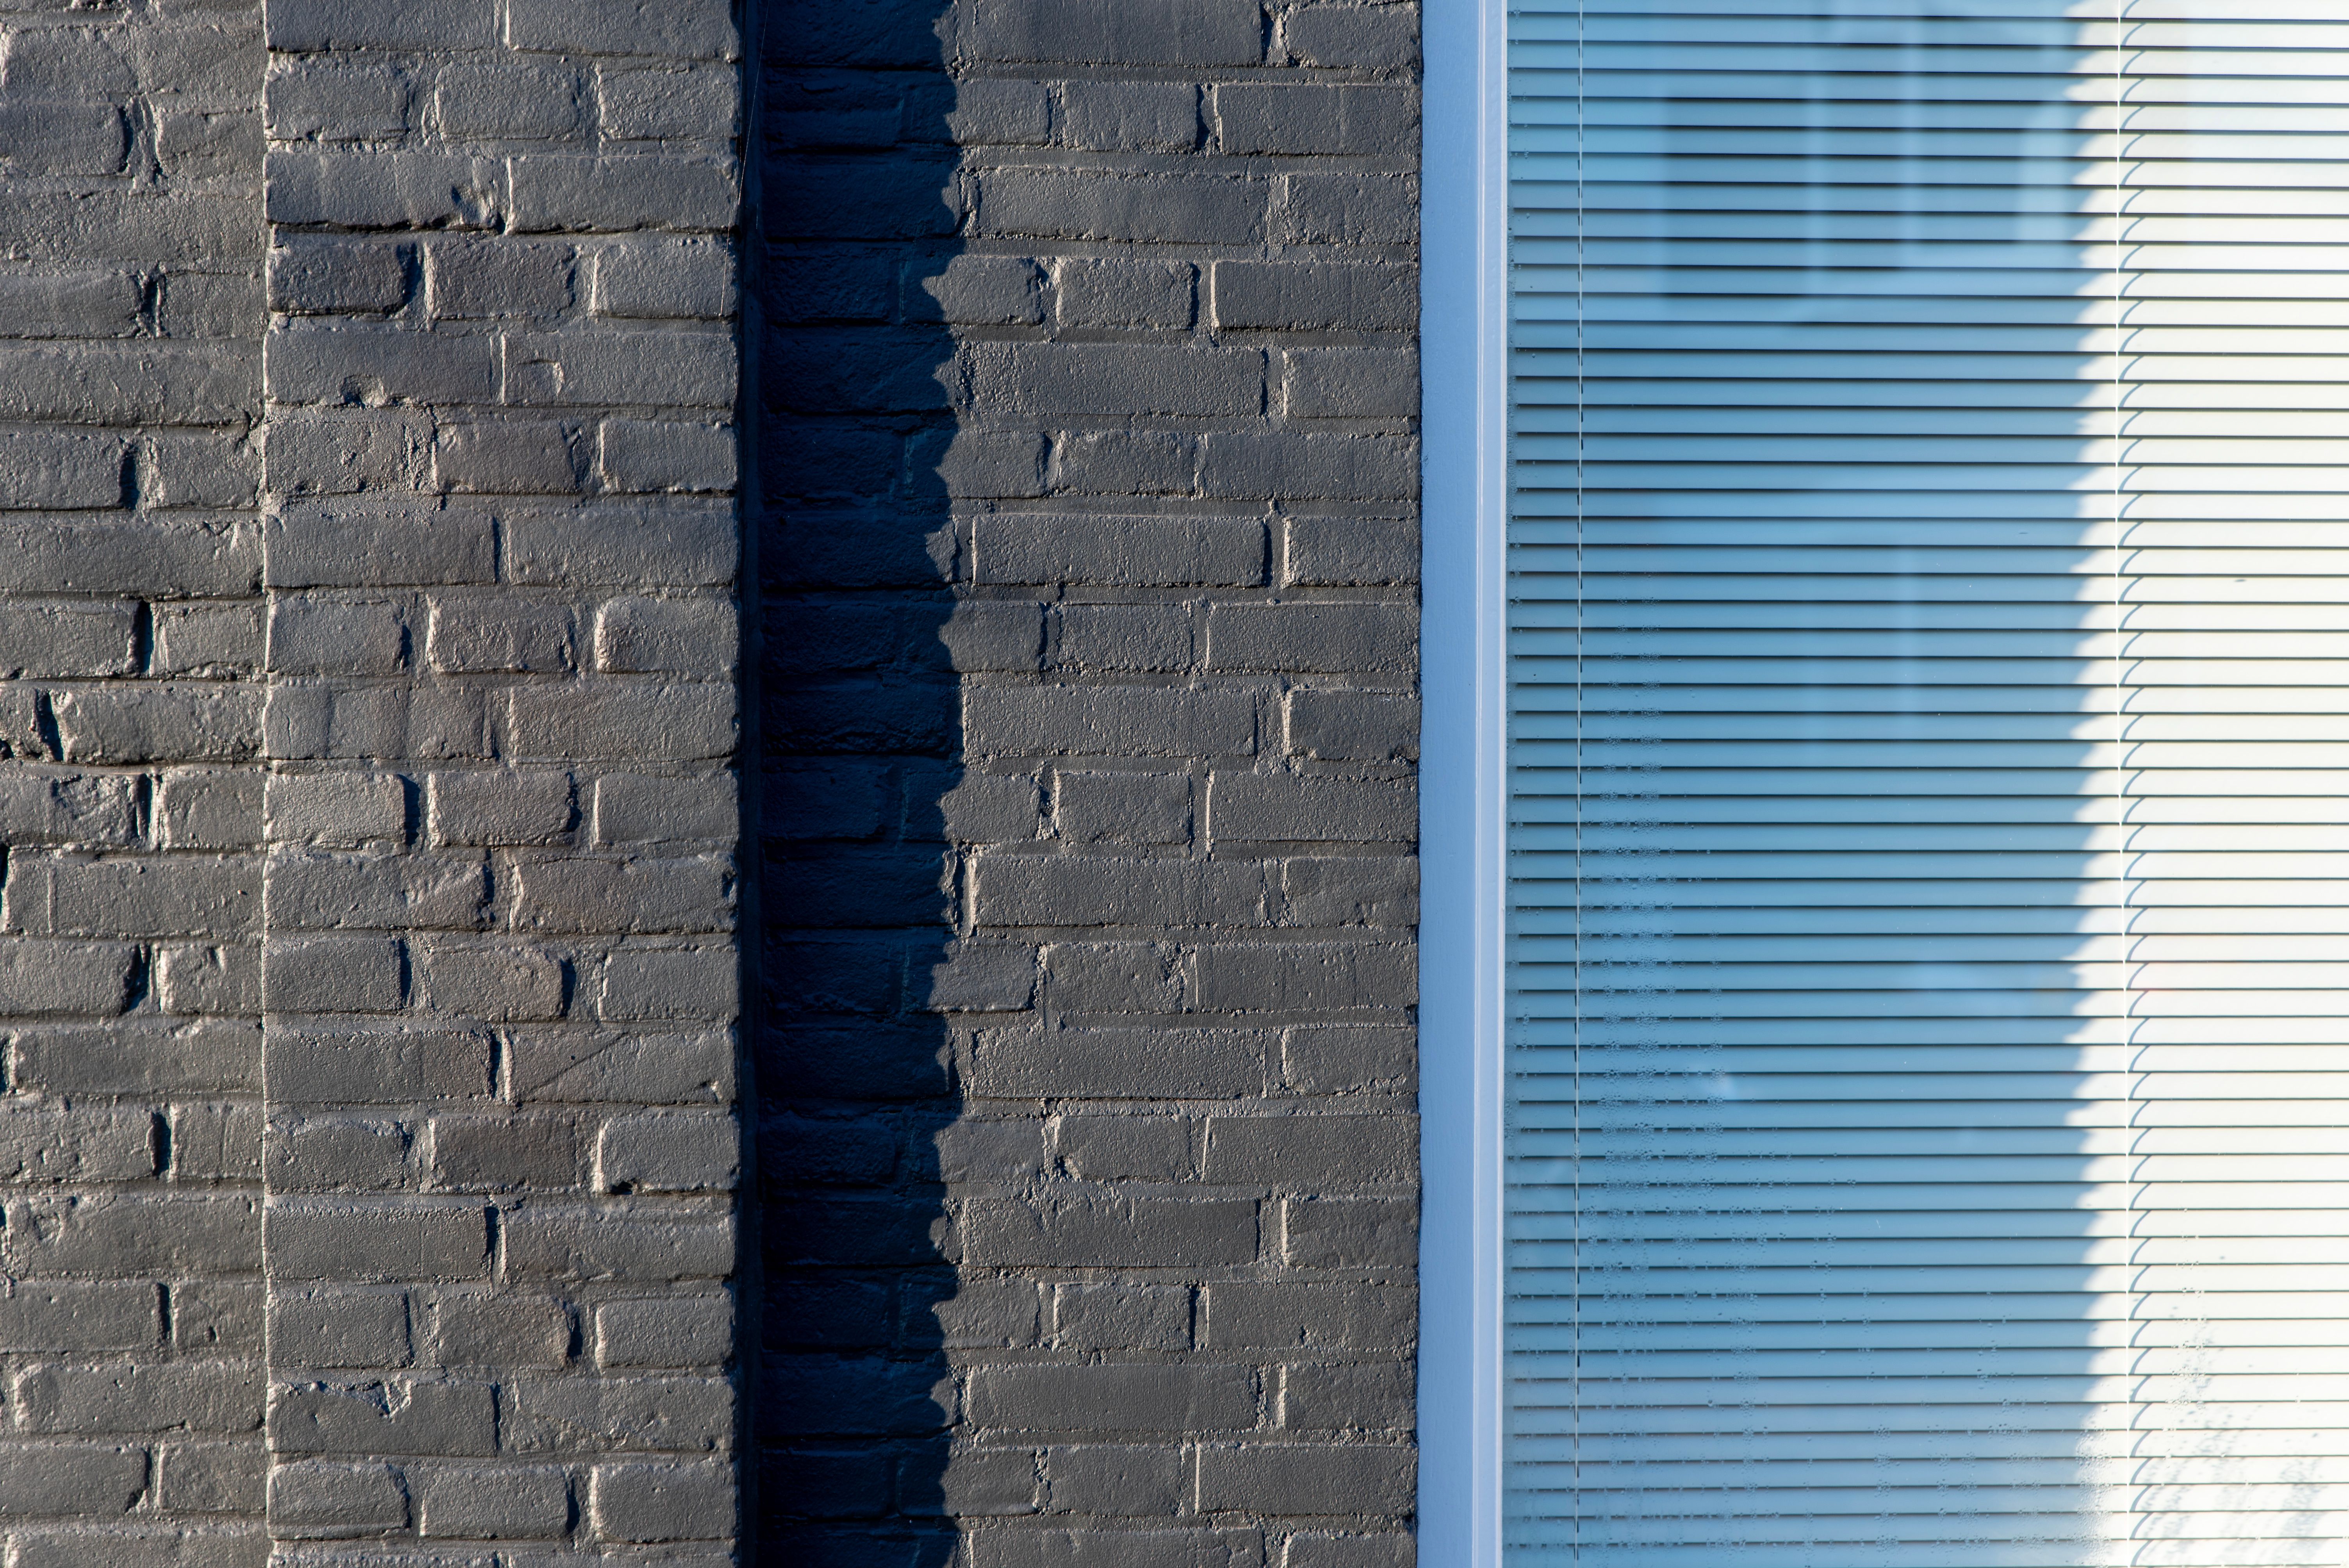
Strong shapes stand out when you look for blocks, lines, and clear edges before you shoot. I check the frame as if it were a simple sketch, not a color photo. Start with the skyline, crosswalks, stair rails, and lit windows. These parts often make the best visual map because they create clear geometry.
What to look for first
- Big dark blocks against a bright sky
- Leading lines from roads, curbs, or tram tracks
- One bright subject in a quiet frame
- Repeating windows, poles, or arches
- Hard edges where light breaks across a surface
Move your feet before you touch the zoom ring. A small step left or right can clean up a messy background and let one shape take over.
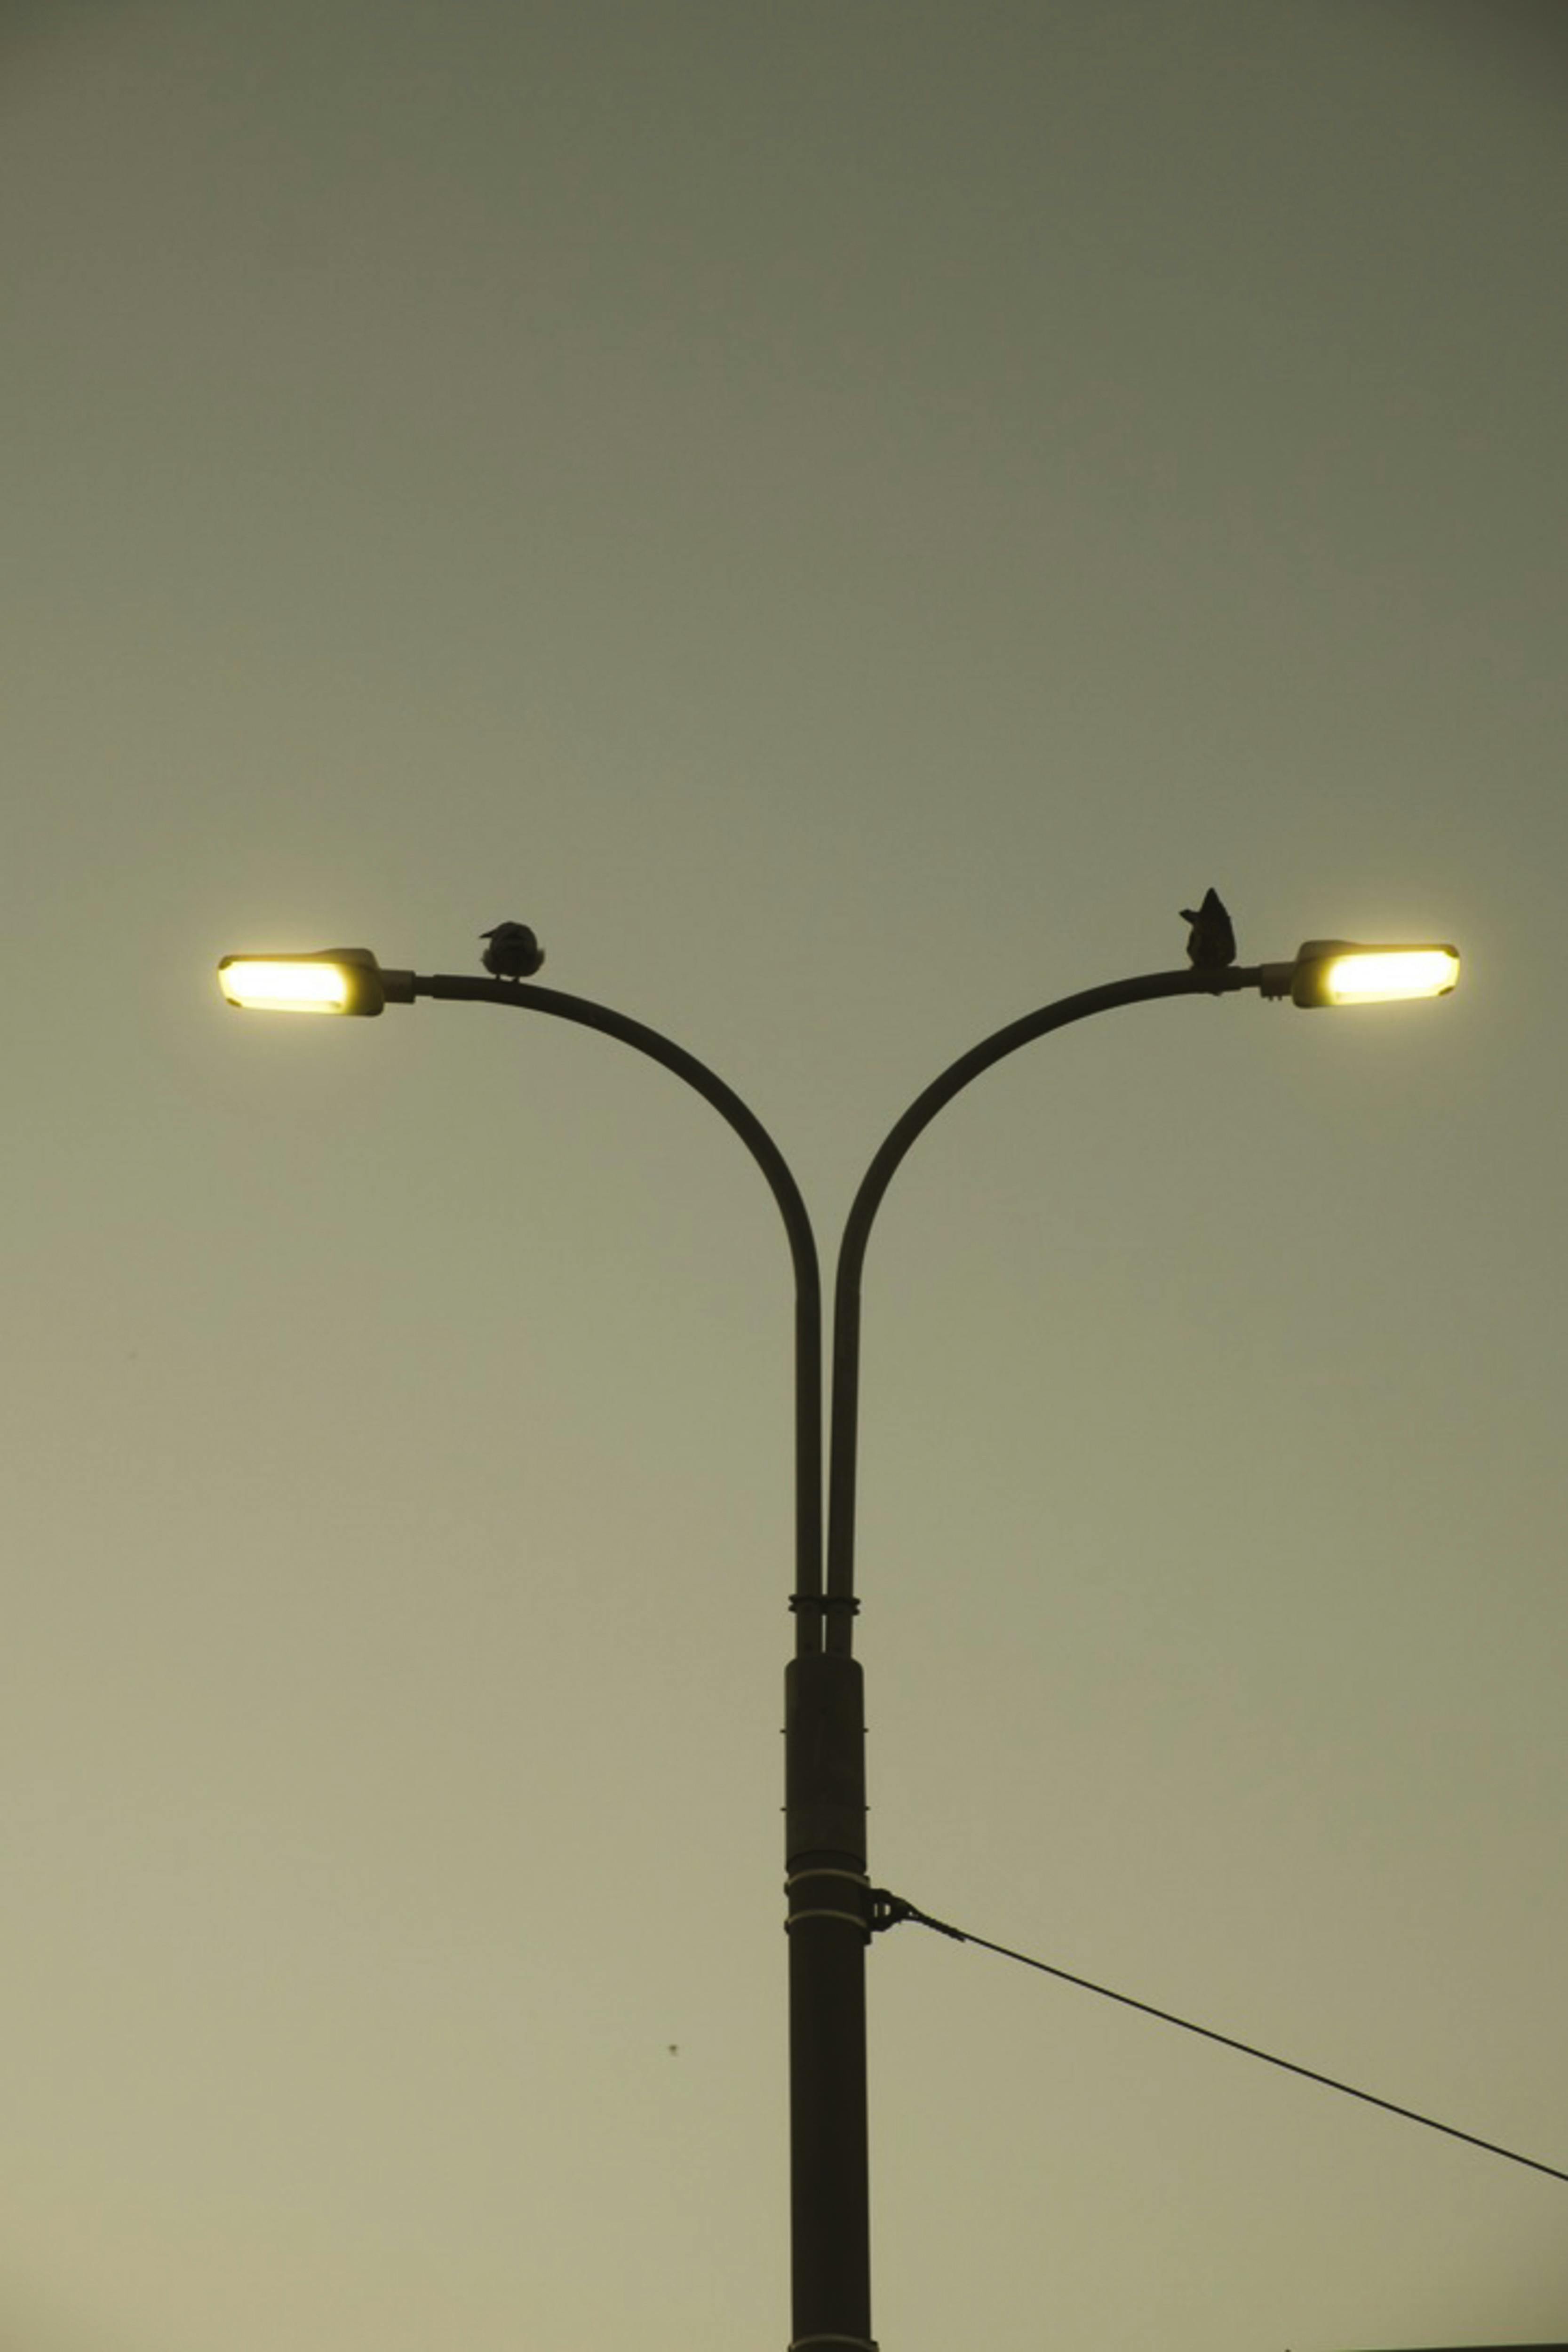
A 35mm or 50mm lens often works well here because it keeps the city honest. A wider lens can also help if you want strong lines from a very low camera height.
What lighting makes textures stand out in black-and-white photos?
Side light makes texture stand out best in black-and-white photos. It throws small bumps, brick lines, wet stone, and worn metal into relief. Blue hour is especially useful because the sky still gives soft light while lamps begin to cut sharp edges into the scene. That mix adds depth without making the frame feel harsh too soon.
Use dusk light with care
Look for light that skims across a surface at an angle. A brick wall, a fountain, or a subway stairwell can gain a lot of detail when the light comes from the side.
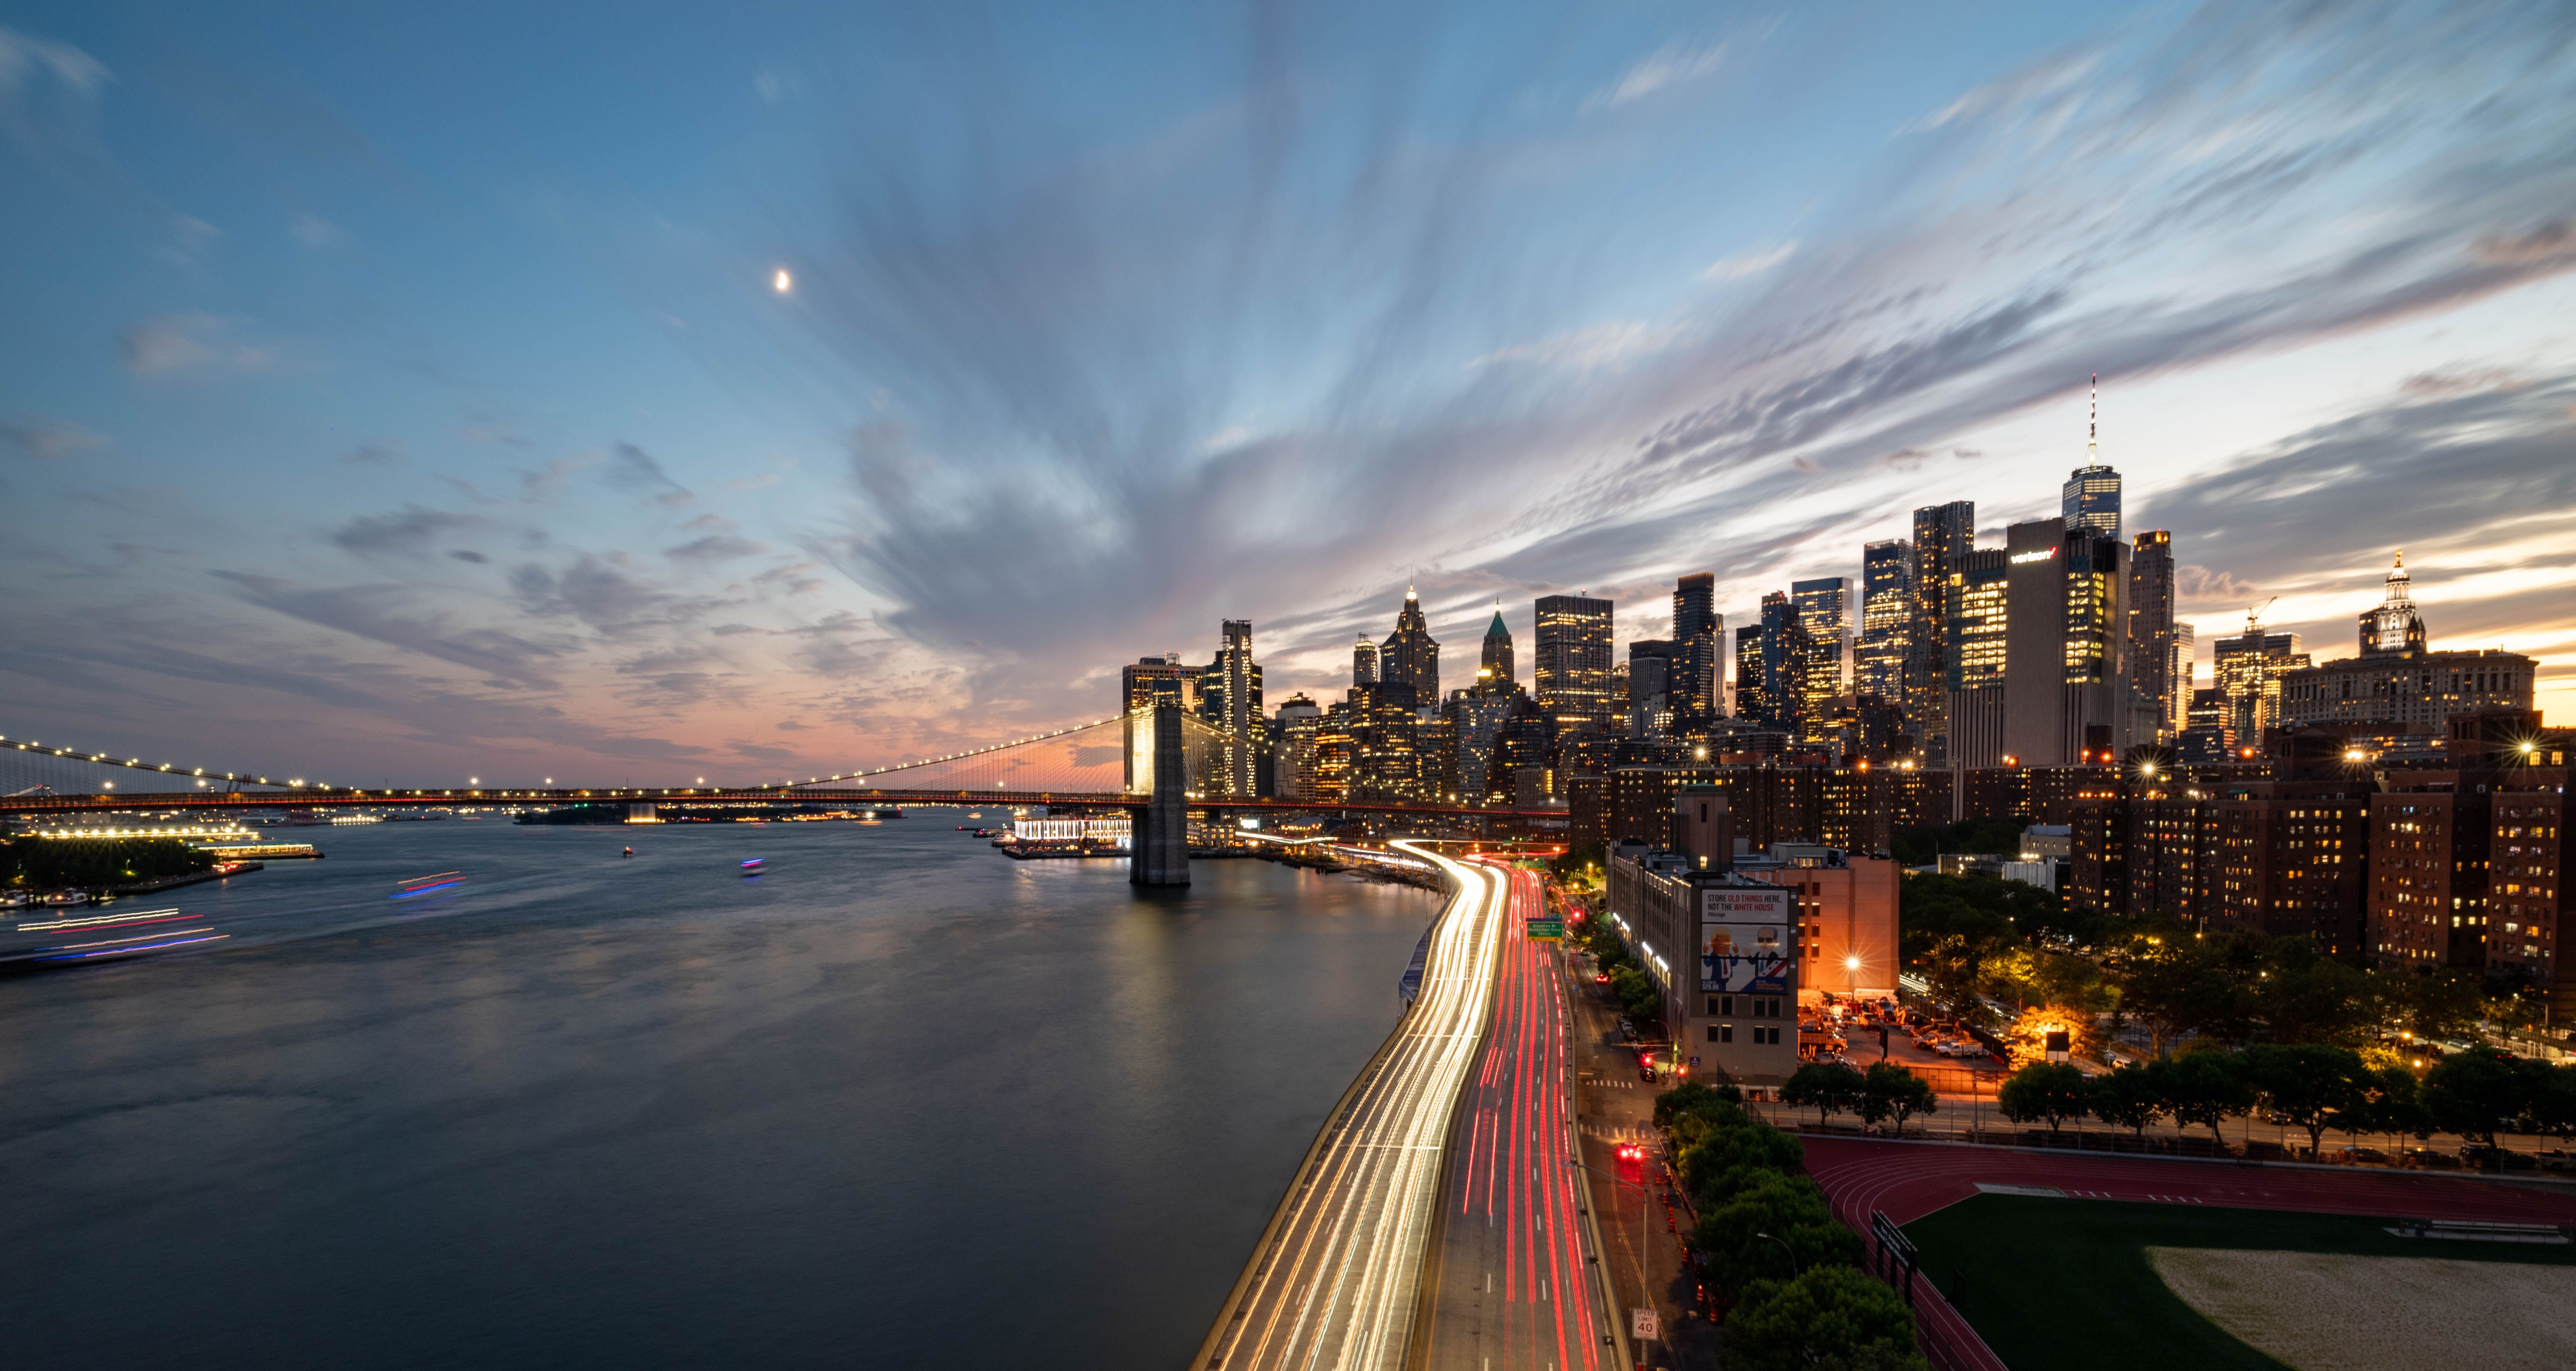
Canon recommends apertures around f/11 to f/16 when you want city lights to flare into starbursts. The effect can add a clean point of energy, but too many bright points can crowd the frame.
Rain helps too. Wet pavement gives you reflections, and reflections give monochrome images a second layer of tone. For darker streets, Adobe Lightroom Academy lists example settings like ISO 800–3200, f/4–f/8, and shutter speeds of 10–30 seconds. If traffic is moving, a shutter speed of 1 second or longer can also draw light trails into the scene.
Should I meter for highlights or shadows in black-and-white street shots?
For most dusk street shots, meter for the highlights and protect the bright parts of the scene. A burned-out sign or blown window can break the whole image because black-and-white depends on tone range.
Spot metering works well when one bright area matters most, such as a lamp, a face, or a shop window. If you use matrix or evaluative metering, watch the histogram and keep detail on the right side of the graph.
A simple exposure approach
- Set the camera to aperture priority or manual mode.
- Check the brightest part of the frame.
- Dial exposure down by about 1/3 to 1 stop if the highlight looks close to clipping.
- Raise shadows later in RAW only if the file still has clean detail.
Shadows matter too, just in a different way. Adobe notes that monochrome can make shadows feel powerful, so I like a deep dark area as long as it still has shape. A camera in auto ISO can help as light drops fast, and Canon gives a nighttime example that limits Auto ISO to ISO 2000. That ceiling keeps noise in check while still letting the scene breathe as dusk turns to night.
Keep an eye on the histogram after each new street. Light can change by the block, and the camera should follow the scene, not the other way around.
How do I avoid flat-looking black-and-white images?
Flat black-and-white images usually come from weak contrast, weak light, or a frame with no clear subject. The fix is to build depth with layers, not just darken the file.
Try placing something close, something mid-frame, and something far away. This simple depth stack helps the eye move through the shot instead of stopping at one bland plane.
Practical ways to add life
- Use a low camera position to separate foreground from background
- Put a lamp, face, or sign near a strong edge
- Include one dark area and one bright area
- Keep a texture, like brick or glass, in the frame
- Wait for a person or car to cross into the light
A very low position can make urban scenes feel more creative and can also help you avoid walls or crowds. It changes the shape of the street and gives the frame a stronger base. For moving people, AF-C or continuous autofocus with subject detection keeps the focus point active as the subject crosses the frame. On many mid-tier mirrorless bodies, a short RAW burst of about 20 to 30 frames is common before the camera slows, so a brief sequence is usually enough for one walk-by.
If your camera offers pre-capture or pre-burst, turn it on for crossing pedestrians, bikes, or taxis. It records frames just before the full press, which is useful when the best gesture lasts only a second.
What gear choices make dusk work smoother?
Gear should support movement, not get in the way of it. At dusk, the best kit is the gear that lets you react fast as light changes from open street to shaded alley.
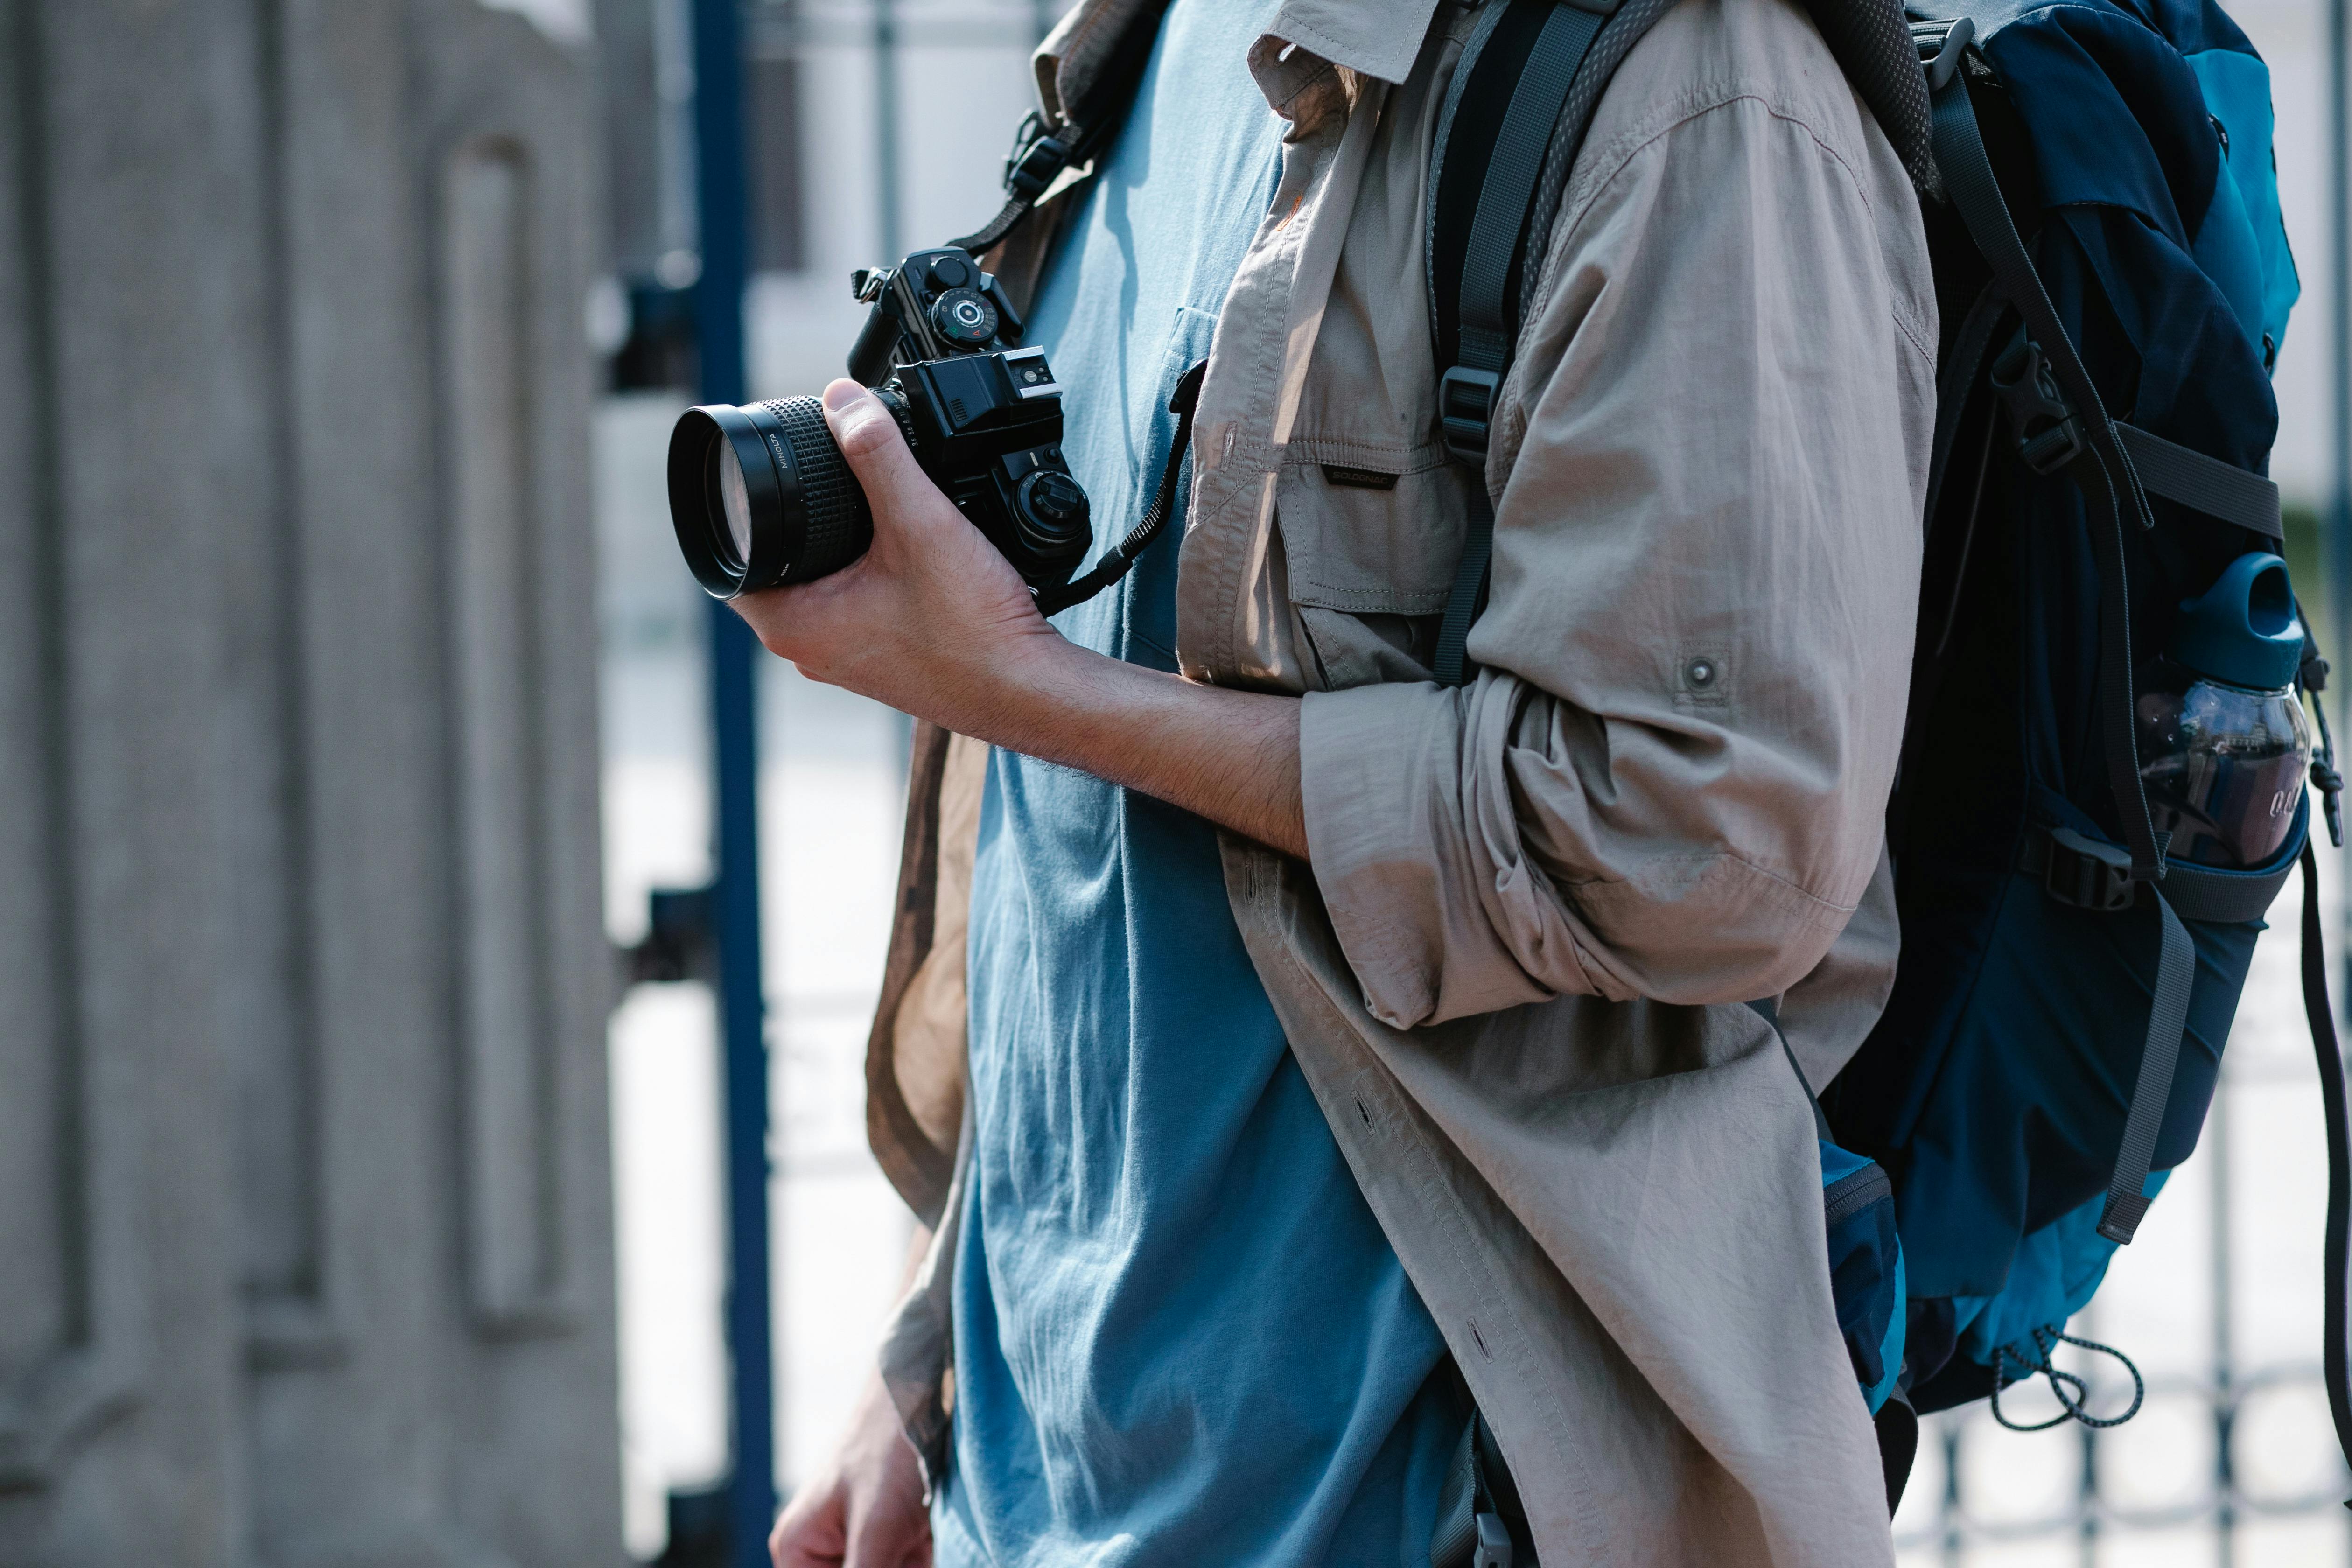
A comfortable strap matters more than it first seems, because you may carry the camera for an hour before the right scene appears. A Camstrap Voyager fits this kind of work well because the load stays steady while your hands stay free between shots.
One small kit that helps
- Camera with manual exposure and RAW capture
- 35mm, 50mm, or a small wide lens
- Spare battery, since EVF and LCD use drains power fast
- Memory card with UHS-II or CFexpress speed for longer RAW bursts
- Lens cloth for wet streets and mist
Card speed matters when you work in RAW and use burst shooting. UHS-I can slow write times sooner, while faster UHS-II or CFexpress cards clear the buffer faster after a sequence. Battery life also changes at dusk because the EVF and rear screen stay active more often. If you review every frame on the LCD, power drops faster, so I keep review short until the light settles.
How should I shoot and edit the frame?
Begin with RAW, because dusk light can change quickly and you may need control later. RAW also gives you more room to shape contrast without crushing the dark parts.
For the first pass, keep the camera steady and test one frame for the scene, then one frame for the subject. If traffic or people move through, use a short burst and pick the frame with the cleanest pose and line.
In editing, start with the black-and-white mix or channel controls, then tune contrast, blacks, and highlights. A small lift in local contrast can make brick, steam, or rain-slick pavement feel much more real. Do not push every dark area into pure black. A little detail in the shadows keeps the city from looking pasted together.
What makes dusk city photos feel true instead of staged?
Dusk city photos feel true when they keep their balance between light, shape, and place. Black-and-white helps because it removes the extra noise that color can add in a mixed-light street.
The strongest frames at this hour usually come from patience, a low angle, and a clear read on tone. Blue hour is brief, so I keep moving, watch for one strong shape, and wait for the light to settle on it.
A clean edge, a lit face, a wet curb, or a single window can tell the whole story. When the city gives you that small moment, the monochrome frame usually needs very little else. By the time the street goes fully dark, I have usually found the shot or learned why it failed. Either result is useful, and the next block often gives a better line, a better shadow, or a better place to stop and shoot again.

Frequently Asked Questions
Why does black-and-white work so well in city scenes?
Black-and-white works so well in city scenes because it shifts attention from color to contrast, shape, shadow, and edge. At dusk, blue-hour sky light and man-made lights separate buildings, signs, rails, and wet streets cleanly, so the scene feels more direct and honest.
How do I spot strong shapes before converting to monochrome?
Strong shapes are easiest to spot by looking for blocks, lines, and clear edges before you shoot, as if the scene were a simple sketch. Start with skylines, crosswalks, stair rails, lit windows, repeating forms, and big dark masses against a bright sky.

What lighting makes textures stand out in black-and-white photos?
Side light makes textures stand out best in black-and-white photos because it brings out bumps, brick patterns, wet stone, and worn metal. Blue hour is especially effective because soft sky light combines with sharp artificial light to add depth and relief.
Should I meter for highlights or shadows in black-and-white street shots?
Metering for highlights is usually the safer choice in black-and-white street shots because it preserves bright detail and keeps the scene from blowing out. Shadows still matter in monochrome, but strong shadow tone works best when the highlights hold structure and the image retains full tonal range.
How do I avoid flat-looking black-and-white images?

Avoid flat-looking black-and-white images by seeking strong contrast, clear separation, and side light that reveals depth. Move your feet to improve the composition, and keep an eye on whether the frame still reads well when everything is reduced to gray.


