


- Skip distorted spacing, stacked verticals, and a misplaced vanishing point.
- Choose one-point for speed and simplicity; use two-point only for angled views.
- Anchor the horizon first, place one vanishing point, then align edges toward it.
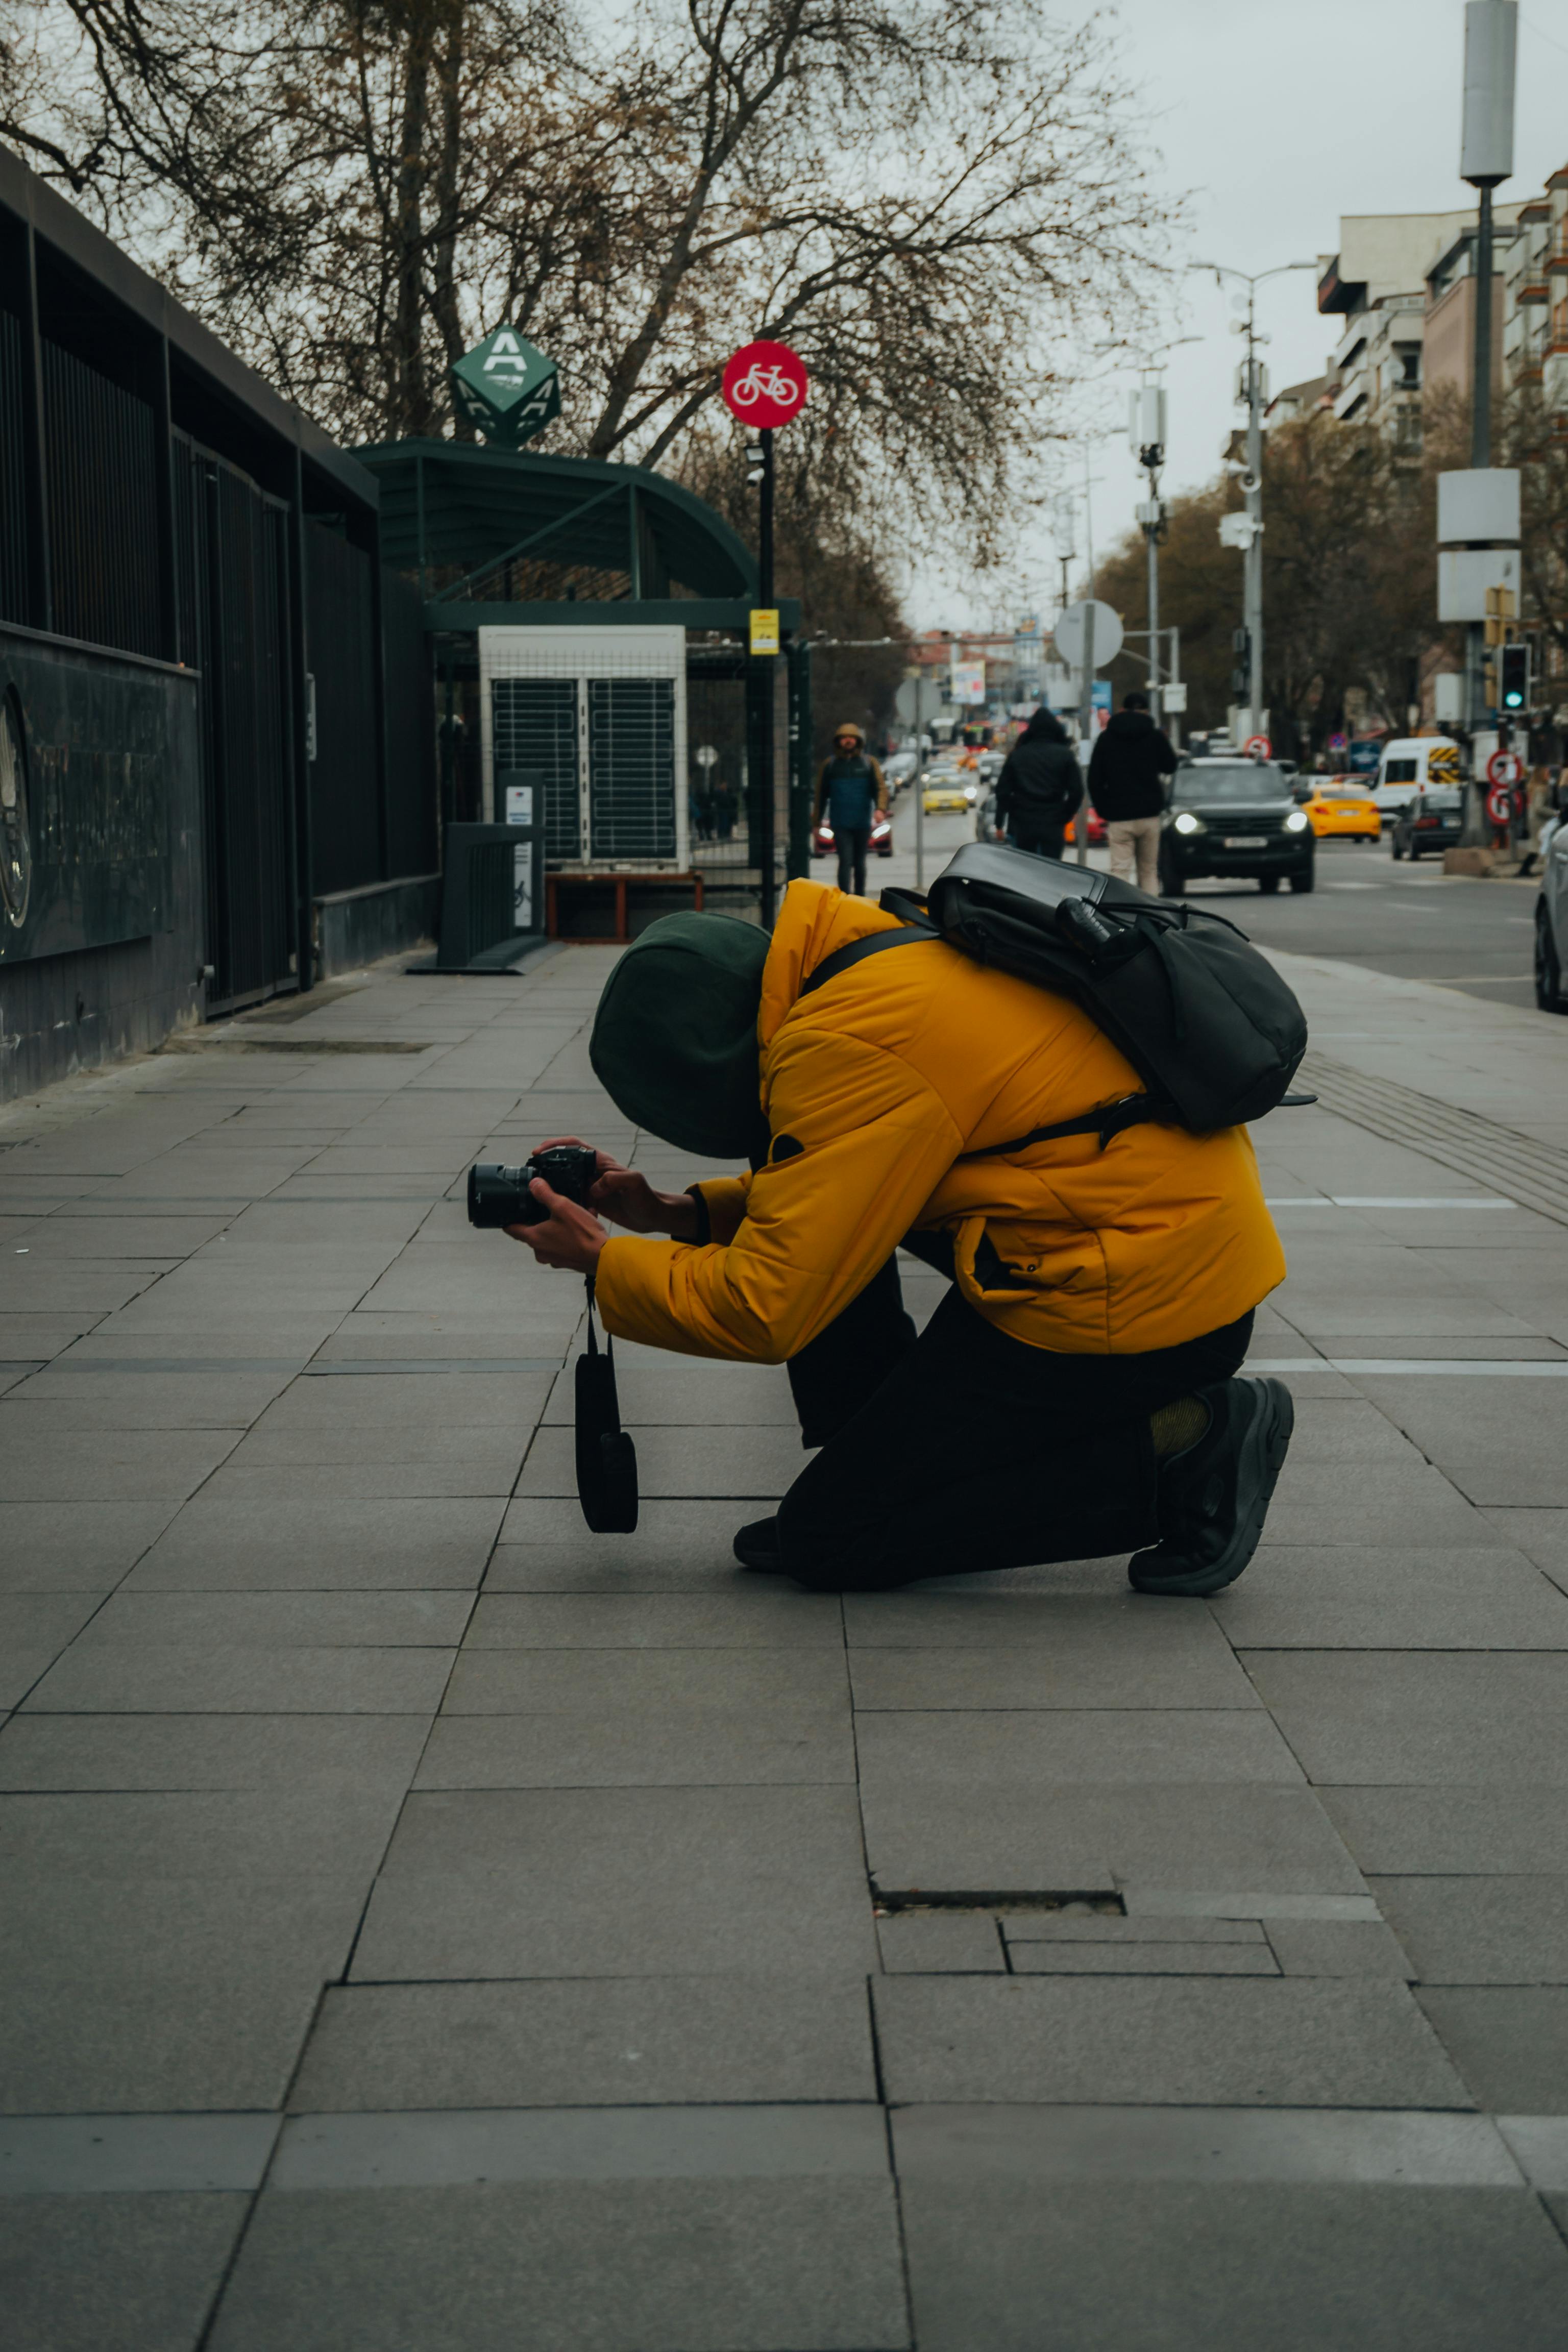
One-point perspective shows depth with lines that converge at a single vanishing point. On quick travel days, I lean on it because clean geometry helps me build a frame fast. Across three cities in a single day, I need gear that stays light, protected, and close at hand. The aim is plain: get through stations, sidewalks, and brief stops without feeling bogged down.
Translation missing: en.blog_cta.bundle_heading

- Regular price
-
€42 - Regular price
-
€44 - Sale price
-
€42
By choosing the Camstrap strap, you are opting for a high-quality product designed to meet the needs of the most demanding photographers.
- Developed by a physiotherapist to relieve neck and back pain.
- Fast delivery with tracking by the Post Office 🚚
- Can be used as a shoulder strap or hands-free harness

- Regular price
-
€36 - Regular price
-
€42 - Sale price
-
€36
Translation missing: en.blog_cta.free_shipping_included
The carry that keeps me moving
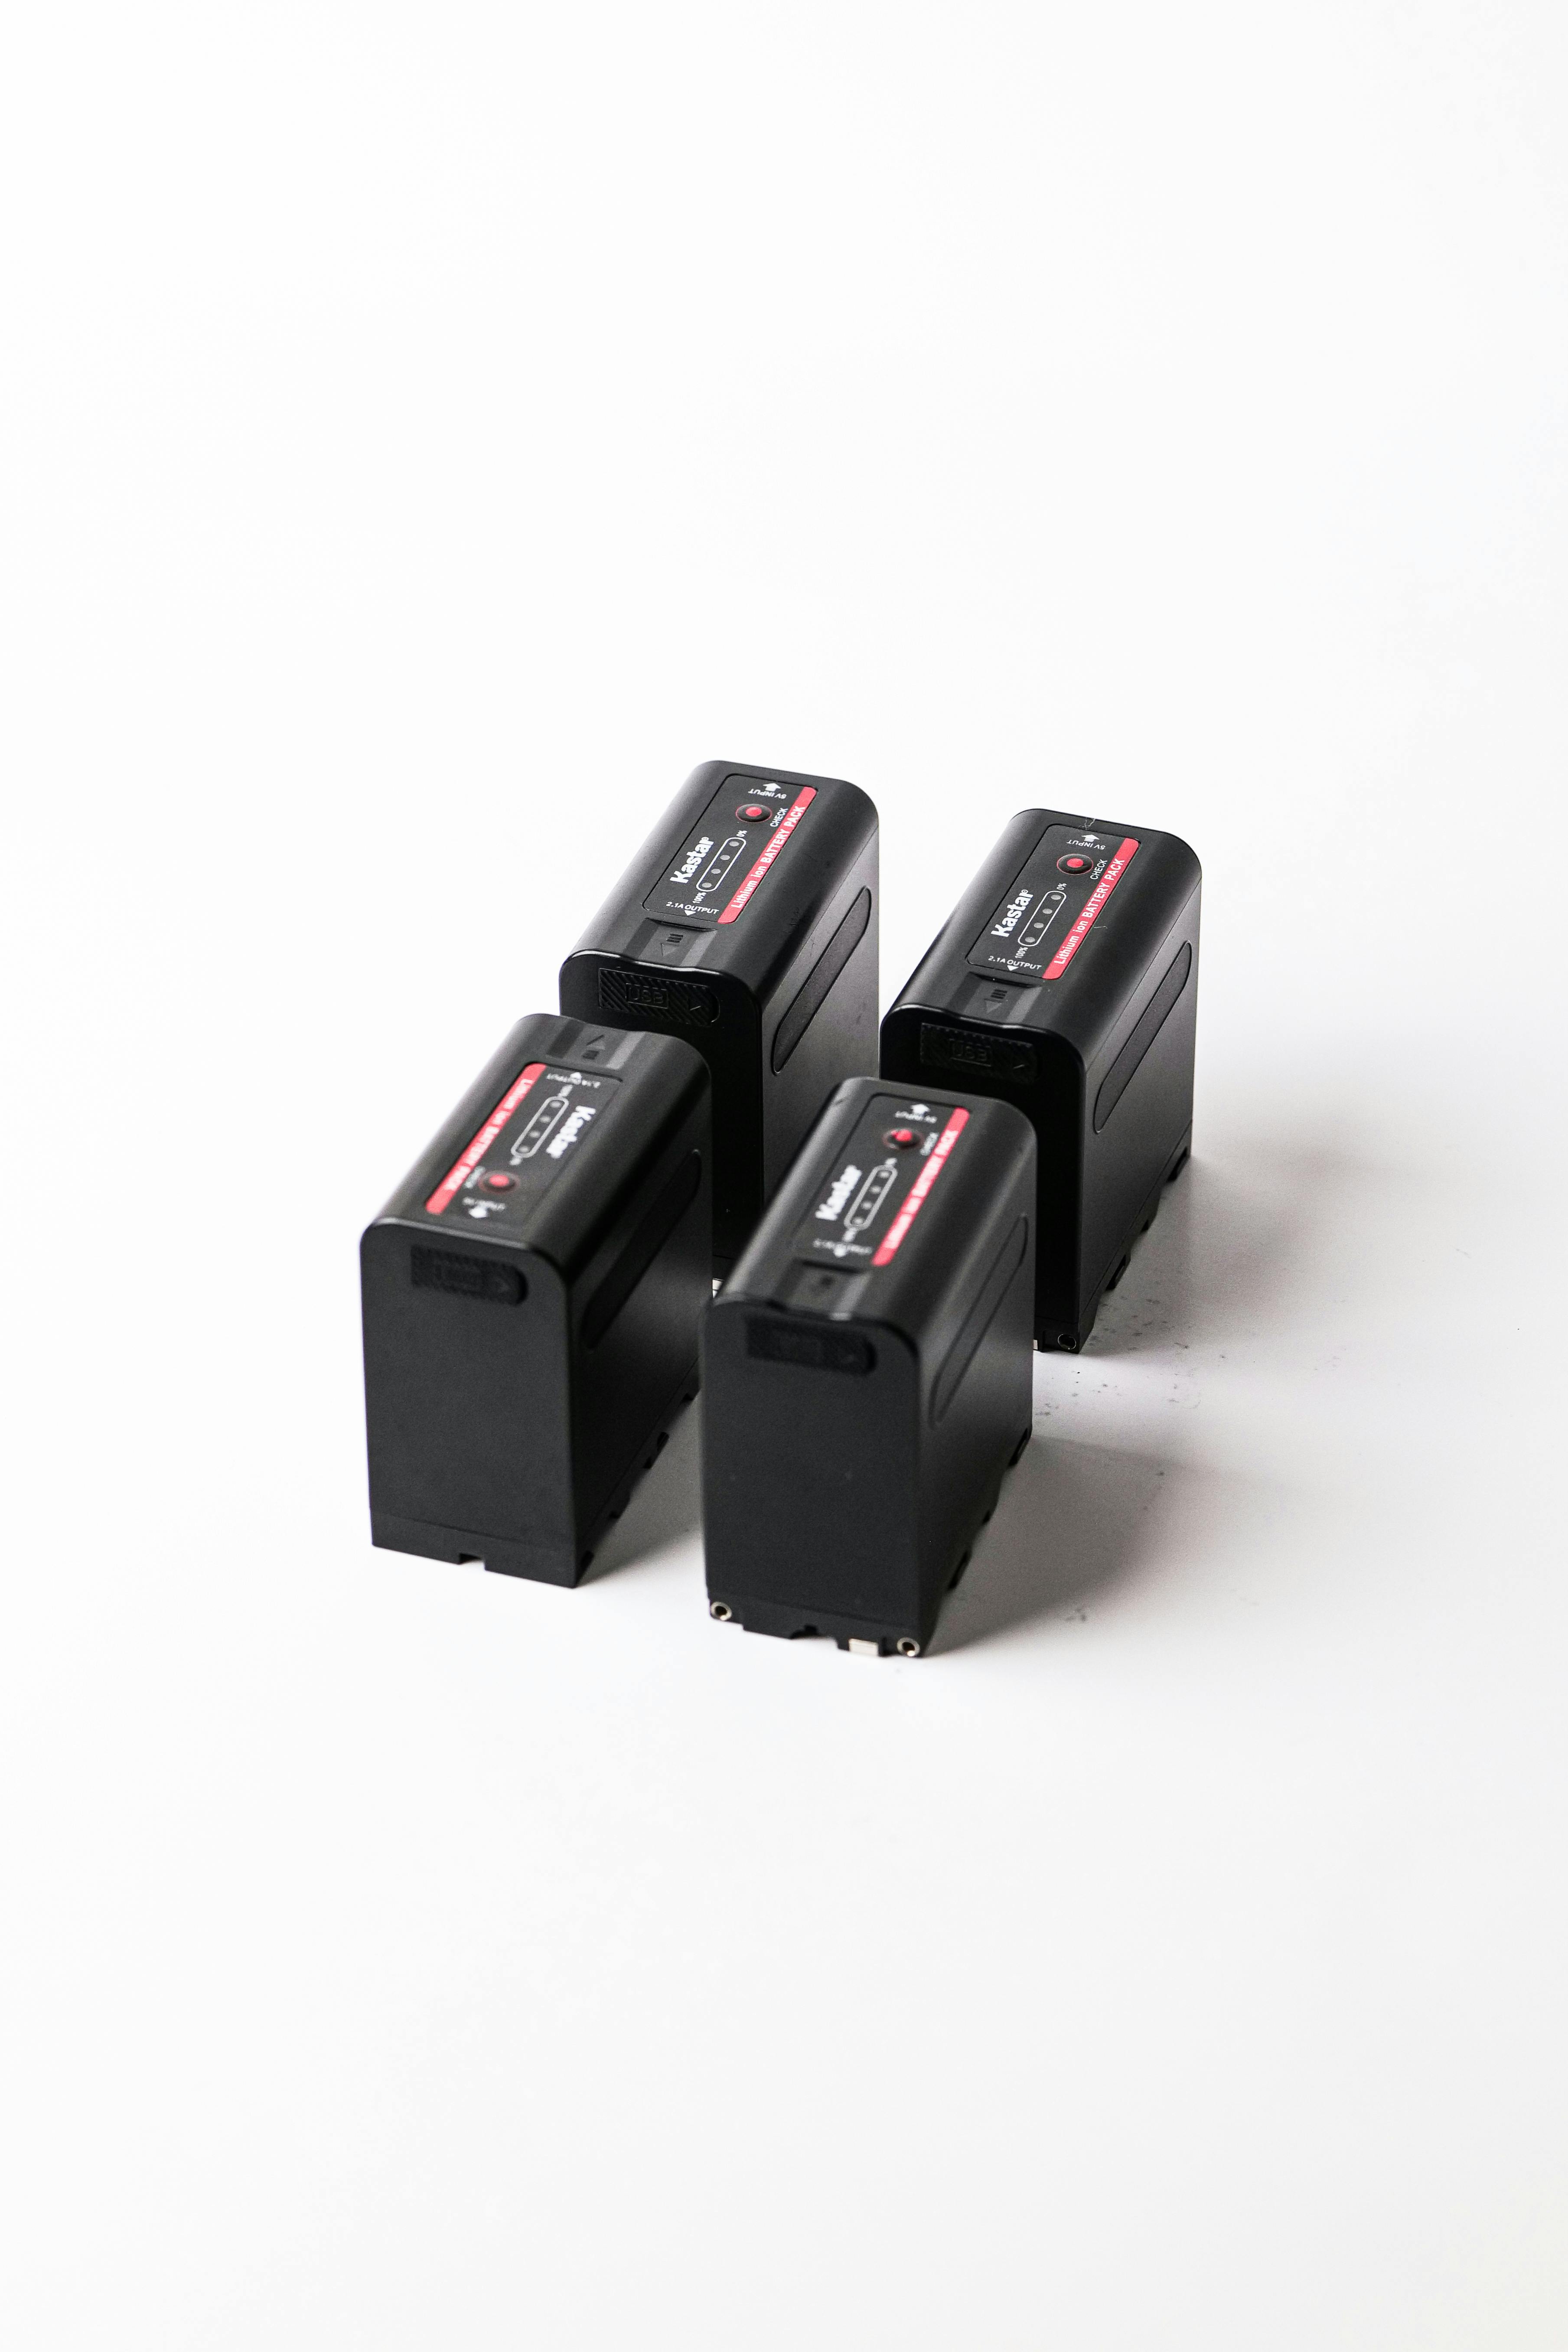
My pack starts with a body, one lens, a spare battery, two memory cards, and a small cleaning cloth. That covers most city walks and keeps the load manageable.
Speed comes first on a day like this. A hands-free carry setup helps me bring the camera up quickly when a street opens or a train rolls in, and easy access beats a full kit.
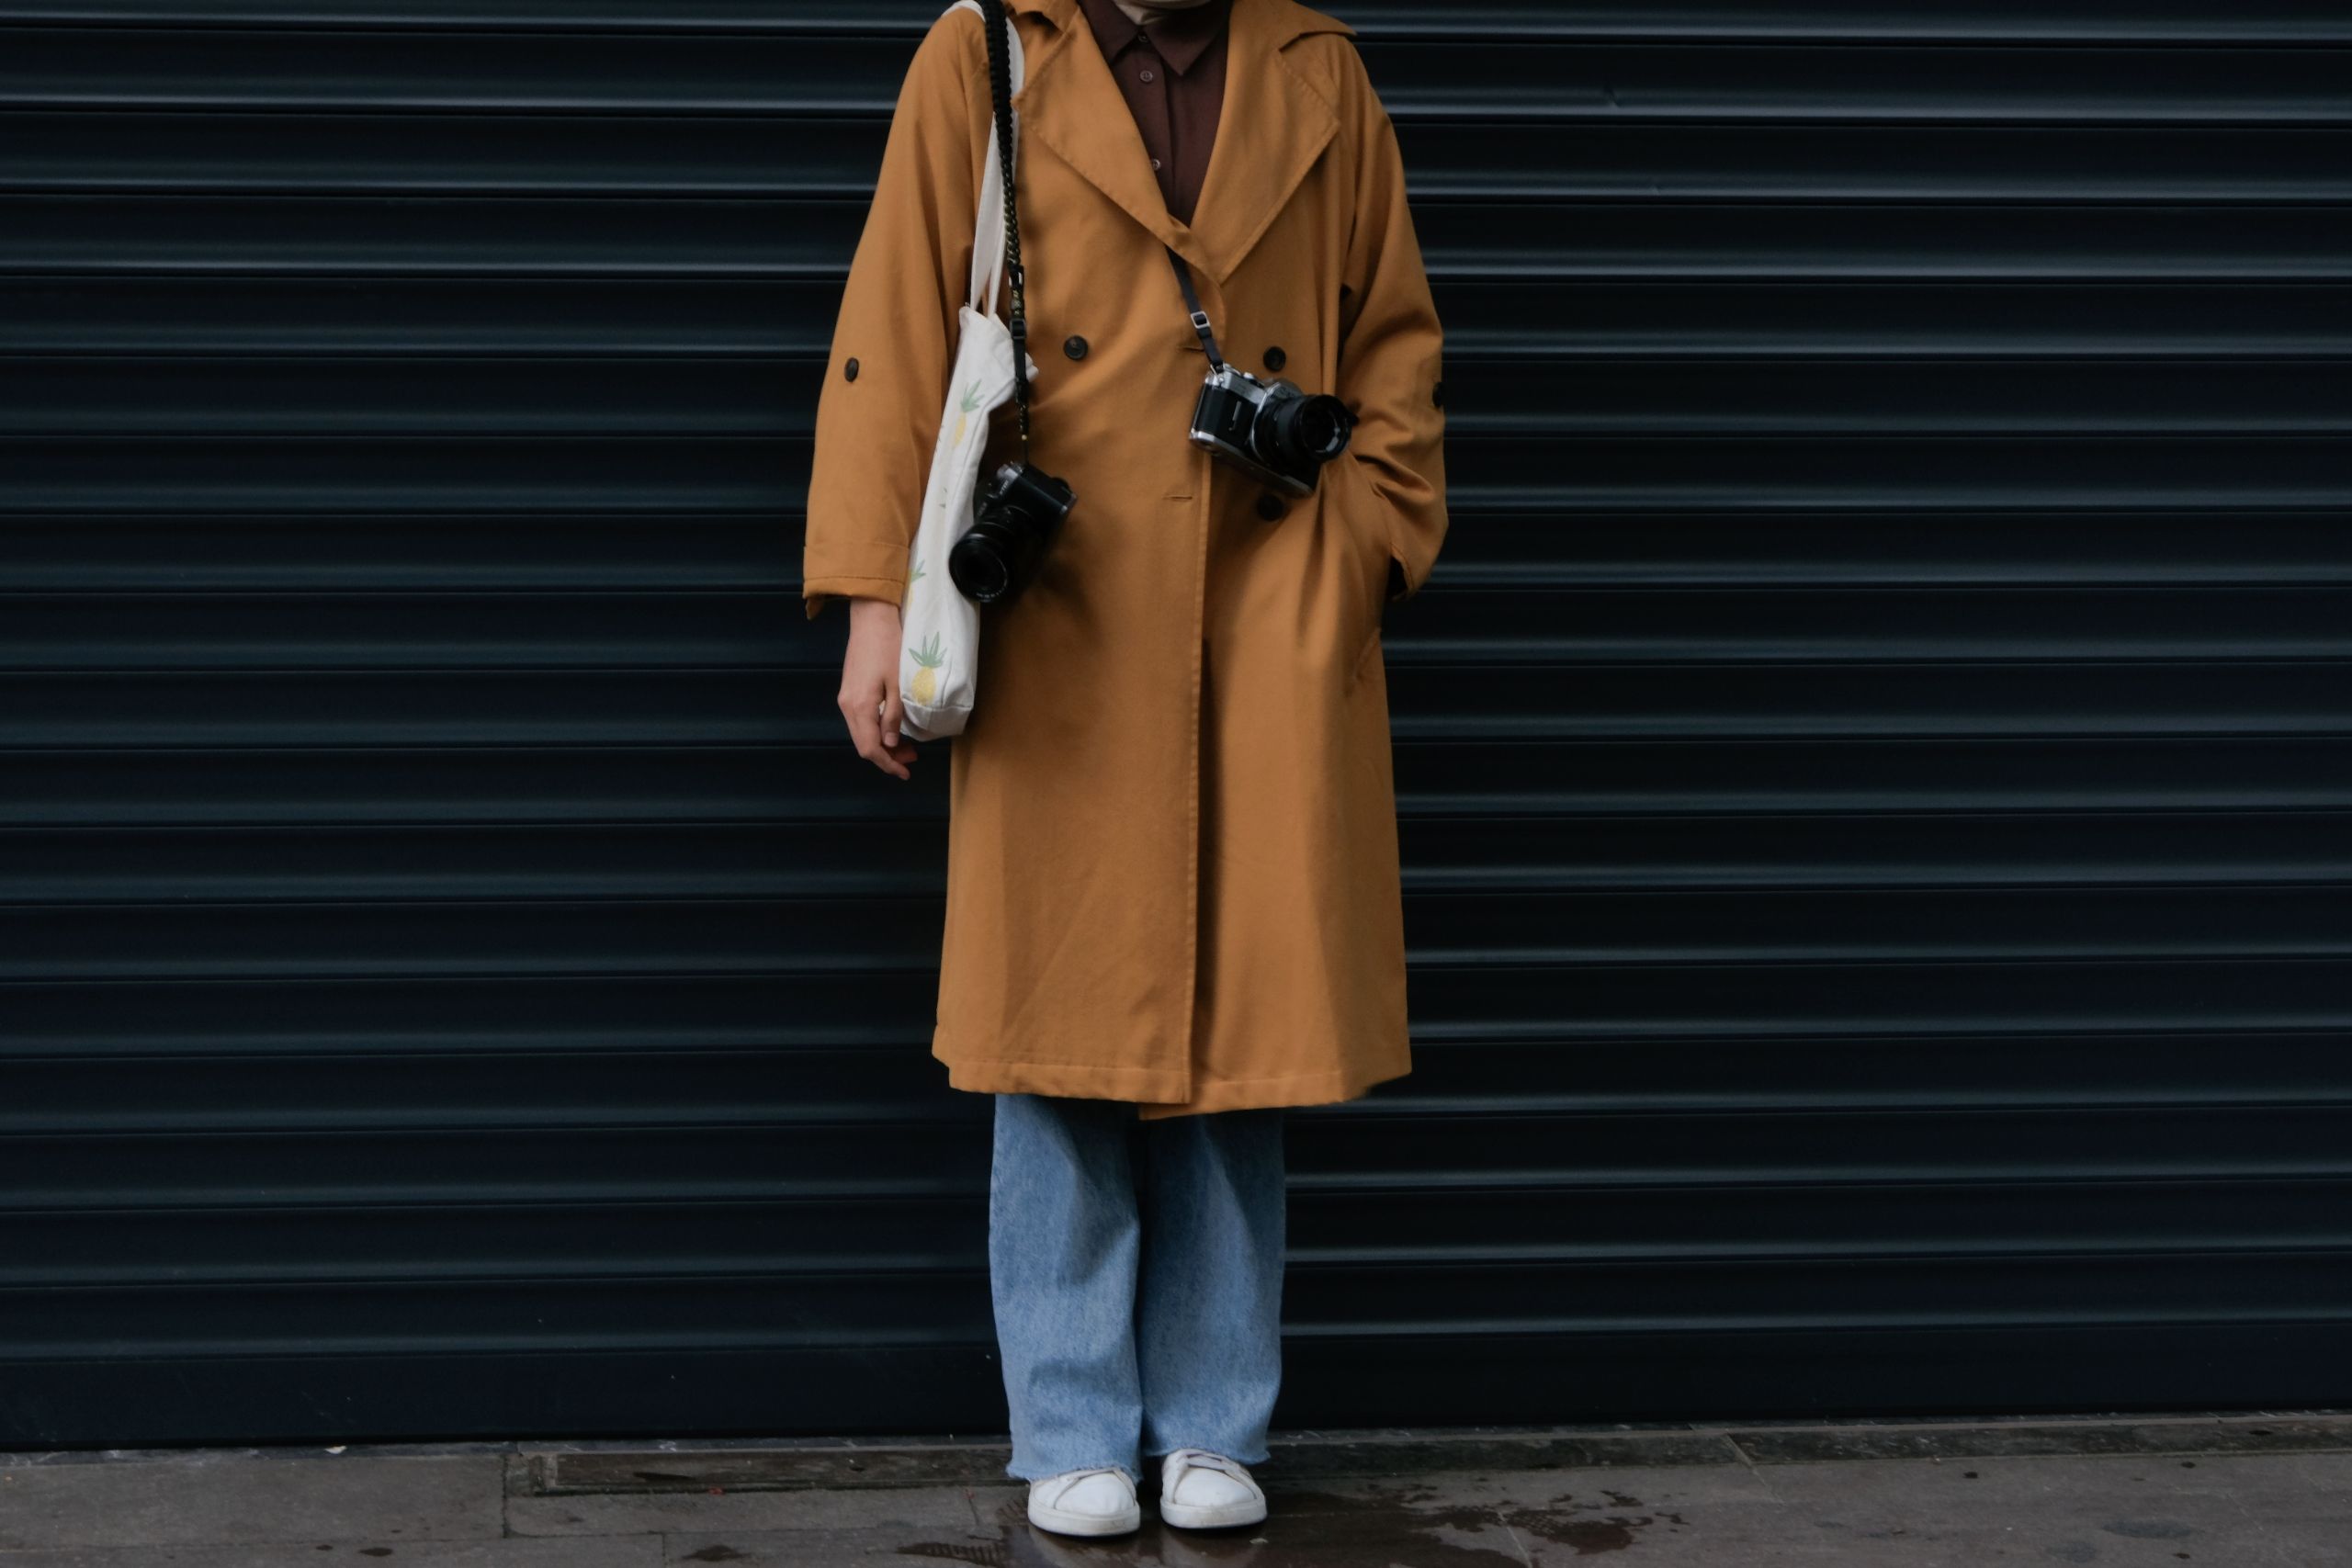
What goes in the bag
- Camera body with a charged battery inside
- One lens, usually a 24mm, 35mm, or 50mm prime
- One spare battery in a sleeve
- Two SD cards, ideally UHS-II V60 or V90
- Microfiber cloth
- Small power bank and short USB-C cable
- Notebook or phone for shot notes
I keep the lens choice narrow. A 35mm usually gives me enough width for streets and enough reach for details, while a 50mm suits tighter scenes and stronger lines. For carry, I want the camera on my chest or side, not buried in the bag. A strap like the Camstrap voyager can fit that role, since quick access and a stable carry keep the camera ready between stops.
Why one bag works across three cities
One bag cuts down on waste and on decision fatigue, which helps when each city brings different light, crowds, and timing. Fewer moving parts mean fewer choices at the exact moment I need to react.
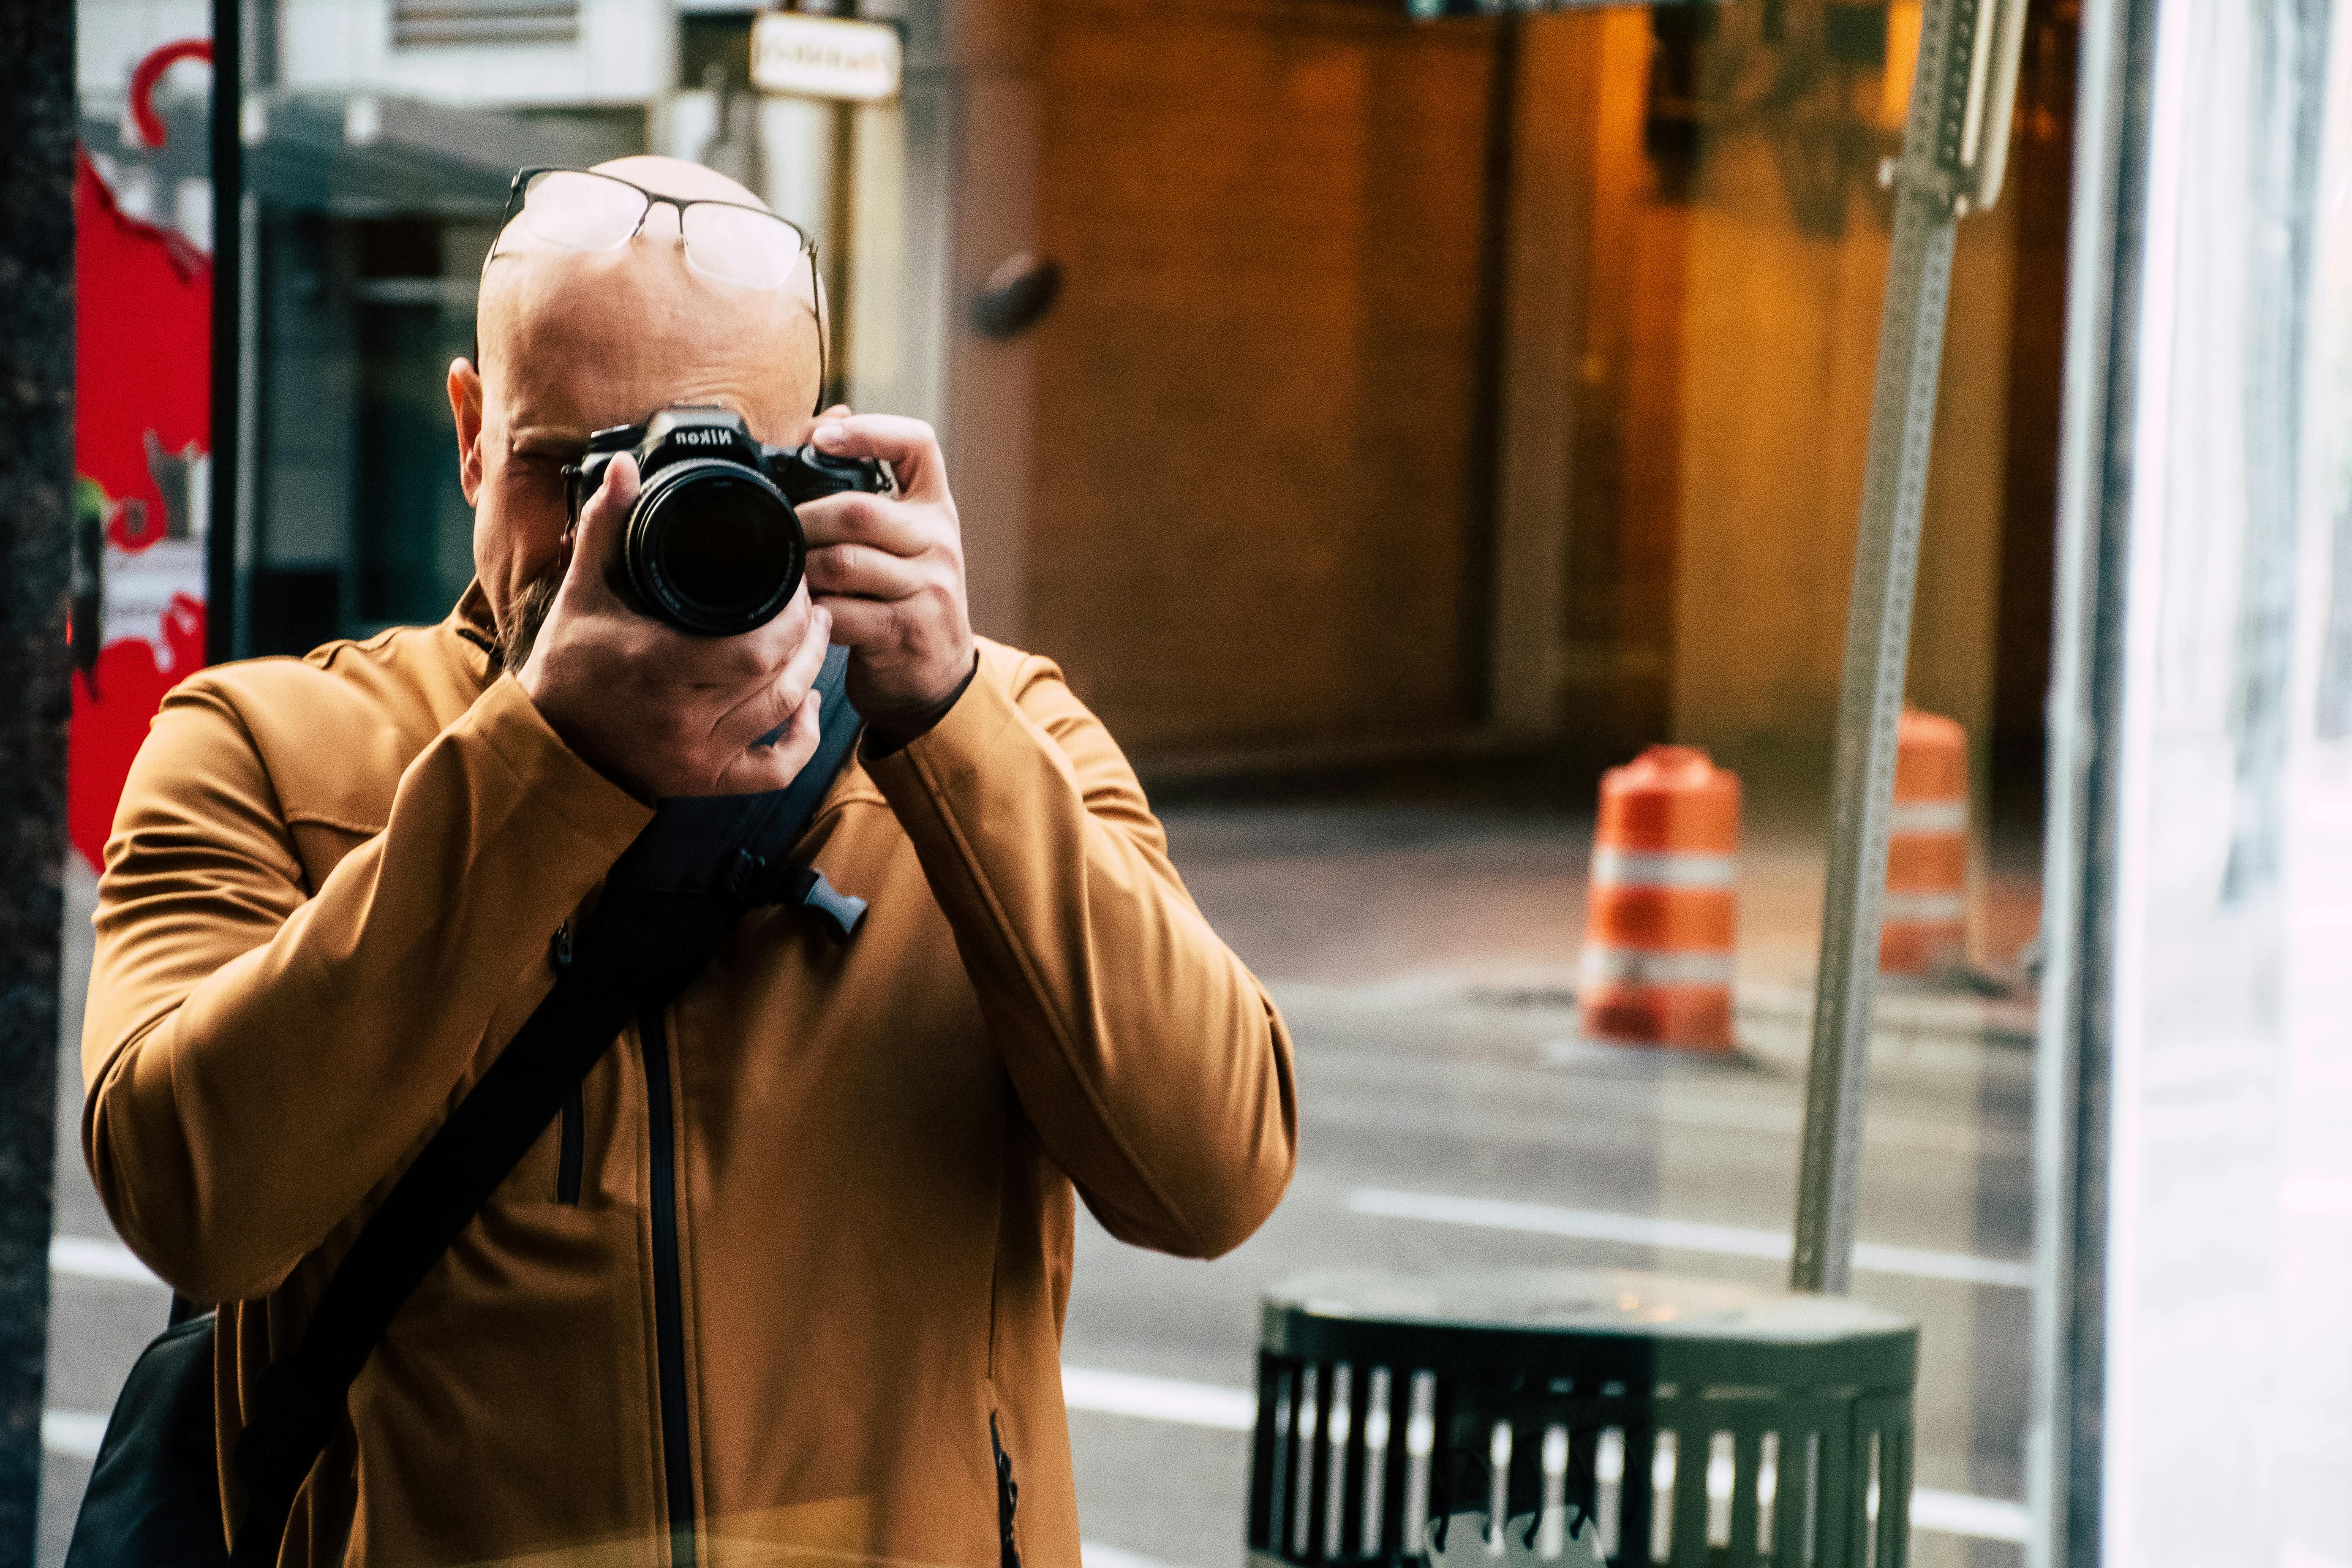
Travel days come with simple limits. Train seats are tight, sidewalks move fast, and lunch stops can turn into shooting stops in seconds. A small kit makes those shifts easier.
Research on cognitive load supports this approach. Fewer choices can help people act faster and with less stress, which is useful when a scene appears and disappears in a few seconds.
The tradeoff I accept
A one-bag setup means fewer lens options. The trade is worth it because I gain speed, comfort, and less gear to worry about.
I accept a little less control over framing than I would get with a full kit. A single good lens still pushes me to move my feet and compose with more intention.
Settings I trust when the light changes
I start in aperture priority with auto ISO, then switch to manual once the light settles. On city streets, I usually want f/2 to f/2.8 for people and signs, and f/5.6 for deeper scenes. Shutter speed carries more weight than many travel shooters assume. I try to stay at 1/500s for walking subjects, then slow down only when I have room to do it.
My fast street baseline
- Mode: aperture priority or manual
- Aperture: f/2 to f/2.8 for people
- Shutter: 1/500s for moving scenes
- ISO: auto, with a cap around ISO 6400
- Focus: continuous AF (AF-C / AI Servo) with eye or subject detection
Modern mirrorless bodies can shoot around 10 fps with a mechanical shutter, and many can reach 20 to 40 fps with an electronic shutter. The faster mode helps with timing, though it can bring rolling-shutter skew or LED banding.
I use burst only when the scene calls for it. For a person crossing a crosswalk or turning into light, a short three- to six-frame burst is enough.
How I frame scenes for clean lines
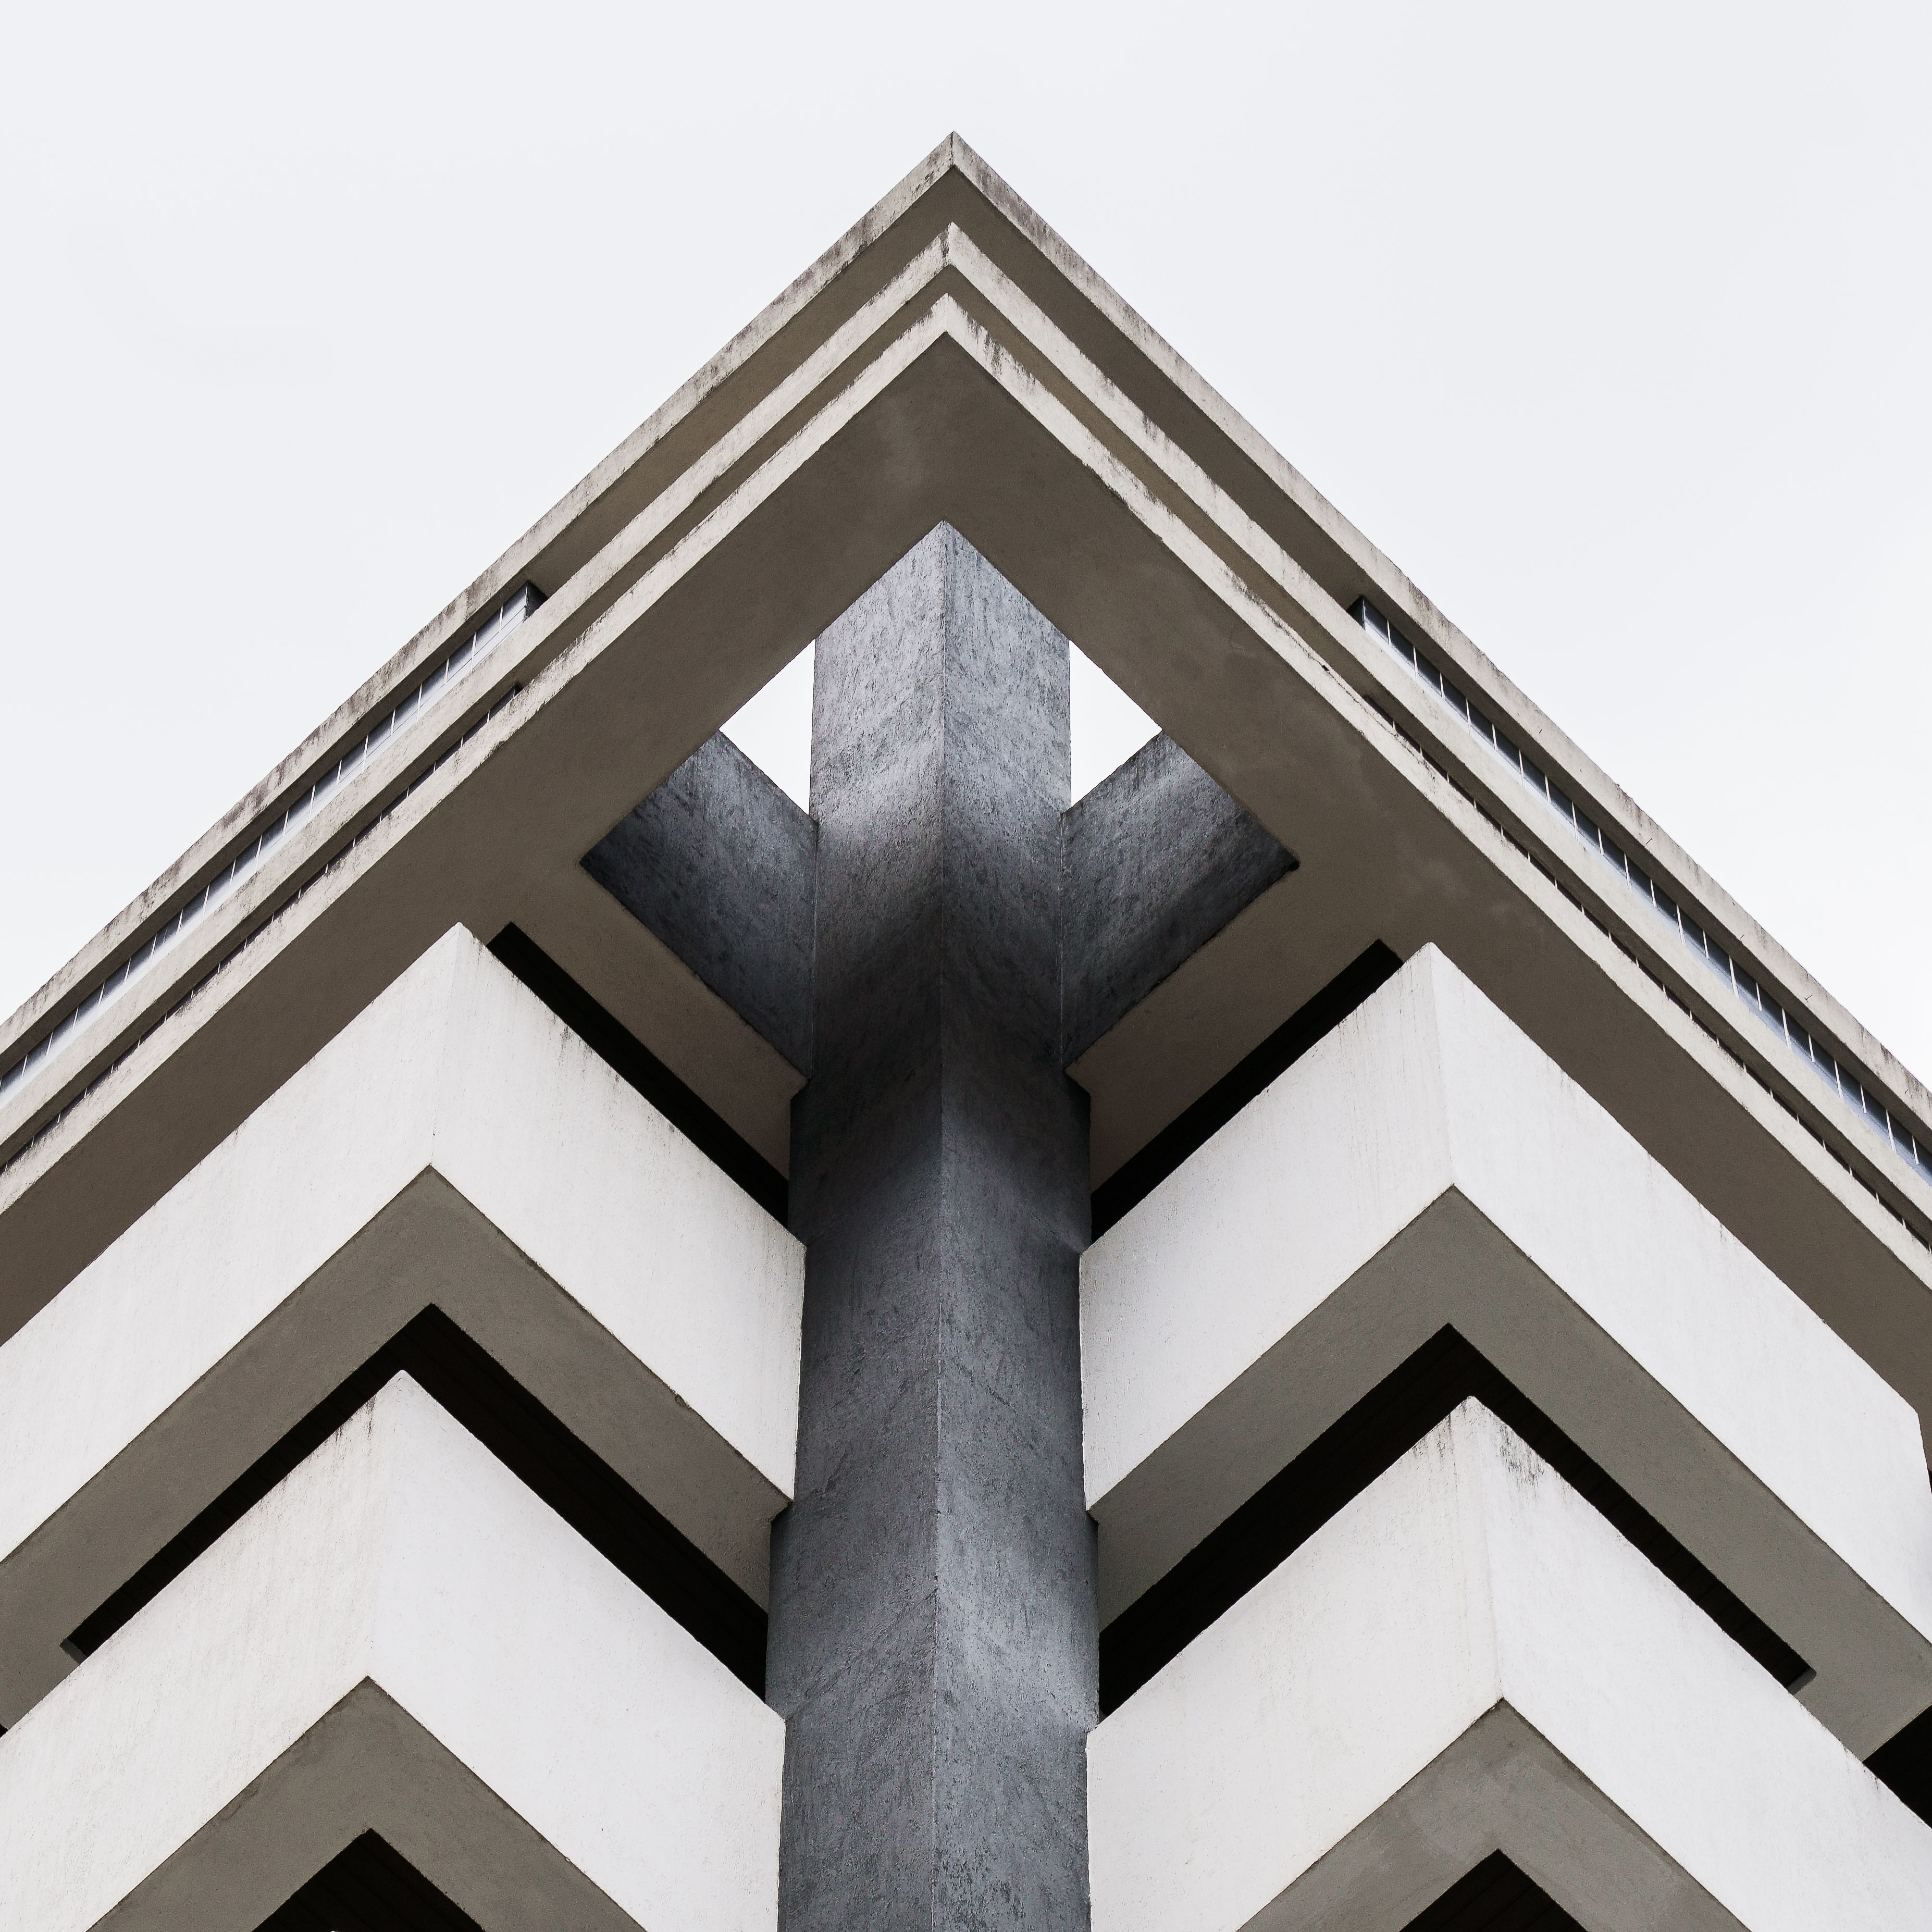
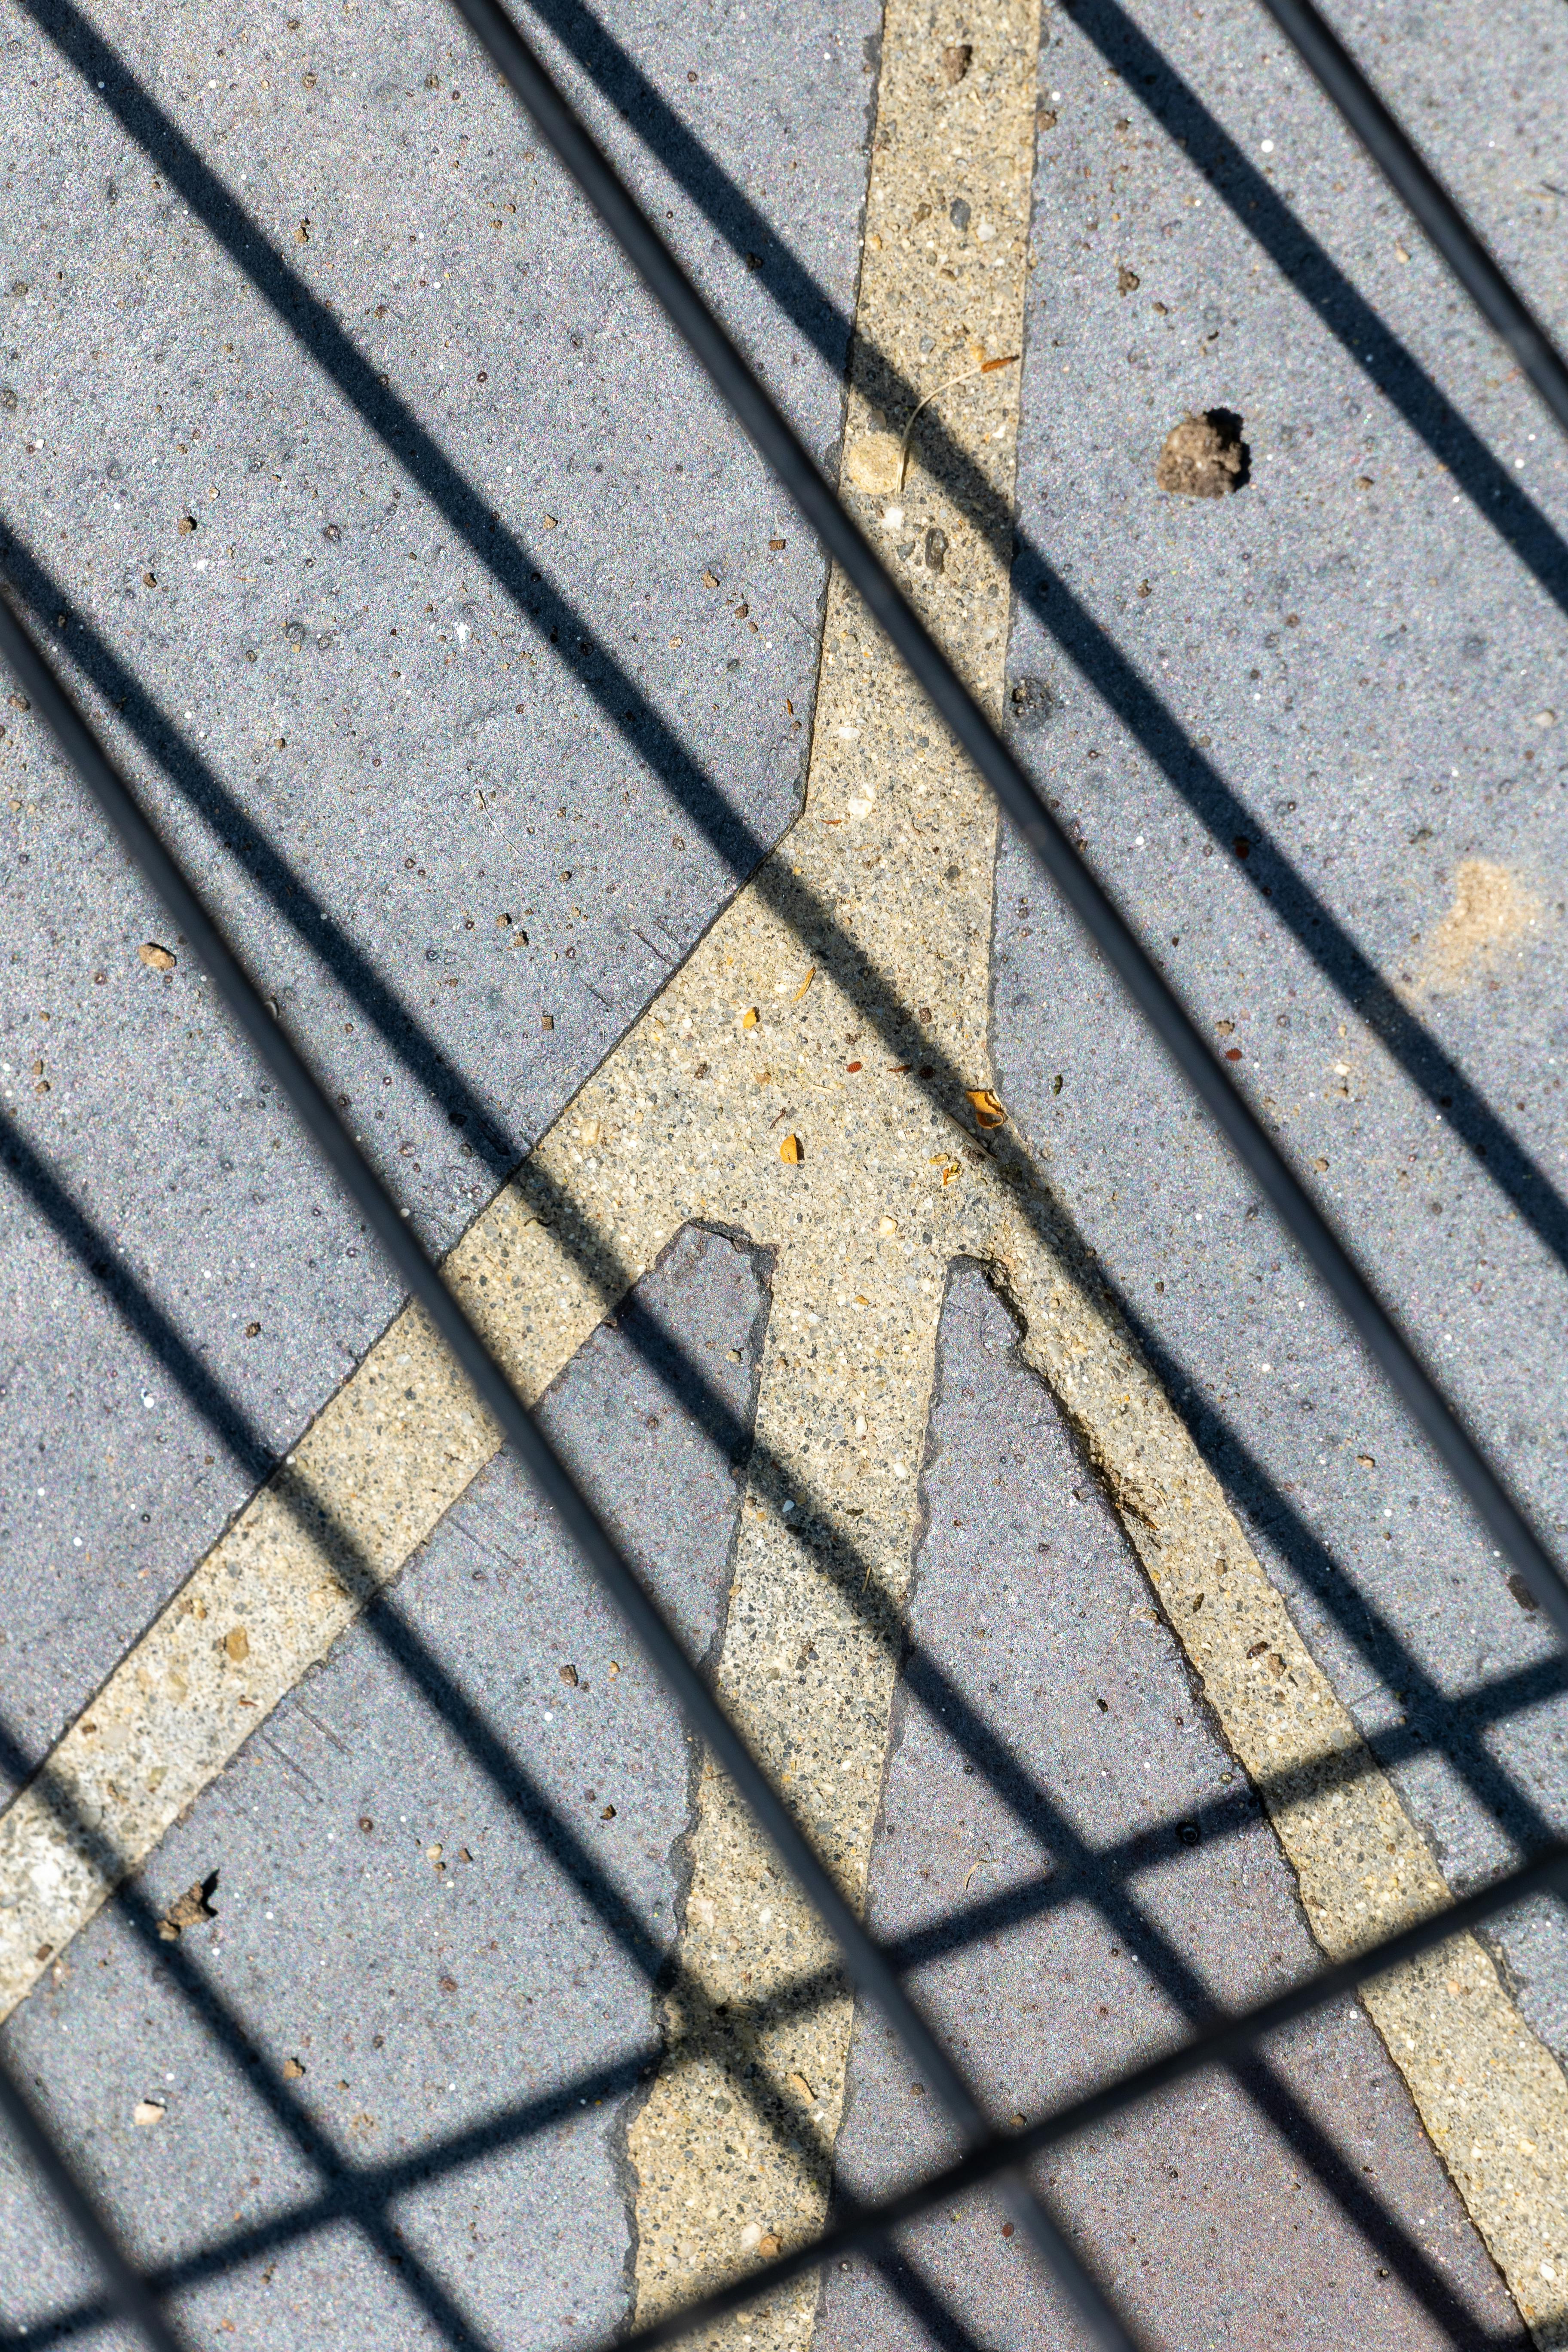
One-point perspective works best when I find strong lines quickly. Roads, hallways, rail tracks, and long building edges all pull the eye toward one point. I look for symmetry first, then shift a step left or right to clean the frame. Small moves often do more than swapping lenses.
How I set up a 1-point perspective?
I center the vanishing point and keep both sides of the frame balanced. A grid overlay helps, and live view makes small corrections easier on bright streets.
- Find one strong line, such as a road or hallway.
- Stand square to the subject.
- Place the vanishing point near the center.
- Check both sides for balance.
- Take one test frame and fix the tilt.
A tripod can help, but I rarely carry one on a three-city day. Instead, I rely on a faster lens, image stabilization if the body has it, and careful body position.
Depth of field matters here too. A wider aperture like f/2.8 can soften the edges, while f/5.6 keeps more of the scene sharp.
What I pack for power, cards, and backup
Battery life changes a lot with use. On mirrorless bodies, the biggest drain often comes from the EVF or LCD, plus image review and autofocus work. I pack one spare battery, not two or three. Keeping screen brightness lower and avoiding long review sessions after each shot also helps.
Card and file habits that save time
I use UHS-II cards because the faster write speed helps after bursts and during RAW capture. V60 or V90 cards make the most sense when I know I’ll shoot faster sequences or long RAW files.
- Use one card in the camera and one spare in a case
- Format cards in camera before the day starts
- Back up files at night to a drive or cloud folder
- Rate keepers later with pick and reject flags in Lightroom or Photo Mechanic
A modern mid-tier body can often hold roughly 20 to 50 RAW frames before it slows, though the exact number depends on file size and card speed. JPEG clears faster, but I still shoot RAW for city work.
What are common mistakes in one-point perspective?
Common mistakes in one-point perspective are crooked lines, a weak vanishing point, and too much clutter near the edges. A tilted horizon can ruin the clean pull toward the center.
Standing too close to the subject is another easy miss. The scene stretches, and the lines start to feel harsh instead of calm.
Three errors I watch for
- Horizon tilt that breaks the frame
- Too many objects near the vanishing point
- Wide-angle distortion that bends straight lines
I fix these by slowing down for ten seconds before shooting. A small reset saves more frames than a fast burst ever can.
Is 1 point or 2 point perspective better?
One-point perspective suits calm, direct scenes with strong order. Two-point perspective works better when I want corner views, more depth, or a bit more energy. For a three-city day, I choose one-point when the story is about lines and place. I switch to two-point when the scene feels wider and more alive.
Neither style wins in every situation. The choice depends on the shape of the street and the mood I want.
What is a 3 point perspective in photography?
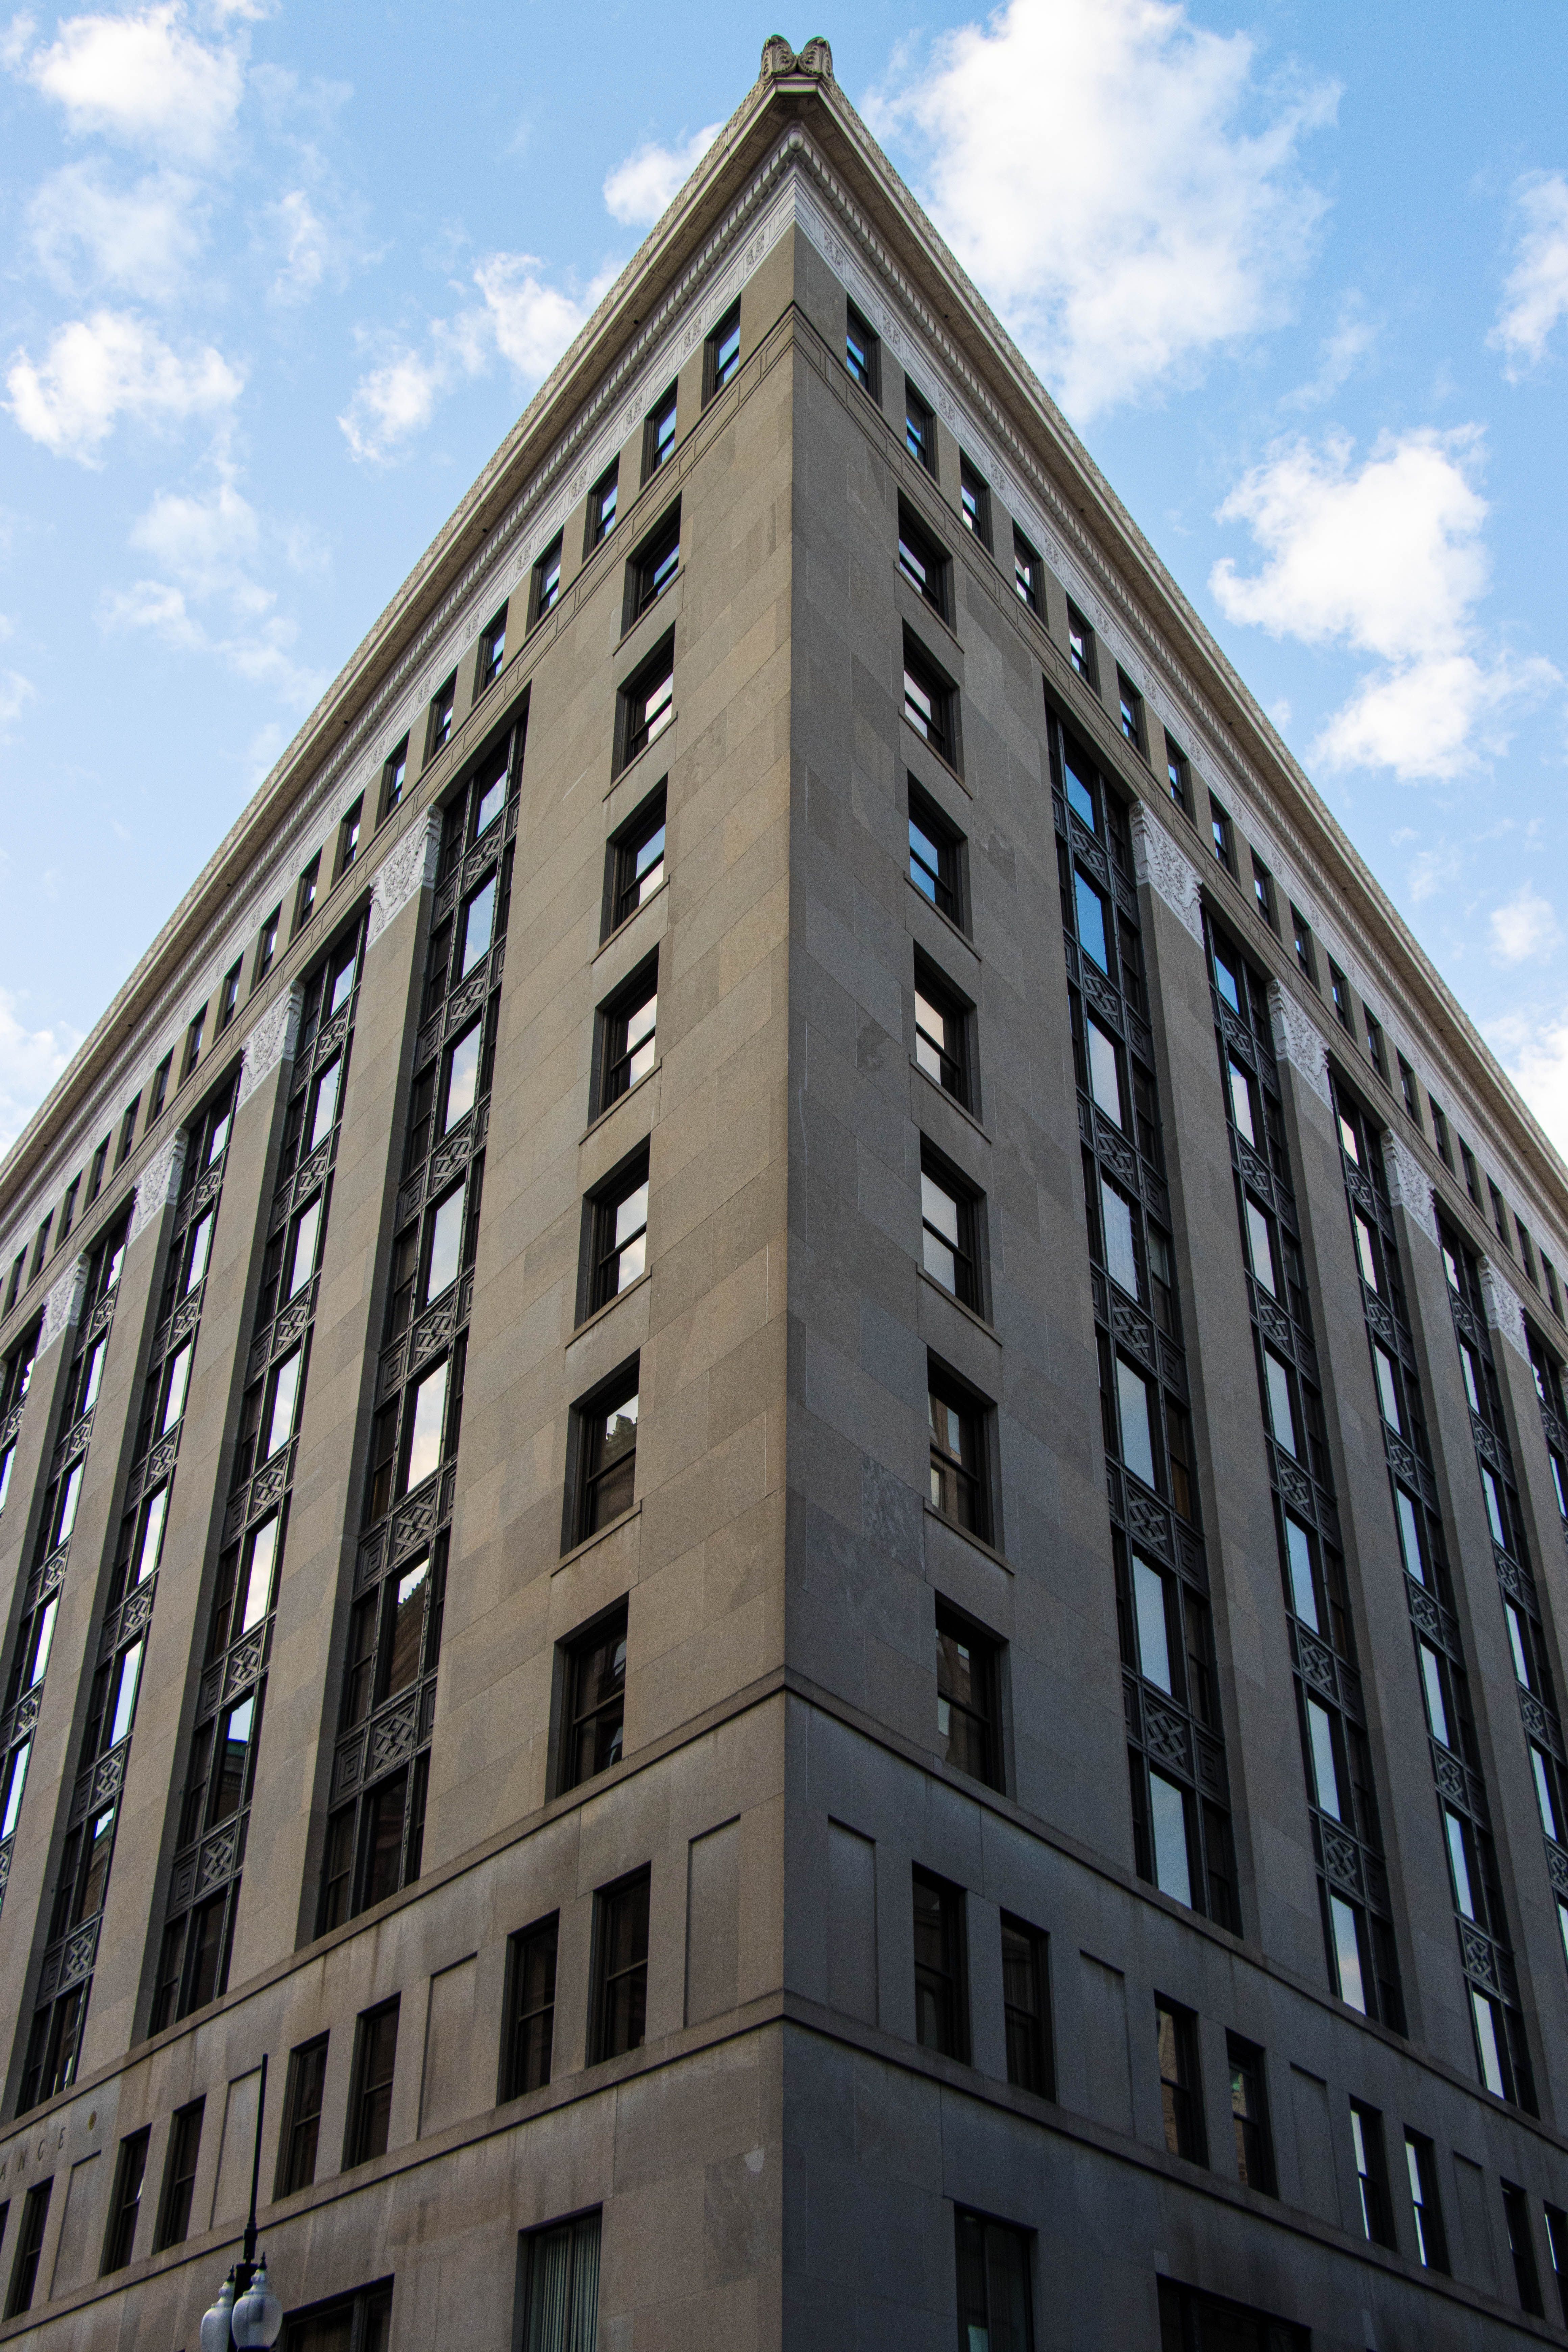
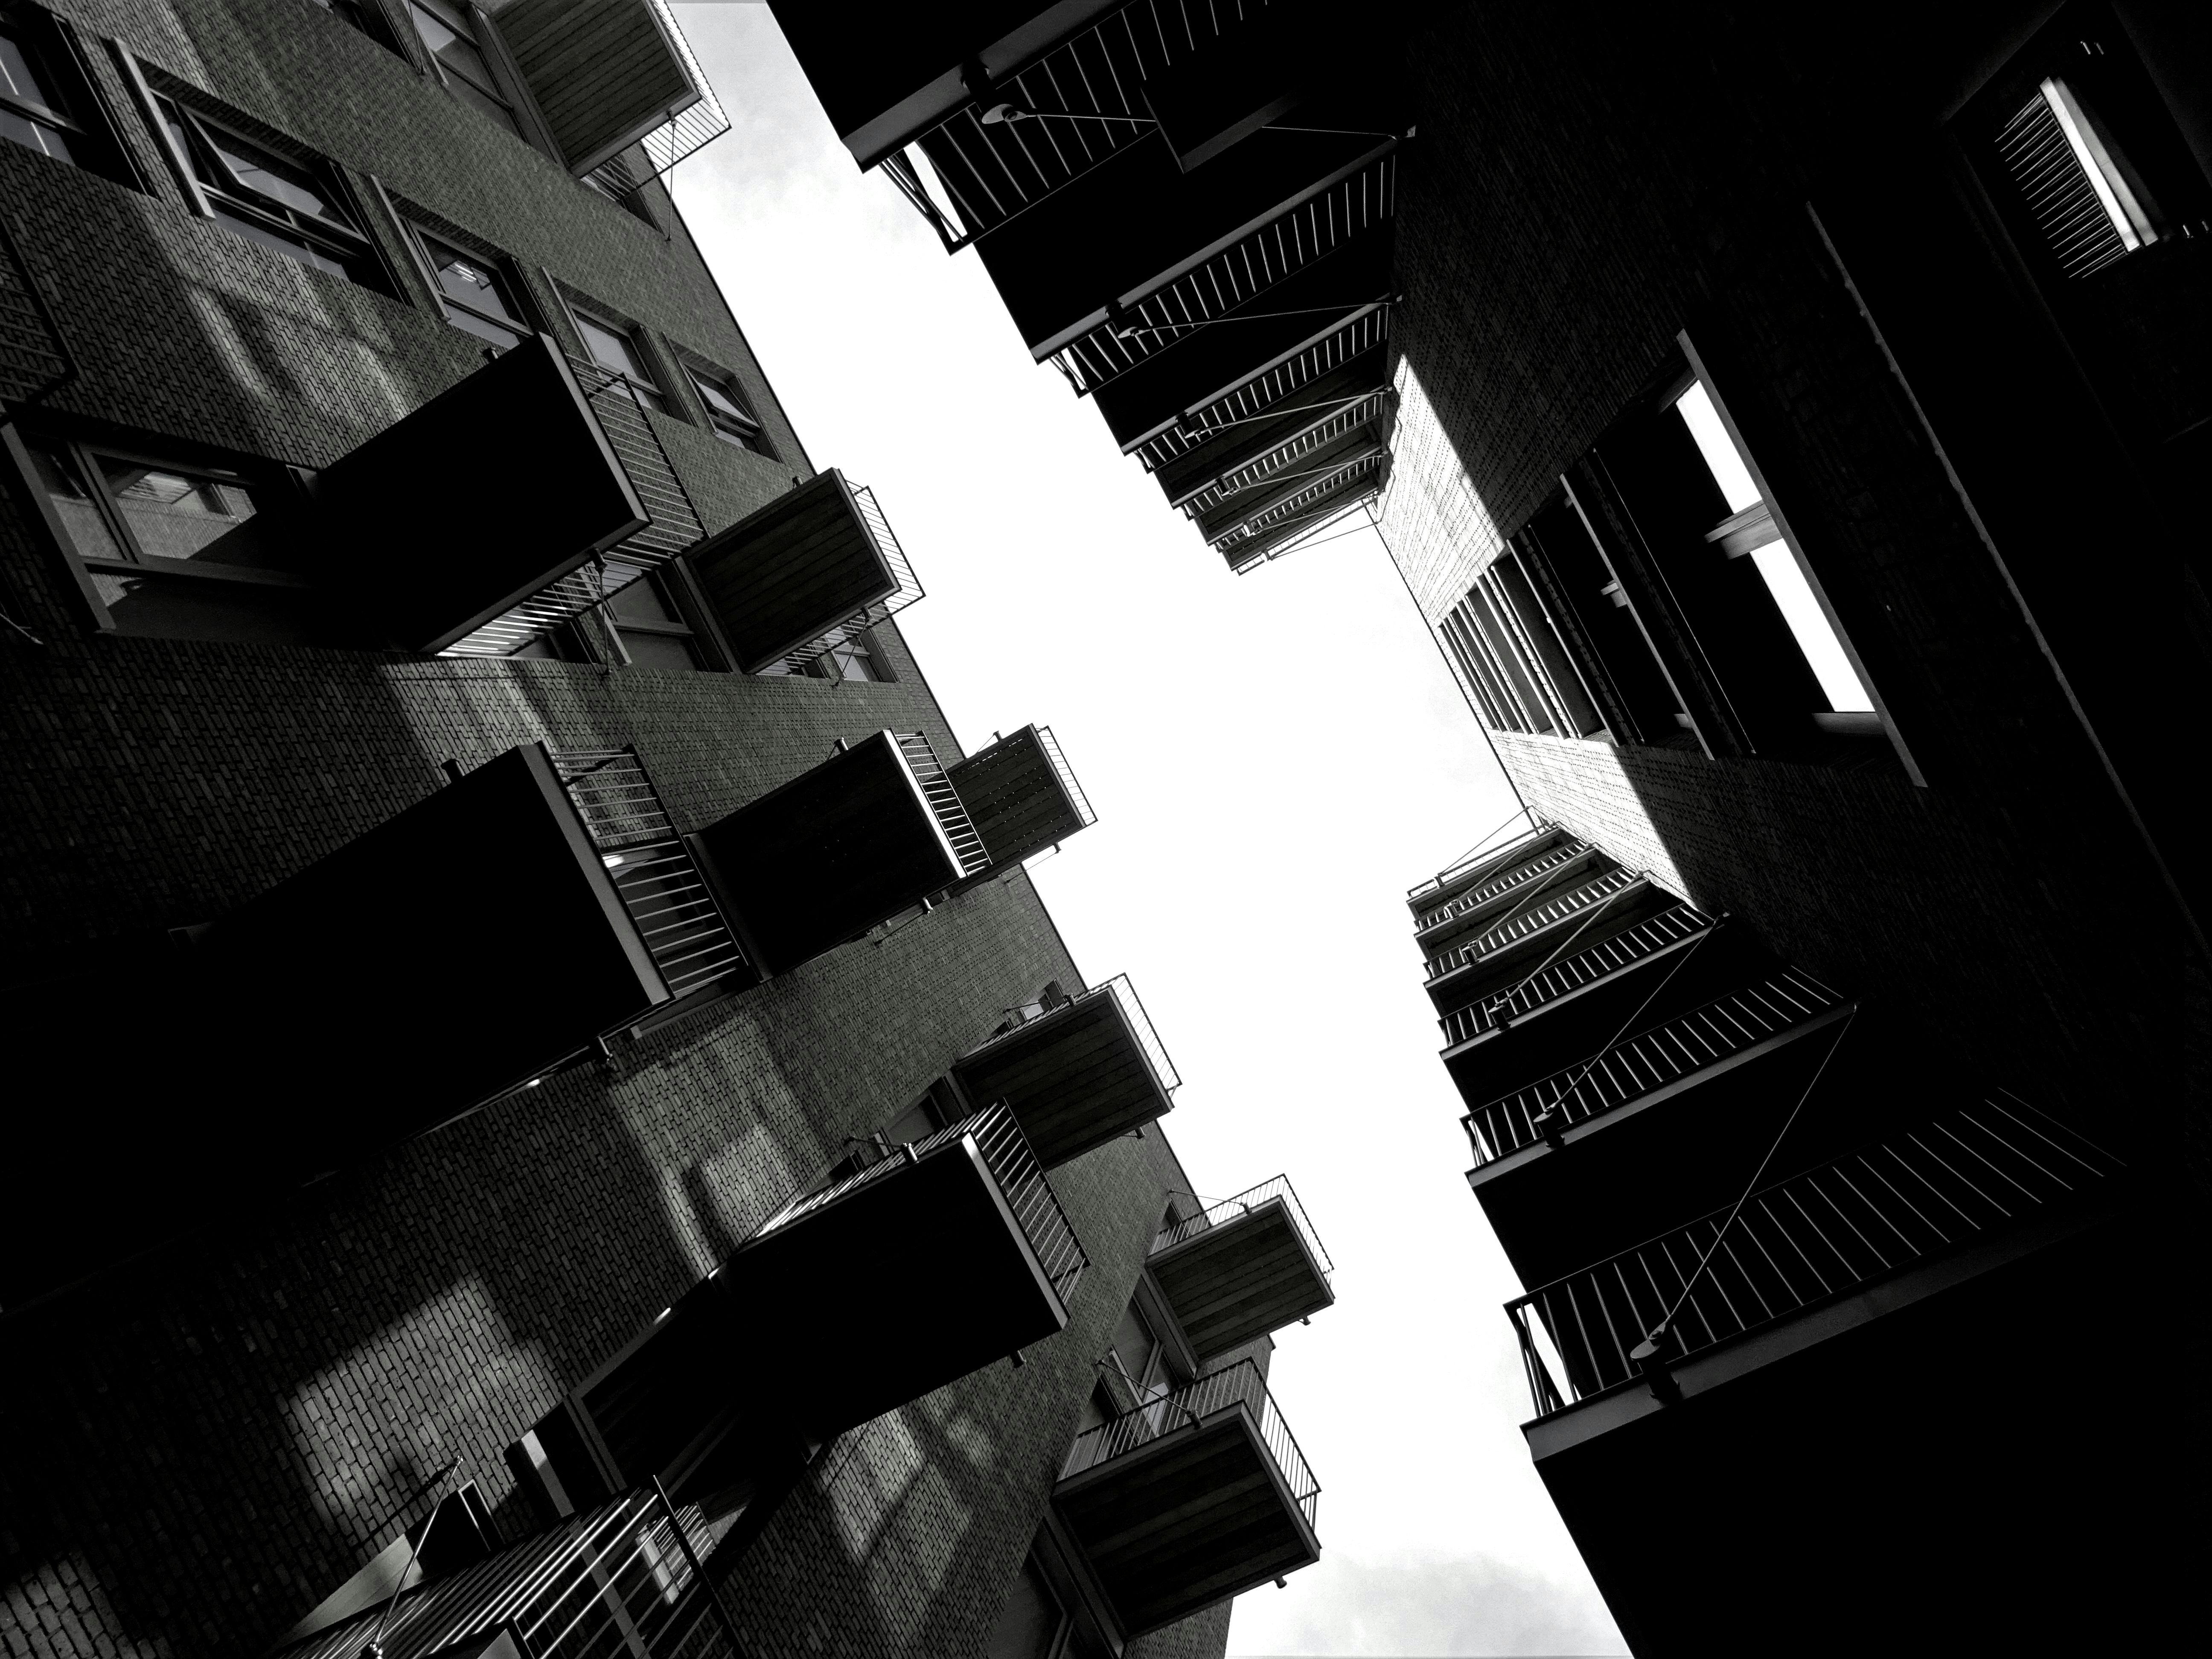
Three-point perspective adds a third vanishing point, often above or below the frame. It makes tall buildings feel dramatic and can give a street scene more intensity.

I use it carefully, because the effect can turn heavy quickly. A high viewpoint or a very wide lens makes the third point show up more clearly.
That look can work well for travel images, but it is less useful when I want calm lines. On this kind of day, I reach for it only when the scene needs scale.
How I edit on the move without overdoing it
I keep edits light on travel days. A quick crop, a slight tilt fix, and a small boost in contrast usually do the job. Long exposure photography can wait for another day, since it asks for more setup and time. This trip is about pace, not slow prep.
My quick cull routine

I make one pass for sharpness, one pass for story, and one pass for keepers. That keeps the edit clean and stops me from saving near-duplicates.
- Flag the sharp frames first.
- Reject frames with bad tilt or motion blur.
- Keep only the shots that show place and line.
- Crop once, then stop.
A clean file set also helps the next day. I do less re-sorting when I wake up with fresh cards and a clear folder.
On a one-bag photo day across three cities, that simplicity is the whole point. The best pack is the one that lets me move fast, stay ready, and keep my eye on the line that holds the frame together.
Frequently Asked Questions

What are common mistakes in one-point perspective?
Common mistakes in one-point perspective are placing the vanishing point poorly, using crooked or inconsistent leading lines, and choosing too wide a scene without strong geometry. Another error is treating one-point perspective as automatic; the frame still needs clean lines and a clear subject to keep the depth readable.
Is 1 point or 2 point perspective better?
One-point perspective is better for fast street and travel work when clean geometry and speed matter. Two-point perspective is better when a subject is angled and you want more dimensional detail, but one-point is often easier to build quickly.
How to set up a 1-point perspective?

To set up a 1-point perspective, frame the scene so parallel lines in the environment converge toward a single vanishing point. A centered path, hallway, station platform, or street edge usually works well because the lines naturally guide the eye into the frame.
What is a 3 point perspective in photography?
Three-point perspective in photography is a perspective system where three sets of parallel lines converge, usually adding a third vanishing point from a high or low angle. This creates stronger distortion and a more dramatic sense of height or depth than one-point perspective.


